Hi All
So how do I post photos here directly from my desk top.
I have tried to copy and not able to paste.
Richard.
Damian your photos are showing up blurred or is it me.
Richard,
when you click on REPLY, the box pop open that you type your message. The top line is all icons for various links. The 7th one from the left looks like a picture or even a postage stamp. Click on it and you get another pop up. There are the two options to upload and post pictures. The 1st one is from your computer. You just have to high light the picture you want so that it’s path is known. That’s all there is to it. I haven’t done that yet as I’m still using my 3rd party host as I need it to post on my other car racing site. I’m assuming that you will need to resize the picture 1st
The 2nd option is from the web. There you need to go to your image host and find the direct link that you always used. Copy and paste it in the box. That’s all that there is to it.
Joel
1 Like
Richard,
Not sure why D’s pictures are blurry to you. There as sharp on the new site as they are on the old site for me.
Joel
Hi Joel
I restarted my computer and now everything is clear!
Thankyou for the photo posting info.
Richard.
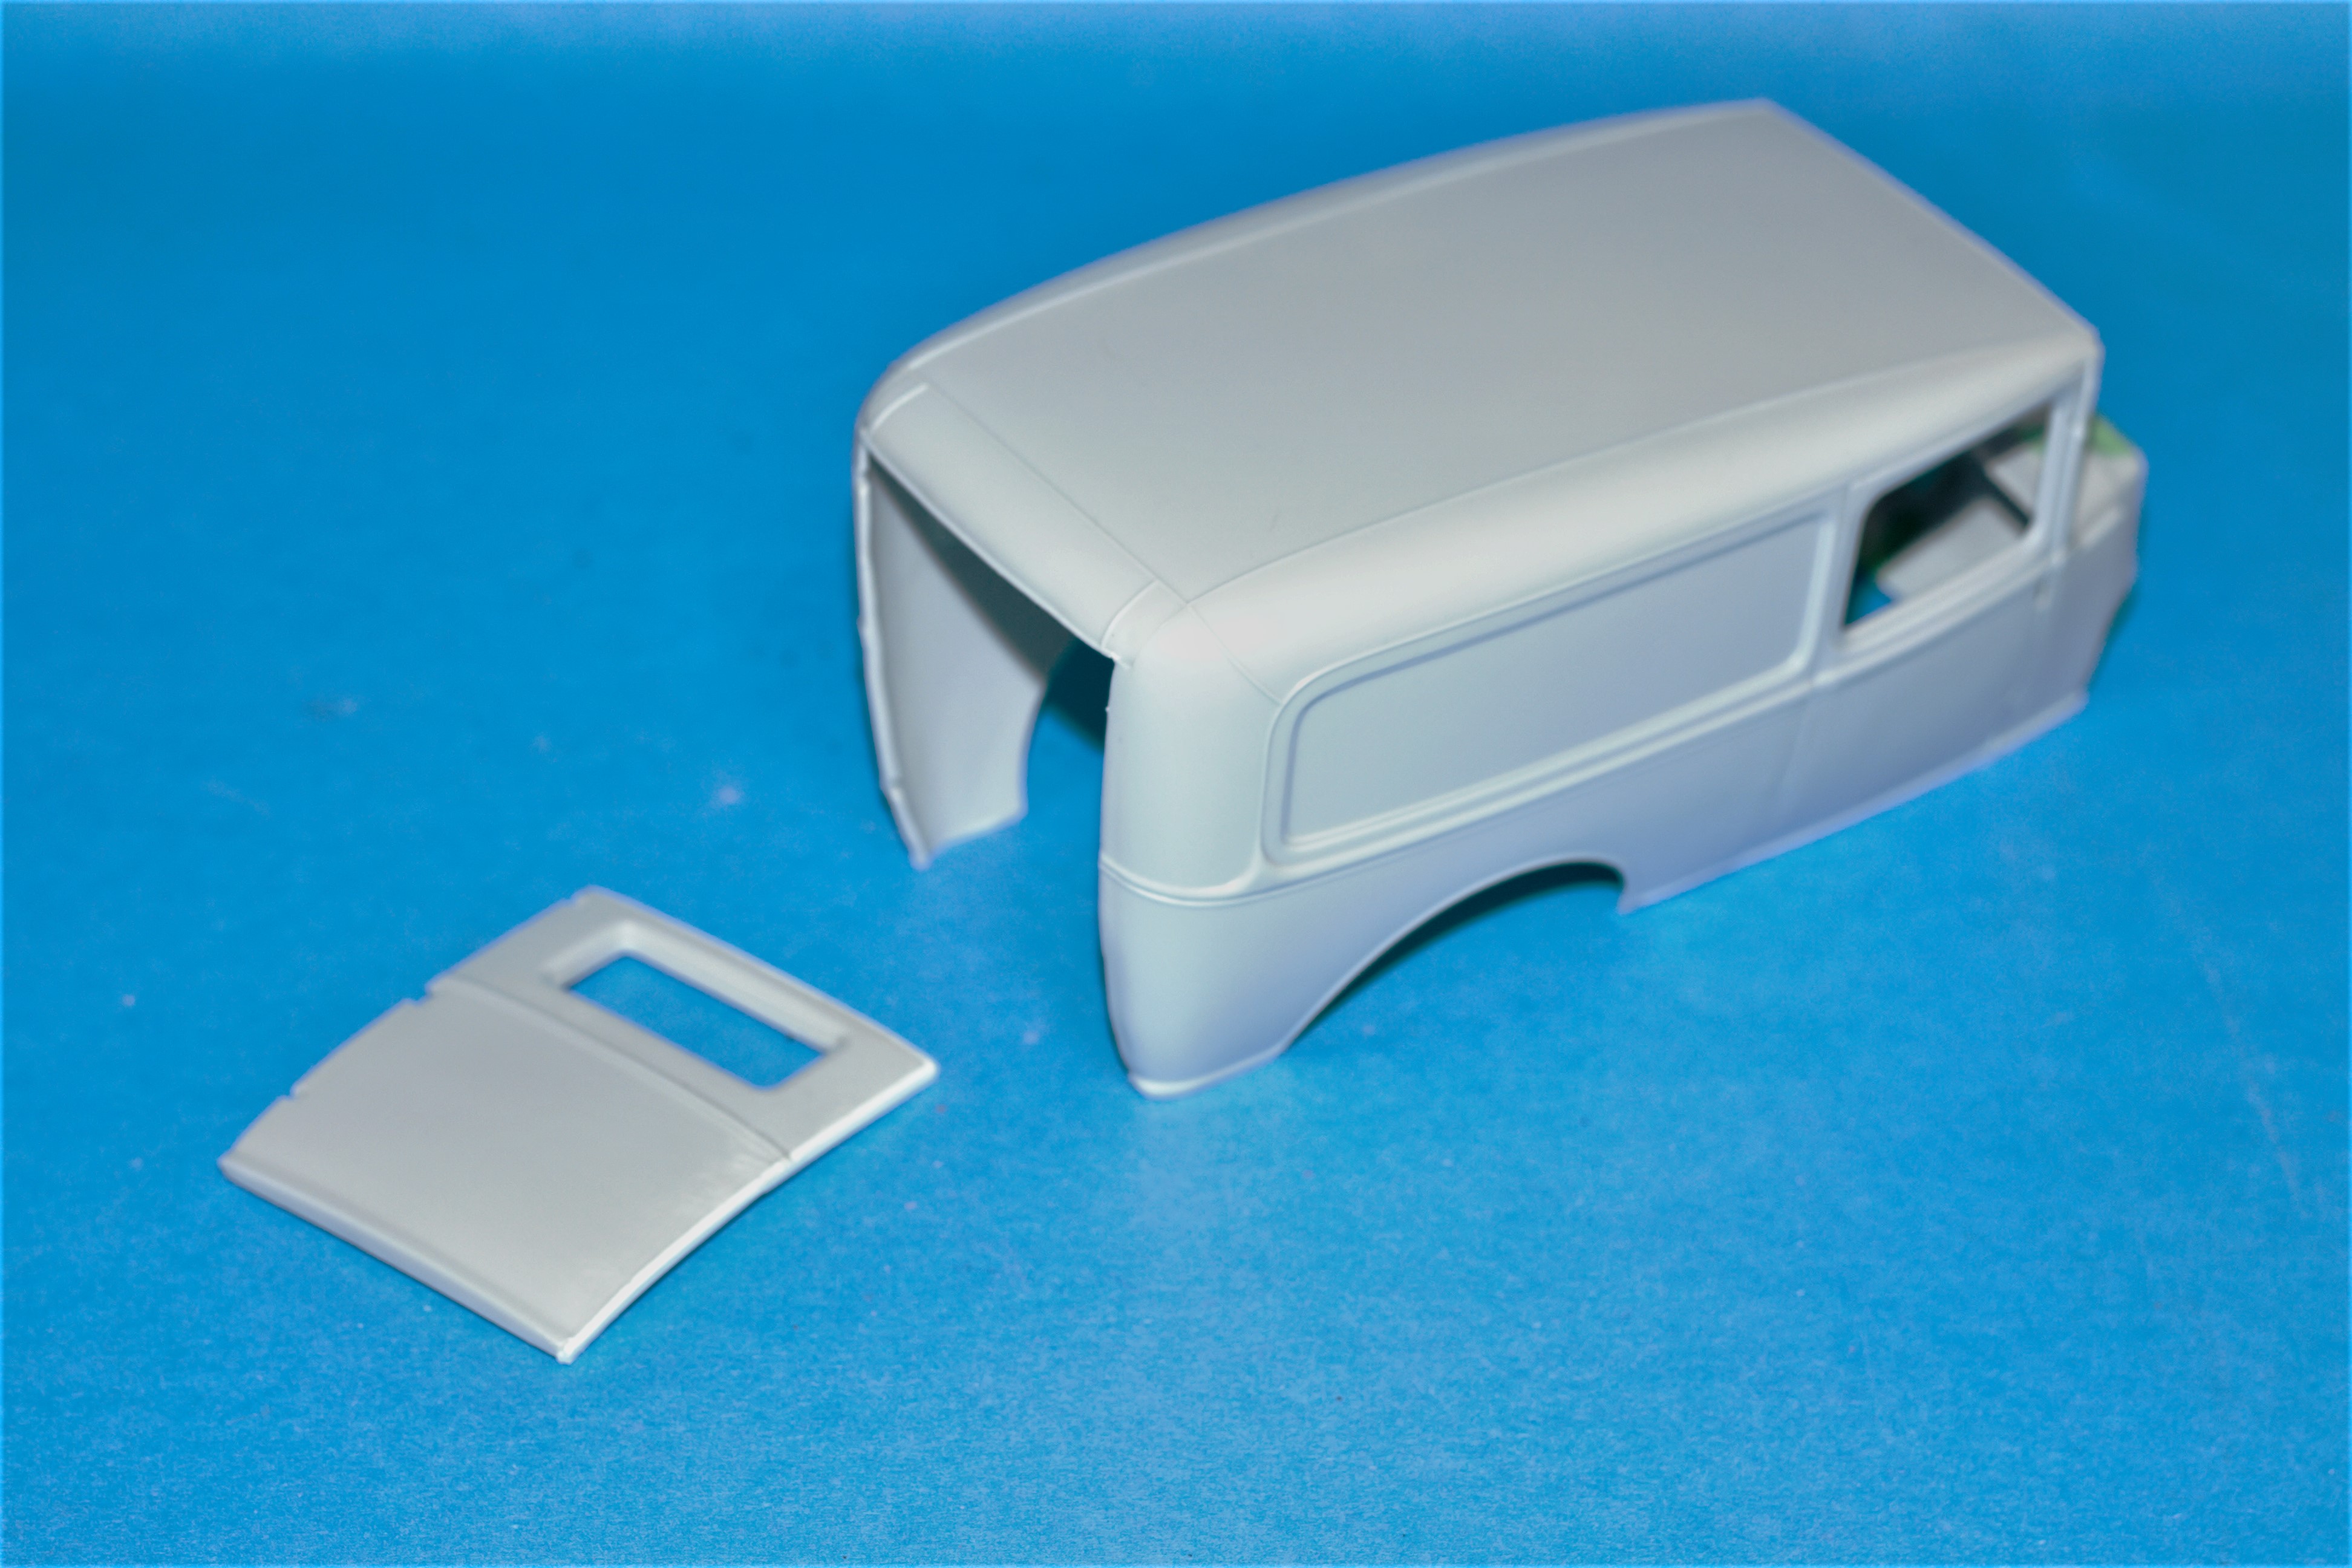
I have glued on the doors and fire wall.
The rear door had a gap around it so I have filled it with strip.
Richard,
Makes sense, and it worked.
Joel
Richard,
The rear door looks absolutely perfect. Nice job.
Joel
1 Like
Nice start Richard, neat work on the fill! I’m looking forward to your progress reports on this one.
Cheers, D
1 Like
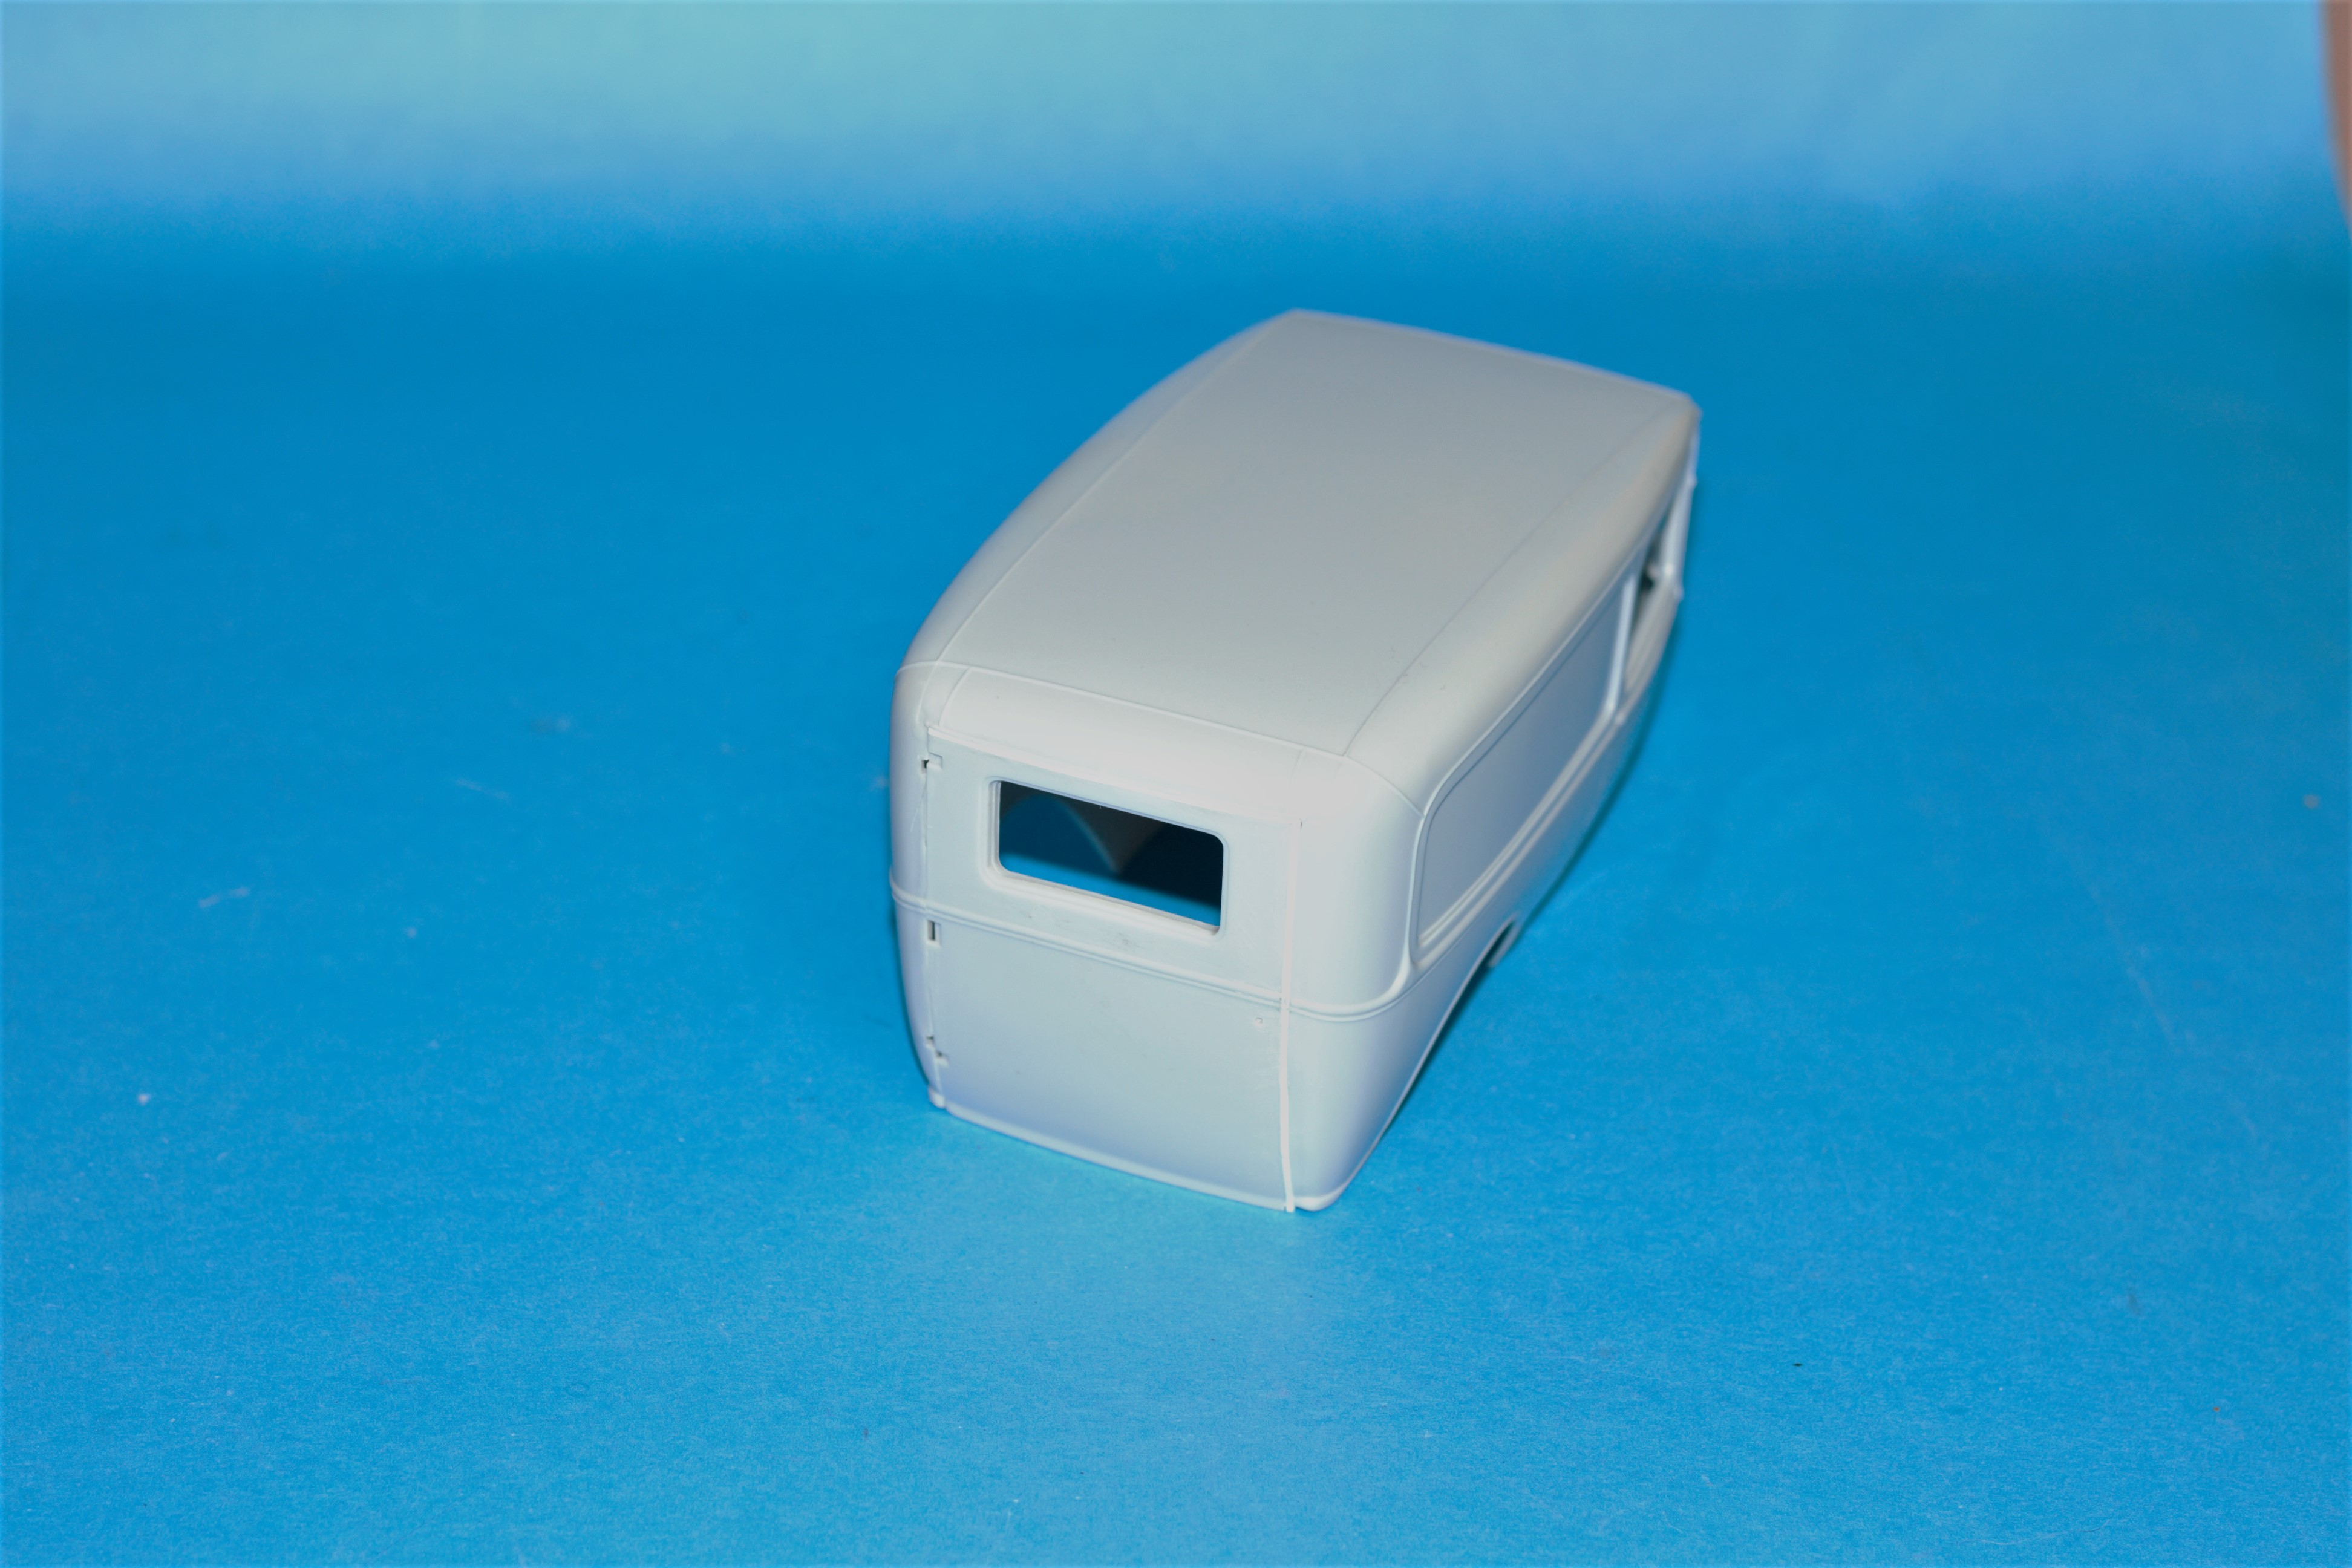
So now glued the roof back onto the body after chopping 6 1/2" (real world) .
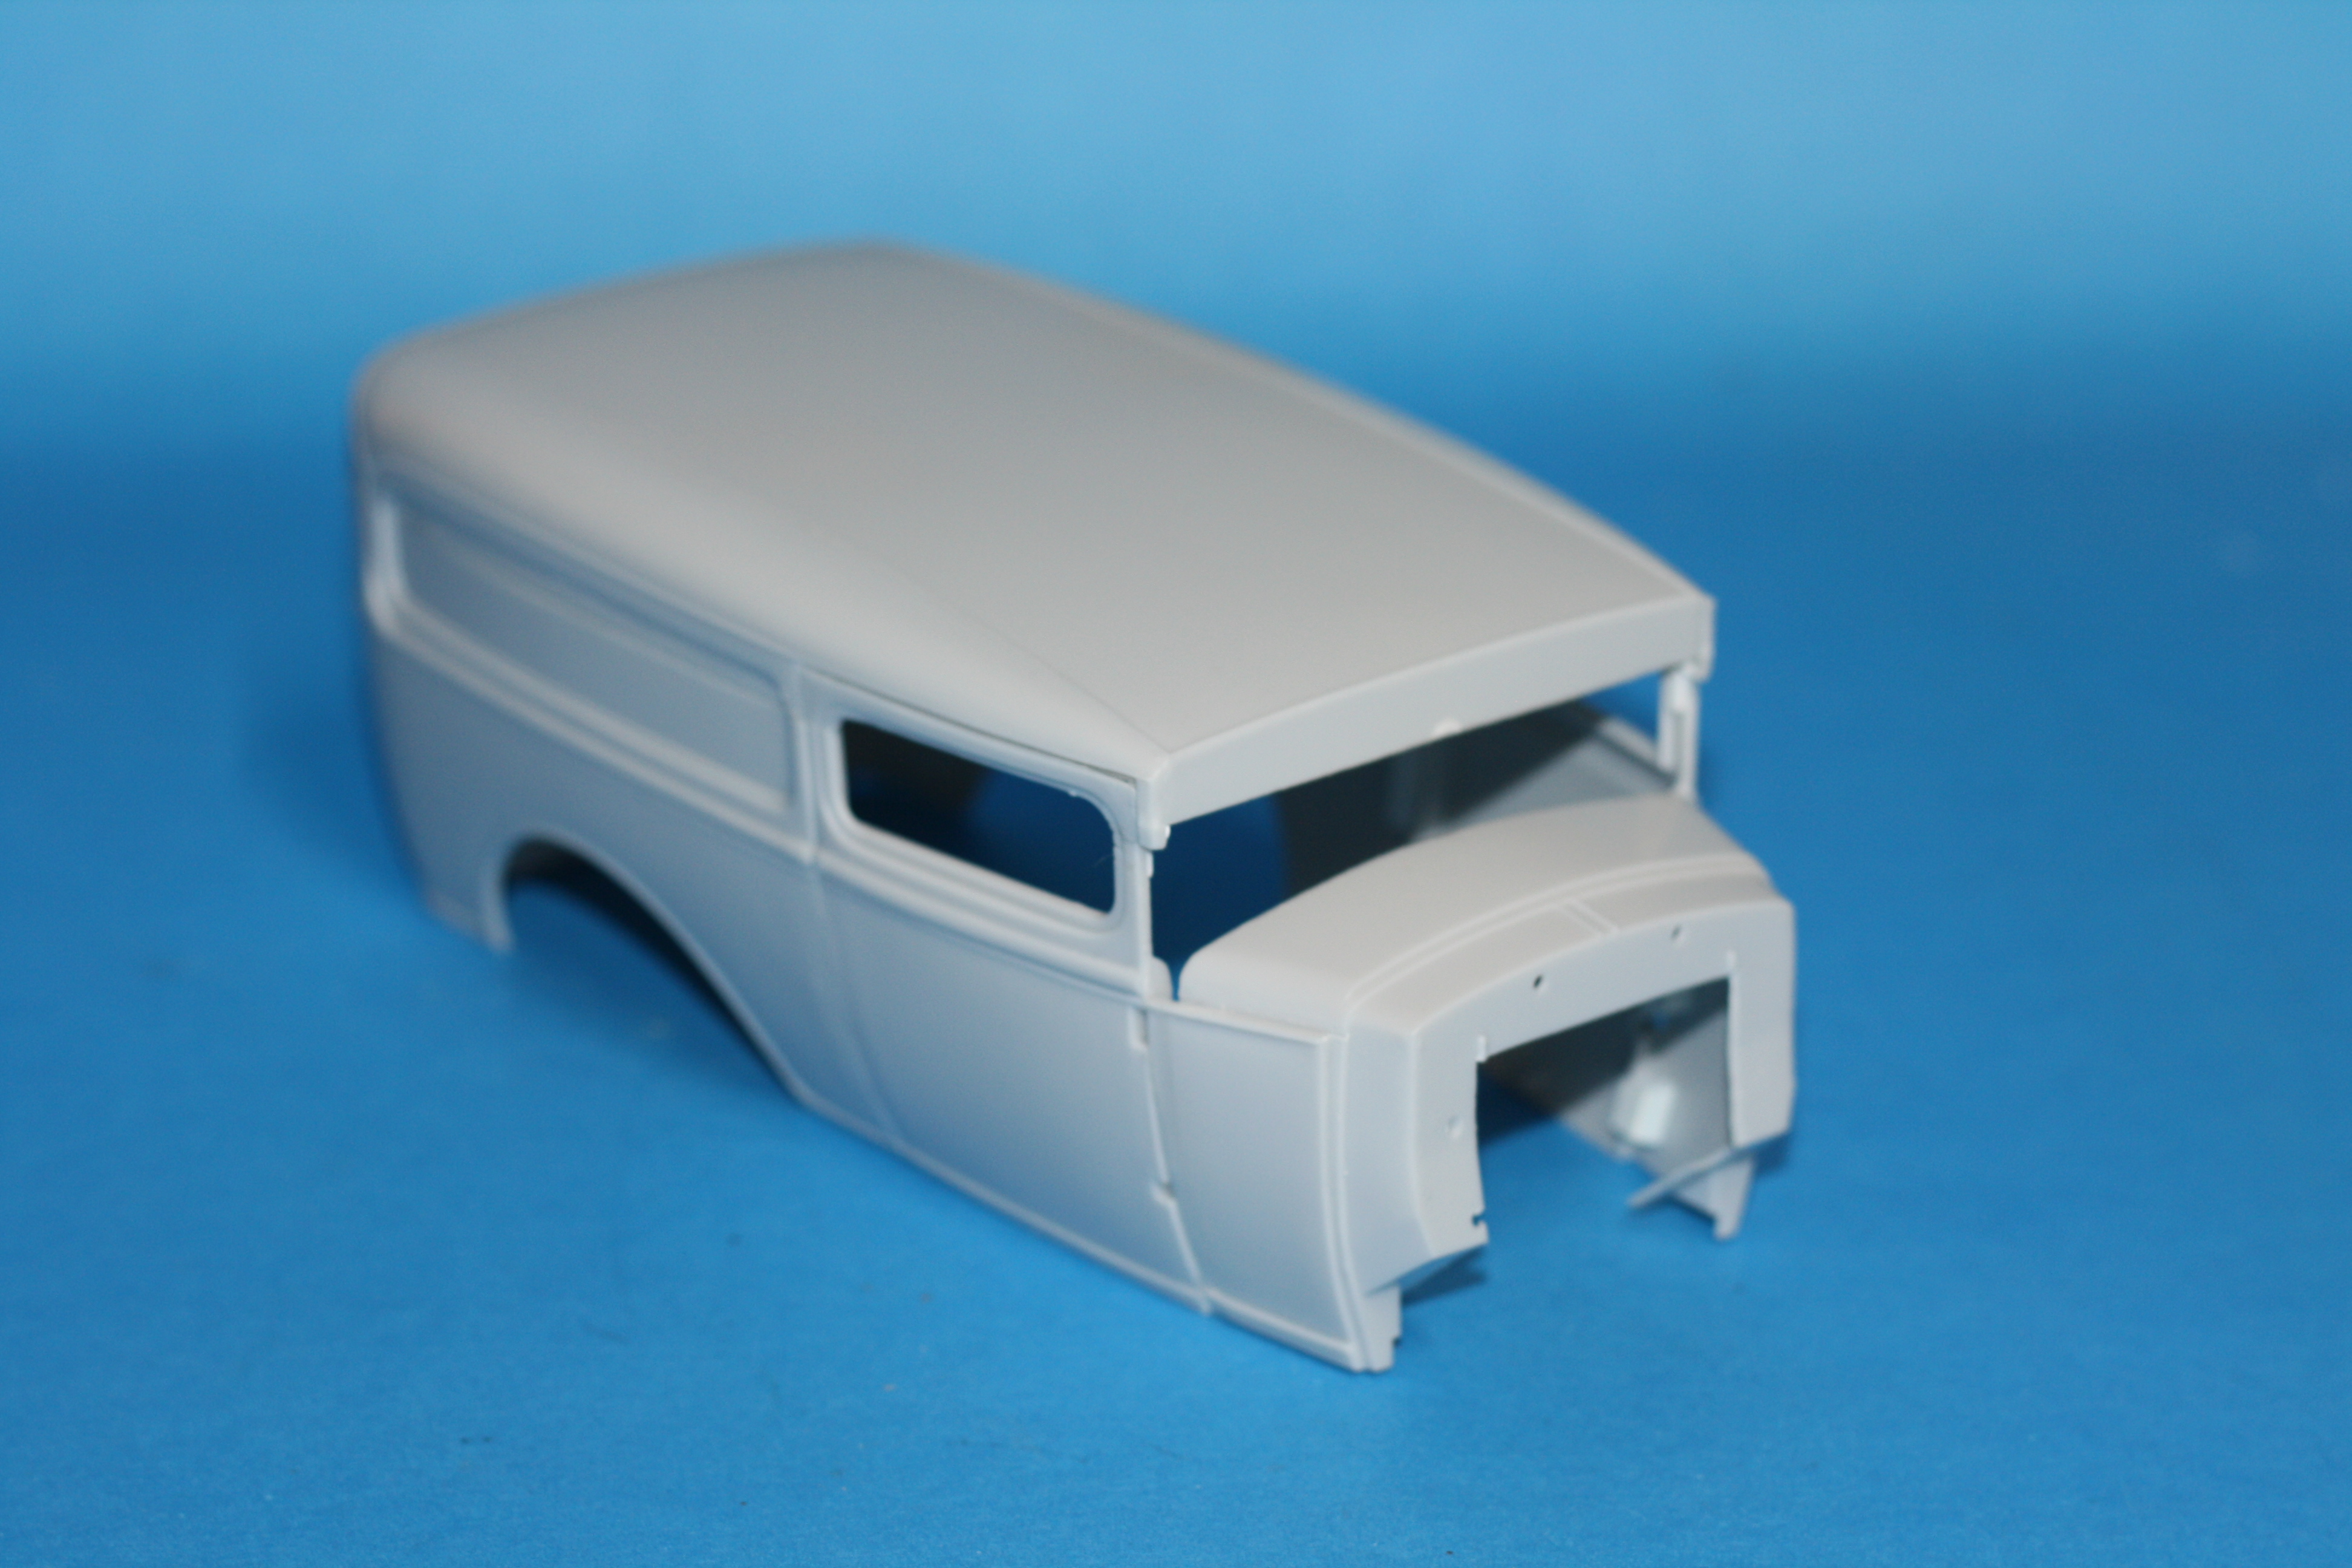
Fire wall cut out to clear the engine.
Now to start filling ,
Now that looks like it’s got some attitude! Very nice work Richard!
Cheers, D
1 Like
Wait until 
 you see the motor! LOL!
1 Like
Richard,
Now that’s one outstanding start to your custom Street Rod build for sure.
Looking forward to see what Magic you pull off in building that motor.
Joel
1 Like
Not a participant in this GB, but I’m following your dreams! 
Cheers!
—mike
1 Like
Mike,
Thrilled to have you along for the ride.
Joel
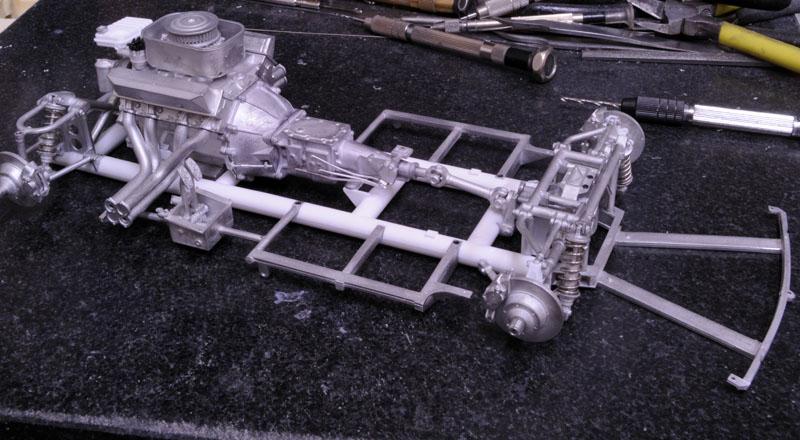
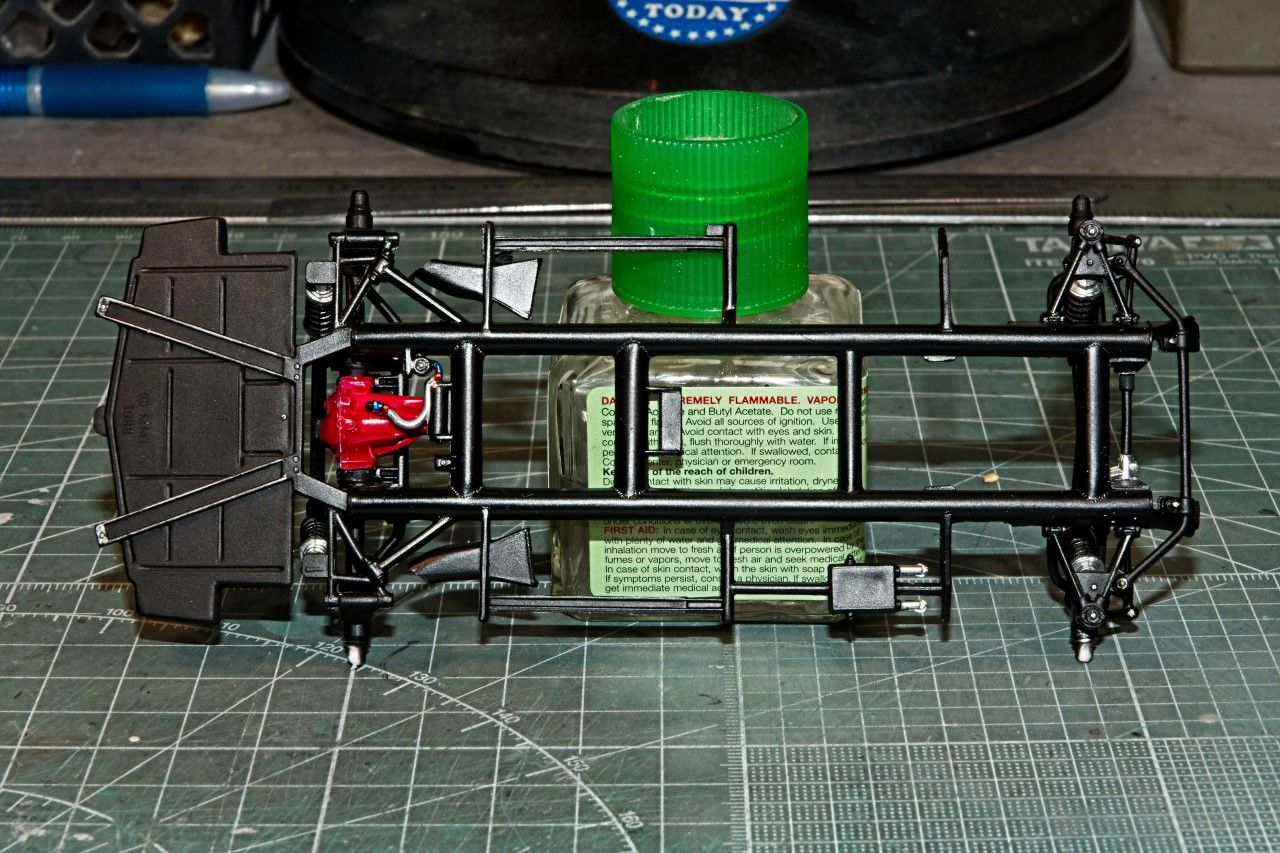
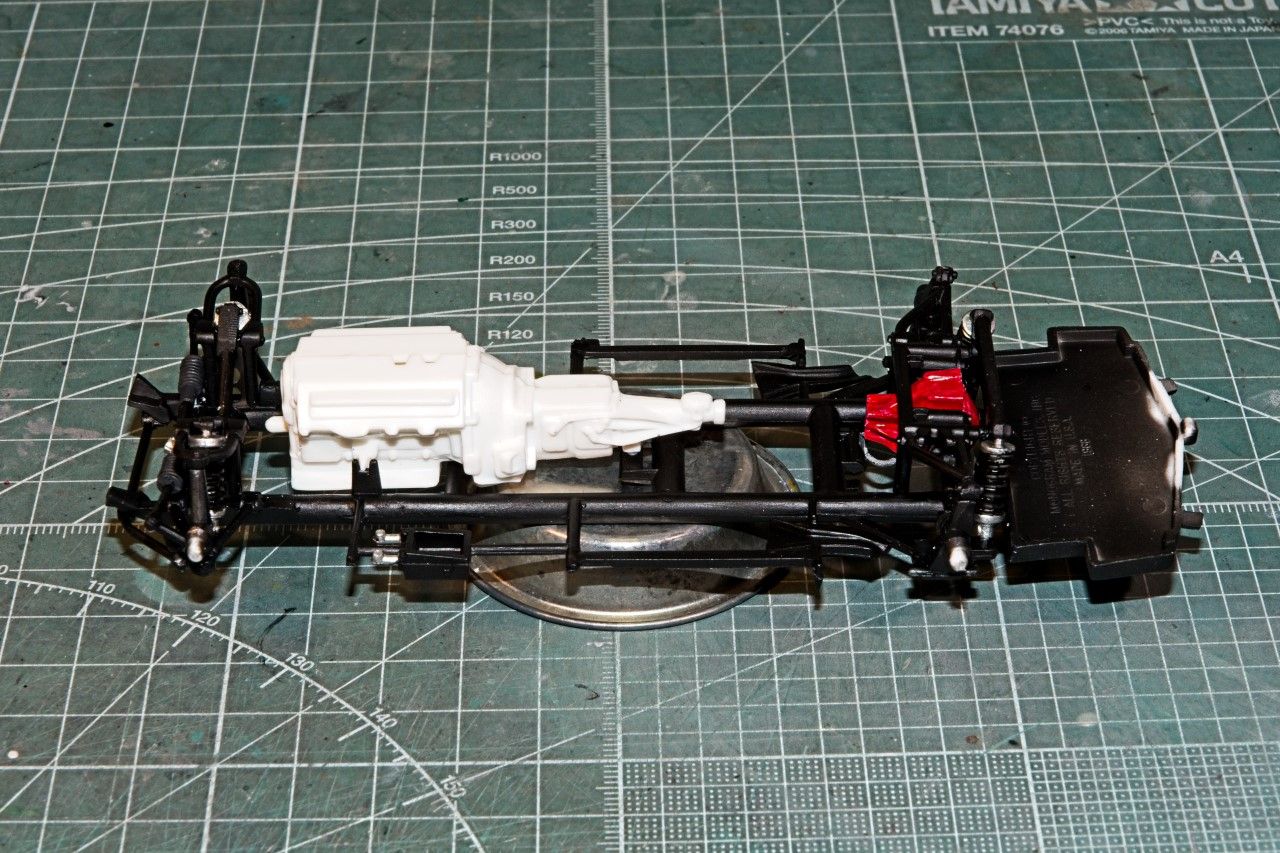
With the basic body shell completed, I next turned my attention to the chassis and the front & rear suspension sub assemblies. I must say that I was rather impressed with the detail of the complex suspensions, as both really looked more then quite good and equal to many of today’s kit offerings, especially considering that the kit dates back from 1992.
I started off with the usual cleaning up of all the parts as there's an abundance of seam lines everywhere. Unfortunately, my effort still left a few here and there. Once that job was done.
I’ve started the paint prep by a 15 min bath in Polident & room temp tap water. The parts not only come out spanking clean, but have a rather nice fresh scent to them.
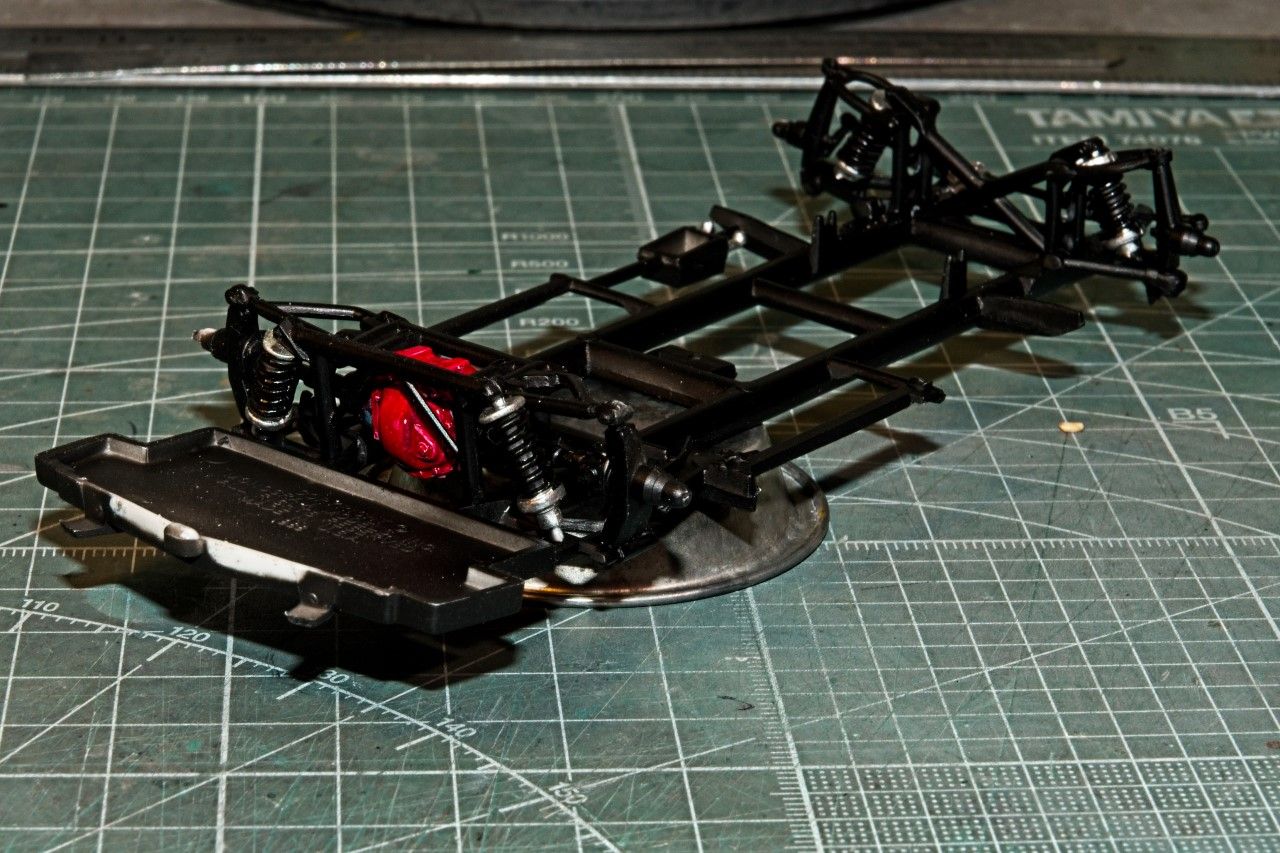
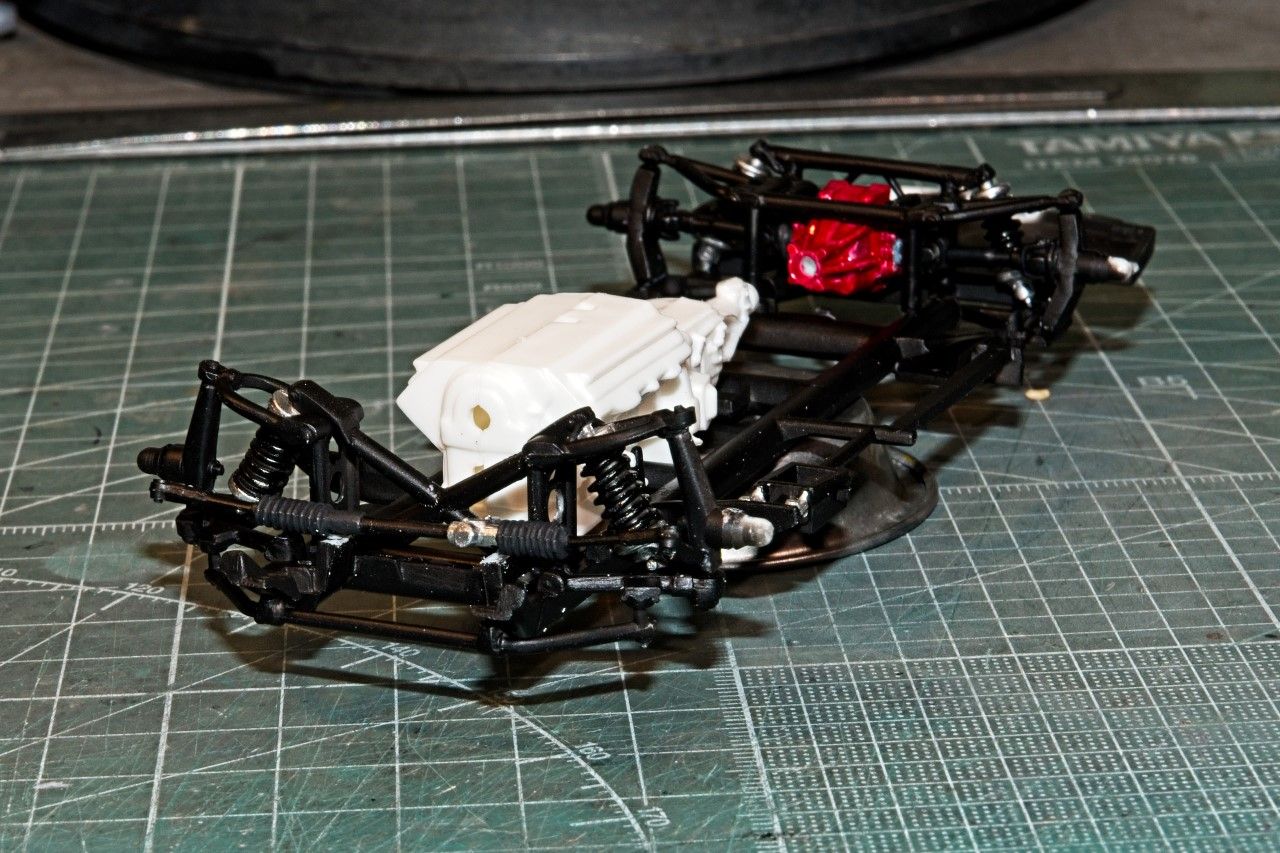
I’m still in the camp of priming everything no matter what, so I used the last of my Gunze 1500 gray primer thinned 1:1 with Gunze #400 Mr. Leveler Thinner. I let the parts dry and cure for a few hours then I air brushed on Tamiya Semi Gloss Black, with the upper A arms in Gloss Black, the rubber boots on the steering rod that connects both front wheel assemblies Tamiya Rubber, which really looks like their plain dark military Gray is you ask me. The following day I masked the cover of the rear end which is part of the rear axle, and then primed it once again as I forgot to mask it off when I painted the axle the day before. Several coats of Tamiya Gloss Red was air brushed on as well as the main body of the rear end gear housing.
The shocks/springs already were air brushed Semi Gloss Black, but the springs should be gloss Black, so I hand painted them as well as the tops and bottoms of the shocks Mig Ammo Polished Steel.
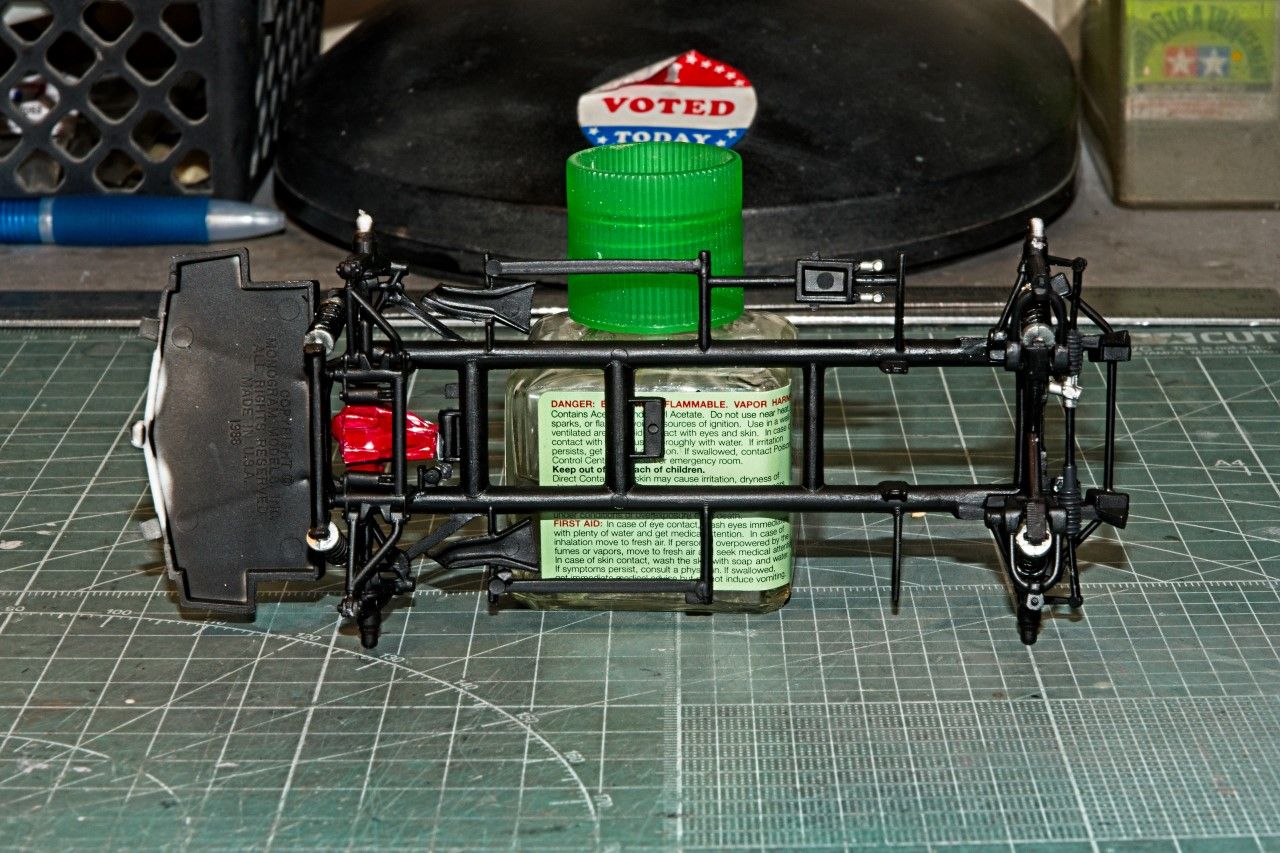
After seeing the trunk braces highlighting, I really need to tone them down with a light Gray over the Aluminum which is way to stark and bright.
Joel
1 Like
Looking great Joel, the attention to detail is spot on as always, right down to the gloss level on the various black parts!
It’s funny the things that stand out, after building so many of the big muscle cars, the length of the tailshaft looks all wrong to me on this one!
Cheers, D
D,
Thanks so much for your huge Aussie thumbs up As always, it’s greatly appreciated. Believe me, I really struggled with the 3 Black colors. I needed two Tensor lights and a Ott light directly overhead to create enough shadows to actually see what the heck I was trying to paint.
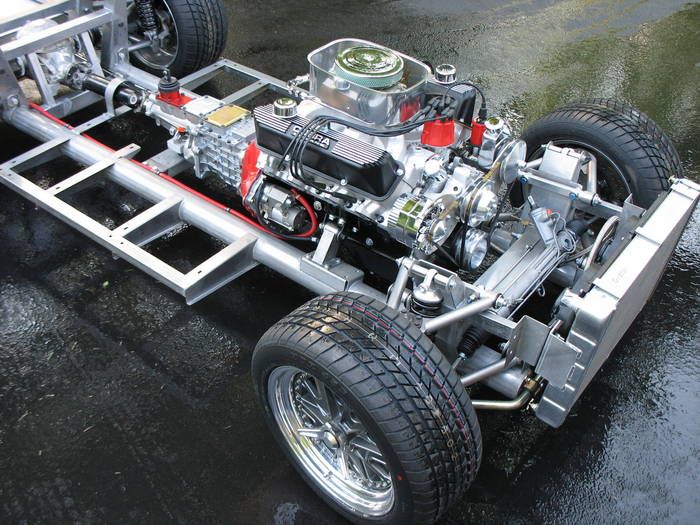
The Shelby Cobra started off life as the little British AC Ace with a inline 6 cylinder engine, which they then stuffed in a Ford V8. The 427 Cobras had their frames built with 4 inch tubing instead of 3 inch tubing as well as beefing it up some. The suspension was also changed from leaf springs to coil over shock at all four corners, and the brakes were massive Shelby designs that could stop a tank at full speed. Throw in the standard Ford racing 4 speed transmission and there just wasn’t that much room left for the drive shaft. But shorter is better then longer as there’s less flex and twisting due to the massive amount of torque.
I’m not sure what you mean by Tail Shaft other then the drive shaft from the end of the transmission housing to the Rear End housing.
Joel
Yep, that’s the one. On this car it looks about 18 inches long!
Cheers, D