Progress for sure. The engine block really is quite well detailed, looking forward to seeing it with some paint on it.
As for the cast exhaust headers I’ve never understood why any manufacture chromes them when at best they’re brand new out of the mold cast iron to some exotic alloy that I’ve most likely never heard of before.
As for stripping off model Chrome, I’ve tried everything I’ve read and or heard about. Some work, most don’t.
Windex with Ammonia does work but takes a long time, straight store brand/cheap Ammonia works even quicker, but nothing for me comes close to “Any Brand” foam oven cleaner. I have a small glass jar with a metal top that seals, and I fill it about half way with the cleaner ( do this outside, wear rubber gloves, and eye protection/ look away while filling the jar as the cleaner is mean, nasty stuff). 10 min in the oven cleaner and the parts are stripped bare as a babies bottom
One thing I noticed in the picture of the exhaust headers is that they’re shiny and smooth as all dechromed parts are. I’ve had issues with paint sticking to it, so I’ve started to give the parts a rub with a pc of Tamiya 600 sponge just to give the paint or primer a good surface to bite into.
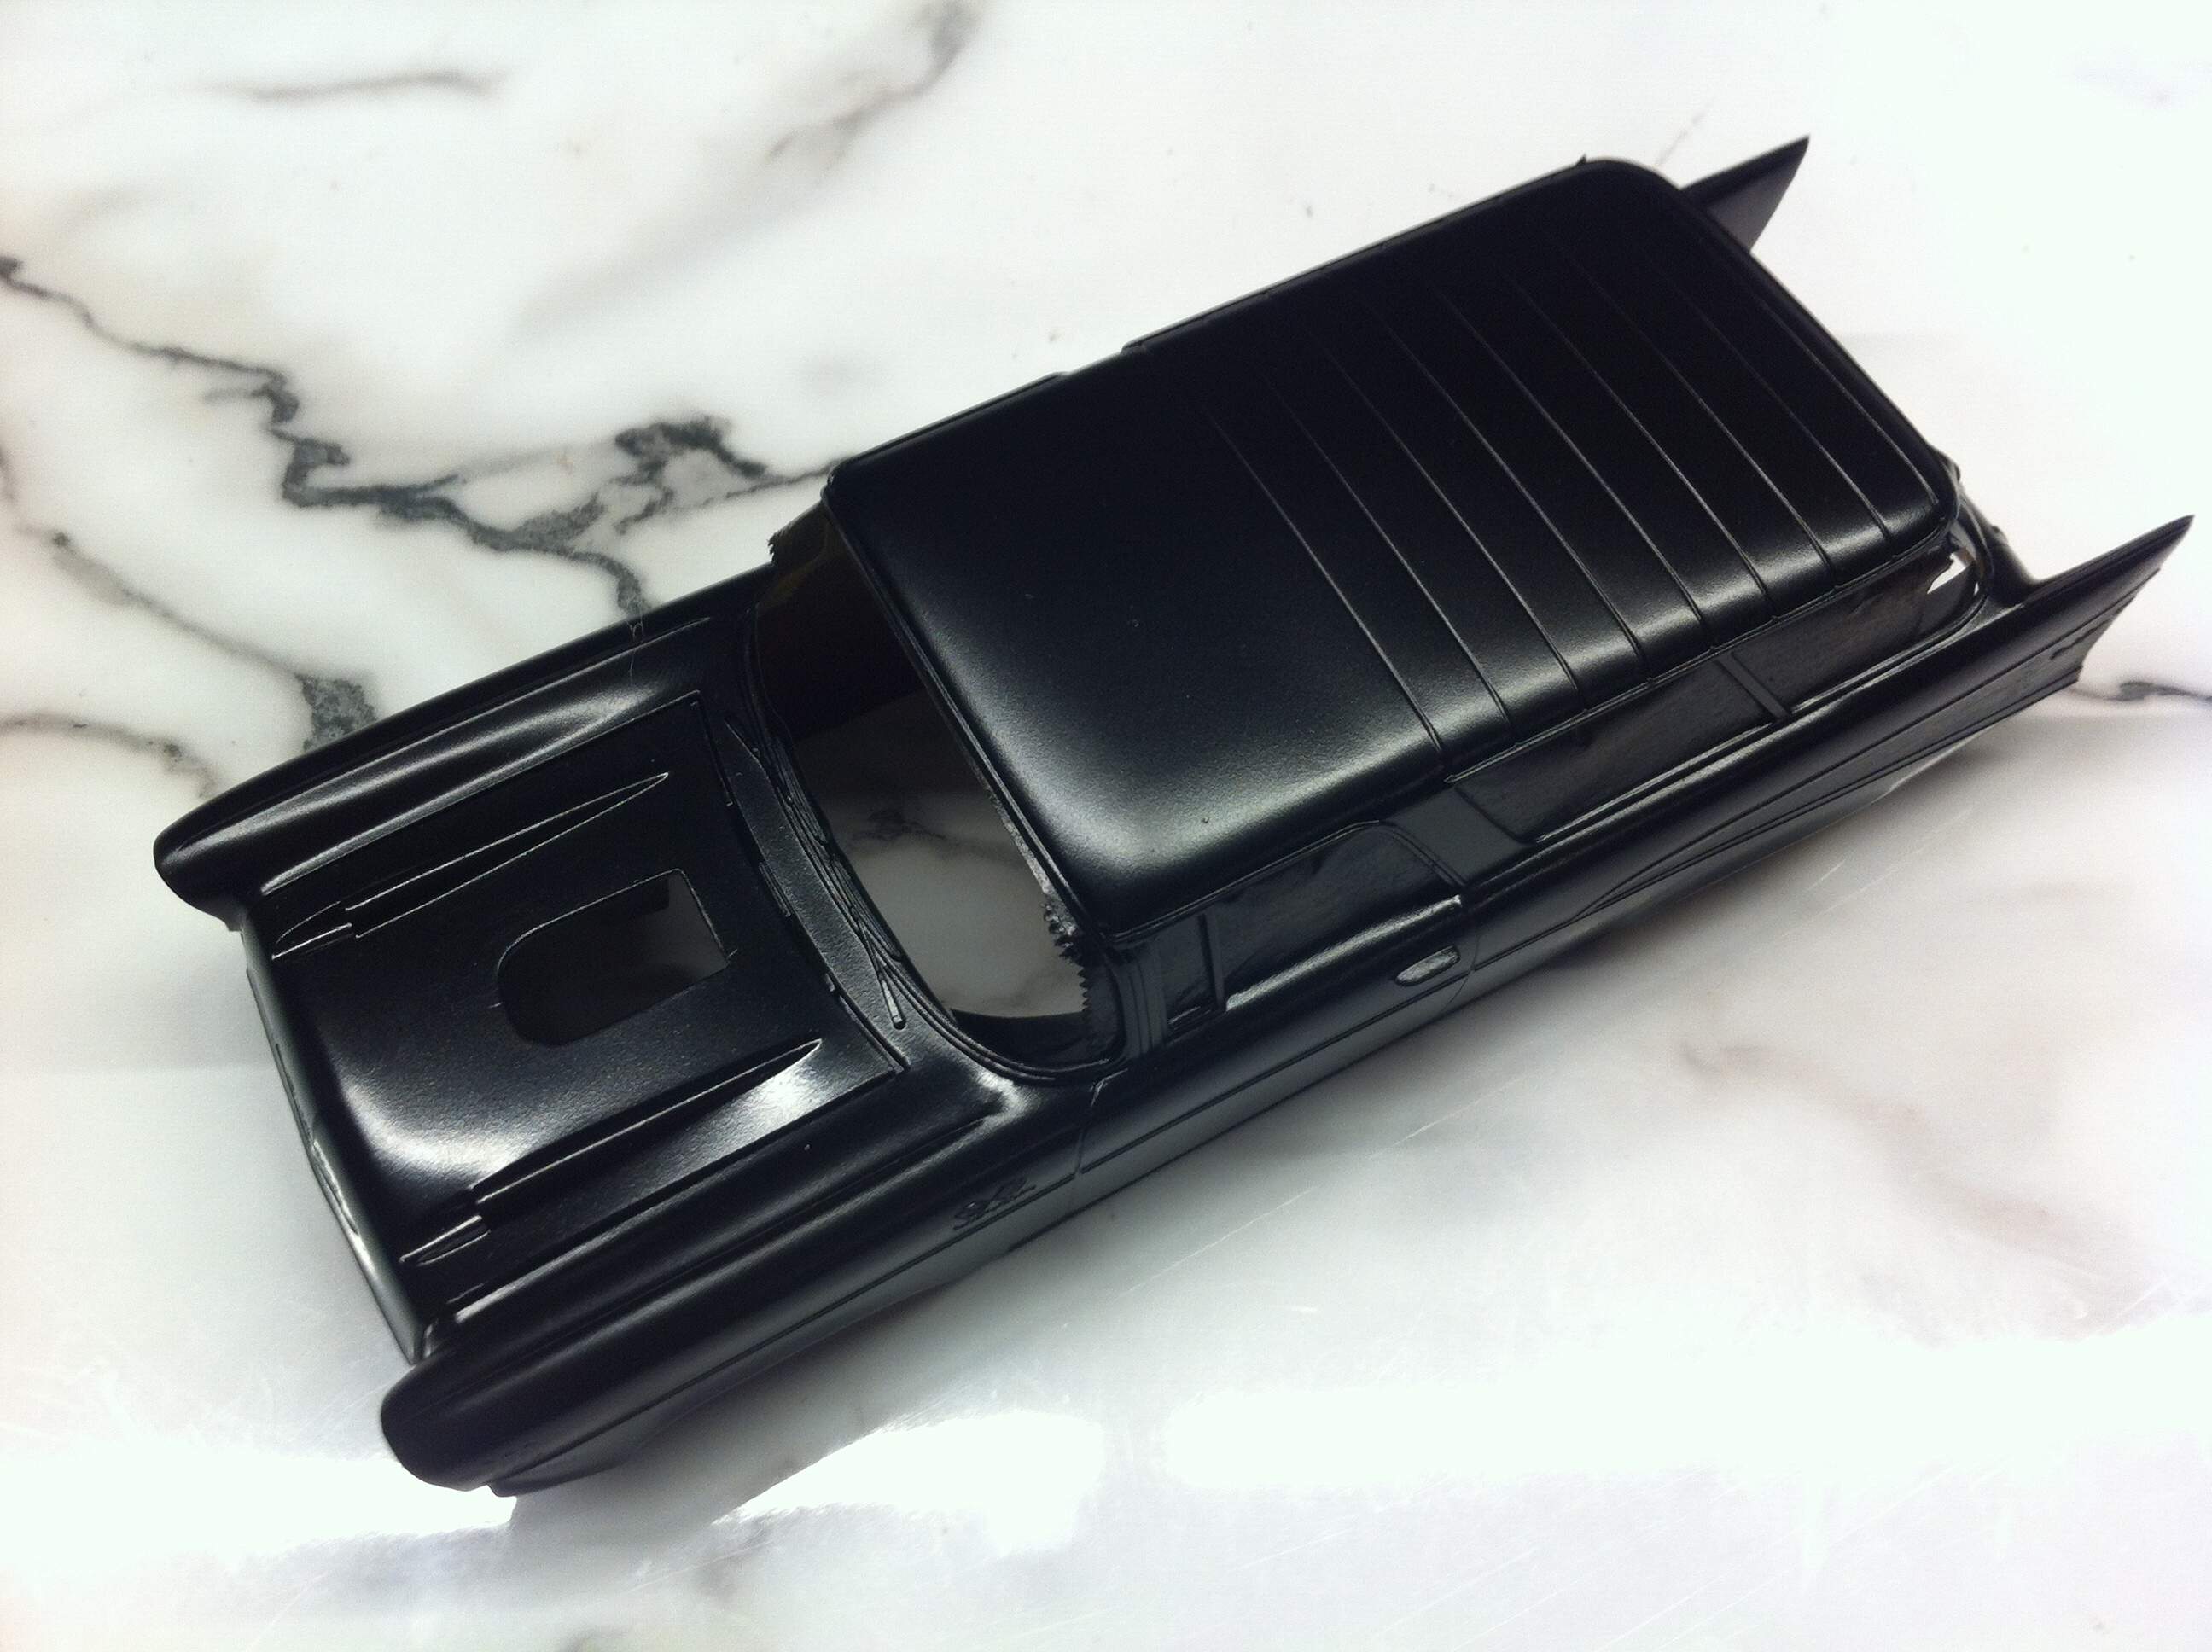
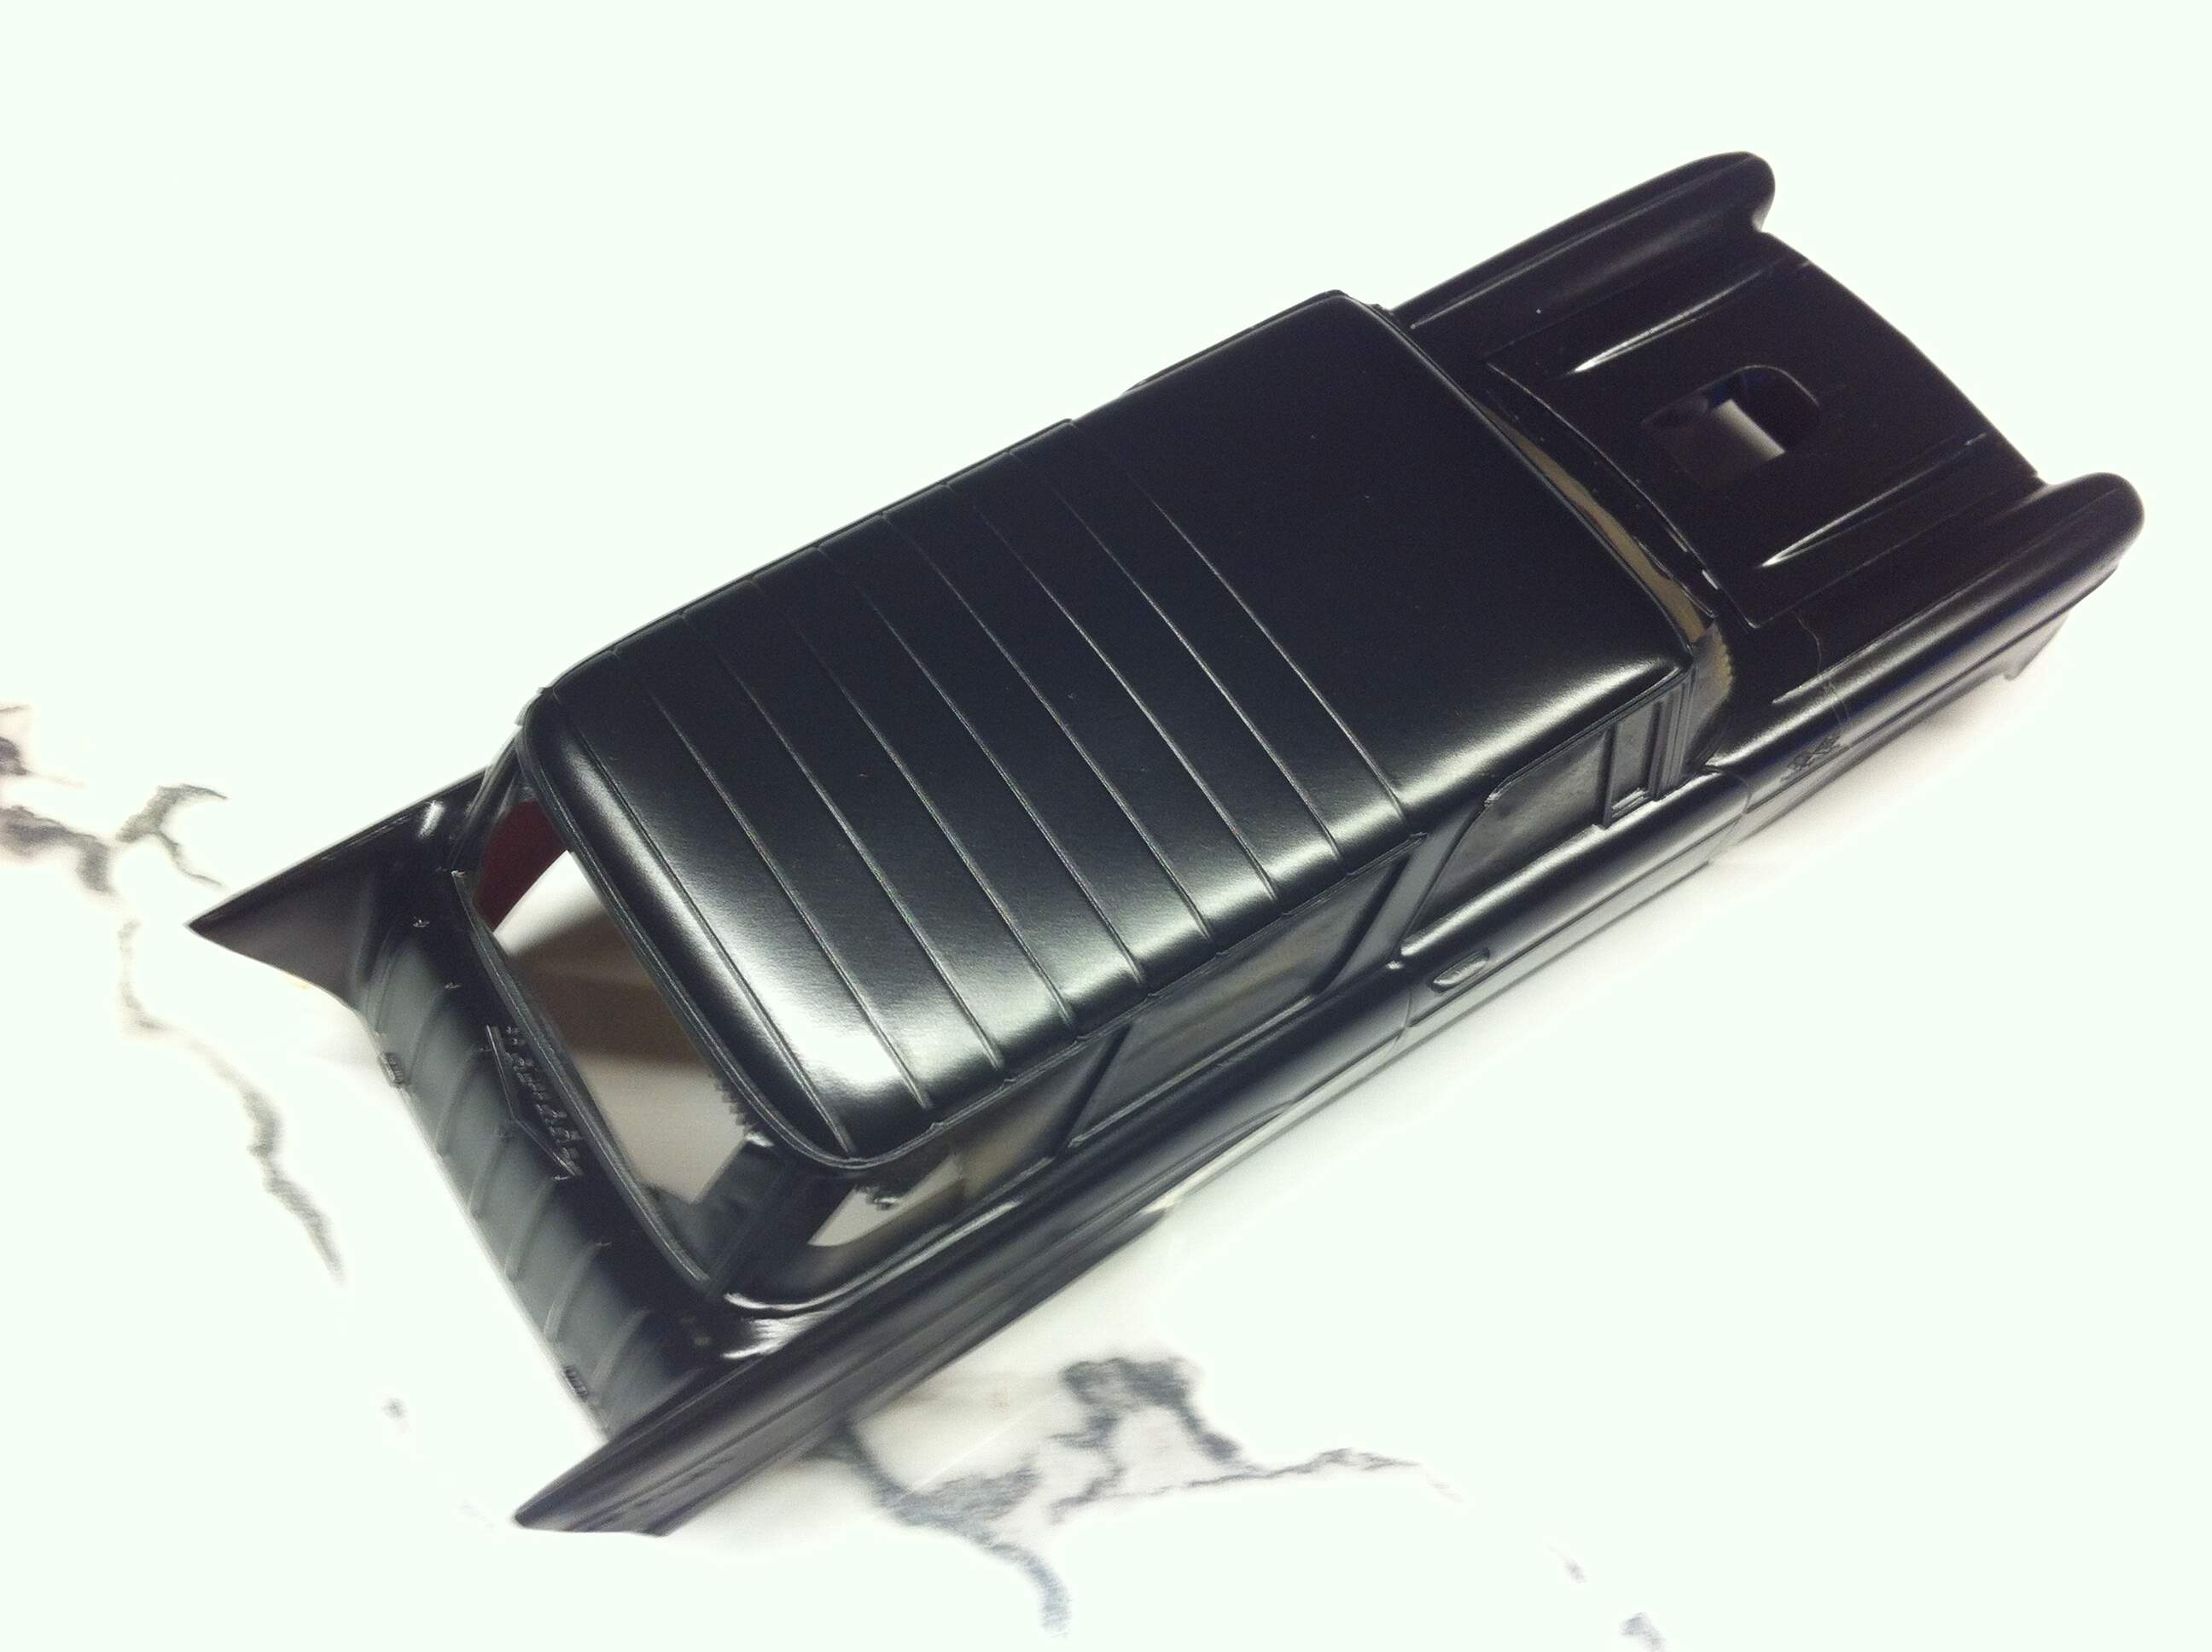
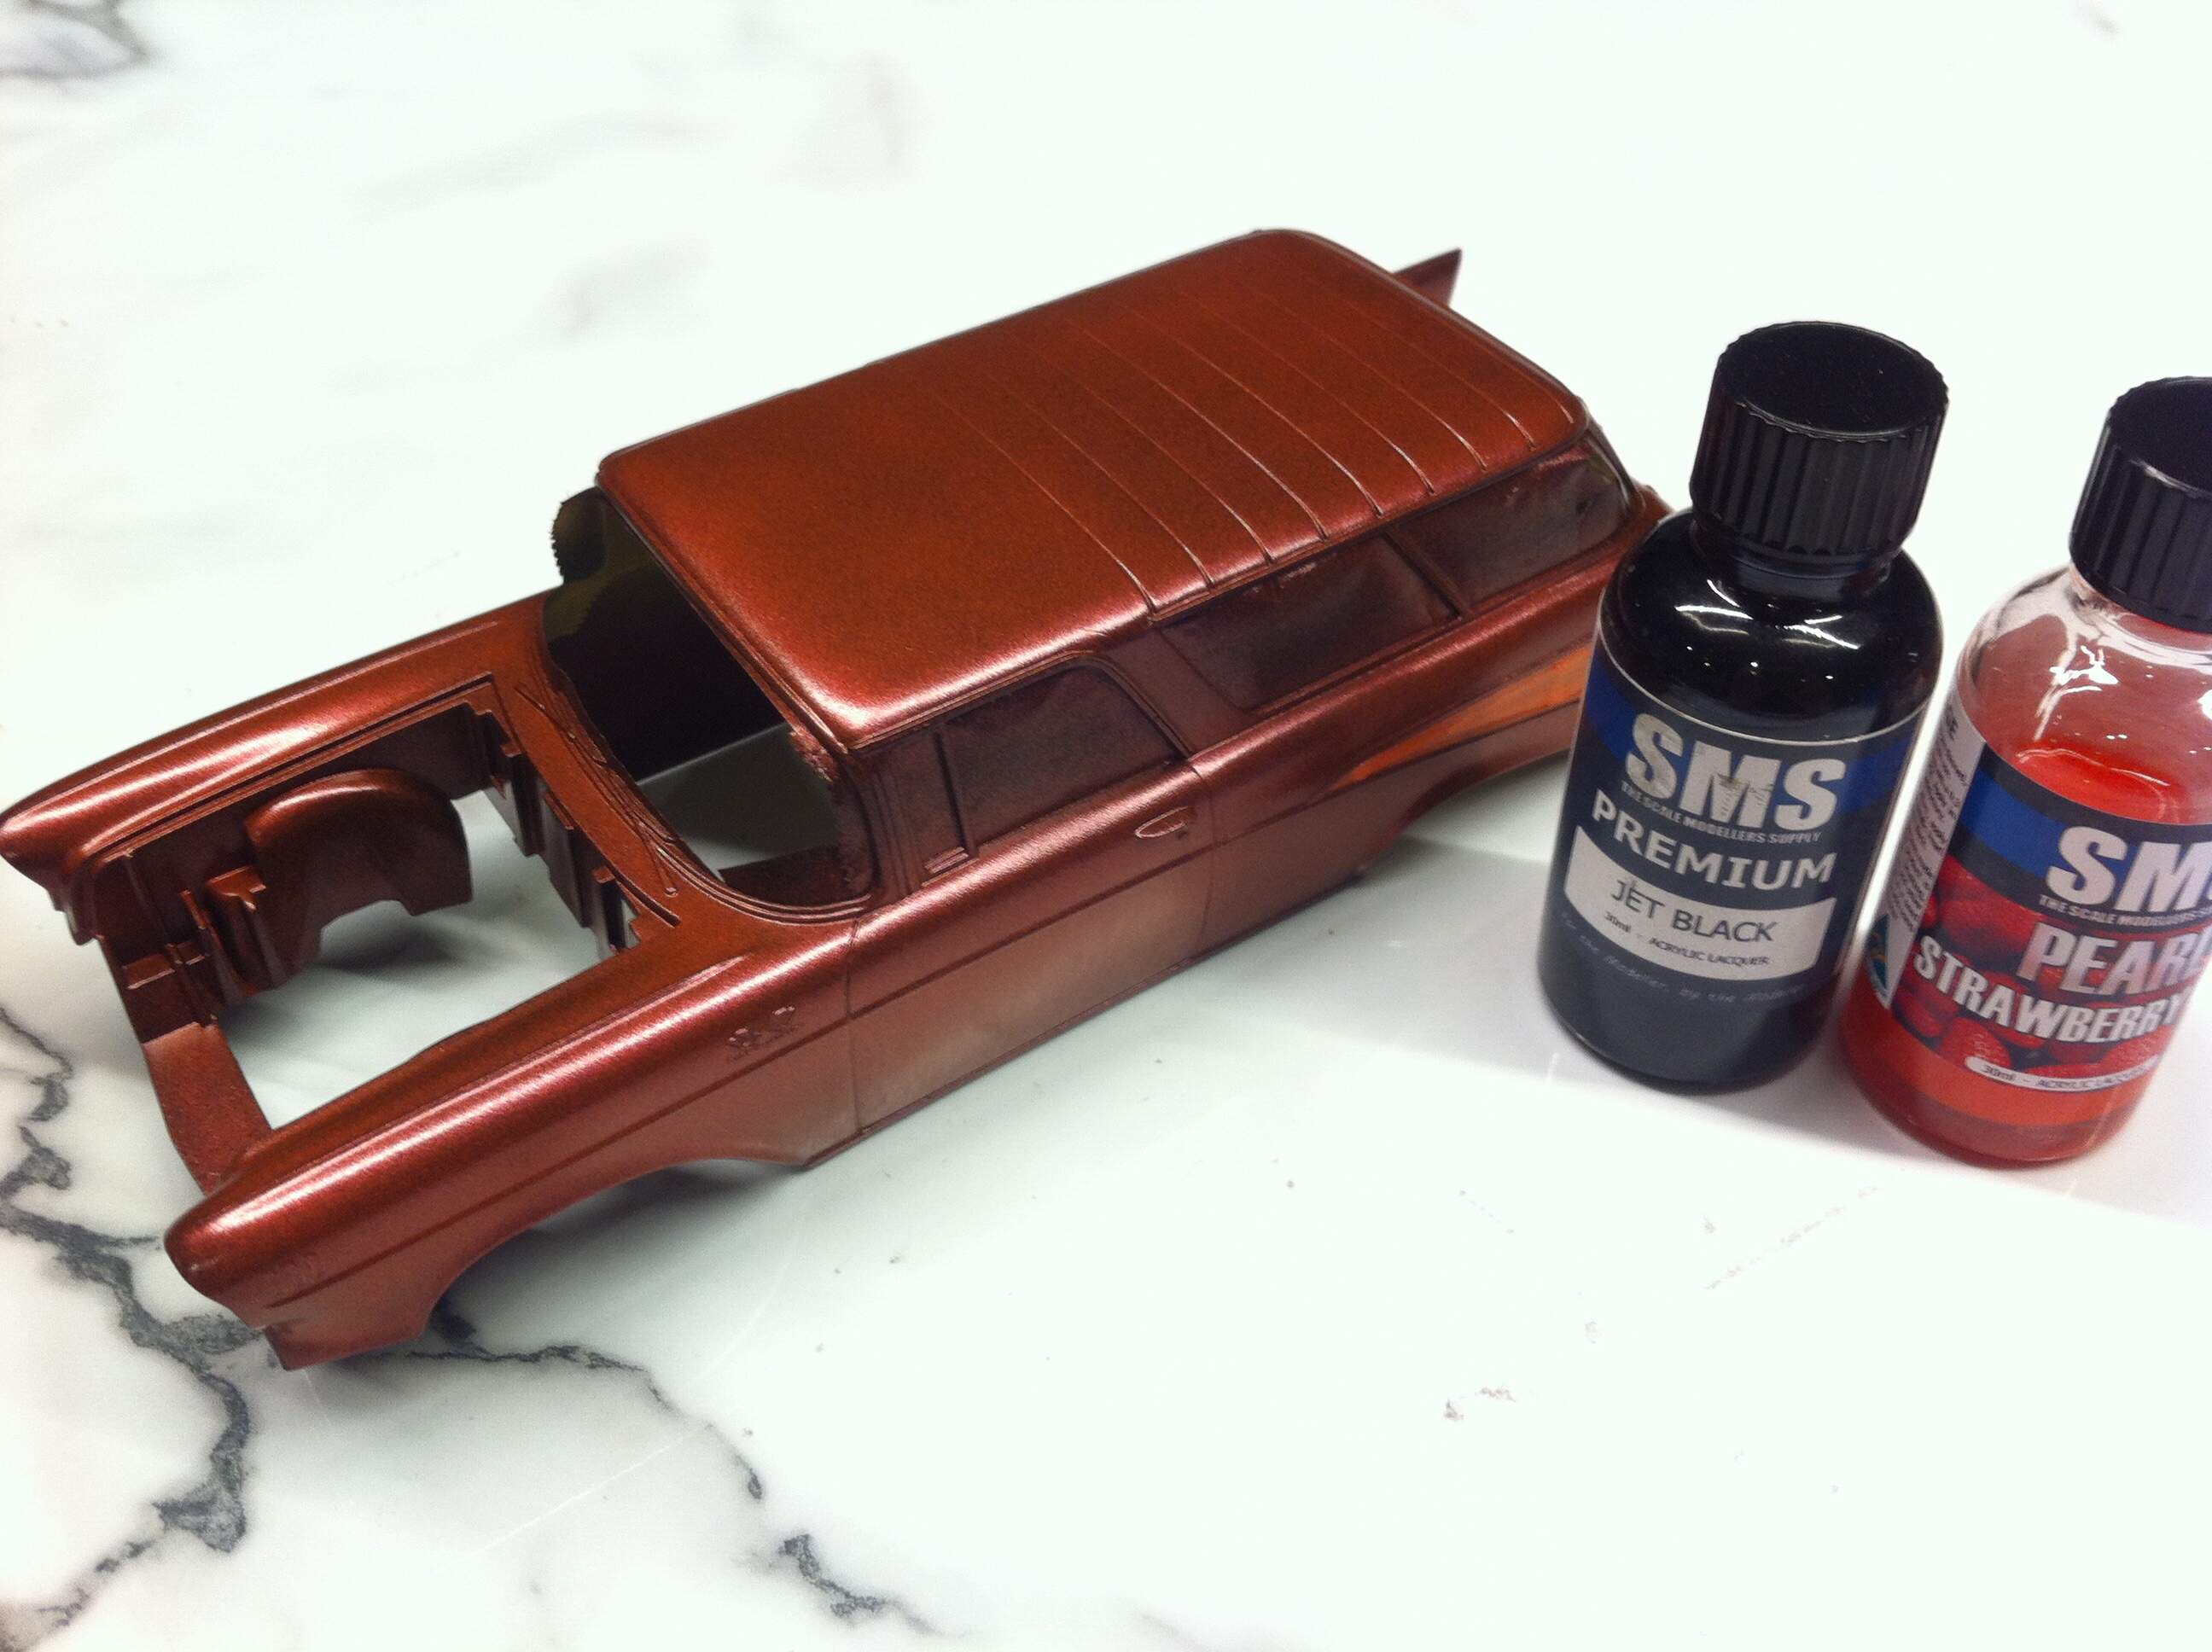
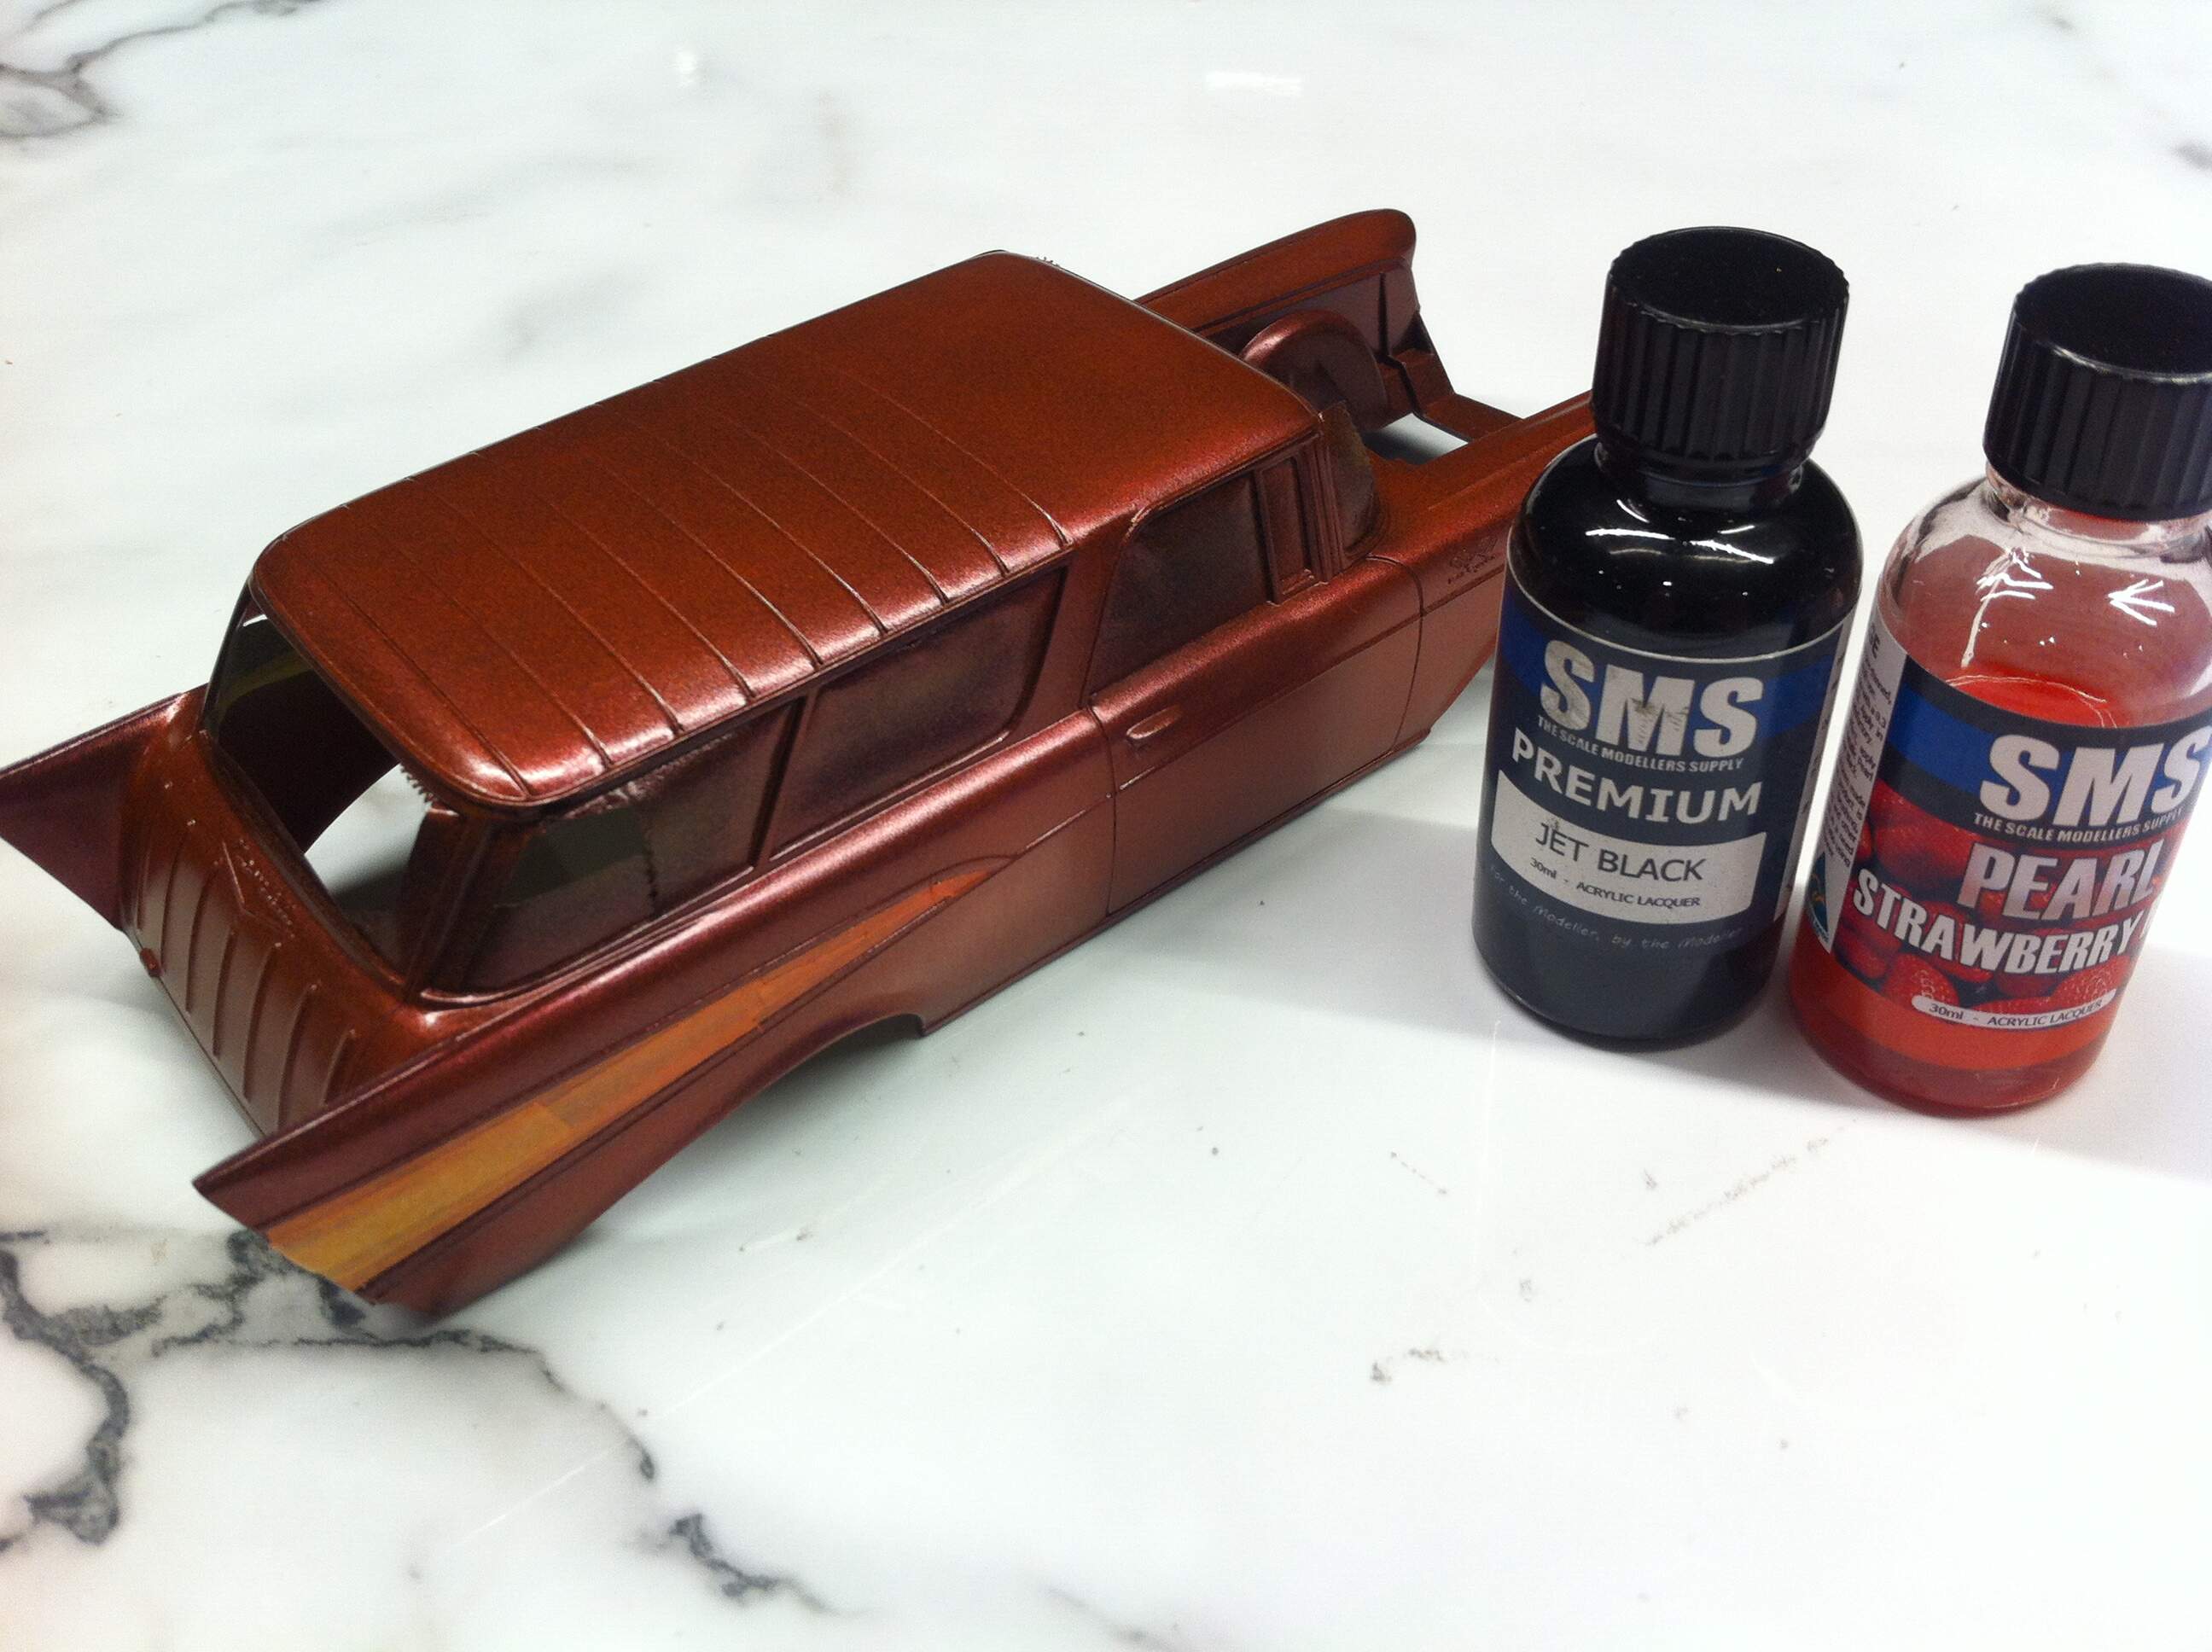
Ok folks, I finally managed to get some time on the Nomad build. I’ve pushed on with the next couple of stages on the paint process. After a quick fine wet sand on the MS1500 Black primer, I shot some SMS Jet Black and about 30 minutes later the SMS Pearl Strawberry Red.
D,
The Black primer through the Pearl Strawberry stage looks outstanding. Interesting that in the jar the Pearl Strawberry looks about as semi transparent as Tamiya’s clear colors, yet over black really covers extremely well.
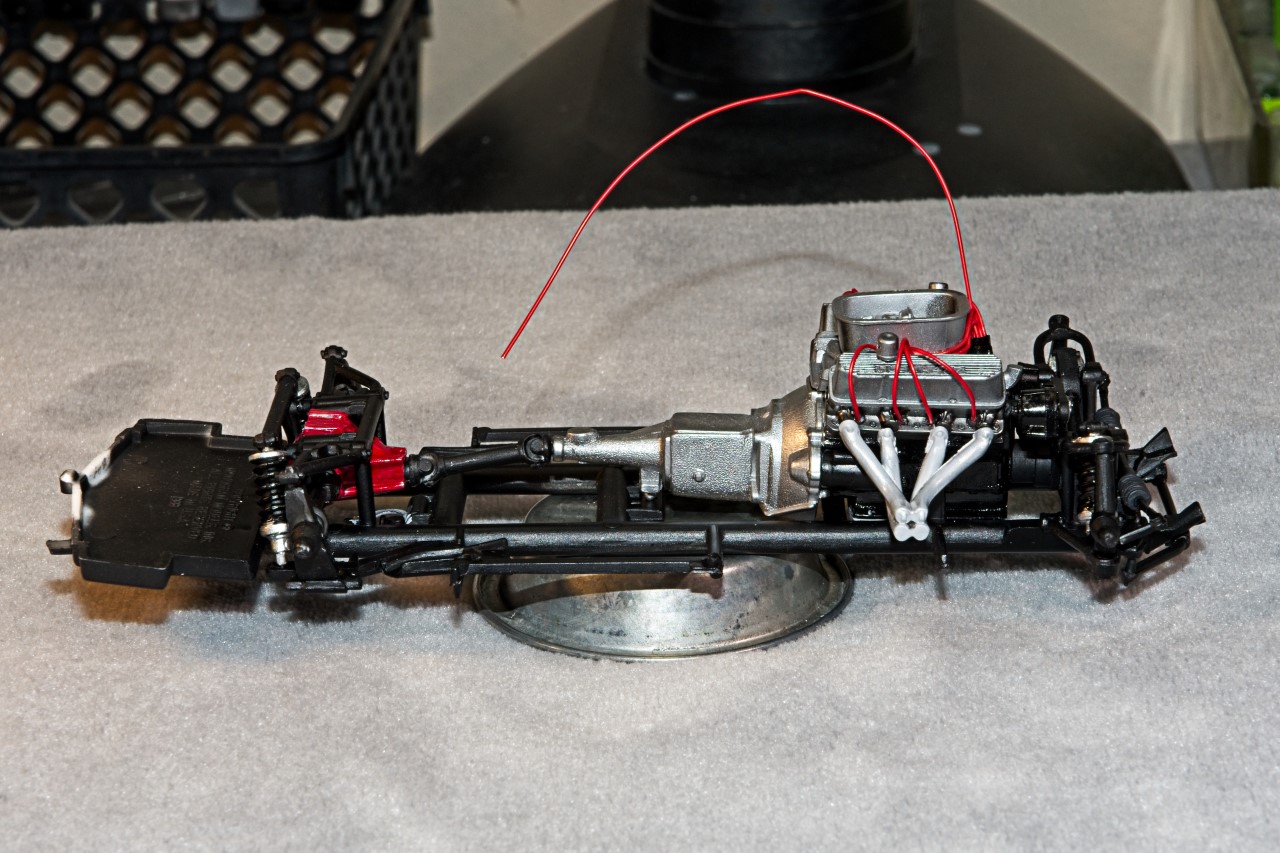
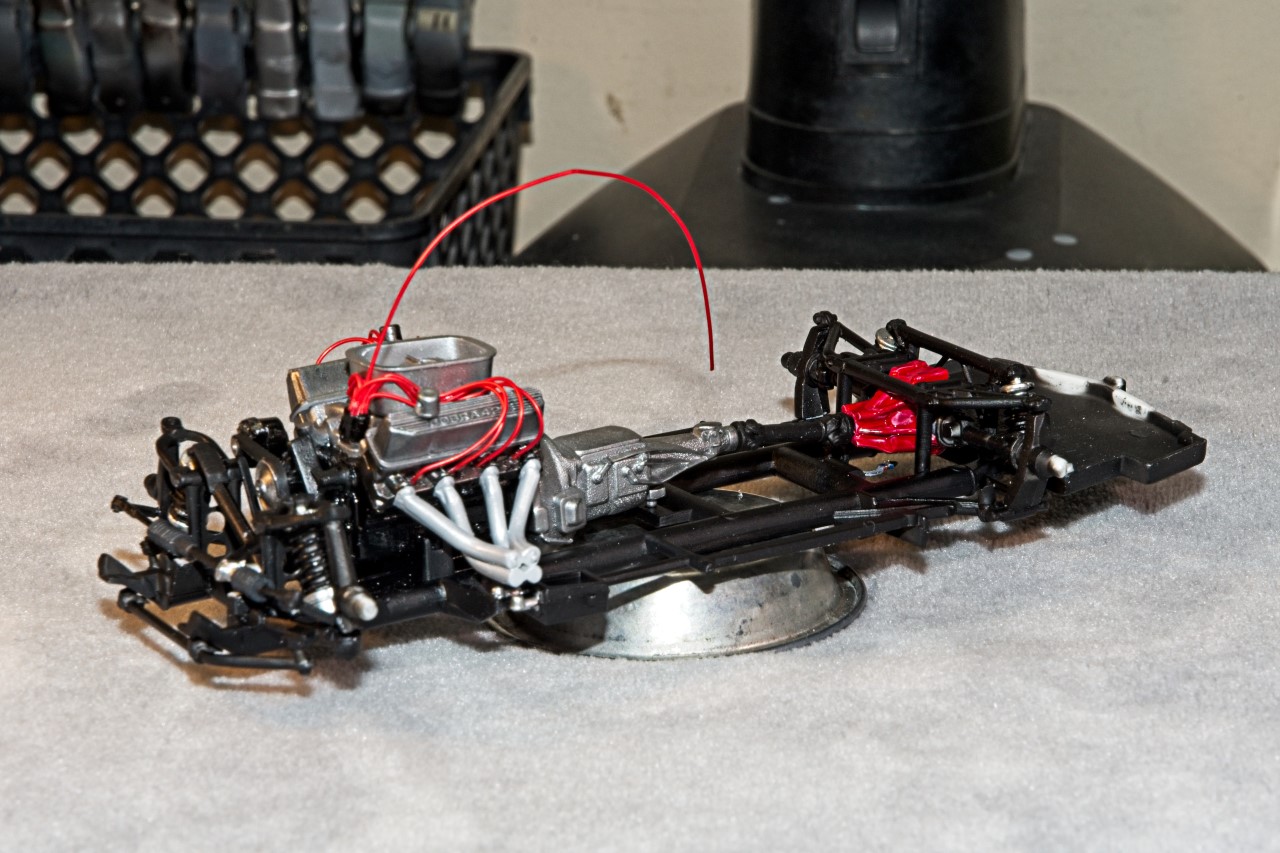
The bottom of the Chassis is really starting to take shape. Looking forward to seeing it with all the components glued into place.
Hmm, My 57 Bel Air is a snap tite, curbside kit. Everything is molded into the chassis, engine, suspension, drivetrain, gas tank and dual exhausts. Did you mask out the exhaust and spray it or is it hand painted?
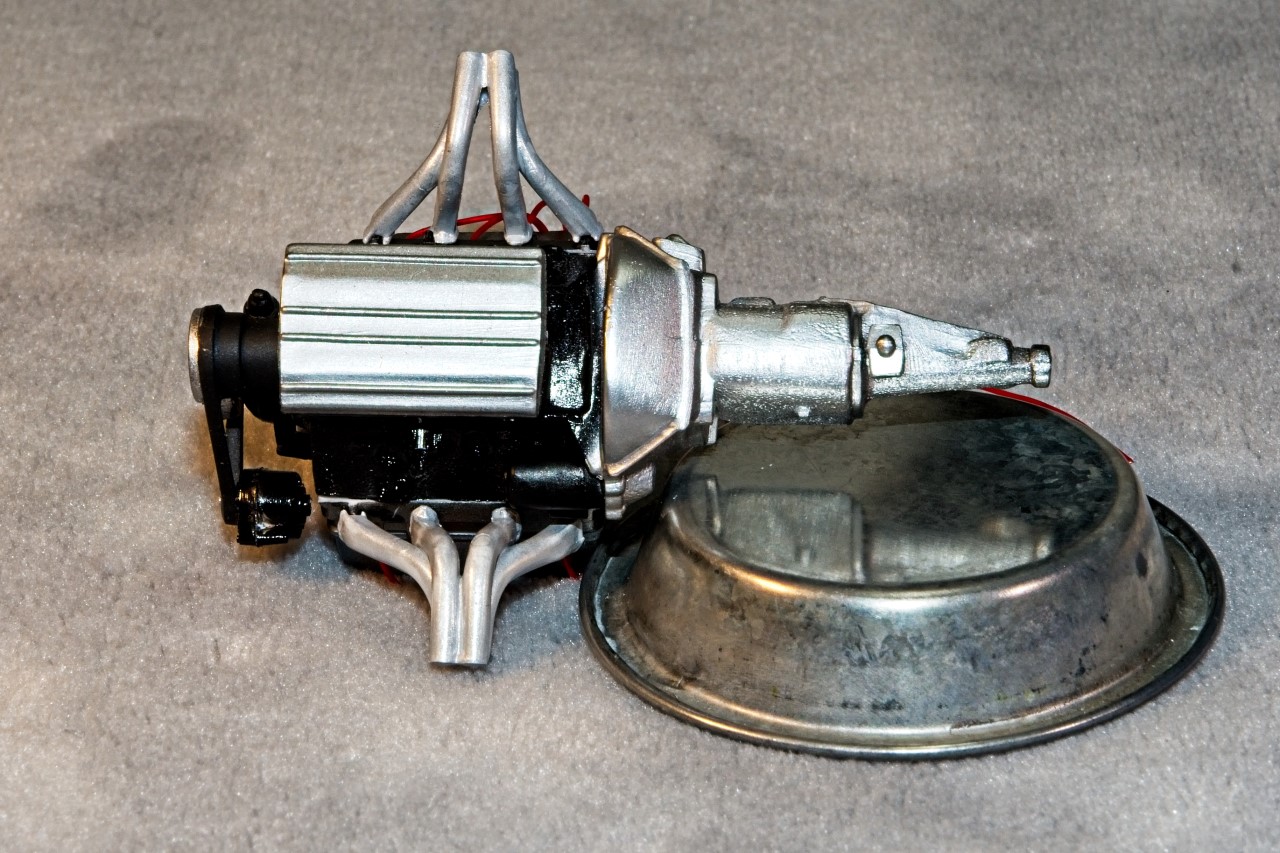
Been a while since I last updated my Shelby Cobra Ford 427 build, but finally I’ve accomplished enough with the completion of the engine subassembly to post my next update.
The engine/transmission is the basic 2 piece claim shell that fits together without any issues, so just the usual seam clean up was all that was needed. My research showed that all the Ford Shelby Cobra 427 engines were not paint Ford Gloss Blue, but rather Gloss Black until the last dozen or so engines in the run. Easy enough as I just went with Tamiya X-1 Gloss Black without any primer, as well as the rest of the various engine parts.
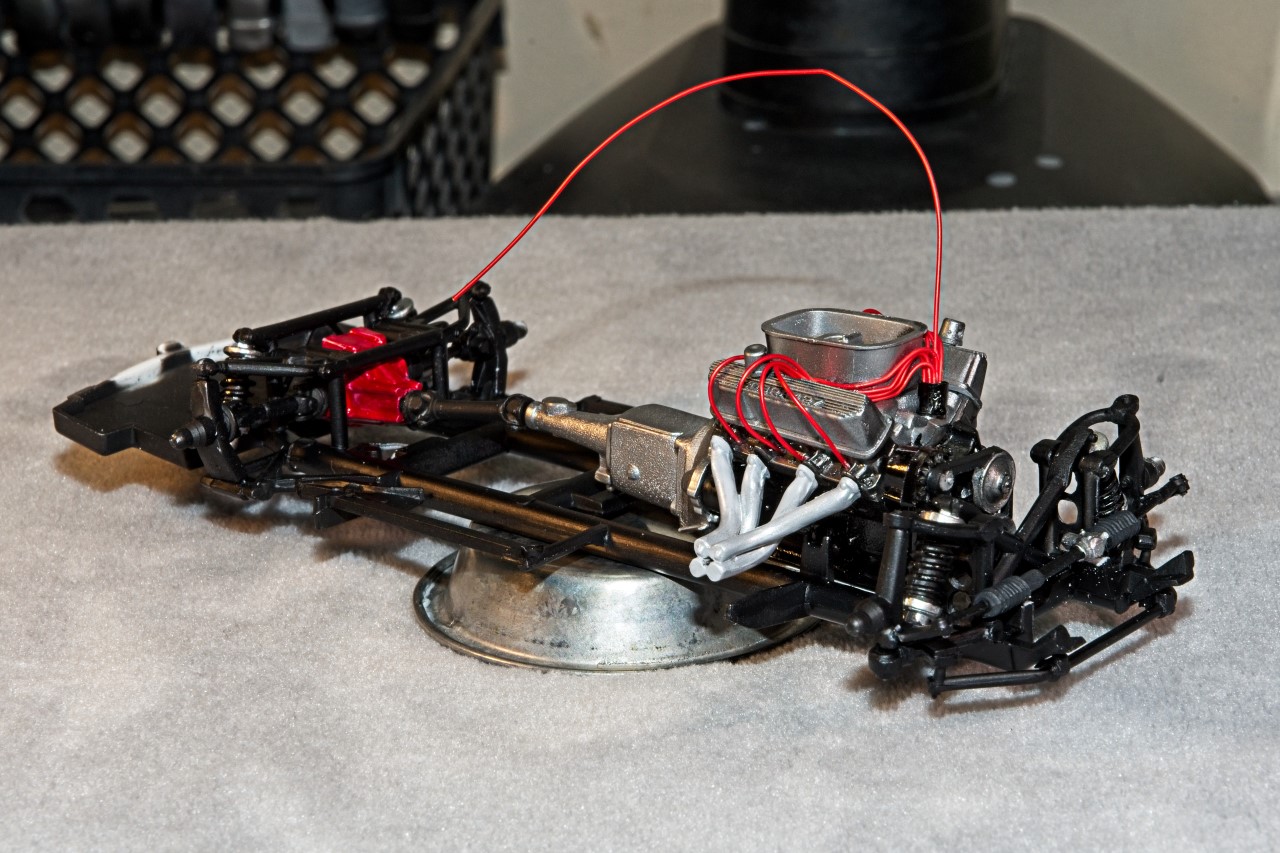
I used various Alcad2 metallizers so that there was a difference in the tone of all the metal parts. I got to the point that I could flush out my air brush for the next color in a few min. The kit exhaust manifold looks like the standard cast Ford units, but most of my pictures seems to show them as custom made from Aluminum tubing, so I went with Alcad2 Aluminum. But they look a tad to bright/light.
The intake manifold was air brushed with Alcad2 light Aluminum while the 4 barrel Carb was done in Polished Steel Aluminum, and the Aluminum shell around the carb was done in good old Alcad2 Aluminum.
I had a pre-made distributor with Red wires, so I went with that. Just can’t remember the name of who made it.
I have a tip: I use toilet bowl gel type cleaner and it’s fantastic to remove chrome plating.
(Disclaimer) not all chrome on kits is the same, but the toilet bowl gel cleaner has worked well for me.
Interesting option other then oven cleaner which is super toxic. What brand gel bowl cleaner do you use? All I can remember seeing in the super market is colored liquids.
Pasi,
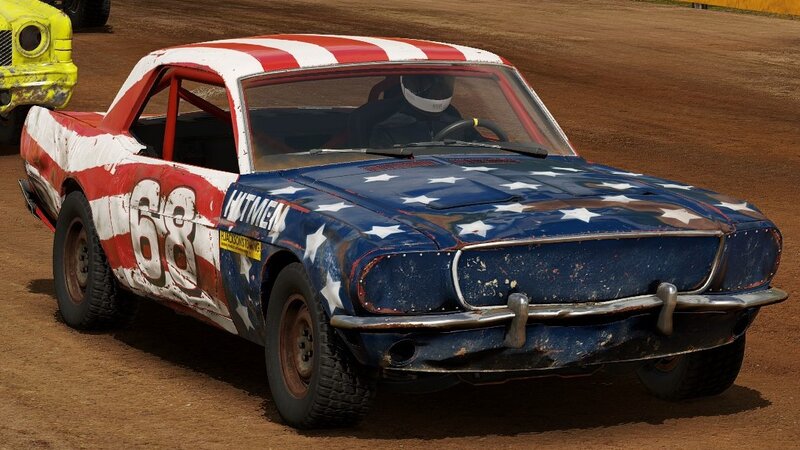
Great choice of kit and build. I’m really looking forward to it as I owned for a solid 10 years was my 1970 302 hardtop Mustang with a custom painted hood. God did I love that car, almost as much as my truly beloved 1967 MGB.
Richard,
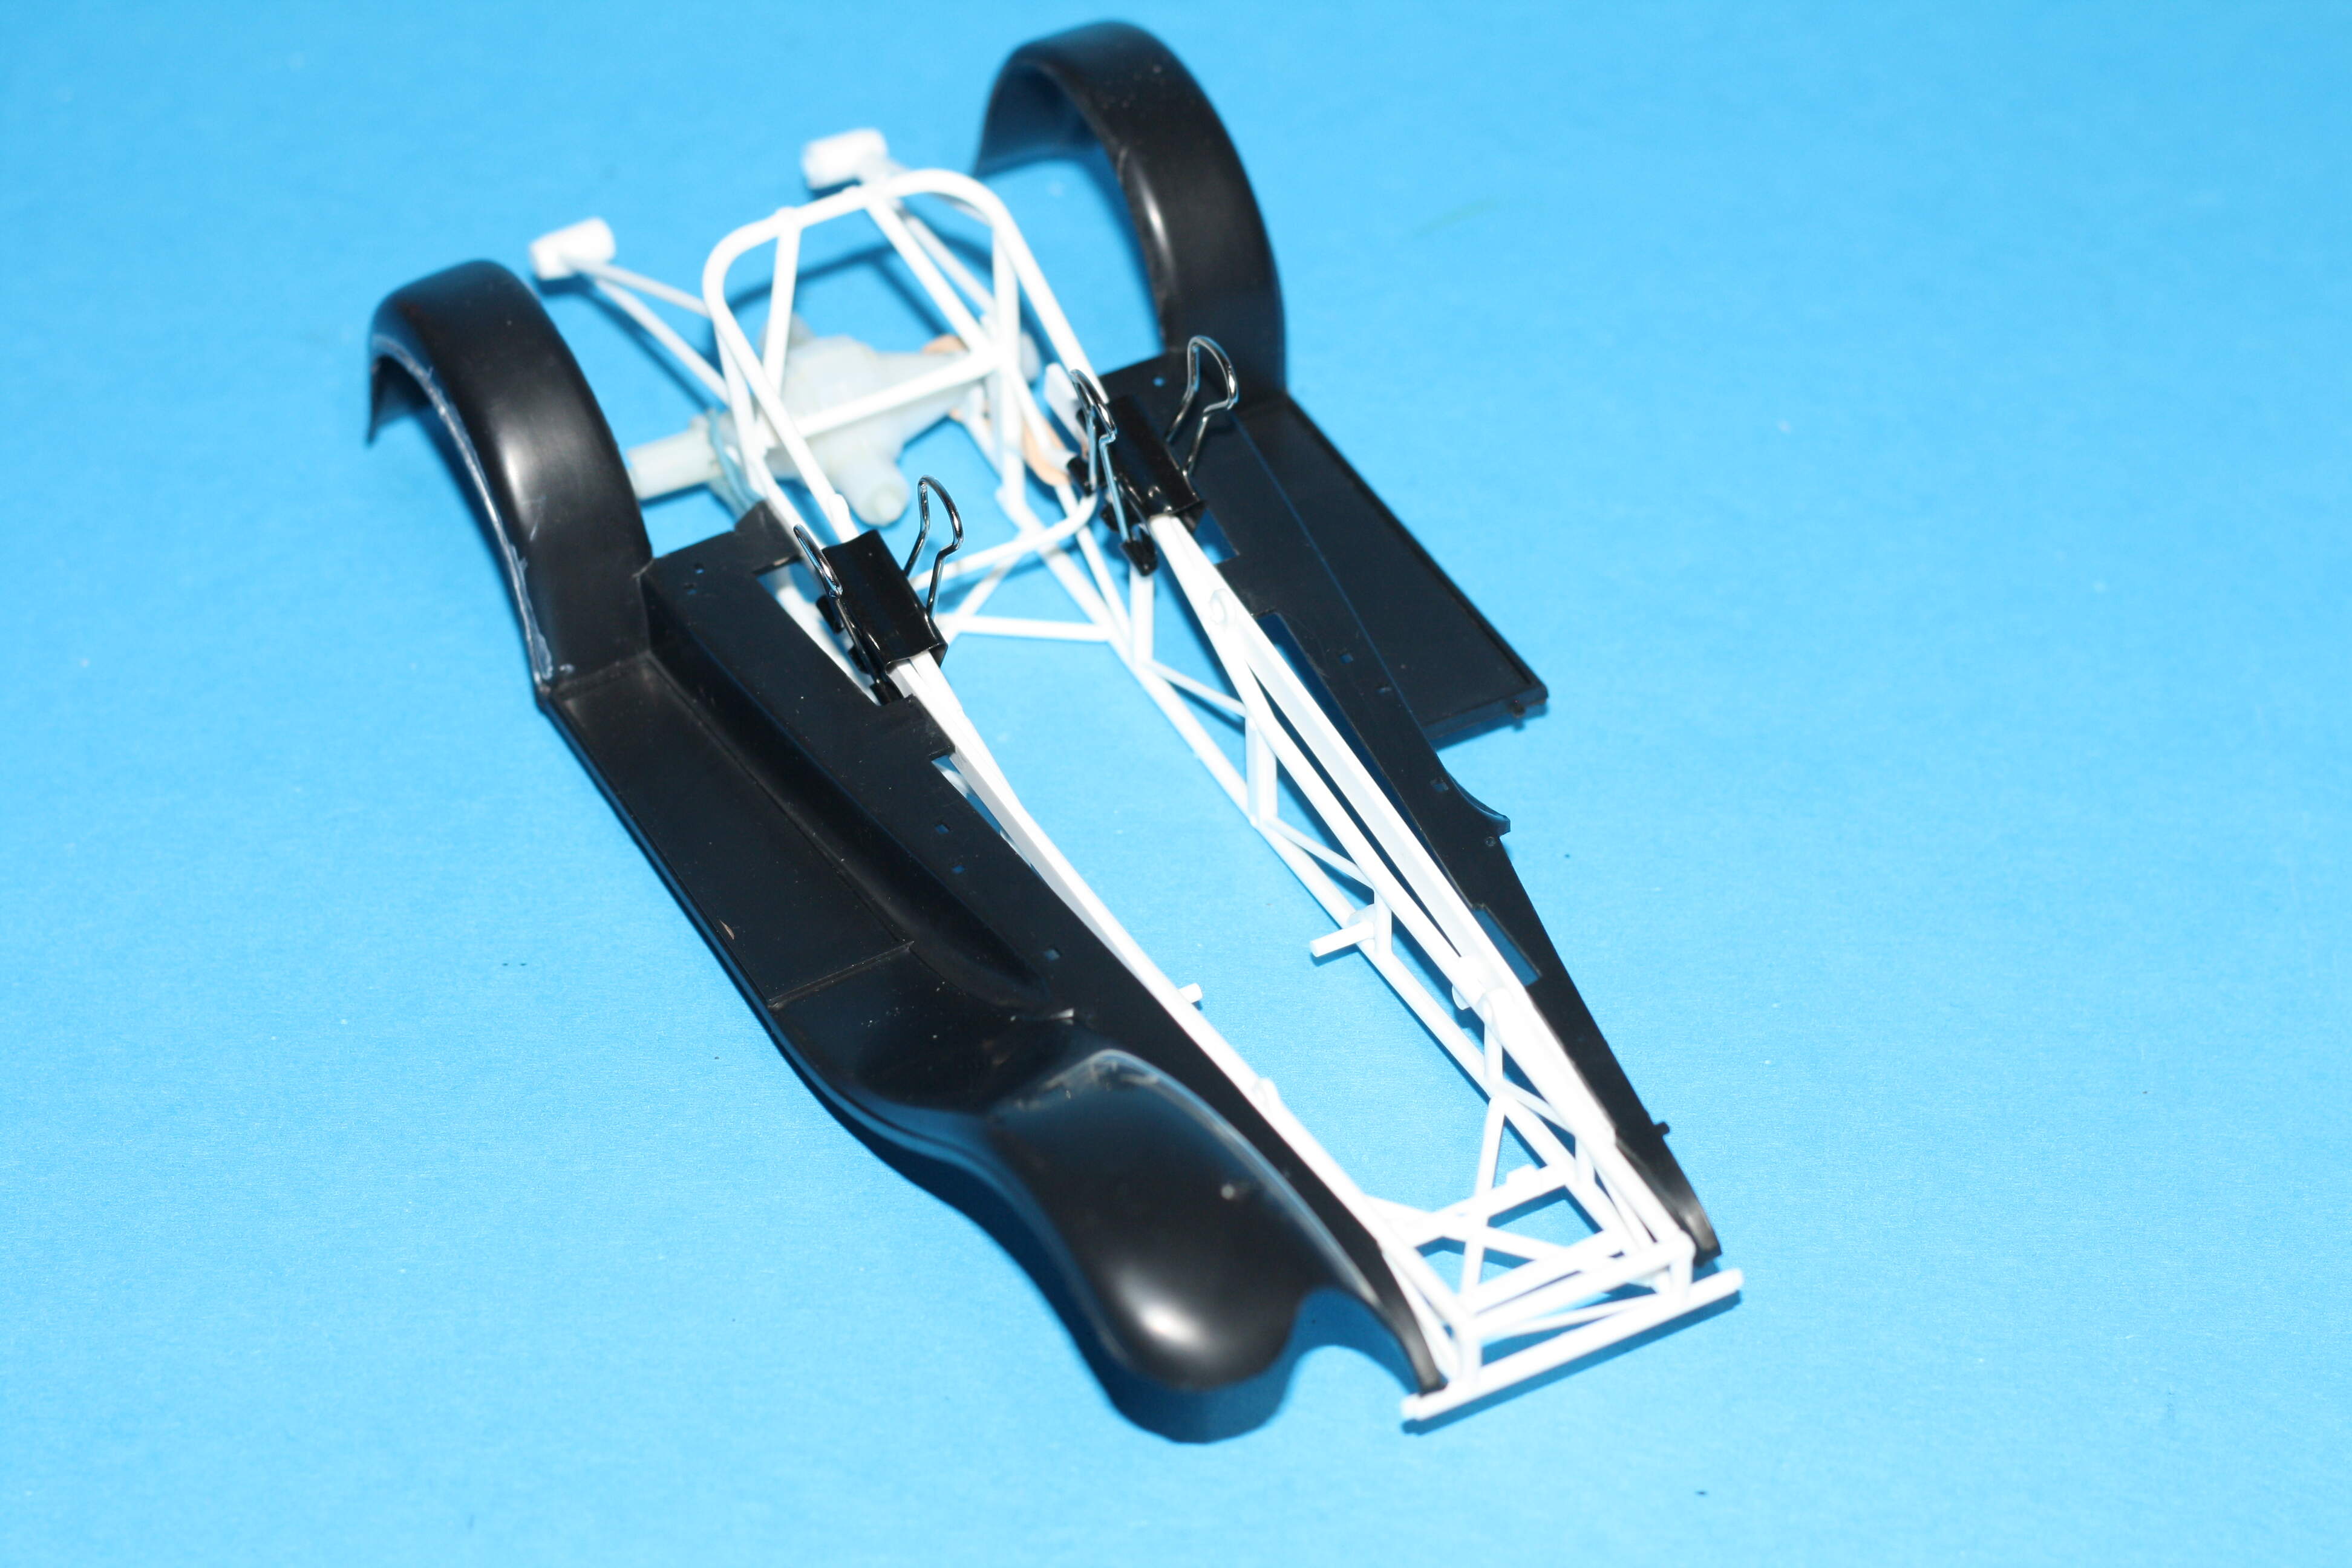
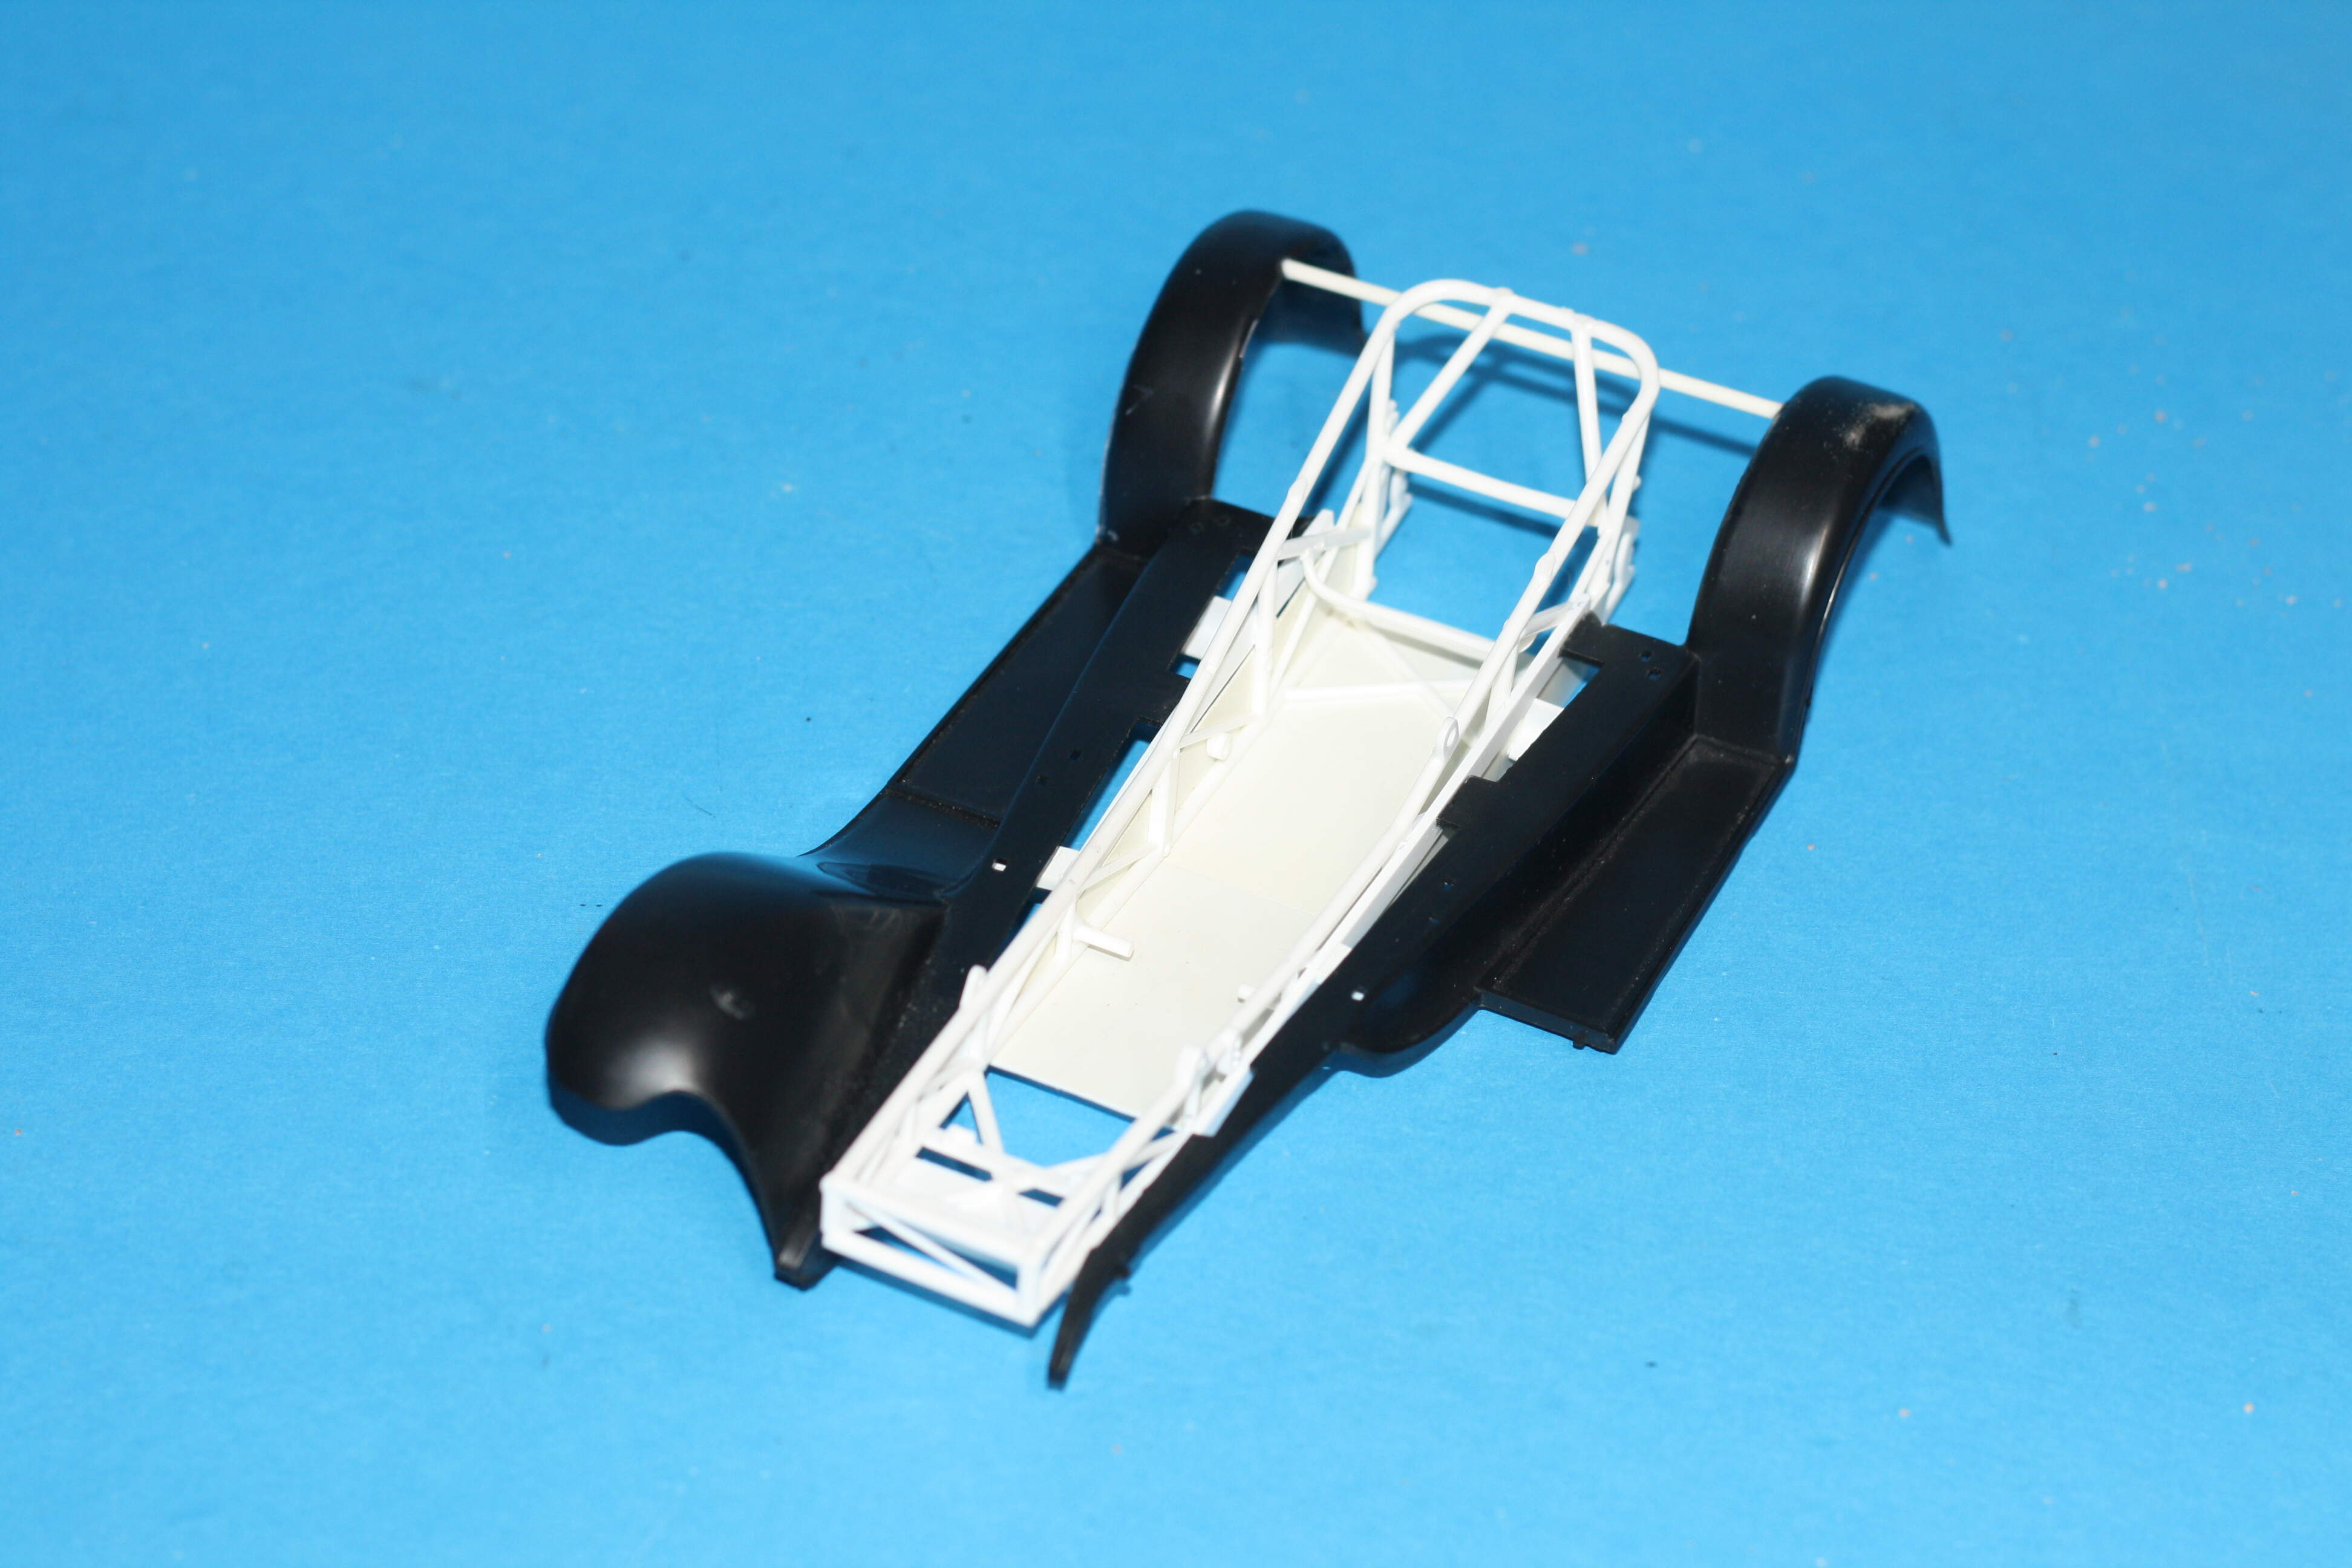
You got the donor frame to fit perfectly. Any pictures or drawings of what your aiming for as I’m having my usual hard time trying to visualize it.
Hi Joel.
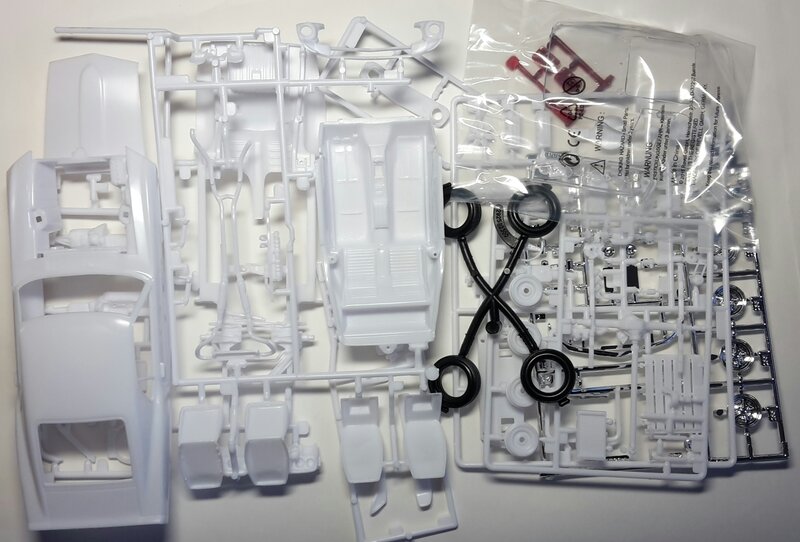
My donor kit is the 1/16th scale Revell Hawaiian Funny car.
Drawings are in my head!!! LOL!
I want this build to be a street hot rod with horse power using some of the funny car parts.
@md72, painting these moulded-on exhausts is a pain in the proverbial! I mask them the best I can with some very thins strips of tape as close as possible, then some 10mm wide tape either side, then hit them with the metallic paint. Any overspray (and there’s quite a bit) once I remove the tape, is cleaned up with some thinned primer through the airbrush, and some careful hand painting around the closer details. A pin-wash of black then cleans up some more.
It really is much easier with separate exhausts!