5 weeks in and moving along nicely at our new address!
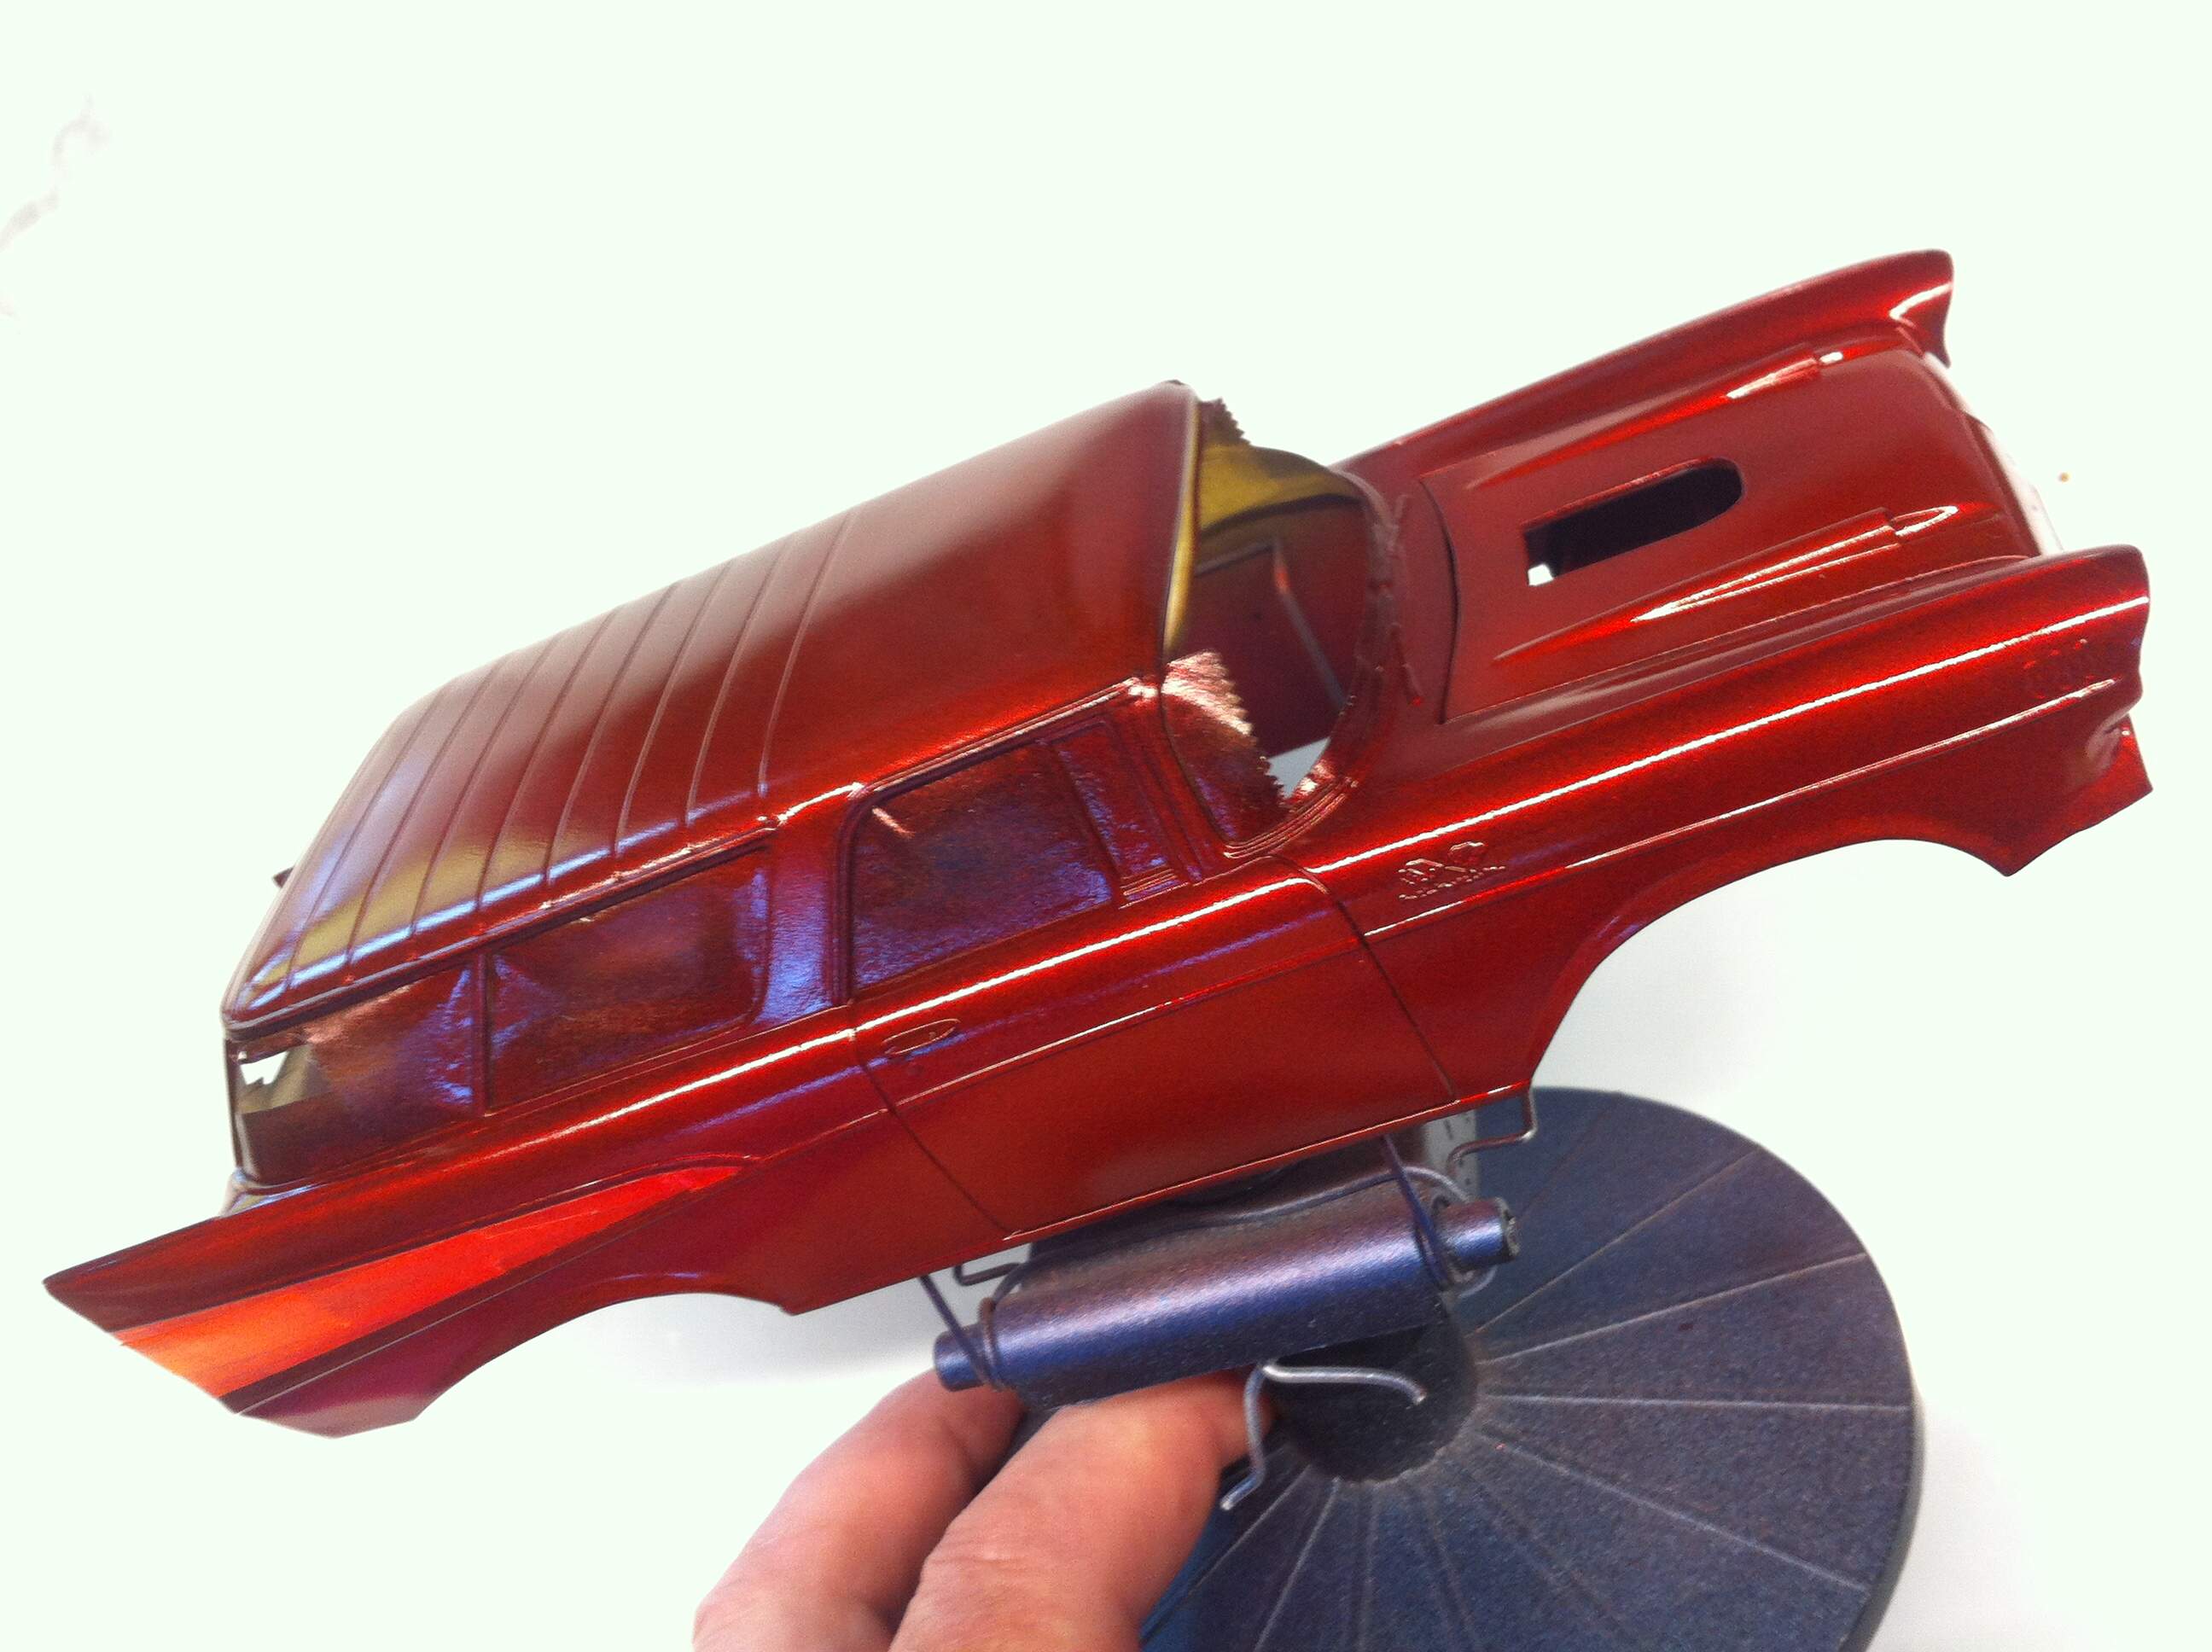
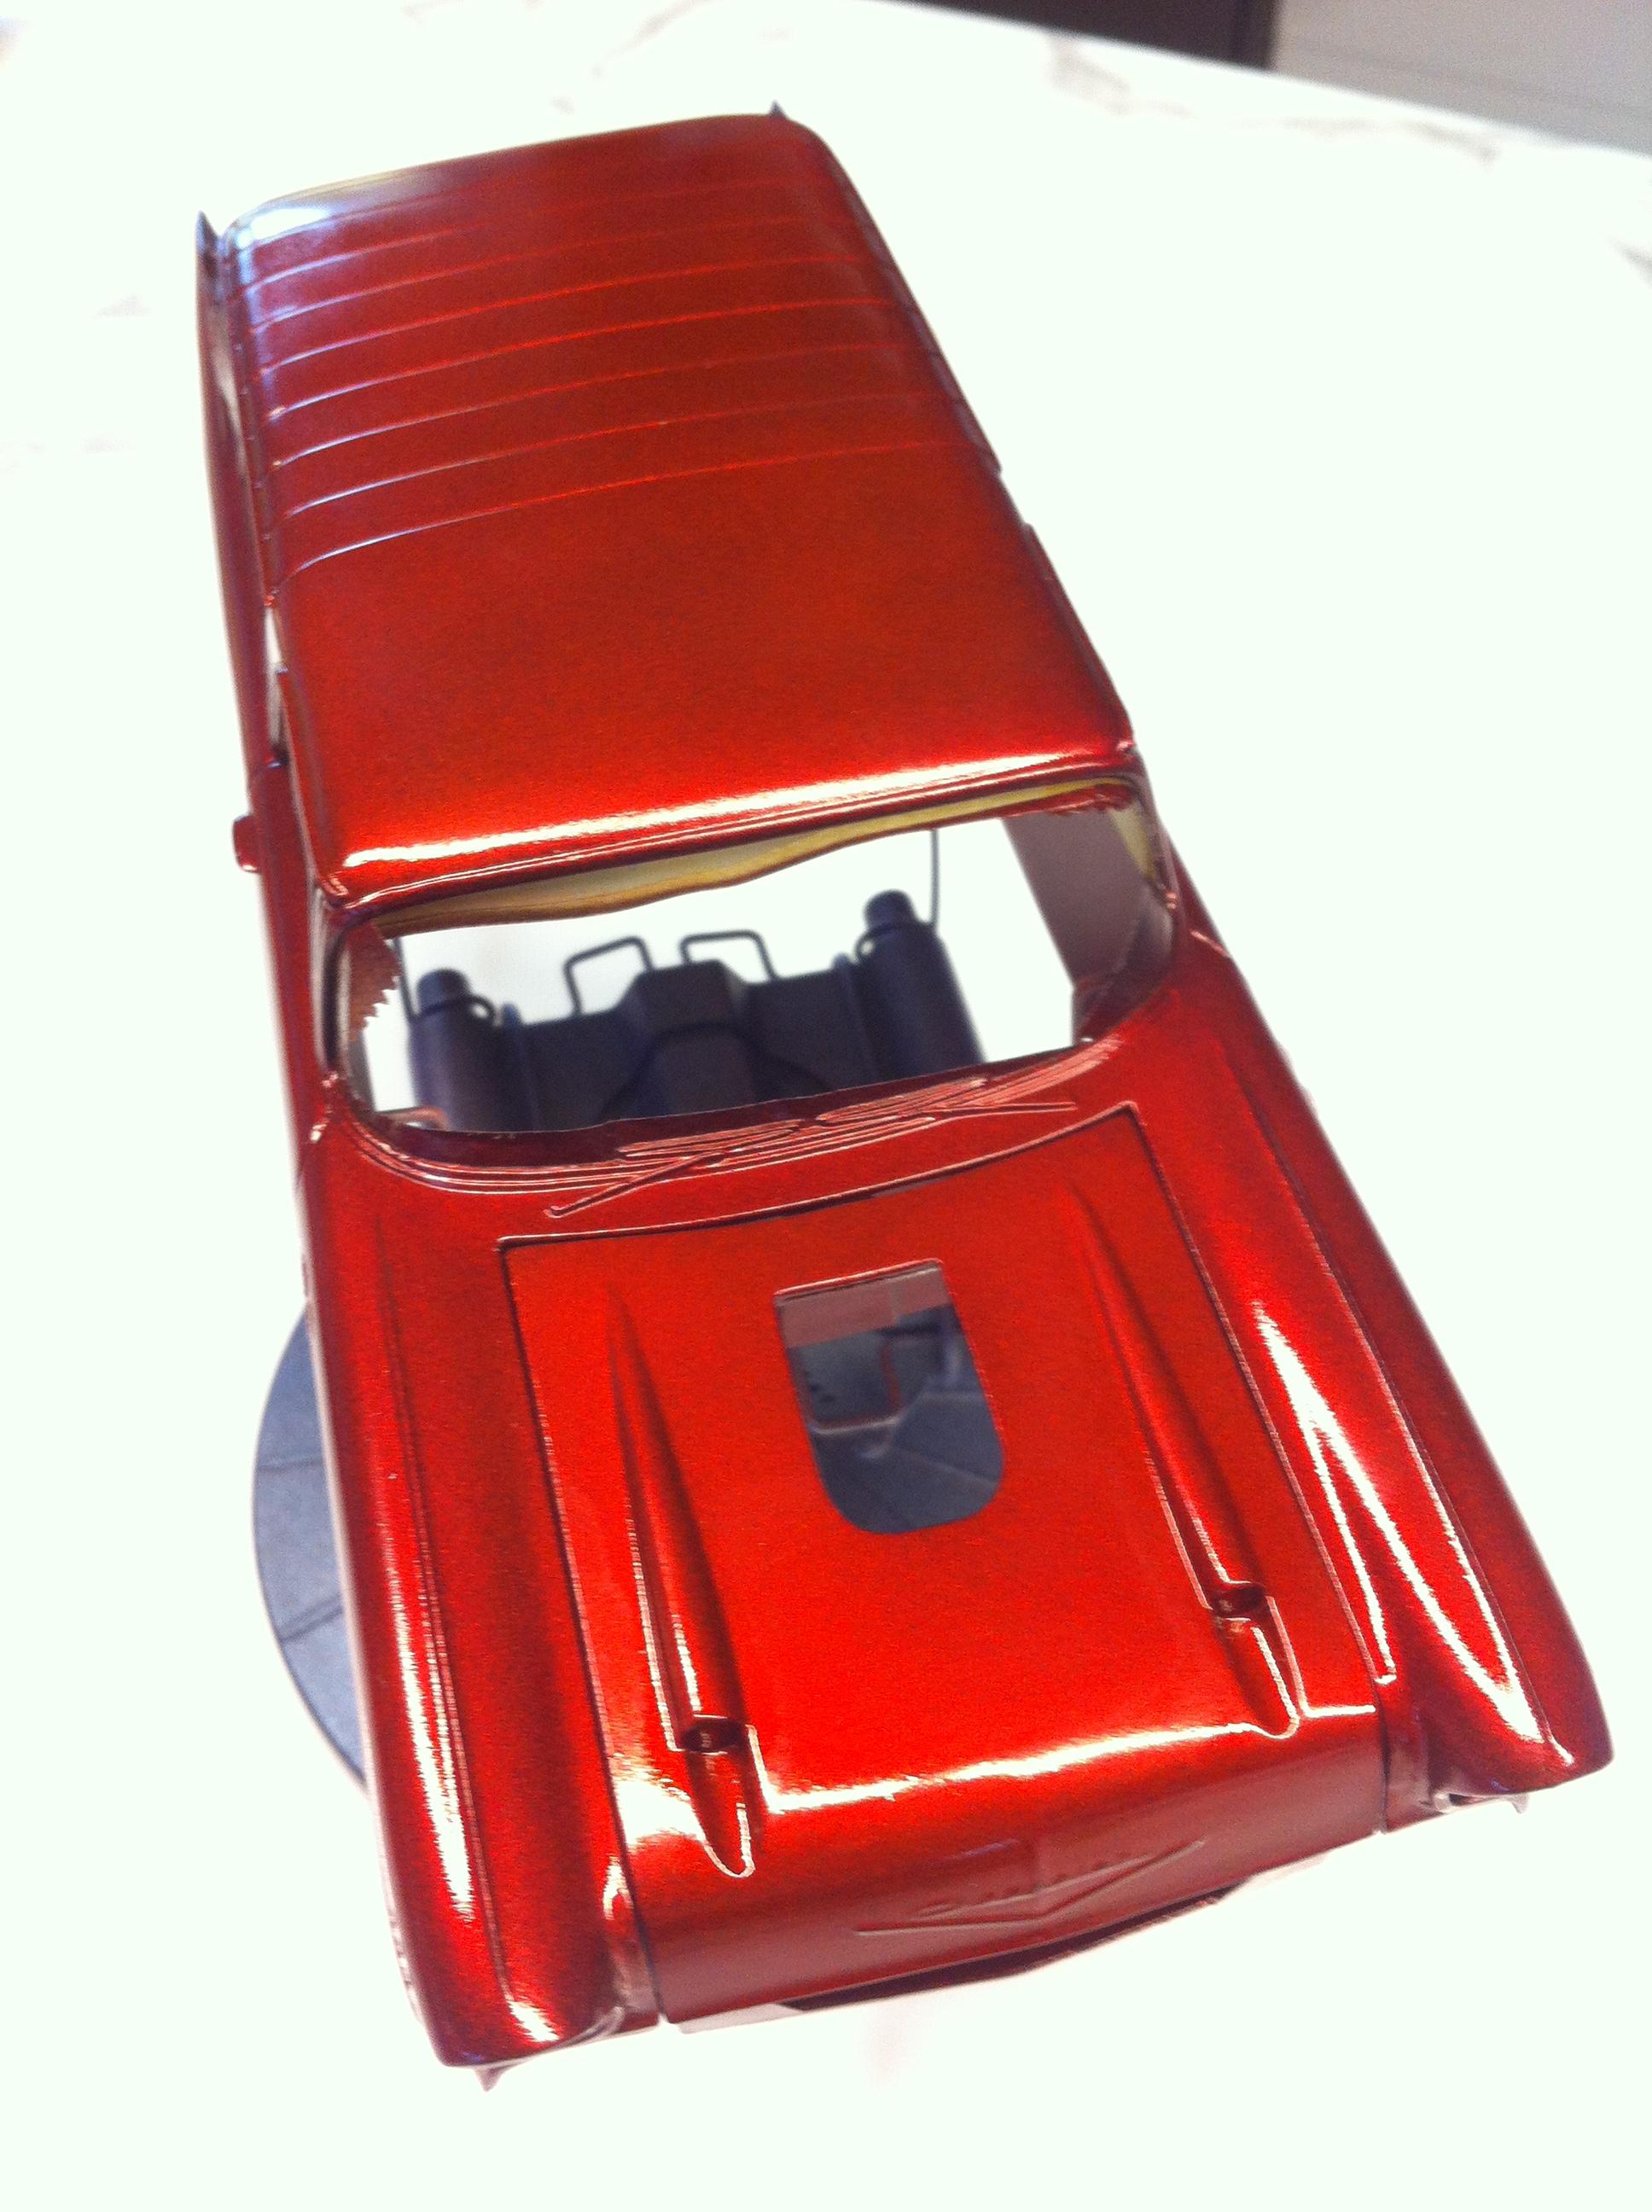
Aussiereg (Damian) - 1957 Chev Nomad -1/24 Monogram Kit - Sub assemblies and body painted
rv1963 (Robert) - 60’s Pontiac rebuild
Szmann (Gabriel) - VW Beetle Mk1, Suzuki Jimny, Mercedes 300SL Gullwing
Joel_W (Joel) - Shelby 427 Cobra - 1/24 Monogram Kit - Body painted, rolling chassis painted and dry-fit
Dixon66 (David) - 2005 Ford GT - 1/25 Polar Lights kit - Body painted, rolling chassis assembled
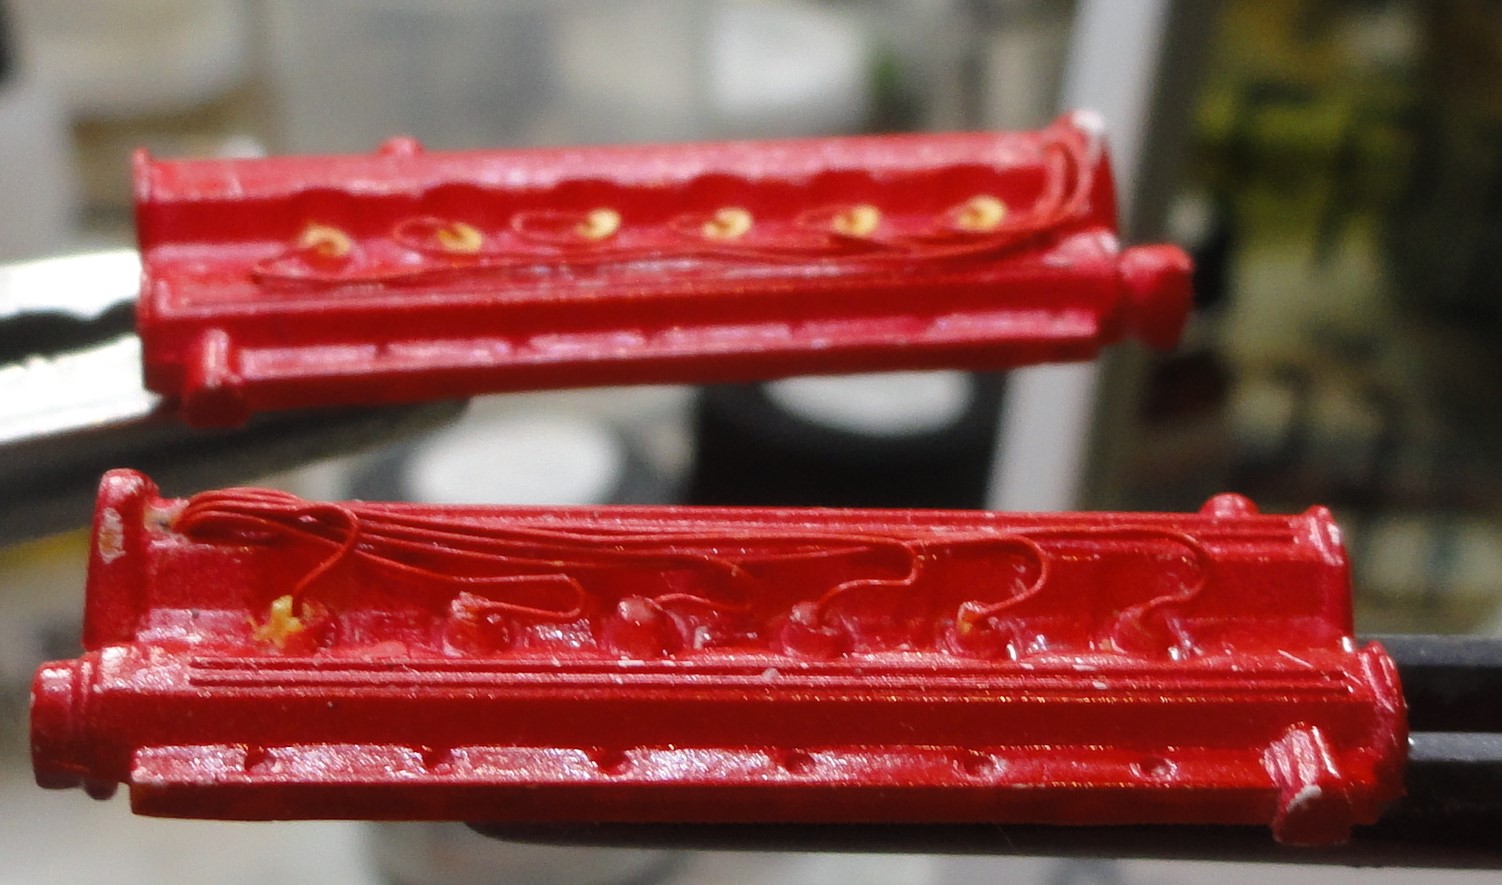
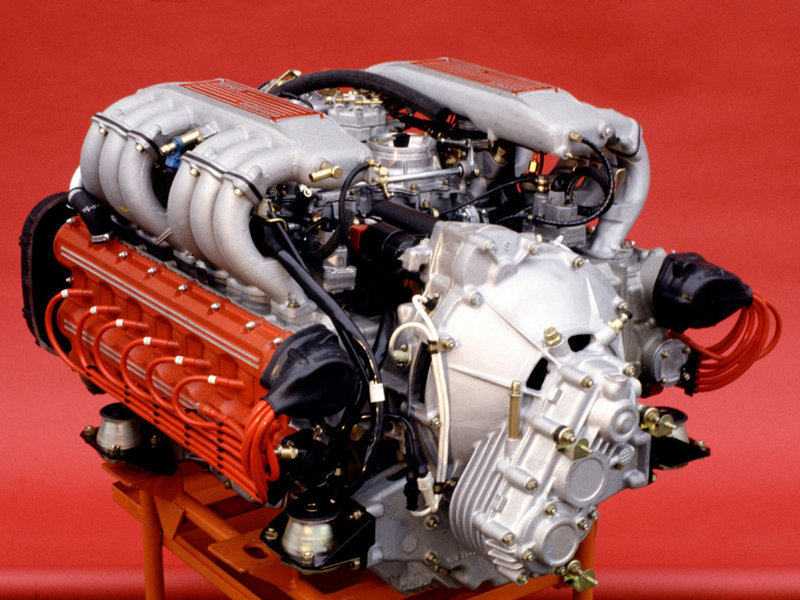
md72 (Mark - Ferrari Testarossa - 1/24 Monogram kit - Engine assembly and parts prep
Stickframe (Nick) - Ferrari, Porsche 959
Cosimodo (Michael) - 1915 LGOC London Bus - 1/35 MiniArt Kit
PasiAhopelto (Pasi) - '69 Ford Mustang - 1/25 Revell kit - Opened for inspection
Dixon66 (David) - Mad Max 1973 XB Ford GT Coupe
Hwa-Rang (Jesper) - The Persuaders Ferrari Dino 246GT - - Body prepped for primer, engine assembled
SpeedyJ (Robert) - Mercedes Benz 170V Cabriolet B - 1/35 MiniArt Kit
tinbanger (Richard) - Model A Delivery Van (1931) - 1/16 MiniArt Kit - Gone all Frankenstein on us with a chopped top and parts from a funny car
IronHide (Arnel) -
North4003
If anybody has changed or firmed up their proposed builds, or spotted anything wrong in the list, please let me know.
Mark, I’ll have to give that a try. Pretty sure my wife buys that brand, need to double check.
Anyhow, I decided I was not happy with the inkjet printed decals I did for the GT, the application of the clear coat resulted in some bubbling of the solid black areas of the 98s. Finance department has given initial approval of a small HP laser jet to replace our old inkjet printer, it’ll be a week or two before I can order it though. I think the decal paper I have is laser and inkjet compatible, otherwise new paper too.
In the meanwhile, I’ll be applying the rocker stripes and finishing up as many exterior details as I can. Marker lights, Ford logo, window surrounds, side scoops, panel lines, etc.
Give it a try, I discovered its use when I didn’t have any bleach and the bowl cleaner was available. It stripped the satin chrome finish off some wheels, didn’t leave a speck of chrome.
David,
Sorry about the ruined decals, but getting the Finance dept to approve a new Lazer Jet printer seems like a good deal to me. I most likely have one of the oldest Inkjet printers going, a HP 2300. Maybe I print 6 things per year. Just never saw the need to upgrade. Just may by a scanner and a current Injet printer to try my hand at decals.
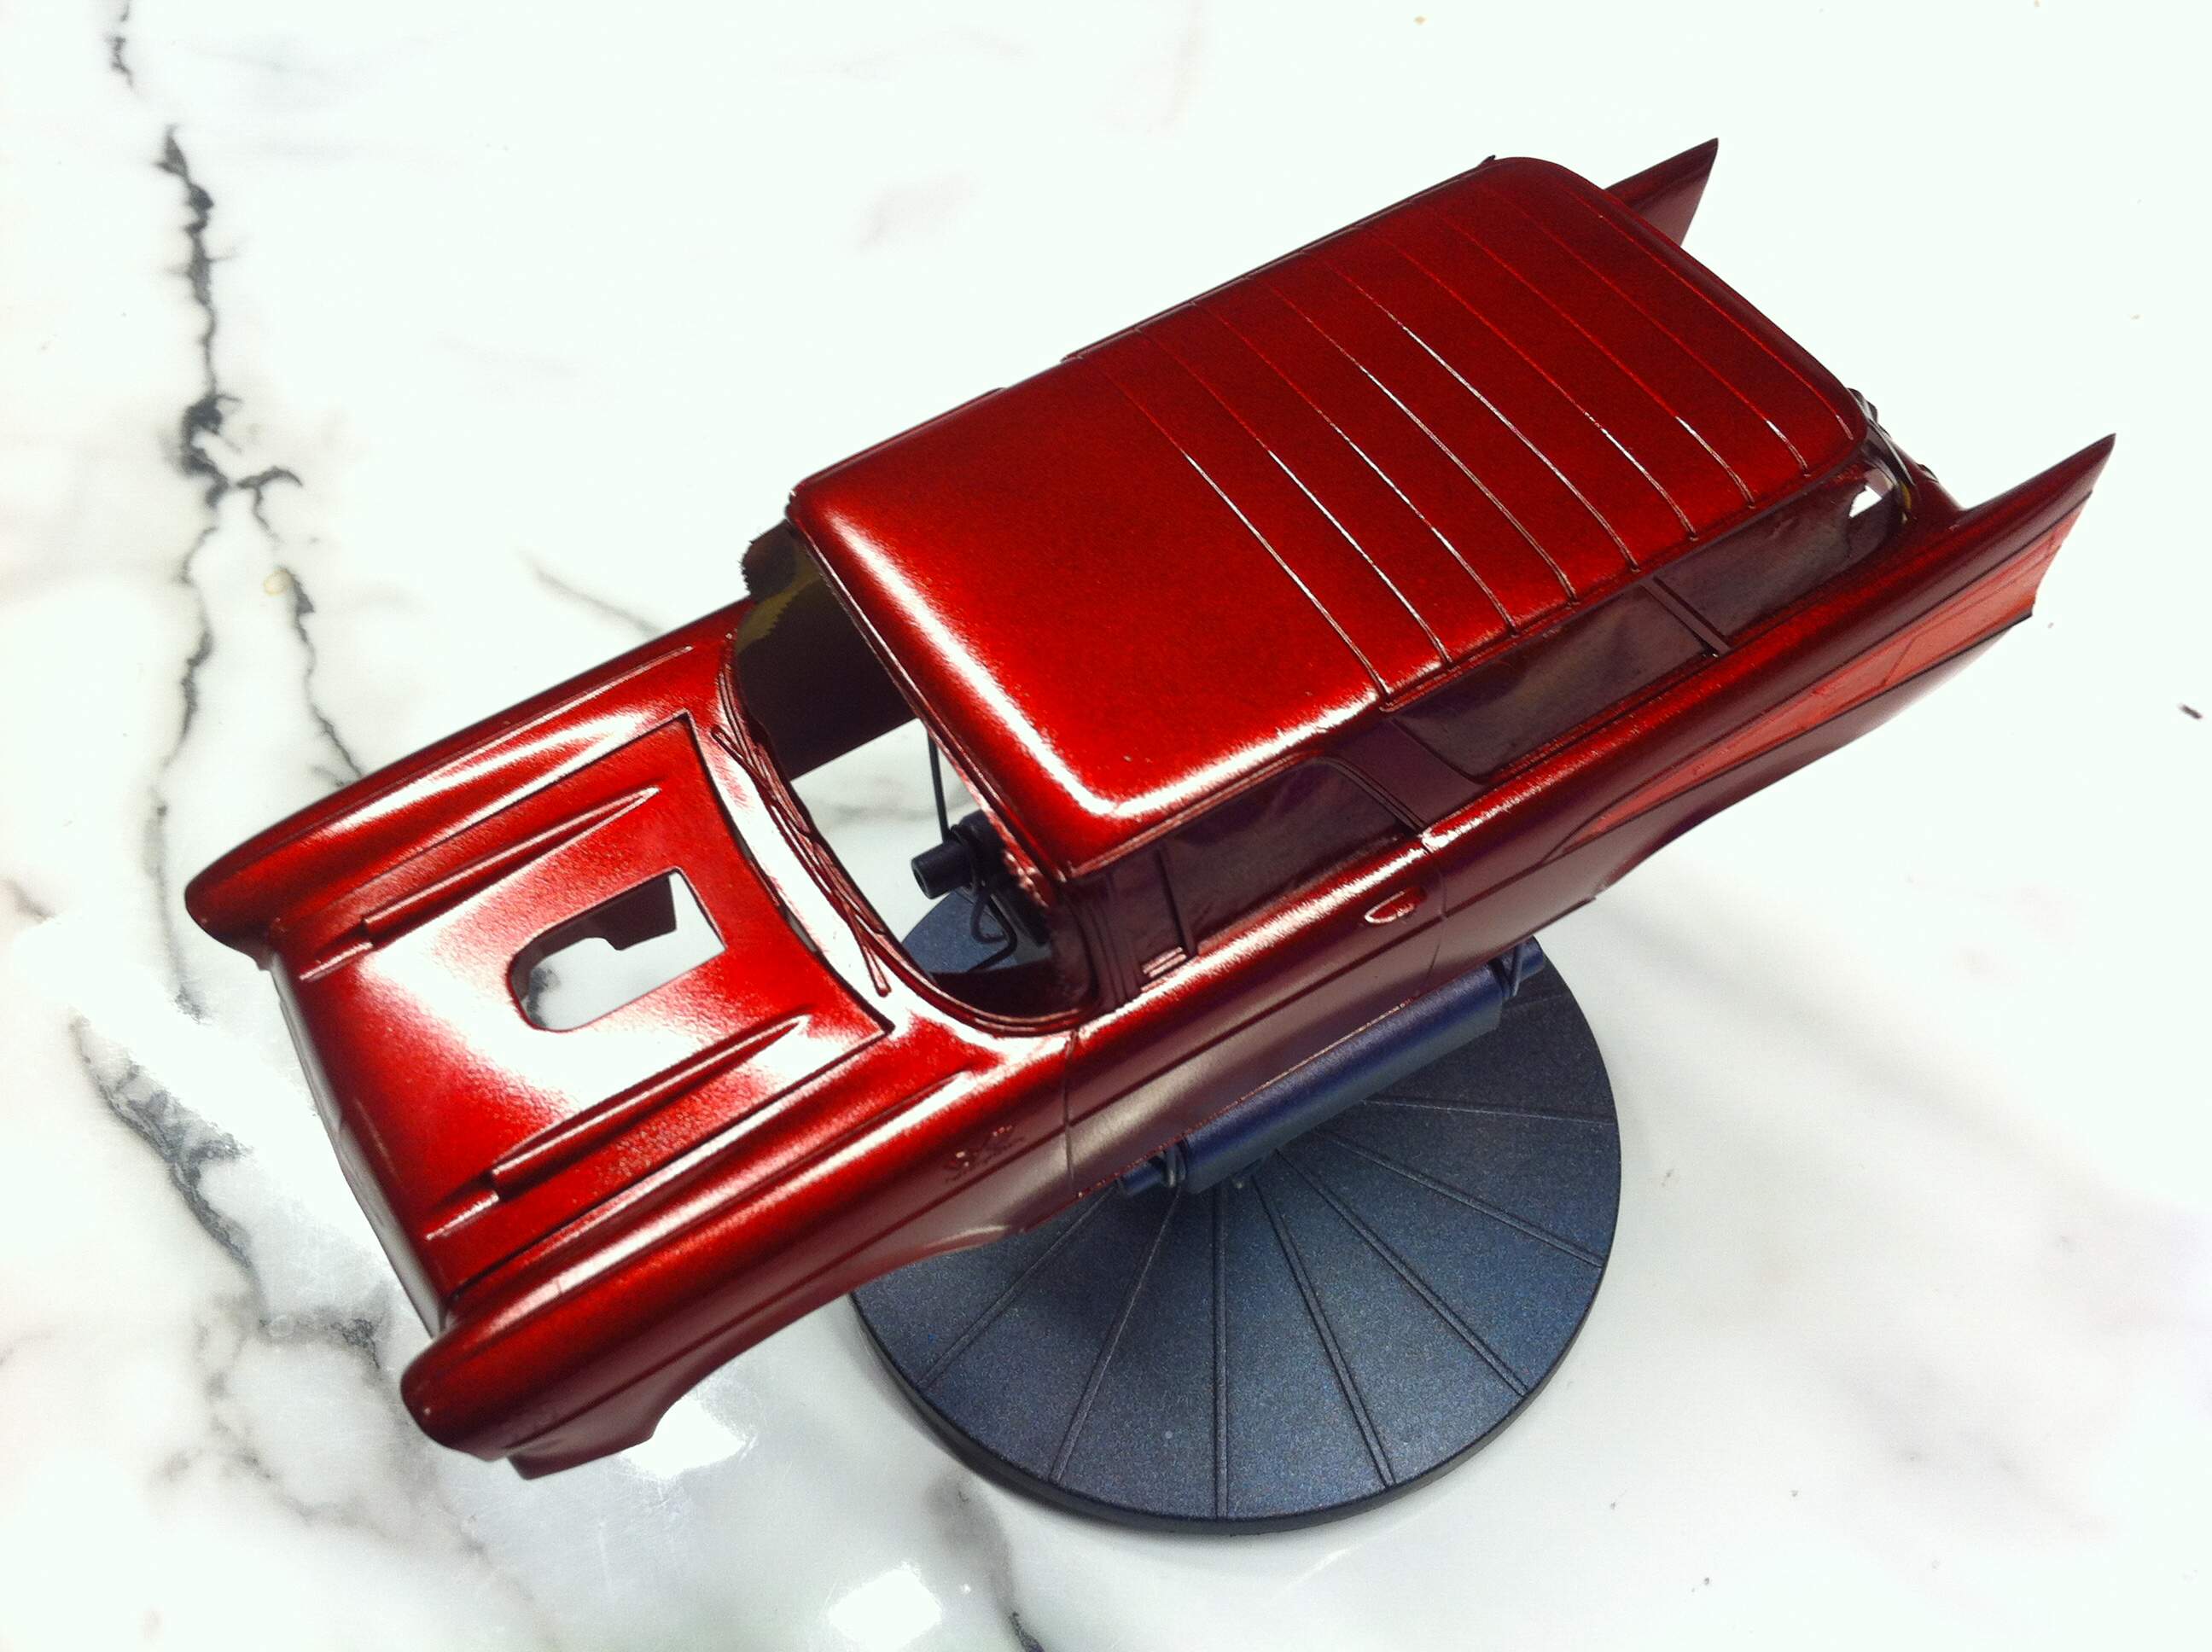
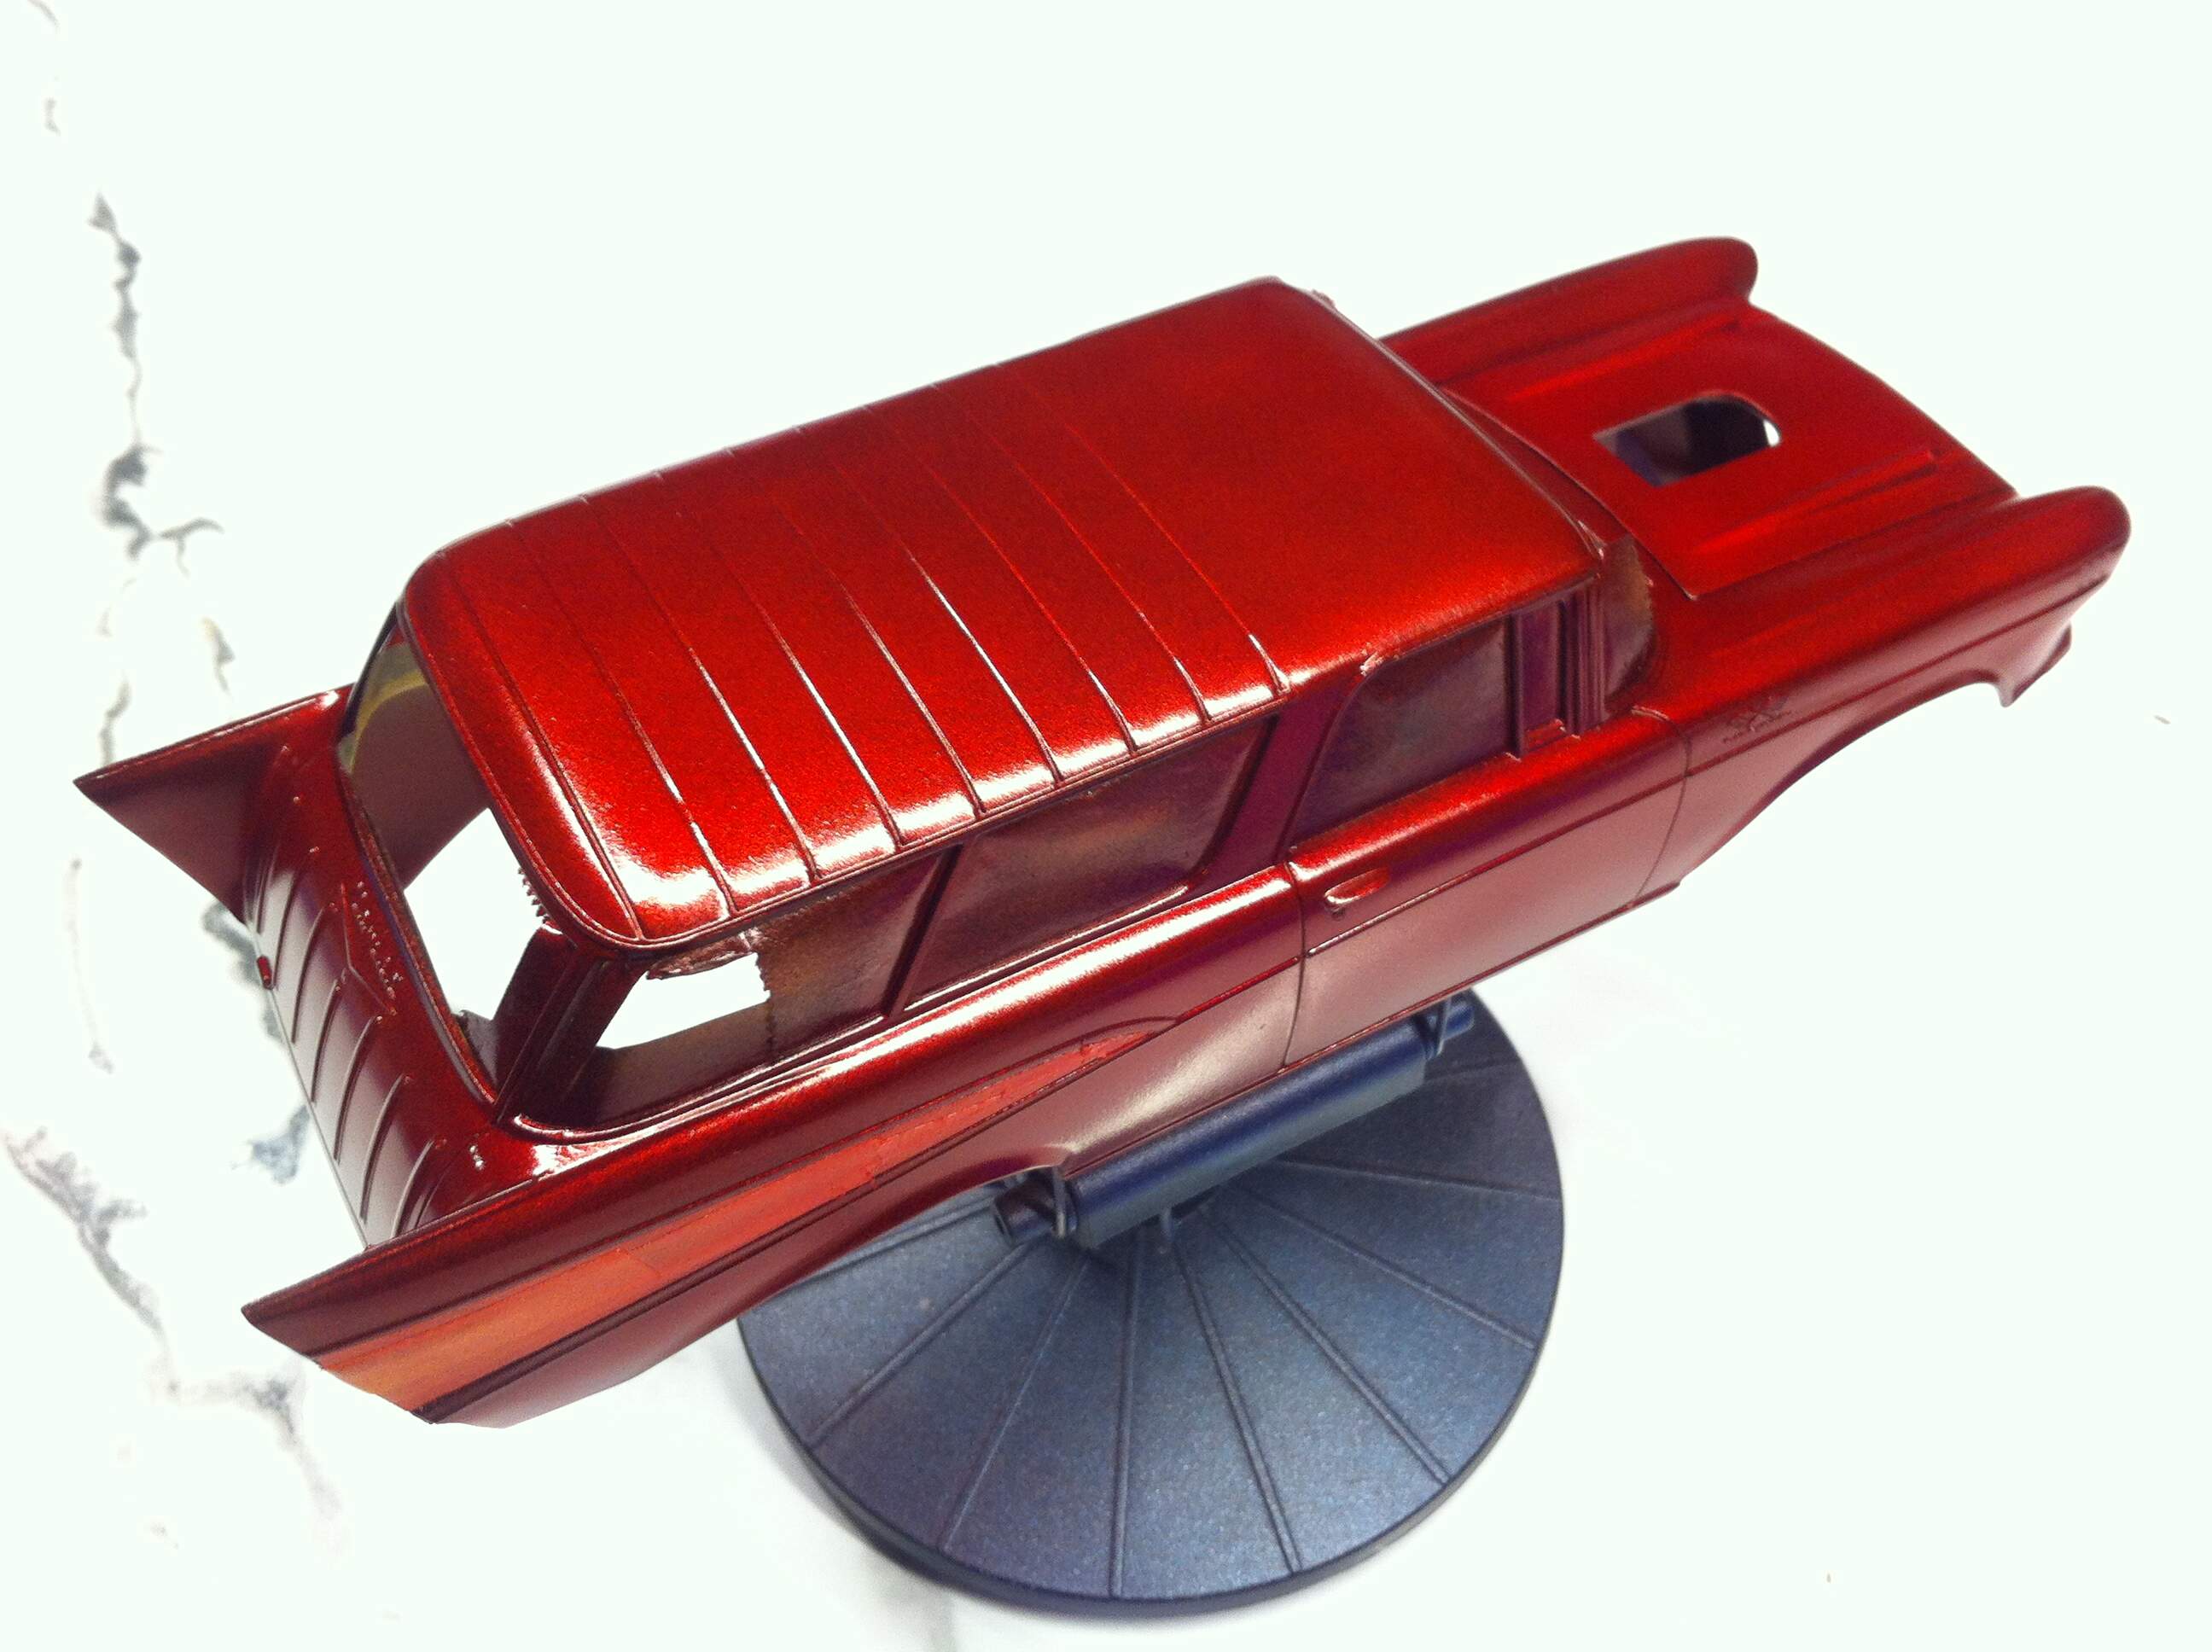
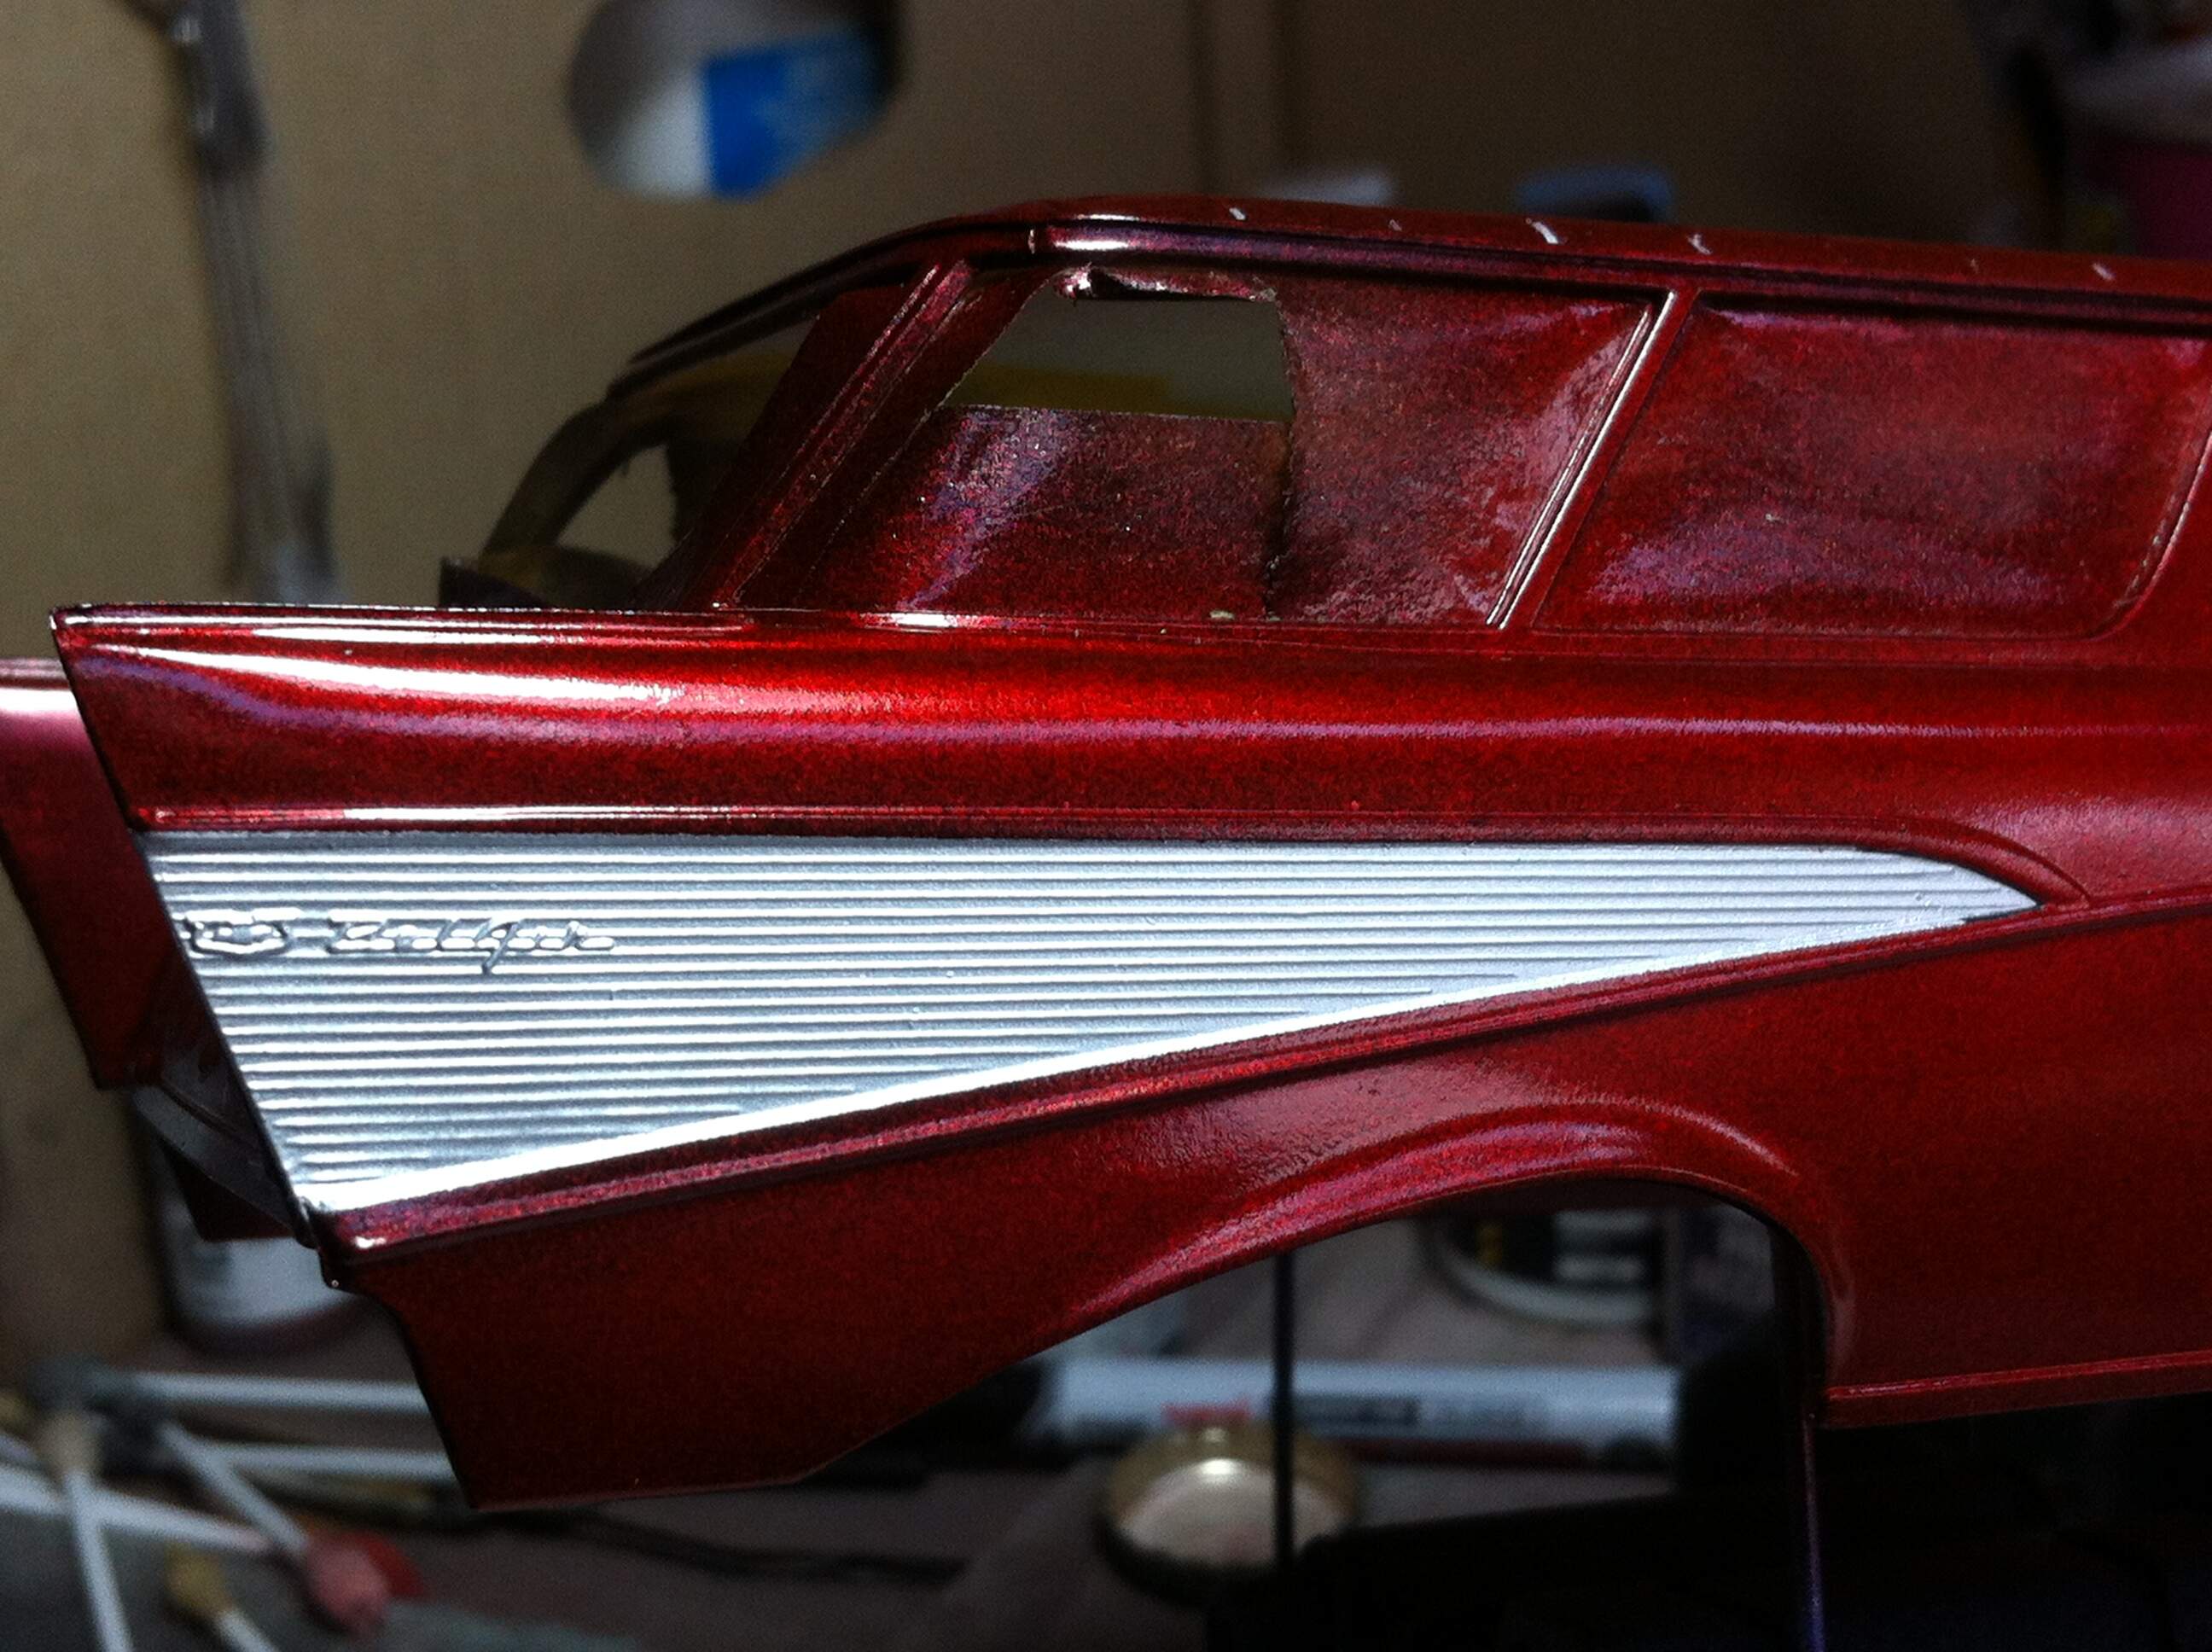
Stage 4 of the body paint process, SMS Clear Red. First I shot an almost-wet coat of neat Clear Red, 15 minutes later a 50/50 mix of Clear Red/MLT, then another 15 minutes later an almost wet coat of neat MLT. This will get a couple of days to meditate on life, then a wet sand and some Super Clear.
D,
Exceptional super shine for sure. I’d say that you really nailed it.
Old guys like me are almost always from the “Old School”, so I have one question as to the last Almost Wet Neat Coat. Why Neat instead of either another cut layer with MLT at the same ratio or even more MLT so that the paint literally flows?
Thanks for the feedback guys, much appreciated.
Joel, you might have misread my comment. The final coat is almost neat MLT with the thinner applied just about to the wet coat stage in order for the surface of the paint to get more time to level out. The body has had time to cure and a fine wet sand, clear coat today!
Mark,
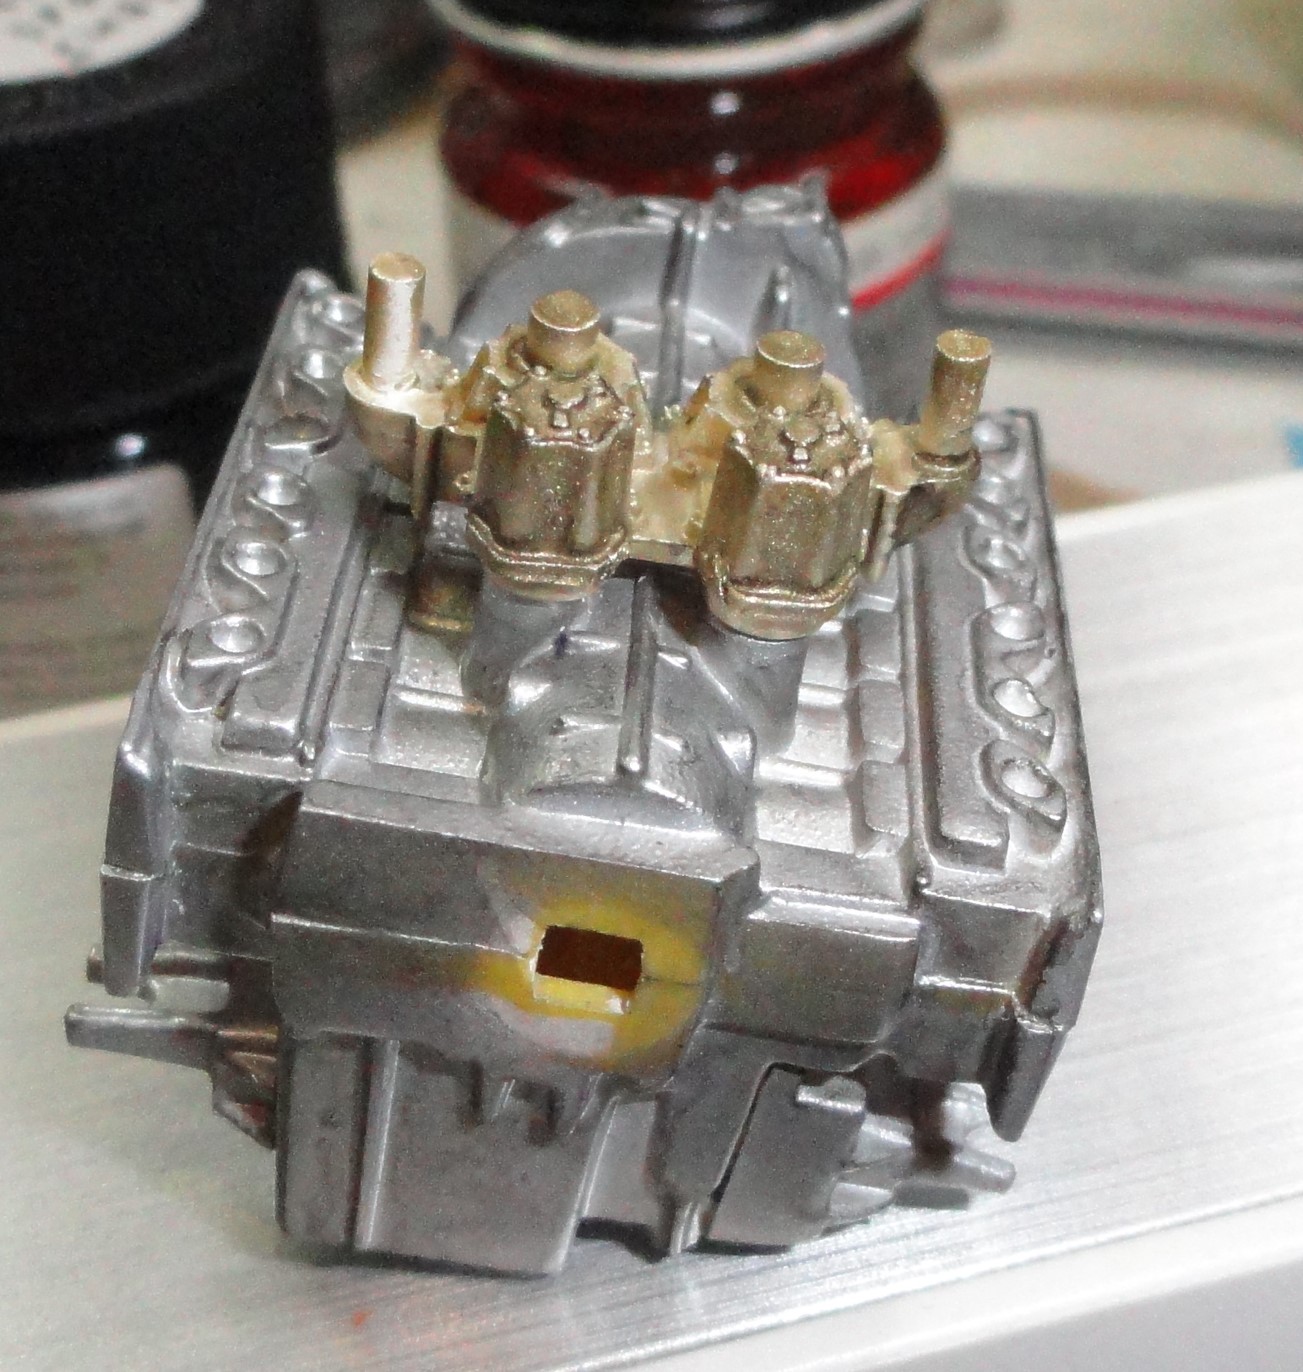
The engine is really coming along quite nicely. Talk about a shiny Gloss Red. As for the one side of the block being wired upside down. I had to look twice after reading it, and still had a little trouble finding where. So I wouldn’t worry about it at this stage of the game.
The rear one is wired correctly, out of spark plug, down to the lower cam to the front and up to the distributor, the front one is from the spark plug up to the top cam and forward to the distributor.
Here’s my inspiration,
Neat work on the wiring Mark. I suppose it doesn’t matter where the wires are mounted as long as they are connected correctly at either end!
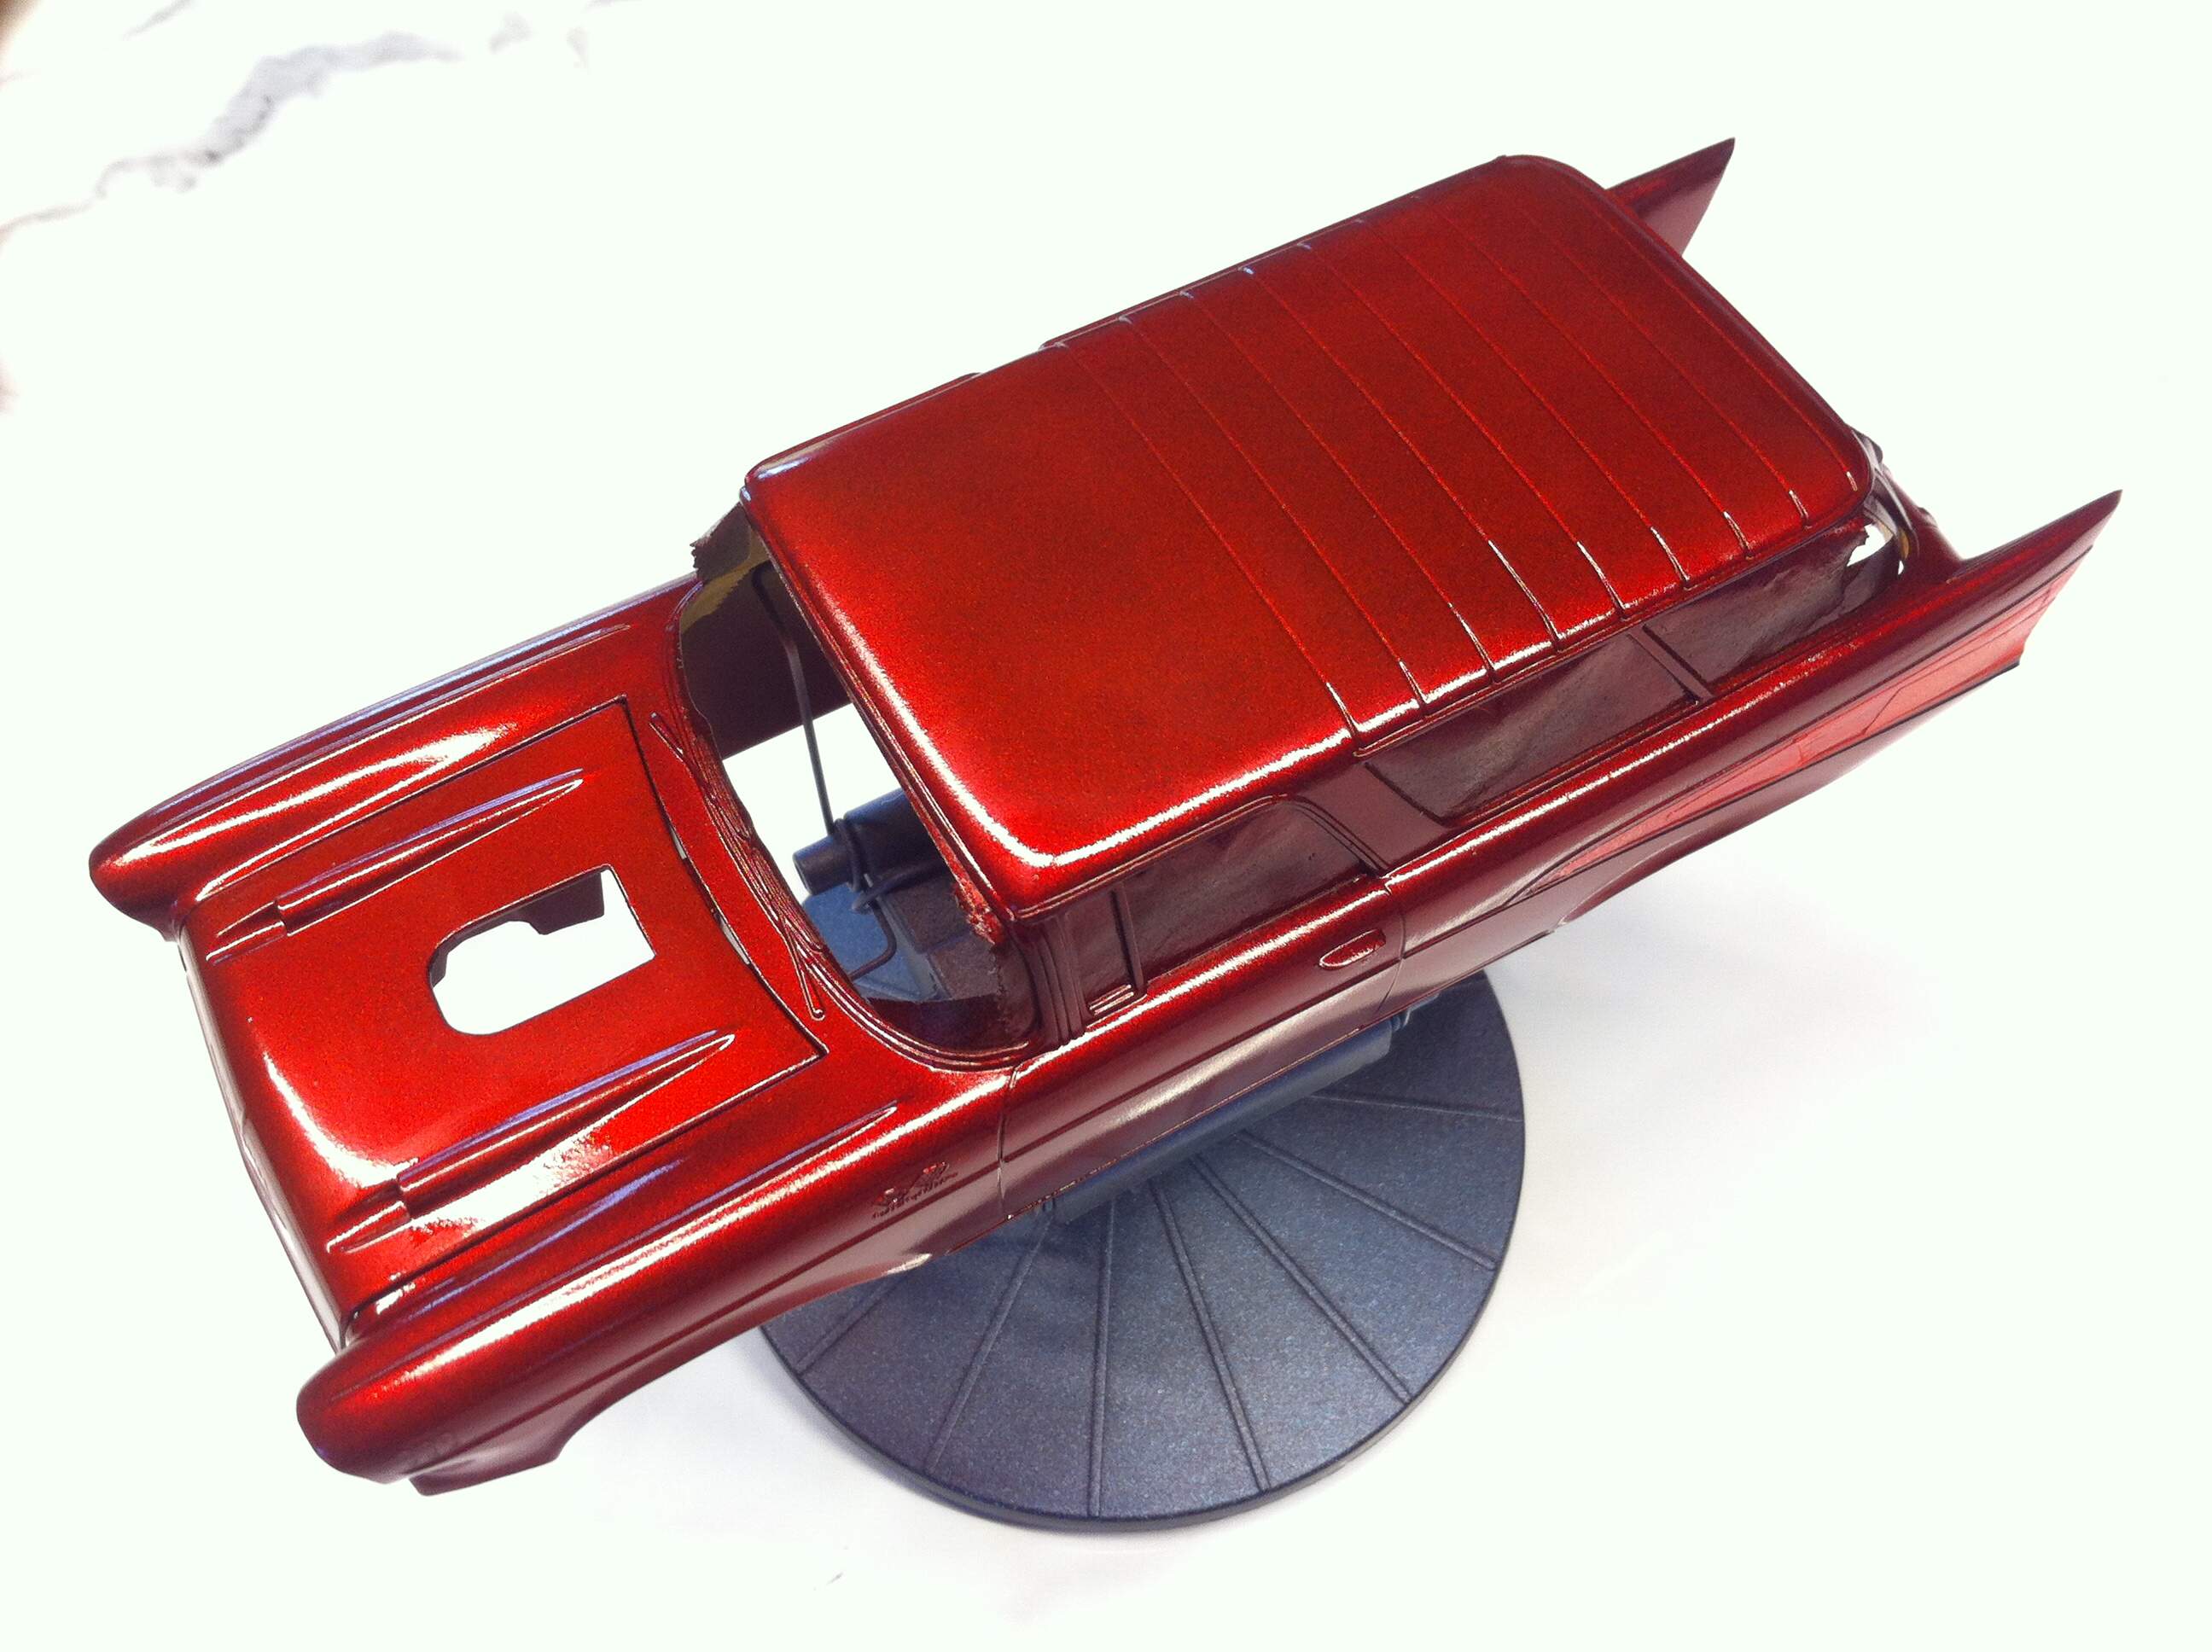
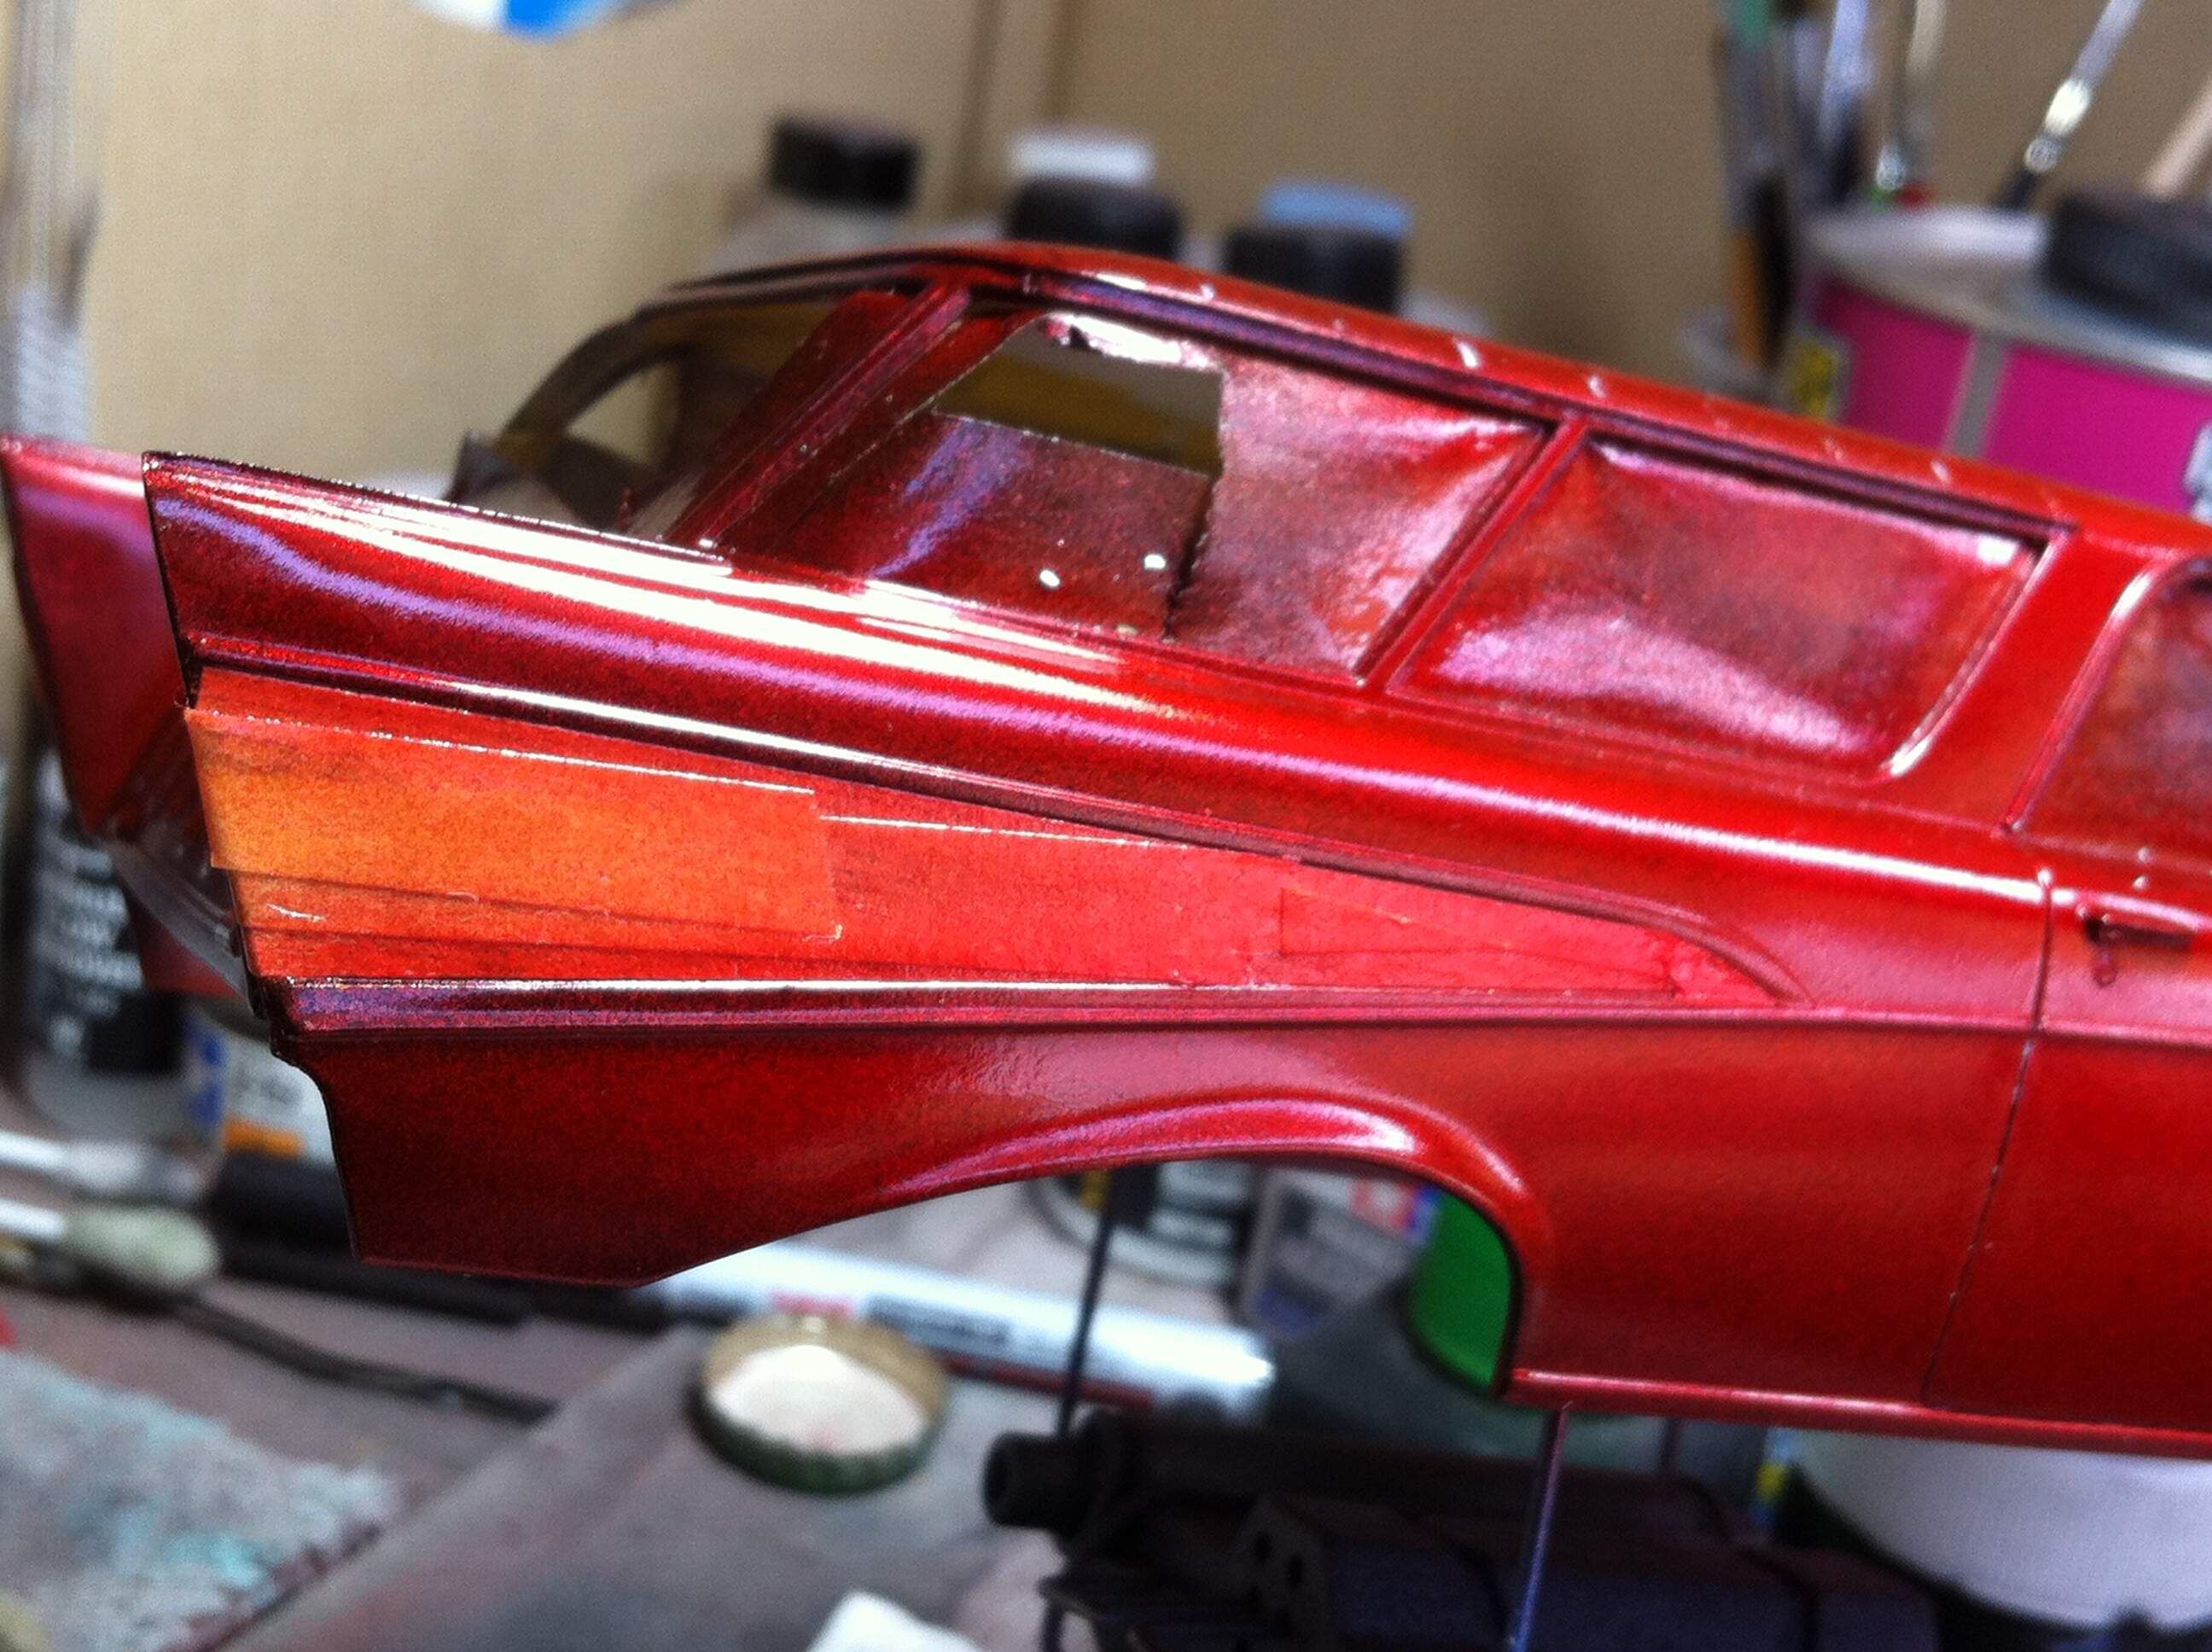
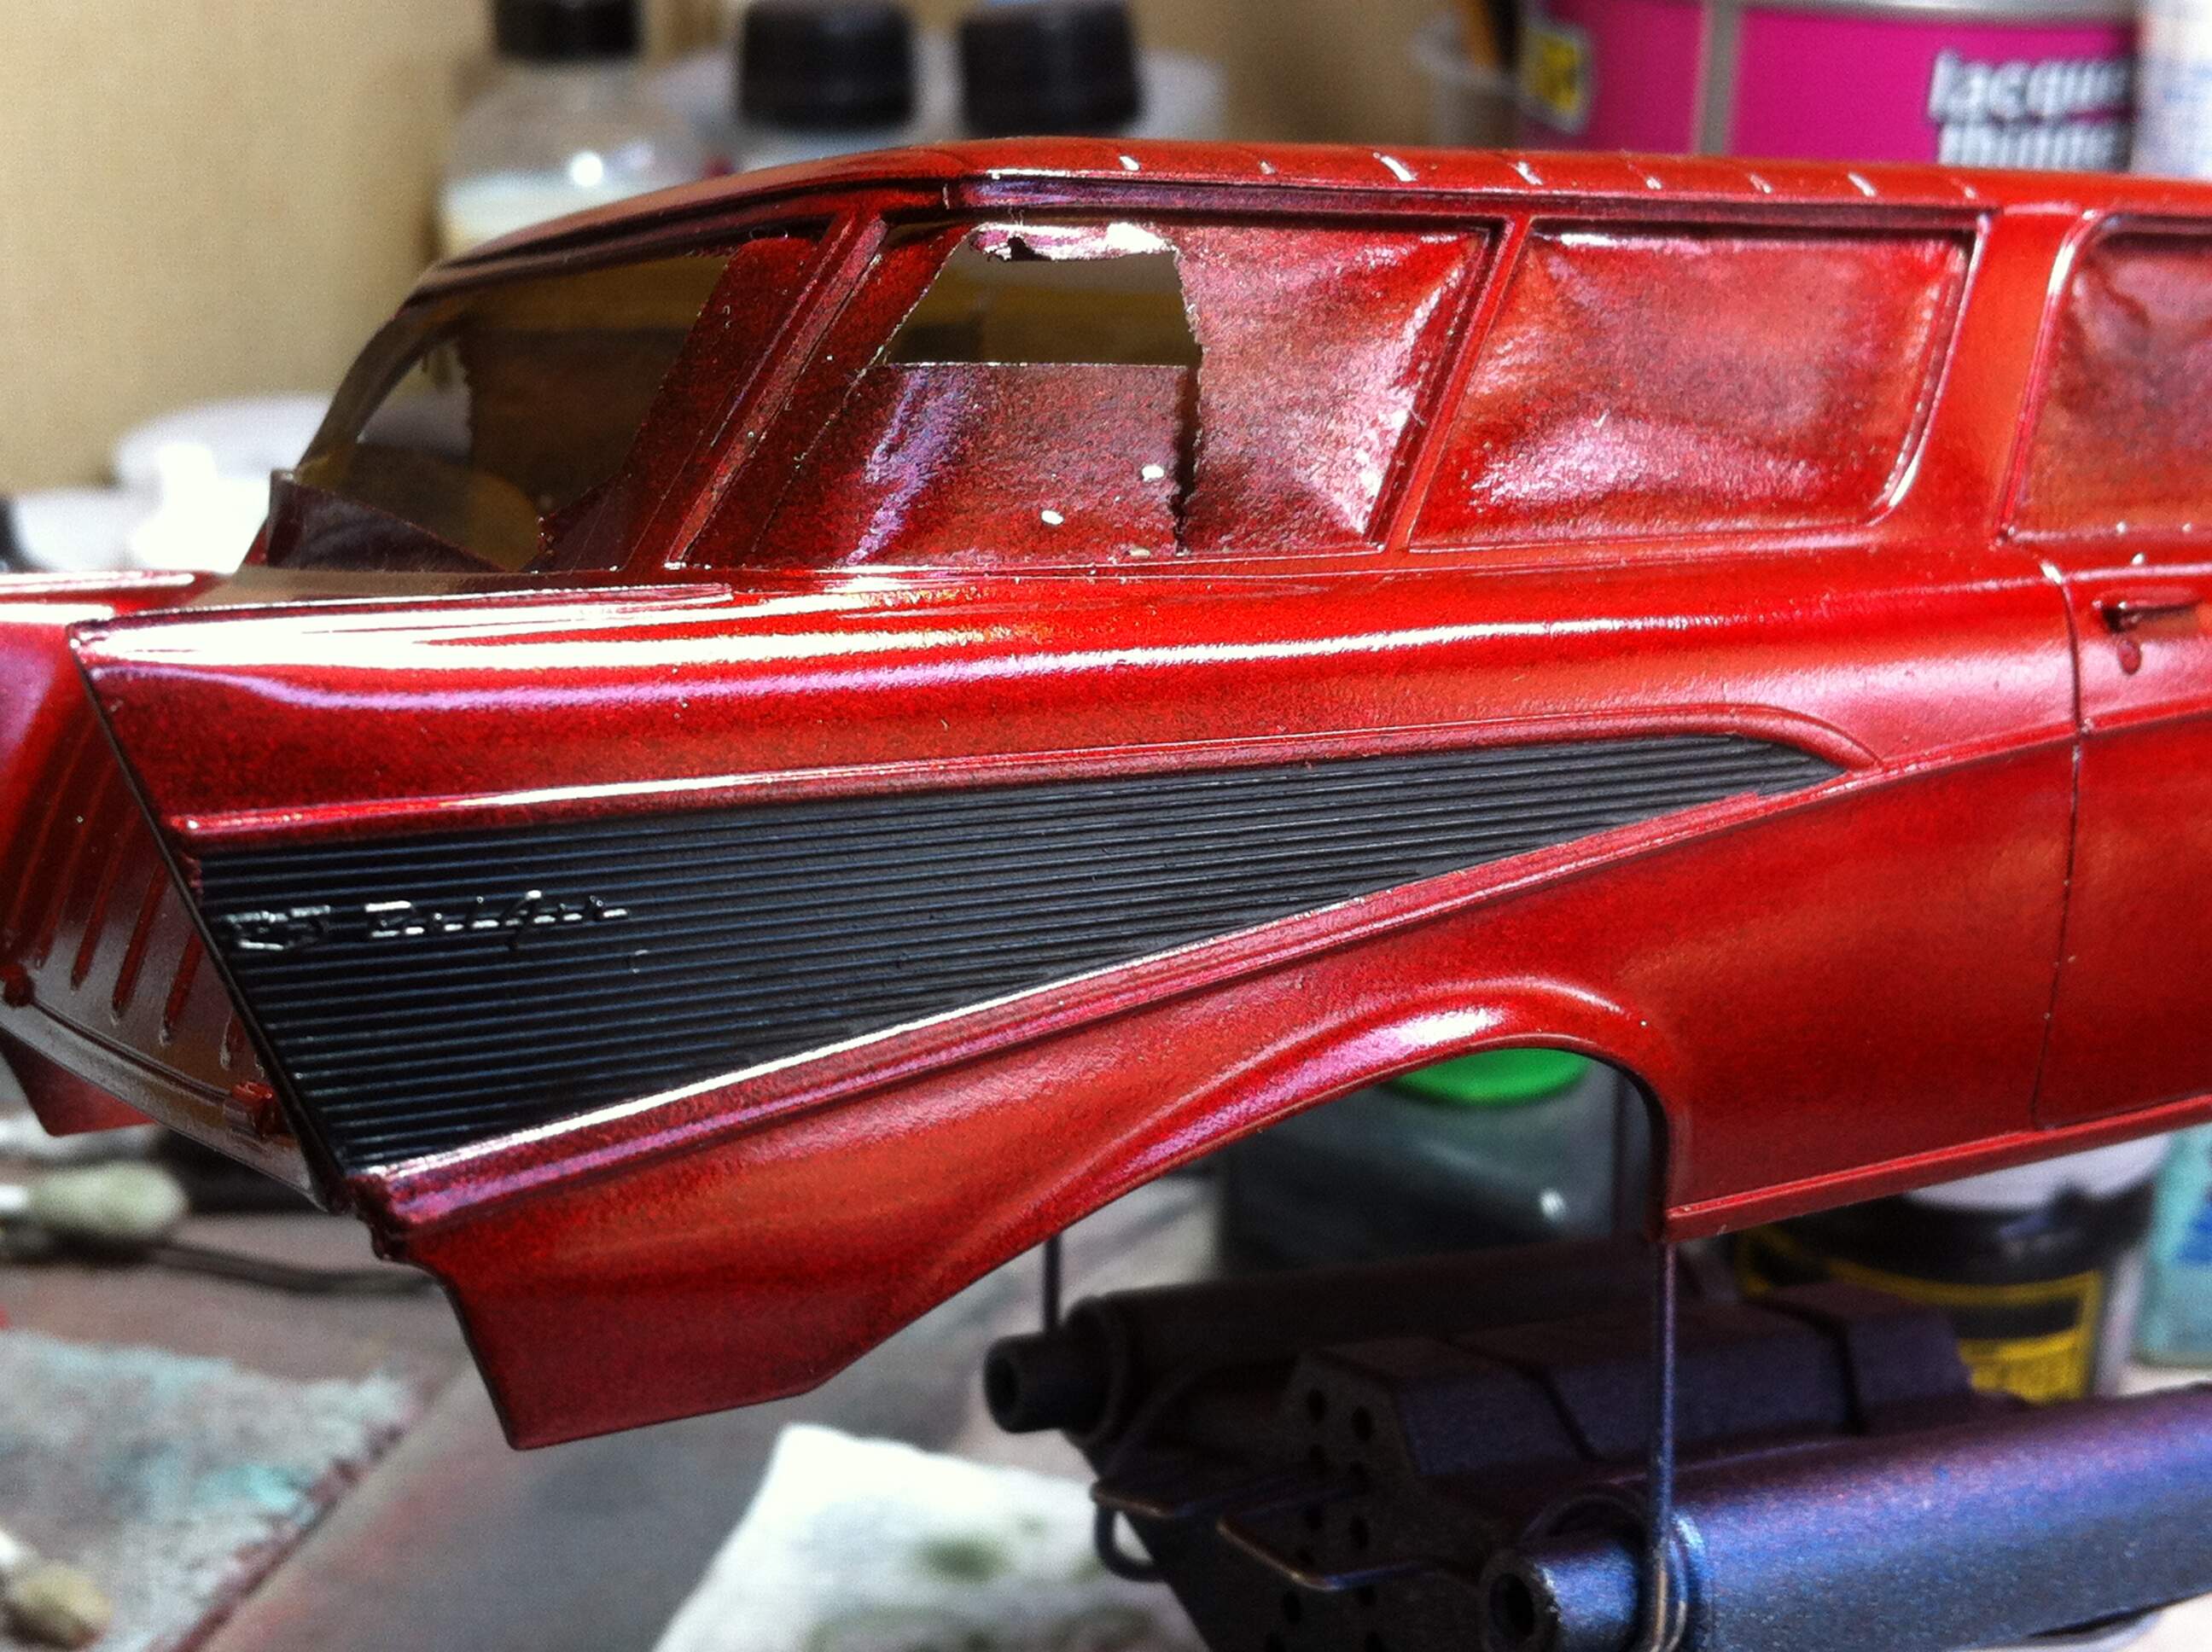
Clear gloss is done. This will get a bit of a polish before I unmask and get on to the trim. The side flash will be painted White Aluminium and the trims Bright Chrome BMF.
Mark,
I’m assuming that you air brushed the X-7 on Neat? I’ve never had much success with any paint A/B’ing via Neat with the exception of the pre-thinned paints of all types and bases. Still, the final results surely speak for themselves.
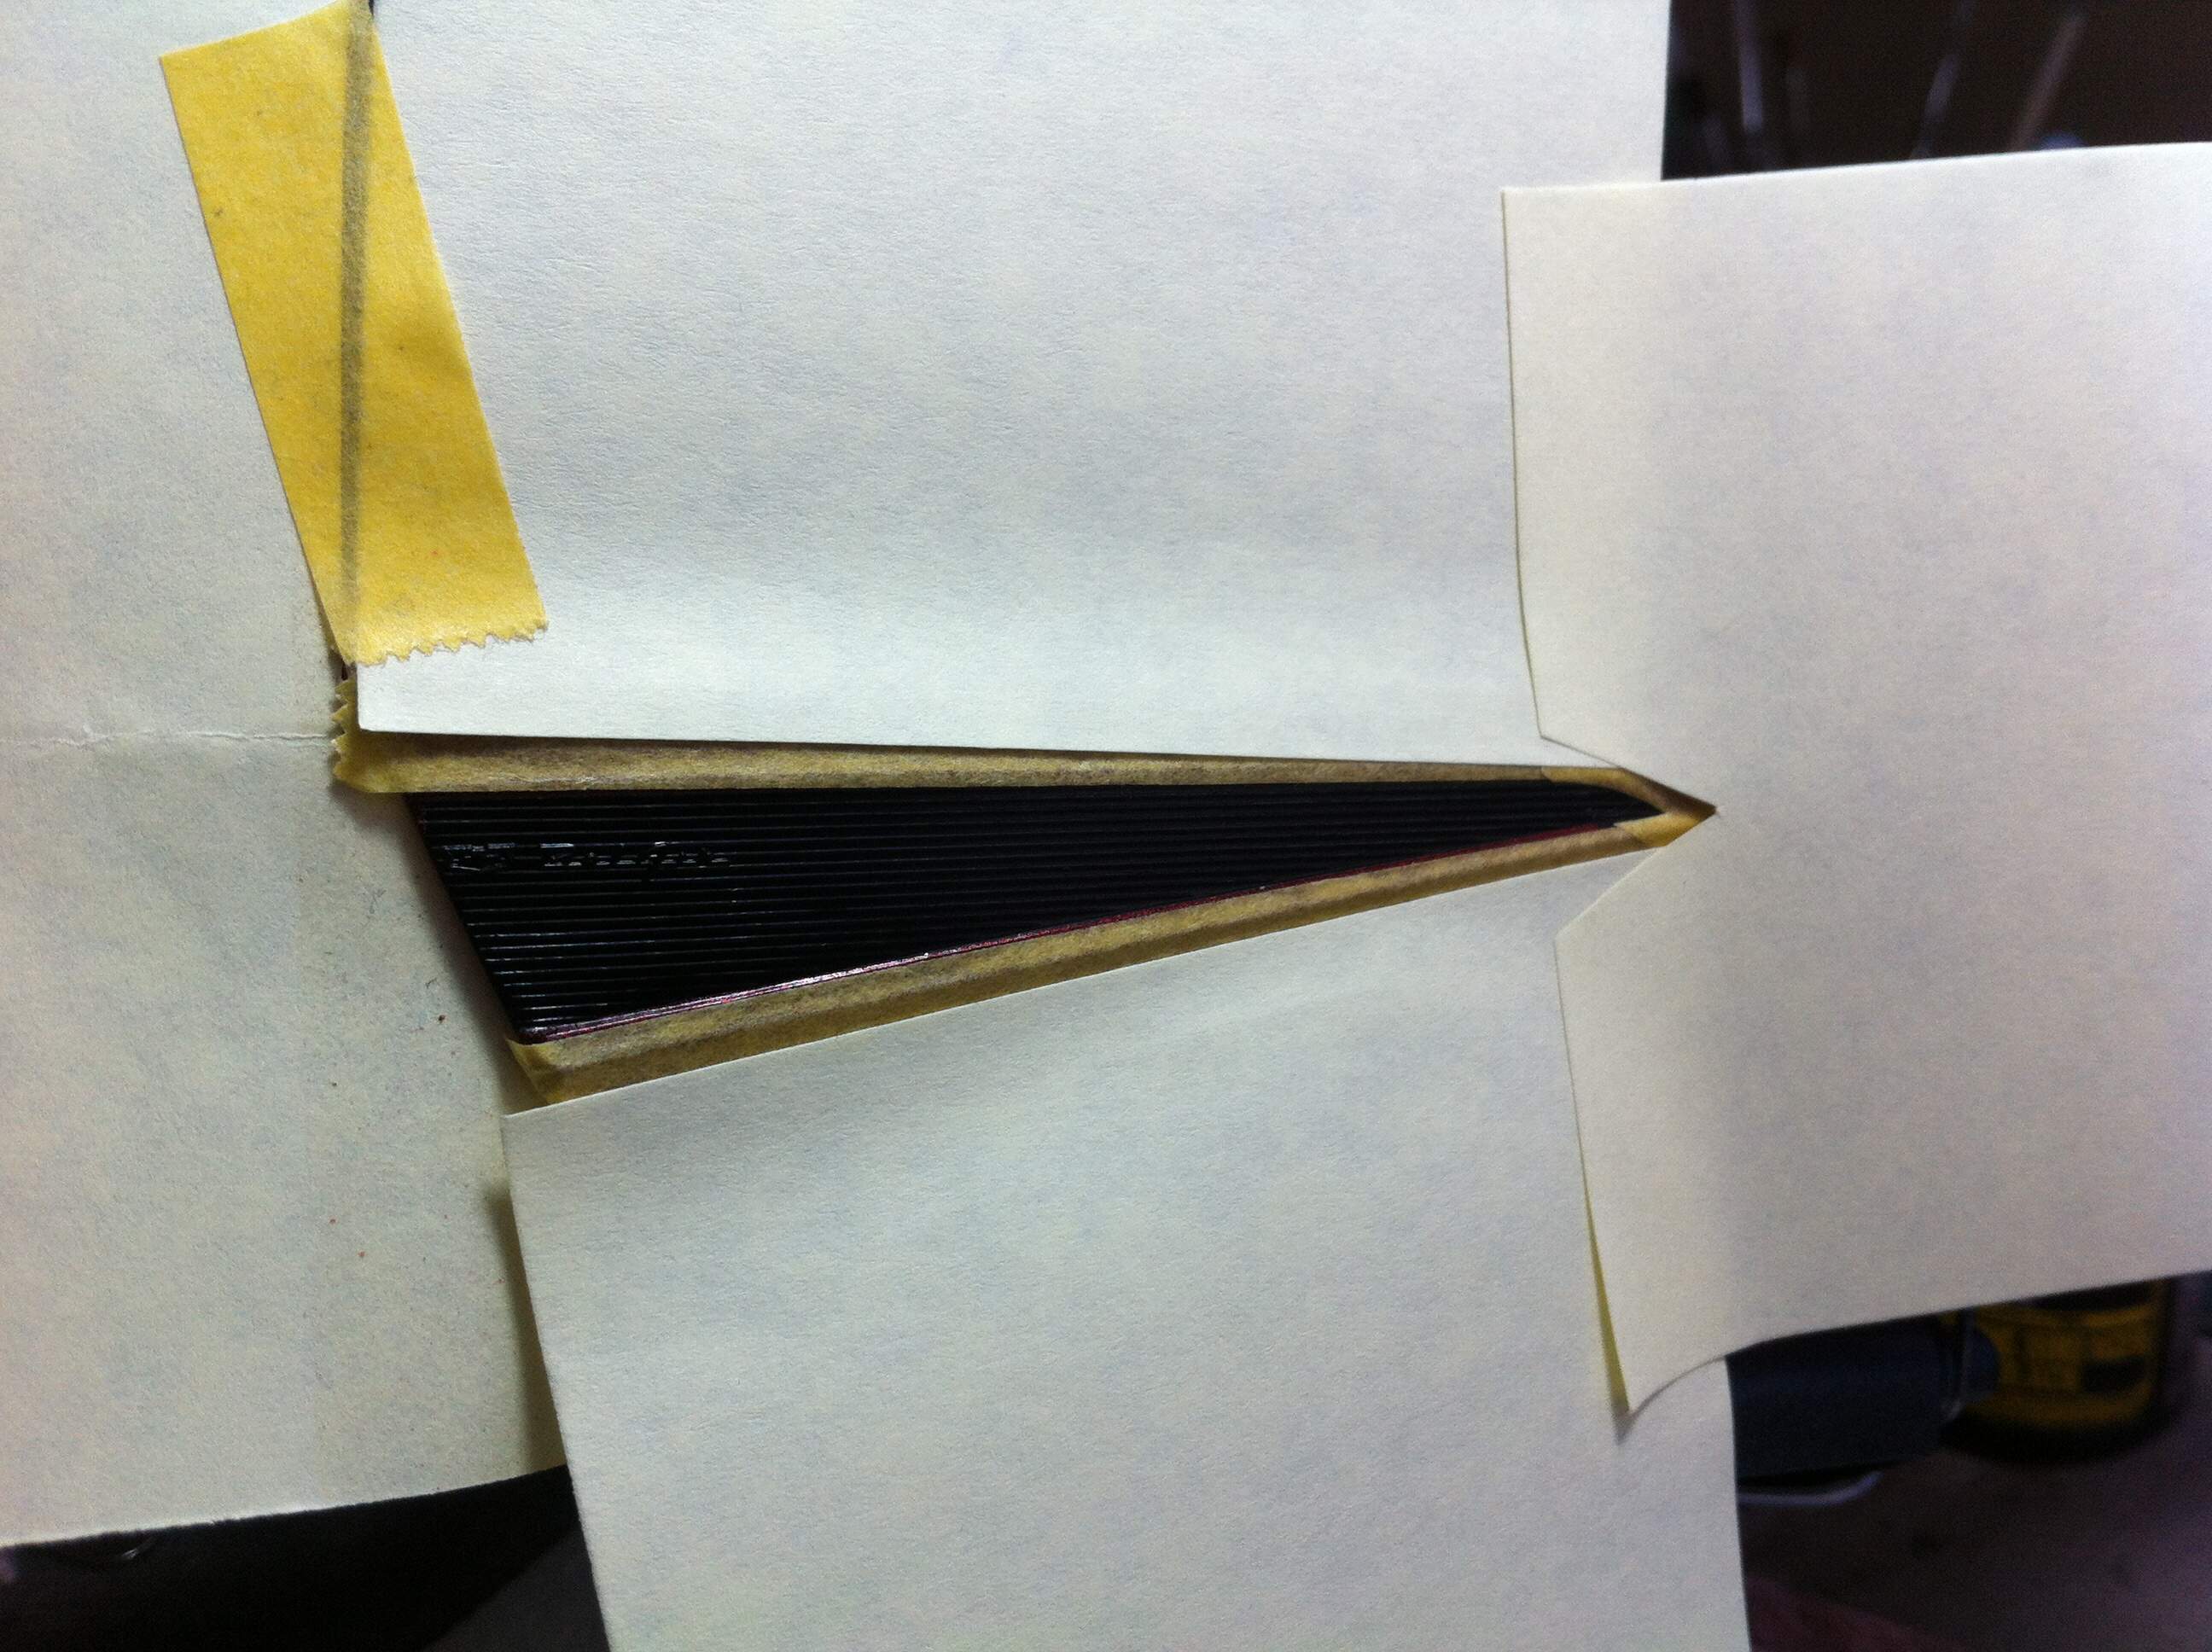
Side flashes masked for body paintwork were unmasked to reveal the MS1500 Black primer base. Looking at the photos now, I actually really like the flat black finish on the side flash. I will definitely keep that in mind as an option for a future '57 build (yes, there are quite a few lined up!).
They were then masked outside with 10mm Tamiya Tape, and then further with Post-It notes to protect from overspray (because I’m clumsy with the airbrush!).
Mark, the engine looks like it is coming along swimmingly.
D, the contrast looks excellent, the red is too cool looking.
Small textual update time for me. The laser printer arrived Sunday and I got it set up and test printed the 98 roundels , they were clear coated last night and I hope to get them applied this week. Most all the details are done and just the side mirrors and light covers to be added to the shell.