D,
The Satin side chrome panels really came out looking darn good if you ask me.
Joel
D,
The Satin side chrome panels really came out looking darn good if you ask me.
Joel
Dave,
I’m looking forward to your update with the new decals.
Like I keep on saying, I’ve got to learn how to actually create the art work to the proper scale, then the printing process needed.
Joel
@Joel, yep pretty much neat. Placed a bit of MLT in the cup of the airbrush, shot most of it through to be sure everything was good then added X-7 to the cup, swished it around with a toothpick and placed a drop on the side of the cup, I like the way it ran down the side so just shot it as it was. Most of the time it’s 2:1 Tamiya Color: Tamiya X-20A.
Thanks D, I was able to do a good enough job on my 57 Bel Air one piece chassis.

![]()
Had to do a reprint this morning, turns out I didn’t set the type of paper setting to Glossy Heavy and the laser didn’t burn in deep enough. The decals chipped when cutting close to the black circles.
Clear coated the second printing and will try them tonight.
Nice work on the undercarriage Mark.
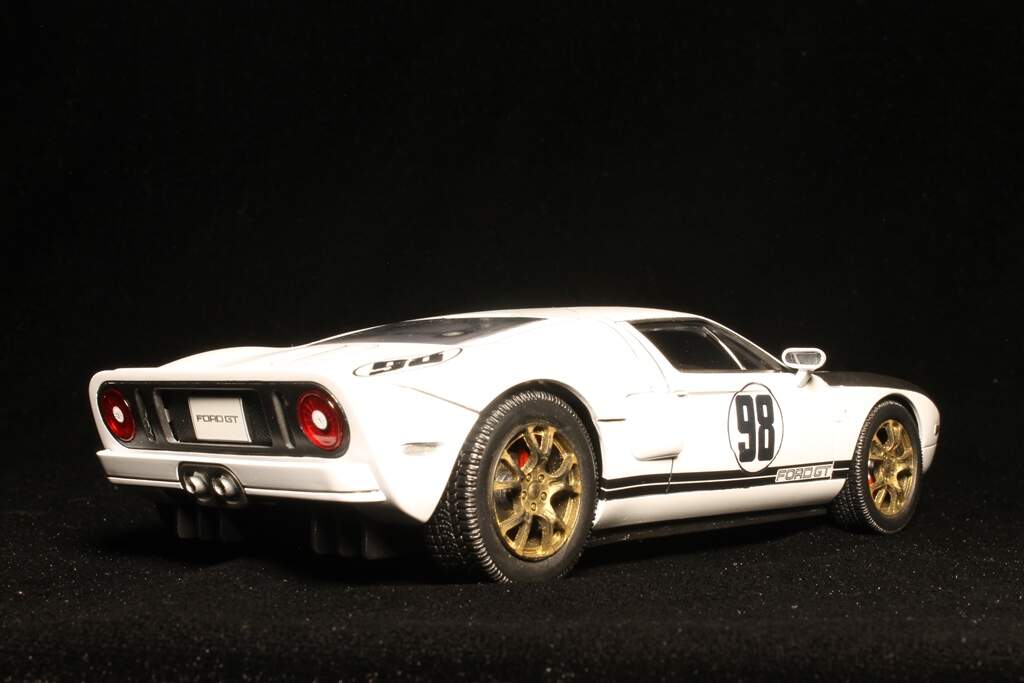
For the purposes of this GB, I’m calling this done. I noticed while looking at the pictures that I forgot the rear render marker light clear red. I’m not going to take a new set of pictures. I’ll add the red later tonight and add it to the office shelves.
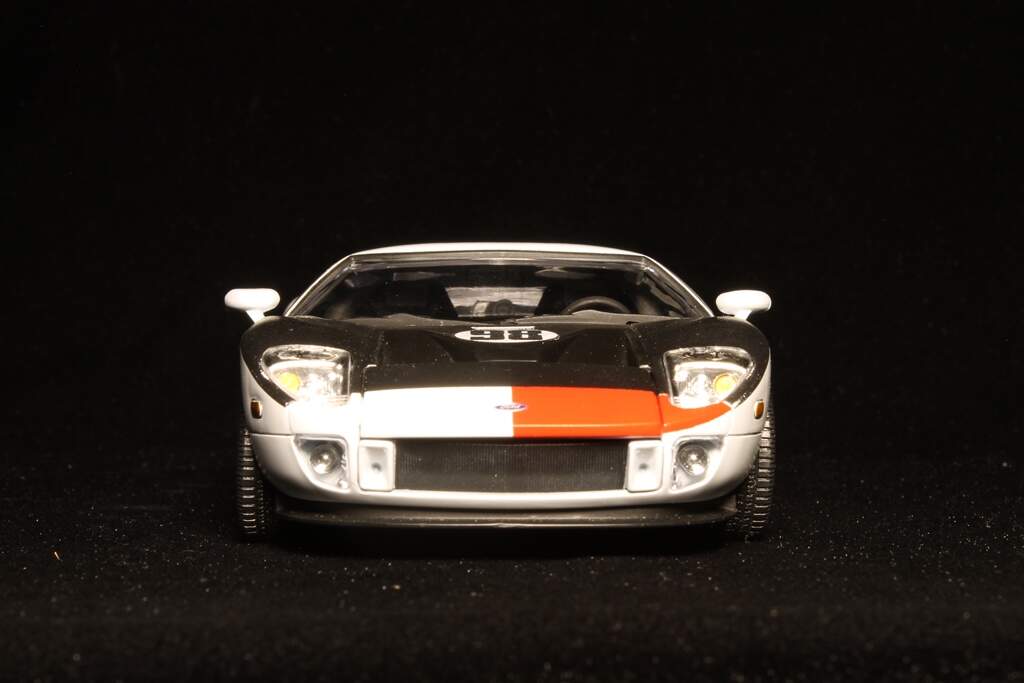
David,
Simply an outstanding build of a truly Iconic car. Like you, I can only dream of ever setting in one, let alone owning one.
Joel
Thanks Joel. I’ve ridden in two cars that I would love/dream to own, one of these 2005 GTs and a '74 Pantera owned by one of the salesmen at a software company I worked at during college.
Someday I’ll build the Fujimi one or maybe I can afford that new Meng 66.
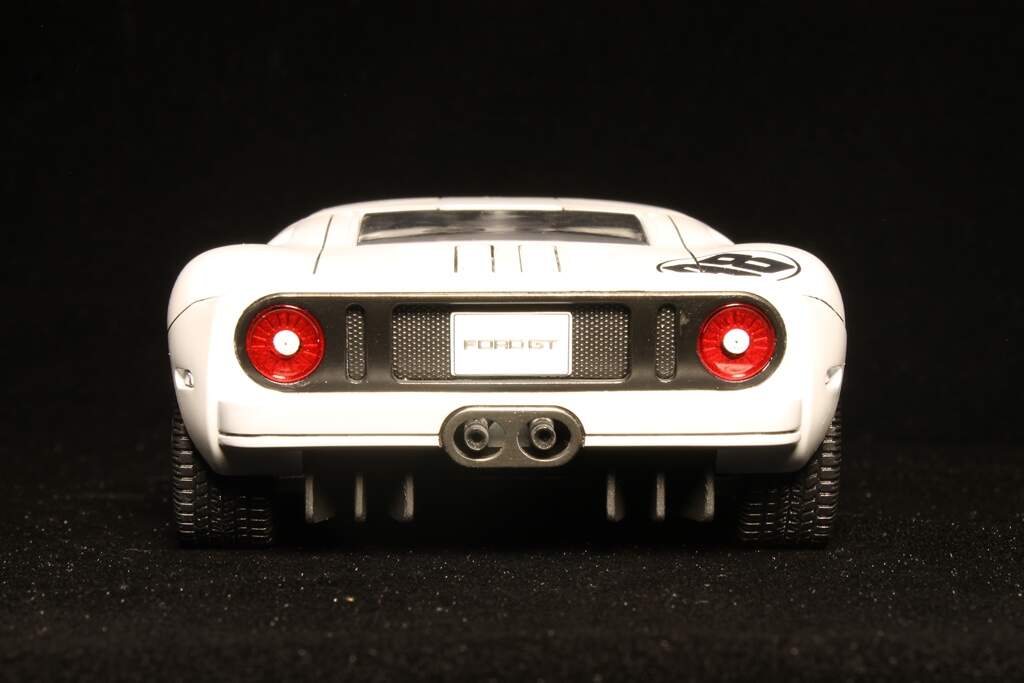
Lovely build David, such a sleek looking design. Truly beautiful! Congrats on getting your build across the line already, the first completion for this Group Build!
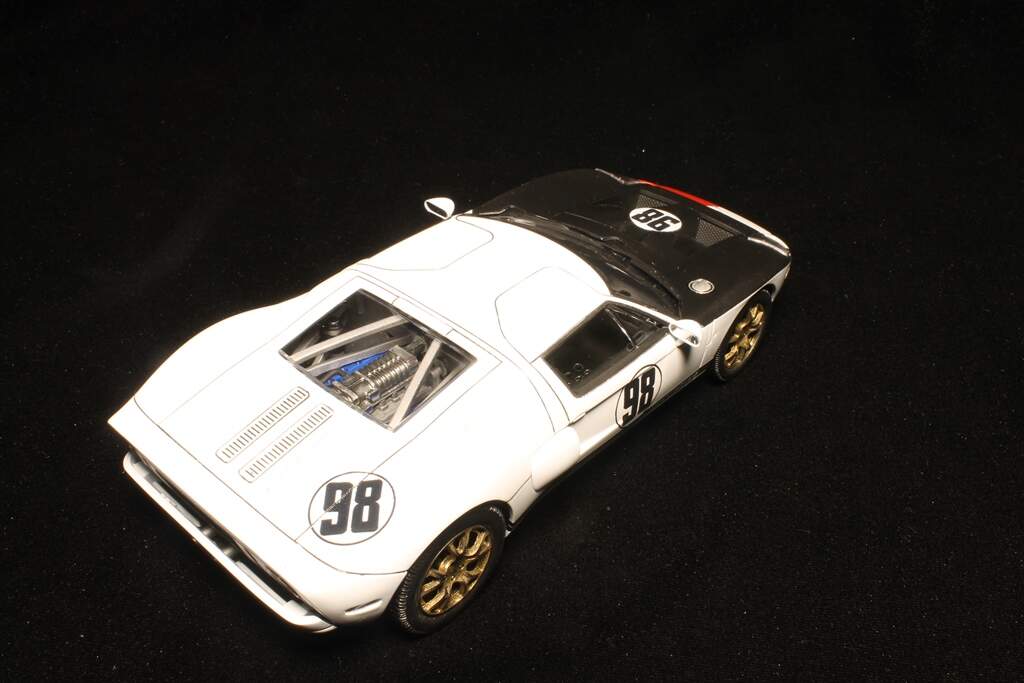
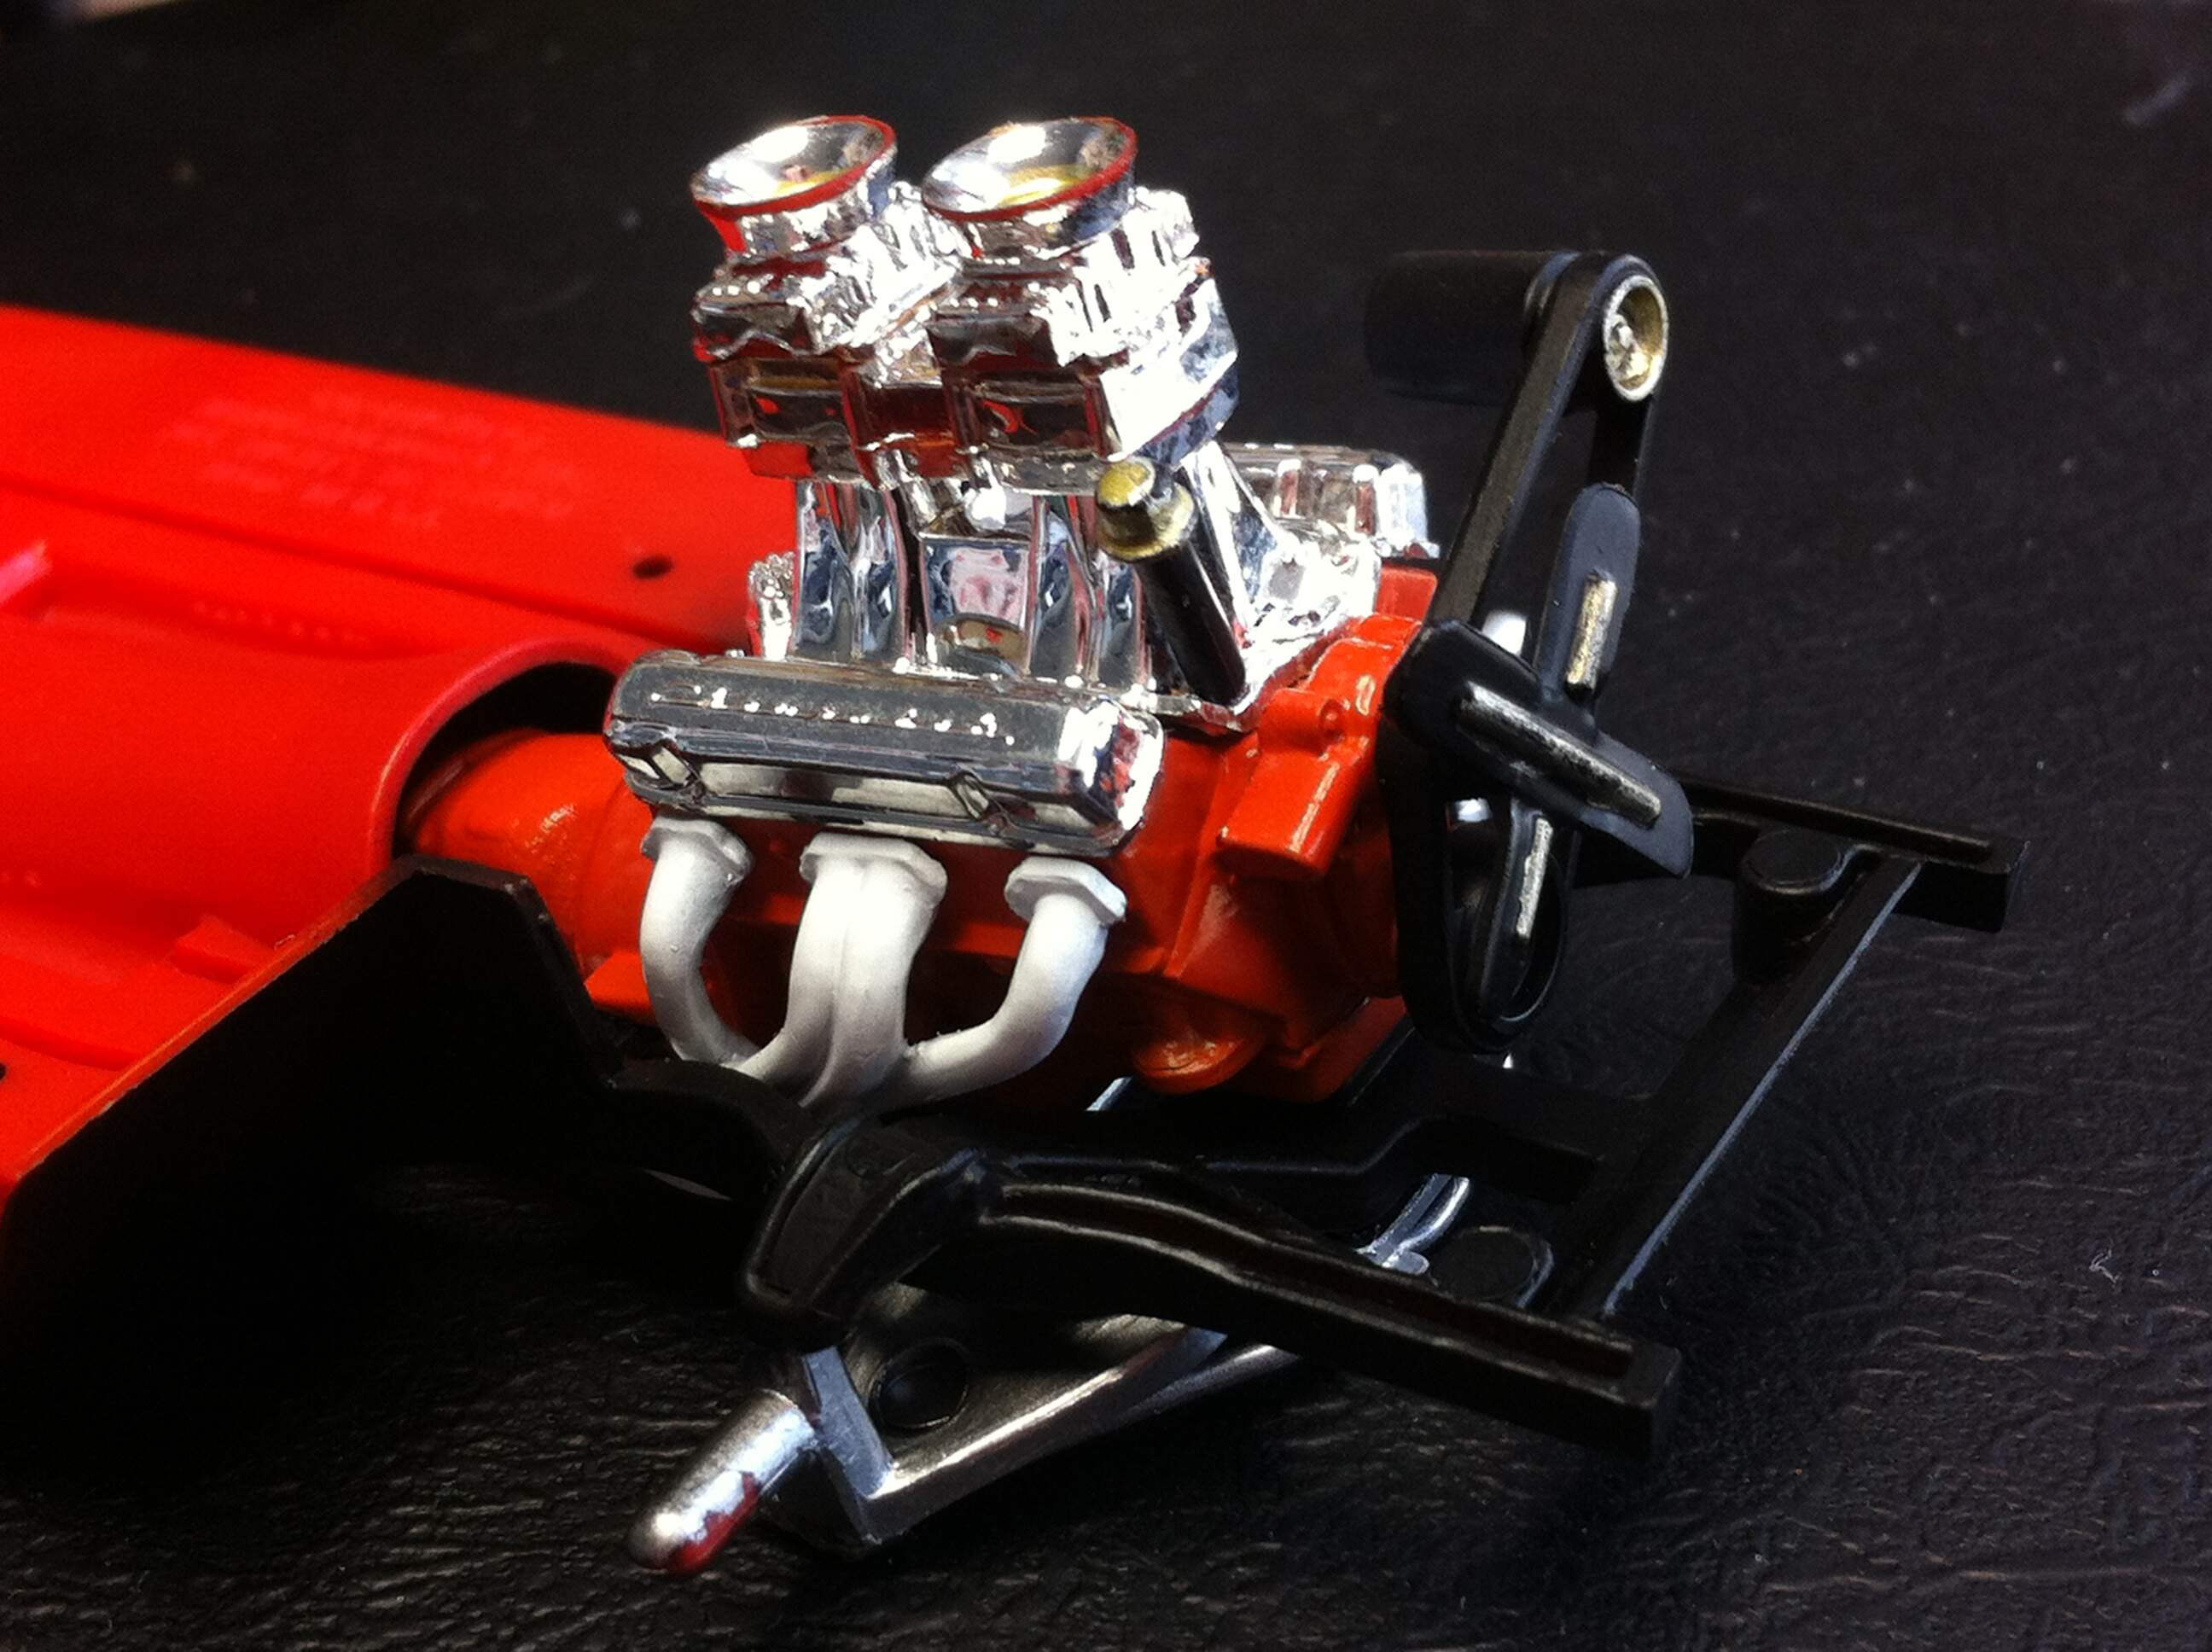
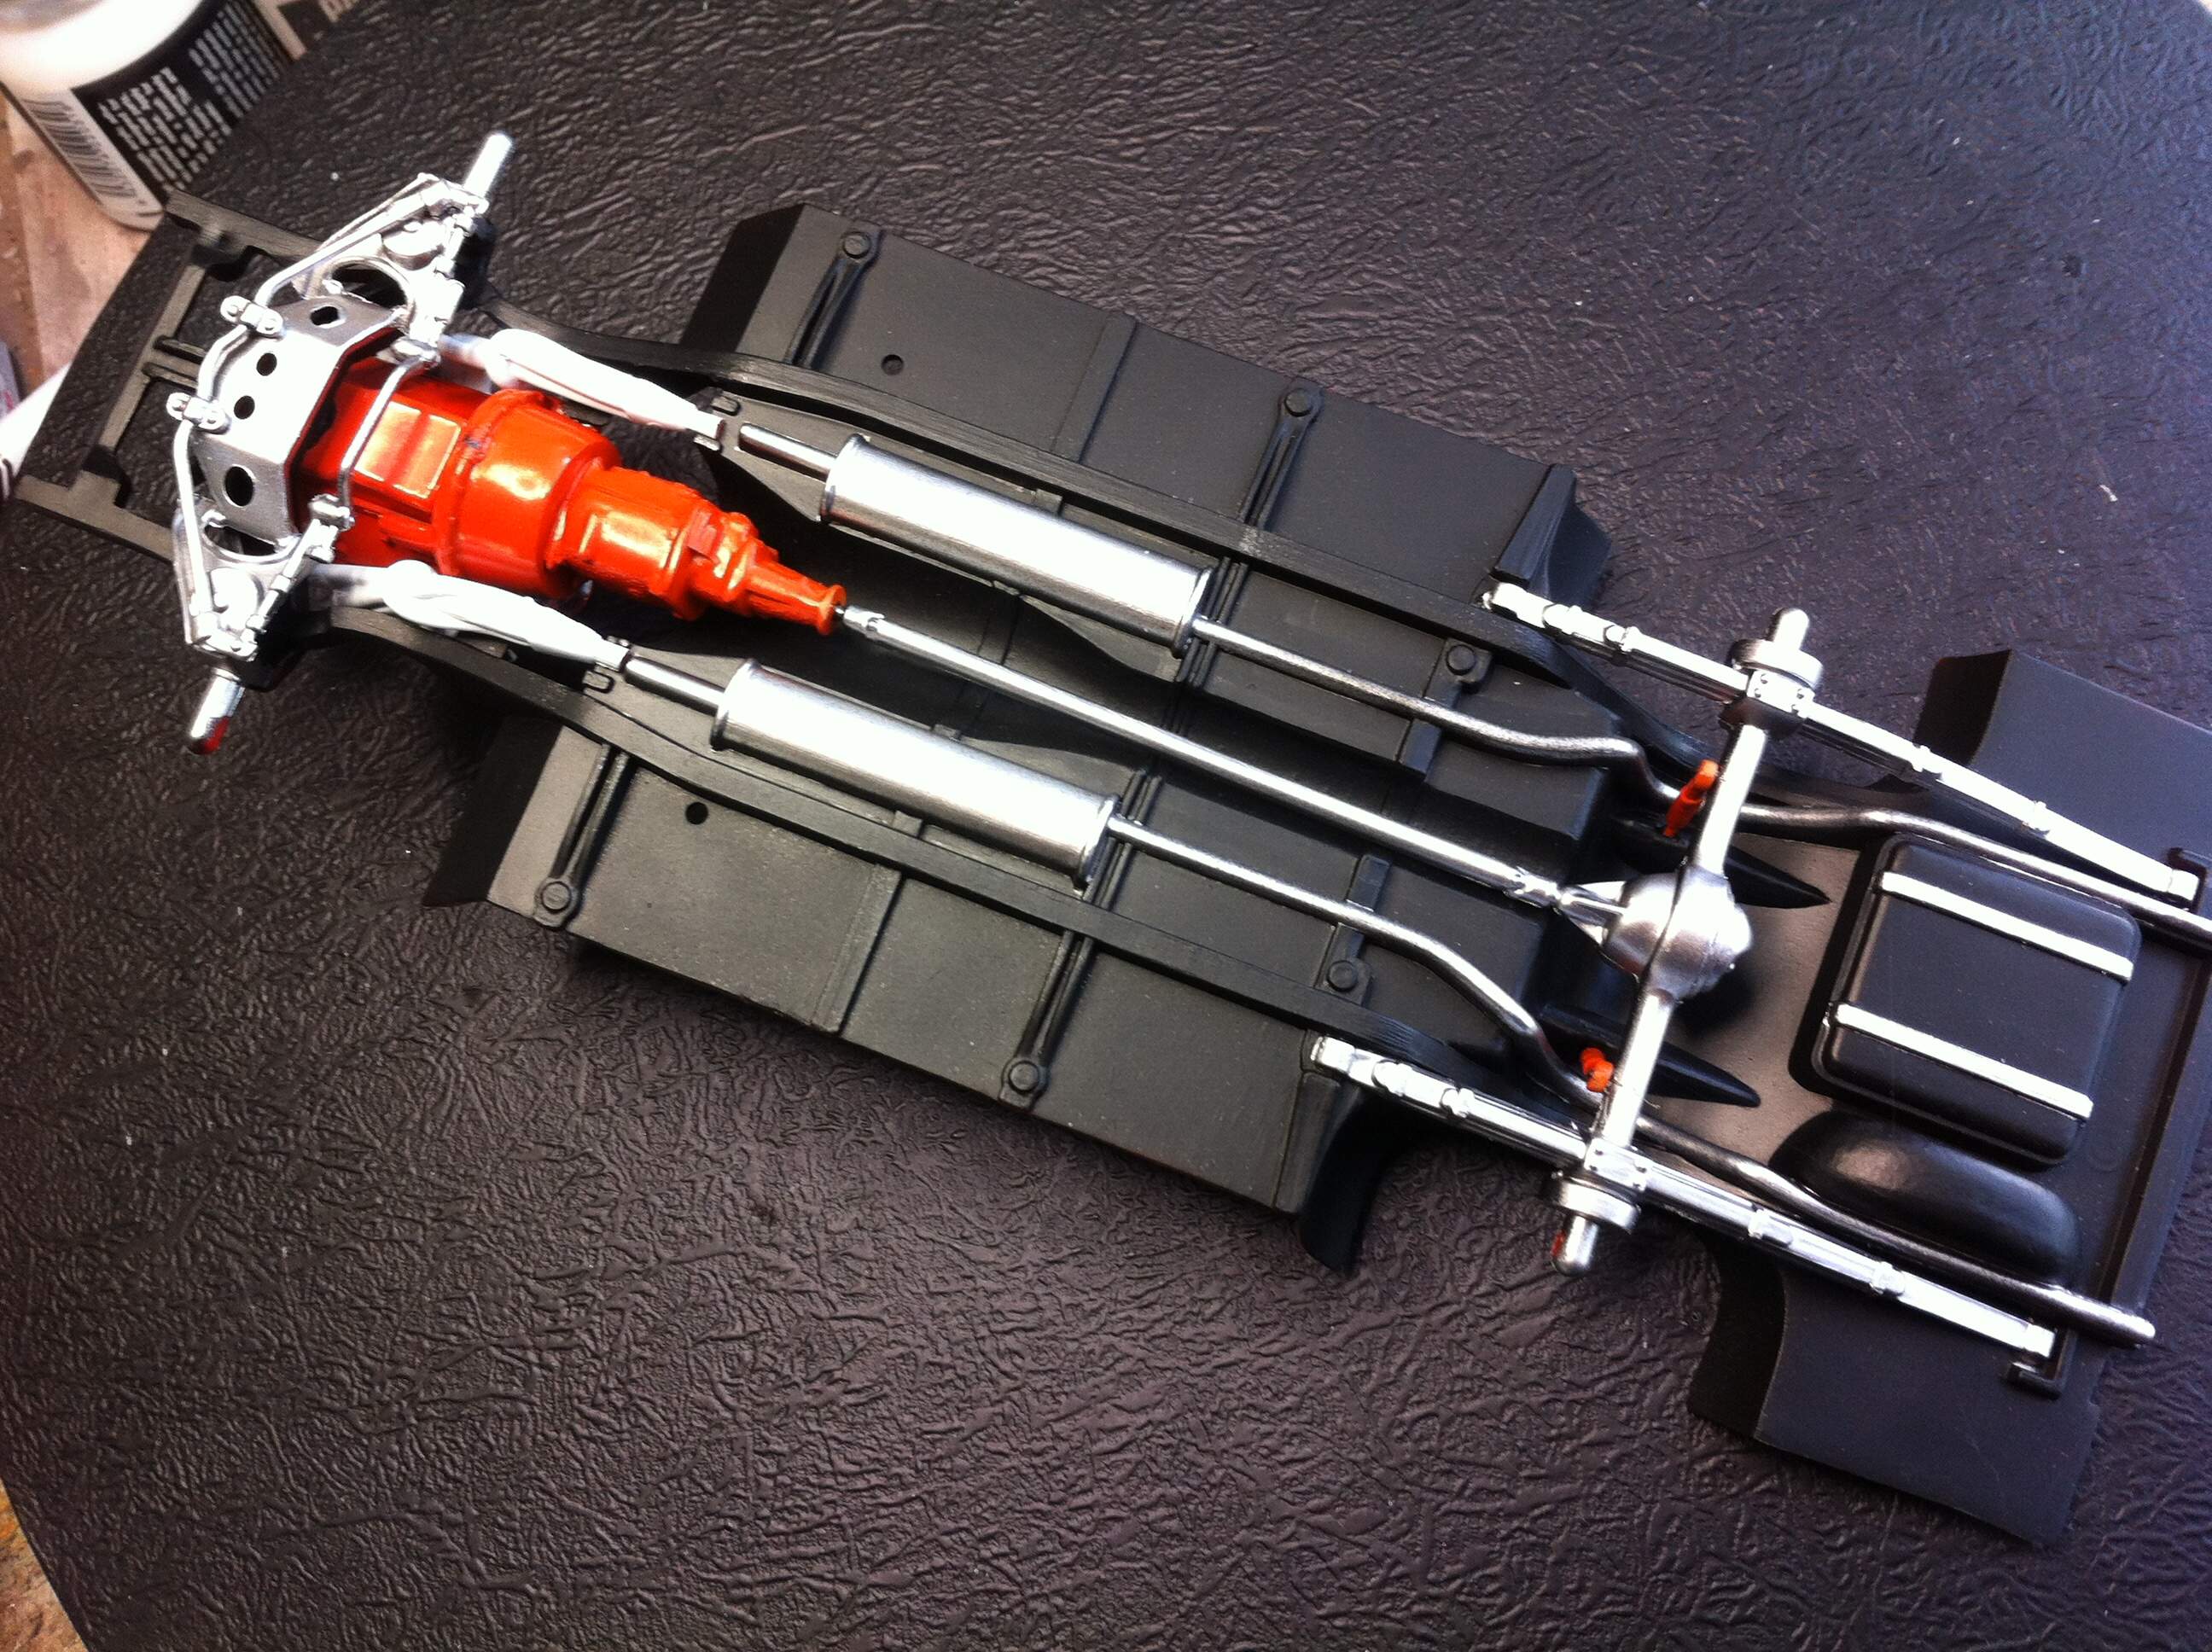
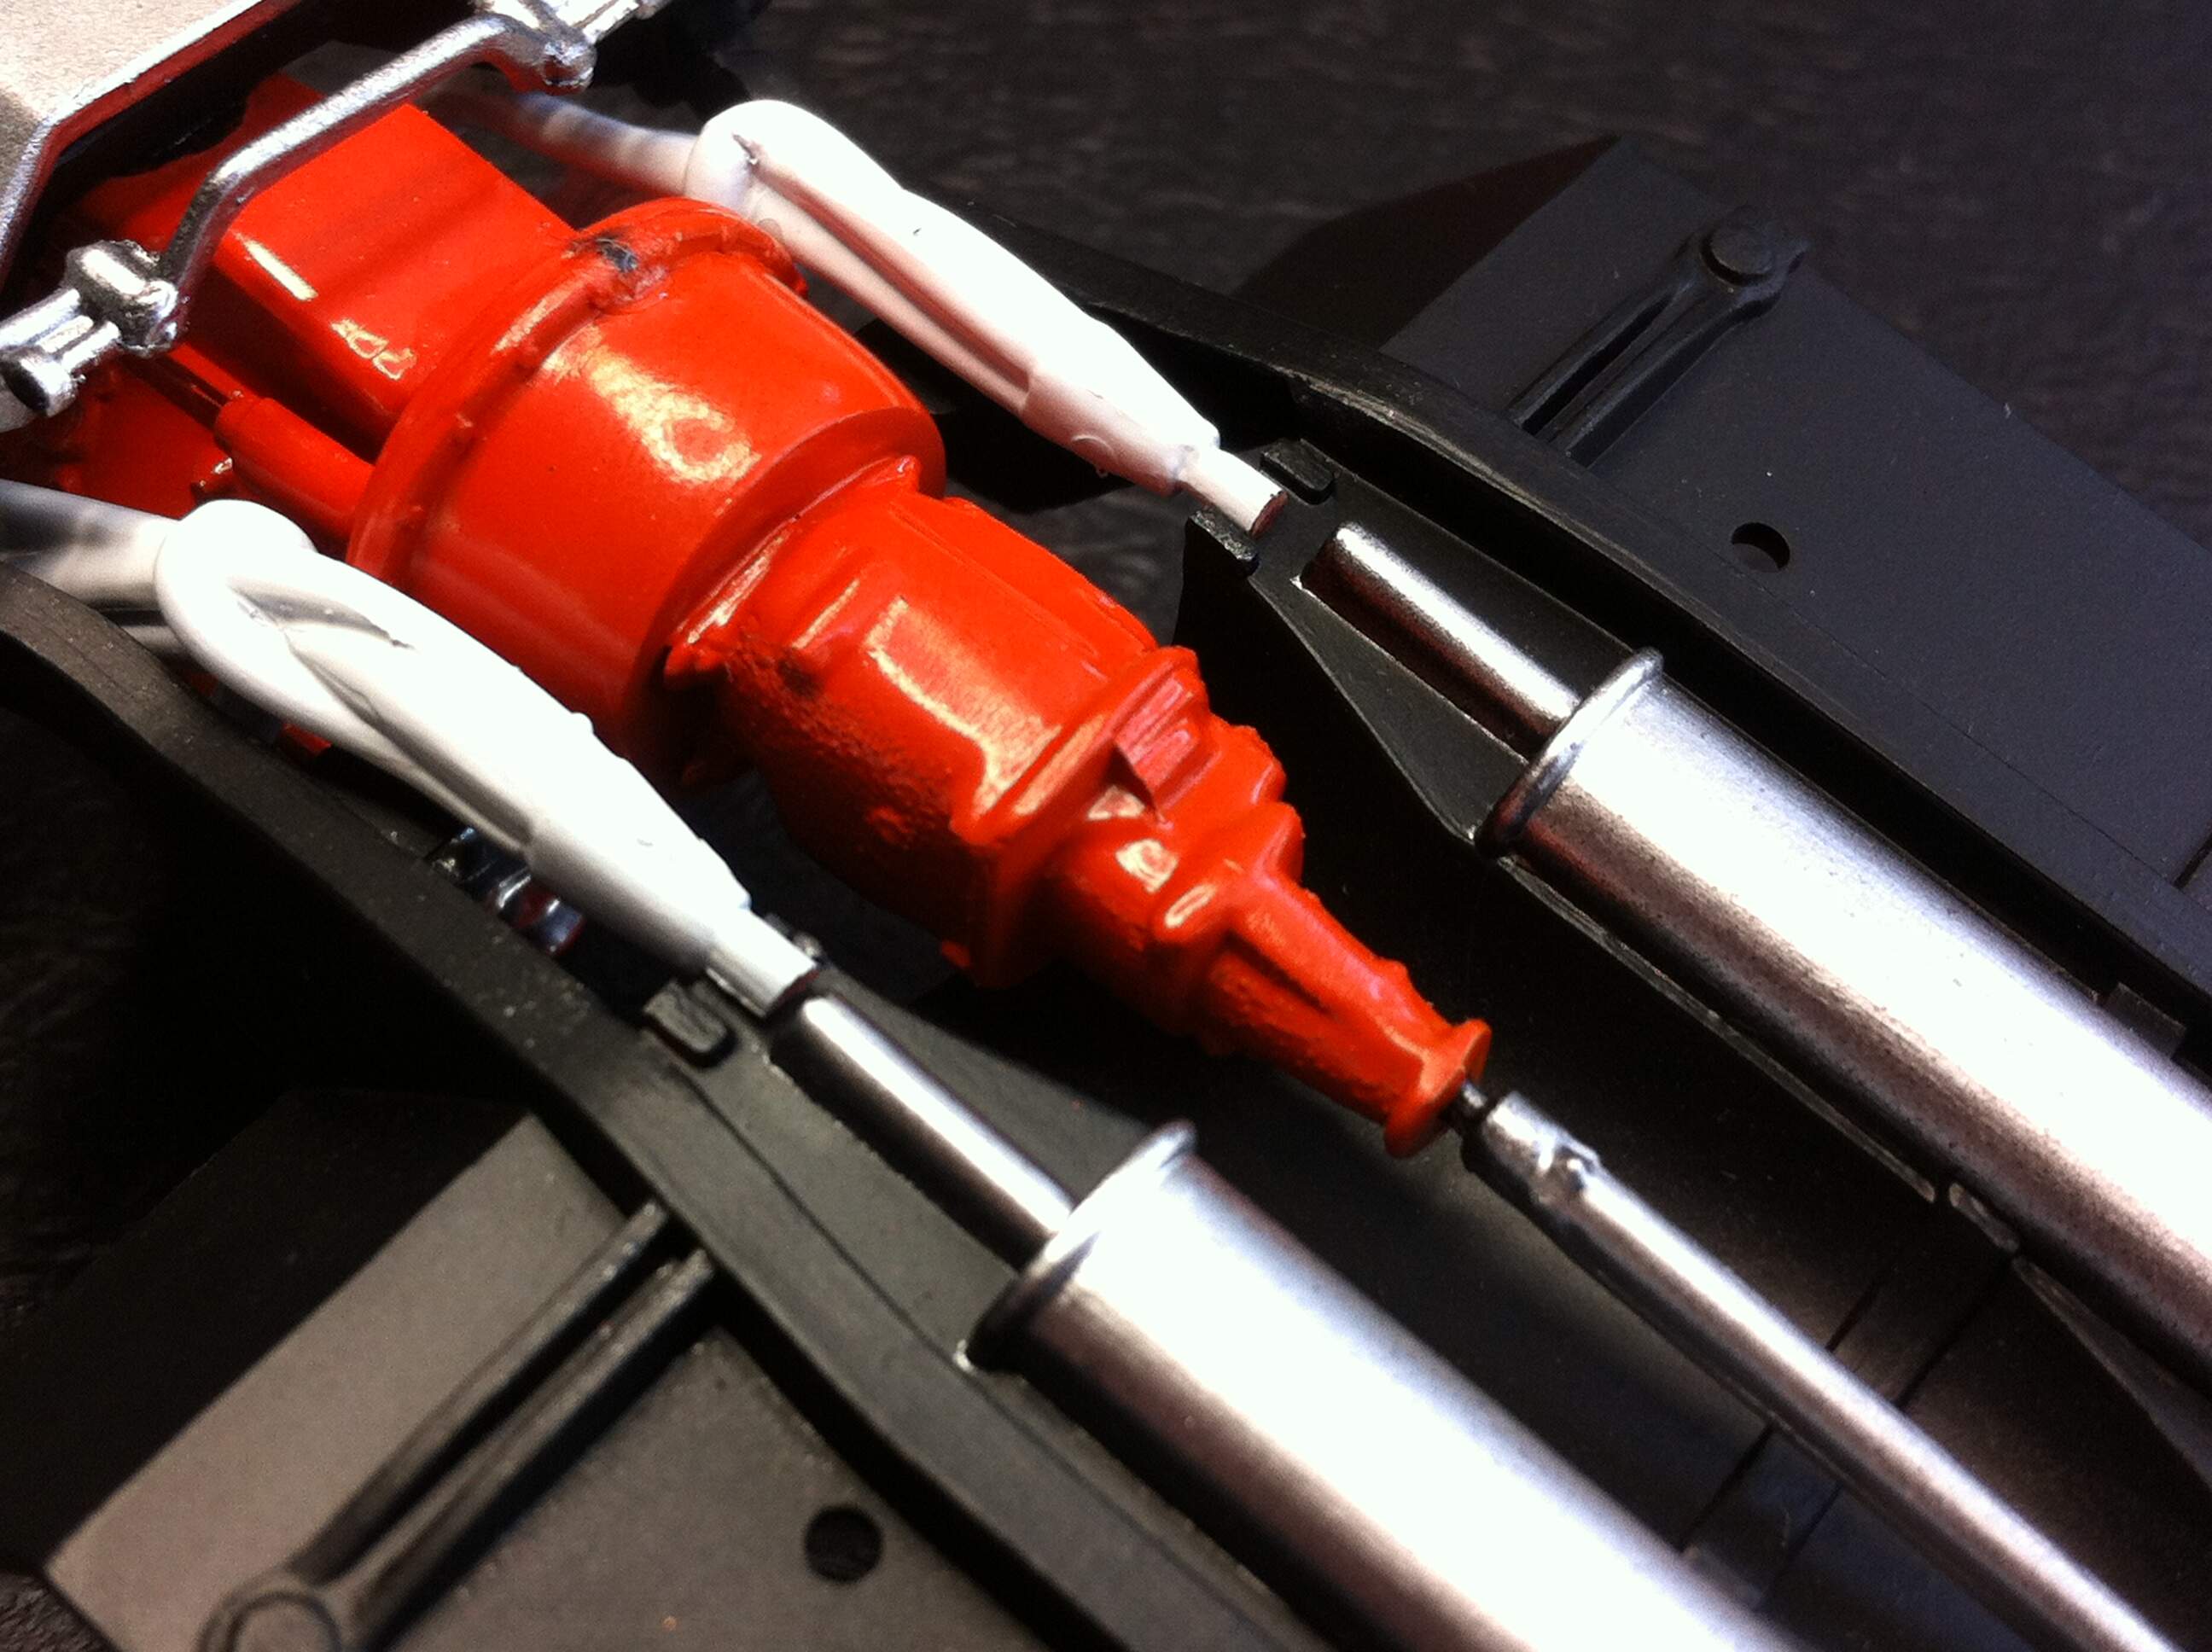
Today I fitted the engine into place in the chassis front end, and then added the drive train and rear end components.
The header/muffler connection leaves a bit to be desired, but I can fix that up with a half-round cover piece.
I decided to remove the inside masking and fit the clear part before getting on with the BMF, and the tabs on the front of the clear part lock the hood hinges into place, so now the hood is installed as well!
And of course, since the hood is installed, the chrome bullets needed to be fitted in place. Now, with the engine installed, hood fitted off and clear part all set, it was inevitable that a little test fit of the chassis assembly had to happen.
Thankfully, the air intakes sit neatly in place right where they need to be, so far so good!
Cheers, D
Thanks D. The station wagon (LOL) is looking great. It will really pop when you get the BMF on it.
D,
The big block Chevy V8 with the twin 4 barrels sticking out of the hood looks like it’s pure business for sure.
Joel
Wow - go away for a few days and miss some great work!
David, your car looks absolutely great! you really nailed the colors and overall finish - it’s a beauty - congrats on this build!
And Damian, ha! that’s not grandpa’s Nomad! Where to start - the whole car looks great - undercarriage to body paint. Looking forward to seeing this one wrapped up!
Stay well gents -
Cheers
Nick
Thanks Nick, it was a fun build.
Nick & Family,
Stay well as finally we can see the end of the tunnel.
Today has been the 1st day in a week that I actually got to seat down at my workbench. Same for last week as well. Just way to many health related issues with my twin brother whose just been diagnosed with Non-Hoskins Lymphoma. And since both of our parents died of that disease, I need to have my blood work ramped up as well. Add to that the monthly eye injections have been stopped as they haven’t had any positive effect on my Retina disease, leaves me with just one vaccine left on the shelf for them to try, and that’s if the Insurance companies approves it.
Hope to have a small update later this weekend.
Joel
Finally was able to get a little bench time in over the last week as my brother has taken a turn for the worse and is back in the hospital.
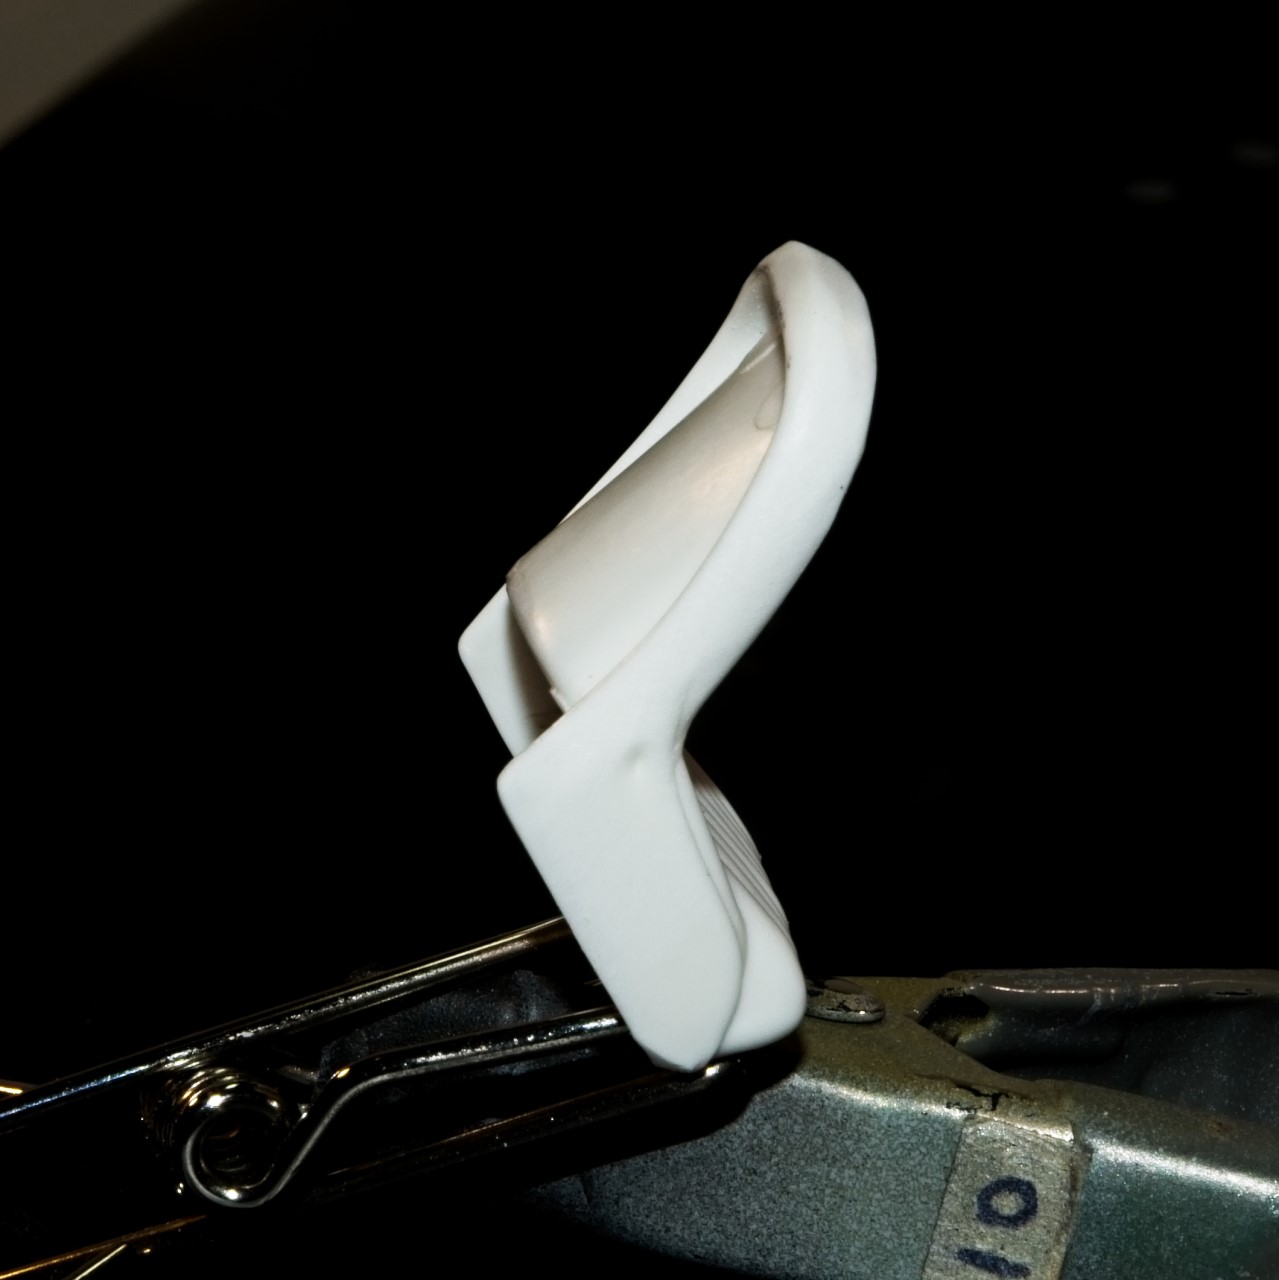
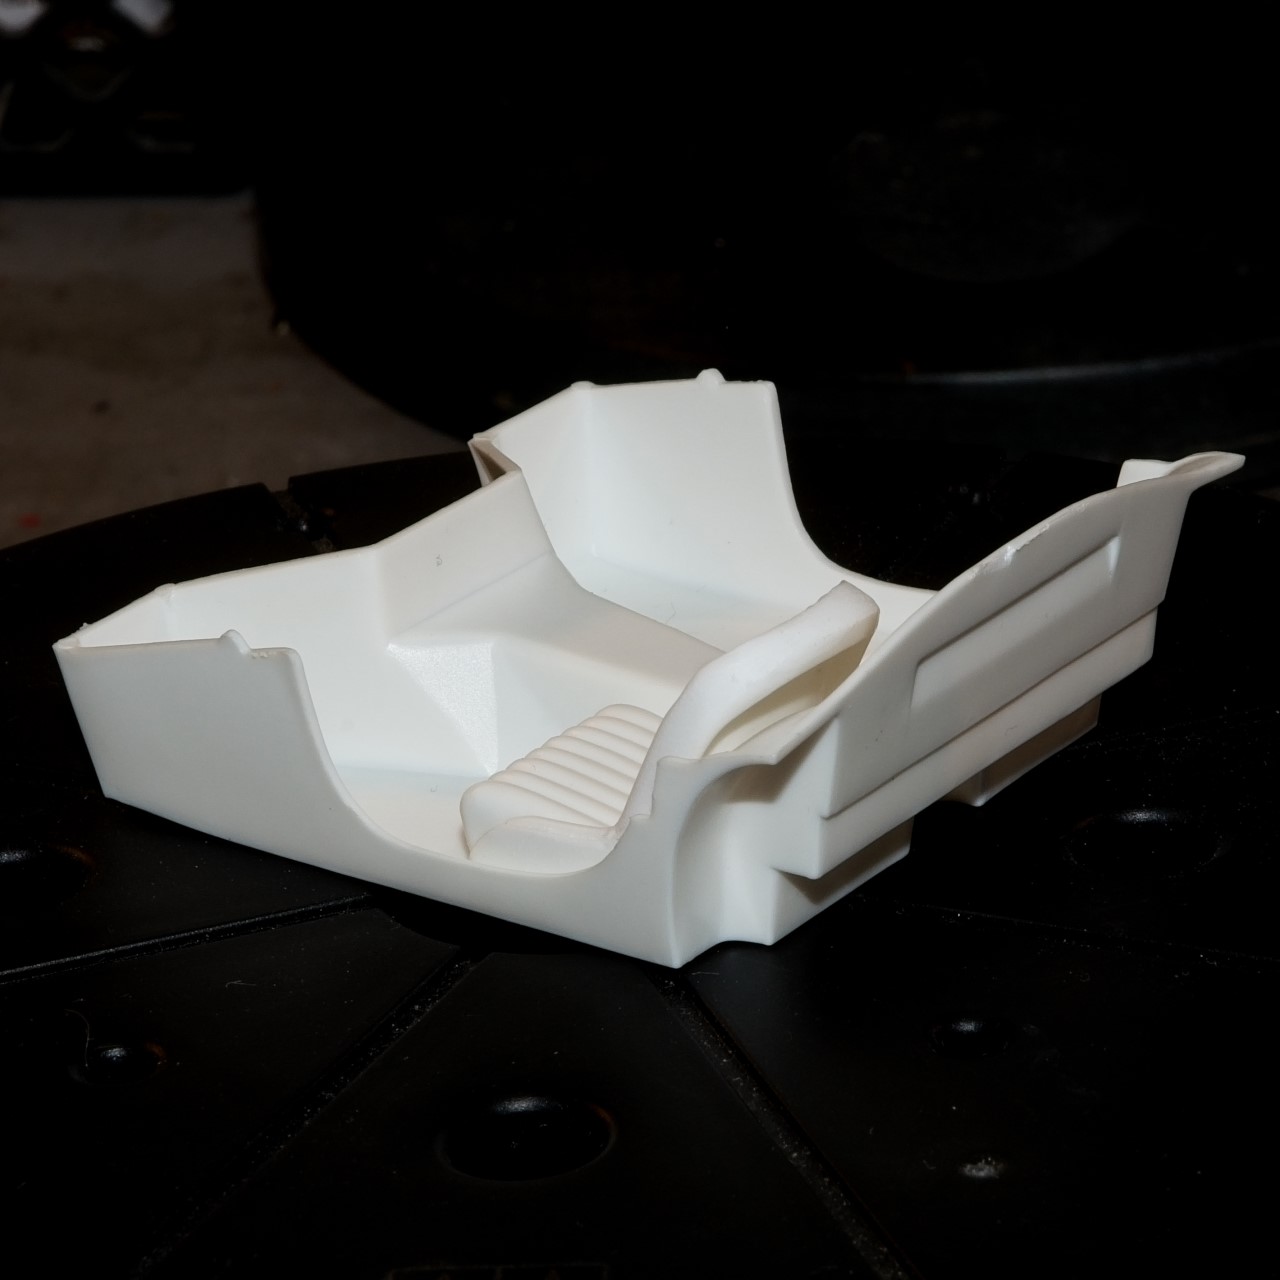
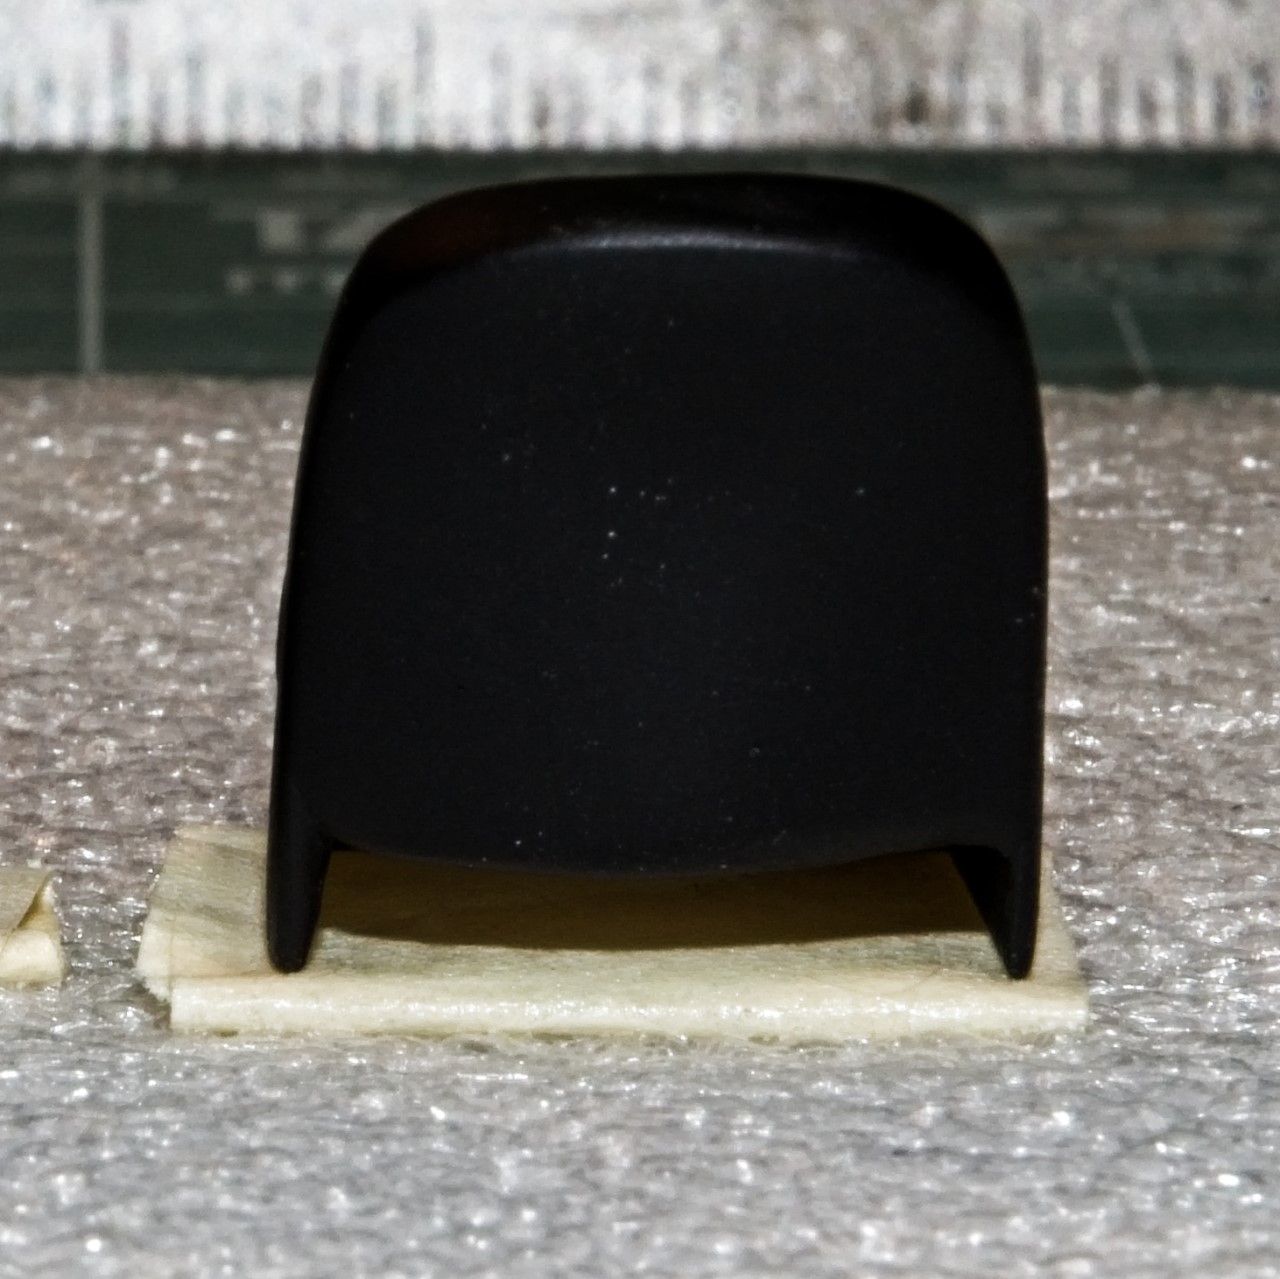
Time to focus on the the interior of the Cobra, which is about as basic bare bones that Shelby could get as saving weight was the main focus.
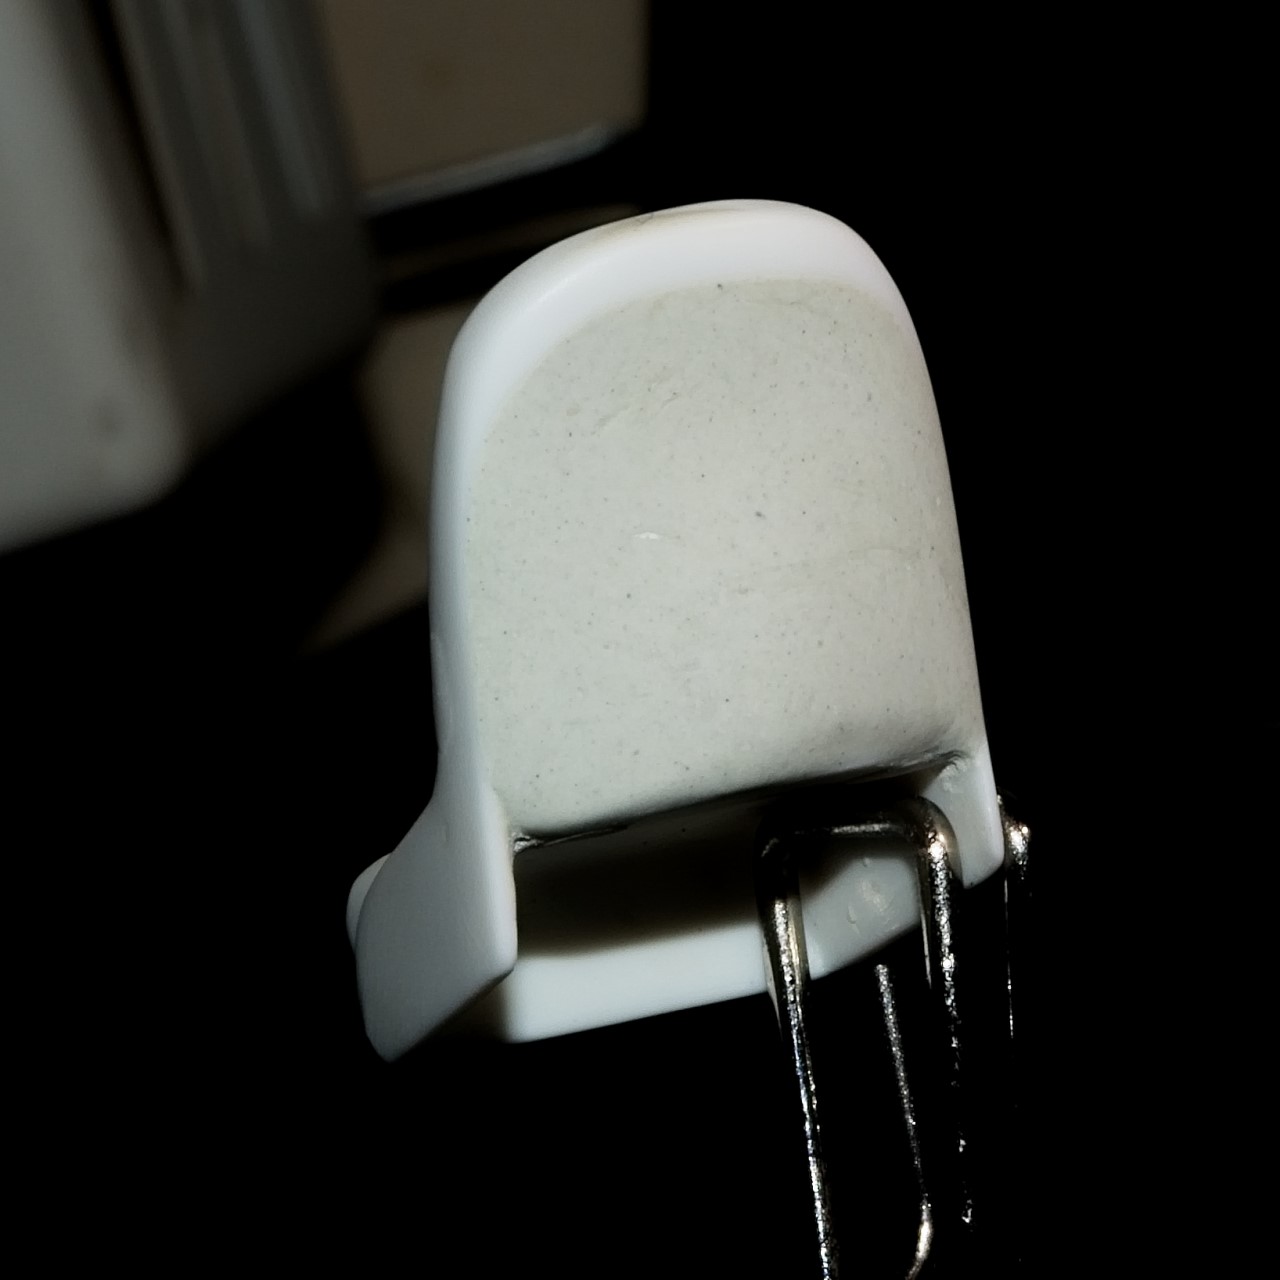
1st up was the two really basic type of seats found in the sports cars back in the 1960s. As with most of the kits from that era, the seats didn’t have a back to them, relying instead on the interior tub to hide that issue.
You can easily see in the above photos that the open back is plainly visible. My 1st option was the tried and true sheet plastic glued to the back, but in these seats the bottom of the seat sticks out past the back making that a non-option. So I went with Apoxie Sculpt 2 part epoxy that I smoothed with a wet finger so that when dry only final sanding was necessary.
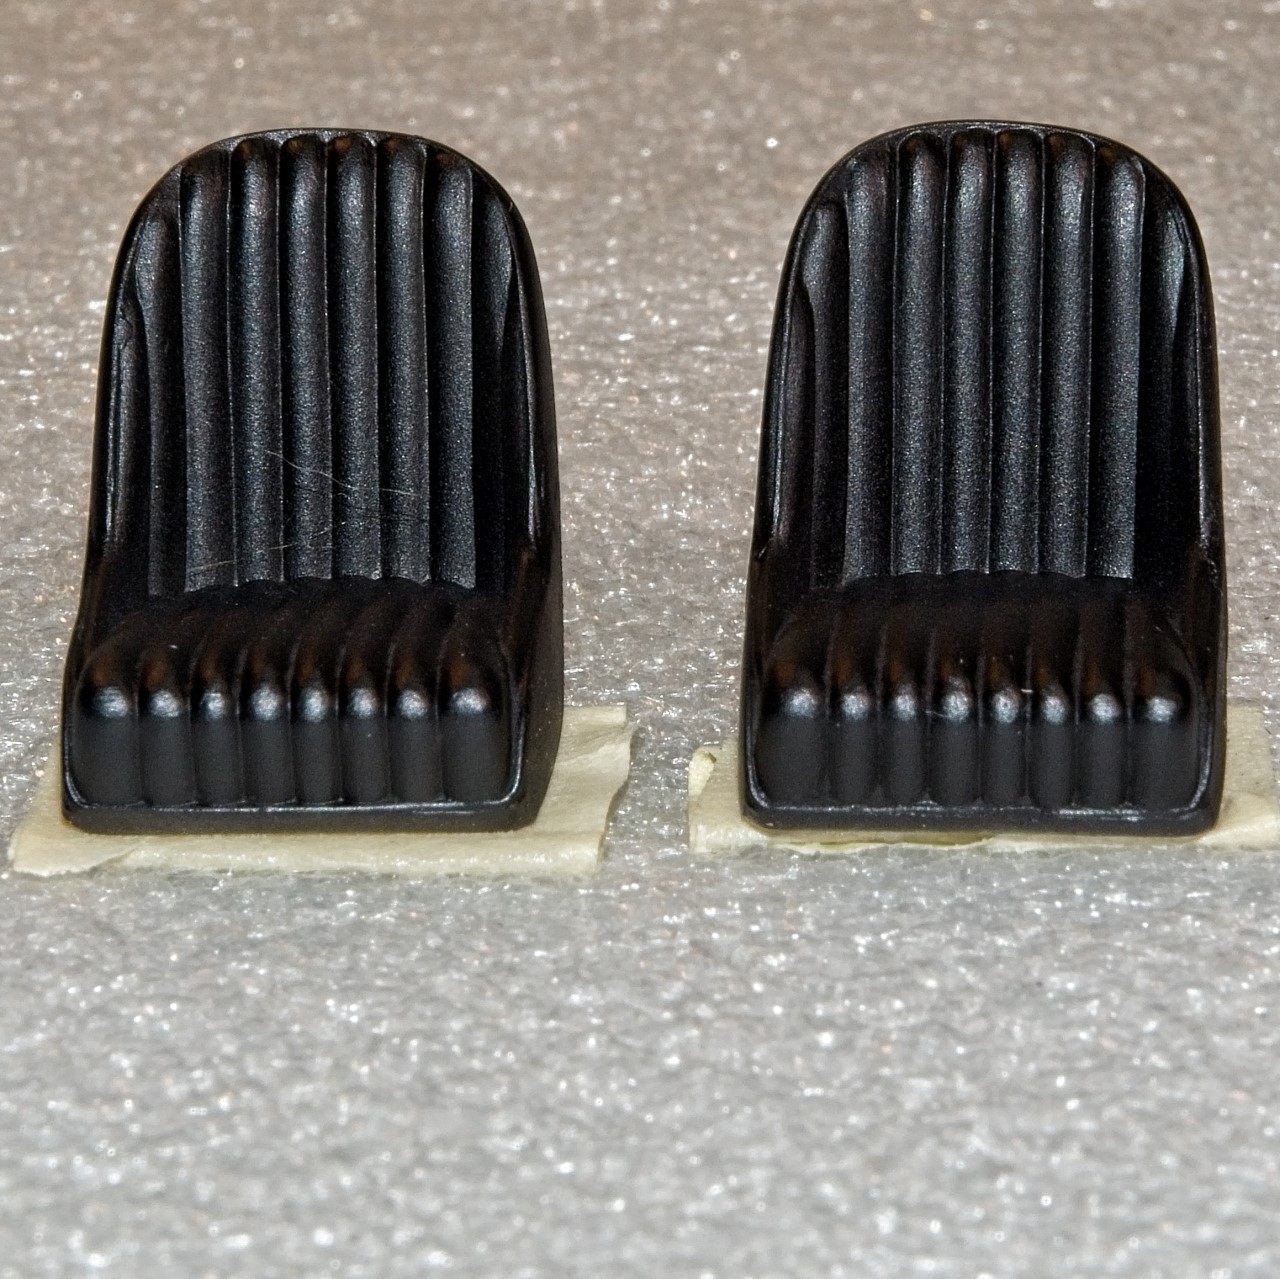
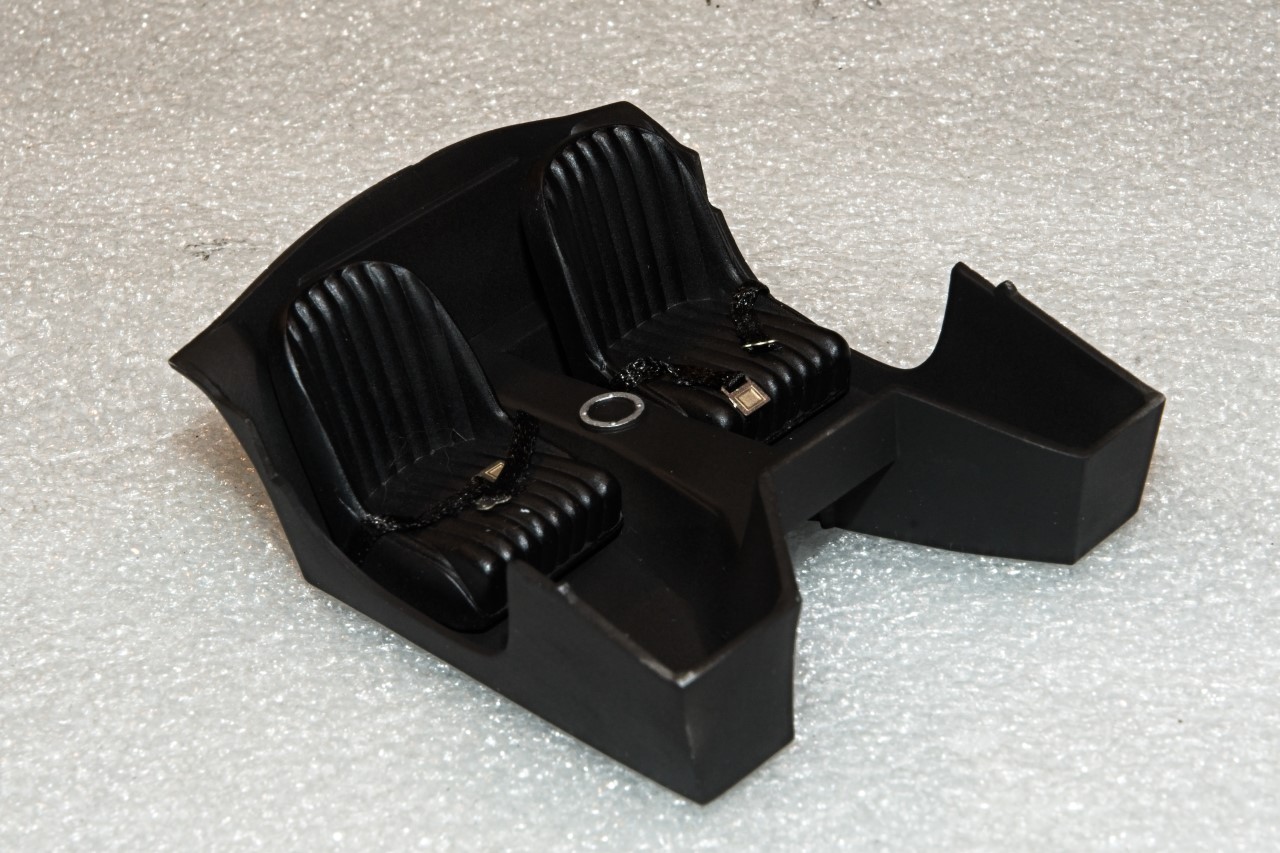
Then I primed the tub and both seats with Gunze 1500 Black primer thinned 1:1 with Mr 400 Leveler Thinner. The next session I left the tub as is since it’s pretty darn close to the flat black that is the correct color. I air brushed the seats with Tamiya X-18 Semi Gloss Black, then the following day rubbed it out with my finger for a slightly deeper sheen.
Finally, I assembled the basic lap belts that was used in the Shelby Cobras from spares I had from a PE sheet and Black ribbon. Here’s the seats dry fitted in the tub.
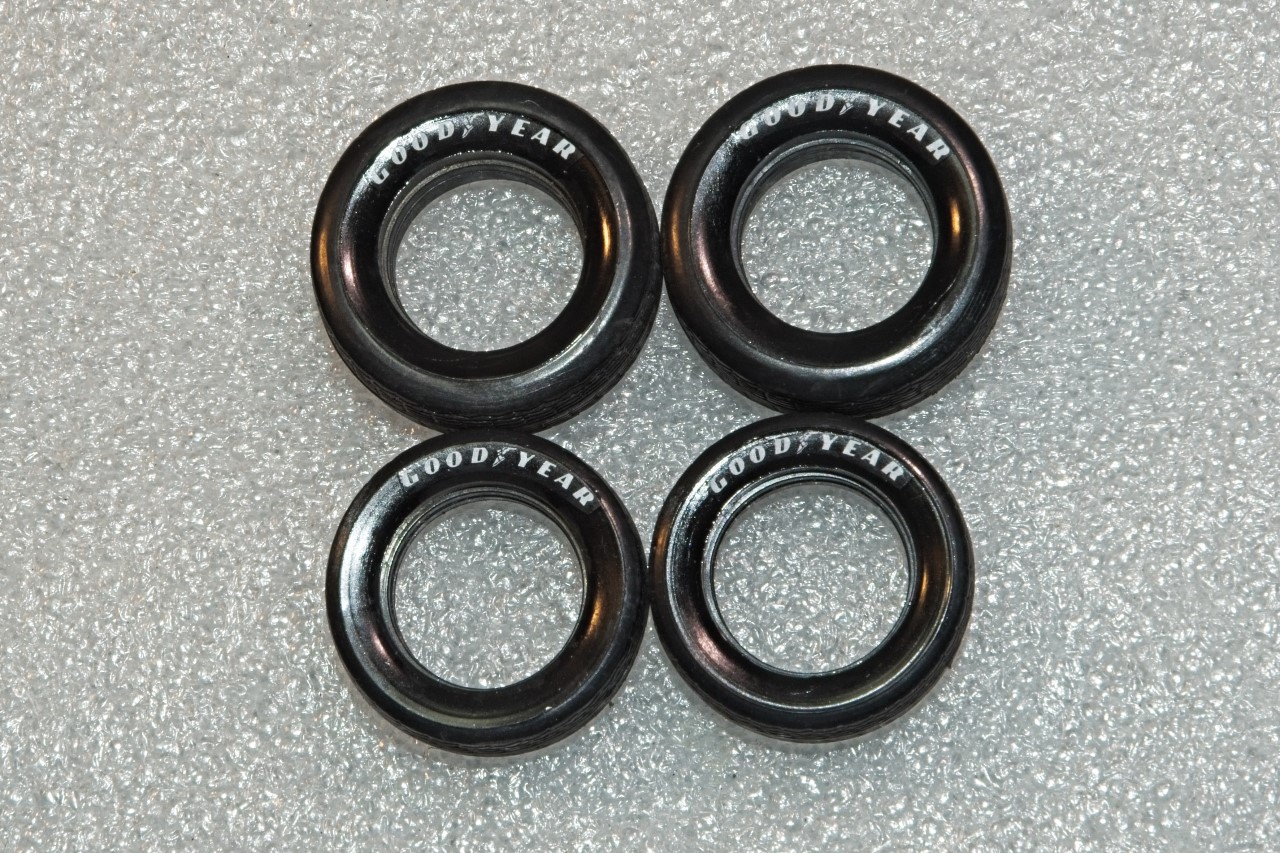
I started to work on the tires as well by cleaning up the centerline seams, and then digging out of my spare decals 4 Goodyear decals that actually have the right curve for the the front and rear tires. When dried I applied another gloss coat to help blend in the decals with Pledge. Still to come is a little bit of weathering and then an overall coat of Dullcoat.
As always, thanks for stopping by and checking out my build to date. It’s always greatly appreciated.
Joel
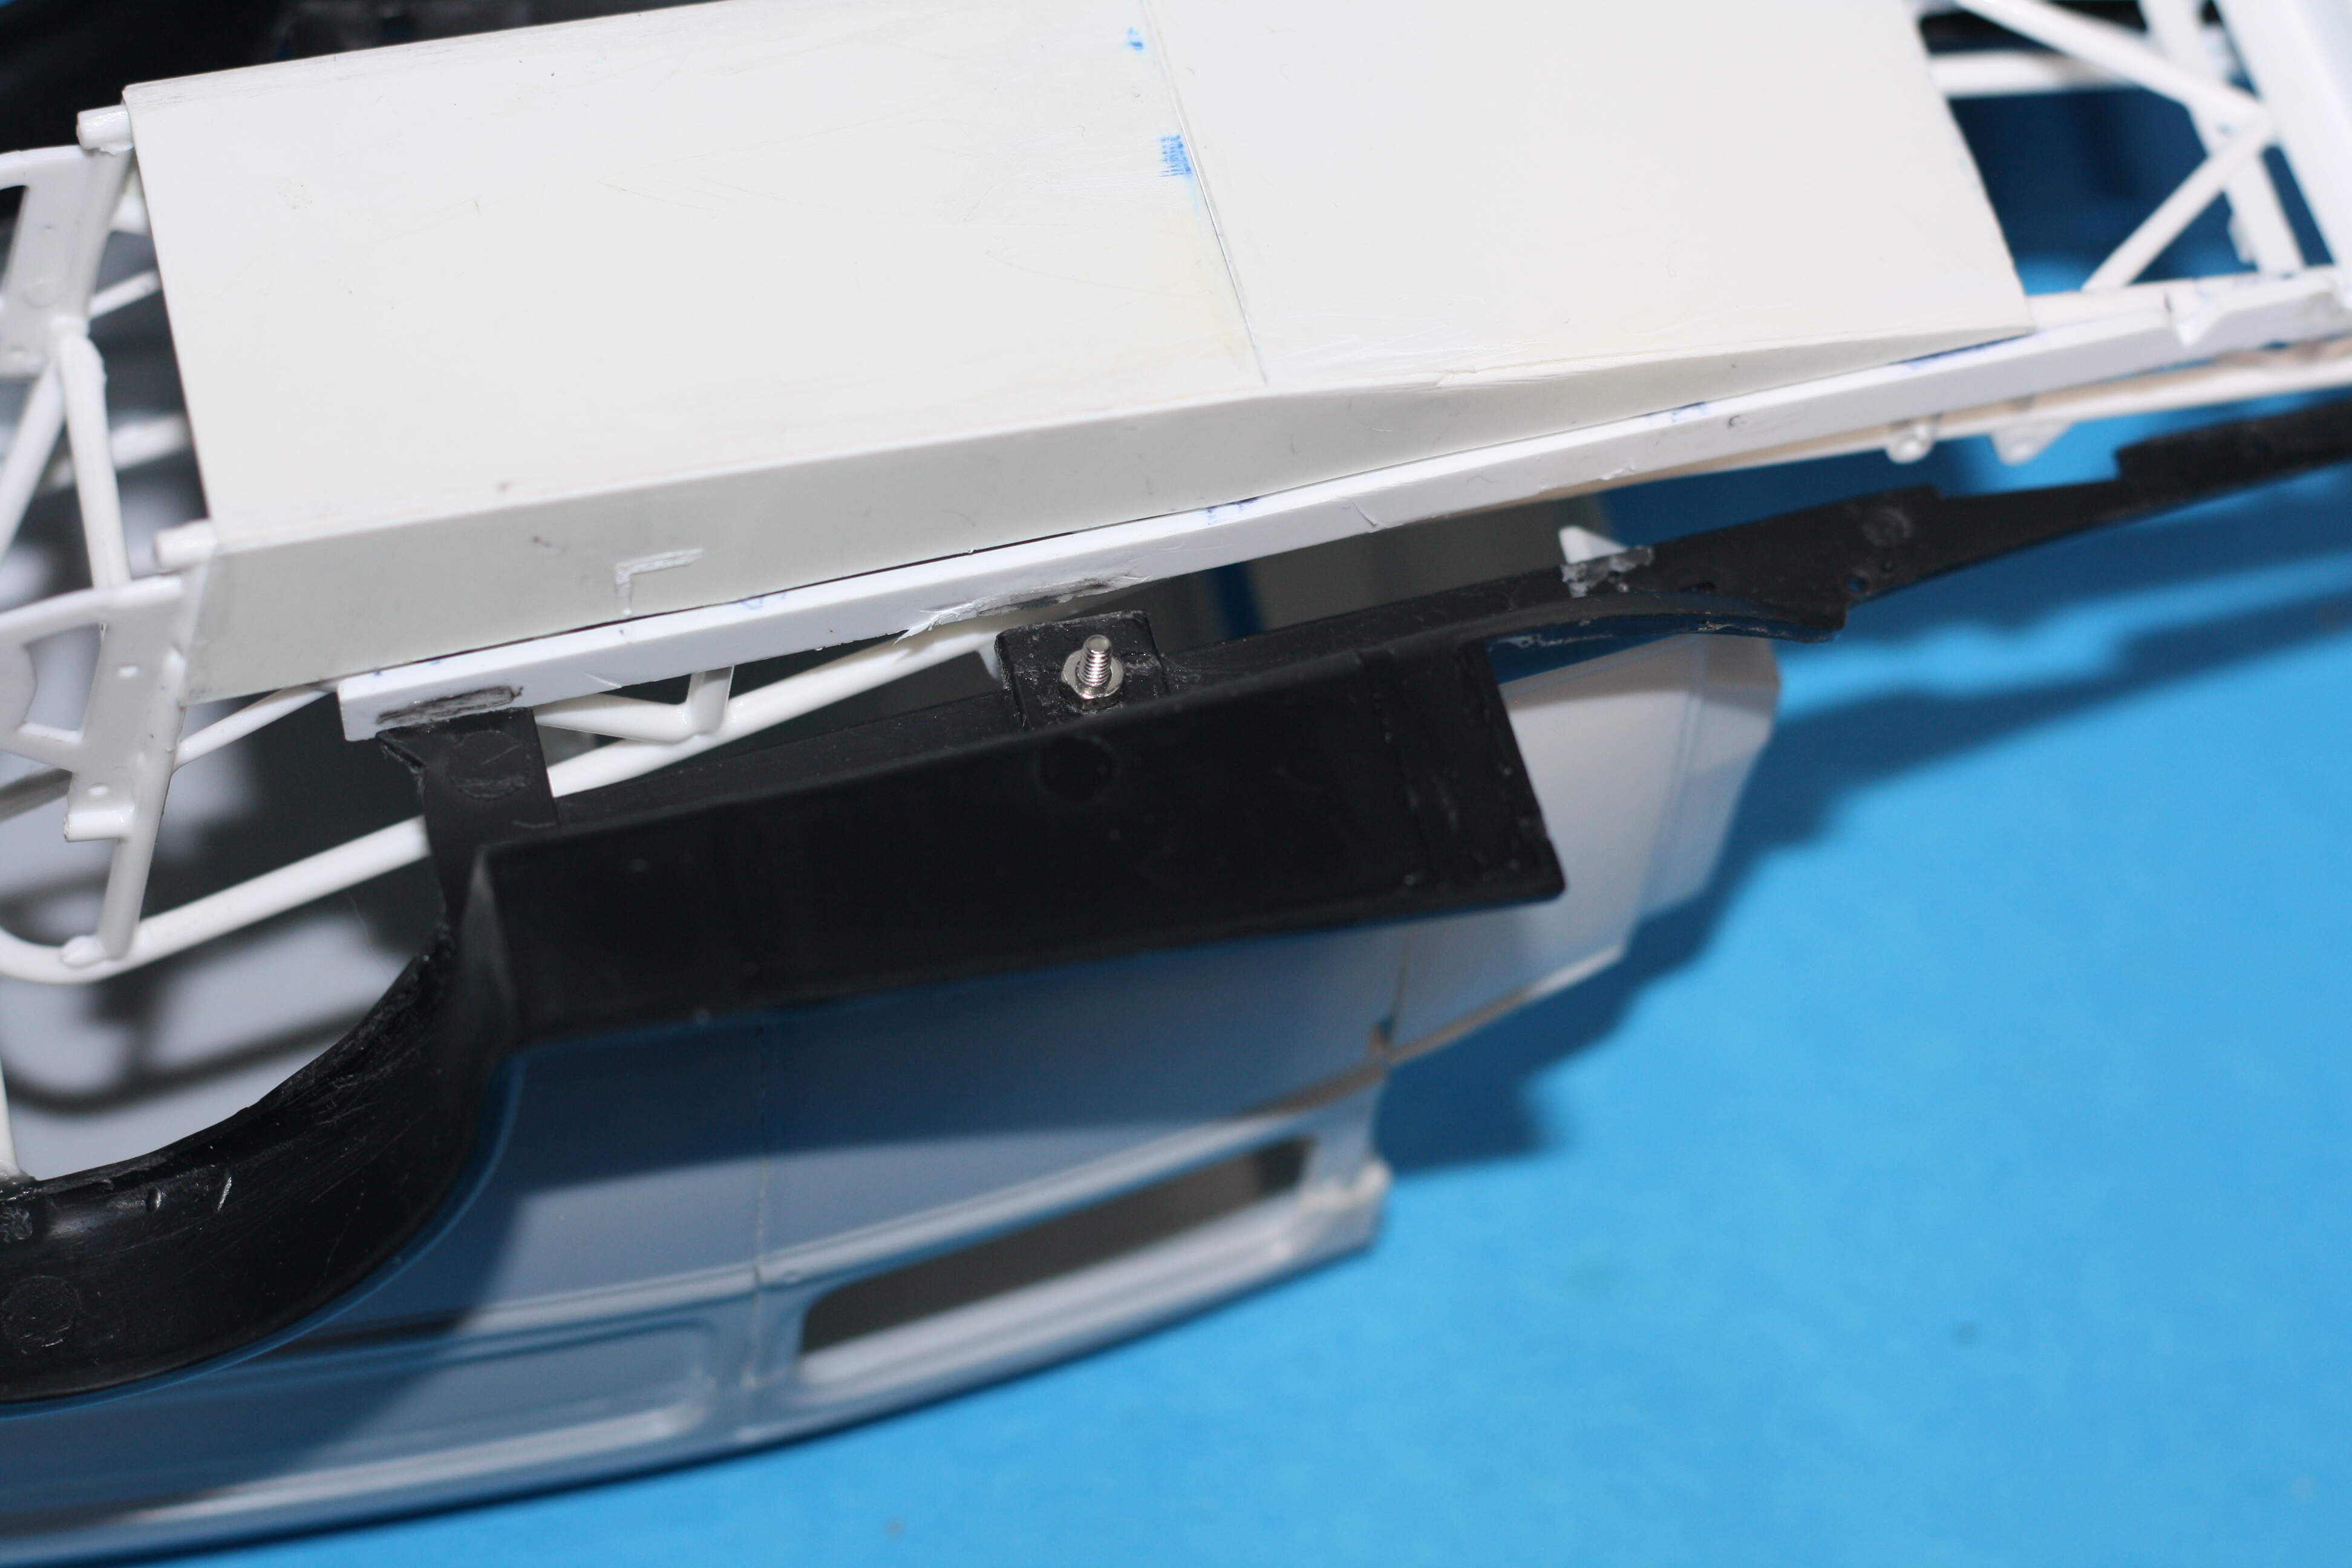
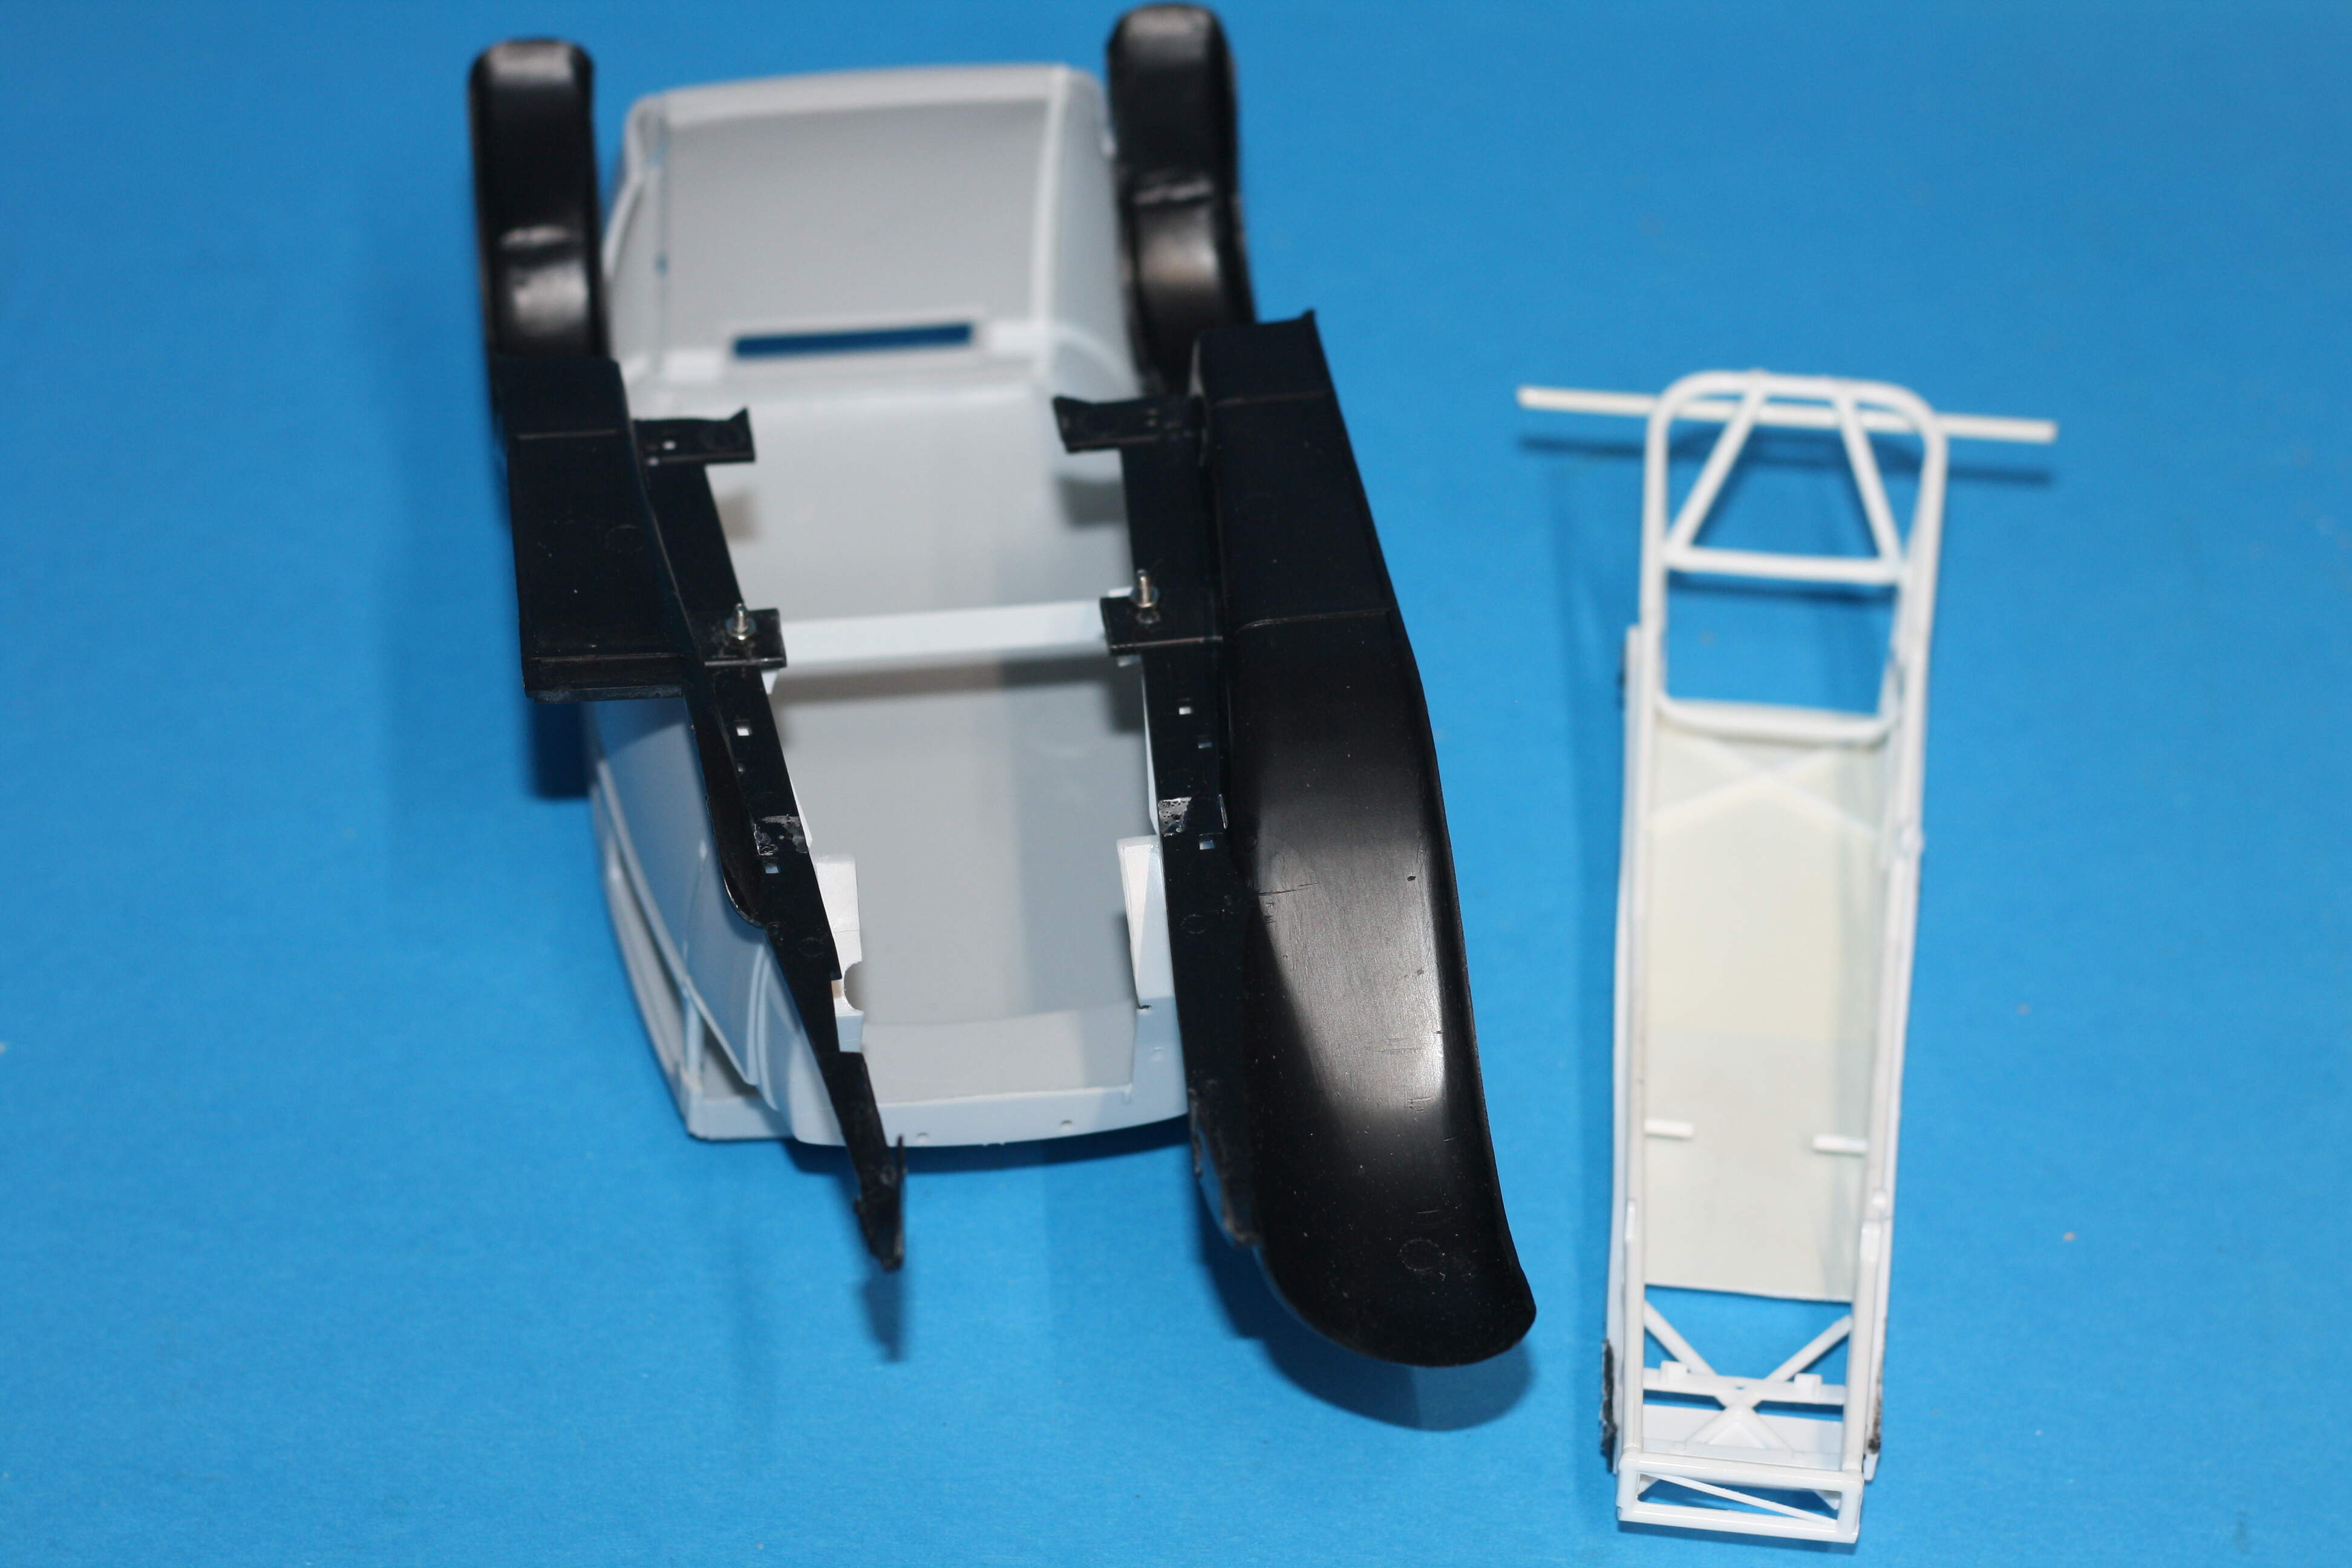
I had a little set back this week.
Decided to use screws to hold the body to the frame , I superglued the screw heads and managed
to glue the frame as well!
Richard,
Still, you managed to save the build and move forward. With my luck that would have been a complete disaster ending move.
Joel
It was a close call!
Take care Joel
Some amazing builds here and beautiful paint finishes.
I might join, fancy doing something a bit different from my normal projects. Silly question though, does it have to be a real world vehicle? I only ask as I have no car kits, but I do have Fujimi’s Blade Runner cars I’ve been itching to build.
If not, my LHS carries a huge range of cars. When they open I can grab one. Always liked the Lotus Super 7 and E-Type Jag.
Phantom_Phanatic,
Any car, bike, or trunk that you can dream up is more then welcome.
Lets face facts, the odds of me ever owning even a kit 427 Shelby Ford Cobra is way less then me winning the Lottery and Power Ball at the same time.
So just sign up and join the fun.
Joel