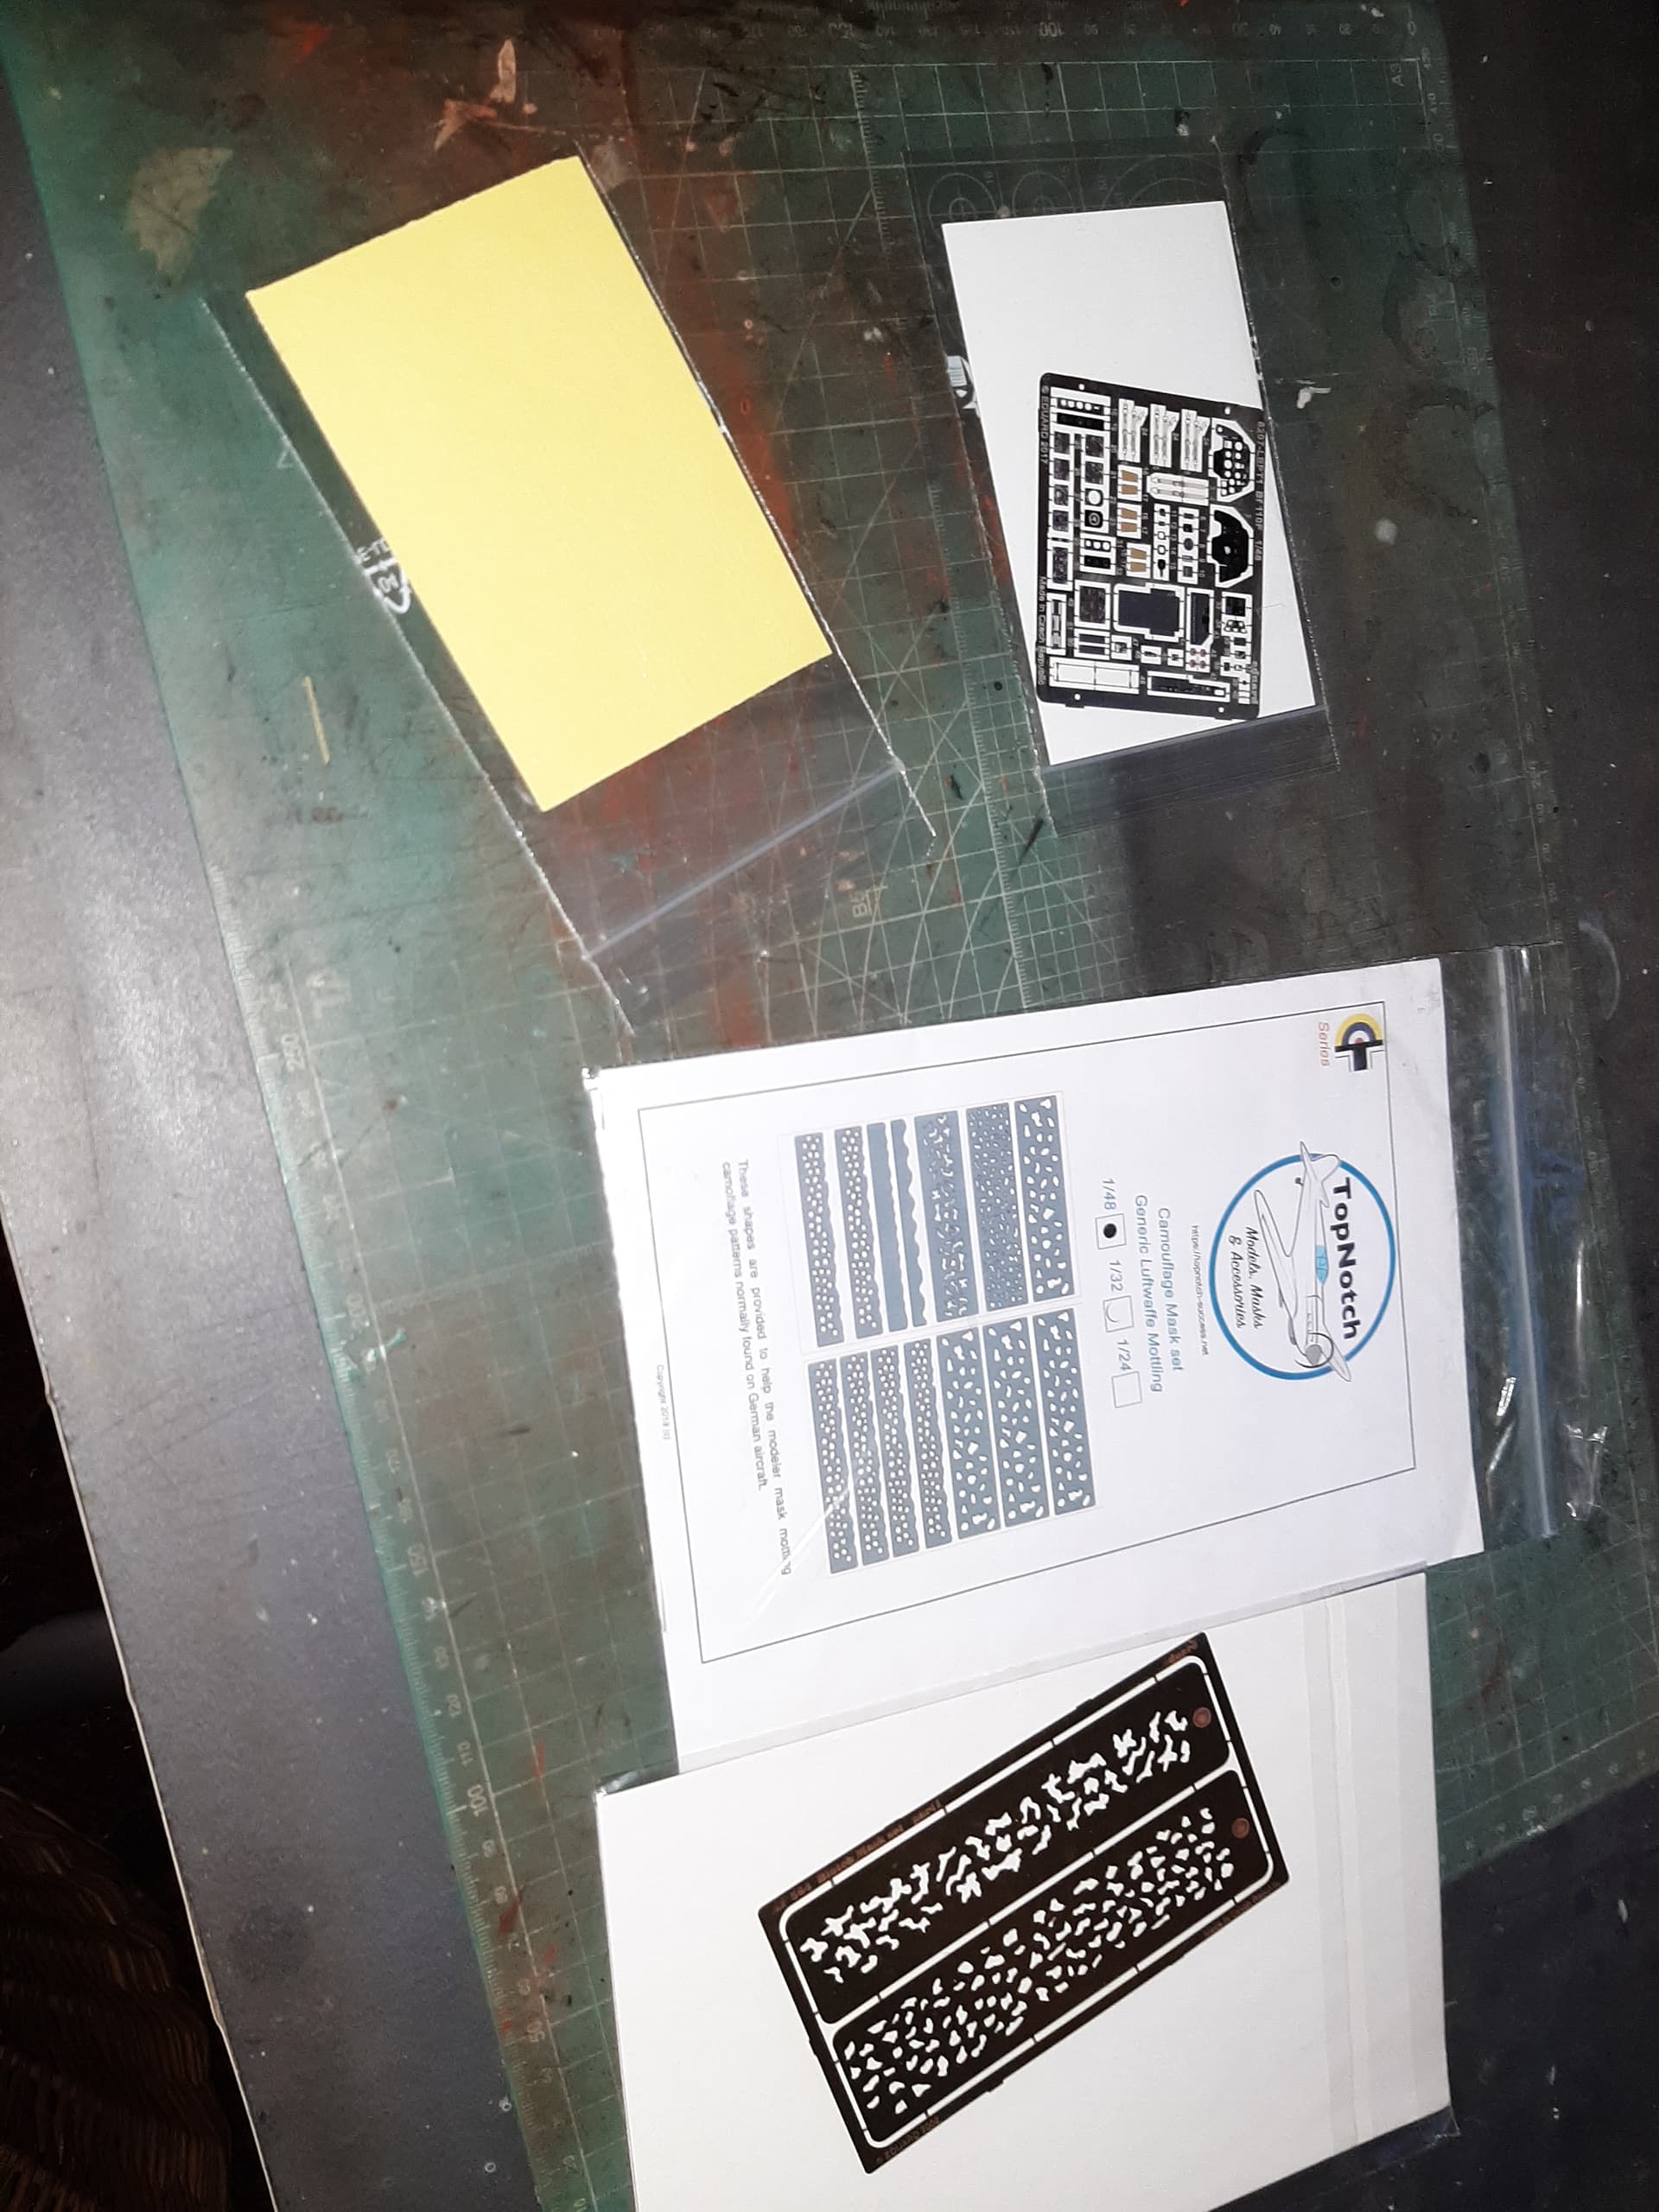
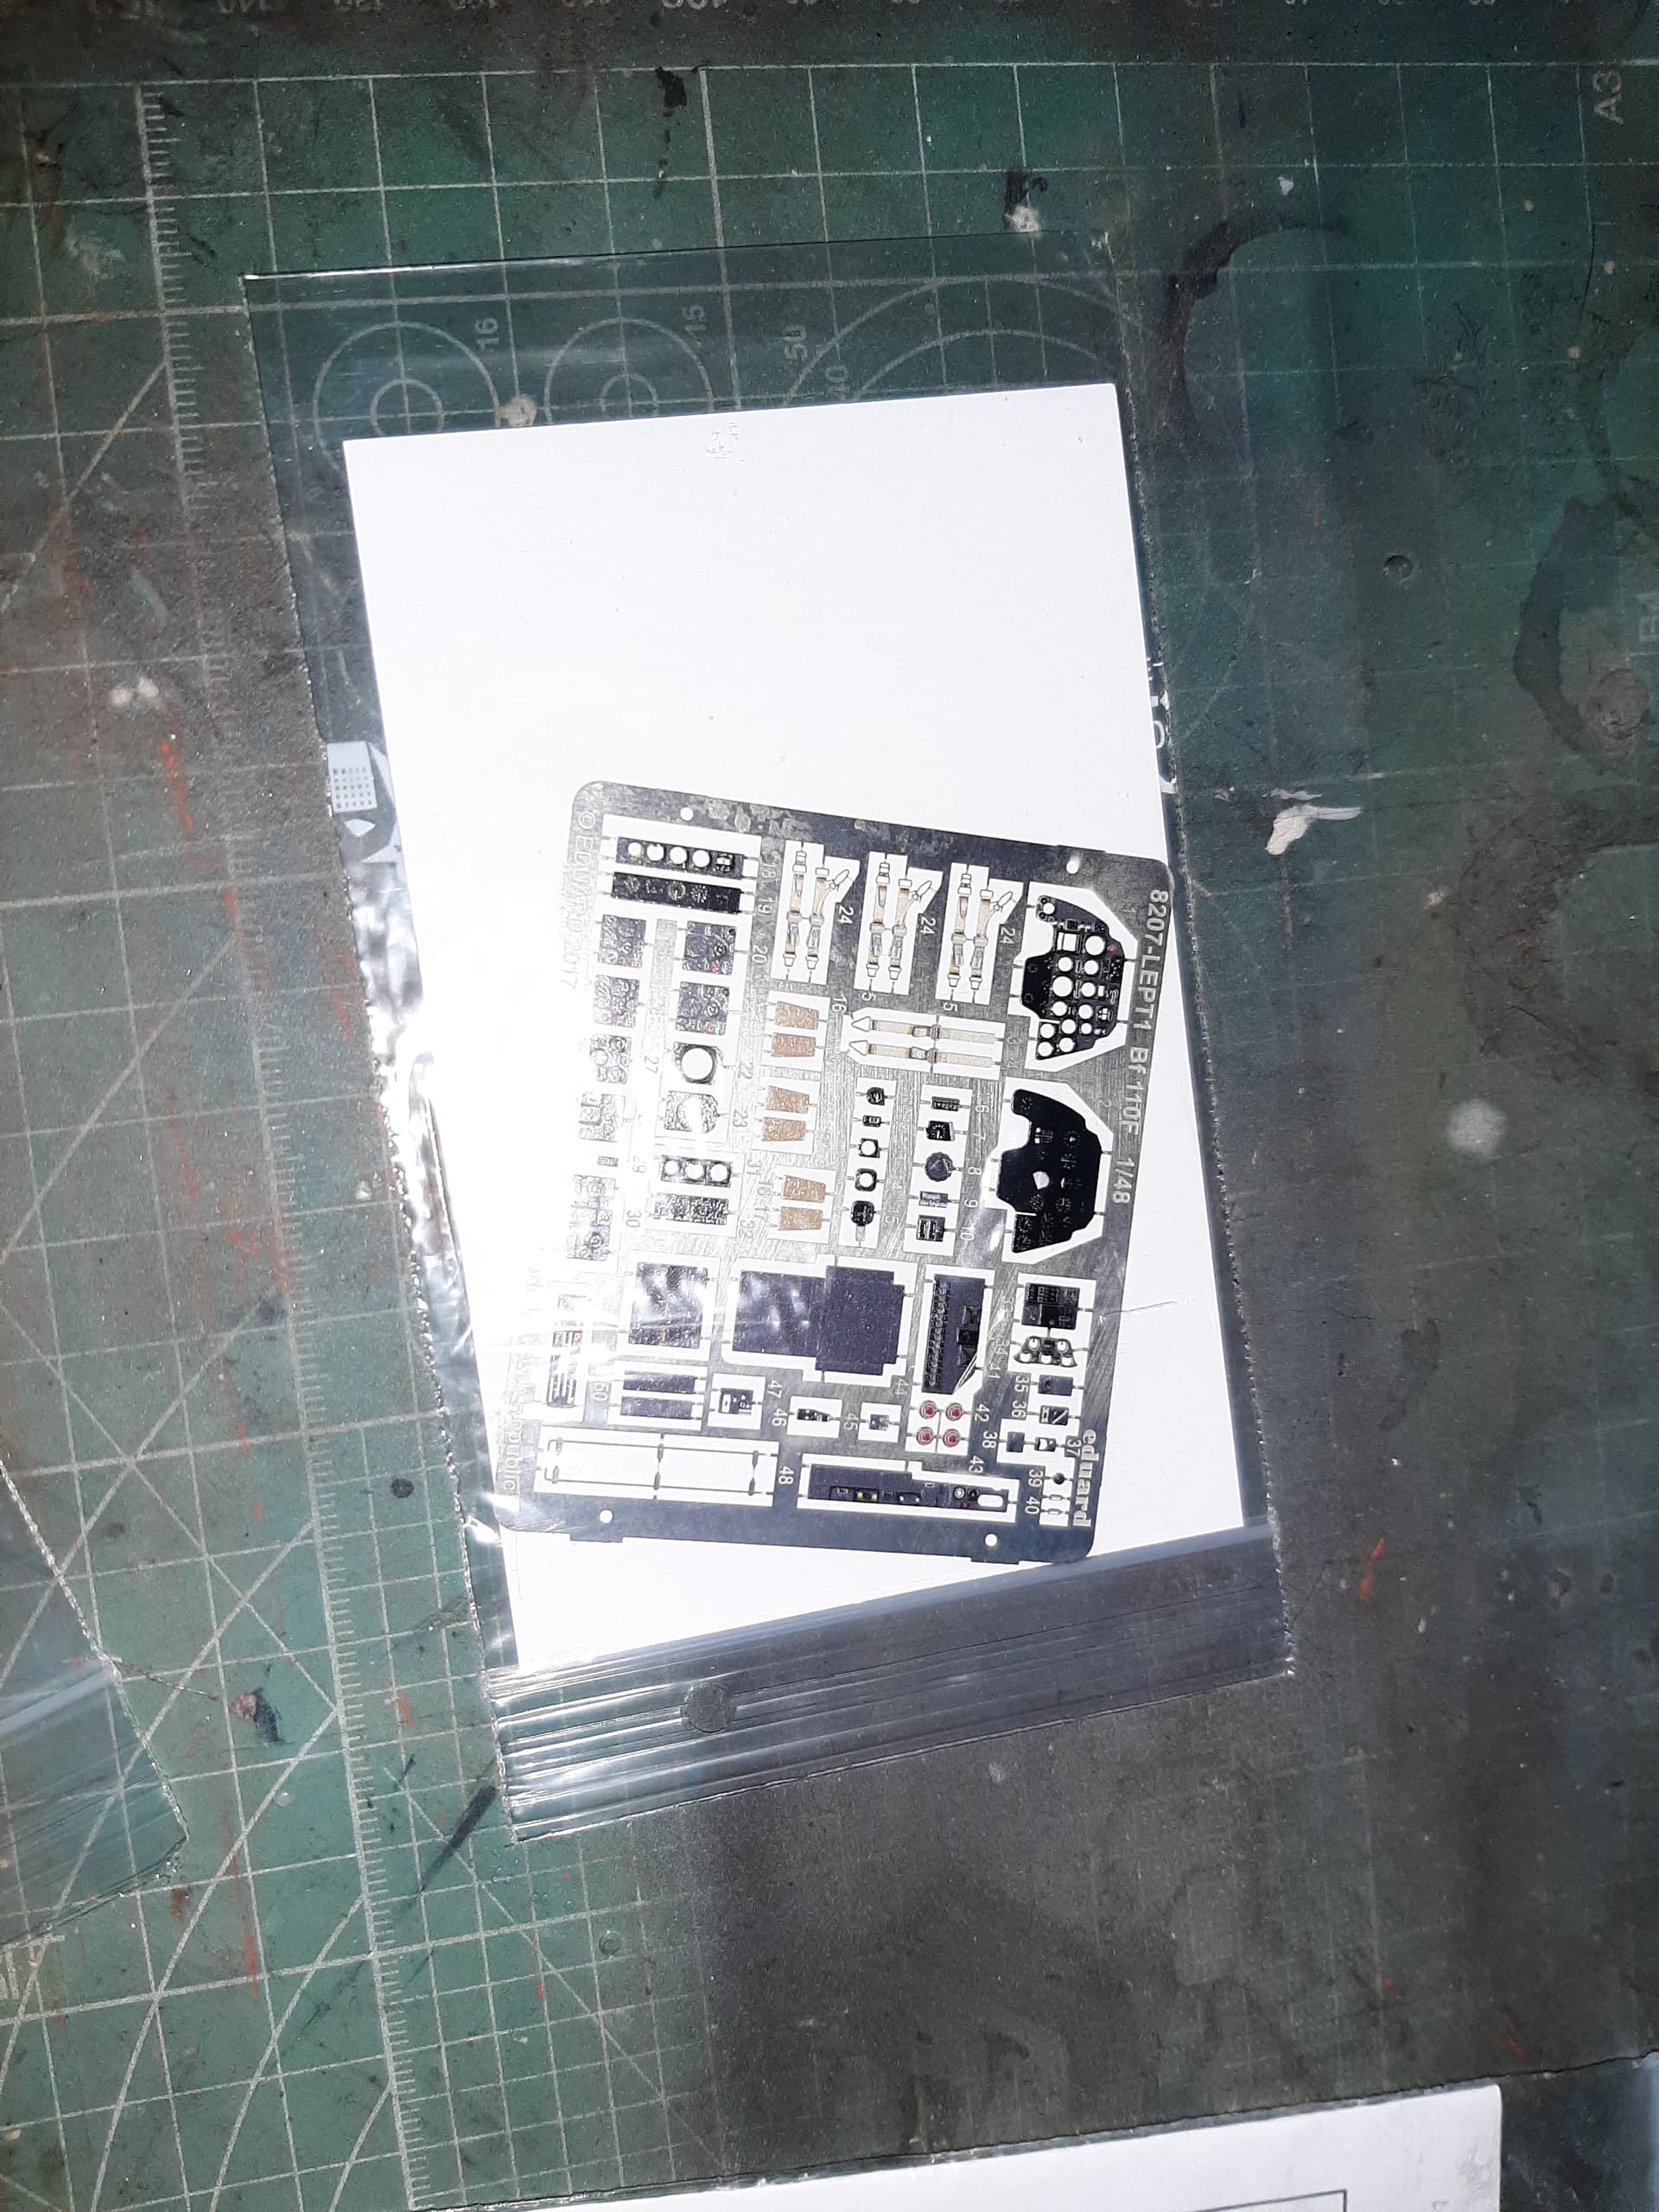
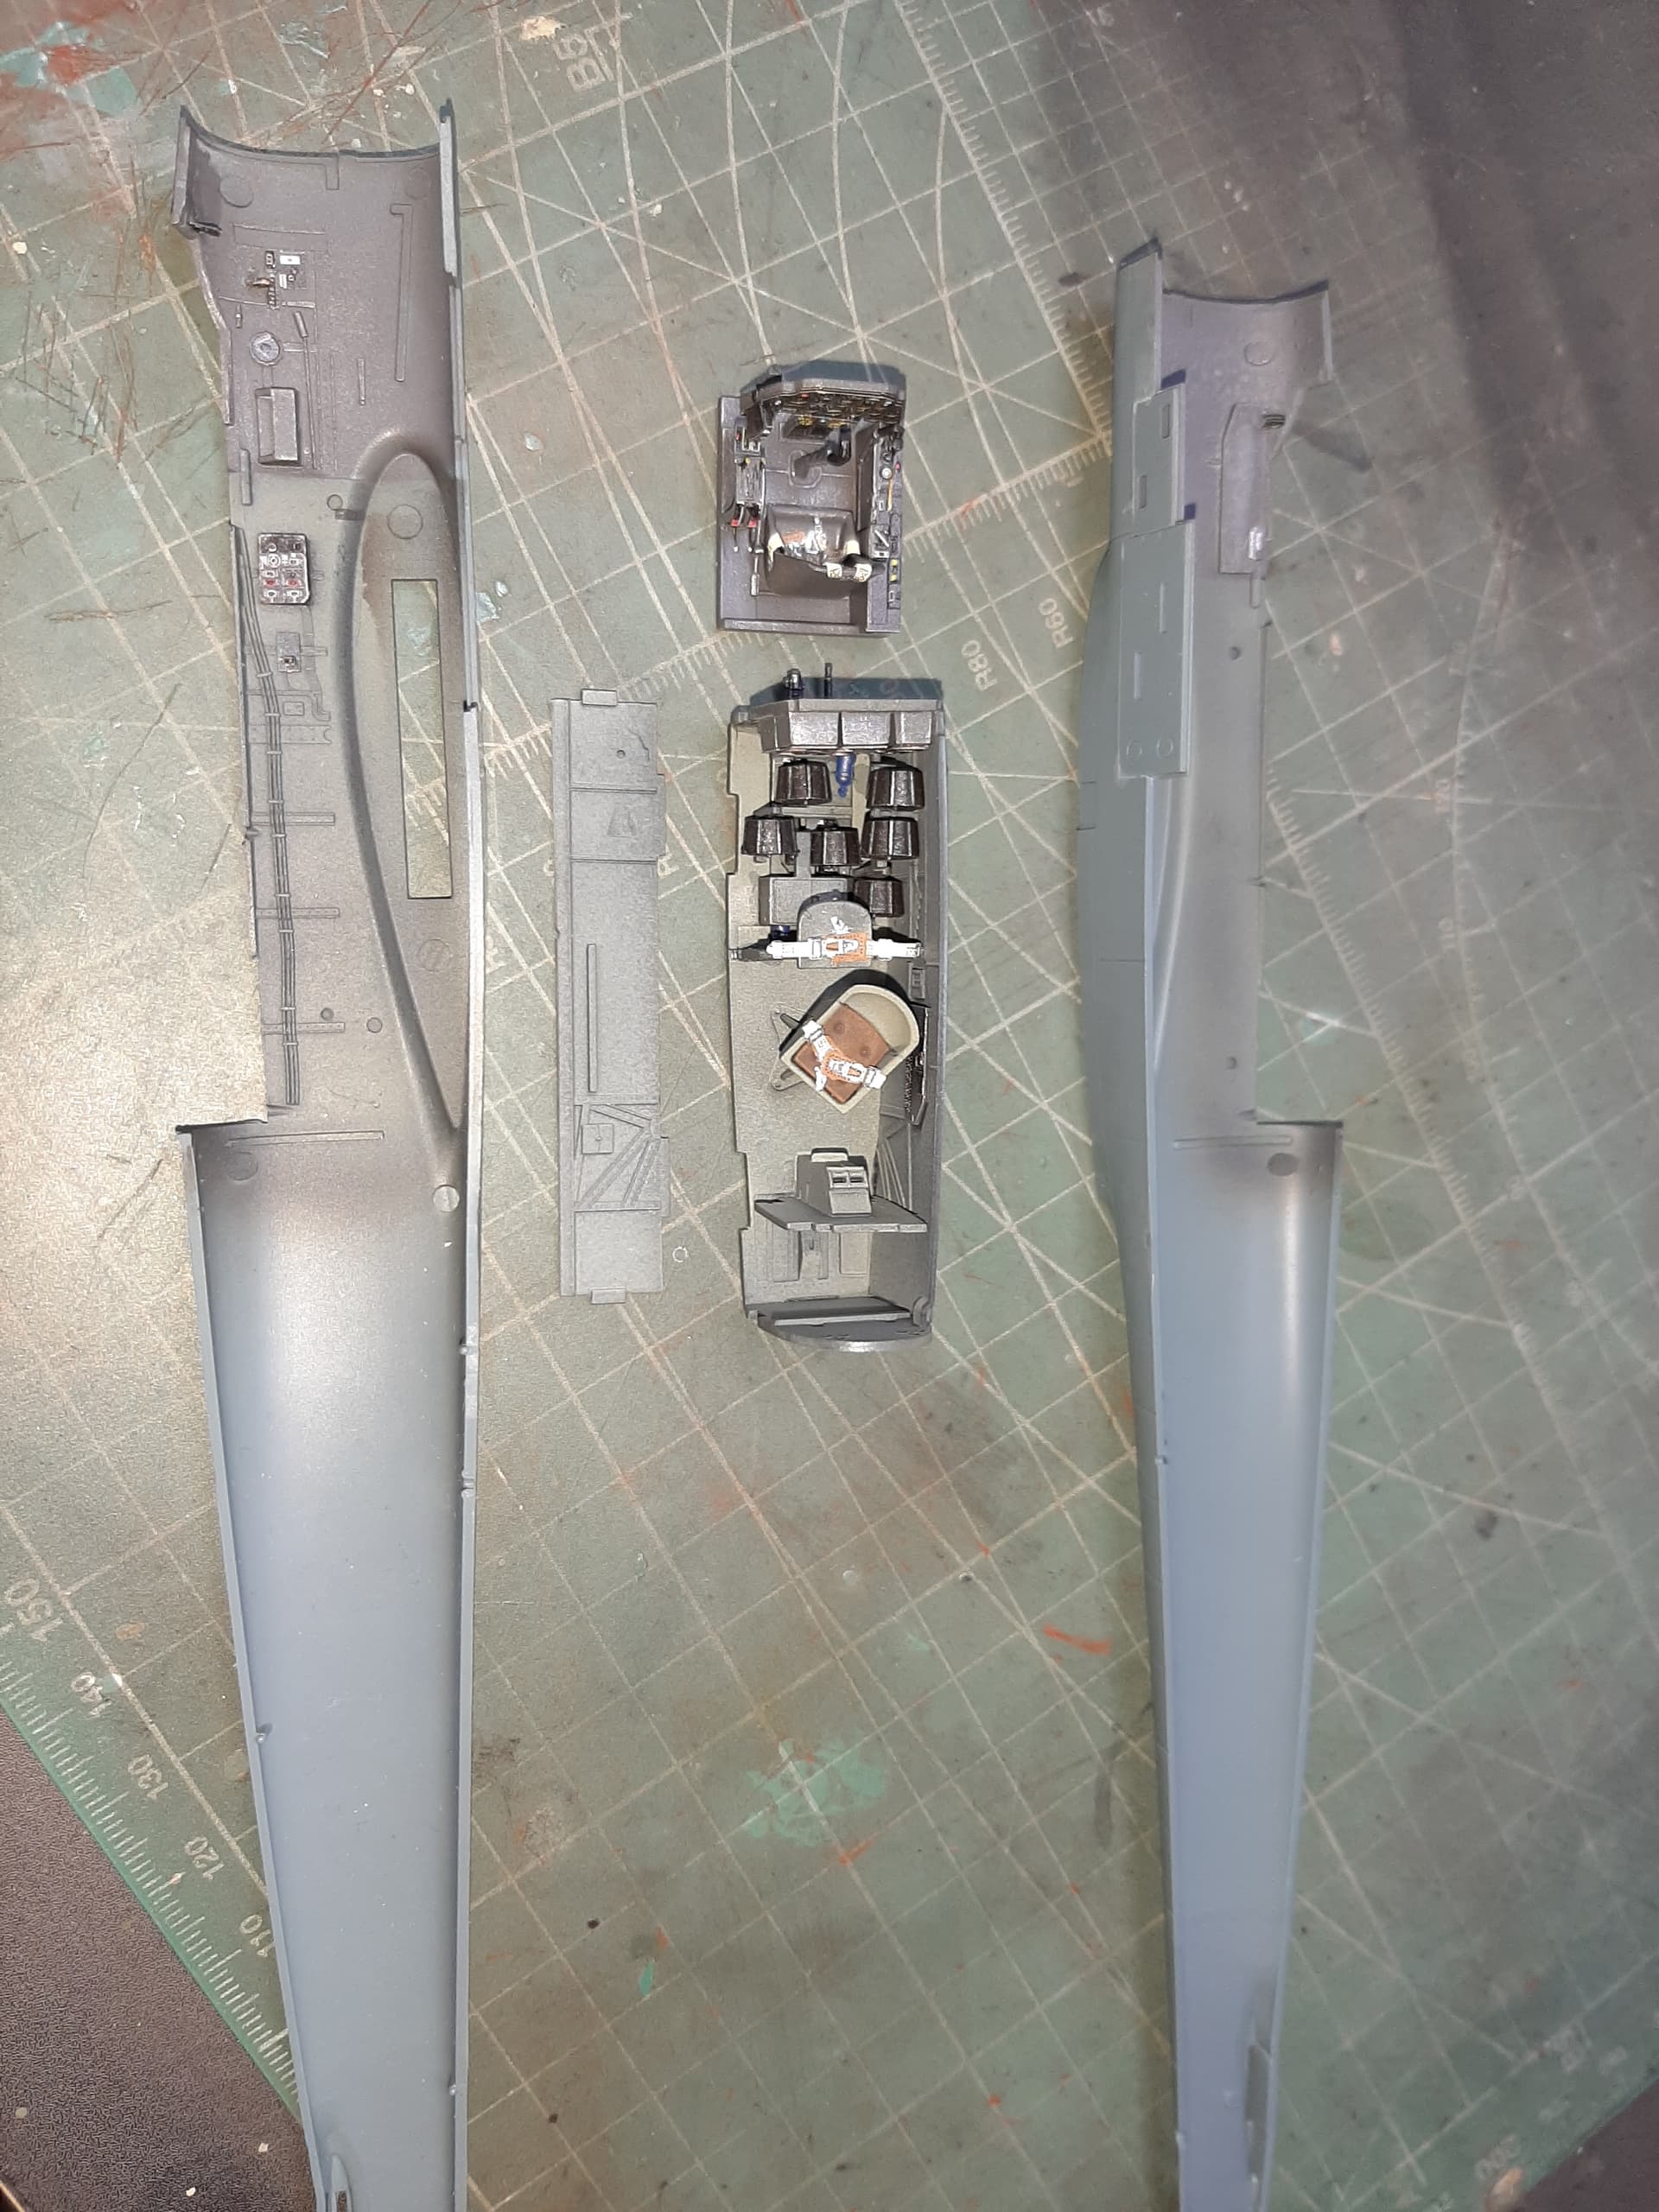
It came with some nice PE, mainly for the cockpit, and some Eduard die-cut masks for the canopies.
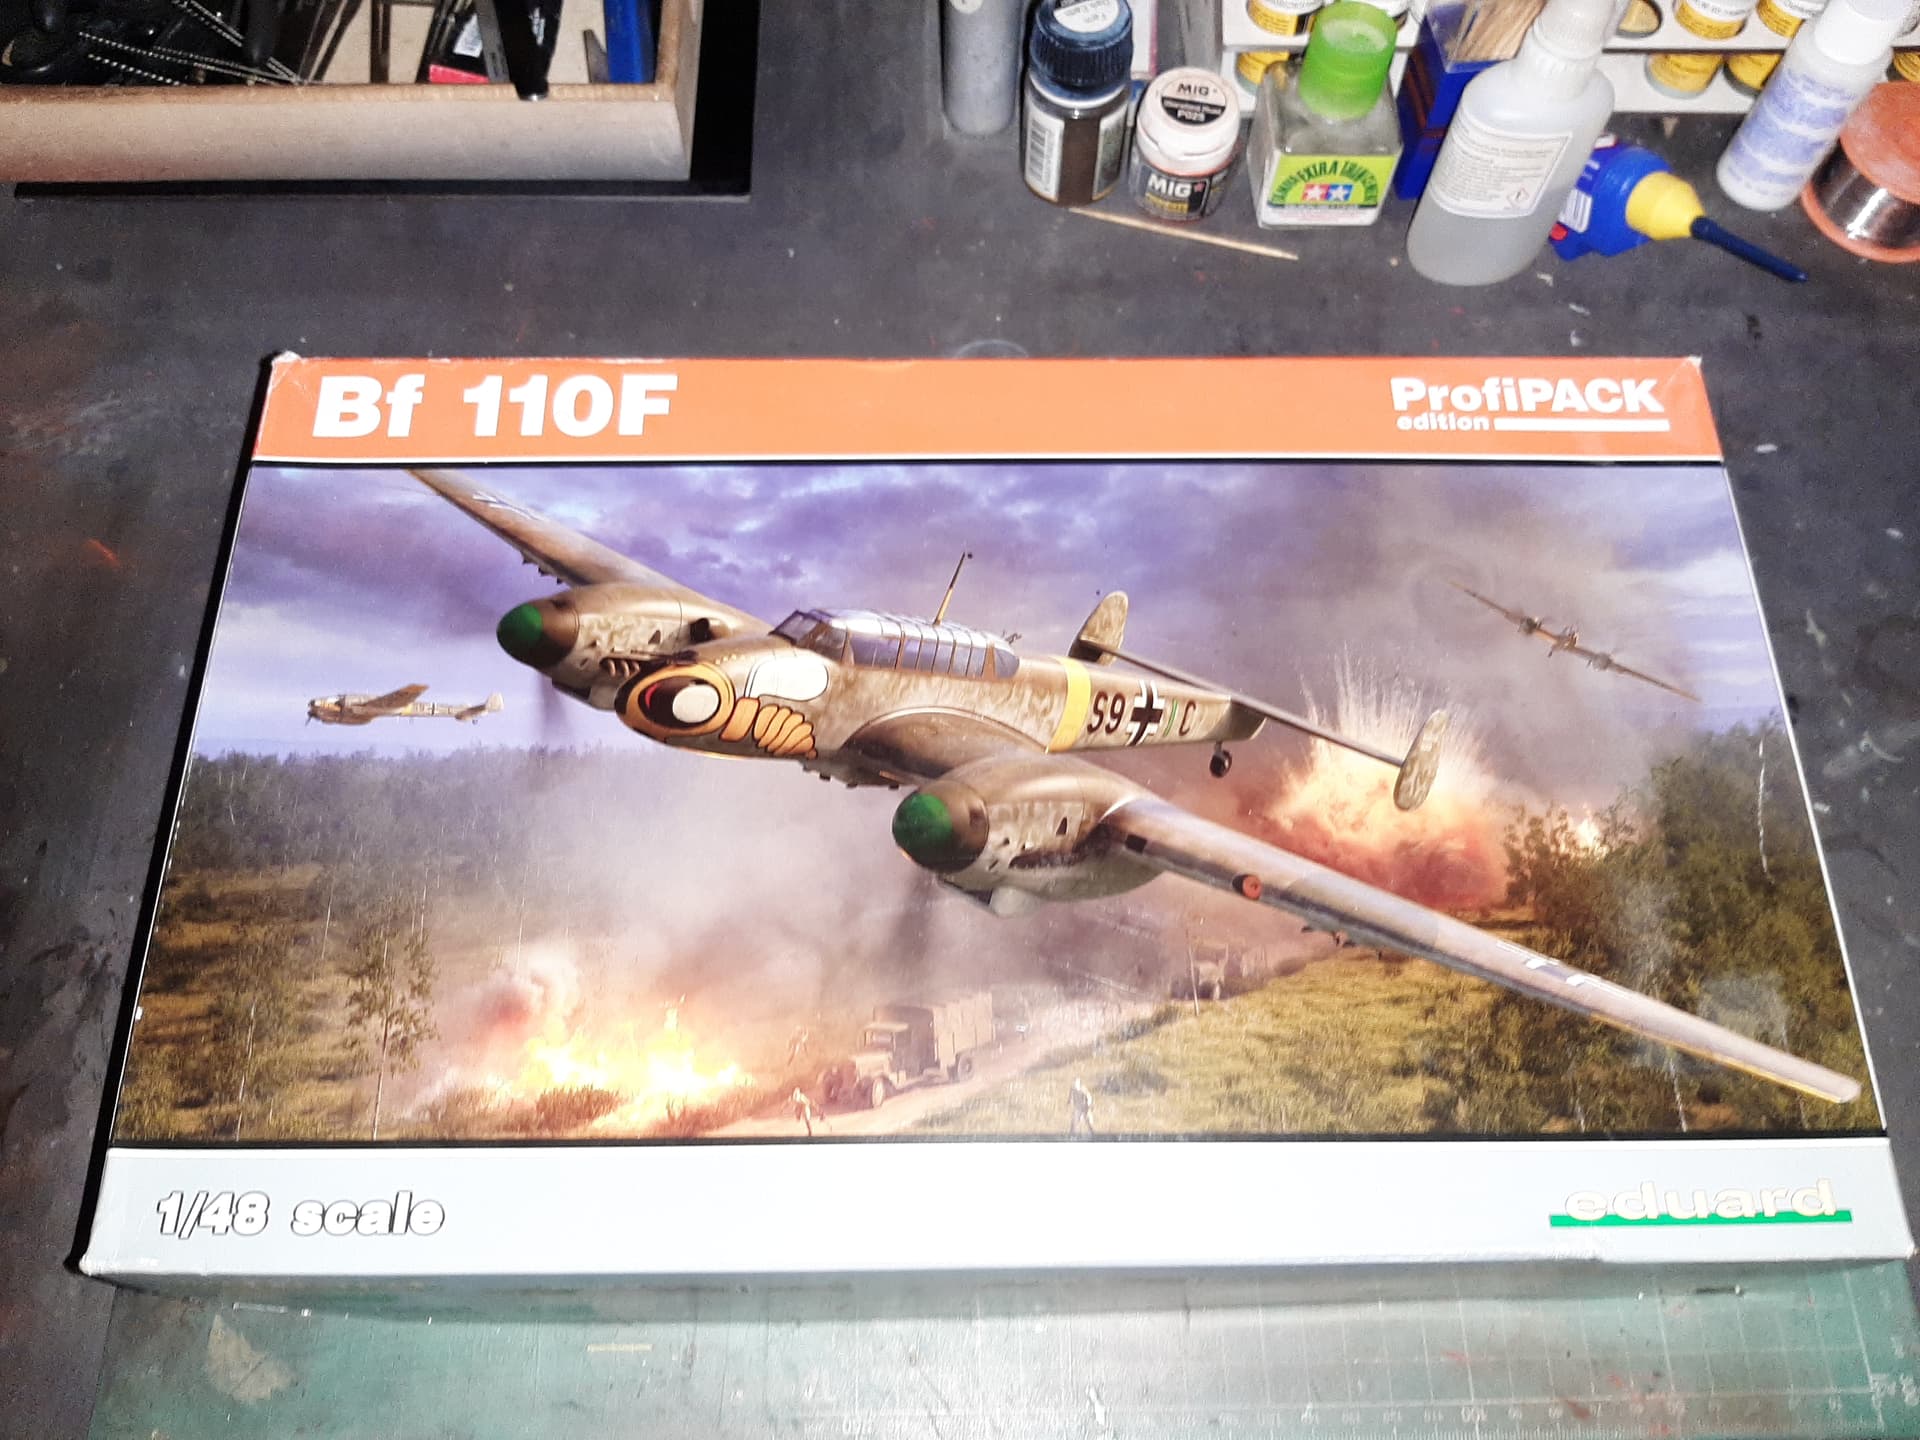
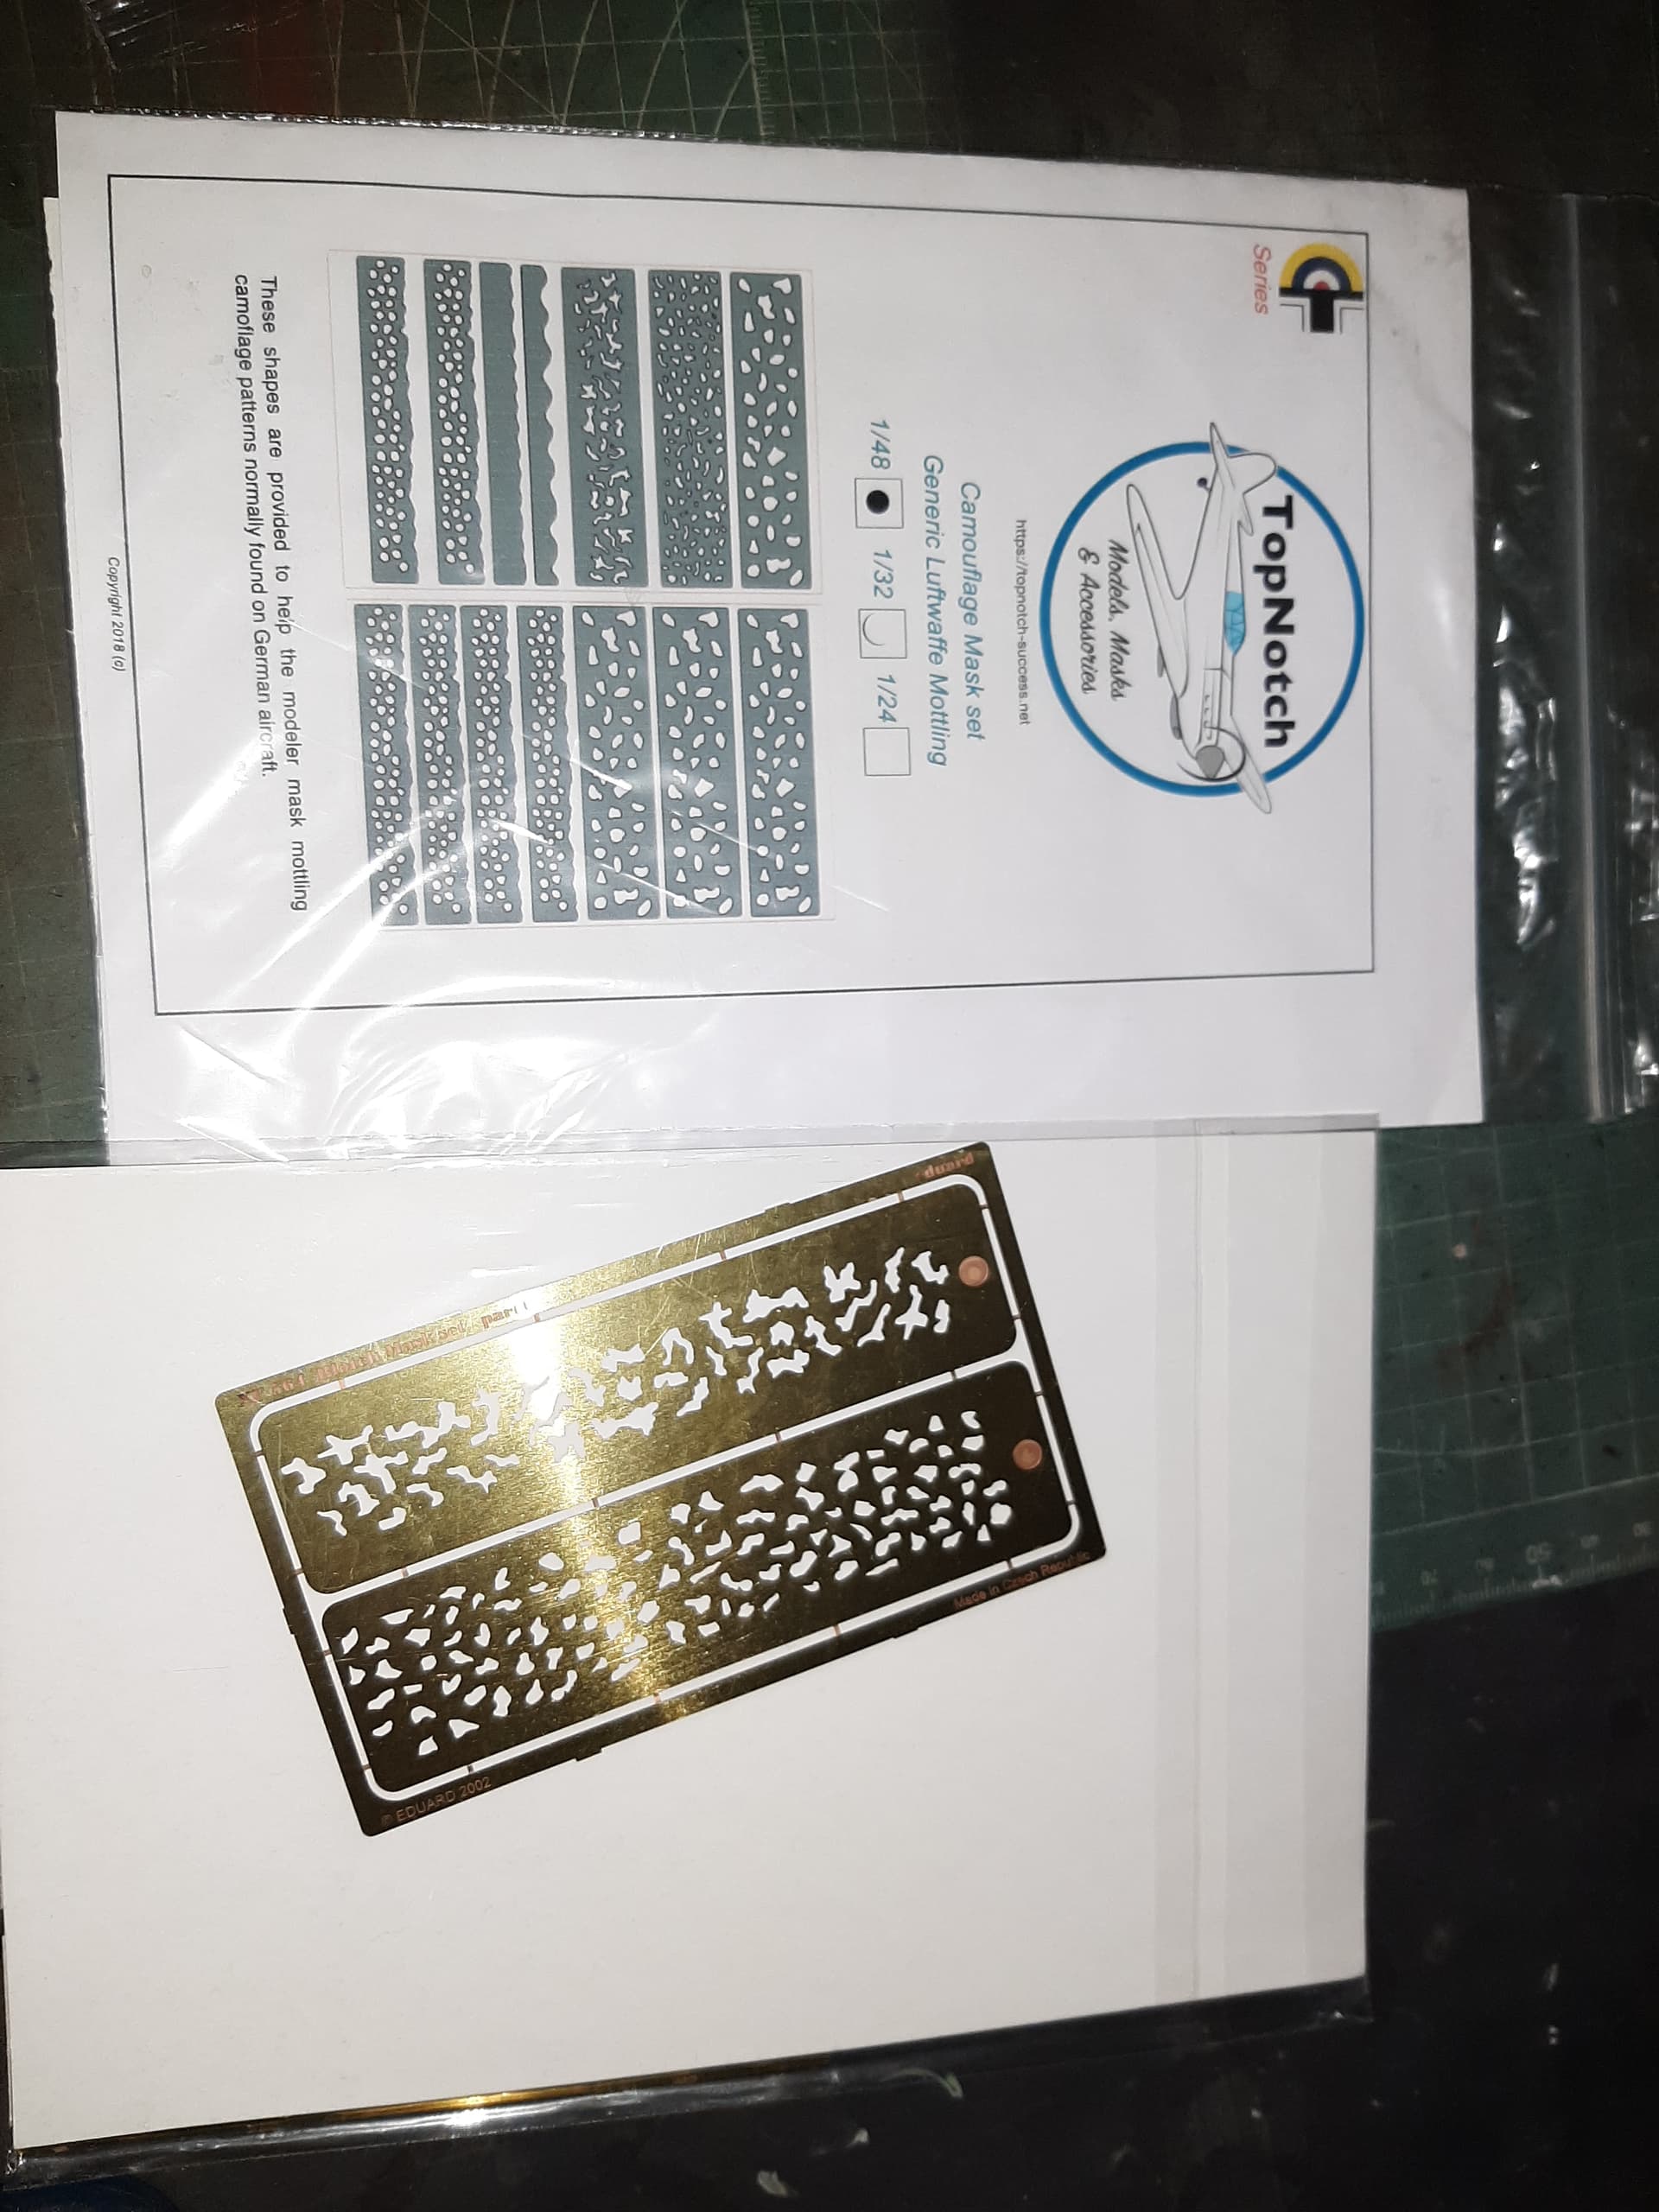
I’m going to be re-creating the aircraft shown on the box (I just liked the unusual markings) and so I invested in some masks for the mottling camouflage. Decals and parts are supplied for five different aircraft however, including a night-fighter version.
I also invested in some of the superb Eduard SUPERFABRIC seat harnesess (not shown here).
The first thing you notice about this kit is there’s a lot of unused parts on the sprues, which is a waste in my opinion.
The second thing you’ll notice is that although the instructions refer to each sprue in the standard alphabetic fashion, the sprues themselves are not labelled!
You’re going to spend the first 20 minutes of your project comparing each spue with the instructions and labelling them yourself. Pretty annoying really.
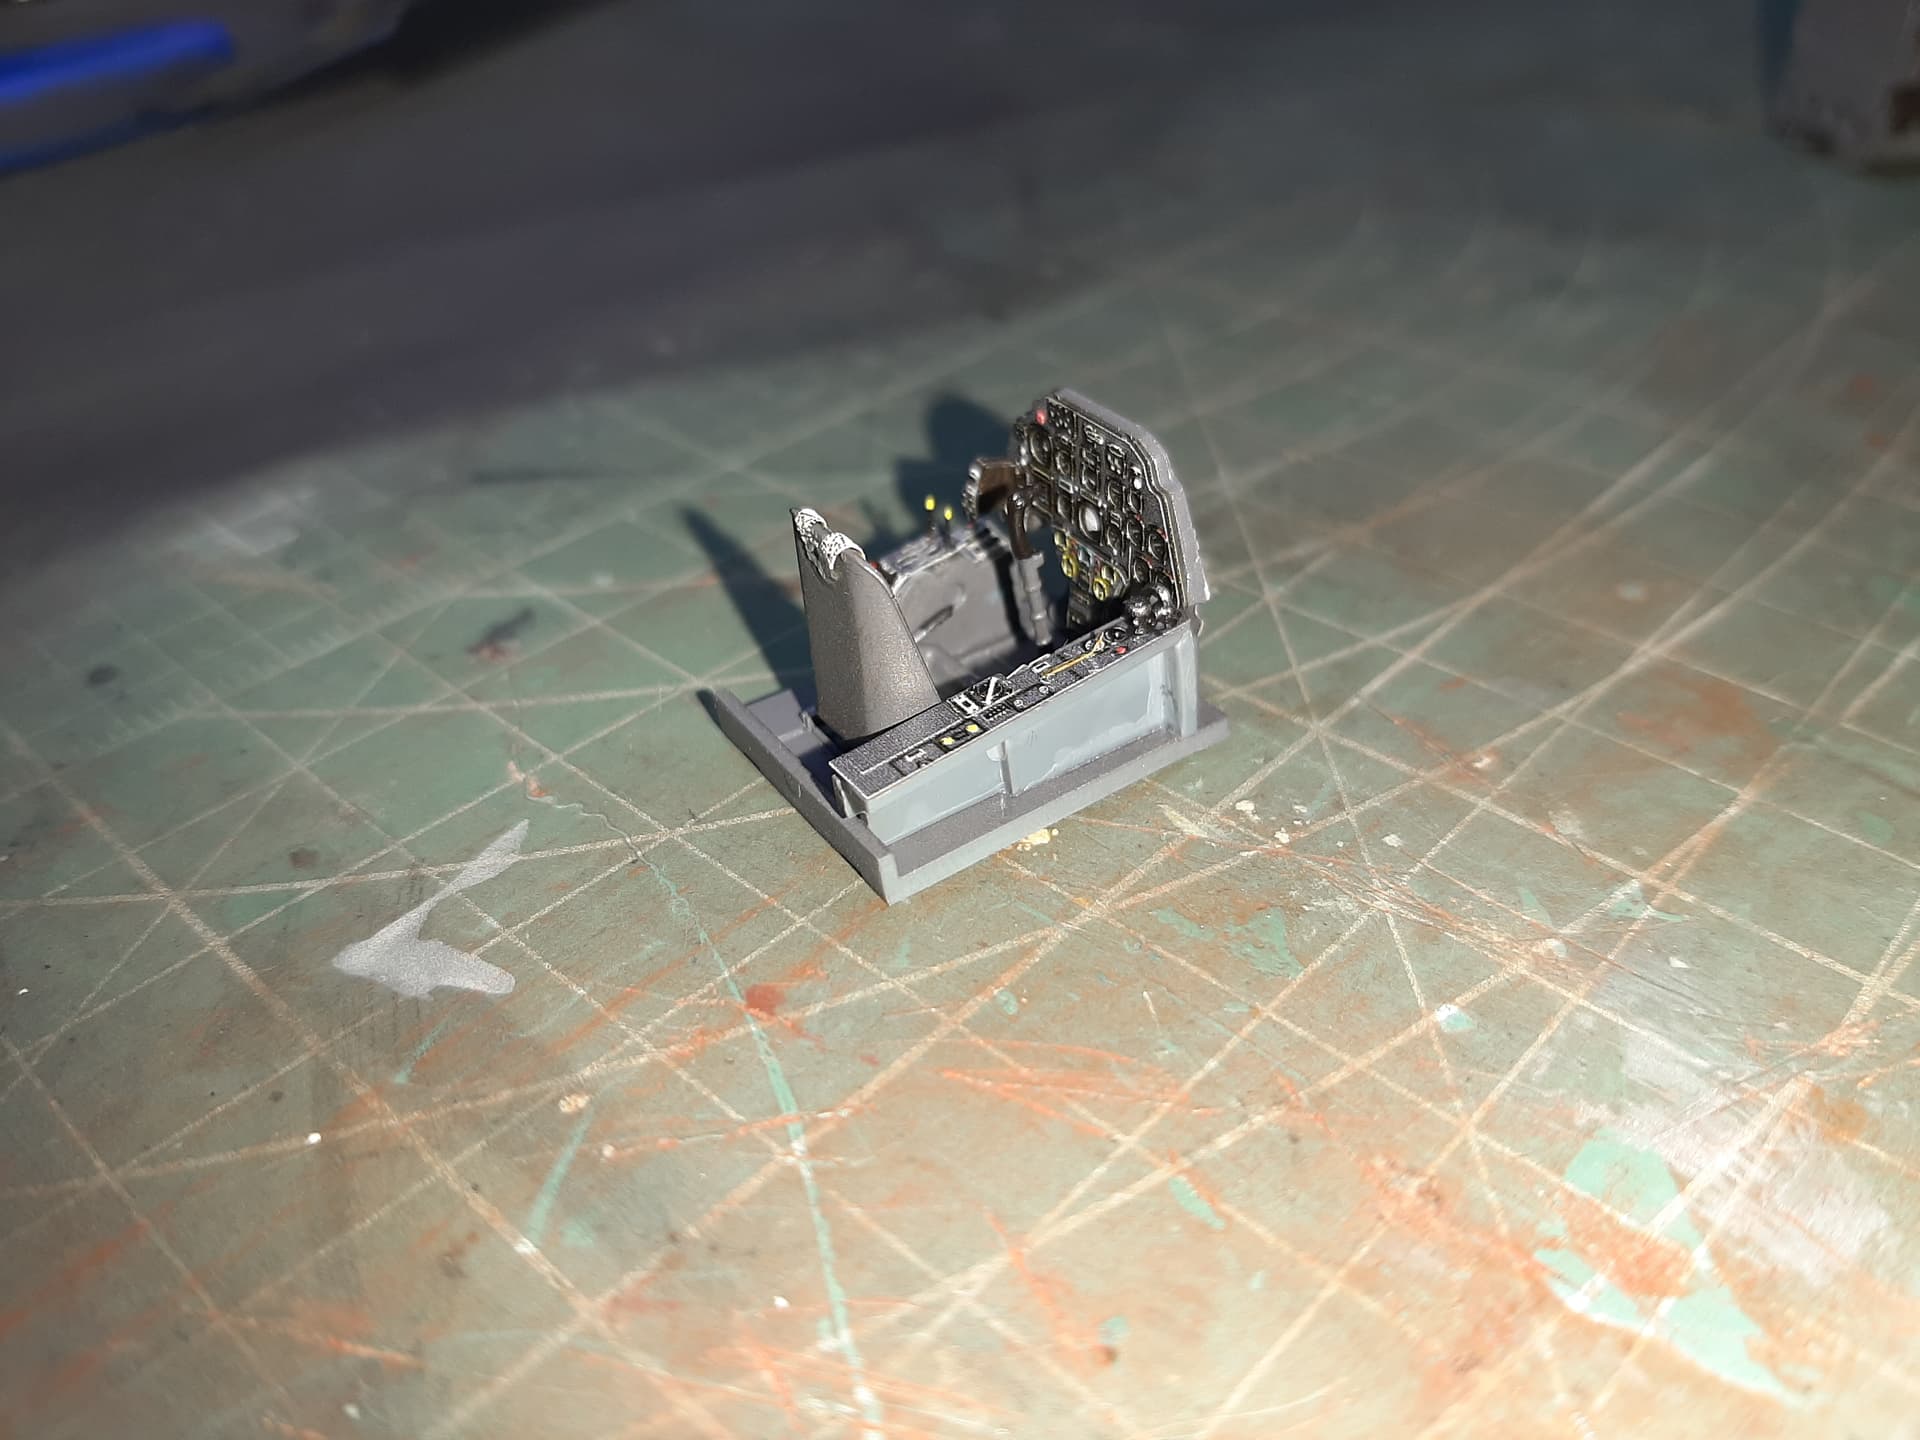
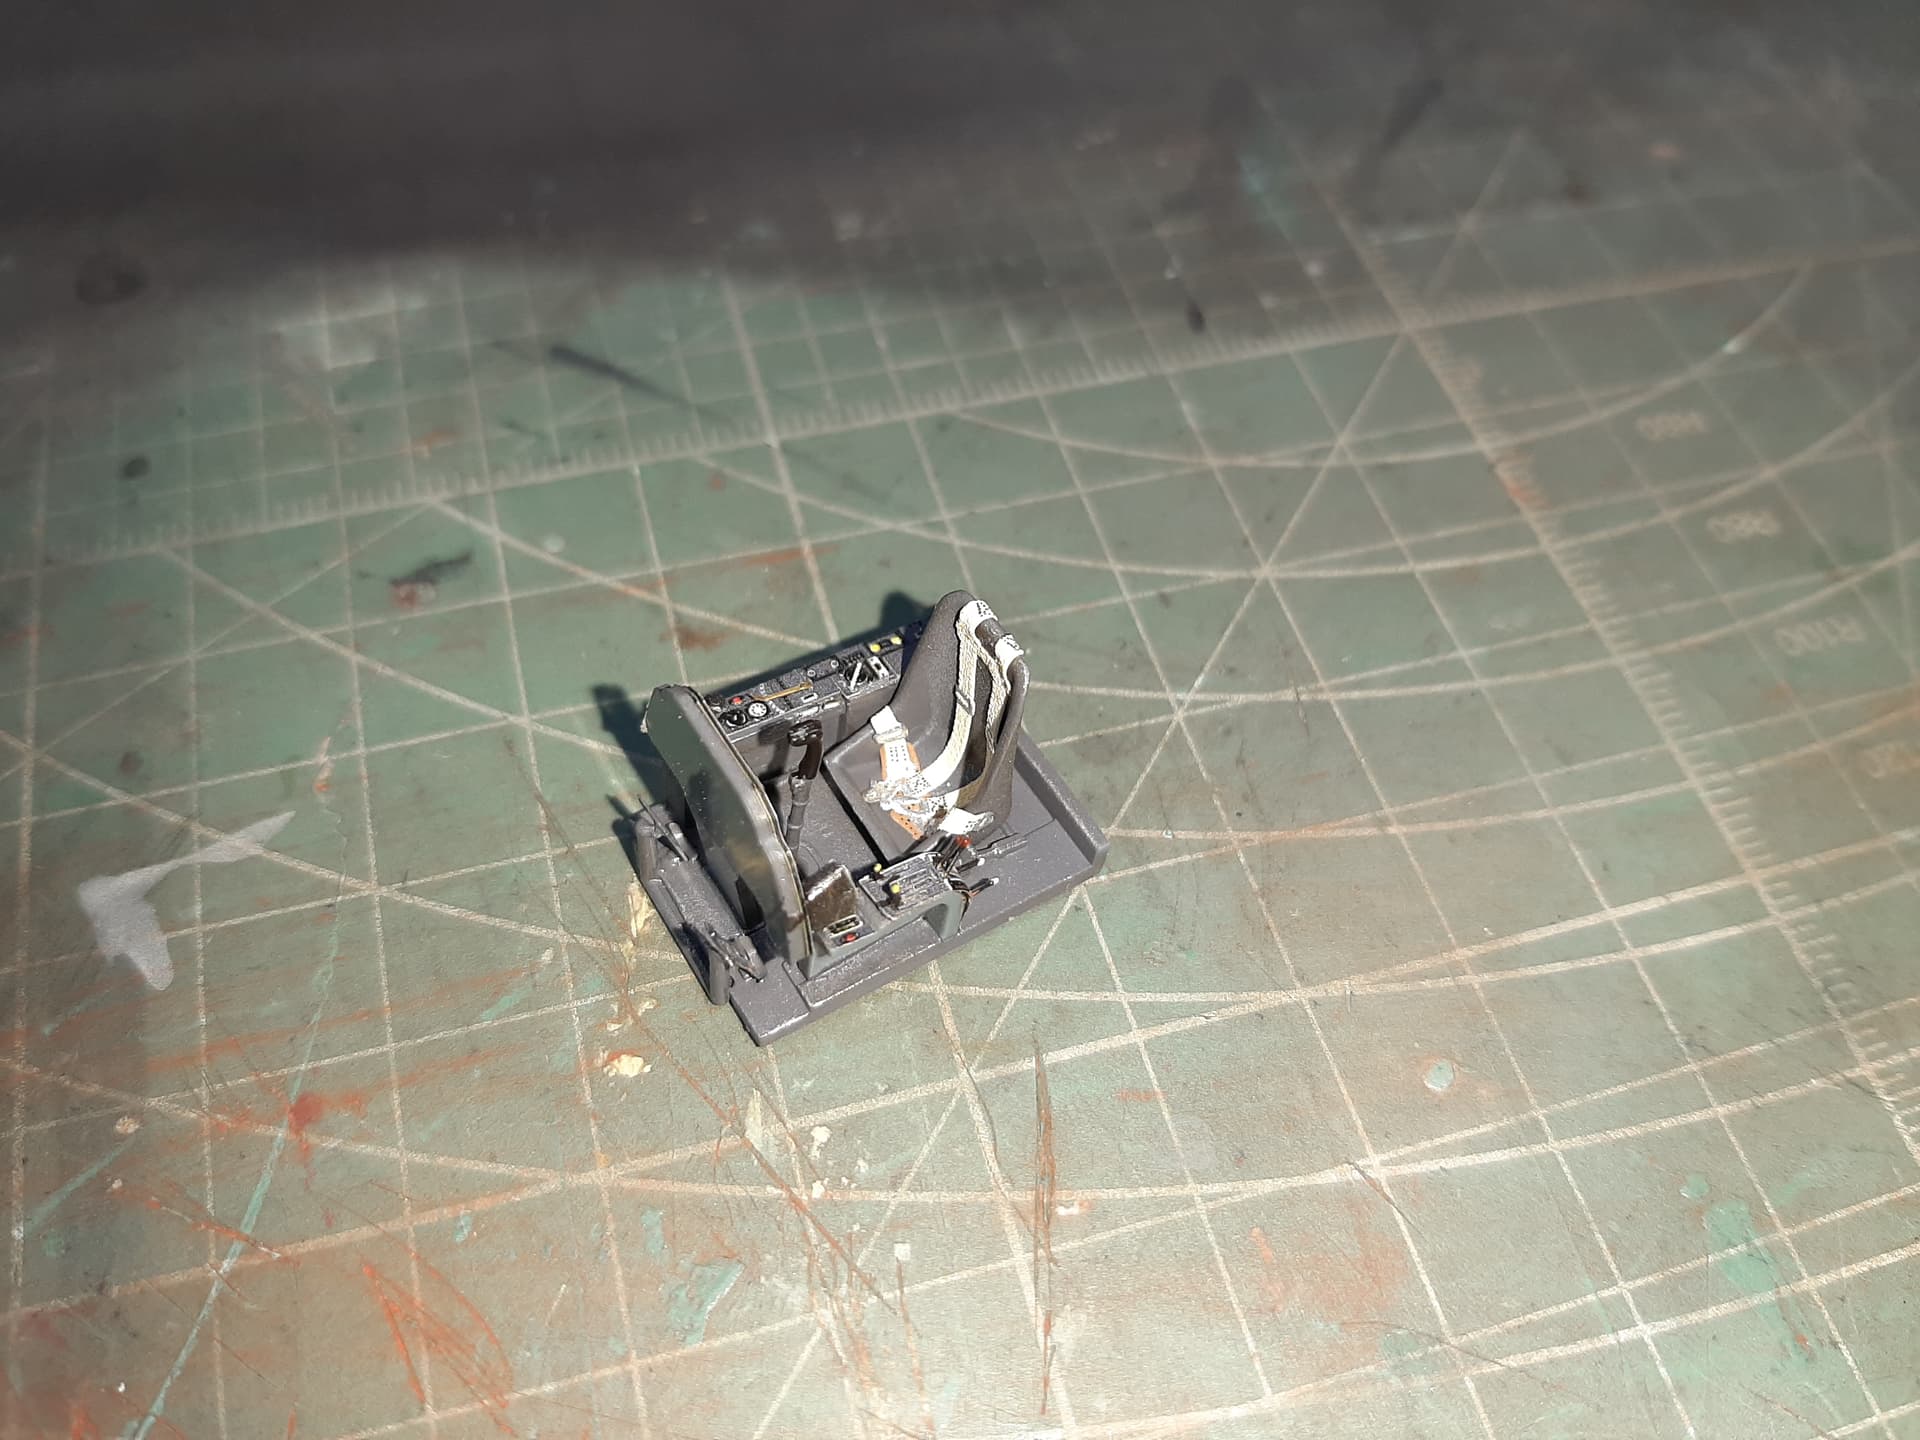
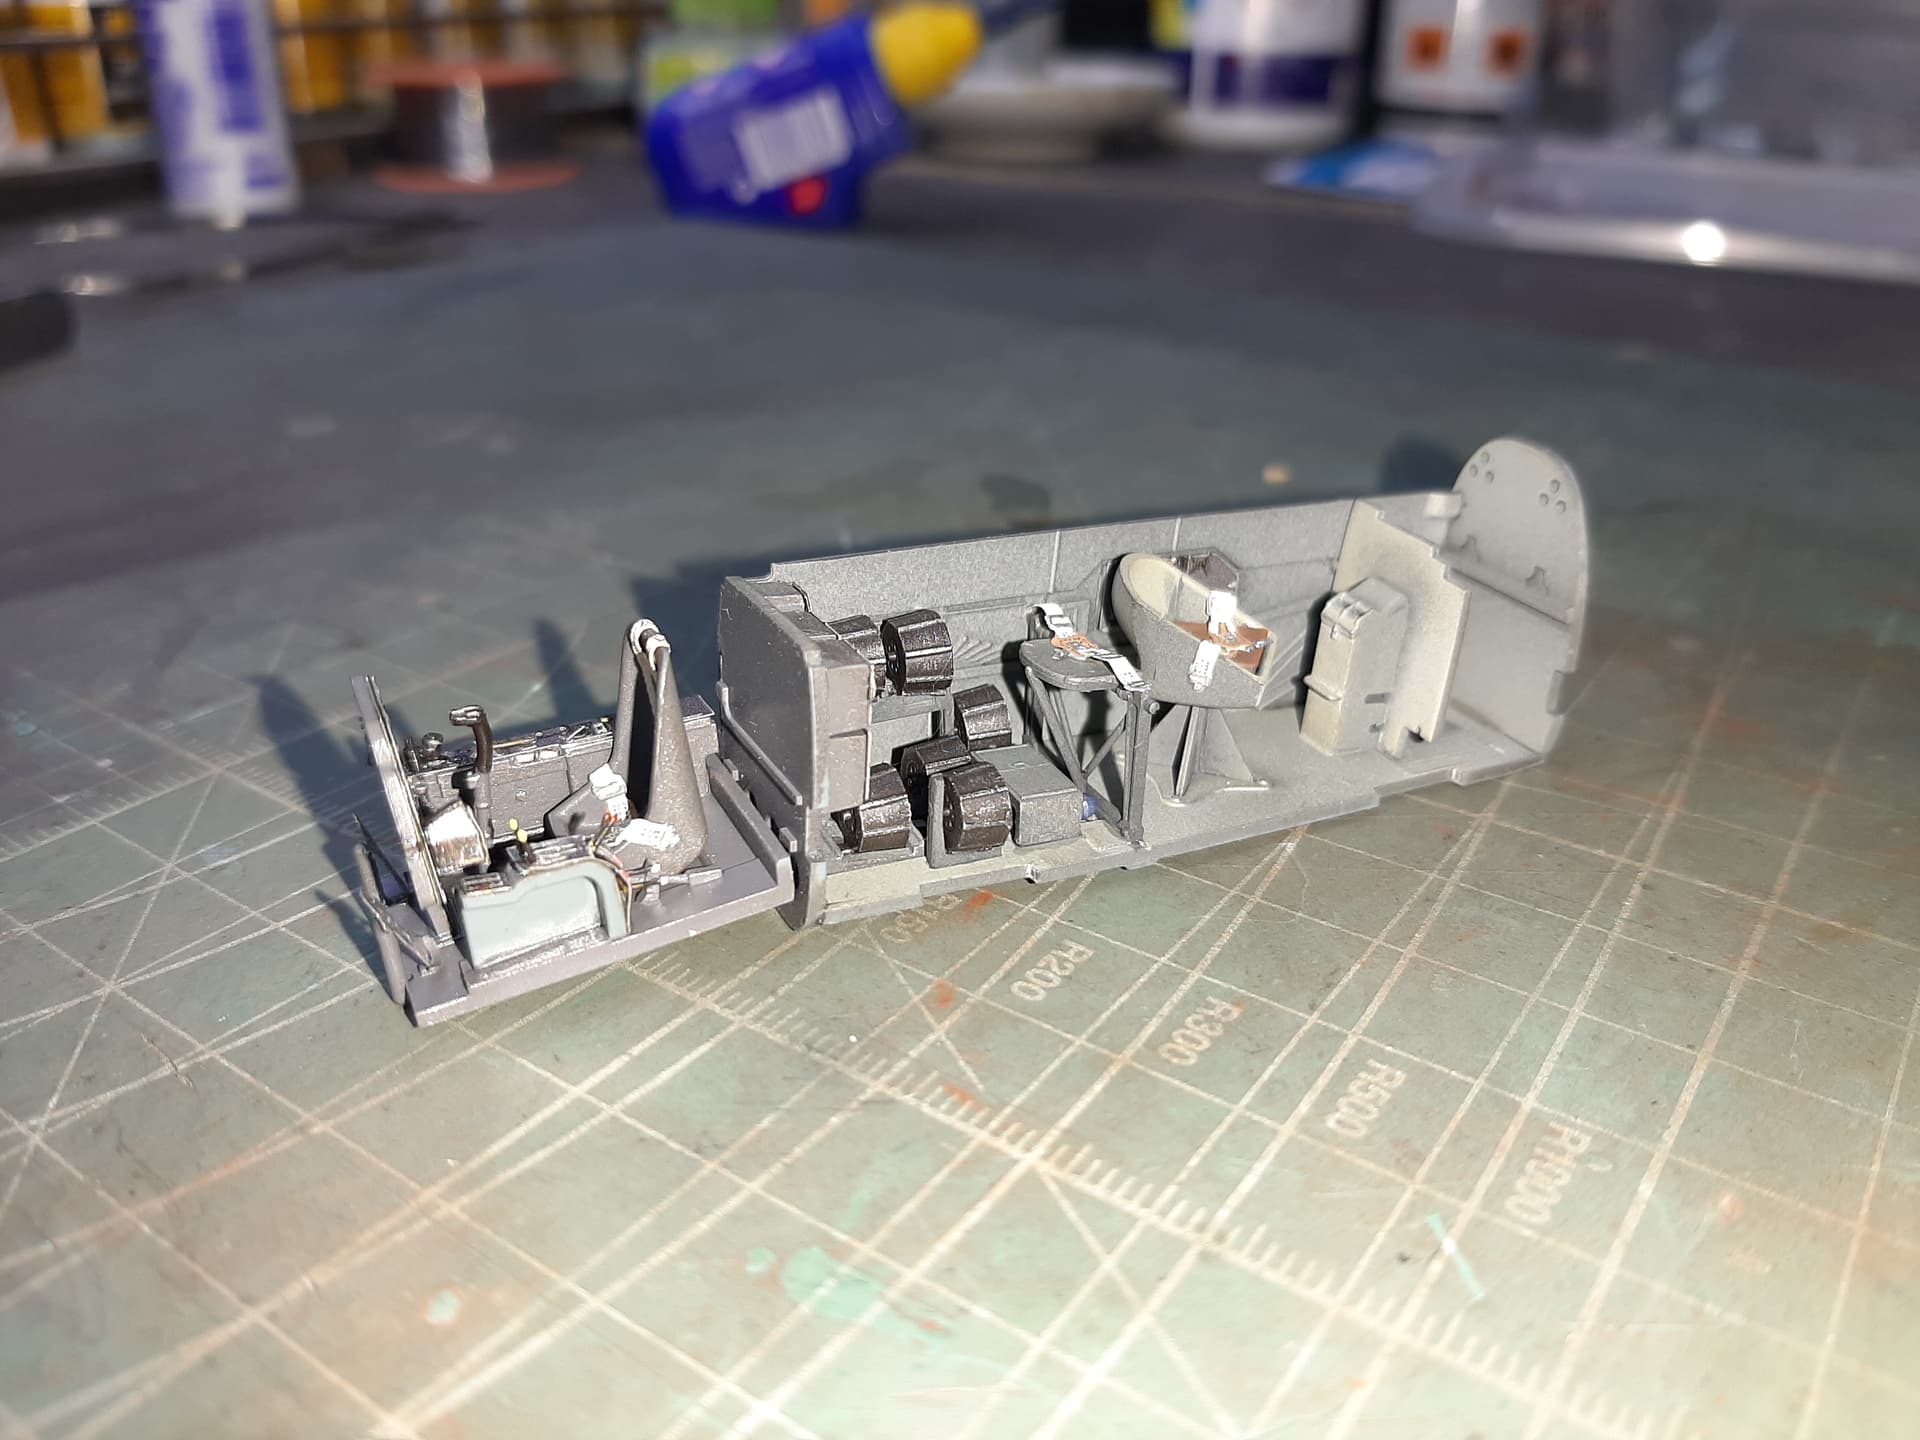
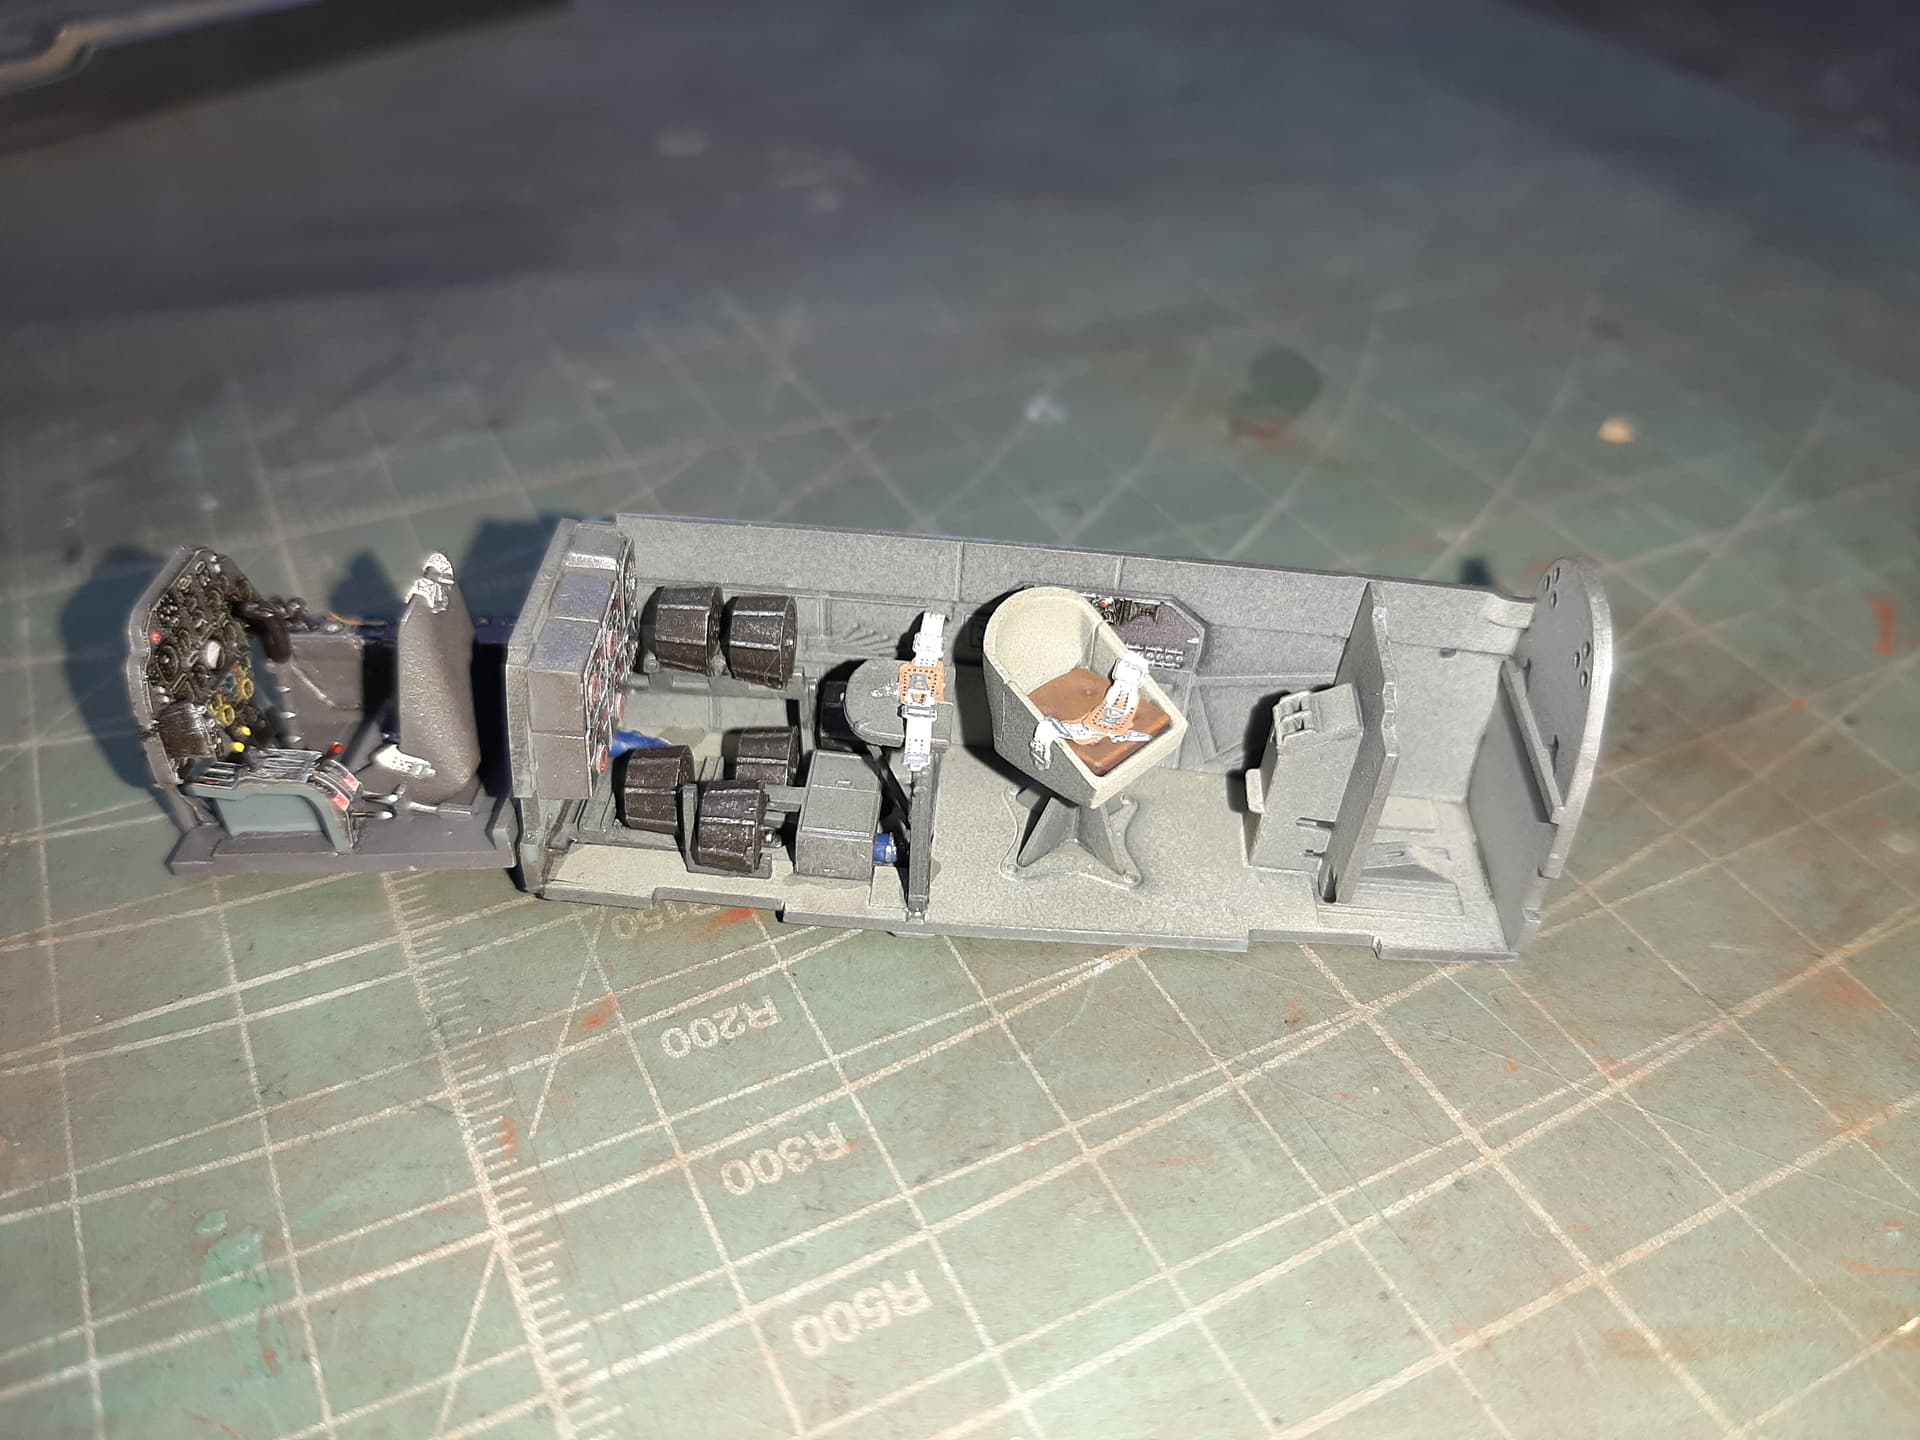
I was waiting on the SUPERFABRIC harnesess to arrive in the post and since this took about two weeks, I went on with construction in stages and will assemble the kit when they arrive. The supplied PE is nicely detailed.
N.B. they have arrived and you’ll notice they are attached in the pictures.
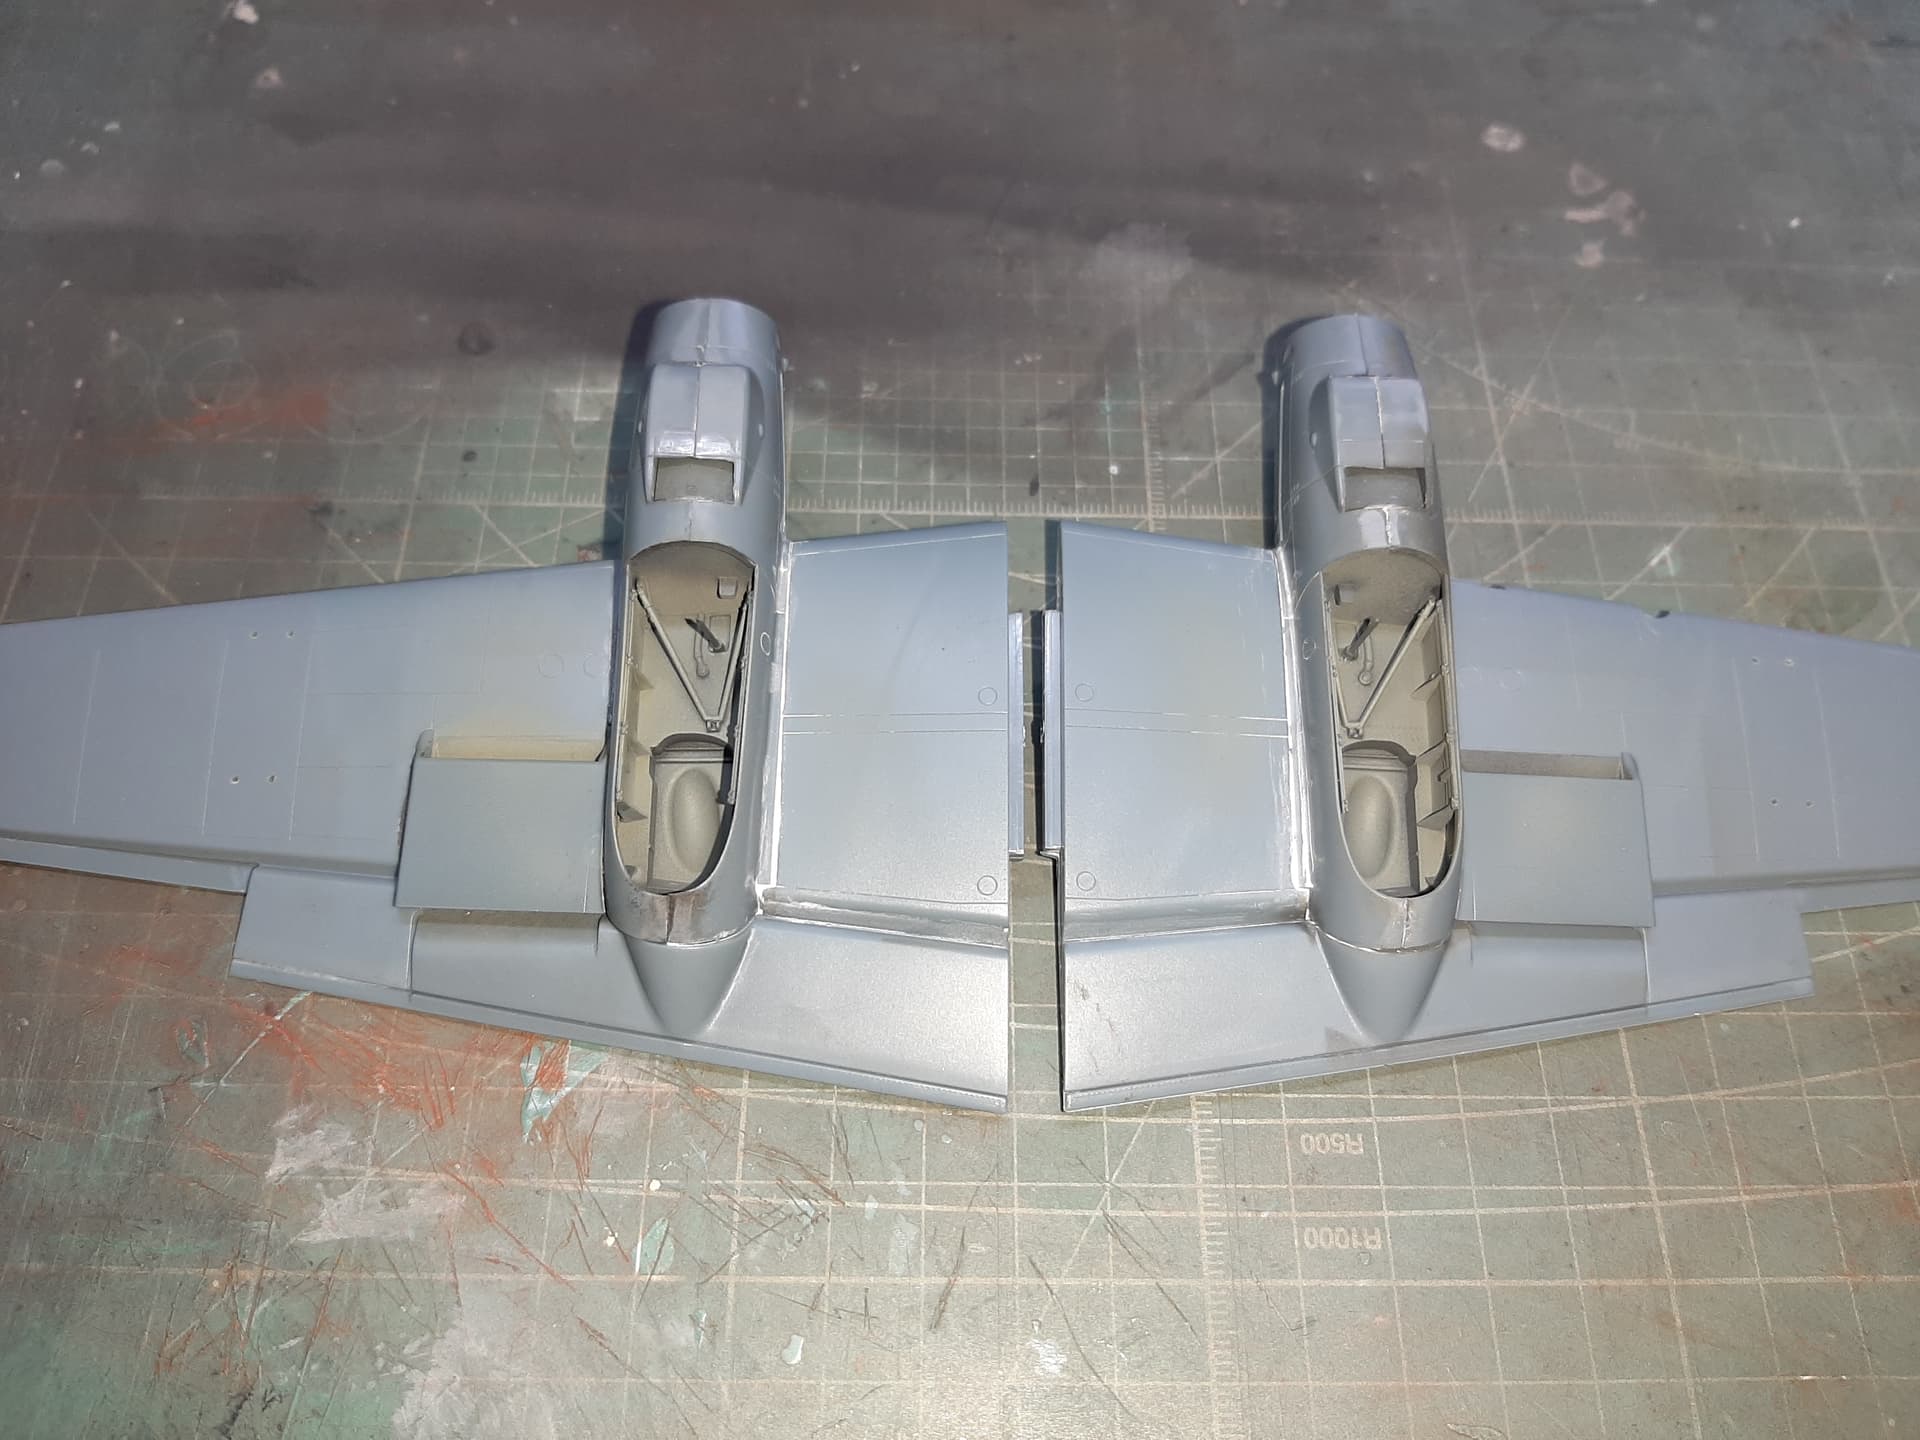
I don’t suppose any of you know if the inside surfaces of the upper stabilisers (tailplanes) were painted light blue like the outer surfaces, or whether they had elements of the splinter camoufllage on them.
The painting instructions show every angle but the one i’m asking about, so i’m assuming the answer is RLM 76.
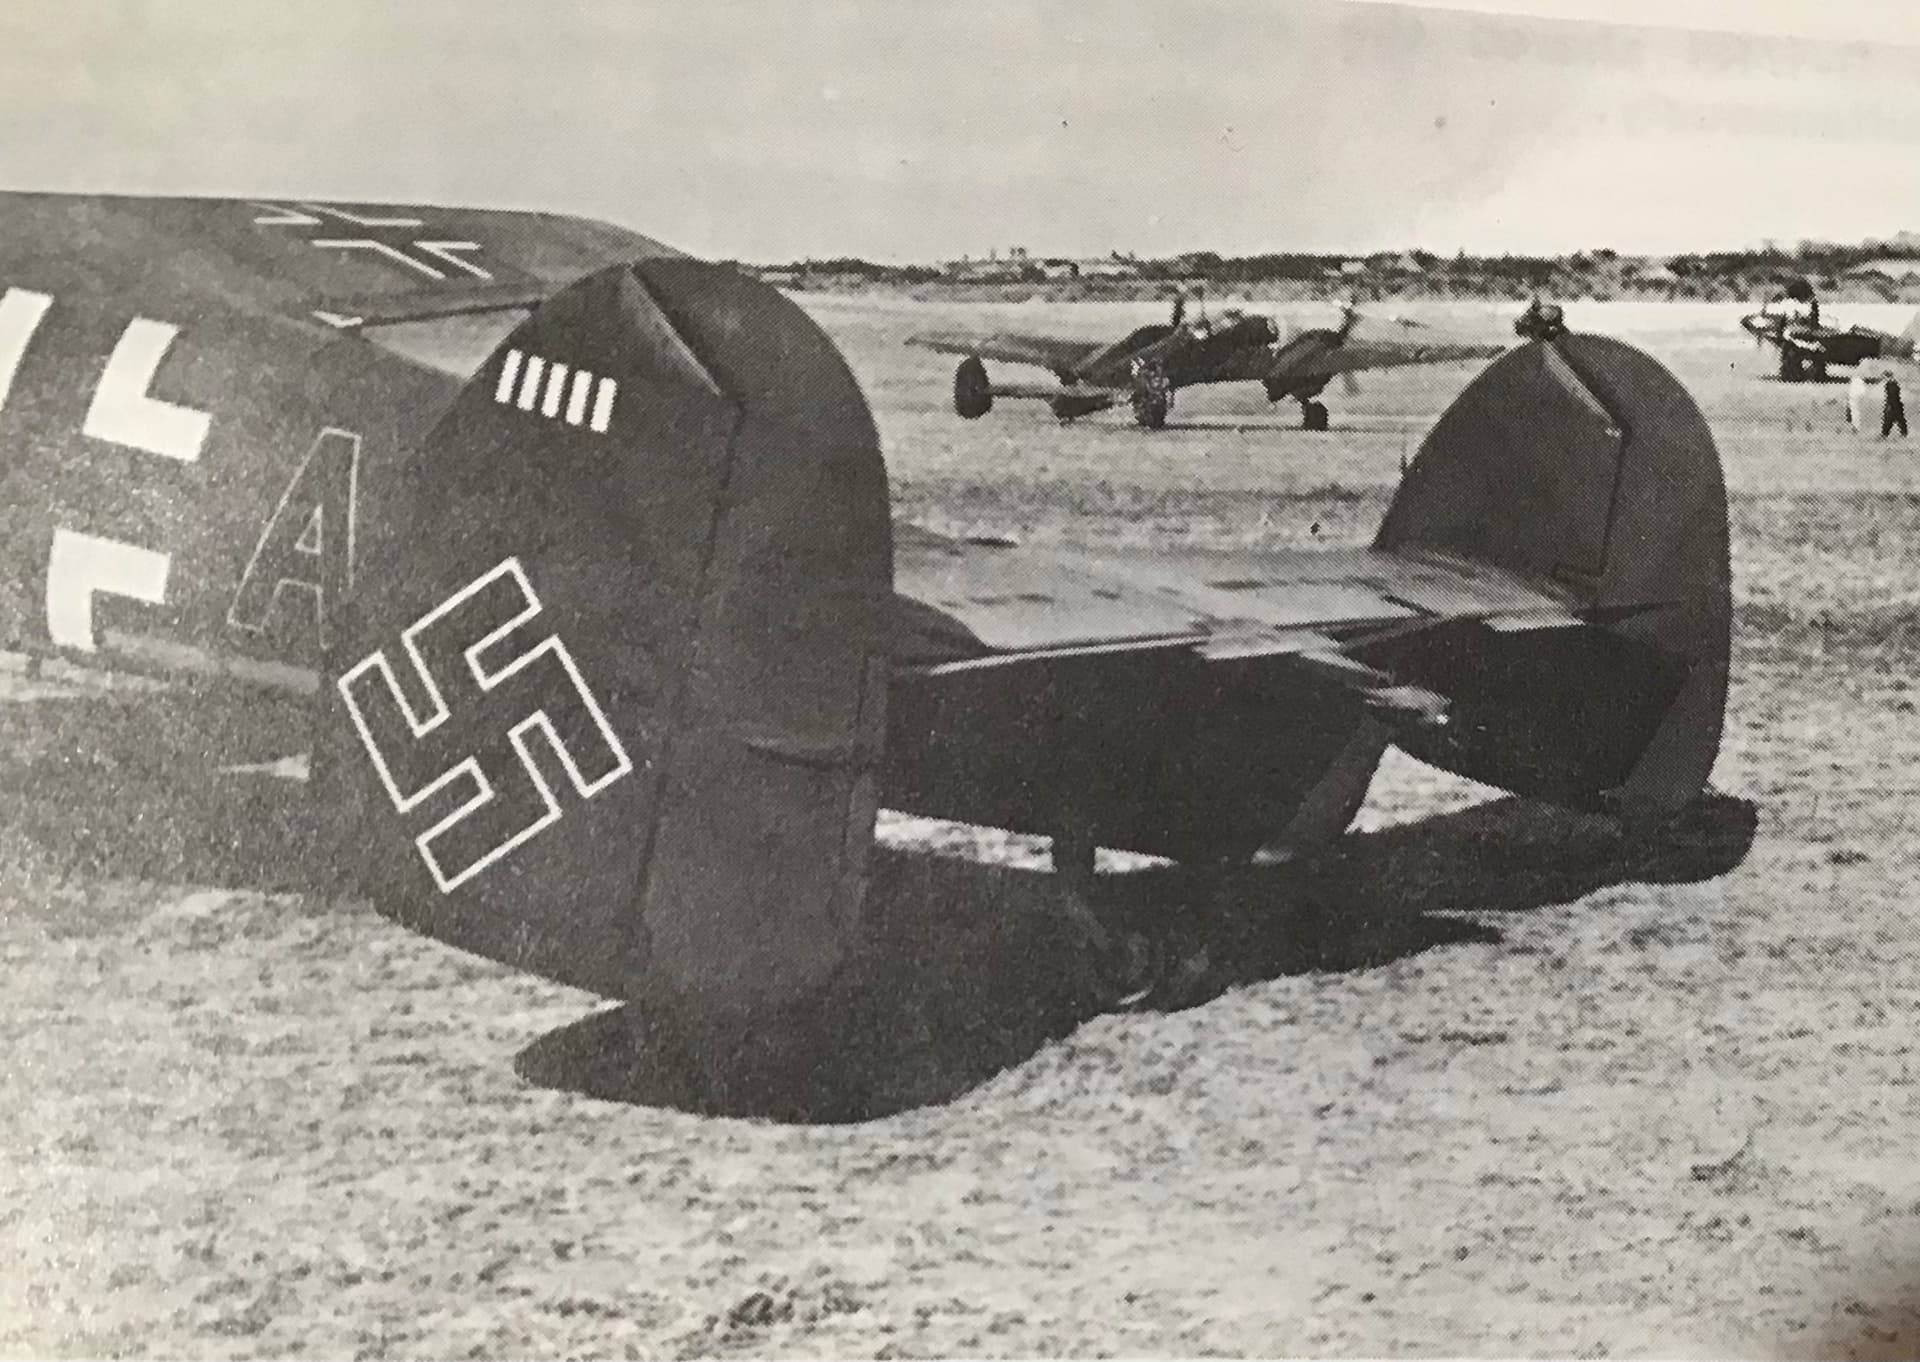
Hi Roly - If you are referring to the vertical stabs I found this photo which shows clearly that the interior (inboard) surfaces of the stabs were done in the same upper surface camouflage as the exterior
(outboard) surfaces.
HTH - Richard
For mine, which has the outboard surfaces in RLM76 with a mottle overspray of RLM 70, I can take it that the inboard surfaces will be the same, as in the top picture.
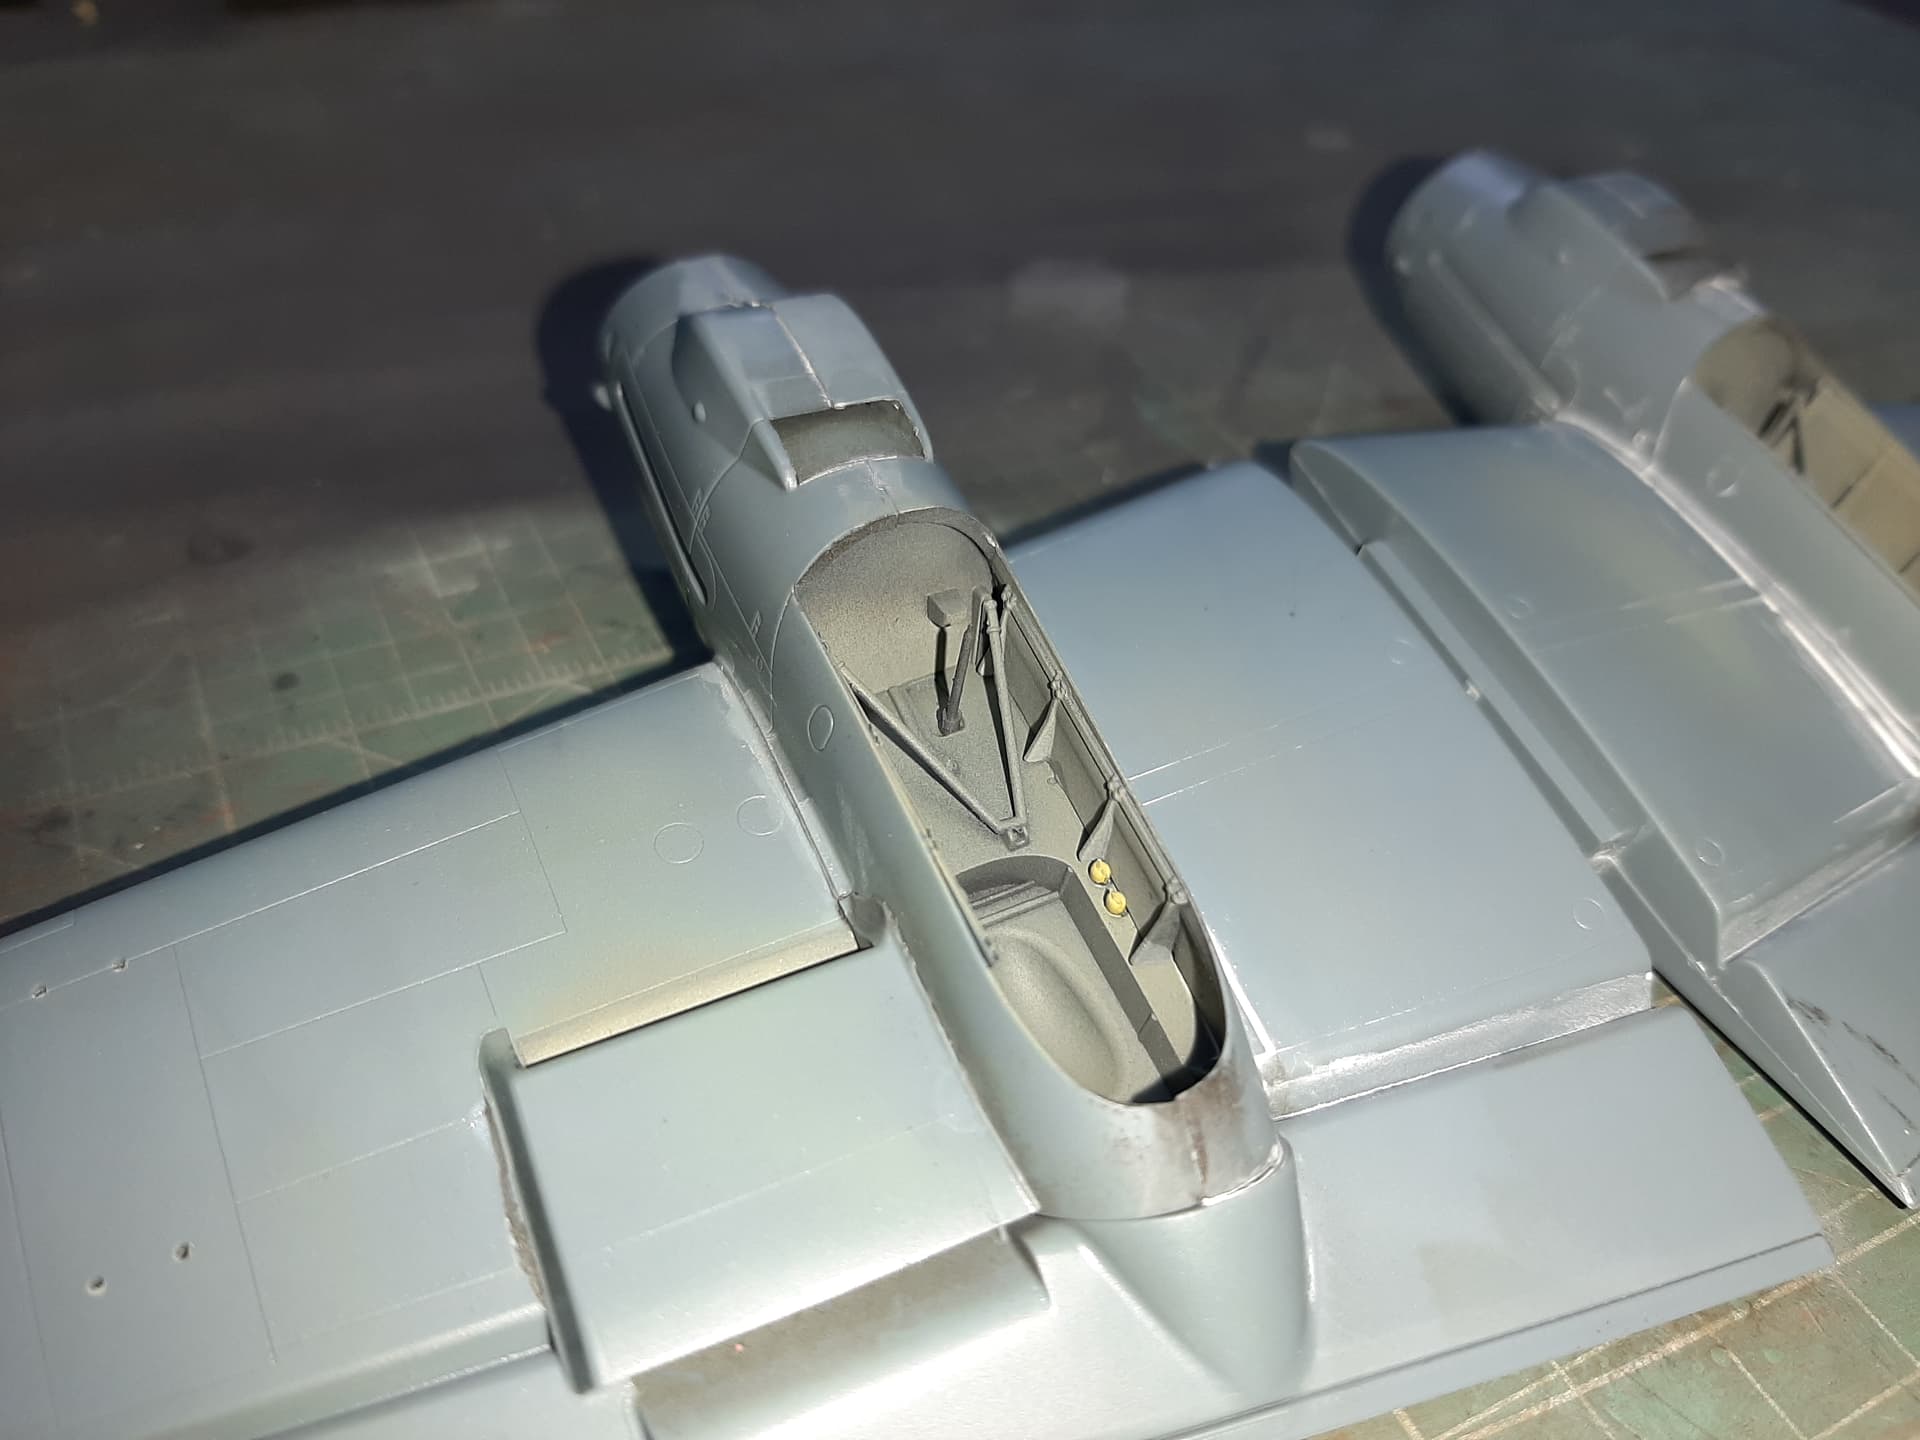
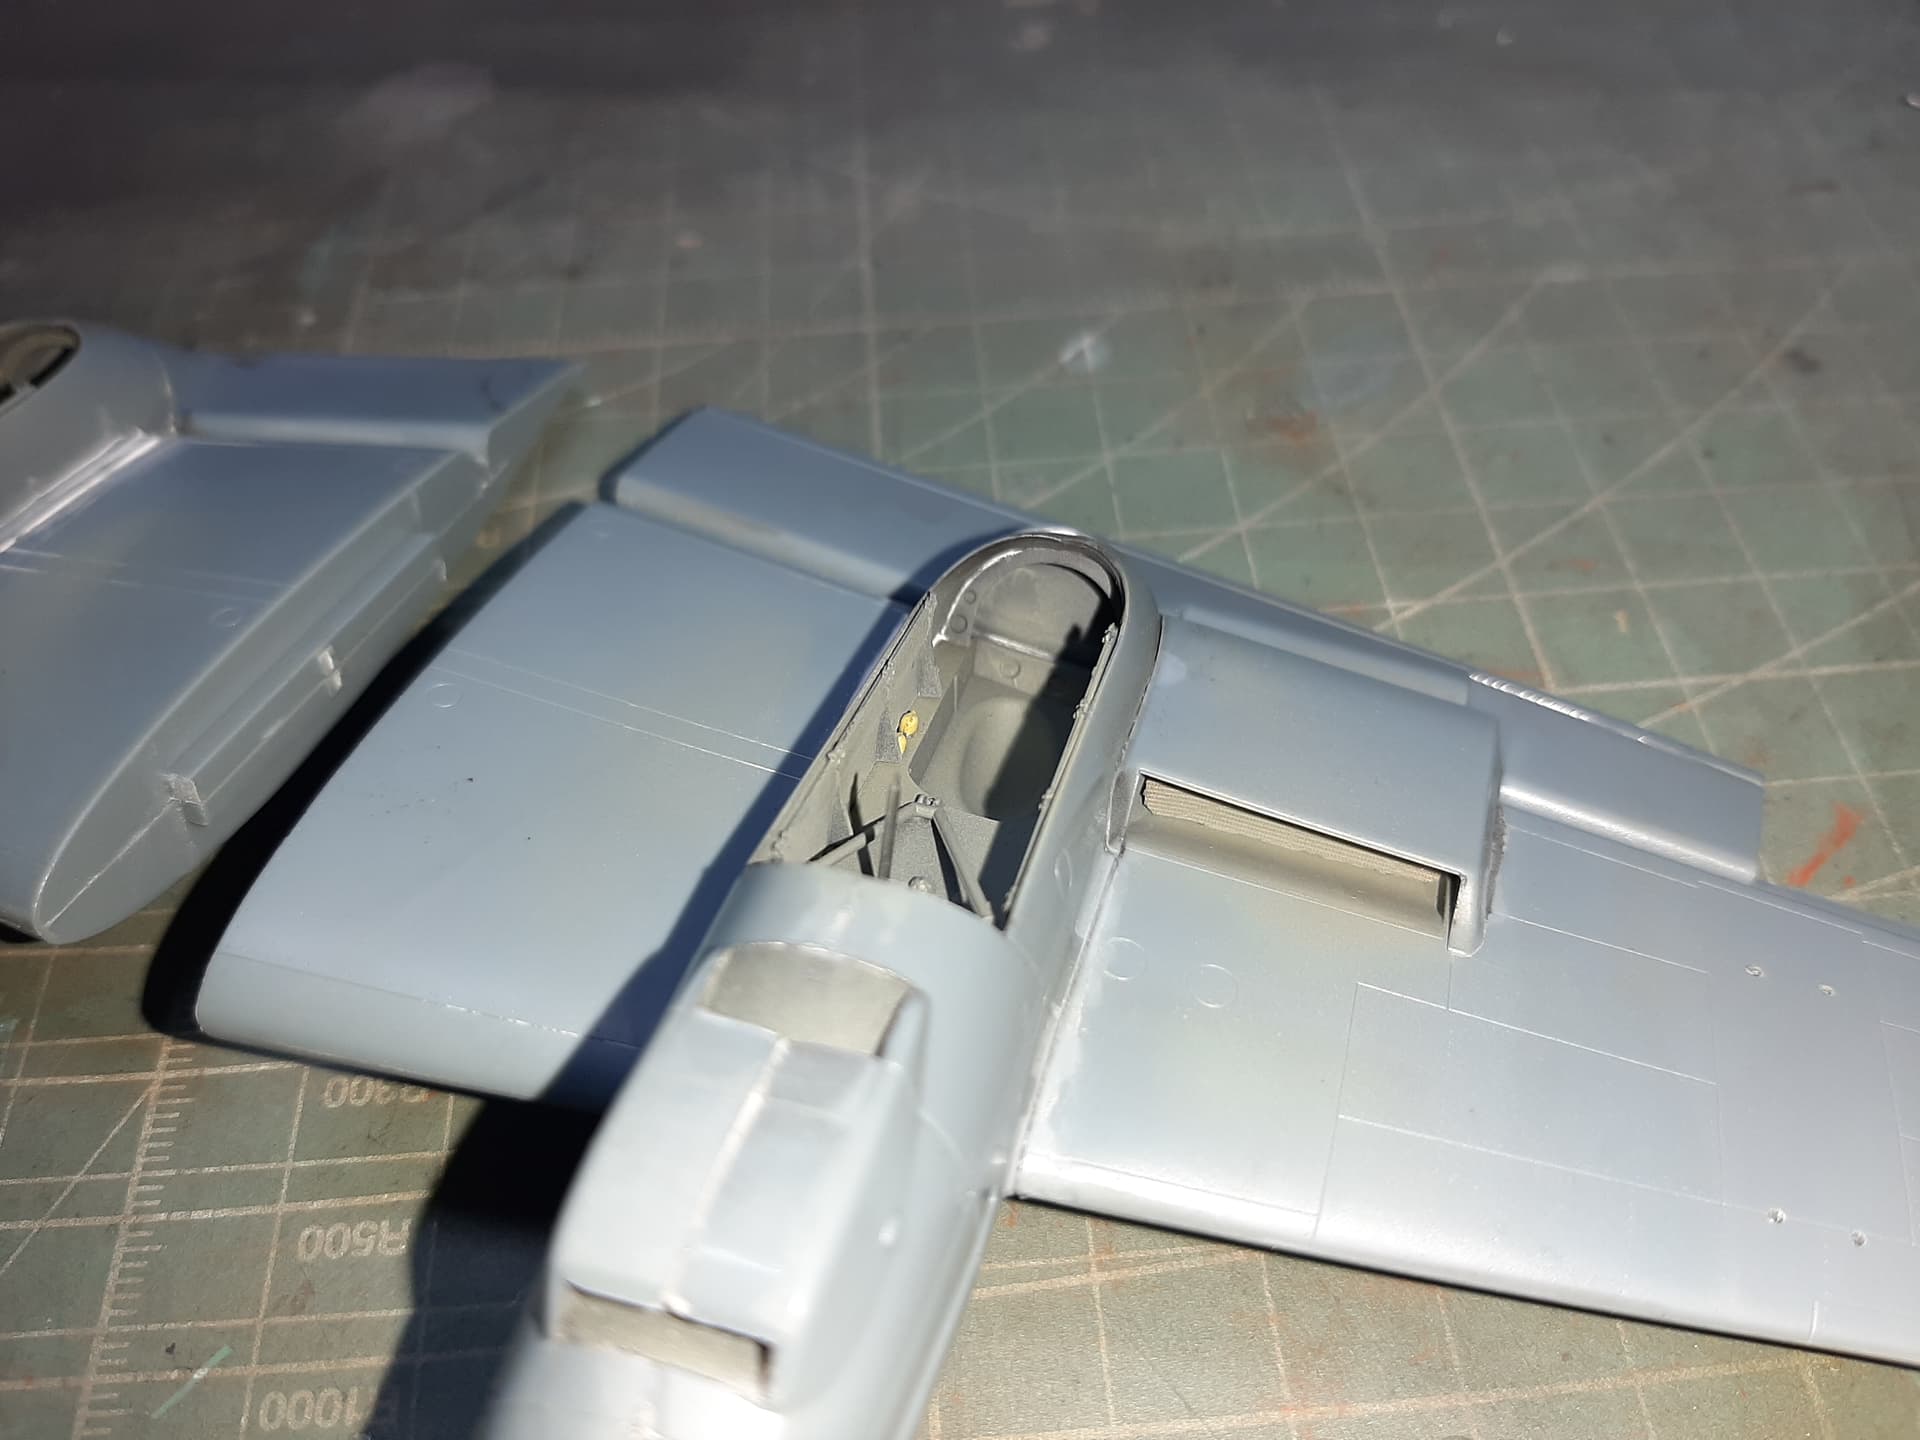
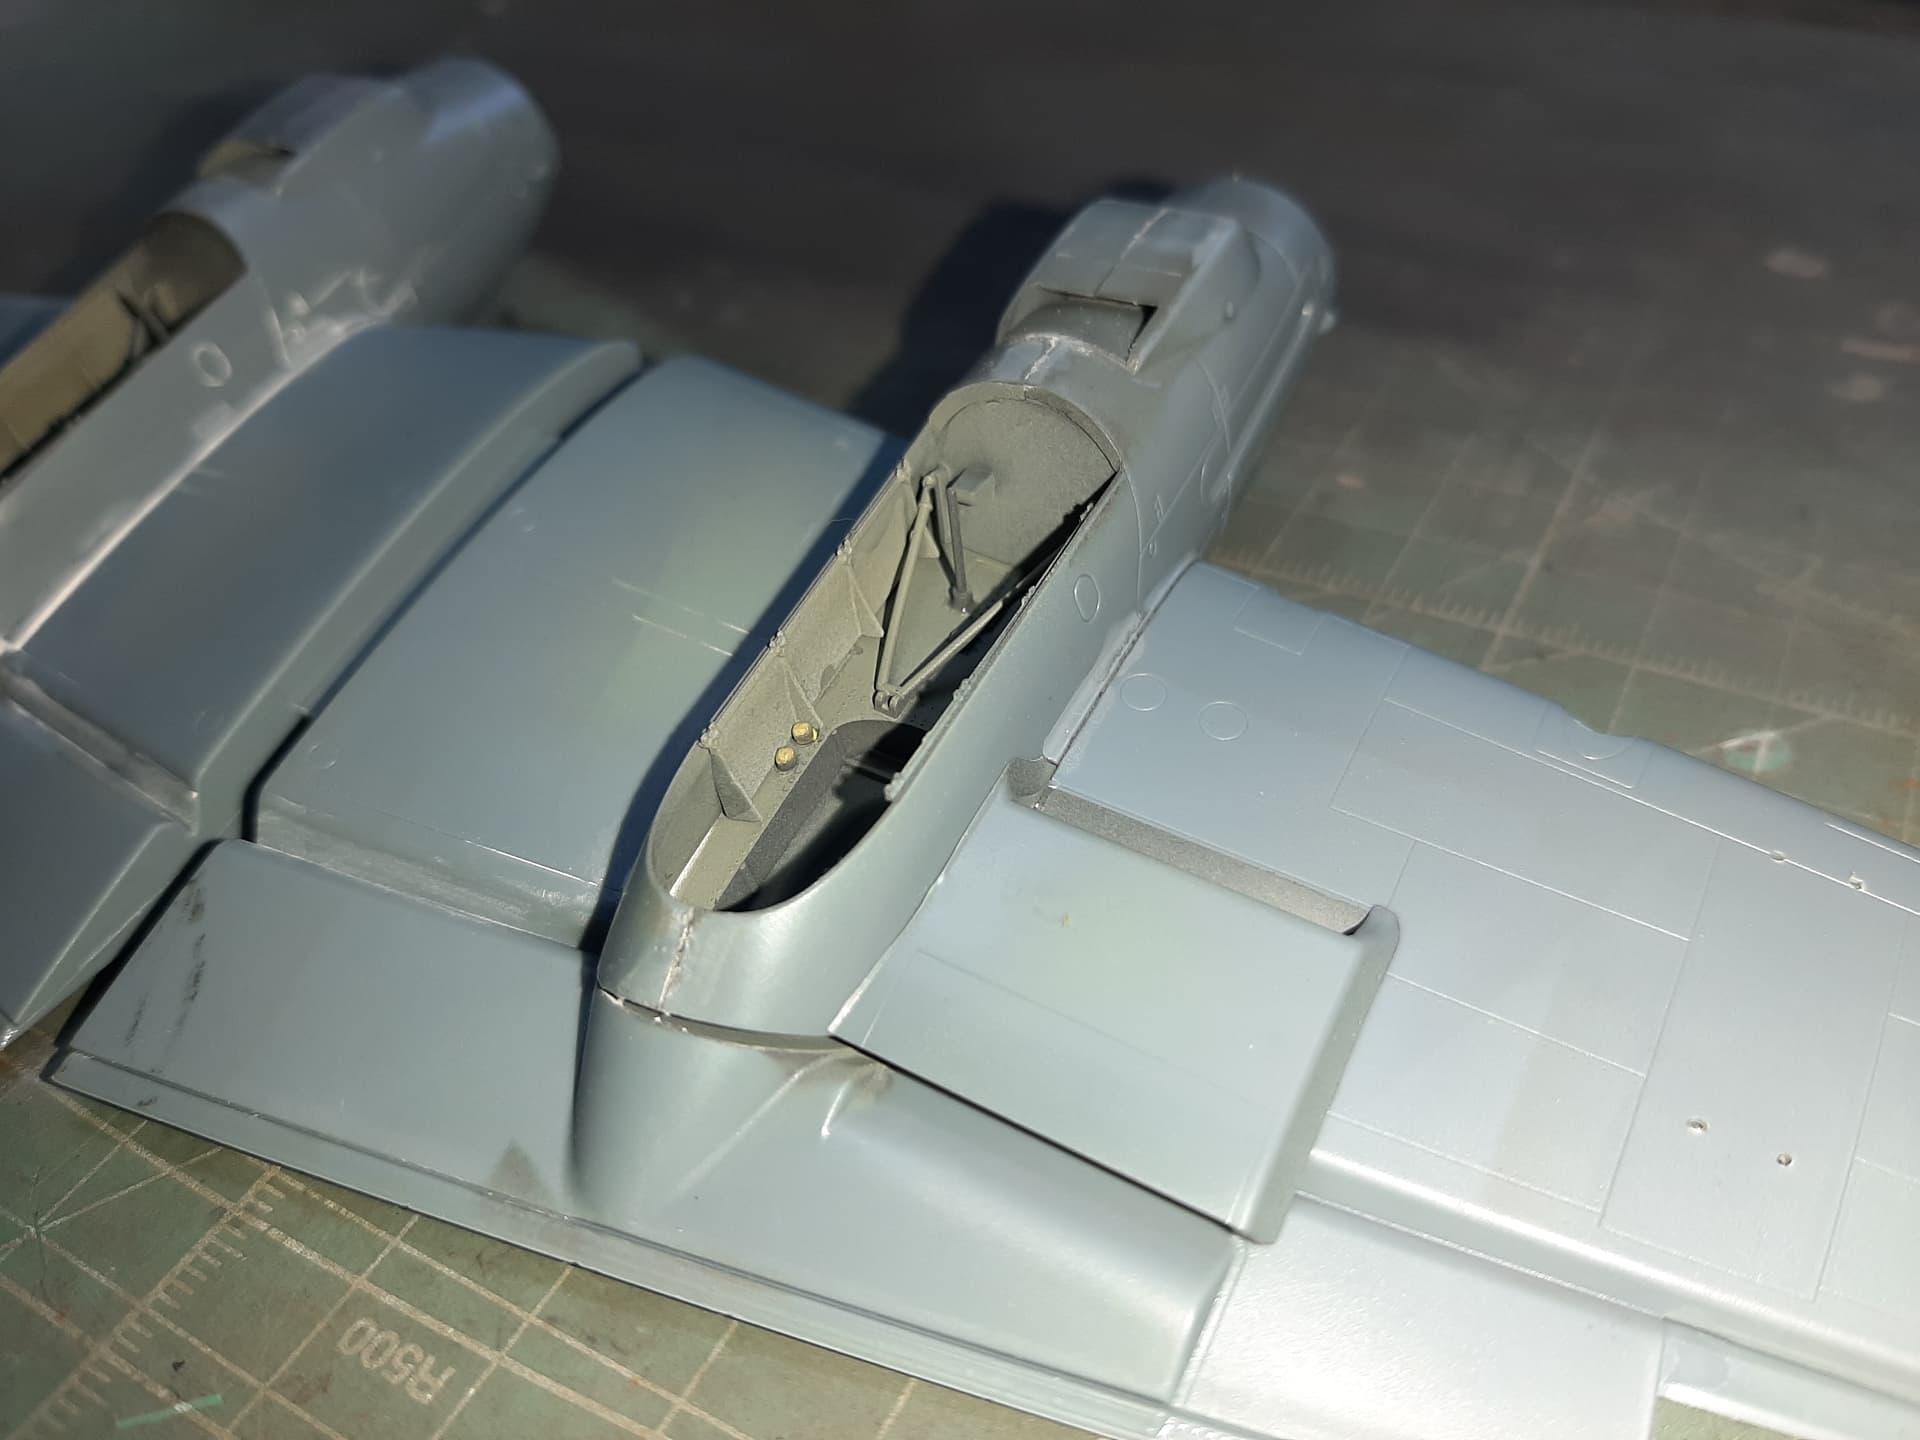
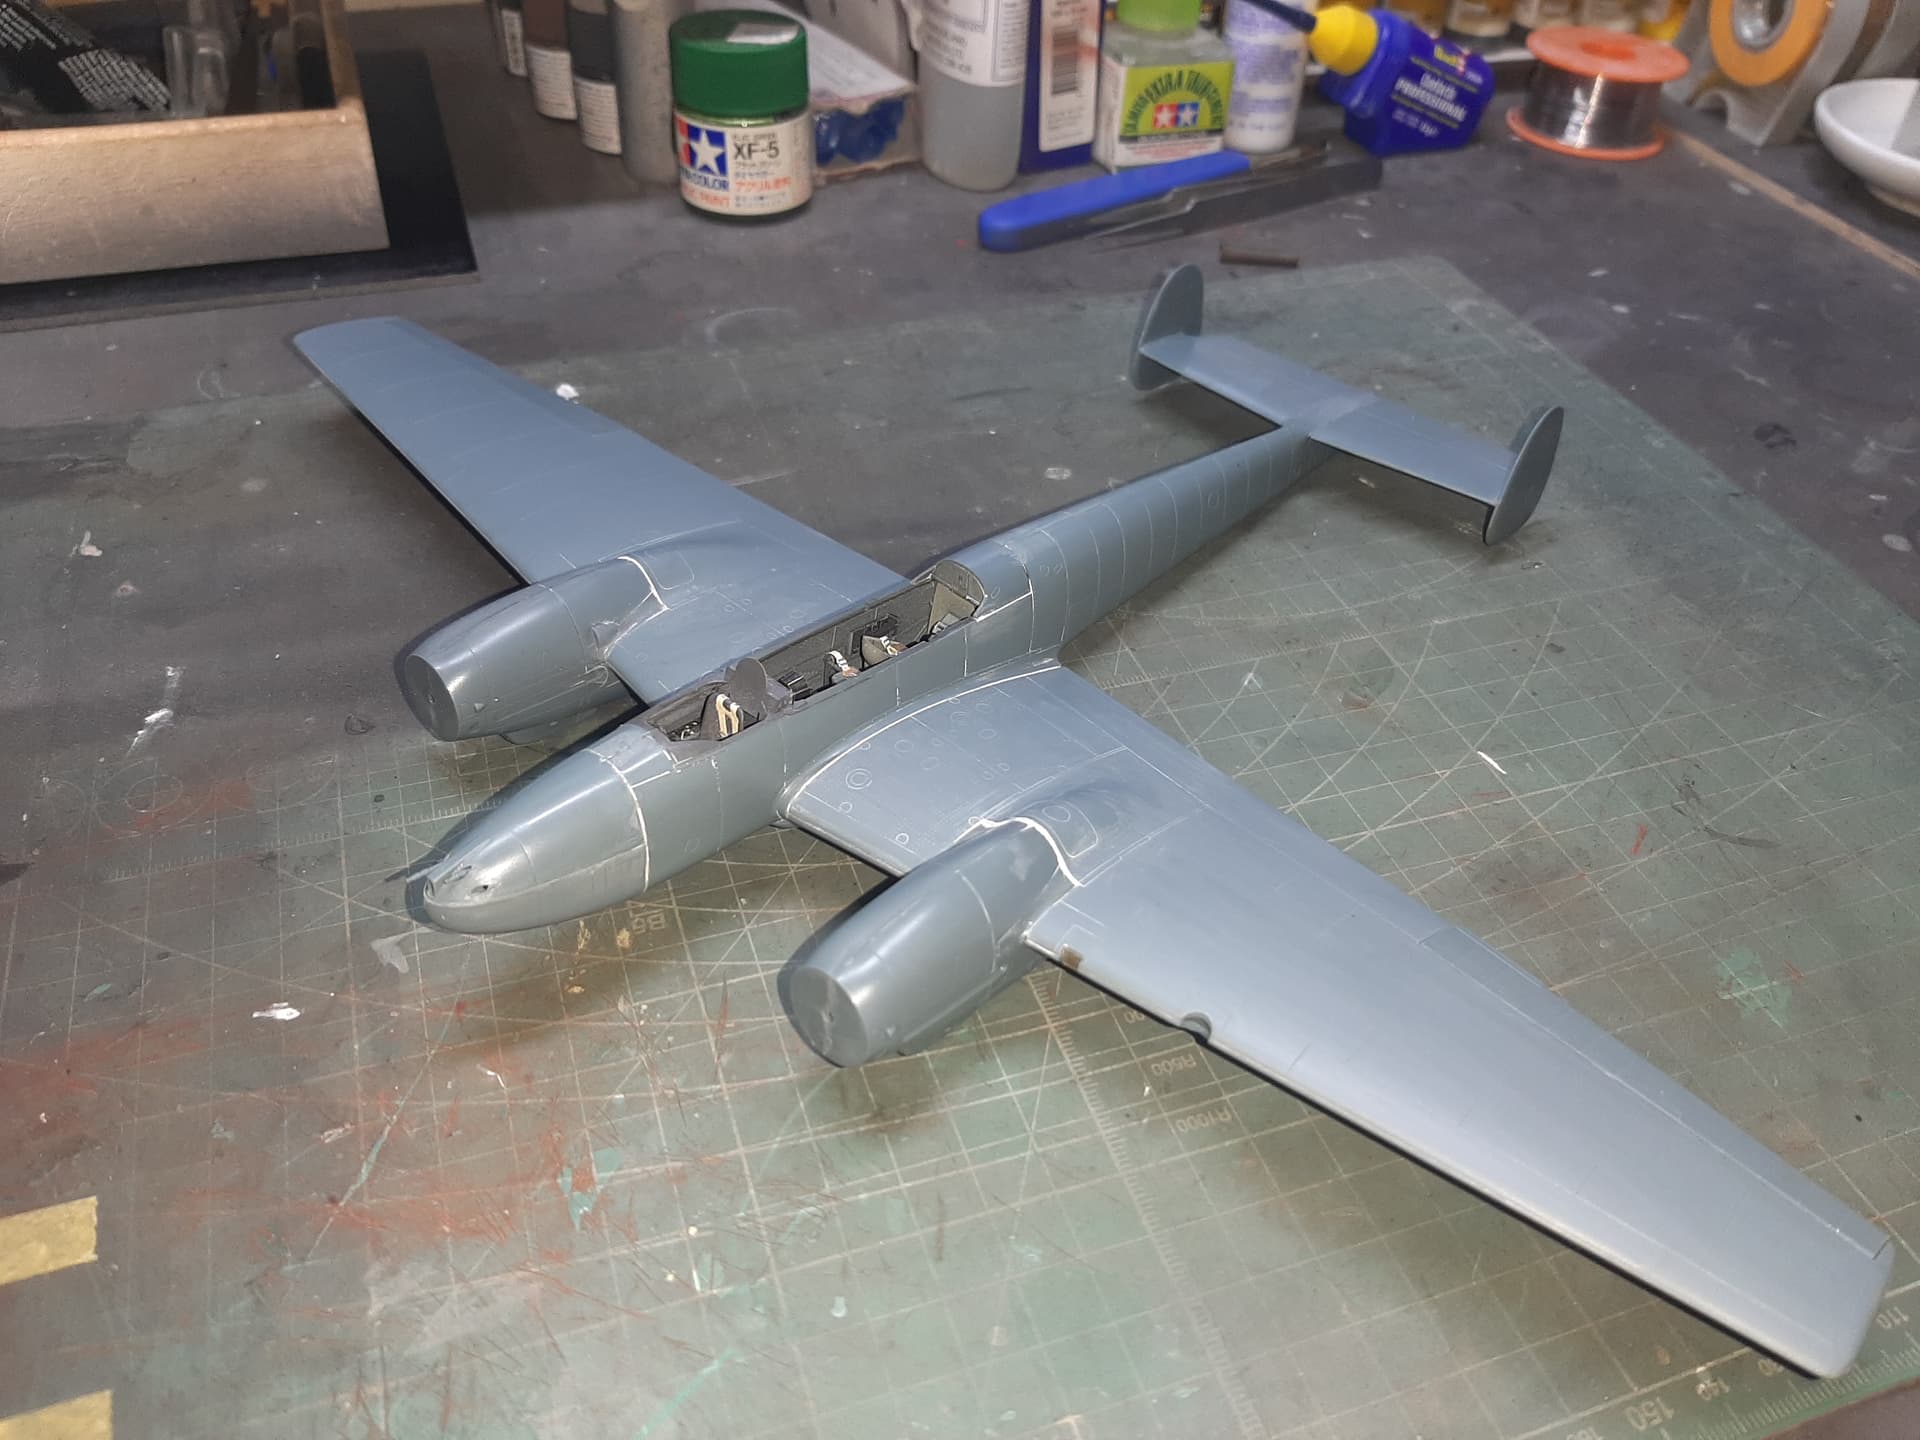
This is the assembled fuselage. It went together quite well.
The wings were a very tight fit, in fact, I had to do some sanding on the fuselage wing locating ‘slots’ in order to get them to fit. But anyway it went in after a bit of effort. Not much filling required, but where it did need doing, I kept it to the upper surfaces. I am not too bothered about the underside, as this won’t really be seen when completed.
Besides, i just wanted a ‘therapy build’ after the ICM trauma.
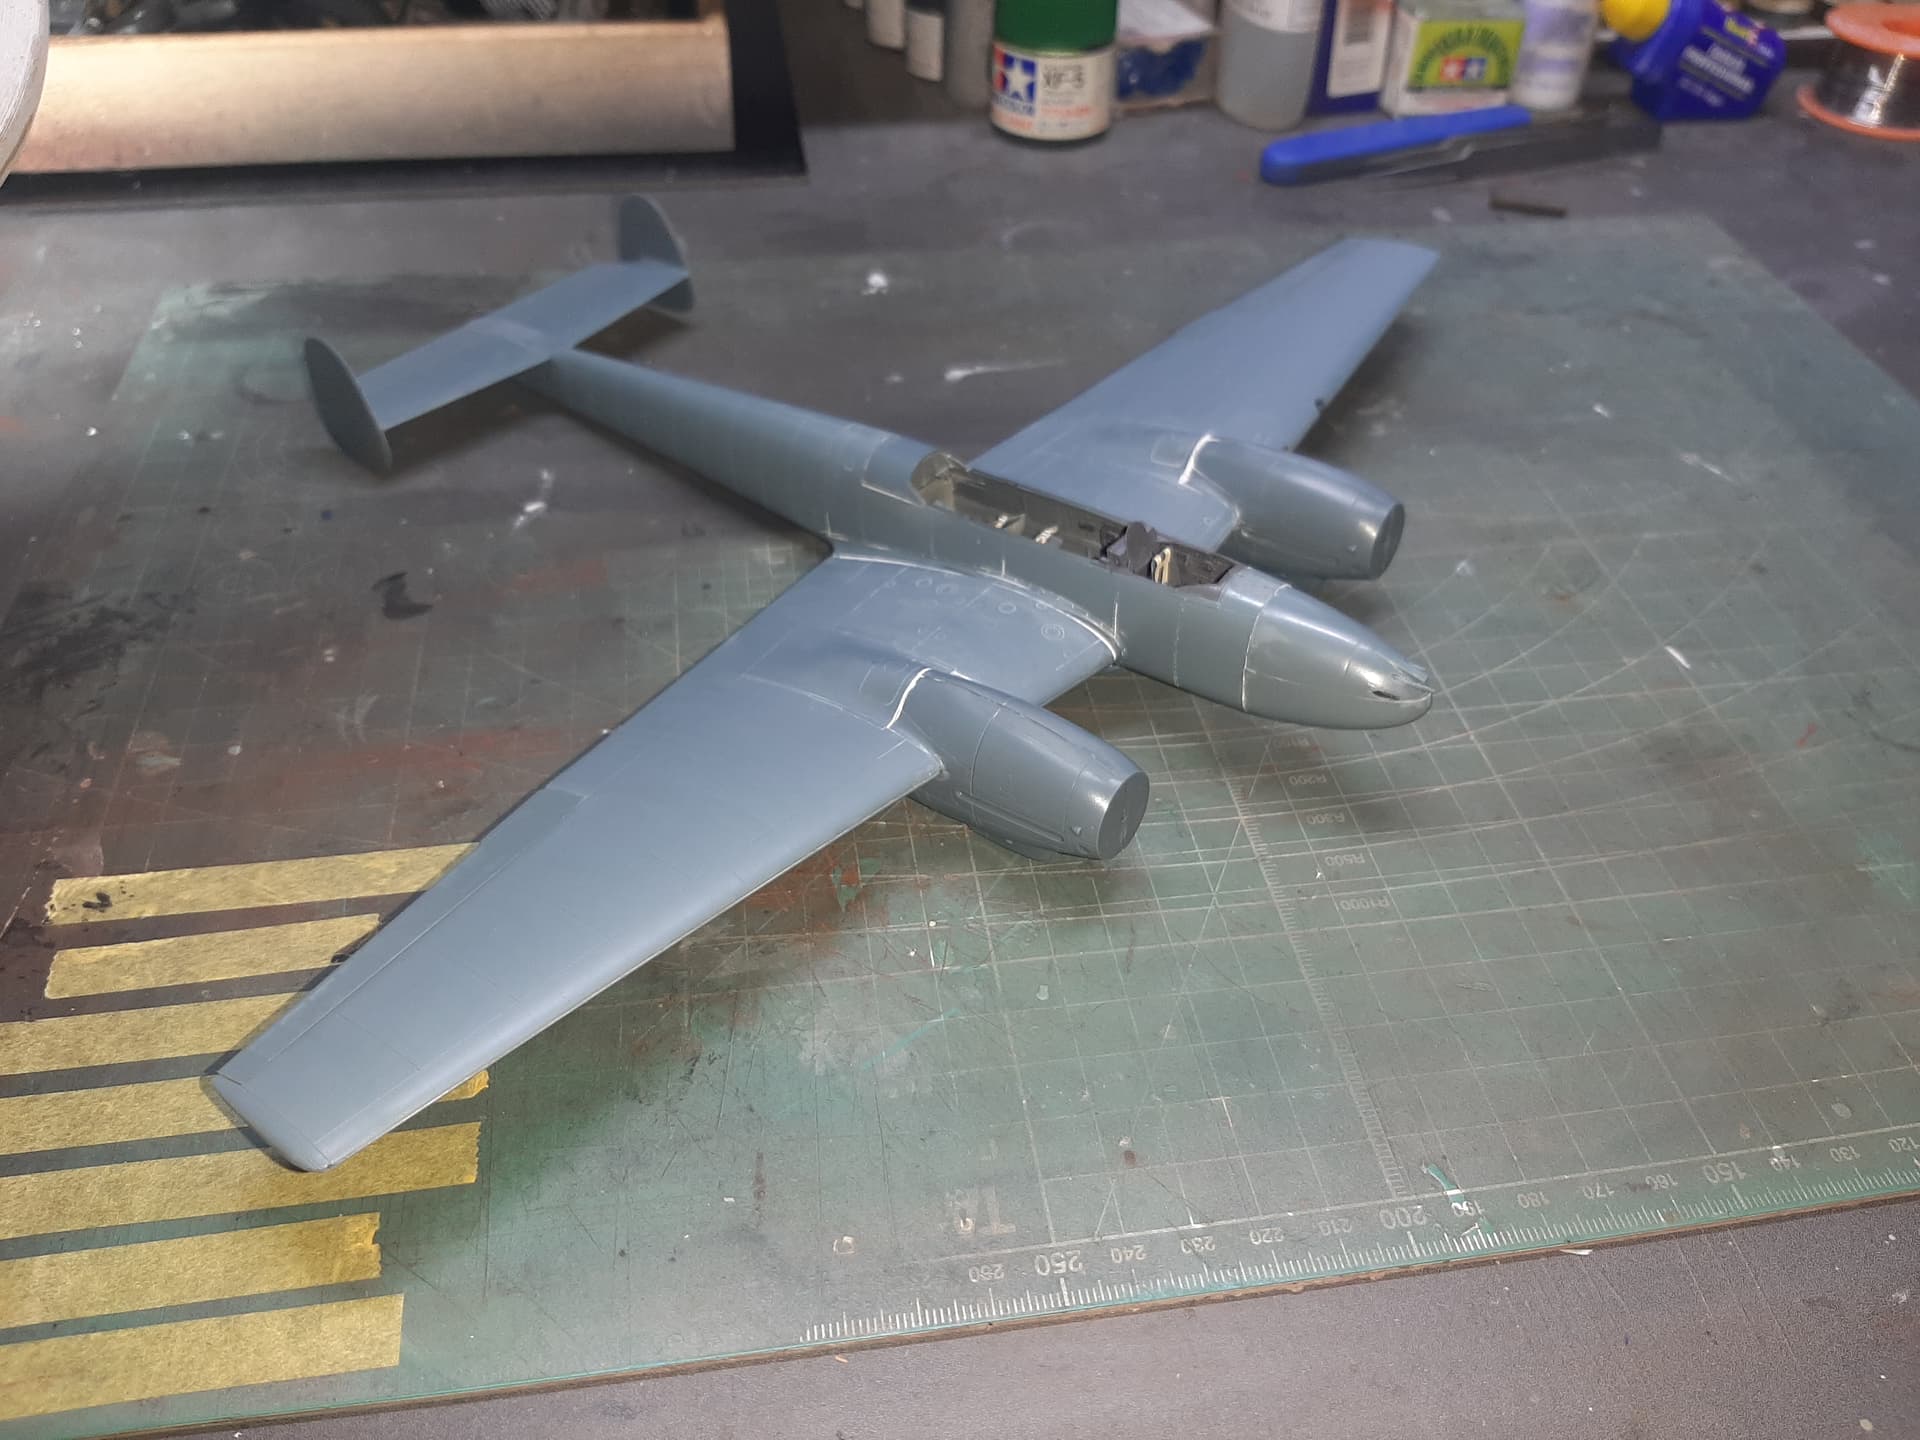
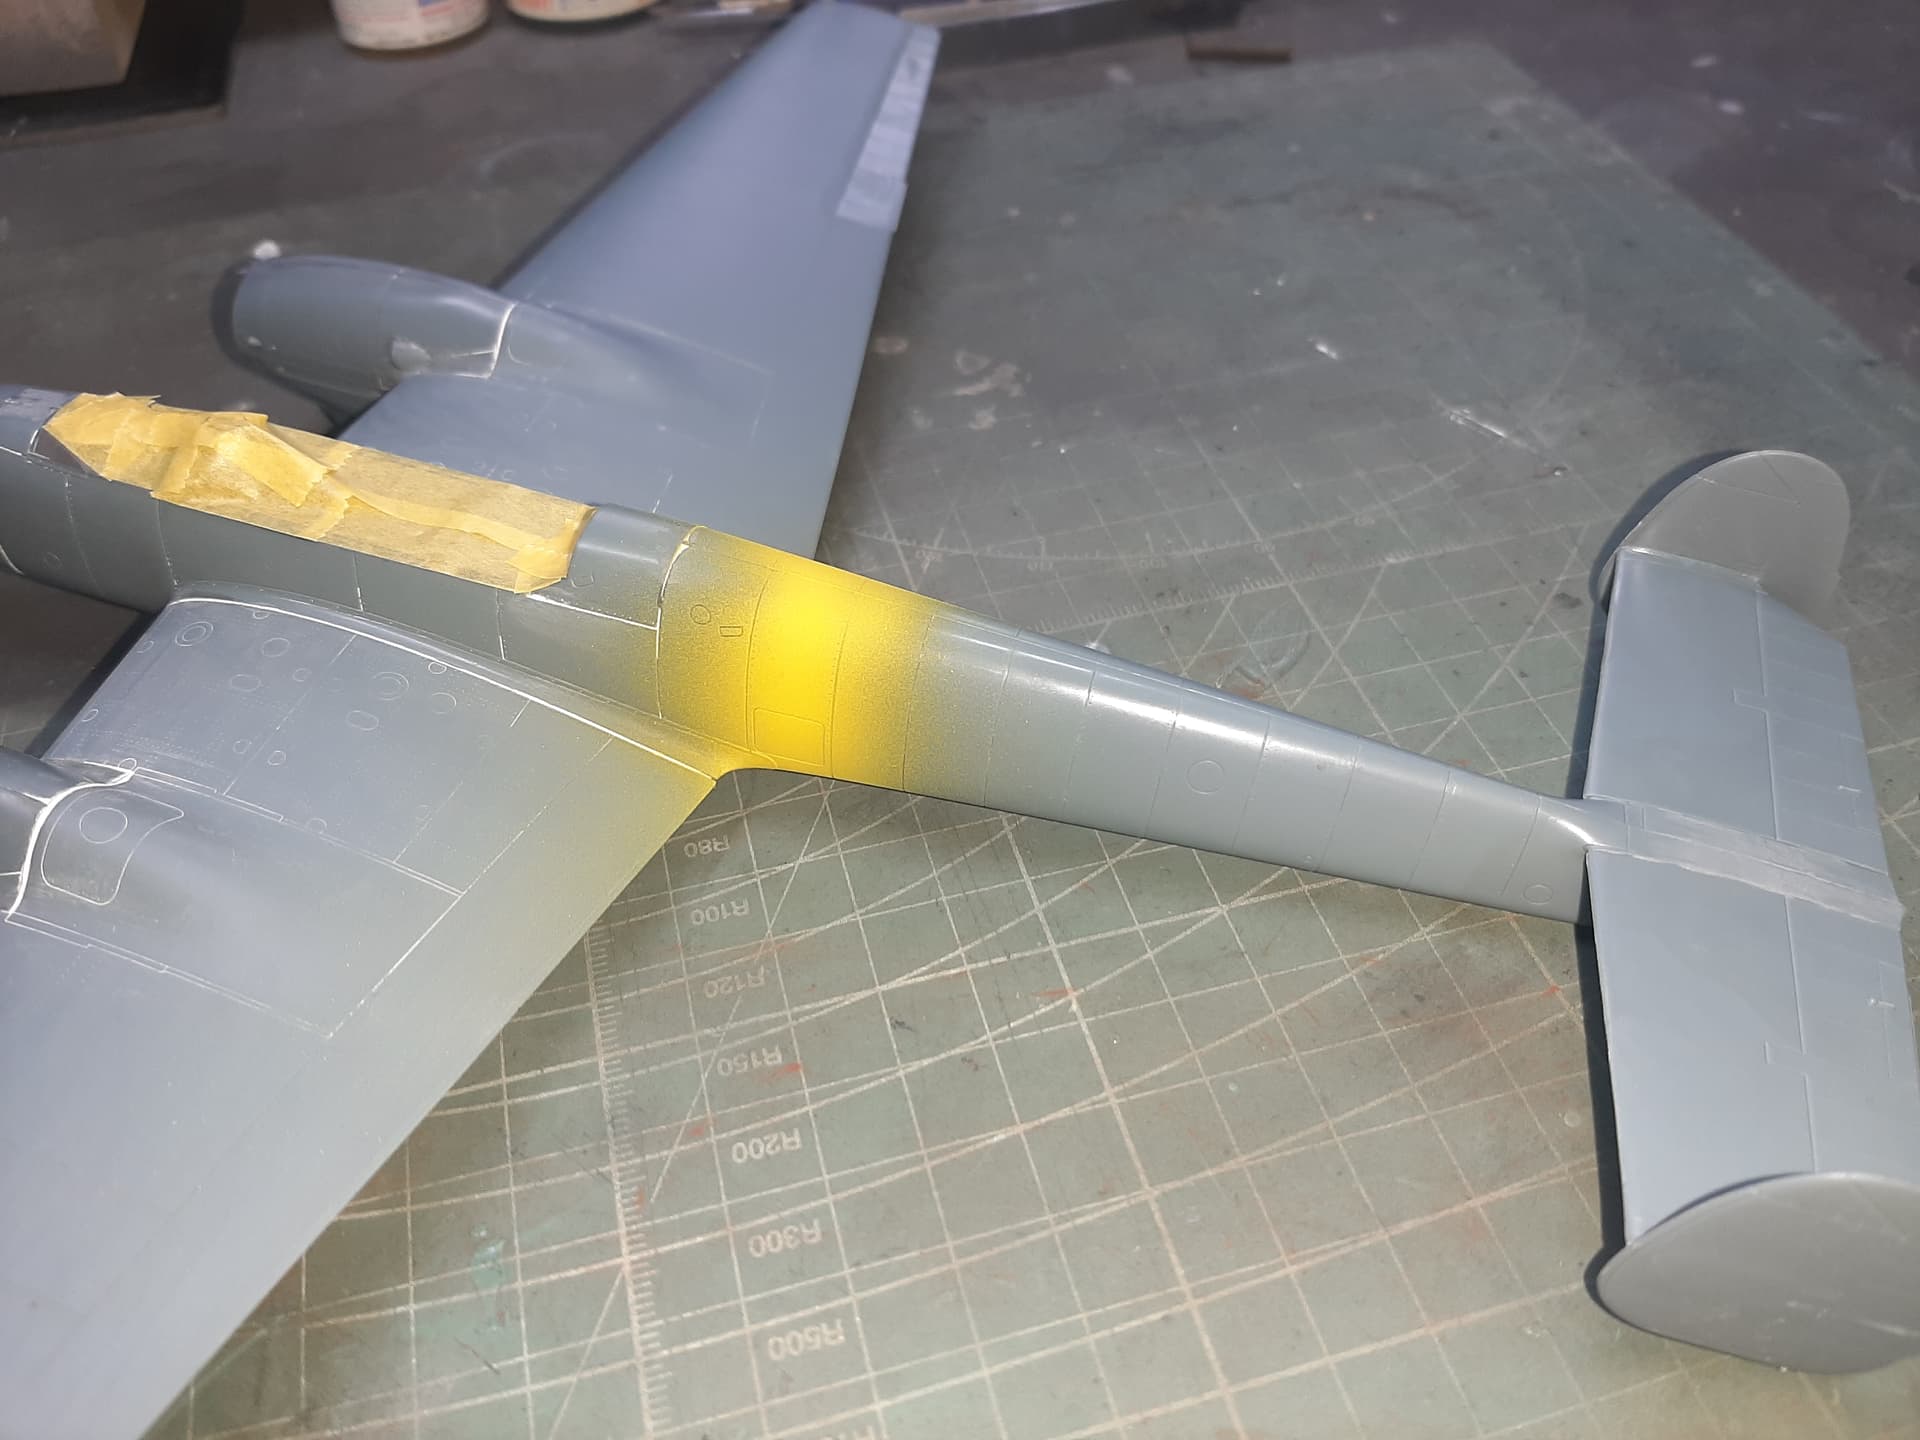
Transparencies are masked off ready to go, but ready for the first part of the painting, the Theatre identification bands (yellow for Russia in this case). After really struggling with both Mig & Vellejo yellow paints (yellow is just such a difficult colour for some reason) - I used a very old, but still serviceable Tamiya Flat Yellow. This sprayed beautifully through my new (back-up) Sparmax Max 4.
I don’t recall having many problems with white, but yellow is my bloody nemesis - until now…
The Tamiya acrylic went down really well. I didn’t prime (and rarely do - I don’t see the point really) but as you can see, did some pre-shading with RLM66.
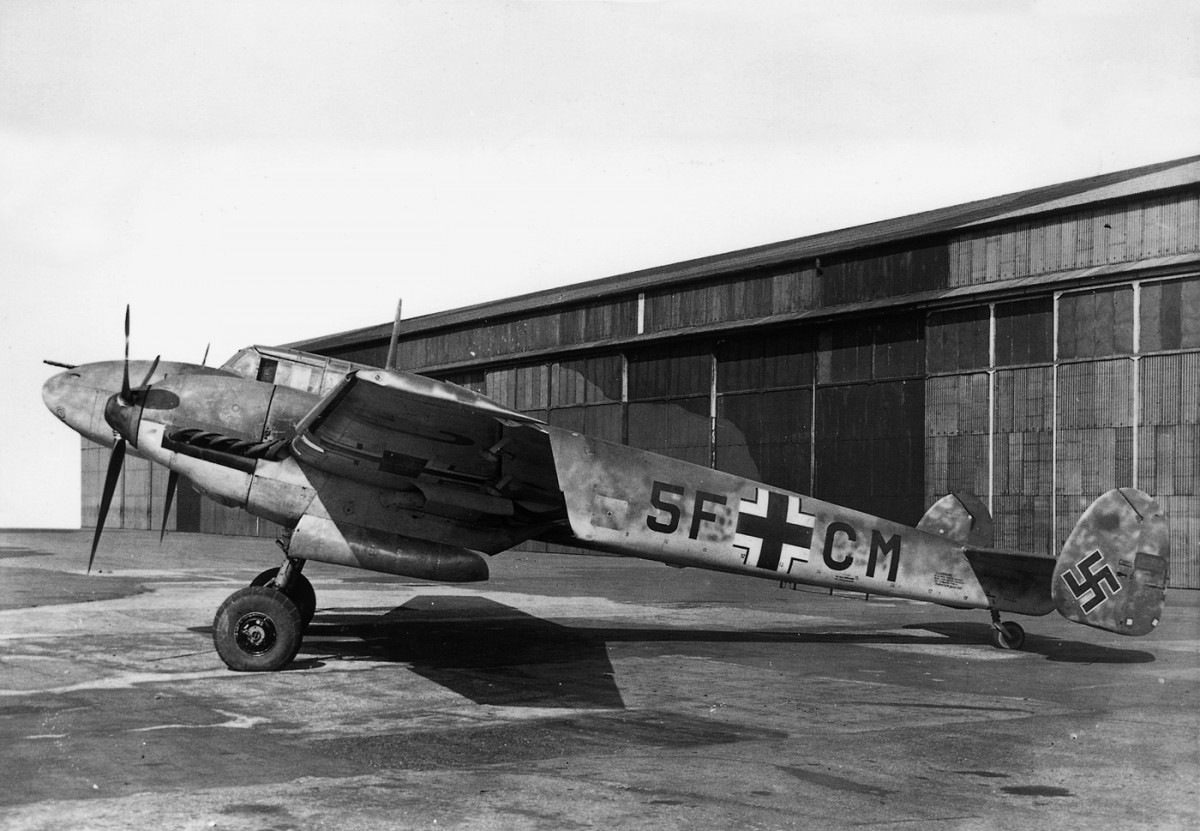
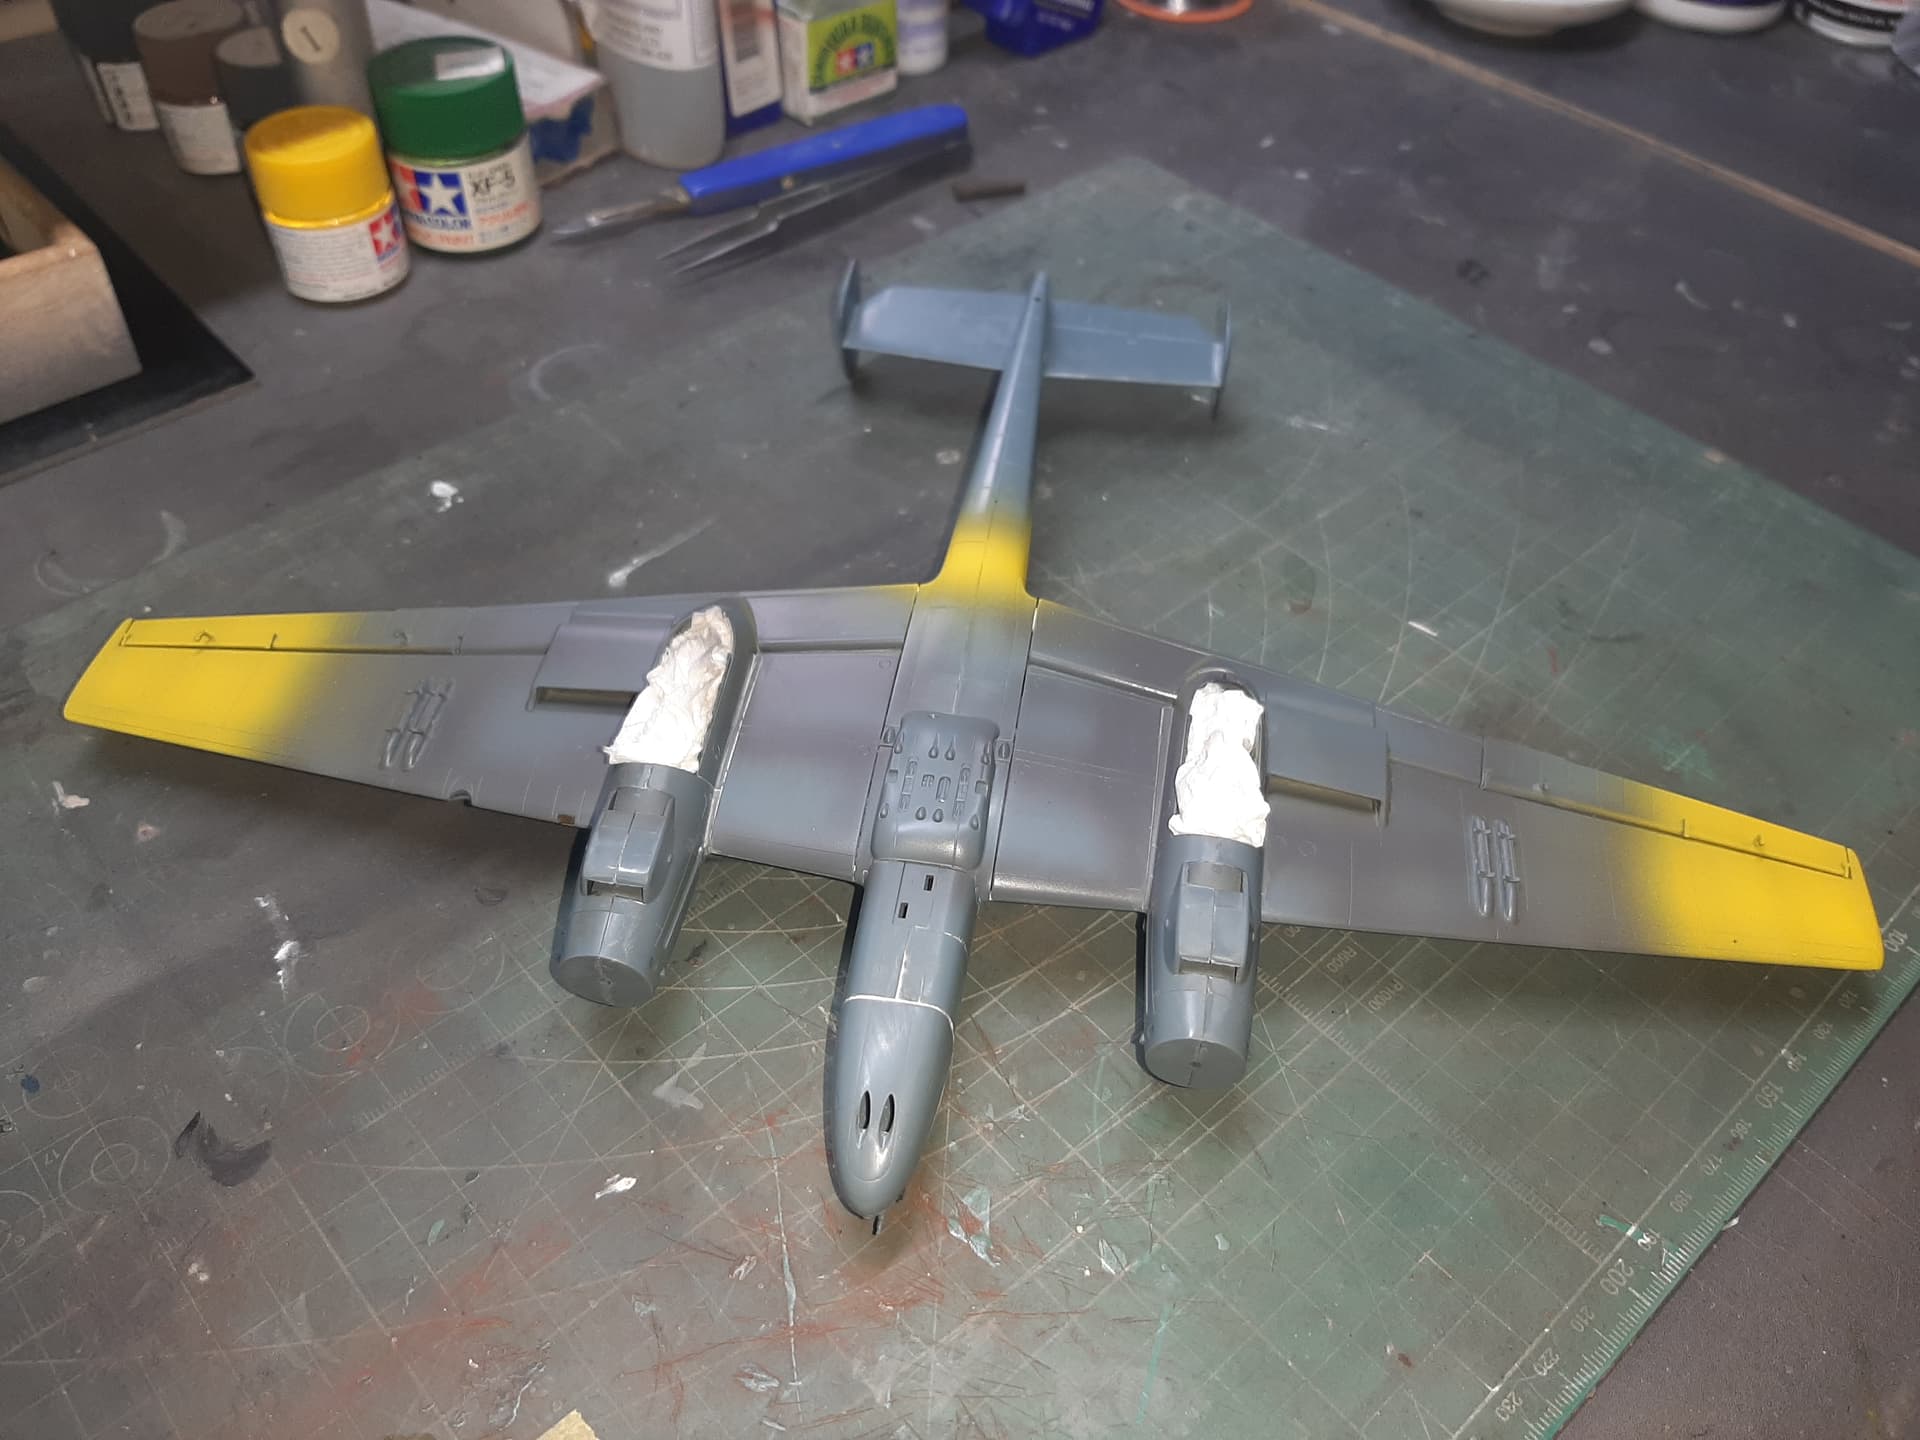
If we look at the side view of the cowling, we can see that the RLM76 Light Blue appears to reach quite high up the engine nacellels - and presumably, back along the nacelle sides on the wing upper surfaces.
As a layman, I would look at it from the front, and judge where the engine vertical side stops and the upper curve starts and mark it from there and do the demarcation line that way … the 2 images do look out of sync.
Well, I did that and won’t know if it looks correct until I unmask everything.
Which leads me on to this - underside is counter-shaded with RLM 66 and oversprayed with RLM 76, Light Blue. Upper surfaces are standard splinter pattern RLM 74 & 75 respectively.