F-35A Lightning II by Tamiya

Very nice work, HG!

I’m thinking of getting this kit and would like to get the appropriate paint when I do, since it looks like it may have to match the decals for the RAM tape. I’ve tried looking at the instructions online, but can’t make out the correct colors for the Israeli bird. Any chance you can tell me which ones Tamiya suggest?

Thanks!

Michael

Thank you Michael,

There’s loads of parts and great fun building it up. I’m honored Sunward Hobbies sent it over.

DO NOT put the bombs in before the doors… ugh!

Thanks HG! Can you let me know about those Tamiya paint colors I should be getting? I don’t want to get all the detail colors they’re recommending if I don’t have to, just the main airframe paints.

Michael

2 Likes

All the paint you need are listed on the front of the instructions. I cut this page off and attached it to further pages as needed.

Greetings High Flyers,

Time for an update on a truly exception kit.

DSC04457 (Small)

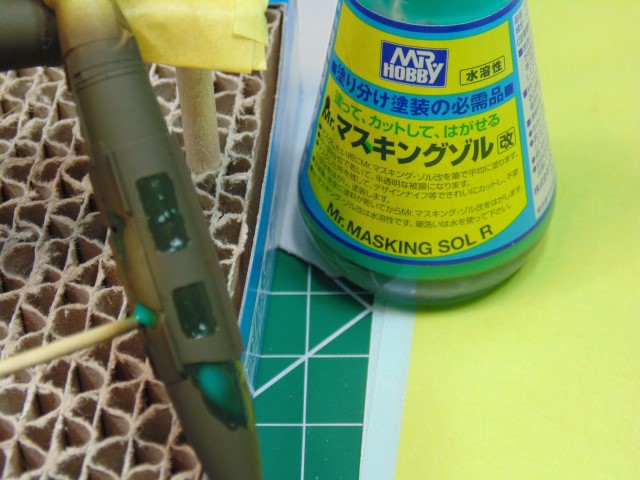
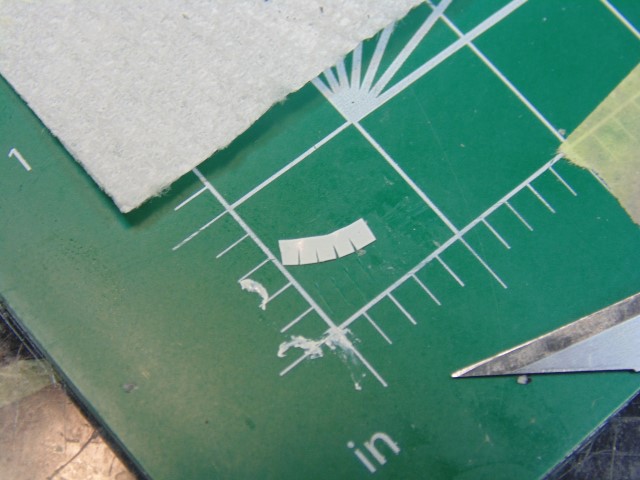
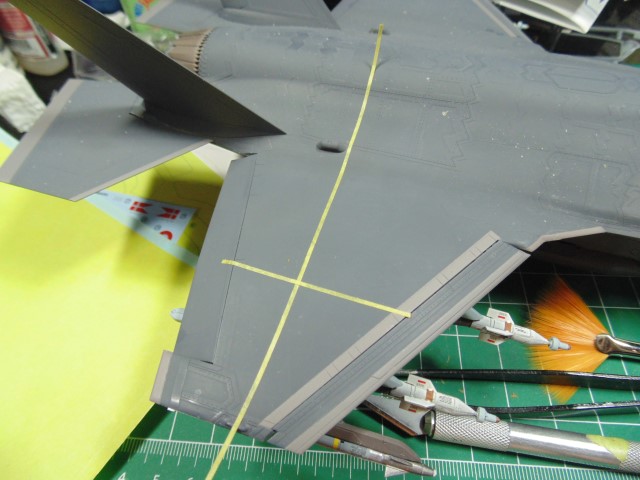
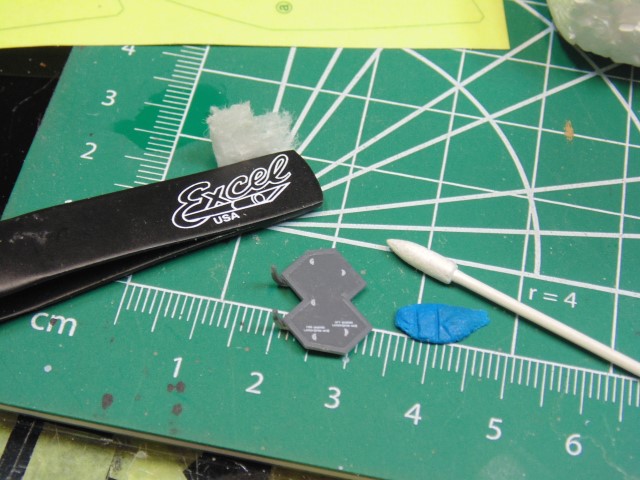
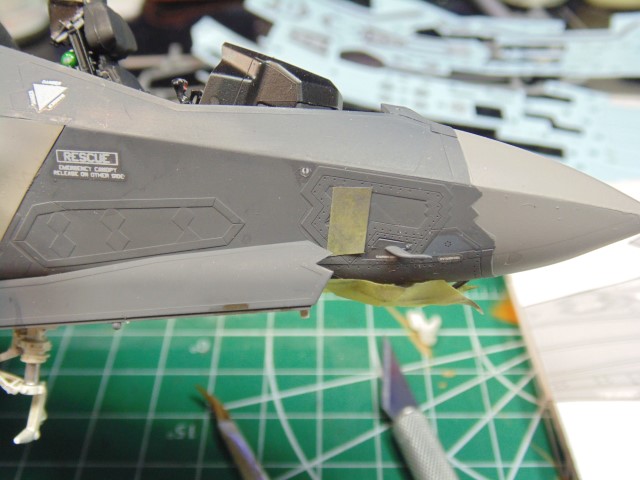
Instead of masking with tape, I found it easier to use friskers. SOL R might look messy, but sure does save time. I’ll do the fine painting later.

DSC04458 (Small)

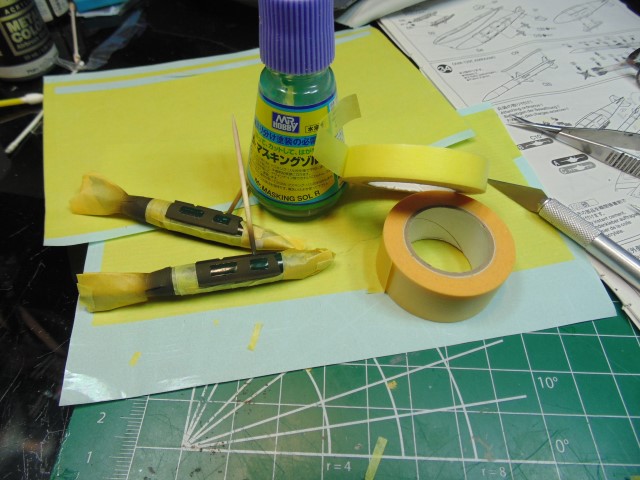
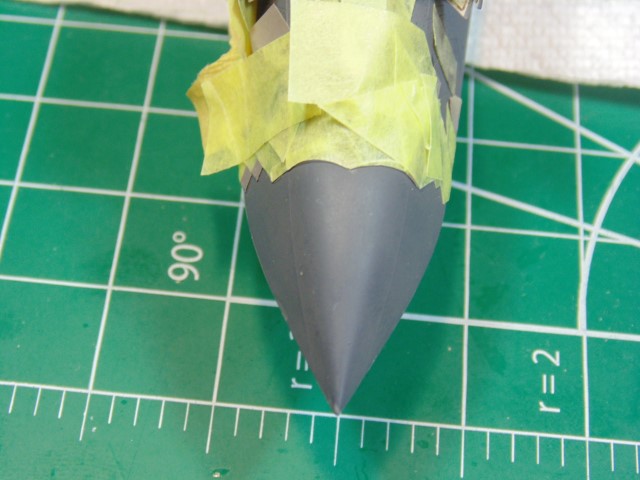
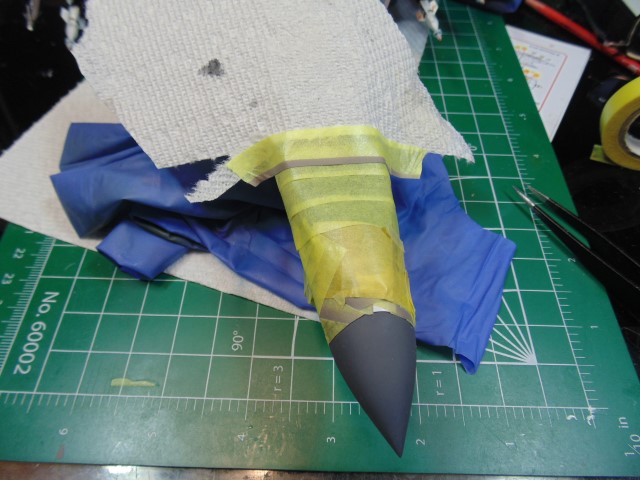
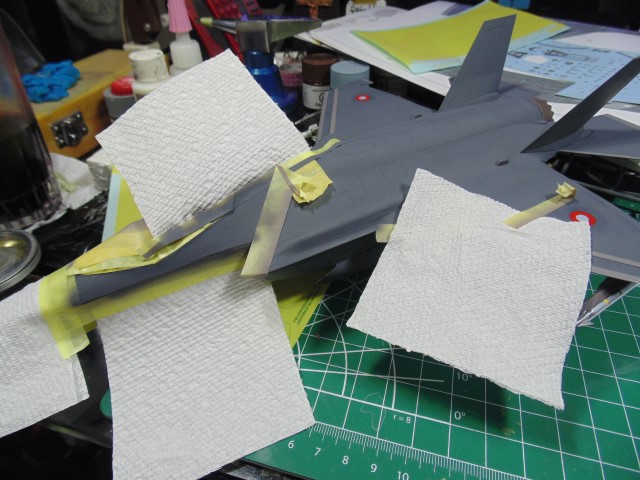
Naturally, there’ll be an ample amount of masking. That’s expected on a replica of this quality and well worth the time.

DSC04459 (Small)

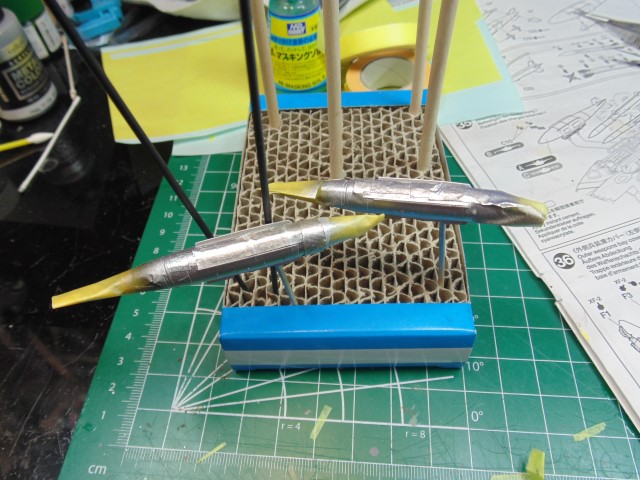
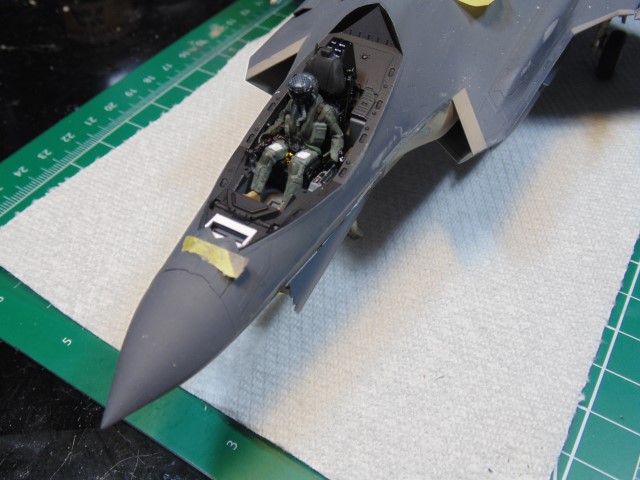
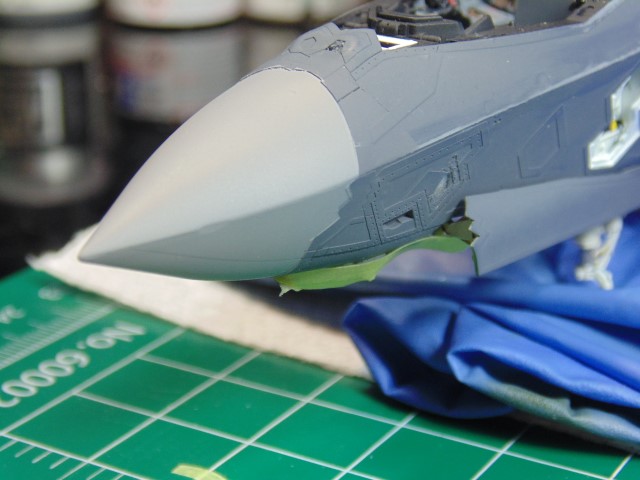
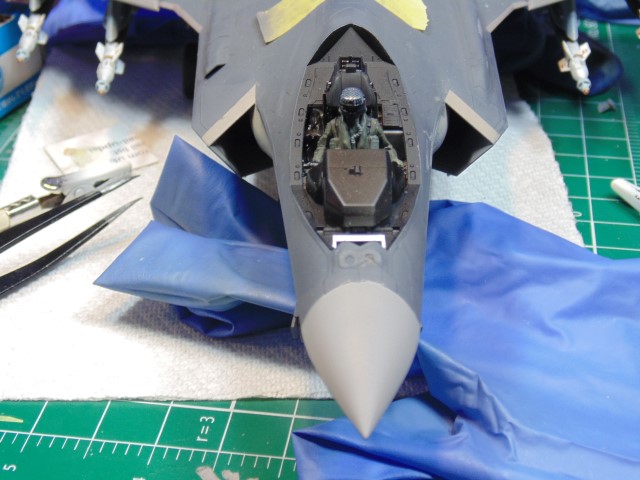
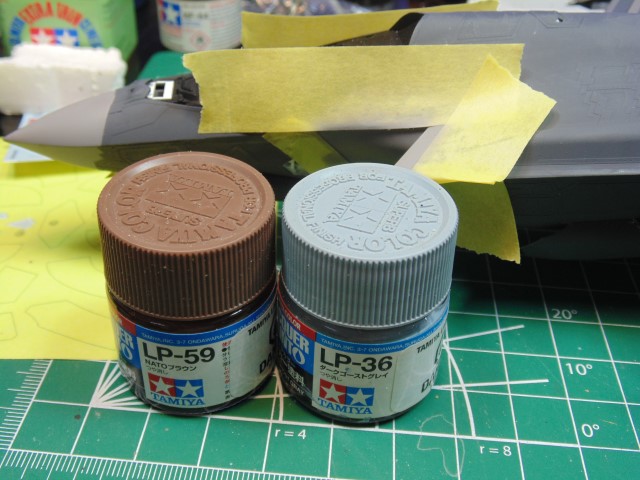
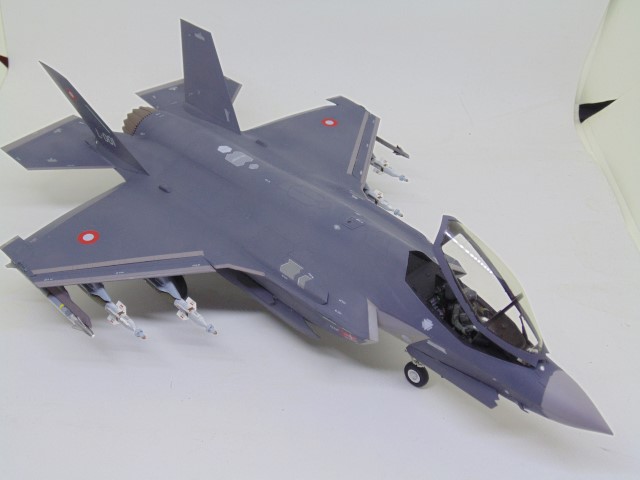
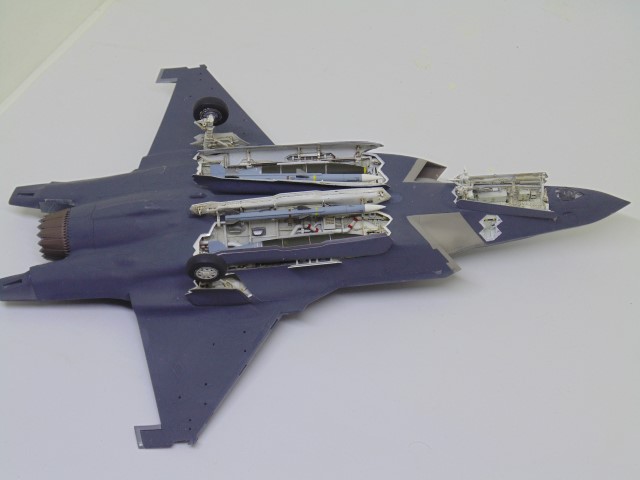
Using AK Extreme metal aluminum. It isn’t too bright yet has a nice look.

DSC04460 (Small)

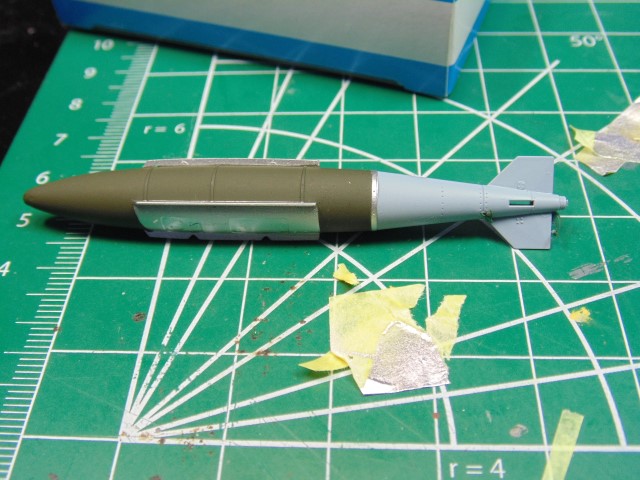
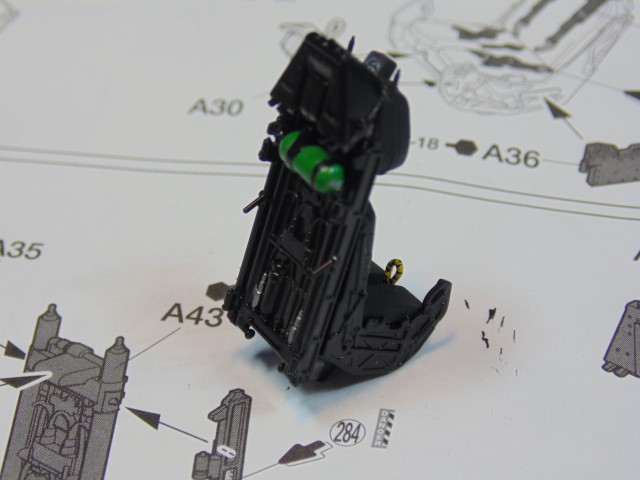
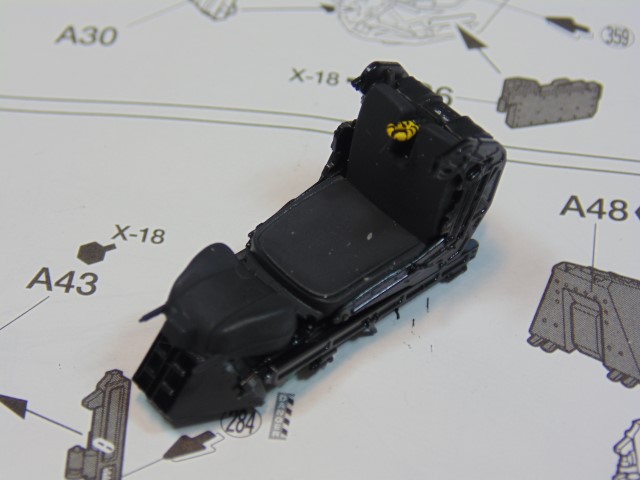
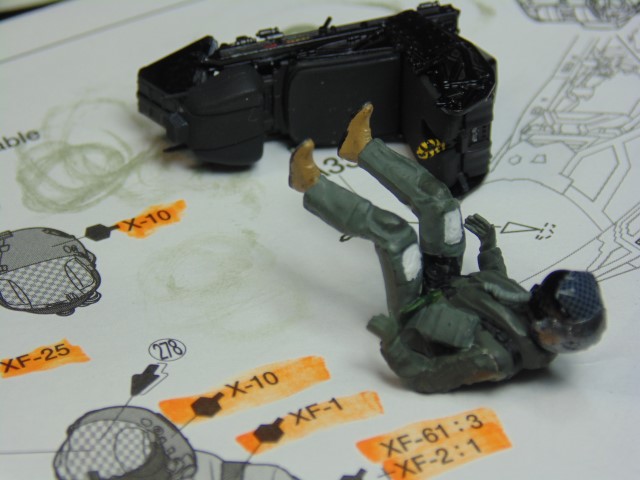
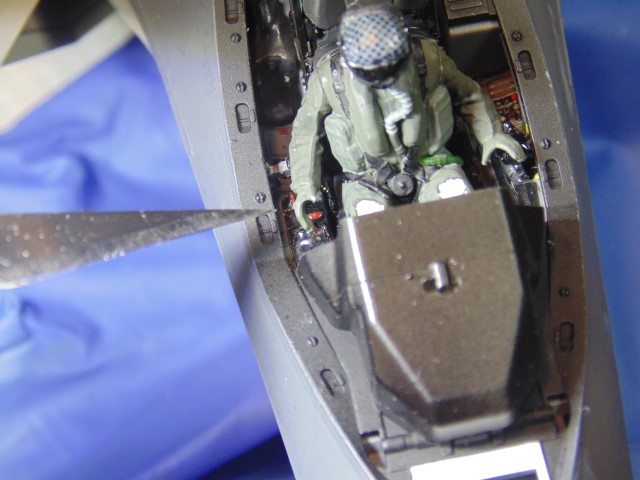
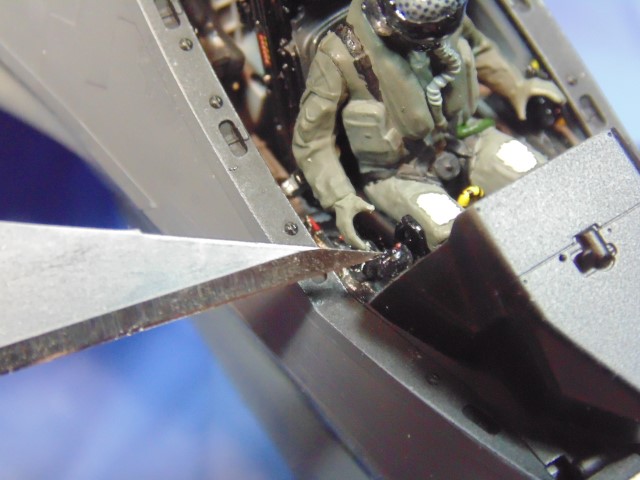
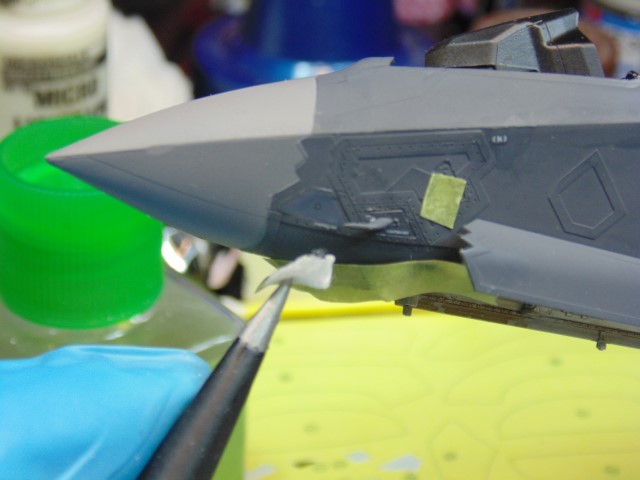
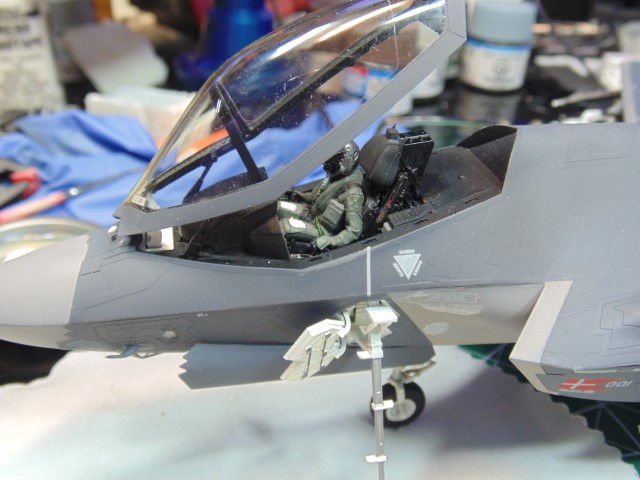
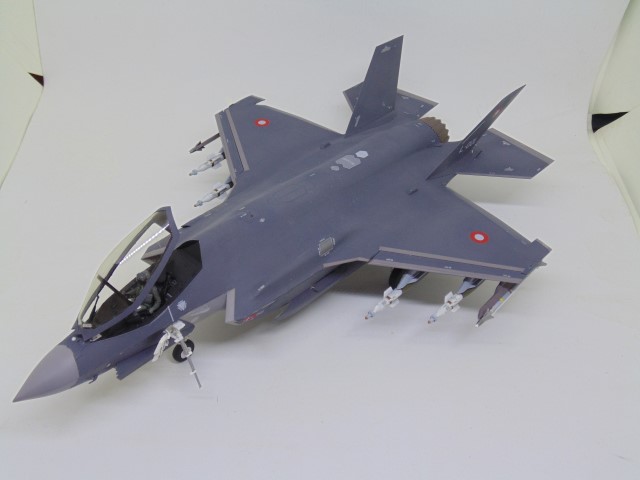
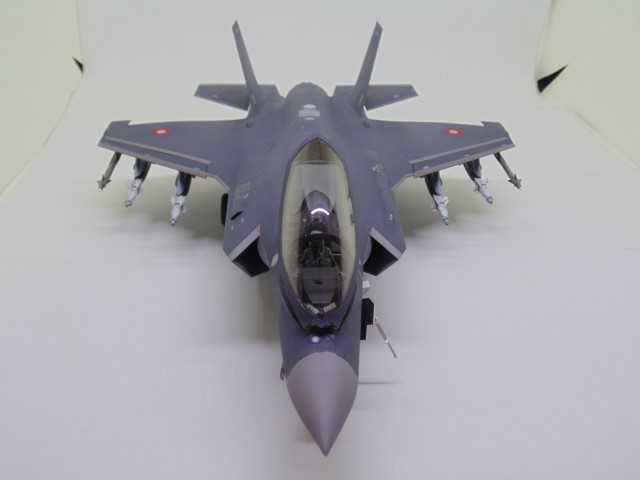
Plenty of touch-ups to do still, but you get the idea about how detailed this model is.

DSC04461 (Small)

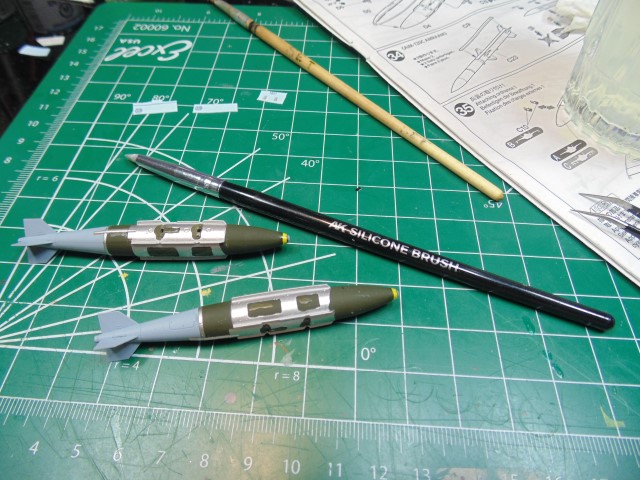
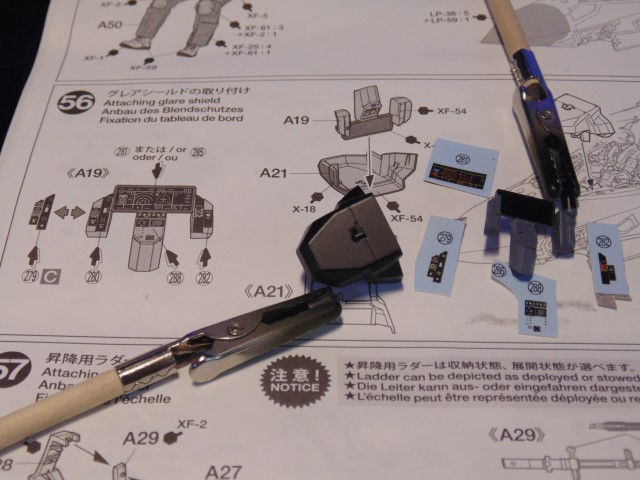
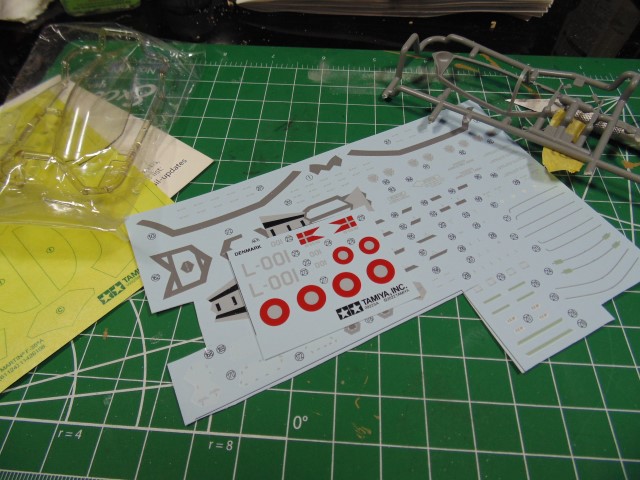
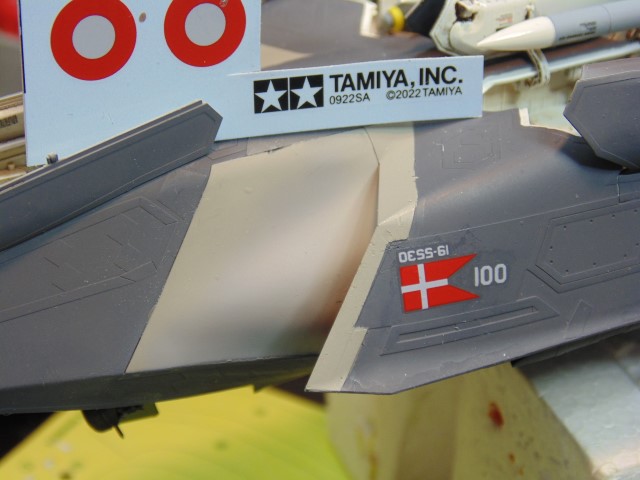
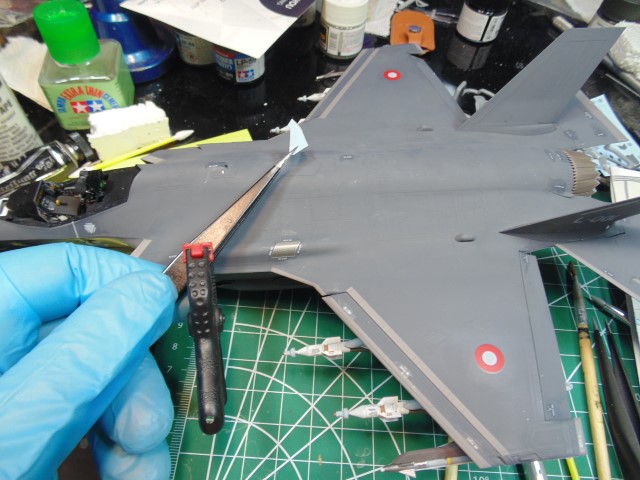
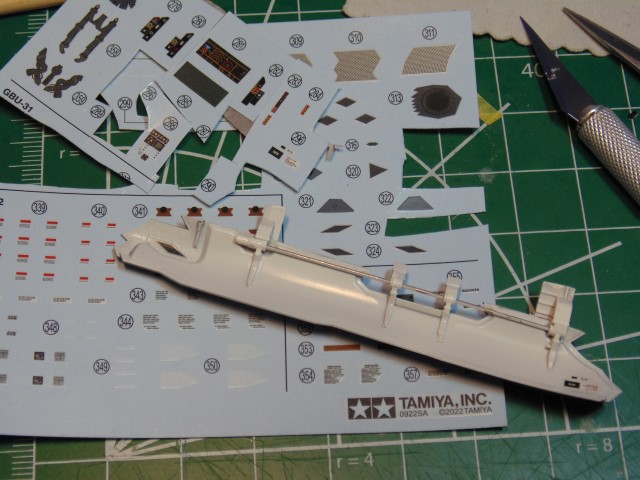
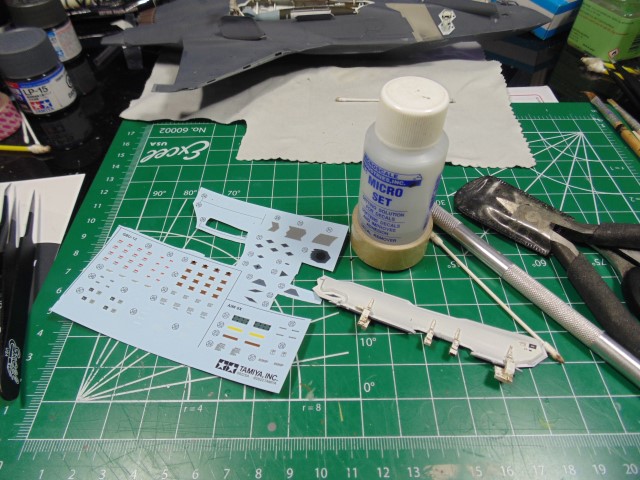
The decals are fine. They conform without any issue. Using an AK silicone brush to move them into place.

DSC04462 (Small)

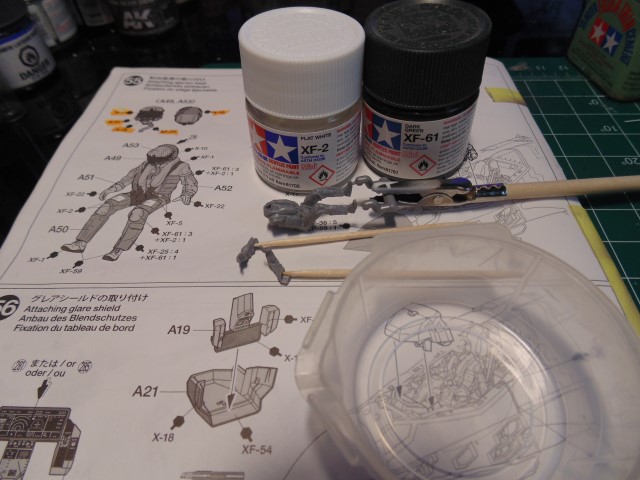
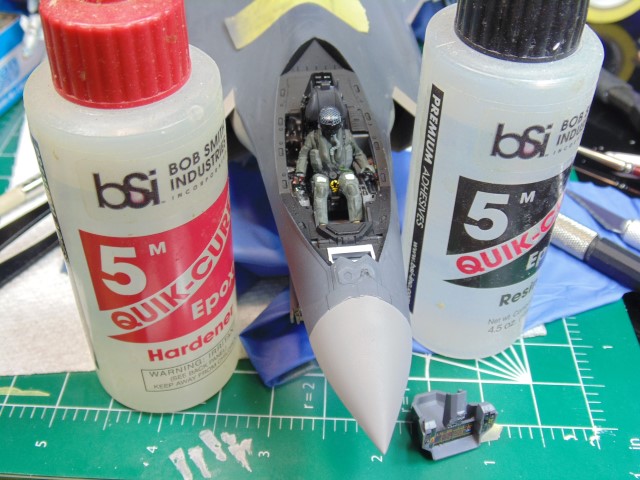
My “go to” decal setting fluids. Tamiya fluids work well also.

DSC04463 (Small)

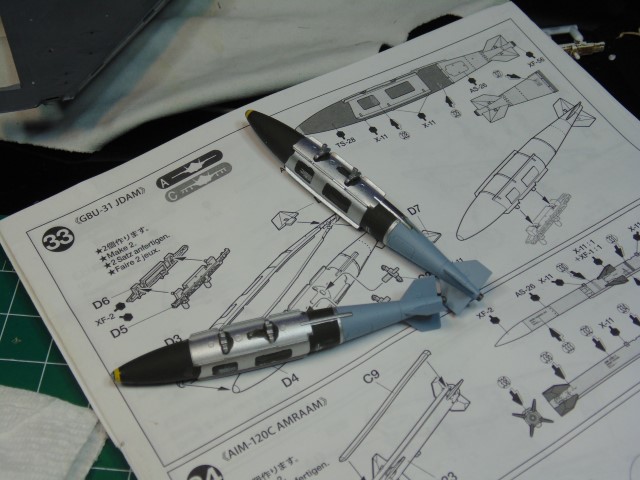
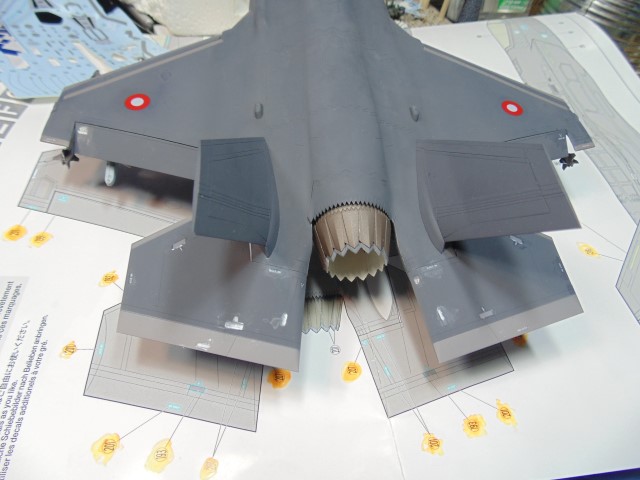
Attach the joining parts but be cautious with the pressure you put on the fins.

DSC04464 (Small)

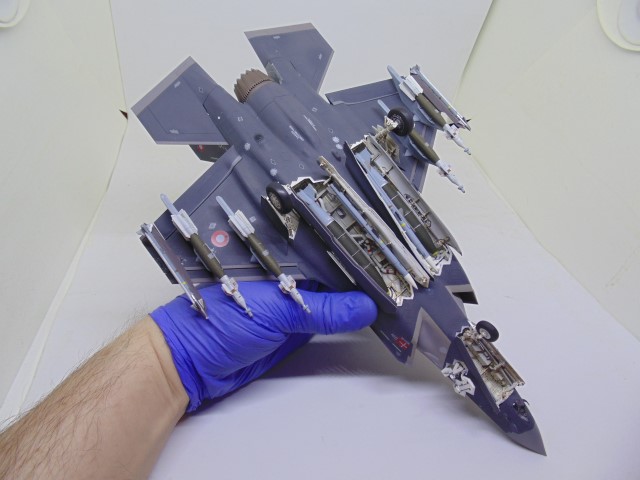
Use the hangers to hold on to when doing fine painting.

DSC04465 (Small)

DO NOT PUT THE BOMBS IN BEFORE THE OUTER DOORS GO ON.

DSC04466 (Small)

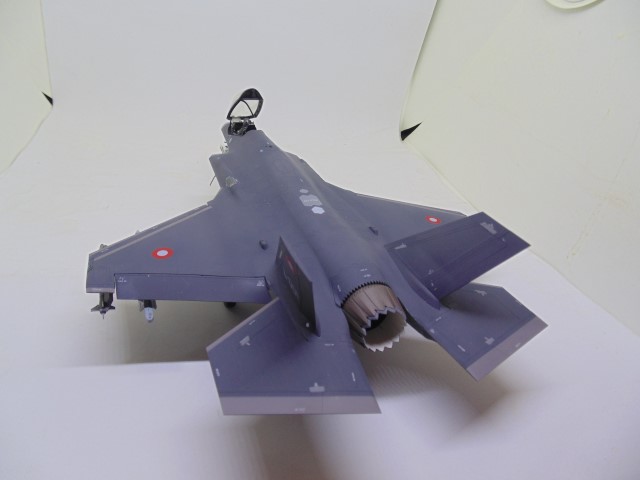
This all gets misted in a dull coat.

DSC04467 (Small)

Flexible tape comes in handy for those curves.

DSC04468 (Small)

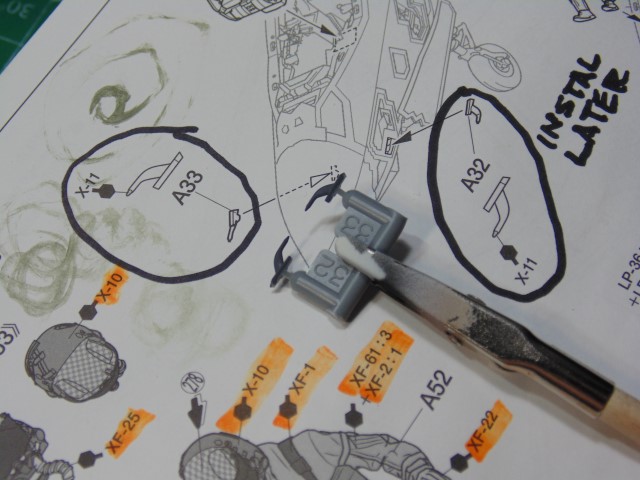
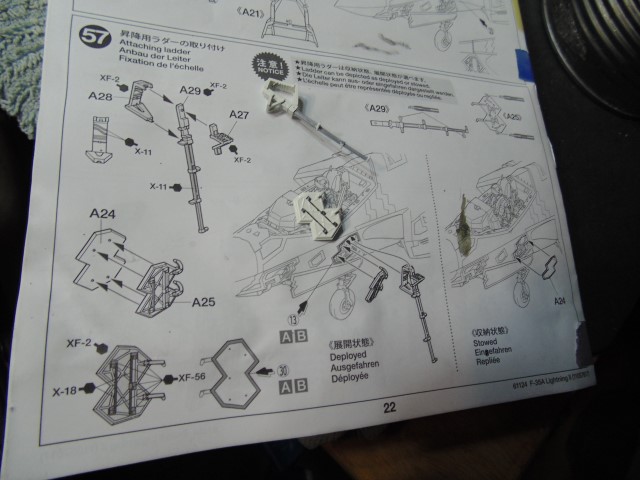
Be mindful of the correction sheet.

DSC04469 (Small)

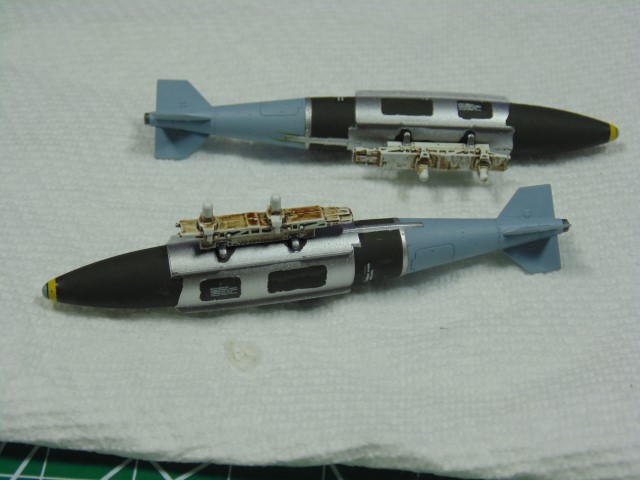
The doors get a wash later.

DSC04471 (Small)

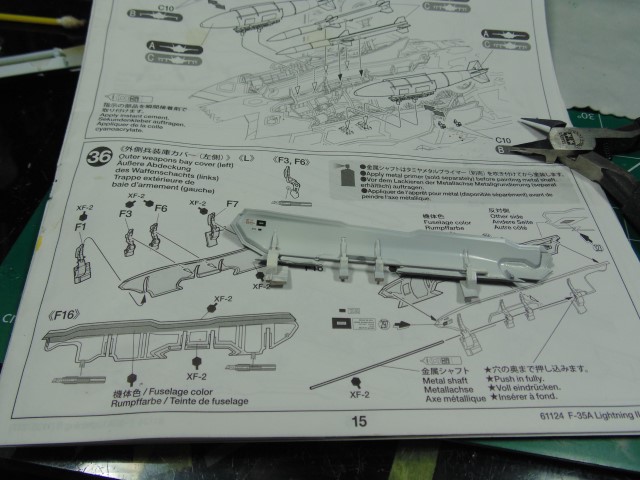
The metal rods have to be fully tapped into place or the side walls will not go into place.

DSC04472 (Small)

You might want to think about adding the decals prior to the wash.

DSC04473 (Small)

A complicated kit and worth every second.

DSC04497 (Small)

Huge thanks to Sunward Hobbies for sending this kit. Please consider visiting their website and supporting a family owned and run local shop at https://www.sunwardhobbies.ca/ It’s where I buy my stuff from.

9 Likes

Love the detailing this has. You are certainly added a lot to an already impressive kit… Lovely attention to detail and great technique :+1:

1 Like

Sorry to correct you John, but in this case I’m just the monkey flippin’ the switch :slight_smile:

1 Like

Hi fellow flyers,

Time for an update on the Lightning II

DSC04588 (Small)

Lots of detail in the seat.

DSC04589 (Small)

Lots of colors too.

DSC04590 (Small)

May take a few applications of setting solution.

DSC04591 (Small)

Just mark off each paint color.

DSC04592 (Small)

Start something else while paint is drying.

DSC04593 (Small)

As usual, paint light colors first.

DSC04594 (Small)

I used a black marker for the foot bottom color.

DSC04595 (Small)

I’ll adjust the pilot fit later.

DSC04597 (Small)

Attach these small bits at the end of the build.

DSC04598 (Small)

Flexible tape can be sliced to make better curves.

DSC04599 (Small)

Plenty of masking.

DSC04600 (Small)

Mask as far back as you can.

DSC04601 (Small)

Nose sprayed with a mix of colors.

DSC04602 (Small)

The controls need to be adjusted.

DSC04604 (Small)

They bend easily but will crack.

DSC04605 (Small)

Epoxy to the rescue.

DSC04606 (Small)

I’ll attach the ladder later, but it’s done.

DSC04607 (Small)

Looks cool. Huge thanks to Sunward Hobbies for sending the kit for this build. Thanks Everyone.

9 Likes

Building up nicely HG…pilot looks real nice with how you have done him (or her :grin: for inclusivity)…
Whole kit is jumping out with detailing … Really great modelling

2 Likes

Great job. :+1::+1:

2 Likes

Hi Jetsetters,

Time to wrap this one up.

DSC04607 (Small)

A little dry brushing makes a huge improvement.

DSC04627 (Small)

The only color decals are from Denmark. I’ve built thousands of replicas, yet this is my first Danish.

DSC04628 (Small)

Align the national insignia with some 1mm tape.

DSC04629 (Small)

Masking areas off to fix sanding repairs.

DSC04630 (Small)

Mixing paint to add weathering and cover sanding spots.

DSC04631 (Small)

Looks good I feel.

DSC04632 (Small)

All these water marks are easily cleaned up with a wet cotton swab.

DSC04633 (Small)

Use poster-tac to keep small parts from moving about while adding decals.

DSC04634 (Small)

Cover your clear parts with bit of tape and use a plug of kitchen roll to sop up the excess decal setting solution.

DSC04636 (Small)

Plenty of tiny stencils to go on. I highlight every one when they are applied.

DSC04637 (Small)

A common clamp will hold your tweezers shut and make life easier.

DSC04638 (Small)

Everything was dull coated. Here you can see the before and after.

DSC04656 (Small)

ladder parts added.

DSC04657 (Small)

And some final photographs.

DSC04658 (Small)
DSC04659 (Small)
DSC04660 (Small)
DSC04662 (Small)

Huge thanks to Sunward Hobbies https://www.sunwardhobbies.ca/ for sending the kit to build and display for you. Massive thanks to you for taking a look. God bless.

16 Likes

Awesome job. :+1::+1:

I never knew the canopy is so big.

3 Likes

That is a big old greenhouse…

3 Likes

What a cracking job… An already detailed kit made a whole lot better with your attention to detail HG … Very cool build and the first one I have seen made… Great work :+1:

3 Likes

Always a treat to see your handiwork HG .
Beautiful job , as we have come to expect.

3 Likes

Great job,will bookmark for reference

1 Like

Thank you! There’s a much more in-depth build account at Sunward Hobbies Blog • Canada's largest selection of model paints, kits, hobby tools, airbrushing, and crafts with online shipping and up to date inventory. so look them up. Thanks again Anthony.

2 Likes

Thanks Richard, much appreciated!

Thank you John!

Beautiful work HG, as always. A pleasure to follow along. :slightly_smiling_face:

1 Like