HGBarnes, i will follow your work,i found it quite intersting, i have this kit and is on the shelf, because i cant find the Airwaves PE set. Hope Hannants would send it to México
¡ Saludos desde yucatán México !
1 Like
Fascinating… ¡ I’m cant leave, still watching this post… On other hand, what is the color used in the interiors? Apreciatted your answer…
1 Like
Hi Jesus,
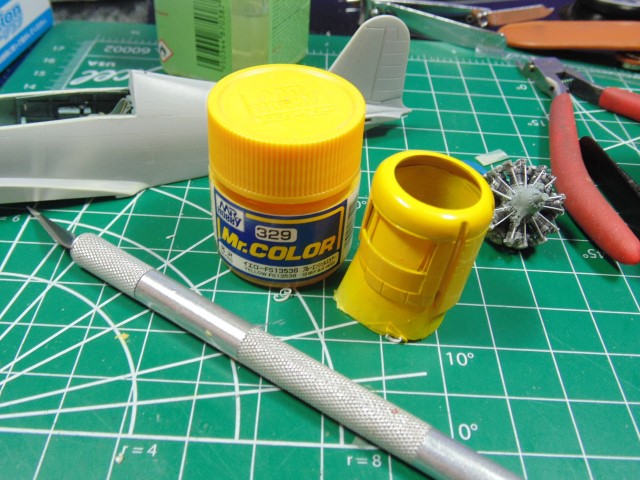
The interior color is Tamiya XF-23 light blue with a dark wash. Thanks for visiting.
2 Likes
Hi Everyone,
Super quick update to keep this thread relevant, but most definitely will be doing more after a nap.
I can’t get away from this 0.6mm gap… sigh.
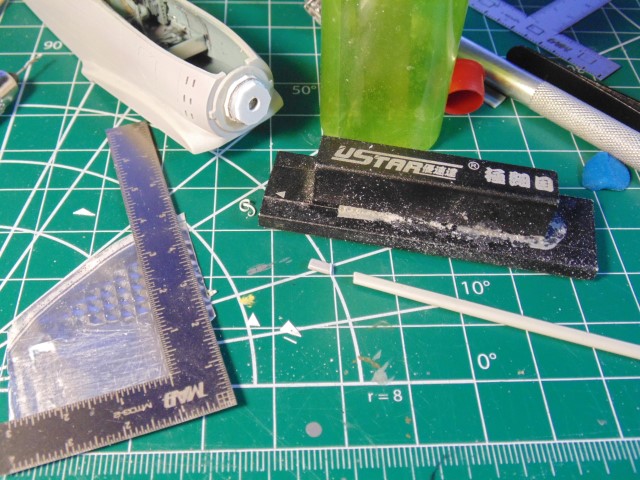
I bought a huge sheet of clear acrylic to do the tiny side windows which do not come with the kit. Cut the corner to get a nice 90degree starter.
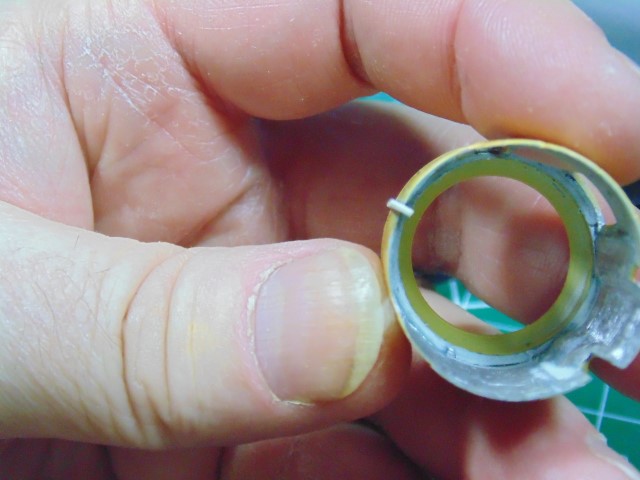
Because this cowl is so thin now, I’ll set it sit for a few hours to half a day.
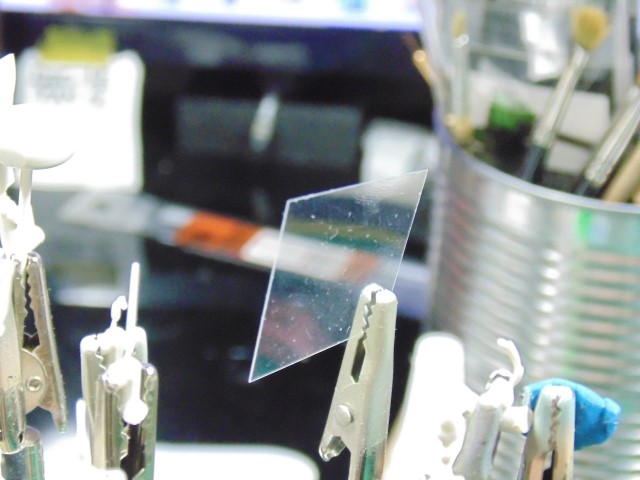
I loath cleaning windows HA HA.
Huge thanks to Sunward Hobbies for getting my paint over here so quickly.
Thanks for all your views, likes and comments. Be safe guys and gals.
7 Likes
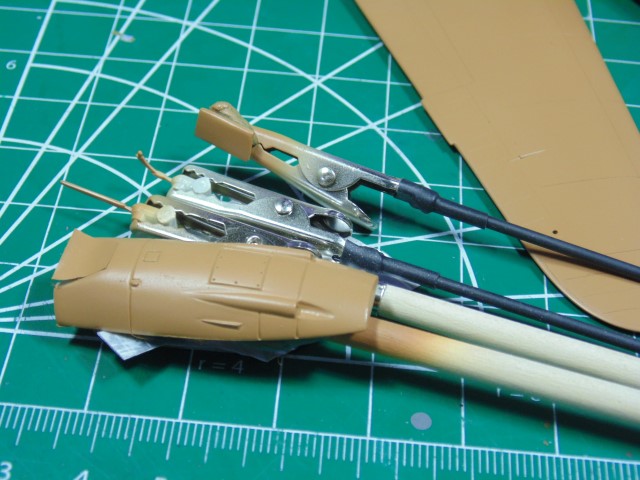
Hi Friends,
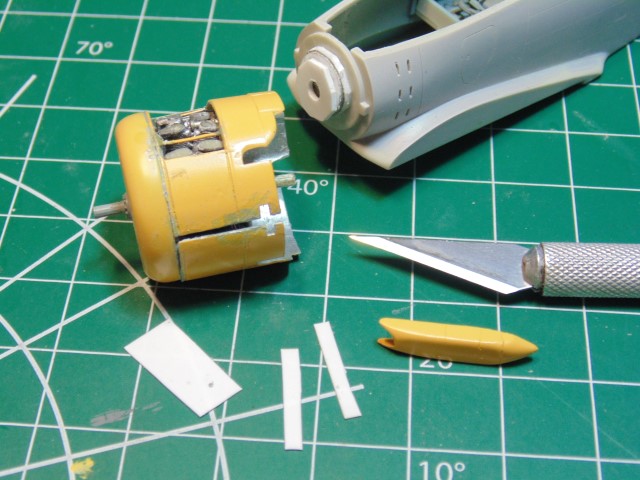
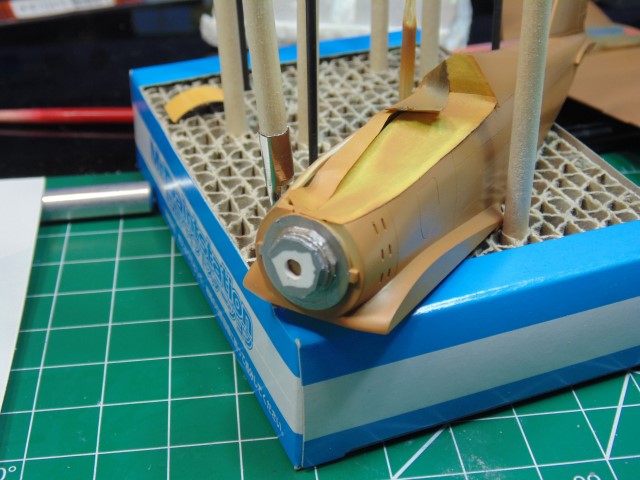
Carrying on with the front end, which is the most tedious area, the cowl is now ready for the engine install and eventual weathering.
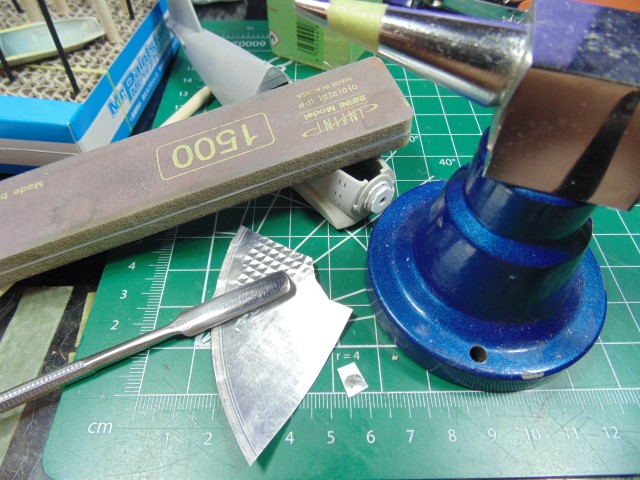
But I couldn’t look at those POS plastic exhaust pipes any longer. What’s a few hours, right? The sculpting paddle needed to be sanded to a much smoother surface. This is a section of tin/aluminum seal from a large coffee container. Also, it makes great side wall interior cladding for some helicopter passenger/troop areas.
After some time filing down the sprue tree length, to match the original plastic, a hobby ruler cut the burnished thin metal. Same technique I use for bent tank side skirts or anything needing an organic look.
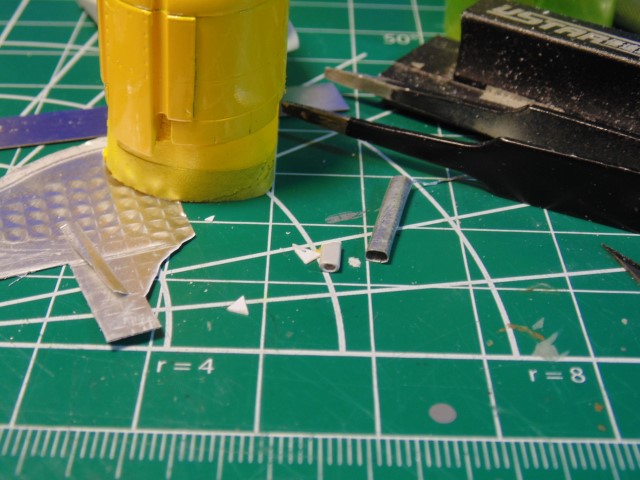
There were two goals here. Obviously, the thin pipe inner diameter, plus the look of the pipe going inside the cowl and not looking like a bit of plastic stuck to another bit of plastic.
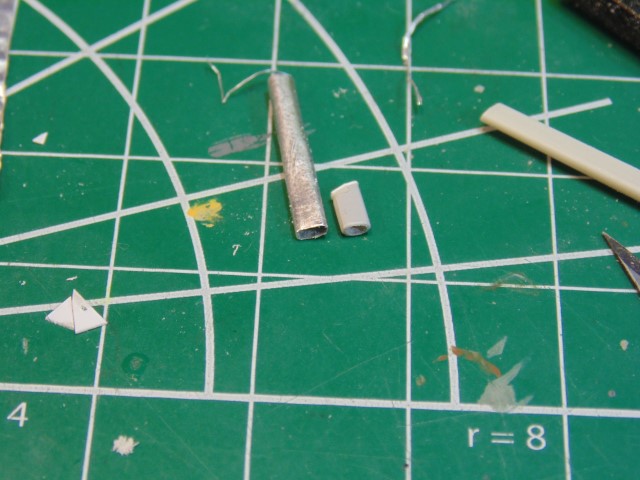
You can see the ultra thin shavings above the pipes. It took 3 tries to get it right and some more fine tuning of the plastic forming master. Tell me what you think.
Huge thanks to Sunward Hobbies for getting my paint here in time to continue with this project. Thanks everyone.
8 Likes
It’s really phenomenal attention to detail HG… Very impressive element to it all
2 Likes
Thanks John,
Seems a pity to have put all that time in the engine and cowl work and not finish the job.
3 Likes
They look awesome. ![]()
2 Likes
Thanks Ryan.
1 Like
WOW! ![]()
![]()
![]()
![]()
3 Likes
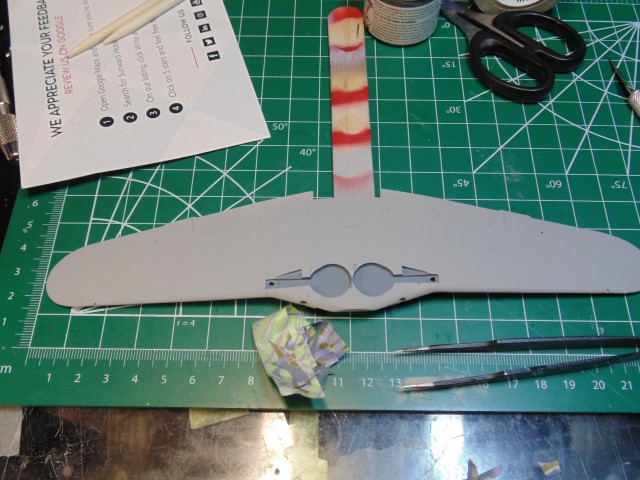
Carrying on,
There will be 4 tones or colors for the belly plus weathering.
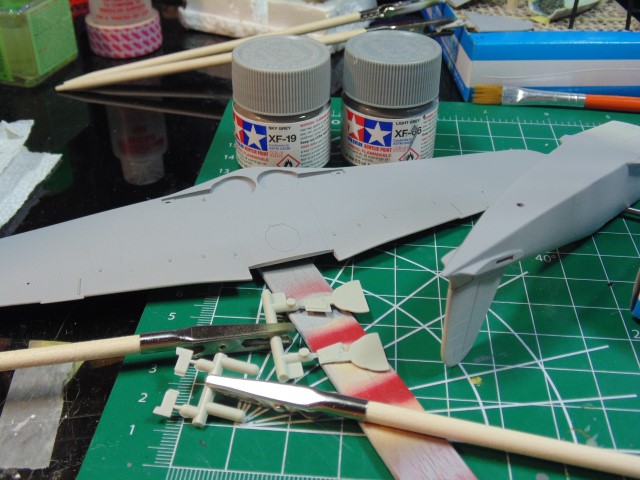
The skin is sky grey while the inside of the LG covers will be a darker light grey.
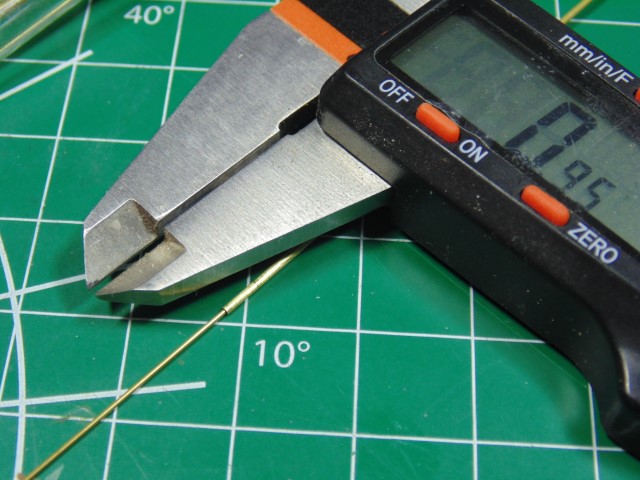
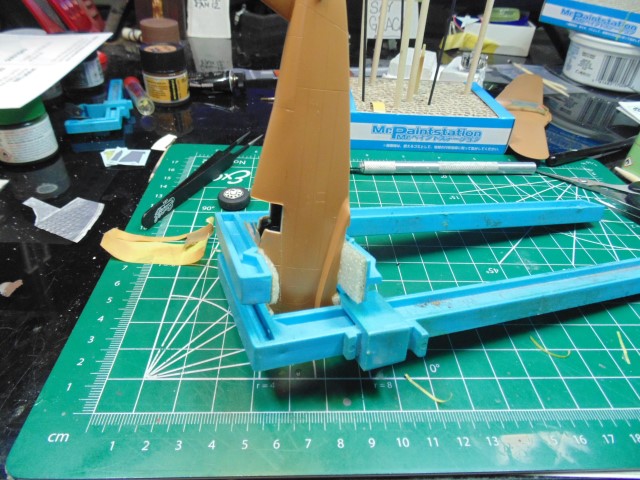
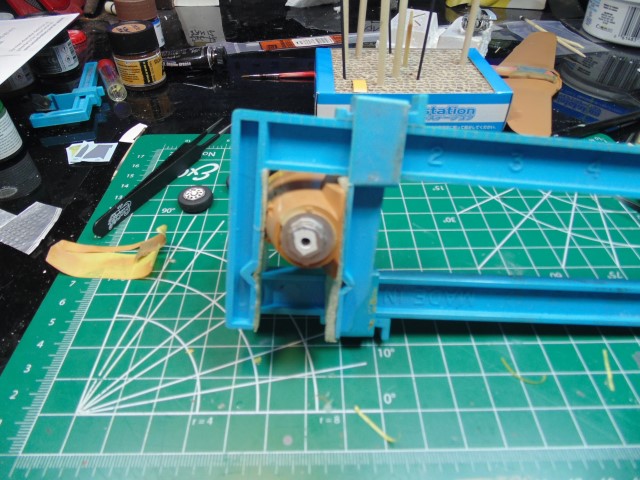
The landing gear… wait, something is missing! The retraction arms were not included. I’ll have to scratch build them.
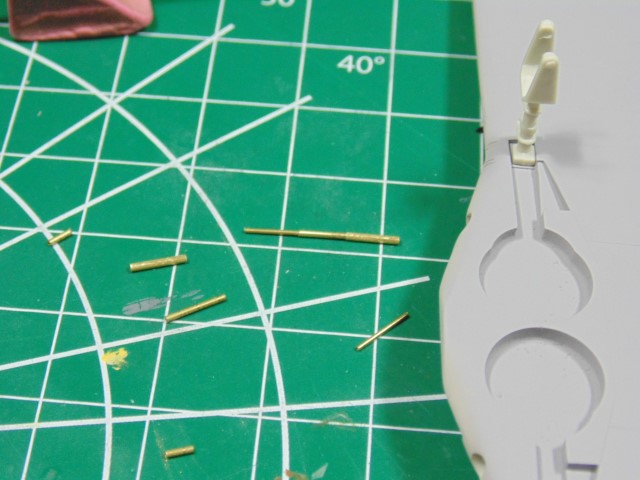
A 1mm hole needs drilling at the base of that triangle looking affair just aft of the LG relief trough and gets connected to a hard point just above the shock absorber plate. I’m using 1mm, 0.8mm and 0.6mm tube to get the effect.
More soon.
8 Likes
These are the details that make it ![]()
![]()
1 Like
Hi Friends,
Quick update on the FIAT.
There will be many color tones to make up for the lack of detail in the gear bays. Standard masking here.
Just a few minutes of touch-up painting.
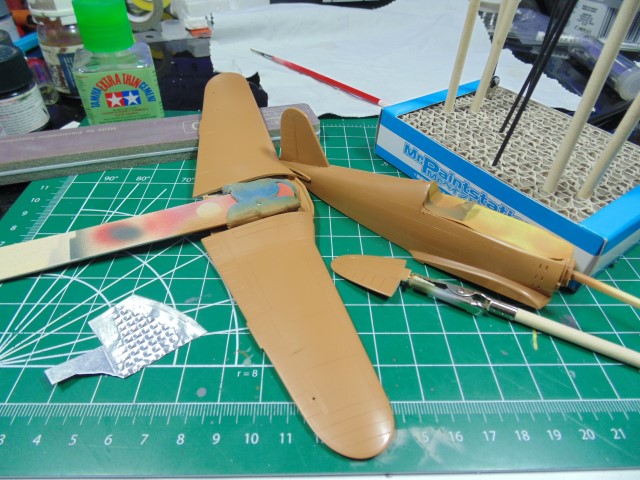
Time for some color. I used AK Real Colors 283 RLM 79 (1942). It’s cut 50/50 with Mr. Thinner 400.
Only takes a few coats, but should be left alone for 24 hours to harden.
The natural gaps in the frame and cowl will allow the owner to see inside. The inside must be painted.
The MG area has to be clamped down.
Next up will be the medium green spots. Then I’ll clear coat it and add some more color.
Huge thanks to Sunward Hobbies for getting my paint delivered quickly.
Thanks everyone.
8 Likes
Love the AK RC range … lovely to work with … base coat looks good
1 Like
Great, i apreciatted your answer
1 Like
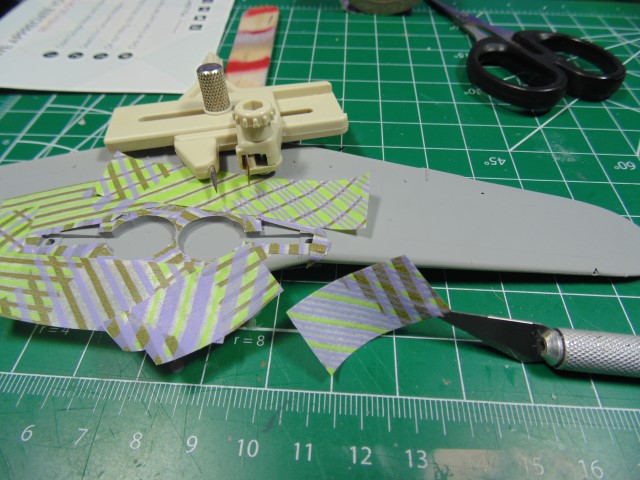
Hi Modelling Friends,
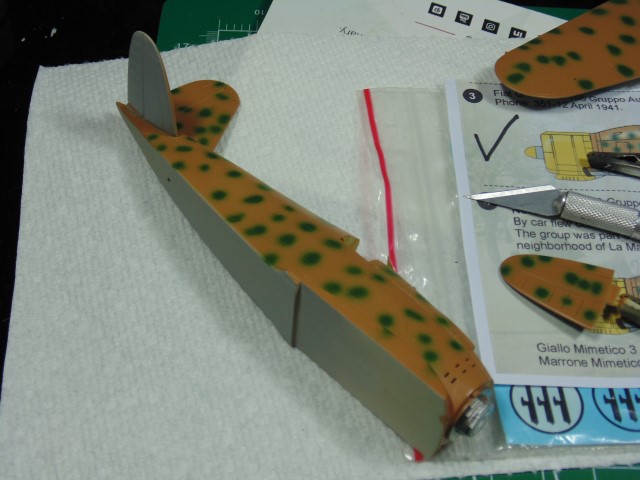
The owner wants a very specific camo pattern which looks quite a bit different from the rest of his collection.
Spend a little time setting up your airbrush with a paint flow trigger limiter (if you have one) and then reduce the paint 55% pigment to 45% thinner. This will cut down on close in splatter, plus give you more control. But it depends on your painting/spraying set up. This will all be buffed down slightly and dull coated.
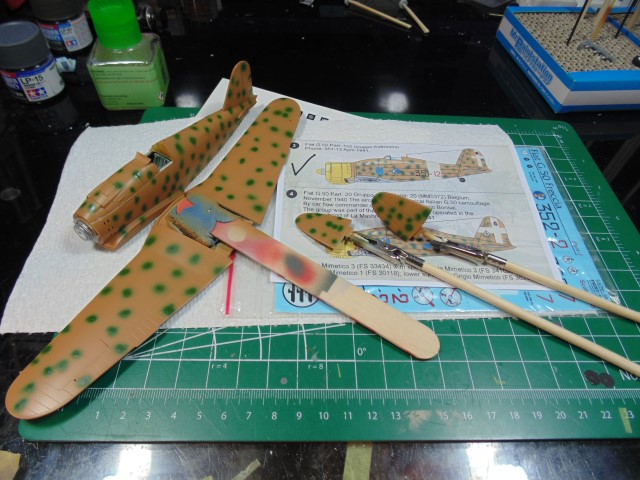
The aftermarket decal sheet does NOT include paint diagram for any the wing tops on Gruppo 155. They do show others, so I had to guess at the location of the spots. AK medium green 1941 was used to get the color accuracy as best I could. It does look the part though.
The paint dried enough in 15 minutes to handle attaching parts. Naturally, I’m wearing gloves to cut down on finger marks. With these old kits it can be tough to align the smaller parts. Get one in place and make sure it has hardened for about 30 minutes. This makes it still flexible enough to adjust for the other part.
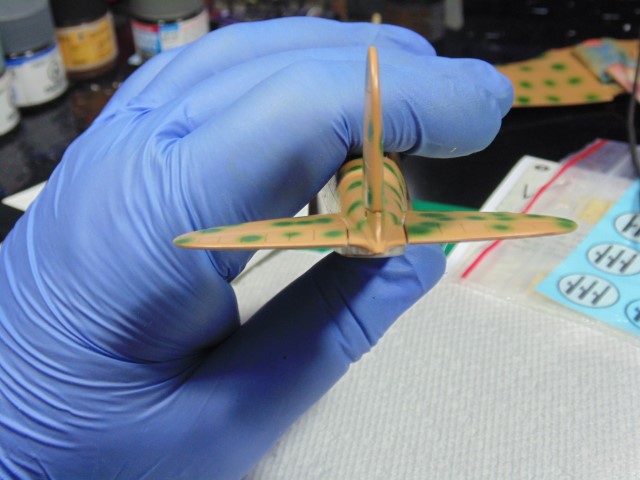
Here you can see the ever so slight gap difference. That’s been addressed.
Please excuse the short update. It took quite a few hours to get this pulled off.
Thanks for your comments, hearts and views!!!
9 Likes
I have seen you and others paint the sub assemblies like this then attach them, so the Question is, once painted and you assemble and you find that gap like on your tailplanes… How to do get rid of the gap without damaging the paint or seeing an obvious difference between different paint stages ( like adding touch up paint to the tailplane ? )
2 Likes
Great question John. The gap difference has already been fixed. I worked the second part around to match the other side. Also, I’m not afraid to reasonably flooding the seam lines. If the paint changes color (due to the cement) it can always be touched up and then after an appropriate mist of dull coat, and later a wash, will hide 90% of any flaws, not to mention look worn and nice. You’ll see what I mean in the next update, but the thing I remove is the plastic cement squeeze bubbles prior to doing touch-ups. The connections must have an hour to flash off.
5 Likes
Lovely, thanks ![]()
1 Like
The wing root green spots will get attention as well.