Just what John asked, HG. I also thought ‘why isn’t he assembling fuselage and wings prior to painting?’ Especially on such an old kit where you usually have gaps like WW1 trenches. Okay, we’ll see how everthing’s put together. You painting looks top notch again! What paint brand did you use for the green mottling? This difficult camo is the main reason why I so rarely build RA planes …
Btw, I only wear cotton gloves on model shows when I touch my models. Some of my friends always smile when they see me with gloves. They probably have never heard of the natural skin fat (correct word?) which looks always nice on a dull surface … 
Torsten

4 Likes
Hi Torsten,
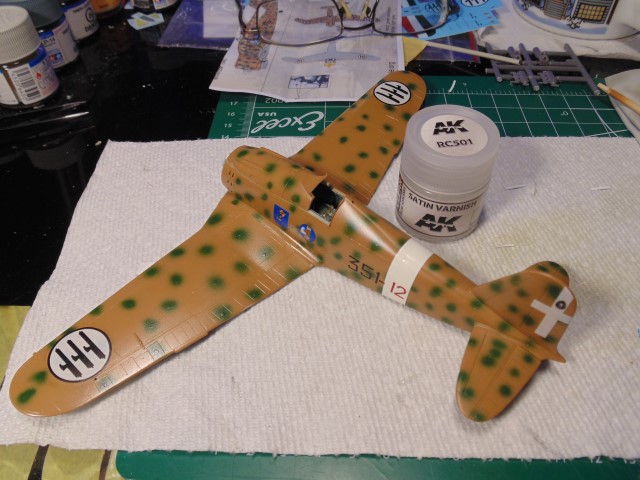
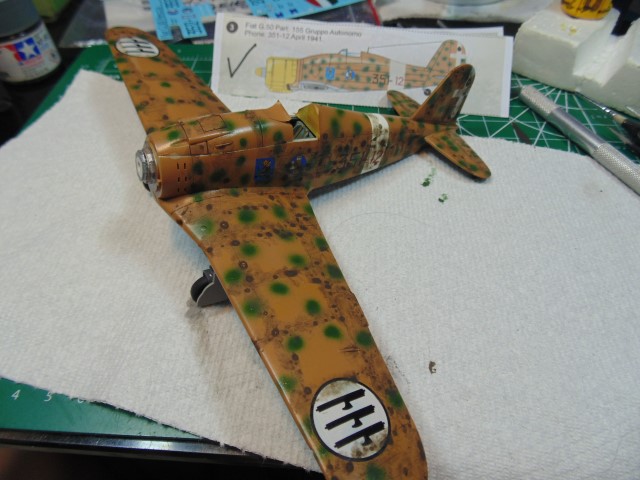
The wing parts are interesting on this kit. Have you heard of an effect called “vertexing”? It’s when the paint or clear coat build up a dusty look at tight corners such as wing roots or sharp angles. That’s why, with this one, the subassemblies were painted separately. The clear coat can always be sprayed on more heavily than the paint. Using AK real colors medium green 42 reduced with lacquer, mostly 50/50.
I wear Nitryl gloves that have ZERO powder because I found cotton gloves can leave some lint behind. Use what works for you.
Love your work and thanks for the kind words.
5 Likes
Hi Y’all,
Just a quick update, but some decent progress.
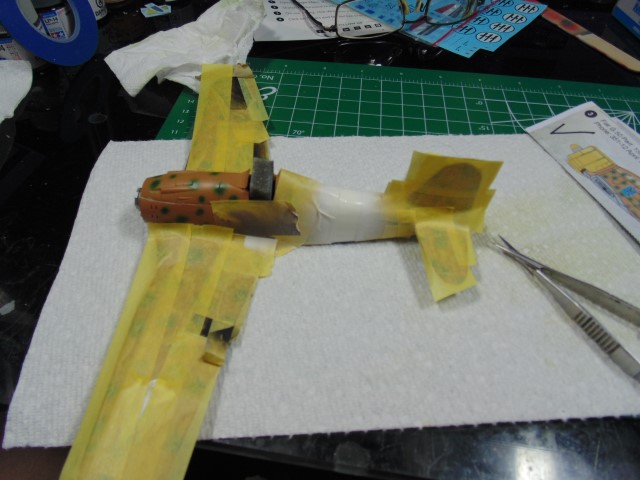
Maybe I went to the extreme with masking, yet my worry about overspray demanded it. Naturally, I de-tack the tape even though AK real colors are very forgiving with masks.
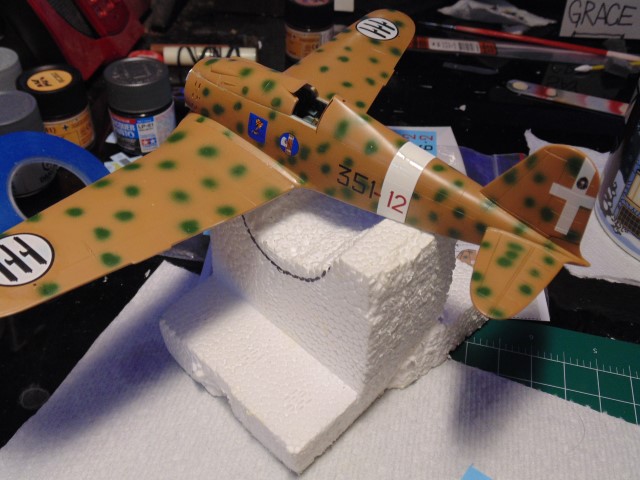
This aftermarket brand takes three times longer in warm water to free up. The film is super thin on one hand, but wrinkled up easily. This means you’ll have to work them a little after applying them.
You really need to make certain ALL the fluid is squeezed out from underneath. Or the Micro SOL will wrinkle them up and take much longer for them to bed down and conform into the panel lines.
Thanks everyone.
8 Likes
Those decals really brighten it up. …looks great and looking forward to see how you do the panel lines as this is a area I find difficult most of the time. 
1 Like
Amazing result on the paintwork HG 
1 Like
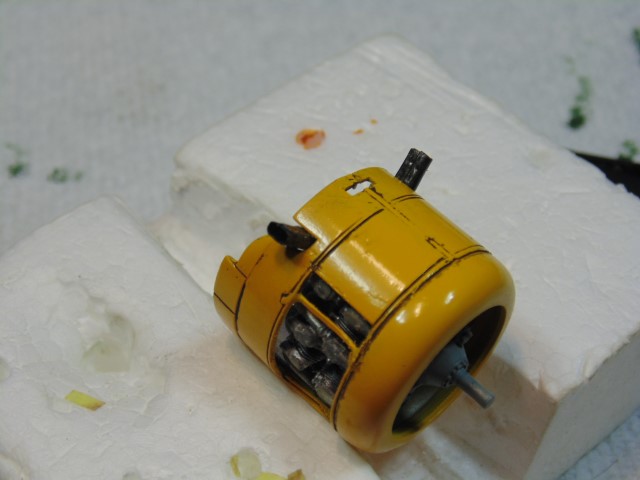
Another update,
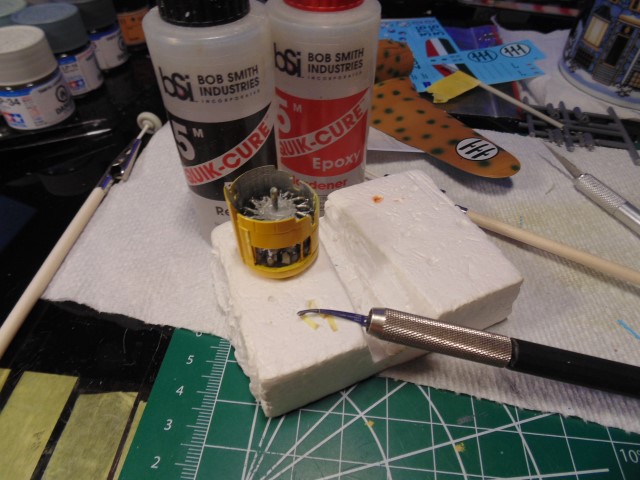
Time to install the engine. I used an open ended looper tool to apply the epoxy and cleaned it right away.
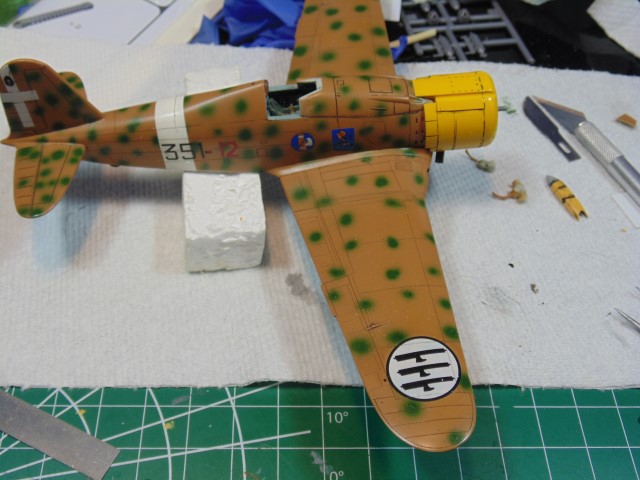
Here, I’m sealing the decals and setting up for the wash.
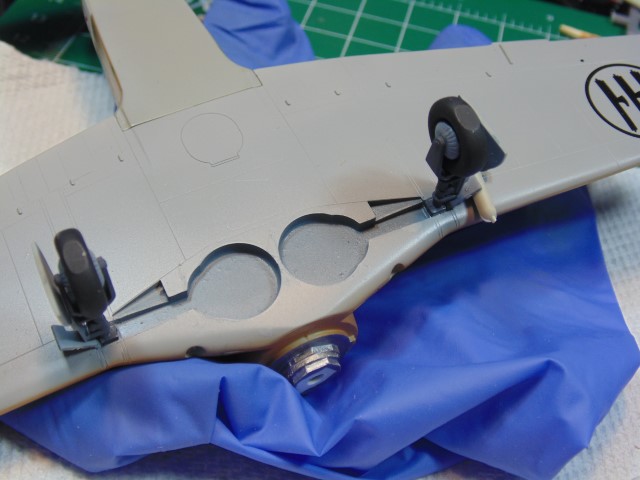
I need the model off the deck a little to help the wash dry and prevent it from being smudged.
Tail wheel gets added later.
This is a clay based dark brown product.
I’ll show you later how to clean it up.
Thanks everyone.
8 Likes
Better too much than not enough, HG. I also always mask more than what’s needed but I win with that caution. I always win (why don’t the kits remember that …?)
2 Likes
Hi Everyone,
Getting down to the final stretch on this one.
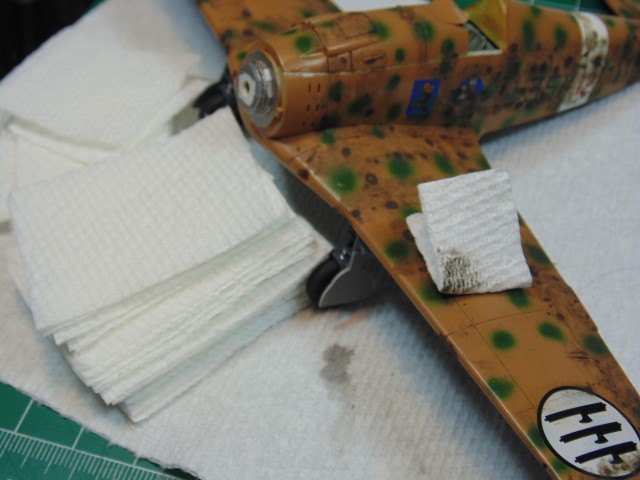
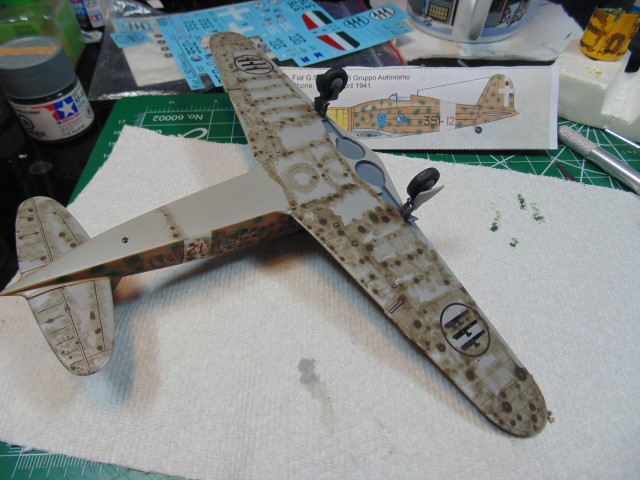
After the clay wash has fully dried, the excess can easily be removed by adding a bit of moisture from your tongue on a square of paper towel/ kitchen roll. Then lightly go over the area. Make sure you’re constantly replacing the towel bits. As you can see I will switch to another corner of the towel when it gets this filthy. During the first clean-up pass you’ll be rehydrating the clay. I do one pass, then let that dry for the next.

You may have to do this 3 times, but it’s less work than using an enamel wash product, plus it’s way less messy and has no smell.
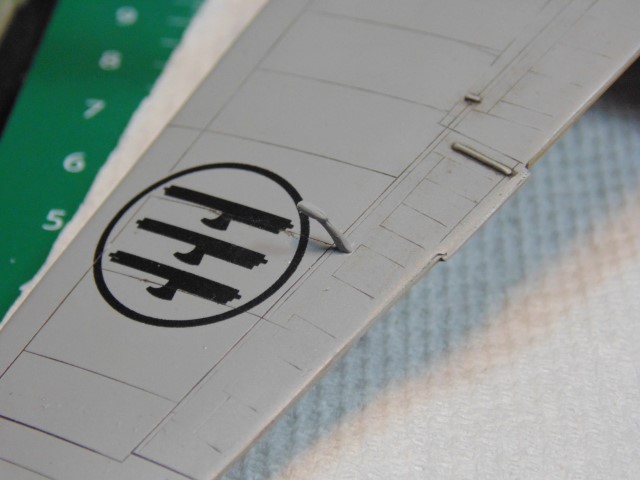
The panel lines are very shallow, but you get the idea of highlights. Now for some of the tiny parts such as this flap weight.
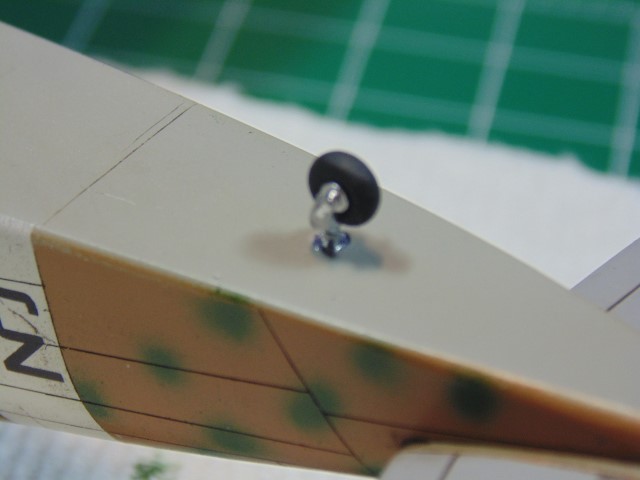
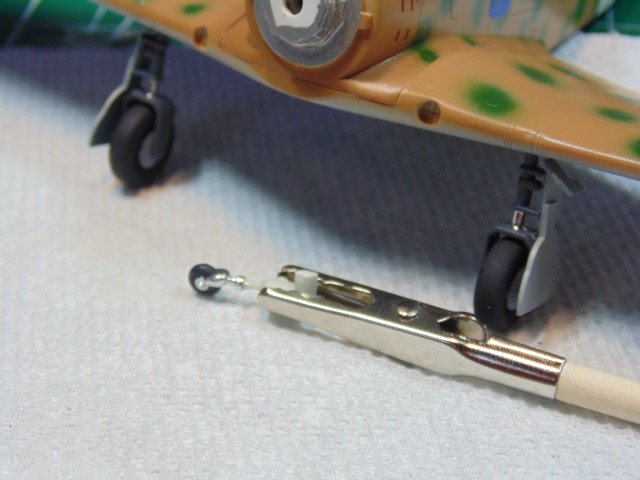
The tail wheel strut is done in AK Super Chrome like the main gear. Again, excellent product. Please excuse the picture being out of focus.
My hand made metal exhausts look pretty good. The wash needs another clean-up pass, but I installed these pipes while it was drying.
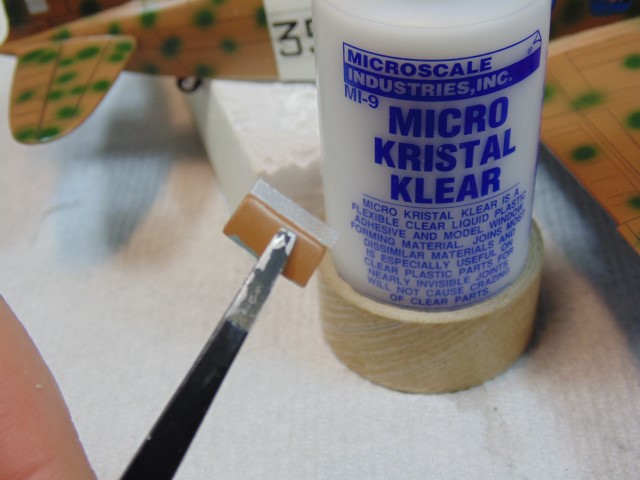
The kit doesn’t include the little windows, so I cut some 2mm tall ones. Later they will get the attachment retraction cables and a tiny grab handle. The point is to have both doors down and ready for the pilot. This also allows the owner to a better view of the detailed cockpit.
I used 5 minute epoxy to attach the cowl. This allowed me time to continue to make small corrections and has a super strong bond. After all, I spent dozens of hours on it and don’t want it going anywhere.
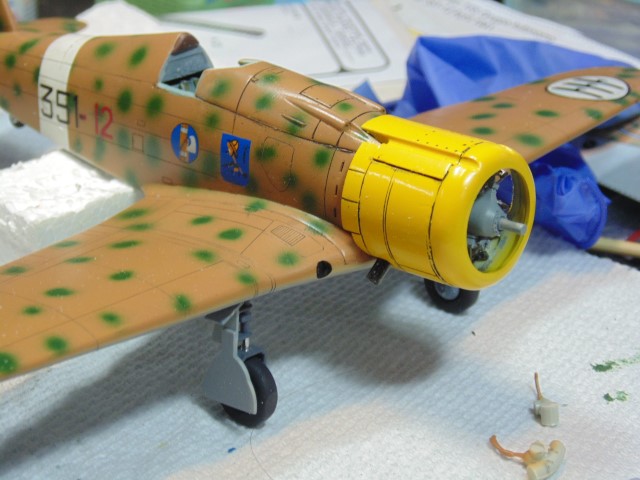
Naturally, everything will get a dull coat. Then the windowed doors and front windscreen go on and next the other tiny bits.
God bless.
8 Likes
Ever get in one of those loops where you just can’t put something down? Well, until you fall asleep at your bench that is. I’m getting there HA HA.
The little bits are nagging me.

A twisted wire inside a 0.4mm diameter tube makes a great looking antenna tensioner.

With all the monkeying around I had to do with the resin engine and cowl there was a slight height difference. Some 0.3mm card will fix that.
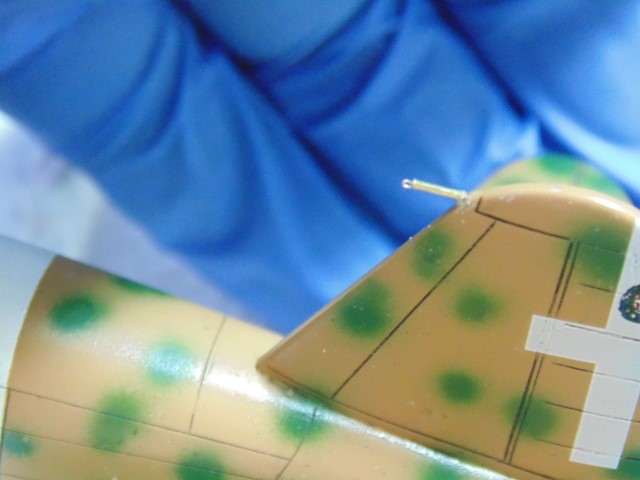
I had to search for an hour to find any decent pictures of the G-50bis in Italian service, but finally found something to go by in tensioner length. It will wind up being a gun metal color. A 0.3mm drill made the hole and twisted wire went in 0.5mm. I came up with this method after having wire come free on the WnW Salmson.
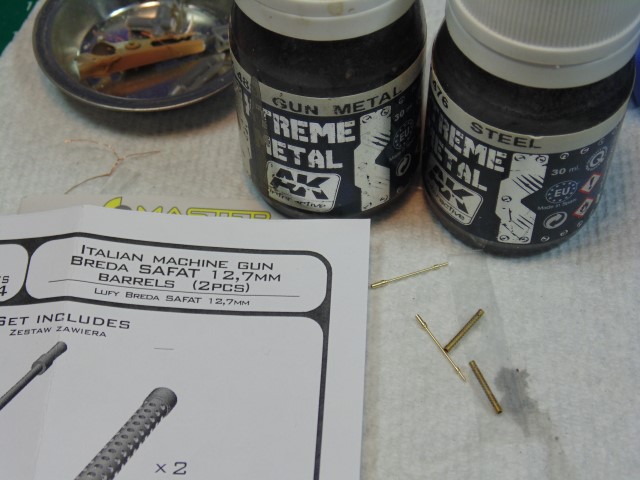
The brass guns look awesome. I wanted a darker color for the barrel and tip than the cooling shroud. In real life the steel shrouds really stand and both look great.
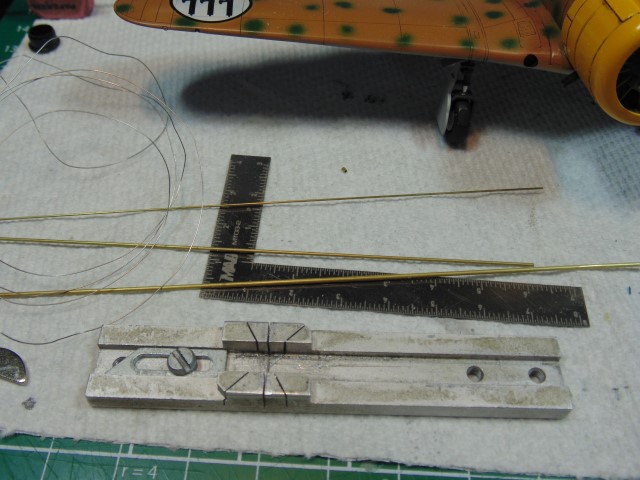
While they are drying I’ll use the time to build pitot tubes. The opening on the plastic is 1mm and too big. I’ve cut 2 1mm inserts where the 0.8mm tube will hold a 0.5mm tube and the 0.3mm wire. This end wire has an upward curve. The bottom side has some short of tube that I’ll explain in the next update.
Thanks everyone for the views, likes and comments.
7 Likes
Really like the way you do those panel lines…I think I’m going to give that a go and see how I get on…
And the way yours looks now is great, they don’t look to heavy or overpowering… You just get the idea they are there.
The tiny detailing you are doing now will add huge amounts of realistic value … Very well done and beautiful work as normal 
2 Likes
Than you John! The great part about a clay wash is if you remove it by being heavy handed, just add more and use a lighter touch. Trust me, you’ll get the hang of it no time.
3 Likes
Hi fellow flyers,
Well, the insanity continues 
Here’s a shot of the of lower intake on the pitot tube work. In the back ground you can see the main tubes are in.
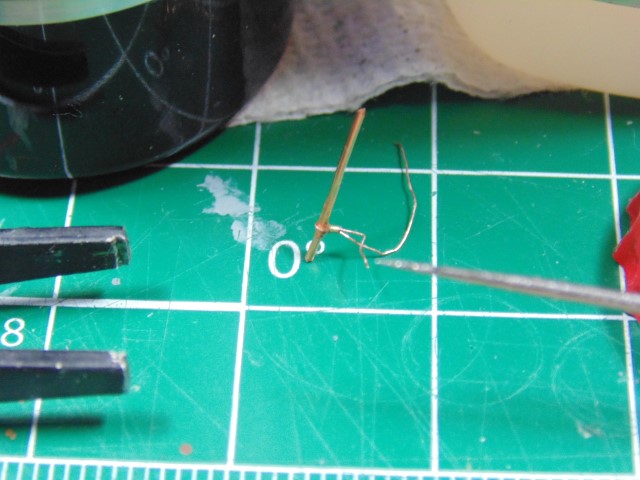
This is ultra thin 0.1mm wire threaded into 0.5mm brass tube I cut to length, then the copper rod was slipped into the loop.
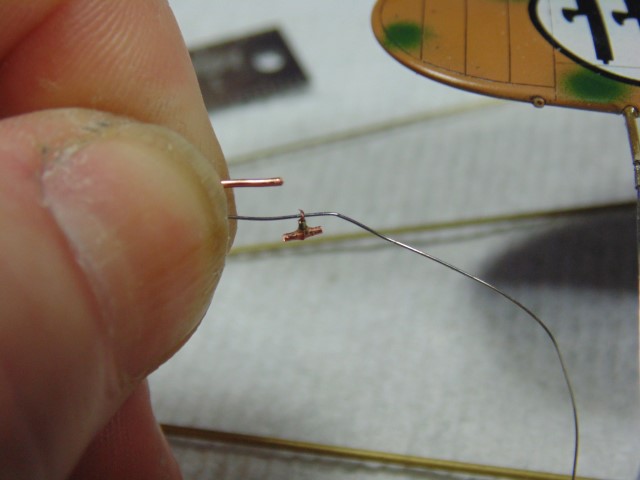
Next, I wound the thin copper around wire and snipped the thick (yeah right) copper to length.
Then pushed the silver wire into the main tube and added the tiny length of smaller brass tube.
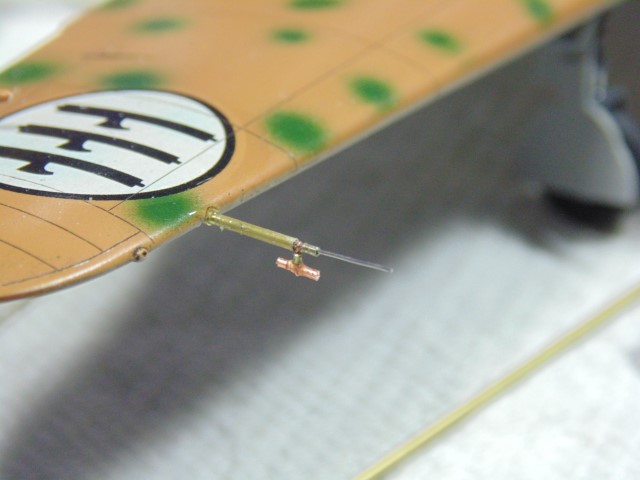
I used epoxy to seal everything because it filled the gaps and made it more uniform like one solid piece. Please don’t ask how many hours and times I had to redo this incredibly tiny part. OH, and don’t ask me even more how long it took to do the other one HA HA. Just allowing the epoxy to cure overnight before the wire on the end is bent into shape and snipped.
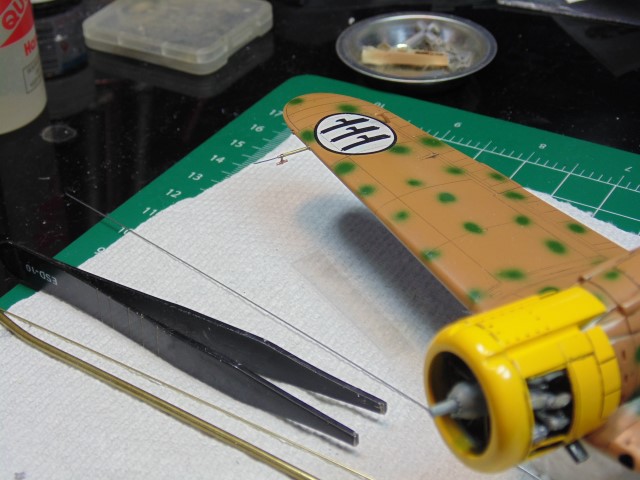
Now for the retraction pistons in the landing gear and the side doors at the cockpit. Note the guy looking back and the detail on the inside of the door. I’m going to replicate that as best I can.
I need a drink LOL
9 Likes
Yes that pitot tube! Amazing work! Looks really good. Any parts approaching this size make my carpet monster soooo hungry!
5 Likes
Wow … That is really exquisite work HG …
Sure hope that Monster does not replicate because I may have more projects.
2 Likes
Thank you @Johnnych01 . I sure hope the work can be passed on before I so.
2 Likes
Awesome stuff as always HG, insanity indeed, but in a good way 
Cheers, D
1 Like
I fought the carpet monster just yesterday evening and I won! Got the landing gear part back after 20 minutes heavy fighting. I always win … 
3 Likes
Thats always worth a celebration lol
3 Likes

