Its going well Erwin thank you. I have to go back to hospital tomorrow for (hopefully) final X-rays and then if all is ok, the cast will stay off and I can start some physio to get the arm back up to strength as its been pretty dormant since the 12th of Dec ![]()
Glad you are mending well. Hope the Physical Terrorist helps get you back to normal.
John, if it helps, I broke my wrist a decade ago and found that after a short “get it moving” period of a couple weeks the general uses of daily life soon strengthened and sorted it out! It was my dominant hand, so pretty much everything I did counted as unofficial physio…
I should have added that the universe showed its ironic streak at the time - only three days after being put in the cast I started a new job and was presented with a bundle of contract papers to sign! ![]()
Those things are sent to try us lol …
Cast came off today and the plate and screws have done their job of keeping the bone together, but it has not fully fused yet, and now the cast is off, the arm is stupidly weak now it has nothing to support it.
Back in 6 weeks for a hopeful final Xray to make sure bone is fully knitted together …
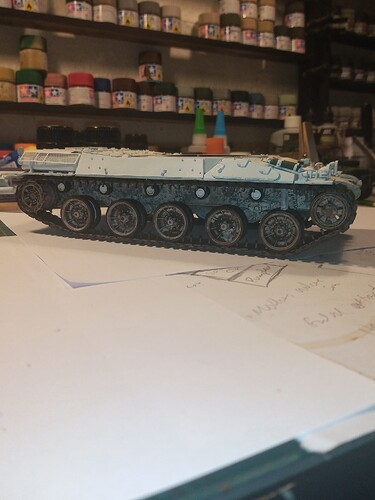
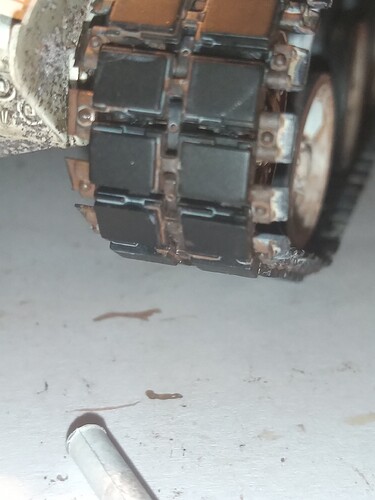
Got the track on both sides… Not as fiddly as I imagined, and track didn’t split during the process.
Before that, I carefully put a layer of AK light dust effects wash on each track run, avoiding the pad areas, then on top of that, I did another wash of AK OIF/ OEF.
Once dry, I connected each run together off the tank, which was easier than expected, then placed the sprockets inside each track run and laid then both on their sides, in roughly the shape they would be on the vehicle.
I then applied some AK extra thin on each link to give them some strength as some people mentioned they can pop open when fitting to the vehicle. Set aside to dry.
Then simply pushed the sprocket end onto it’s mount, made sure the track was seated ok, and then gently put the idler inside the track and pushed it home onto it’s mount… Repeated on other side and job done.
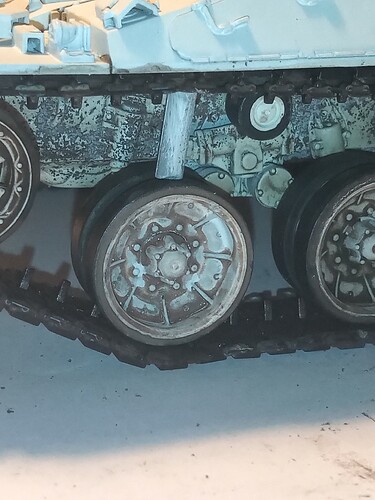
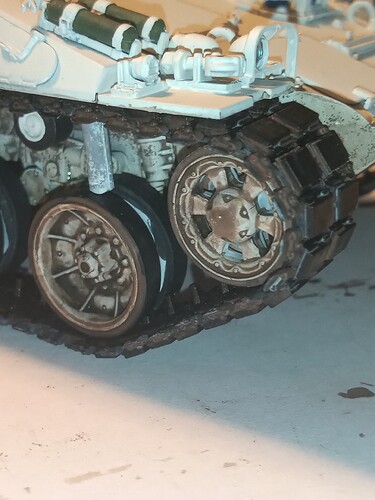
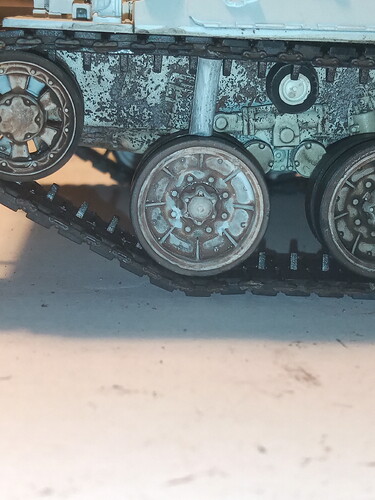
One thing that did become apparent was once the tracks were on, because the torsion bars move, ergo the drop arms also move, the track tension, automatically puts pressure on the front and rear drop arm links and pushes them upwards, which causes the track at the front and rear to lift, showing daylight underneath.
To counter that I cut lengths of sprue and placed them on top of the front wheel and under the top run of the track… Forcing the wheel & drop arm down, and then gluing them (rear of droplinks) in place. once set, I can remove the cut bits of sprue.
Need to do the same to the rear drop arm on both sides as well.
View of the washes on the tracks.
I guess one could call building models a form of fysio therapy ![]()
![]() … Nice to see you haven’t lost your touch!
… Nice to see you haven’t lost your touch!
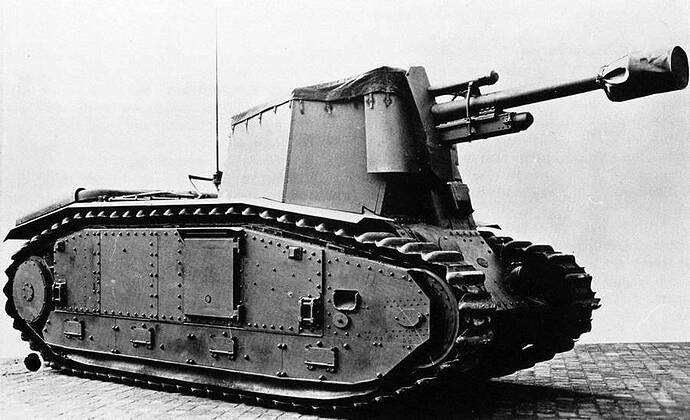
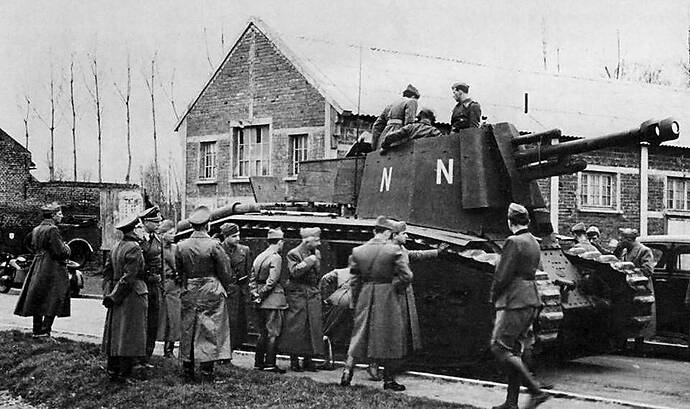
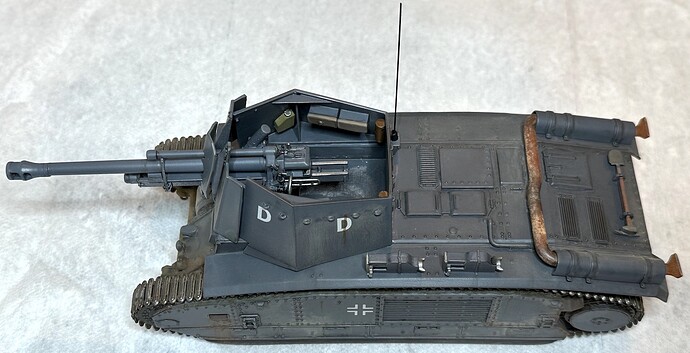
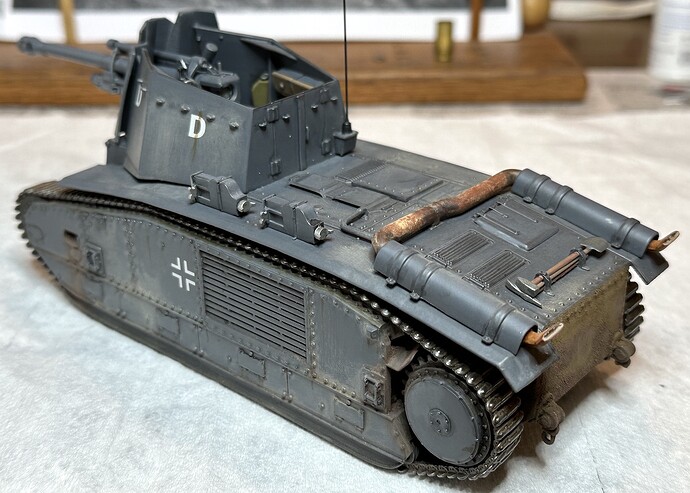
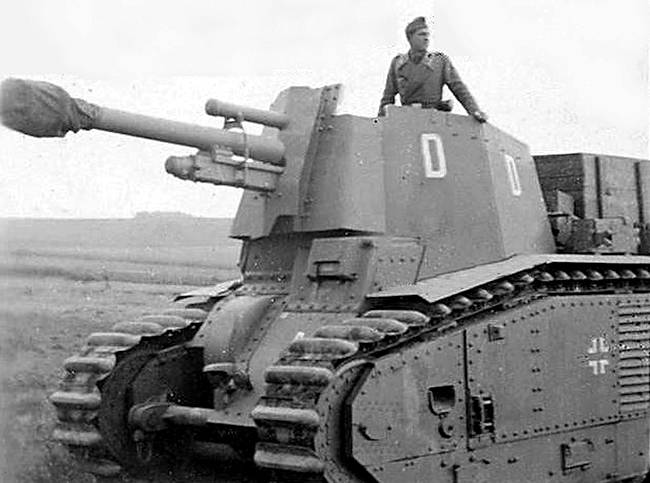
The pictures I found on the internet show the LeFH1BB2 SPG in relatively clean condition, no major wear & tear or damage. I read that they were not well liked and possibly they never got a chance to get old.
This presents a certain amount of trouble for me as I like to hide my flubs and the kit’s lack of detail under layers of dirt & mud. In particular, the rear had a lot of rastering and no detail at all beyond a row of rivits running around the edges. The instructions showed that some sort of hooks or mounts were there someplace but no location or other details were given. I covered it with dirt.
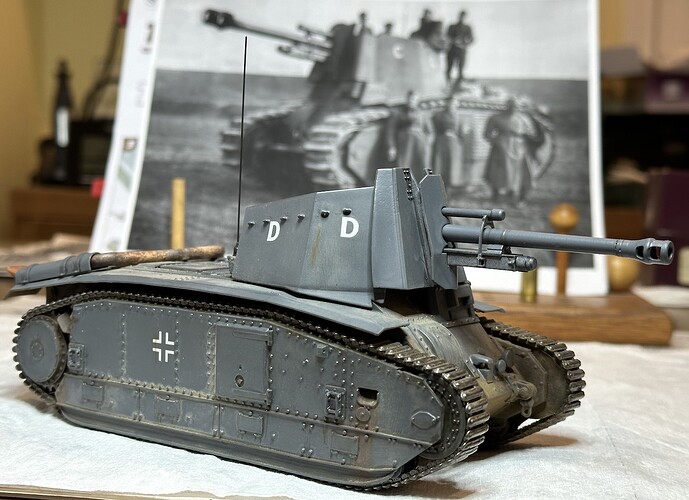
Here are some pictures showing the beast in the field:
Paul
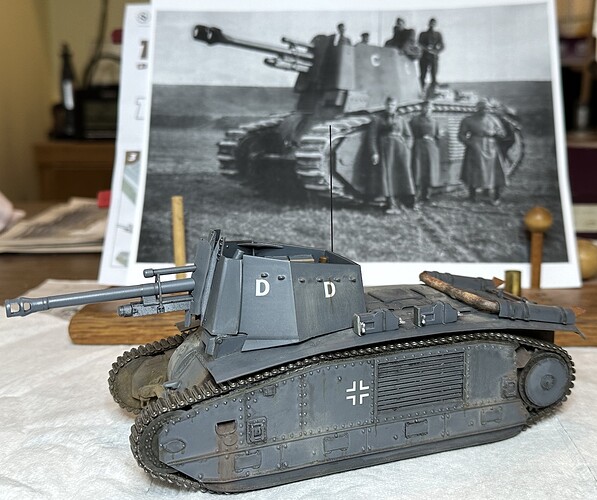
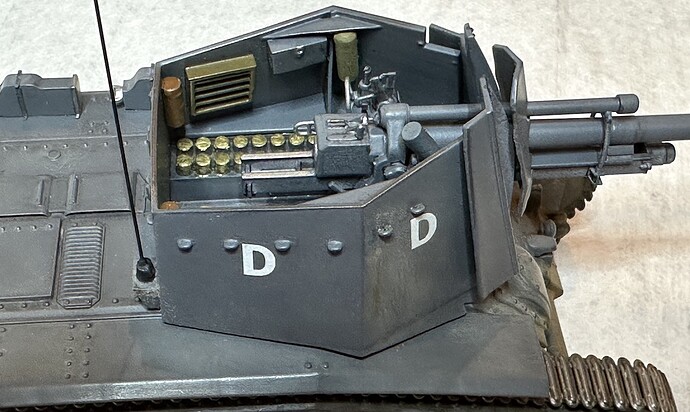
So, here it is finished. Possibly a bit more or less dirt could have been used but it does sort of resemble the vehicle in the pictures.
This model was a lot of trouble and I would not recommend it to anyone unless they realy, really want to have this SPG in their display case. I built two other kits from SSModels, one was very good, one was just OK, but this one, well not so good. At least it looks in proportion and the shapes look like the real thing in the photos.
Paul
Nice work Paul. Don’t see any flubs here…
So … It feels good to be able to work again on the builds… Only managed a bit of painting and doing the tracks which turned out well, but I actually did some building and a tiny bit of scratch stuff tonight …
I stupidly lost the foot step that hangs on the front of the hull… I had a cursory search but god knows where that disappeared…
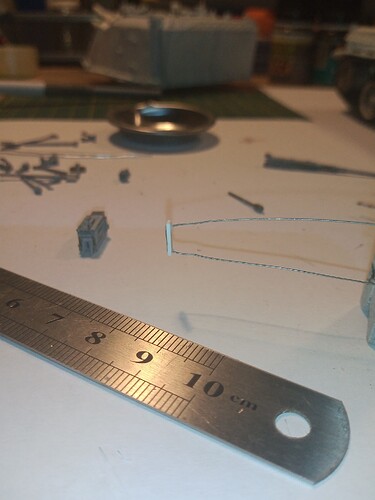
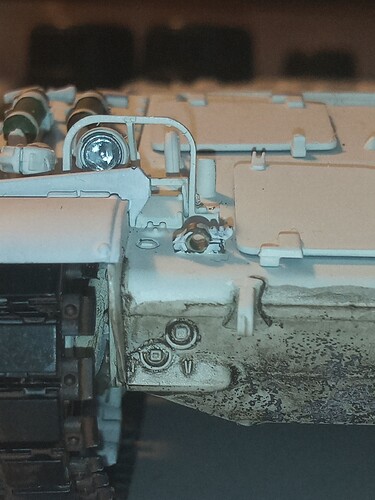
Making a new one was fairly easy … some thin wire and a small strip of evergreen… Only thing I can’t really do is the angled sides… But it’s good enough to keep me happy.
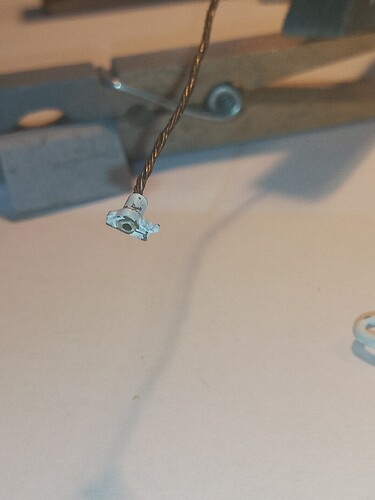
Have also decided to leave the recovery rope off the front. Only problem is I need the mounting point which is moulded on the recovery rope eye, so I cut the eye end off flush with the mounting and started drilling out the centre part which will hopefully leave the mounting bracket and then I can cut the other side off…
Great job Paul. Love the paint on the exhaust pipework.
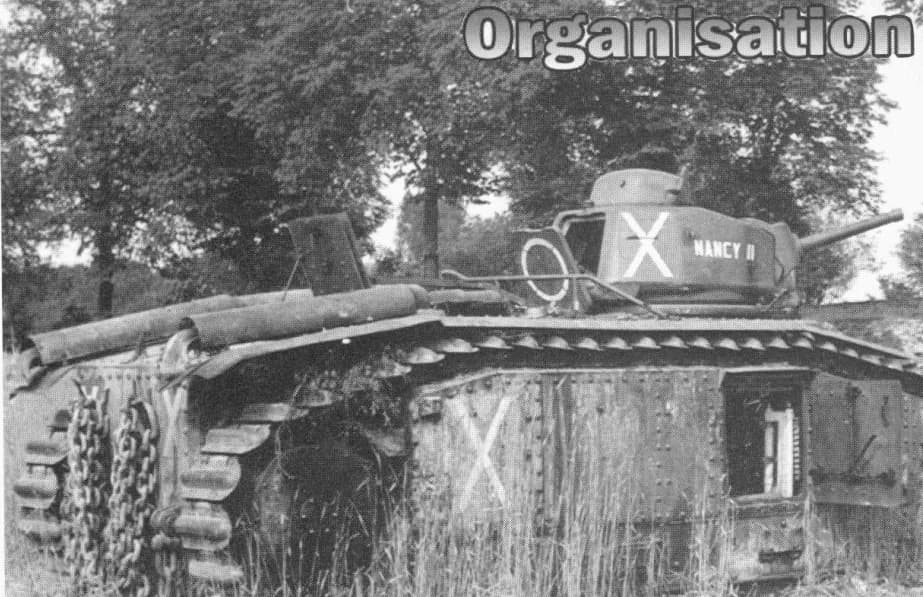
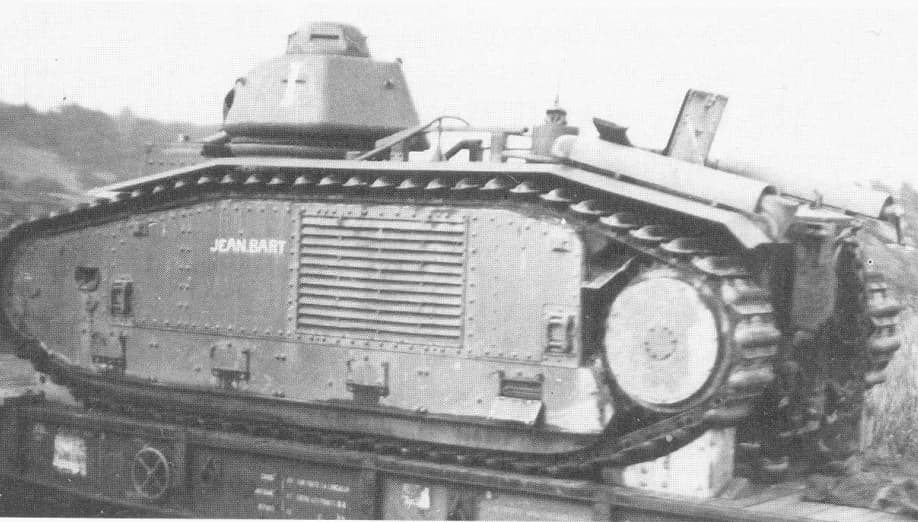
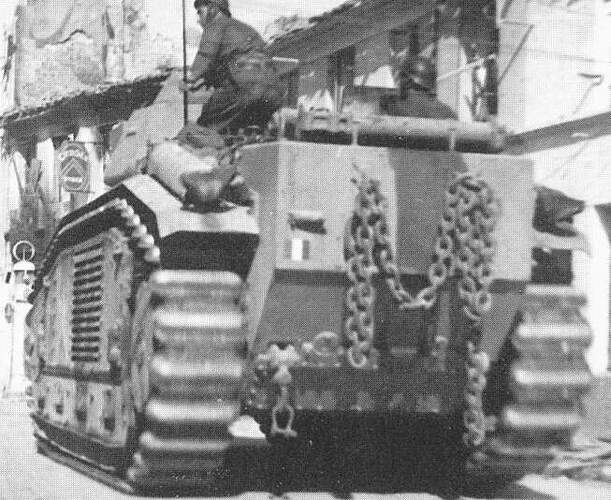
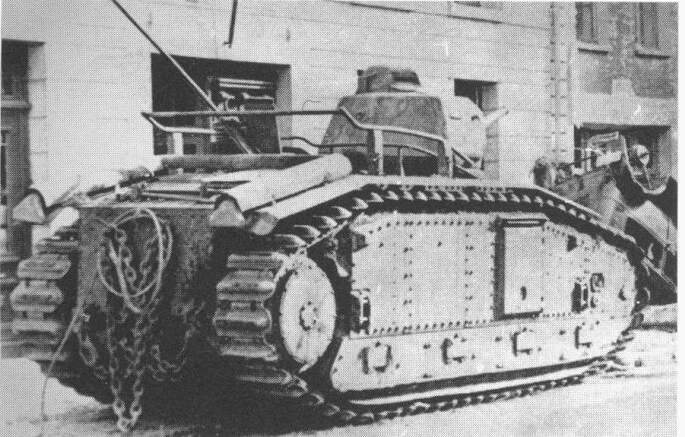
It always fascinated me how the fishtail exhaust ends were fitted so they exited in different directions on Char B’s…
Good to see you back at the bench John.
Oh that is interesting! One direction catches the rain, the other raises the dust.
The pictures you provided show what the hooks were for and approxamately where the mounted on the the rear of the hull. Too bad I didn’t think to search for pics of the donor vehicle during construction . . .
Paul
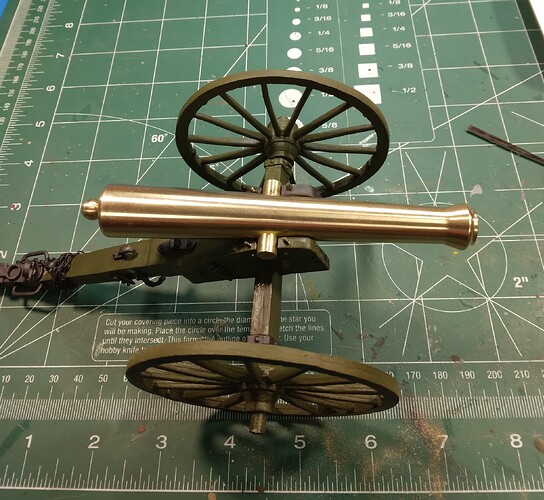
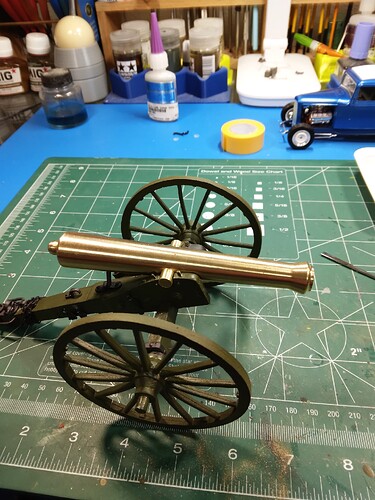
Mojo disappeared on me for some time now. A lot of “home” stuff and “work” stuff - going through three different supervisors (what a mess) kind of dicks things up. Also, a Highboy that I really need to finish - you can see that in the background of the second picture.
Anyhow.
One of the things that kind of kept me away from further work on the 12 pounder was the crappy casting and poor alignment points. And the trunnion for the barrel didn’t fit. I spent about 30 minutes with a drill, file and sandpaper reducing the diameter of the trunnion.
Right now, the barrel is just resting on the frame. I had to adjust, again, the parts that hold it up.
I also started painting some of the “iron” works “Dark Iron.”
It’s coming along.
Mike
Great to see this one moving again John, and coming along very nicely. My Takom AMX-30 awaits paint so some helpful info there on the suspension. I’d not noticed that yet as I still haven’t summoned up the courage to start the tracks!
Thanks Terry ![]()
Got the recovery rope mounting bracket drilled out and fitted, looks ok and also fitted the front foot step. Both need painting.
Looking fantastic John, so glad to have you back!
I remember having built this one when I started the 1/35 scale. The tracks were a different pattern though.
Enjoy the build!
Olivier
