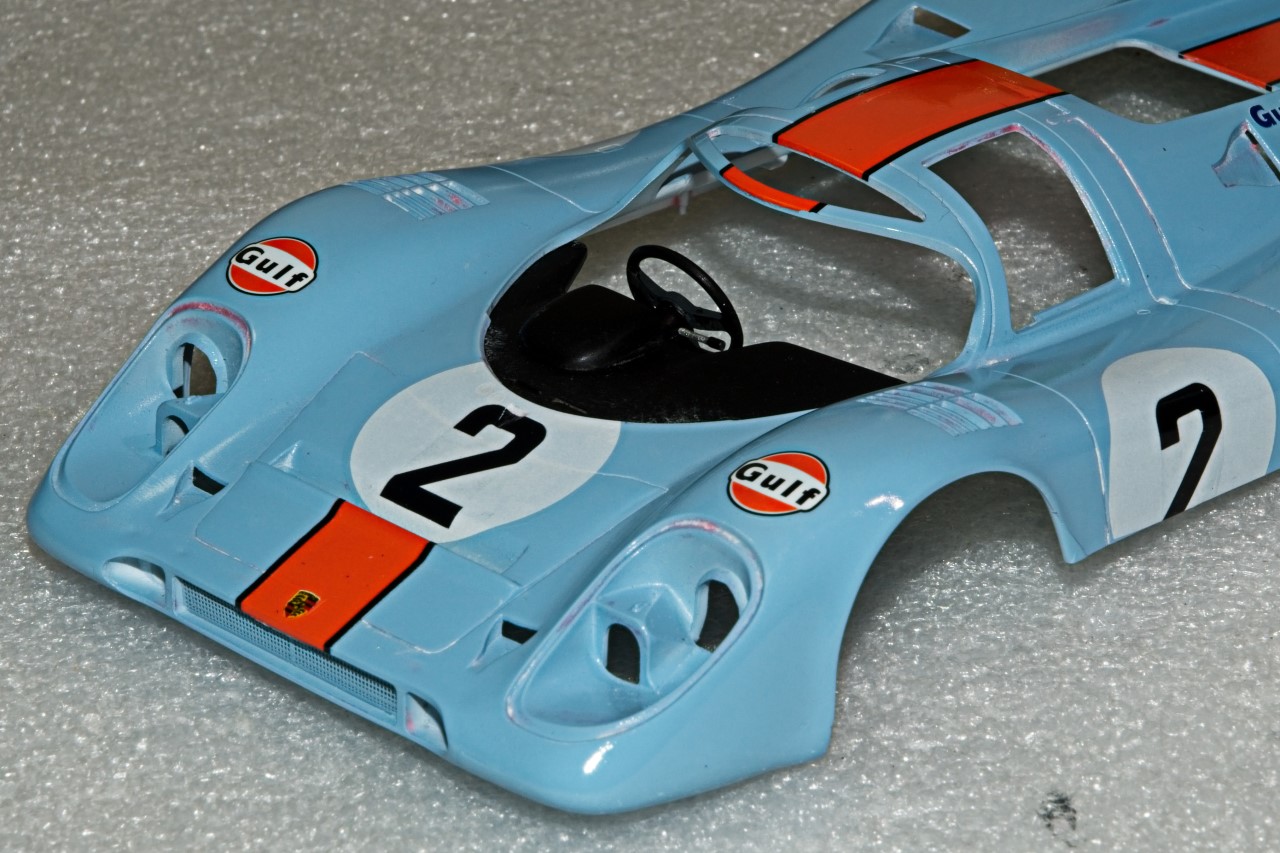
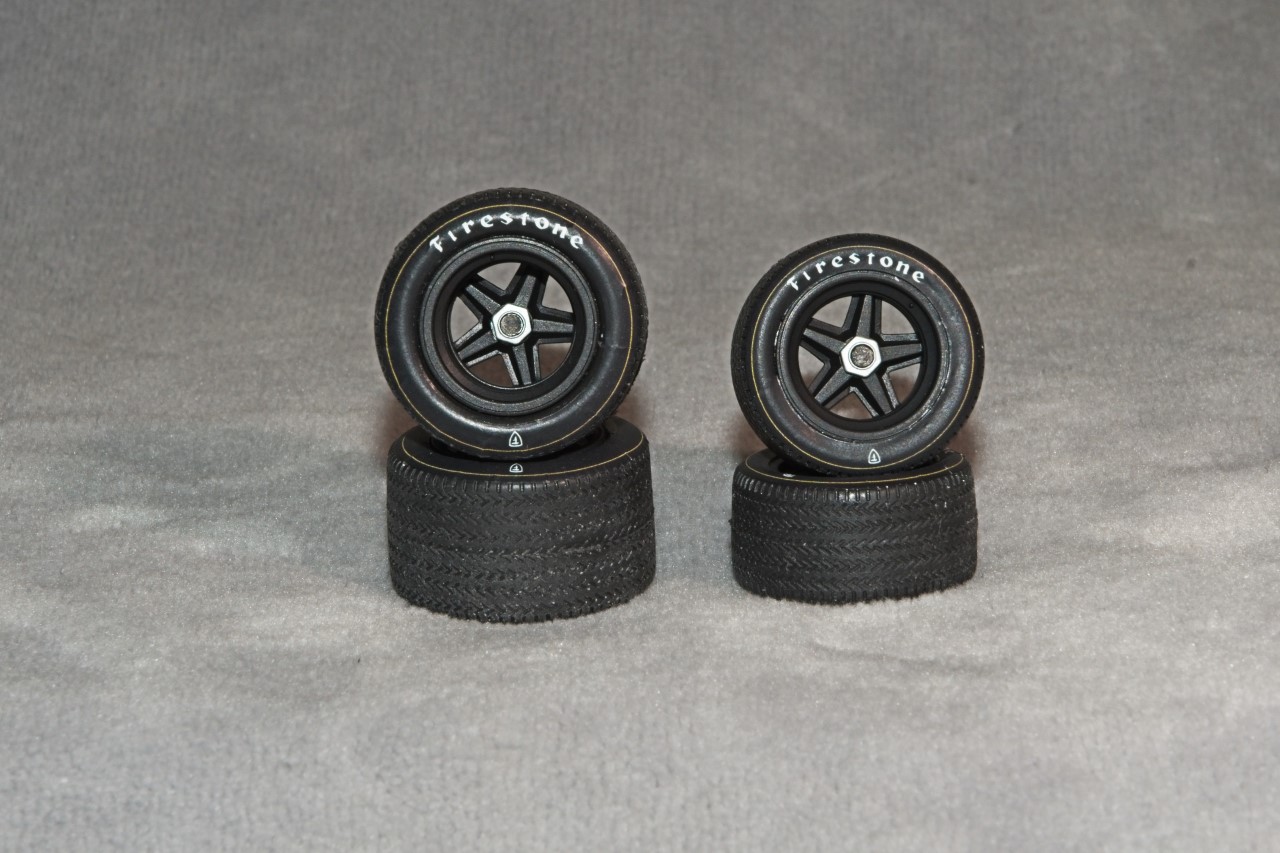
Fujimi 1/24 scale 1970 John Wyer Gulf Porsche 917K

Looks amazing Joel. So glad to see, there’s no warpage issues.

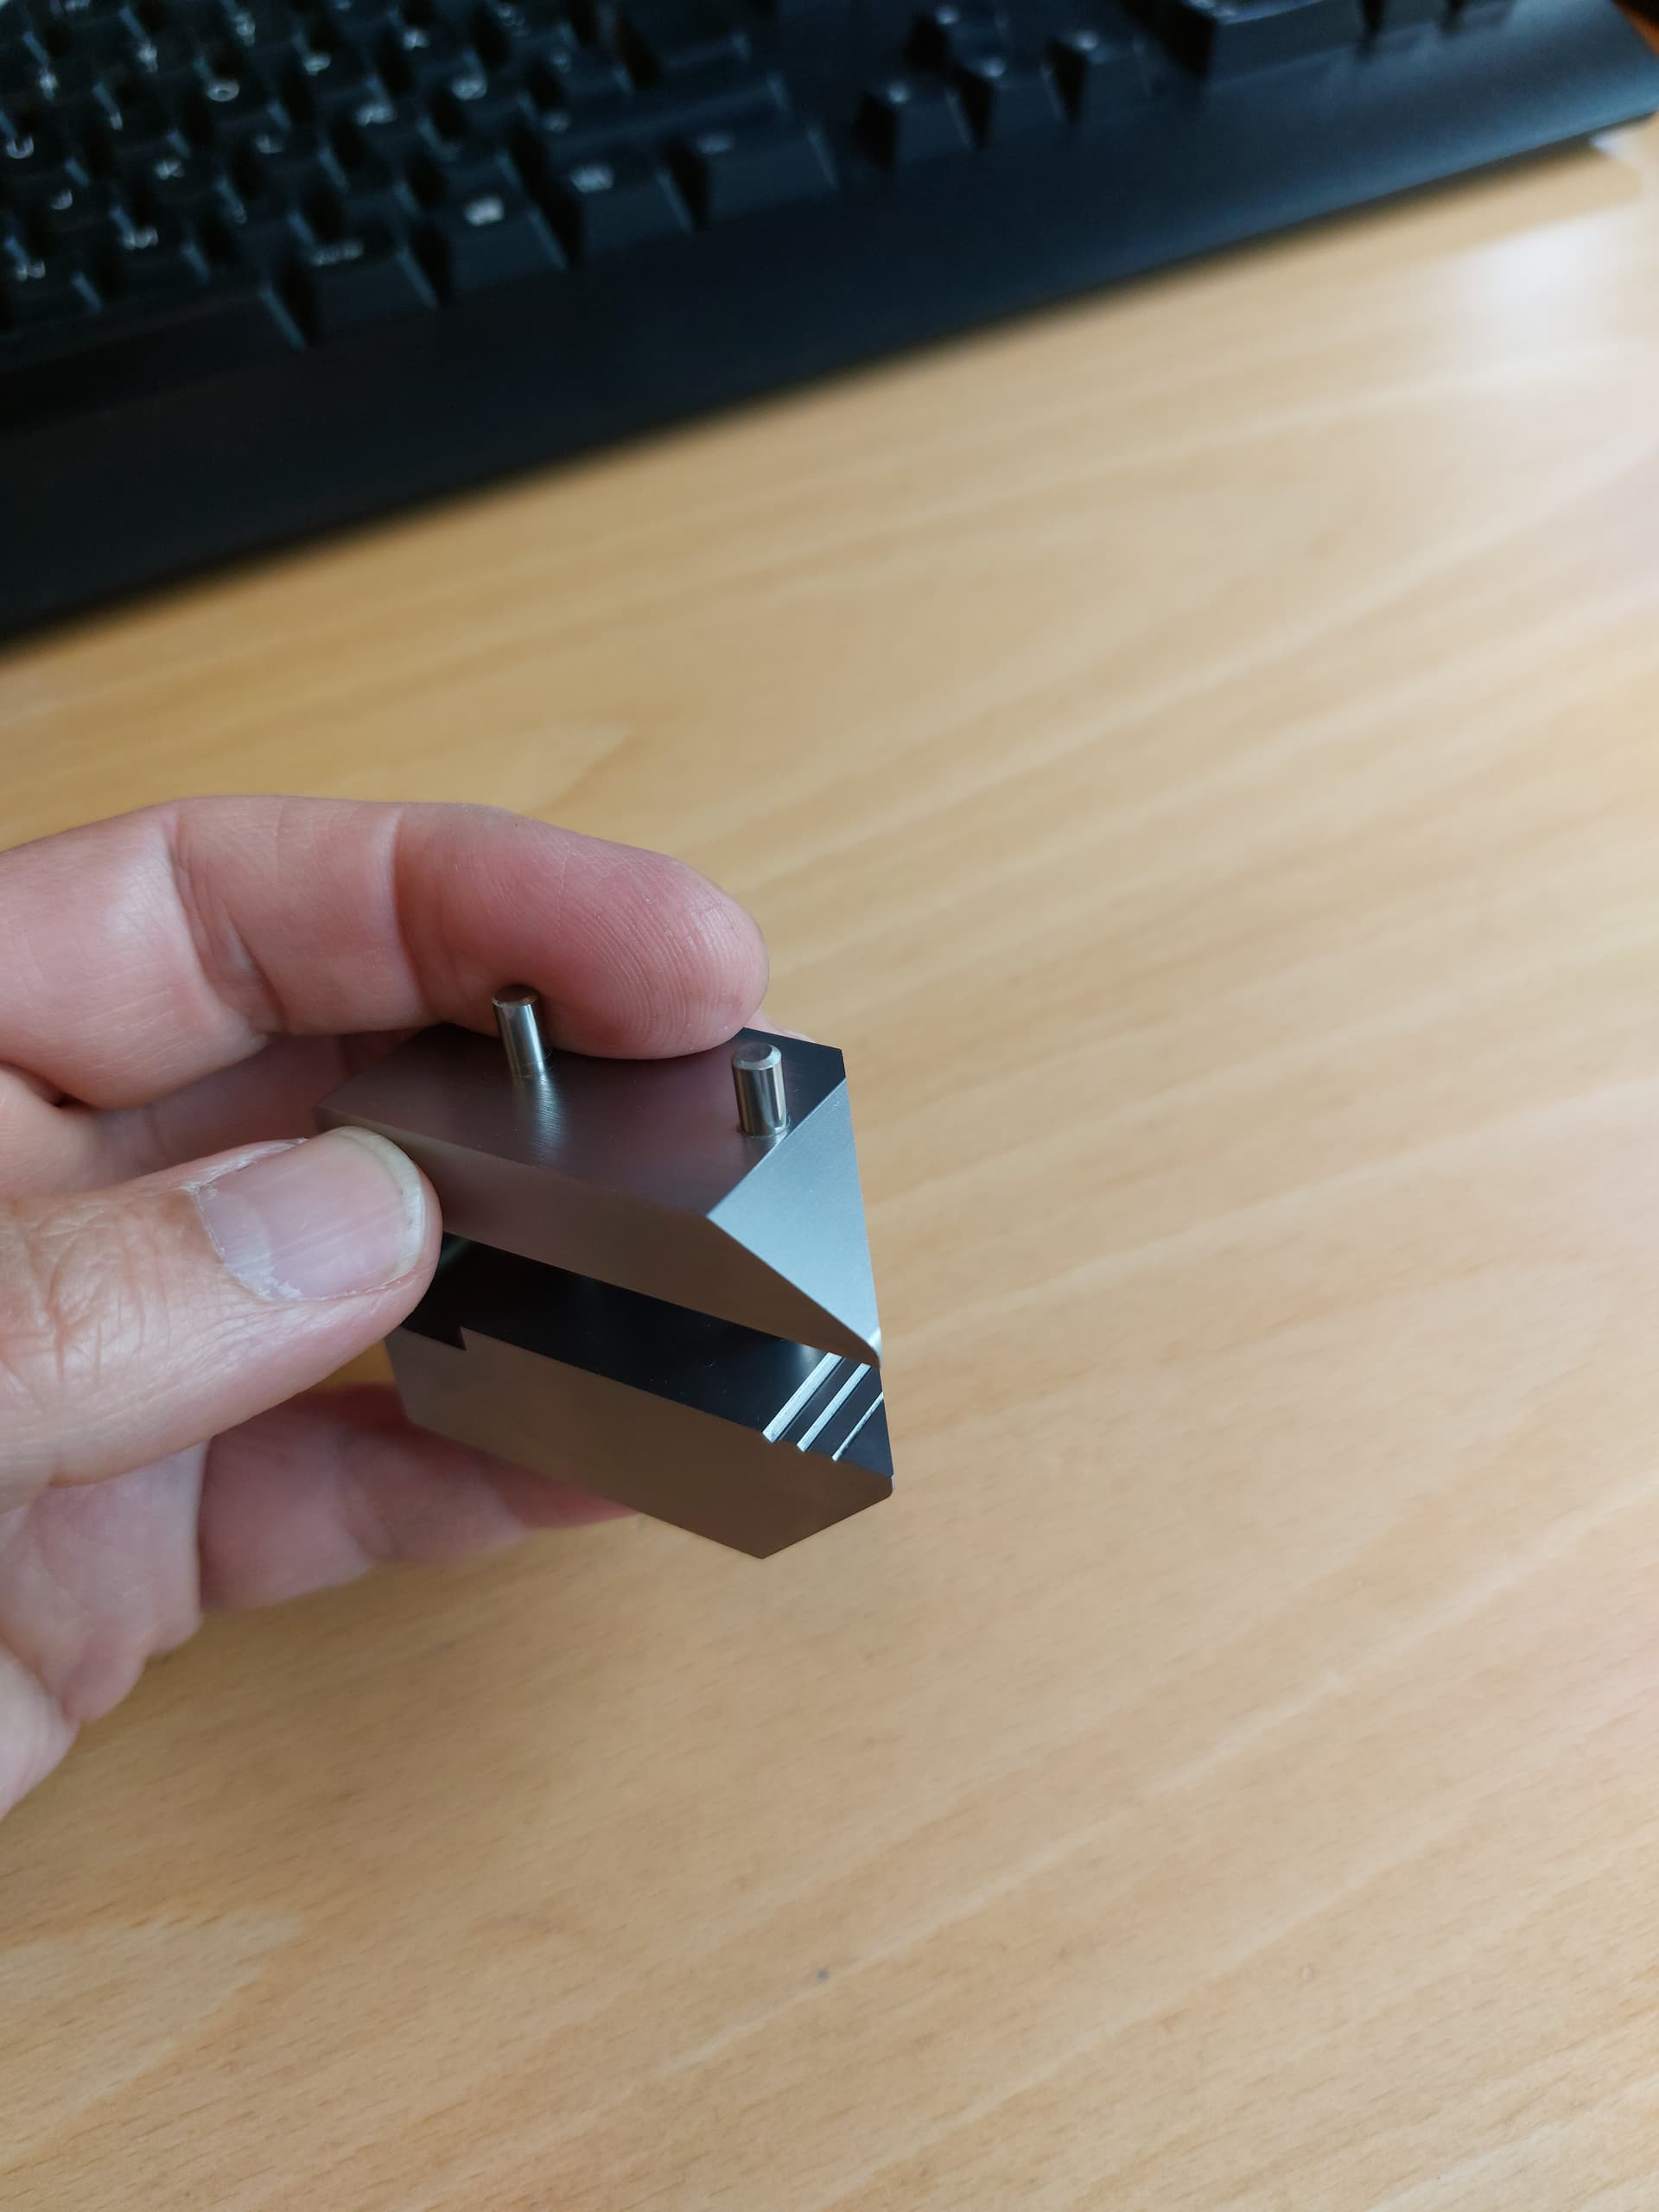
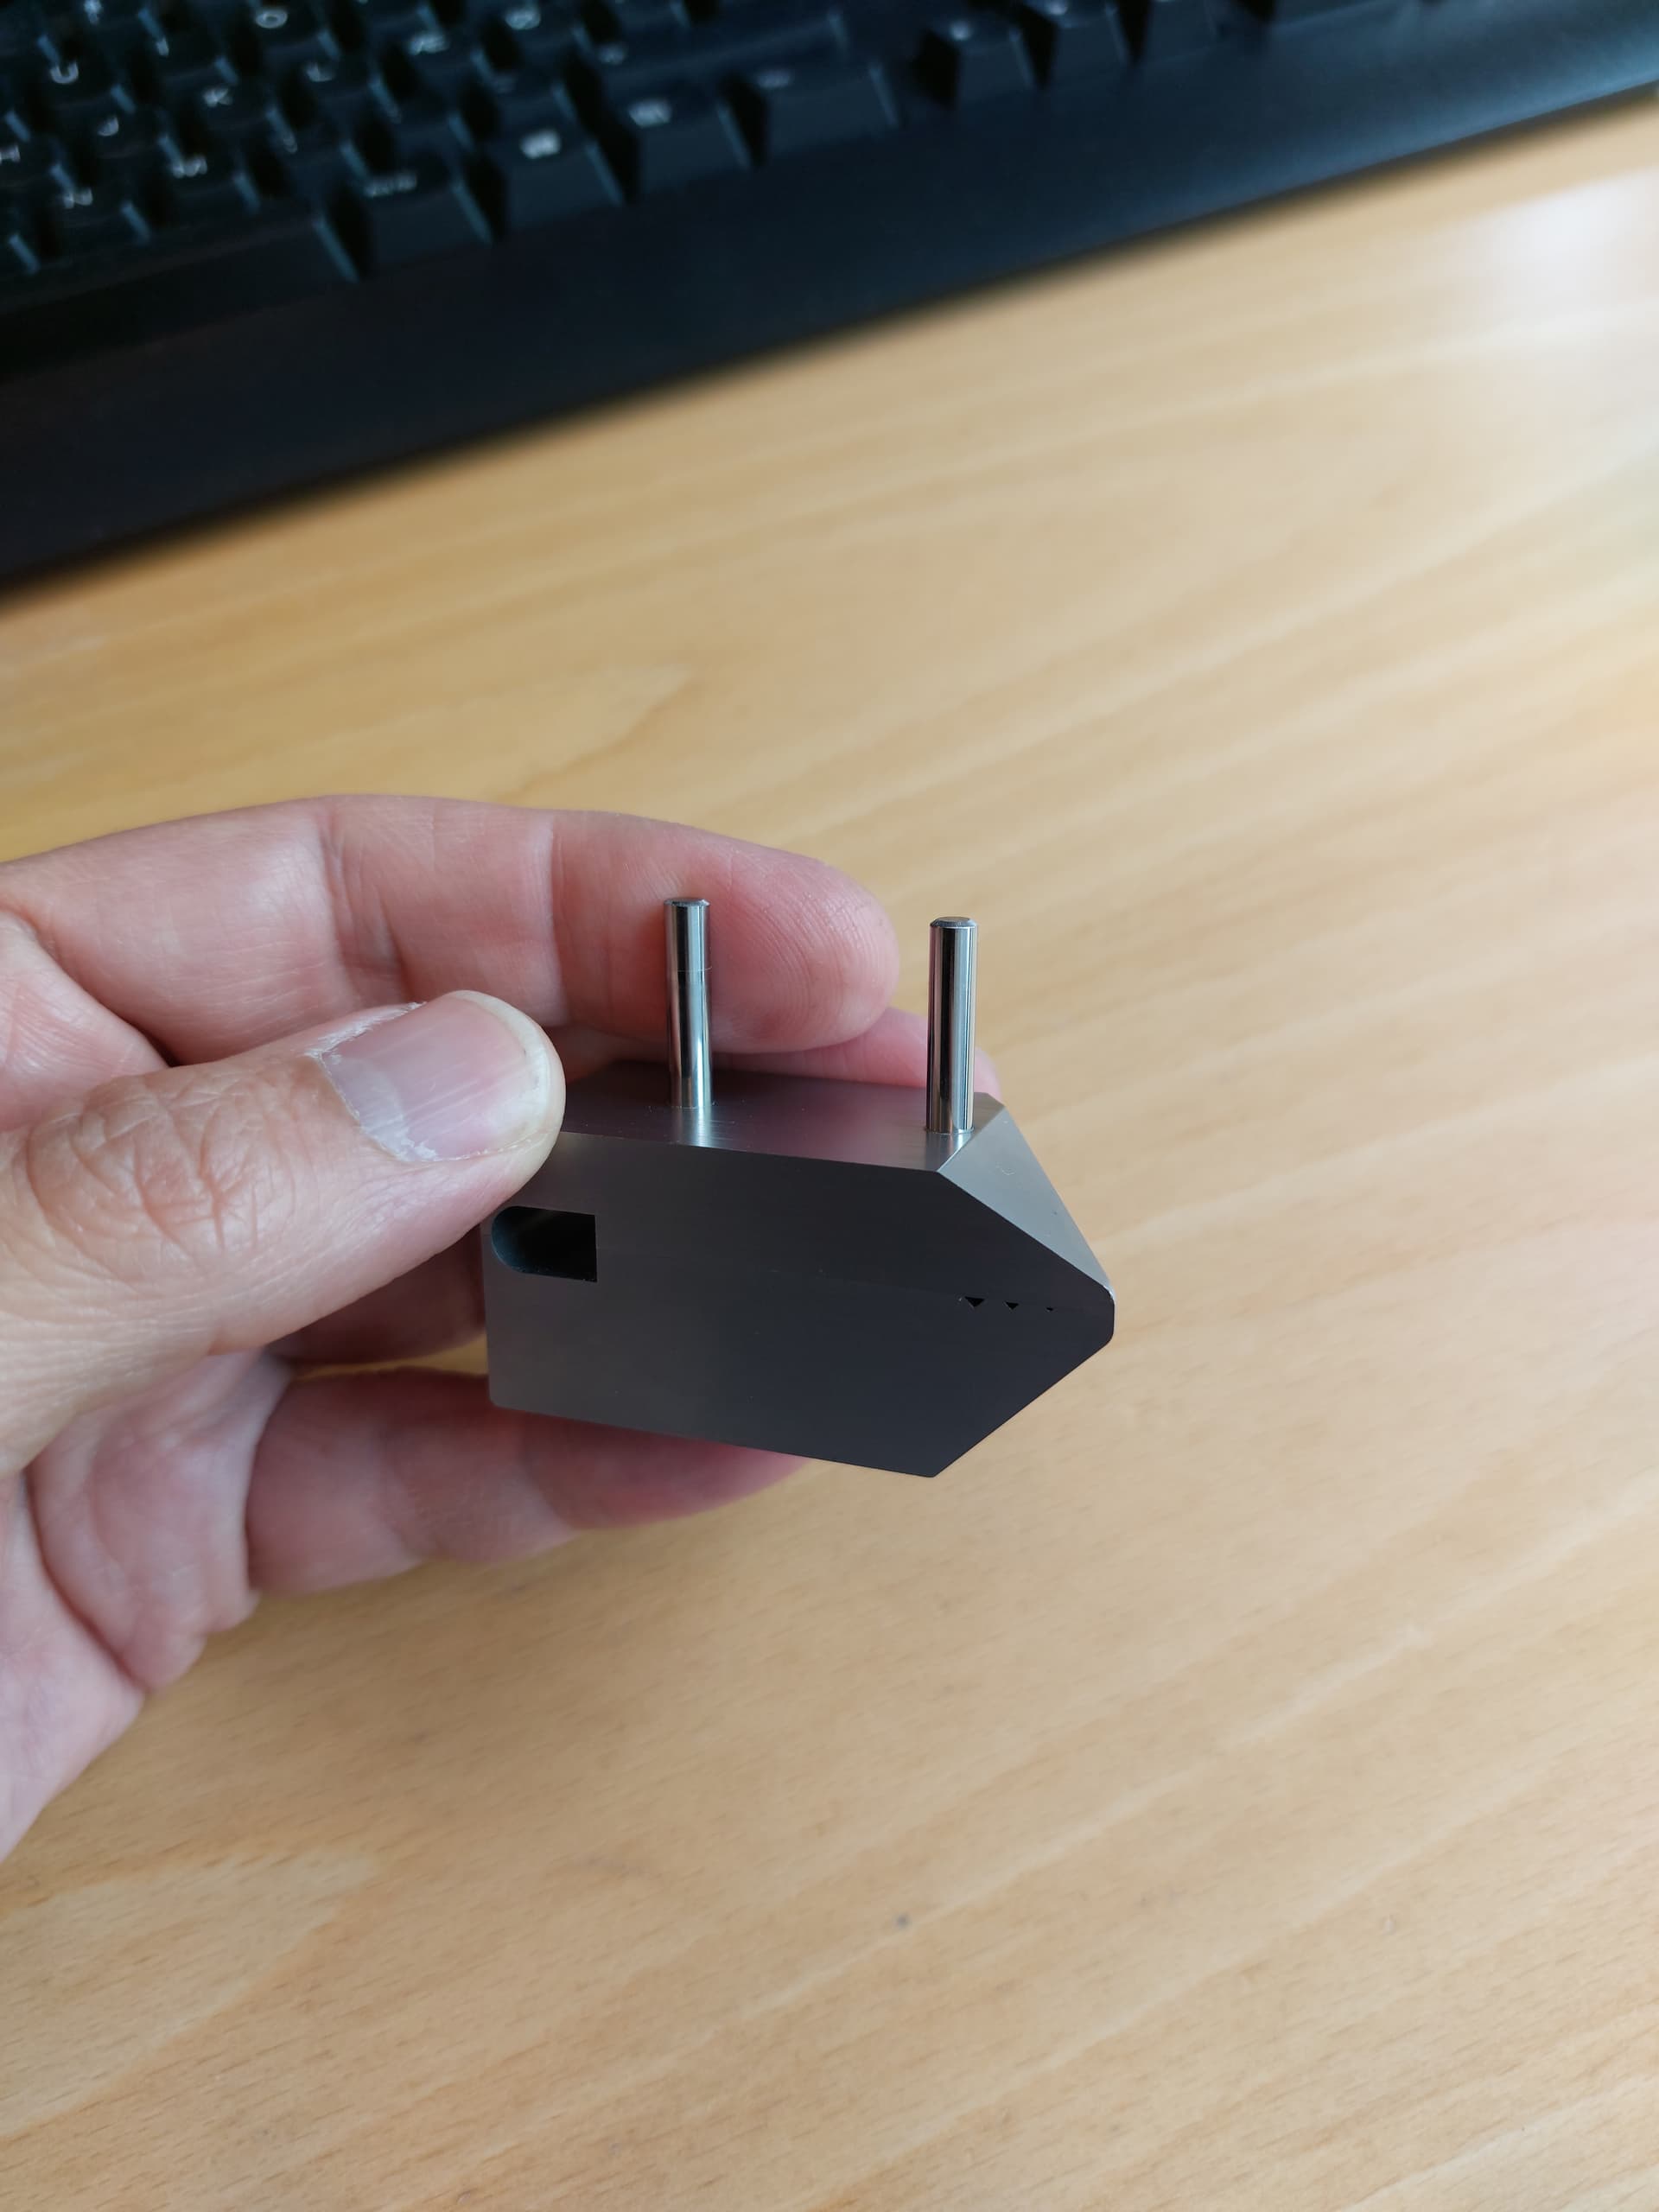
When working, with small PE parts, I often use a clamping device, to hold the parts, while filing. I have this thing, originally created, for something completely different, but works very well(Better then a set of pliers)


1 Like

Joseph,
The Tamiya LP-9 like I said is by far the best clear Gloss I’ve ever used to date. One thing I’m going to try is after the tack coat, to add a little more #400 leveling thinner so that the ratio is more like 40/60 but not 1/2. And yes I got a brand new pair of Revlon nail clippers at CVS. over priced as always, but they work great.

Jasper
Thanks buddy for the big thumbs up, it’s always greatly appreciated.
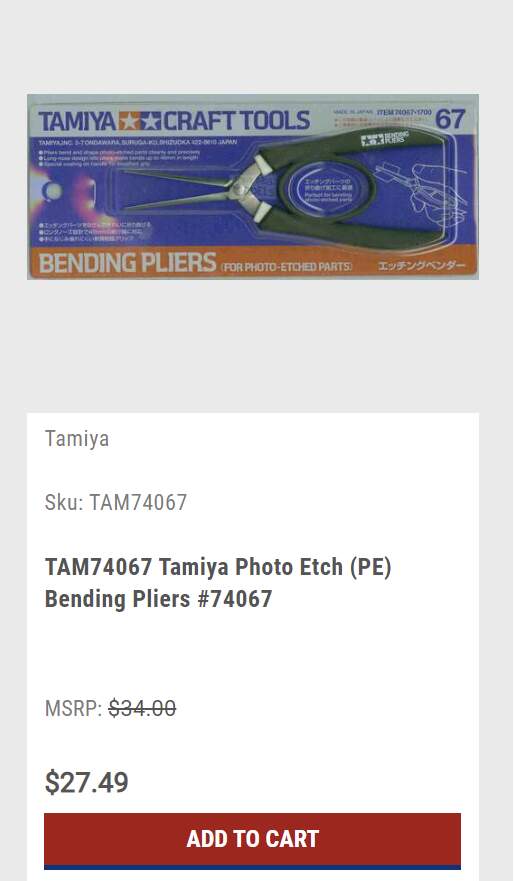
As for a holding/bending clamp, I’ve got one I bought years ago but is kind of difficult to spread apart. I’m really looking at those Tamiya PE plyers to solve many of my PE issues.


joel

Coming along very nicely, Joel :slightly_smiling_face:

I used Tamiya lacquer paint, for my Honda F1. Unquestionably the best paint I have ever tried. A shame they don’t have some more exciting colors.

Jasper,
I’m hoping that they expand the line to be the equal of their Acrylic lacquer line. It’s only drawback and just like Gunze’s Mr. Color lacquer line, the smell is it’s one negative.

I’ve taken to cleaning my air brushes out from start to finish in my paint booth to reduce the lacquer smell including the LC I use for all air brush cleaning these days.

joel

Time for an update even though I haven’t had much modeling time over the last week to get much done, but there’s been some progress, a few steps backwards, and then forward once again.
As said at the end of my last update, it’s time to focus on the cockpit, and this is one of the kits weaker areas as it contains the bare min details, and at least from my perspective a few fit issues.

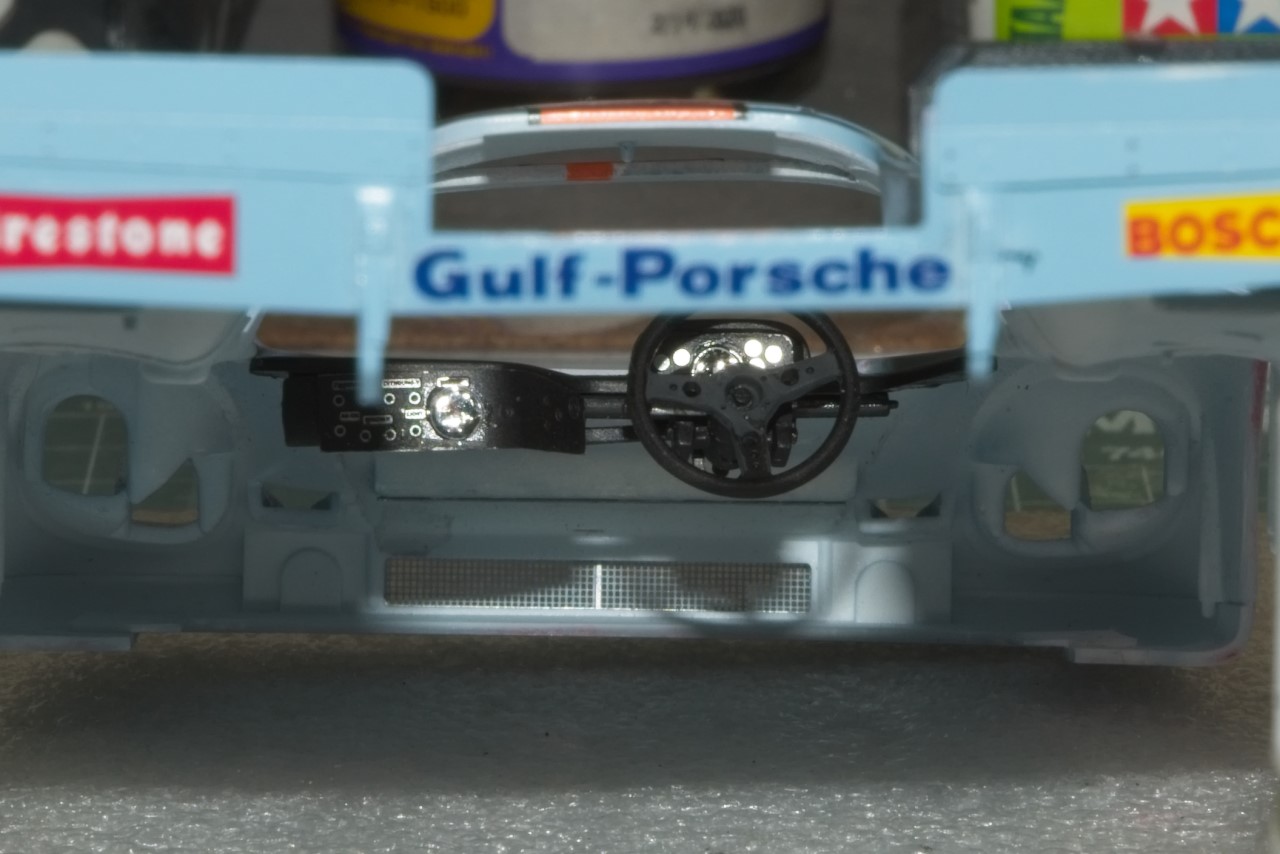
1st up was gluing the small tubing section under the anti glare panel that would attach to the sides of the cockpit. Next up was the IP which i sanded off all the gauges and little pieces of plastic that represented switches. The Kit’s PE Fret has the main gauge panel separate from the side panel. I rolled it over a knife handle to create the bend I needed to match the panel. Took a little time, but it worked out fairly well. I then primed and painted both the anti glare panel and the dash PE panels Nato Black. When dry I used a #400 Infinity sanding stick gently over the surface of both PE pcs to remove the paint and primer, and all the raised Aluminum including the instrument bezels just popped right out. The kit instrument decals were used, and when dry were sealed with Pledge. then the panels were ACC glued to the plastic backing which was then glued under the dash anti glare panel. Try as I might, I couldn’t get it to set correctly no matter what I tried, so I went to plan B: glue it directly to the body shell. I modified it as needed, then took a deep breath and glued it in place. What do you know, SUCCESS !!


I tried to take a decent picture of the IP and installed wheel, but this is the best of the lot, and it’s pretty bad.

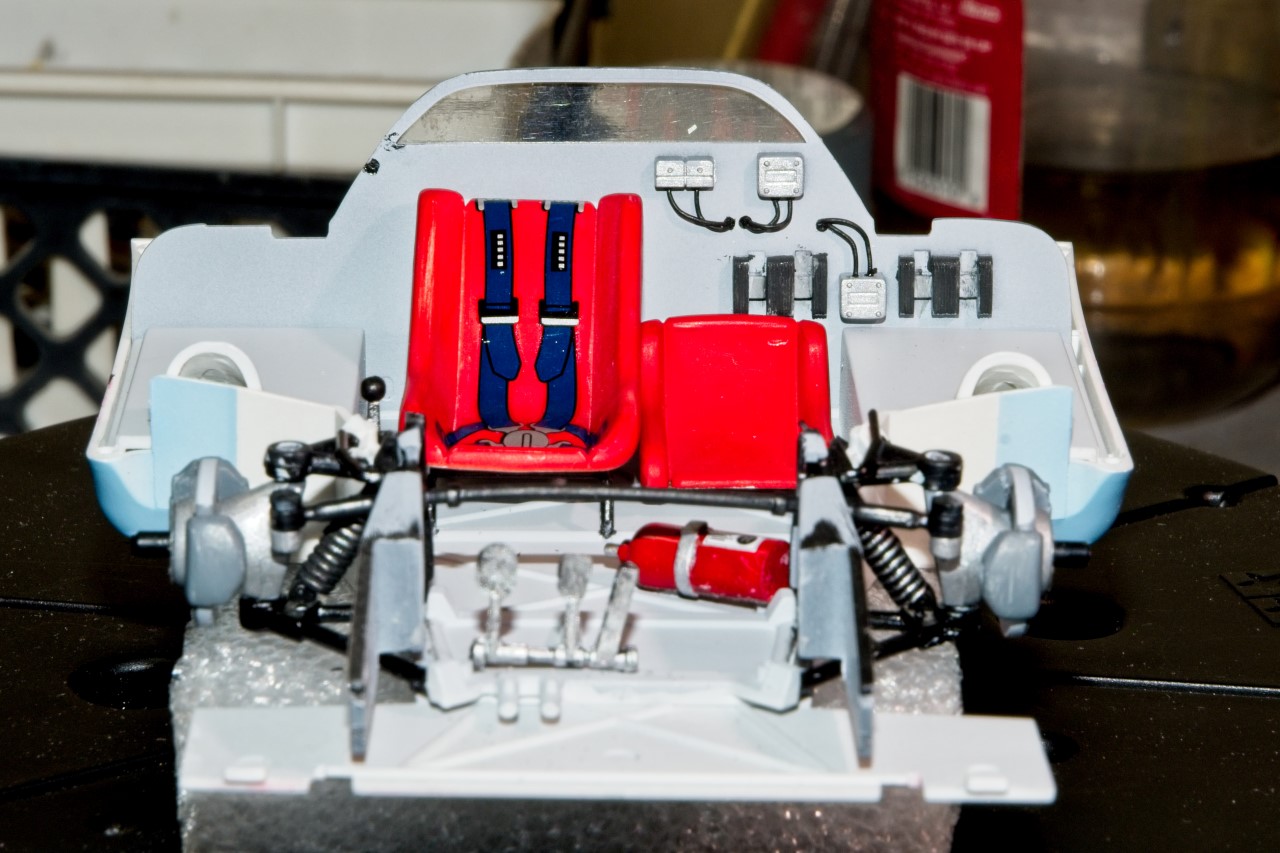
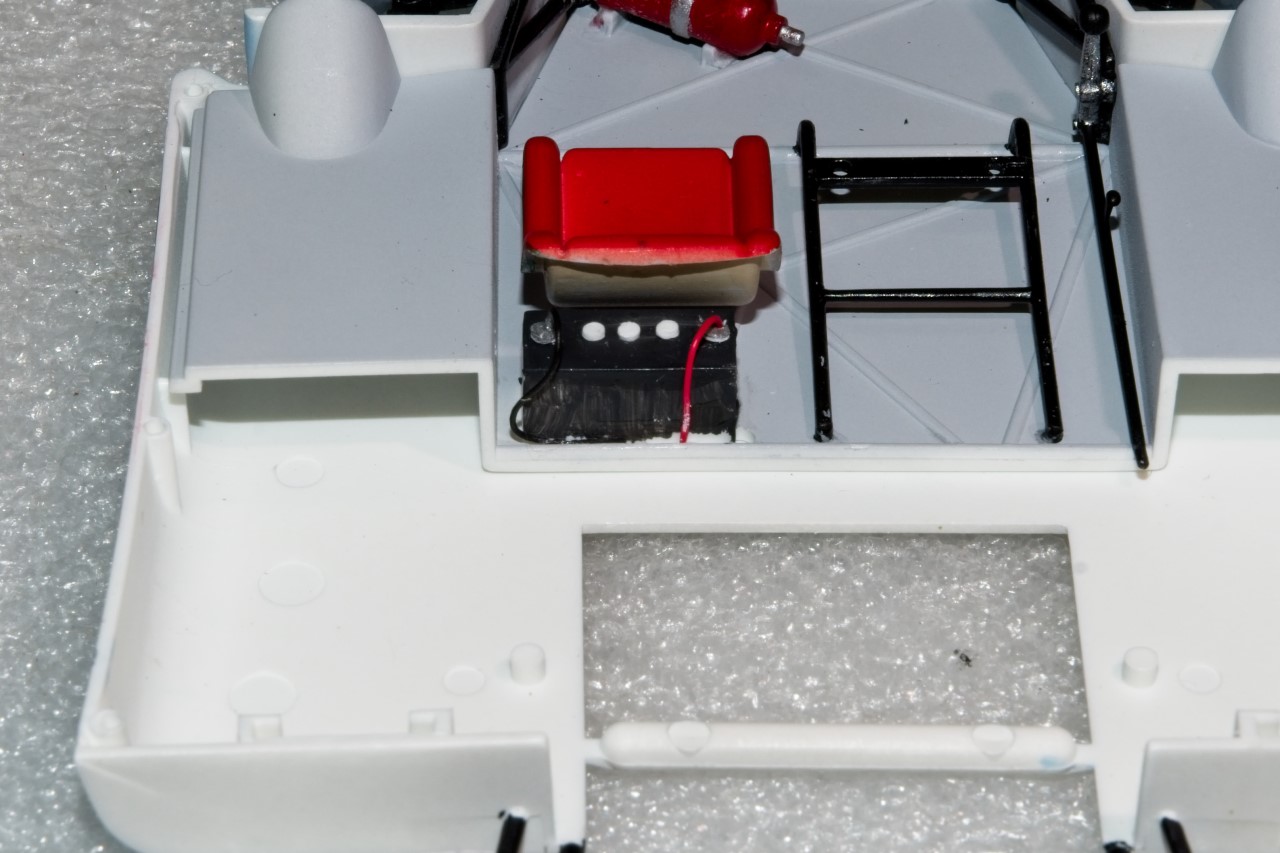
I painted up the fire extinguisher Gloss Red, the seat frame that it seats on Semi Gloss Black, and the two seats were 1st painted a home made mixture of earth and a touch of yellow to kind of come close to what Fiberglass looked like back then. When dry I masked the seat off and painted the cushion Matt Red.
Once again it’s back to the PE Fret as it contains buckles and latches for the 5 way harness, but none of my ribbon from any of the sets I have were thin enough. So being me, I once again took the easy way out and used the Tamiya decal since you will barely be able to see much of anything once the shells are joined. The seats/decal harness aren’t matt coated so there’s some shine to the decal. Also you’ll see that I’ve tacked the cockpit rear bulkhead in place. I painted some of the electrical boxes black and Shiny Aluminum, then drilled them out and ran 6 wires in pairs to the engine compartment for a little extra detail.

One thing I detailed for basically nothing is the 12V battery located behind the 2nd seat and directly in front of the bulkhead. With luck, maybe you’ll be able to see some of the top. I added both terminals, and 3 acid caps as that’s all that I could fit. Then ran the cables to the back of the battery.

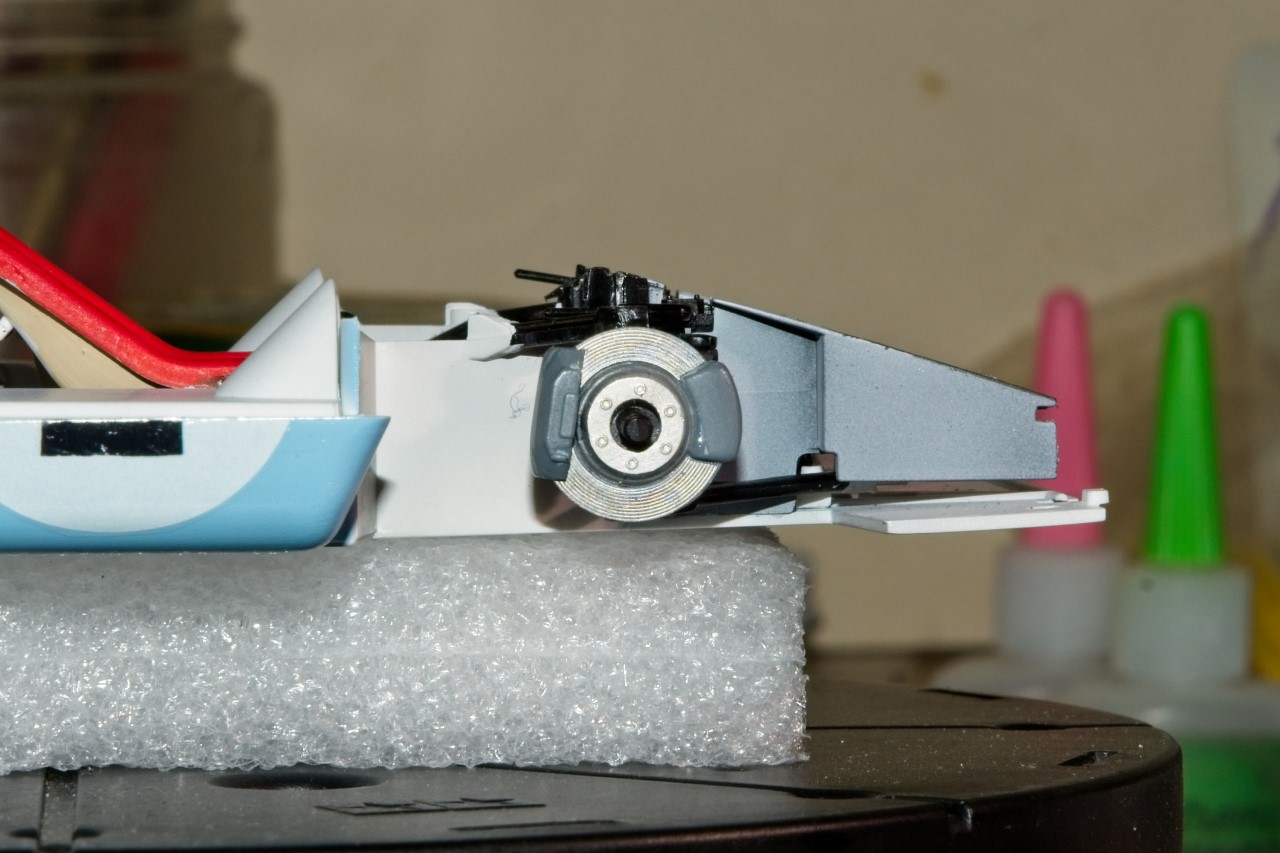
Next up was the front tires, so I could finish the front wheel/brake assemblies. They’re not very well detailed but once again the Fret sheet had polished Aluminum inserts to represent the discs. An improvement over the plastic surface details but just no up to what I expected.

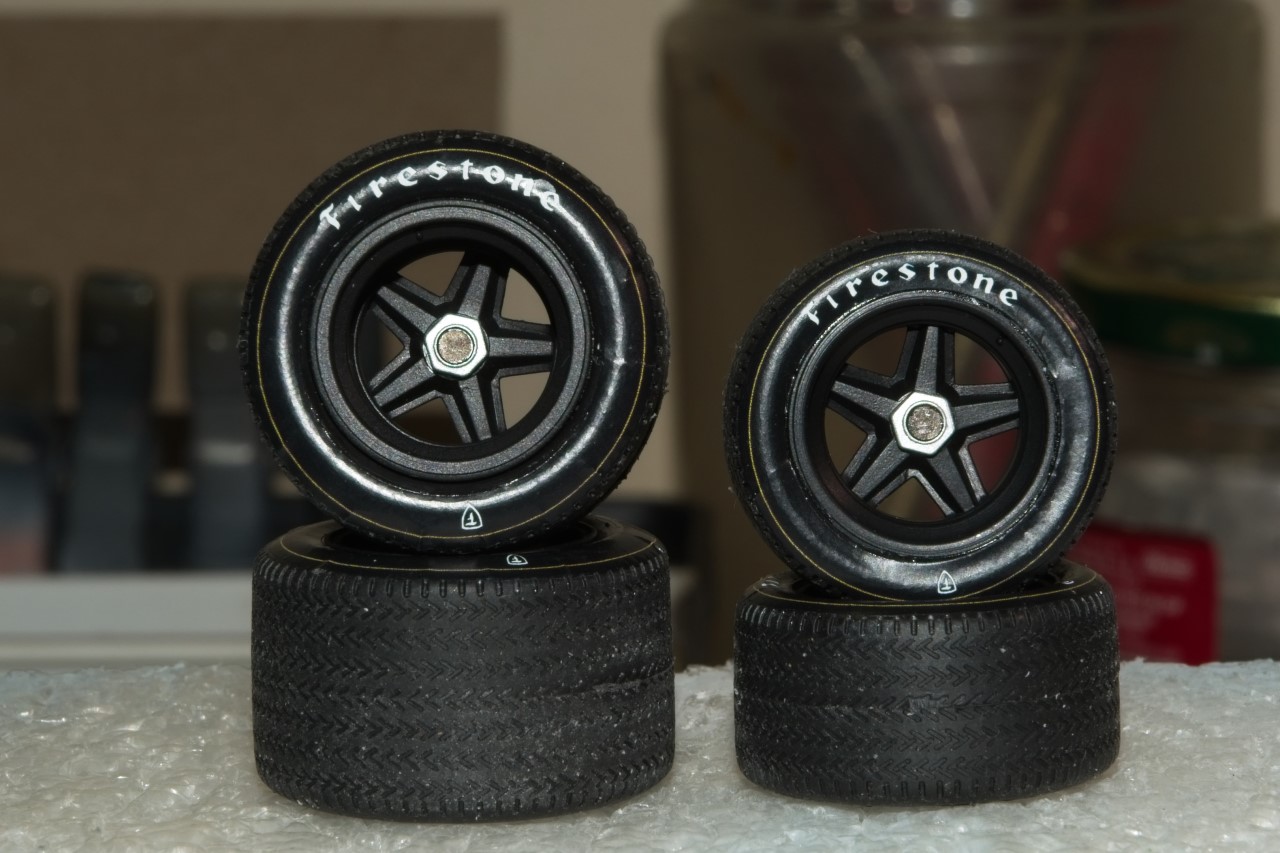
The tires on the other hand are very well molded as the detail tread pattern is excellent. The Gulf Wyler cars ran on Firestones with Yellow circles. Indy Cal makes the decals for these tires, which is basically a full decal for the outside side wall of each tire. I’ve never used them before so I was a little leery about how it would look. I laid down a coat of Pledge by brush, then the decals which took some time to cut out. But they worked perfectly. The decals really don’t match the darkish rubber color of the tires, but I’m hoping that a coat of Matt clear will darken them up some.

Thanks to all for stopping by and checking out my progress to date. it’s always greatly appreciated.

joel
5 Likes

I like it! :slightly_smiling_face:

Russelle,
Thanks so much my friend. It’s always a pleasure to have you stop by, and check out where my current build is at.

joel

1 Like

You seem to have kicked the cockpit up a notch or two -
the time spent as an aircraft modeler still paying dividends on the dark side .
Cheers - grandpa

Excellent work Joel. The wiring is a great detail; not difficult to make, but makes a big difference.

Hey Granda & Jesper
I only wish that was true. My skills in detailing aircraft wasn’t anything to write home about. But 6 simple and easy to do wires and detail painting does make a worthwhile improvement.

joel

Really great work on the interior Joel. I know how you feel about the battery. I spent a fair amount of effort to wire it up in the Pink Pig only to have it covered by the spare seat. The wiring on the rear bulkhead looks good since you can see that through the wide windscreen.

cheers
Michael

Michael,
Thanks so much for your most positive comments. I should have remembered your Pink Pg battery issue as it would have saved me some time spent basically for nothing.

joel

Finally, I’ve got enough work accomplished for another update.

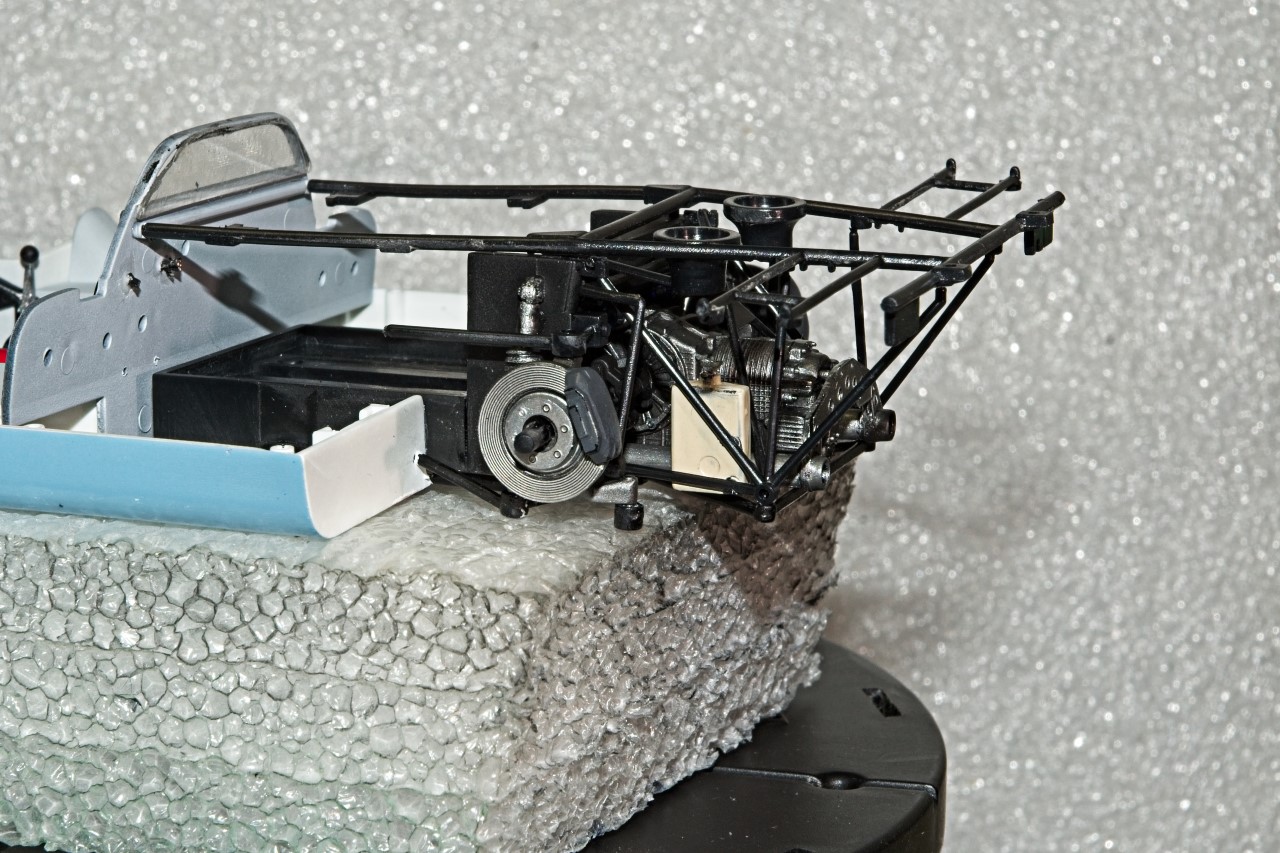
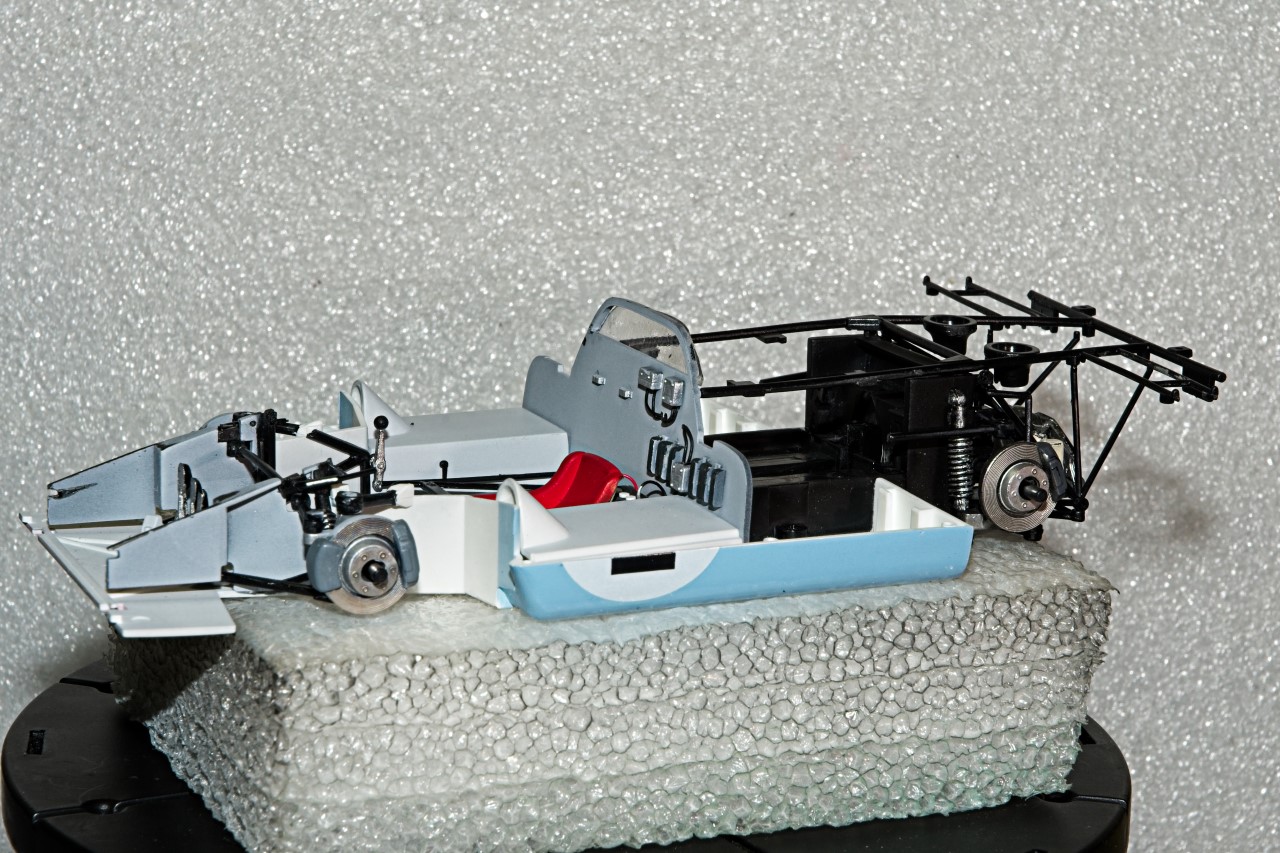
Work started with the transaxle, drive 1/2 shafts, donuts, rear brake assemblies including PE for the discs and what I call the hub carriers front plates, lower suspension arms, and rear chassis tubes. part fit was actually excellent with only a dab of putty needed for one little sink hole, but they were somewhat vague as to their proper alignment.

All the metal parts were primed with Mr. Color Semi Gloss Black thinned with Mr. Color 400 Leveling Thinner. Then several different Alcad 2 Metalizer shades were air brushed on.

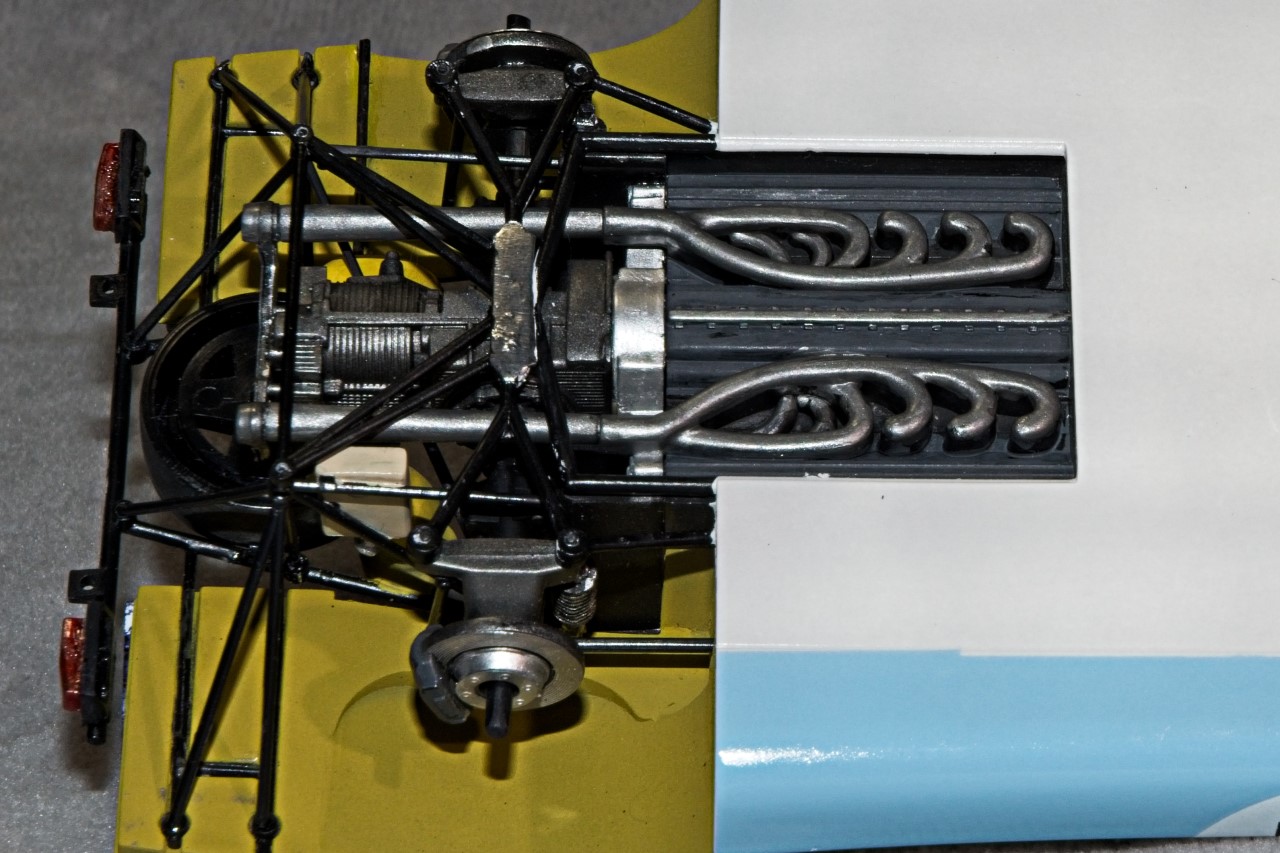
Then I primed and painted what Fujimi has you believe to be the bottom of the engine with the exhaust headers molded in. Of course that just makes it that much harder to paint them. Looking a the picture below, I still have some touch up work to accomplish. The only trouble is up close and personal I have a real hard time seeing these issues, but I’ll give it another try or two.


The top sections of the tubual frame is just dry fitted at this point as it still needs quite a bit of polishing to remove the sanding marks.

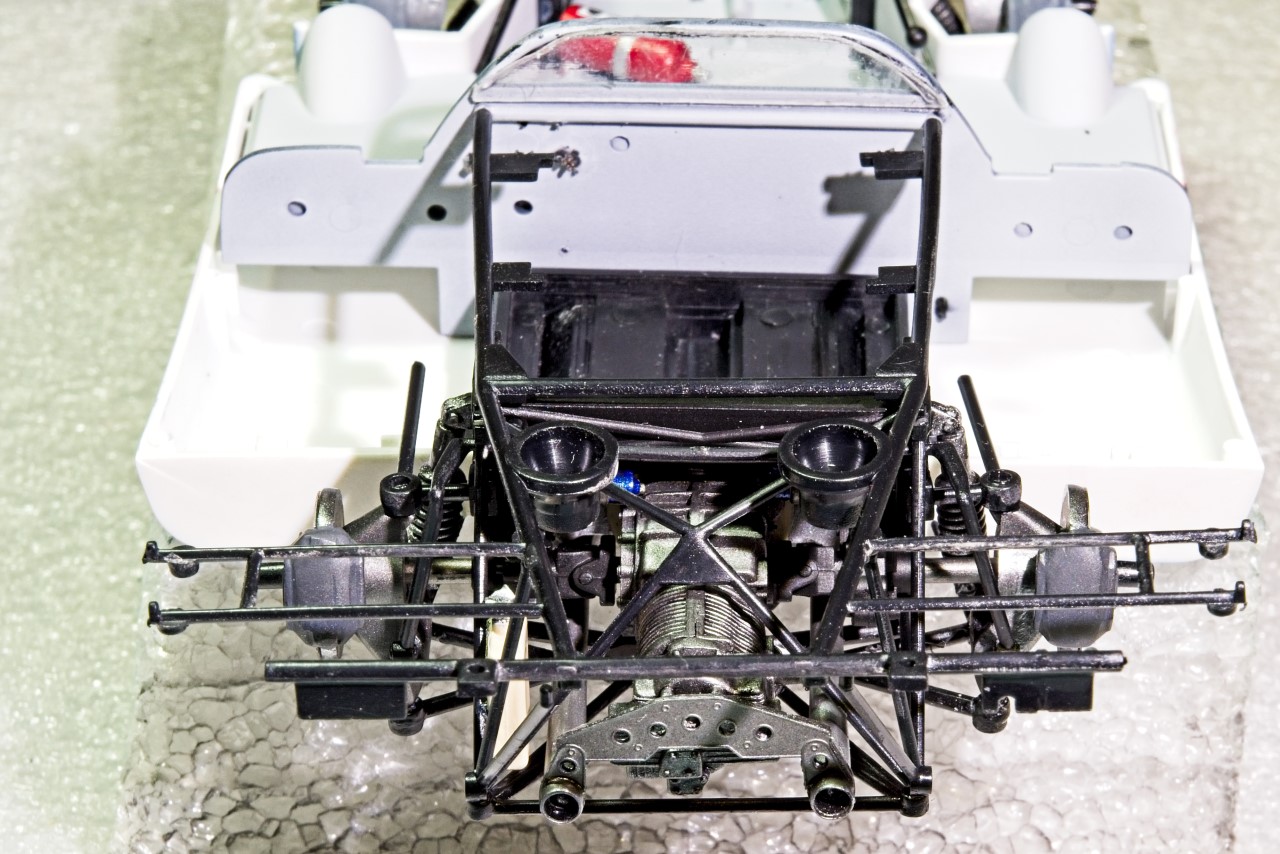
And finally what the overall chassis looks like at this stage of the build. Once the top body shell is attached, most of this won’t be seen other then the rear end and the bottom view.


Thanks to all who stopped by to check out my progress to date. As usual, it’s always greatly appreciated.

joel
4 Likes

Looking good Joel though I was wondering how do you get the engine in with the rear chassis fixed to the body but then realised that there isn’t one.

cheers
Michael

Those in molded headers would be a challenge, for all of us. Re-touch as much, as you can and then add lot’s of black wash, that could cover the transition between the headers and bottom.

Michael,
Thanks for the thumbs up. But even if there was an engine, which most of today’s kits don’t seem to have, the top of the chassis is only dry fitted, which is why it’s a little twisted, and comes right off.

joel

Jesper,
I’ve gone with a good few coats of Tamiya Black Panel wash, and it toned down to completely eliminated those pesky bright metal areas between the pipes where it looks like the engine block.

joel

Well, it’s time for another update on the Porsche 917k.
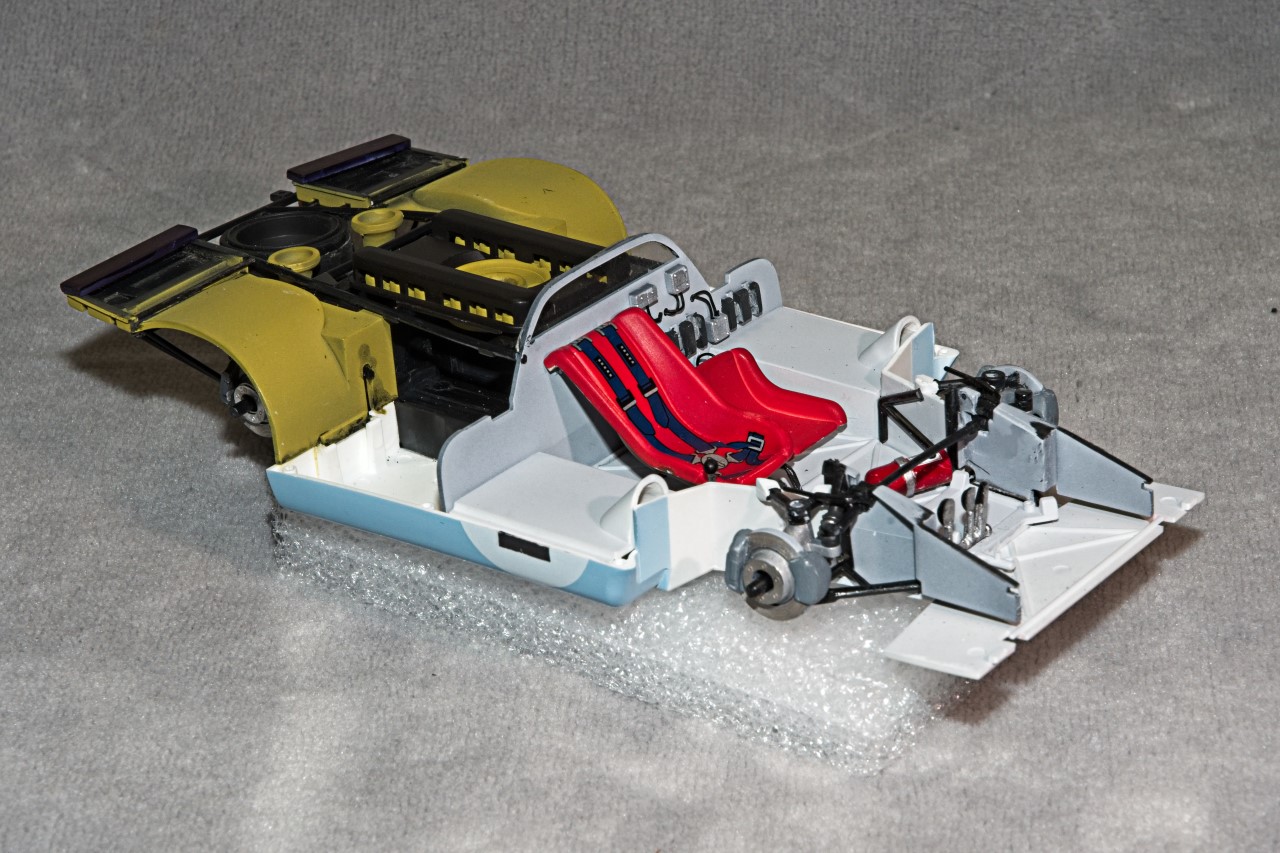
Ist order of business was to finish up the interior with the addition of the drivers seat and 6 way racing harness that’s actually a Tamiya decal. I usually opt for one of the AM harness sets, but in this case so little of the interior can be seen once the top shell is attached, I just decided to save the harness set for another build as there not exactly cheap.
The rear chassis tubing was finished, as were the tail lights that I had to modify to even fit their mounting brackets. The brake air intake/tubing, the engine intake fan assembly (if you can even call it that), and the rear wheel wells were painted and installed. I finally got around to Matt coating the wheels and tires. They do look pretty good, but I’m still not really satisfied. Just might give them a lite coat of Dullcoat with a few drops of Dark German Gray to help blend in the side wall decals to the tire a tad better.
Any paint imperfections forward of the front anti sway bar I haven’t bothered with as they won’t be seen as the dash and Instrument panel covers that whole area.
Doesn’t sound like much, but it took nearly 2 weeks to complete.
joel

5 Likes

Great work Joel, plenty of fine details there to pick out and it’s looking very nice indeed!

Cheers, D