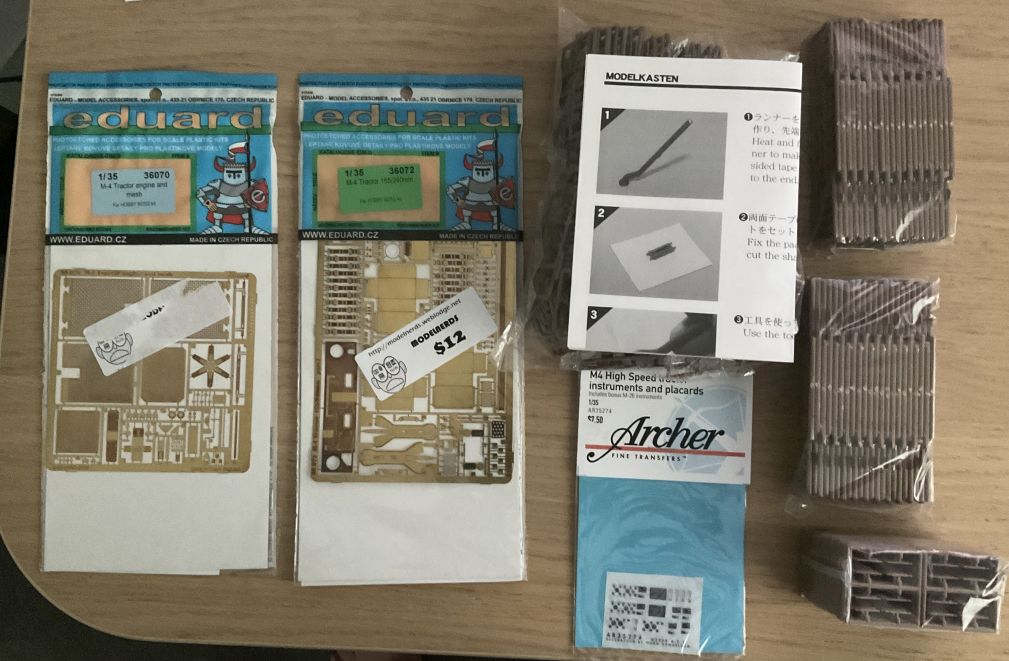
Archer dash decals and better etch from Eduard than the HB kit contains - plus more detail bits as well. Modelkasten tracks to replace the HB ones, they will be an ‘interesting’ distraction…
The 8 inch (203mm) ammunition rounds are needed for the HST load, as HB in their usual “minimalistic detail/cutting corners in offering up parts”, gives you a whole 2 rounds of ammunition - one 8 inch and one 155 mm…
The AFV Club kit comes with vinyl tyres, which I hate, and apparently post war tread to boot . I picked up the set of wheels and the etch for the ‘Long Tom’ cheap at a swap meet. The Long Tom is mostly the same base kit as the 8 inch.
A bit of a project, but I always knew whatever I built for this would be a longer term project.
'Love the 8" Howitzer; as a schoolboy I remember seeing them at the annual military display at the School of Artillery, towed by a massive Mack truck, all in shiny Deep Bronze Green. By God, it went off with a bang too - but as what? An 8 year-old boy, what’s not to like?
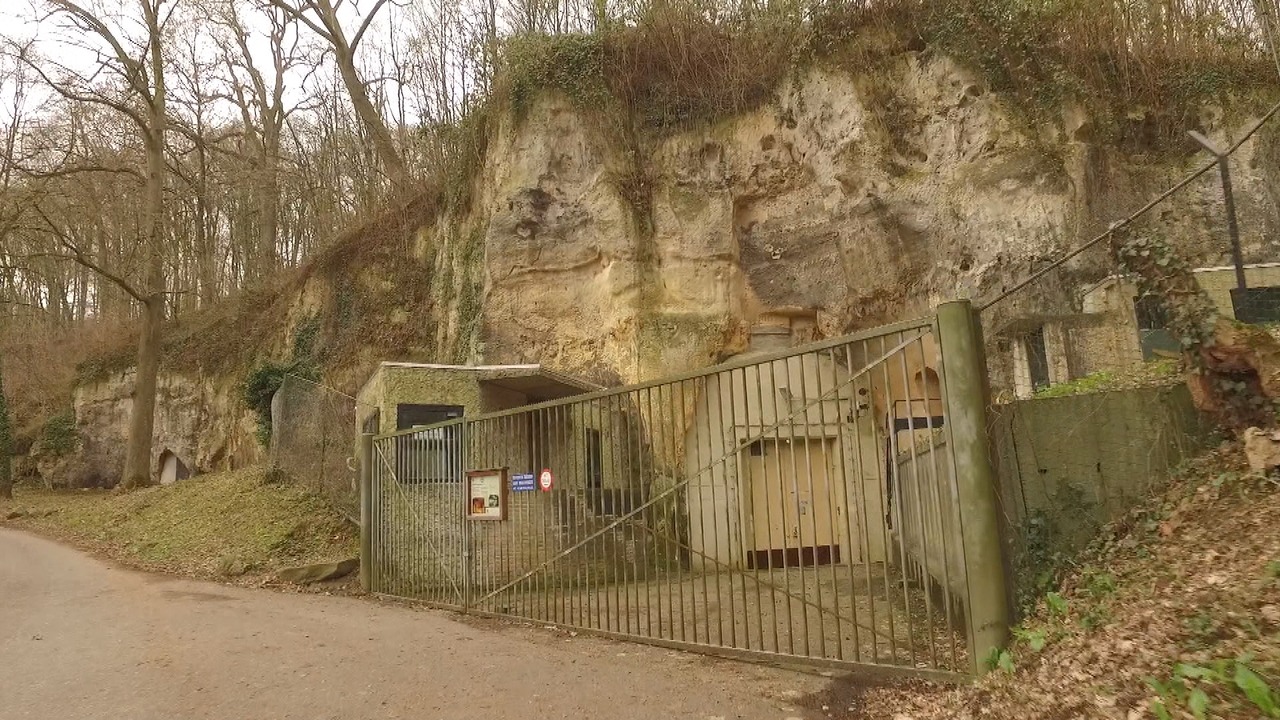
'Been checking my concept of ops this afternoon, with a view to ensuring that everything will work. The rockface will need a bit of careful modelling I suspect but the cork bark looks quite good I feel:
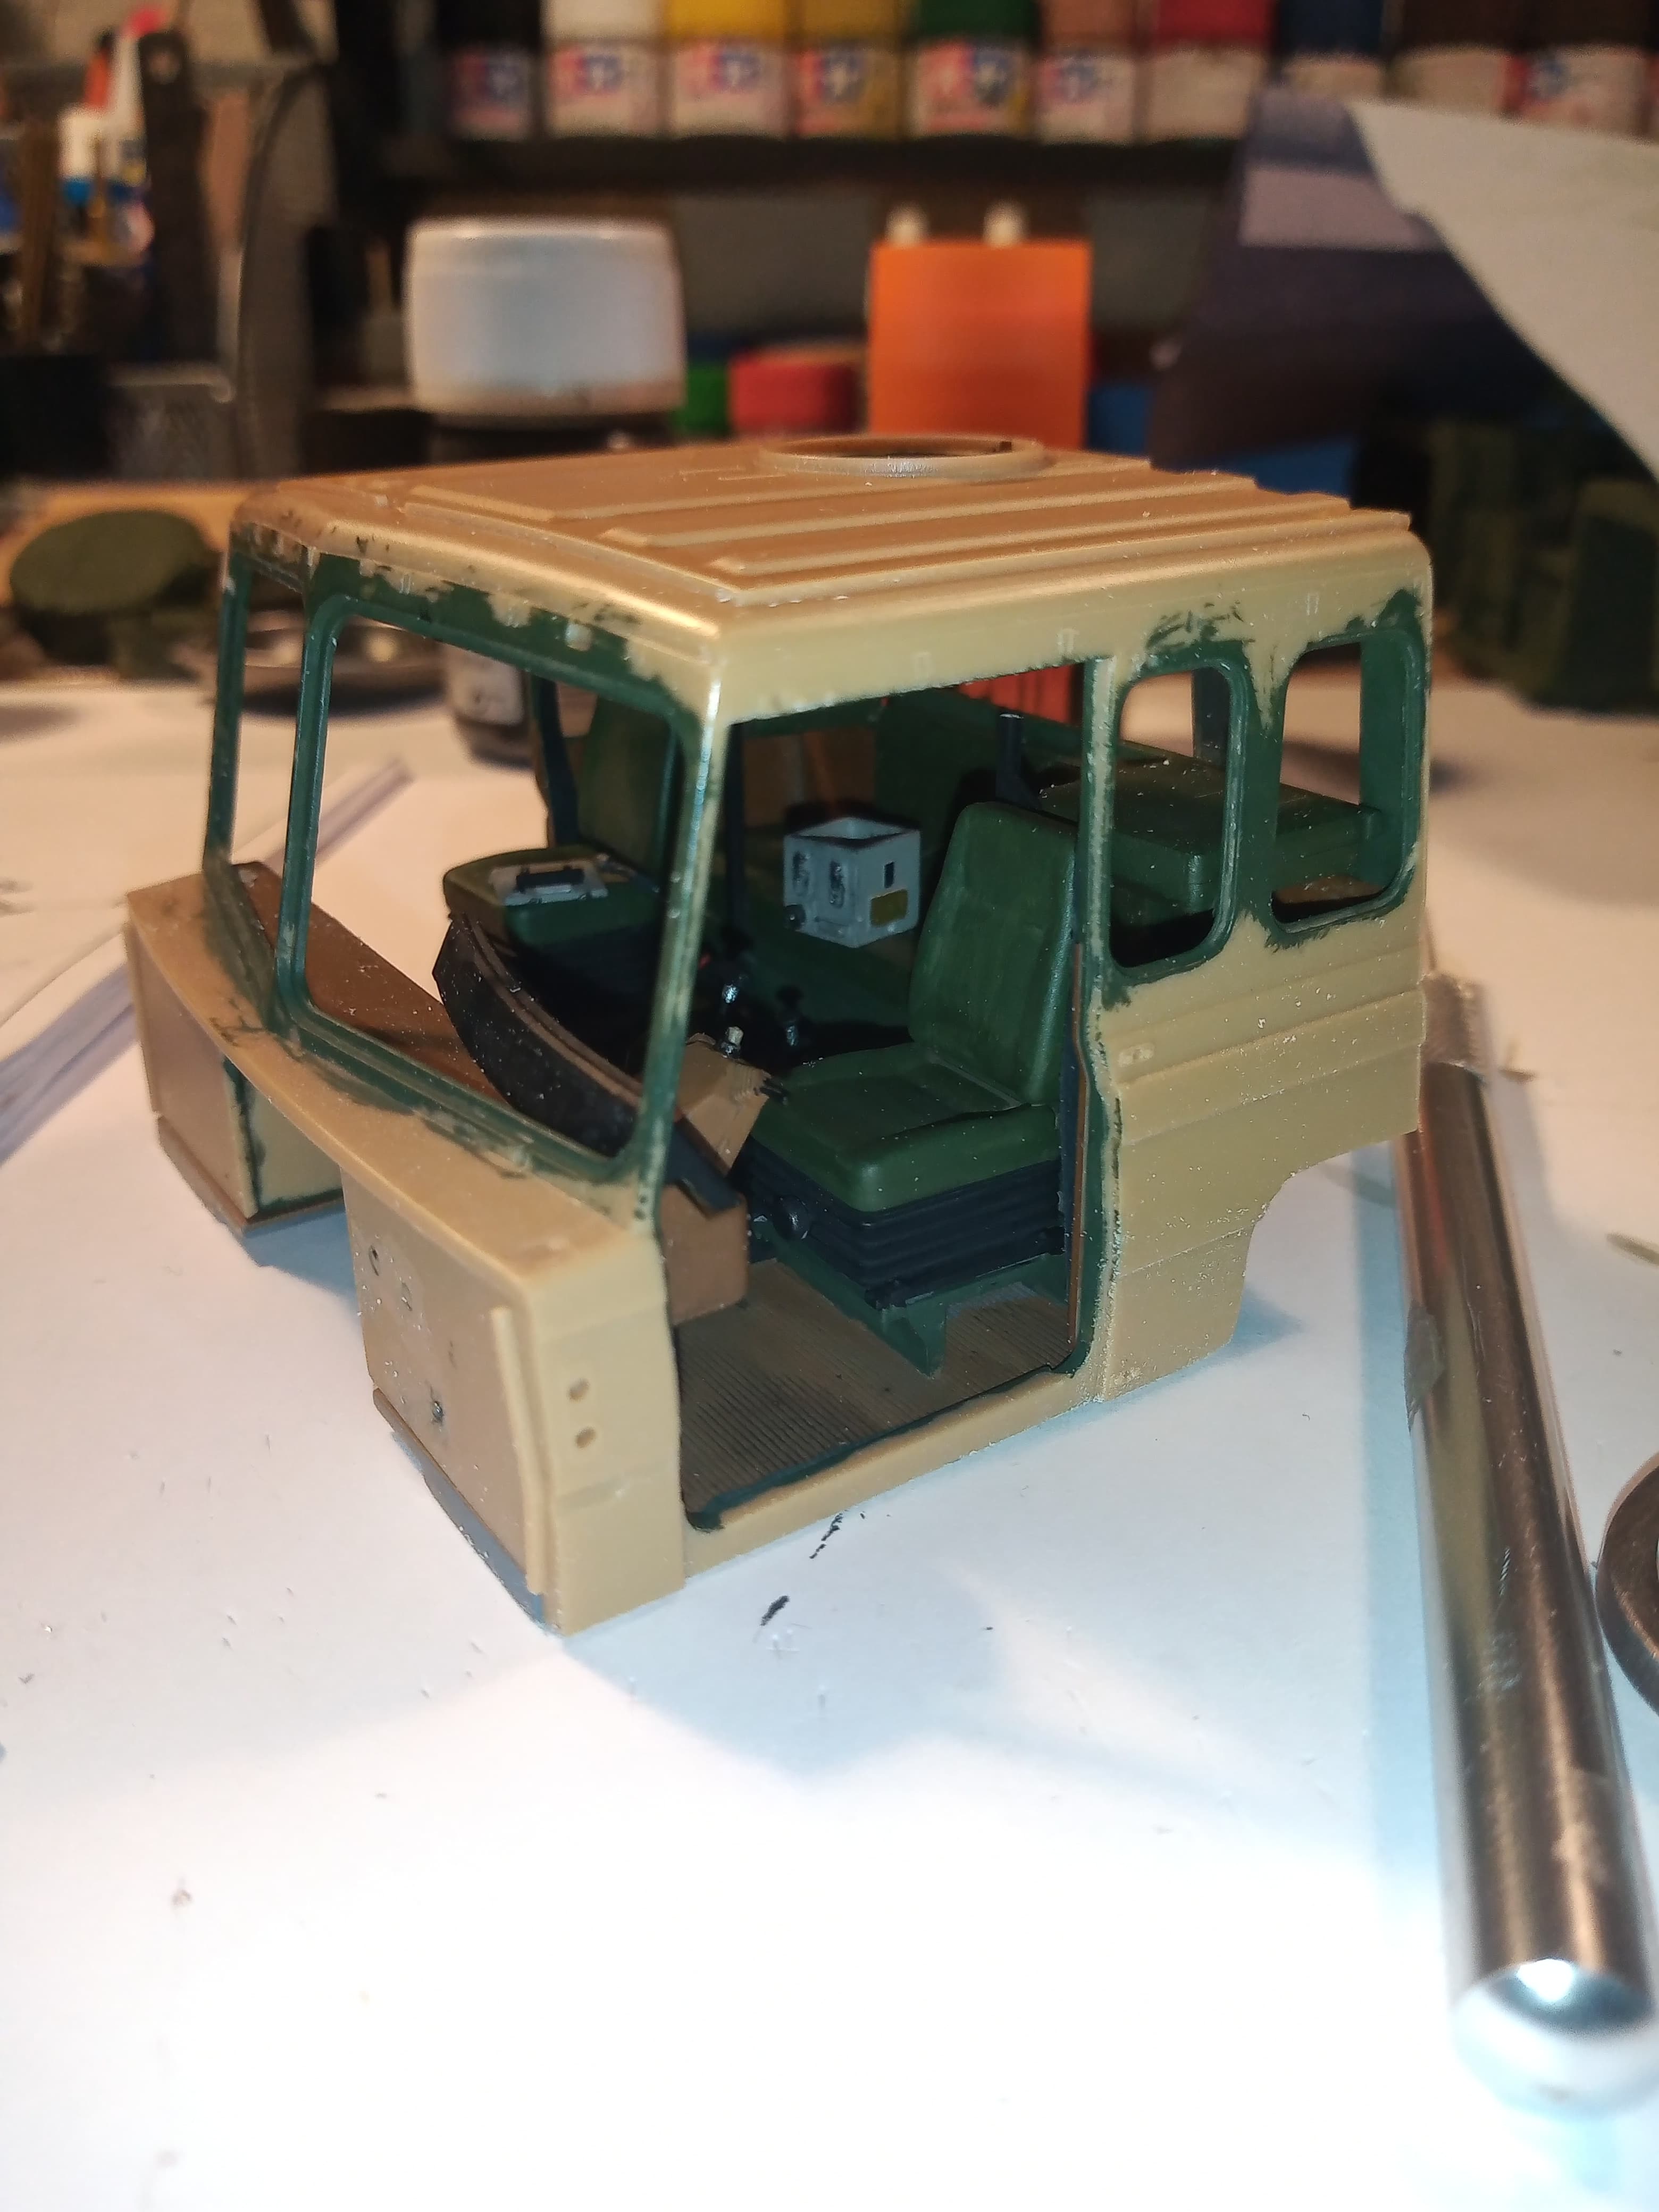
I have narrowed the issue down to the position of the upper 2 dropped bunk sections… I must of inadvertently pushed them down when securing them just a bit to much as even with all the sanding I did yesterday it wasn’t quite enough …They must be resting against the lower bunk when it’s all together… The clamp has helped and it’s almost all good … Once dry, and the cab is on the chassis, you won’t notice … Hey ho … Lesson learned…
A few internal areas need a spot of paint repair and any gaps that opened slightly in a couple of areas will be filled with super glue gel, but luckily they will remain out of sight.
Belatedly, I realise that some (probably all) will not know what I’m blathering on about. My “Hitched” model will be a Land Rover and trailer unloading outside the utility entrance of the Joint Operations Centre Maastricht. This was an underground complex in the vicinity of, well, Maastricht. A couple of pics here to reinforce why I’m dabbling with cork bark to get a rocky/sandstone effect:
It is rough, and the green surrounding it needs a bit of touch up. Once that’s done I will start rusting up the exhaust to a pretty high level.
Most of the images I have seen of the Commander exhaust are a base silver, then really rusty over that… I have seen a few painted green, but the silver underneath will stand out more.
Next on the list after the exhaust painting will be cab doors, then fitting the cab glass and masking all that up and adding some external cab parts.