I belatedly realised that my second Belgian figure - converted from a Tamiya Brit stretcher bearer - did not have sufficient boot laces; I had hoped to hide it all beneath a couple of layers of thick paint, but it was just too apparent that they were not there. So, I produced some extra thin stretched sprue and set too, and what a chore it is!
Here’s a pic of some done, with the lower lengths still in position prior to trimming:
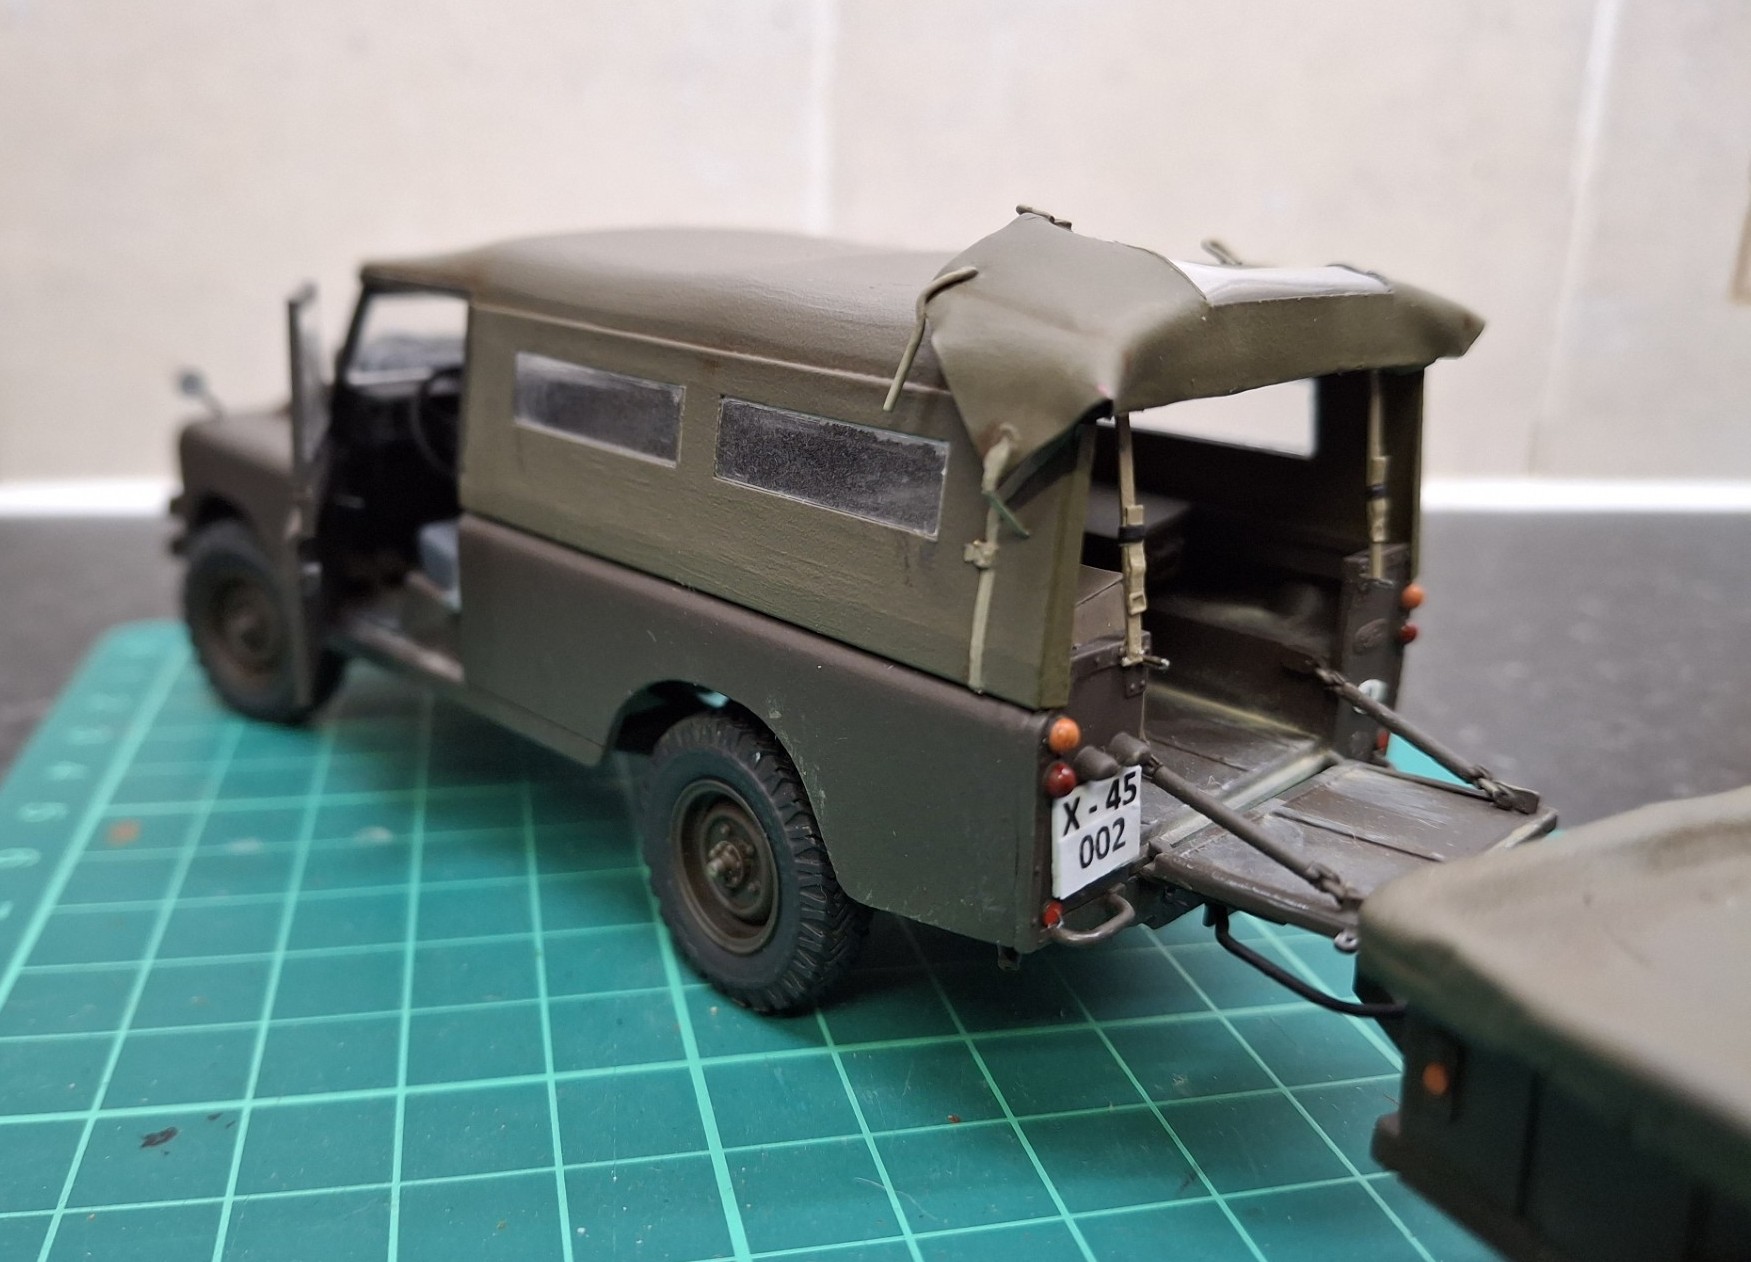
At last I’ve finished the figure of yours truly (me folks, back in 1977); just to recap on this somewhat protracted project, I will be depicted as unloading from this vehicle:
L to R: Moi, Belgian MP from the Joint Provost Company, German Major from one of the Staff Divisions, WRAC soldier (reinforcement from HQ BAOR), Belgian JNCO from HQ NORTHAG Central Registry
Winch controls, worklights, air horn, winch davit and spare wheel set in place. Added the MMF wheel winch as it’s bigger than the Trumpy offering,(like the wheel/tires). Started on the roof marker lights but dinner called!.
My joy is unbounded! I’ve discovered in my usual slow blundering way, the source of (most of) that missing 2 feet on my M916 frame. It actually extends to the back to accommodate the trailer-ramp roller assembly.
Dealing with (yet) another difference between the M915 and its big brother, the size and profile of the rear ramps and 5th wheel platform. Also got the correct rear crossmember in place
Something was nagging away at me reference my figures; then it hit me - security passes! No one got in or out of the HQ without one - issued for the duration of the exercise, in this case part of the Wintex/Cimex series. Anyway, whilst I couldn’t remember what the actual passes were like, I do remember the general construct and that they were issued to individuals in a small green plastic holder, which buttoned on to, well, buttons.
The WRAC girl seen here has affixed her pass to the small badge on her left breast; it was customary for WRAC soldiers to sport a smaller version of the prime badge of their trade group by utilising a collar dog (badge) from their male counterparts’ uniform; so, in this case (though unrecognisable in this scale), as say a female clerk, she will wear the collar badge of the Royal Army Ordnance Corps, as they were responsible for the Staff Clerk trade. Girls attached to say, postal units, would wear the Royal Engineers badge, girls attached to Royal Artillery units ditto, and so on.
Also, the trailer and some of the kit, including personal weapons (Sub Machine Guns in this case); I’m particularly pleased at my efforts in scratching the Belgian Vigneron:
Well, that’s it then; a lot of effort for just a Land Rover and trailer, but then, I did much more than that just to display a Munga! It also took far longer than it should have – not least as for some strange reason – I started messing around with 1/72 aircraft.
Anyway, here we have it. If anyone wonders what the hell it is all about then I will explain shortly in some detail under a separate thread “NATO Land Rover at Joint Operations Centre Maastricht”.
Started to correct the ‘6’s front bumper.(the MMF kit didn’t include one ). Unlike the smaller M915, the bigger ”9 series” trucks don’t have cut outs in the bumper (maybe for fog or driving lights?) So, it was a case of slide and glue small pieces of plastic card behind the 2 cut outs in the bumper, then fill the main gap with Mr Surfacer 500. Tomorrow I’ll top that off with a thinner layer of same. That way I’ll be able to position the bumper codes as per images on the web.
Should have taken this step before I mounted the bumper/grille guard.
That front bumper will need more sanding today. I slapped a quick brush coat over it to see how bad it was, as I find that helps me level things out. My goodness but Mr Surfacer 500 does shrink and shrink again doesn’t it.
Some of the bodywork has Vallejo desert dust wash added as a WIP.