I was envisioning an Anthill Mob style of propulsion with legs running on the ground ![]()
3 Likes
Good to know. ![]()
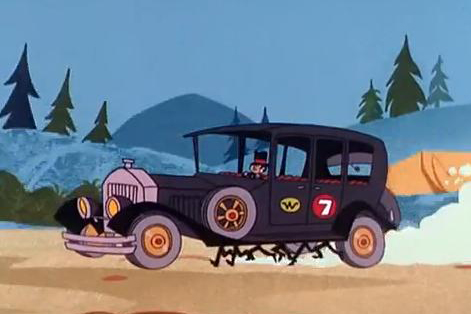
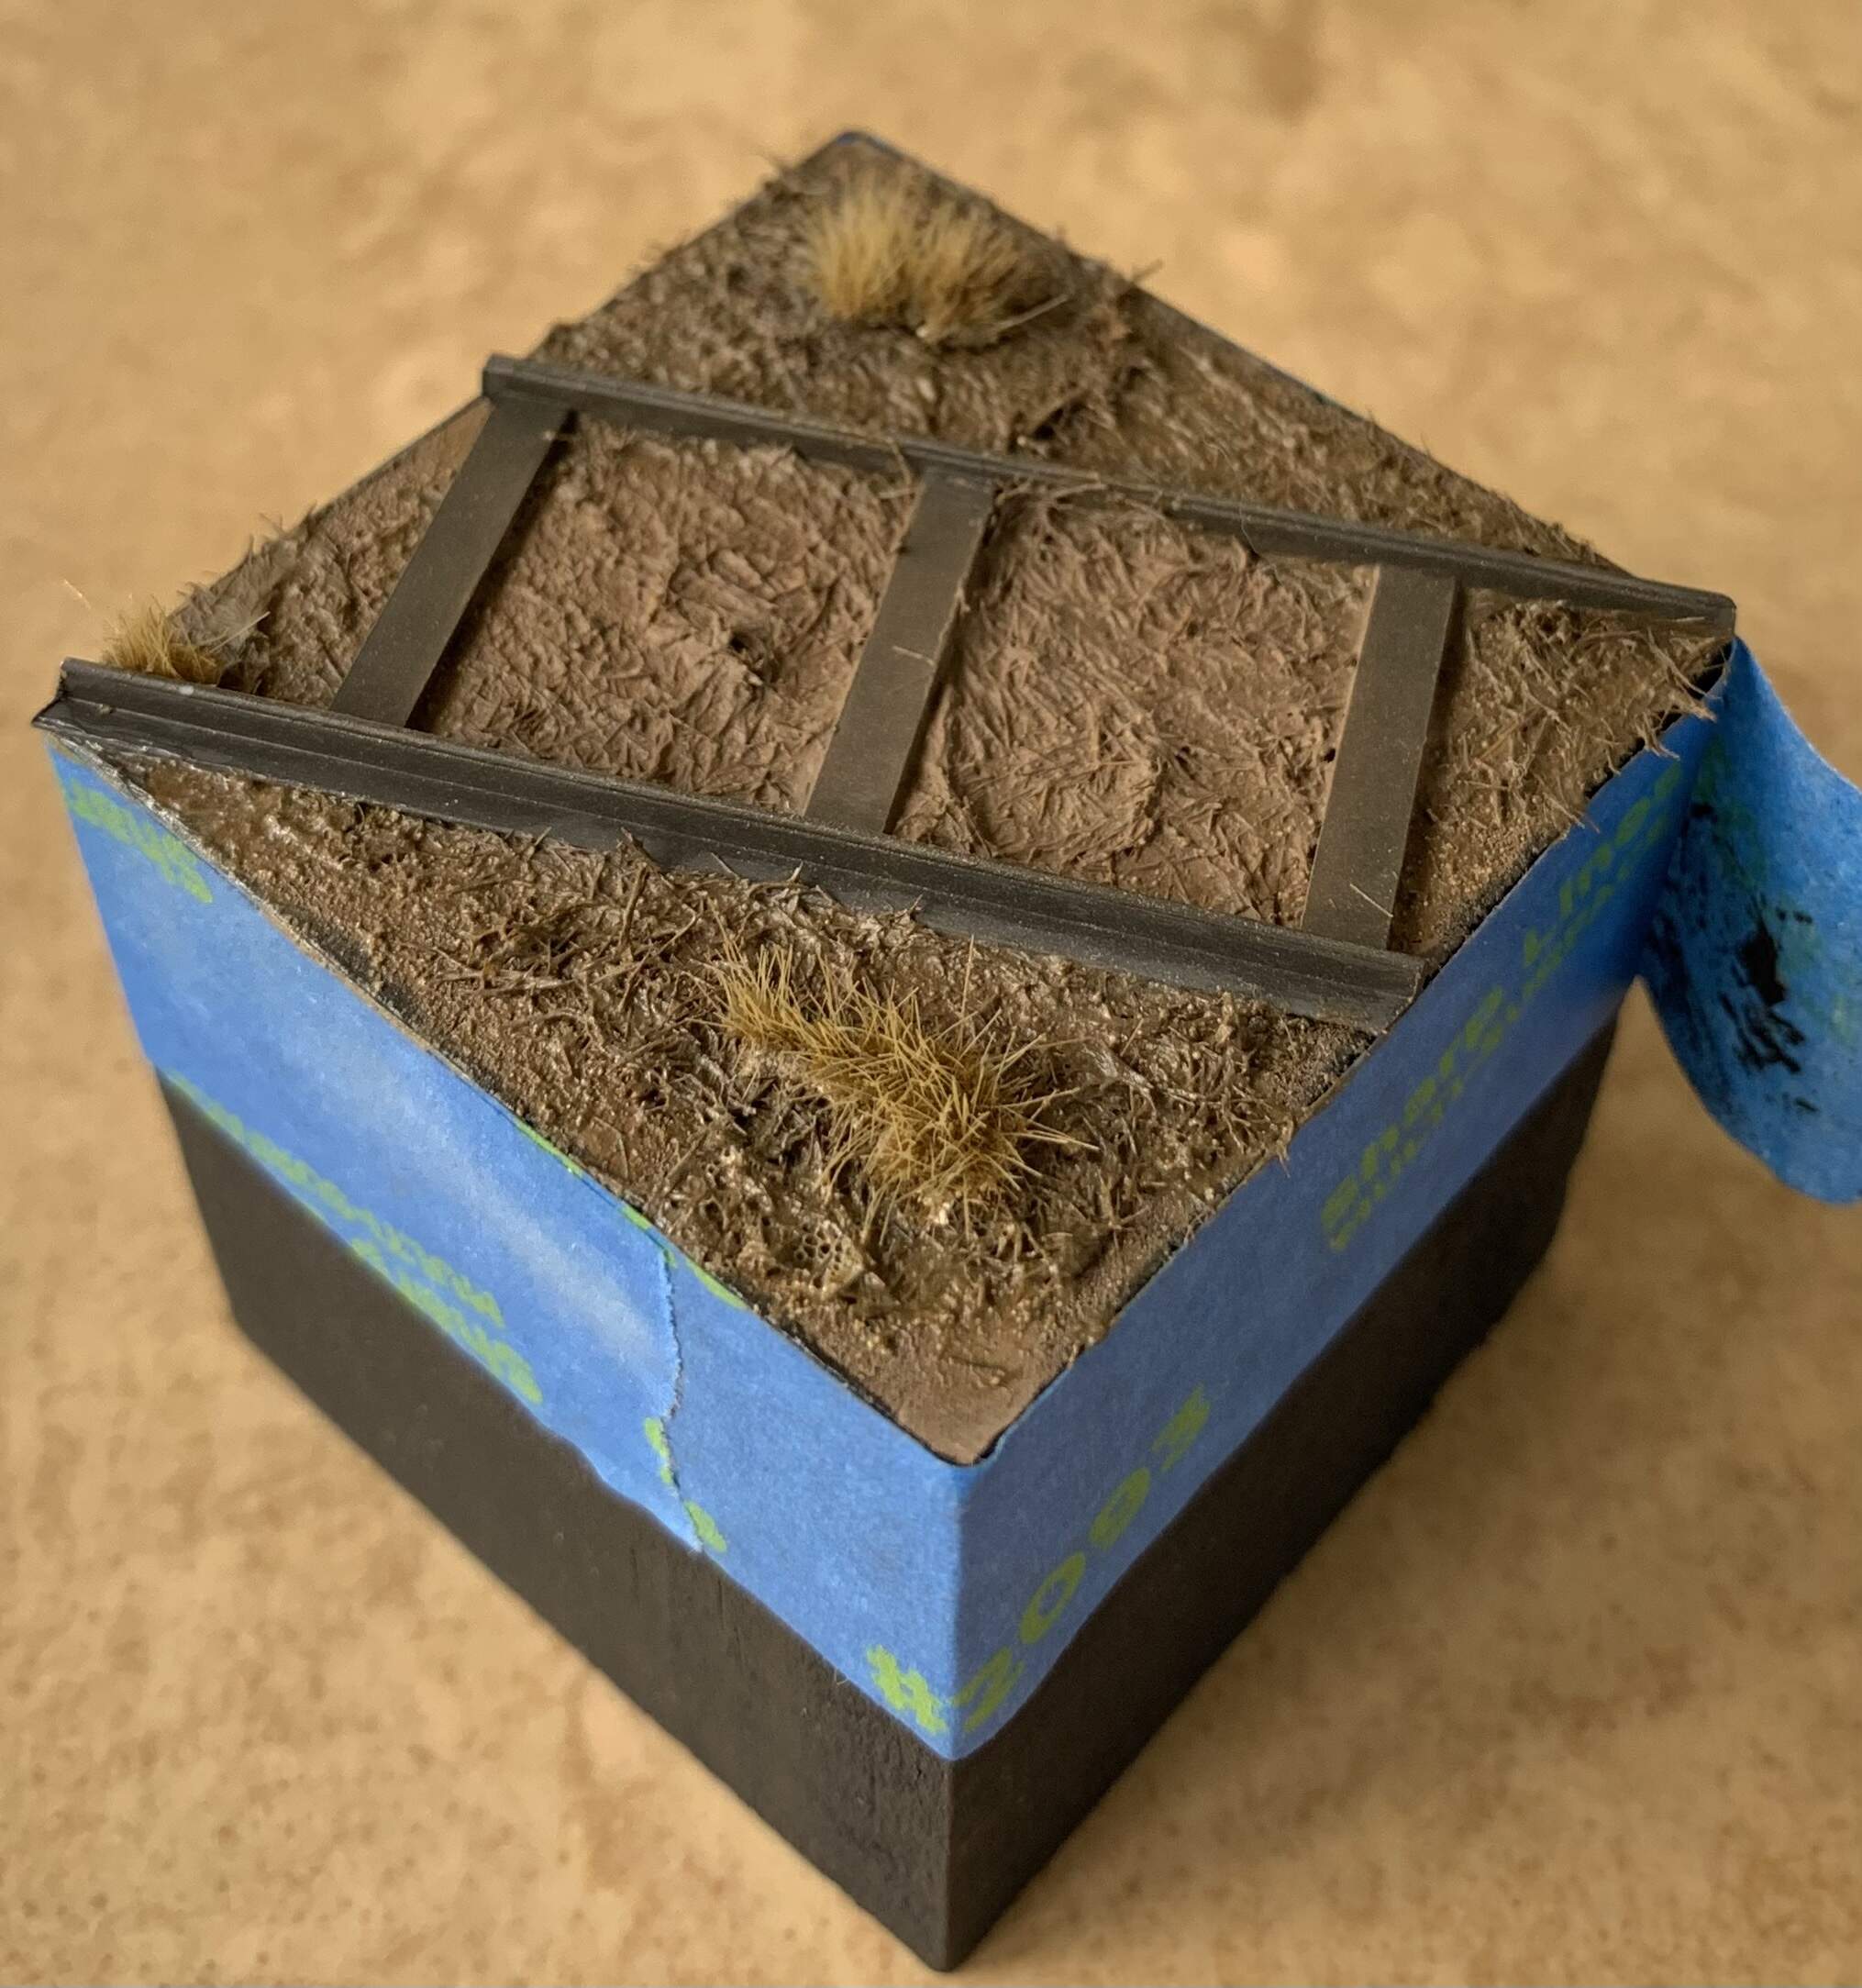
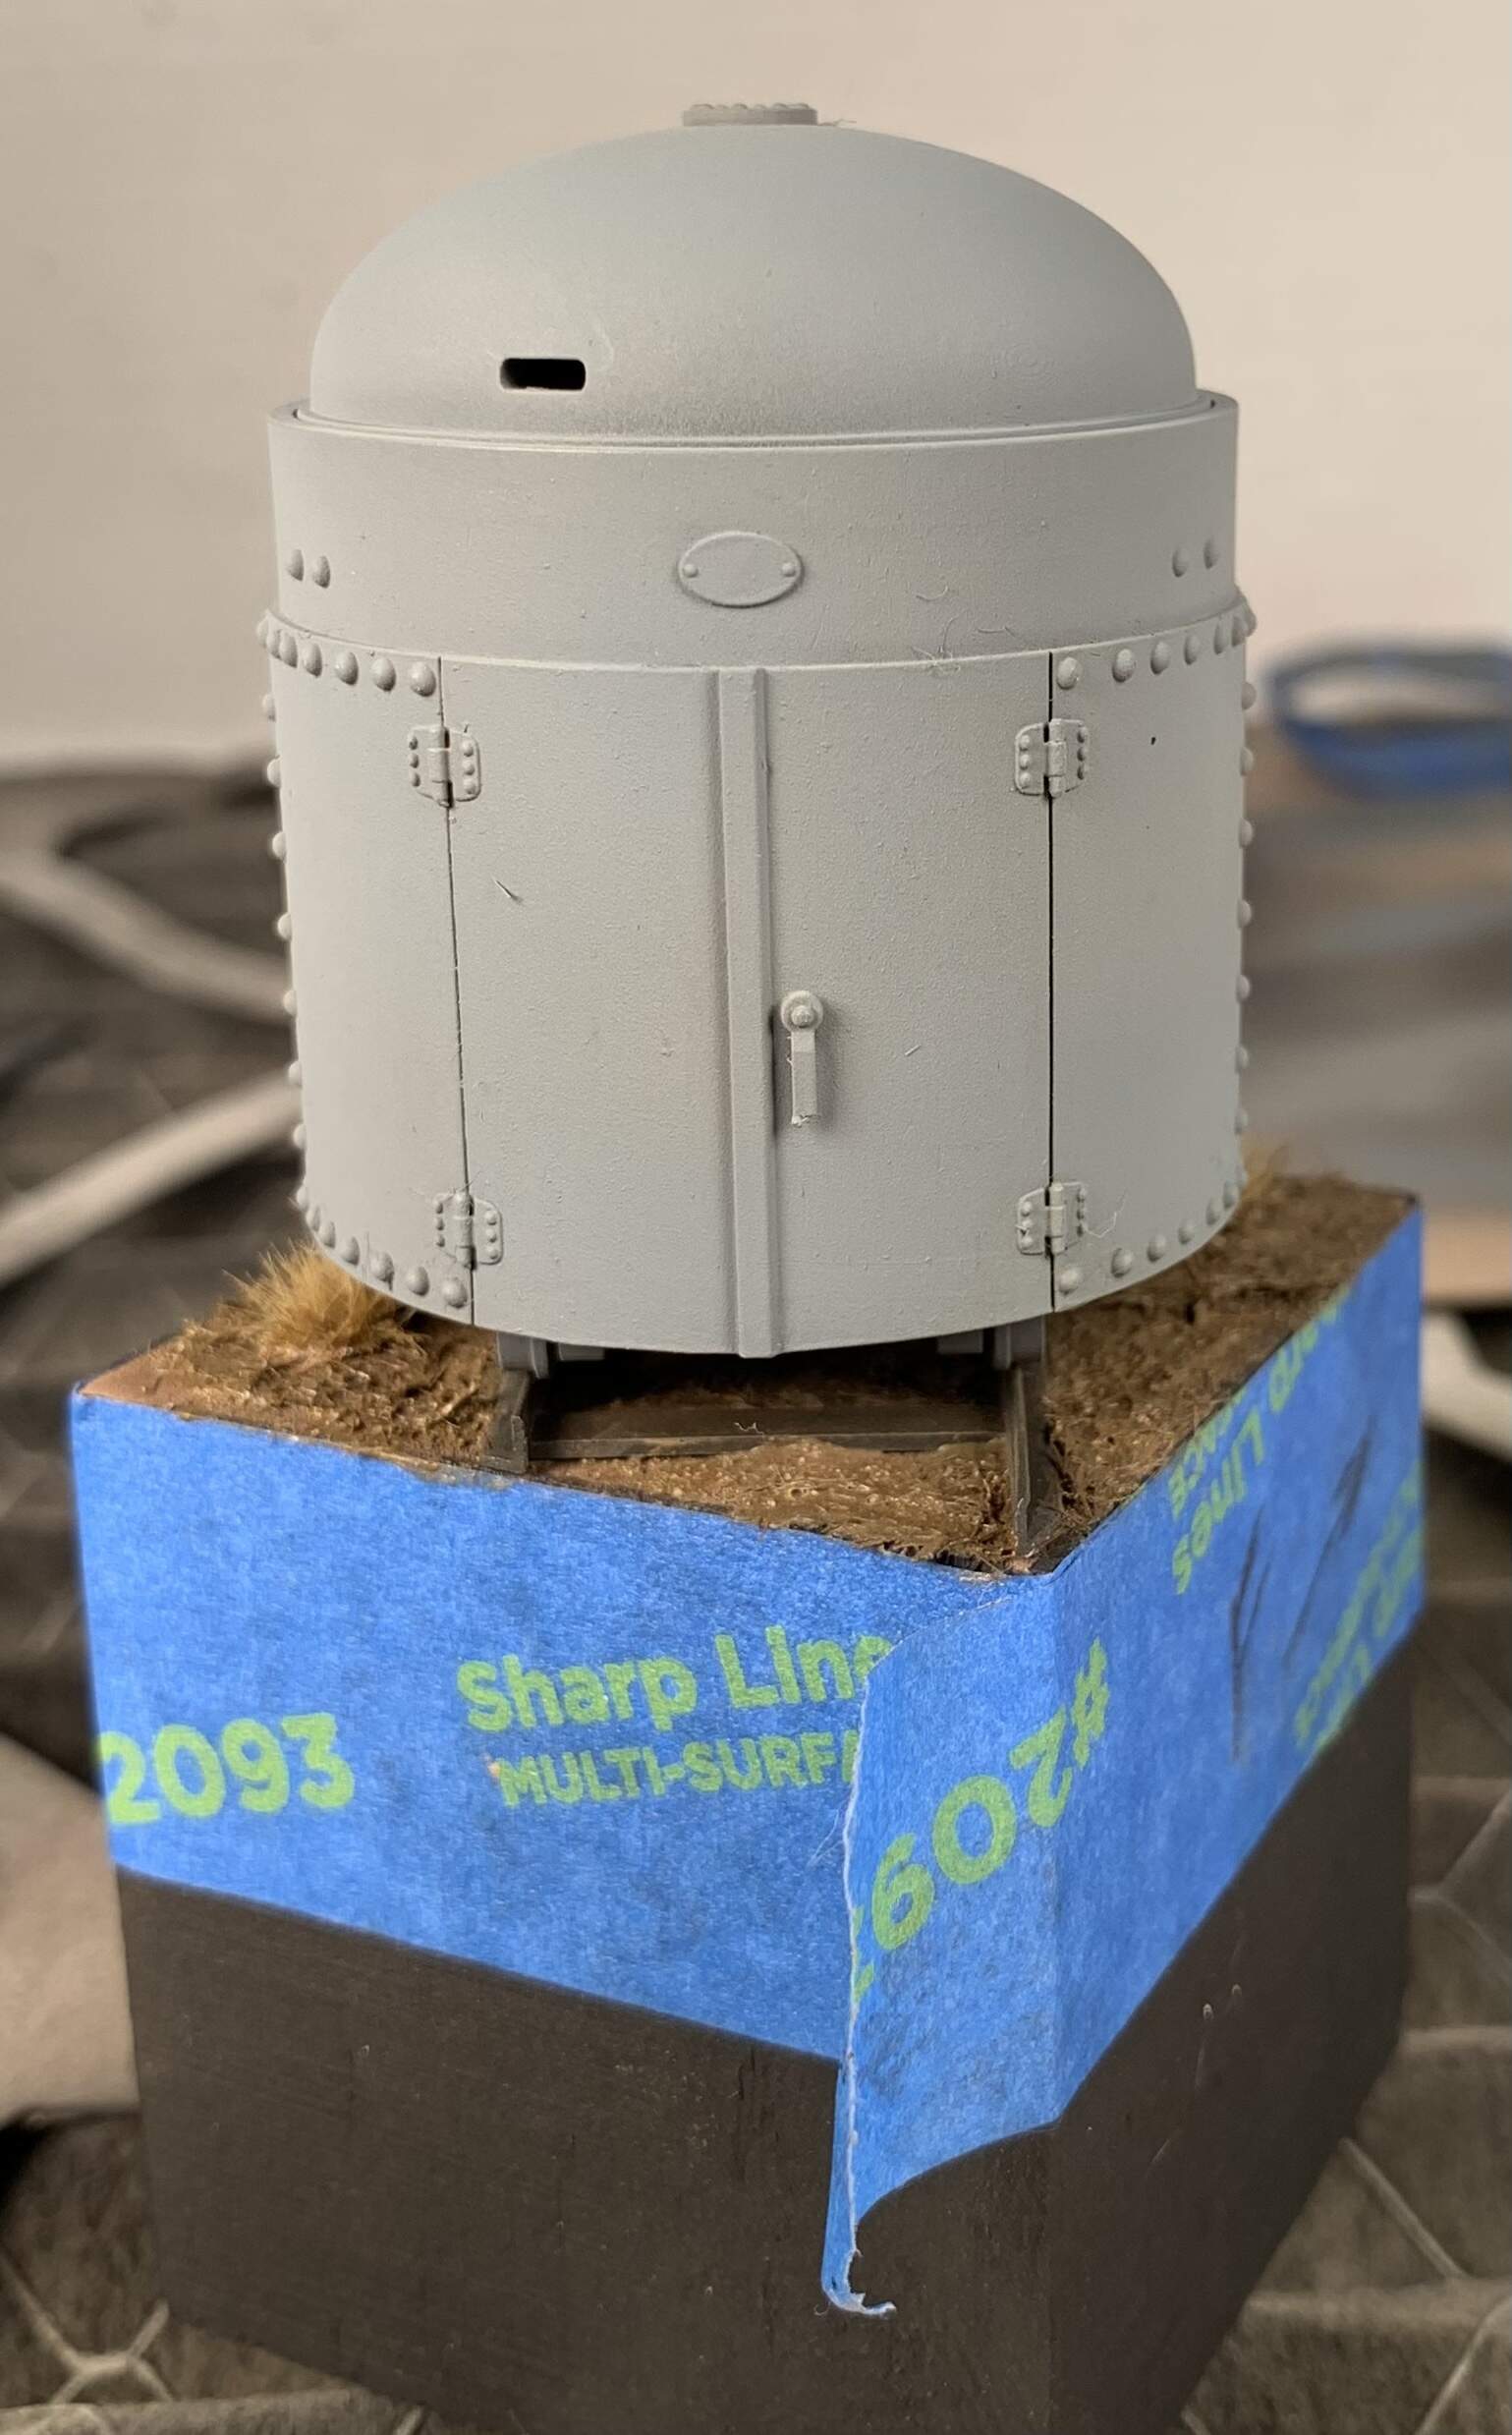
Here is where I am at today and my current plan.
Added some vegetation and more mud/grass to address some spots.
Letting that dry before I add Vallejo Splash Mud, pigments, thinned buff coat and steel color top of track, then a light new rust color in spots.
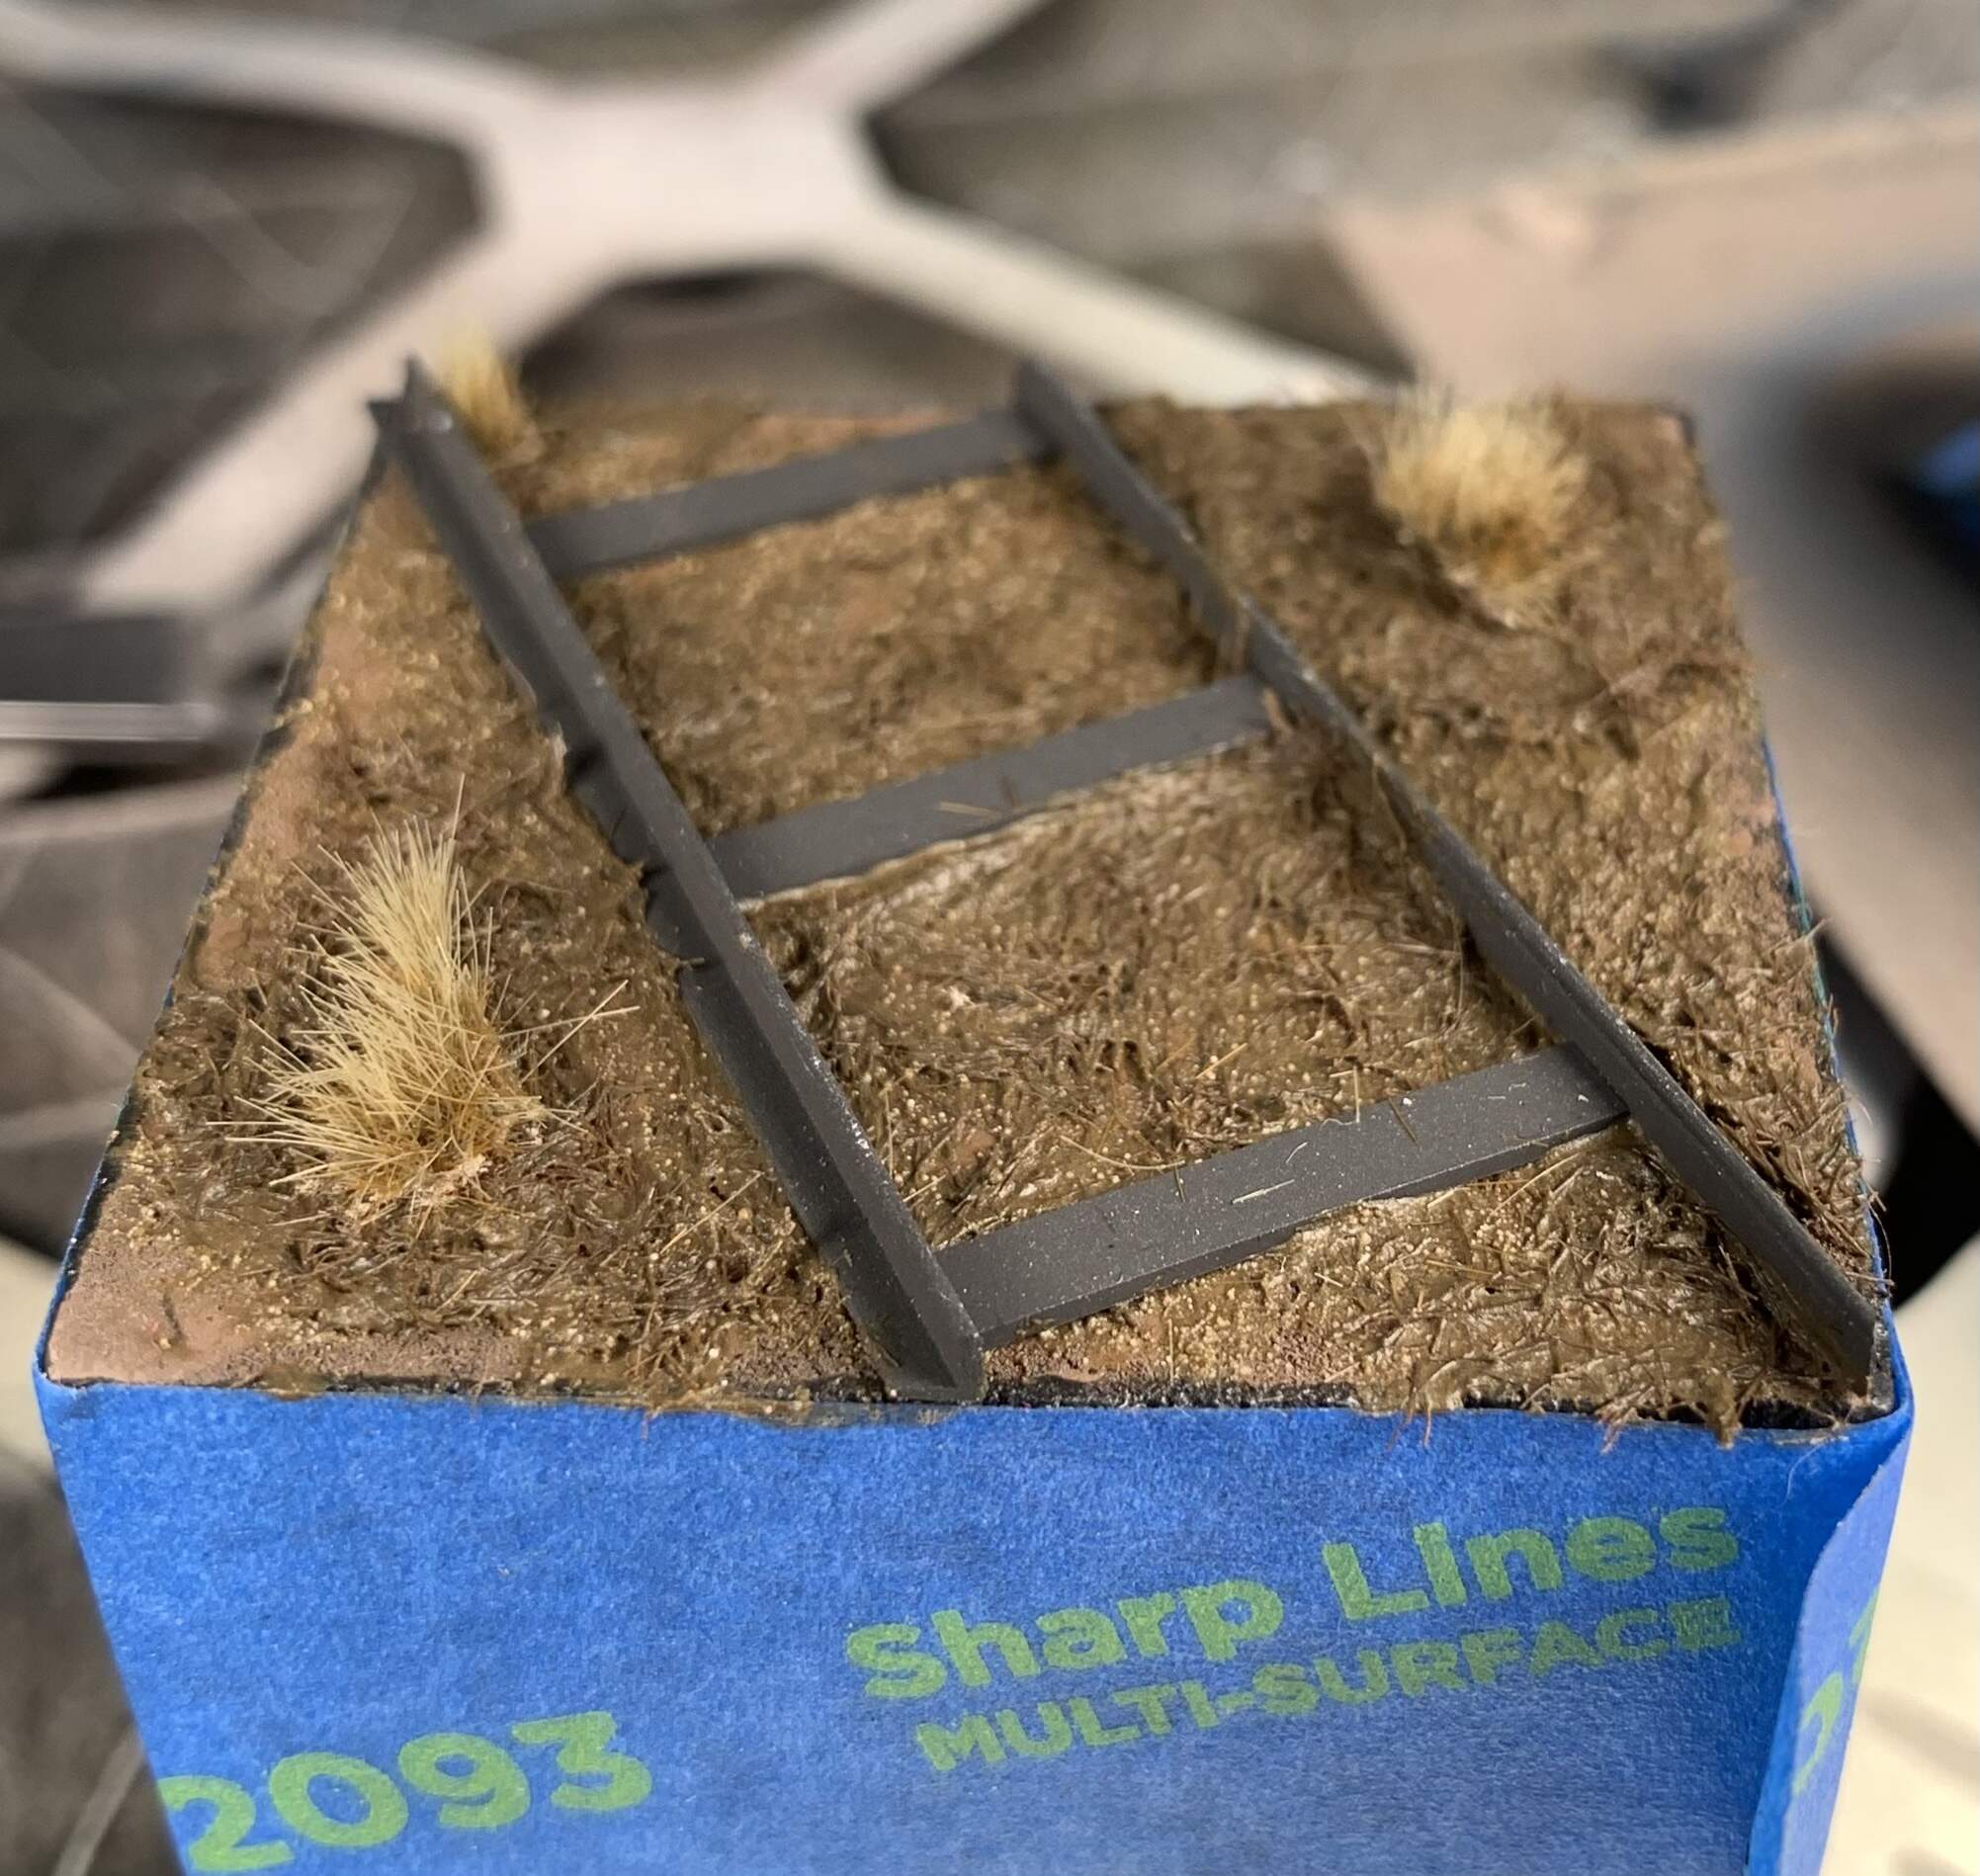
Glossed the gun in preparation for some brown panel liner, true metal old bronze on the emblem above the door, dull coat then a thinned buff sprayed along the bottom.
7 Likes
I am sure at times when removing from the carriage it looked like that. ![]()
2 Likes
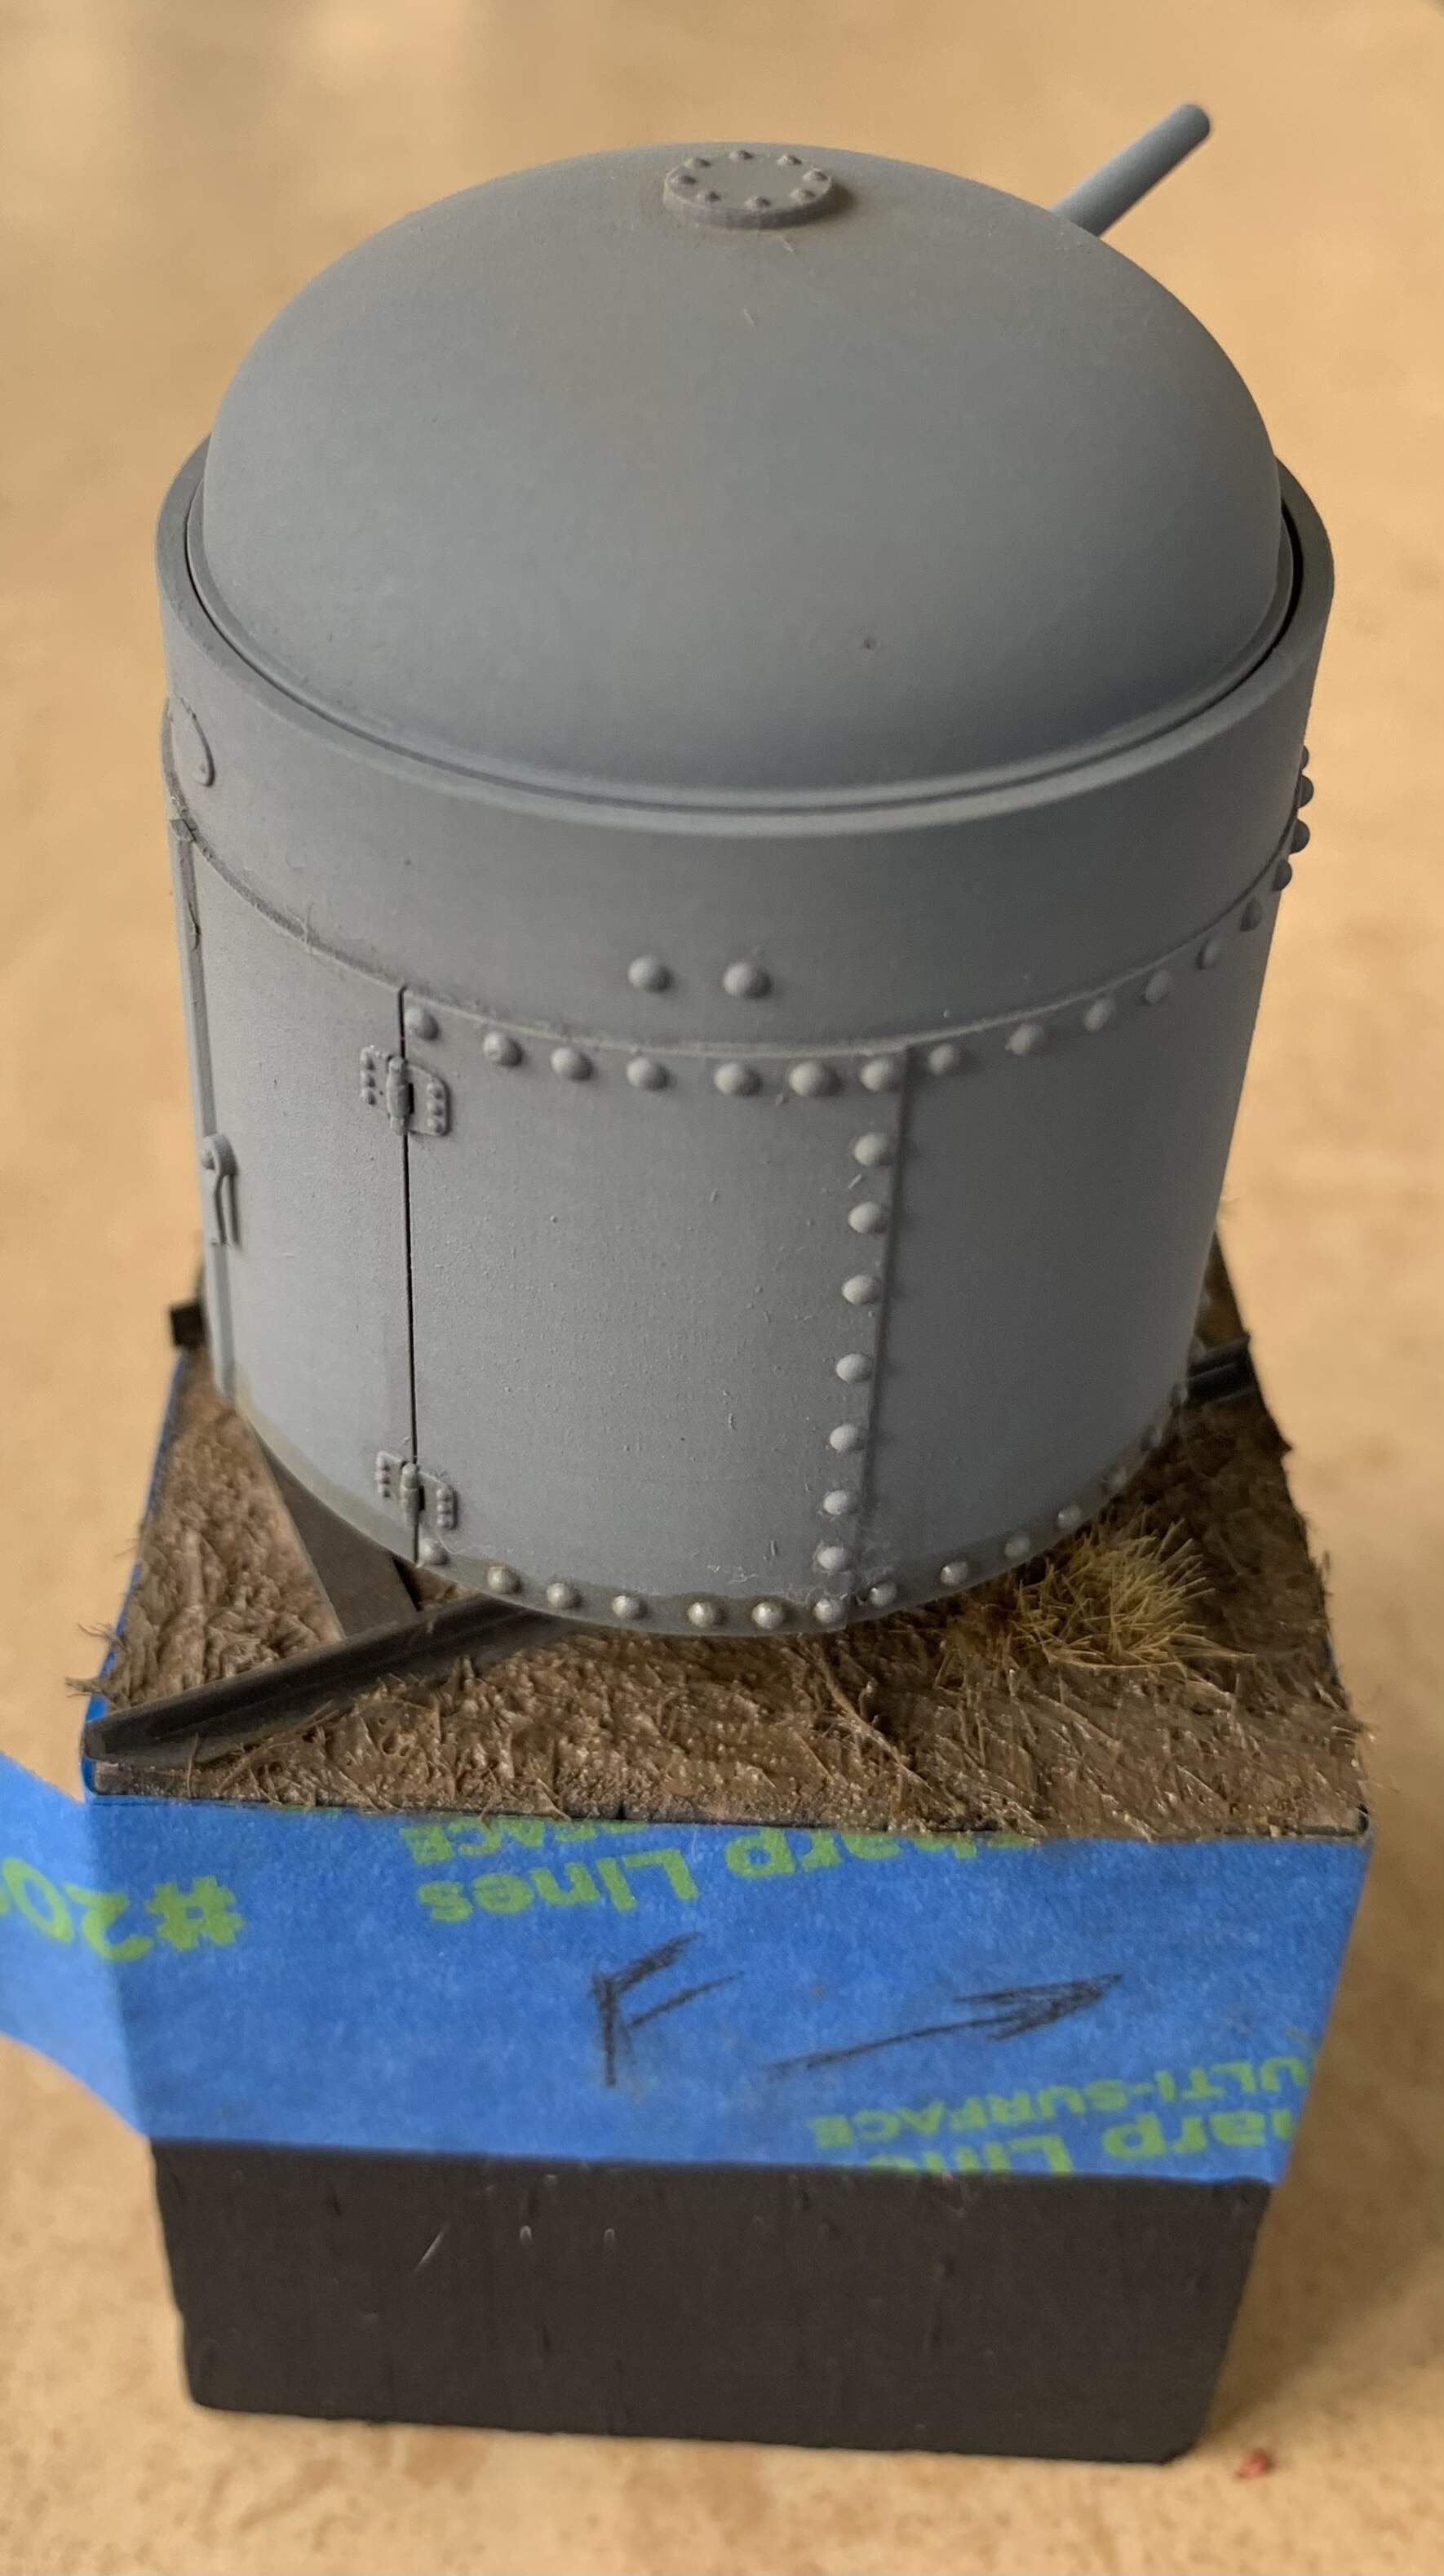
1, 2, 3, 5, 4, 6, 7, 12, 22 … Oh, don’t mind me, I’m just here to count rivets. ![]()
![]()
Looking good! ![]()
—mike
3 Likes
Count all you want and ask Venko if your correct as I don’t have enough fingers and toes to count that high. I feel bad enough covering up that detail for the emplacement.
2 Likes
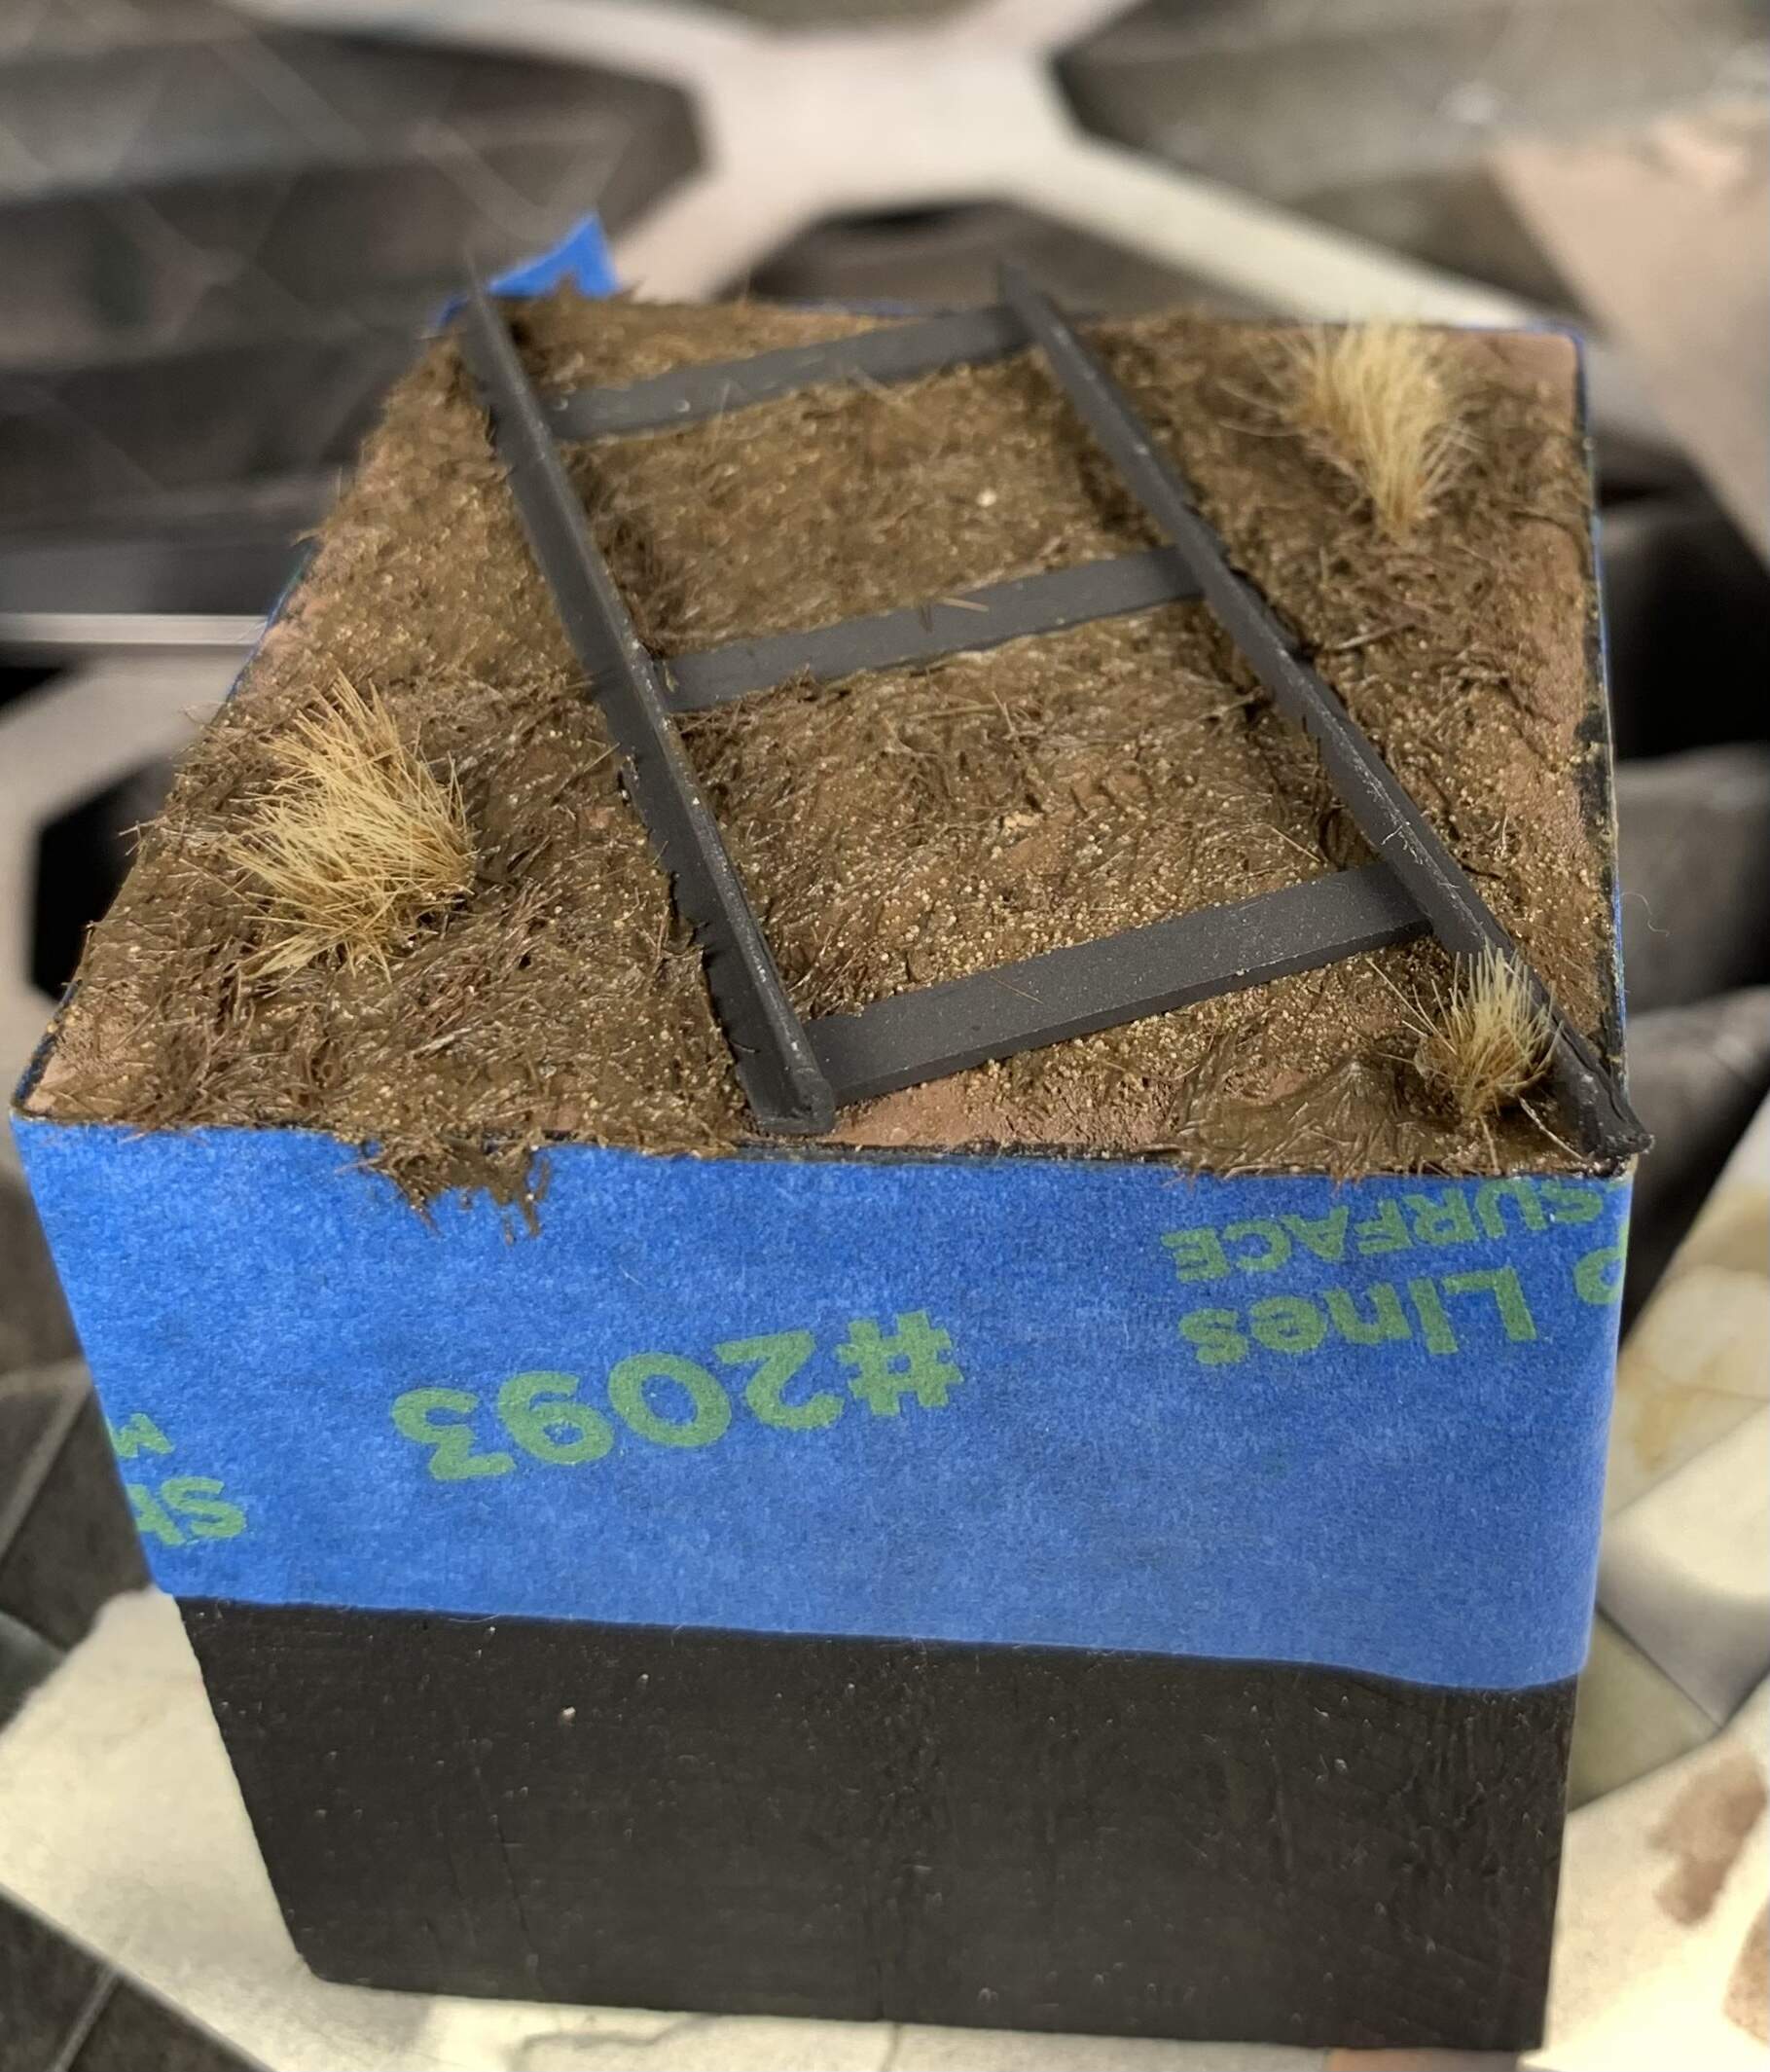
Except for the rails and a few leaves, I am going call the done. I think another light coat of buff but with my luck I will mess it up.

I don’t know why with filter/wash thing is so hard for me. Course being an idiot does help. I thought I would add water to the Vallejo product, that seemed to be fine. Using a paint cup with thinned gel gloss in it already was just dumb. ![]()
Back to the paint booth for one more try then it is what it is.
6 Likes
Glad you said that ![]()
![]() … seriously though, such a neat little build. Ground work and the base look lovely, not overdone. Great work
… seriously though, such a neat little build. Ground work and the base look lovely, not overdone. Great work ![]()
3 Likes
Walked into that one, doh!
Thanks John.
2 Likes
Now that you’ve walked into it, please be seated and commence pedaling! ![]()
![]()
2 Likes
What an interesting subject, looks great, Ryan!
2 Likes
Thank Steve.
1 Like
Nearly there, my friend. The light in the end is visible…
2 Likes
Thanks Erwin……unfortunately it feels the light is a train and lights out. ![]()
![]()
1 Like
You are too gloomy!I think you are once again your own worst critic.
3 Likes
Maybe….but I think we can all agree the weathering on the bottom row is not right and at best case not consistent with the rest of turret.
1 Like
You could try some mud splashes and pigment dusting to get an more coherent look with the base?
1 Like
Not a bad idea but not an option.
1 Like
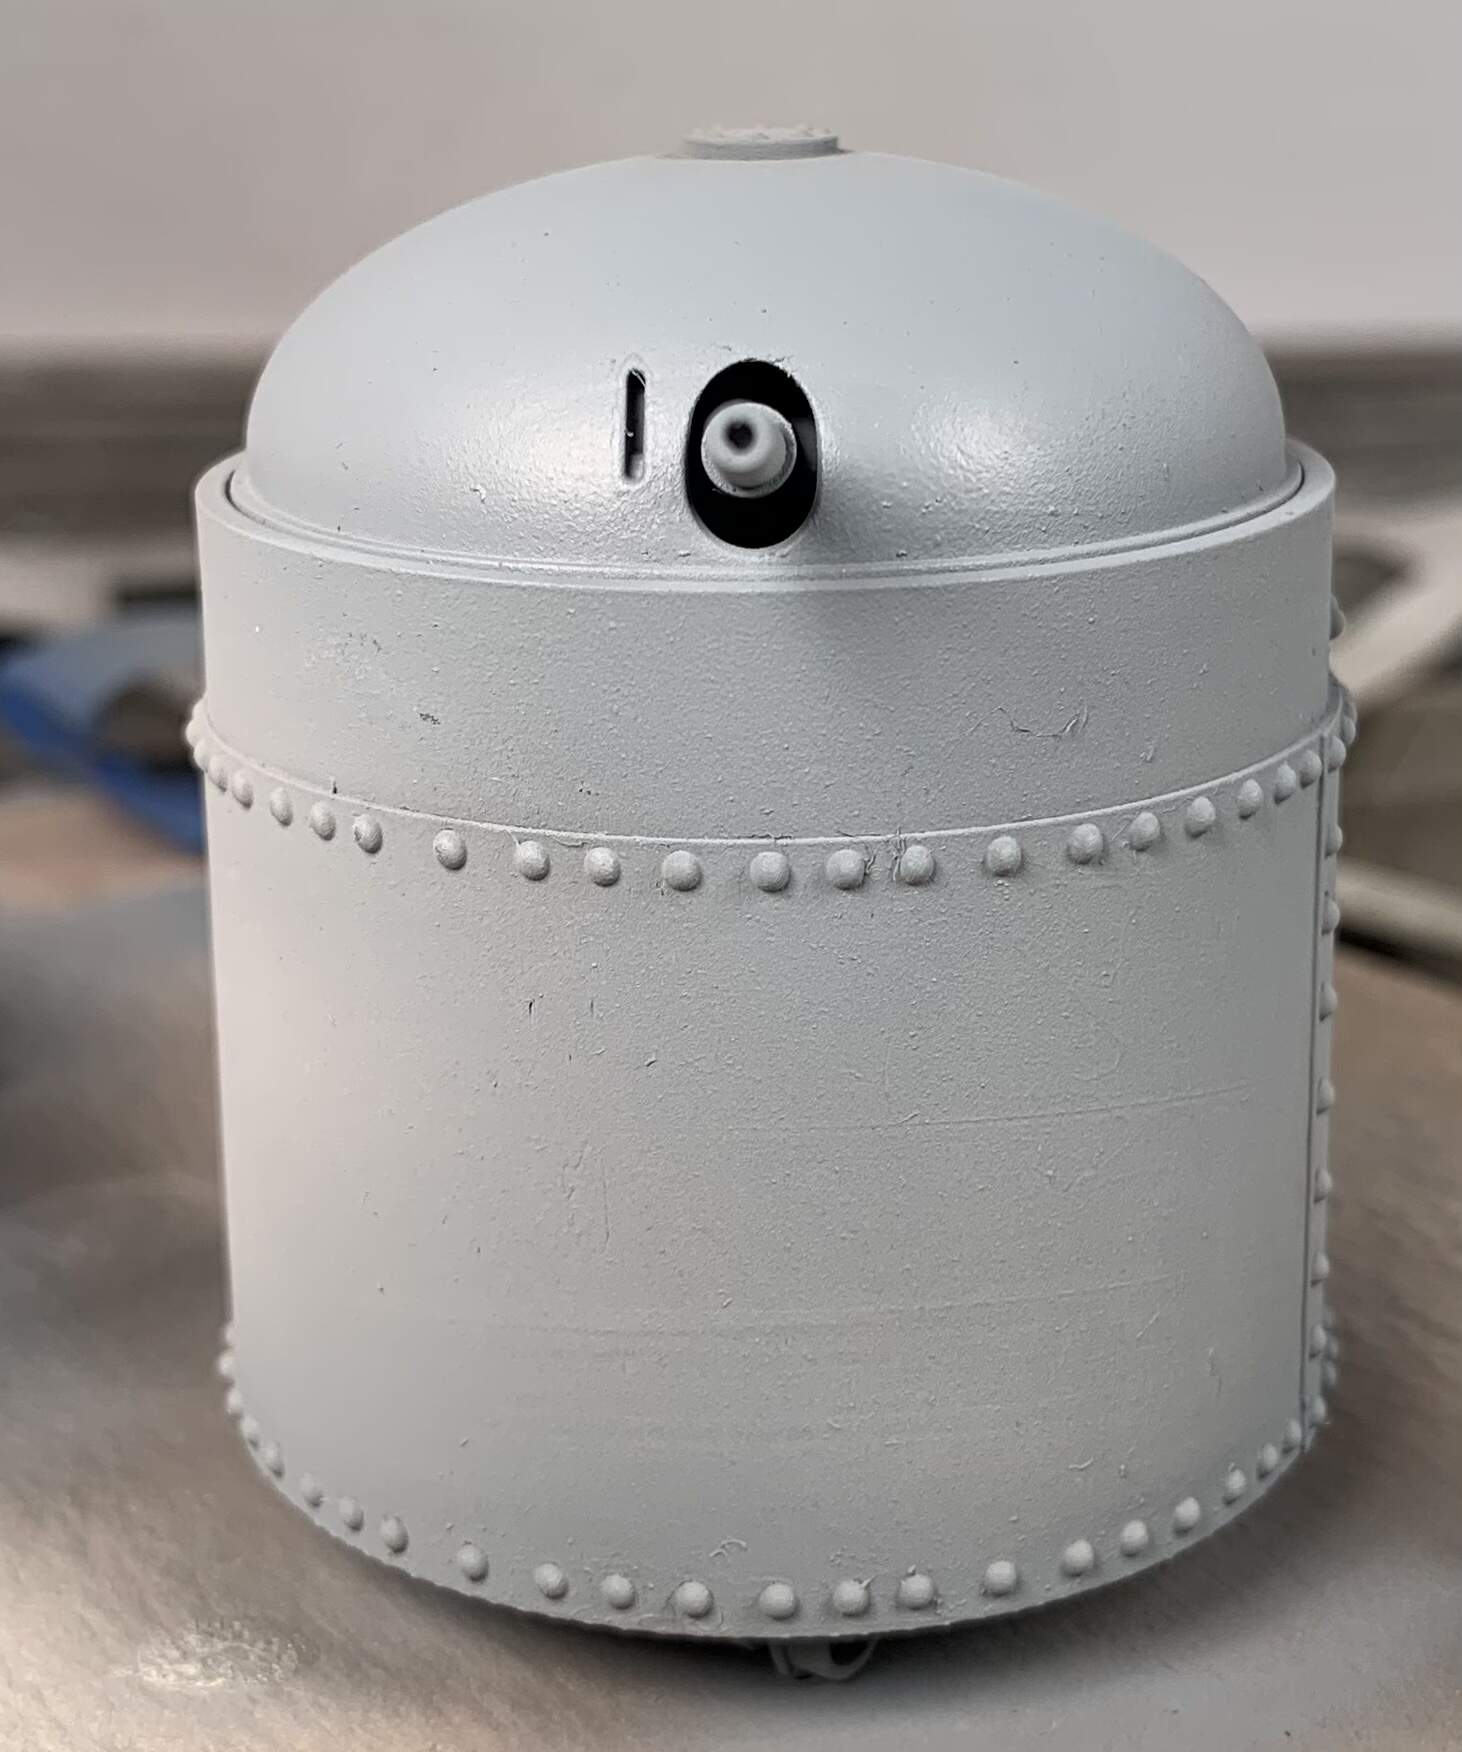
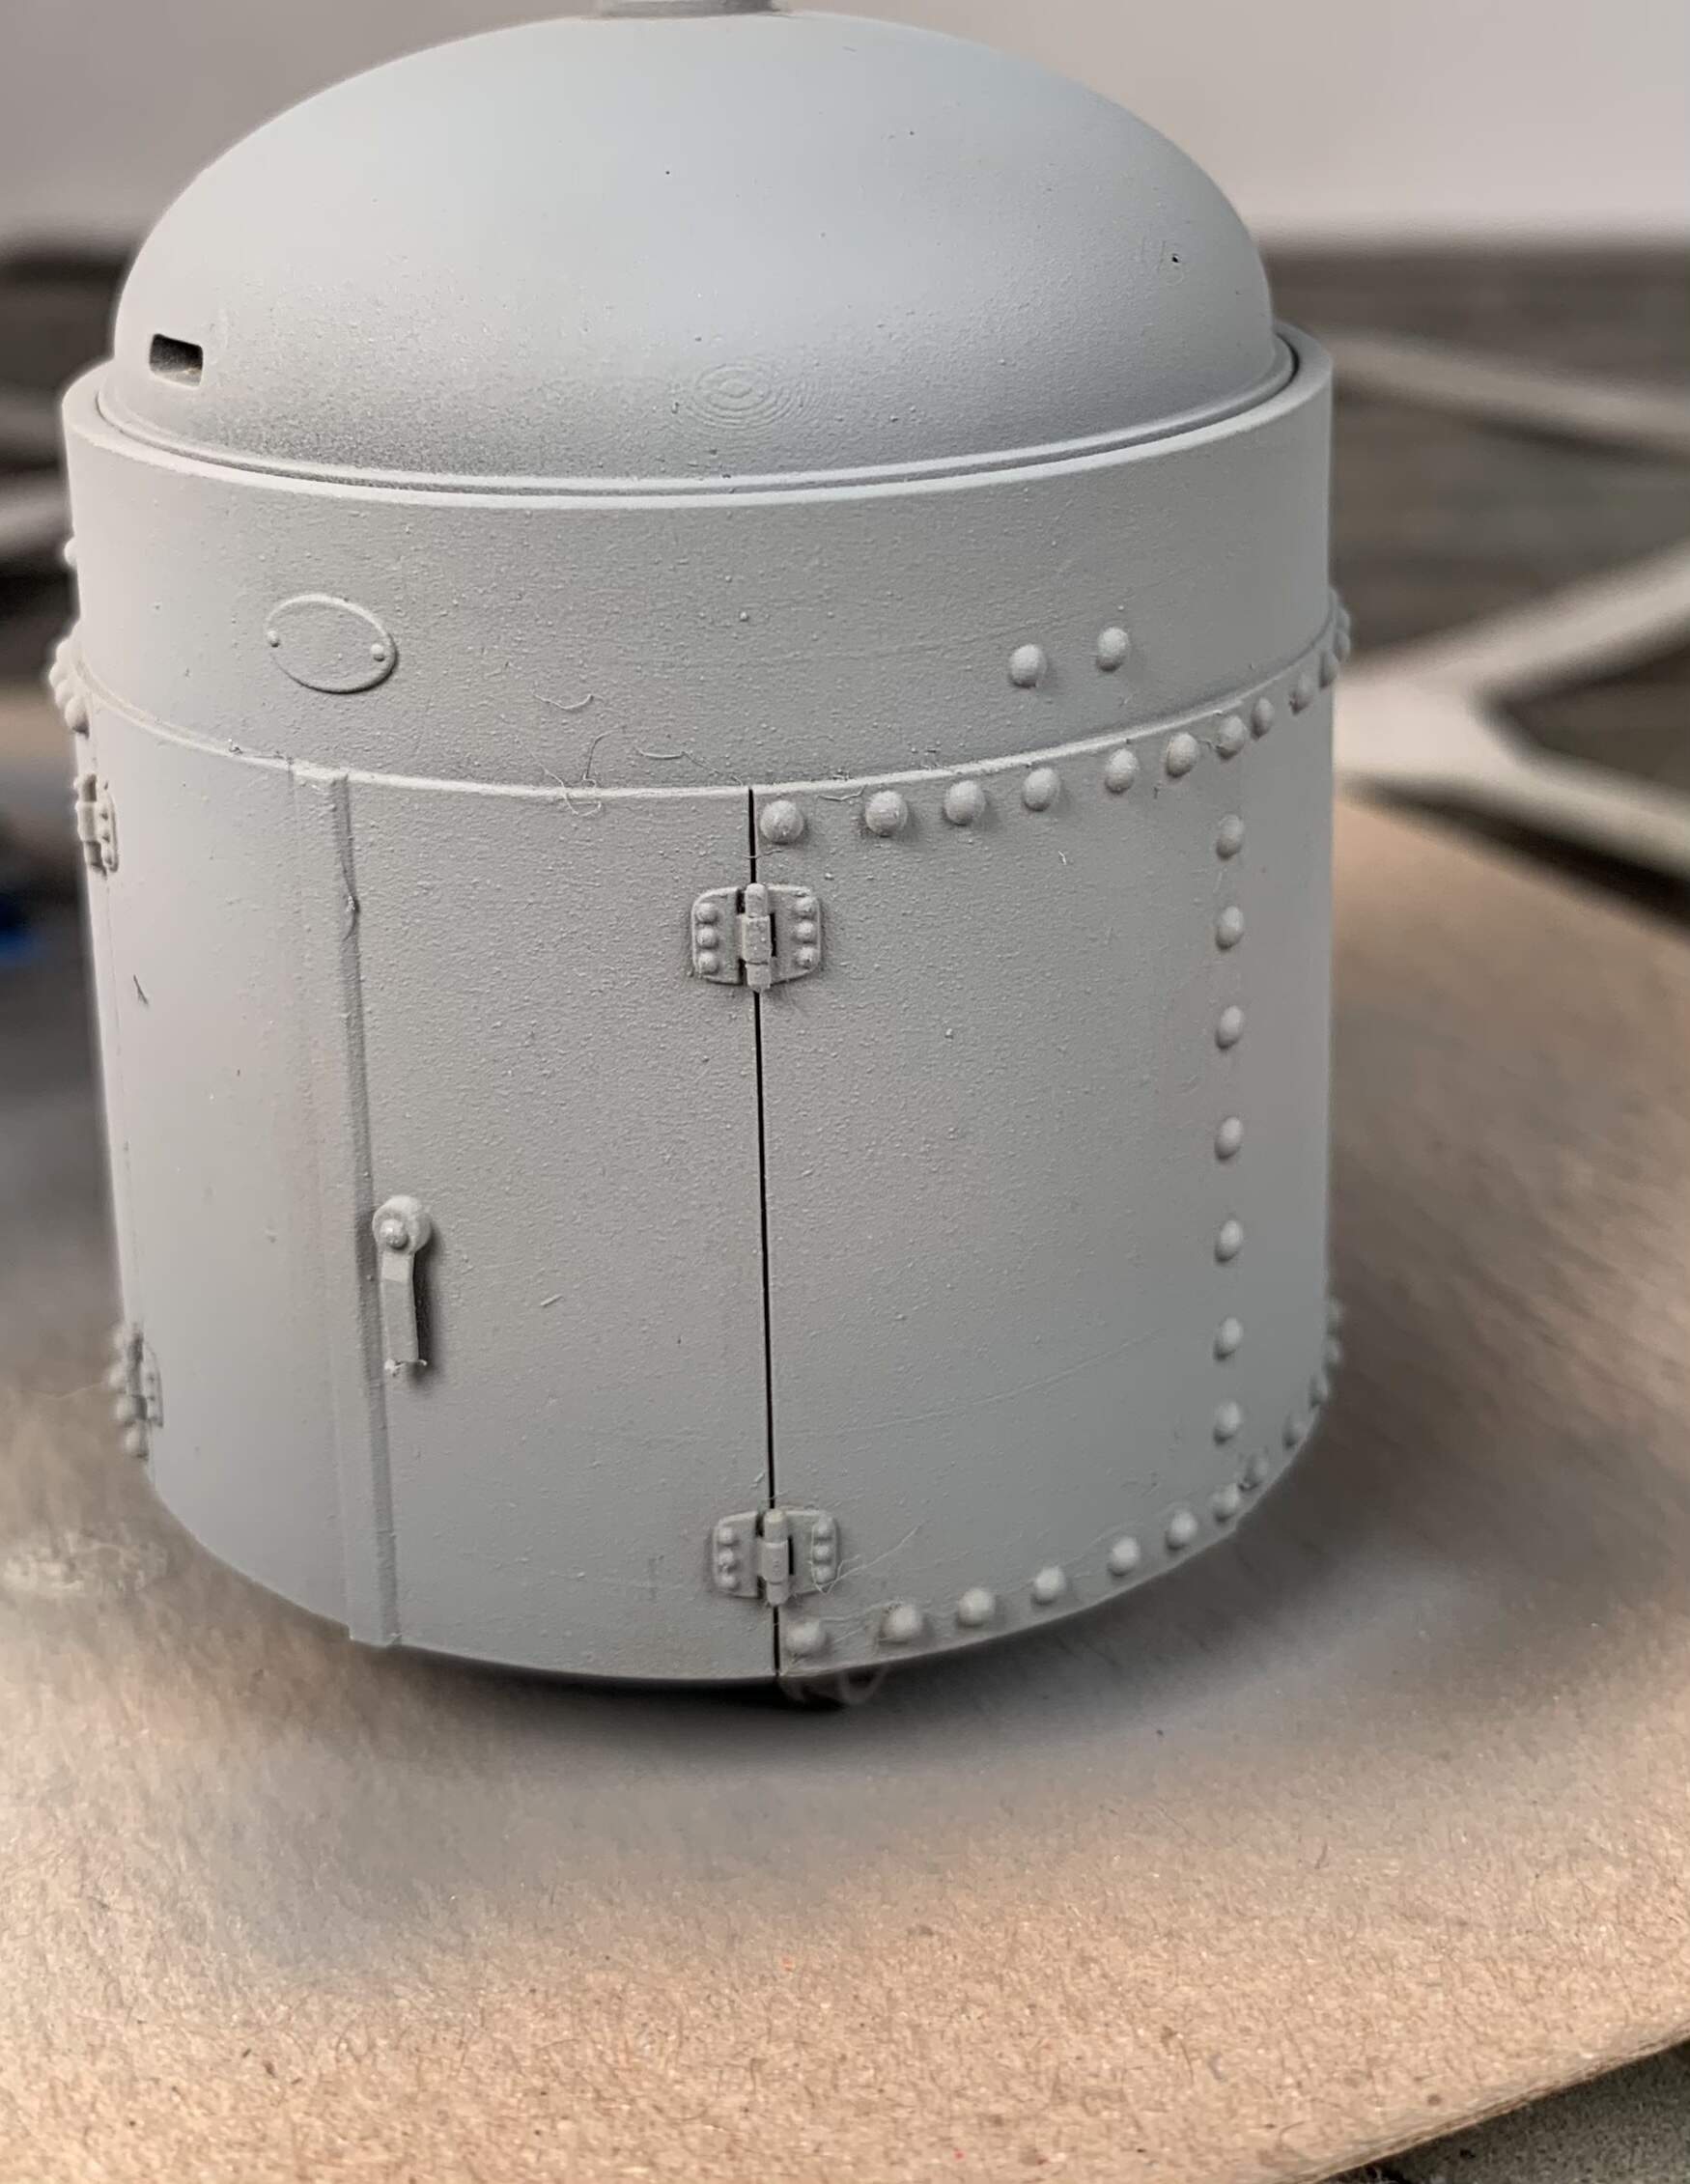
What’s your take on general colour(s?) & will yours be new-ish or well-used? Hard to tell from the few photos I’ve seen what’s going on, seems to be several variations but no camo for when on the move – presumably they just scrubbed local soil onto the turret when emplaced?
Just to chuck a weathering suggestion into the ring – up-end the turret, wet the whole drum with whatever medium appropriate for the paint (removing actual drips) & then trail whatever weathering colour around the base. It should gradually dilute as it creeps down the drum fairly irregularly. It’s usually apparent after a few seconds if it’s going to look any good, quickly wash or paper-towel off if it’s a dud.
2 Likes
The Bulgarian emplacement it will be a Grayish-Green/Feldgrau color. This one is sorta like the Greek museum piece and light grey. My plan was newish turret, maybe one that spent a season or two outside between the factory/storage and garrison.
3 Likes