Another small update, small as it is.
2 Likes
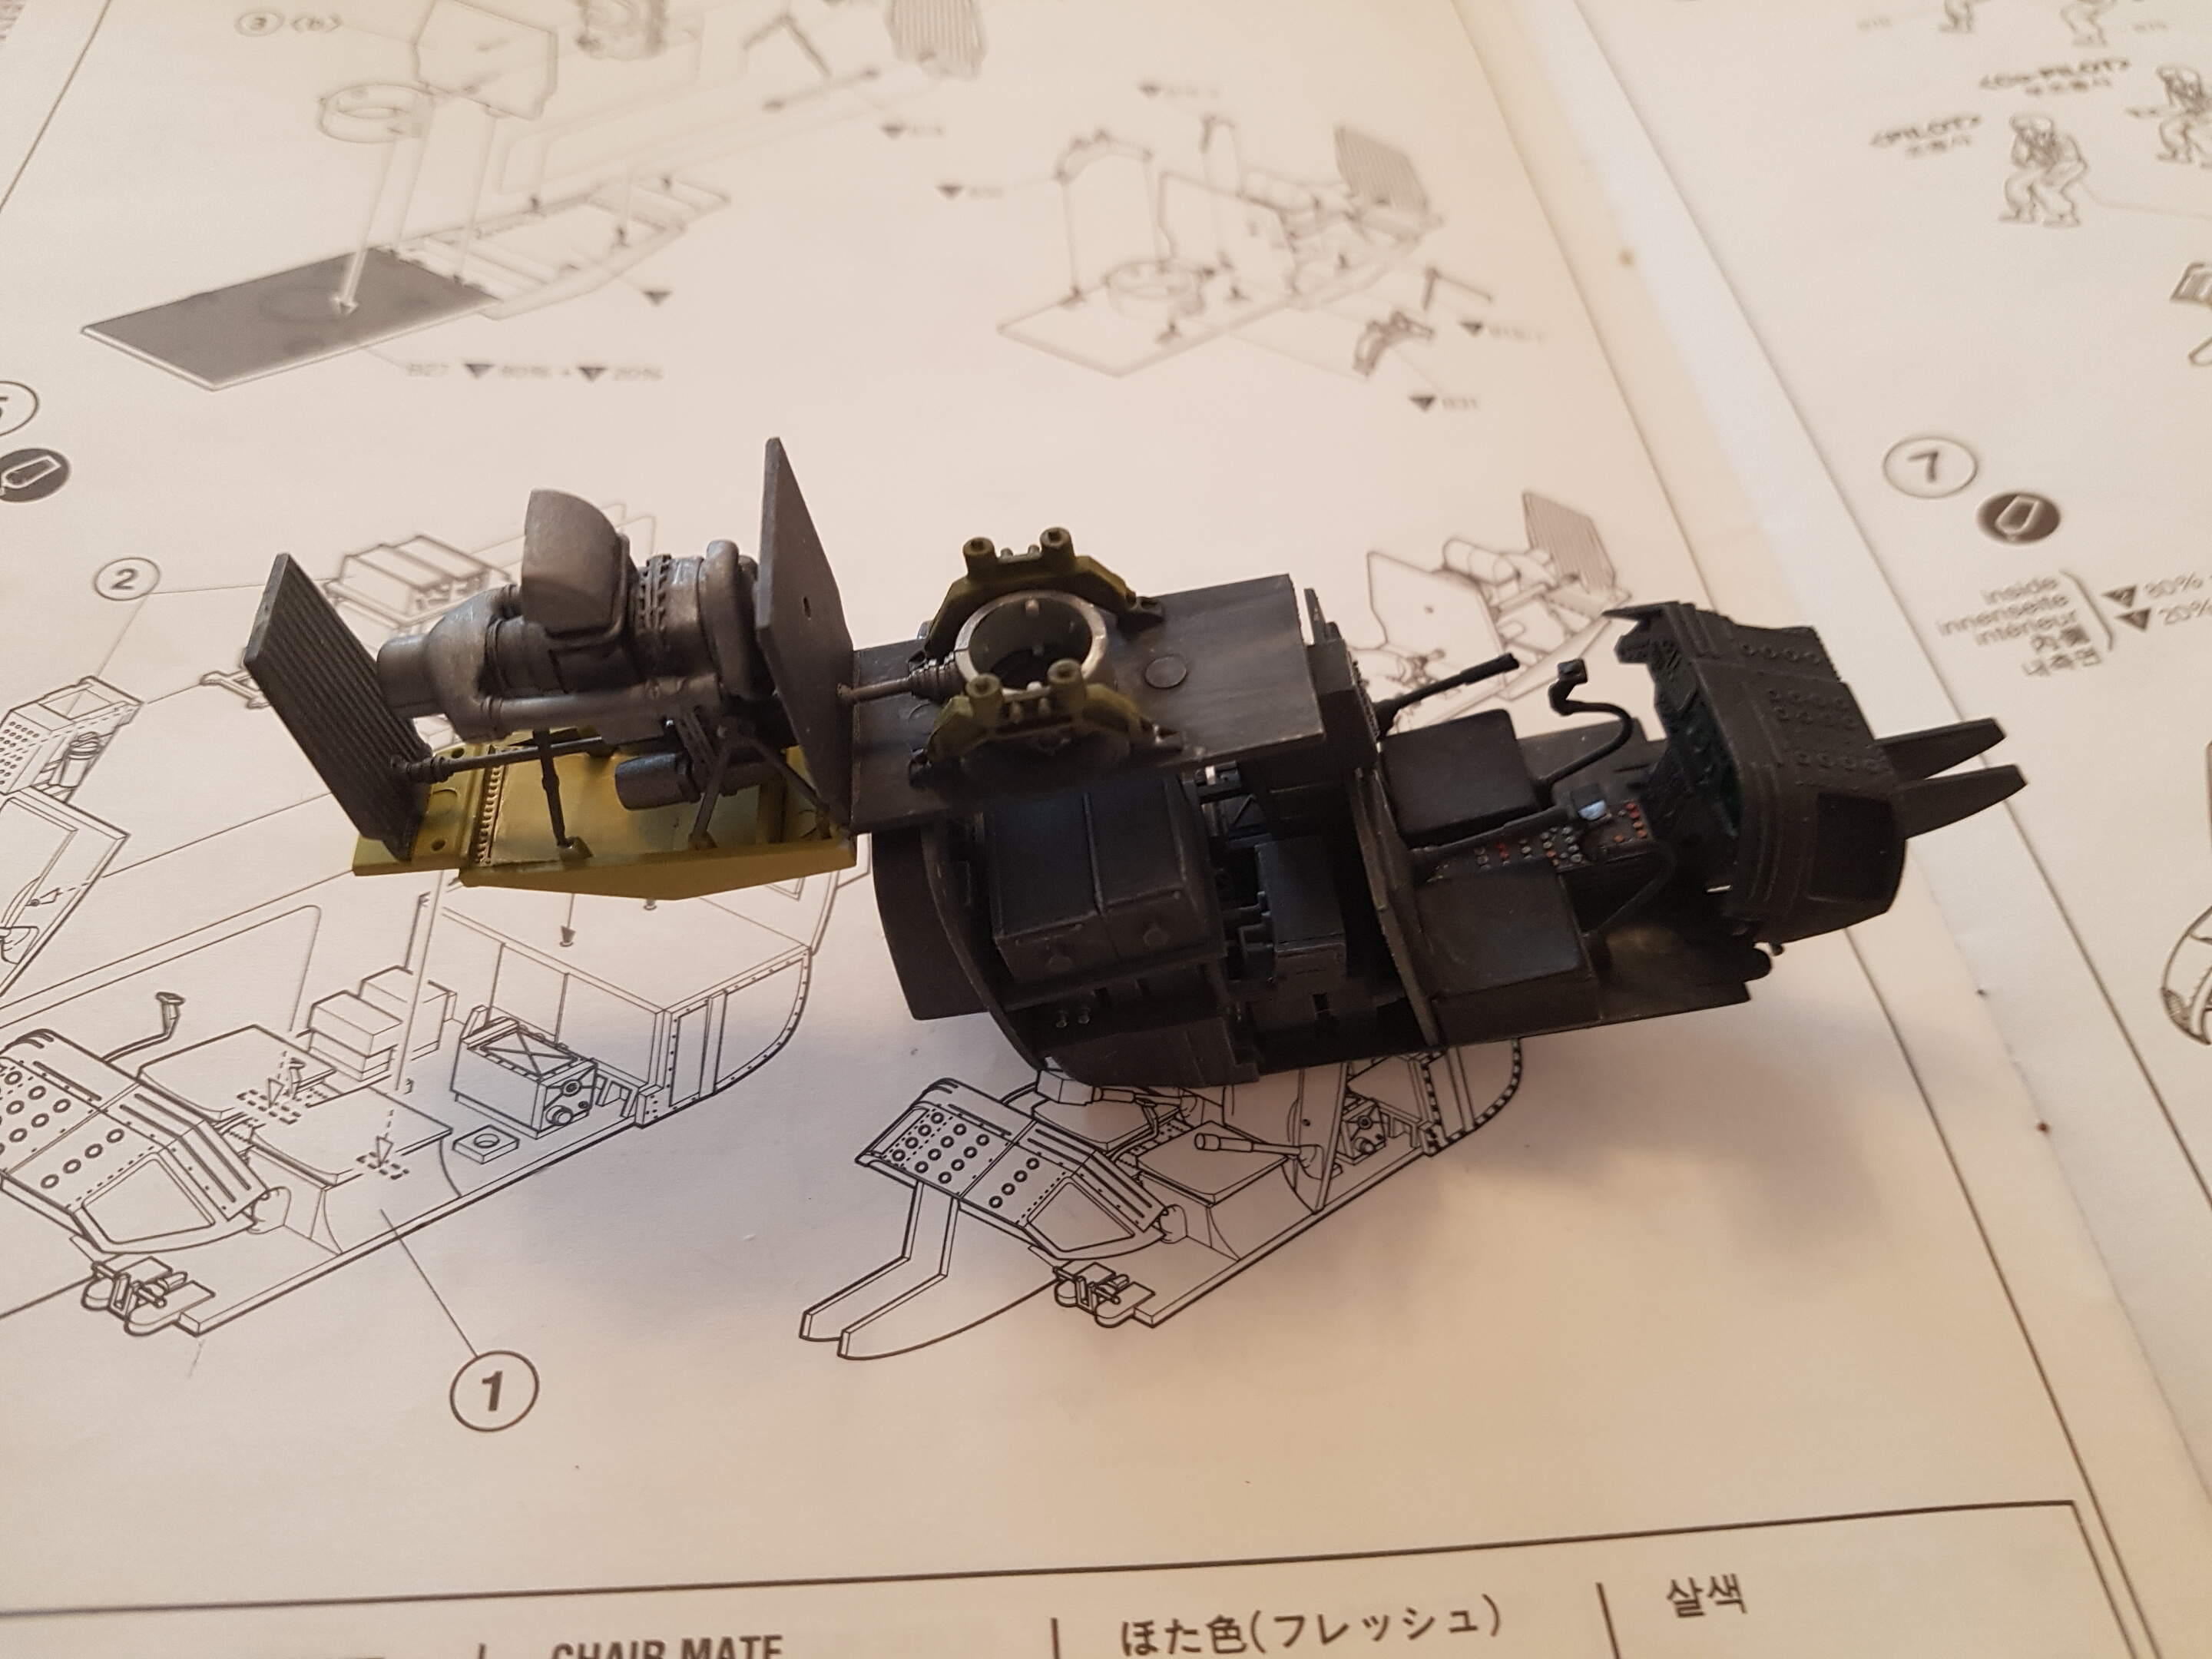
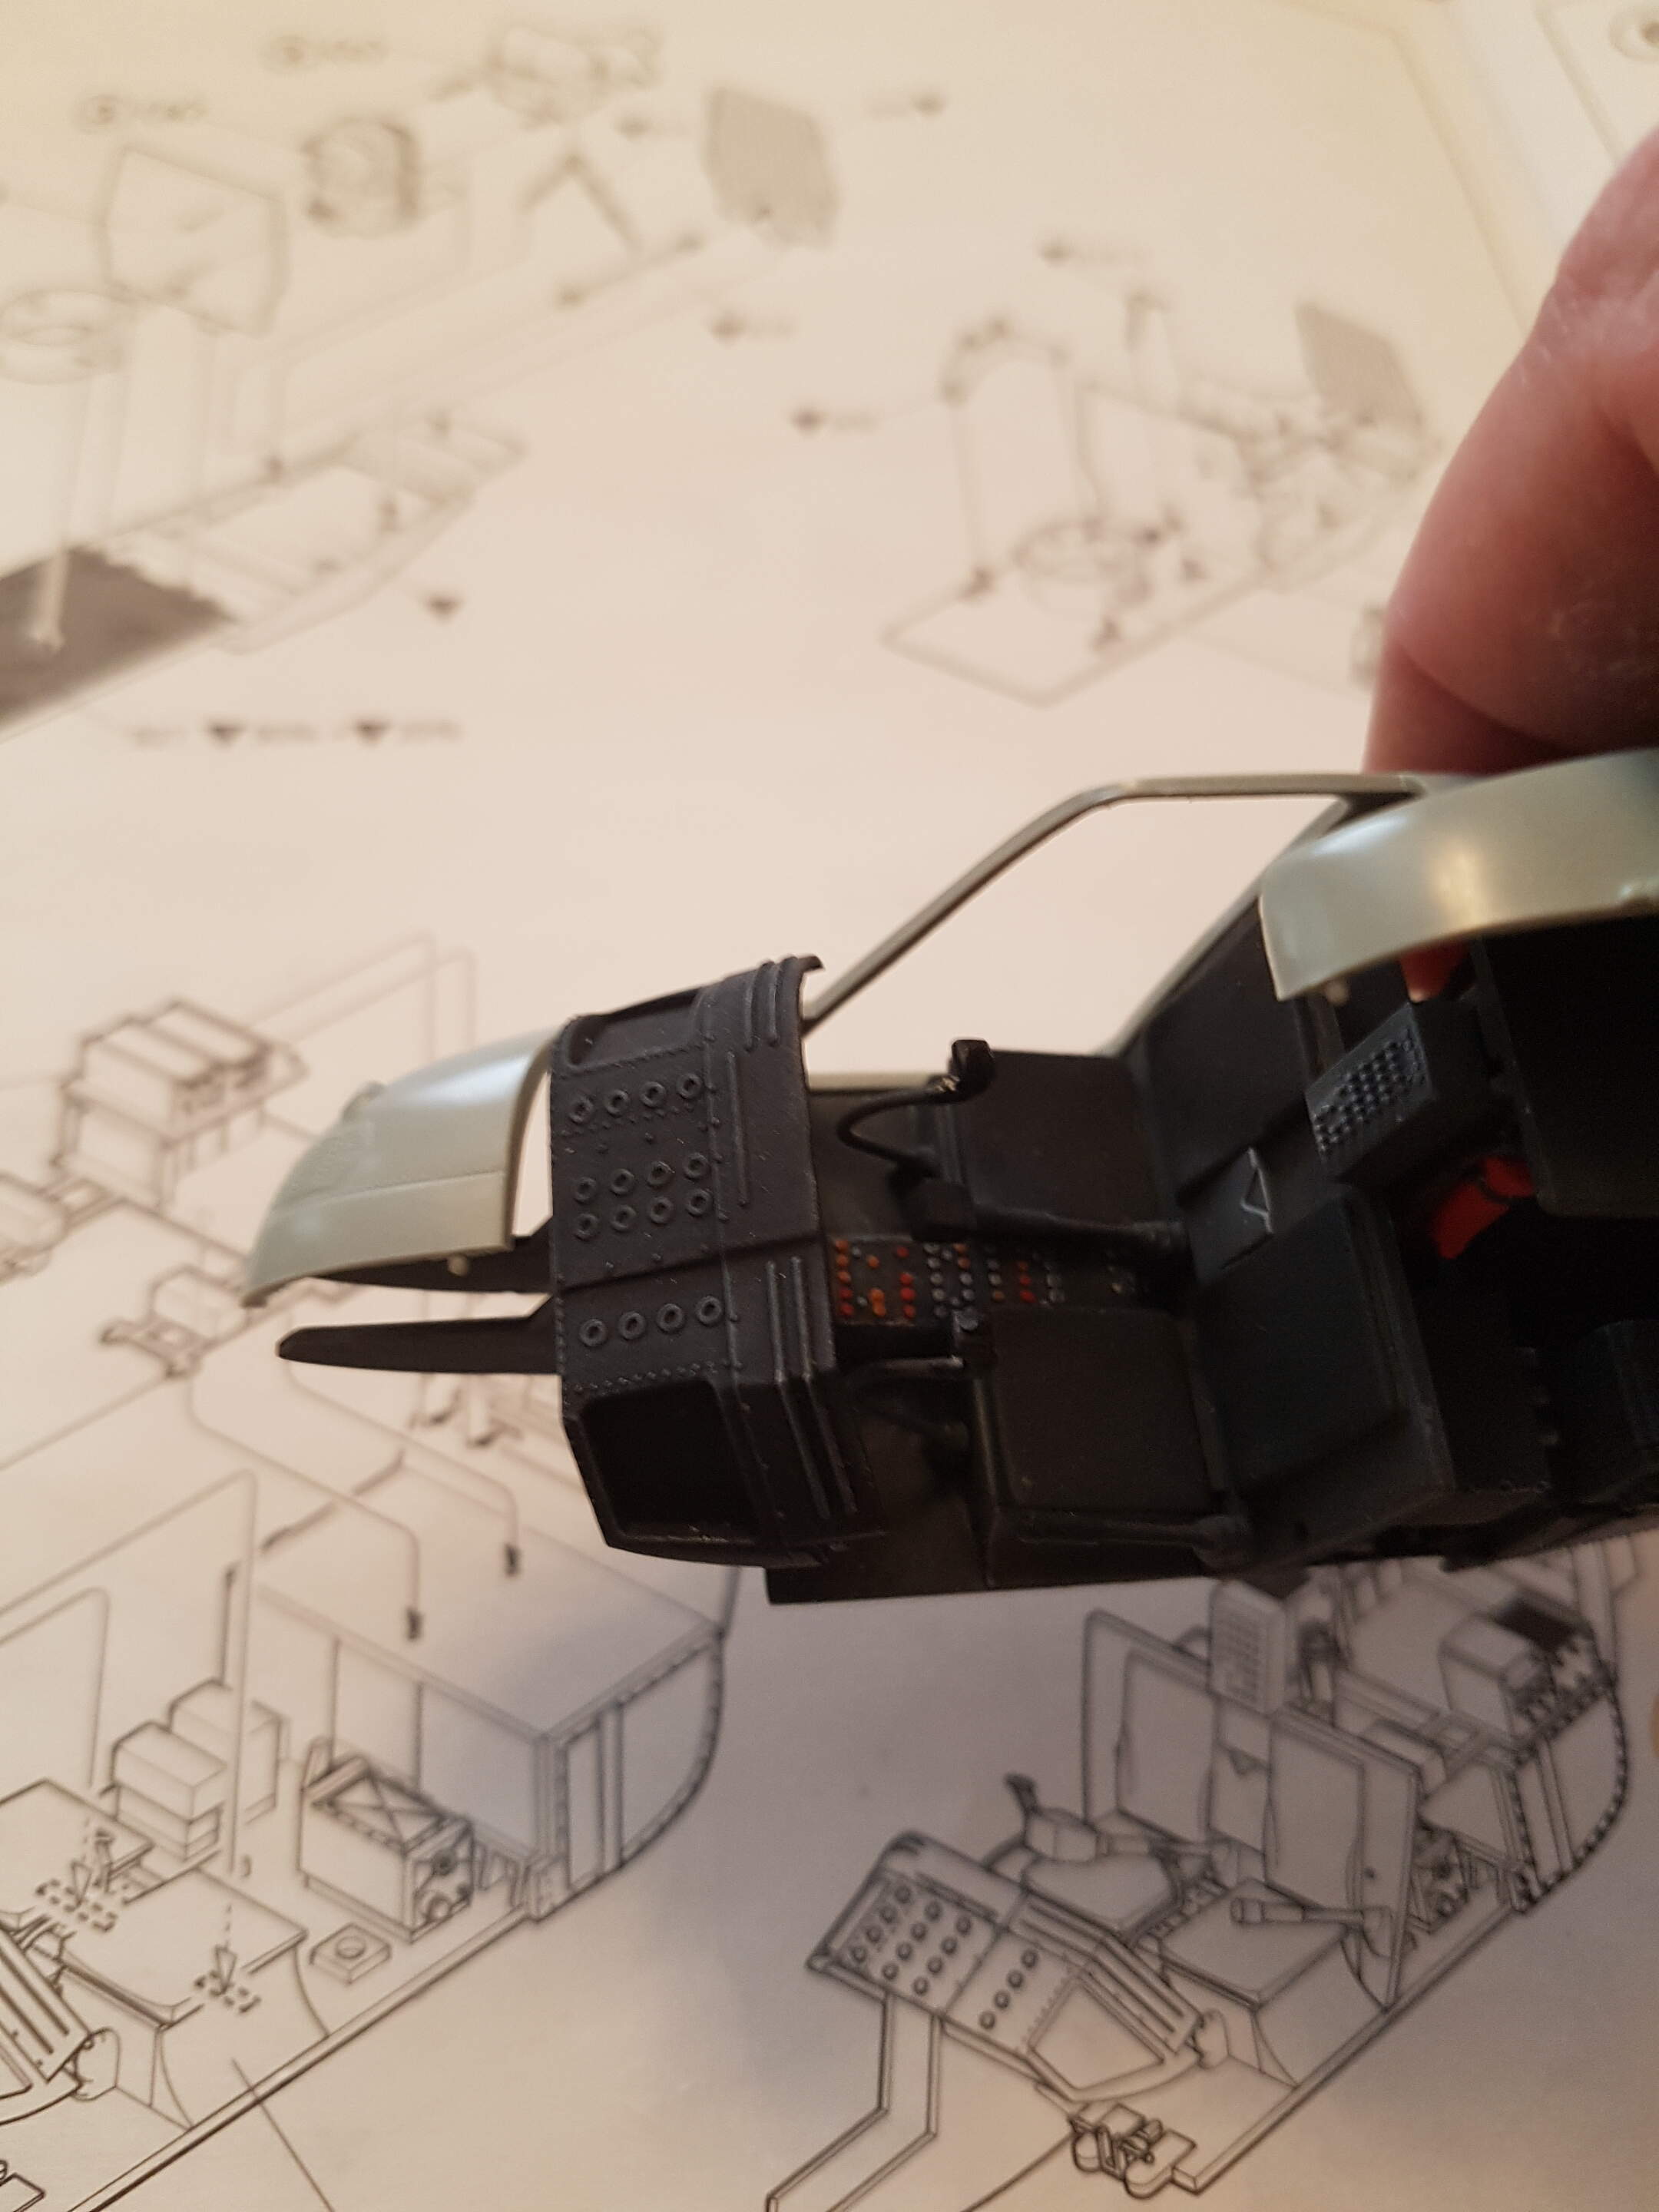
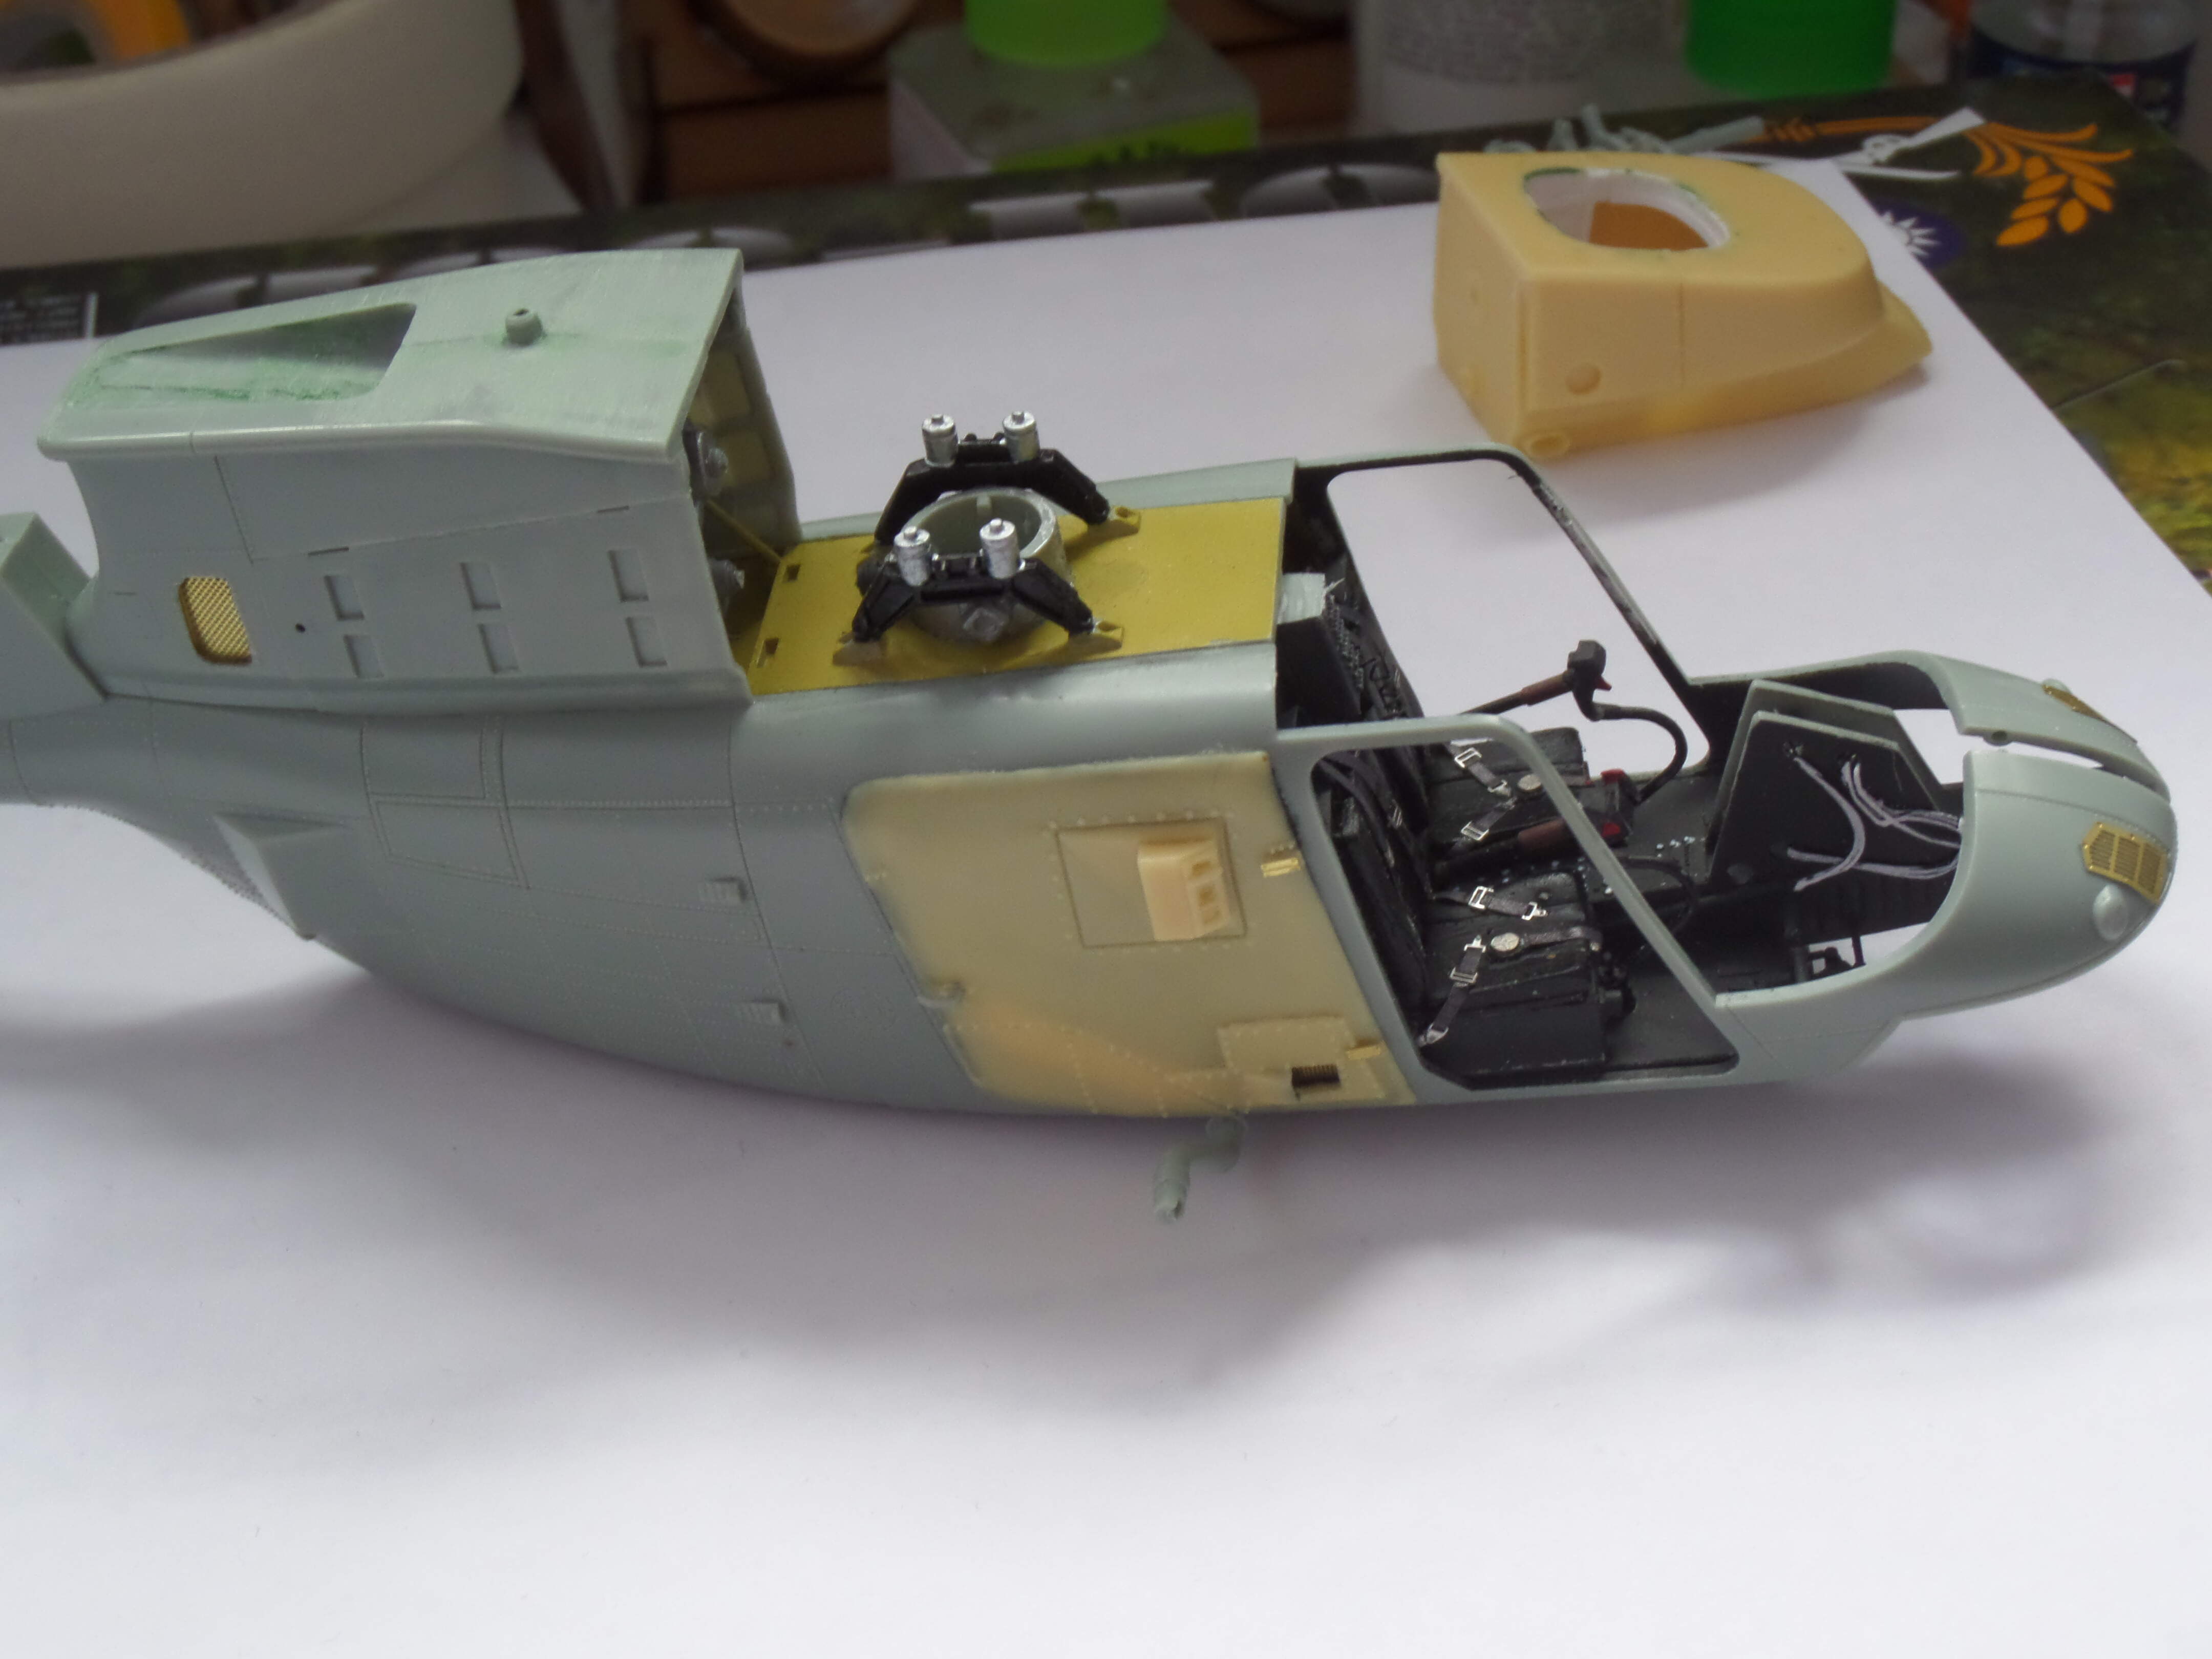
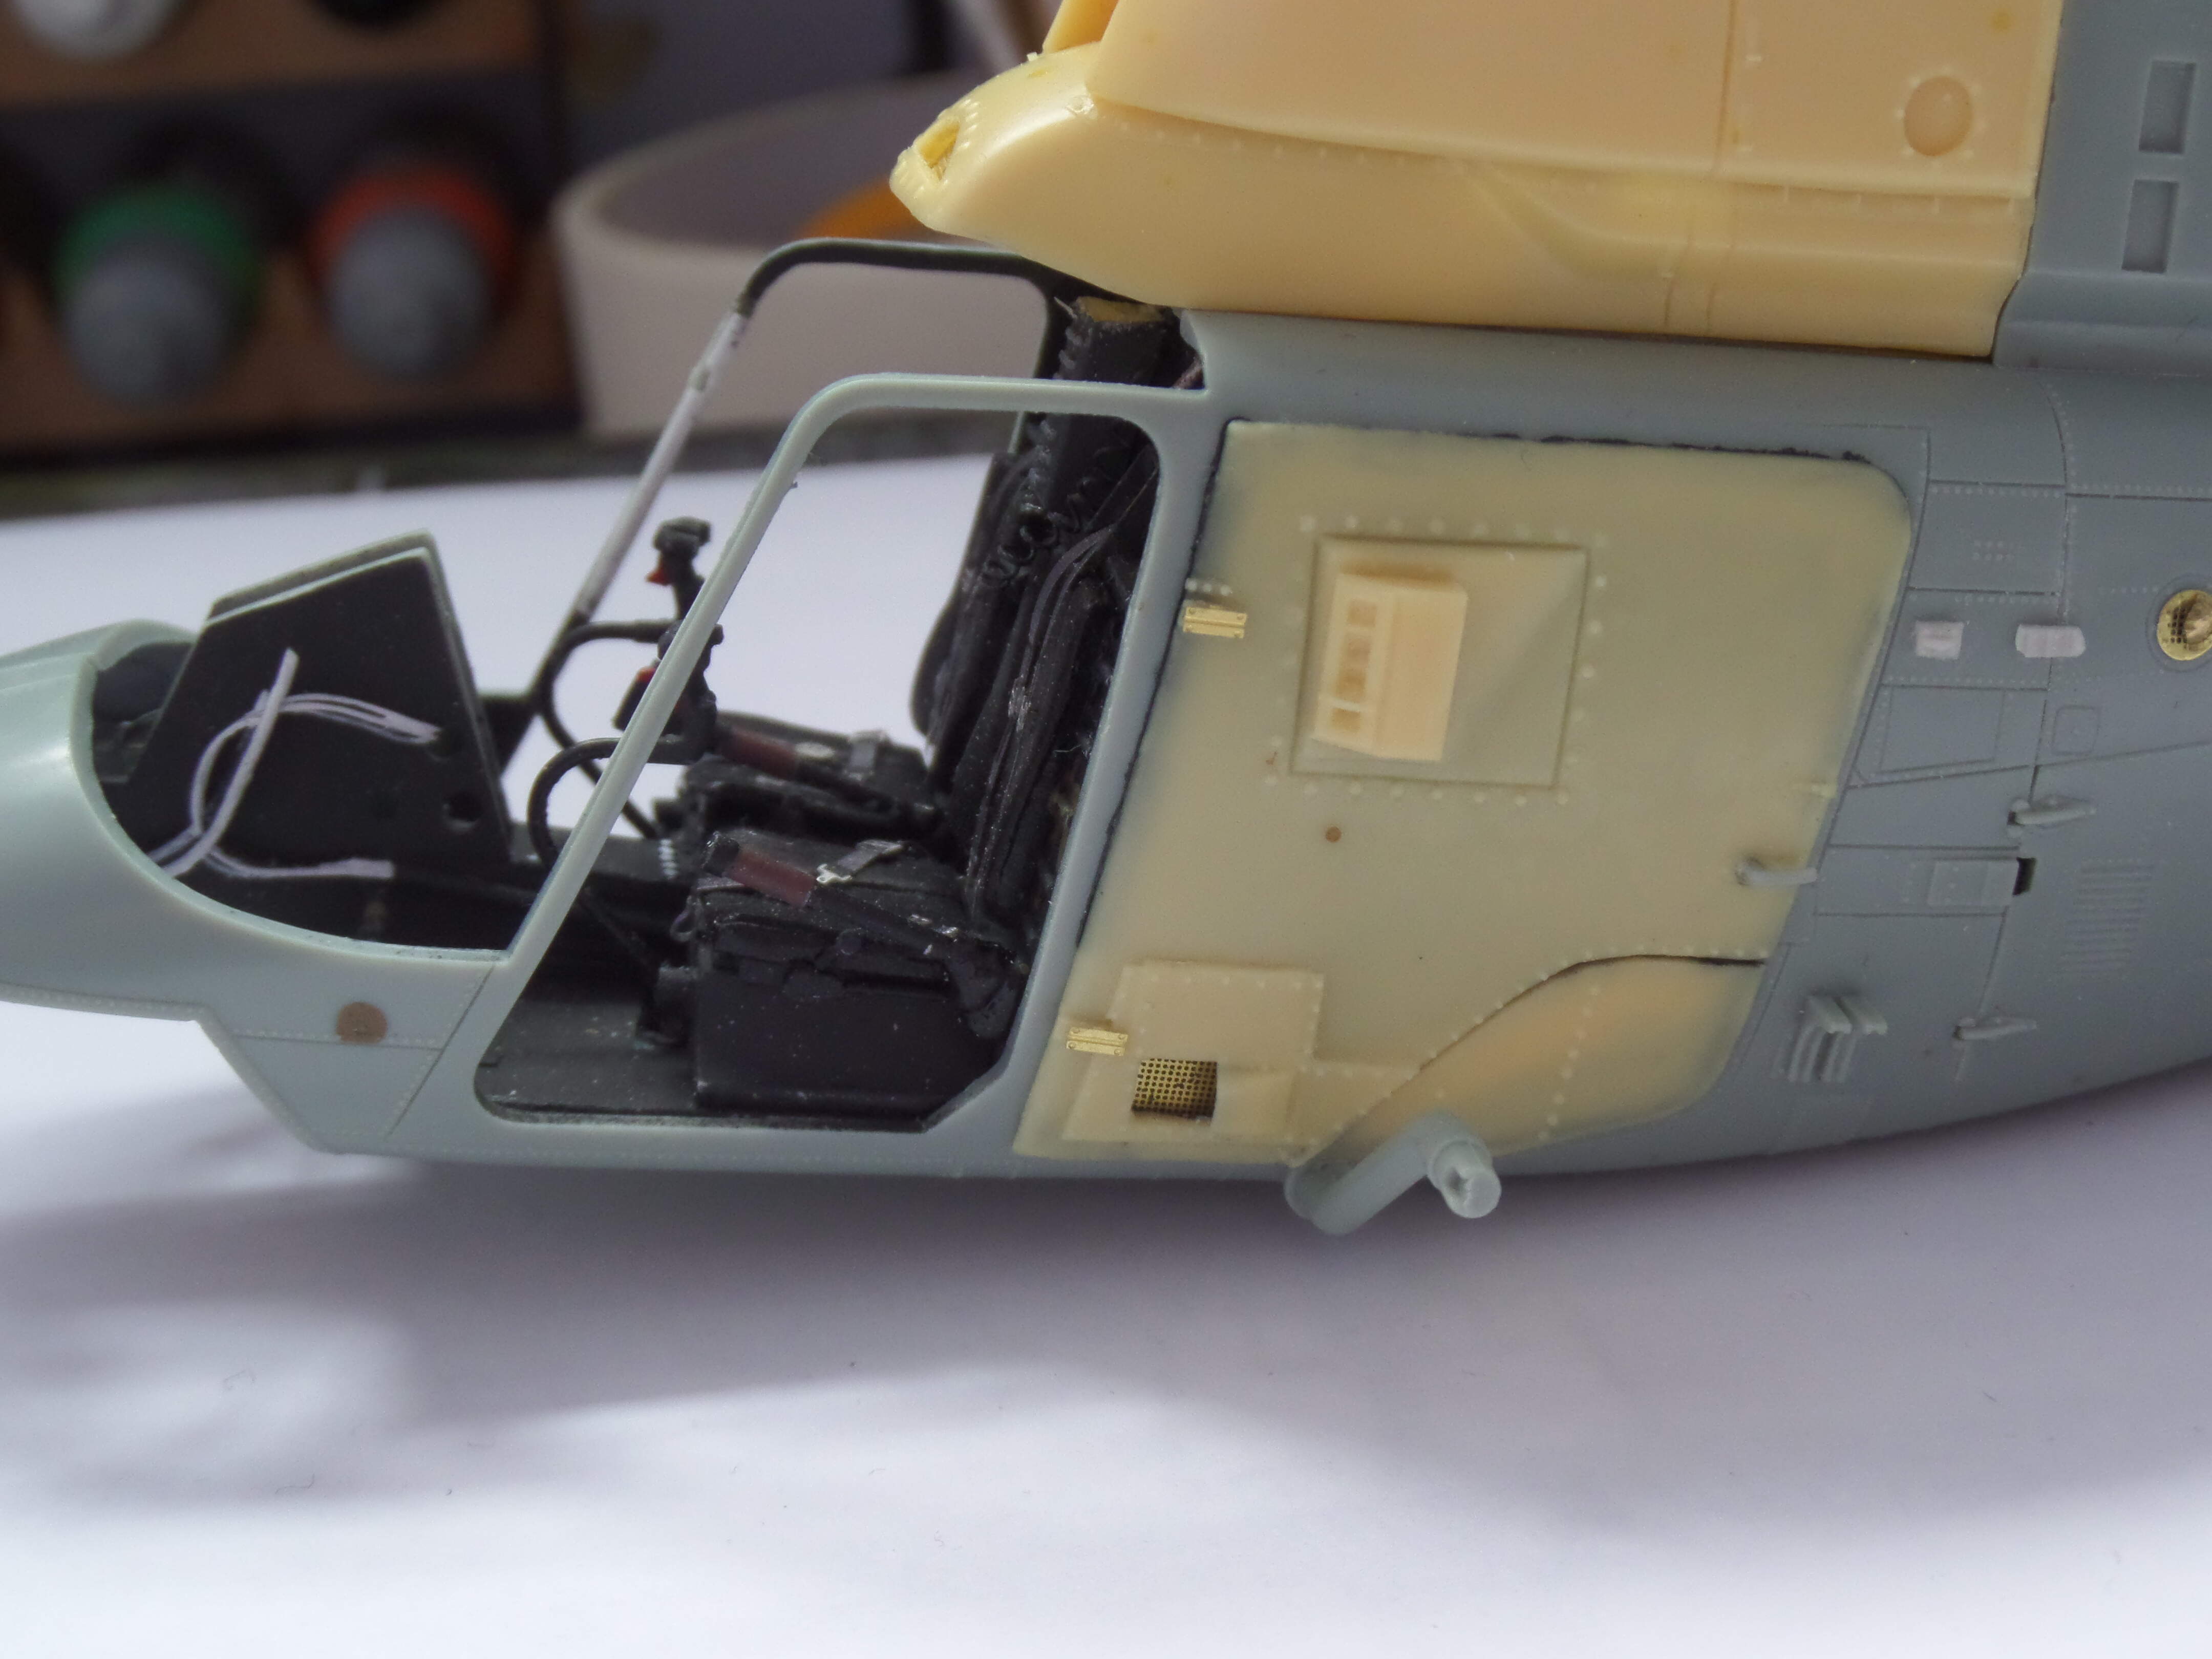
well I have completed the first couple of stages as yo can see in the first picture and in the second picture you can see a test fit of the cabin into the fuselage. I am concerned about the gap of the upper instrument panel with the nose section of the fuselage, is it supposed to be like that or do I need to reposition it?
4 Likes
There is actually quite a considerable gap on the real thing. I imagine its bare bones, as to have a larger panel is more weight. I read in a build review online that its best to wait until you have everything together and have dry fitted the canopy before putting the panel top on as otherwise there might be fit issues.

1 Like
Looking good, both of them. I built it many years ago (when it first came out) and had no fit issues.
1 Like
@Maximus8425 yeah i might remove it as i have found a build log online that says to fit it later on.
1 Like
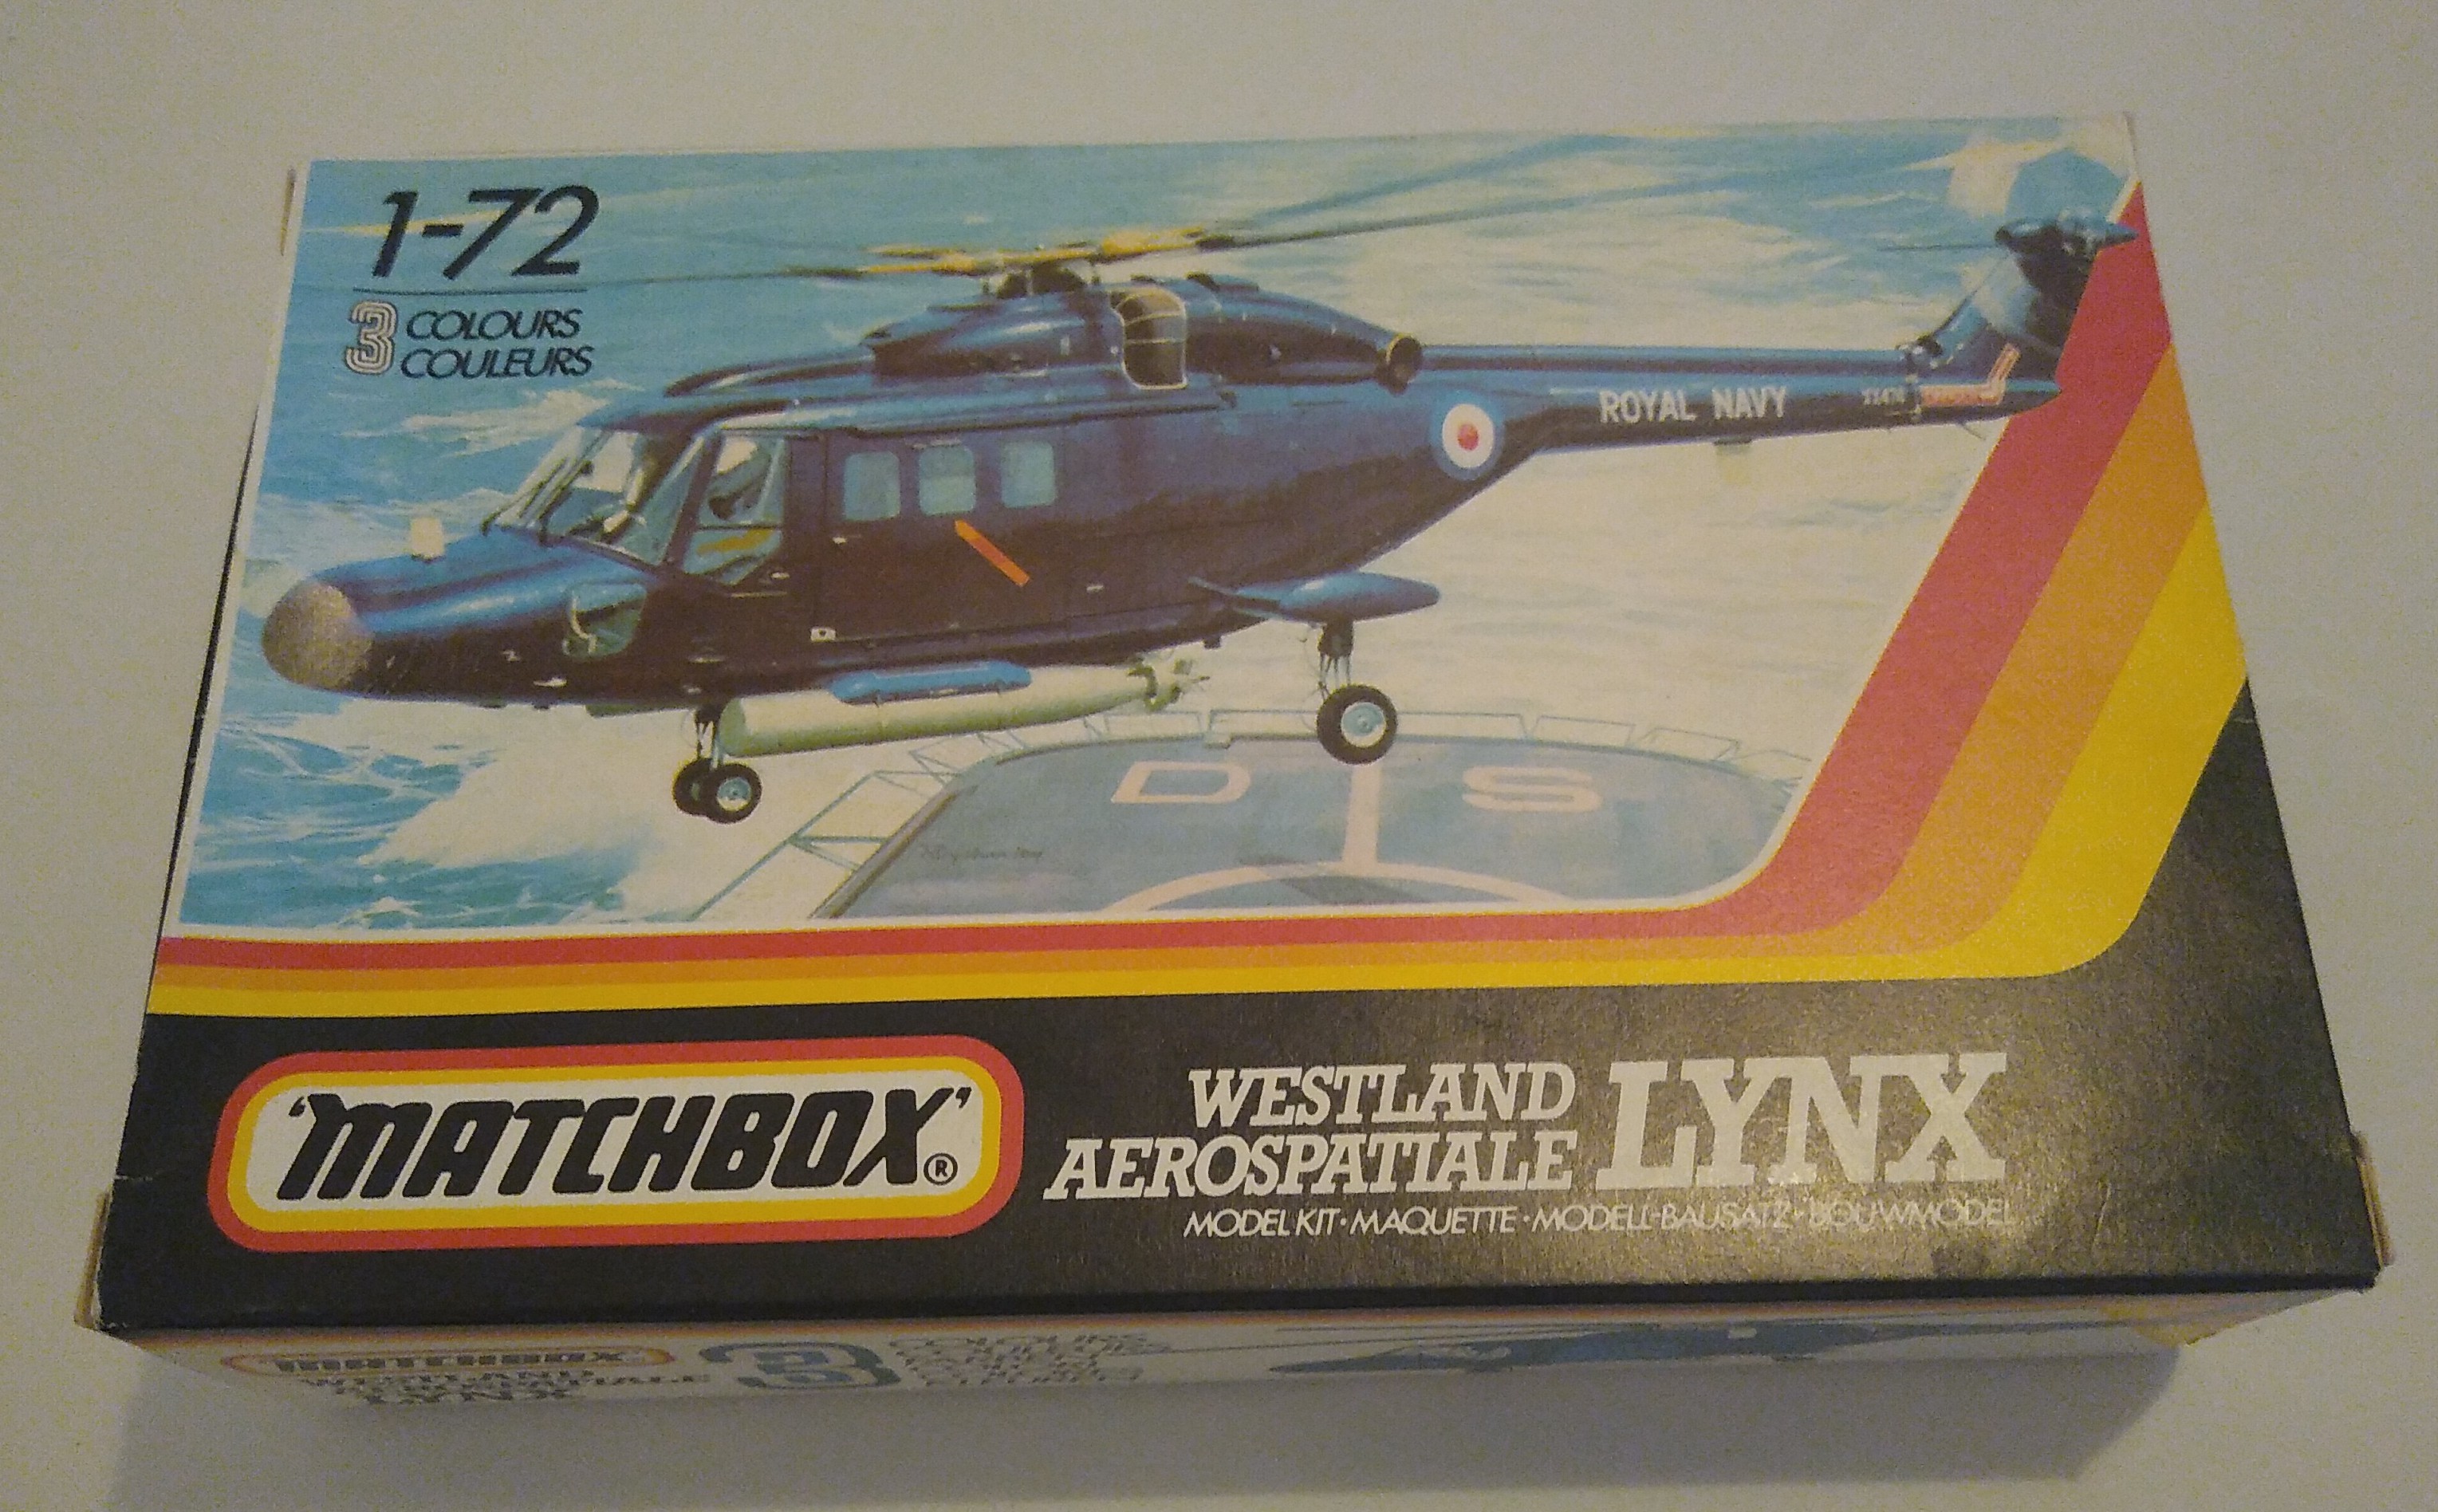
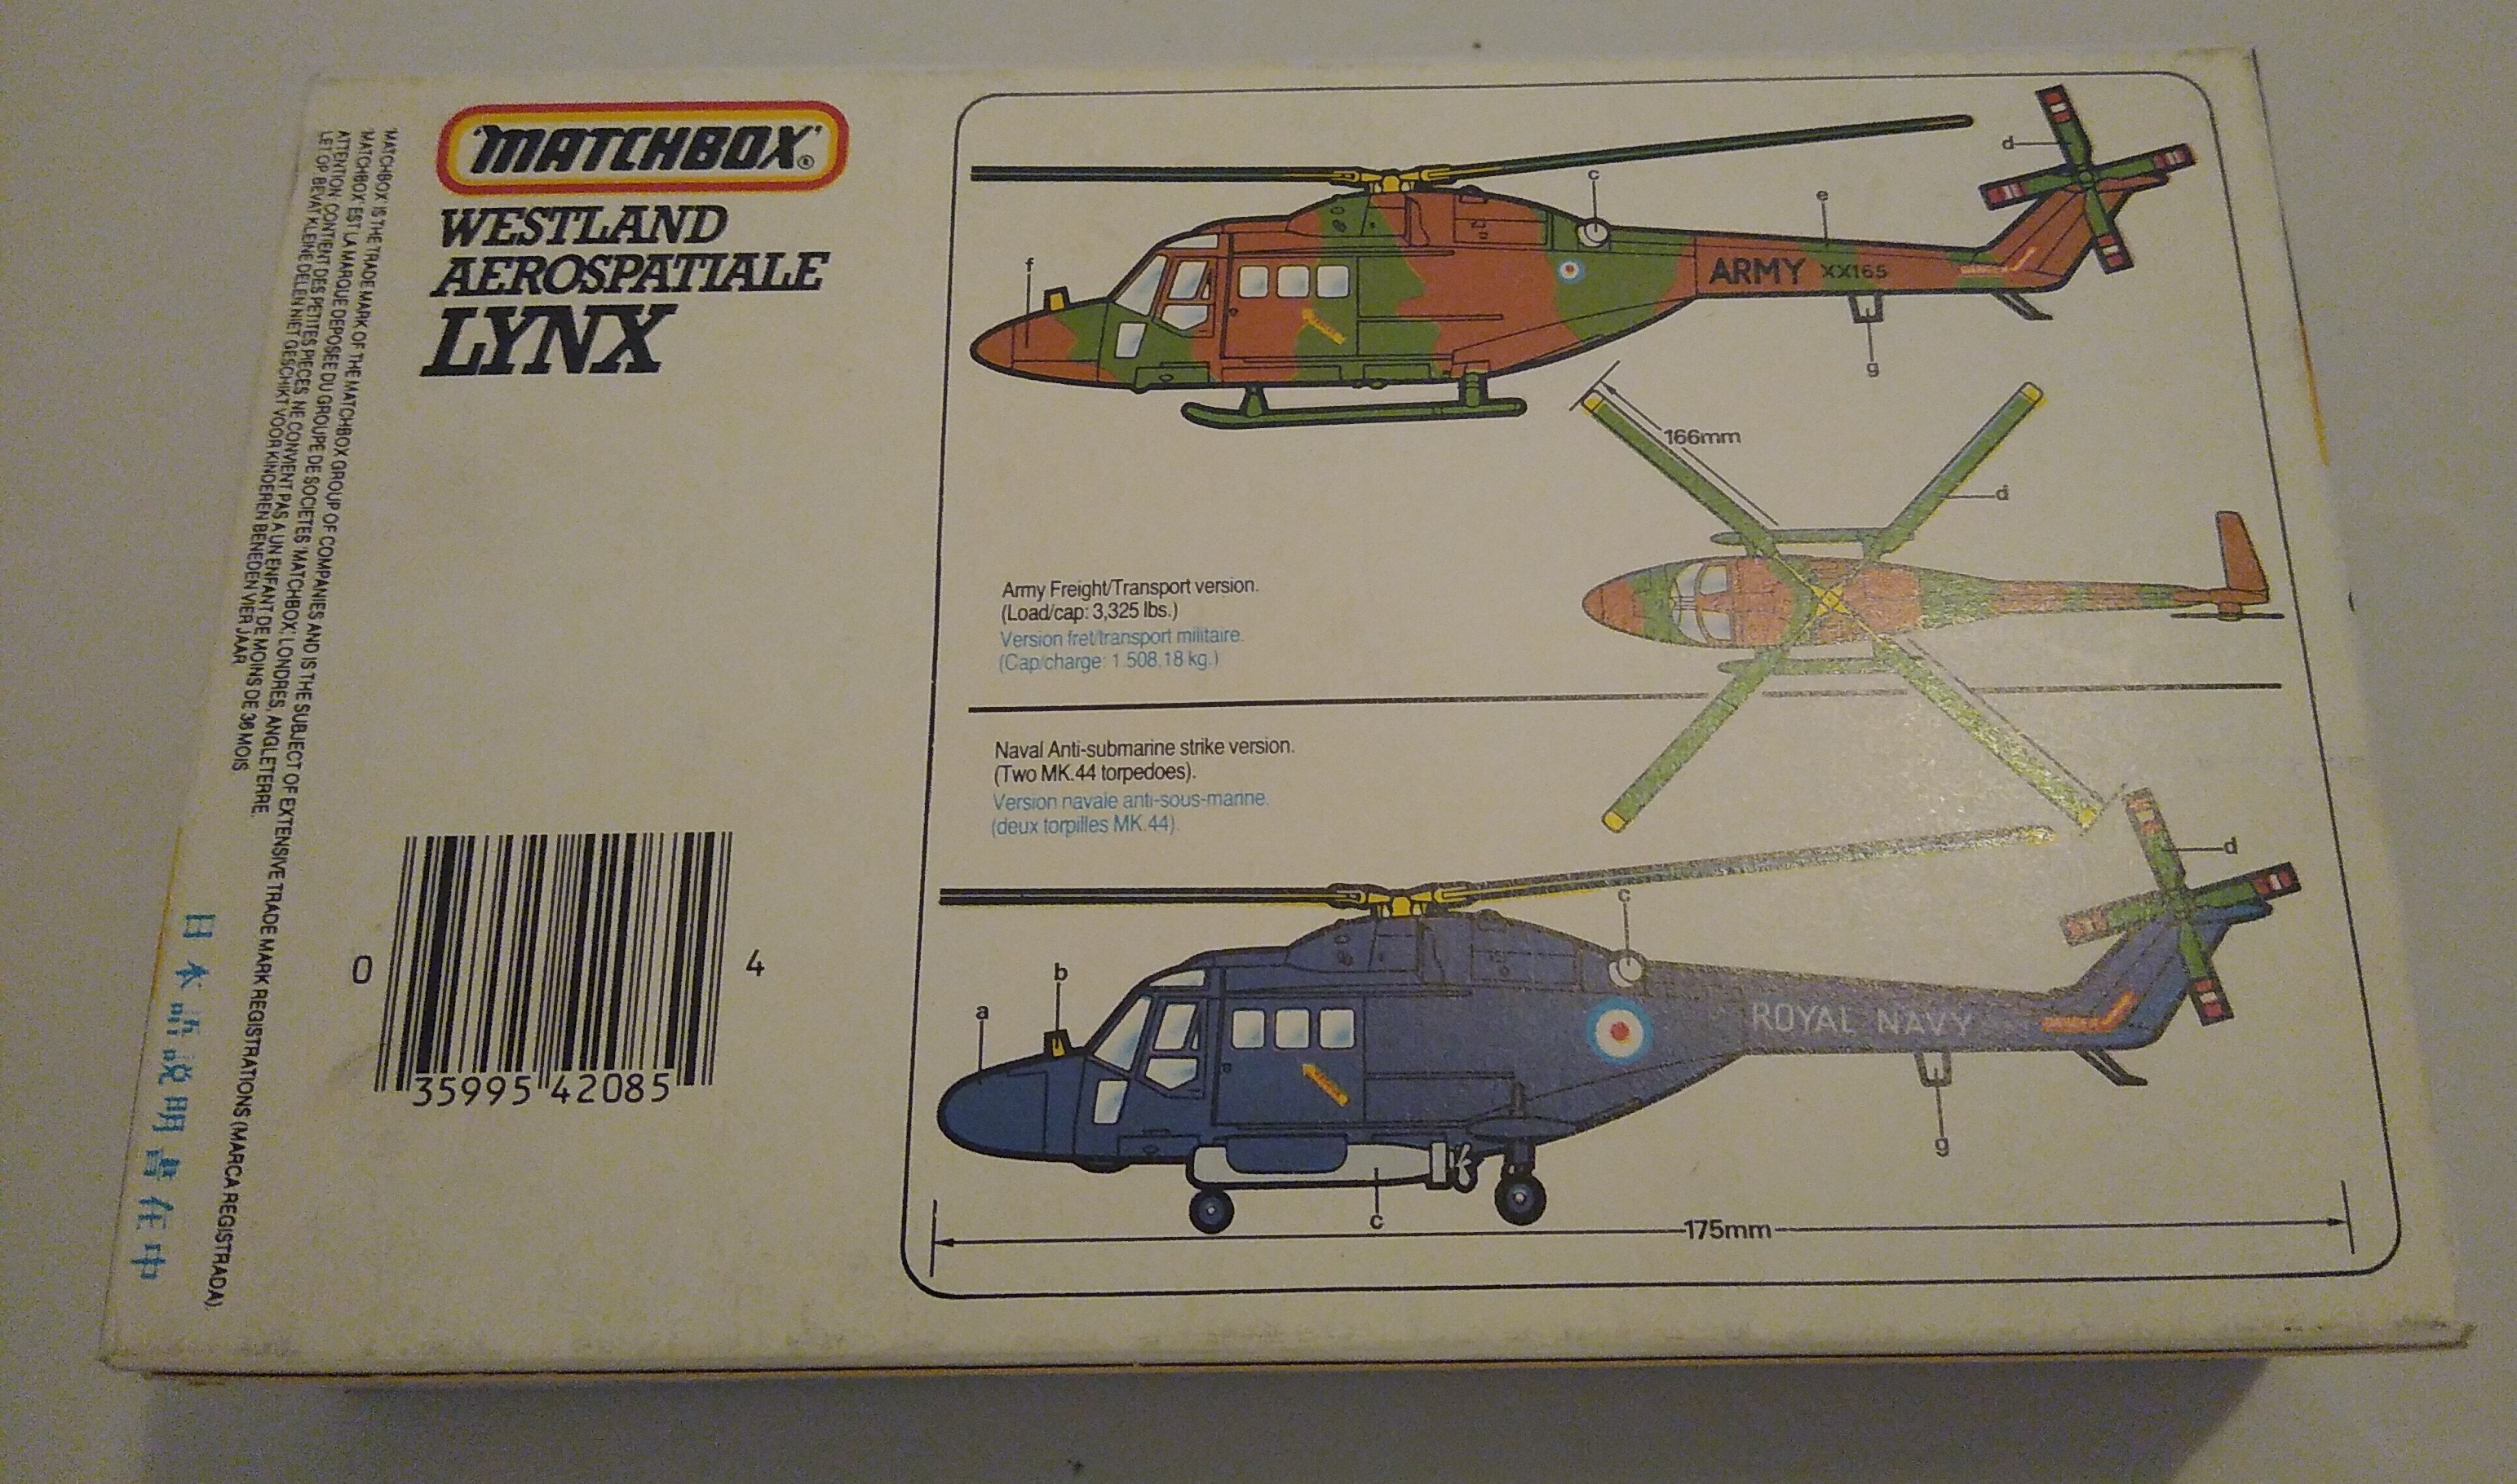
Recently dug an old Matchbox Lynx out of the stash.
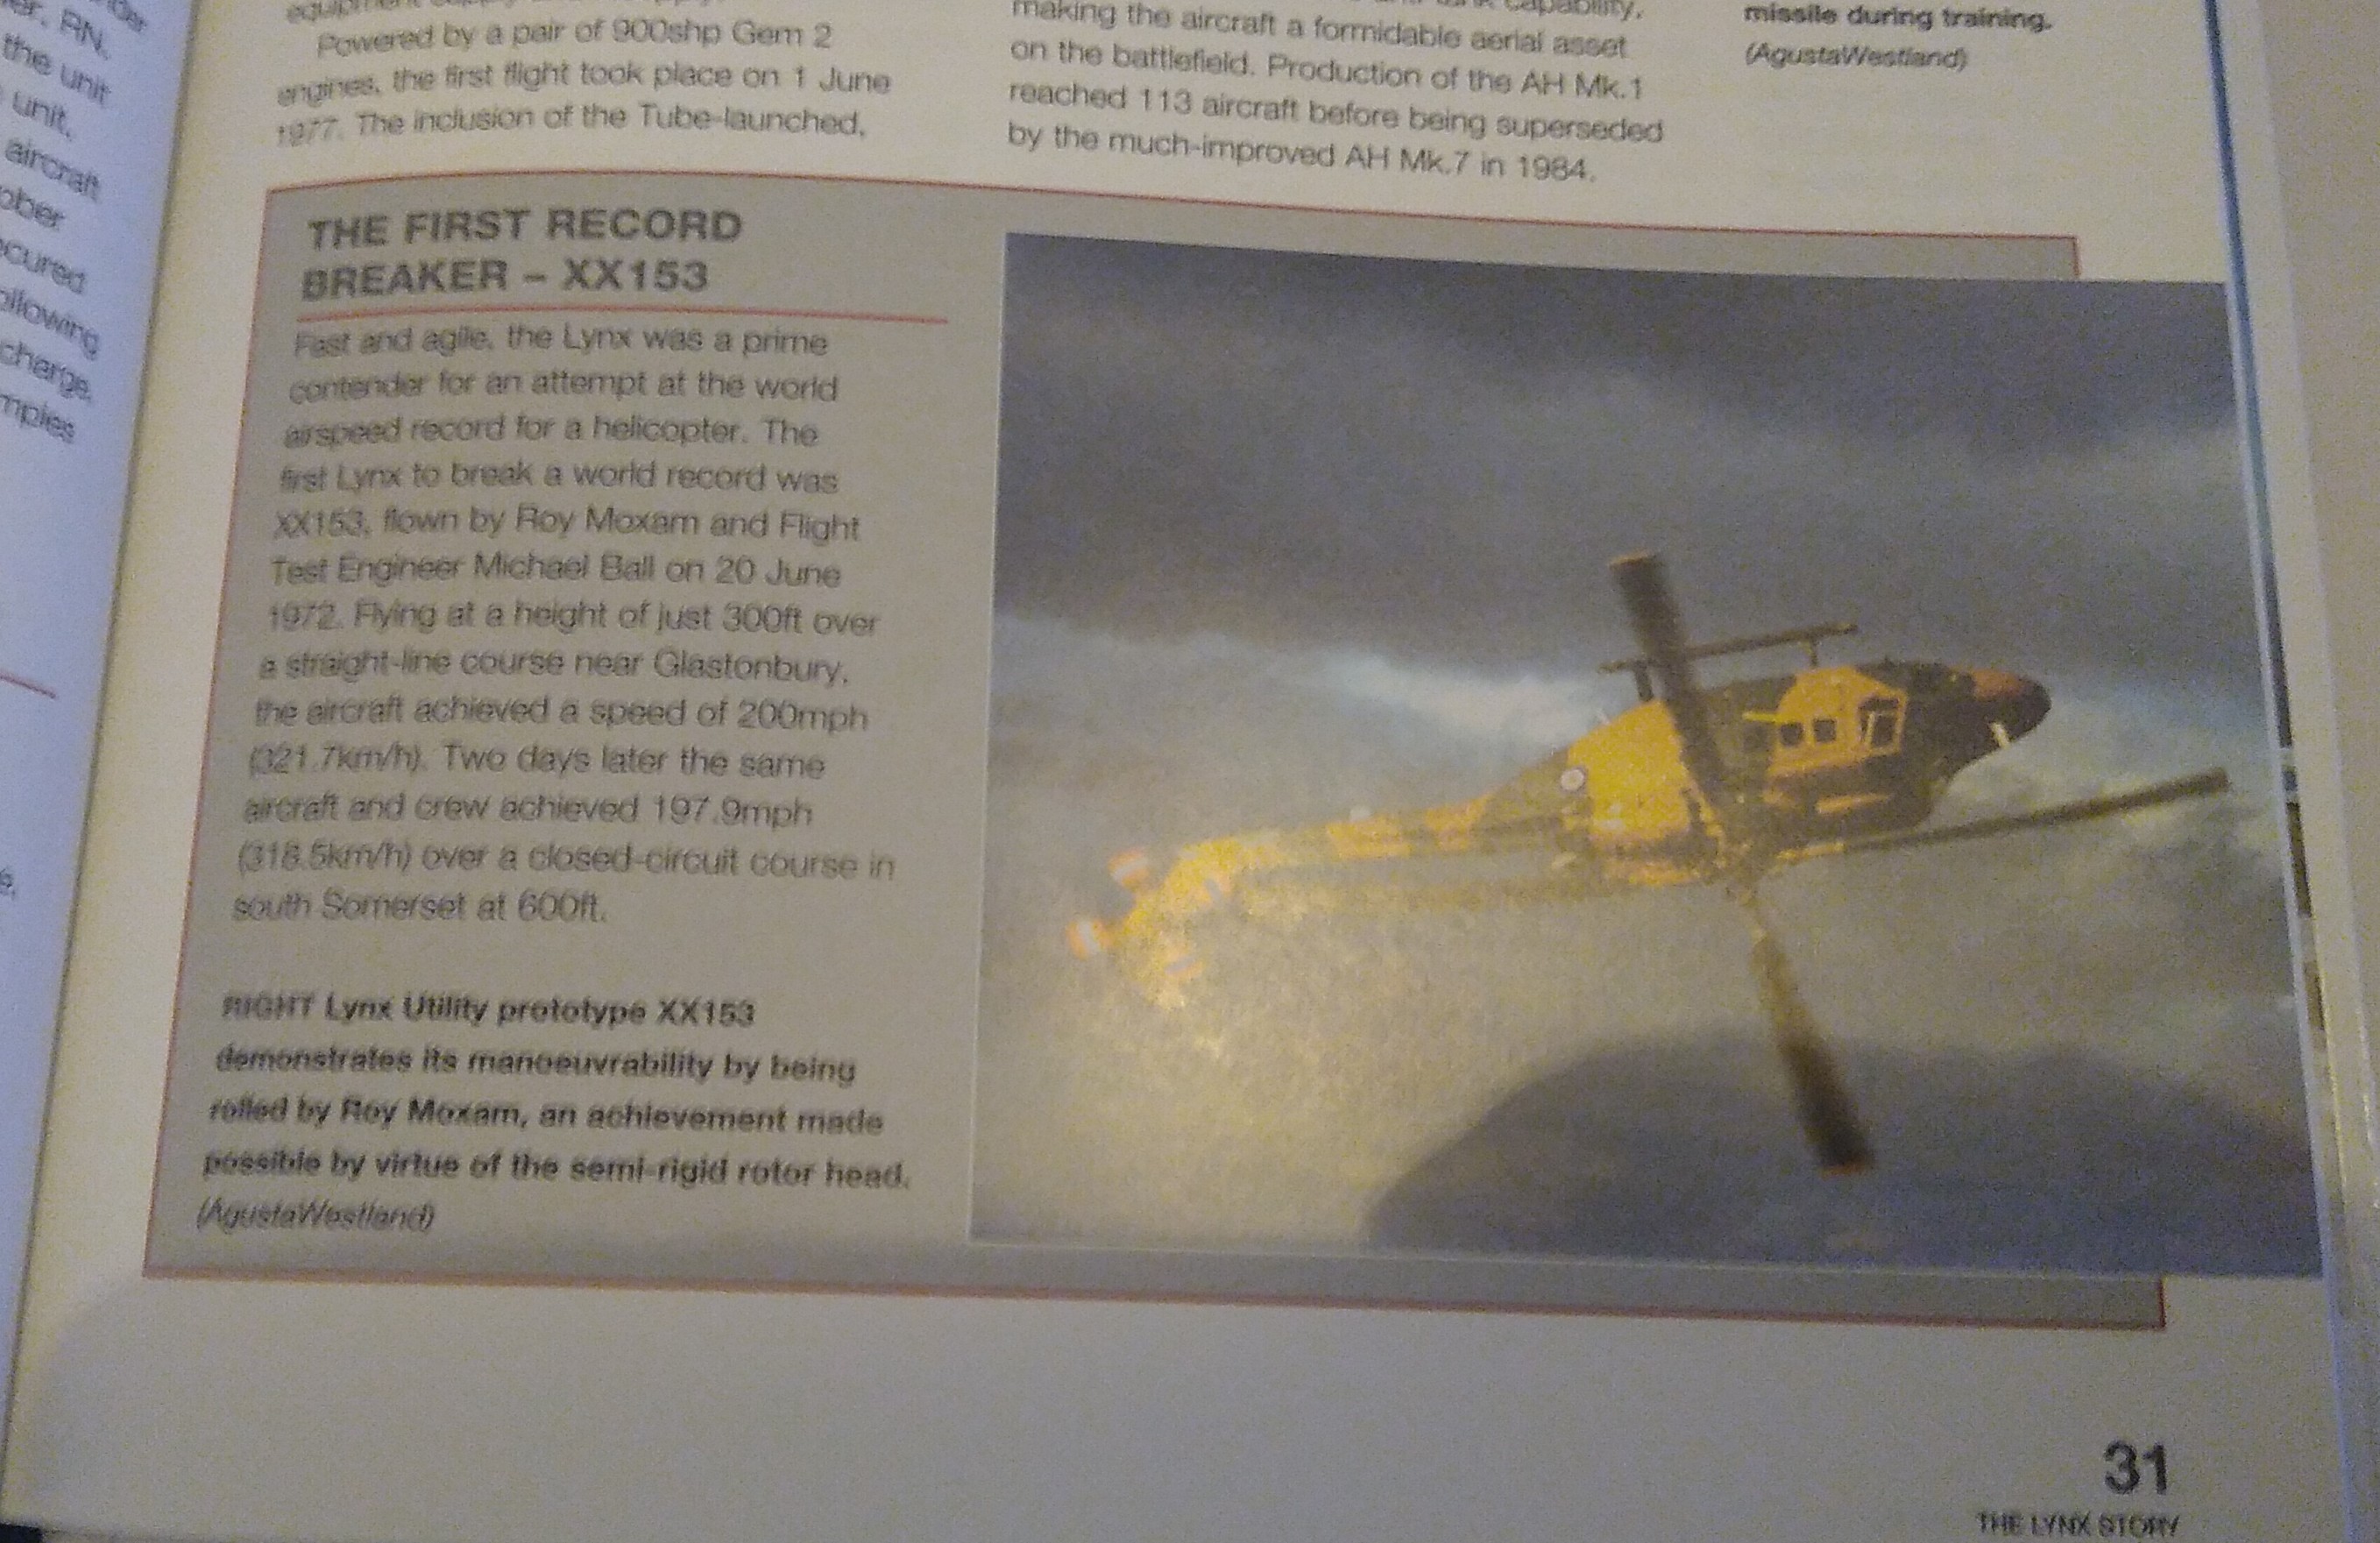
I might join in with it and build it as one of the early speed record holders. Iirc correctly a couple of the early prototypes were used to make attempts at the record. Of course these would later be broken by the modified G-LYNX with BERP blades.
I’m hoping that being Matchbox, it will be a quick and trouble free build.
1 Like
Ok, so here’s what I might do.
Quick check in Haynes Workshop Lynx manual and I found the one I’m interested in building.
As far as I know, only Matchbox and Frog have ever kitted the early Lynx with the small cabin windows.
2 Likes
Just a quick update to prove I am still working away on this. Nearly ready for paint. A few small fit issues but nothing major. Main and tail rotors are not fixed, and the winglets aren’t either for ease of painting.
Oh, and the def models gun set came together very nicely.
Cheers, Jim

6 Likes
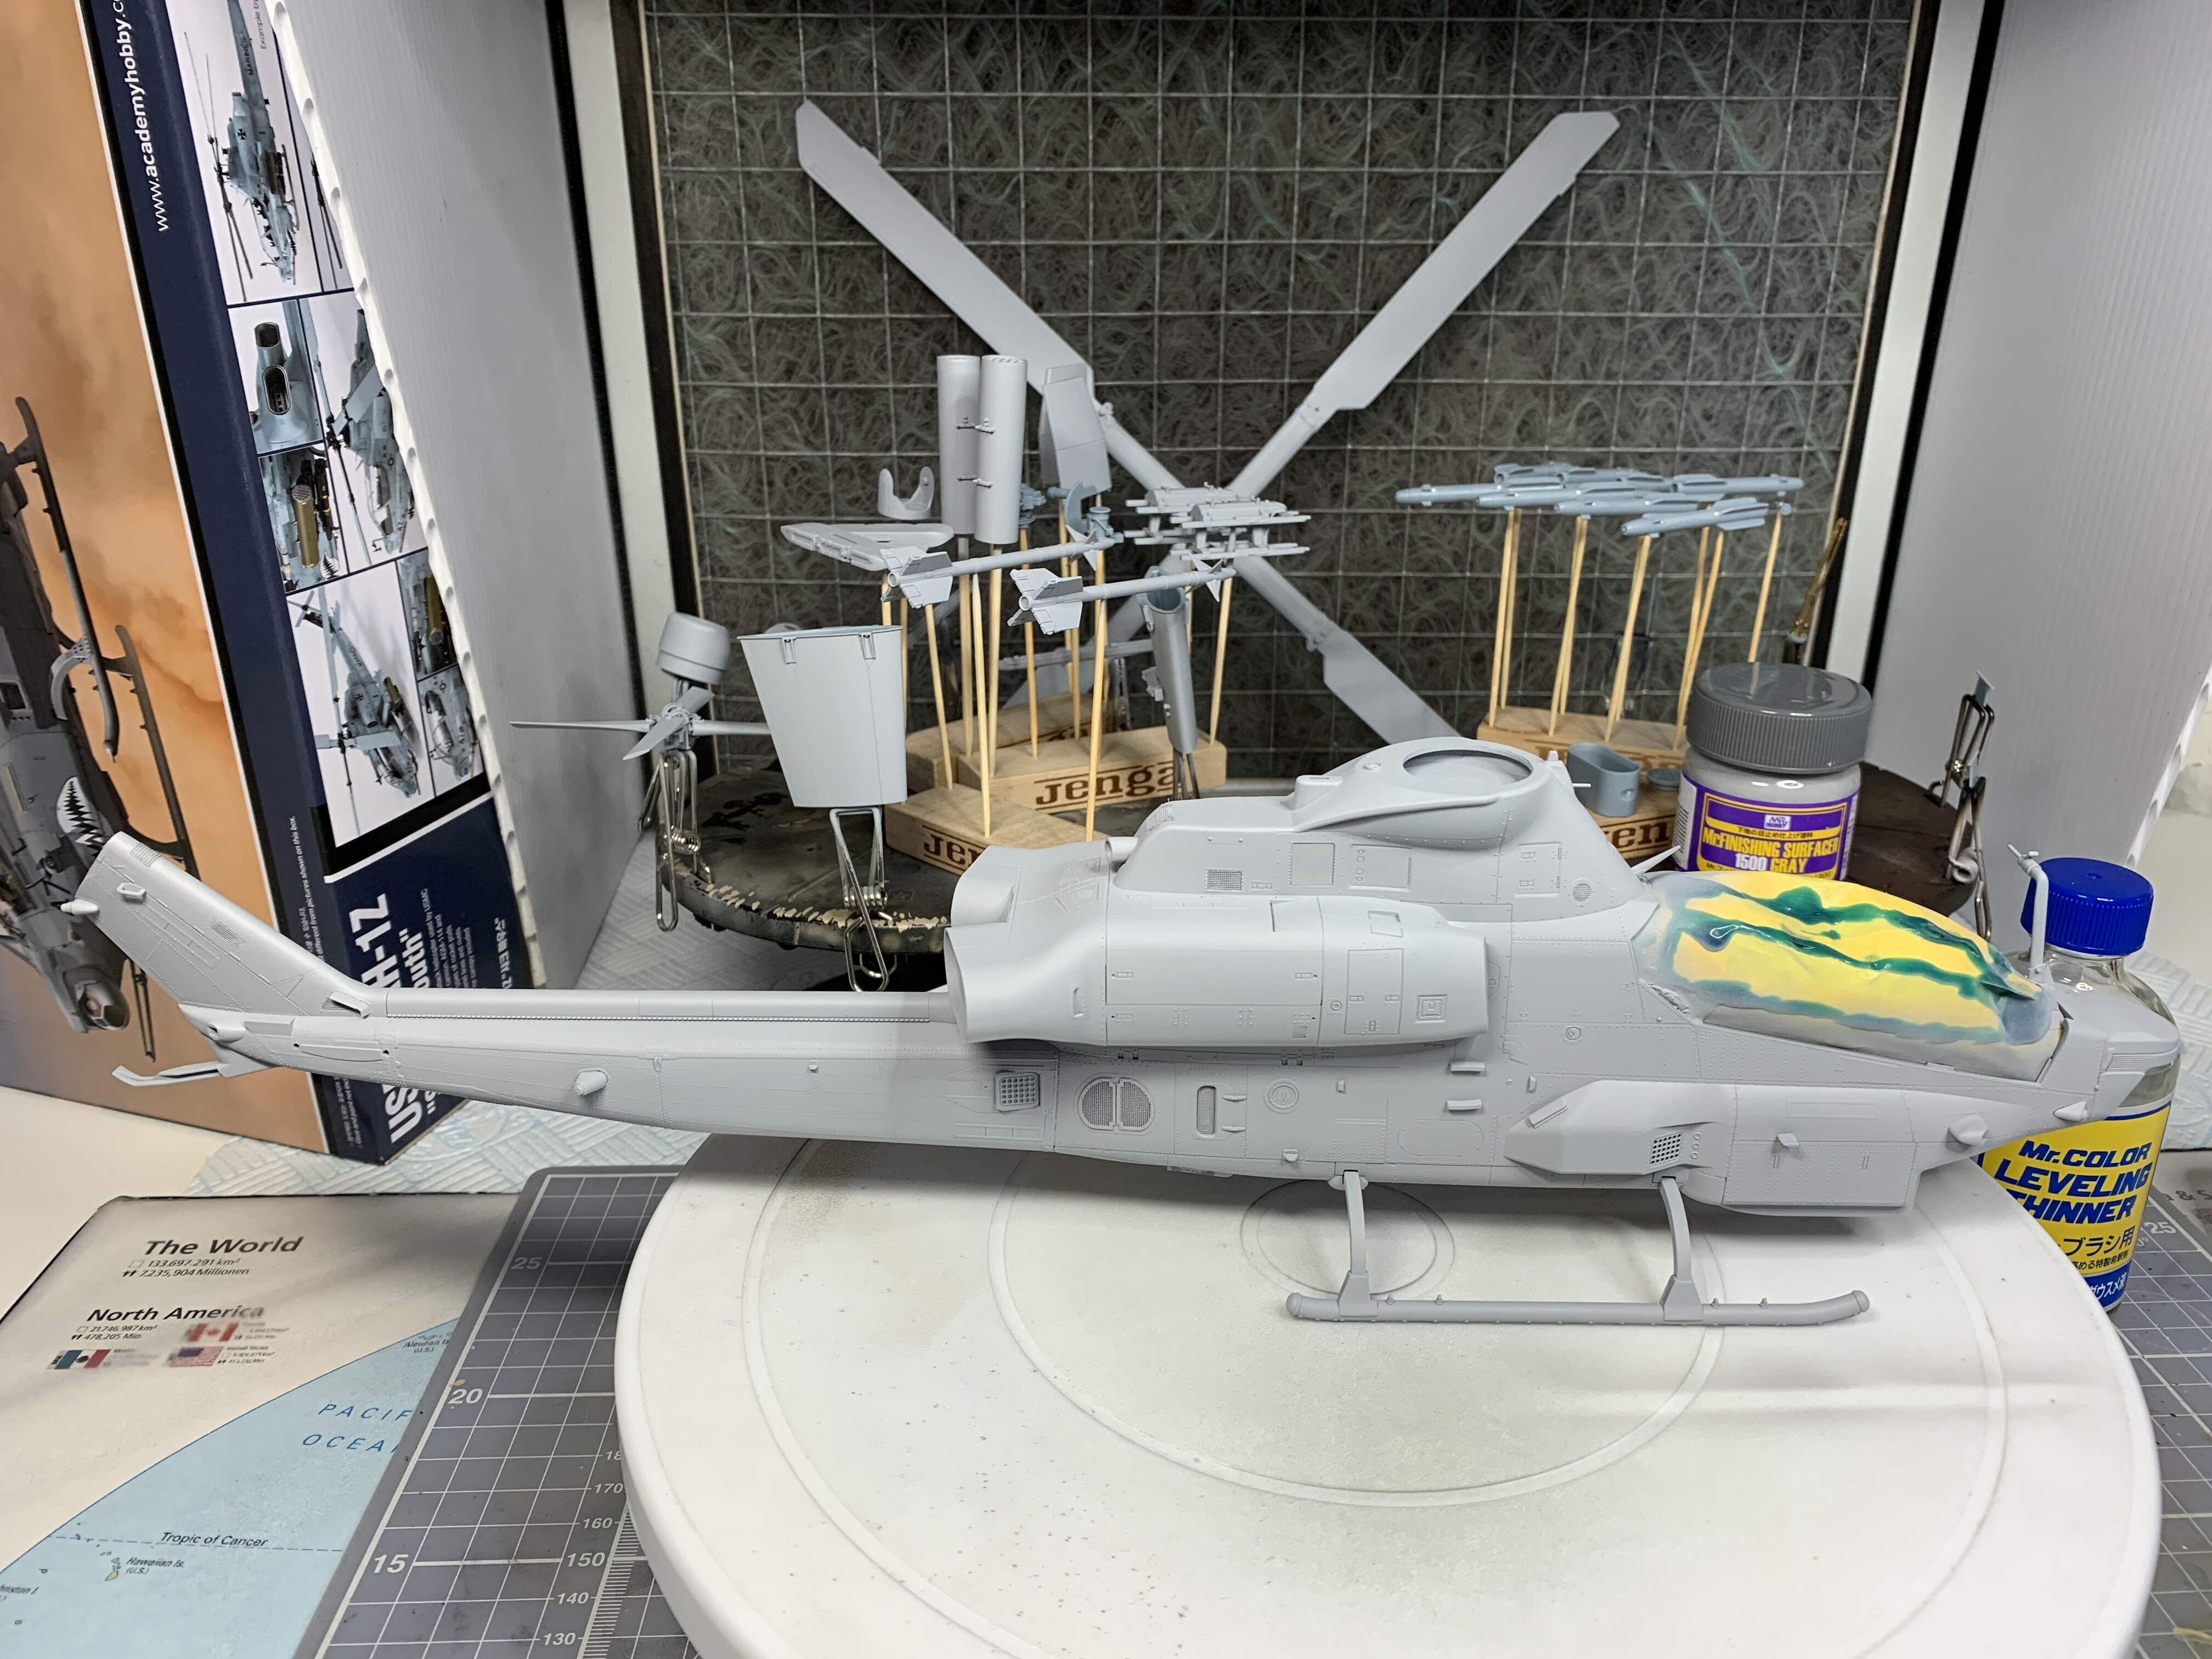
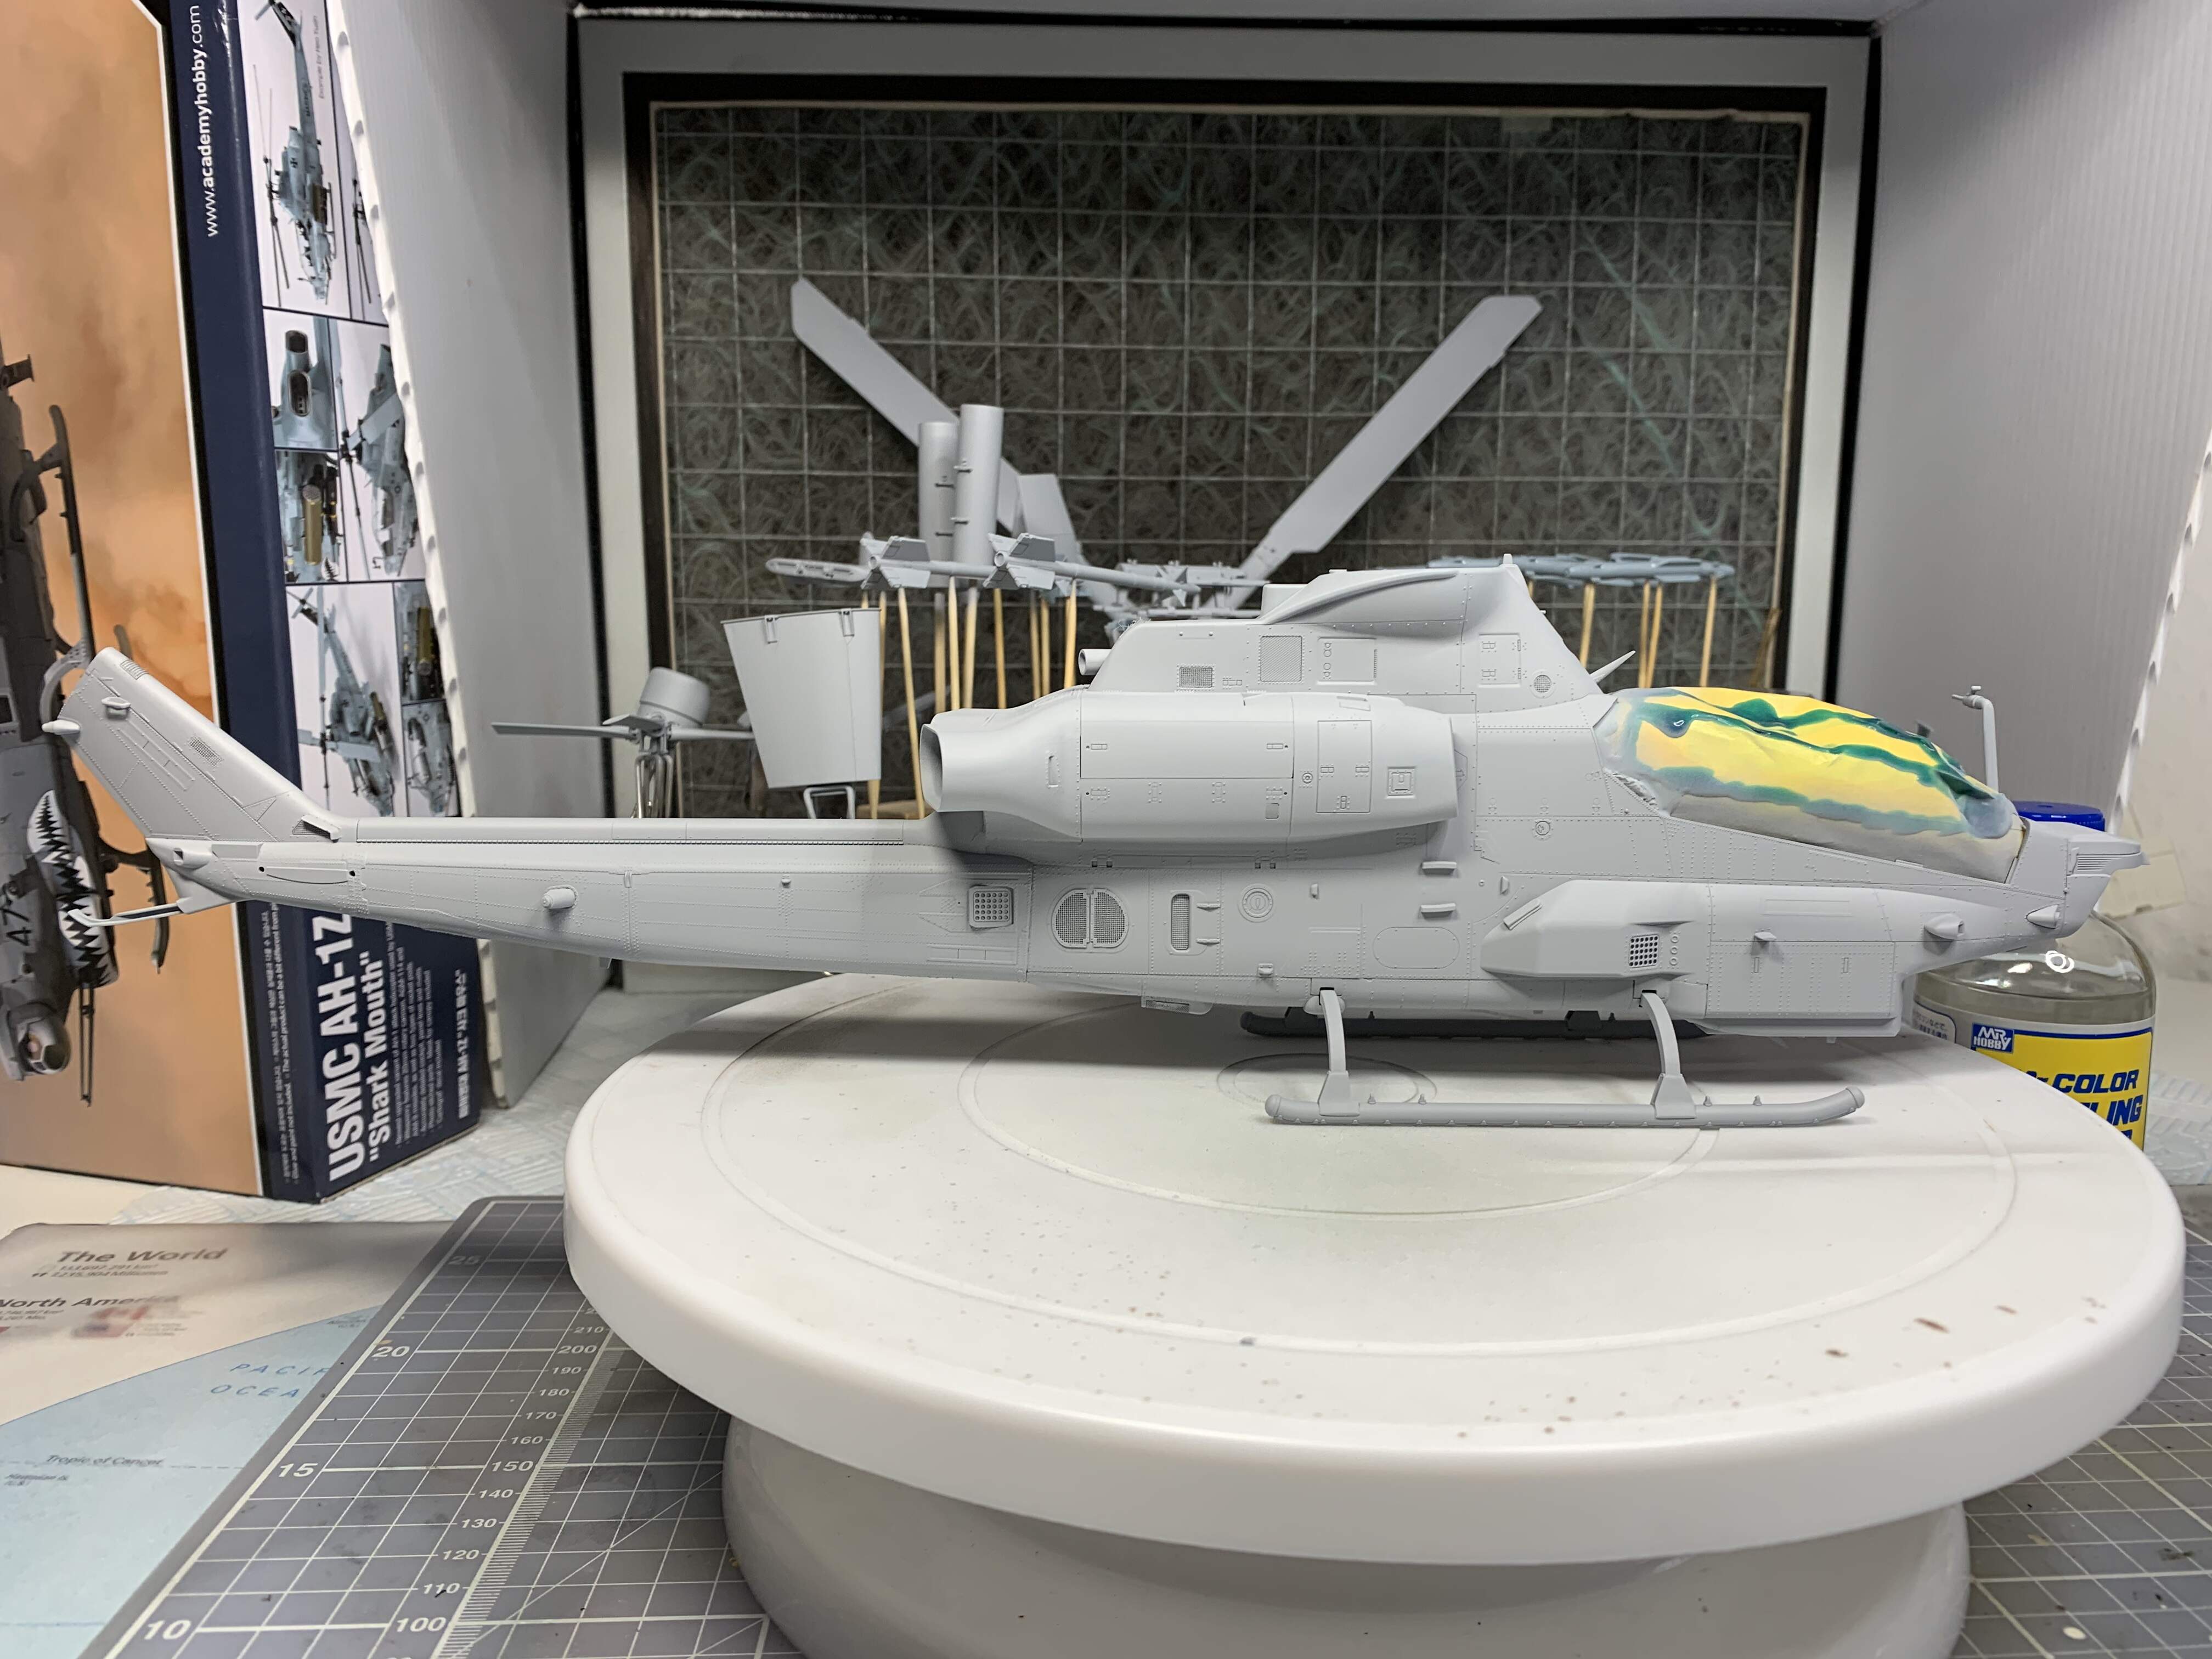
Just primed in Mr Finishing Surfacer 1500 grey. Great stuff and I’m thinking not too far off the Light Ghost Grey main colour, just not enough blue in it. Still going to pre-shade and use the actual colour though, just to decide what colour to preshade with, black may be too dark…
So happy to be painting again!
Cheers, Jim.
4 Likes
Had a few minutes to make a start on the Lynx this afternoon.
This constitutes the entirety of the cabin. I’ve decided to fill it out with a couple of figures from the old tool Airfix Buccaneer. I would have used the kits, but Matchbox moulded them with oxygen masks on their faces. Luckily they fit perfectly and need nothing except the masks trimmed off their chests.
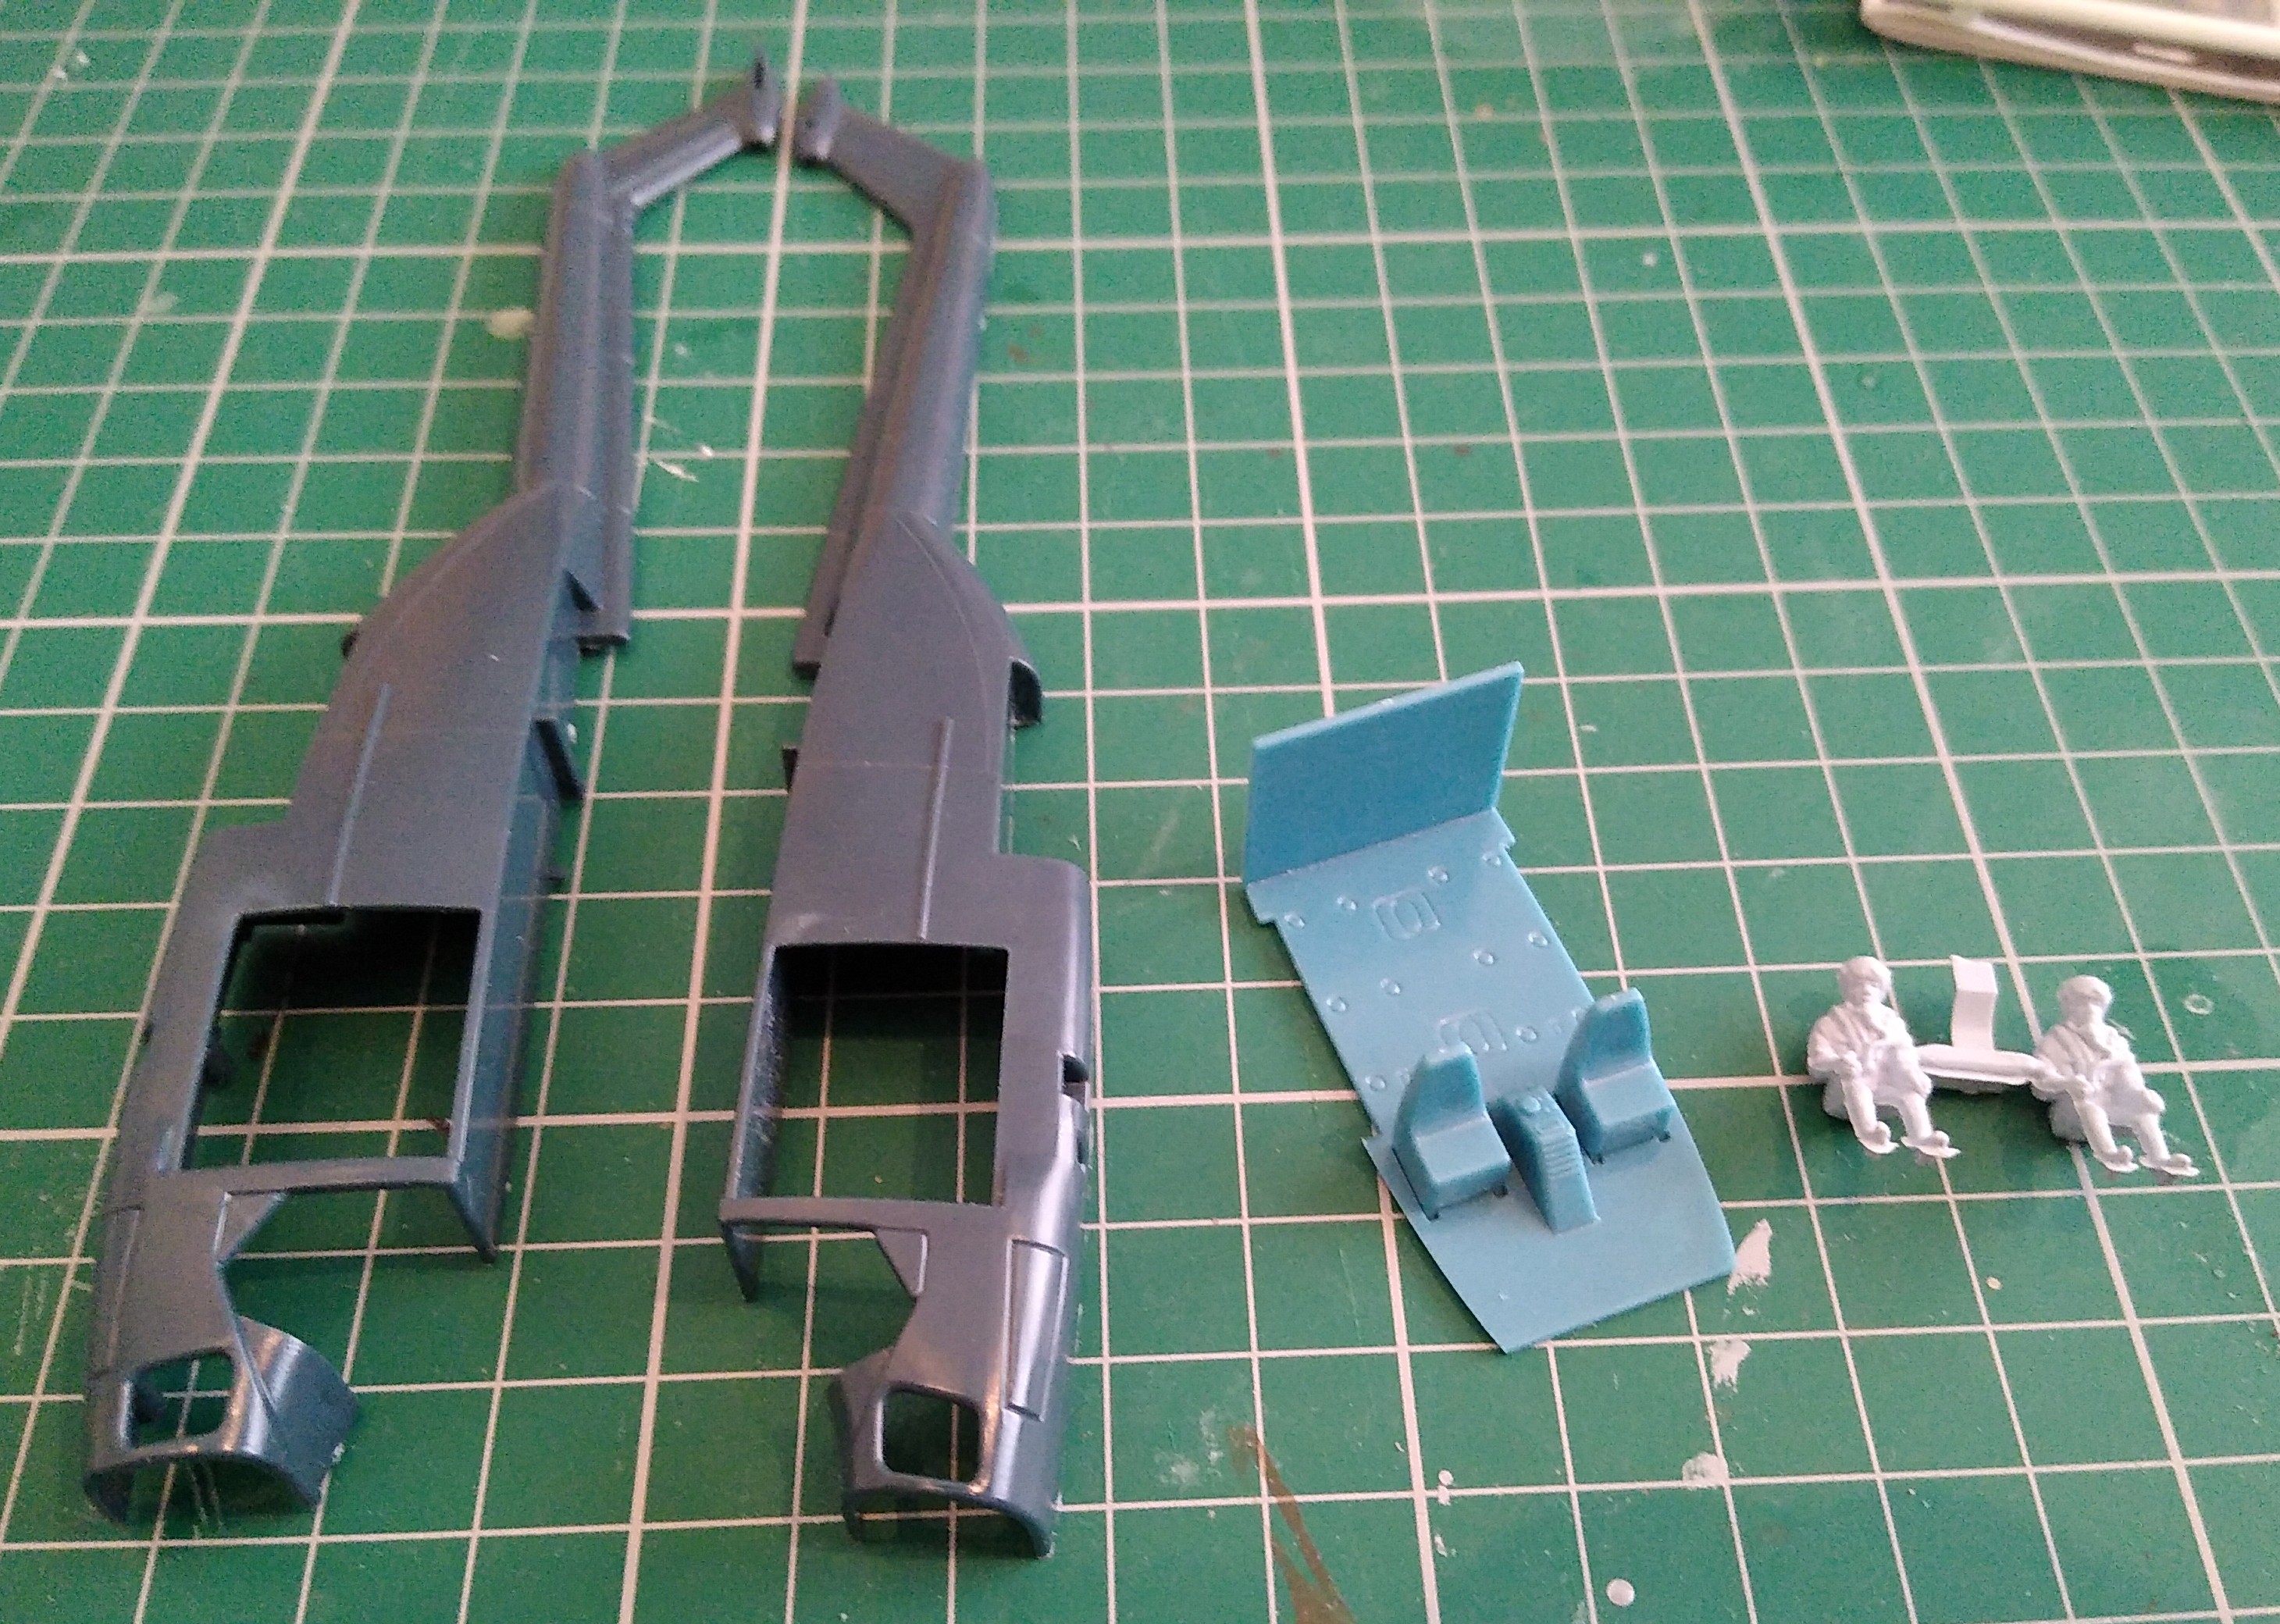
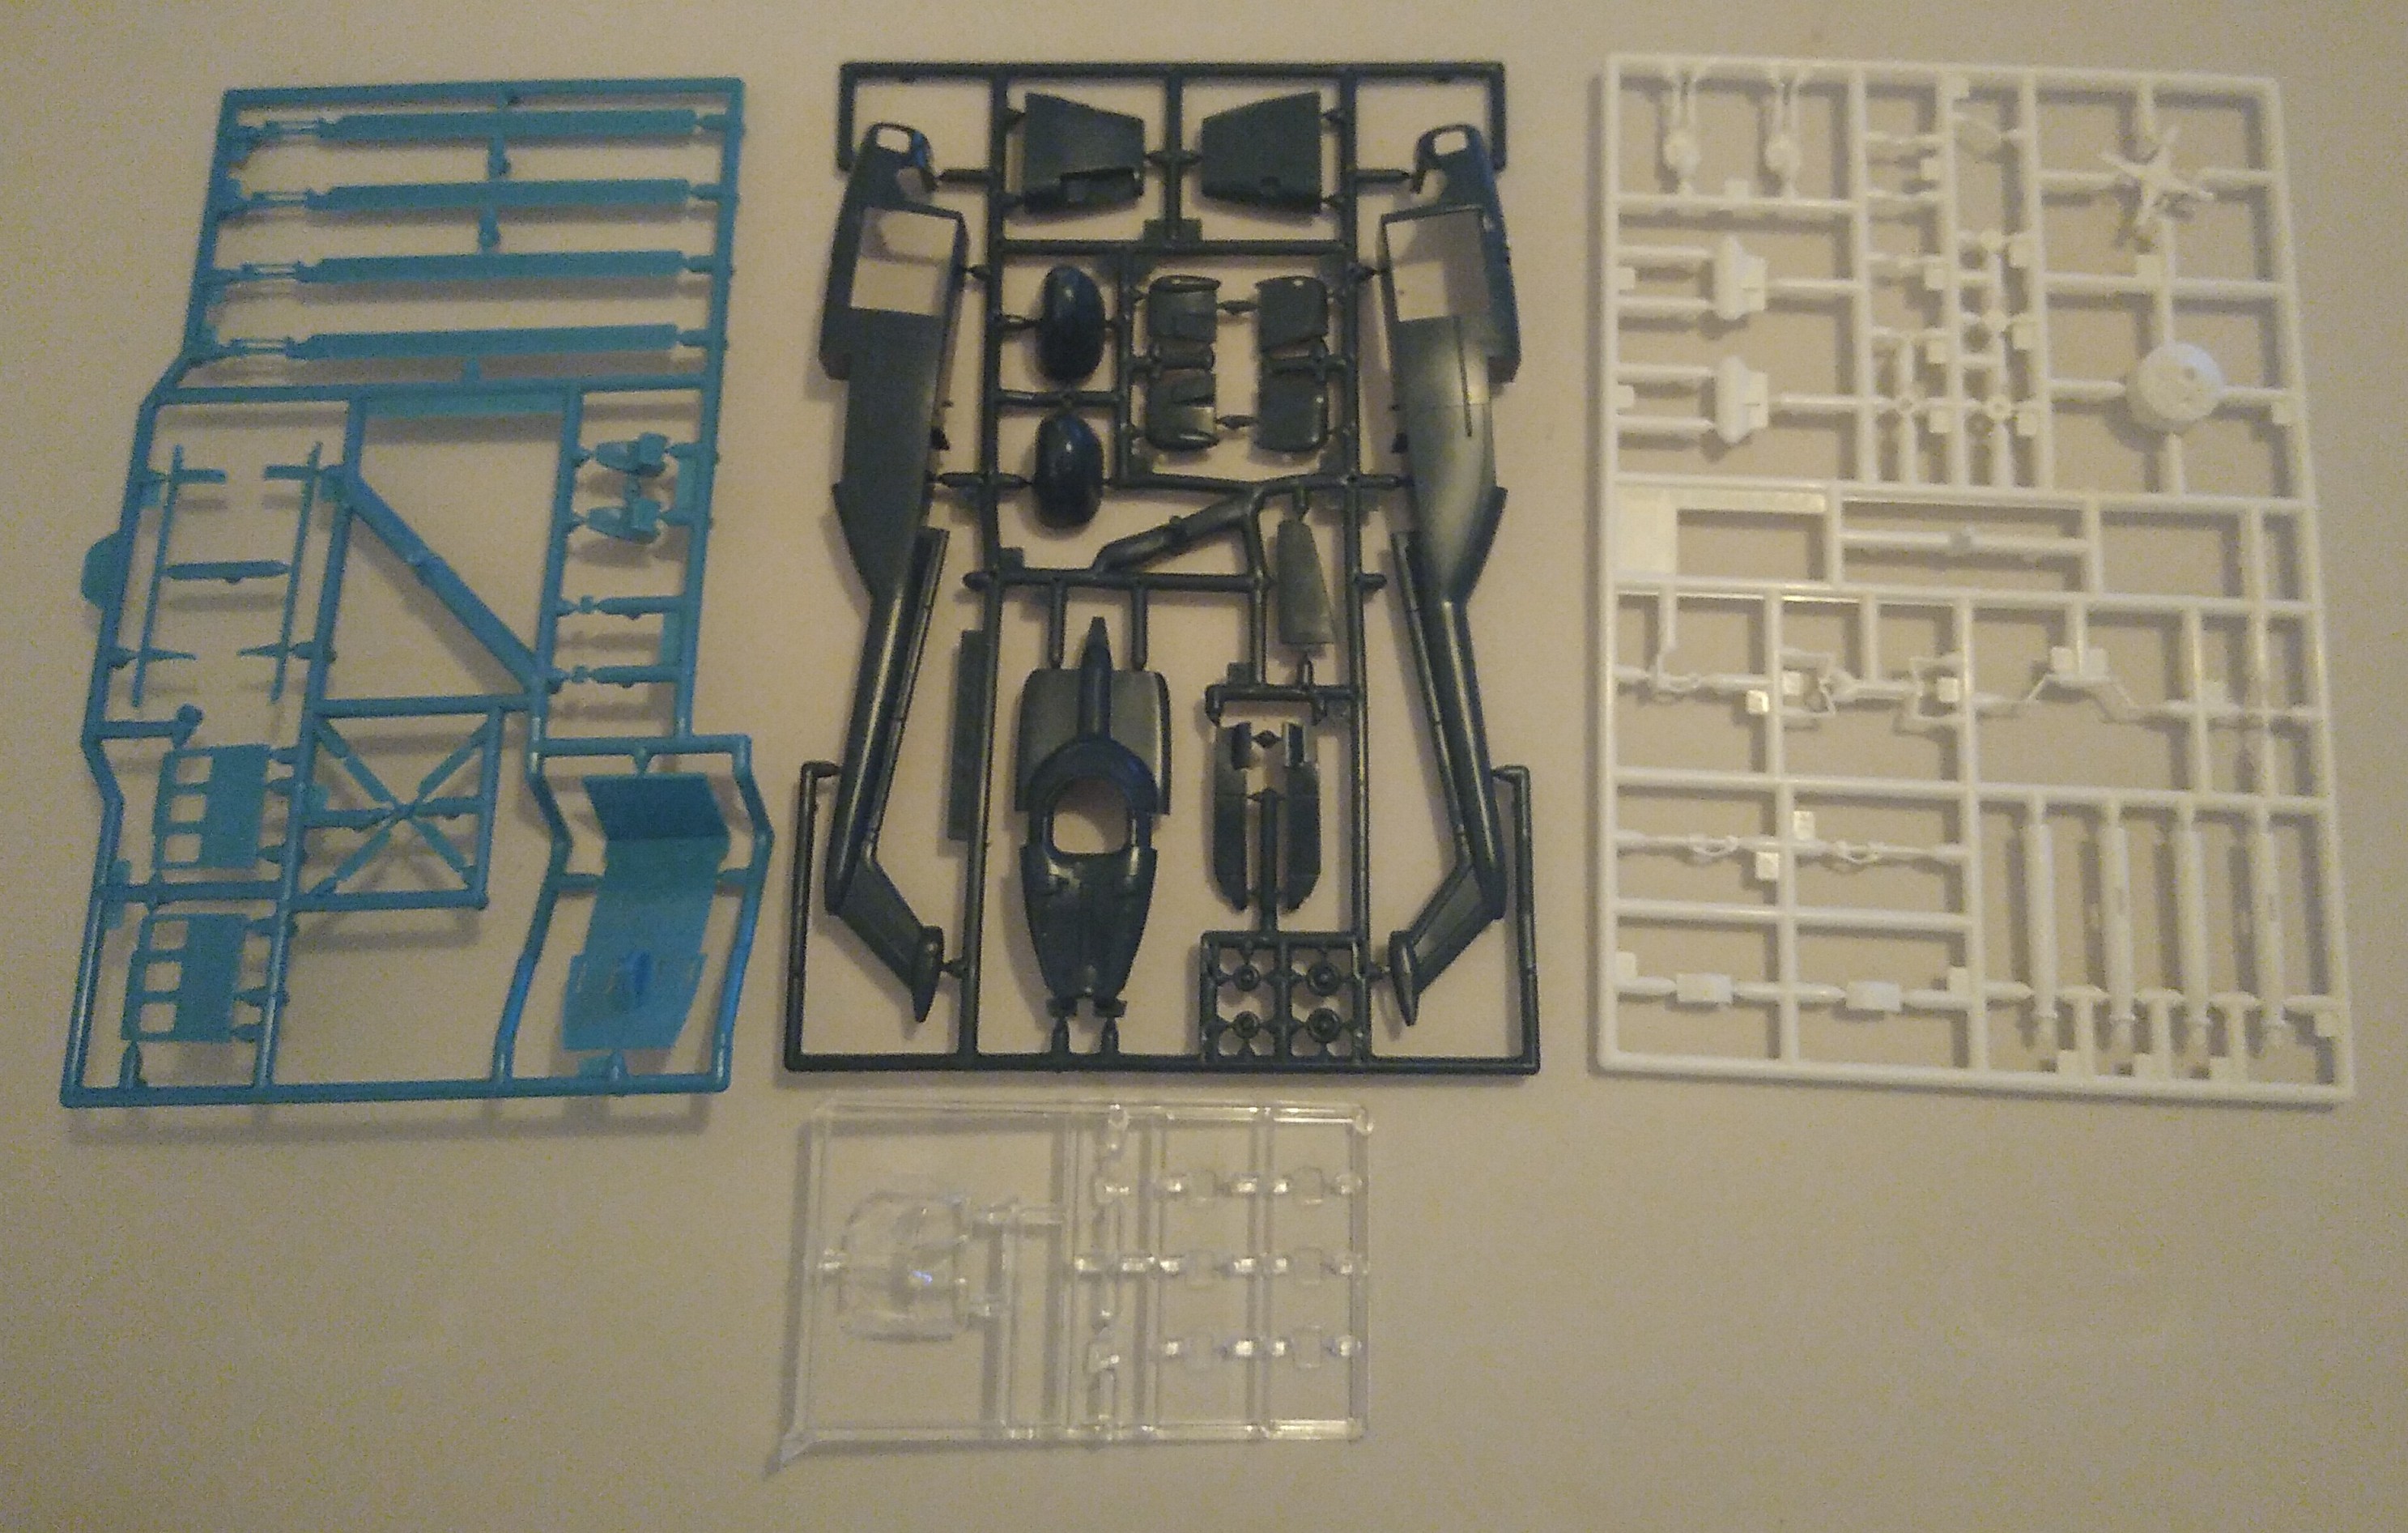
There’s hardly any flash on the parts and everything is moulded very cleanly and the fuselage halves fit perfectly. I suppose this is one of the things I’ve always liked about Matchbox. They gave me far less trouble than old Airfix when I first started out in the early 90’s.
4 Likes
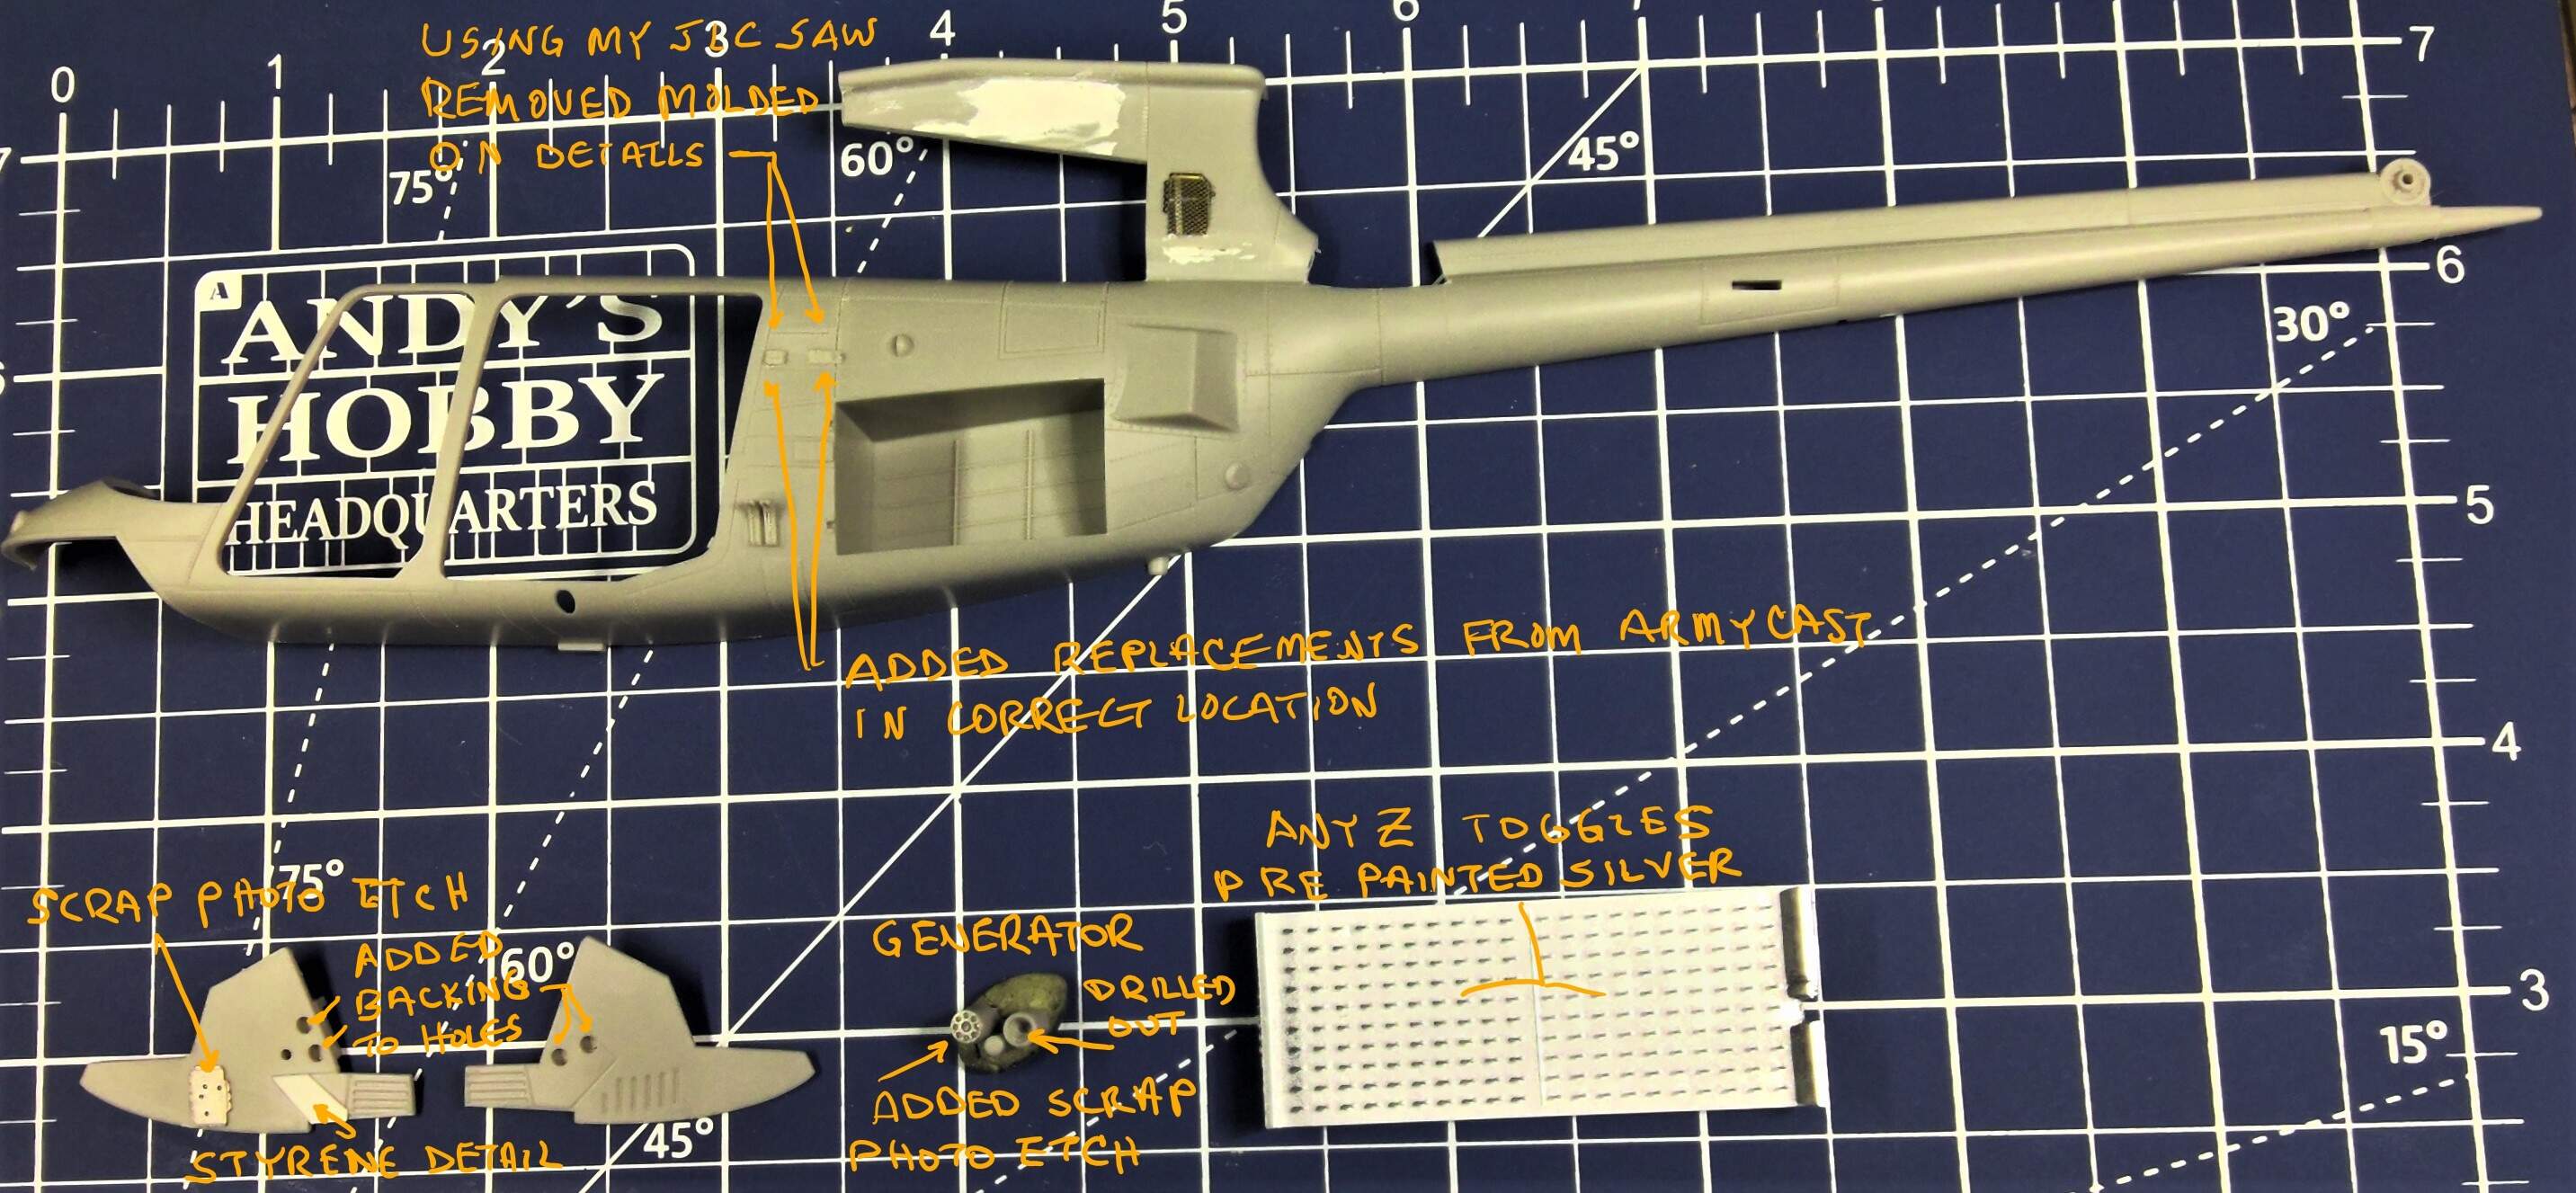
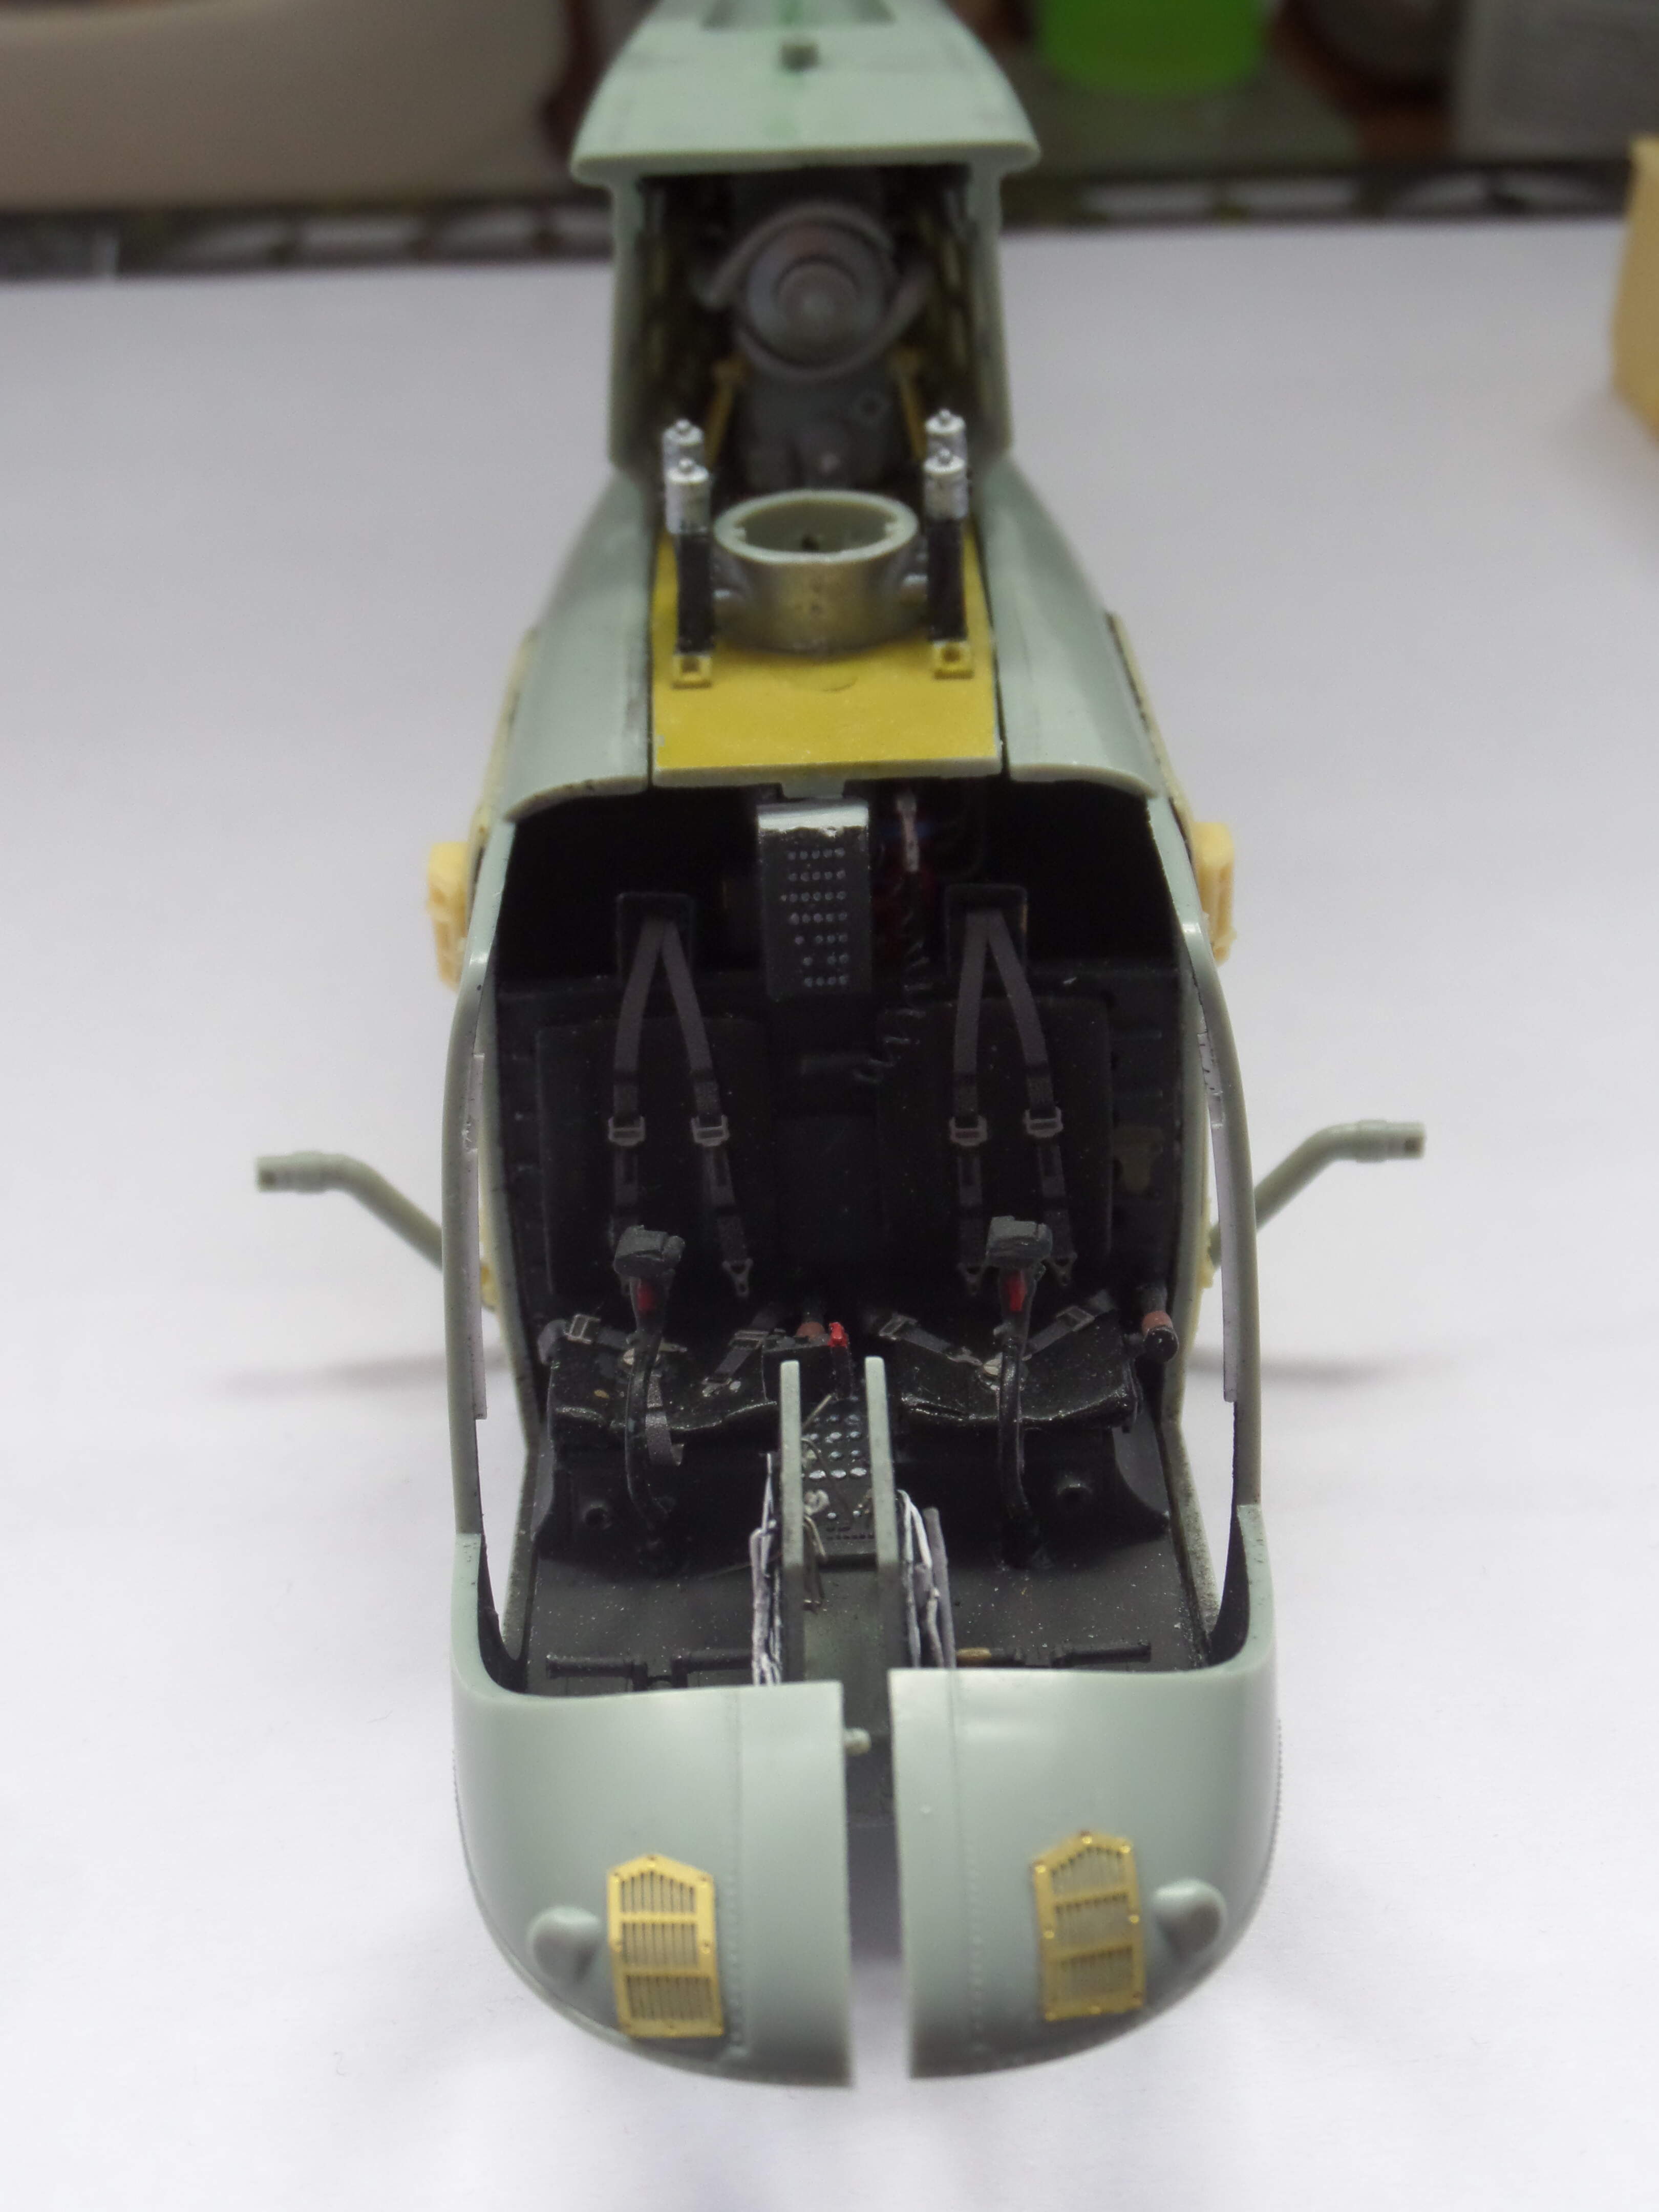
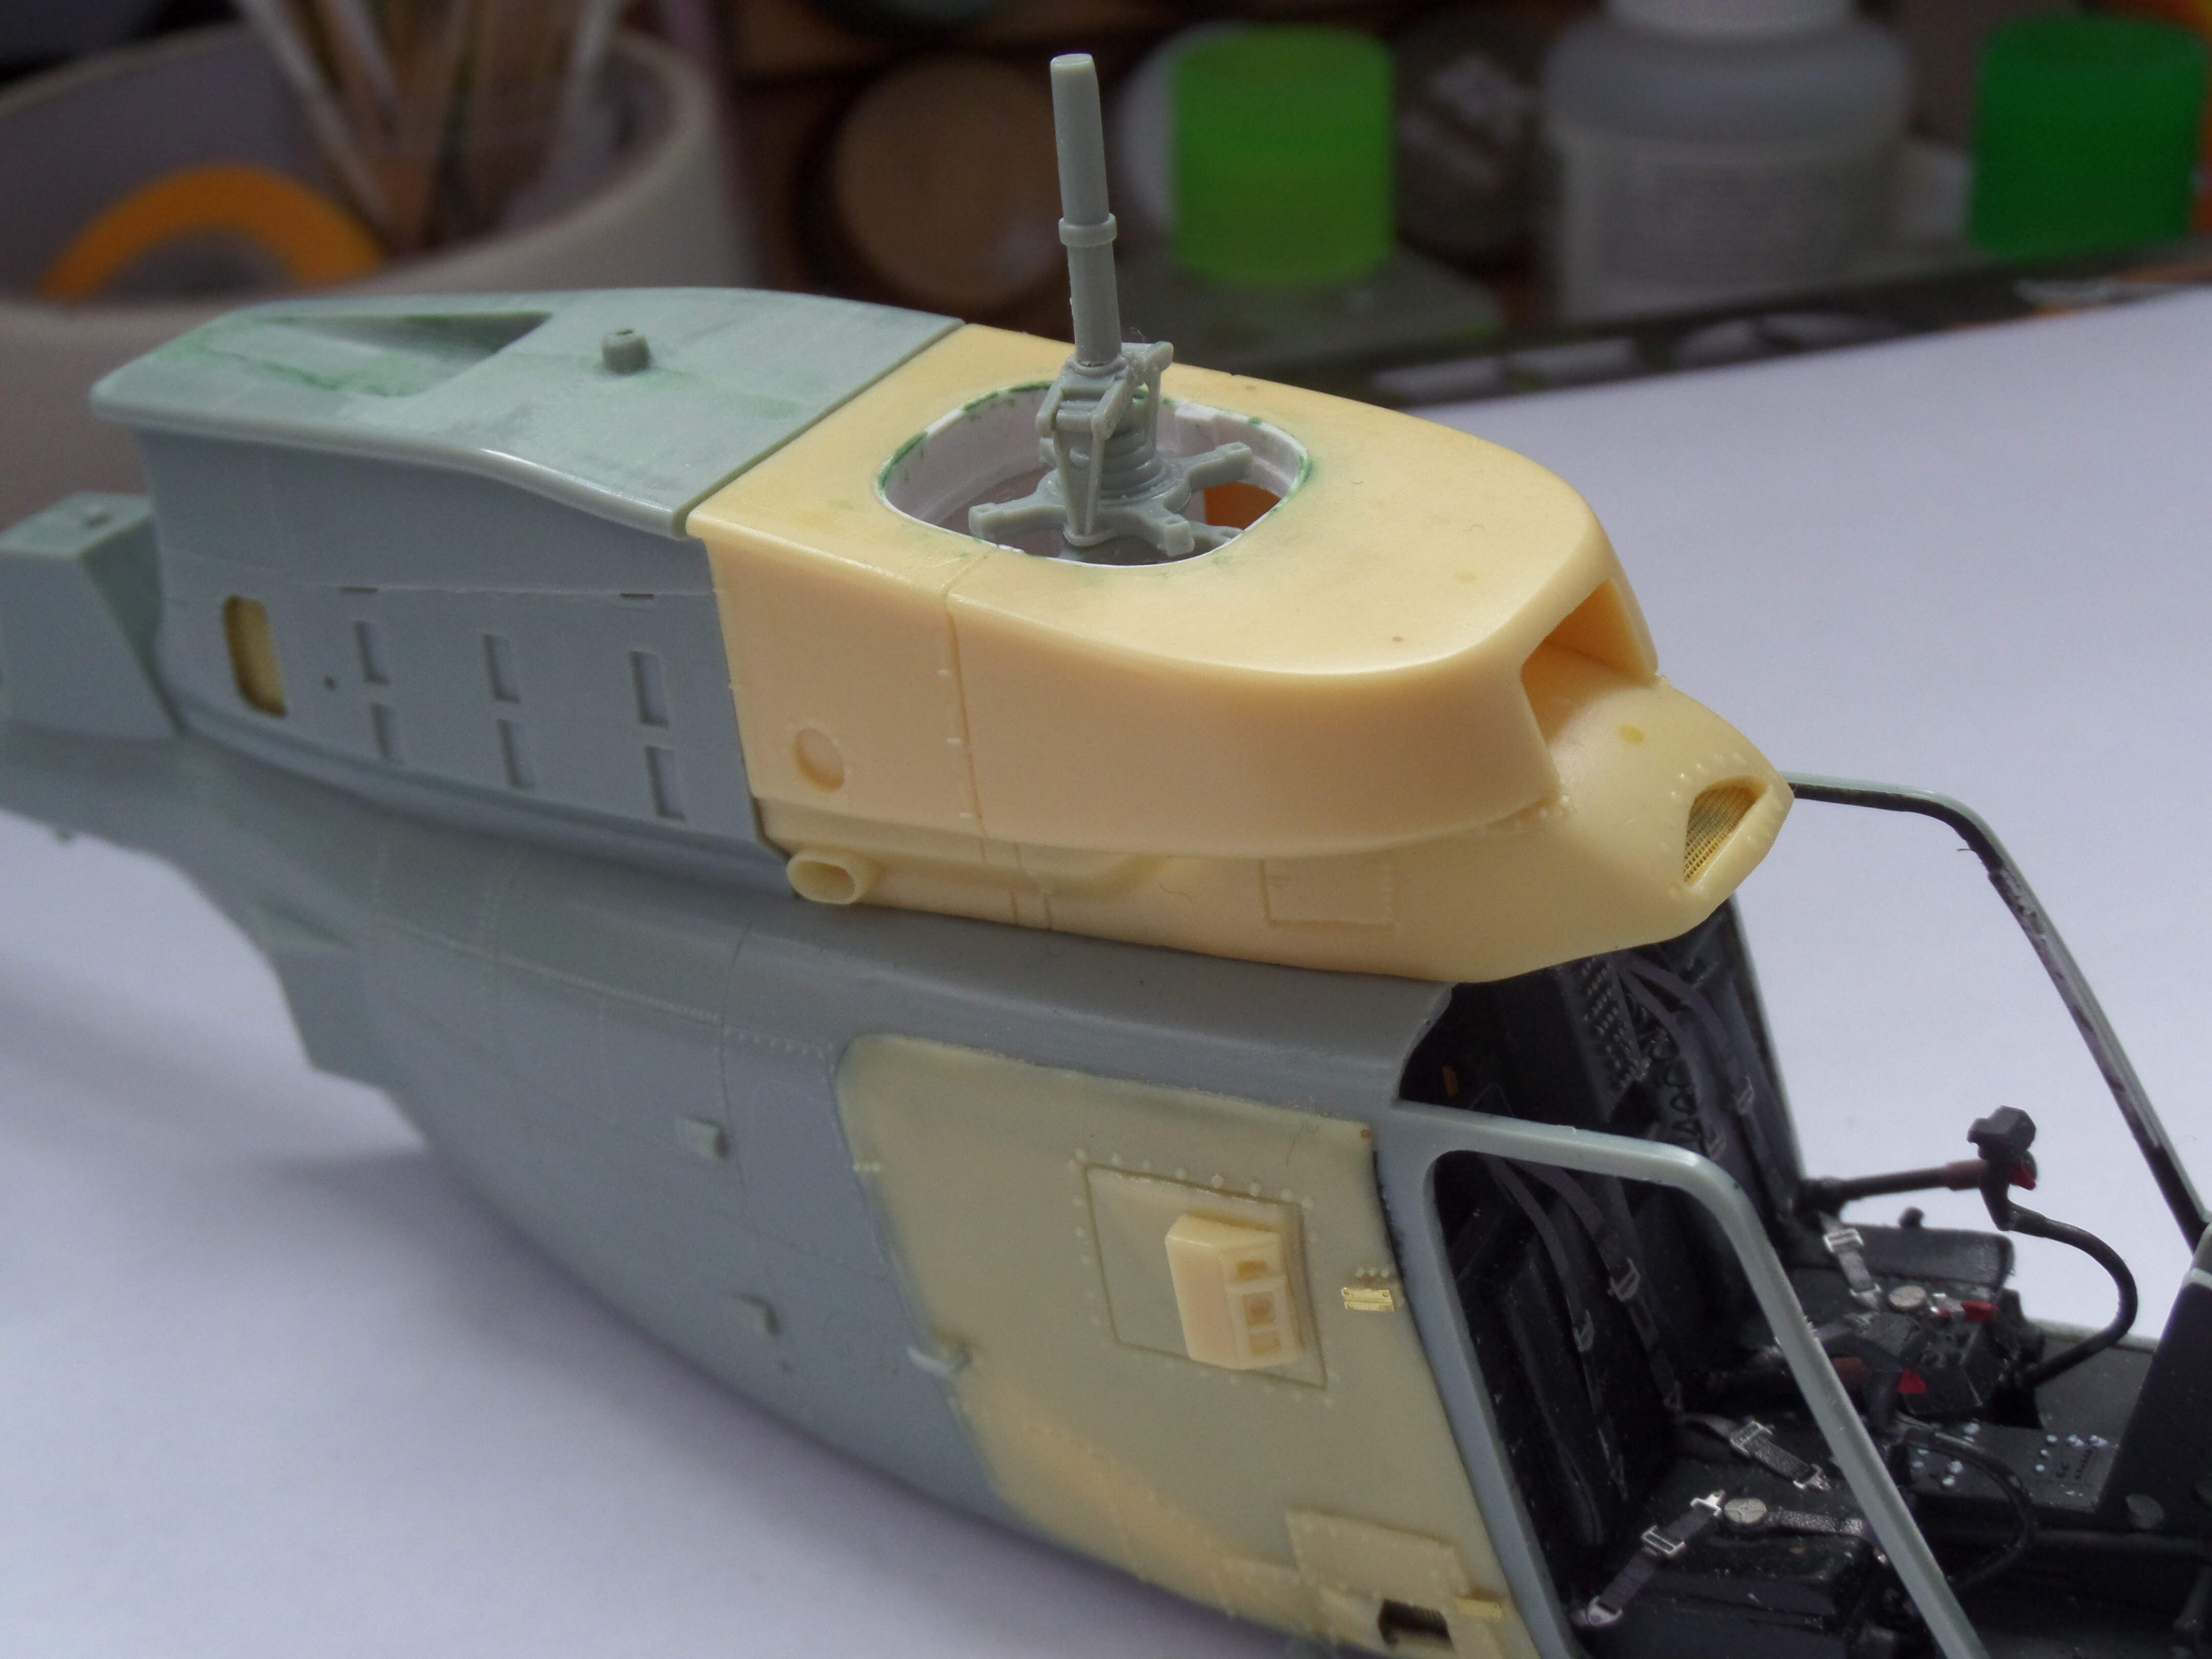
Just a quick update, the avionics bay doors were fitted and the inside of the fuselage painted black before being fitted together and any gaps sorted with filler. The tail rotor gear box is very basic on the kit so I reshaped it and added just a few small pieces. The support brackets for the tail fin again are very basic and so need to be scratched. I’d love the Zactomodels upgrade but they aren’t posting to the UK. The rotor mast and doghouse are dry fitted to see what adjustments need making but aren’t that bad as is. Will just need some filler and sanding down. The weapon pylons were added before the fuselage halves were joined otherwise I feel they would droop and they were set at a rearward angle as per photos I’ve seen so the rear doors clear them. The angle is about the same as the rear door pillar. The nose as you can see isn’t glued so I can make adjustments to the instrument panel and windshields when the time comes to fit them.

8 Likes
Nicely done 
@Maximus8425 your doing well with that kit, my version is a bit behind you. I’ve had to glue the two fuselage halves in stages and it is reassuring to know that your Corbin nose section is still splayed open at odd angles.
Yes the nose will be a challenge, I think the windscreen section and nose will need to be glued together at the same time. It is a very tight fit and will take a bit of force to keep them together once glued. I’ll be using superglue on the windscreen.
Very nice. They are all coming along well.
1 Like
super glue on the windscreen, that is a scary thought
2 Likes
If I remember right and you dip the windscreen in Pledge or Future it wont fog up.
Correct, Future or now called Pledge with shine something like that once dry protects against super glue fogging.
@Panzer_modeler @Tank_1812 i wonder what name thst goes by here in the UK…