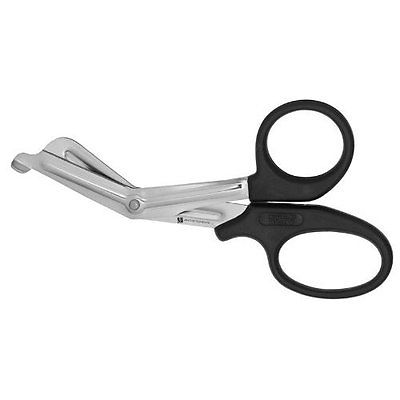
I know, they are amazingly sharp and strong but fine enough to deal with etch. I use them to snip the little nubs off etch parts which are left behind when you remove them from their sheet. Better yet are medical shears, they don’t look it but these cut through most things. They do have a slightly serrated edge though.
Will have to see if I can get some of those scissors. Could do with a decent set.
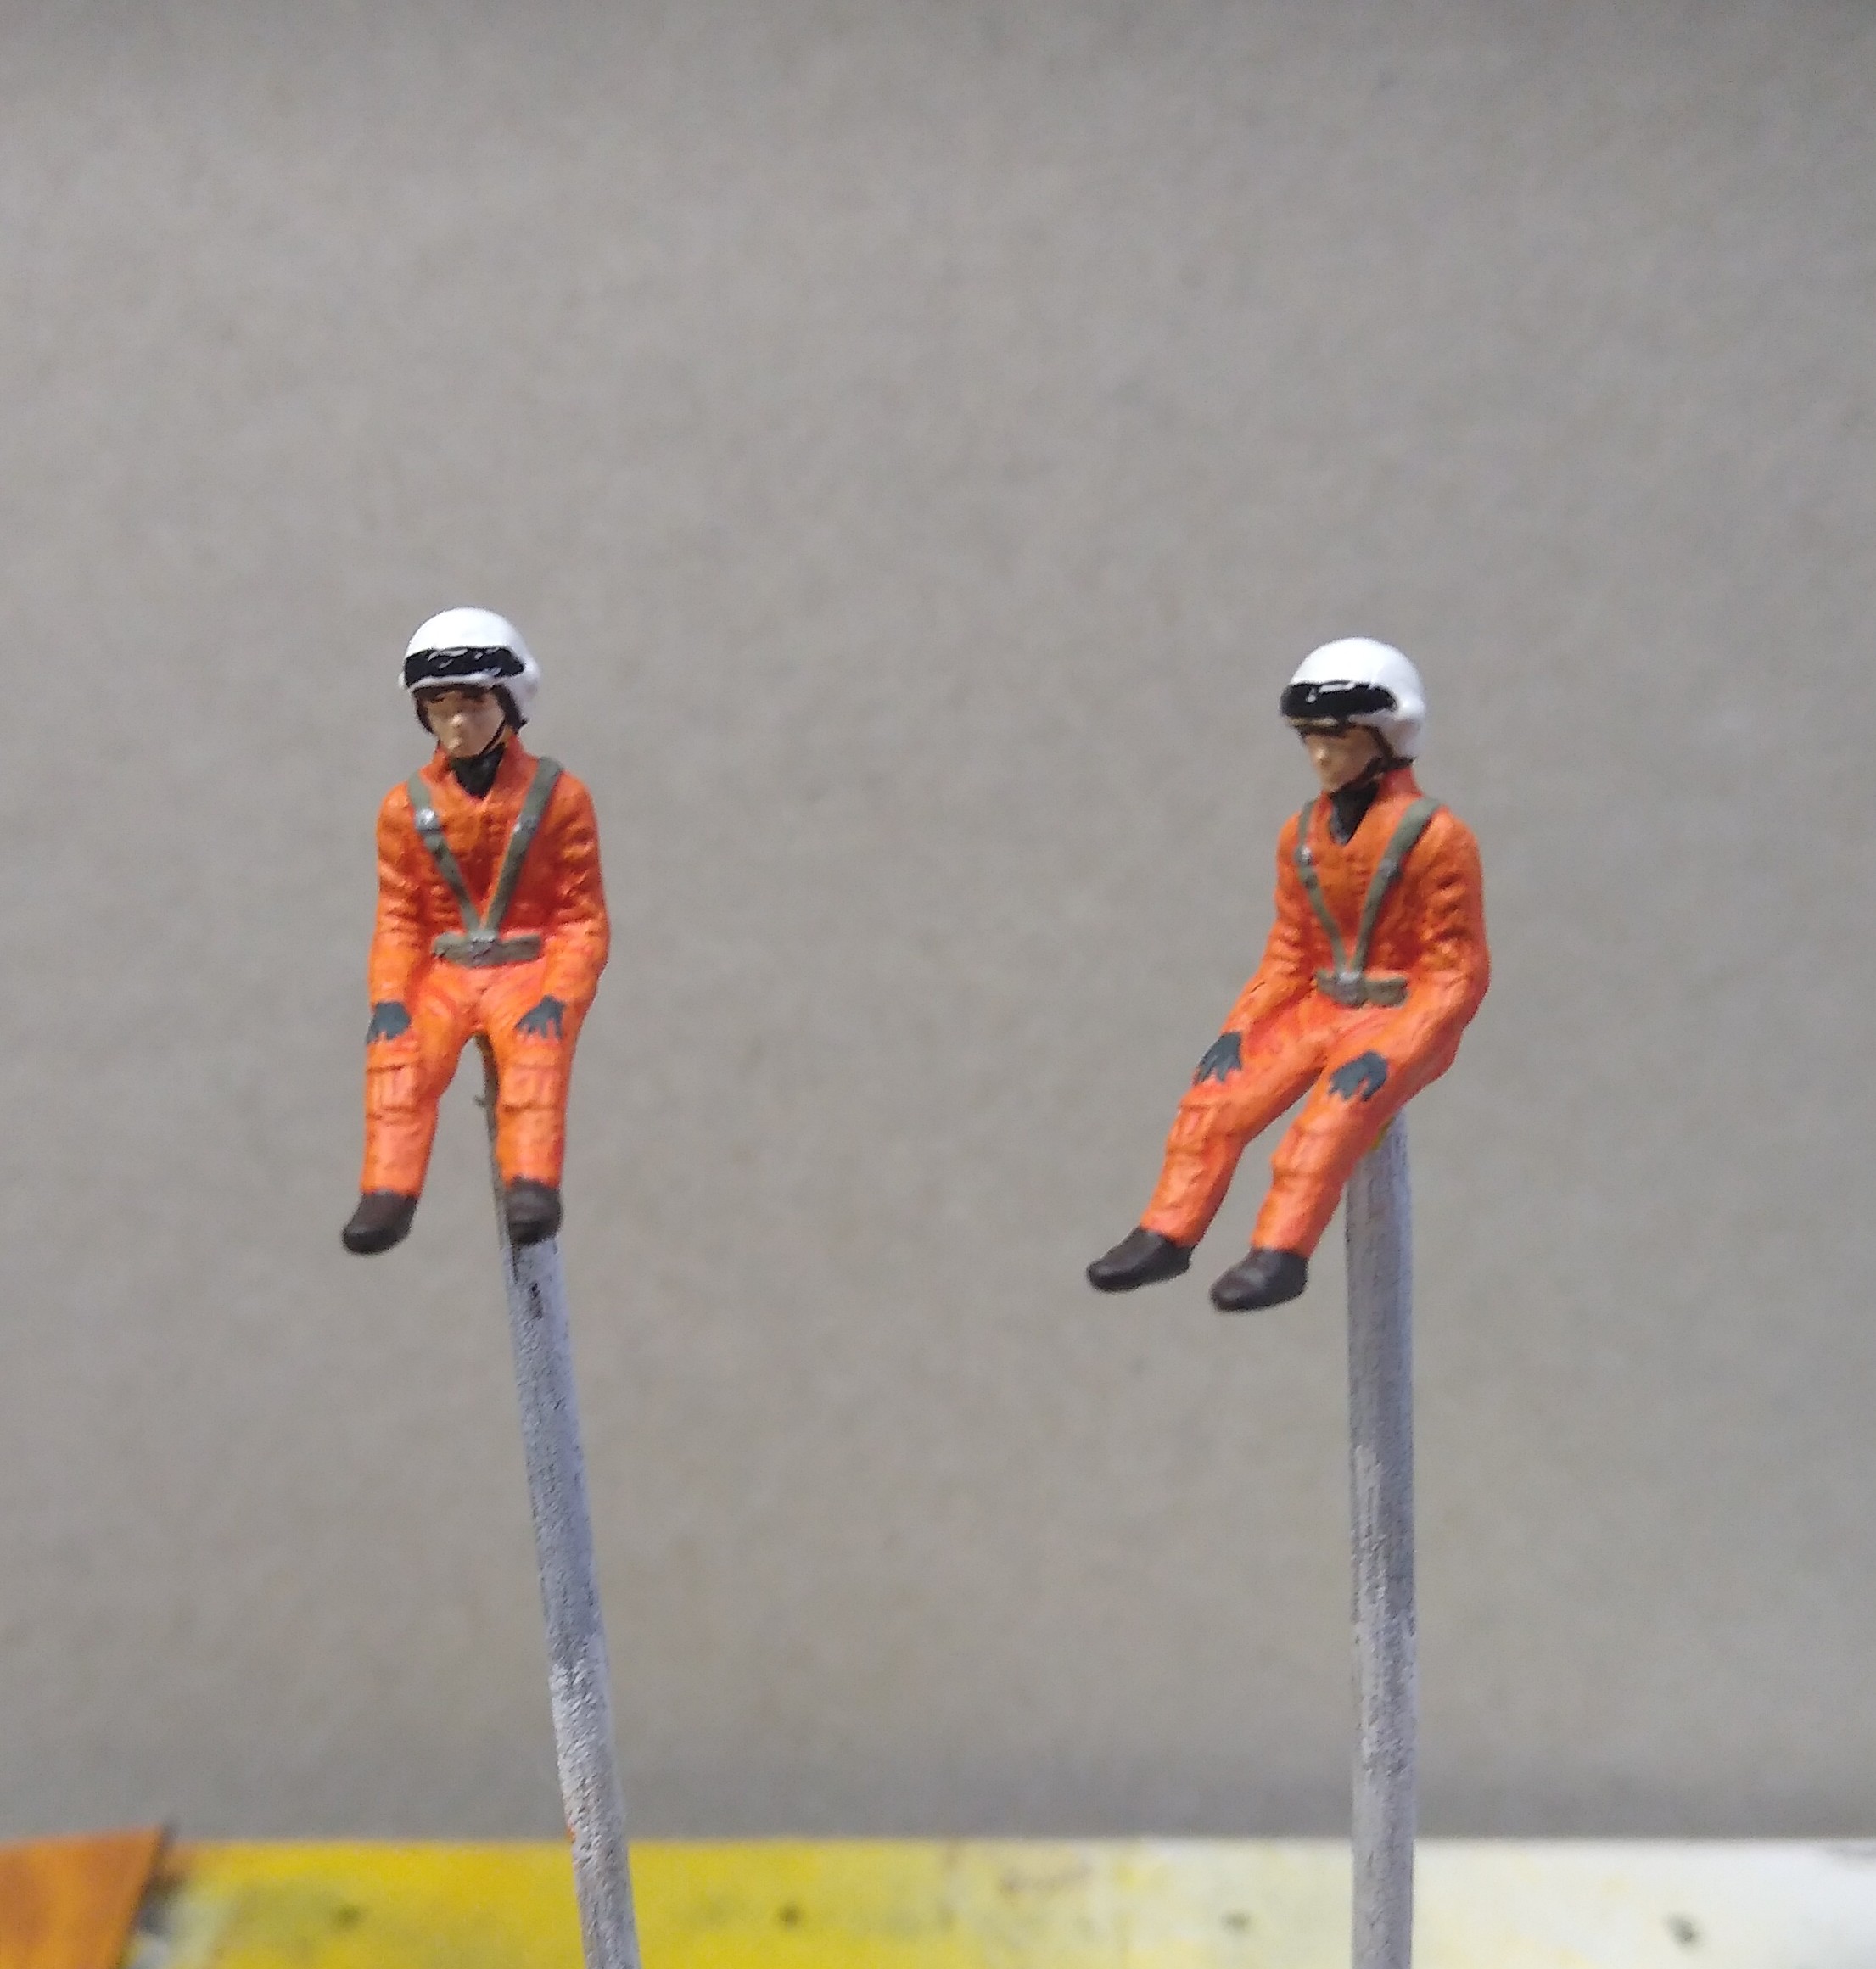
I finished up painting my Lynx crew tonight.
Looking at photos from the Lynx flight testing, the crews typically wore bright orange flying suits. So, had a go at replicating them.
And here they are, looking a bit too much like miniature victims of Vlad the Impaler at the moment.
I achieved by first painting them yellow, the over coating with Vallejo’s Transparent Orange (70956). This is a bit more opaque than clear orange by Humbrol or Tamiya, and is a lot brighter. Almost dayglo. So is a good match for the suits in photos. After that I drybrushed highlights with a mix of the orange and yellow.
Turned out quite well and will add some colour to the final build.
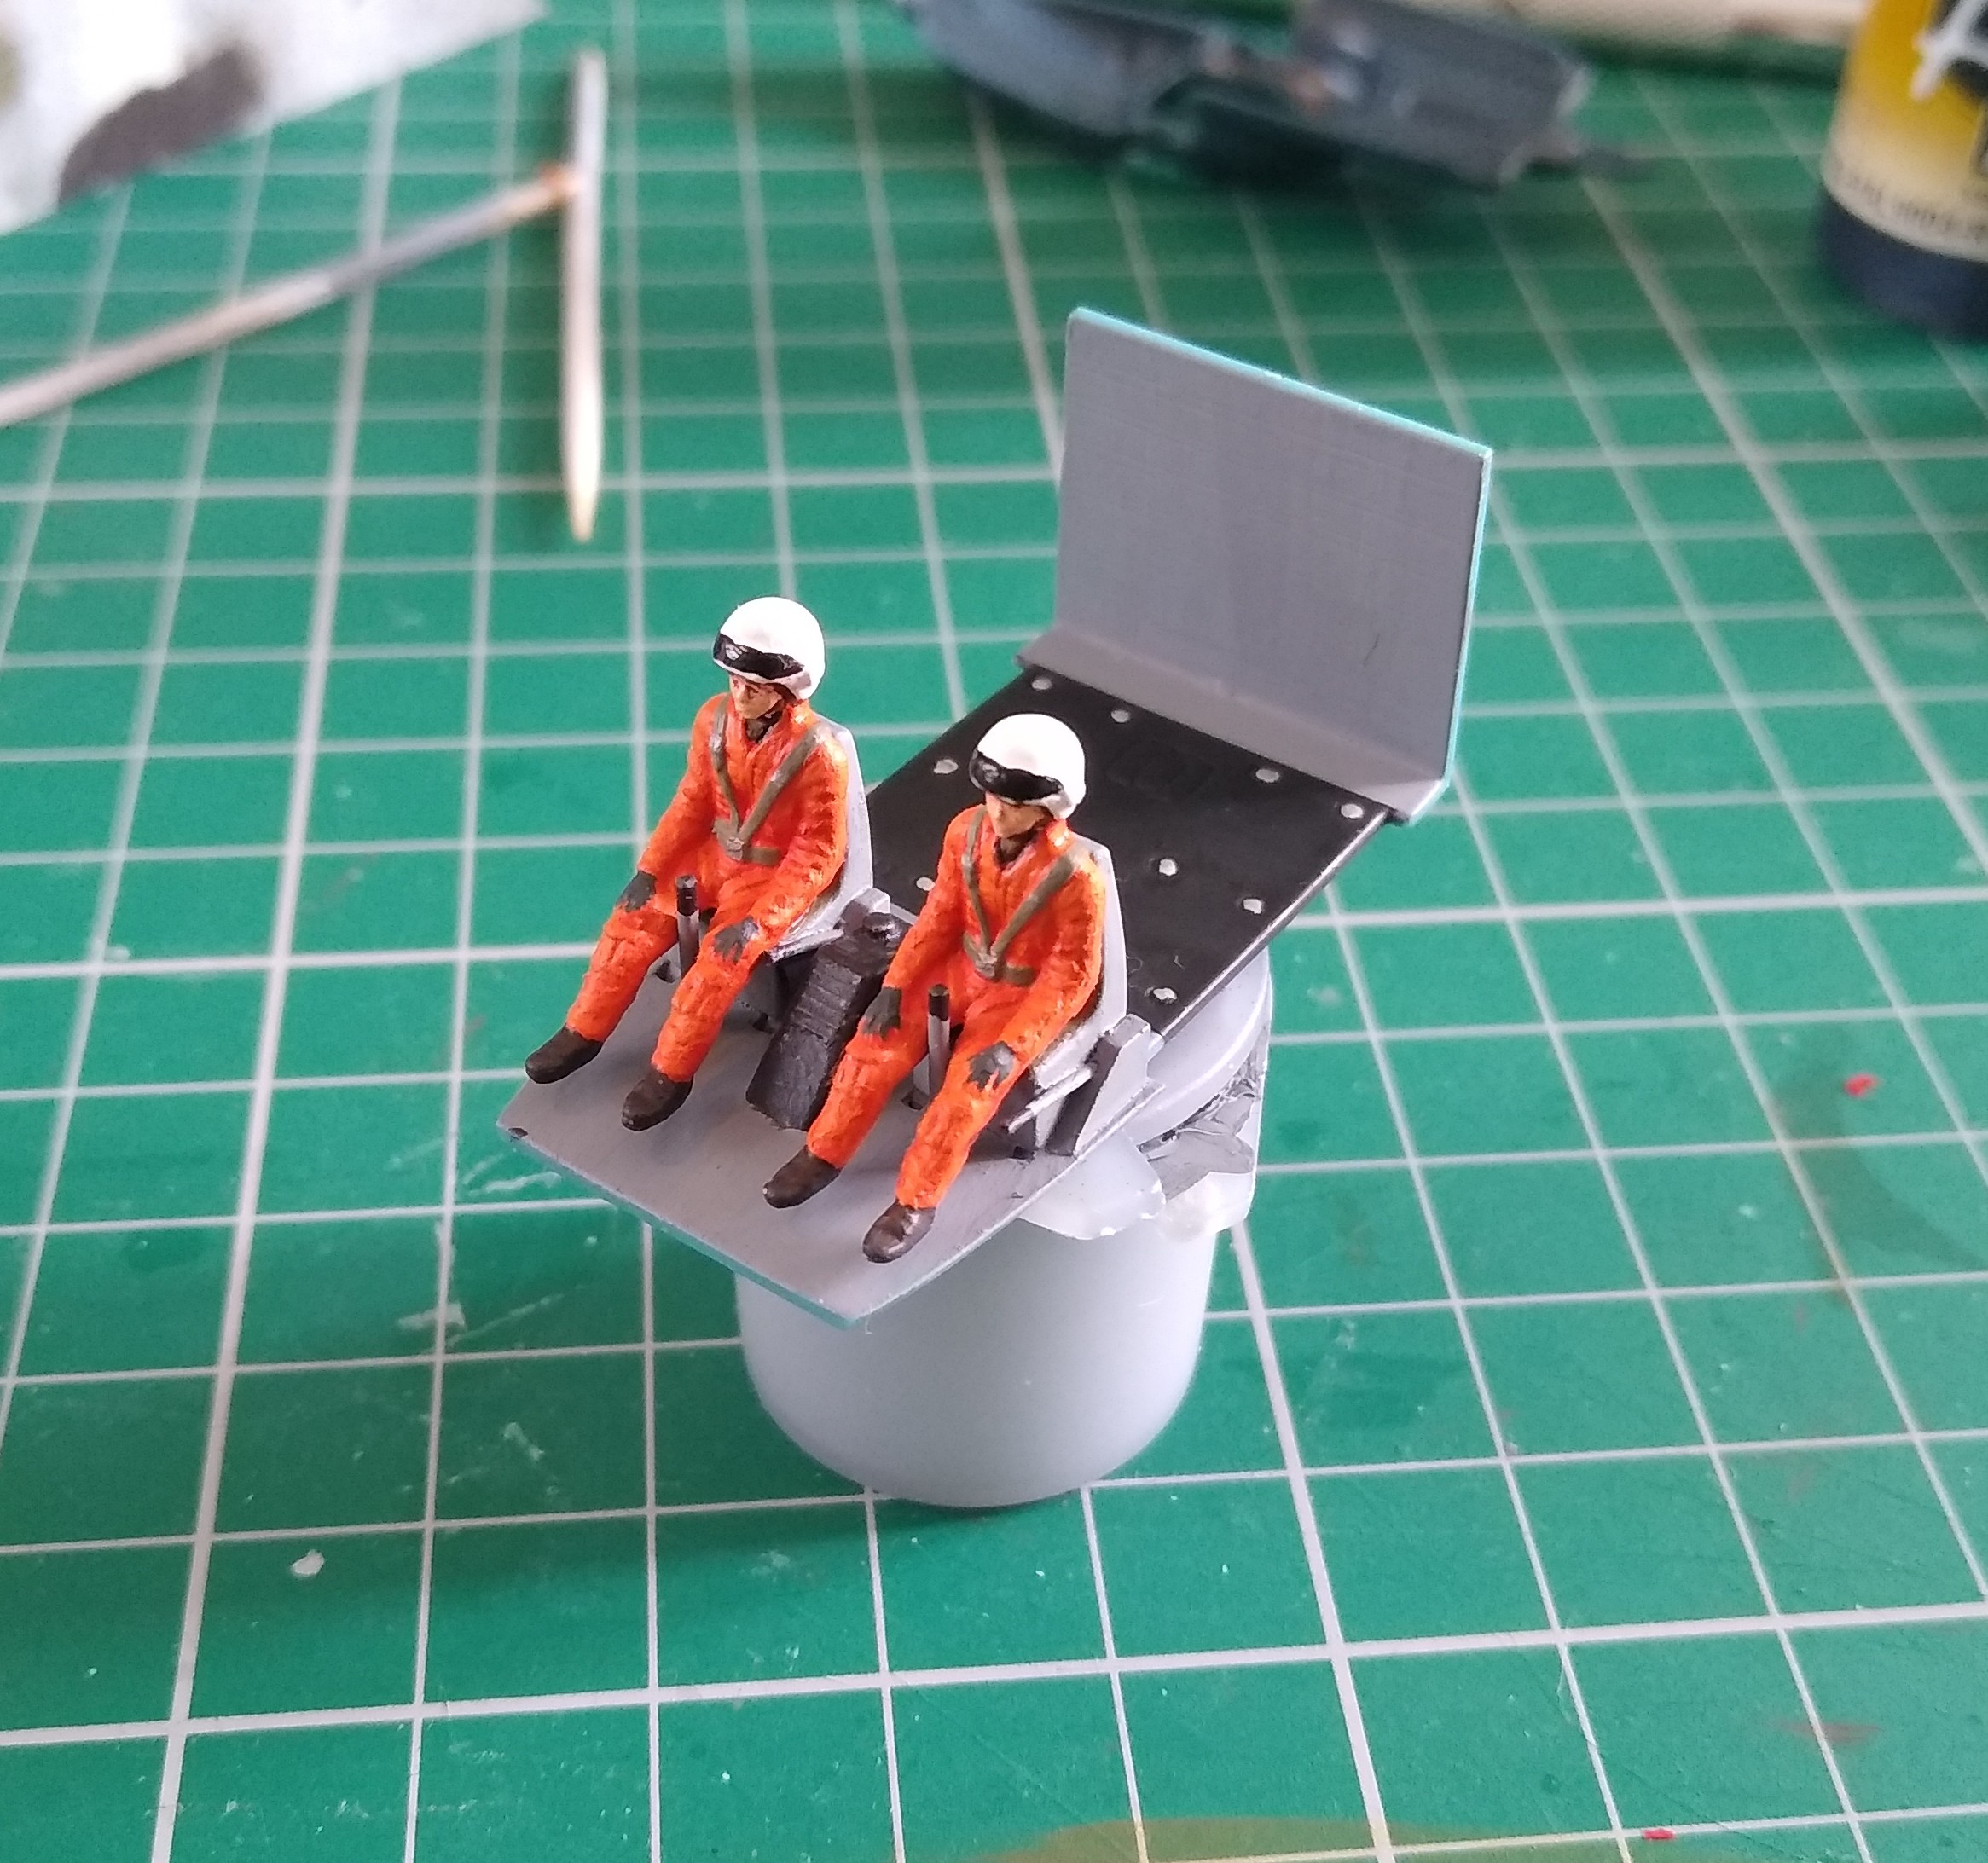
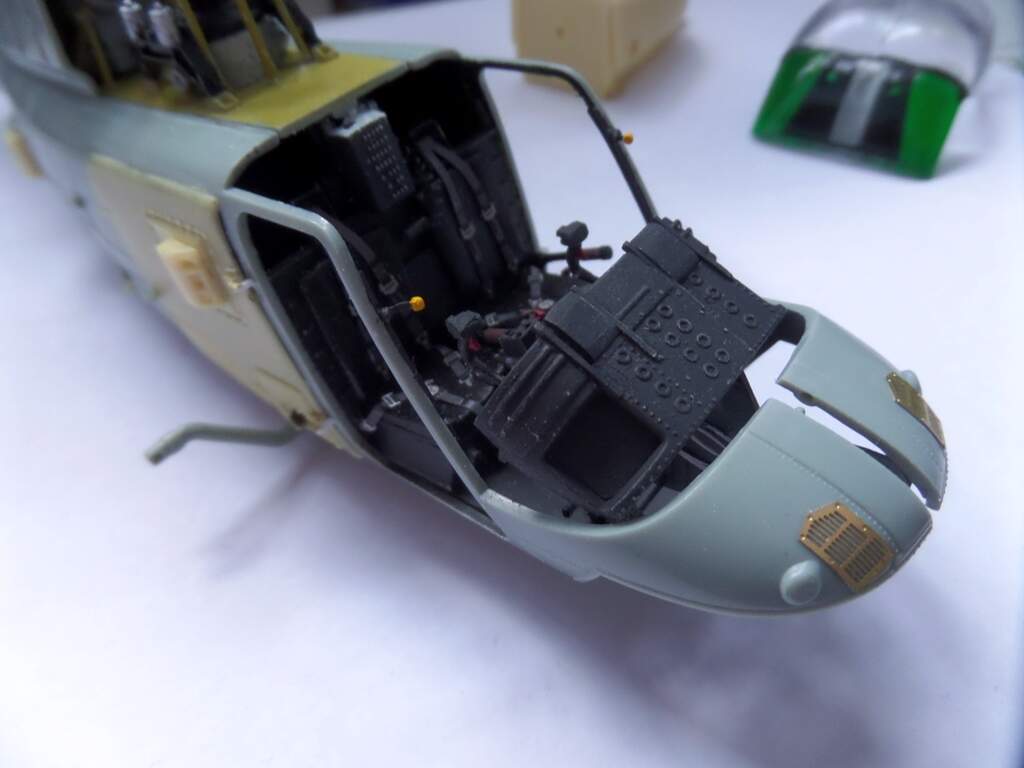
With Westland Chief Pilot Leonard Roy Moxham and flight test engineer Michael Ball (no, that Michael Ball!) in place, I’m going to call the cabin interior done.
It’s basic, but looks ok at this scale. I don’t think much will be visible through the windows when it’s closed up.
well now that most of Scotland is in level 2 lockdown and things are beginning to open up my modelling time has diminished thanks to trips to deep sea world in Fife and Blair Drummond safari park in Stirling. (my wife is an animal fan)
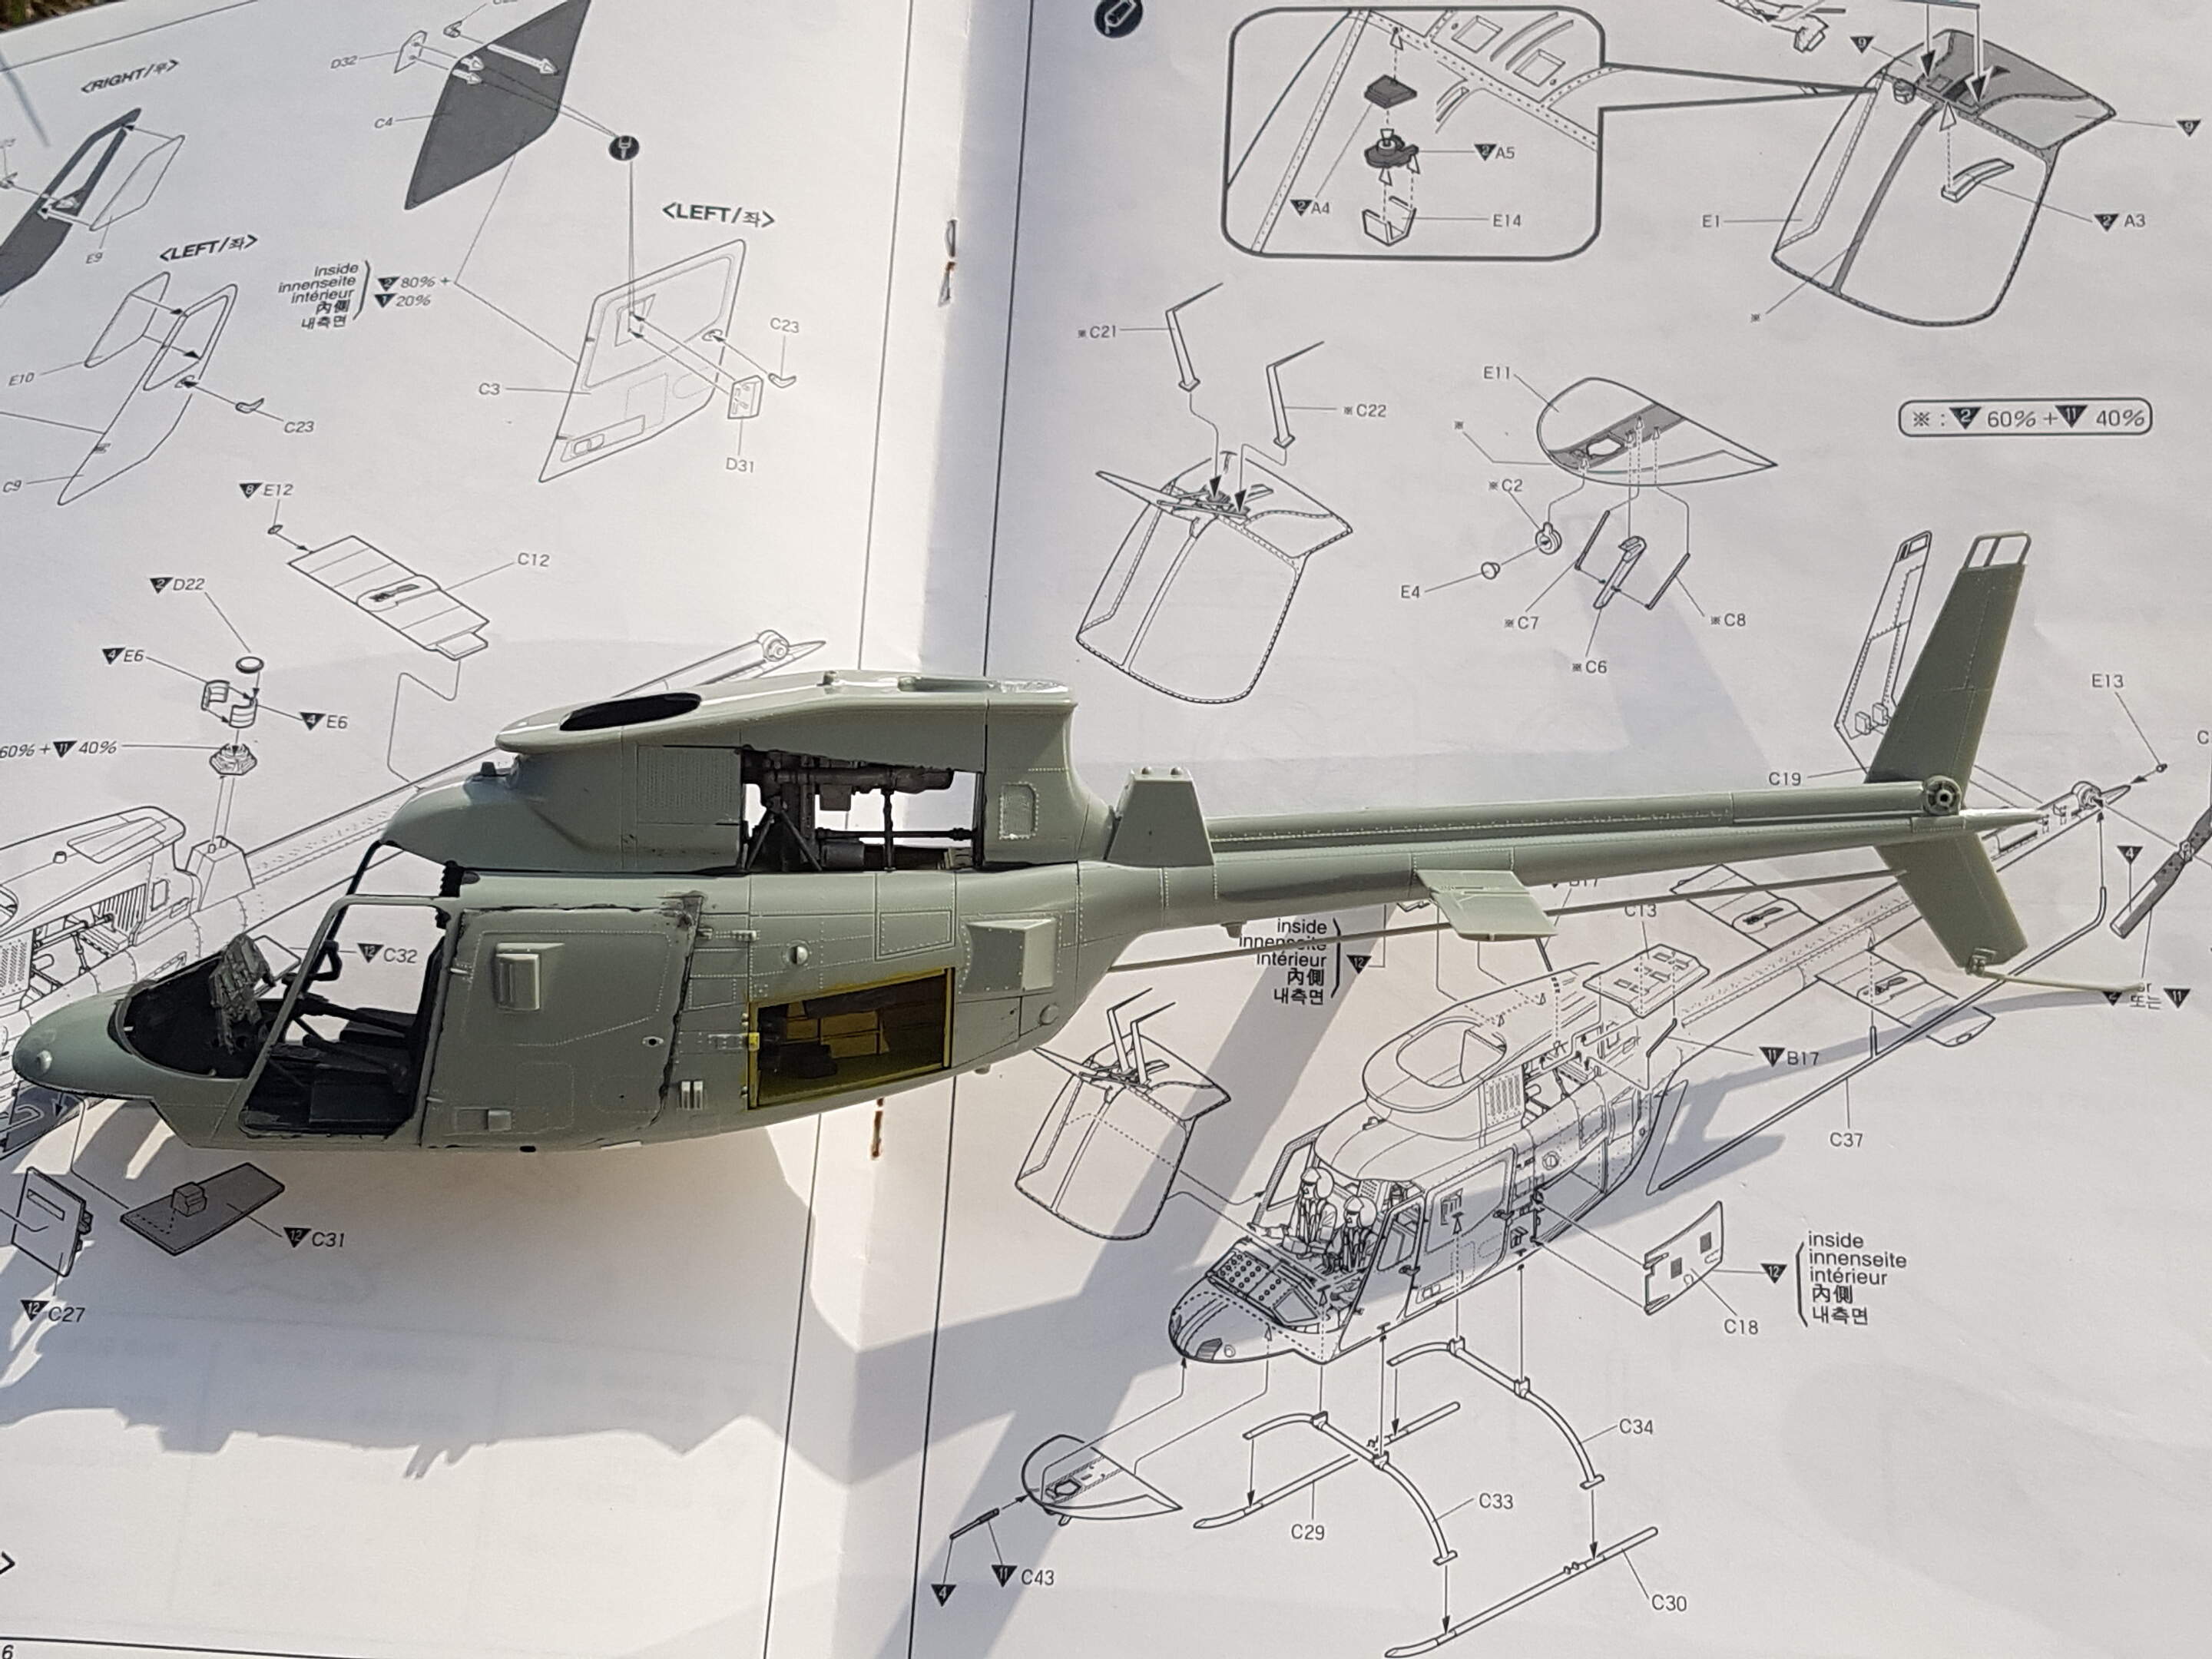
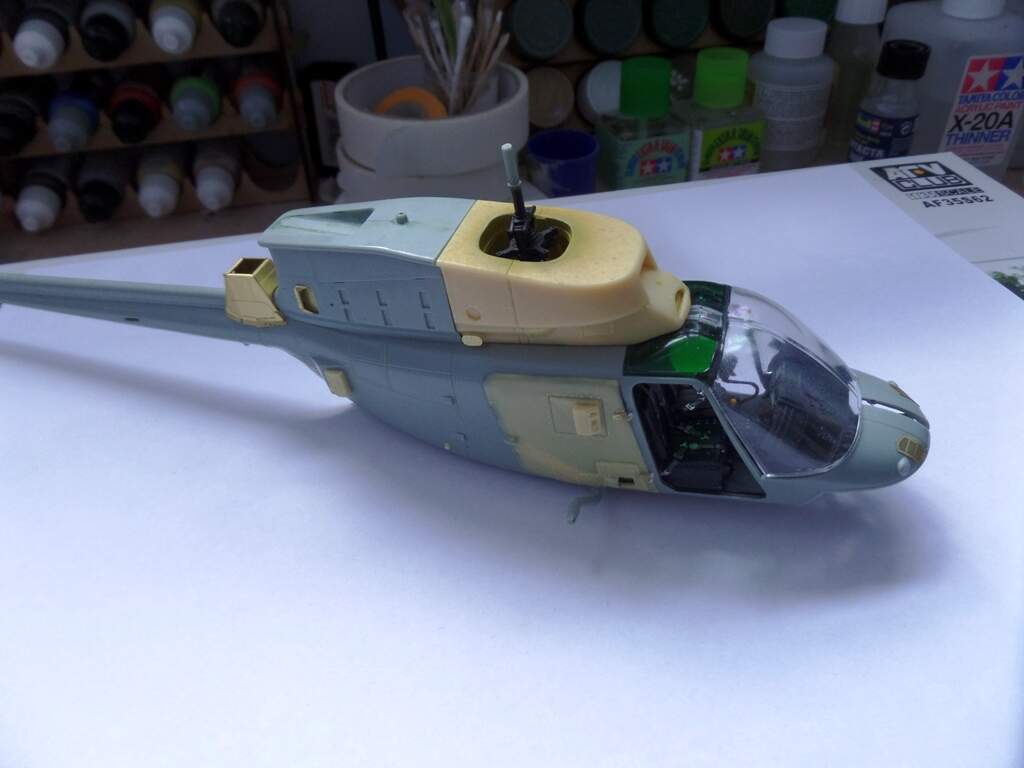
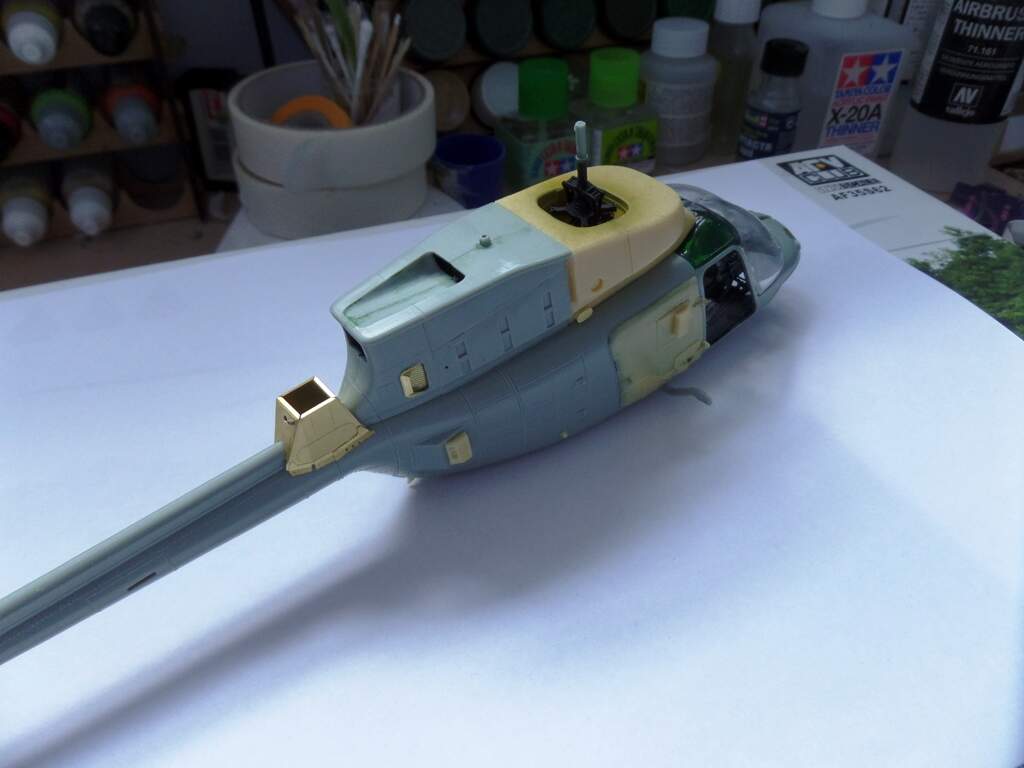
so I have managed to get the two fuselage halves together, this had to be done in stages. all gaps were plugged with “perfect putty” and the seams were sanded.
as you can, I have added the two small wings on the tail section as well as adding and painting the rear cargo bay.
now I had to remove the black instrument shield due to fitt issues so I might have to shave some of the underside to make it fit, if anyone has any suggestions then please let me know.
I’m also wondering if I should add any weight to the nose to avoid any tail sitting, all advice welcome.
Looking good there Klaus, getting the fuselage together can be a bit of a pain, especially the filling and sanding trying to make sure you don’t ruin any detail. I was going to ask the same question of the people who have modelled this in the past, is it a tail sitter?
Things are coming along nicely on all the builds, well done guys.
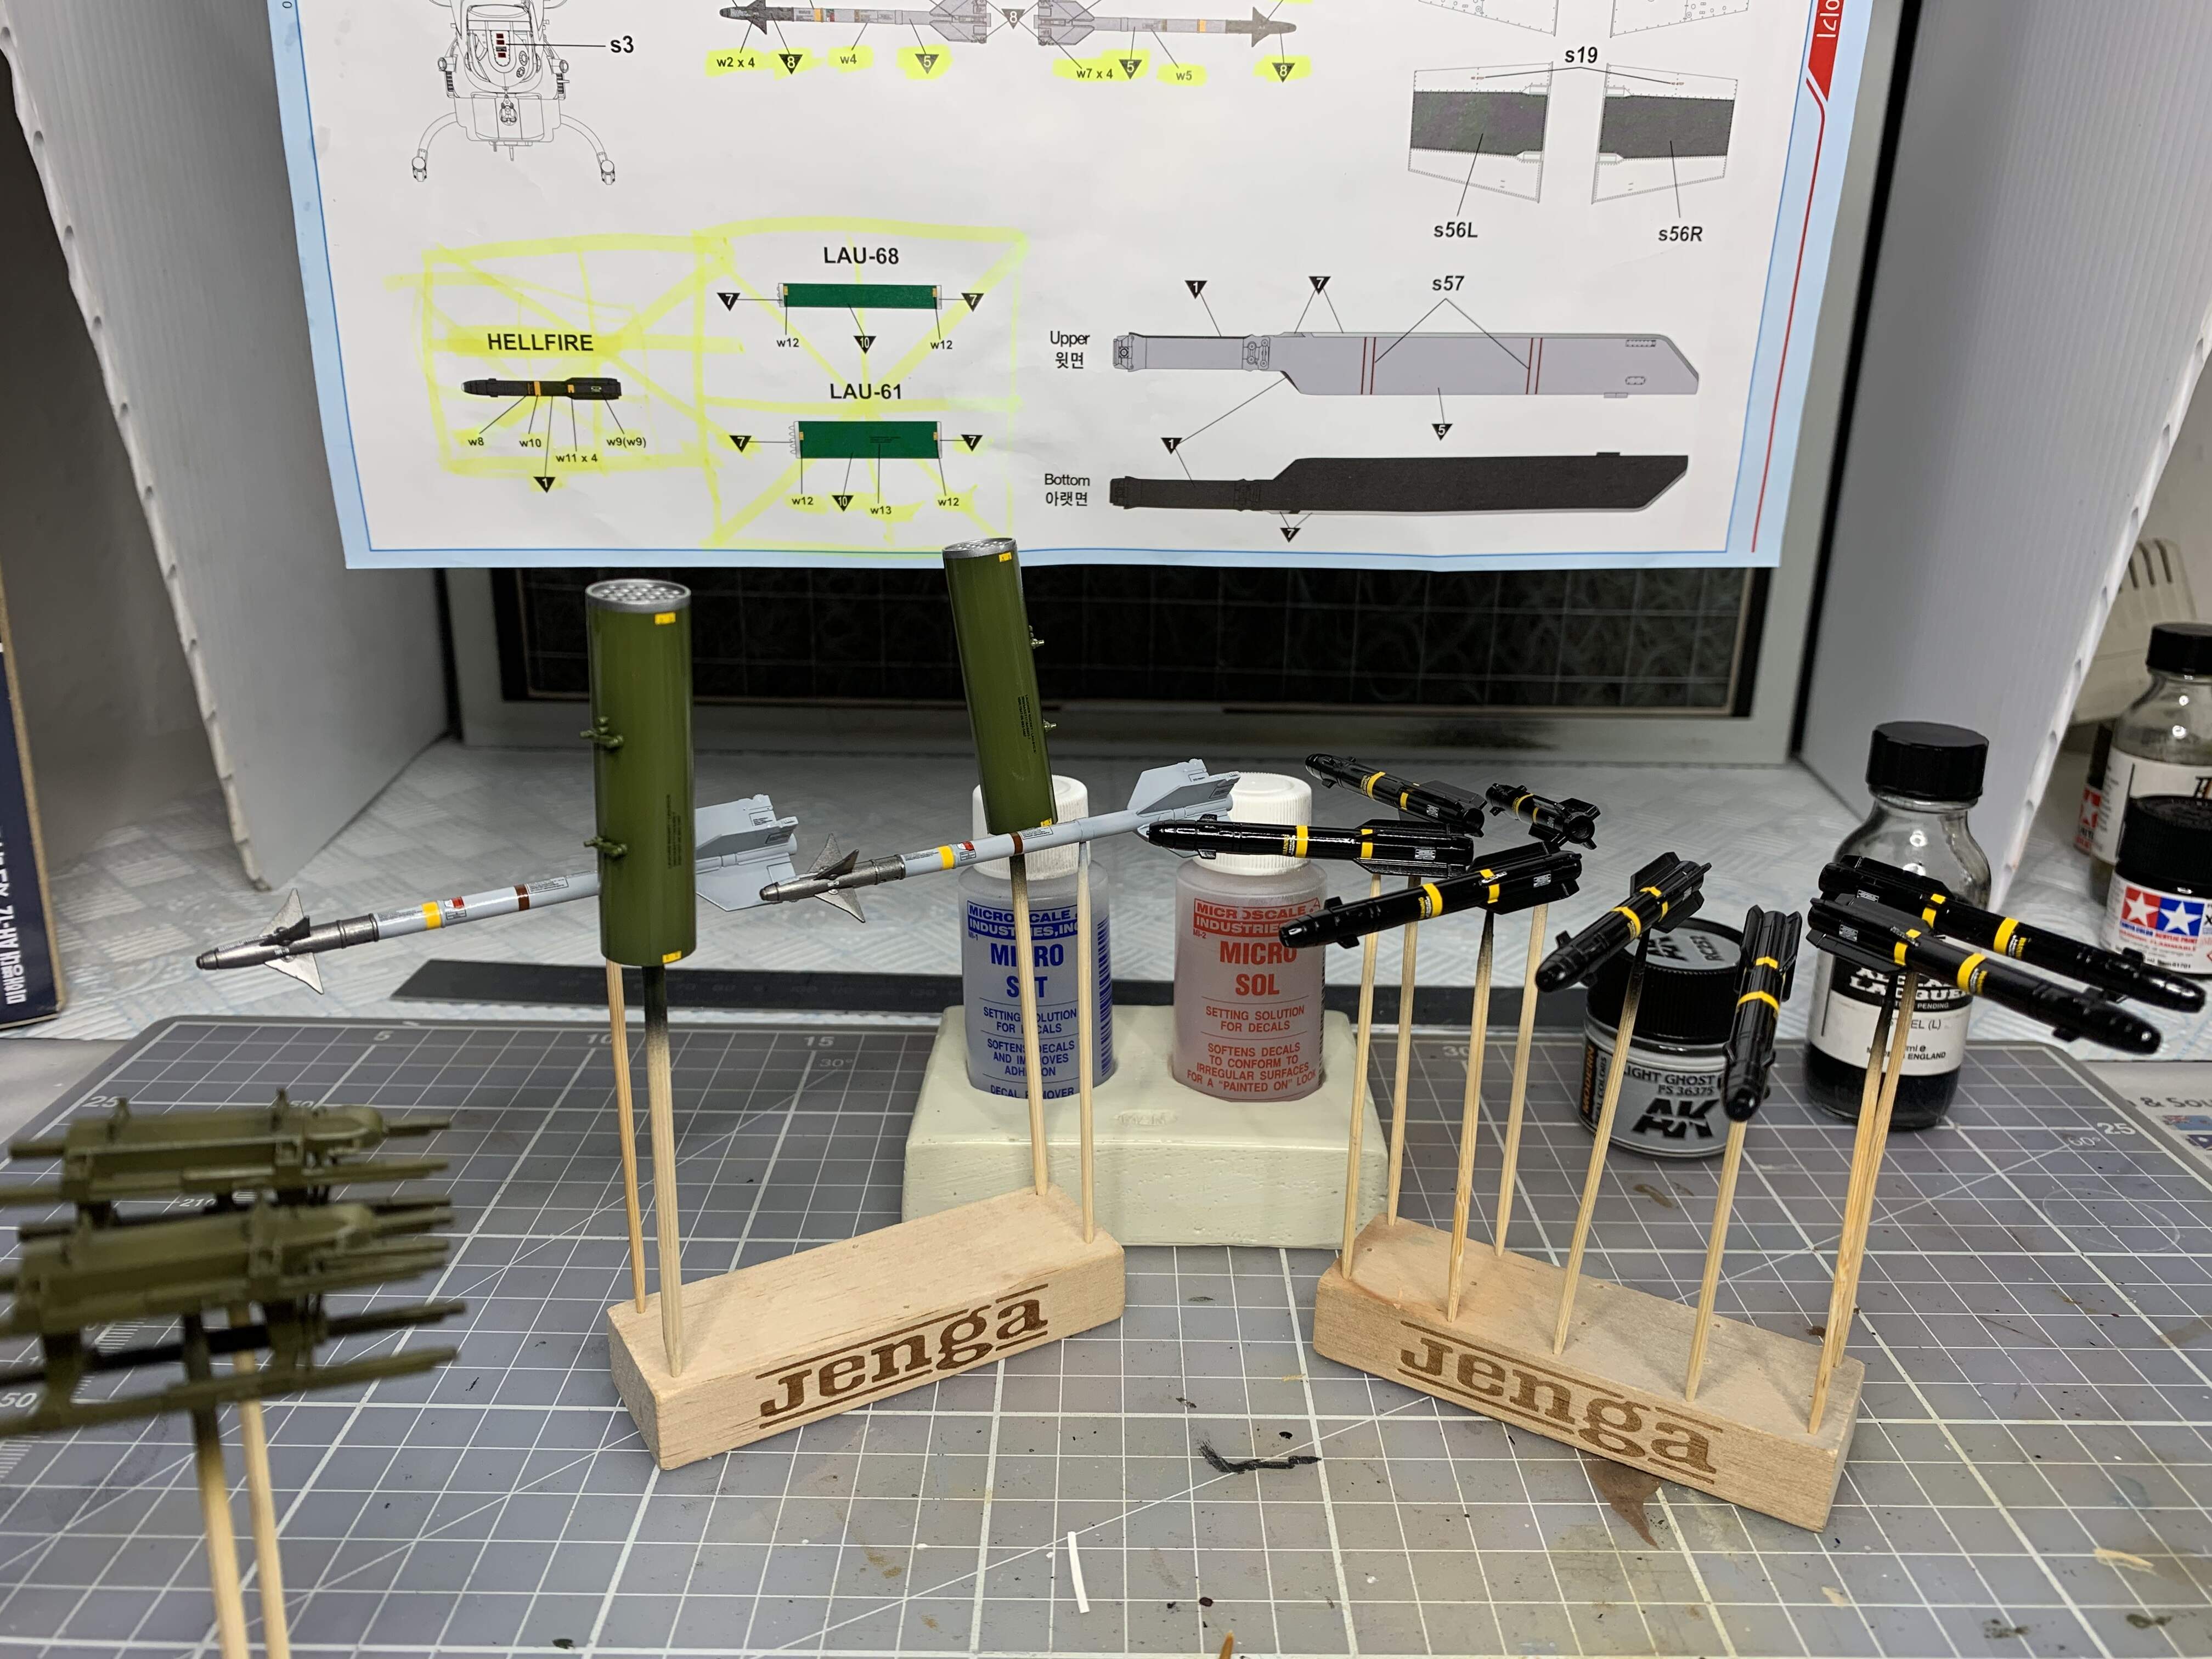
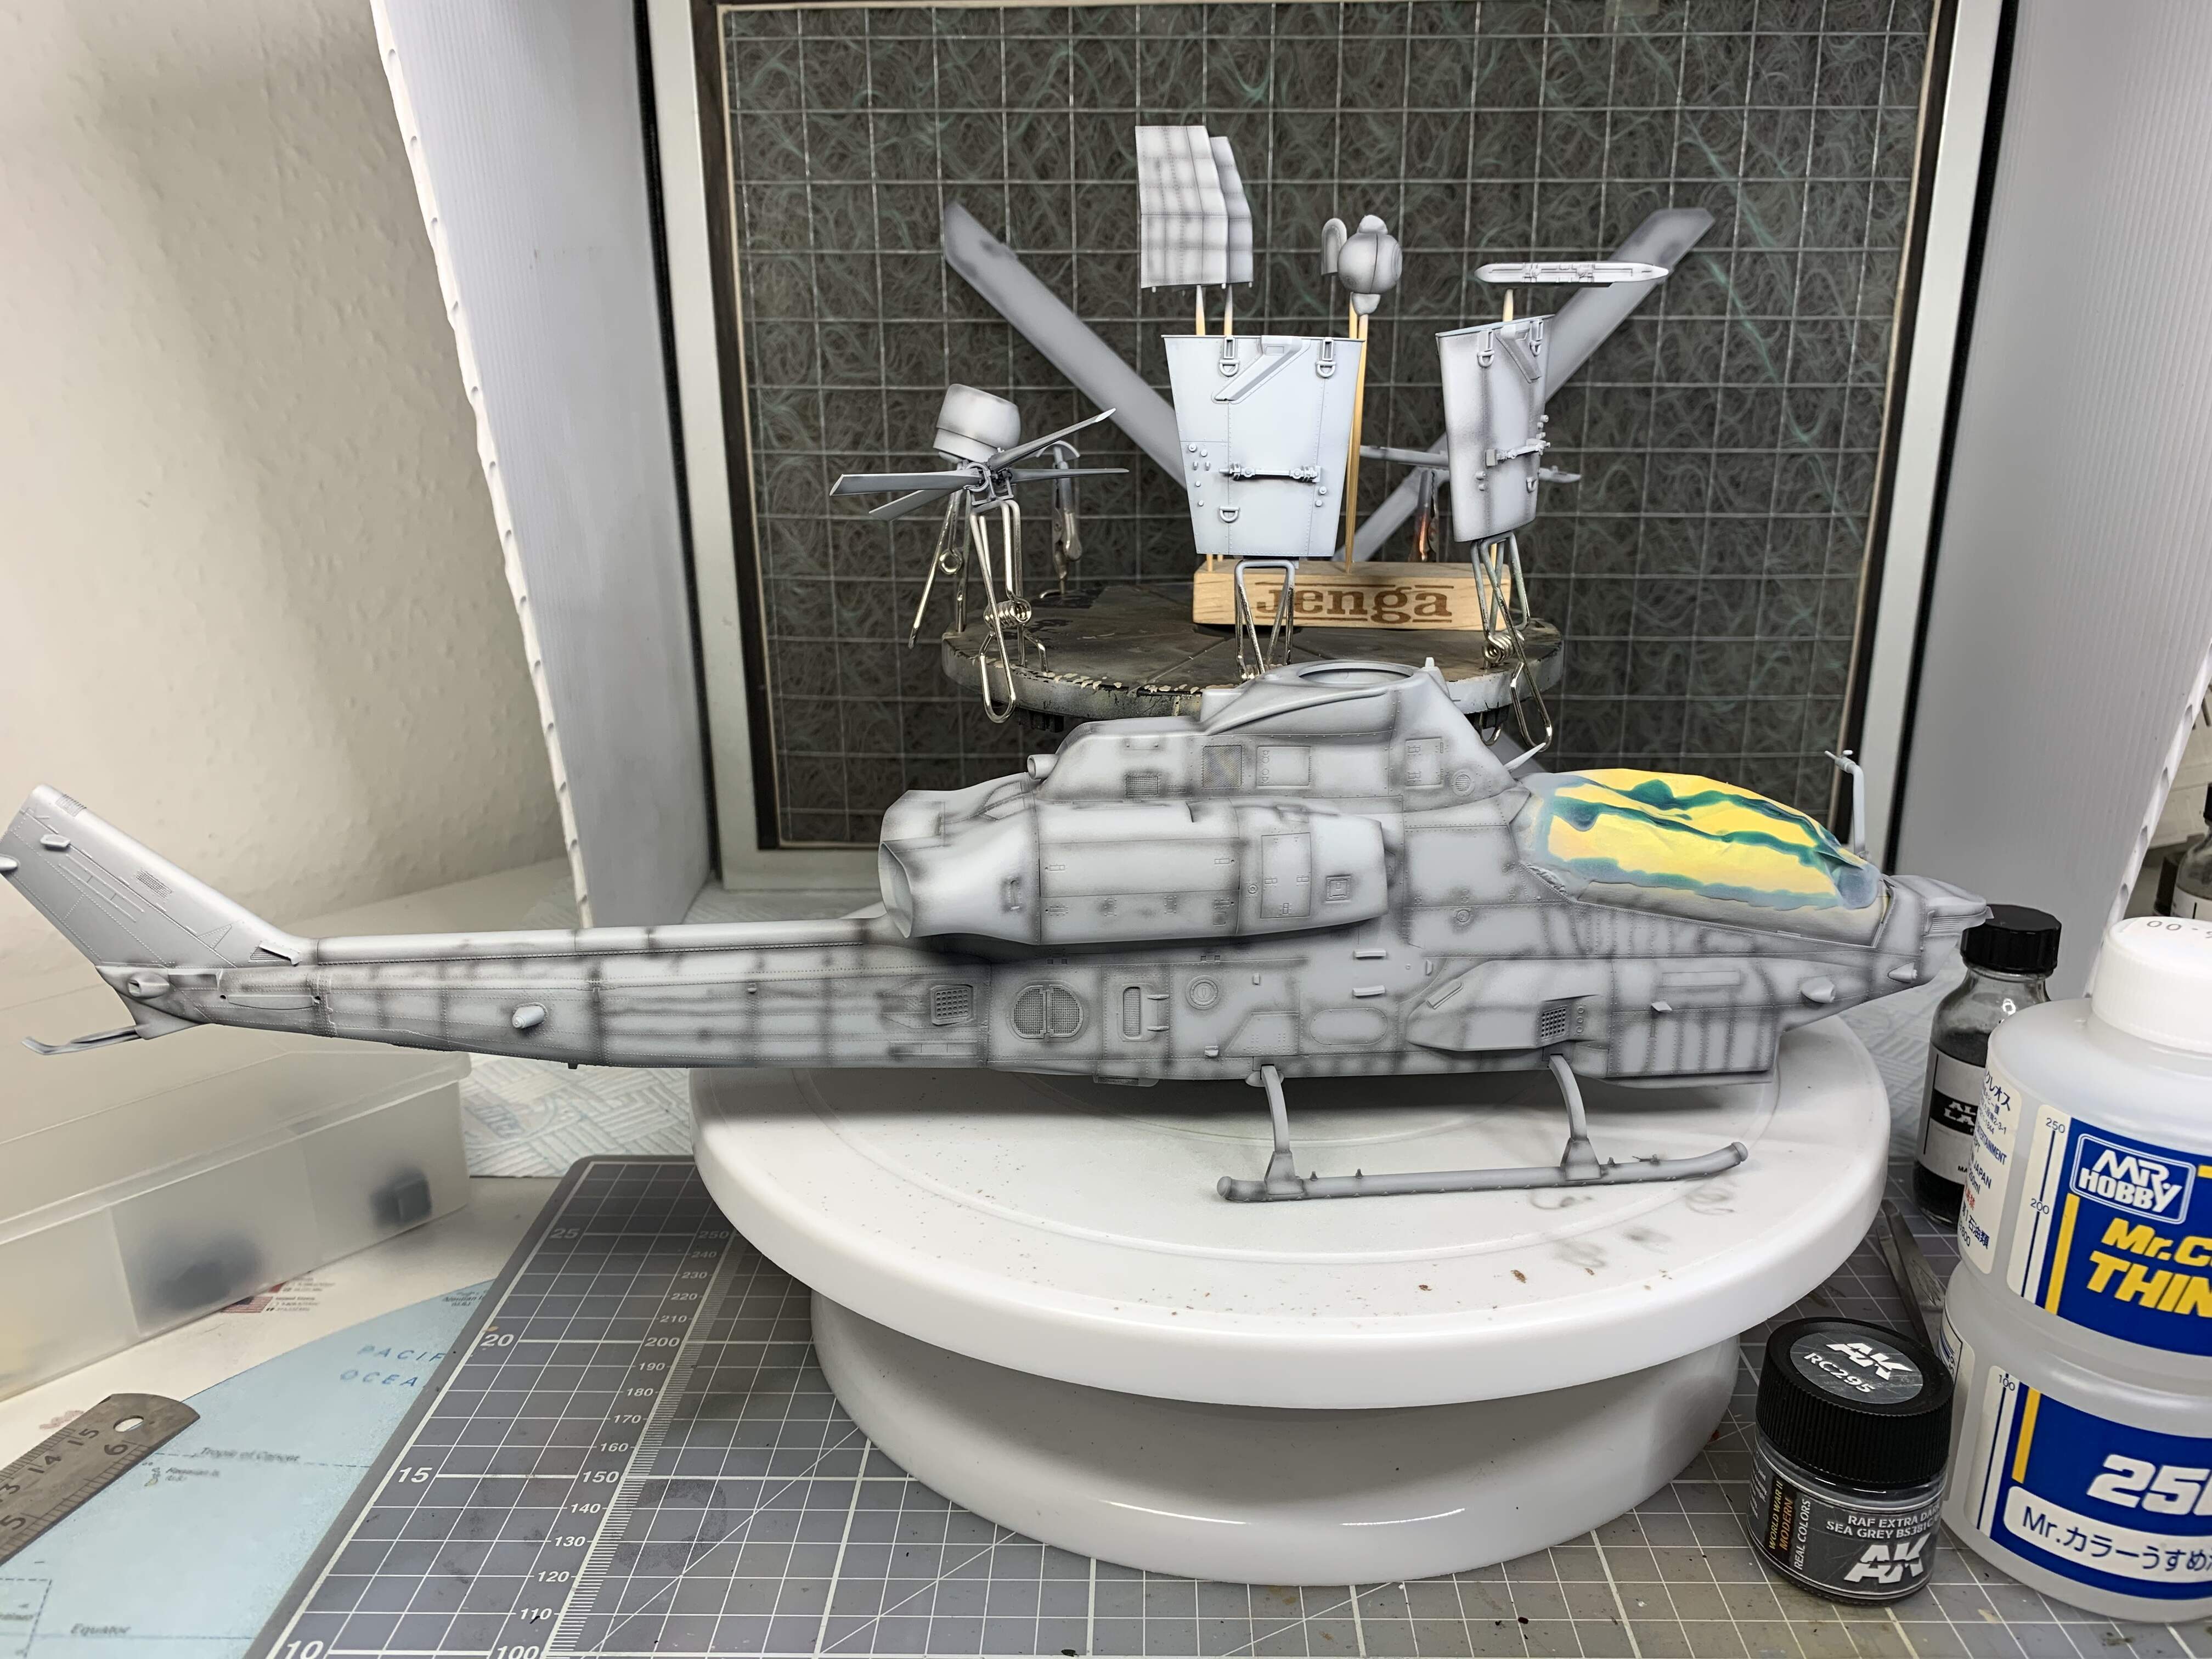
Quick update on the AH1Z. Weapons just about finished and preshading on. Actual colour is on the winglet in the middle of pic, AK real color light ghost grey.
Have to give Matchbox full credit for their design and tooling of the engine cowlings.
The parts butt join together neatly along panel lines and only needed a little Tamiya ultrathin. No fit issues or gaps. And best of all, retained the complex curves of the original!
I think this is one of the reasons I’ve always had a soft spot for Matchbox. They never fought me, unlike some old Airfix I built, and were a joy to build.
AH1-Z question. Flat black interior, Semi gloss black or very dark gray for the interior? Kitech is suggesting flat black, but online photos tend towards a dark gray or even semi gloss black.
@md72 Andy Hobbies store YouTube channel did a build of that kit and I think he used tamiya NATO black but don’t quote me on that…have a look on YouTube for it.
OK, I won’t quote you, but it was Andy, it was an AH-1Z, but it was an Academy 1/35th beastie. He did substitute NATO black instead of flat black. Not sure I can build up the full cockpit before painting and still be able to detail it.
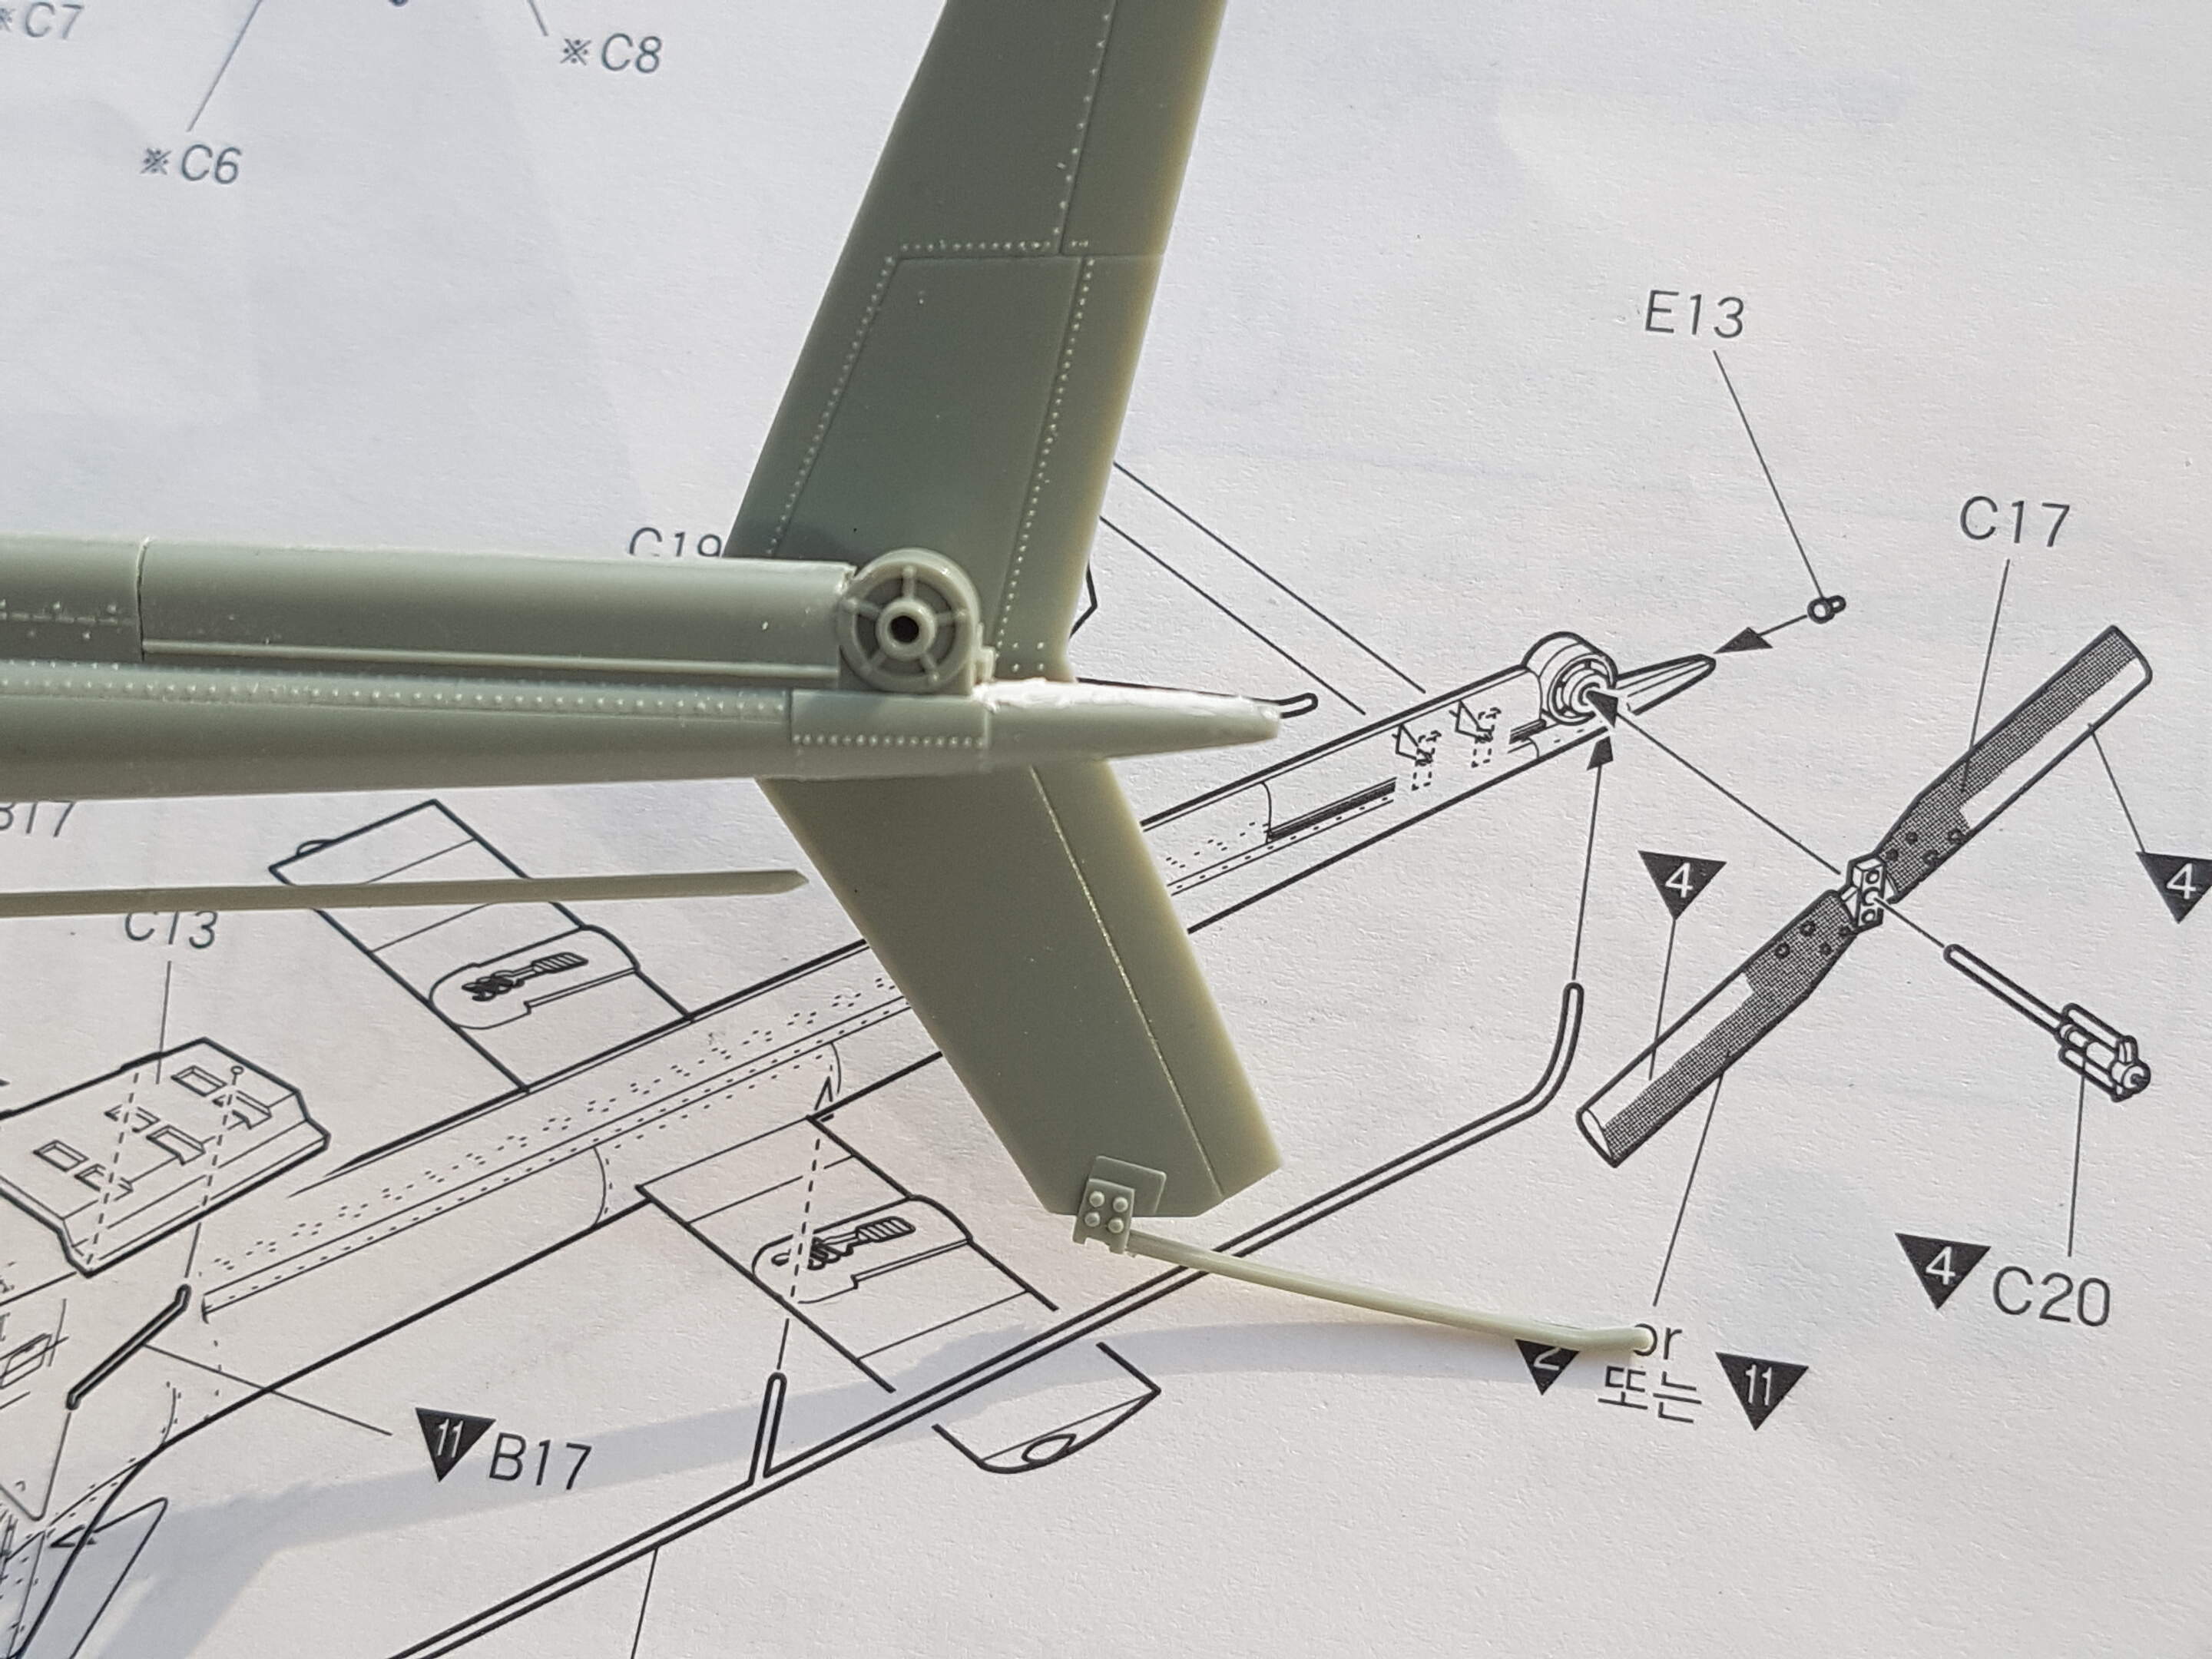
I have also started work on the tail section and here I have run into a small problem. the long thin shaft that runs under the tail boom has been miss cast and is missing the curved end section that connects with the tail rotor hub… time for some scratch building.
I’d have burnt to a cinder if I’d tried sitting in the garden, been really hot even for the North East. Have been doing a few things on my warrior, mainly cockpit. Just a question, just to give the instrument cowling some contract what do people suggest as a pinwash, as in what colour? I’ve seem some done dusty, would the cockpit become that dusty?
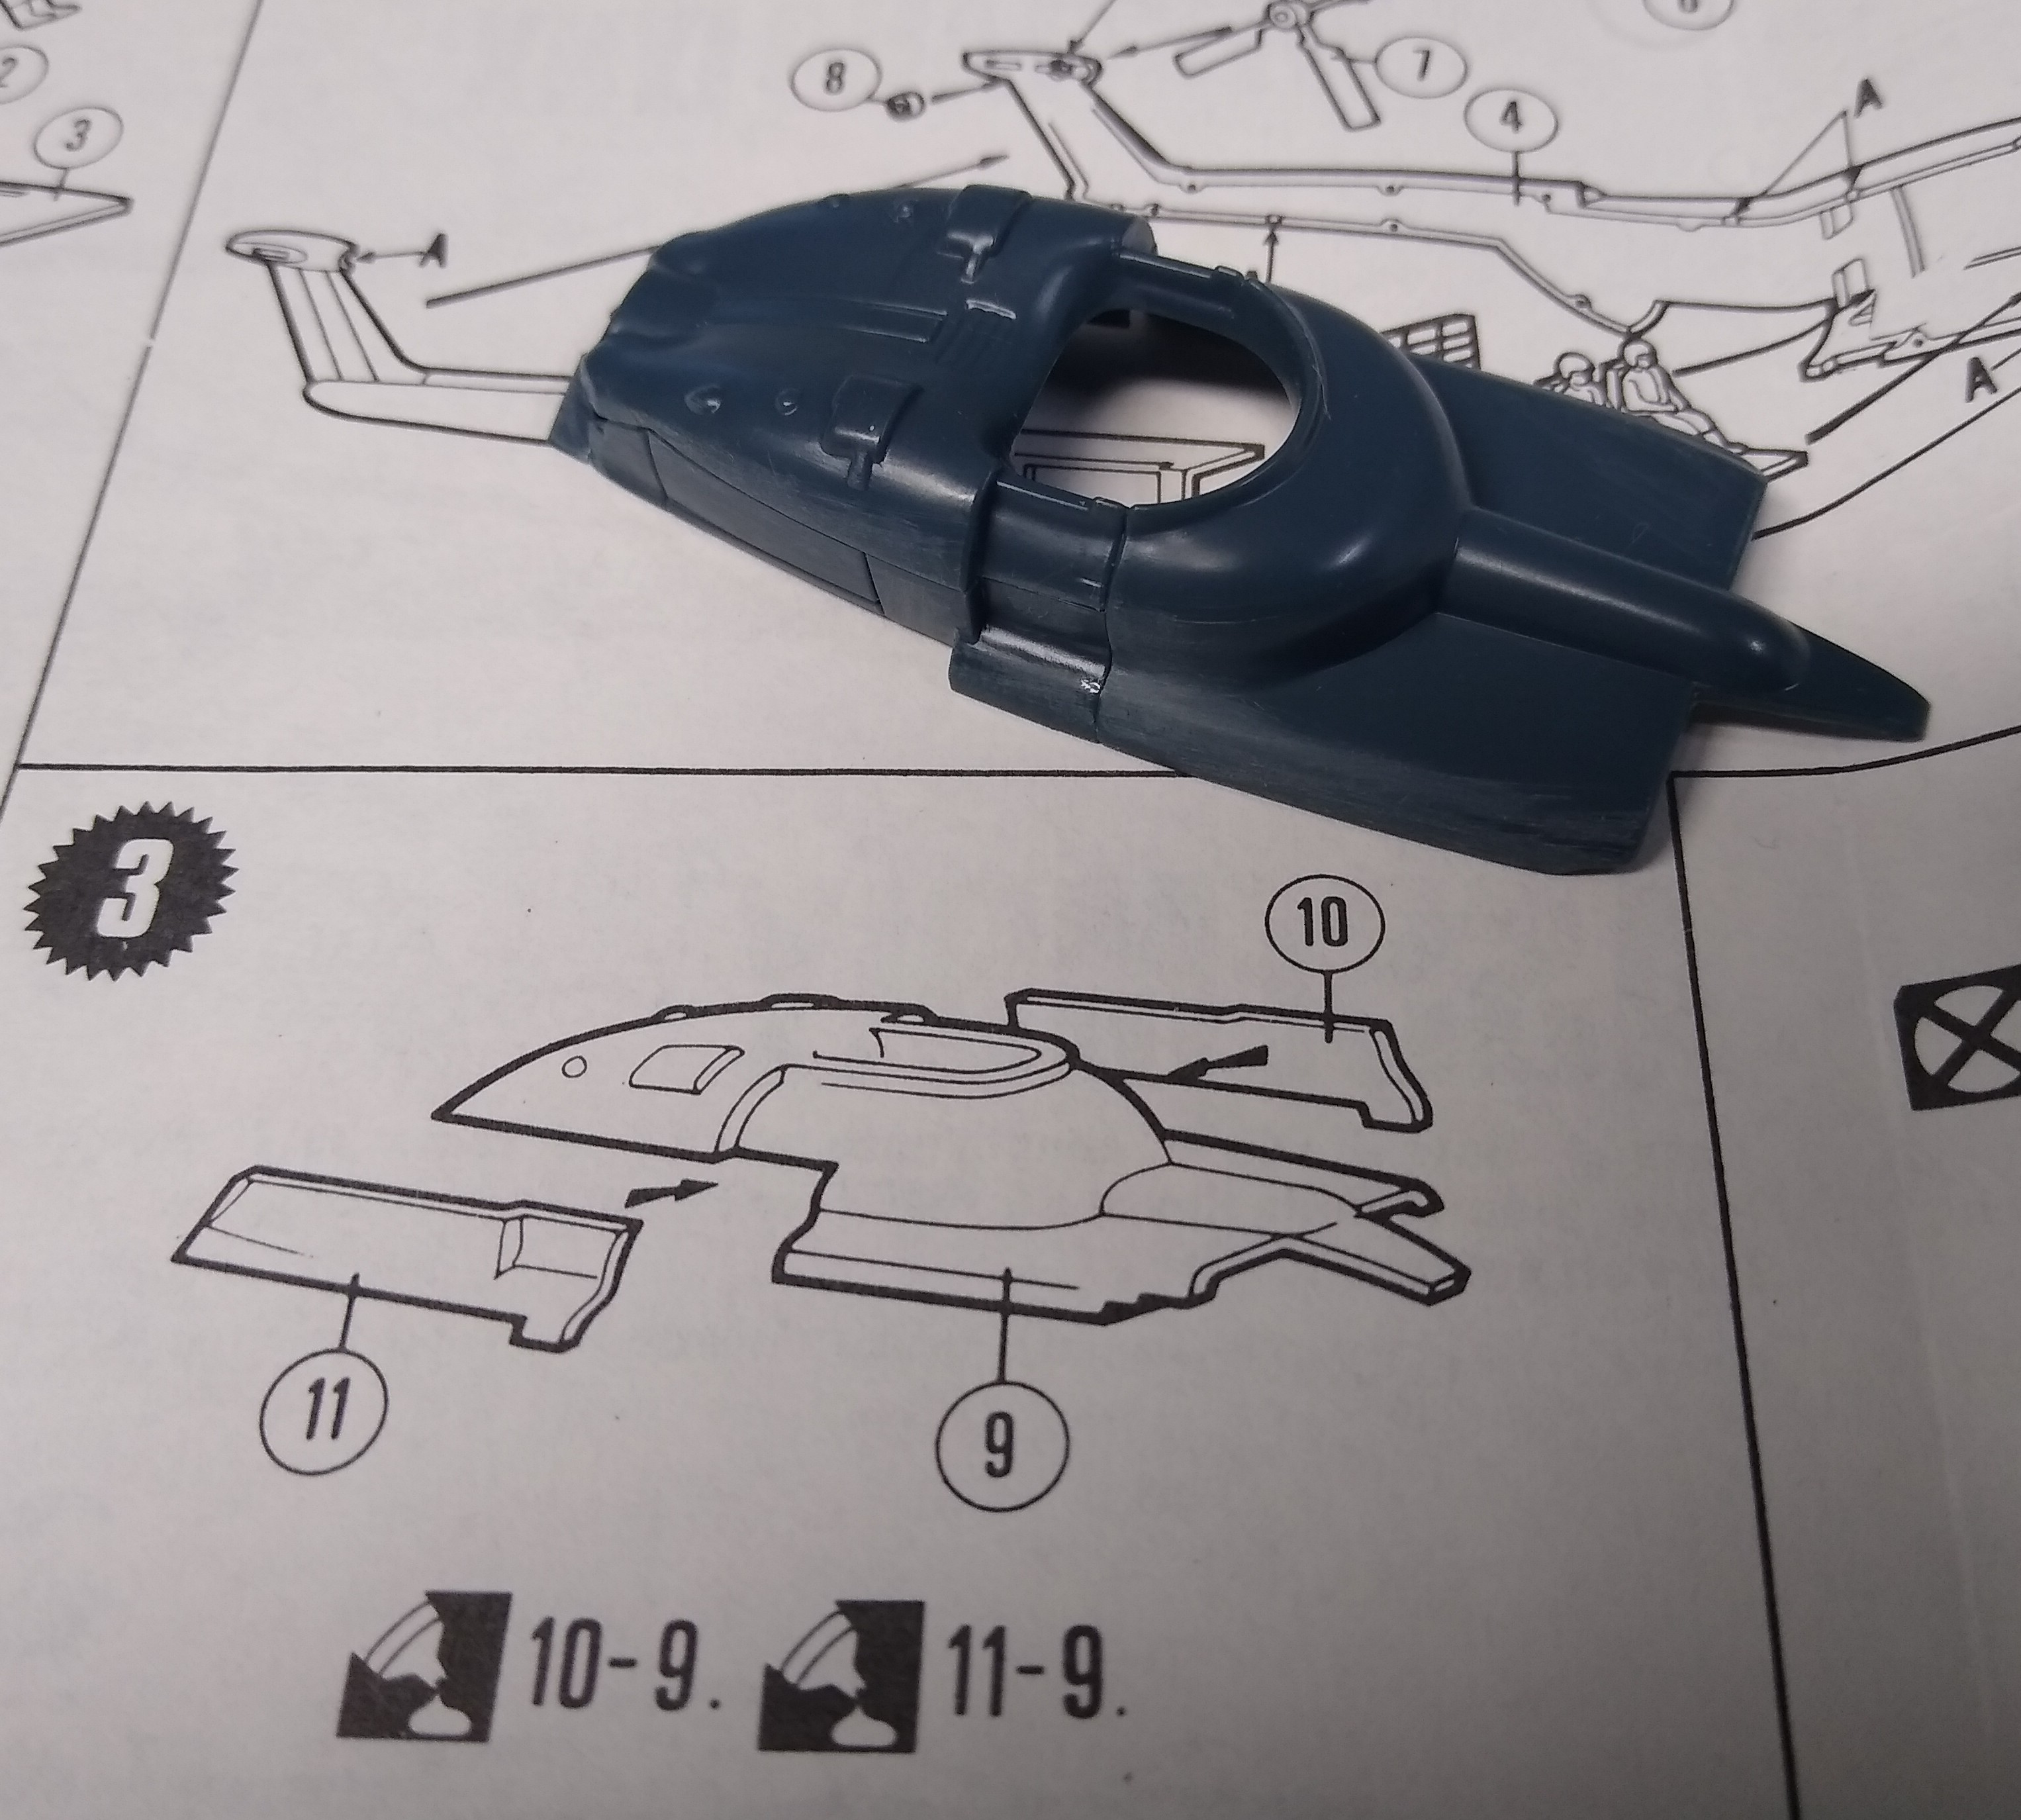
@Maximus8425 have you tried to push the nose section together with the upper hud section attached?
i have found that mine doesn’t want to play ball and that i might have to alter it a little to make it fit.
how did you paint the green section of the cockpit glass, did you paint it on the inside or the outside and did you use tamiya acrylic paint that comes in jars or a spray can?
incidentally have you added any weight to the nose section, as you have a lot of resin there that is bound to alter teh centre of gravity on the kit?
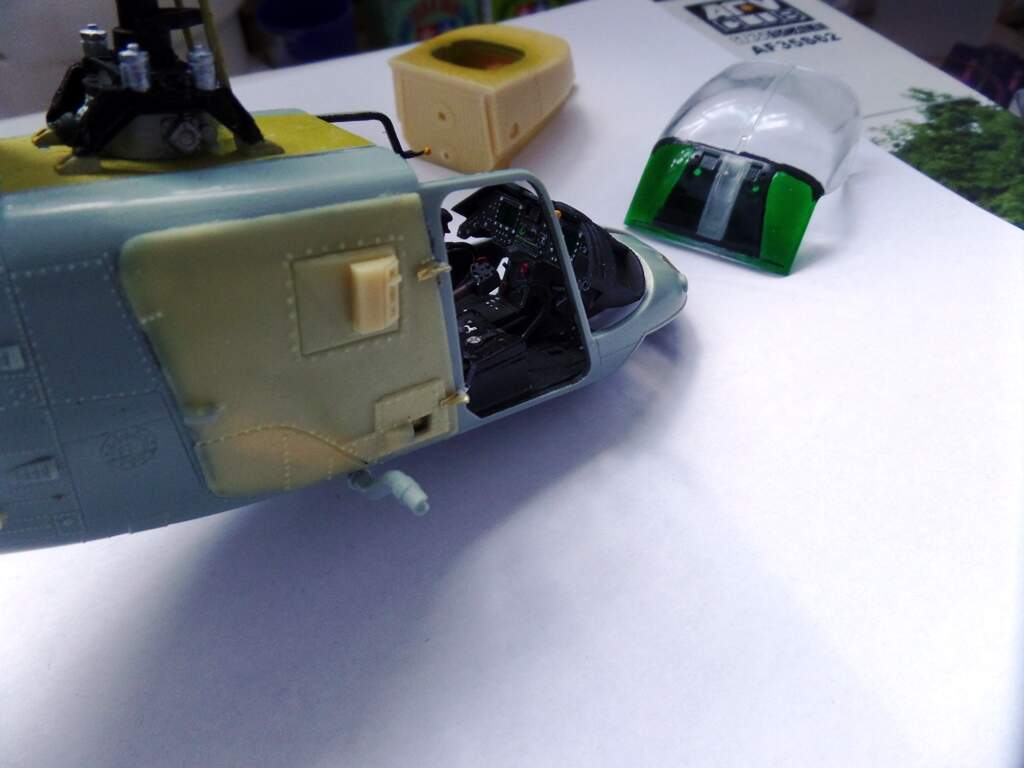
I’ve shaved the edges of the instrument panel cowling so it fits snuggly into the canopy when it’s finally glued on and also changed the angle slightly so it is lower at the front near the nose. If you look closely you can see that it isn’t as rounded as when it comes off the sprue.
I’ve dry fitted everything including pinching the nose together and although things are tight it does work. To ensure it glues properly on the day I’m going to glue it in sections, first the green upper portion, then the sides down each door frame then the bottom of the canopy and the nose. Hopefully it will work.
I painted the green roof panels on the inside, quite a few light passes with Tamiya clear green from the small jars to build it up slowly and avoid runs or a patchy finish, came out OK to me.
I haven’t added any weight yet, going to wait until I’ve got the skids on and see how it sits. The lower canopy will be one of the last things put on so I’ve got the option to add weight should I need it.
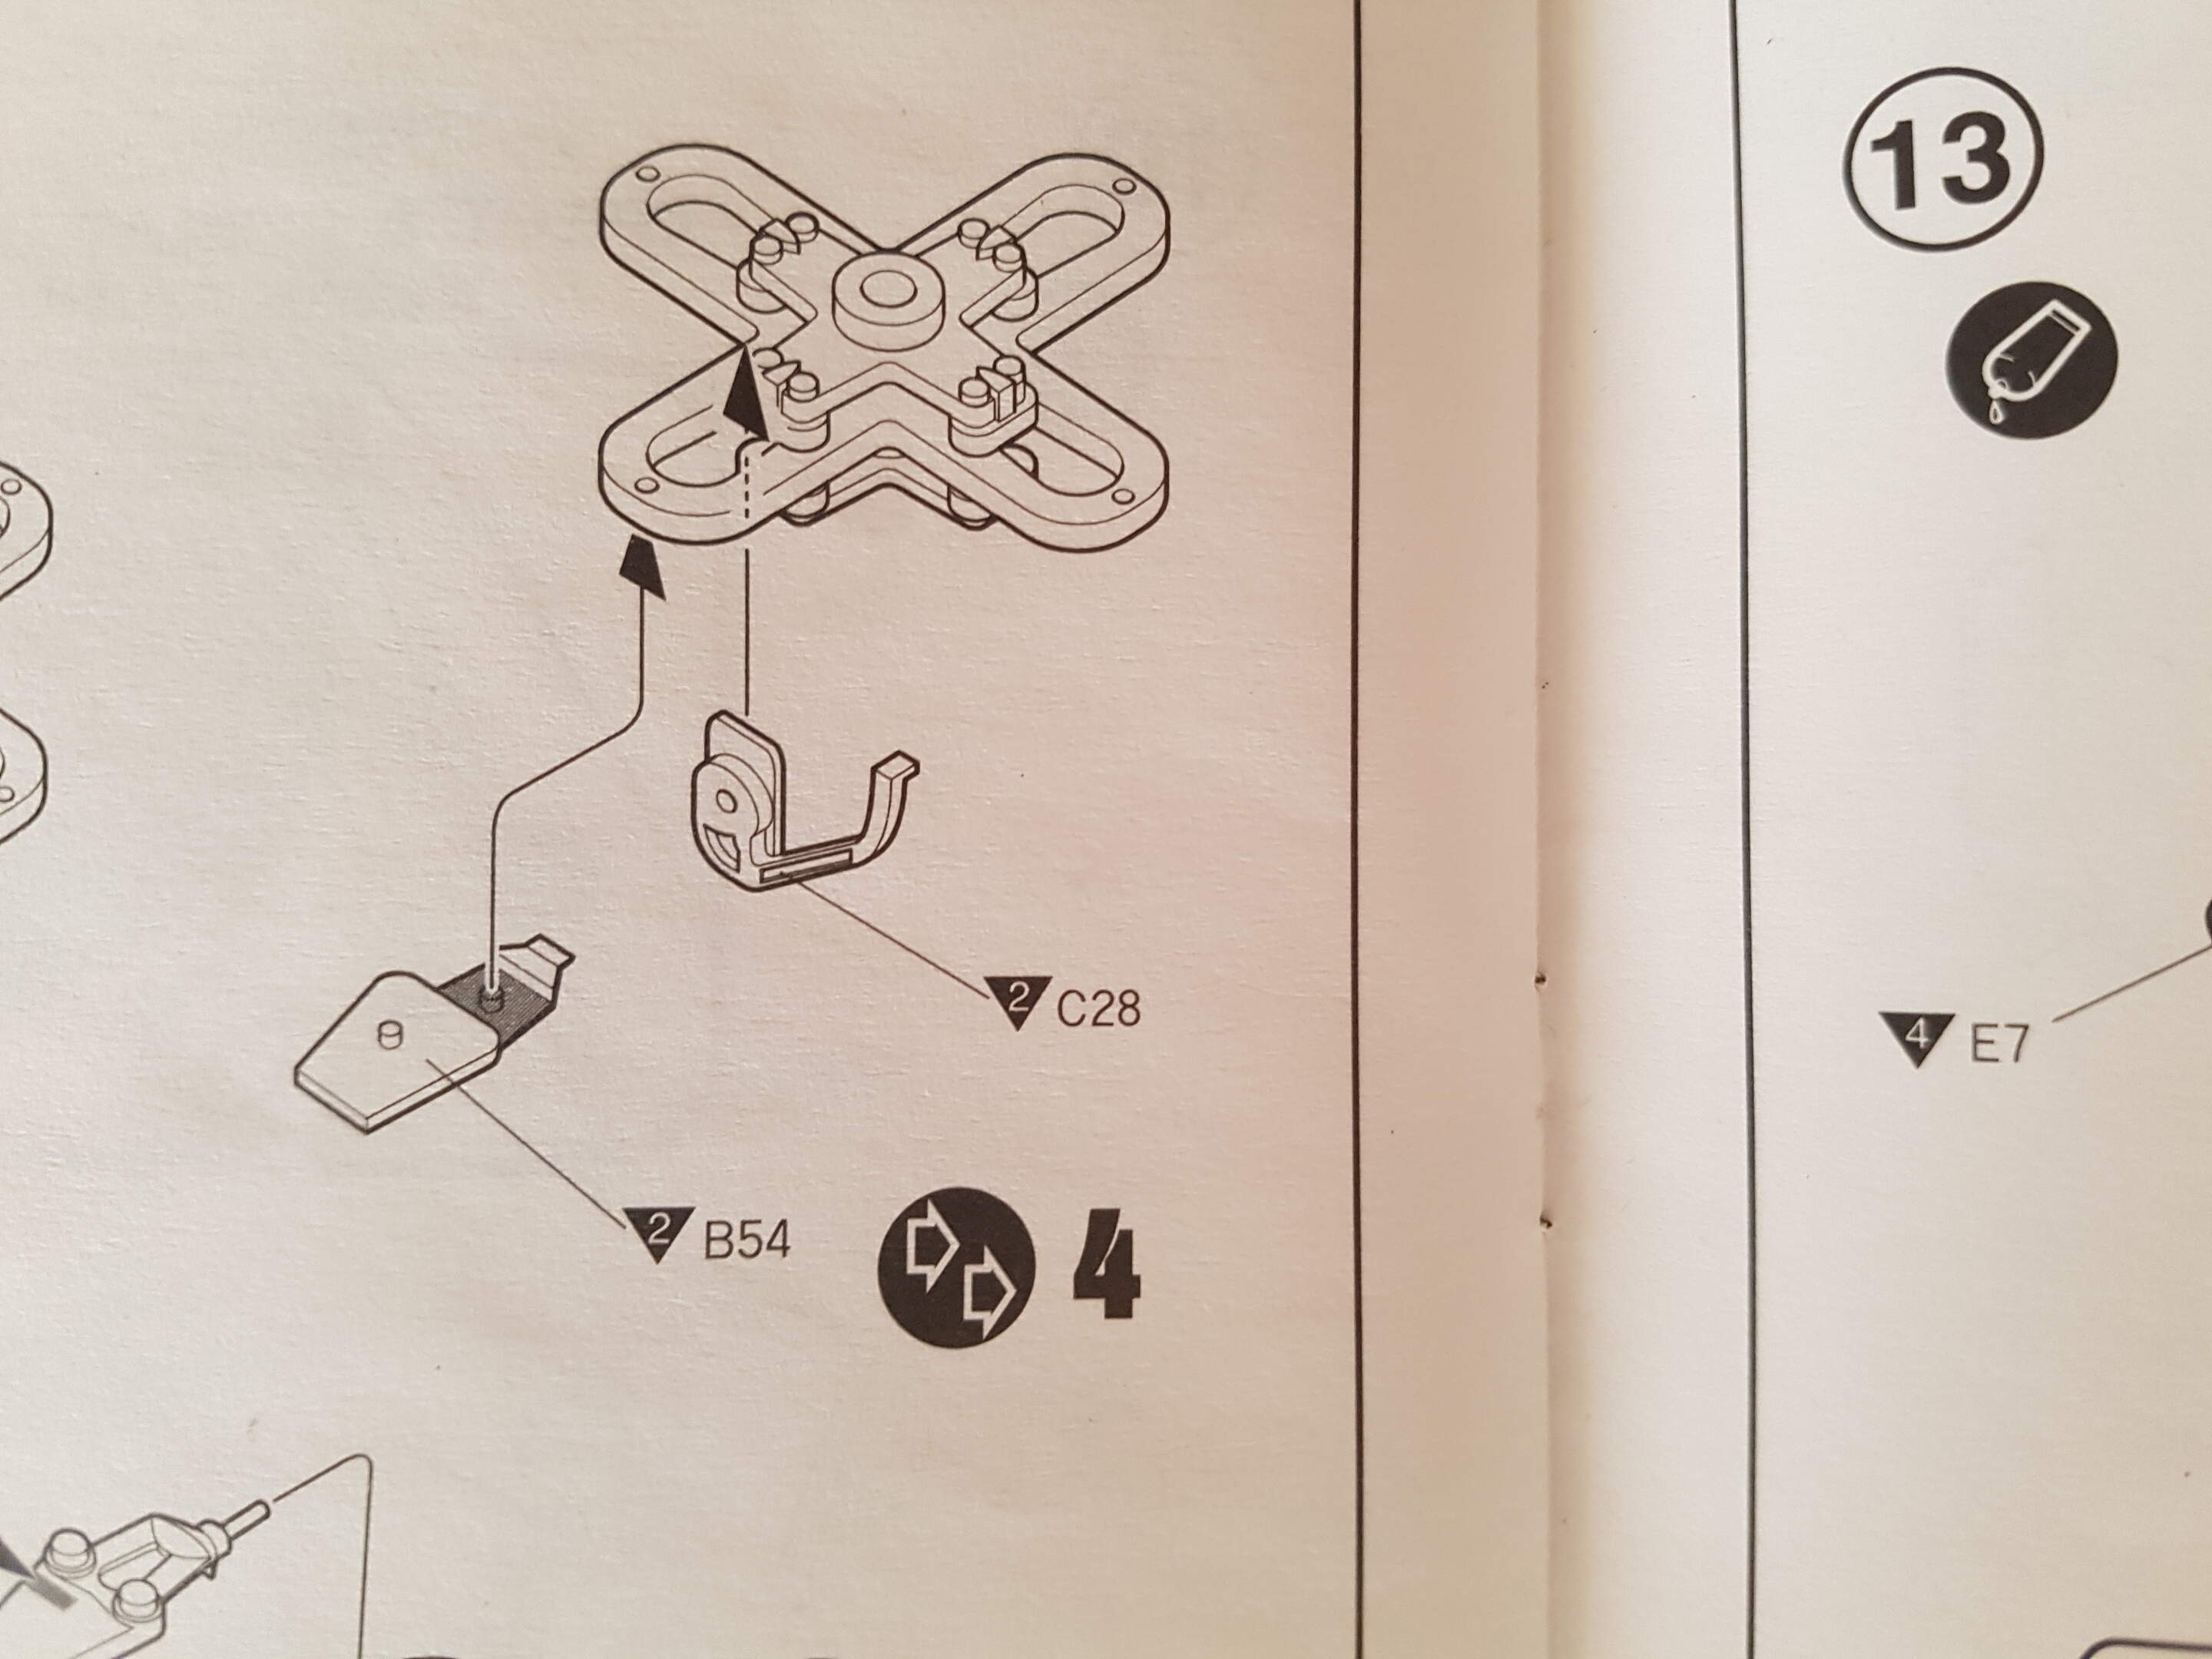
I have been watching Space:1999 disk 3 and working on the rotor head and discovering part C28 is a bit difficult to fit and has to be at the right angle and then repeat the process 4 times.
David, it’s looking really good. Should be interesting with a dusty interior. Did you manage to fix that miscast tail boom?
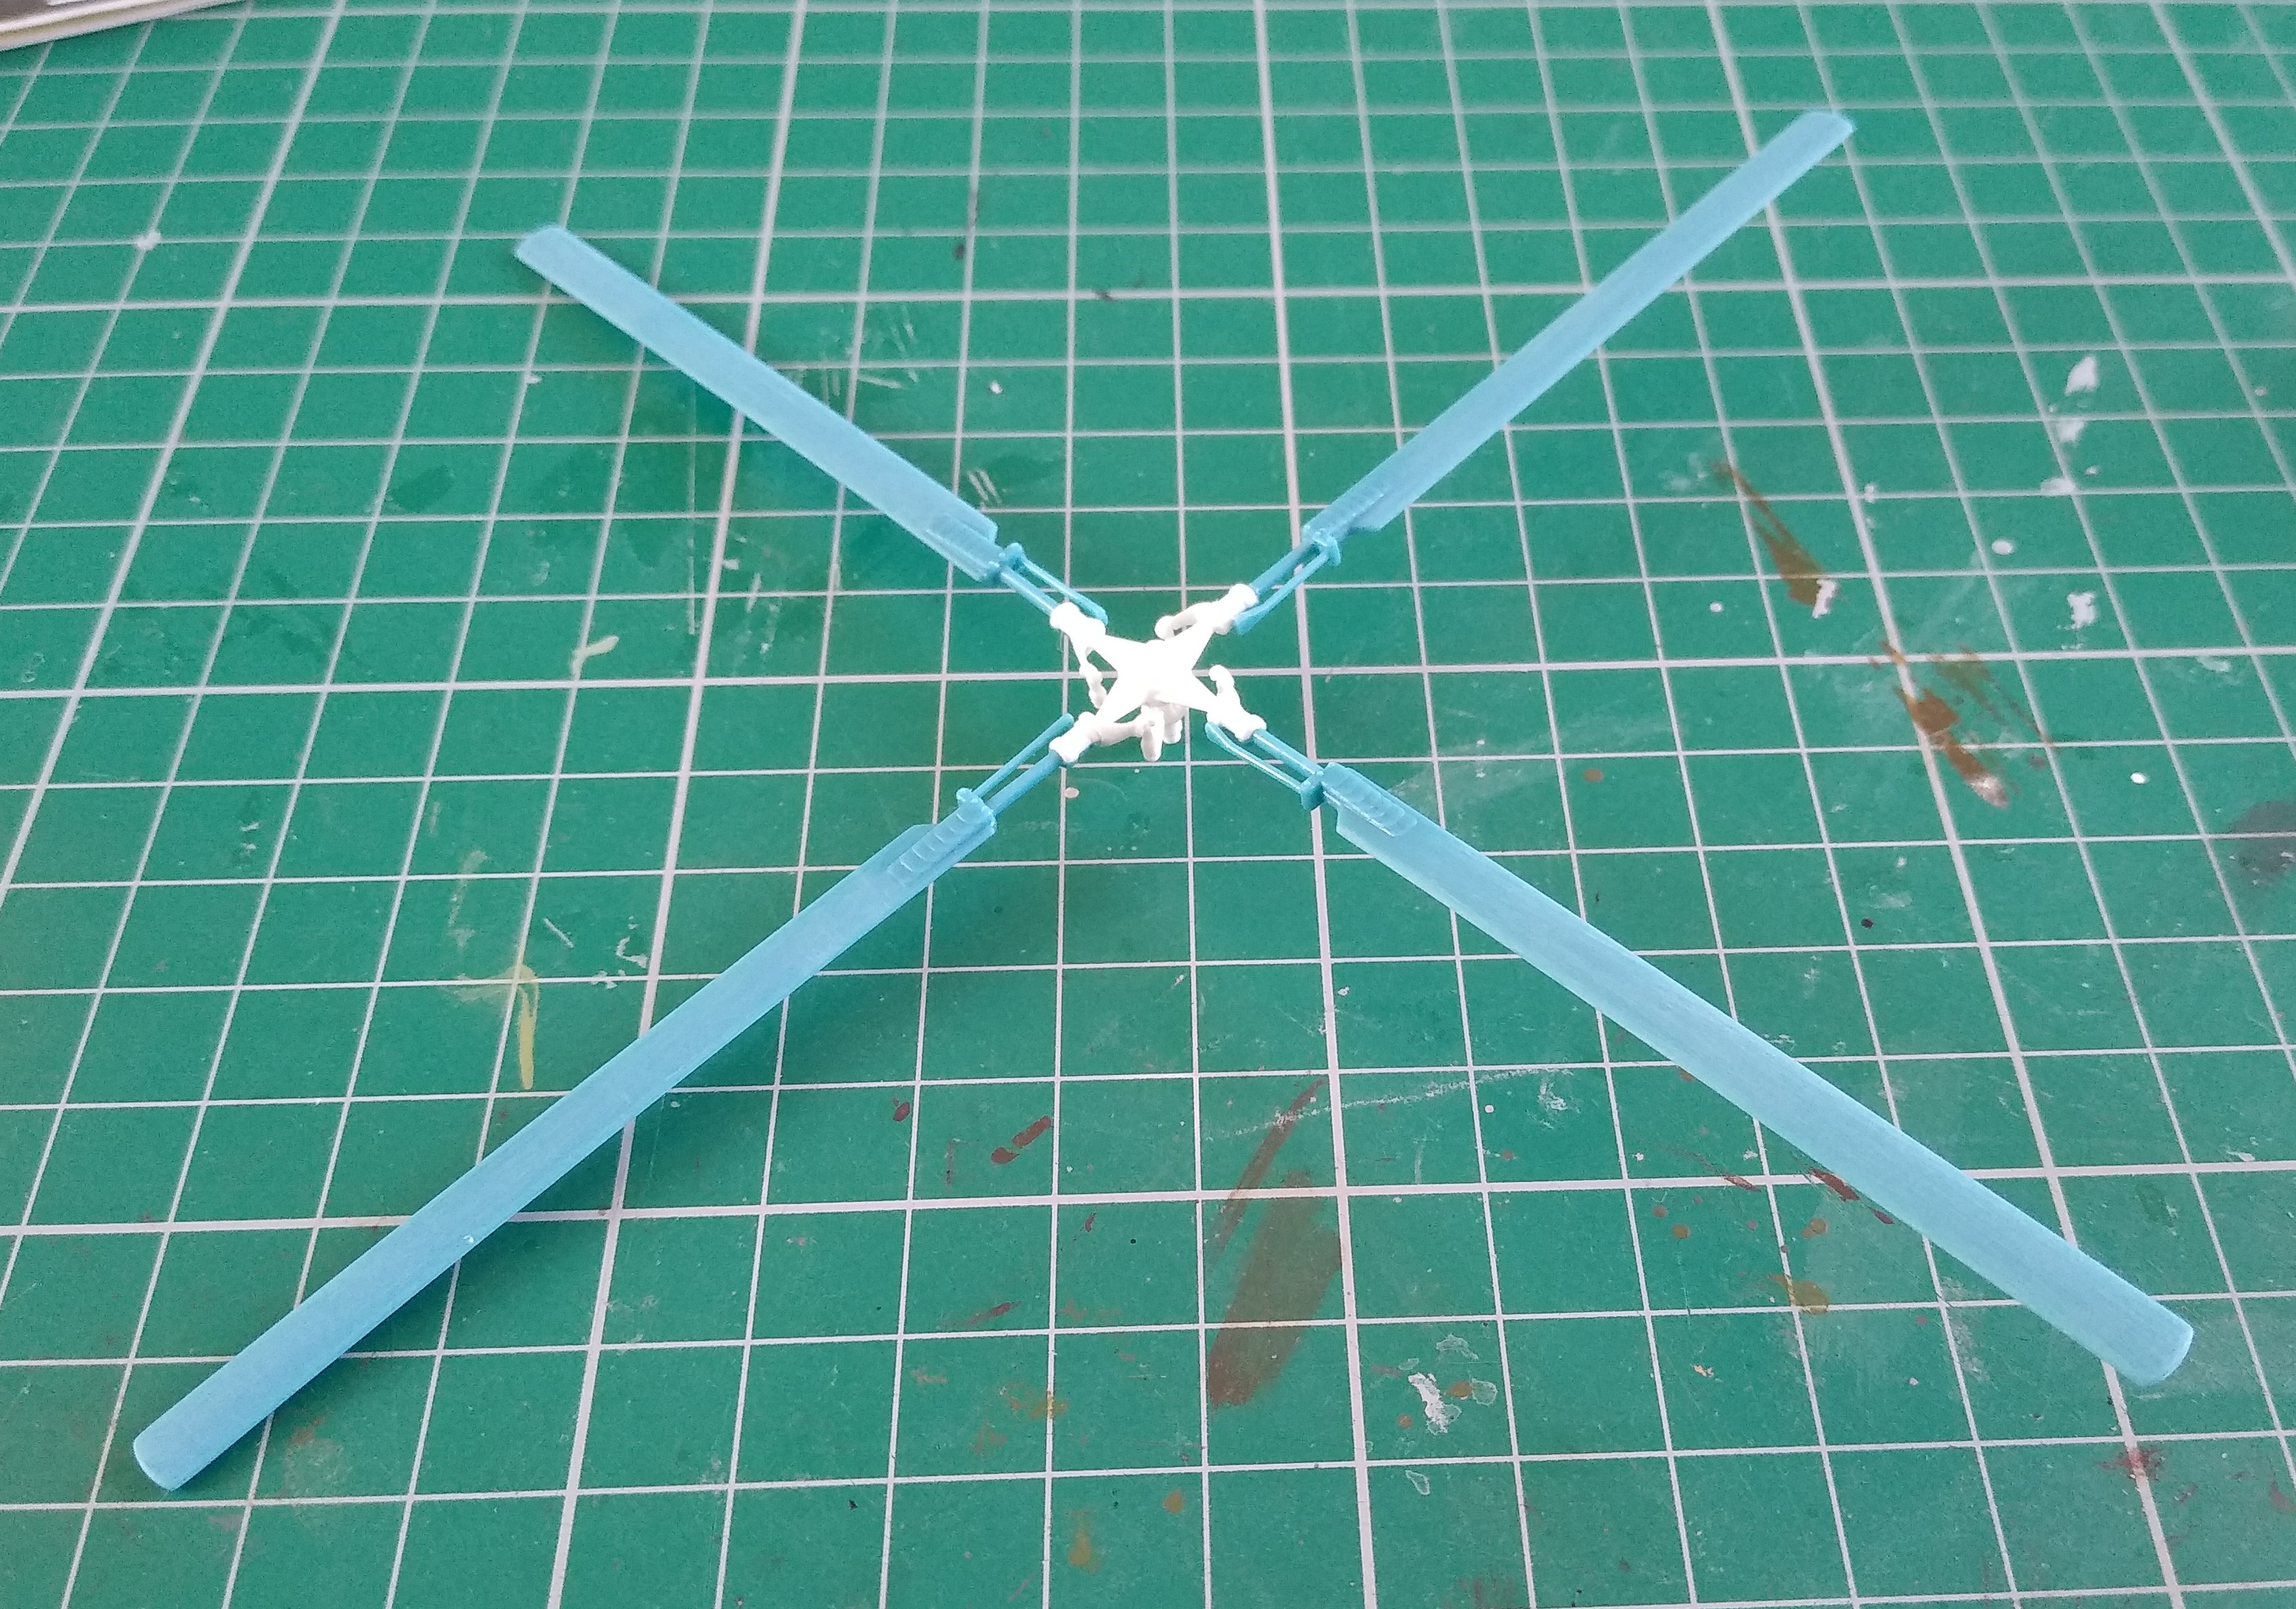
Little more work on my Lynx today.
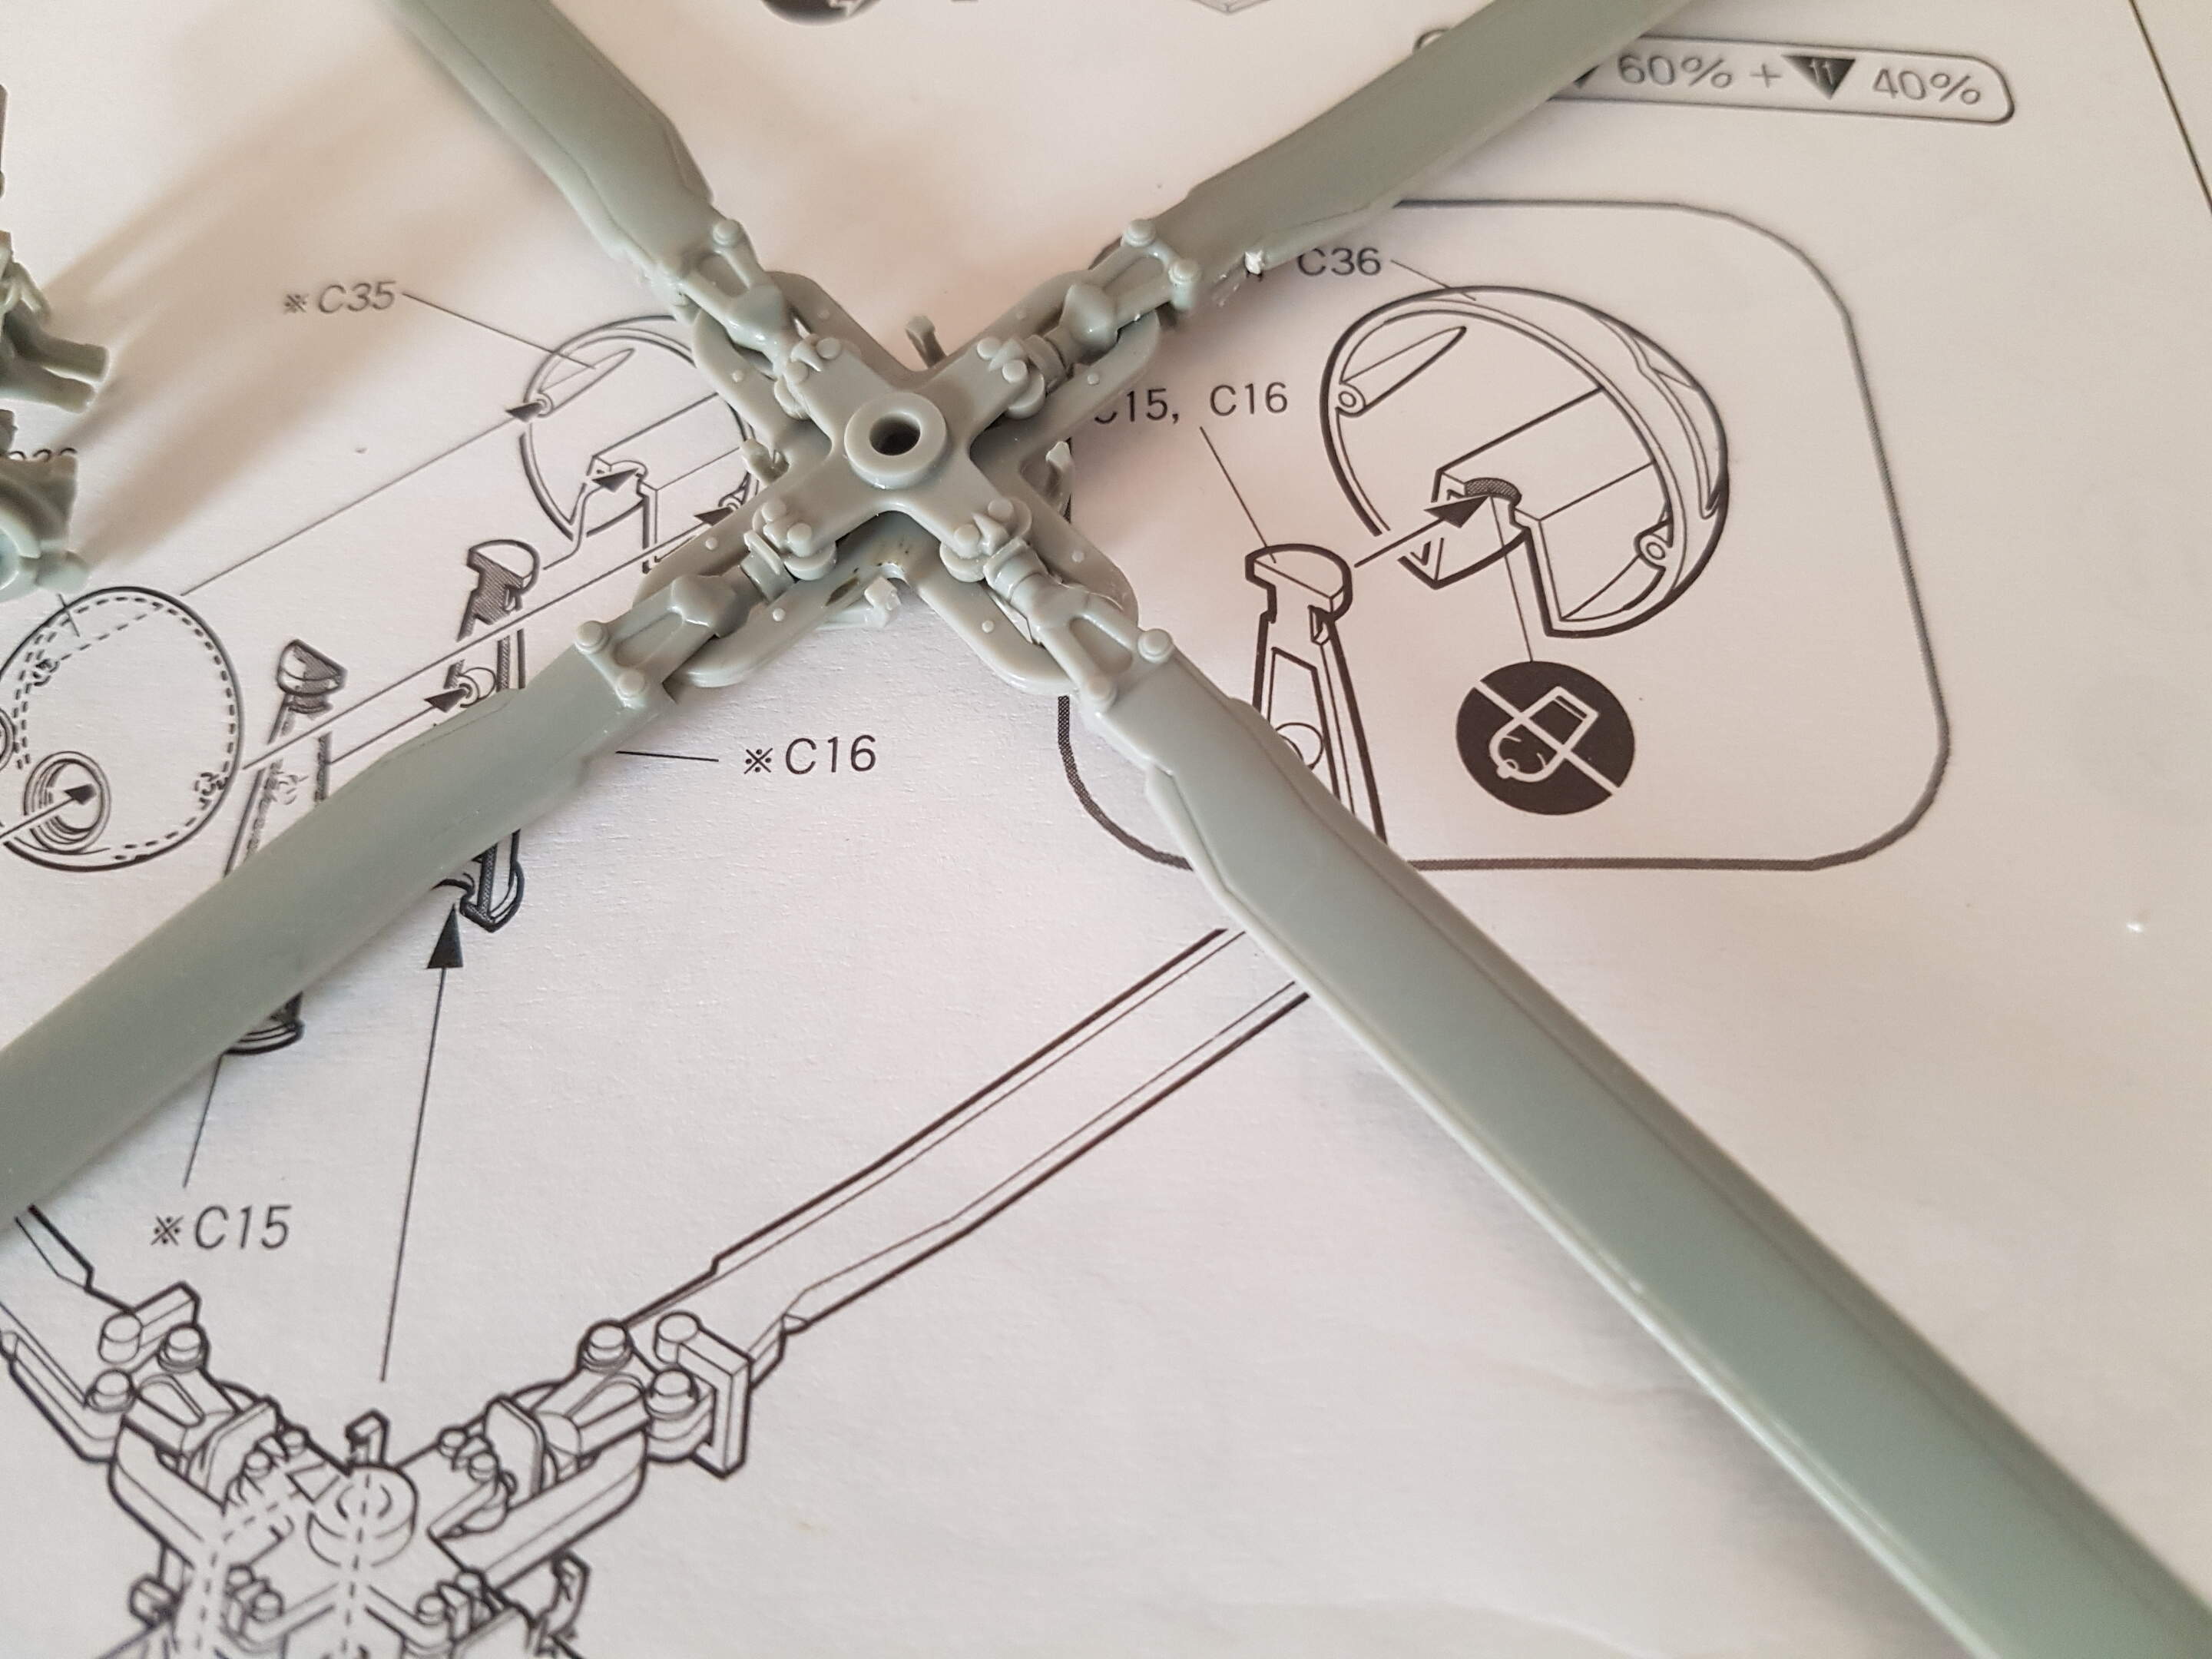
Got the rotor assembled. No real problems, just a bit fiddly and needed care to keep the blades straight as fit was a little wobbly.
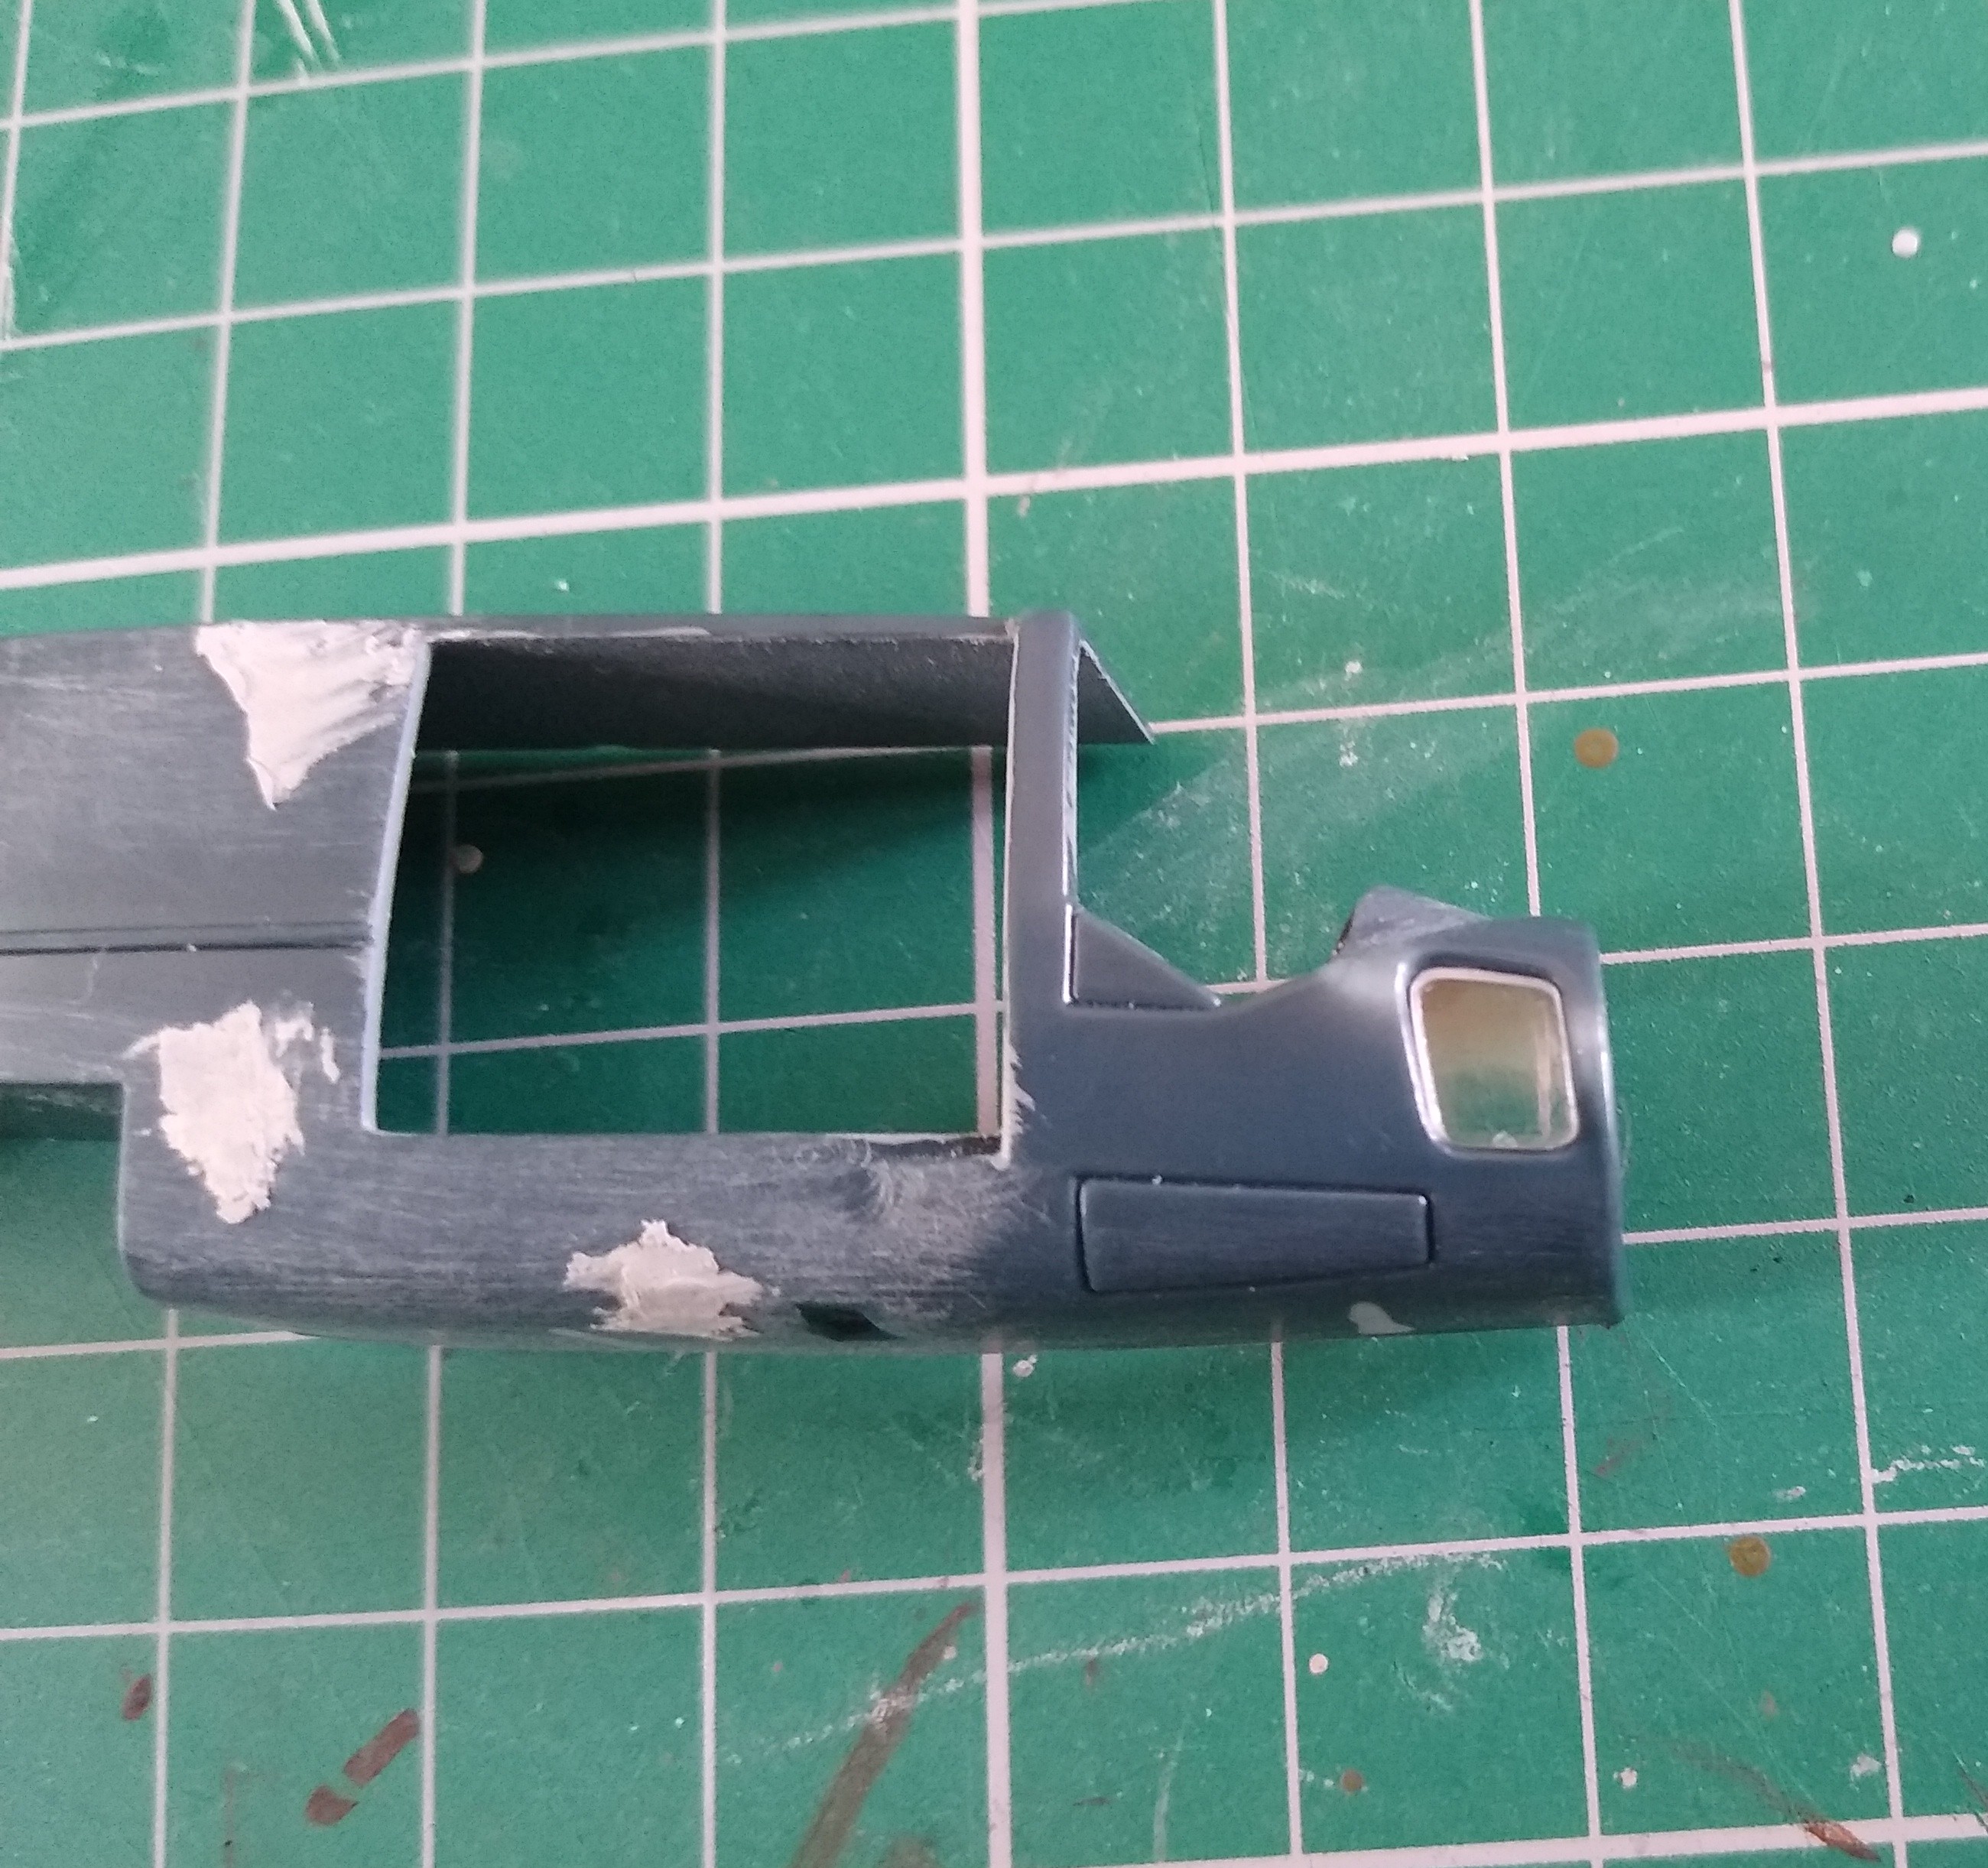
Only real problem I’ve encountered are with the lower cabin windows. They’re loose and don’t want to fit without falling out. Not to mention the gaps in a couple of spots. Think I might ditch these in favour of glazing them with a clear glue. I have some Humbrol Clearfix which I’ve used in the past to make small windows and works quite well. I’ve just bought a bottle of Deluxe Materials Glue’n’Glaze, so interested to see how that compares with it.
Thought now would be a good time to do a little filling before I closed up the fuselage. A couple of sink marks on the sides and the slots for the torpedo racks. These were first filled with some bits of scrap plasticard and then puttied.