Absolutely cool ![]()
![]()
Except for being an Apache it’s a cool idea.
Honey, I have an idea for the office fan……Can you at least hear my idea for a Cobra helicopter before shooting it down? ![]()
3 Likes
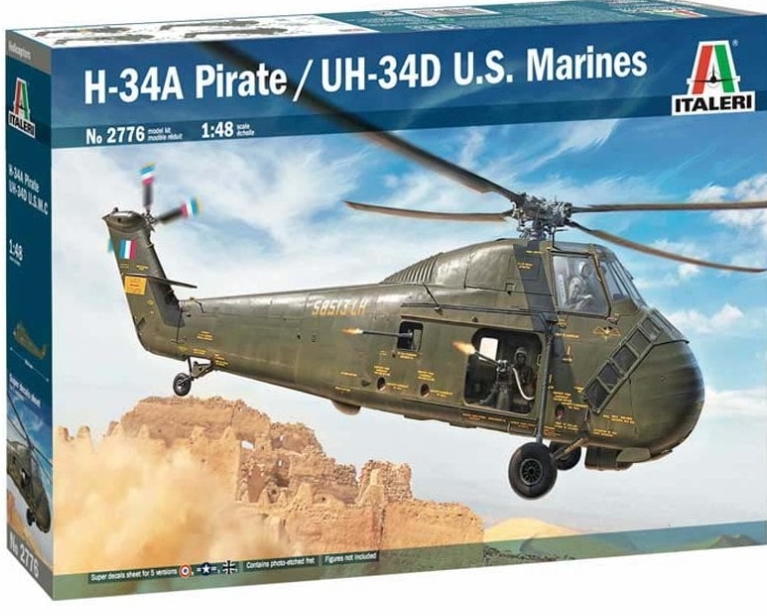
Slight change of plans for my Night Fox. I told myself it would be out of the box but I just don’t like how they put the arms for the rocket pods through the doors. I believe the actual way was a cut in the lower rear corner of the rear door. So, more holes to fill and the door and fuselage to cut. If you look at the box cover art, you can see the proper way it is mounted.
Time to catch up with everyone’s builds. Great work being done here. Keep having fun fellow modelers.
Klaus_Adler, yes, busy, and having a blast. Thanks.
Tank_1812, glad to help and thanks for the compliment.
Gary_Kato, cool AH-6 for the campaign.
frank, the interior work looks amazing.
B-17-peter, great kit for the campaign. It has pilot figures!!!
Gary_Kato, Instructions!!! We need a Rosetta Stone to decrypt them.
bwilt, looks nicely detailed for such a small scale kit. Have fun.
Gary_Kato, your AH-6 build is progressing nicely.
bwilt, microscopic crew figures, I love it!!!
bwilt, that’s one crazy room decoration. Fantastic!
Gary_Kato, it wouldn’t be a model build without some kind of modification.
That’s all for now, guys. Keep up the super work…and have fun!!!
Bill
2 Likes
Time for an update on my KA-50SH Night Hunter.
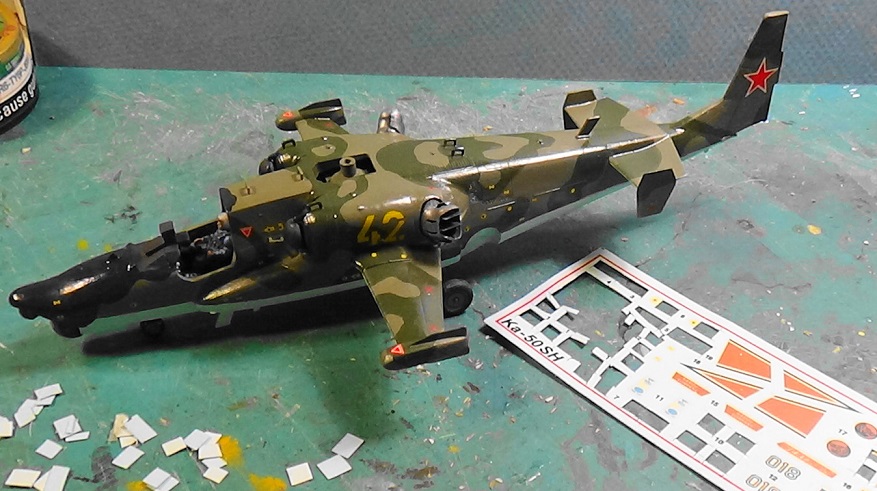
I used decals from my spares pile and kit provided ones.
Lots of stenciling on modern aircraft.
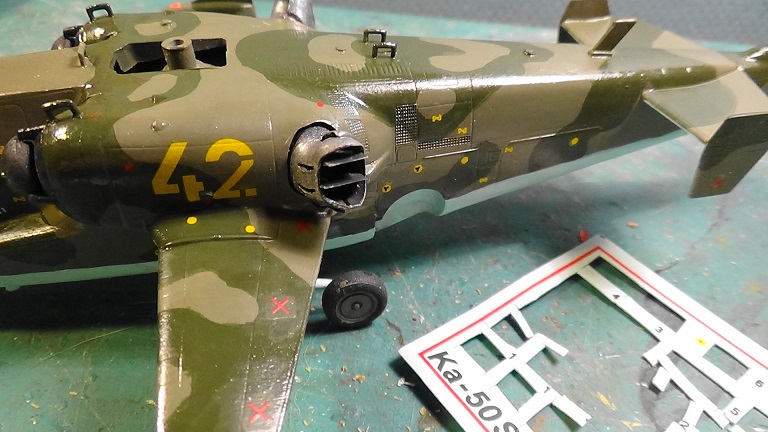
Lots of stenciling!!!
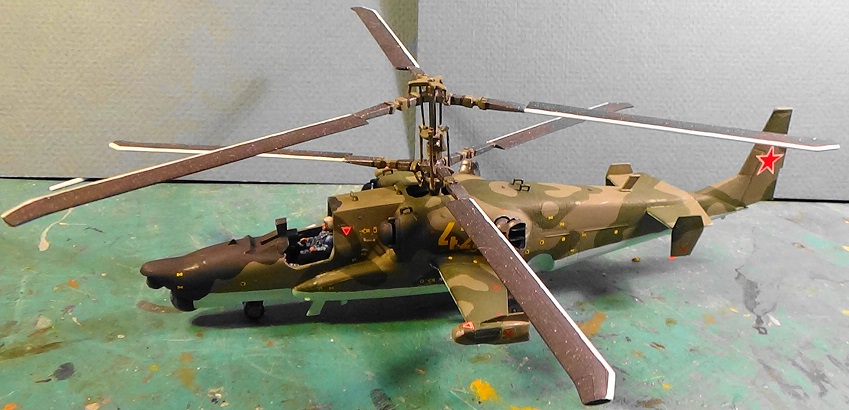
Rotar assembly painted. The helo is shaping up.

Weapons load-out is attached. Rockets and missiles give it quite a punch.
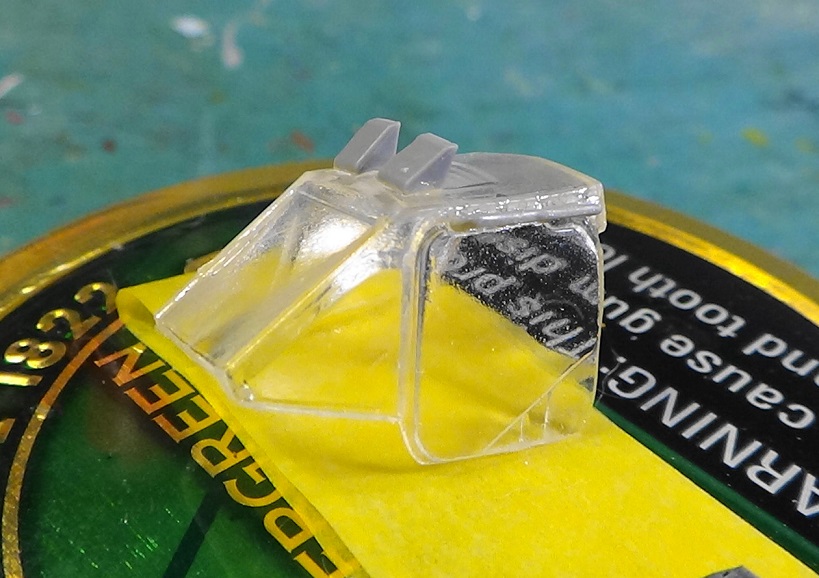
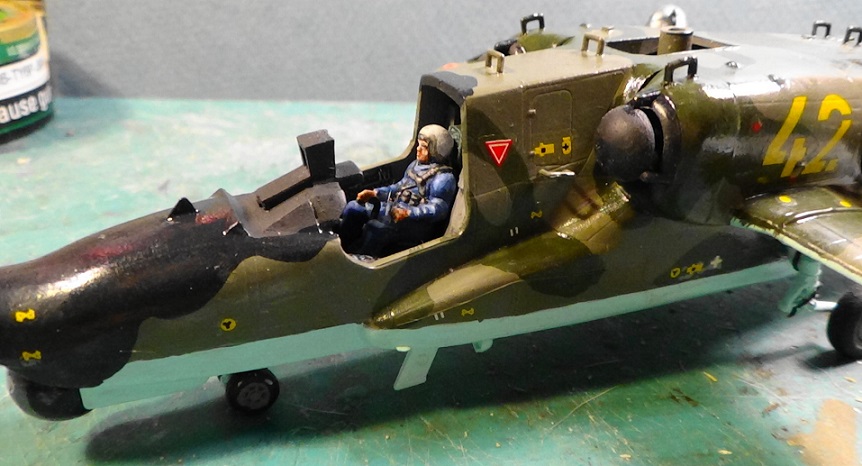
The canopy was a nightmare. A separate side door makes for a terrible fit. I caused stress cracks reforming it.
I added colored acetate to the targeting hood.
Next update will be the final reveal. Thanks for viewing. Have fun, guys.
Bill
9 Likes
I have been following your builds here and seen some impressive work. I recently got a 1/48 Mil 4 kit that has me thinking about a second build for this campaign. Its a pip!
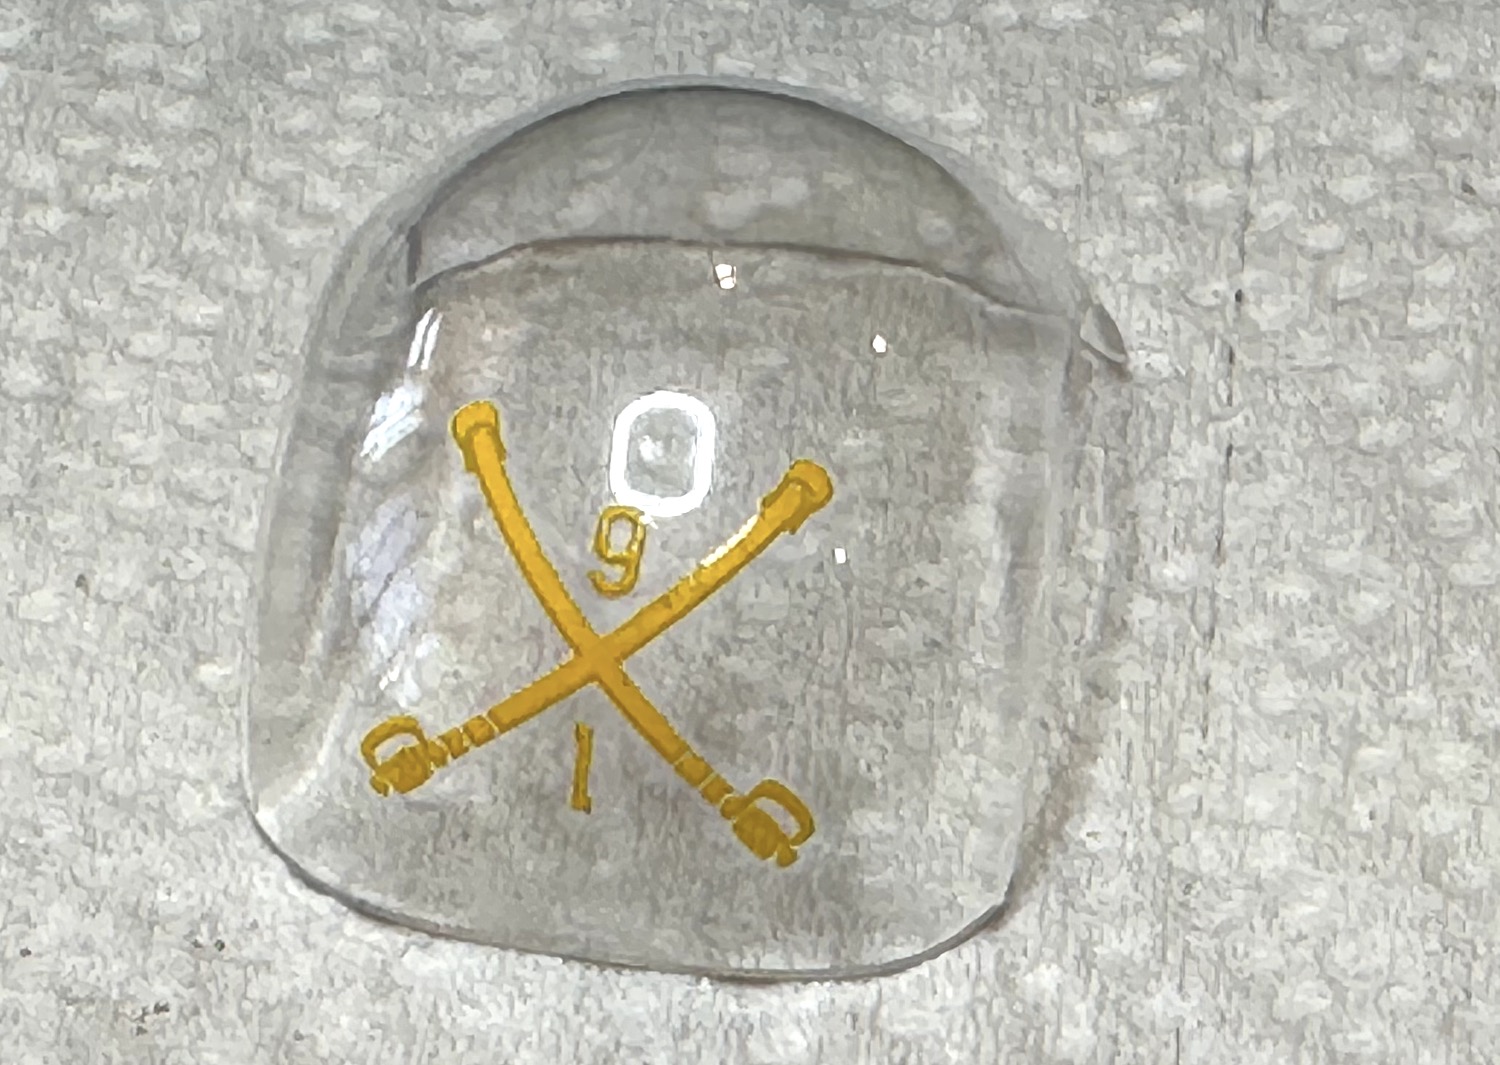
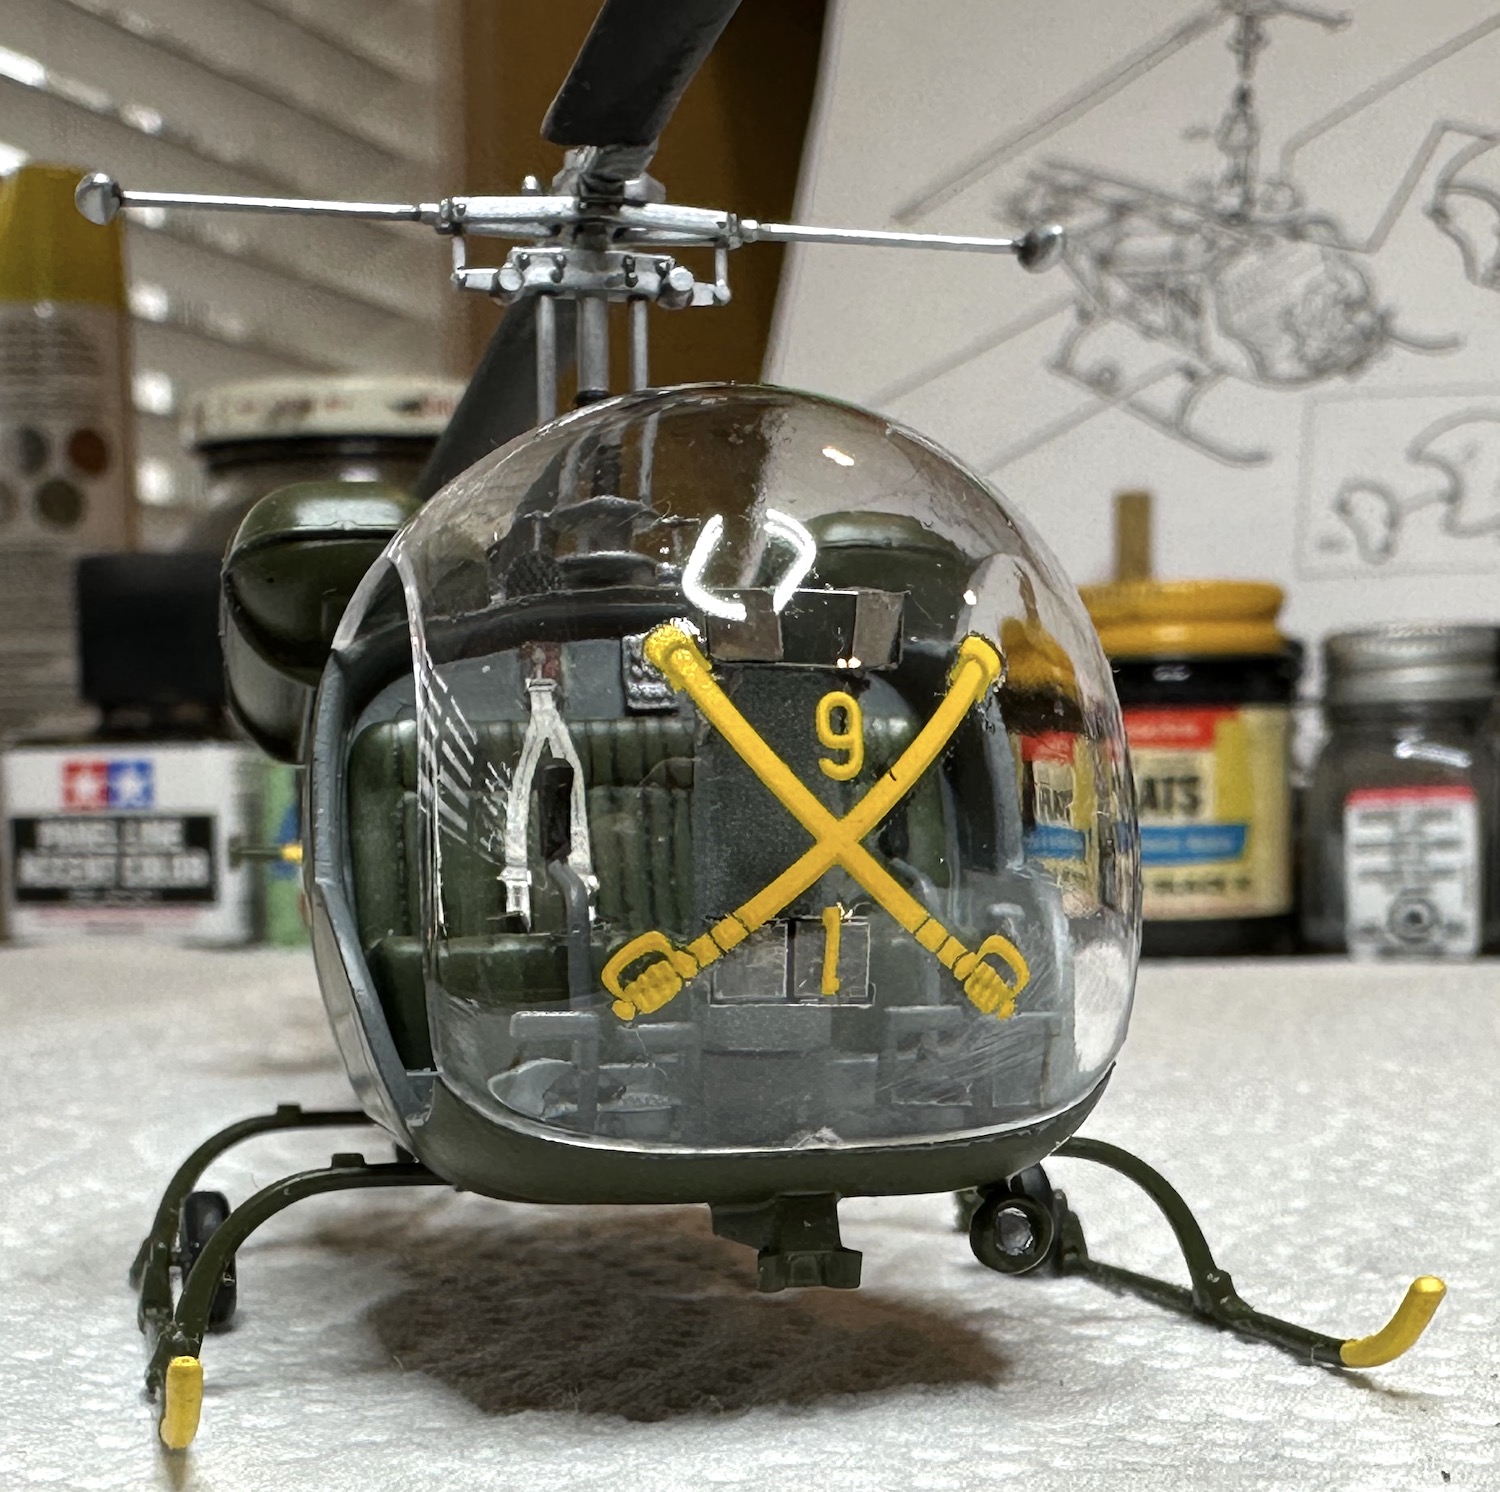
Progress on the Italeri 1/48 Bell 47/H-13 Sioux project has continued by stages. One area I could use some guidance with is the clear bubble. It is wonderfully clear and after a bit of sanding here and there fits very well. It has one big sprue attachment point on the bottom and that’s all. There is one big thick decal on it and that along with a small set of scratches caused by my momentary inattention with a sanding stick has me wishing for a way to dip this part in Future. The problem is I can see no way to grip it for its dip and subsequent drying. Any ideas?
The Eduard PE & 3D cockpit set assembled pretty well. I have worked with PE in the past but nothing this extensive. The result is a huge improvement over the kit parts.

I’m sorry for the poor quality of the photos. I used my phone which usually does a pretty good job but not here in “macro” mode.
Paul
7 Likes
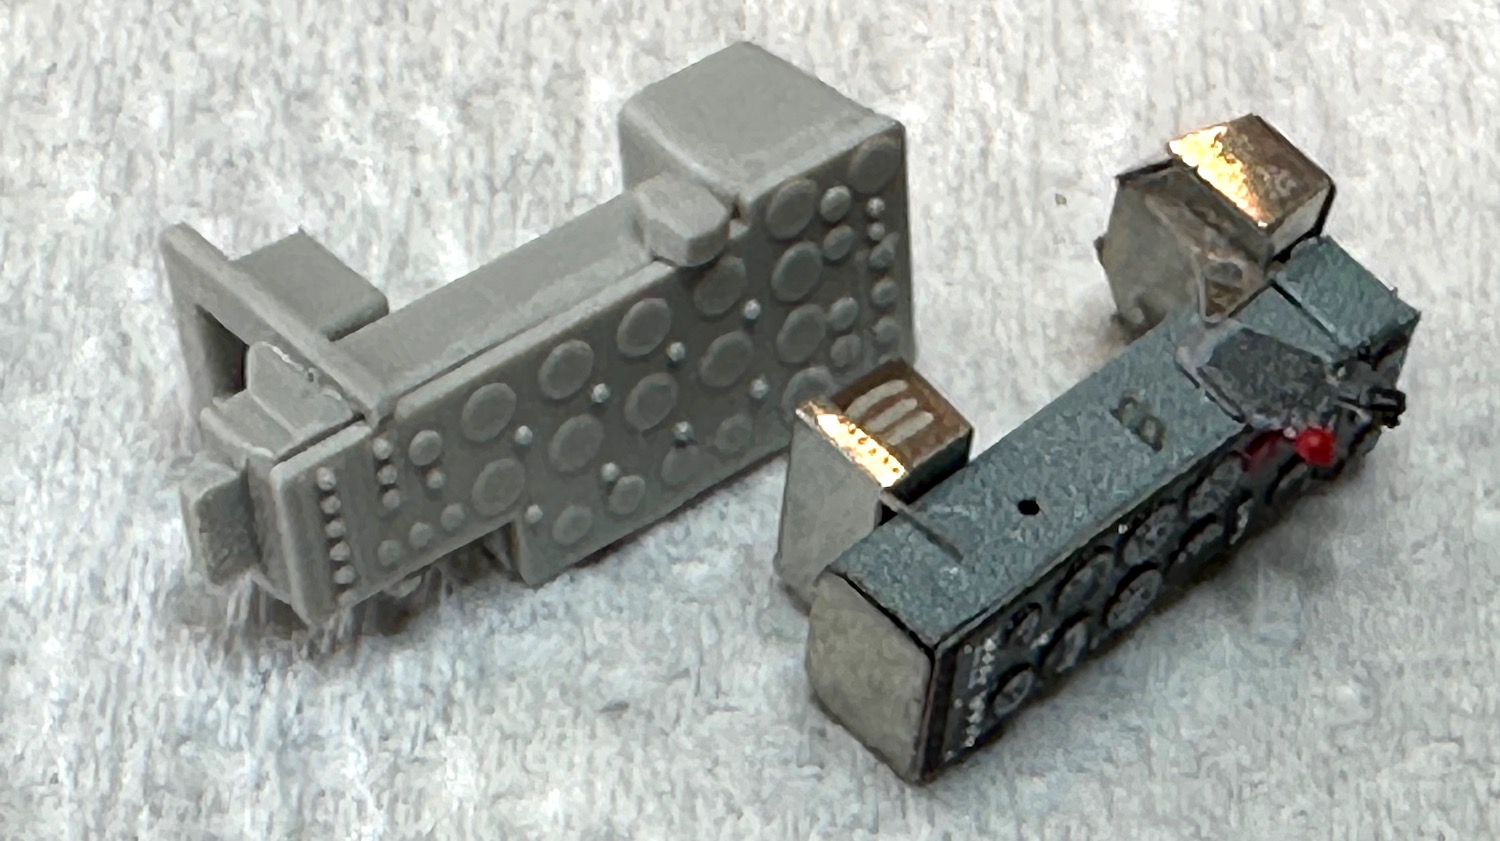
More progress shots showing the crew pod and the last showing where I left the build last night with various bits getting some time to completely cure.
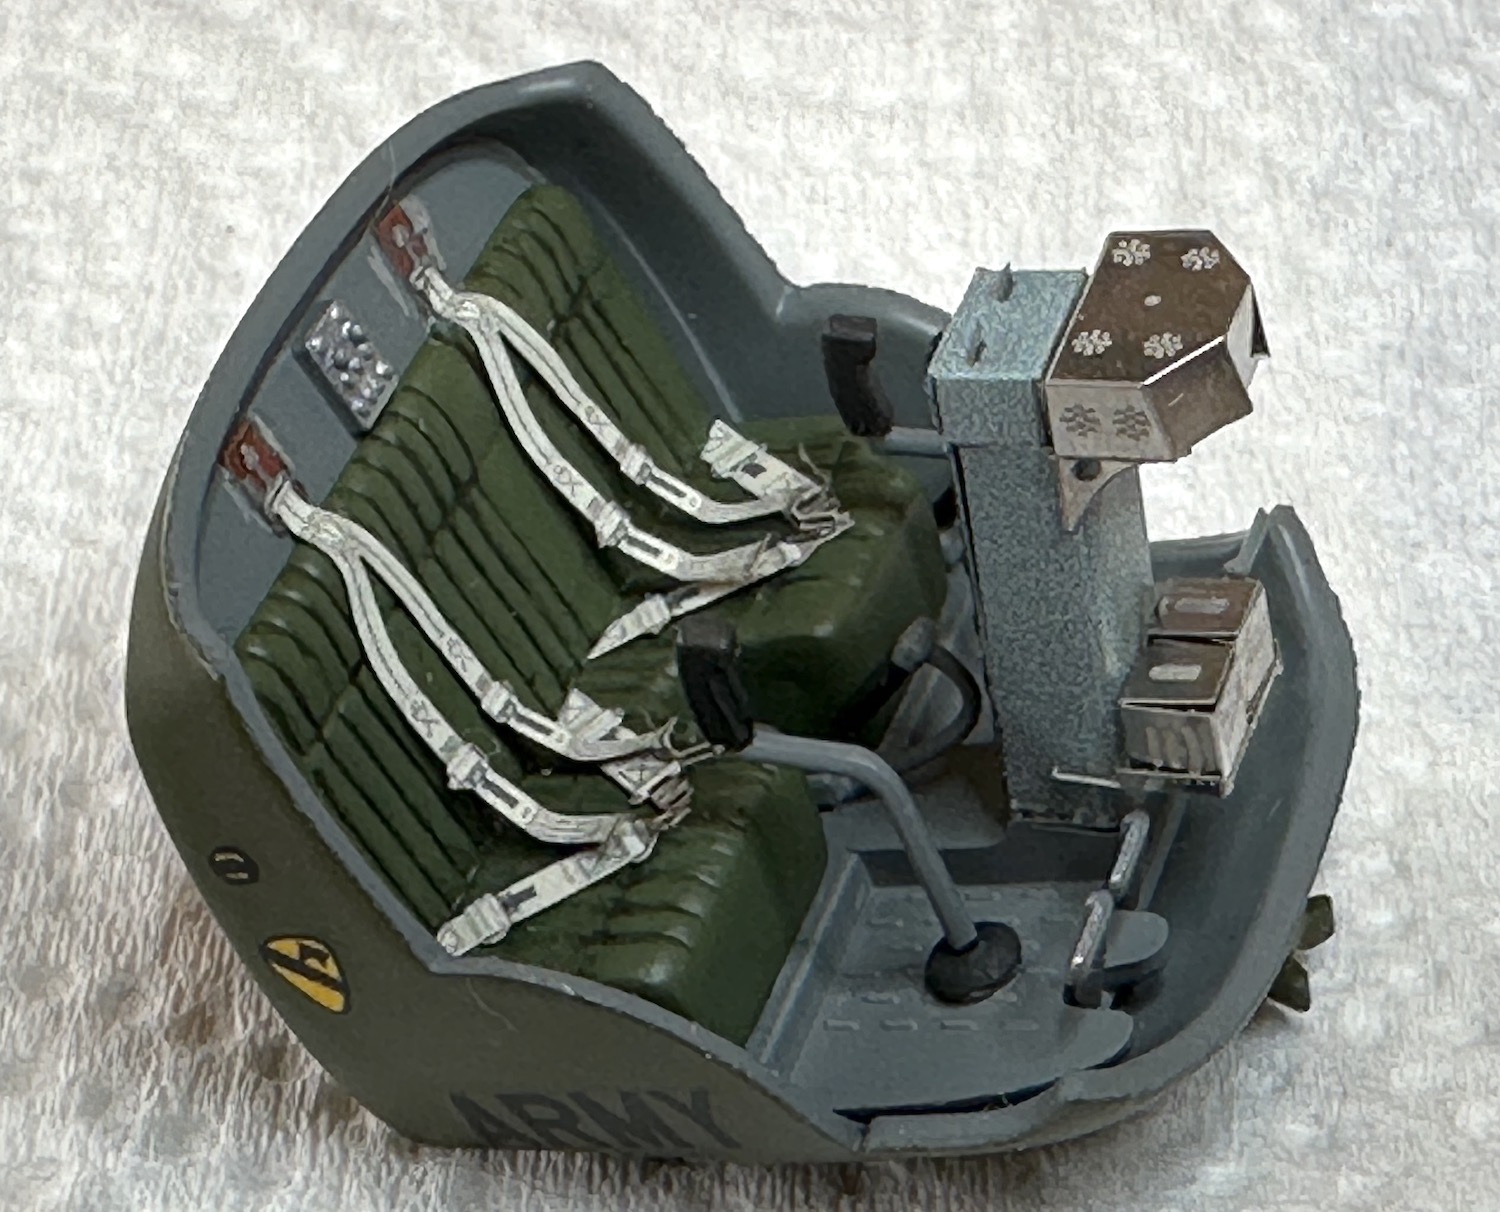
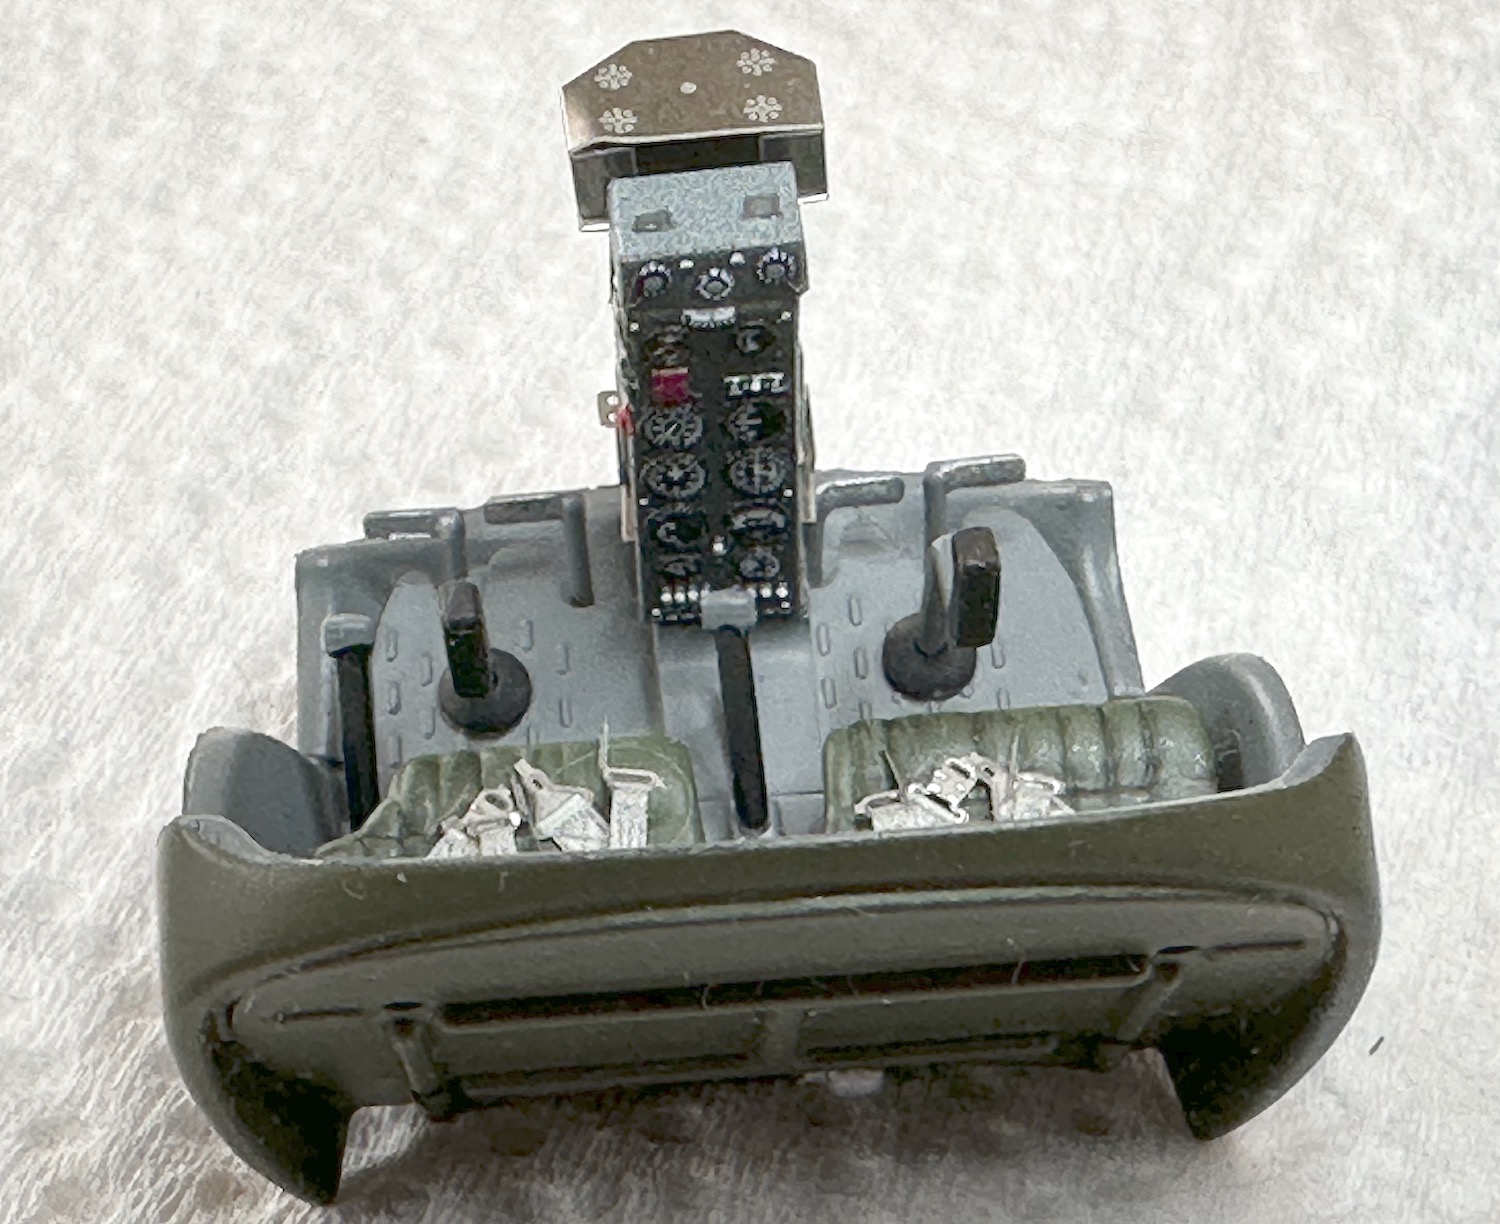
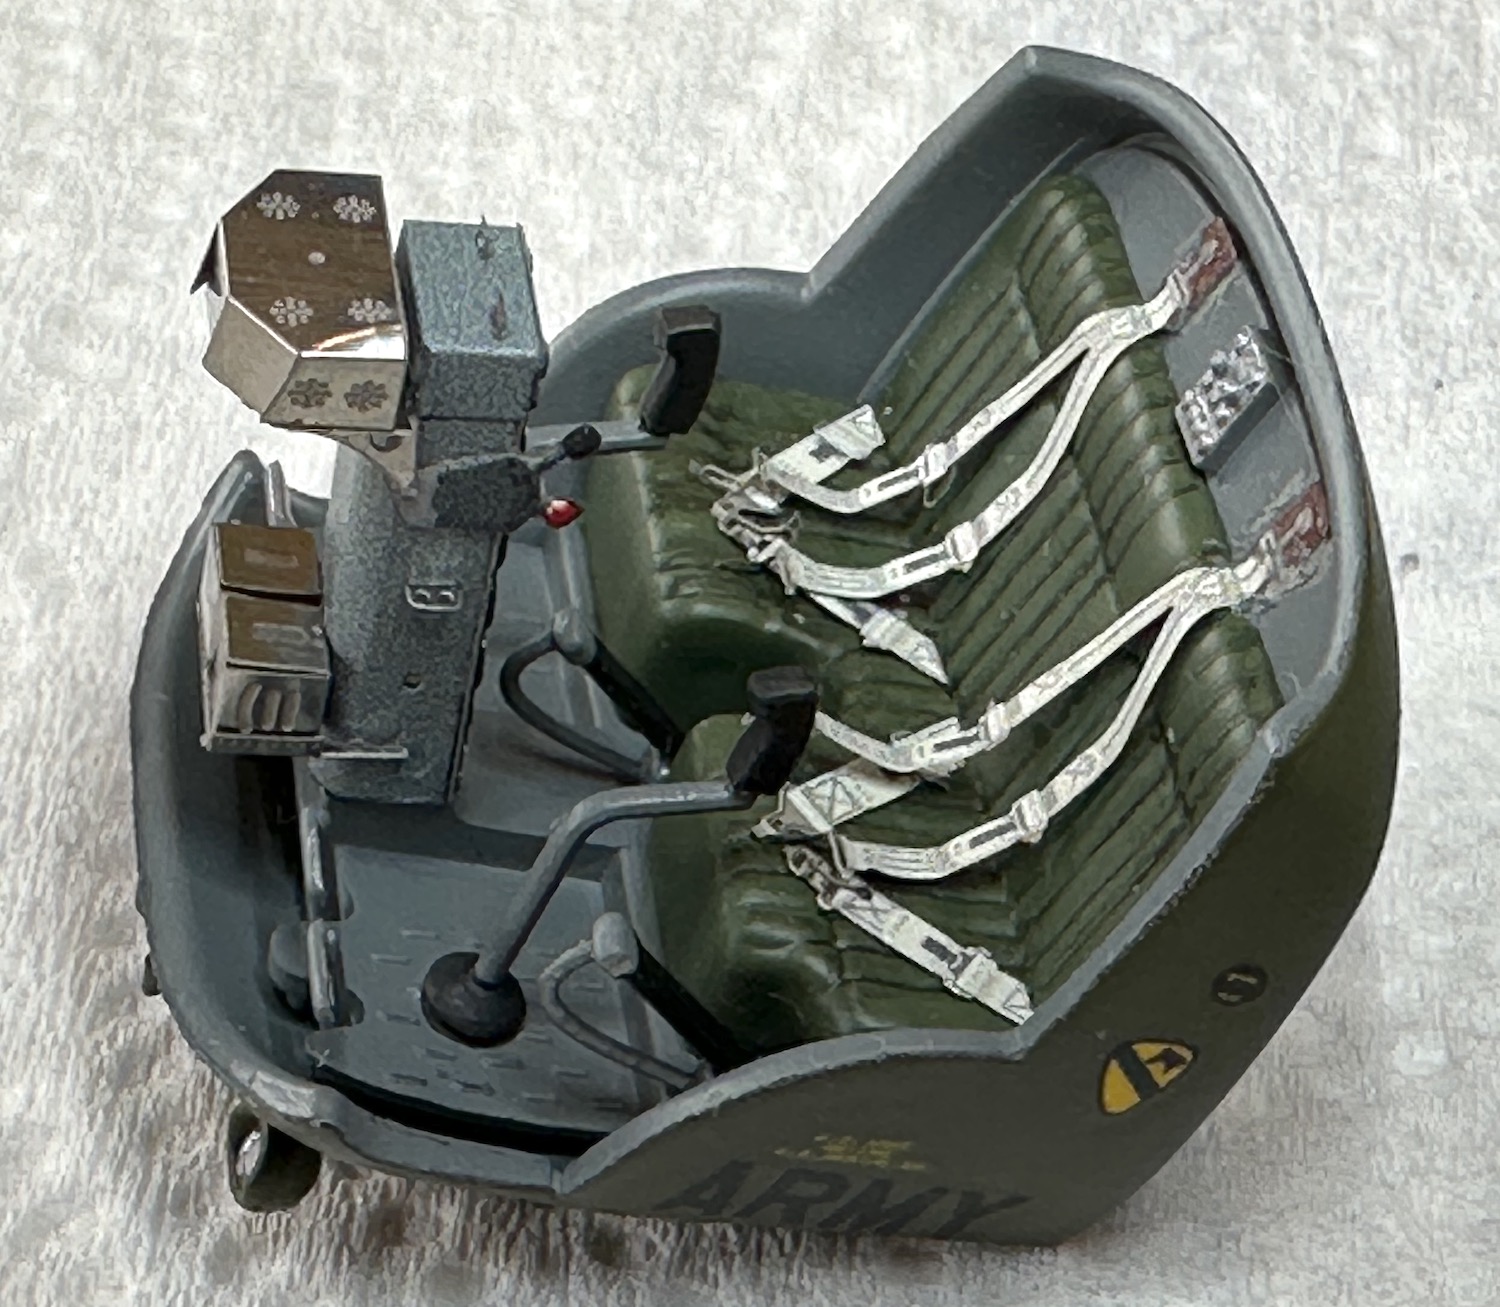
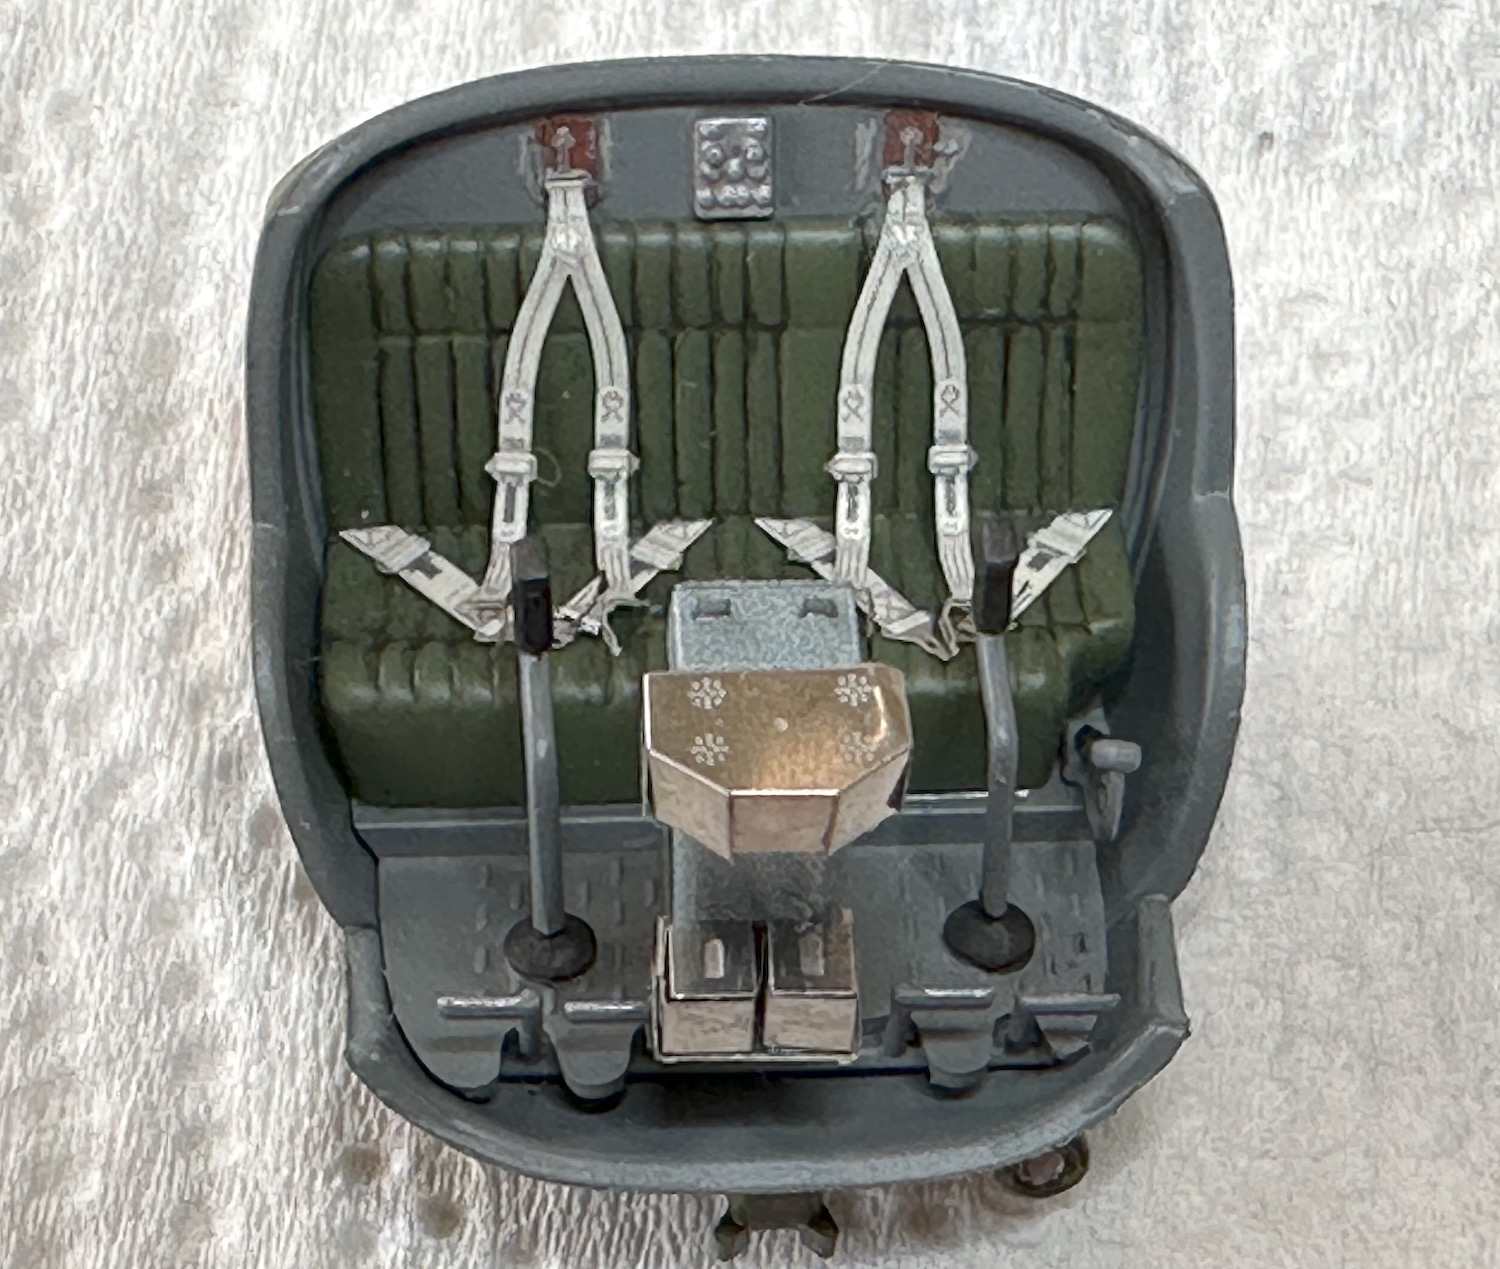
The “thing” still looks like some sort of insect compared to the helos many of you are building.
Paul
7 Likes
you’re coming on leaps and bounds mate well done indeed.
1 Like
Nice job. The Sioux is looking good.
1 Like
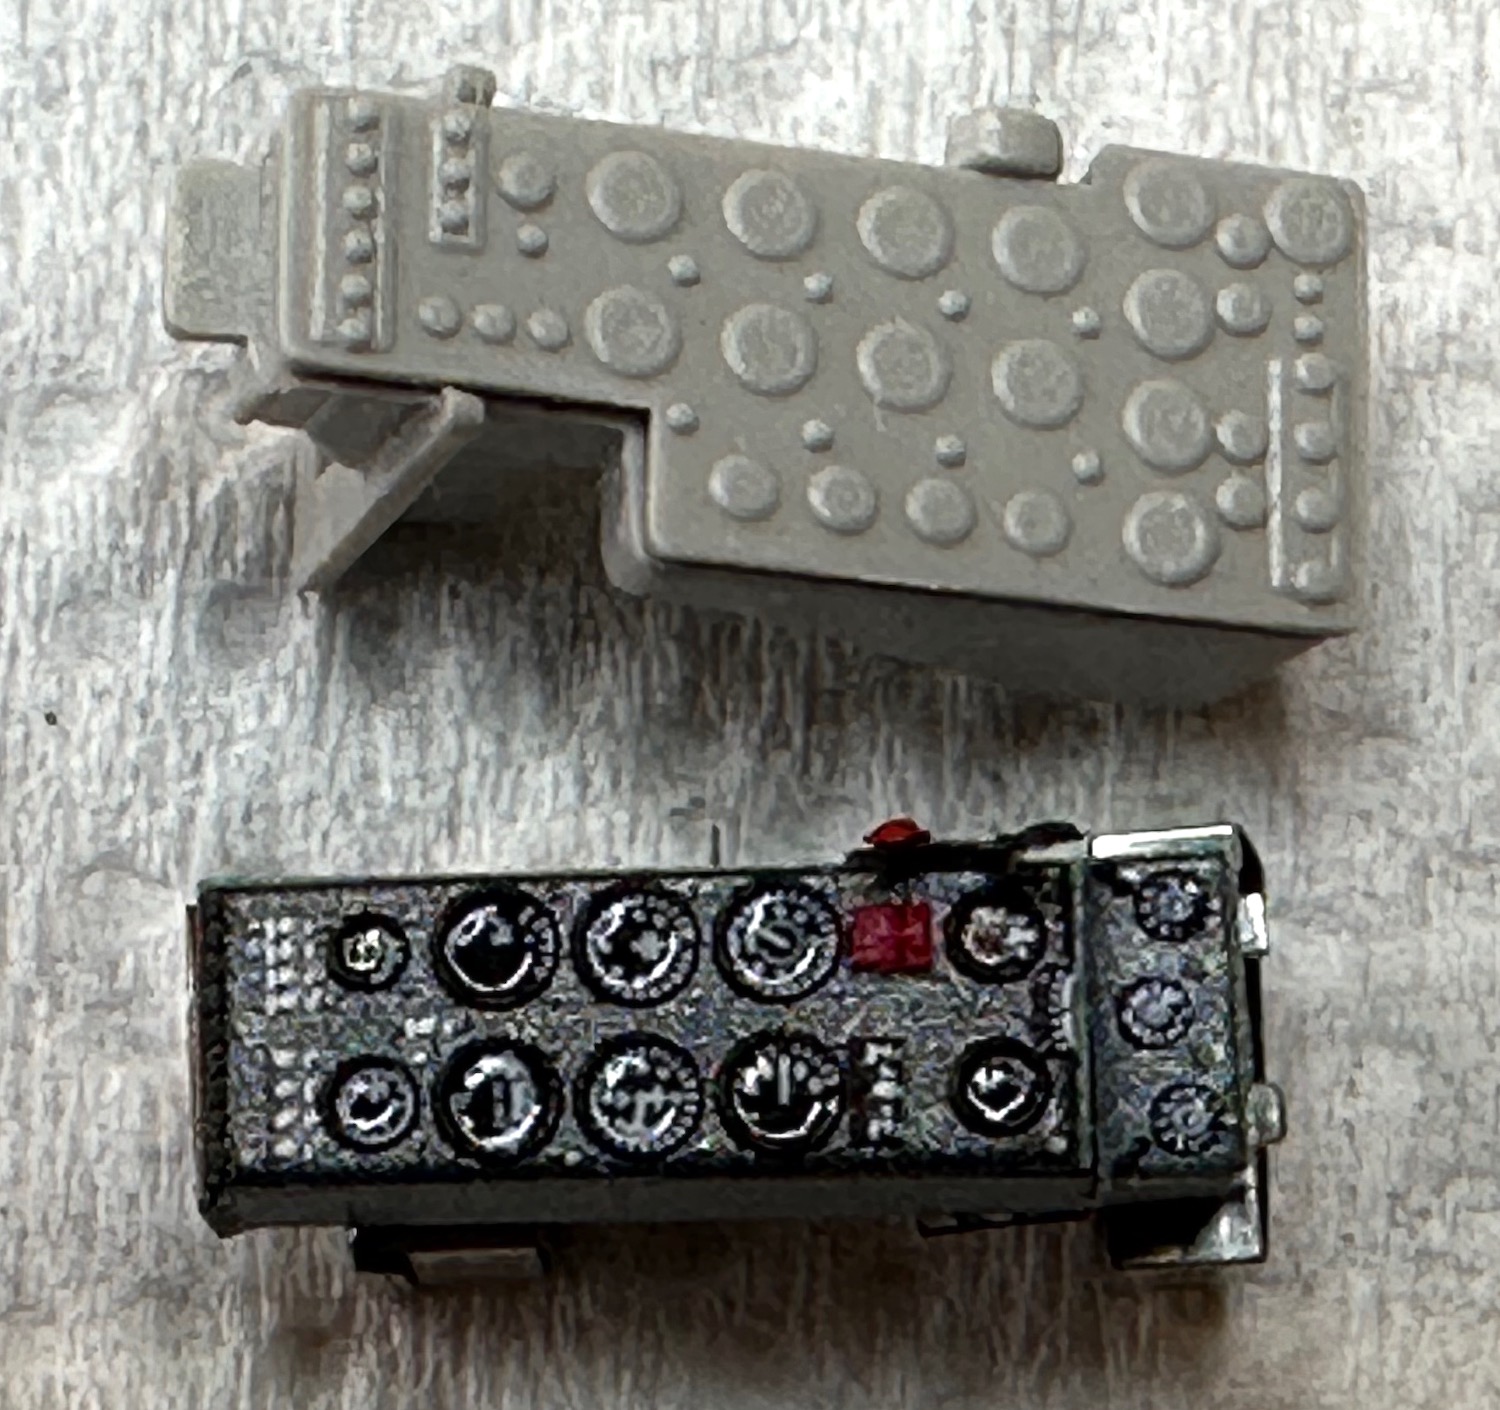
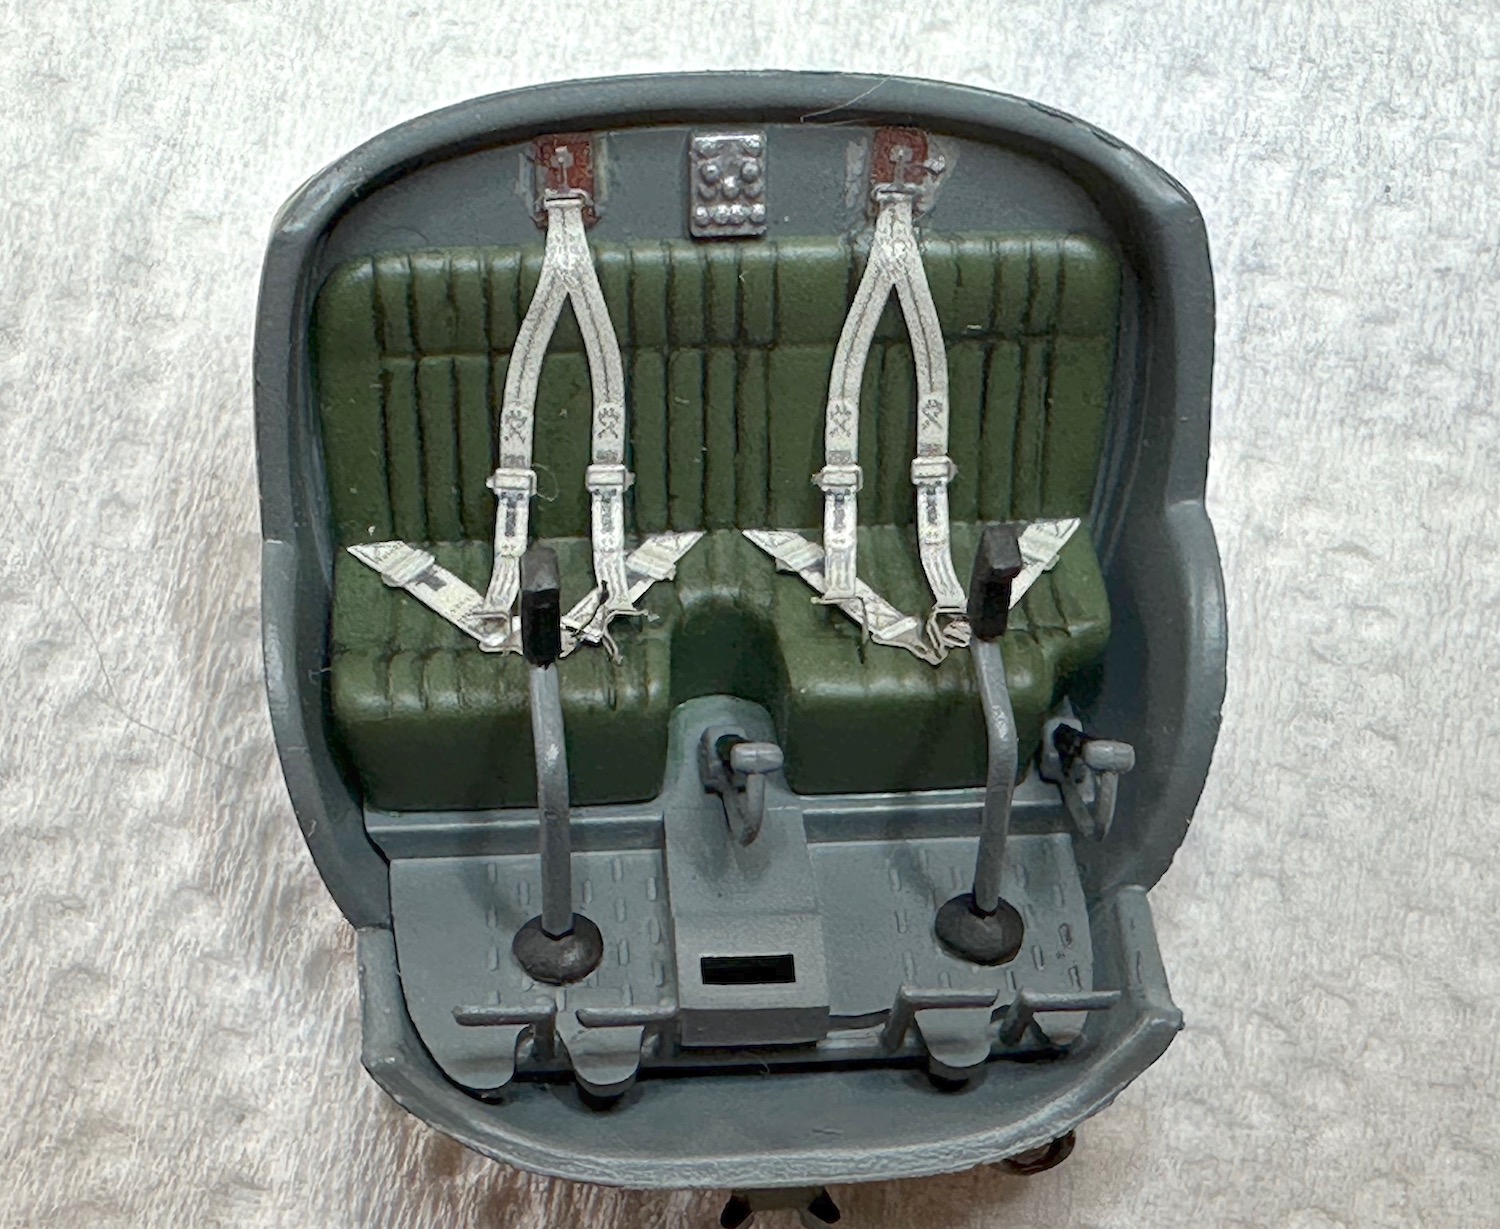
Some cockpit work on the AH-6.

5 Likes
Normally I use a tweezer with pointed ends, dip the part in Future and then lay it down so the liquid Future runs over that little spot. Should be no big problem for you, too. Good luck!
Peter
Thanks Peter, that is indeed what I ended up doing. It took far less time to do the job than I had spent ruminating about it. It looks good outside of that sprue attachment point which was too big to be helped very much. Now to attach it to the whirlybird.
Paul
3 Likes
Once again, I’ve changed my mind and this will be OOTB. The rocket pod mount would need changing and who knows what else after that. If I weren’t doing this for a campaign, then I would try to accurize it.
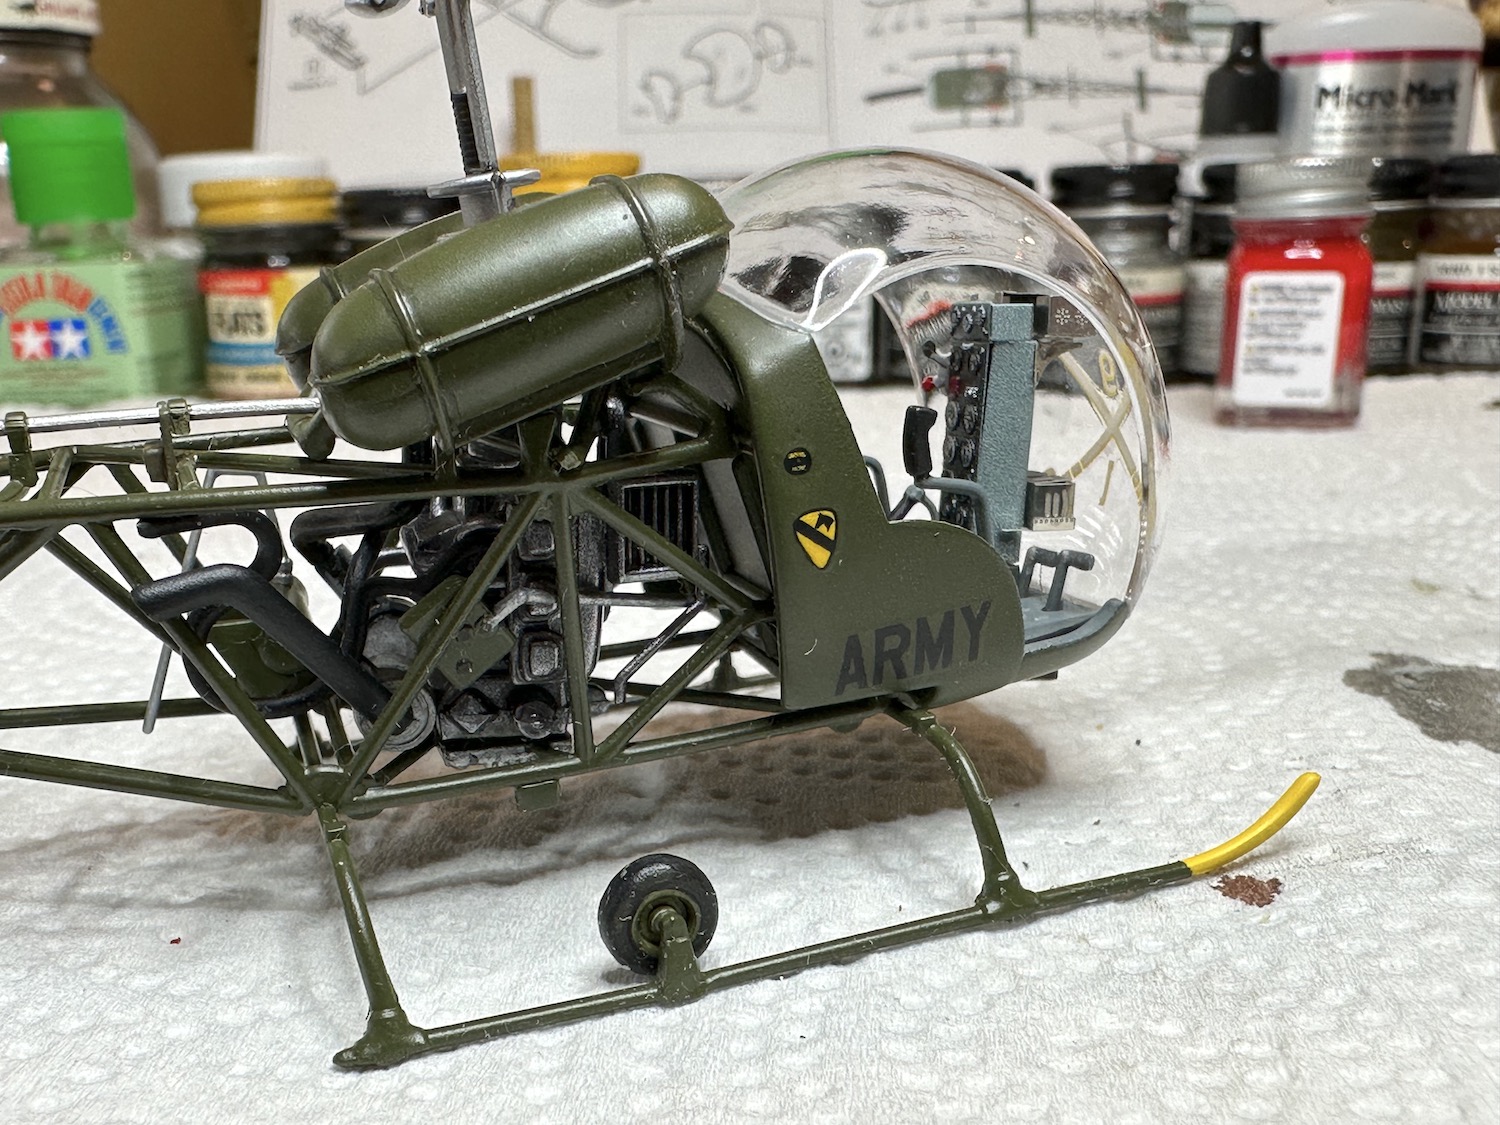
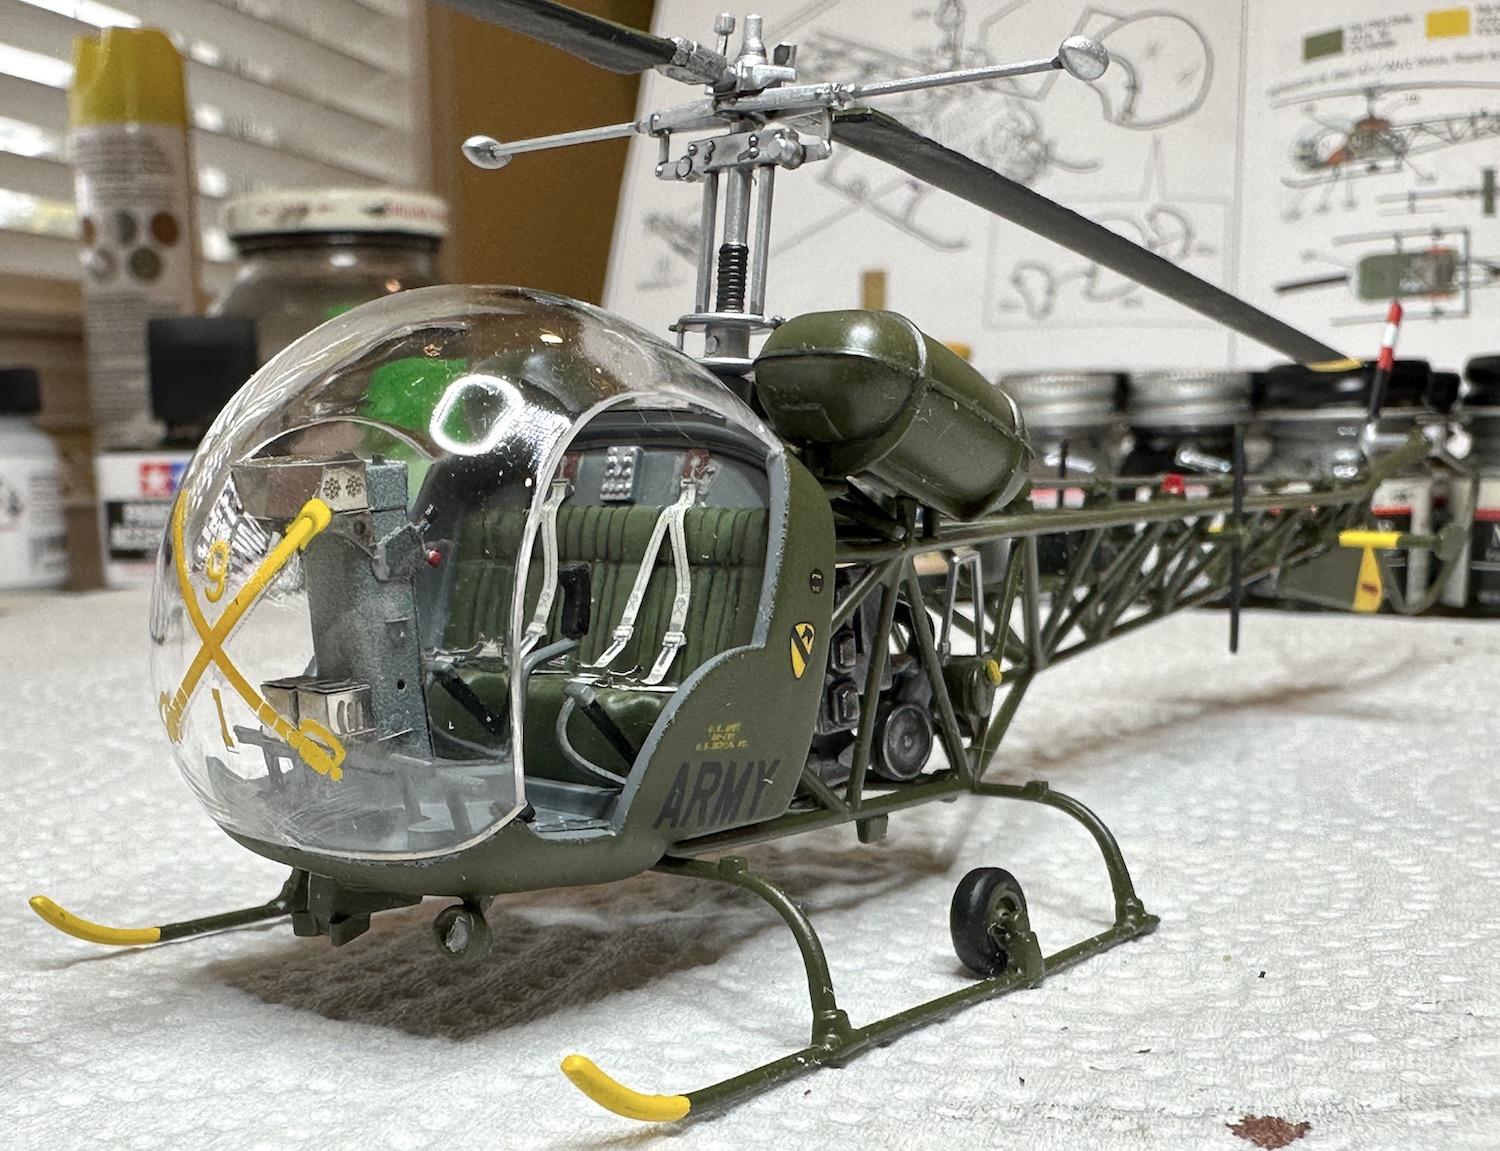
After a dip in Future and an overnight dry, the bubble was attached with Aileen’s Tacky Glue. This is very much like the old Micro Scale Crystal Clear, a water soluble white glue. My bottle is several years old and needed some thinning with warm water to get it into a nice workable consistency. I also took the precaution of having a bowl of warm water & a very soft bit of foam rubber on hand to clean up the inevitable flubs.
As it happened, the top joint that is highly visible needed no clean up at all and the bottom just a couple of quick rubs. This was set aside to dry overnight.
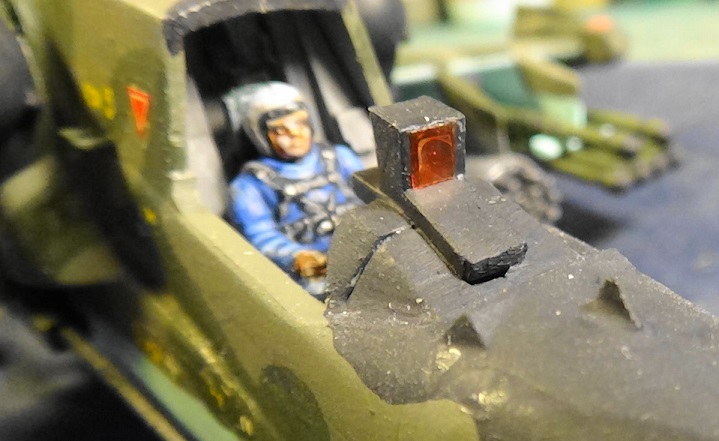
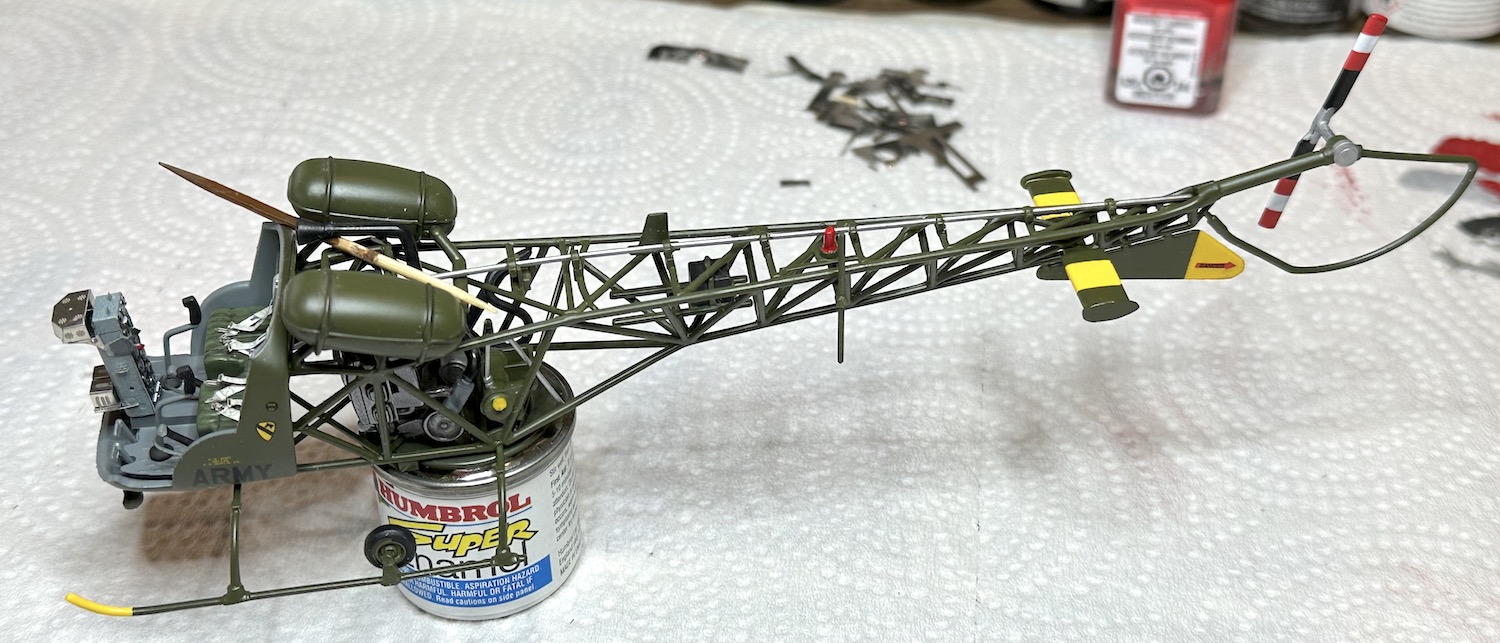
The rotating beacon lens was made out of a bit of toothpick after the kit part sprung away from the tweezers never to be seen again. I made it as I remembered the kit part and it didn’t look right to my eyes. Checking references showed that it was indeed too long and so it was shortened to look like the pictures.
The rotor gearbox was a sloppy enough fit to the top of the engine that I was able to align it correctly despite the earlier misalignment of the engine to the frame. It all came good in the end.


Paul
11 Likes
The Eduard PE & 3D decals cockpit really enhanced this build The Italeri kit reminds me of the old limited run low pressure kits. The plastic is soft with many sinks, the detail is soft, parts are often over scale and the fit is approximate at best. Still, it looks pretty good once completed and this Bell 47/H-13 now sits on the top shelf of the display case with other 1/48 scale aircraft.

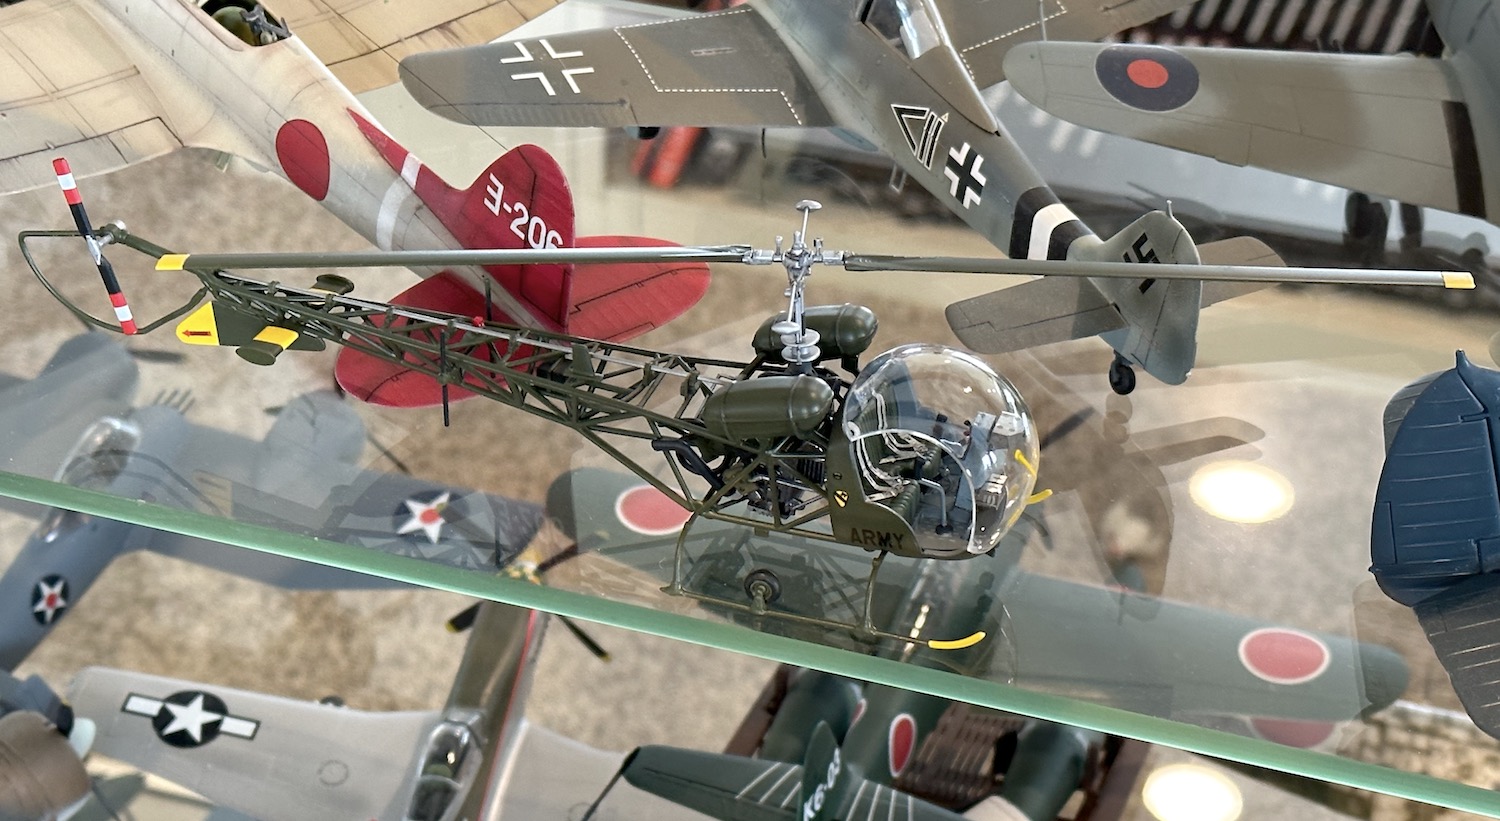
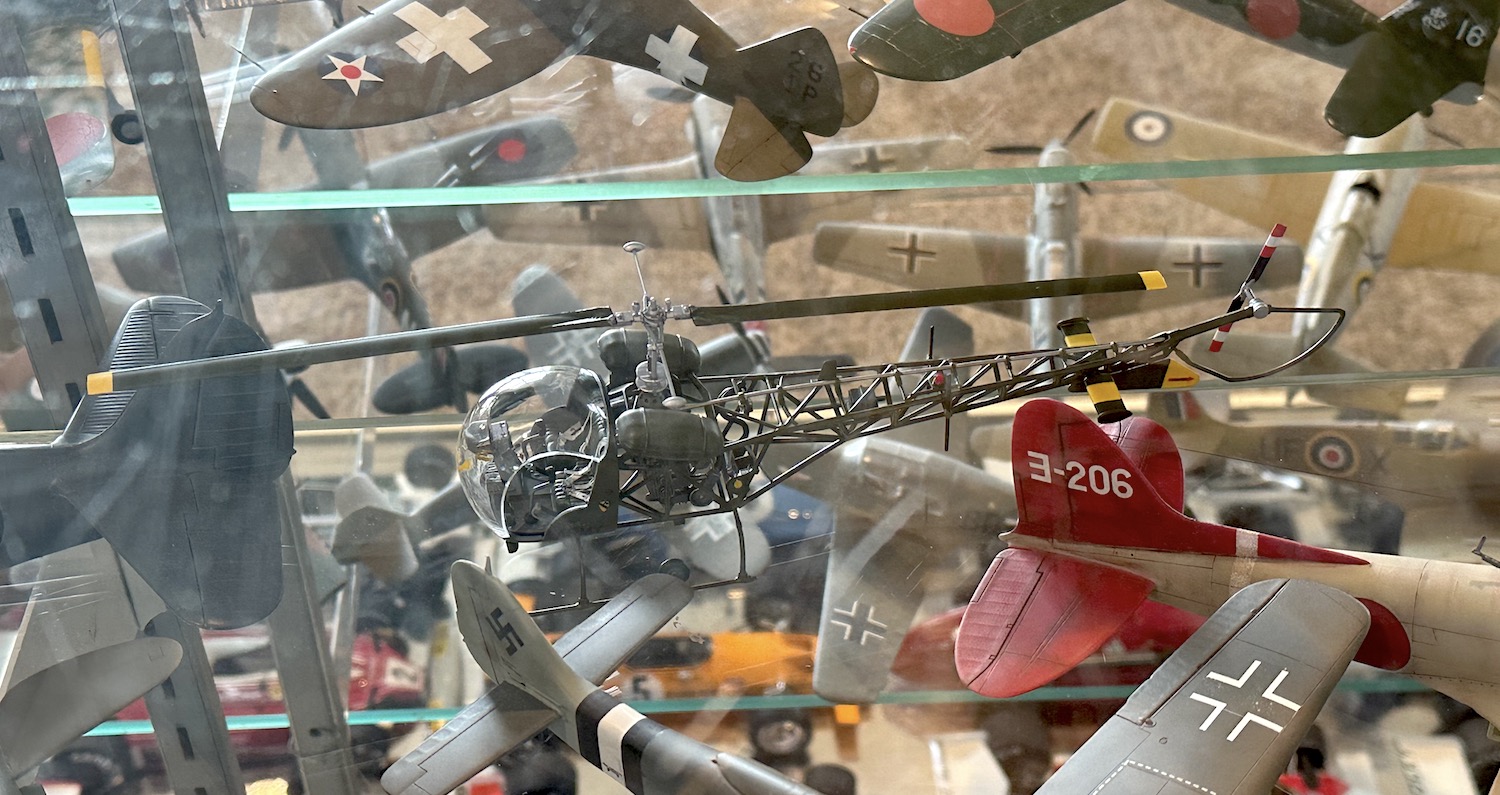
With this whirlybird now complete, I have finished this campaign and enjoyed the process so much that I may try another kit before the gong is rung.
Paul
12 Likes
Looks like it came out very nice. Great job on it.
Sure looks really good!
well since i instigated this campaign i guess i should take part lol.
i originally planned to do this but i was going to do it as a “Kingbee” that provided transport for MACV-SOG during trips over the fence but since other people were builing something similar i decided to change my mind.
again i had similar issues with building an Apache gunship so i opted for an old Italeri Artic Cobra.
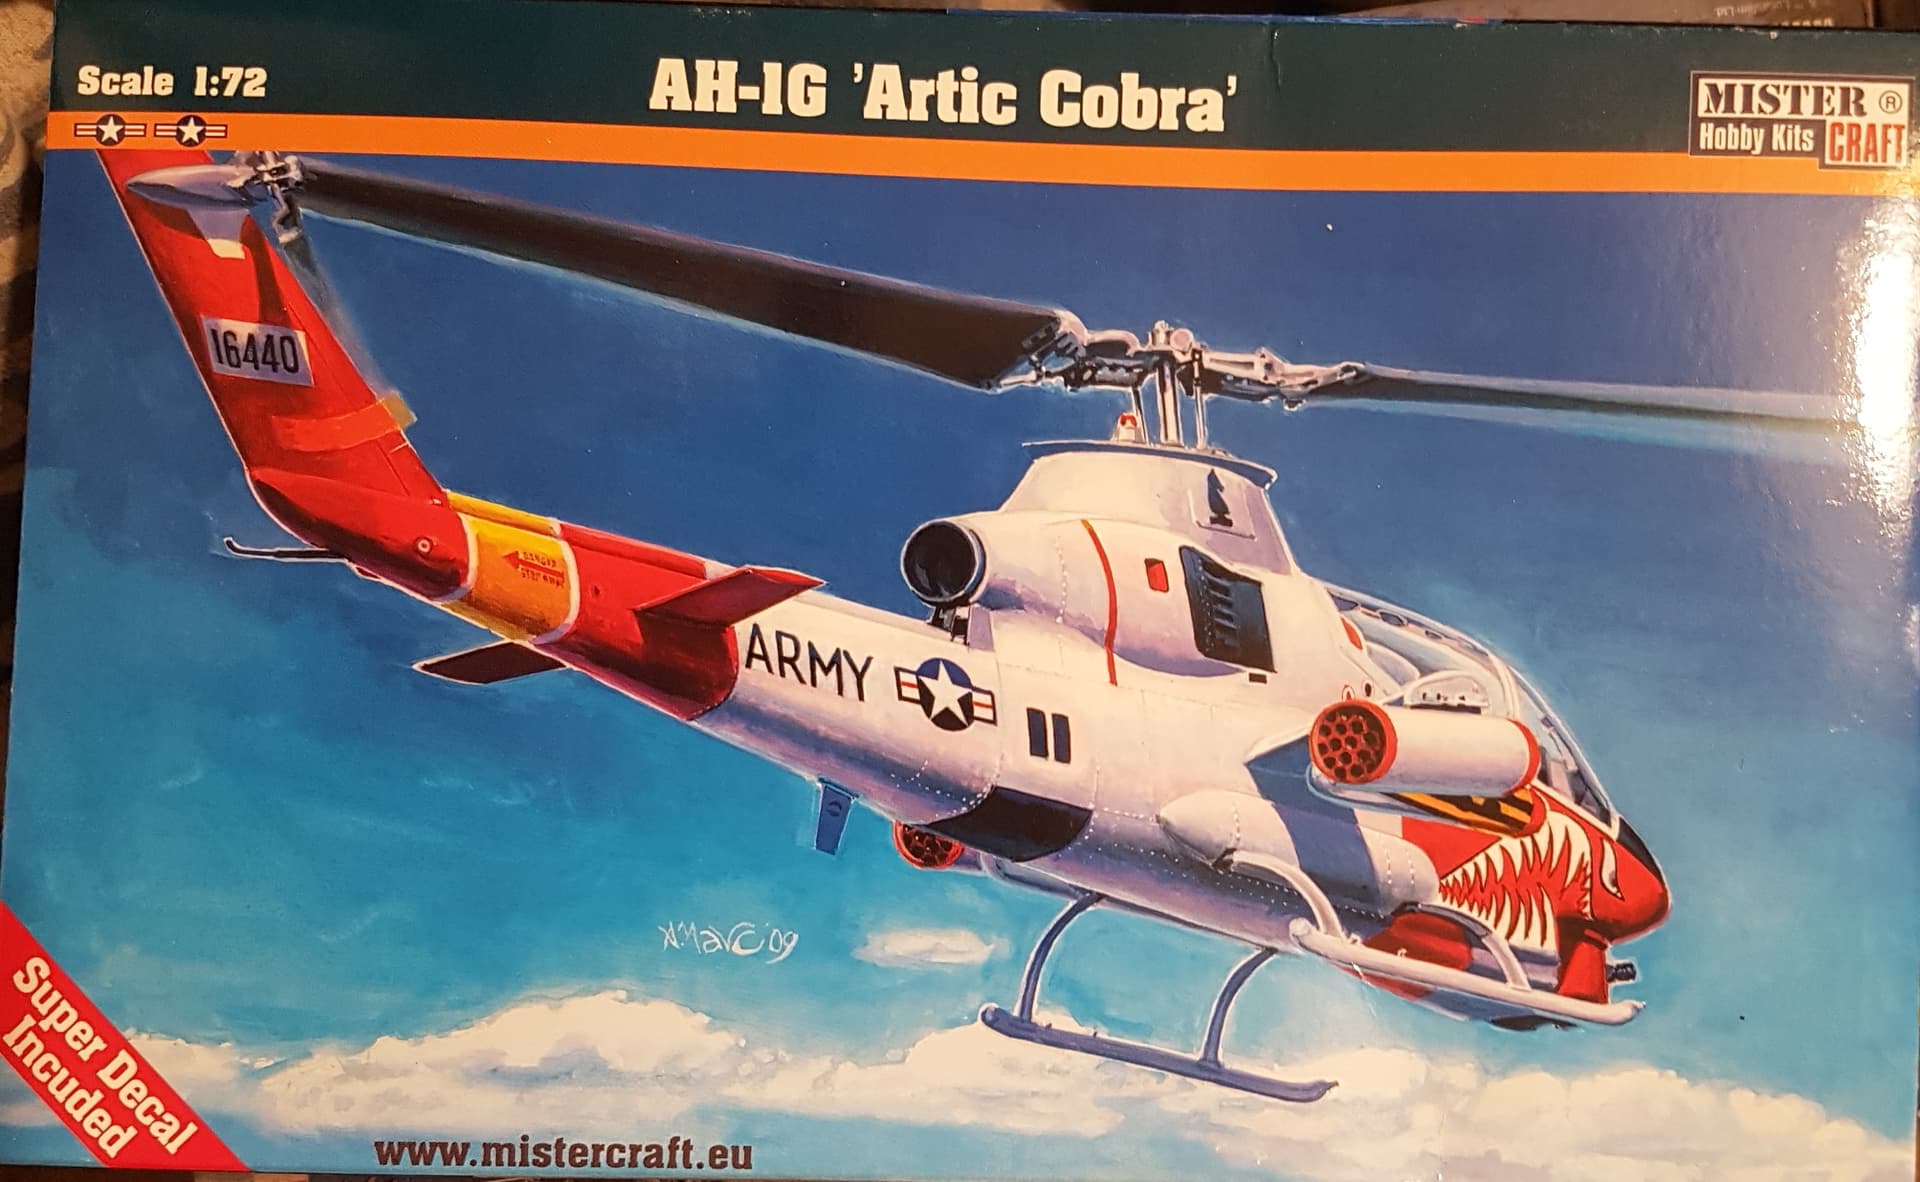
now this kit is not the greatest unless you’re looking for poor molding and flash.

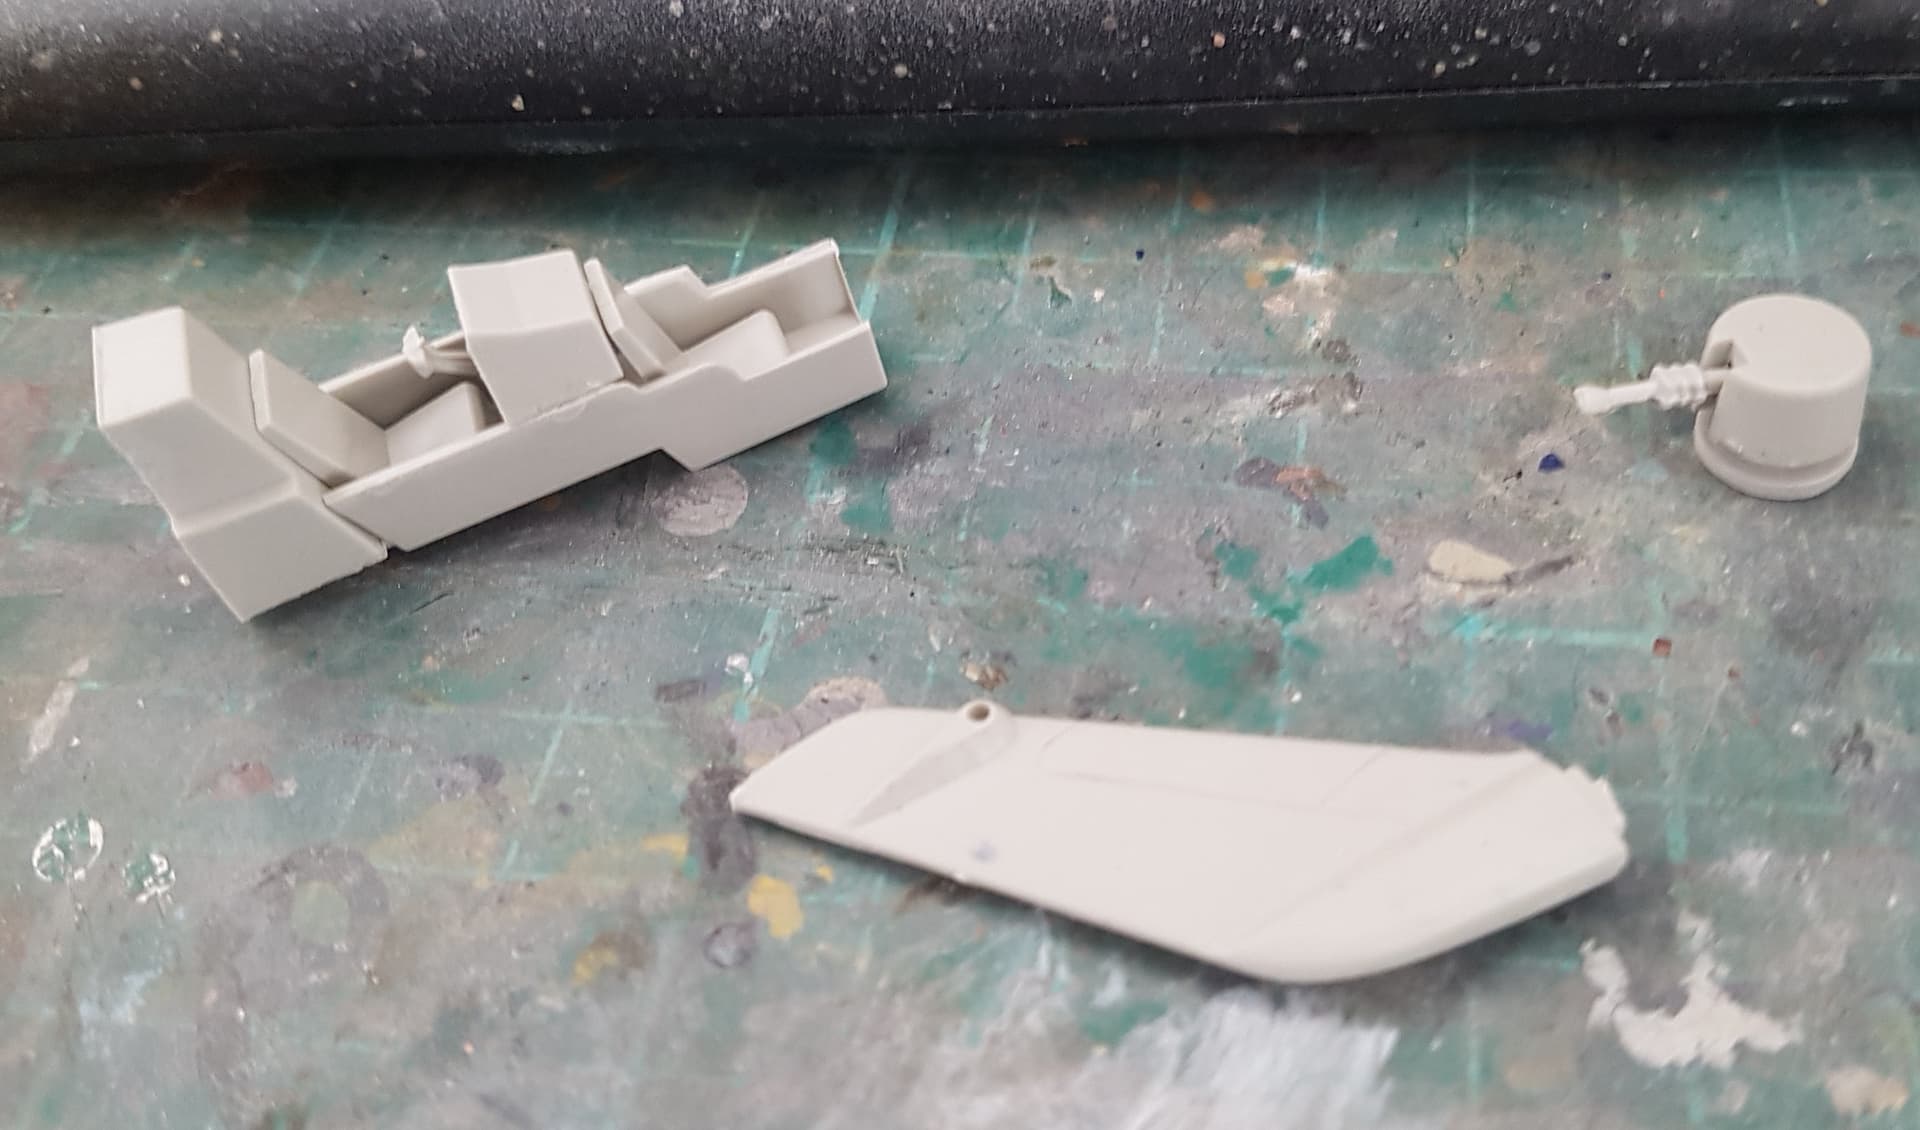
i have made a start on the cockpit which has minimal to no details, not even instrument panels and the pilot figures are a bit deformed and the tail piece has been packed with filler.
5 Likes
Good luck, David! ![]()
![]()
Yeah, that chopper looks very nice indeed! I like it , it reminds me of my primary school days when it was the first type of heli I’d ever seen ![]()
Great job! ![]()
Peter