A nice touch of Trumpeter on the life boats is that they brought the plastic injection port into the top of the boat wale so none of the out board step of the wale gets sanded away during clean up
I’ve been really behind a bunch of stuff and just getting started now. Because I had a problem with the Arma hobby Hurricane Mk I landing gear (doors doesn’t really work for wheels up - doesn’t fit in the opening), I thought I might have a problem with the Arma P-39 landing gear doors, trying to do wheels up. And that part also does not fit the opening. So I’ll be making a form and cutting my own landing gear. Will post pictures this week I hope.
Please note, I don’t really fault them for this, but I am convinced the landing gear doors are too large compared to their openings, and too short making me wonder if the plane looks squat when you assemble it with the landing gear down…
I have to say, looking at the rest of the plastic and what is in the kit, this looks like a really nice kit.
Thanks for the update, Phil. Kind of surprising that such a basic mistake is made. I have heard good things about the Arma kits, but never build one myself.
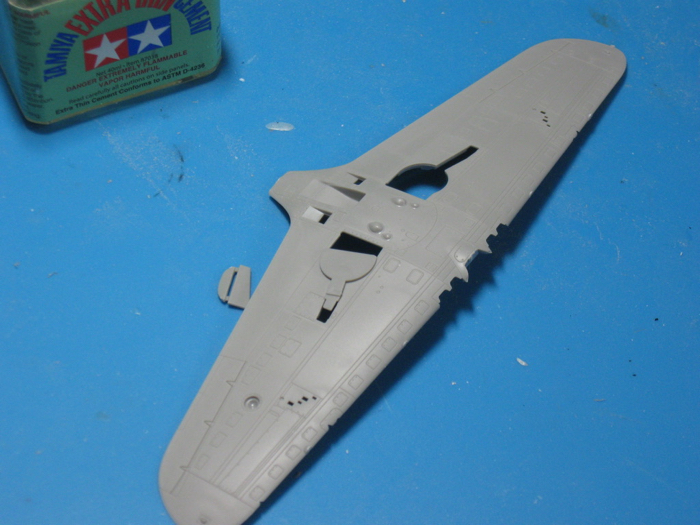
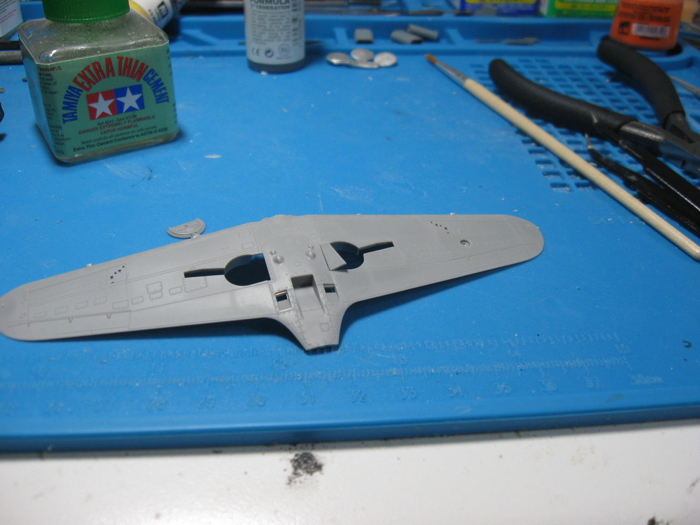
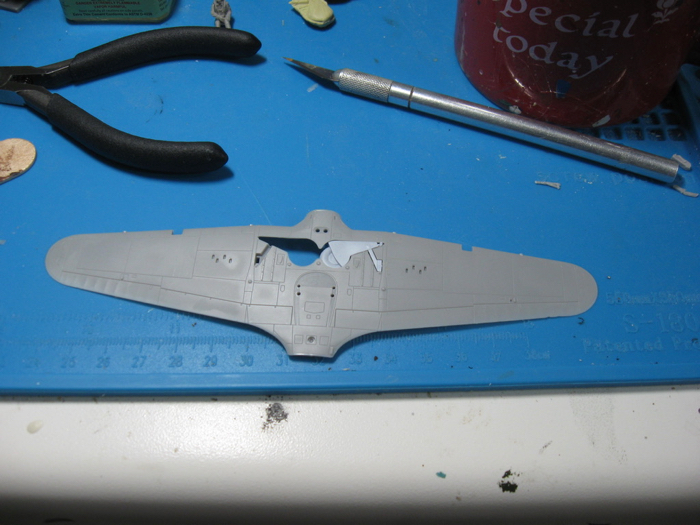
I took some pictures to illustrate the issue. I think if I were building it wheels down I might be concerned about the height. Anyway here are some shots.
First one just showing that the door part doesn’t sit inside the wheel bay for wheels up. Not designed for that, so I don’t really fault them.
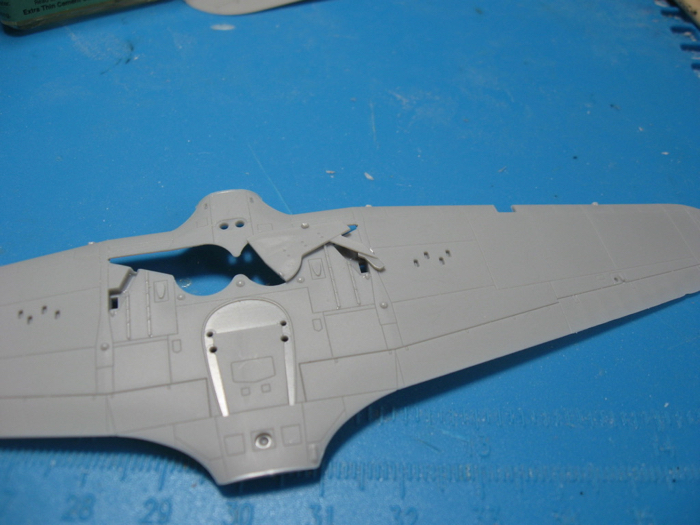
And here are a couple of pics I took of their Hurricane kit and how the landing gear door of it doesn’t fit. I’m not sure whether the arm rotated as the landing gear came down and so it might be correct and it just doesn’t work for wheels up. Again I don’t really fault them for not making a part for wheels up, though I wish they had…
The project for tonight is to make forms for the landing gear doors for both of these models using some instructions that @18bravo sent me that look very easy to follow.
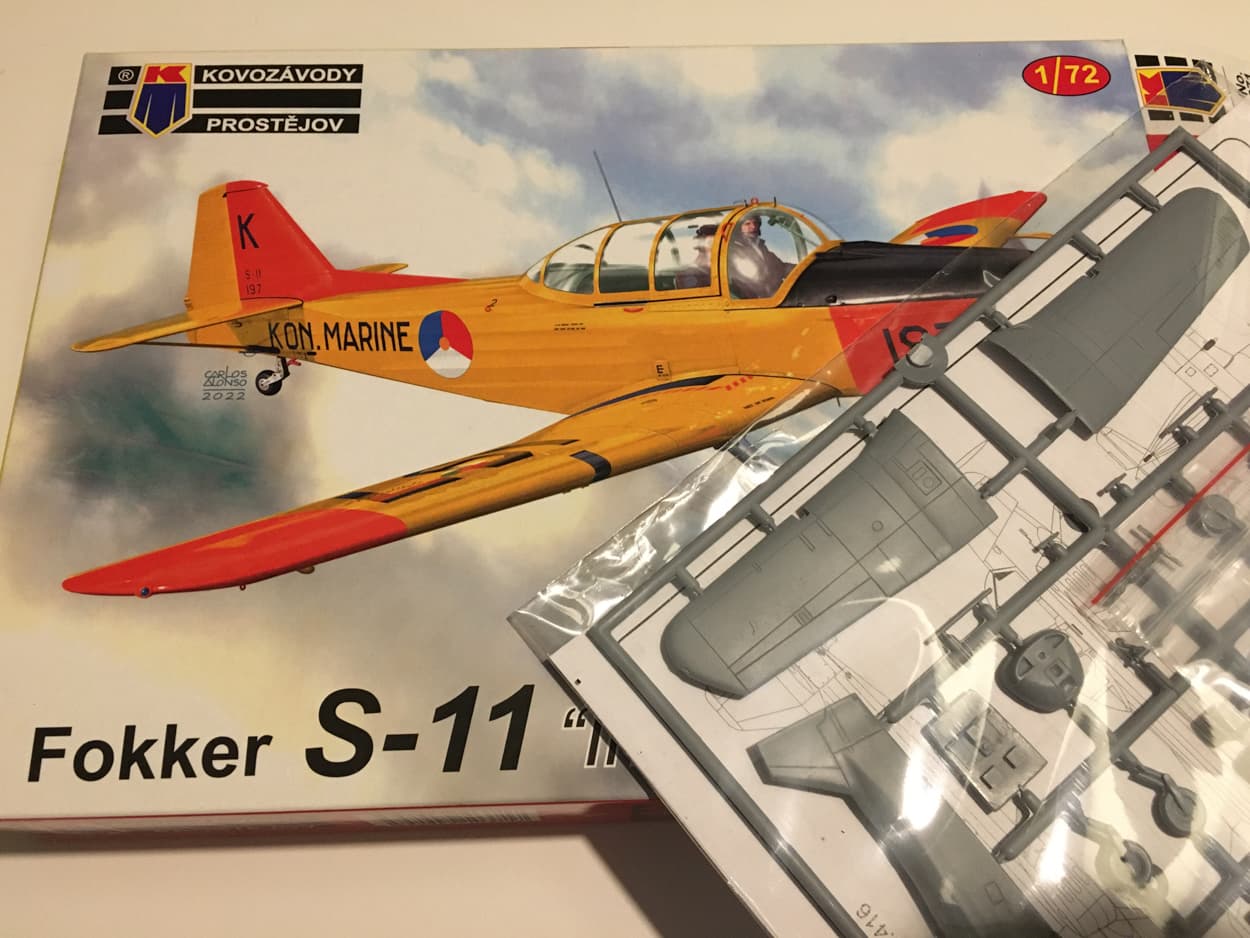
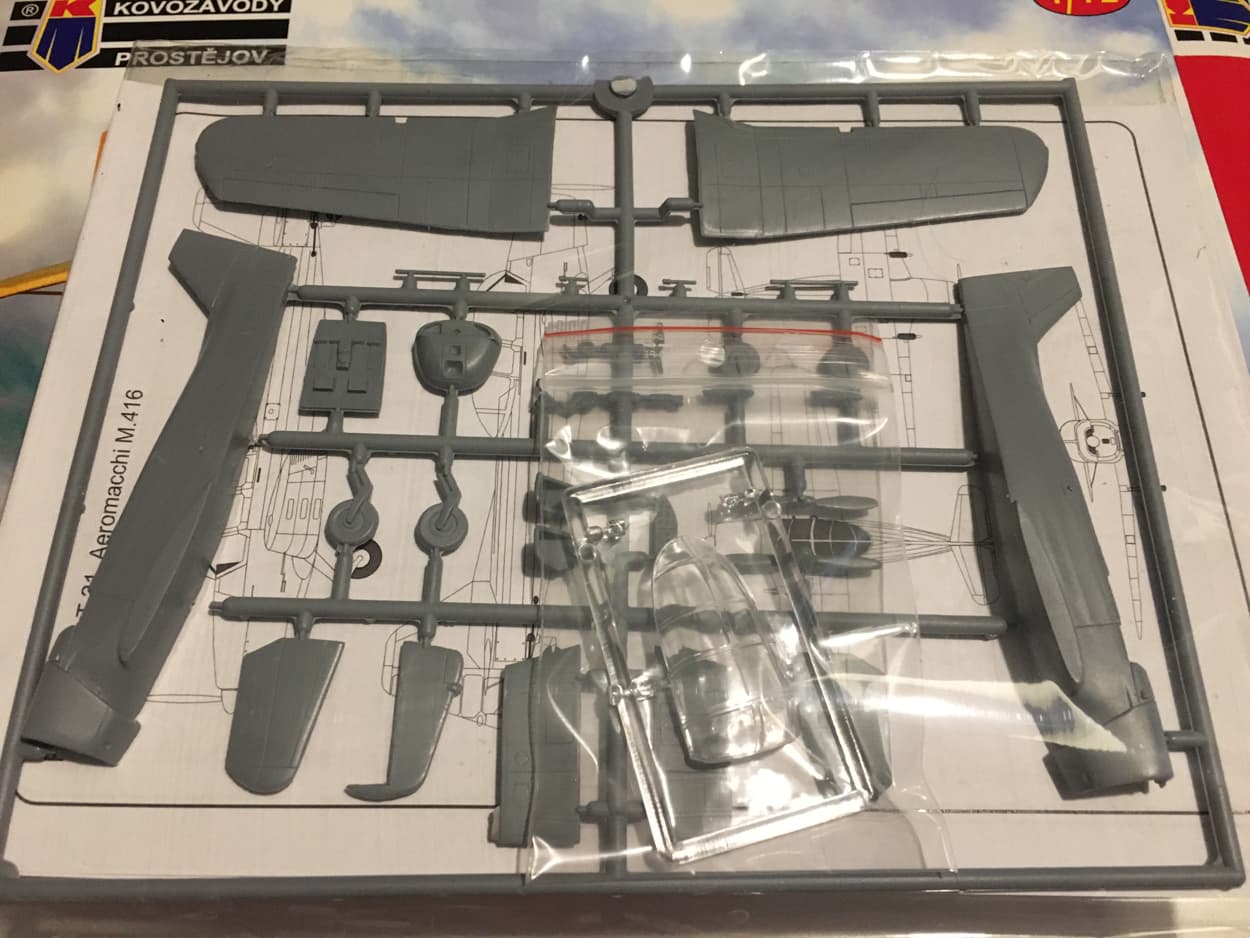
Maybe not so known outside the Netherlands but the Fokker S-11 was much used in the Dutch AF richt after after the 2nd WO and was Fokker first a/c. Not so many were built but a couple are still flying and can occasionally be seen at airshows mainly the Netherlands and Belgium. Anyway the KP kit seems to be a a hit as it sold out in the local Dutch model shops as soon as it hit the selfs,… But is it any good?
For your money and it’s not cheap but what is nowadays, you get 1 (ok with clear) 2 sprue’s. the main sprue is soft with recessed panel lines it all looks good enough i must amid for a short run kit.
Build is straight forward with nothing really to mention if your not that picky
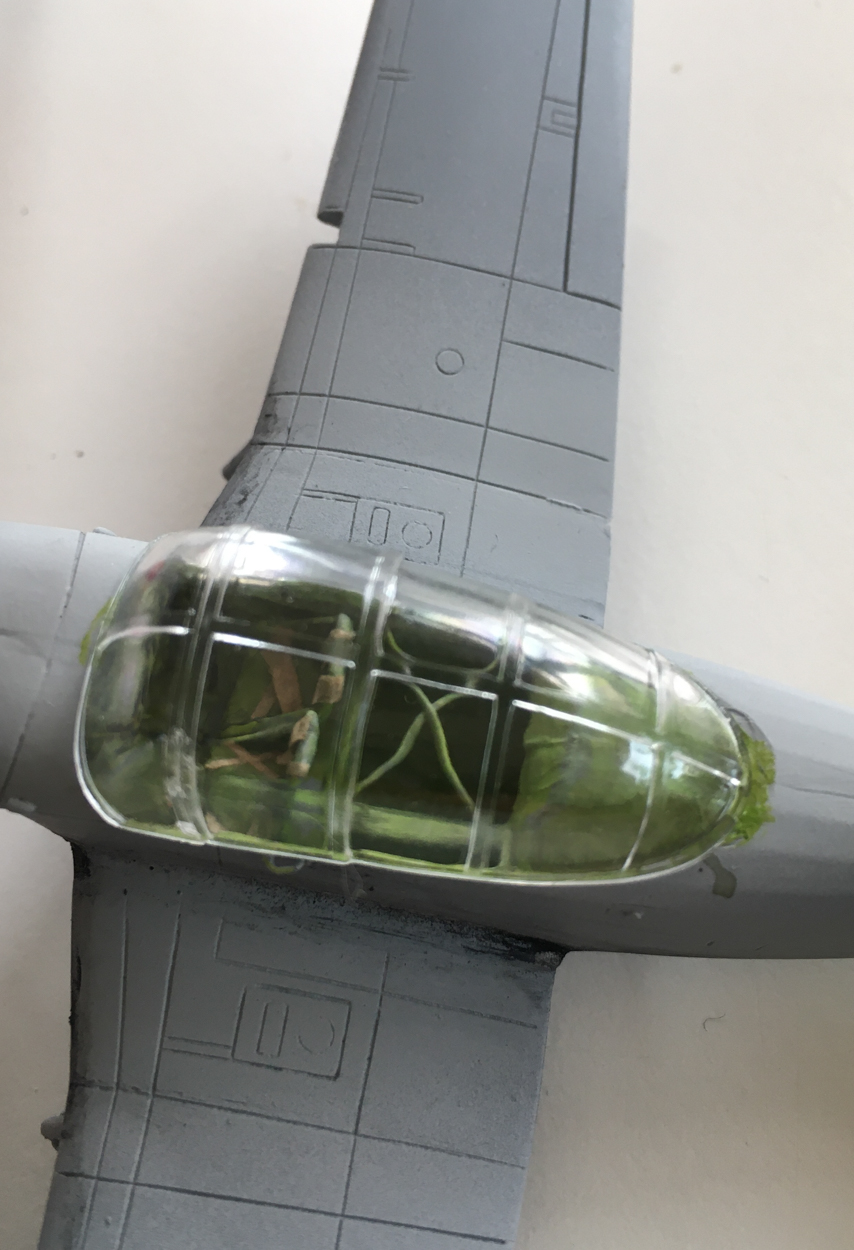
The office lacks details, this trainer was build with steal tube frame that can clearly be seen on cockpit photo’s, so a stretched sprue would give it some extra detail.
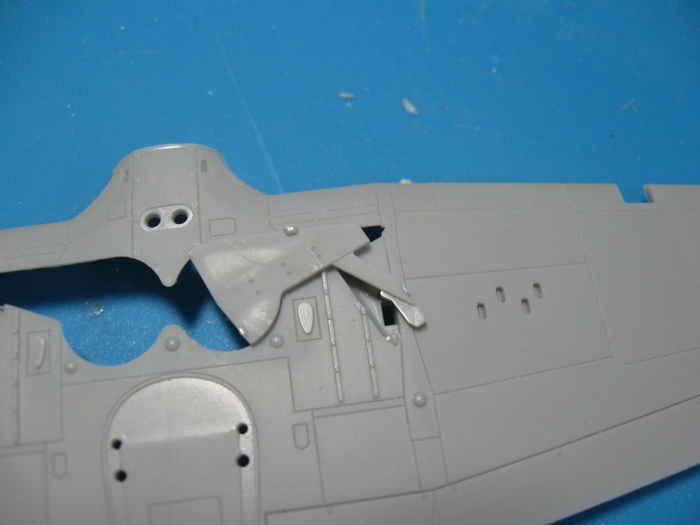
So I bought a PJ productions USAAF pilot pack for someone to sit in the cockpit. It didn’t fit which is not a surprise as it’s not made for the kit. Before starting to work on modifying resin, I decided to find out whether I had any airfix kits unbuilt where I could score a plastic pilot as it would be an easier mod. Oh, there are those hurricanes. More on the modified pilot later, but it made me wonder what they did about the landing gear. They have two versions, wheels down and wheels up, and sure enough that “out of position” rail is correct for wheels down and Airfix has that distinction. Then I wondered, I wonder whether the airfix part will fit my Arma kit. Et voila!
There is one place that will need a very slight sanding, but it fits perfectly really. I guess they used the same plans and the same scale. That the parts are interchangeable pleases me somewhat :-).
I will use the airfix parts to make a mold and cast some wheels up gear for my Arma Hurricane…
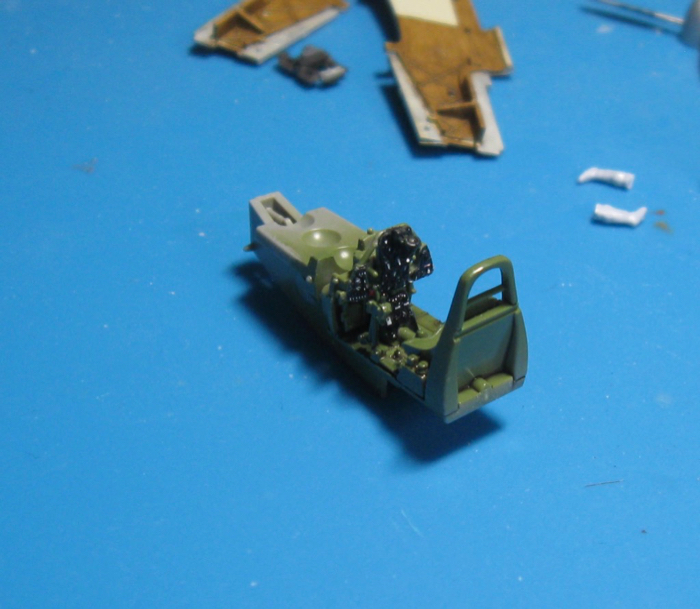
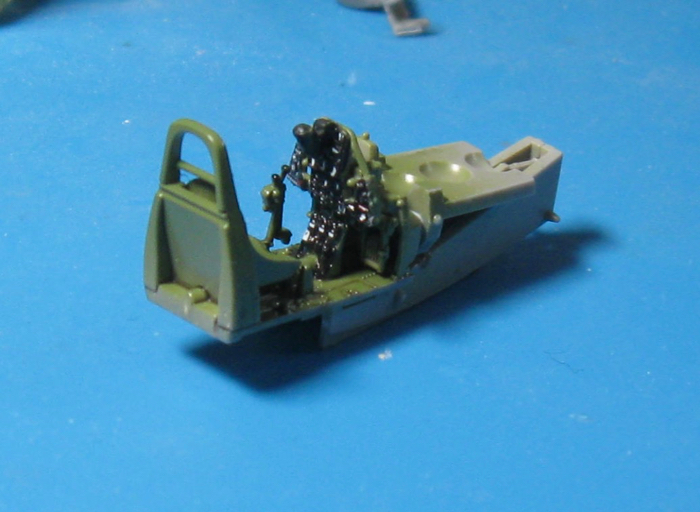
So the cockpit is all together. It’s nice. It’s fit is very precise, so if you are building this kit, I’d recommend dry fitting and dry fitting again. I put it together with the two sides and had to adjust some of the pieces as I hadn’t had them tight enough against each other and didn’t realize it.
The Airfix hurricane pilot will fit. I cut his legs off and plan to glue him into the seat, reattach the legs, then paint in place, which will probably be tricky.
There are decals for the instrument panels. Three of them worked, one didn’t quite fit and then started folding in on itself. They are techmod decals, which are very thin, but on the upside they fold over the raised detail and snuggle into place. It gives a good impression, though is tiny and will be even more invisible inside the closed cockpit.
Hello All,
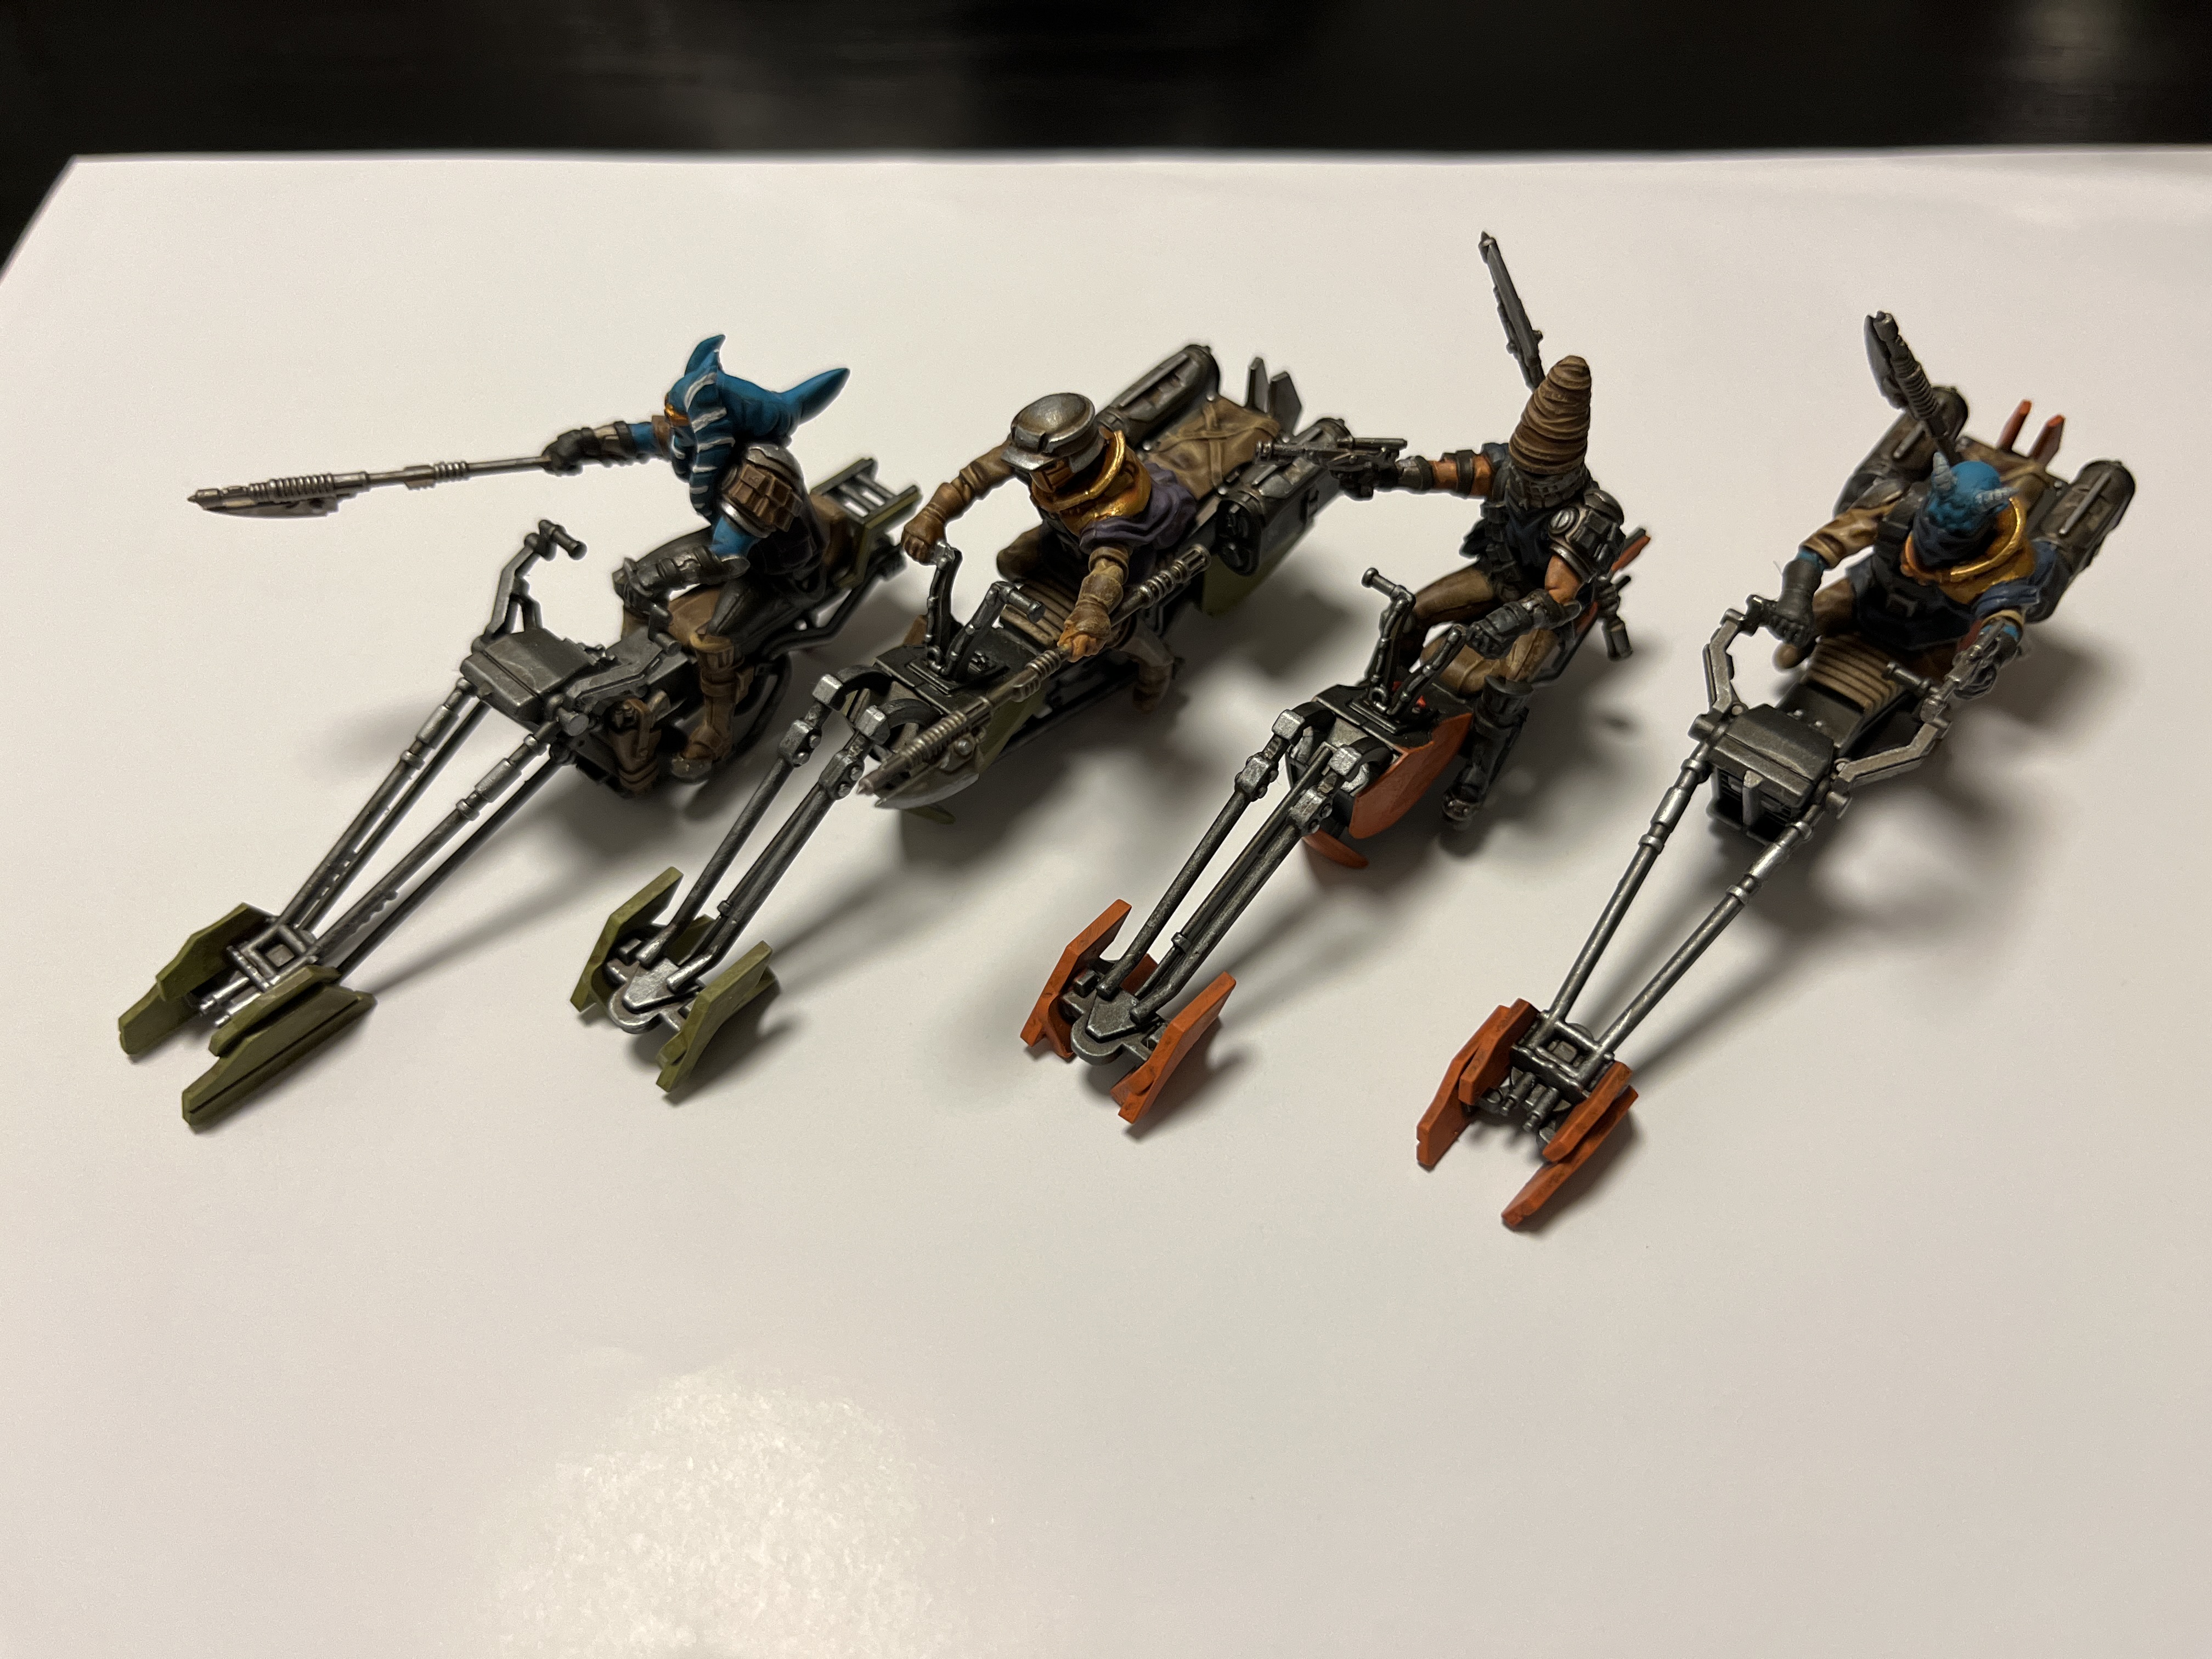
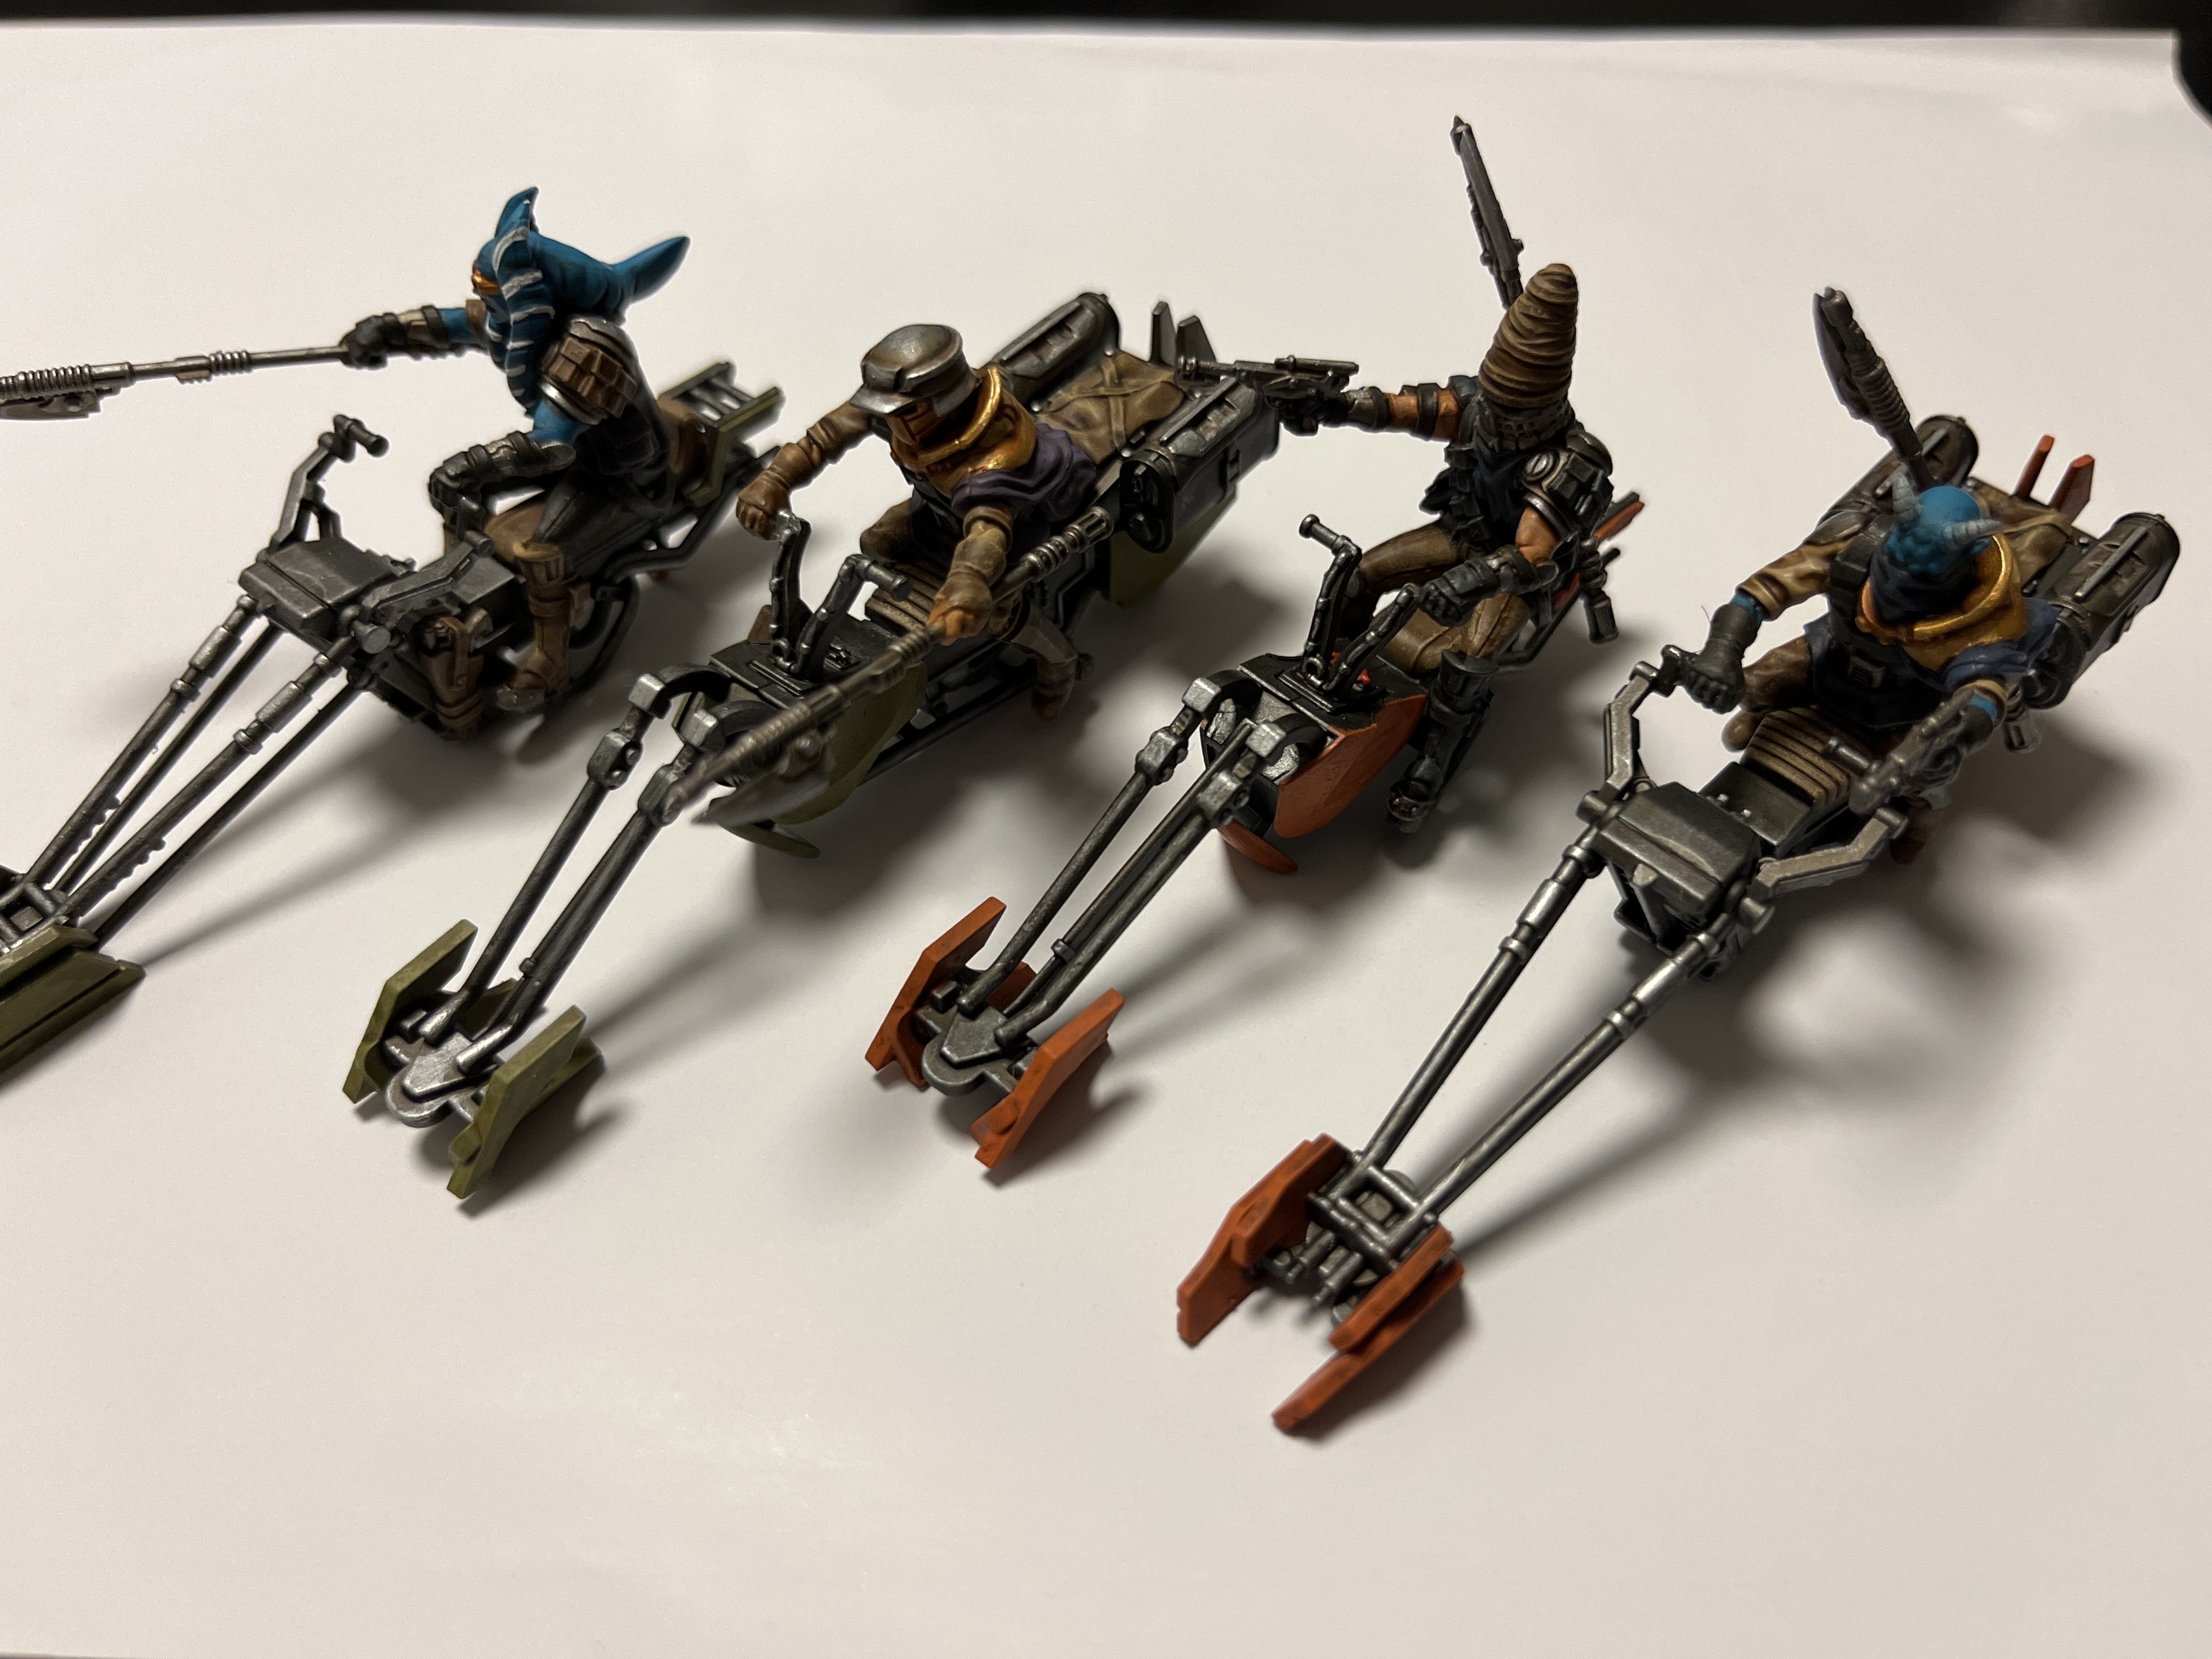
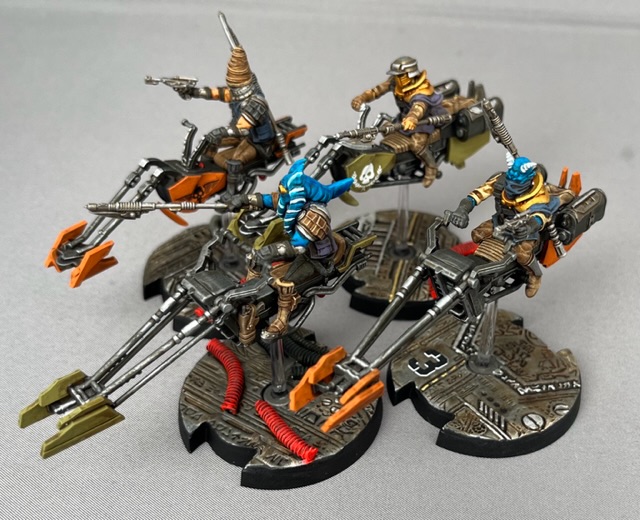
It’s been a while since I made some progress on IBG’s FW190, been busy with holidays, work and a surprize out of comfort project painting some LoTR figures. It was fun time, but now let’s get back to serious stuff and real world
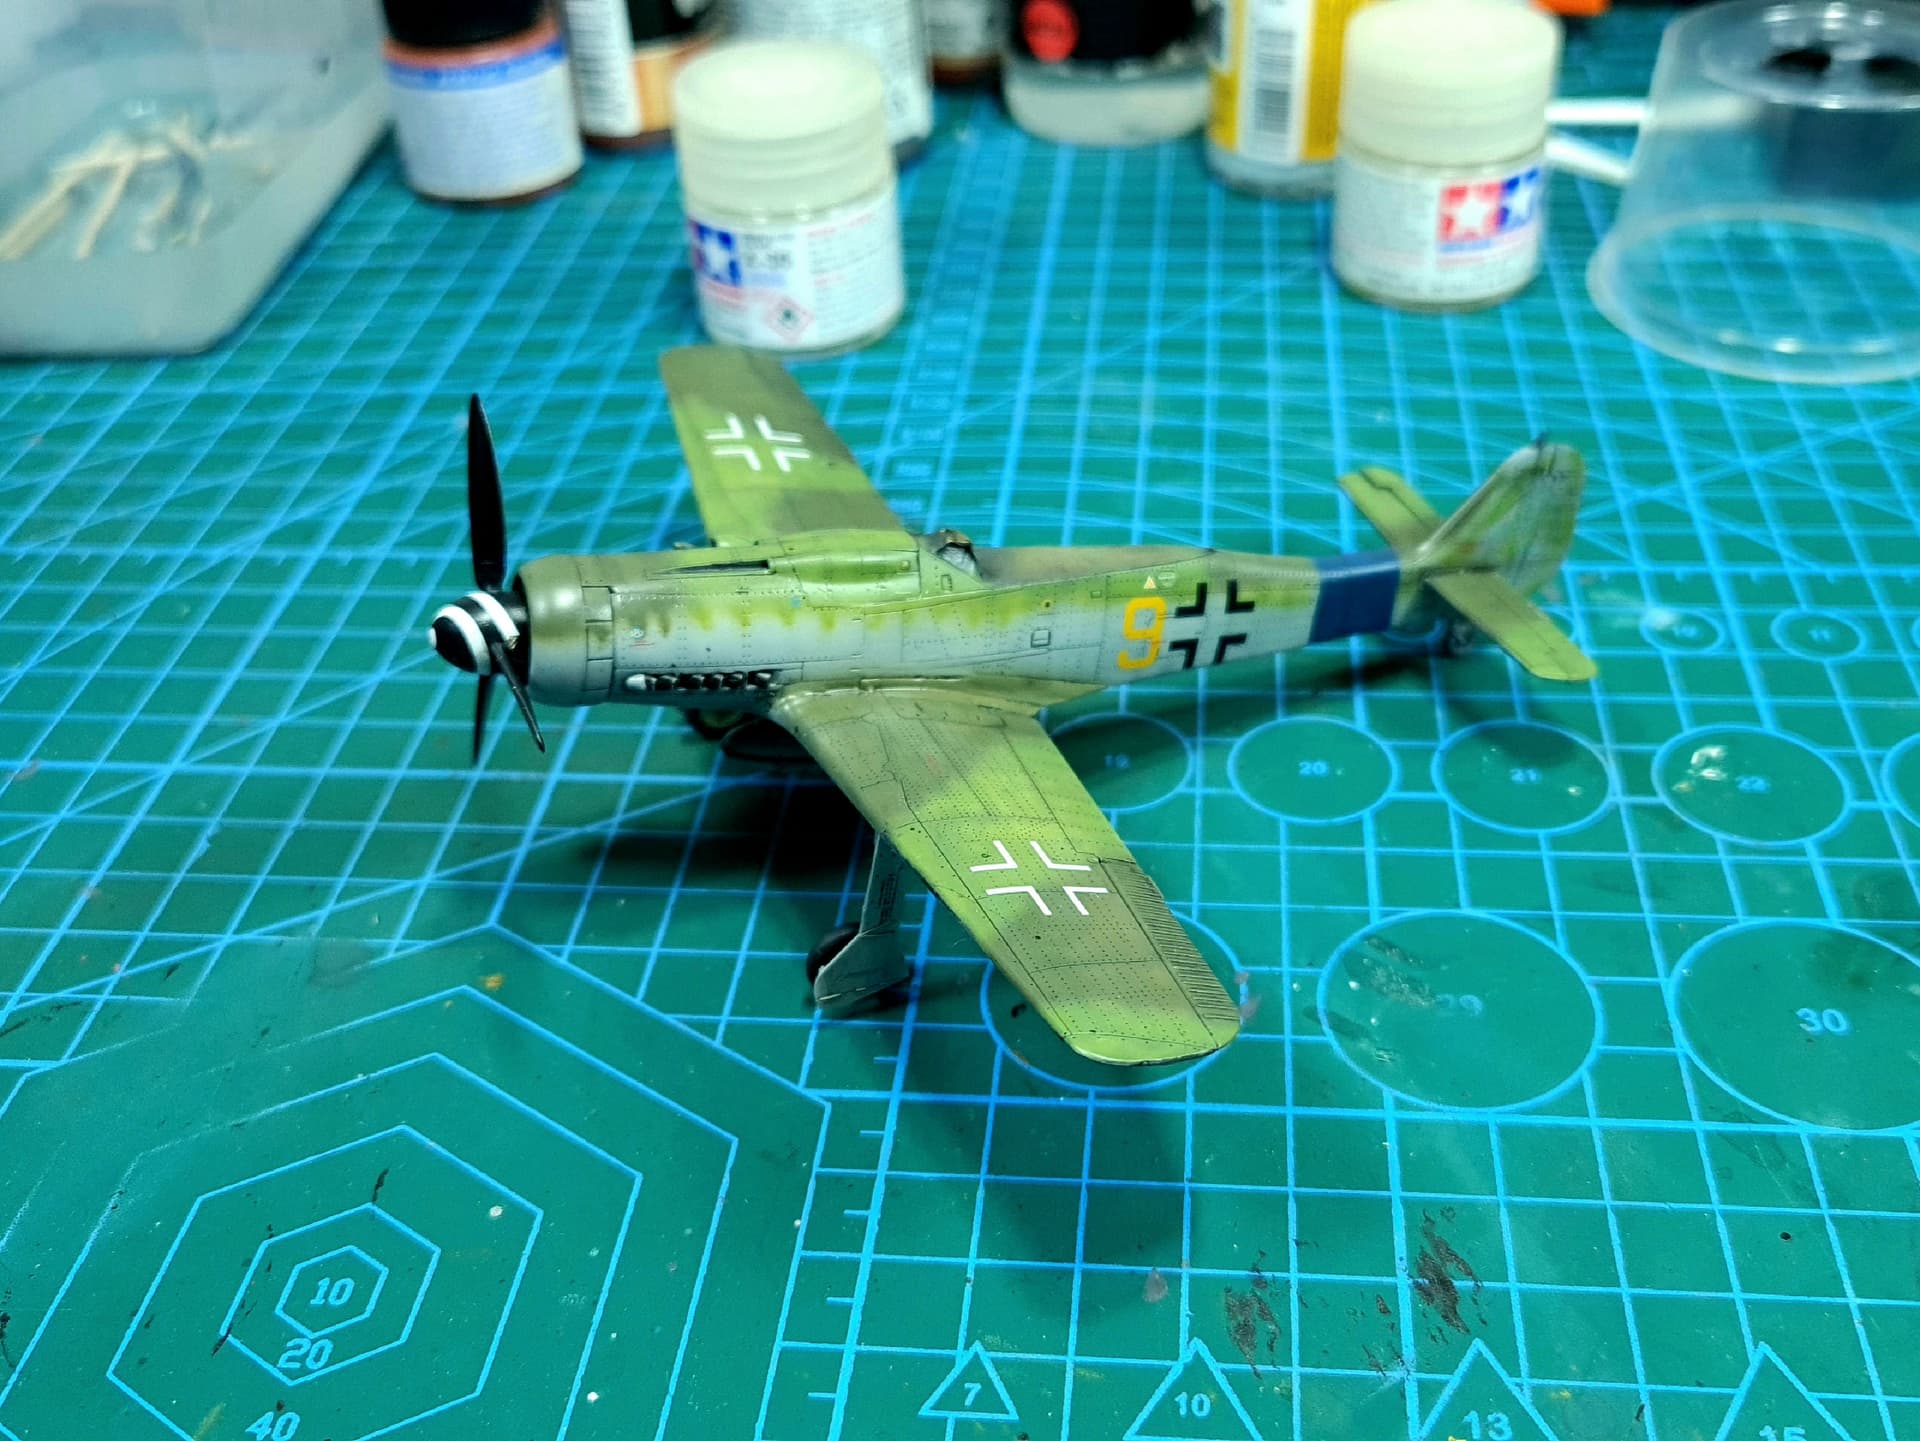
I pushed the build of Dora quite a bit in last few days and I’m getting really close to call it done.
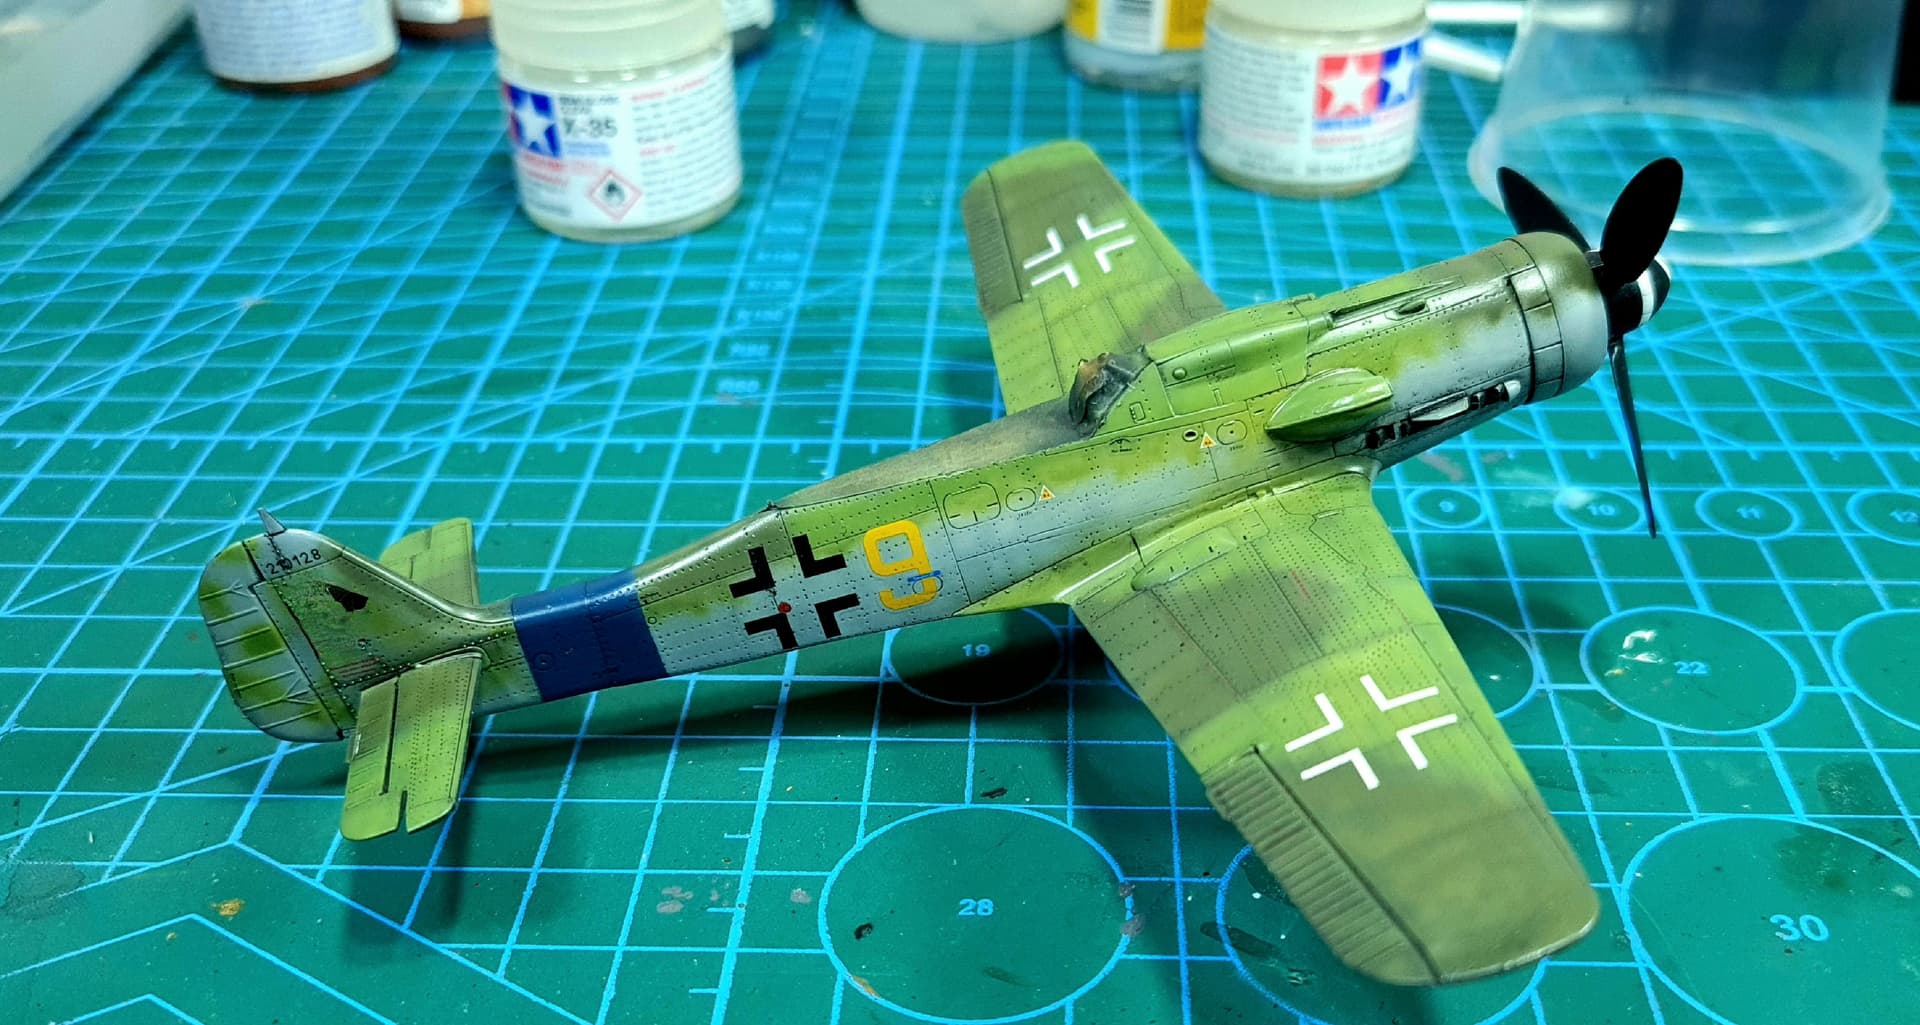
So recent work consisted of applying decals (super quality from Techmod!) , then sealing with varnish, applying oil wash and sealing again. What’s left now are some finishing touches, such as wxhaust sooting, some oil stains/leaks and some field dirt to be applied. Here are the pics slightly retouched to remove forbidden markings on vertical stabiliser.
The antennas - I usually use 0,02mm Ammo/Ushi elastic line but it looks too thin. So I decided to go a little bold and tried 0,12mm fishing line which turned out to be thick and stiff, so it doesn’t suit well with open canopy (where antenna shoud be lying on the hull - at least according to IBG’s instructions) and looks kind of out of scale.
So my question is - what is your preferred “thickness” of antenna wire in 1/72 scale? And… what product you usually do to replicate?