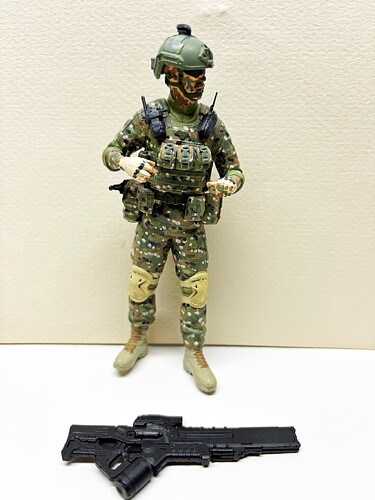
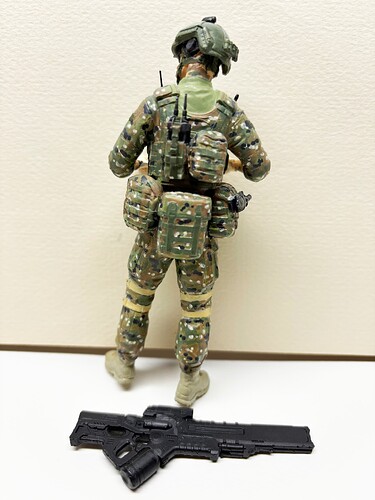
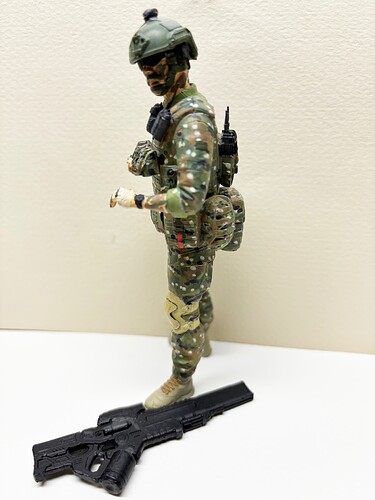
I myself would just approximate the first three schemes freehand; that’s how I usually go unless the vehicle was definitely hard-edge masked. The dot ambush pattern however does require a bit of thought before masking.
Looks good, Doug. You started - a journey always starts with a first step. ![]()
![]()
Looking forward to see more.
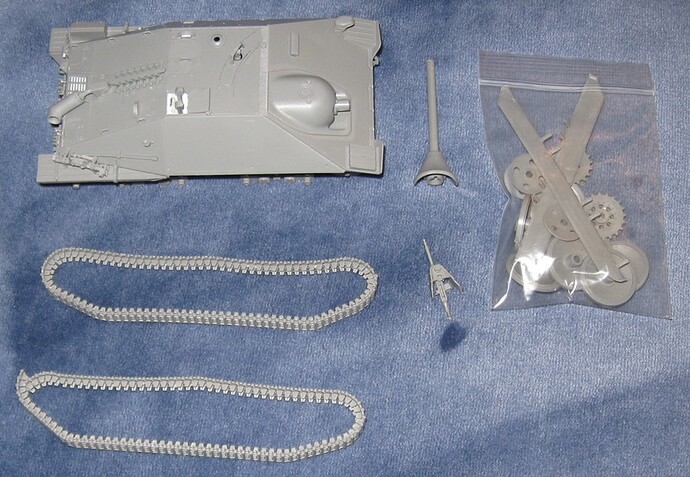
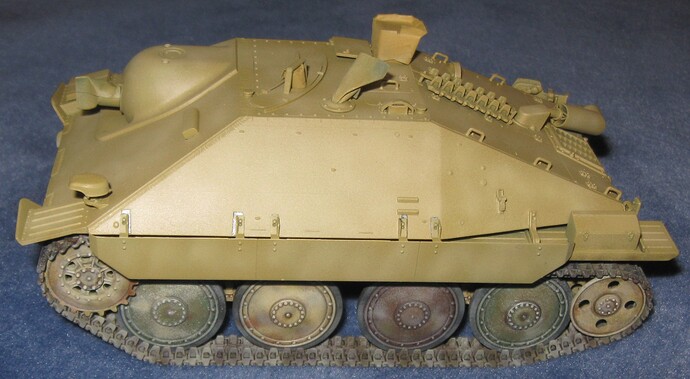
Takom Jagdpanzer 38 Late
Hocus pocus presto chango–averaging about an hour a day, the Jagdpanzer is almost ready to paint. It is definitely not the easy model I was hoping for.
That looks fantastic Doug! Great work!
Looks good, Doug. Is it the tracks that have been time consuming to fit?
Thank you. There are better builds of this model on the internet, but I am trying to do a good job.
It took about 90 minutes to clean up and assemble each link and length track run. I consider that very fast for plastic tracks. For some reason, the right side track run does not fit as snugly as the left side track run. From experience, that situation may reverse after painting or resolve itself during final assembly.
The good:
- Track links correctly depict longer track pin ends pointing outward. Instructions call out correct pieces to assemble for each side of the tank. Many models do not include this detail.
- Link and length tracks are quick to clean up.and assemble.
- Links connect to one another very well, tight enough for a good bond, but not so tight as to torque the links. (I encountered both of these problems on models built earlier this year.)
- Links fit sprocket teeth snugly.
- Instructions specify the correct number of links for each side of the tank. (Instructions for every other model I have built this year were wrong in this regard.)
- Bogie trucks have a very strong connection to the hull. This keeps the road wheels true. (Many models I built this year have sloppy fitting bogie trucks and road wheel swing arms.)
- All road wheels have a fairly firm, solid connection to bogie trucks. (They could be a fraction more tight.) This really helps when fitting the tracks.
- Idler wheel axles have a strong, keyed connection to the full, and a pretty good connection to the idler wheels. This really helps when fitting the tracks.
- Drive sprockets have a pretty good connection to the final drive housings. (It could be a bit more robust and tight.) This helps when fitting the tracks.
- Return rollers are two pieces, with the front piece fitting as a shroud over the back piece. This makes it possible to glue the back piece in place, paint the model, then fit the front piece, making painting a bit easier.
The bad:
- Every individual link, and every second link on length sections, has an ejector pin hole. Some are shallow. Some are fairly deep. I chose to scrape them out. This left a valley in the back face of some track links. I should have filled all the holes.
- Drive sprockets have two positioning pegs. These make it extremely difficult to mount the tracks because they prevent rotation of the sprocket to get each run in the best possible position. I shaved them off. (The model designer was trying to help the builder but made the situation worse.)
- Tracks are handed, in the sense that track pins stick out further on one side of each link. The builder must take care to assemble each run with all pins sticking out in the same direction, and then put them on the correct side of the vehicle. The instructions correctly call out each required part, but it is easy to get confused.
- The instructions do not provide good drawings showing correct track mounting direction. Reference photos are required.
- After looking at reference photos, it becomes clear that the outer faces of track links are a somewhat crude approximation of the real thing. They do not articulate like the real thing.
- The mounting pin for the return roller is unnecessarily tiny and weak, making it very easy to break off a return roller when mounting tracks.
- Each return roller is two pieces, consisting of a front face shroud that fits over a back piece. This would be great accept for one problem–the shroud to back piece connection is way too tight. If the back piece is fitted before this problem is discovered, it is very easy to break a return roller while fixing the issue.
The whole model is like this. It feels like, for each good design feature, there is another that makes things more difficult. Some of this results from the full interior origin on the model. Some problems result from the design of the real vehicle. For example, the gun sight moves along the roof with the gun. The model was designed to replicate this feature at the price of more troublesome assembly.
I am at a point in the hobby where it is necessary to build a model to learn how to build a model. All of you will charge through this stuff.
Once the quirks are understood, this model should be a quick build. The worst part will be painting it. This is not a Takom issue. It is a crazy German camouflage issue. The way the apron plates attach also complicates painting.
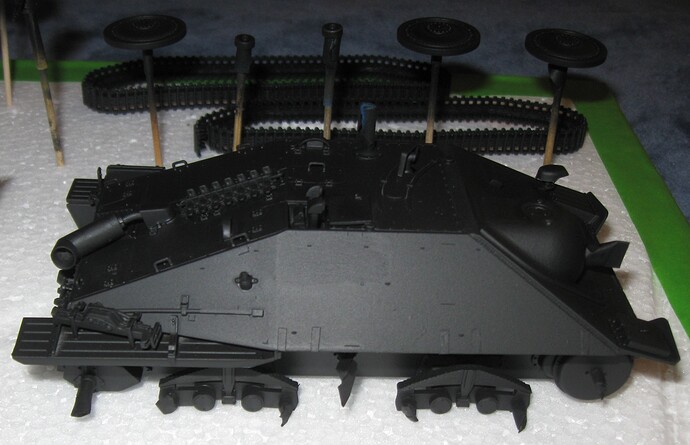
Takom Jagdpanzer 38 Late
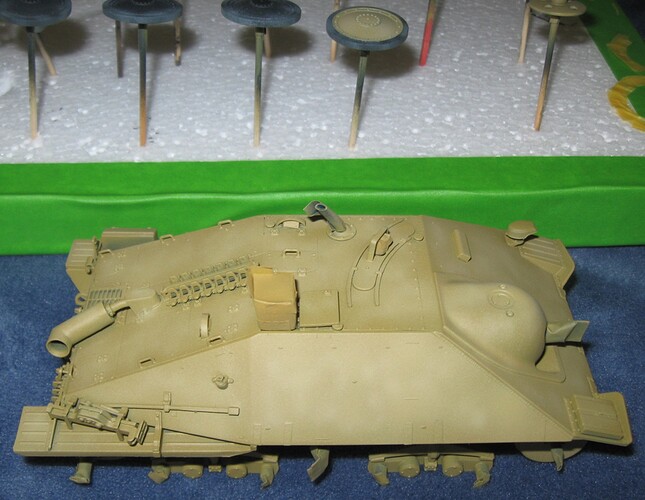
All parts ready to paint.
Lost the tail light. Spent two days looking for it. Opened up three other Takon Jagdpanzer 38s looking for a spare. Eventually scratch built a quick replacement. Not five minutes after installing the replacement, found the original part glued to a page in the instruction manual. ![]()
Takom Jagdpanzer 38 Late
After two months spent avoiding my evil airbrush, I forced myself to paint.
Psssssst. Psssssst. Pssssst. BLAAAARRRRPPPP!!!
Oh man. It was like a fire hose suddenly turning on full. Then the airbrush would not stop. At one point, it also fired a photon torpedo at the lower hull because I forgot to keep the tip clean. Oh well. Wiping off and painting over the problem spots did not work. Some sanding and a second round of priming is now required.
Edit: Two additional errors escaped by notice until after priming. I missed an ejector pin mark under each front fender and forgot to install the tow cables. Oops.
I feel your pain, Doug. Nothing as bad as an airbrush acting up. It can ruin everything. ![]()
![]()
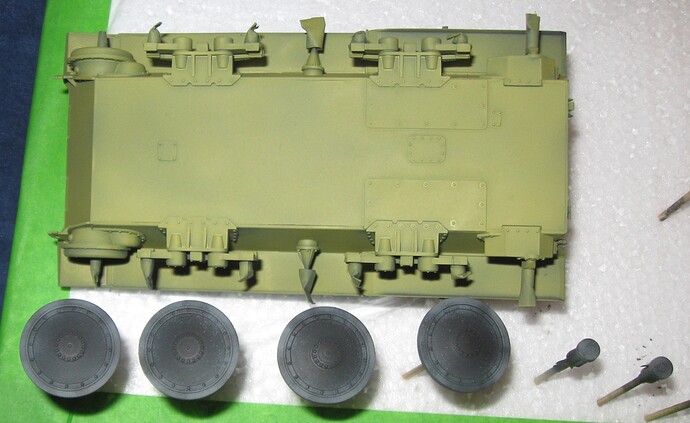
Takom Jagdpanzer 38 Late
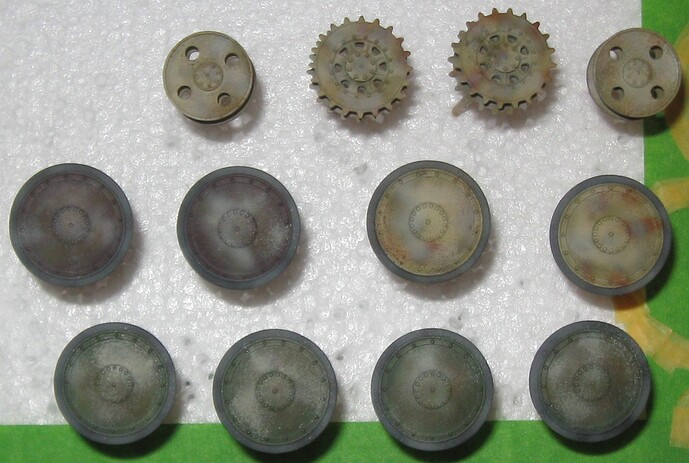
All tires were painted with three shades of gray using the splatter brush. They should look okay after oil painting.
Using very fine grit sandpaper, I sanded out various boo boos in the primer coat and went straight to a base coat of Panzer Dunkelgelb. SInce the splatter brush was doing its thing, I decided to give the new, el cheapo airbrush a try.
WARNING: DO NOT ATTEMPT TO USE A COMPLETELY UNFAMILIAR AIRBRUSH WITHOUT PRACTICE.
I will sand out the worst boo boos in the morning and switch back to the splatter brush.
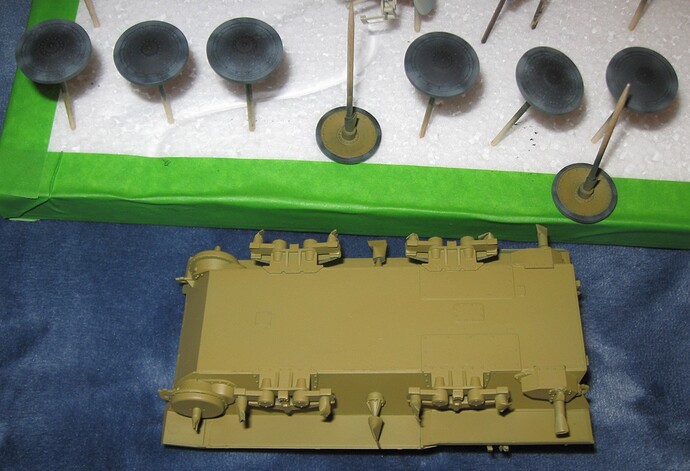
Takom Jagdpanzer 38 Late
After more sanding, the model received another base coat of…something. The Vallejo bottle label claims this is Dunkelgelb. Yeah. No. It is really thin and does not cover.
Wait. I see now. To the naked eye, this color does not match any shade of Dunkelgelb on my computer. However, comparing the picture above to the test swatches on my computer, the color is very close to an exact match for the Operation Citadel version of Dunkelgelb. That is good to know.
My back gave out after painting the belly and some road wheels. I will finish with this color tomorrow, then tweak it for a second coat of paint. I guess the factory had some leftover paint stocks to use up. War time emergency and all that.
Takom Jagdpanzer 38 Late
Airbrush worked much better this morning. Was able to finish the base coat, then lighten it up with some post shading. Like this a lot better. Should be a good base for camouflage. Will give this a couple days to dry to avoid lifting.
Uh oh. Just realized the engine grill is not on the model. Two steps forward, three steps back.
That looks really great Doug. Glad the airbrush is cooperating. Keep the faith, this is turning out wonderful.
Nice post shading, Doug! Looks really good.
Looking forward to see more ![]()
Takom Jagdpanzer 38 Late
I have now run my airbrush 7 of the last 9 days, slowly trying to get through this. Since my airbrush constantly barfs, spits, and splatters, I am intentionally spraying lots of mud splatter effects.
These looked much better before adding the last color–light mud. For some reason, light mud is particularly difficult to spray.
Splatter is fine for tracks.
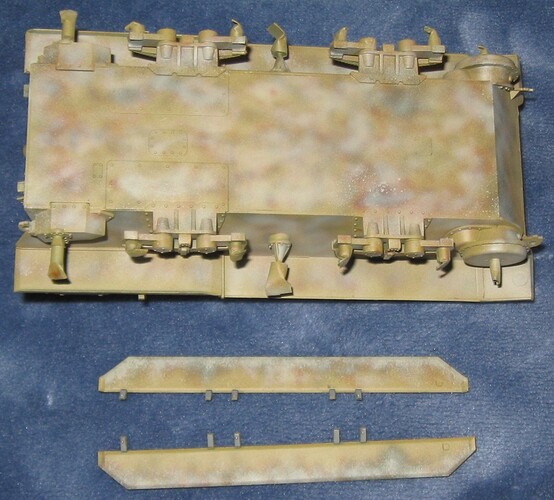
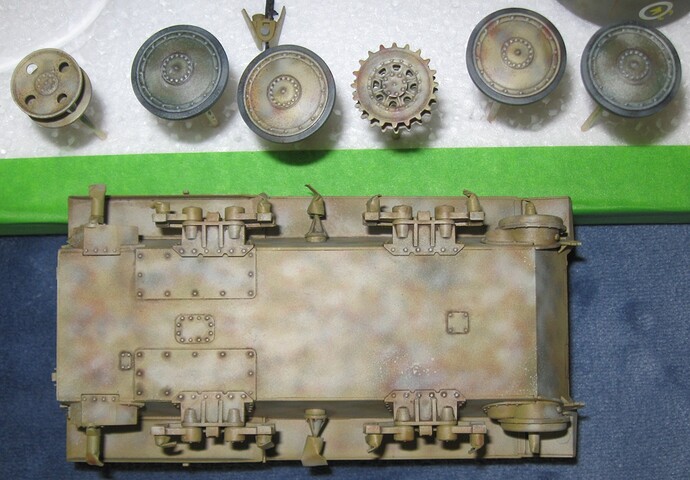
The bottom of the hull and inside faces of the apron plates turned out okay. I forgot to fill the ejector pin marks under the front fenders. In anticipation of this sort of mistake, I bought some fake mud.
The apron plates must be attached before painting the camouflage. Therefore, the next step is to oil paint, clear coat, and assemble the lower portions of the vehicle.
Last night, I also made some tow cables for this model. It will take a minimum of 4 airbrush sessions to prime and paint them.
Alas, not the easy model I hoped for but moving along.
Something just occurred to me. Dark mud is easier to spray than light mud. Maybe I should spray light mud first, then dark mud. Mud dries more quickly at the edges of a splatter, so this would produce a more realistic result? Maybe? May try that on the next model.
Takom Jagdpanzer 38 Late
Pluggin away. Done with oil paints below the waterline. Wash is a bit heavy and wheels are kinda over the top. Still learning to dial in stuff like that. Thinkin this is okay. Gonna let it dry, give the bottom stuff a clear coat, then assemble.
Looking good, Doug. From what I see it does not look overdone.
Looking forward to see more ![]()
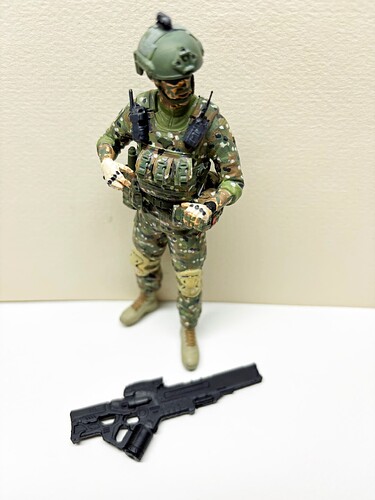
Multicam camouflage completed. Everything is basically painted with AK Real Color Markers.
I still need to drybrush, wash, ink, weather, and shade and shadow.
Takom Jagdpanzer 38 Late
Running gear and apron plates are assembled. For me, this is the most difficult part of a tank model. To the credit of the designers at Takom, the drive sprockets, idler wheels, road wheels, and tracks fit easily and very positively. Conversely, the return rollers are a terrible design with very anemic attachment points. Both broke off. If you build this model, I recommend connecting the back and front return roller pieces and painting each wheel as a unit, only installing them at this phase.
I carefully masked all points where the apron plates meet the hull before painting anything. As a result, it was easy to glue the apron plates into place with a very strong bond. In the photo above, some of the masked areas are visible. This will not matter as the vehicle still needs camouflage.
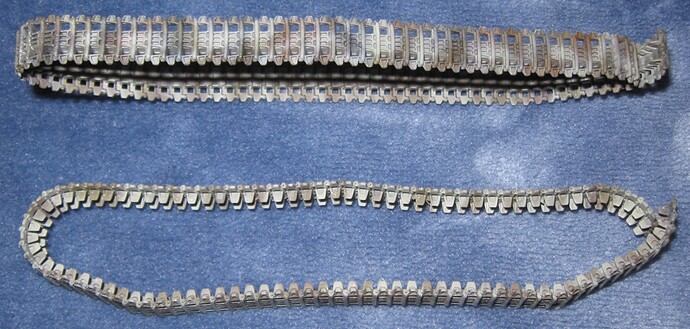
I forgot to burnish track contact surfaces with steel. I will run with that and see how it looks.
Looking good, Doug. Not all tracks were “polished” in real life, so I think you are good to go with it.

