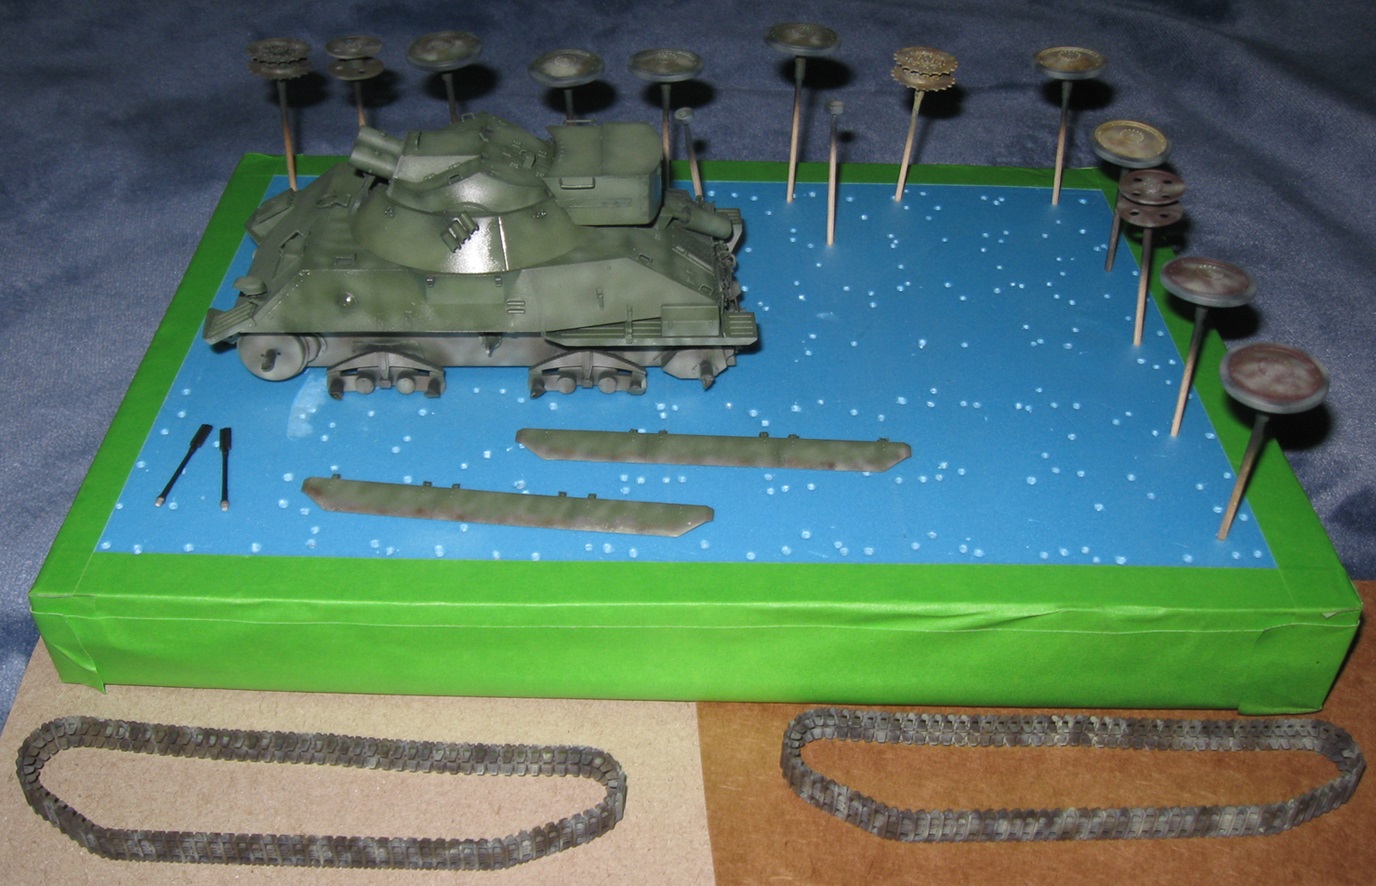
Stencils seem like a really promising idea but this was my third failed experiment with a home made camouflage stencil on a busy surface. It is also difficult to position a model, a stencil, and an airbrush at the same time. I may purchase some metal camouflage stencils and try again.
I put together the Kugelblitz turret earlier today and all my tweaks actually worked. That was a pleasant surprise. I may pull out the Blu-Tac and make another go at some camouflage.
Accept for clear coats, all the airbrush work on this project is d o n e. That is always a very happy moment for me.
I usually name my conjectural vehicles and need to come up with something for this one. Come to think of it, I should also order some small letter decals.
Edit: Astrapê and Brontê are the Greek Goddesses of Lightning and Thunder. Since I will probably build a Panzer IV based Kugelblitz in the future, I just need to decide which vehicle gets what name.
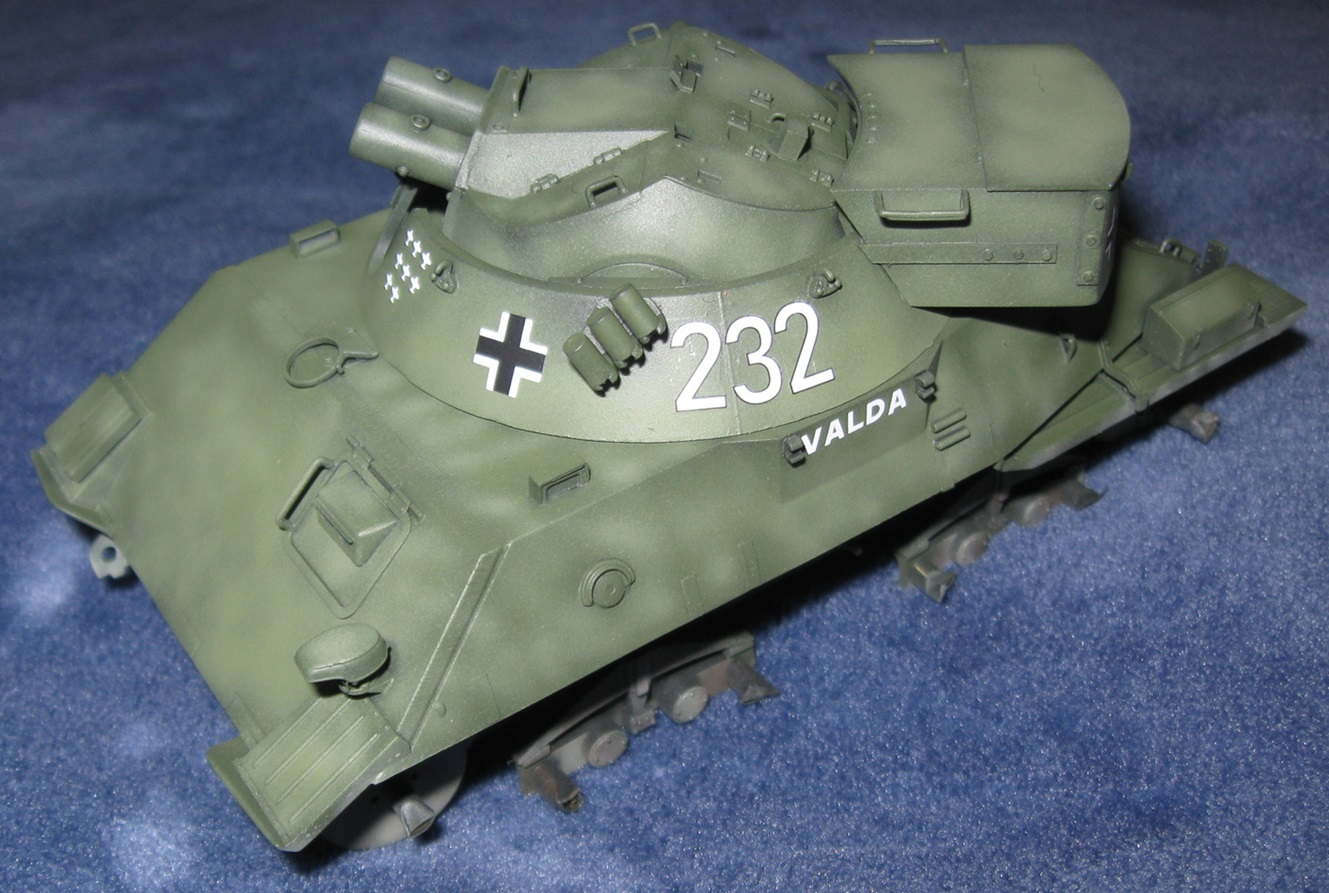
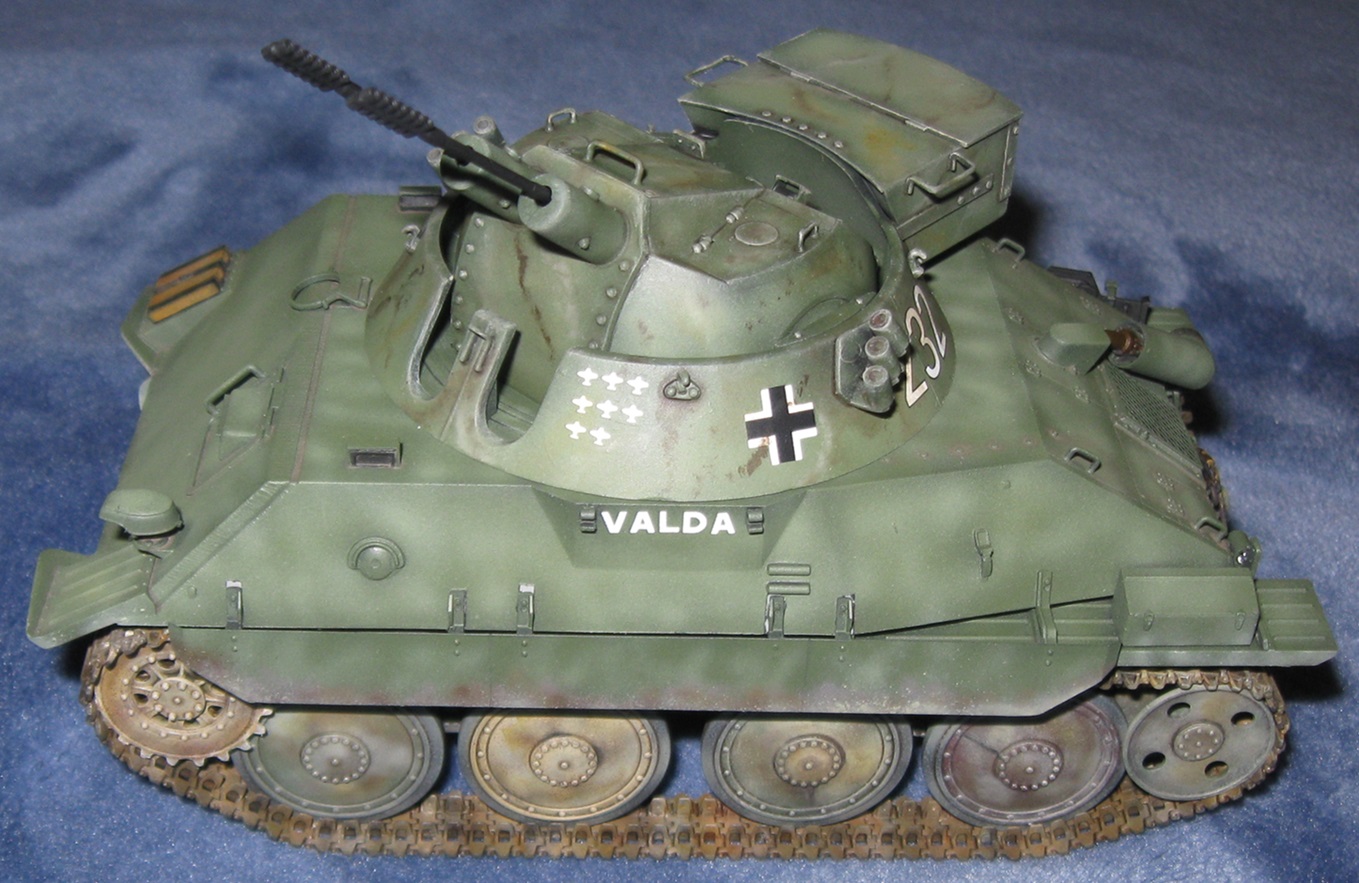
Have you ever put decals on a model and felt rather disappointed with the result? That is how I feel right now. My spare decal supply is not very extensive. I wanted to use red (or blue) on white numbers but did not have any of the correct size. “Valda” is not my favorite name, nor my favorite font, but unlike many other names considered, I had the necessary decals. The arrangement on the back of the turret, with the number in the middle and small crosses to the sides, is not very pleasing. I do like the kill marks and side crosses.
The number decals also look a bit wonky. Initially, I thought this was my fault but high resolution pictures reveal it is the result of a very subtle printing issue.
It feels like poor craftsmanship to constantly rely on effects painting to cover up mistakes but I accept it is part of the learning process.
This will turn out “okay” but I long for “very good”.
I see what you mean about the name and numbers, Doug.
However, I think it looks very nice and I am sure it will be “very good” once it is done. Remember numbers and names were often field applied as well, so details and accuracy might vary in real life.
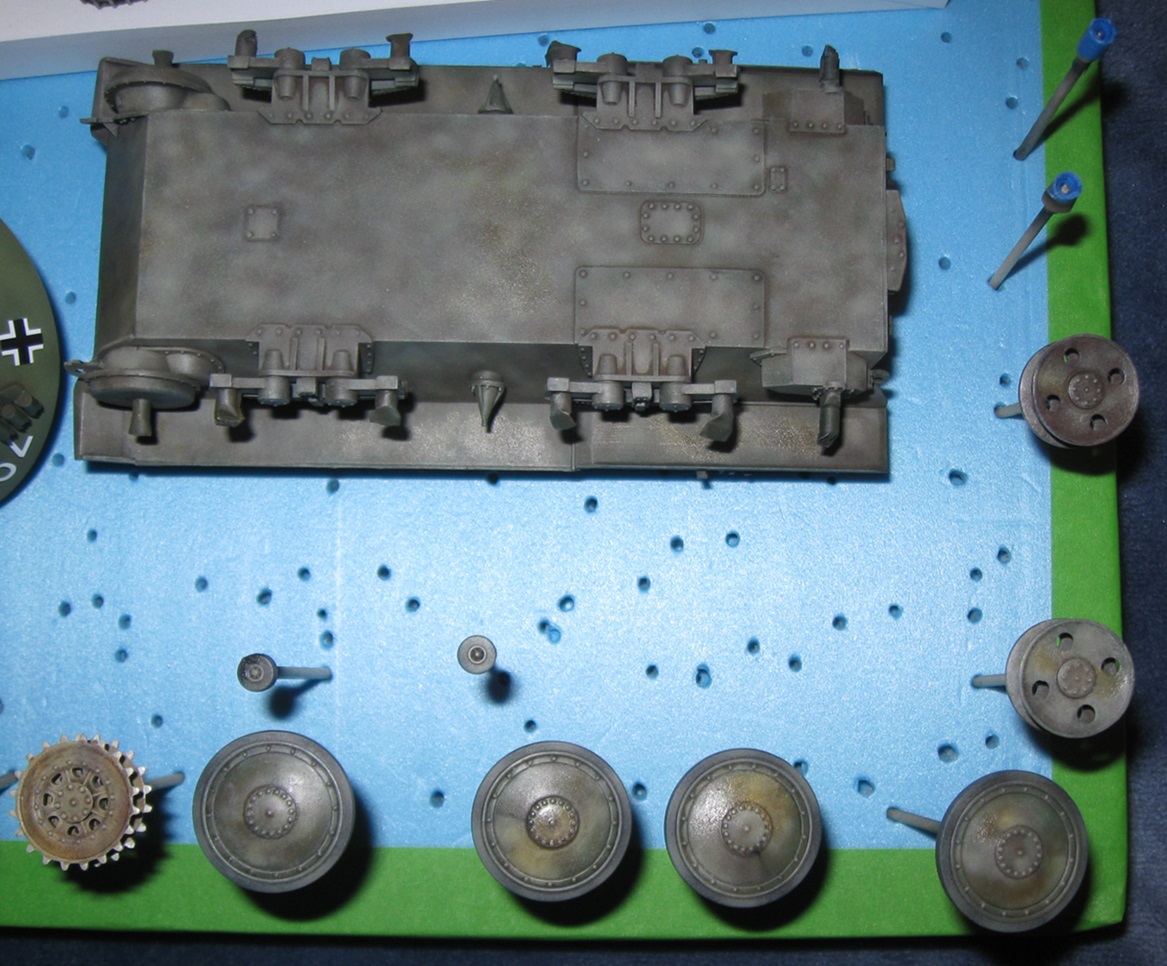
Things got away for me for a few days but all the detail painting on this model, minus the tail light, is now done. I used a new tool for this step that really helped.
Always interesting to see what the camera will reveal. What seems subdued to my eyes becomes garish in a photo. It is one of many problems I need to solve.
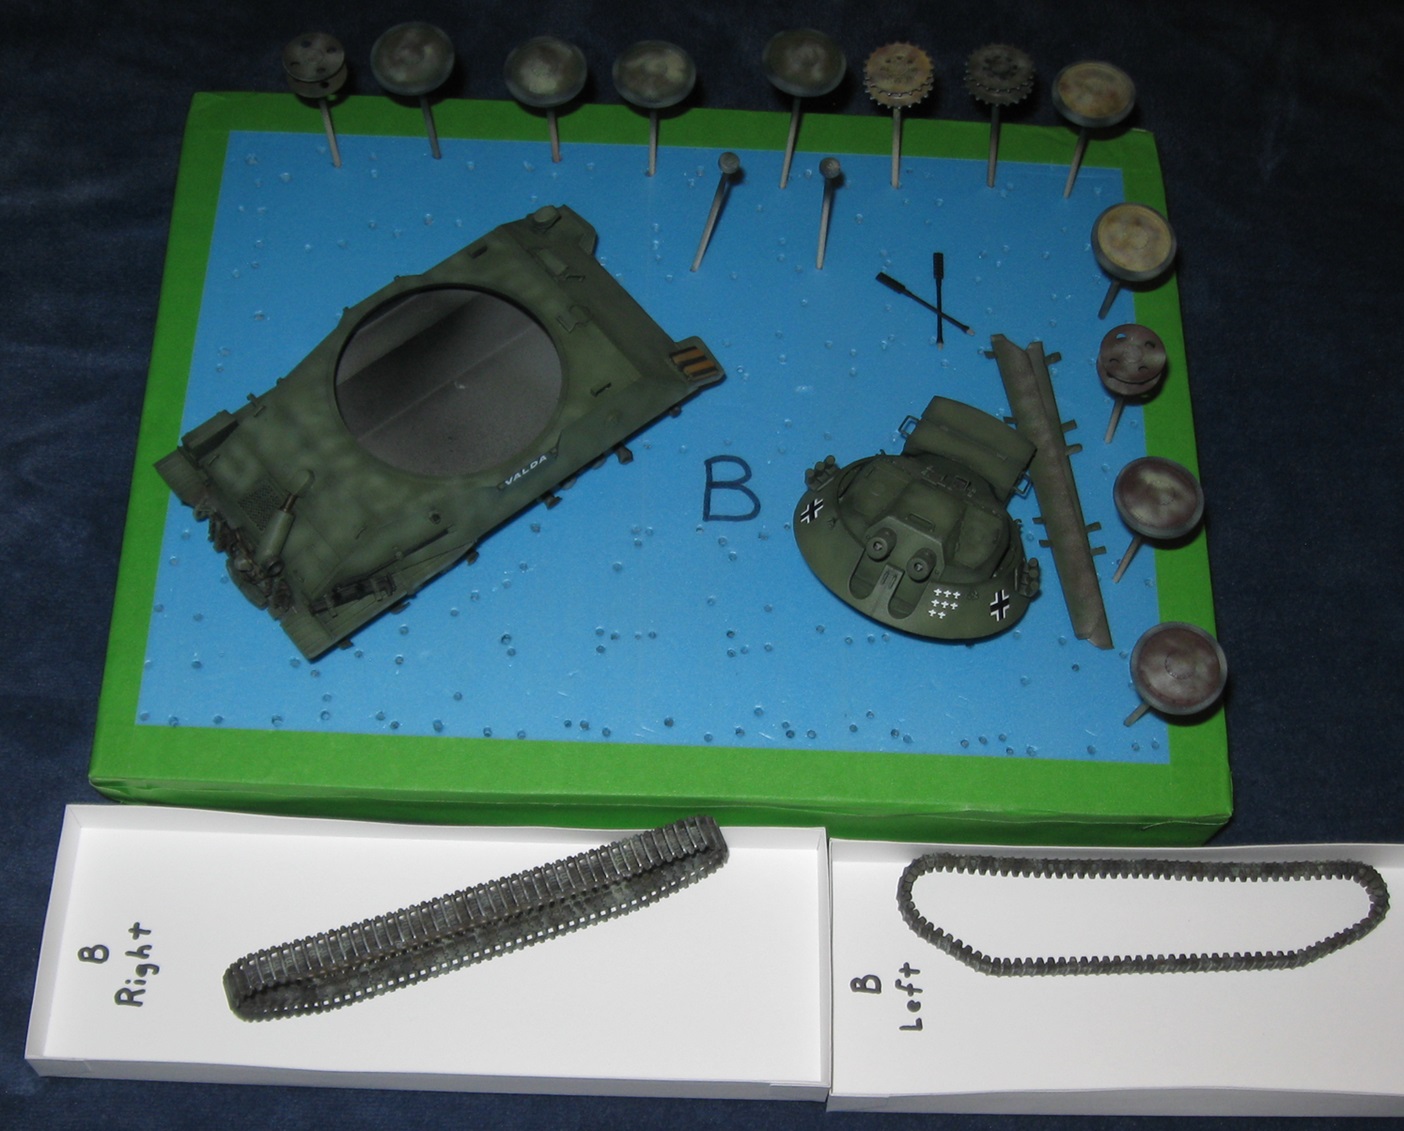
Home stretch. Everything is put together. I still need to oil paint the upper hull and tone down some stuff.
I tried something different on the tracks. They look really dirty and rusty! Not sure how I feel about that.
@SGTJKJ Thanks. It is a genuinely good model. (Better be. I bought 4 Takom Jagdpanzer 38s.) That always makes a project much easier. Being green also helps. For whatever reason, I find green the easiest base color for effects painting. Panzer gray, on the other hand, gives me serious problems. More on that soon.
@B-17-peter Thanks! I am fairly sure this one will turn out decent.
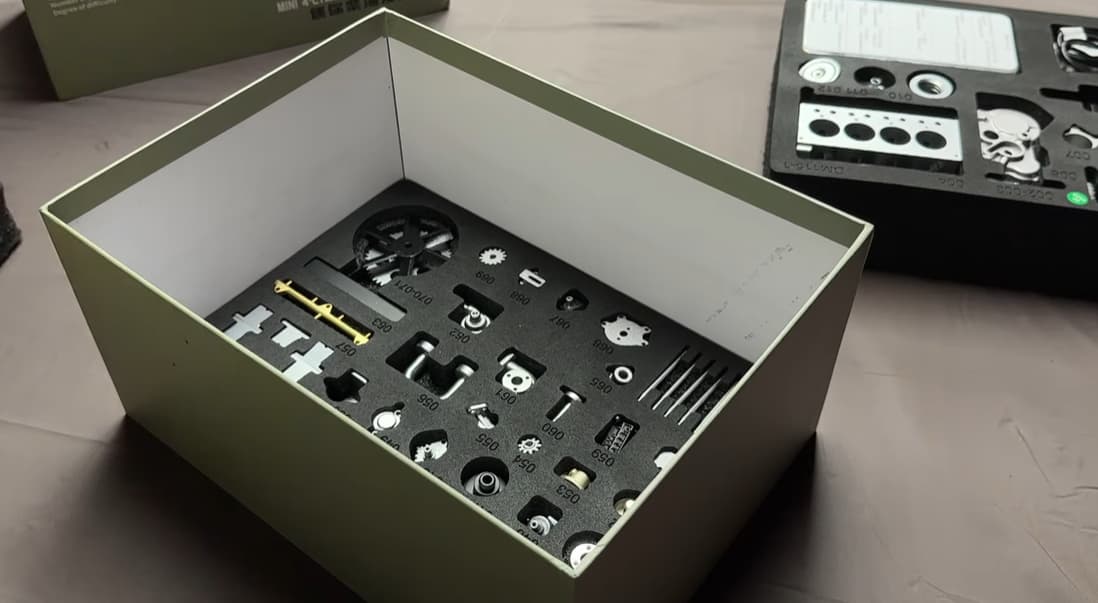
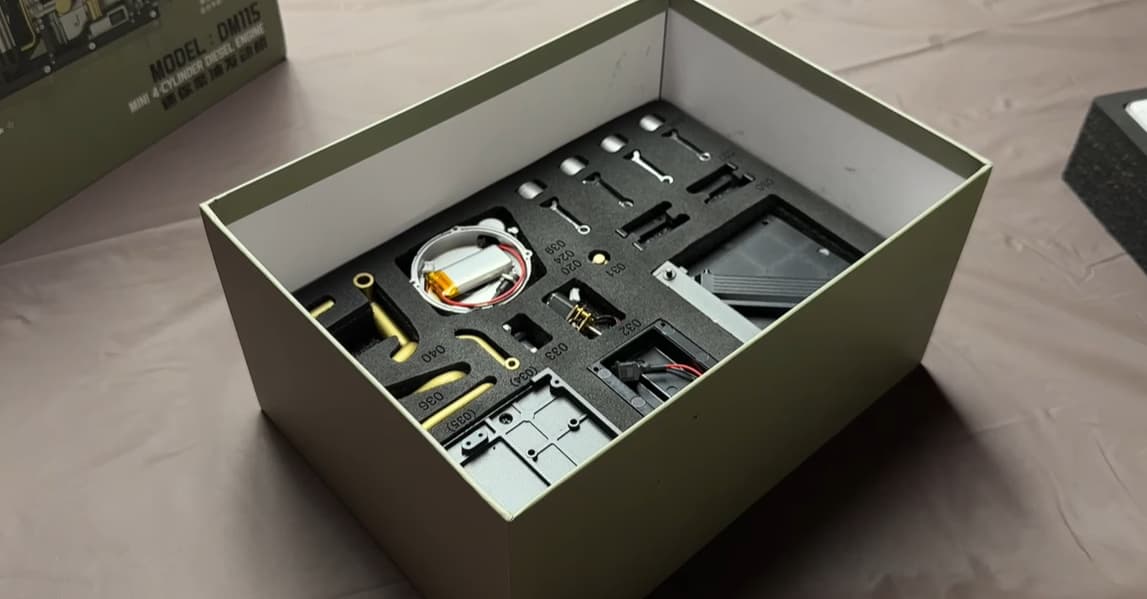
I’m currently halfway through assembling this incredible 4-cylinder diesel engine model. The whole process has been a real joy so far – precision parts, solid metal feel, and just the right amount of challenge.
Can’t wait to finish it and see it running. I’ll post more progress updates soon!
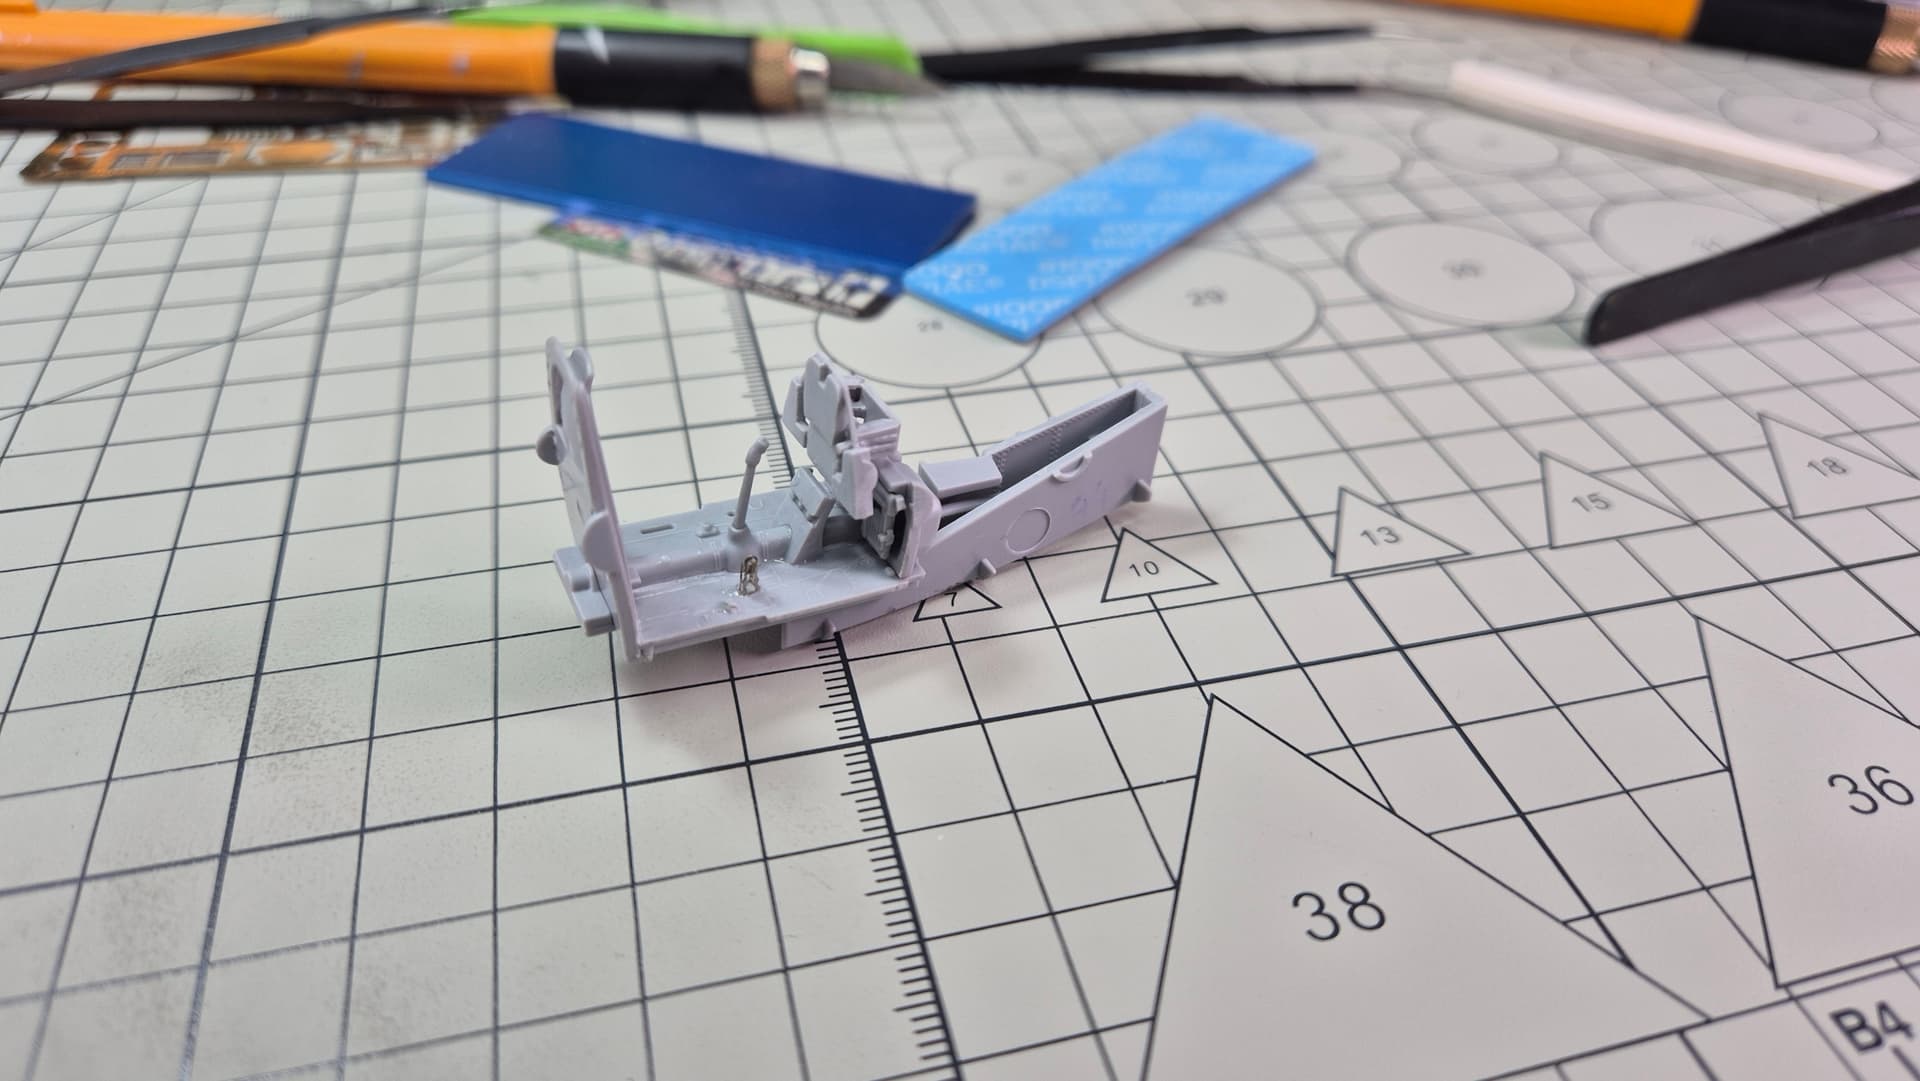
It took me a while to make some progress on Airacobra. I went for vacations and returned… sick (!) . So I lost almost month on doing nothing on my workbench.
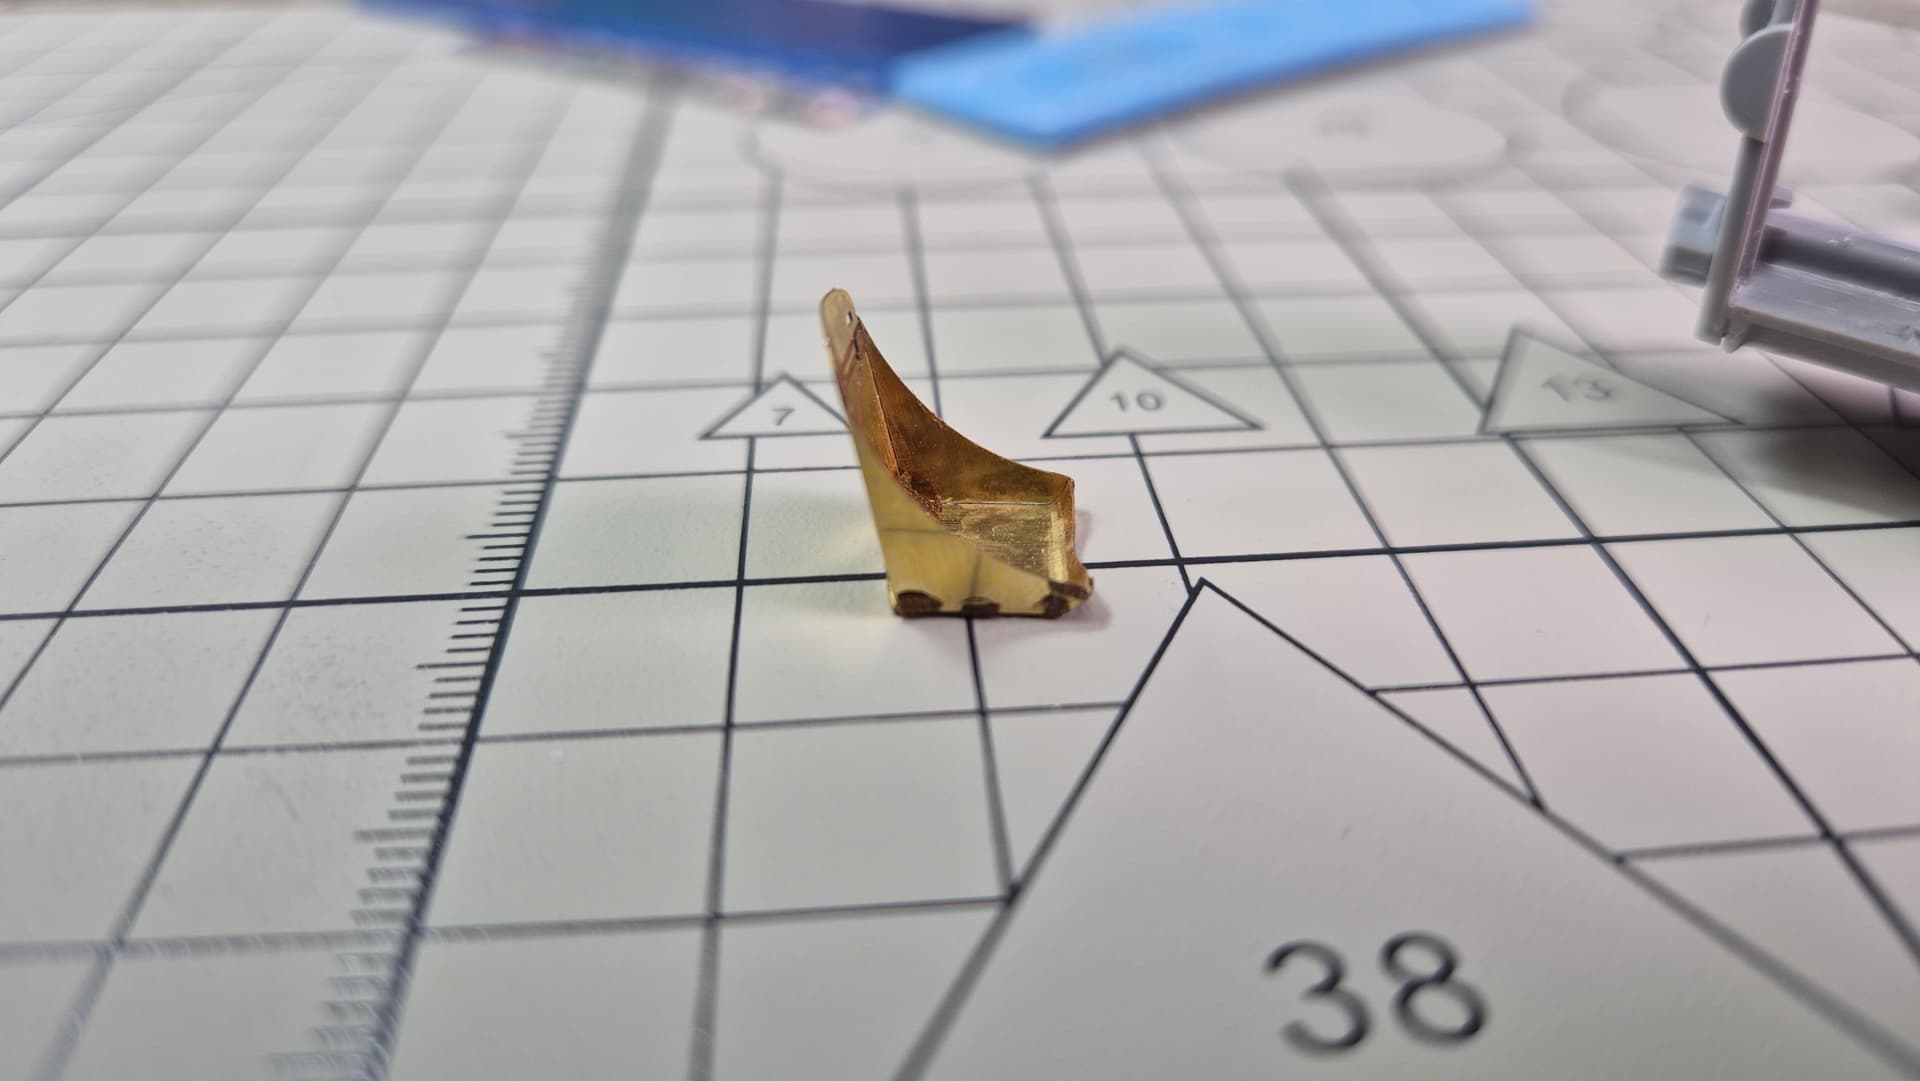
So, I did some cockpit update, as always it wasn’t flawless - my clumsy shakin’ hands caused some glue spills. Although it was extra thin tamiya and VMS CA, but there are some marks here and there in places it will not be possible to remove them. I managed also to finish the pilot’s seat from Eduard’s set. I forgot to anneal it, so it was hard to bend and it doesn’t look spot on too. So here’s how this looks like now:
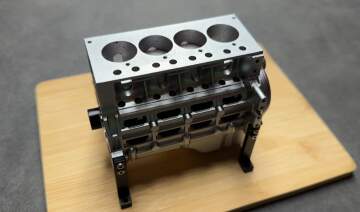
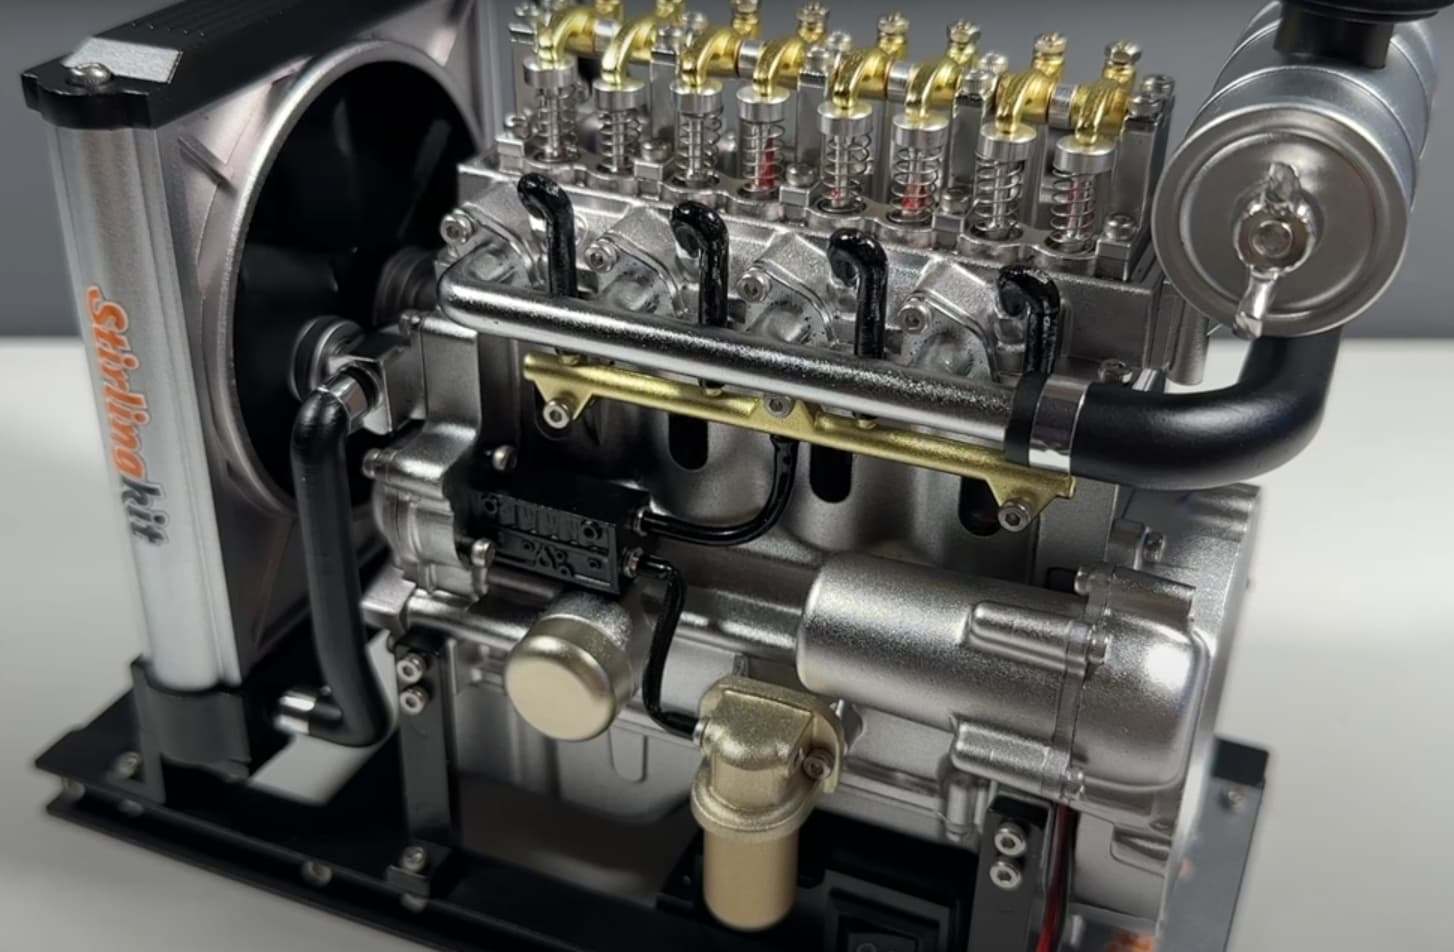
Just wrapped up the final assembly of the Teching OHV 4-cylinder mini diesel engine. Everything’s now in place, including the valve rocker arms, timing components, and small finishing touches. Spinning the crank and watching the full mechanism in motion is honestly so satisfying—cams, pistons, valves… all working in harmony!
I’m really happy with how it turned out. Took a bit of patience and a few moments of “where did that tiny screw go?” panic, but it all came together in the end.
I wanted to share a bit about what it was really like putting this Teching OHV 4-cylinder model together. Overall, it’s a fantastic kit with high-quality metal parts that really capture the feel of a real engine. That said, it definitely challenged me in a few ways:
Tiny precision parts: Some components, especially the valve rocker arms and springs, are very small and delicate. Handling and fitting them required patience and a steady hand. A couple of times, I had to carefully re-seat parts that slipped out of alignment.
Alignment and timing: Making sure the pistons, cams, and valves all moved in sync took some trial and error. I had to carefully double-check timing marks and test the crank rotation several times to get everything smooth without binding.
Tight fits: Many metal parts fit snugly by design, which is great for realism but means you have to be precise with assembly to avoid forcing anything and risking damage.
Satisfaction factor: Despite the challenges, the moment I got the model running smoothly was incredibly rewarding. Watching those pistons pump and valves open and close felt almost hypnotic — like I was really controlling a tiny working engine!
Learning curve: I’ve assembled plastic models before, but this working metal engine model introduced me to a new level of mechanical complexity and hands-on engineering. It’s a fantastic educational experience if you’re interested in how engines actually work.
Would definitely recommend this kit to anyone who enjoys detailed modeling and wants a functional display piece. Happy to share tips if anyone else is tackling it!
Haha, you got it half right — but surprise, it’s actually electric-powered! No diesel needed at all.
Honestly, when I first saw it I was a bit hesitant to buy — I wasn’t sure if the quality would live up to the price. But now that I’ve built most of it, I have to say I really like it. The fact that it’s fully metal makes it even more satisfying to work on. And once it’s running, it’s impressively smooth — way better than I expected.
Have you built anything similar? I’m thinking about what to try next and would love to hear your recommendations!
@Pitar
I spent the 1980s from Junior High School until I graduated from College working at my dad’s auto repair shop. Dad had me rebuild several engines and a couple of transmissions when I worked there. I never worked on diesel tho. The engines and the manual transmission I was successful with, but the automatic transmission, I never managed to get it to work. I probably needed some formal training in automatic transmission repair, my dad himself didn’t rebuild automatic transmissions so I think he just wanted to challenge me somehow. I saw the price tag on this model and I already have an actual car that my son and I have been restoring for several years now. I’m glad you enjoyed the project, I can tell you from experience how satisfying it is to rebuild an engine and then listen to it run for the first time