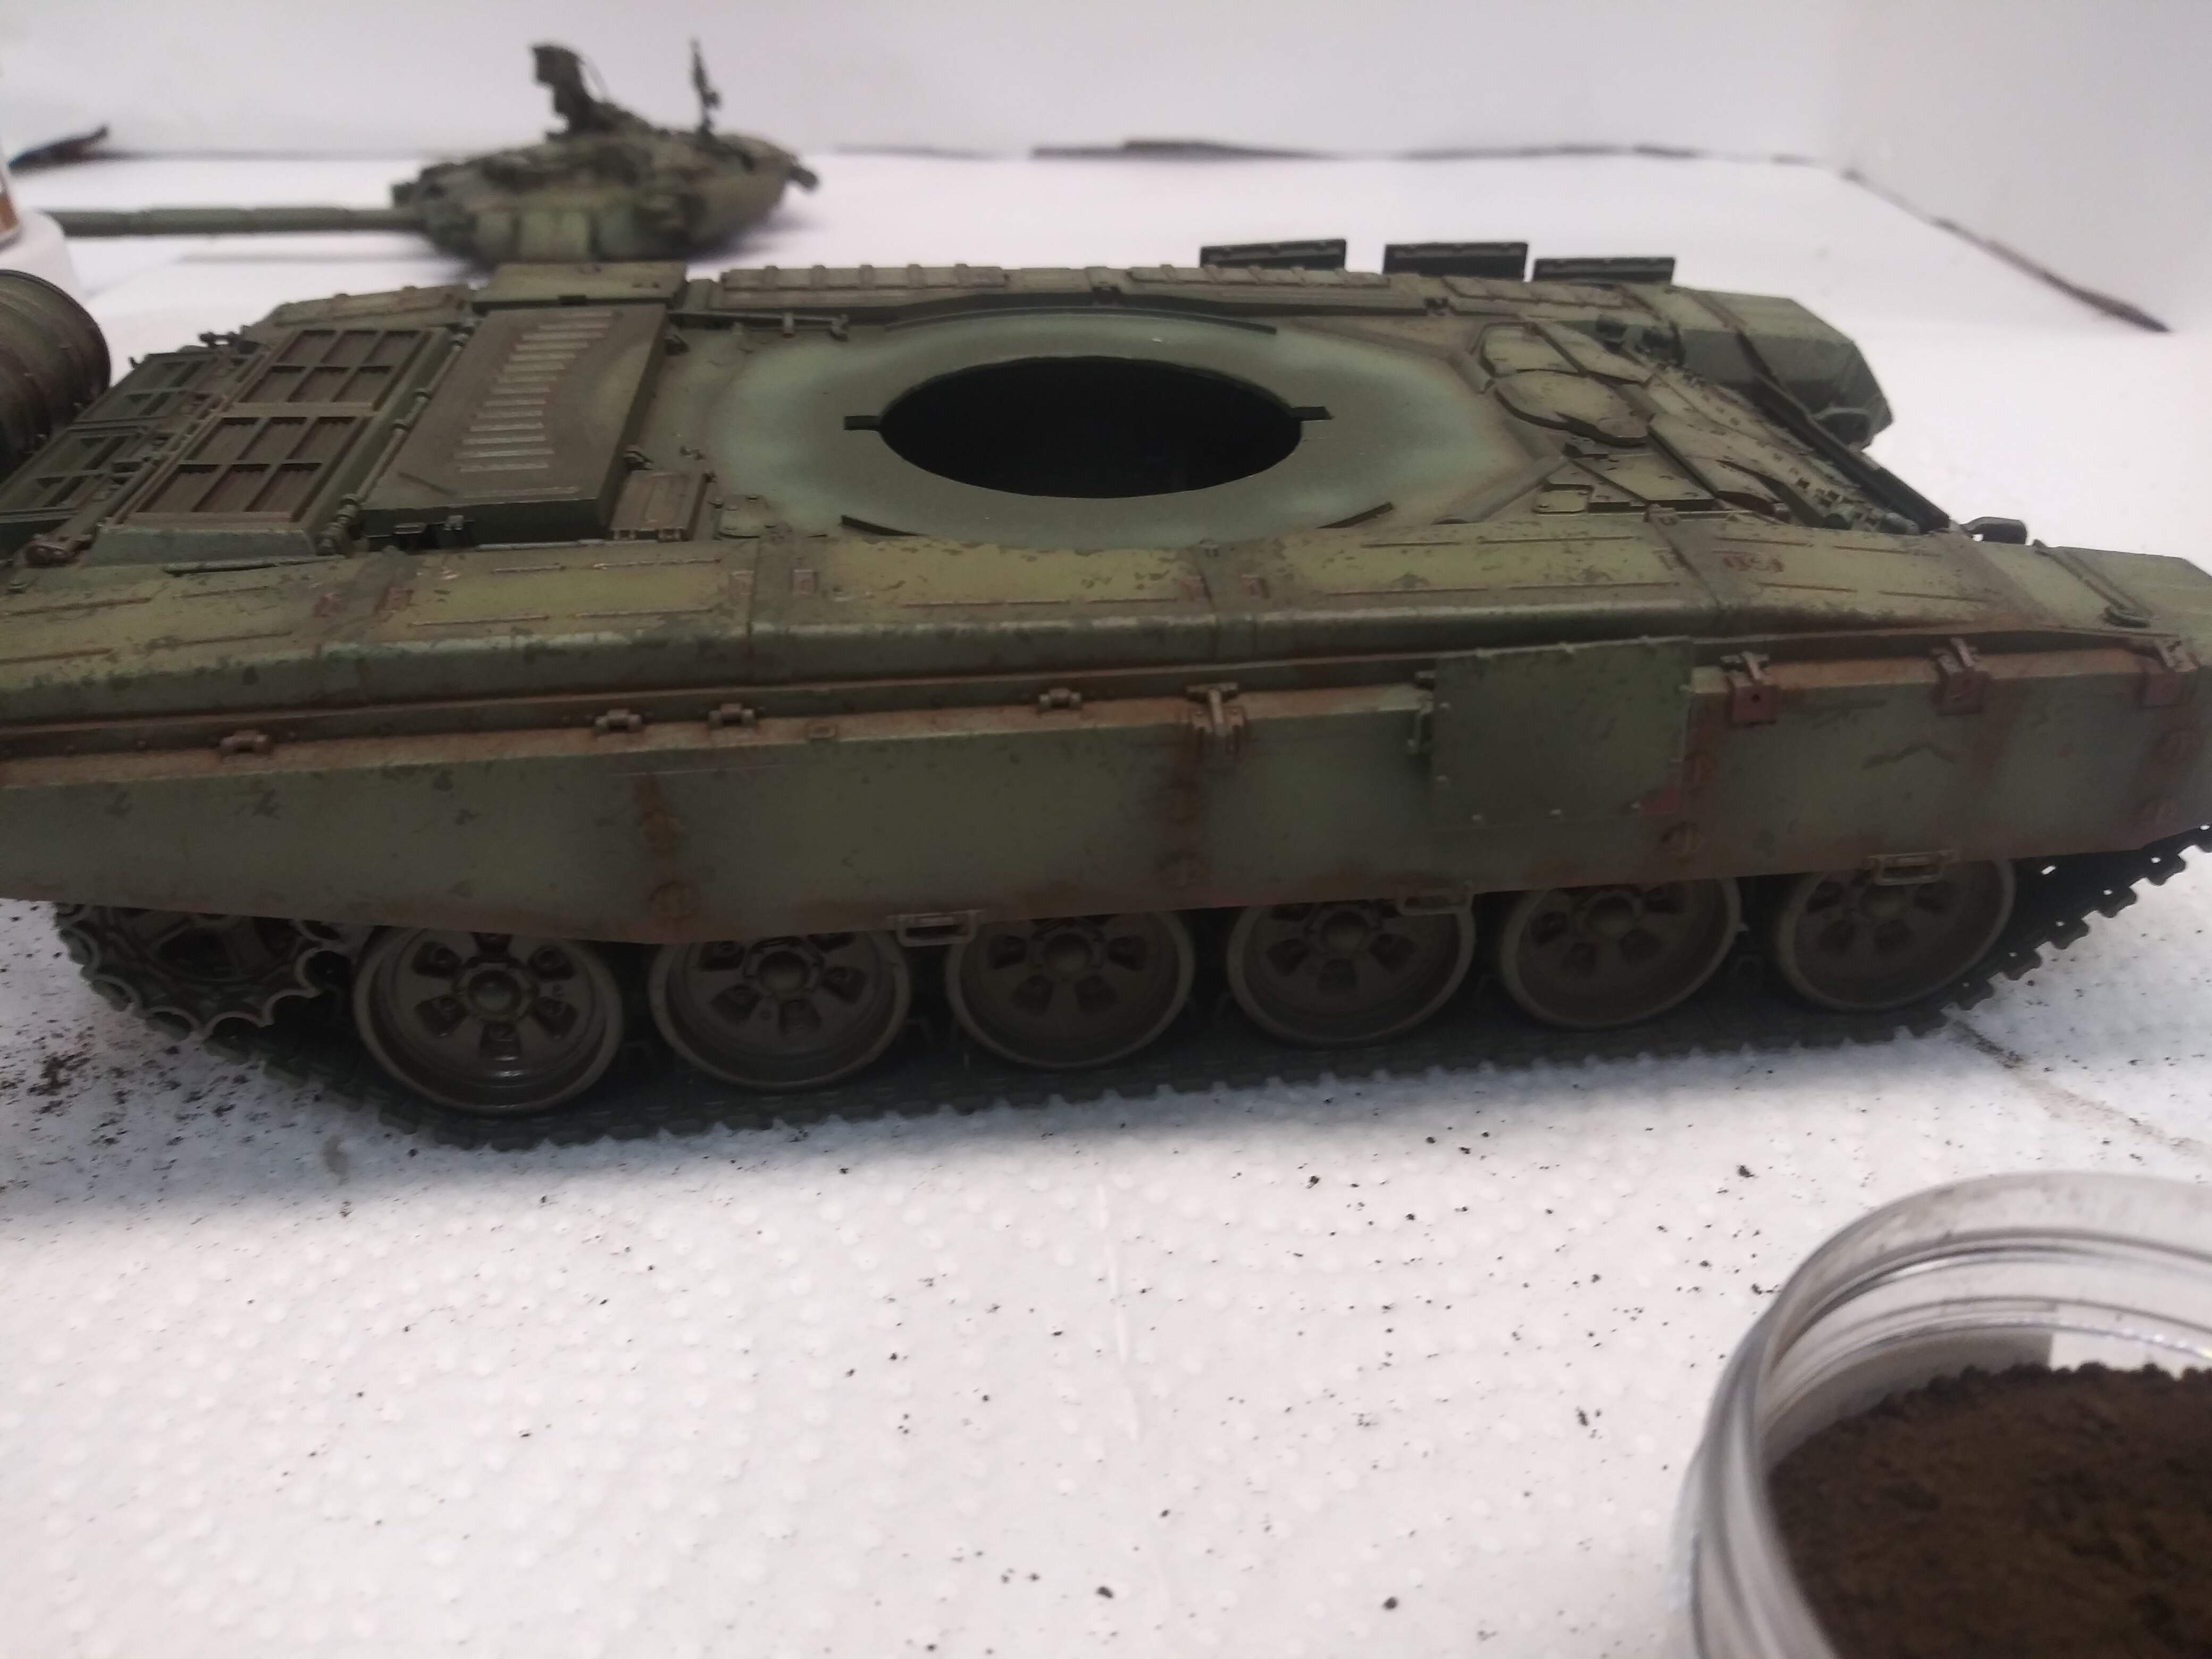
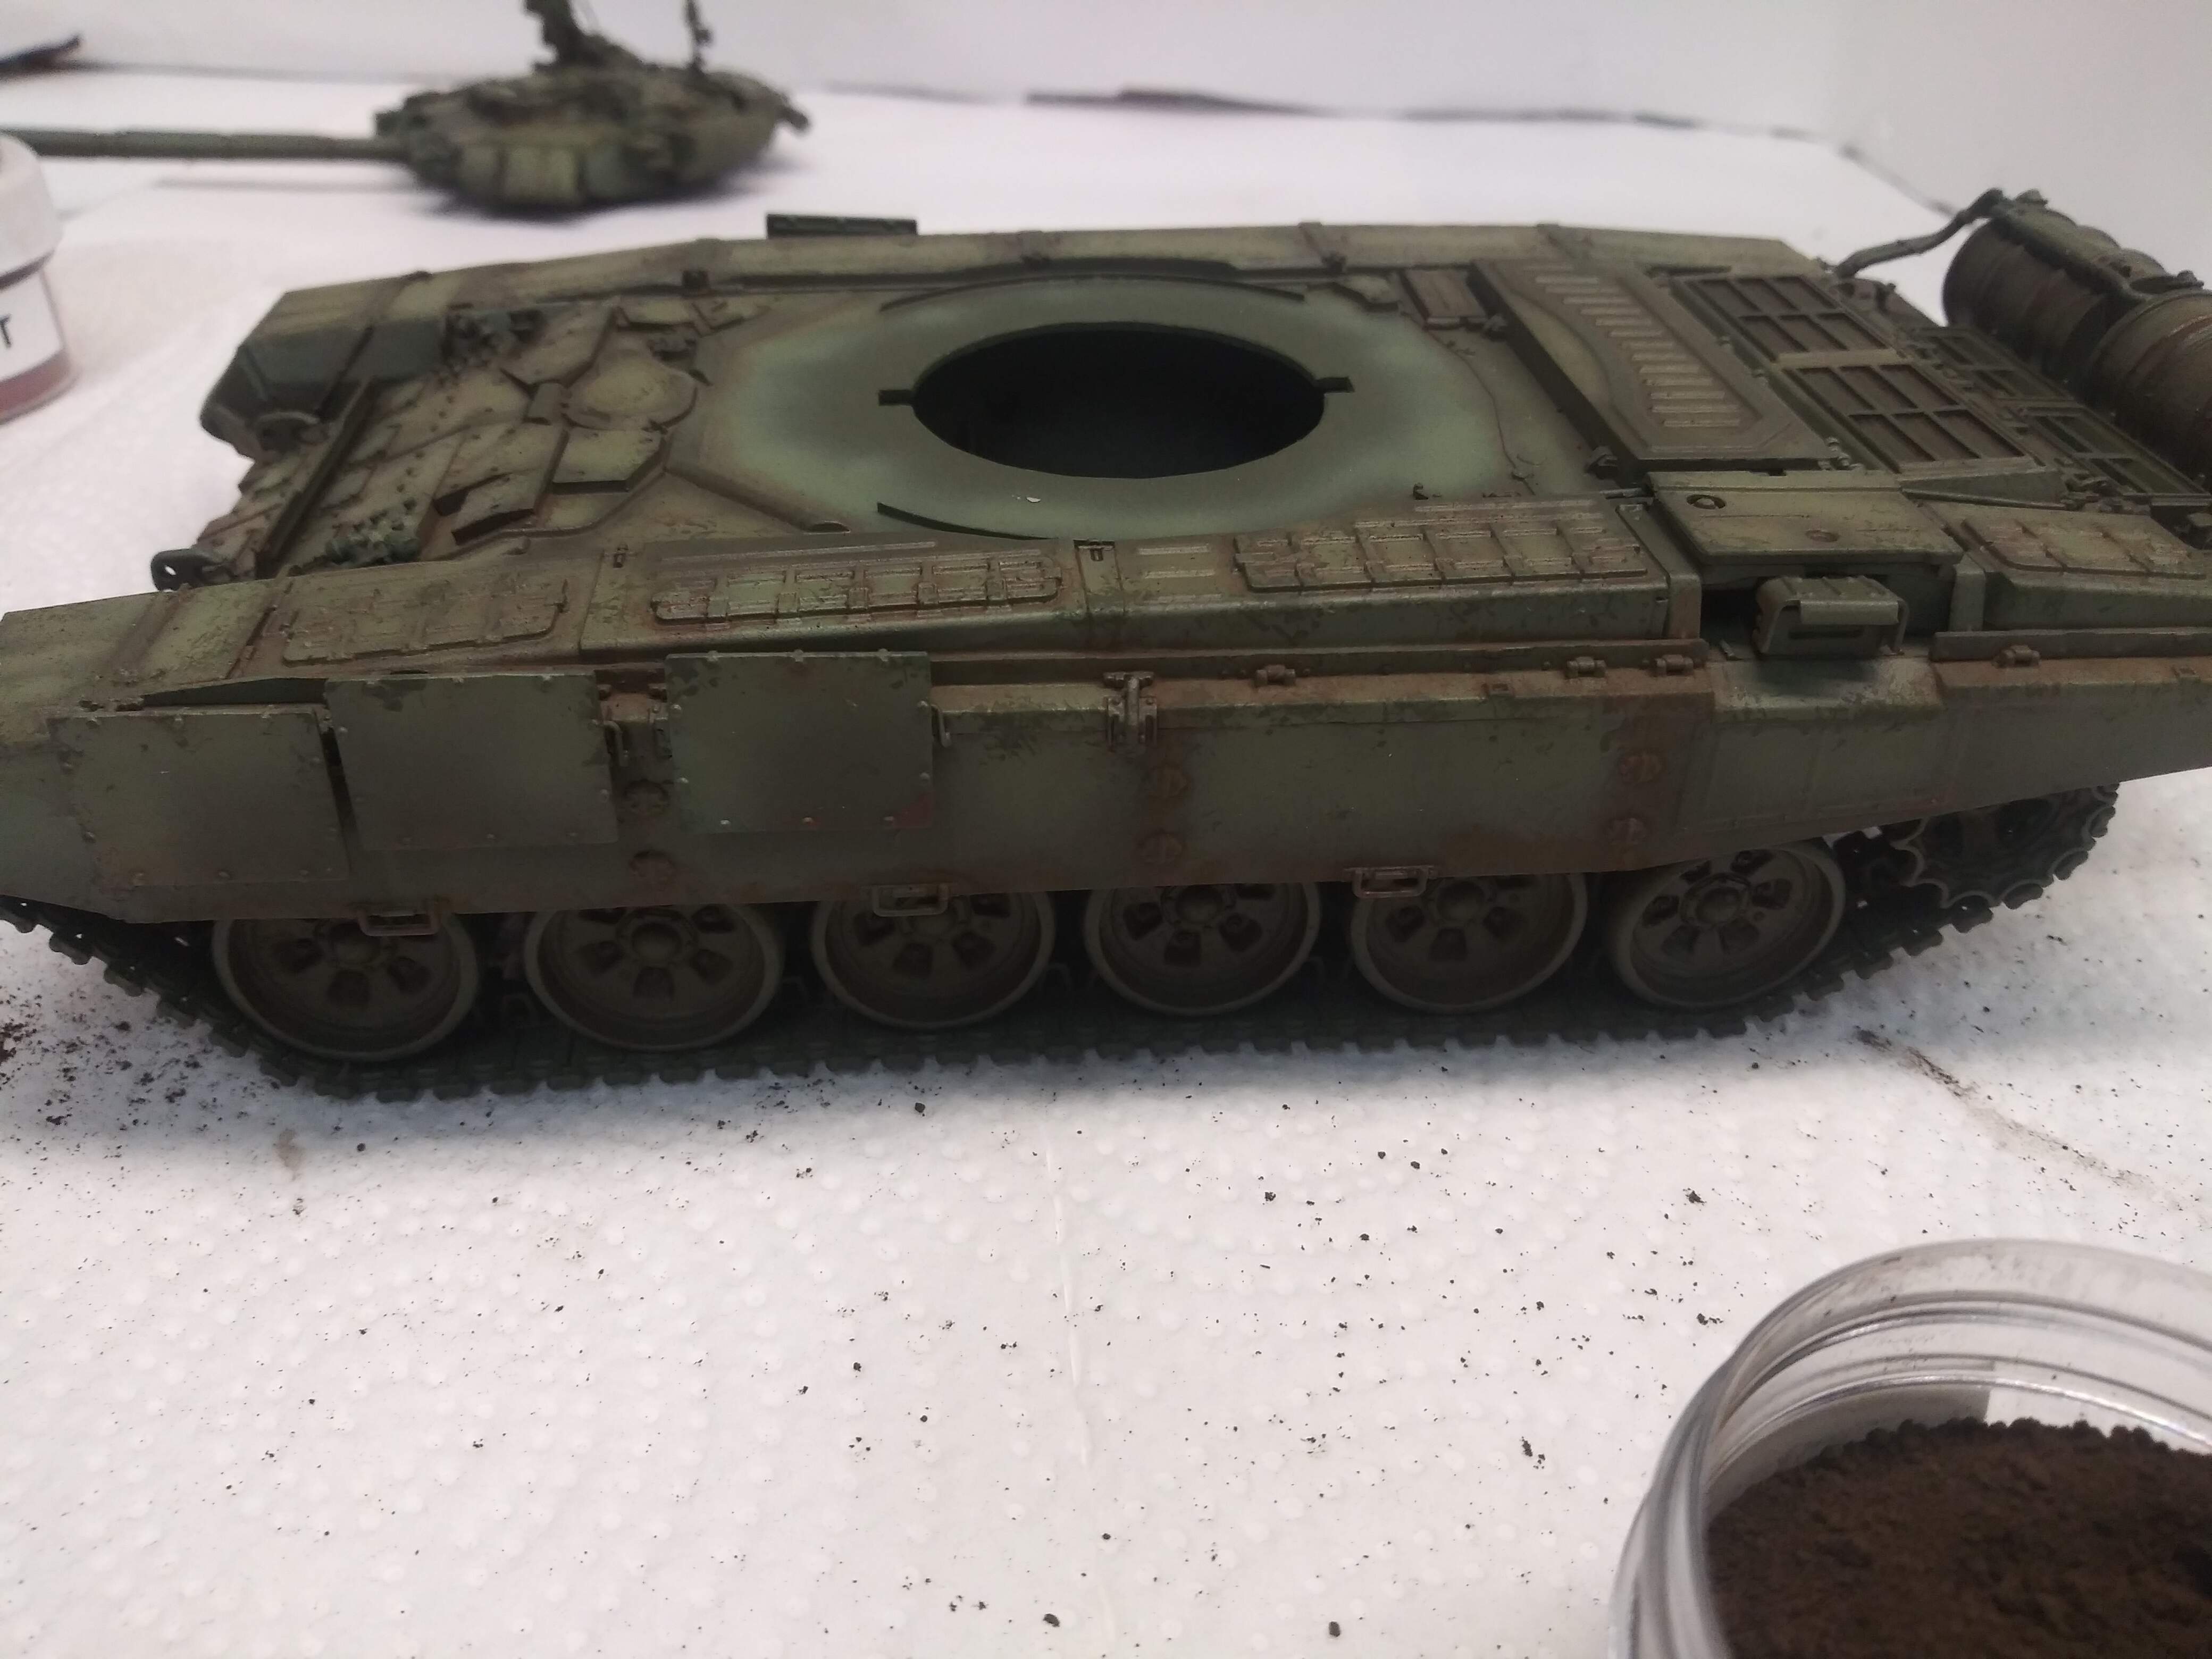
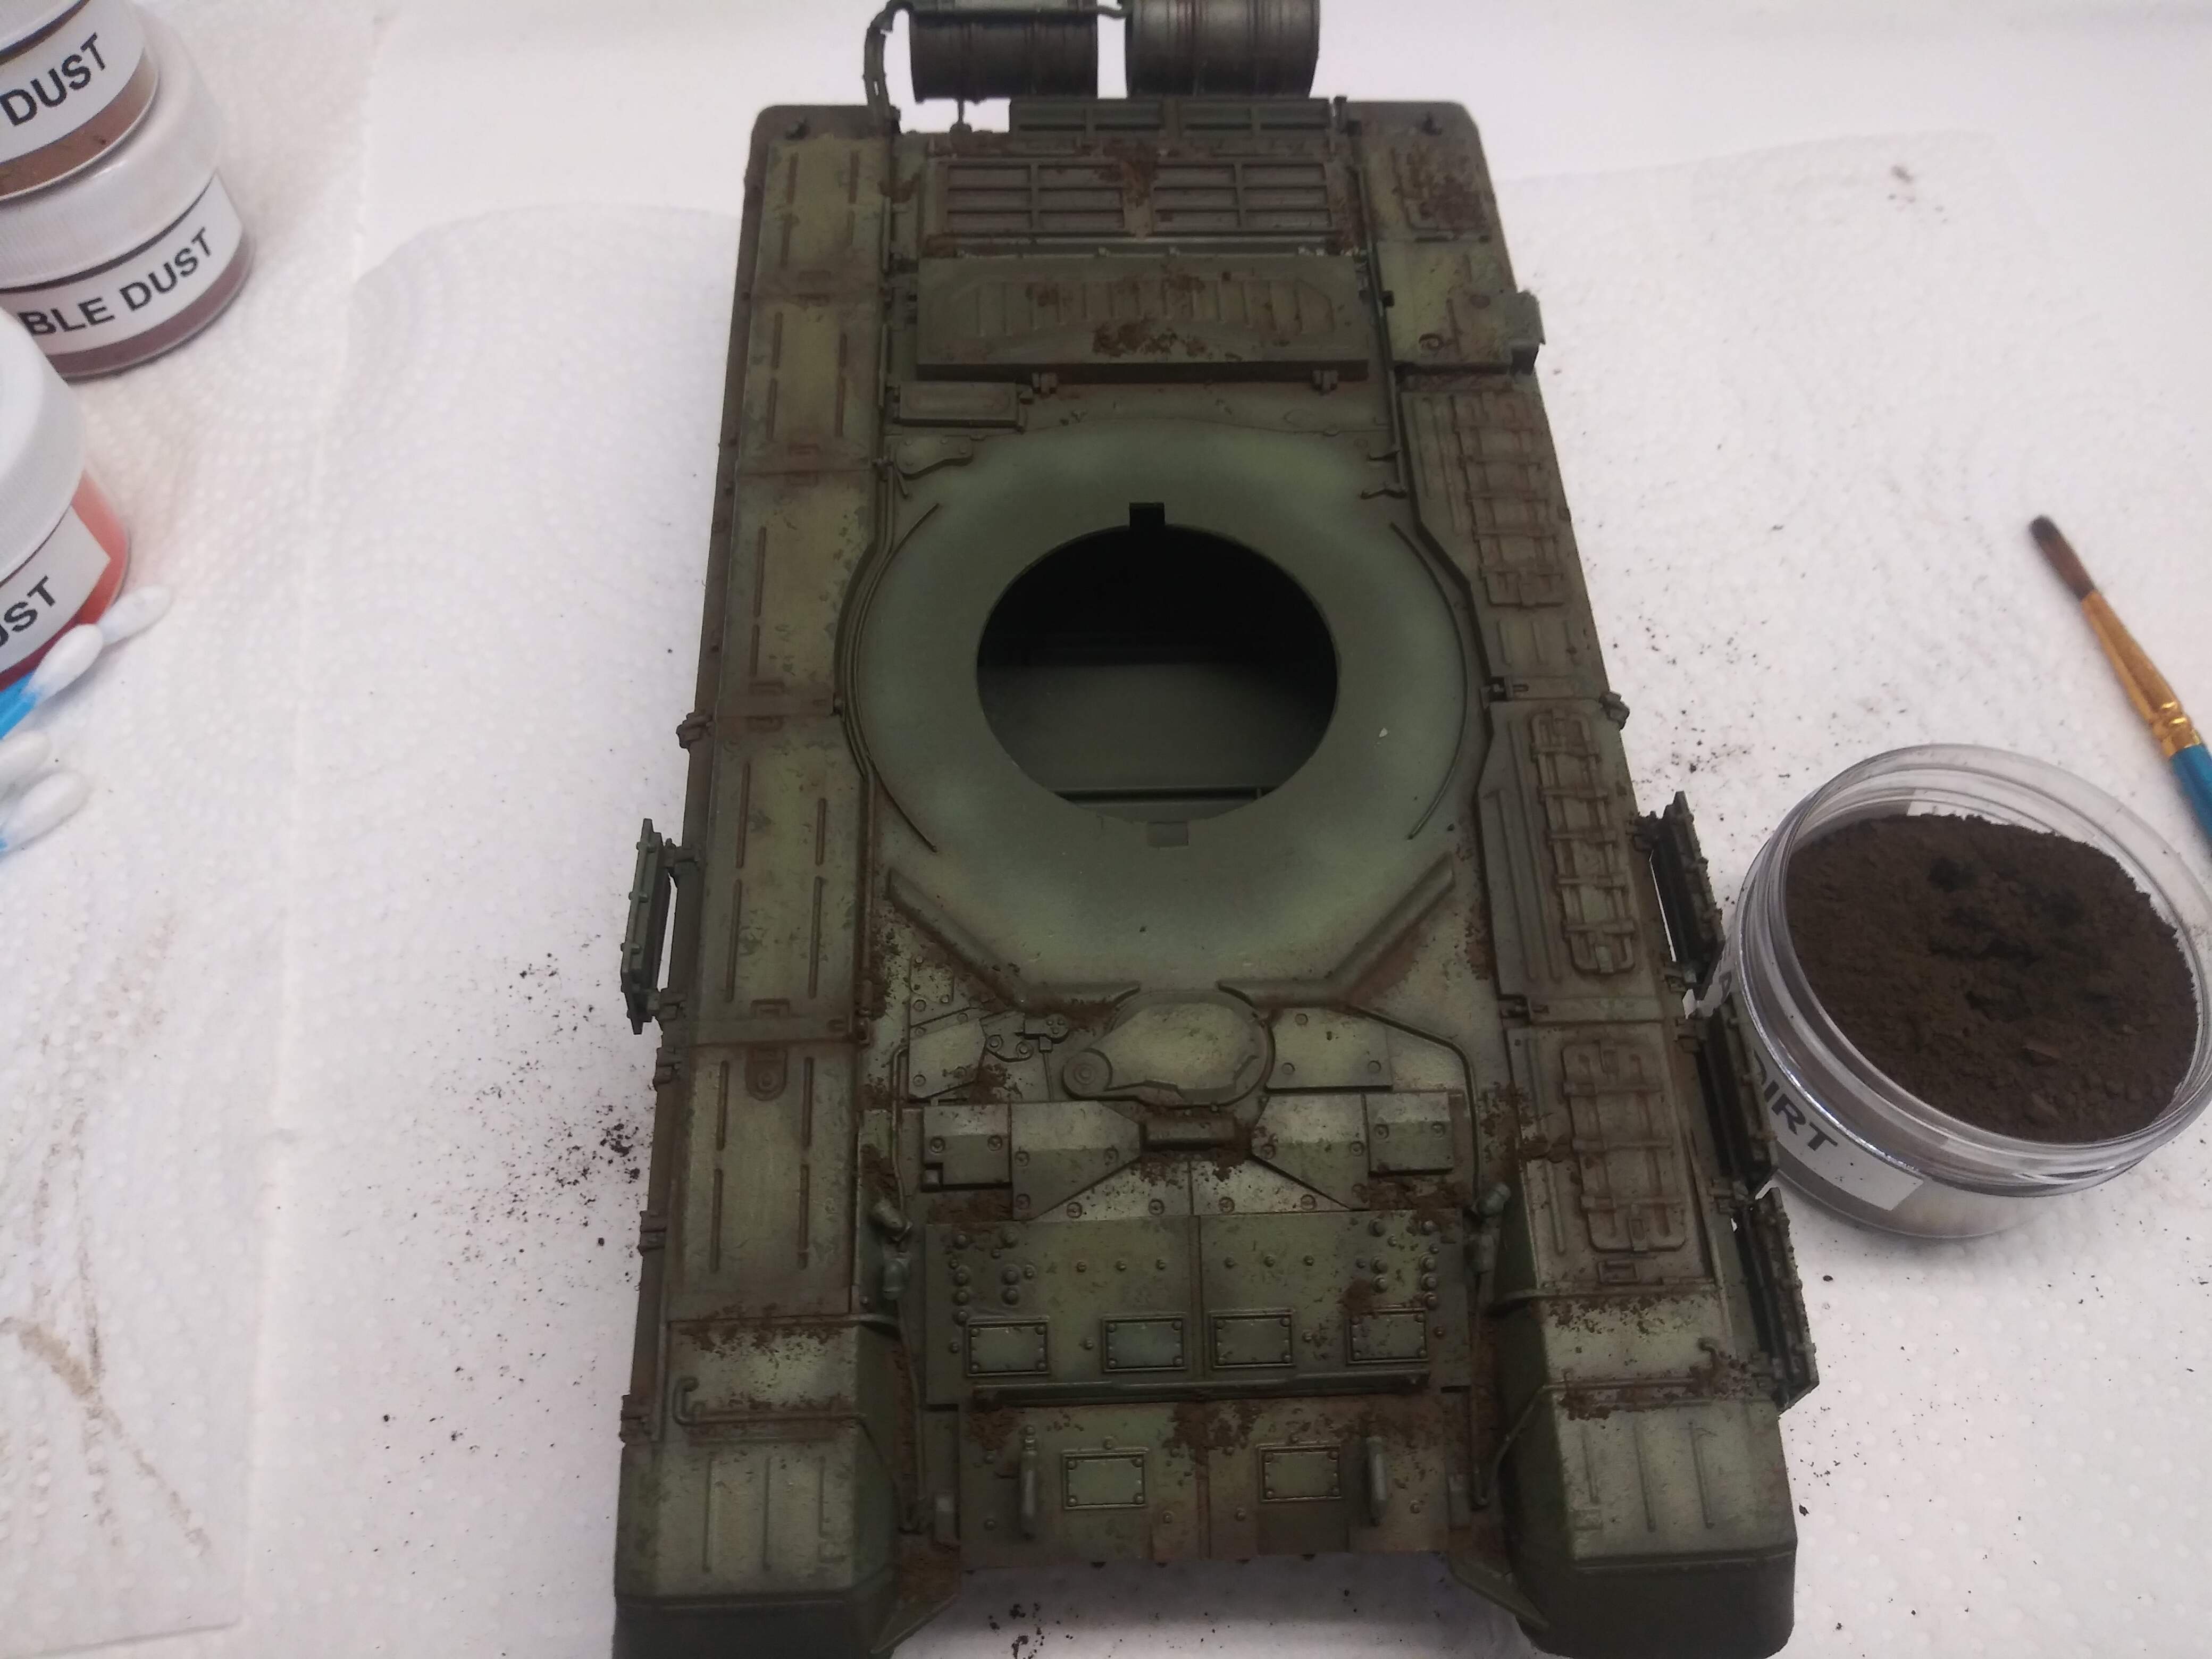
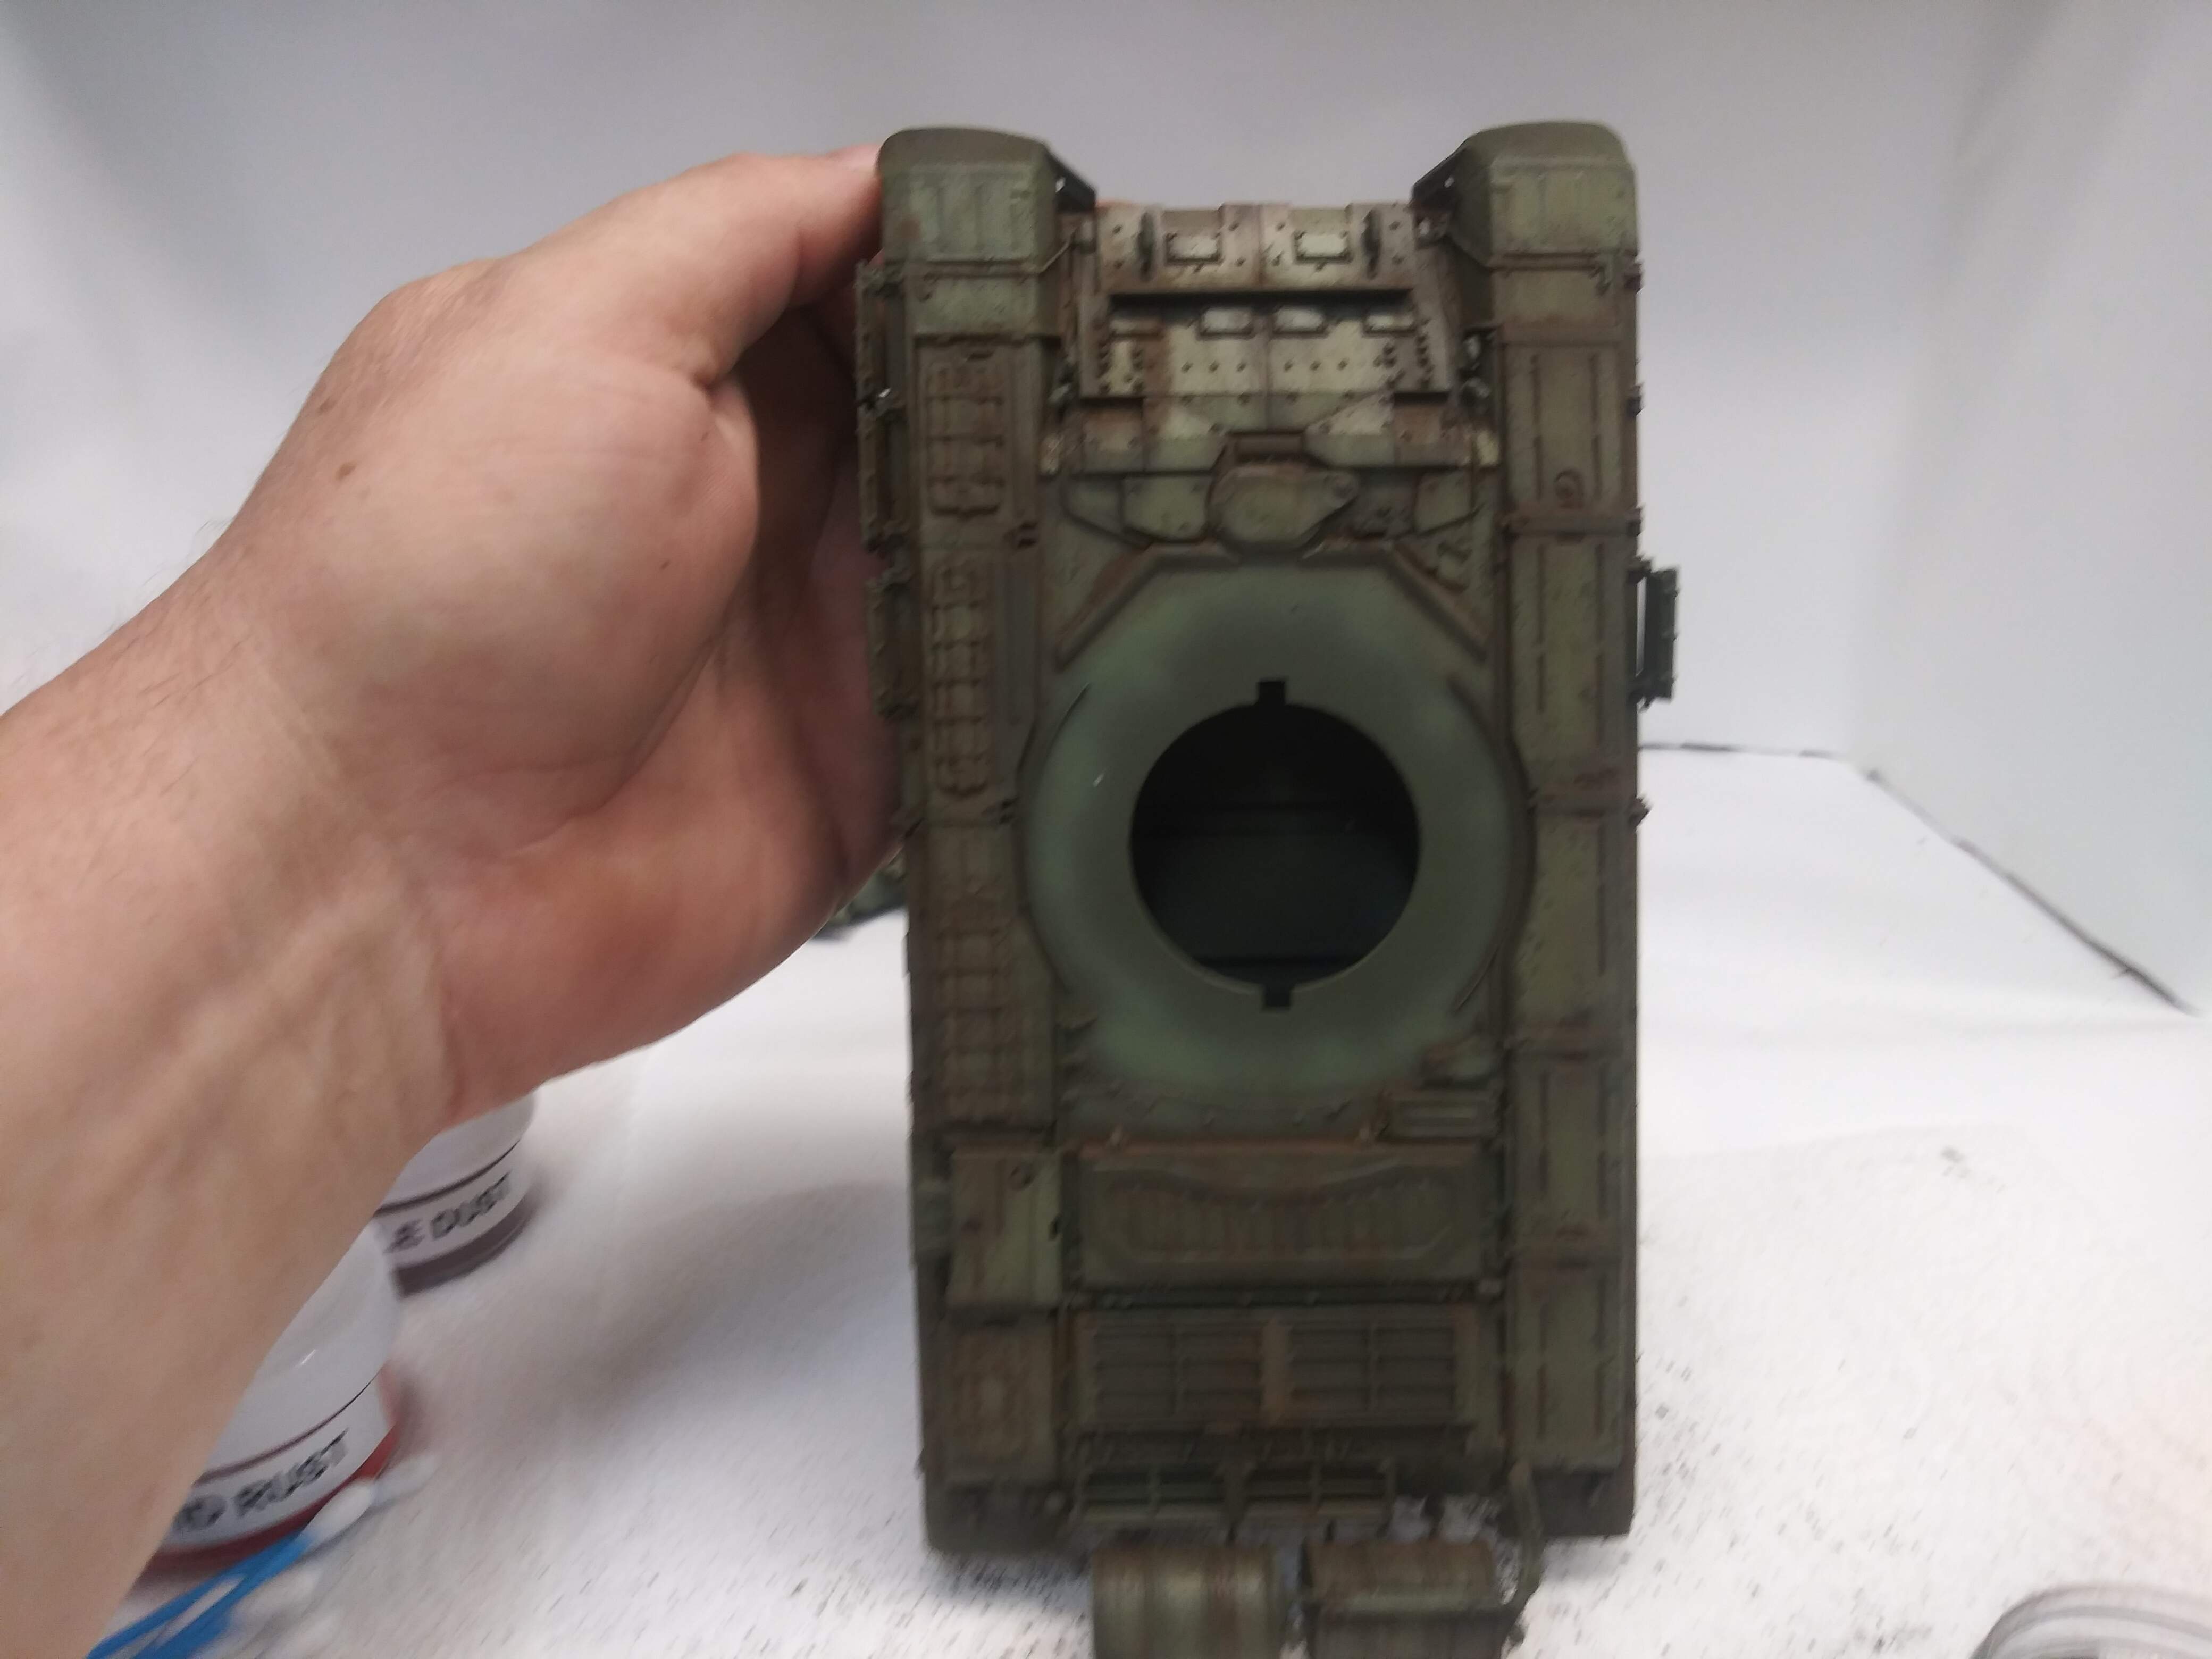
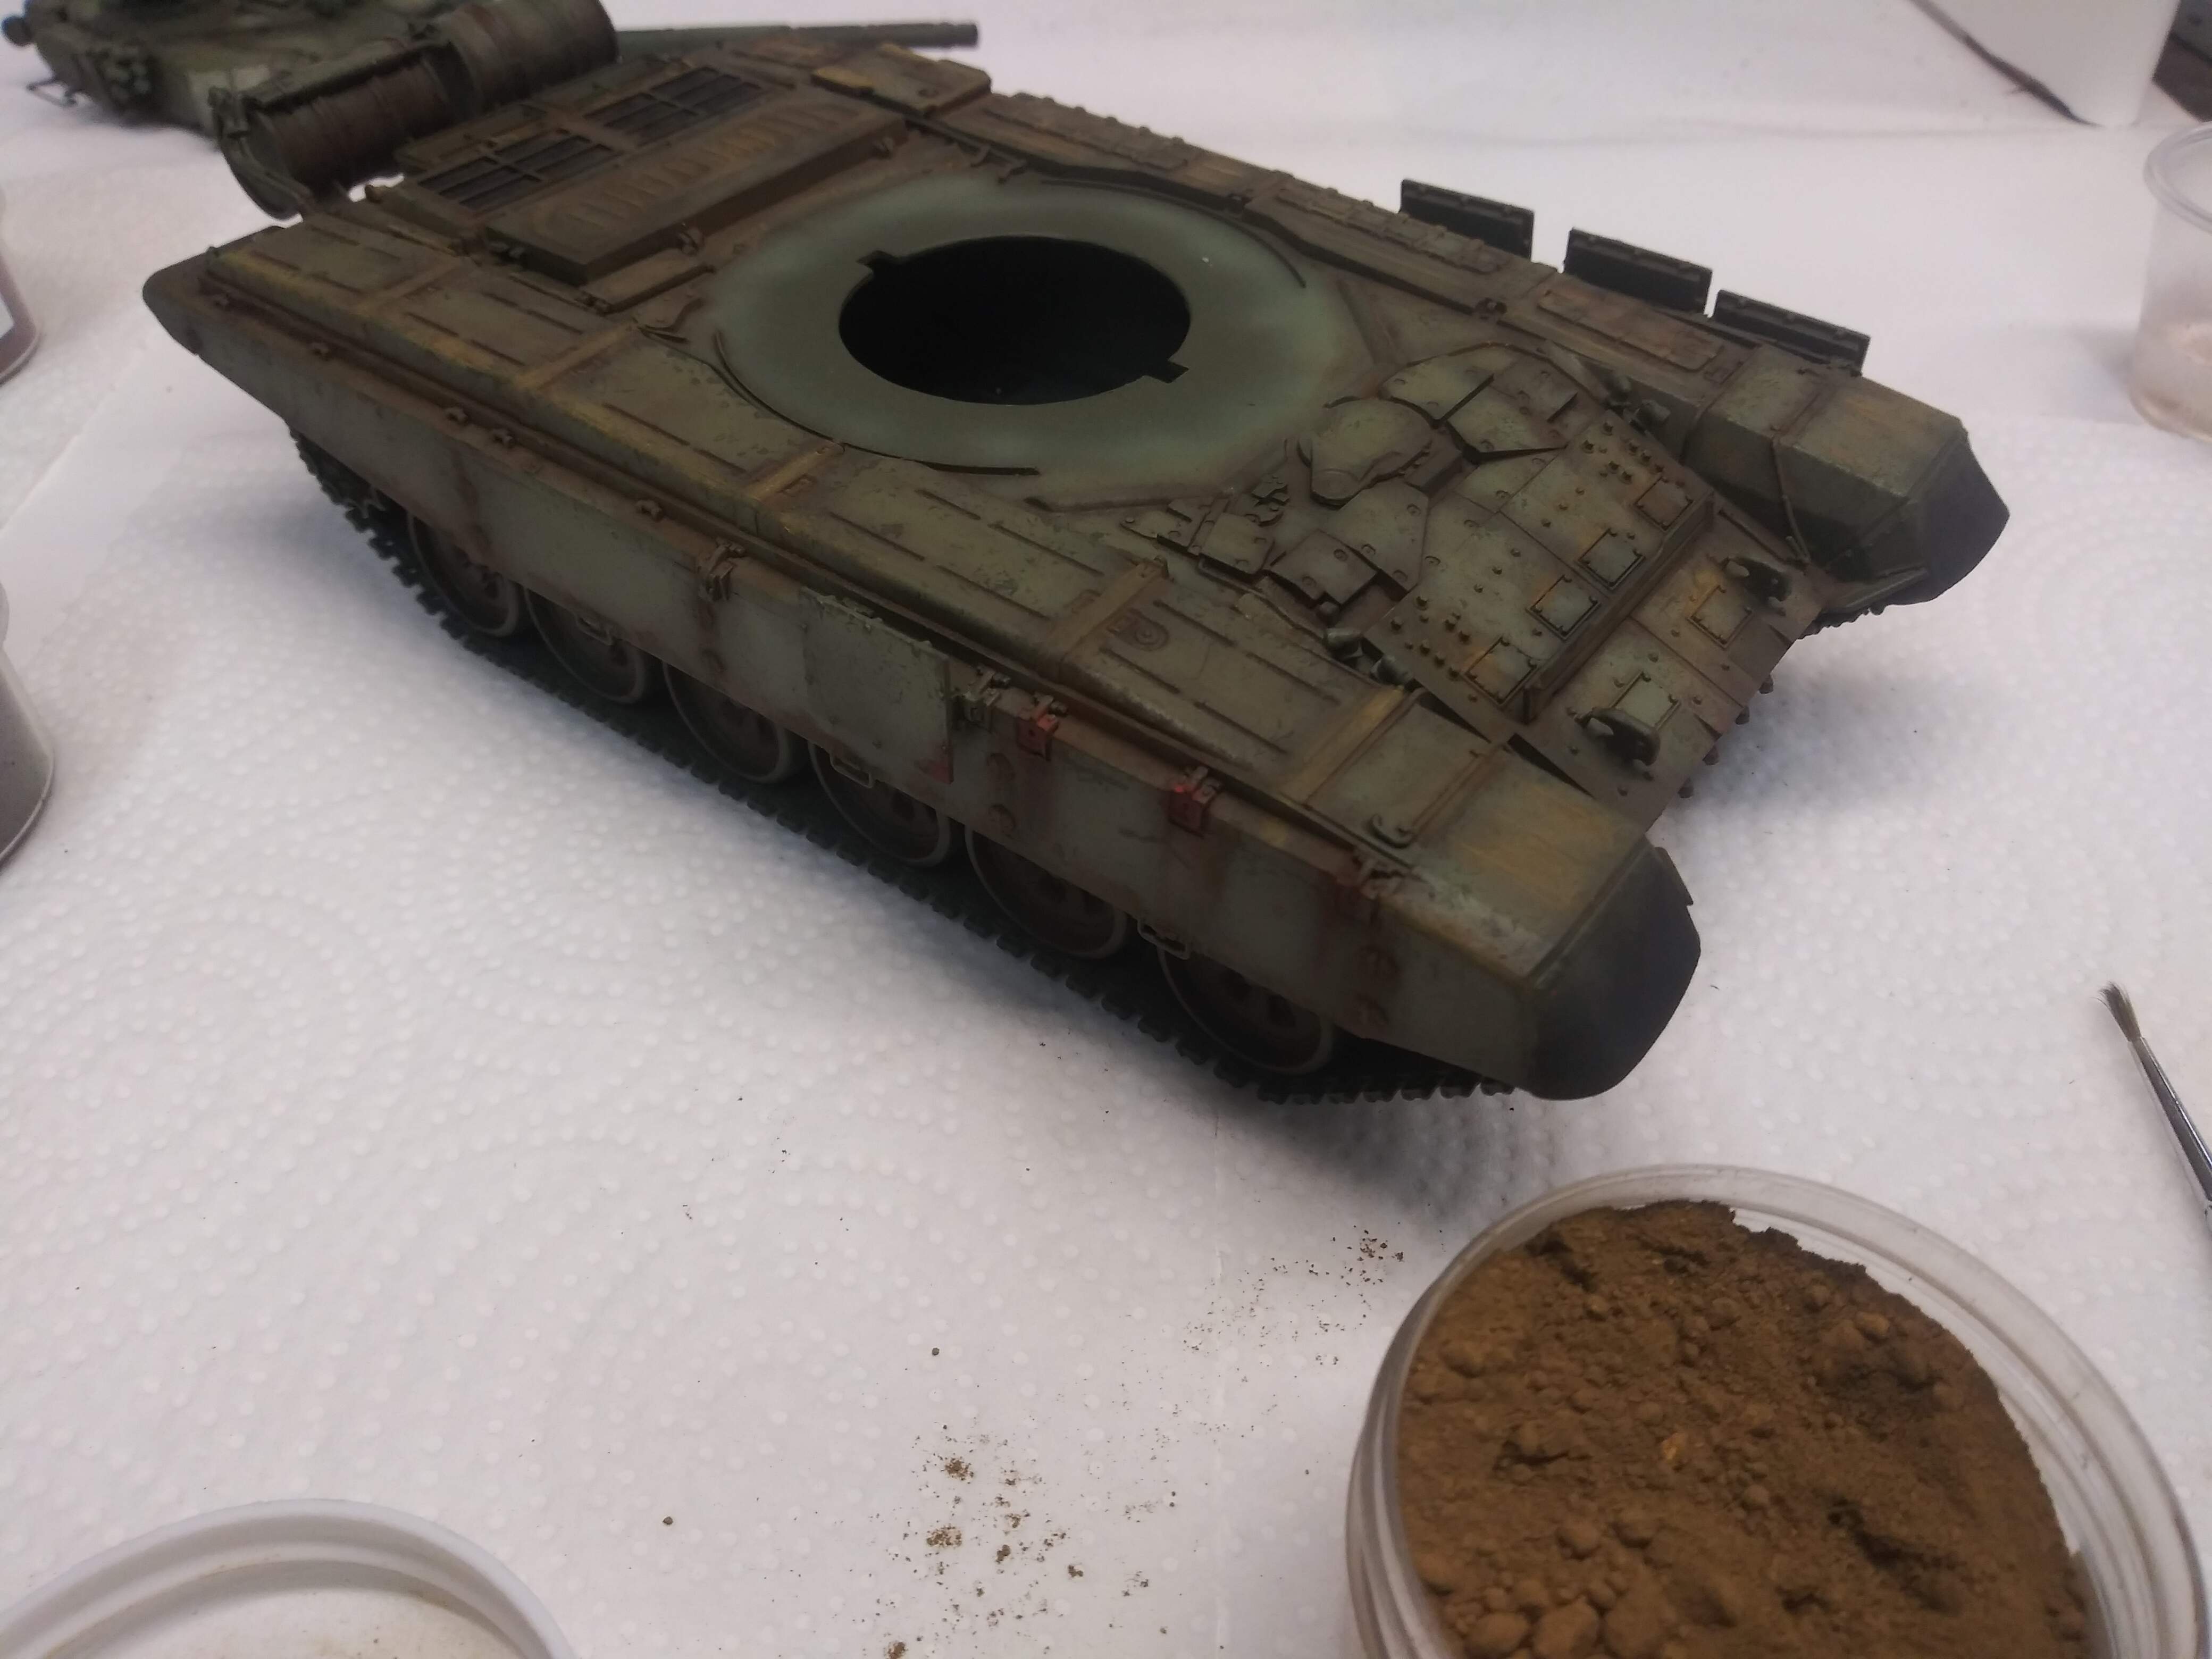
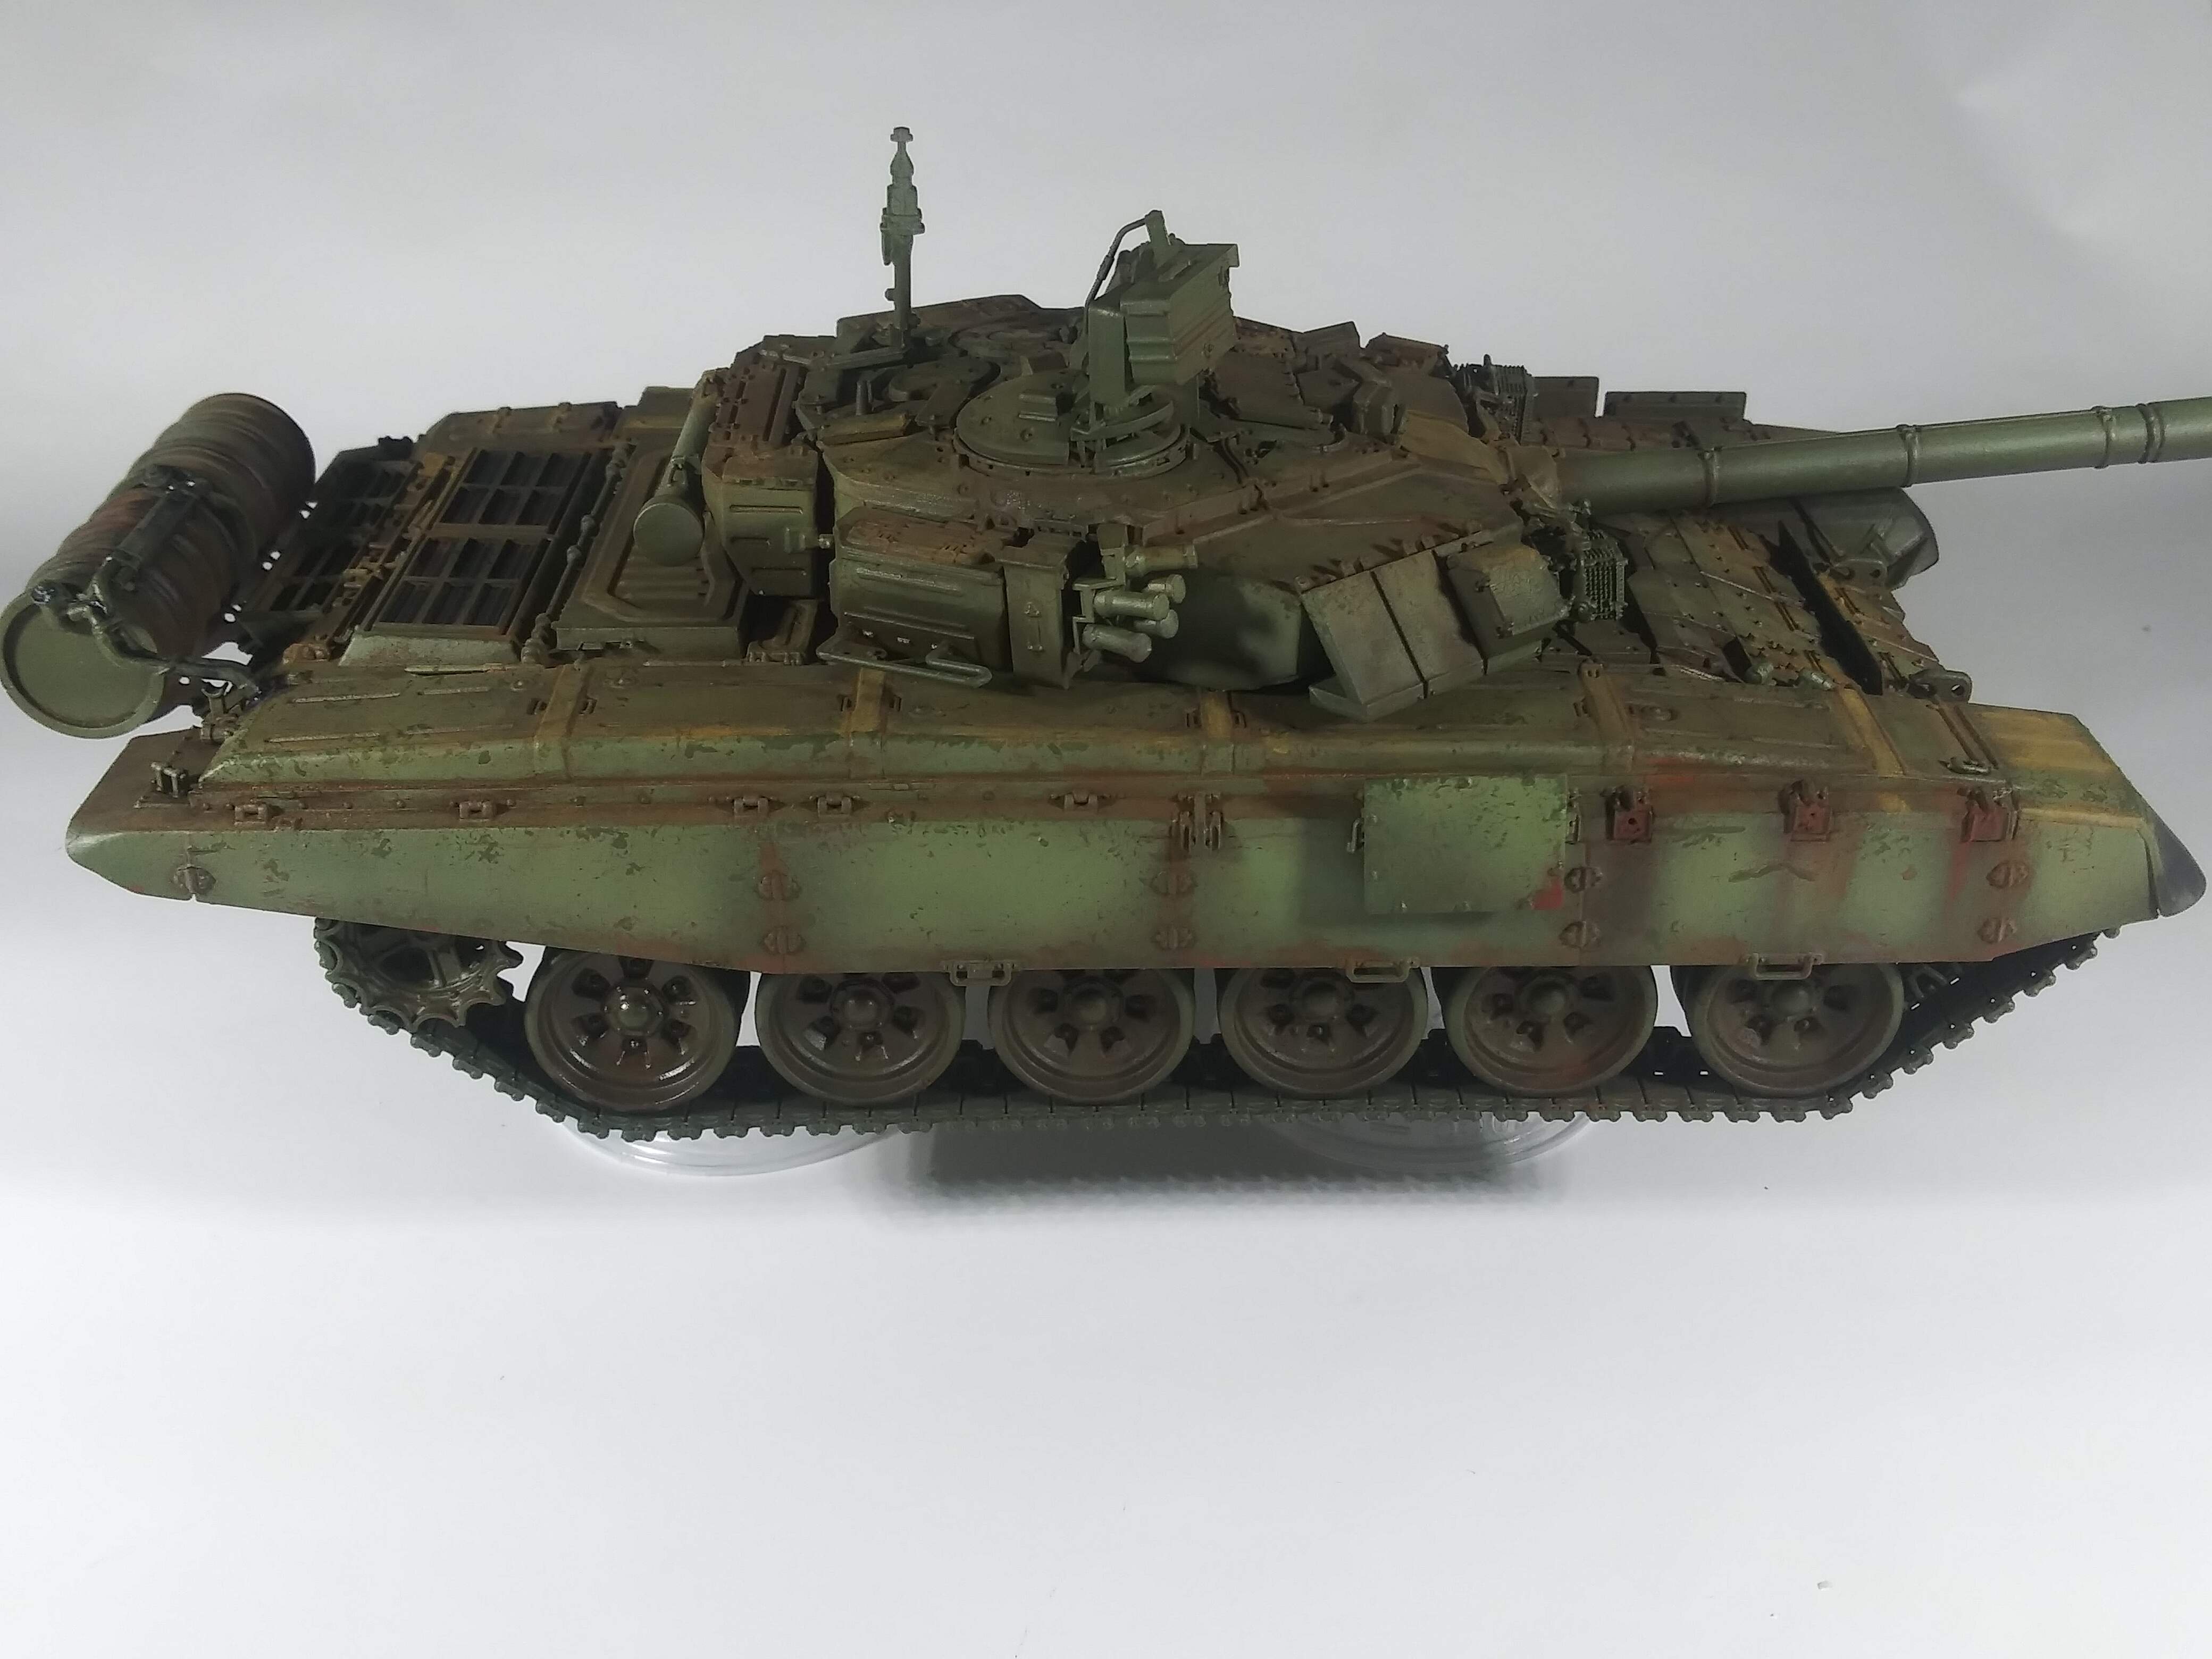
The next step is to add the dirt collection to the skirt sides.
- Using the same earth color lightly brush some powder along the skirt seams and hinge points.
- Lightly add some earth powder along the bottom edge of the skirt in a random pattern.
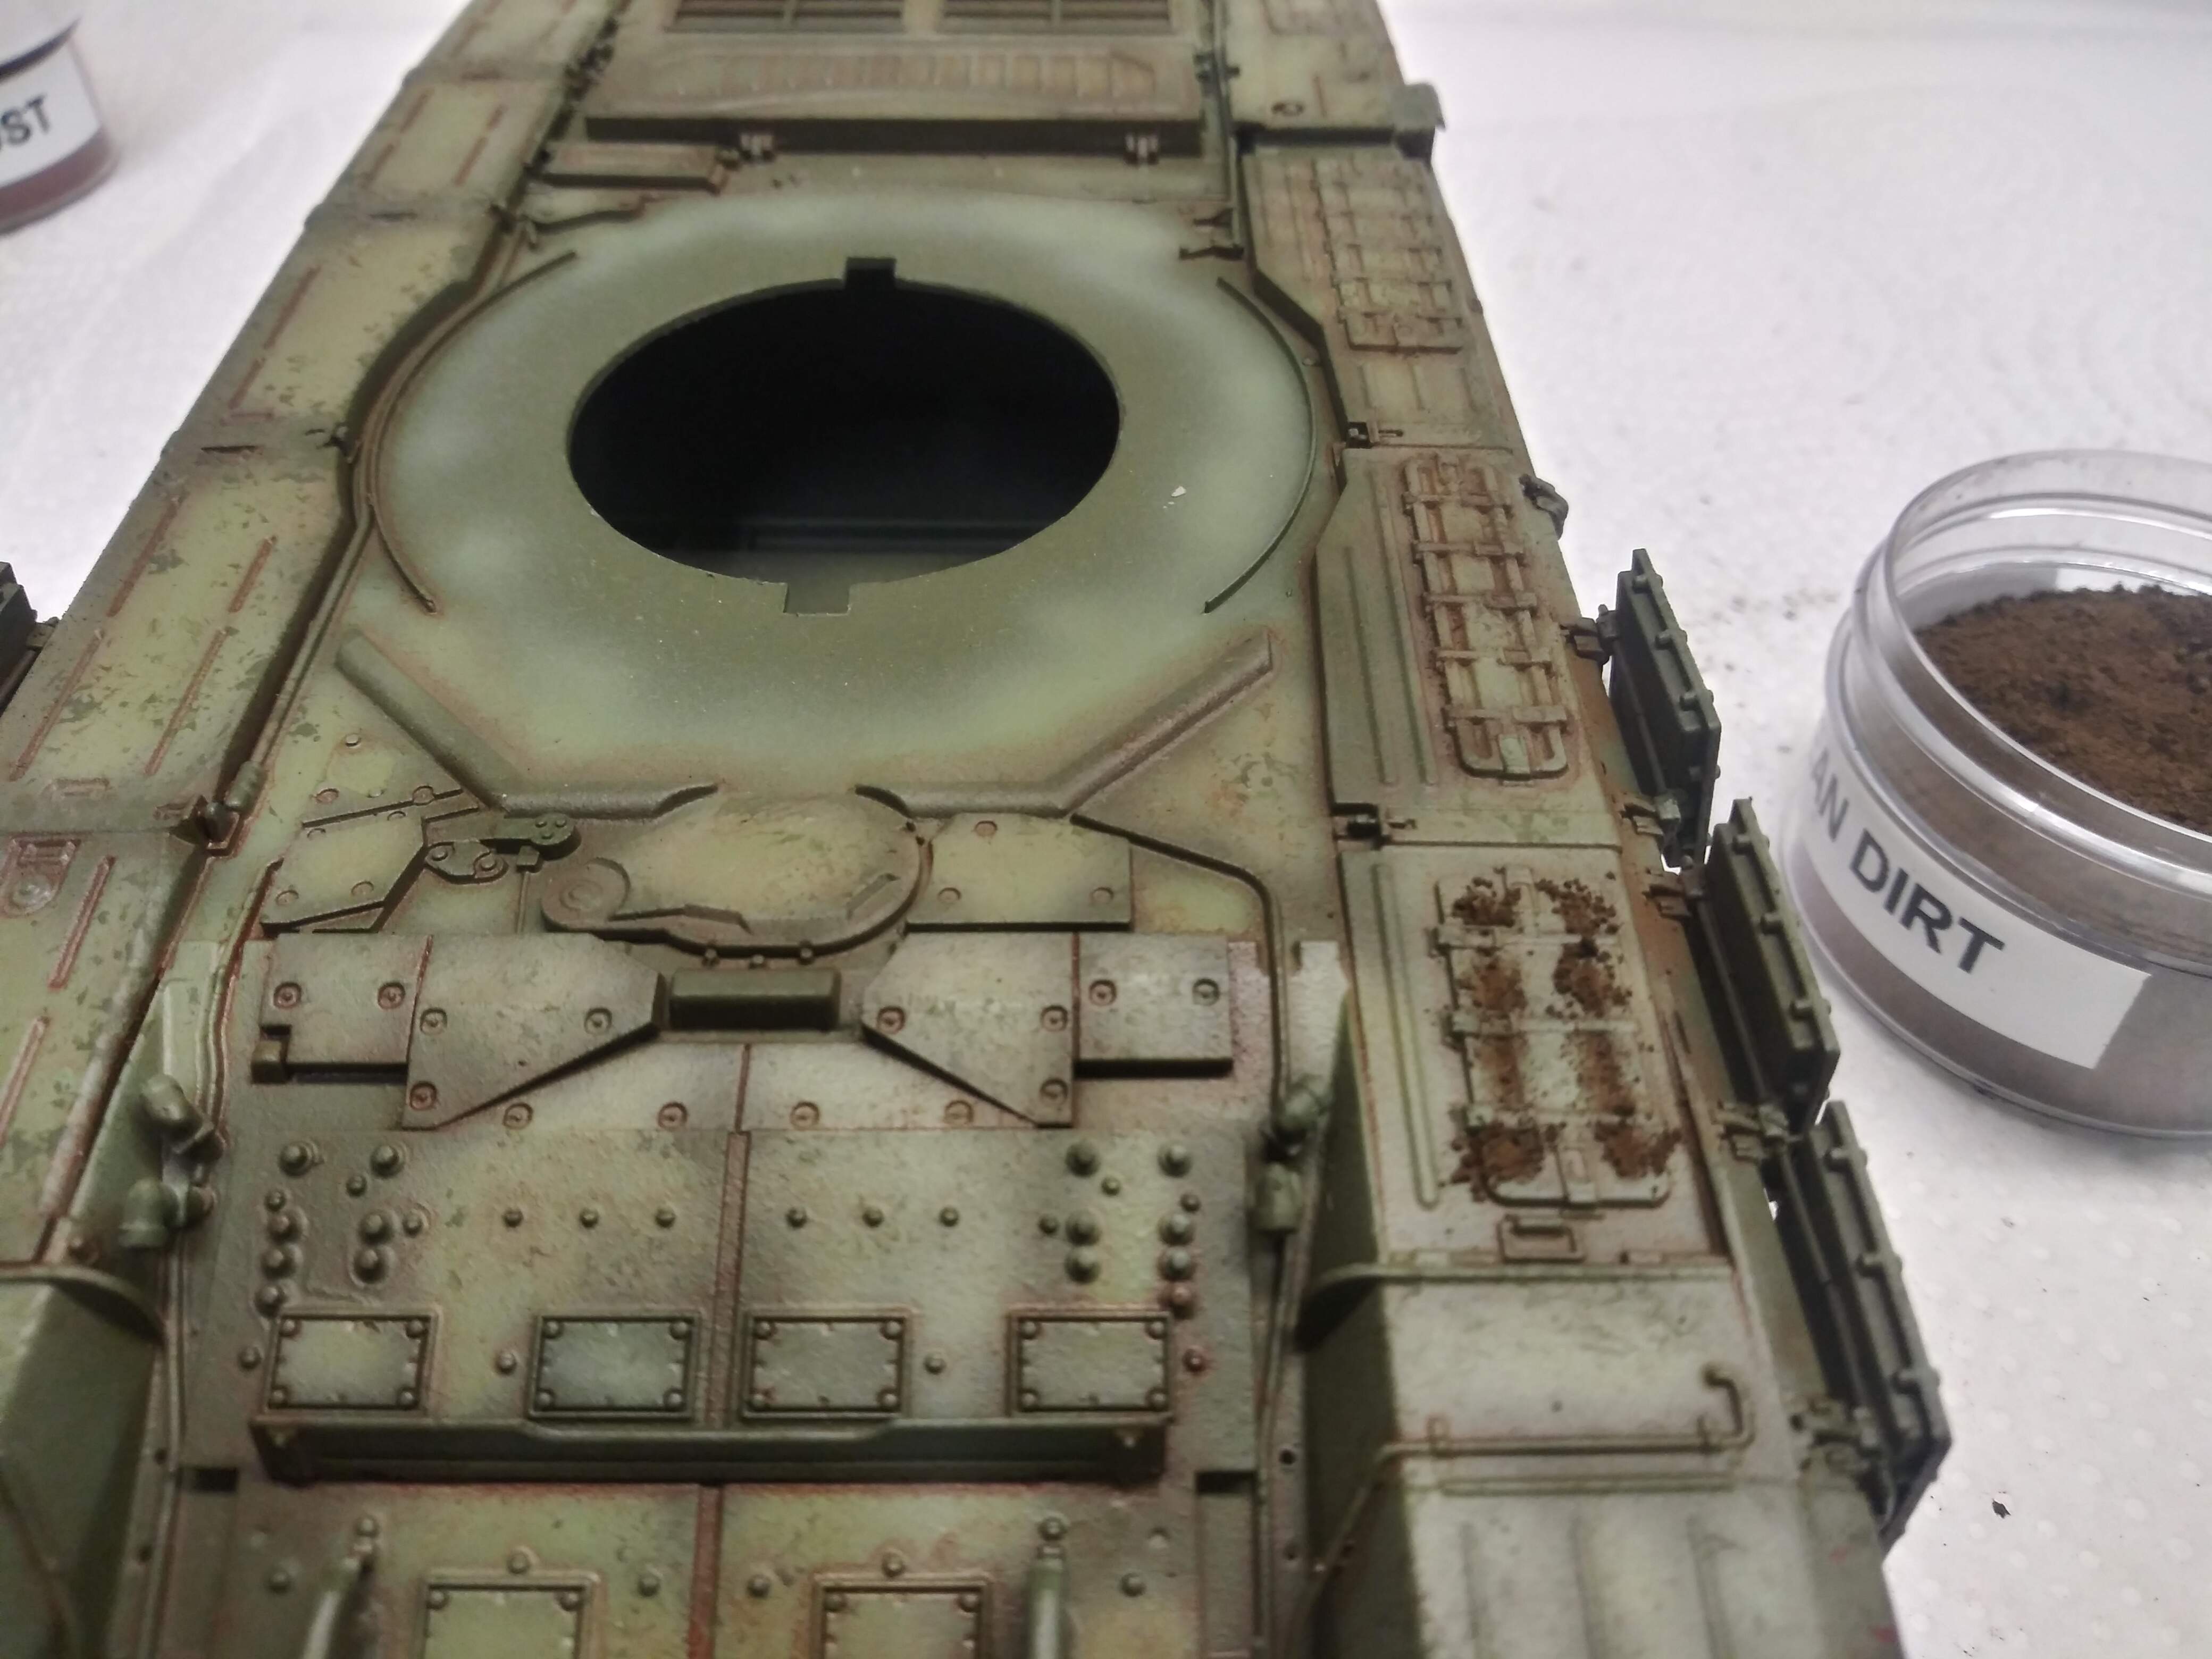
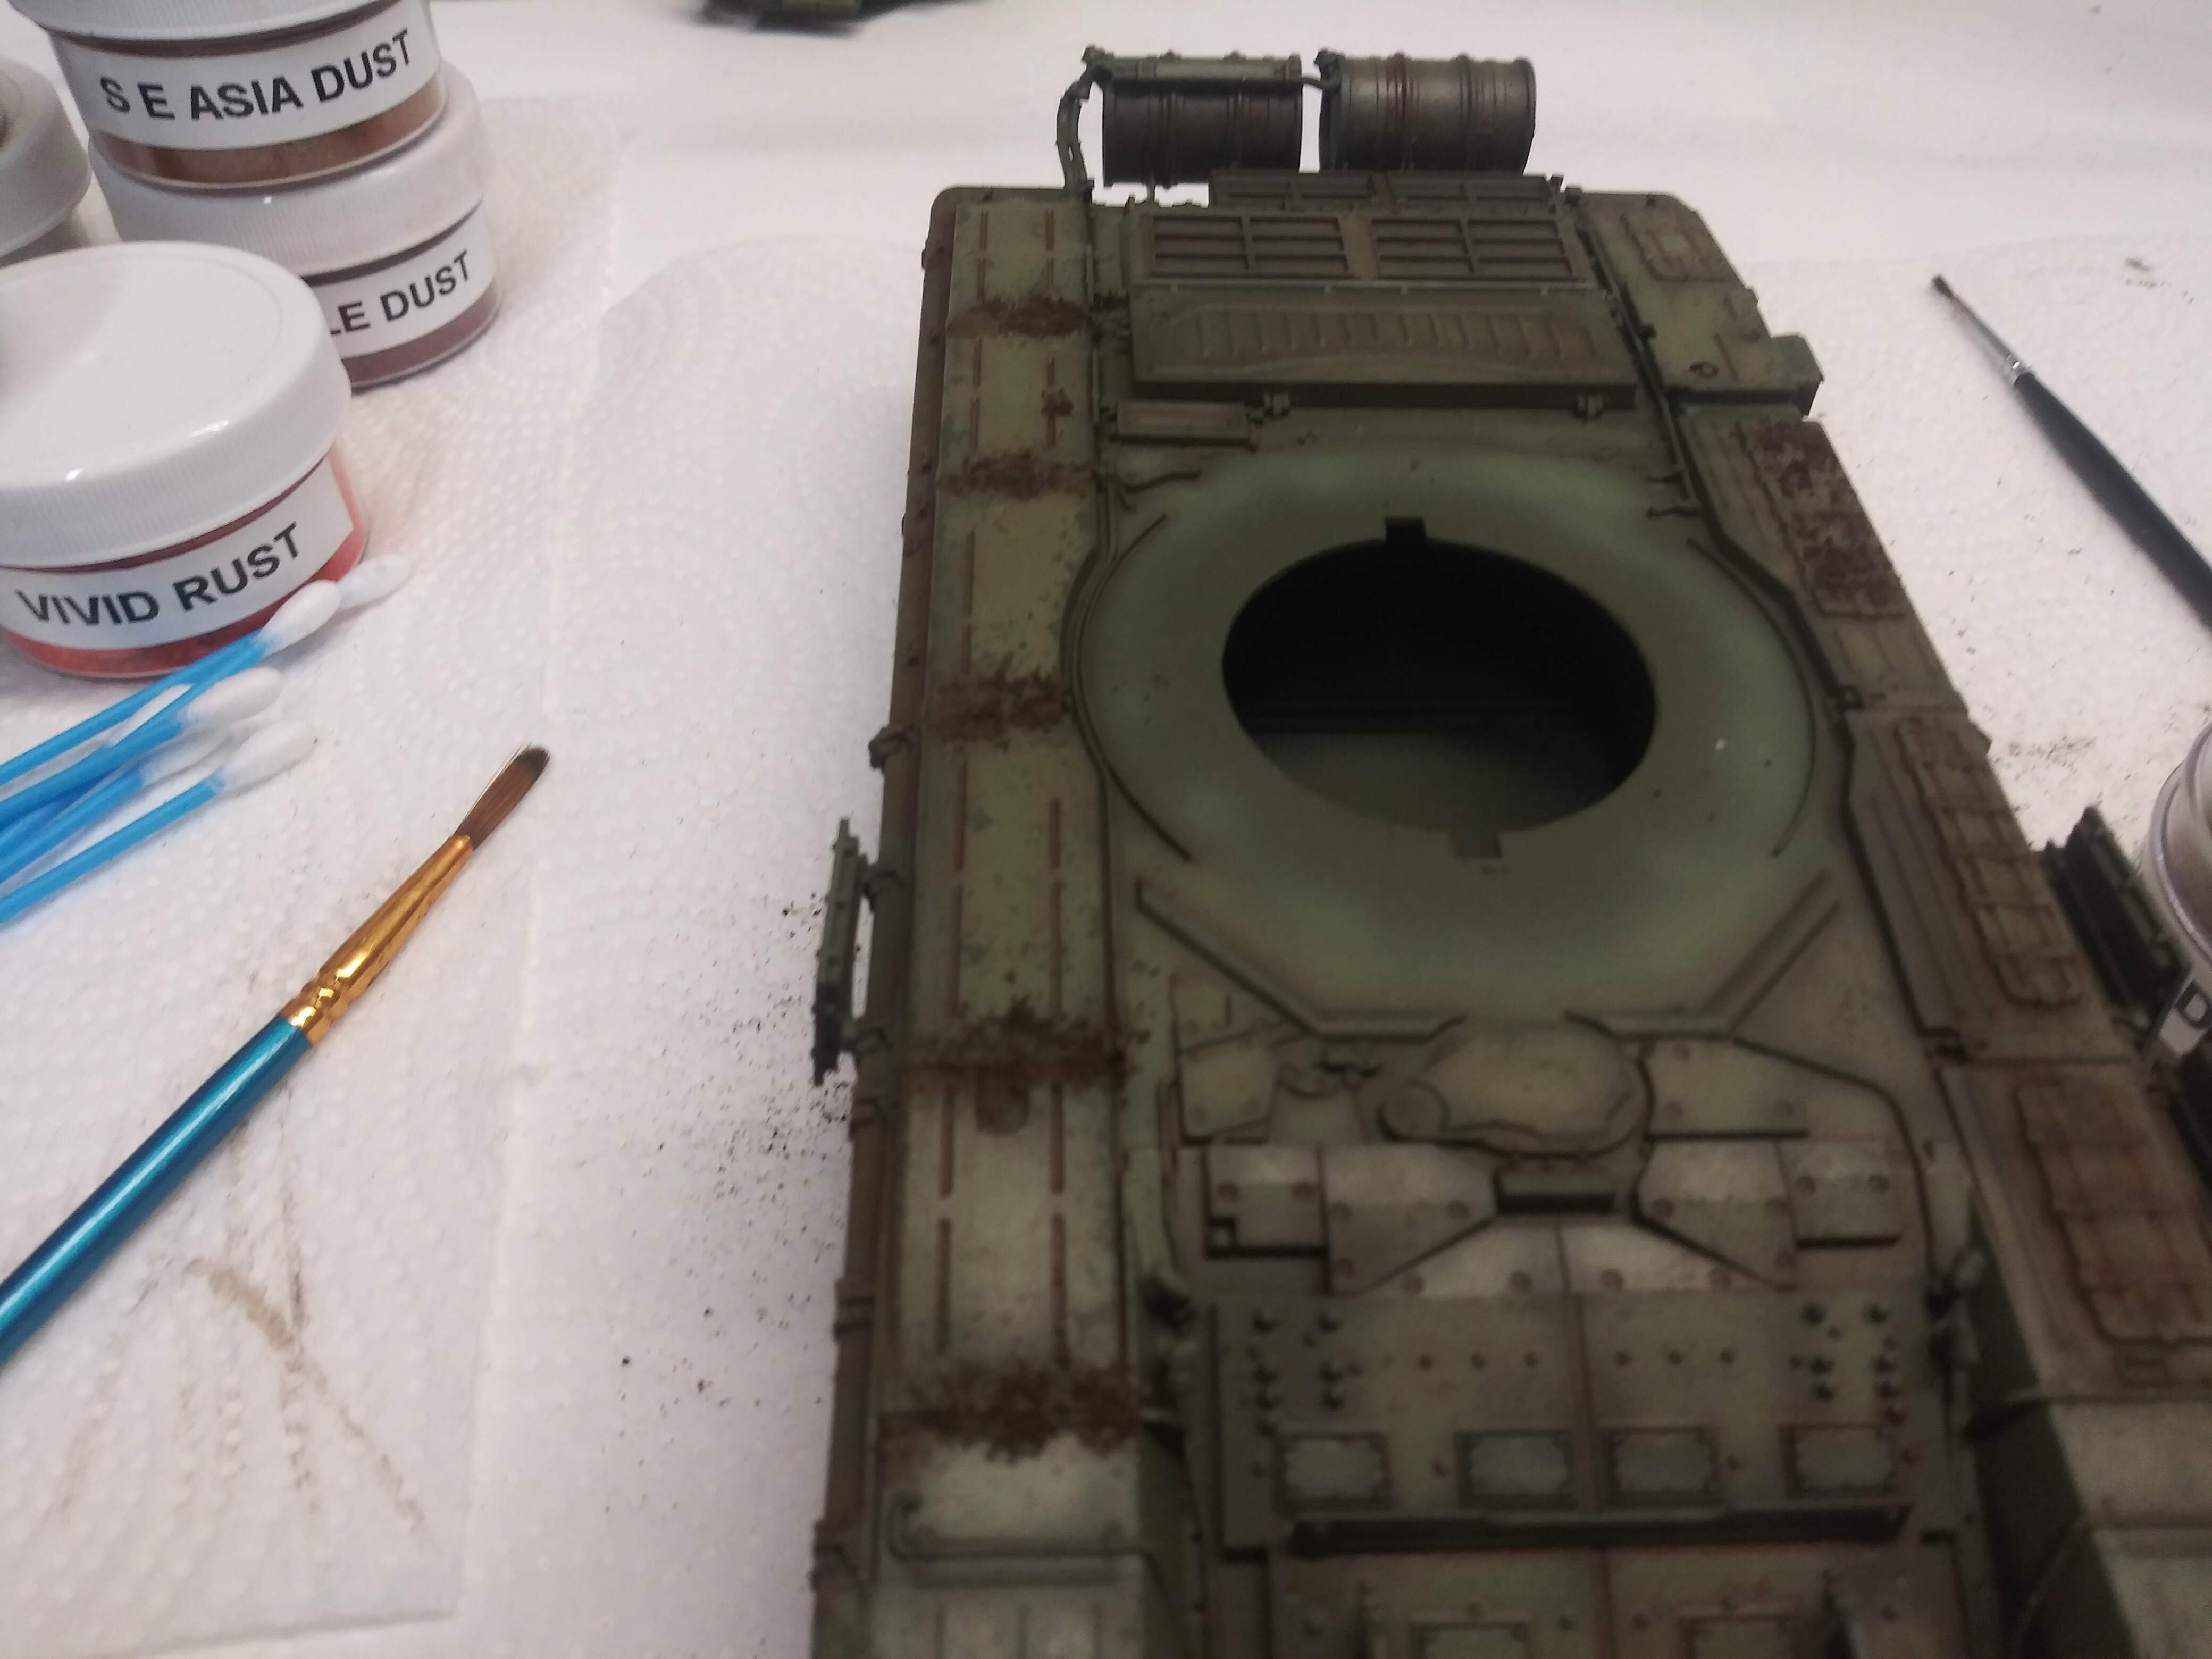
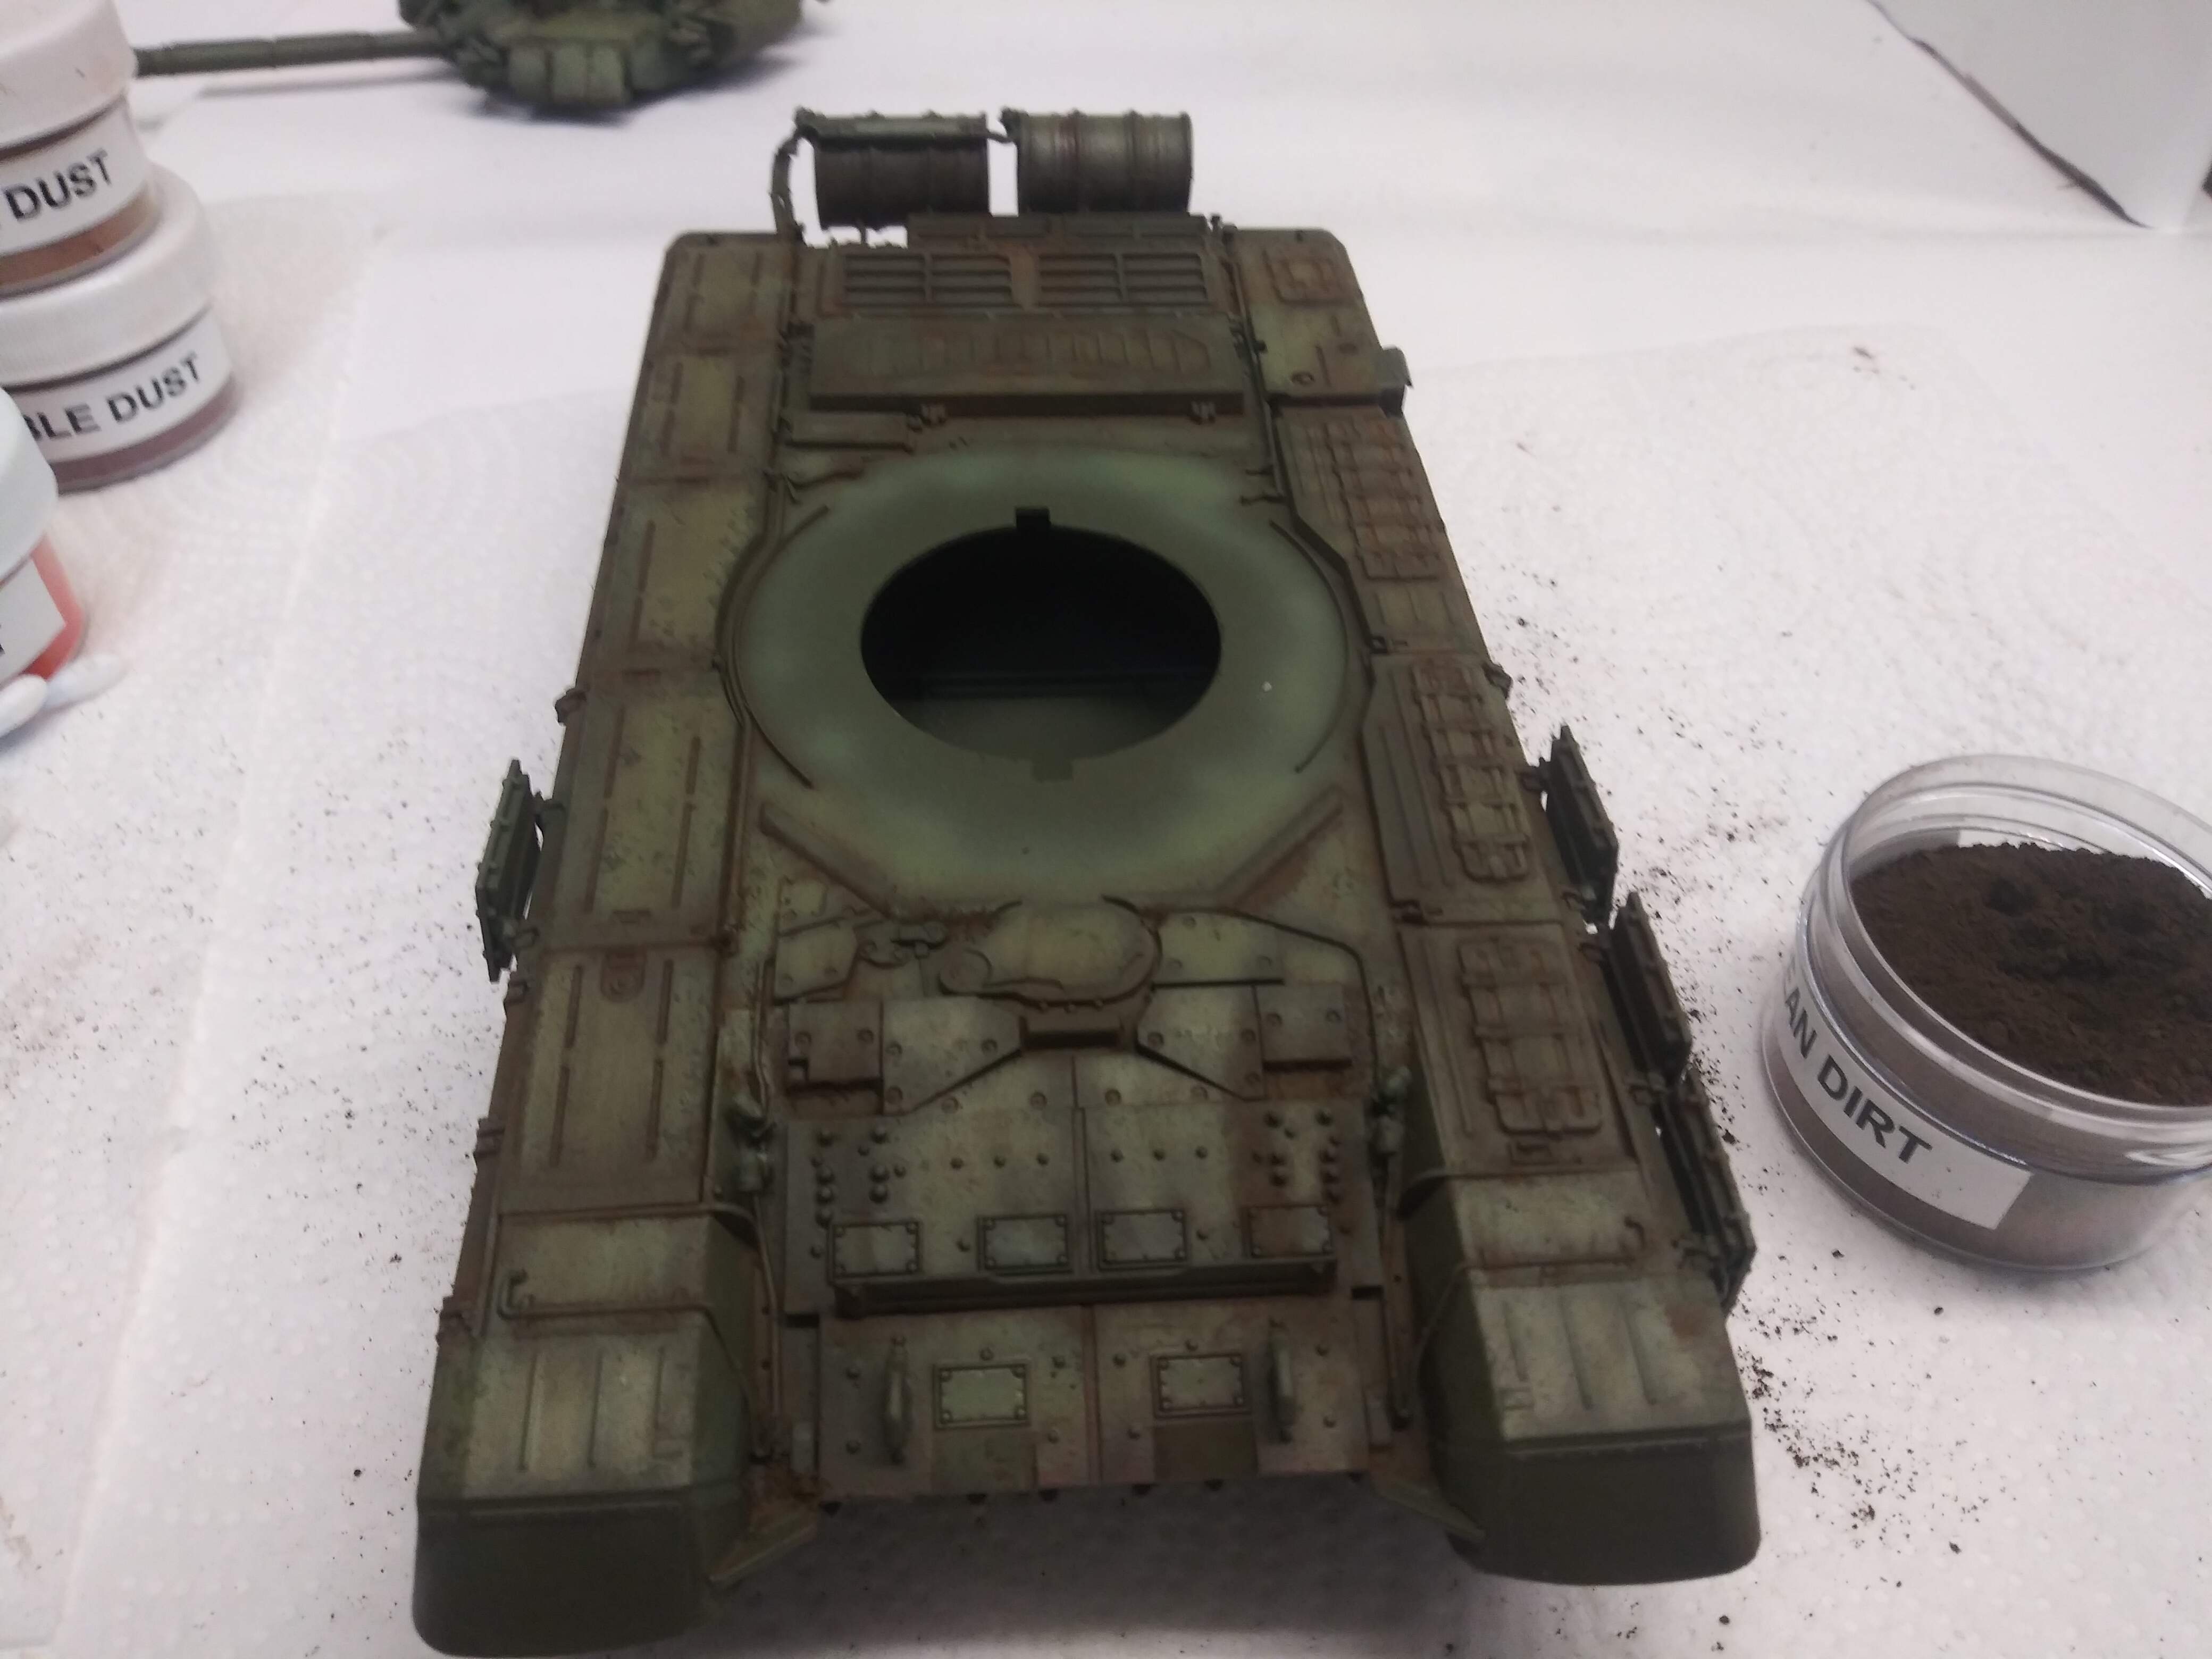
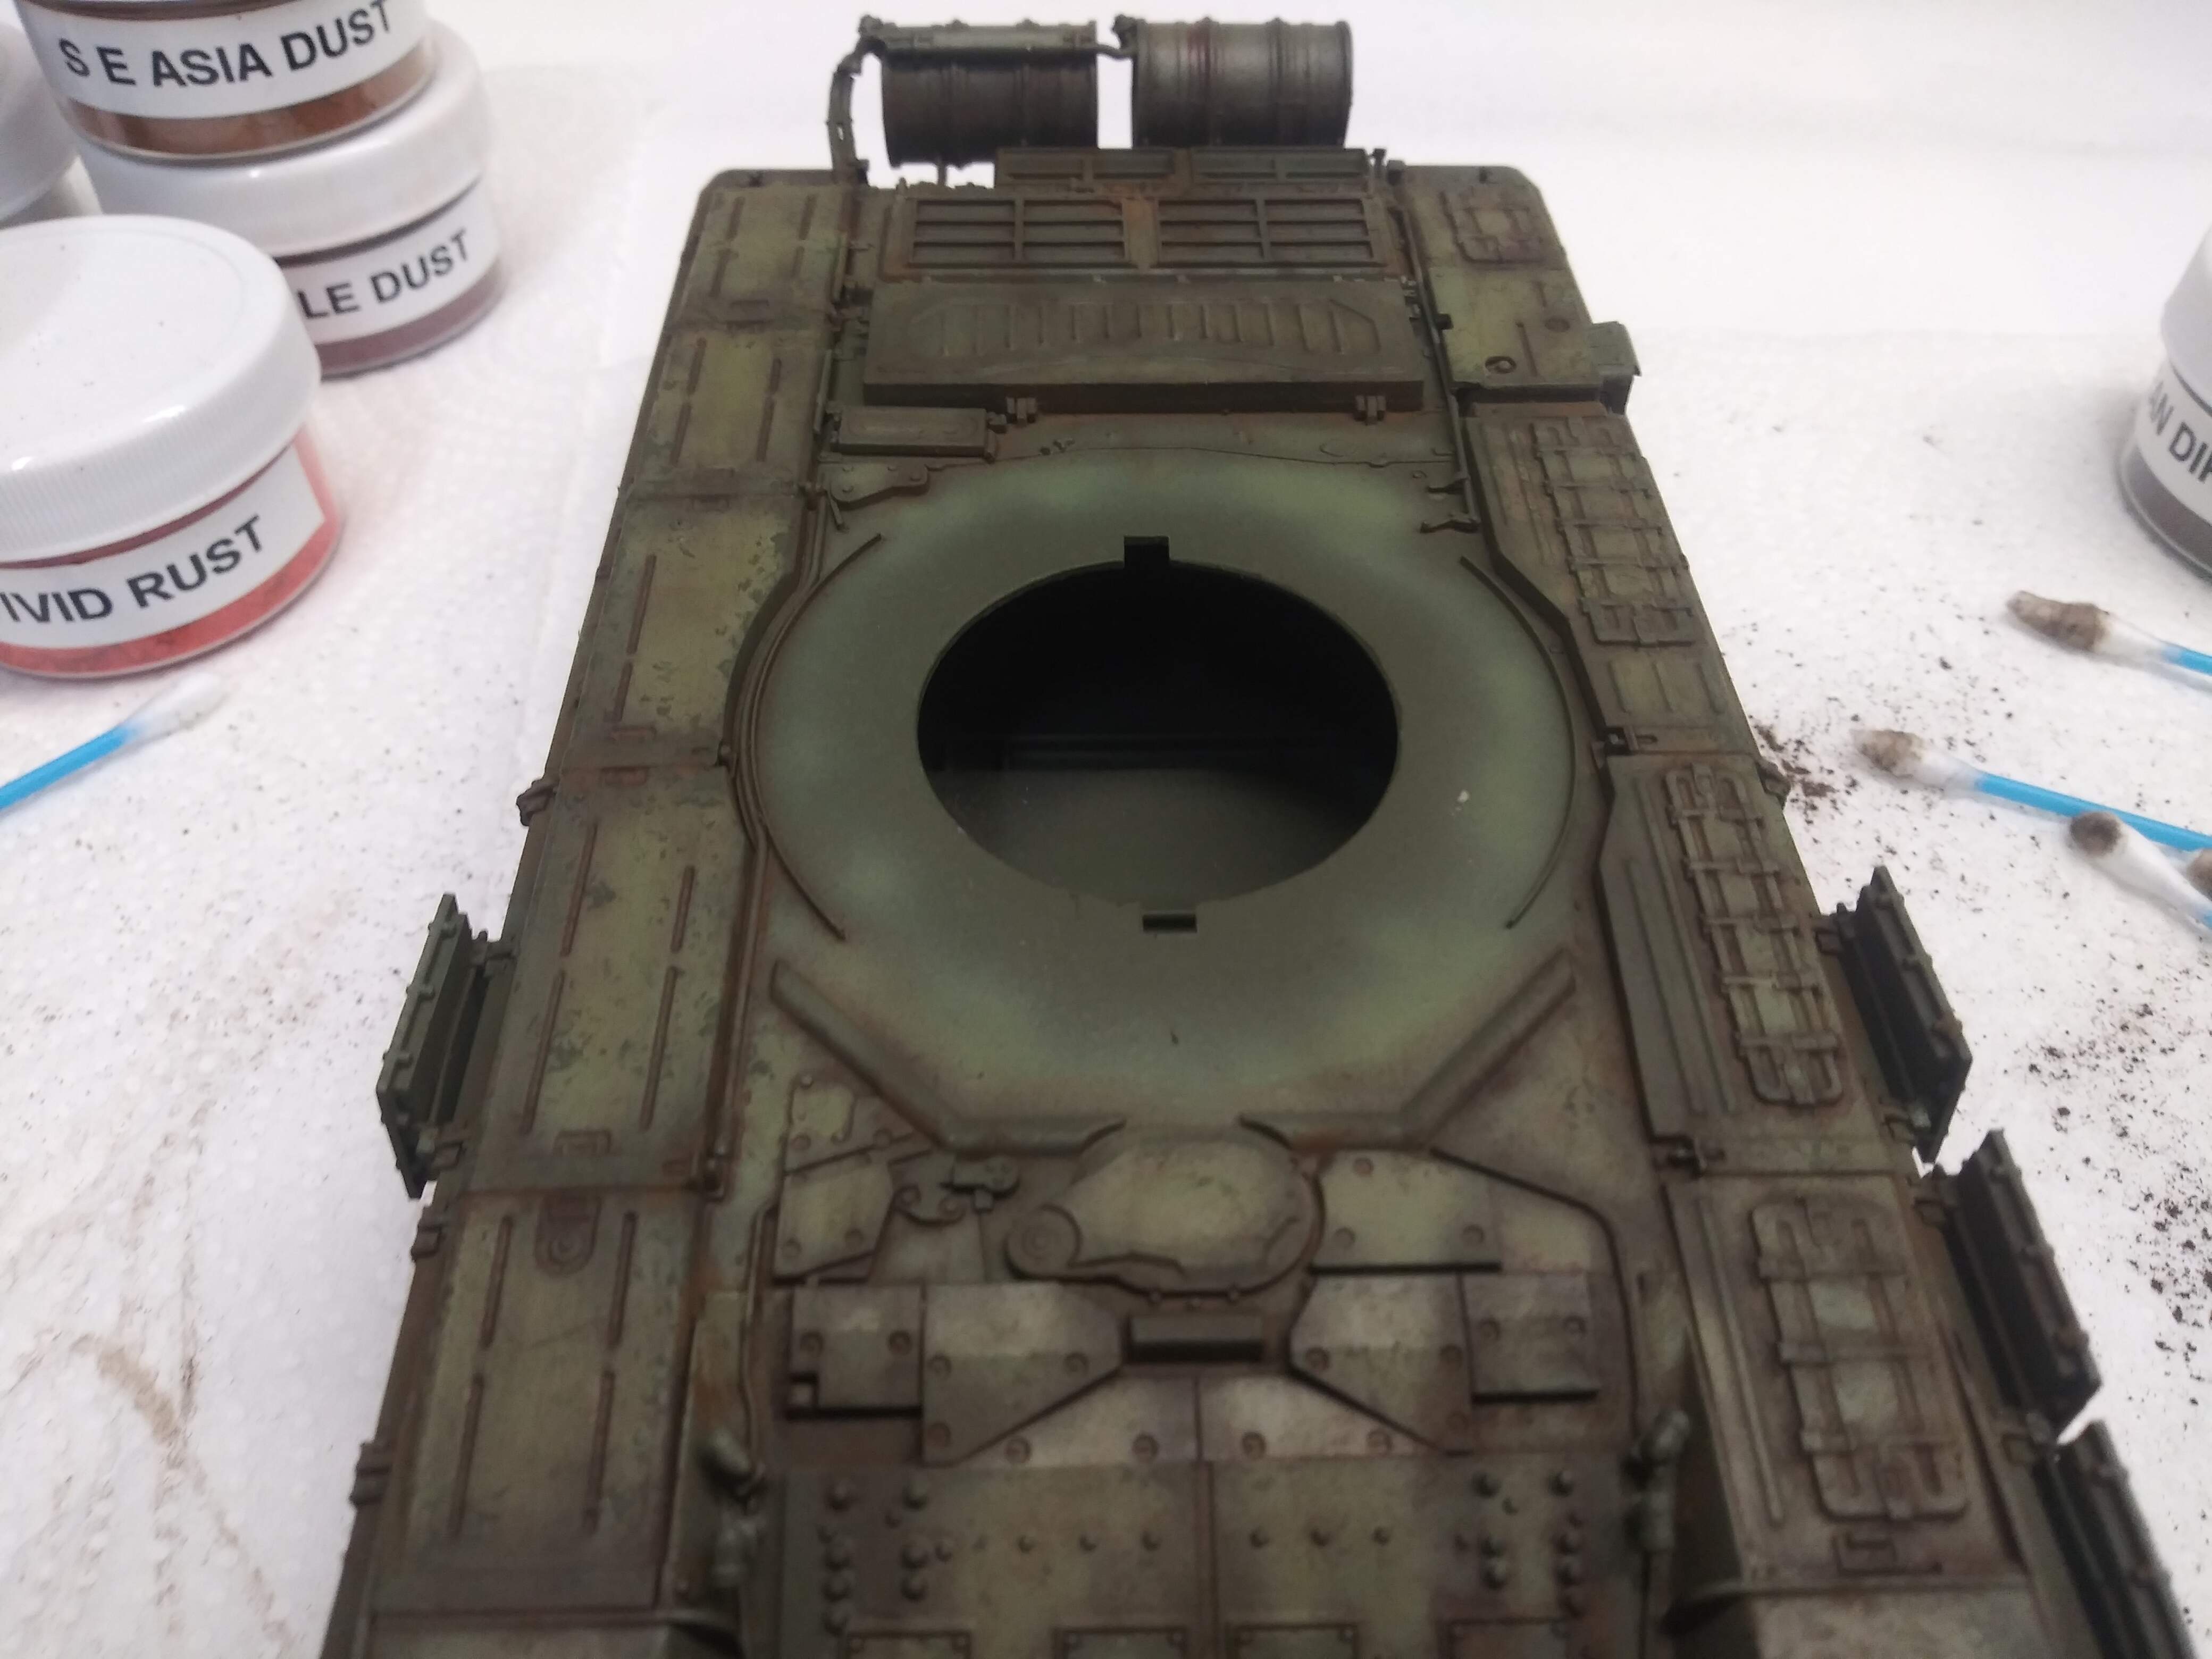
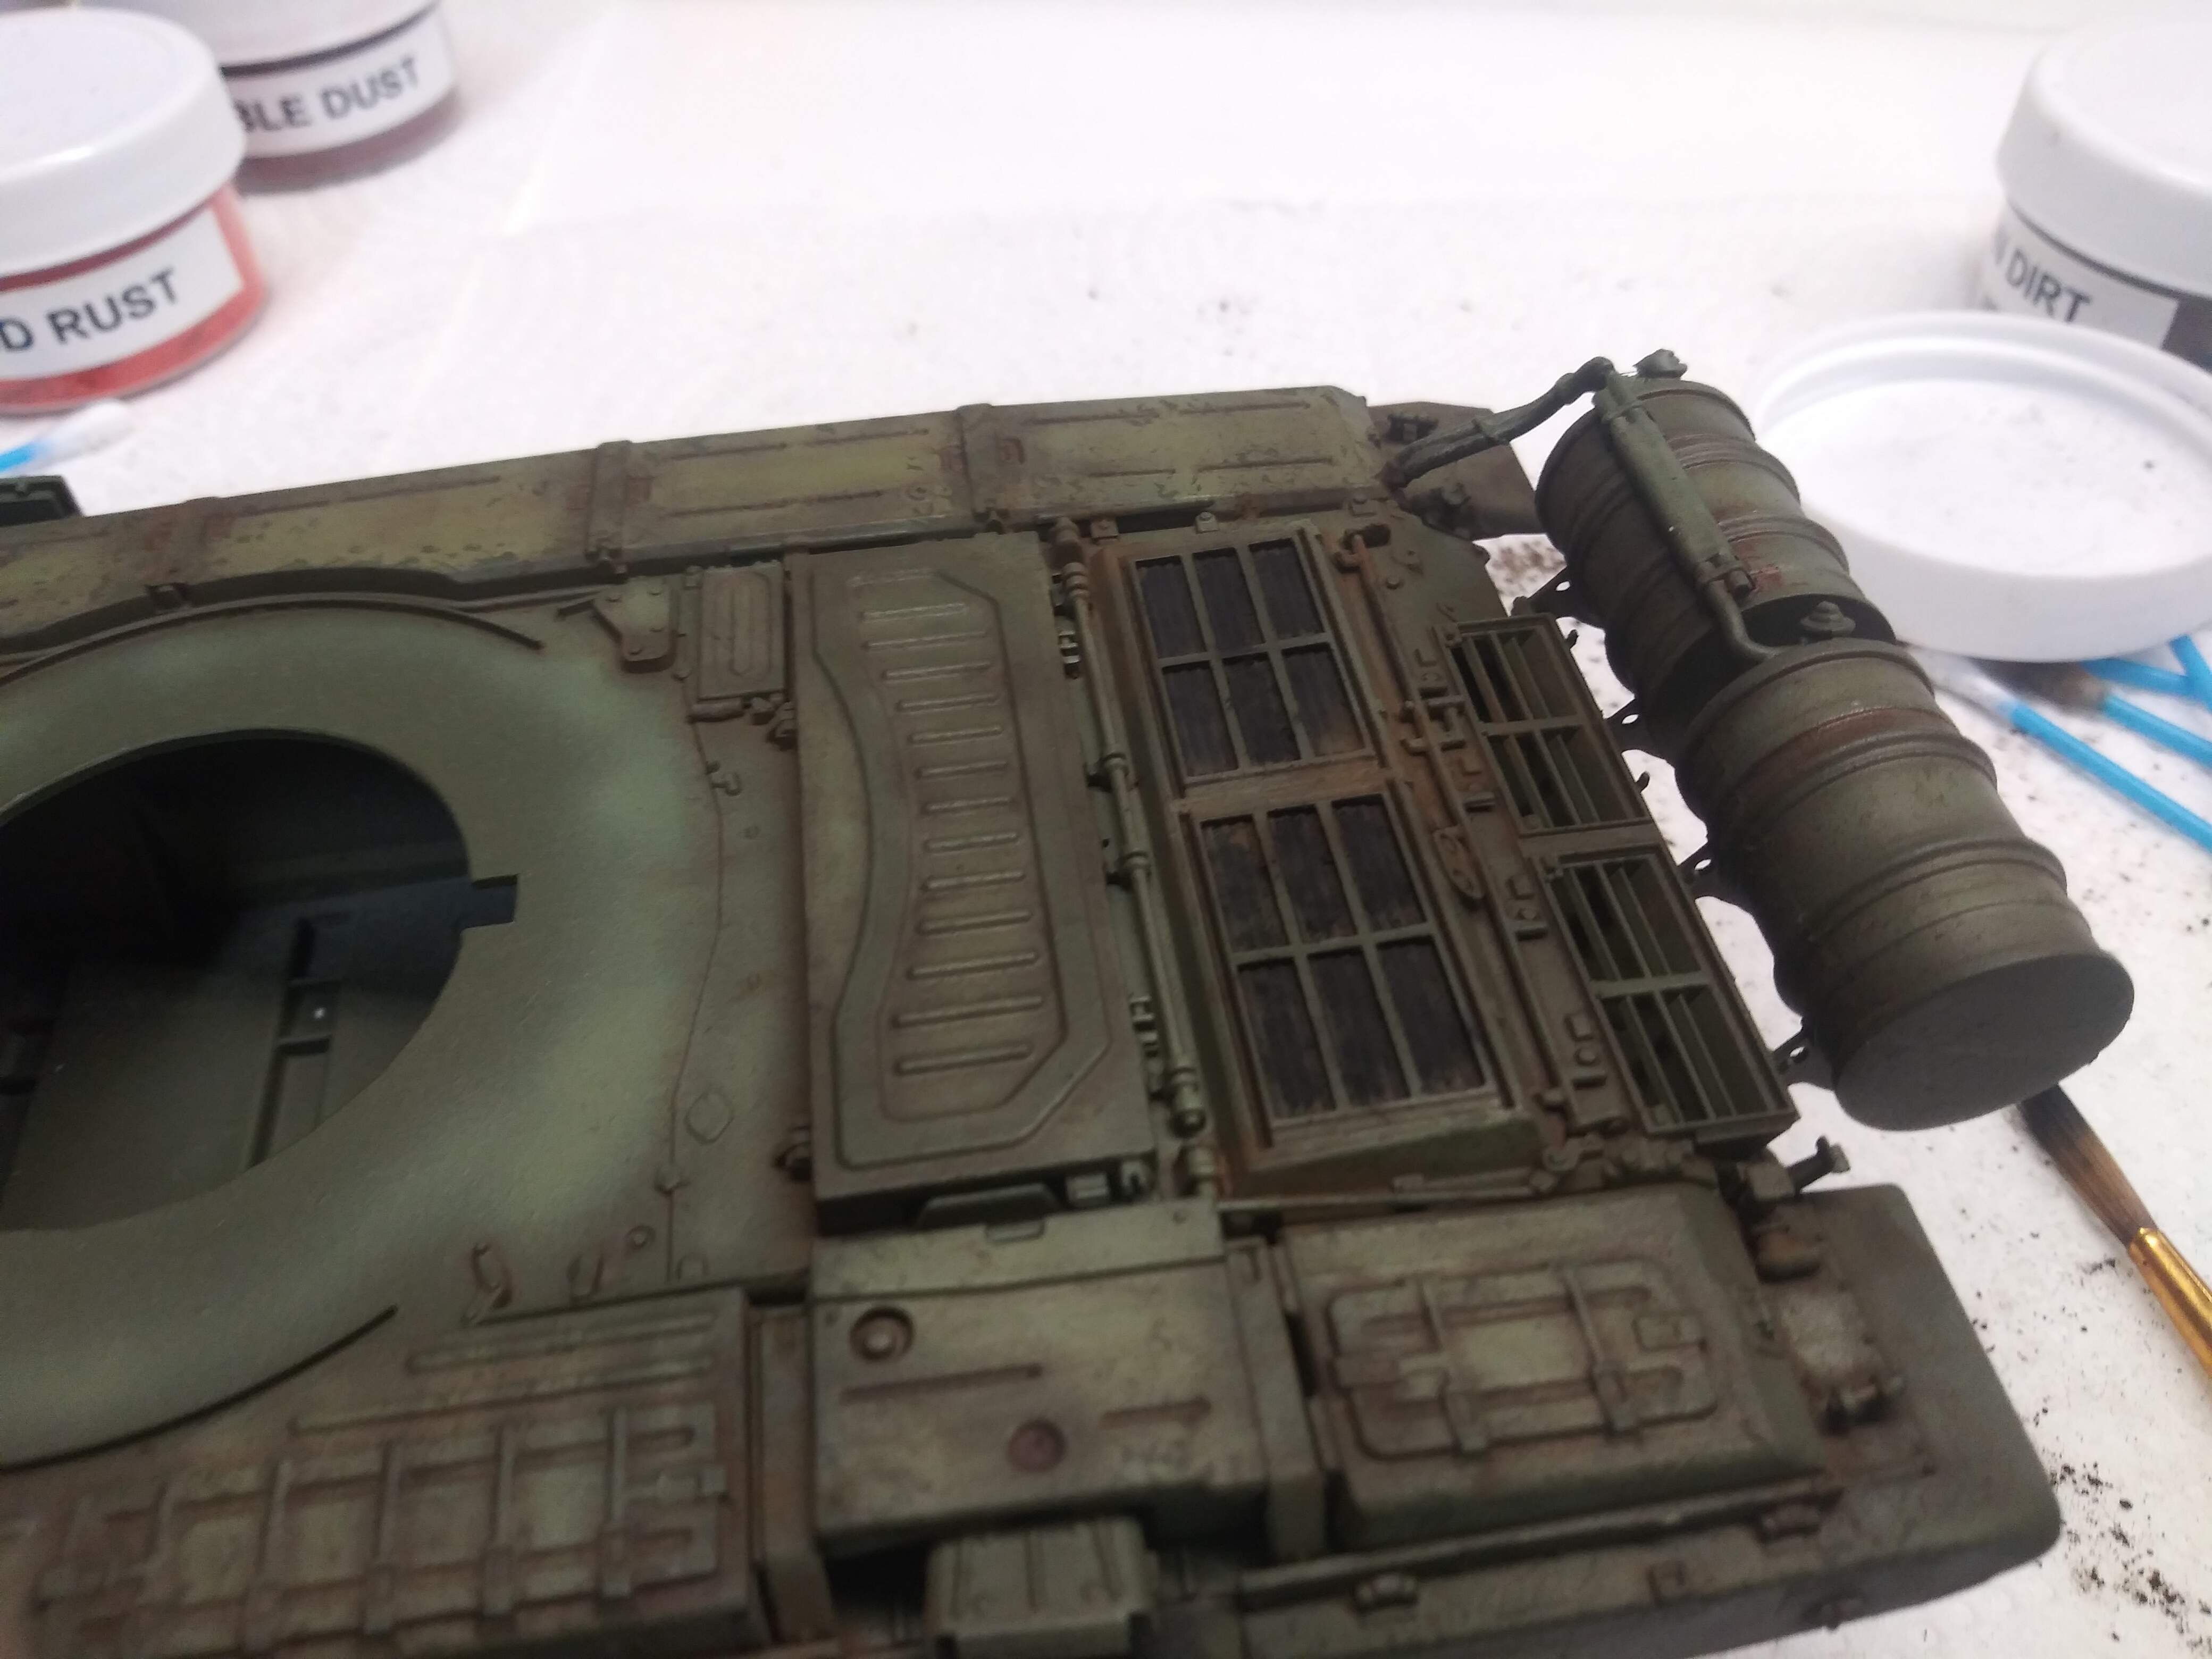
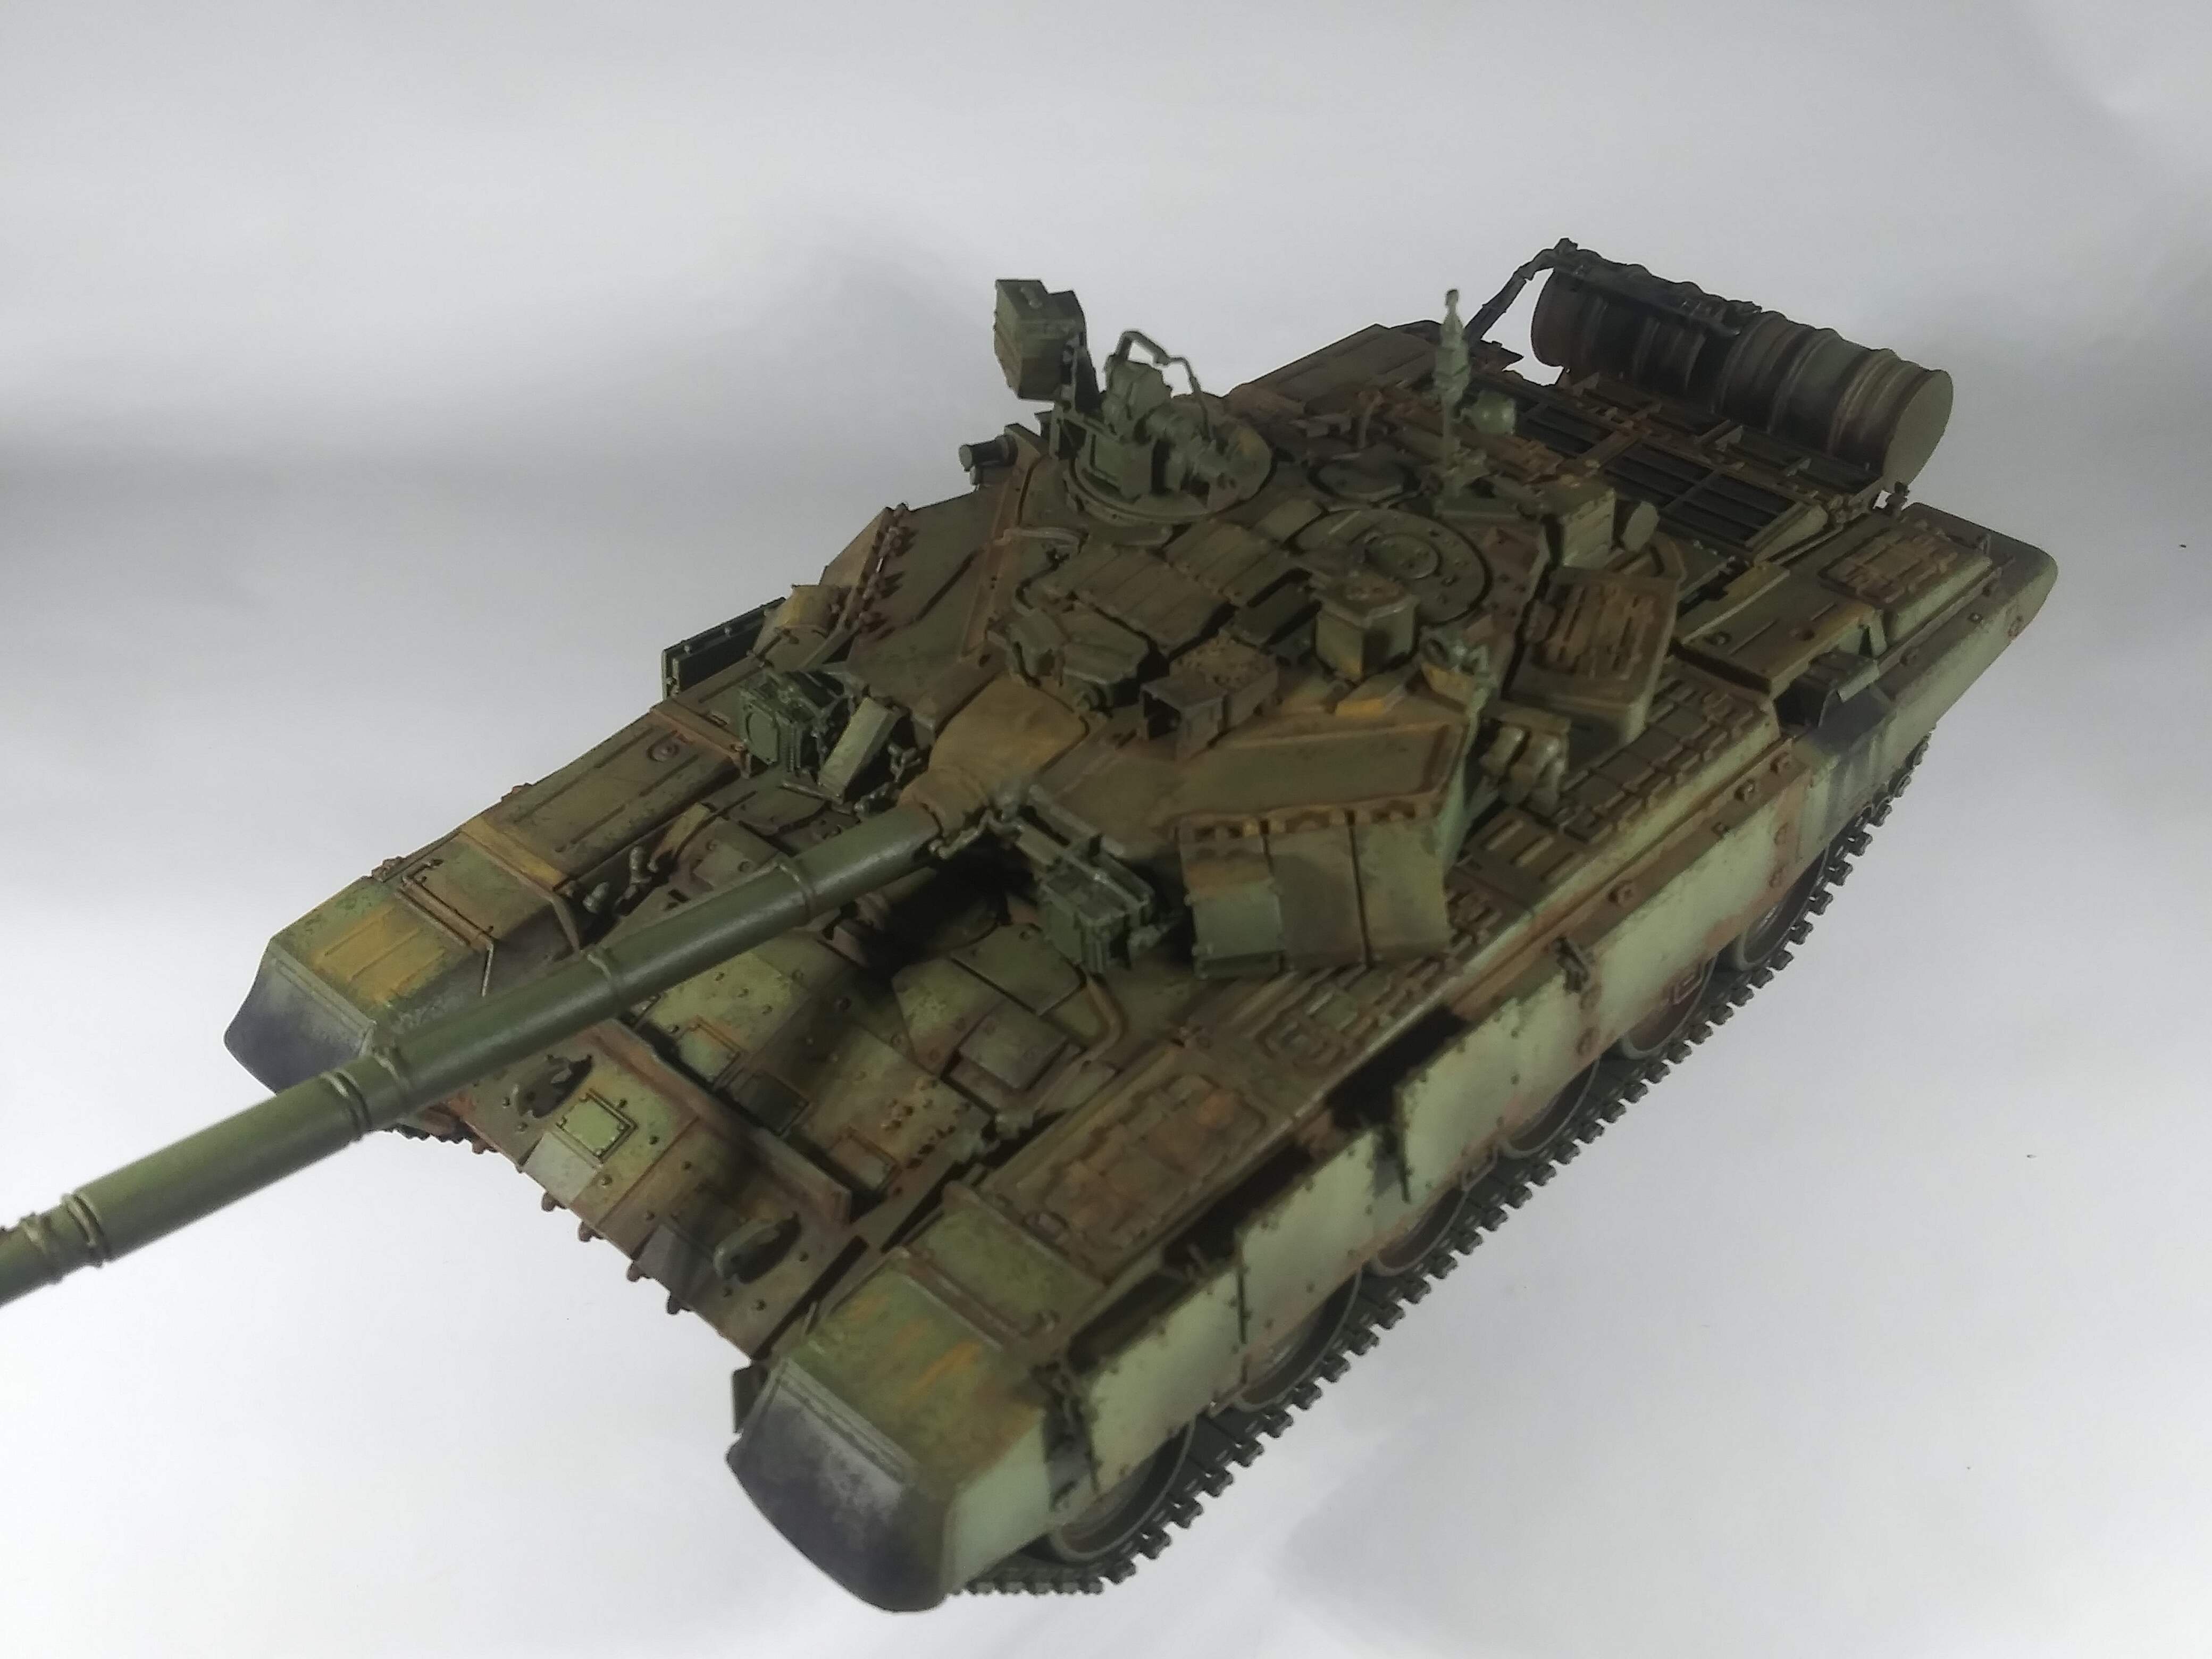
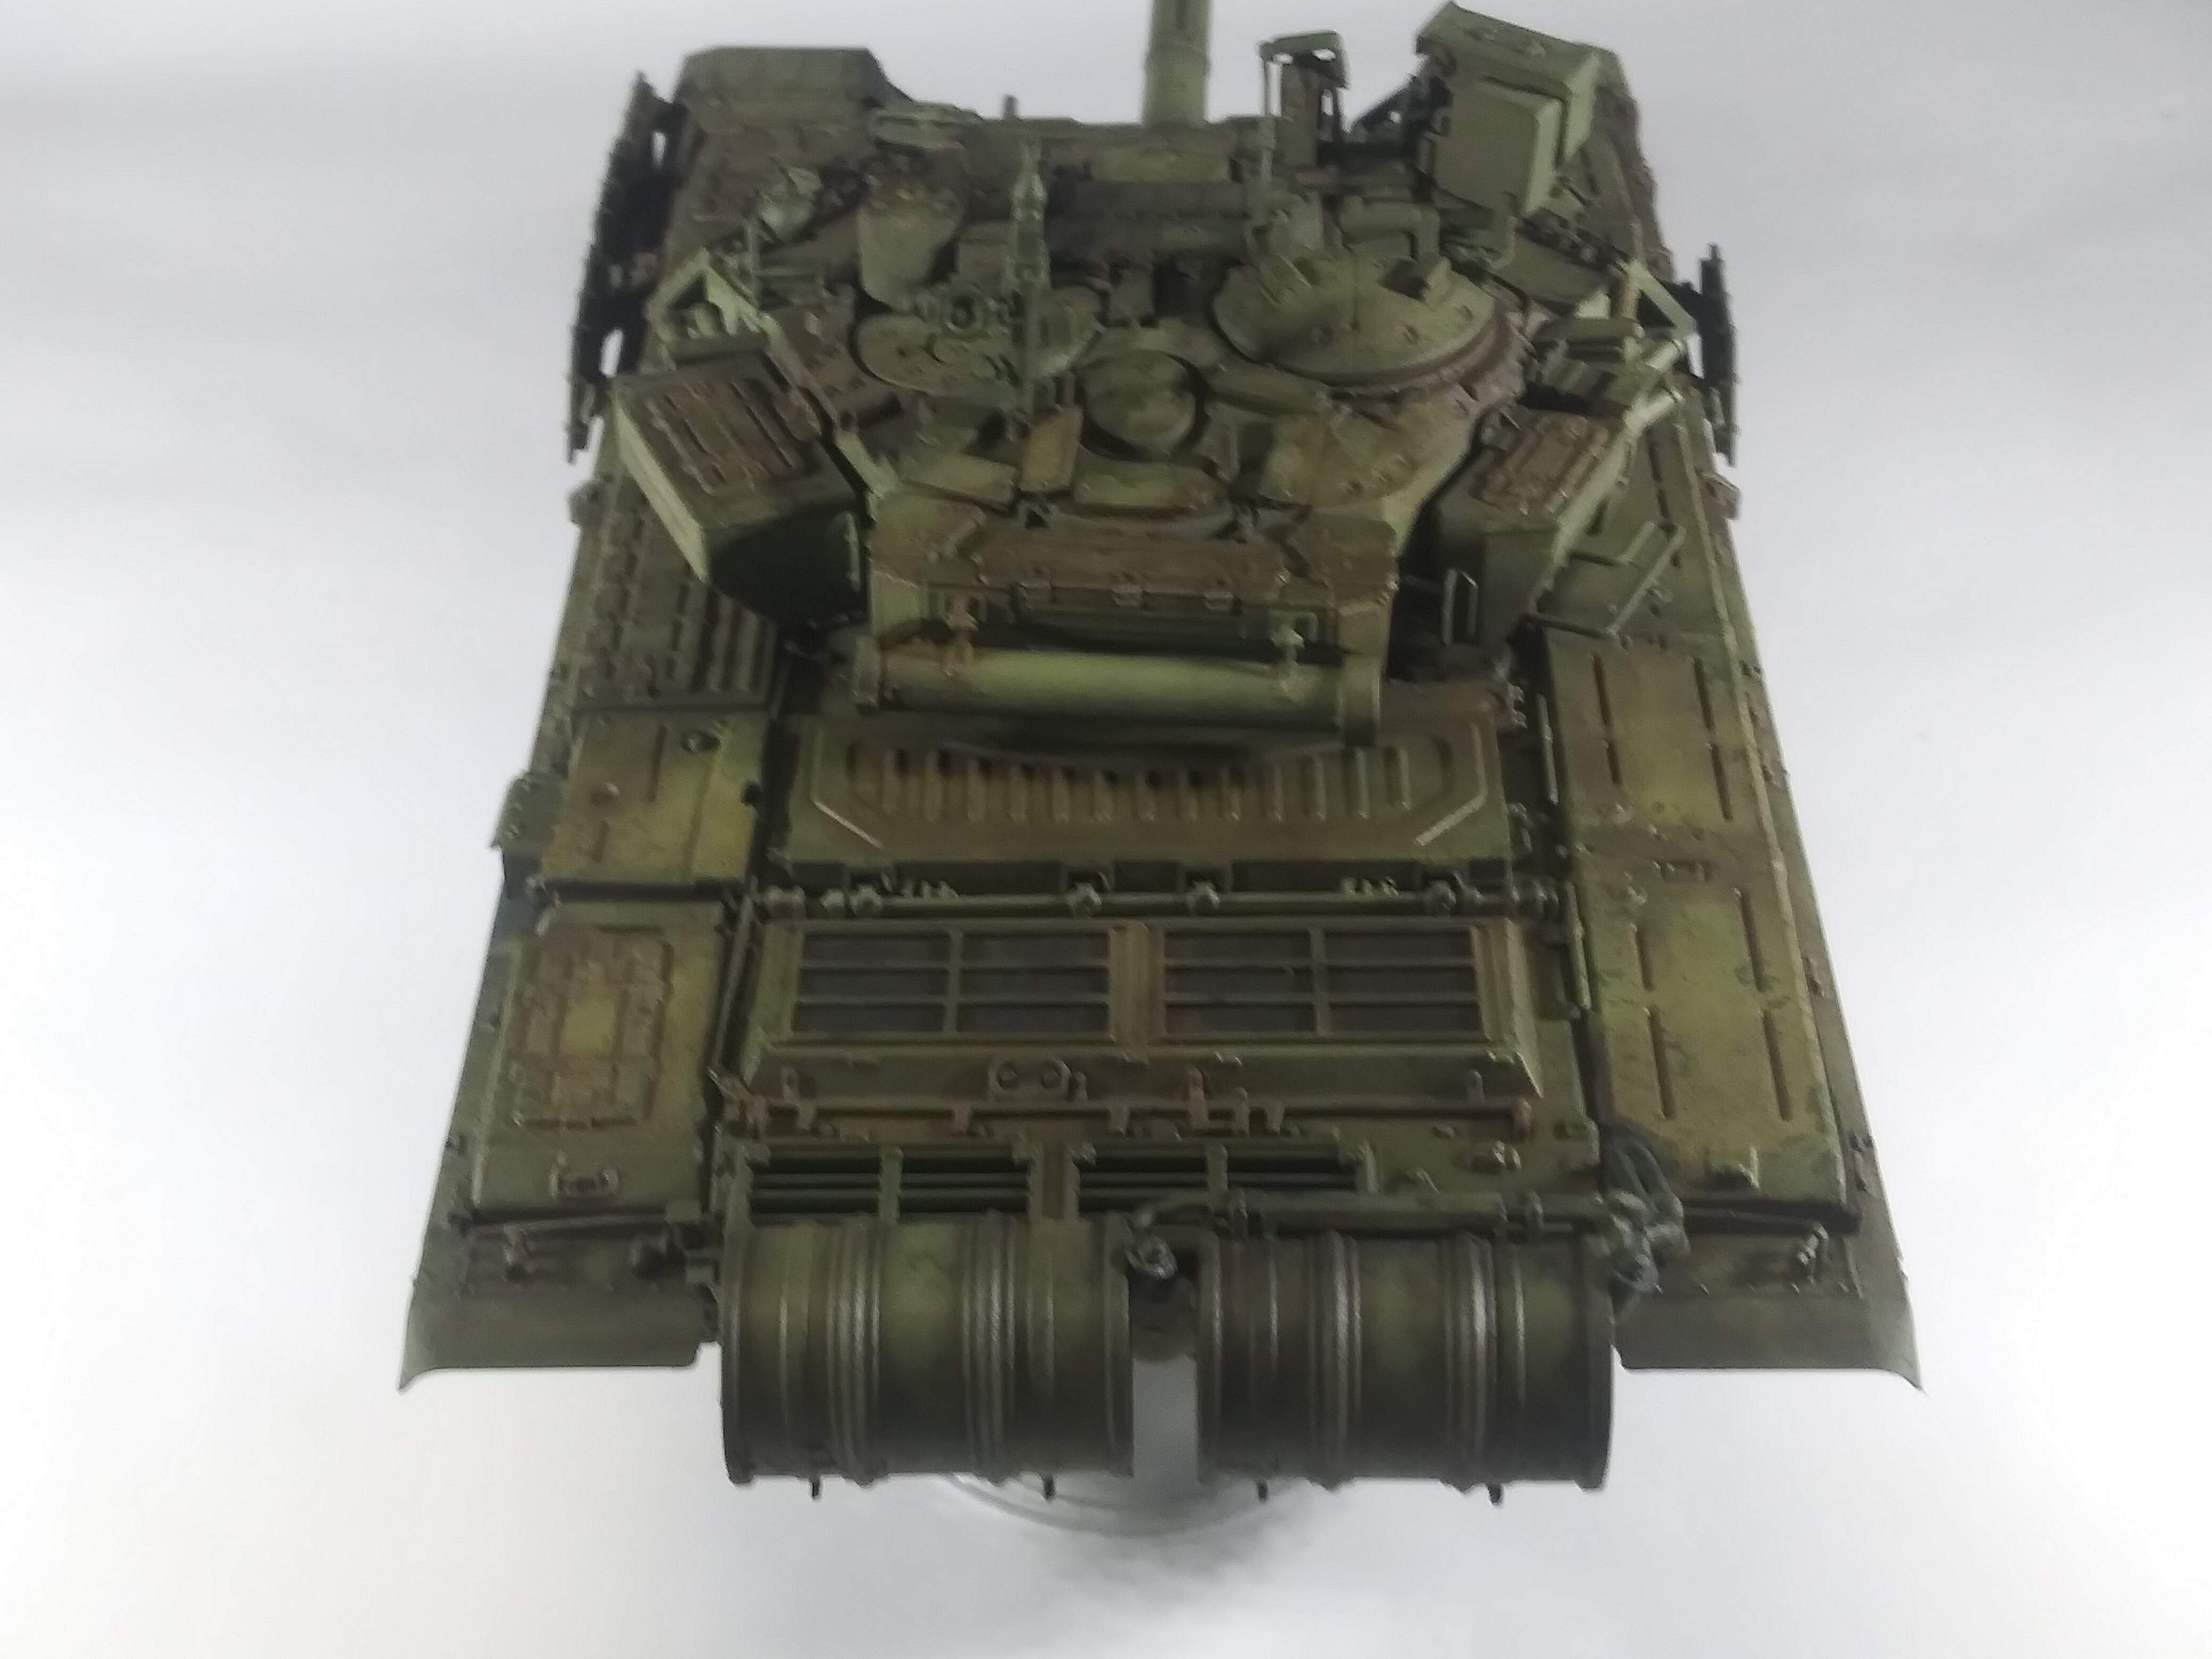
Next we move to the top side with the same European Earth powder.
- Apply powder to the recessed areas where dirt will collect . Do not worry if it looks heavy at this point.
- Apply pigment powder to the leading edge of raised areas such as the starboard side of the hull.
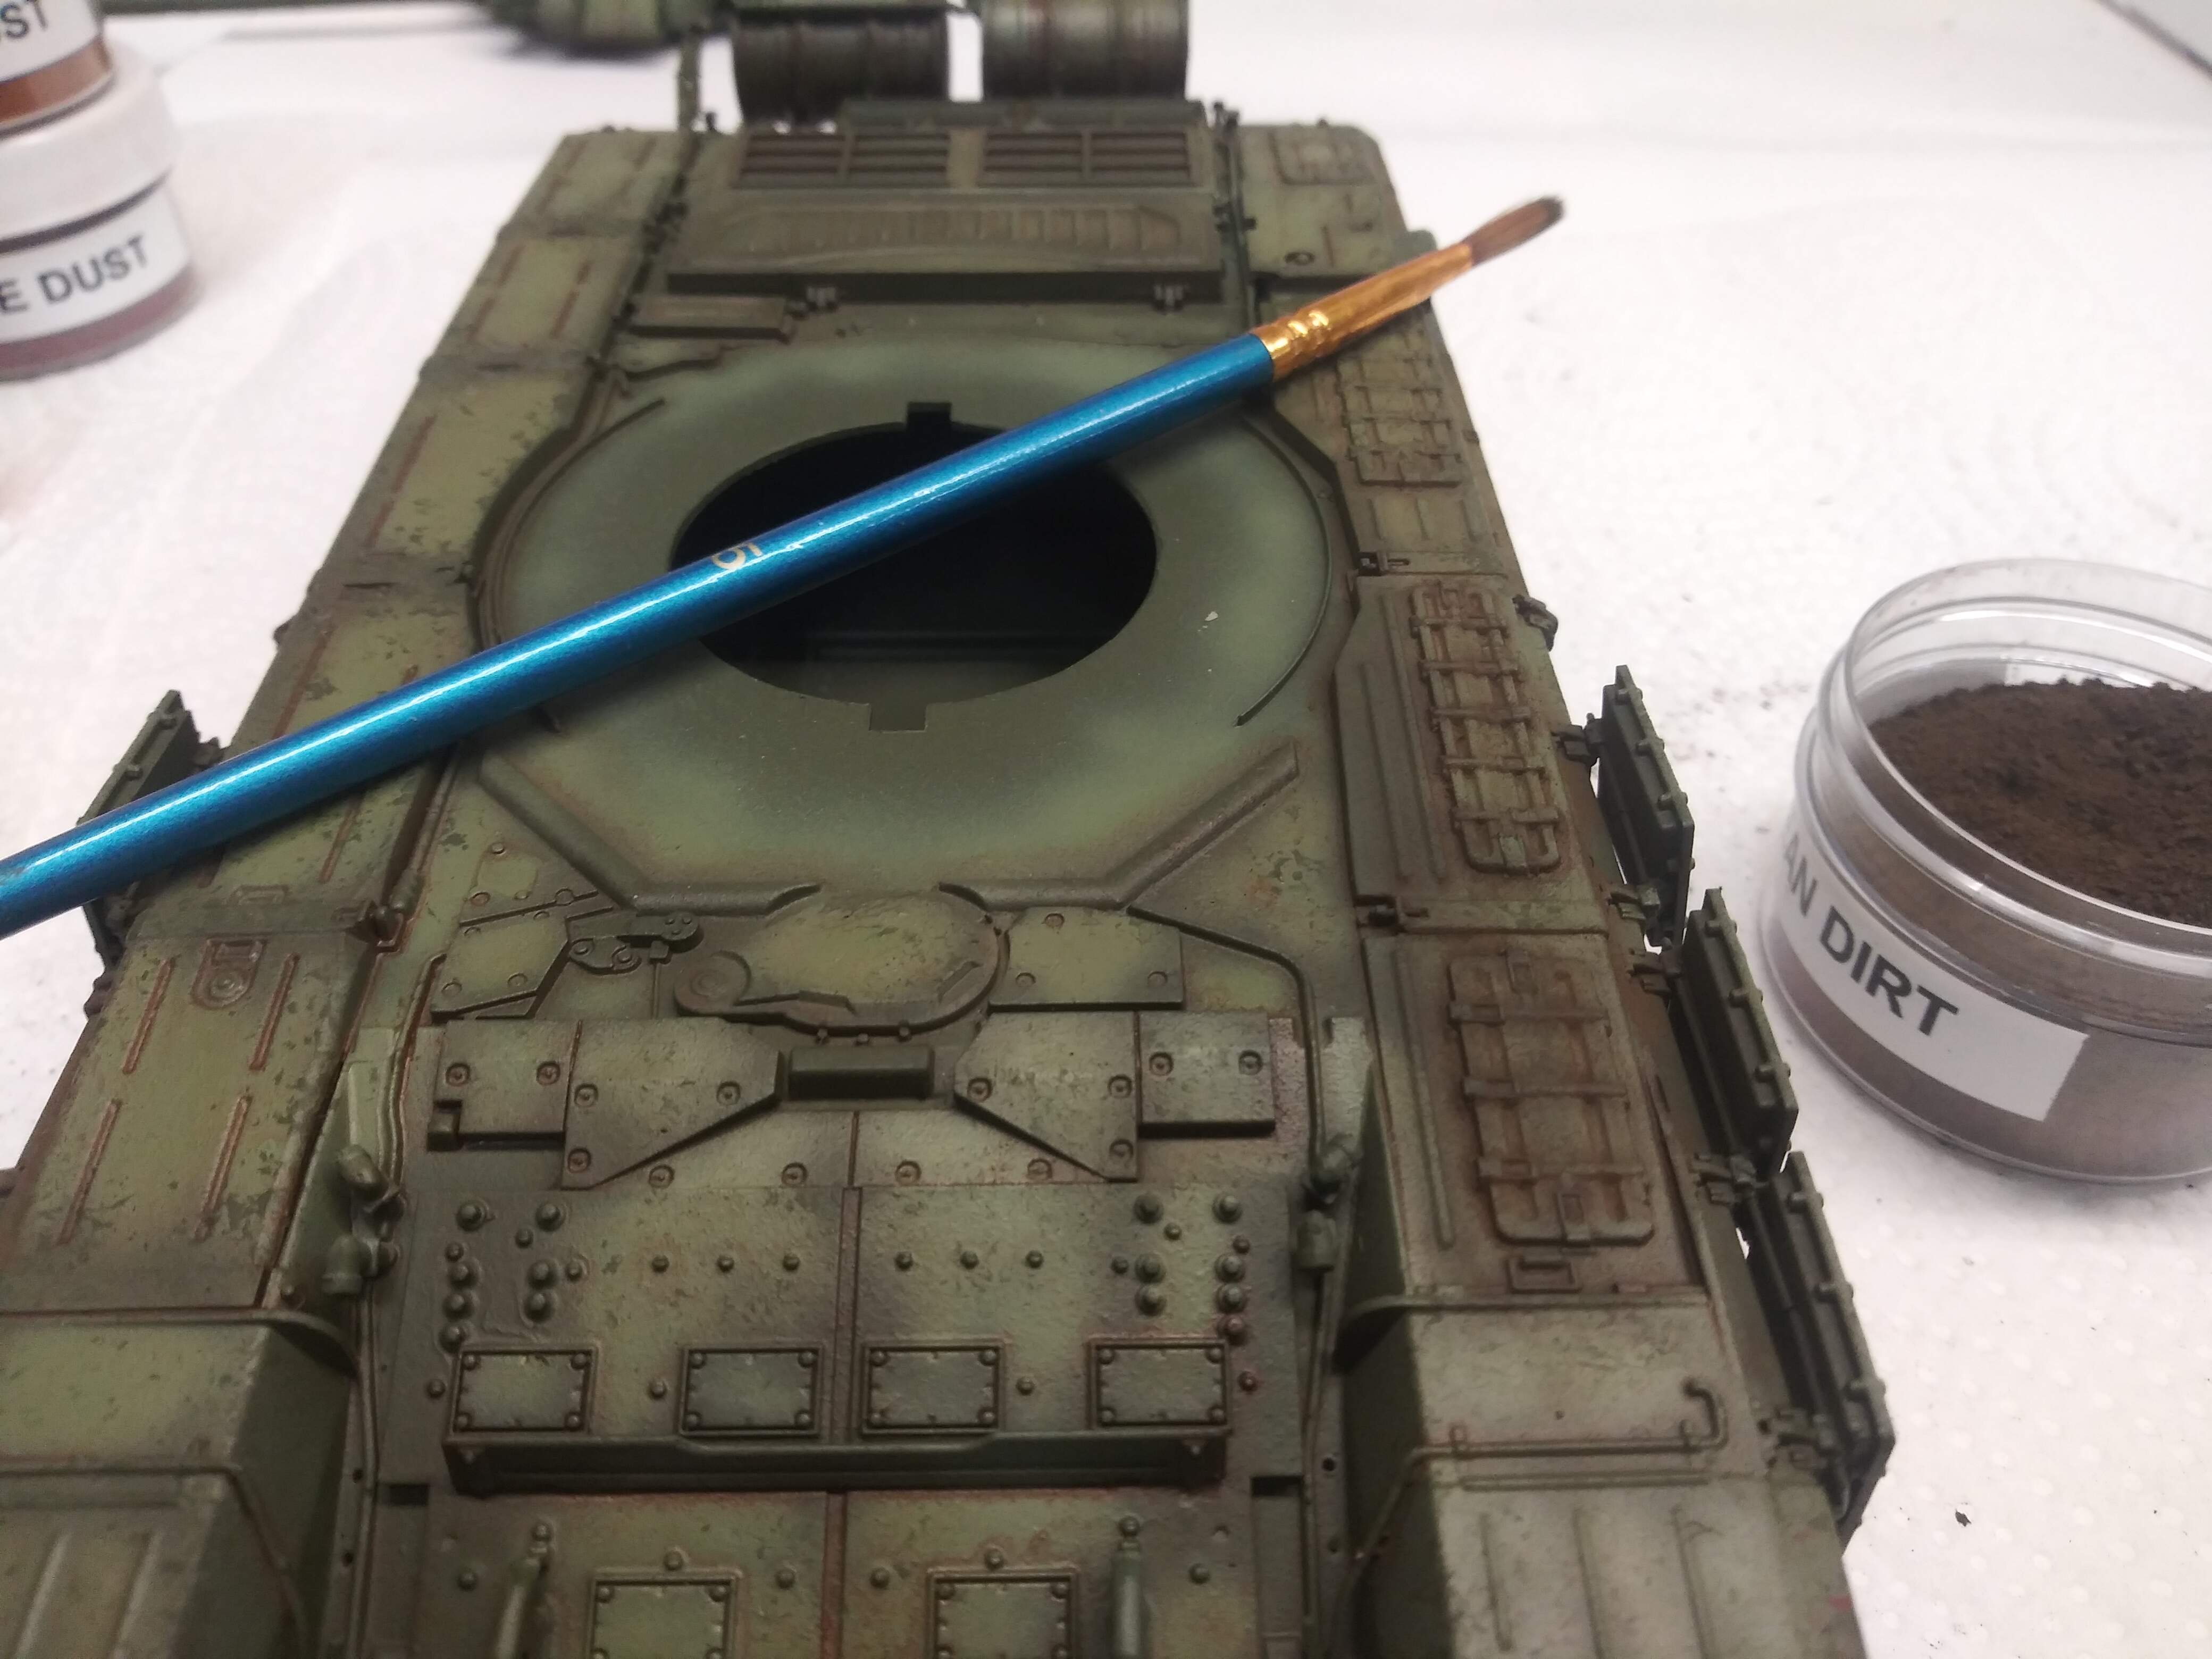
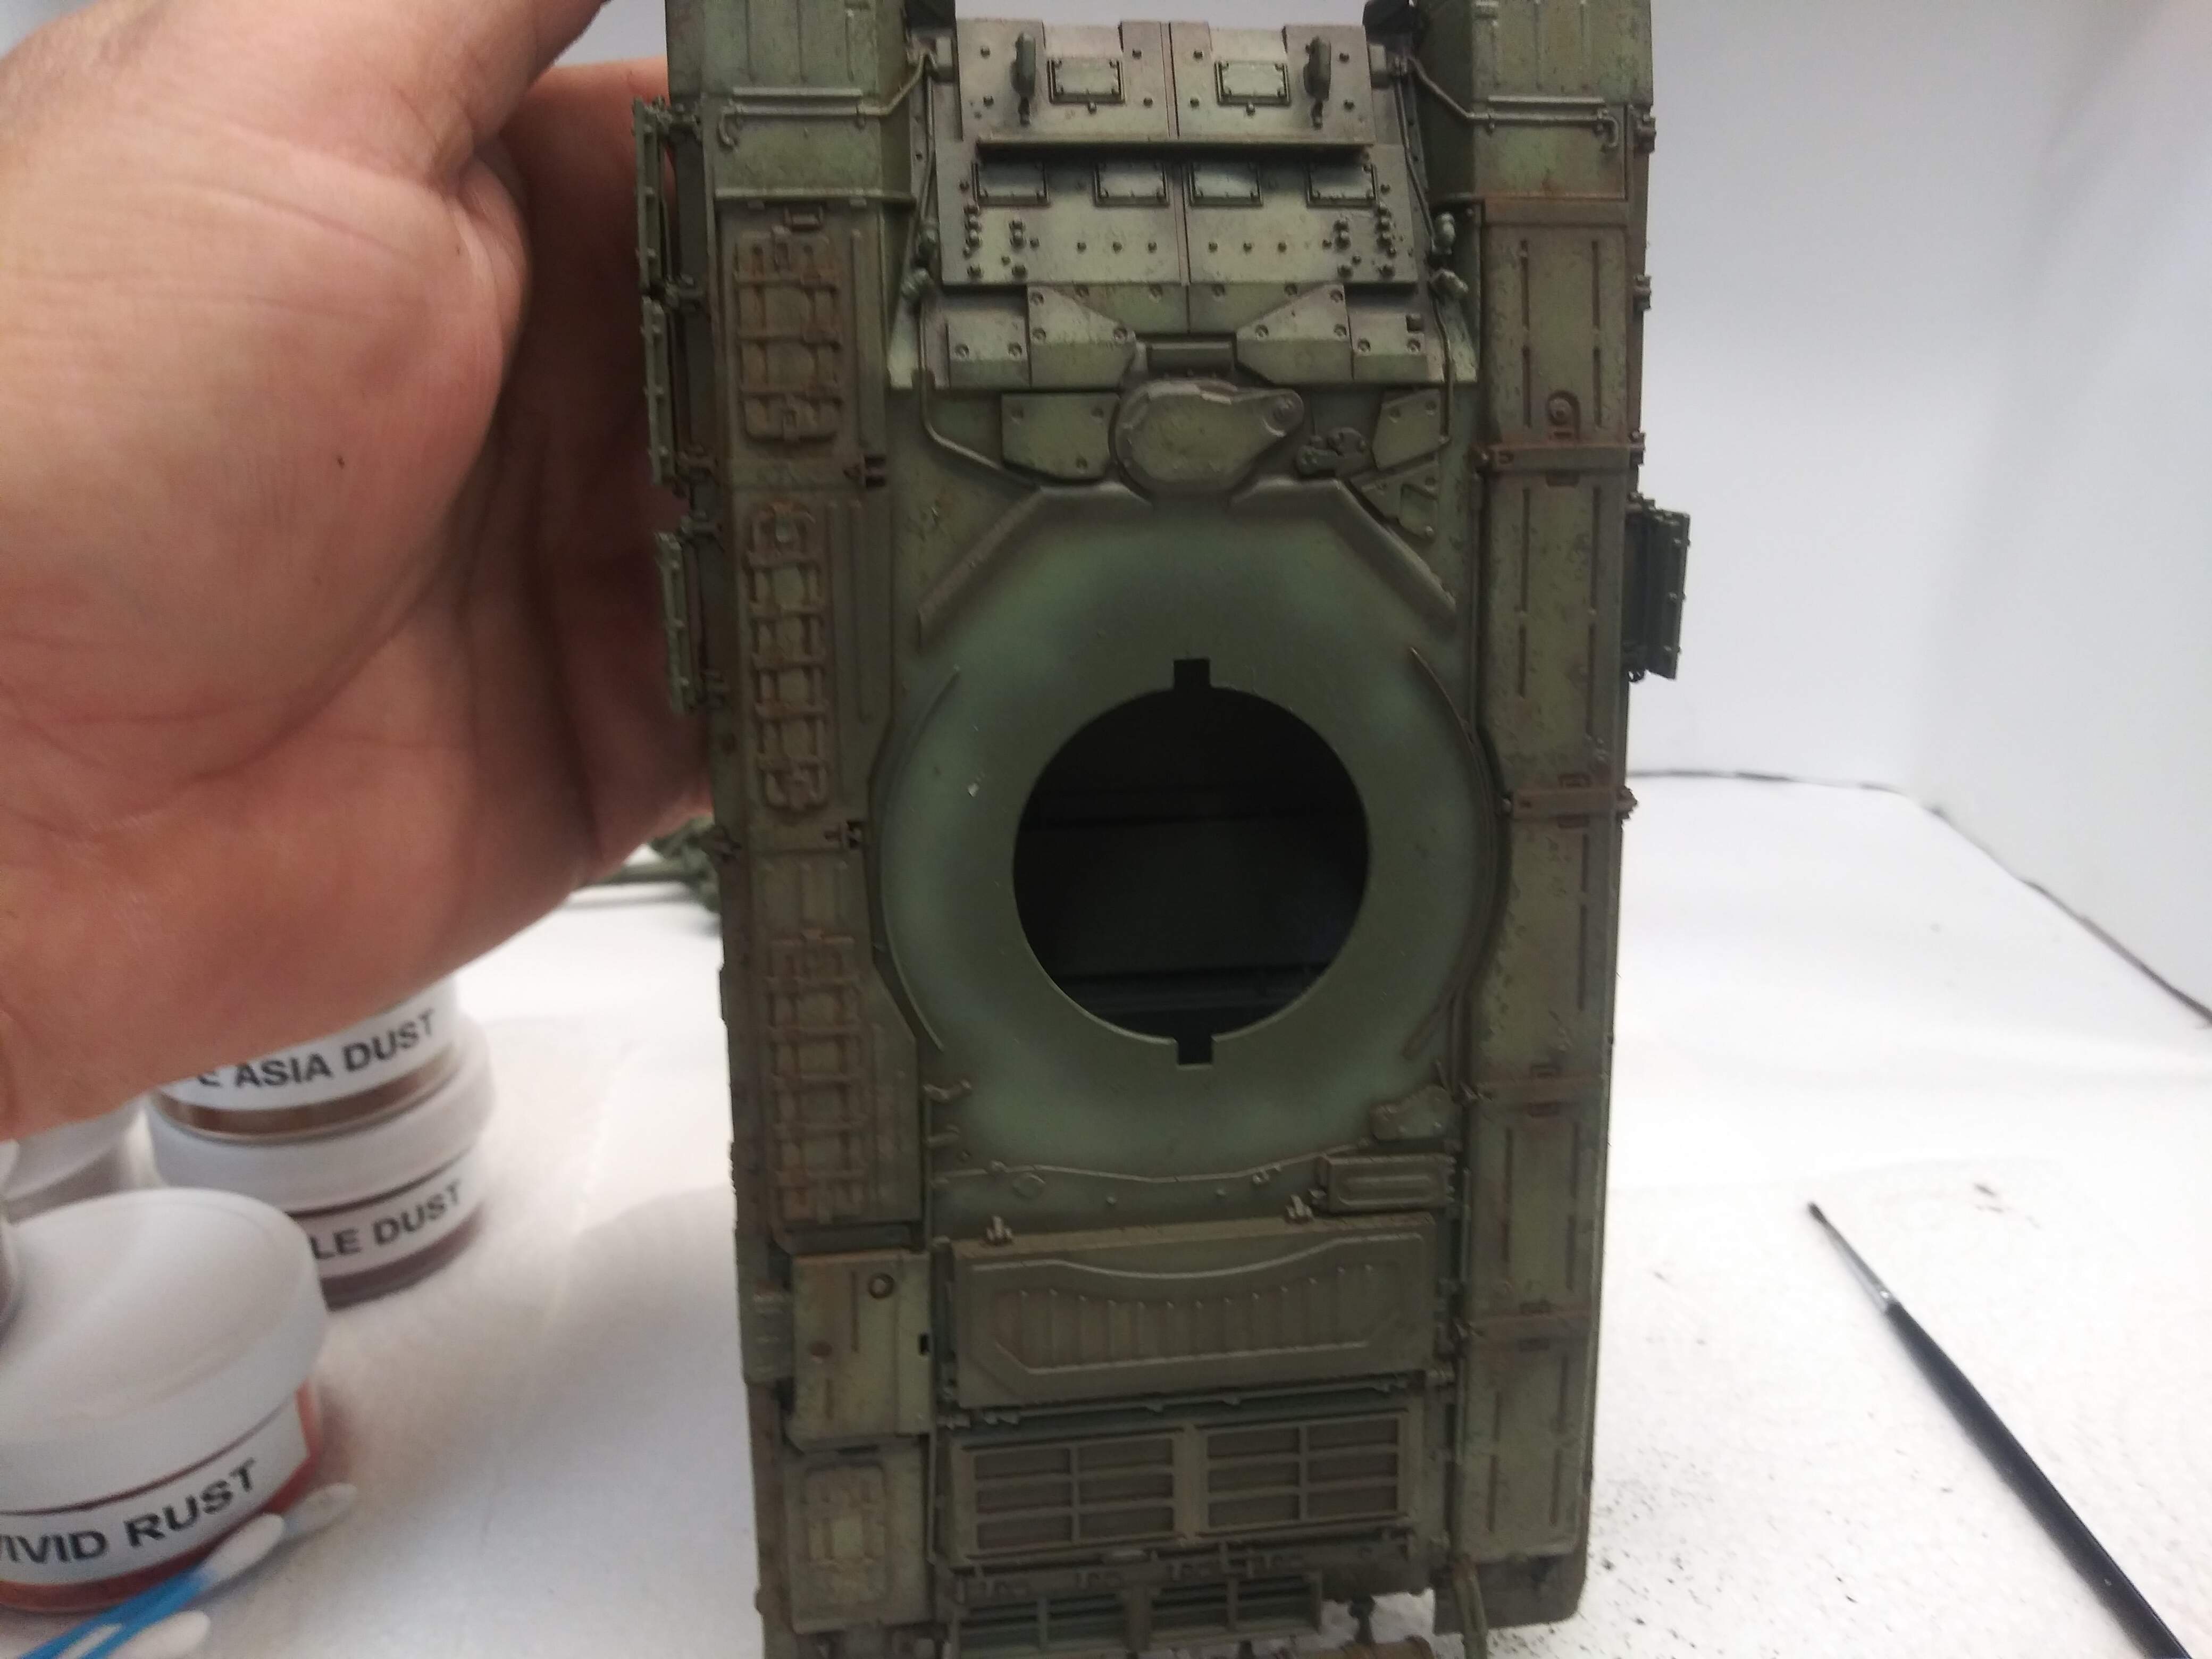
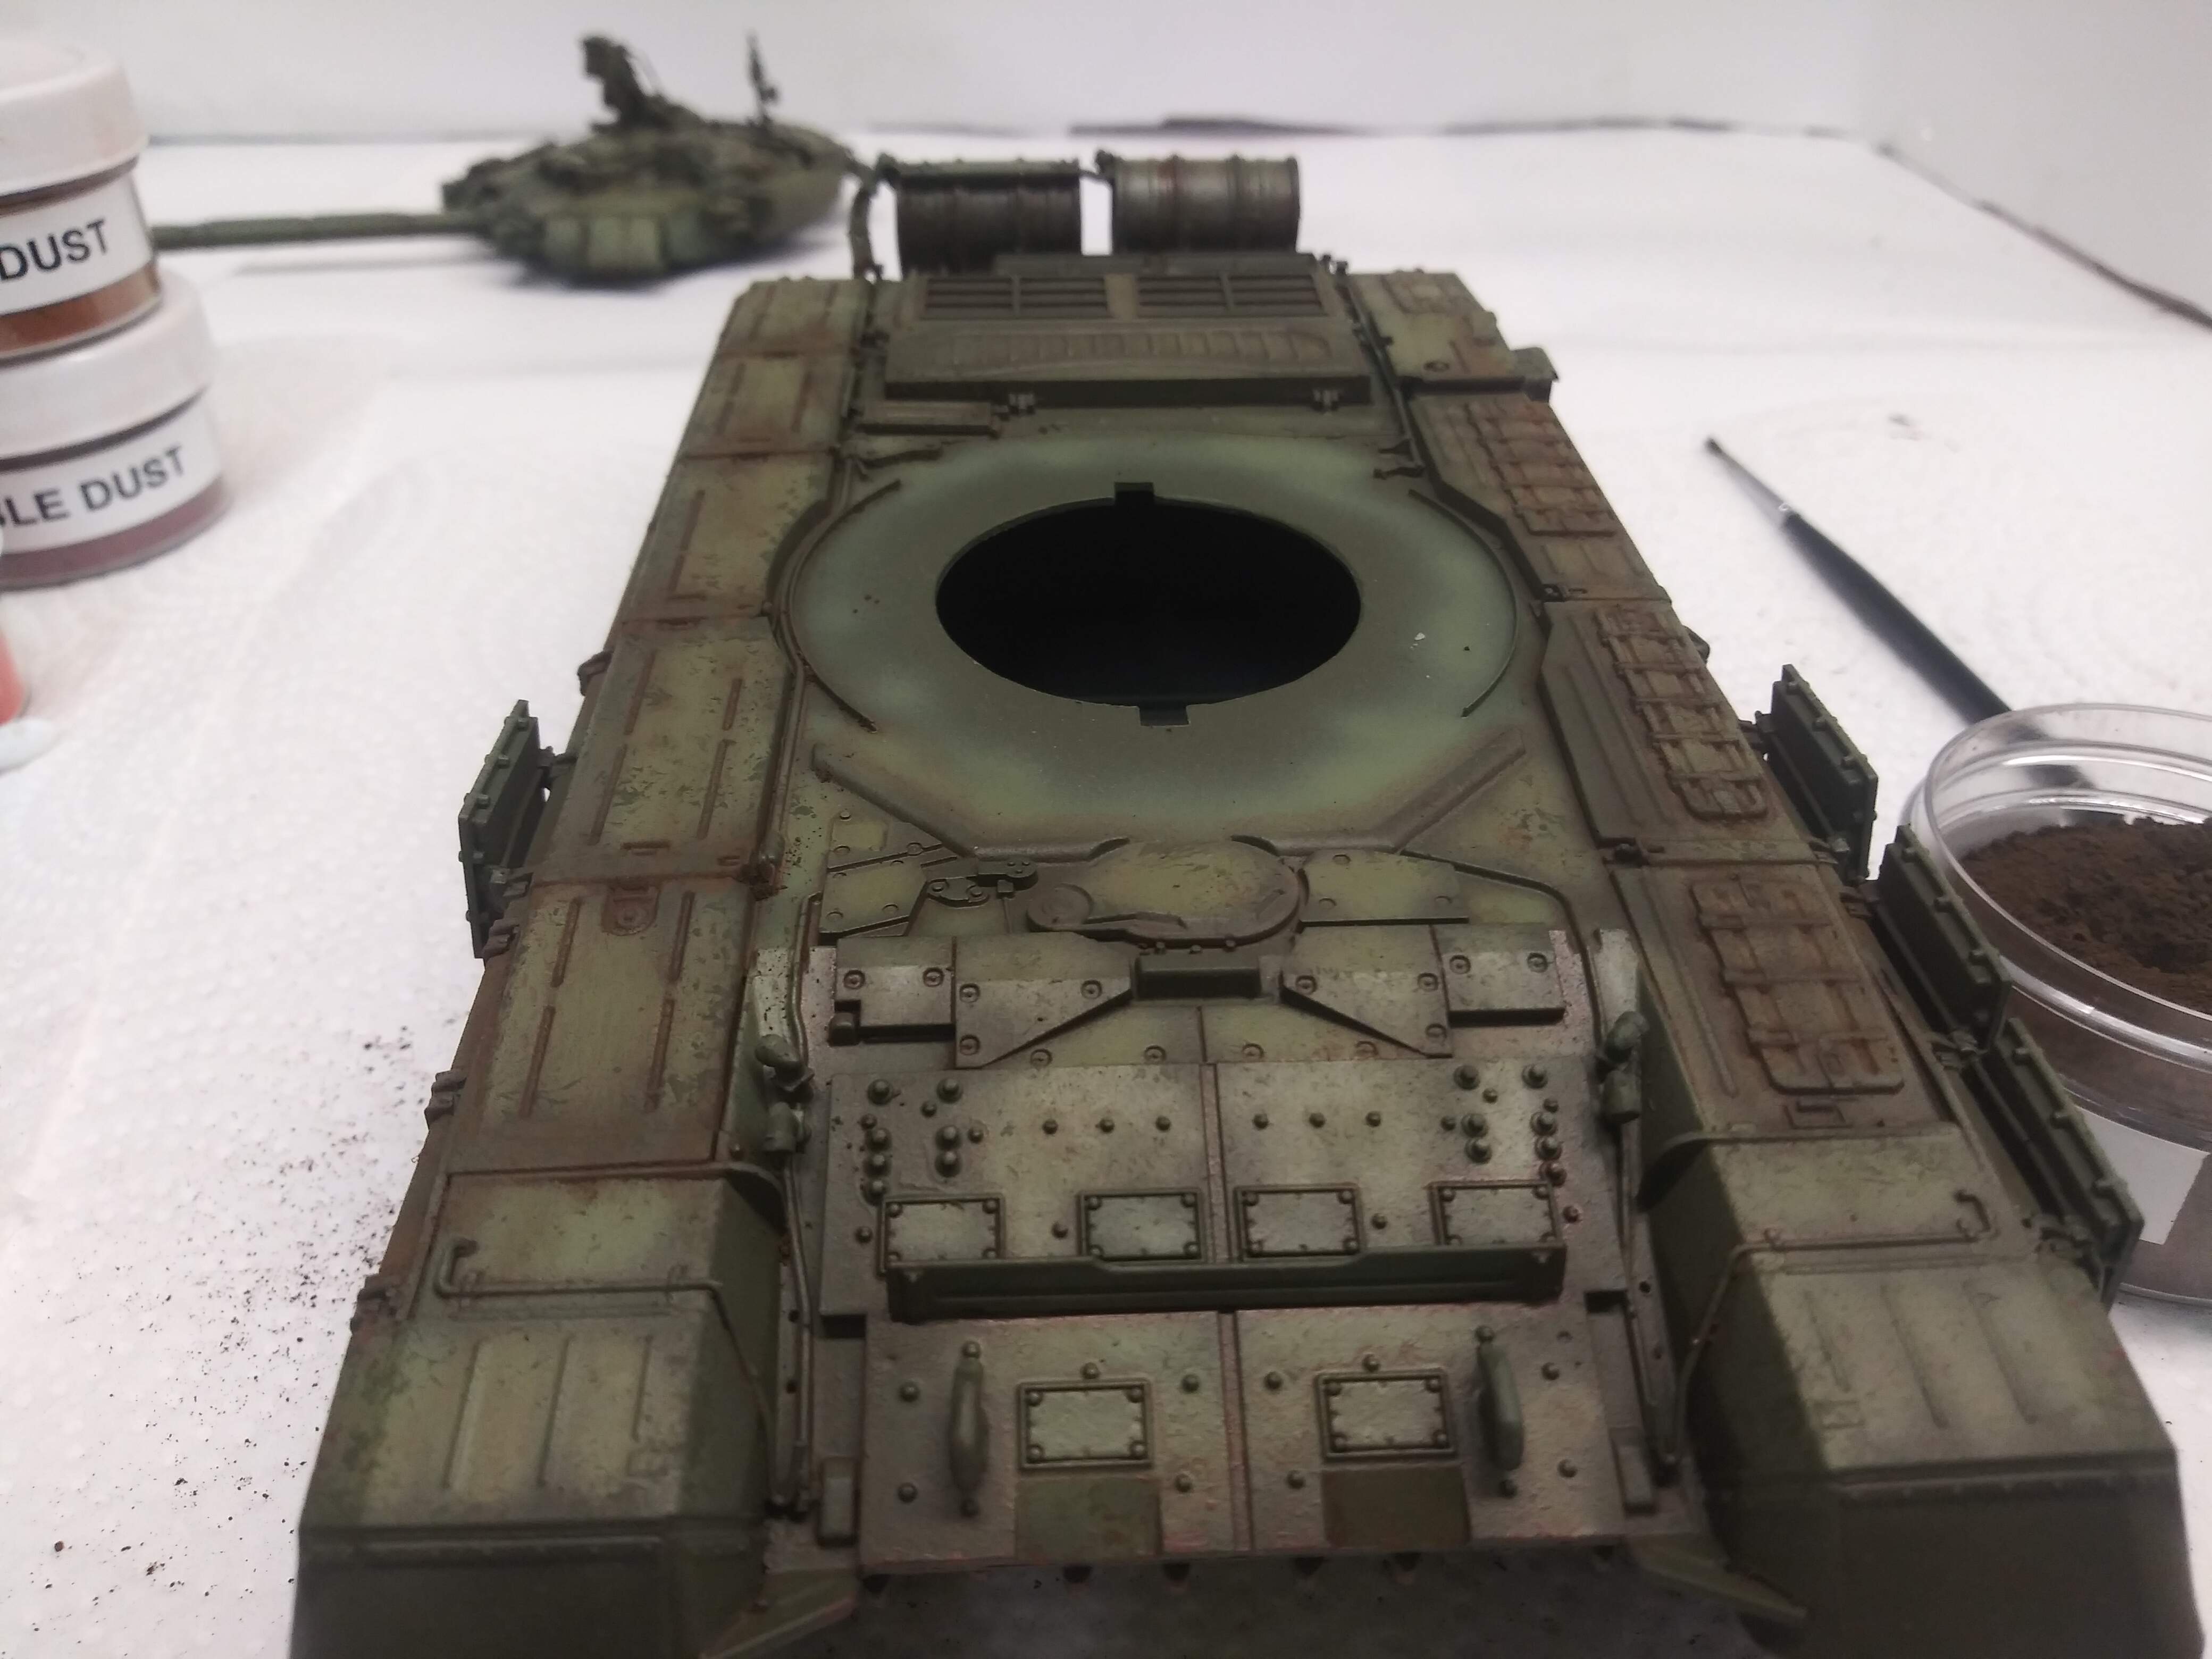
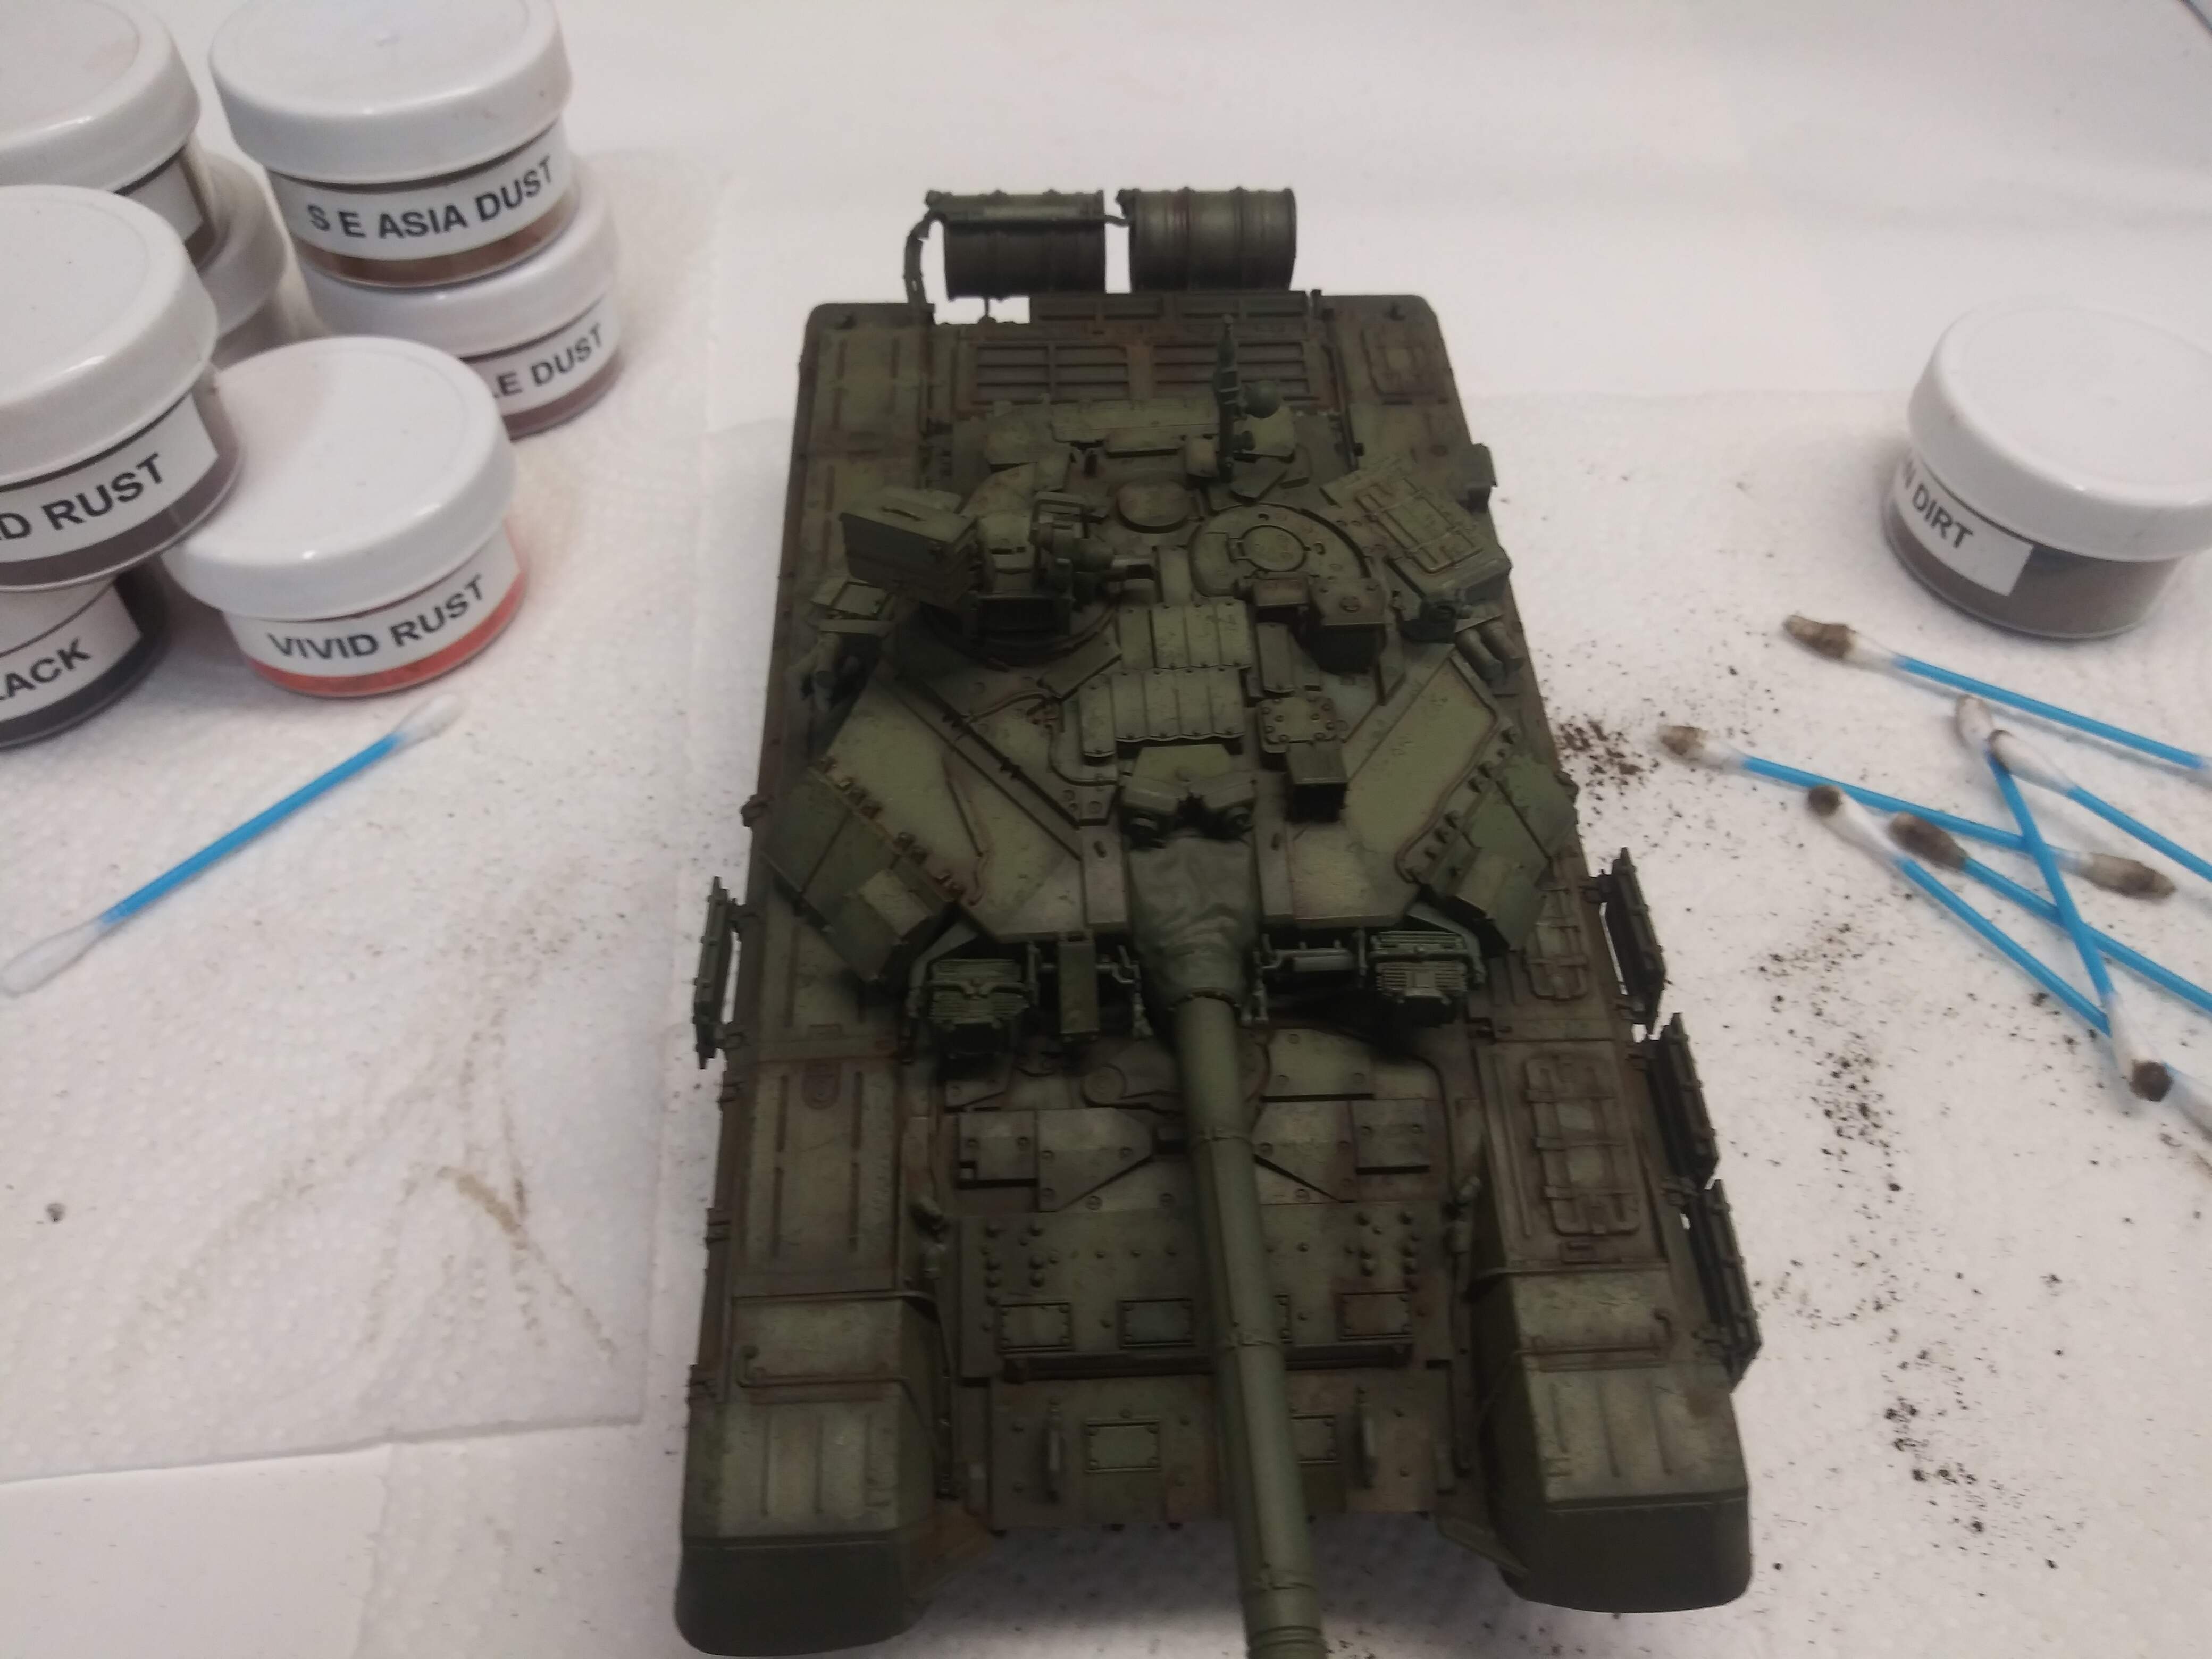
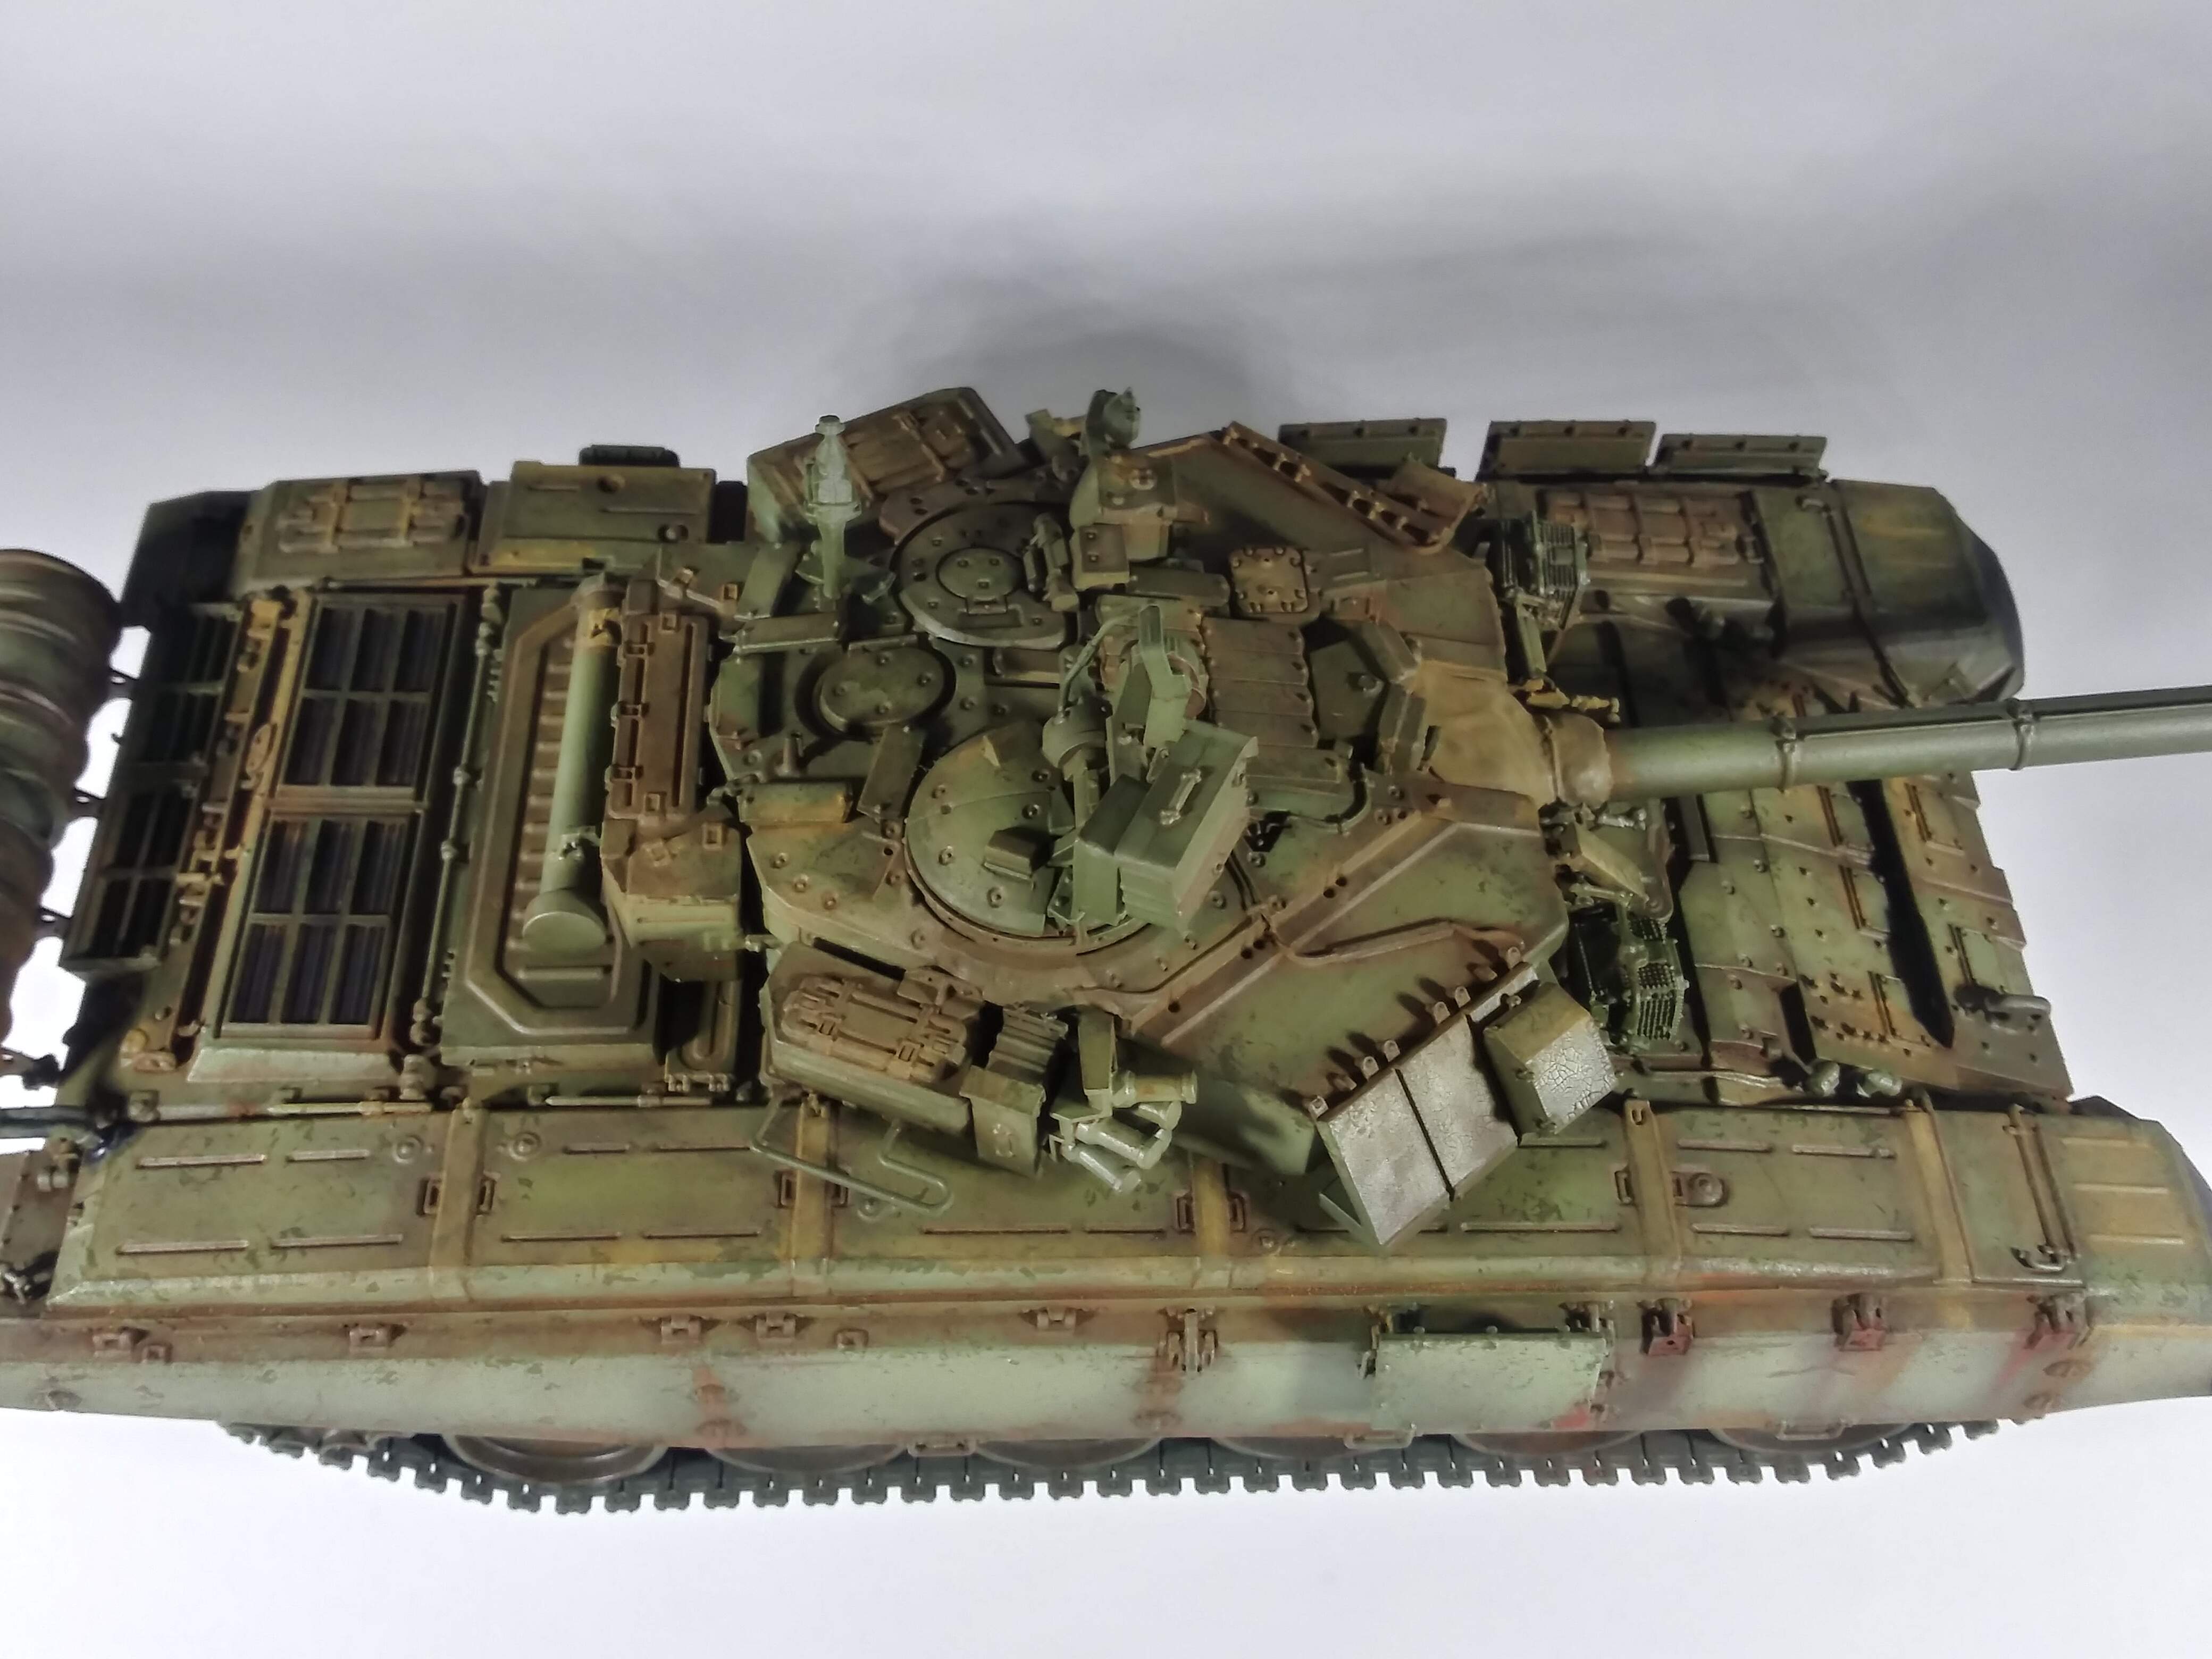
- Tip the vehicle upright and using a medium sized soft brush , gently brush the excess away.
5 Likes
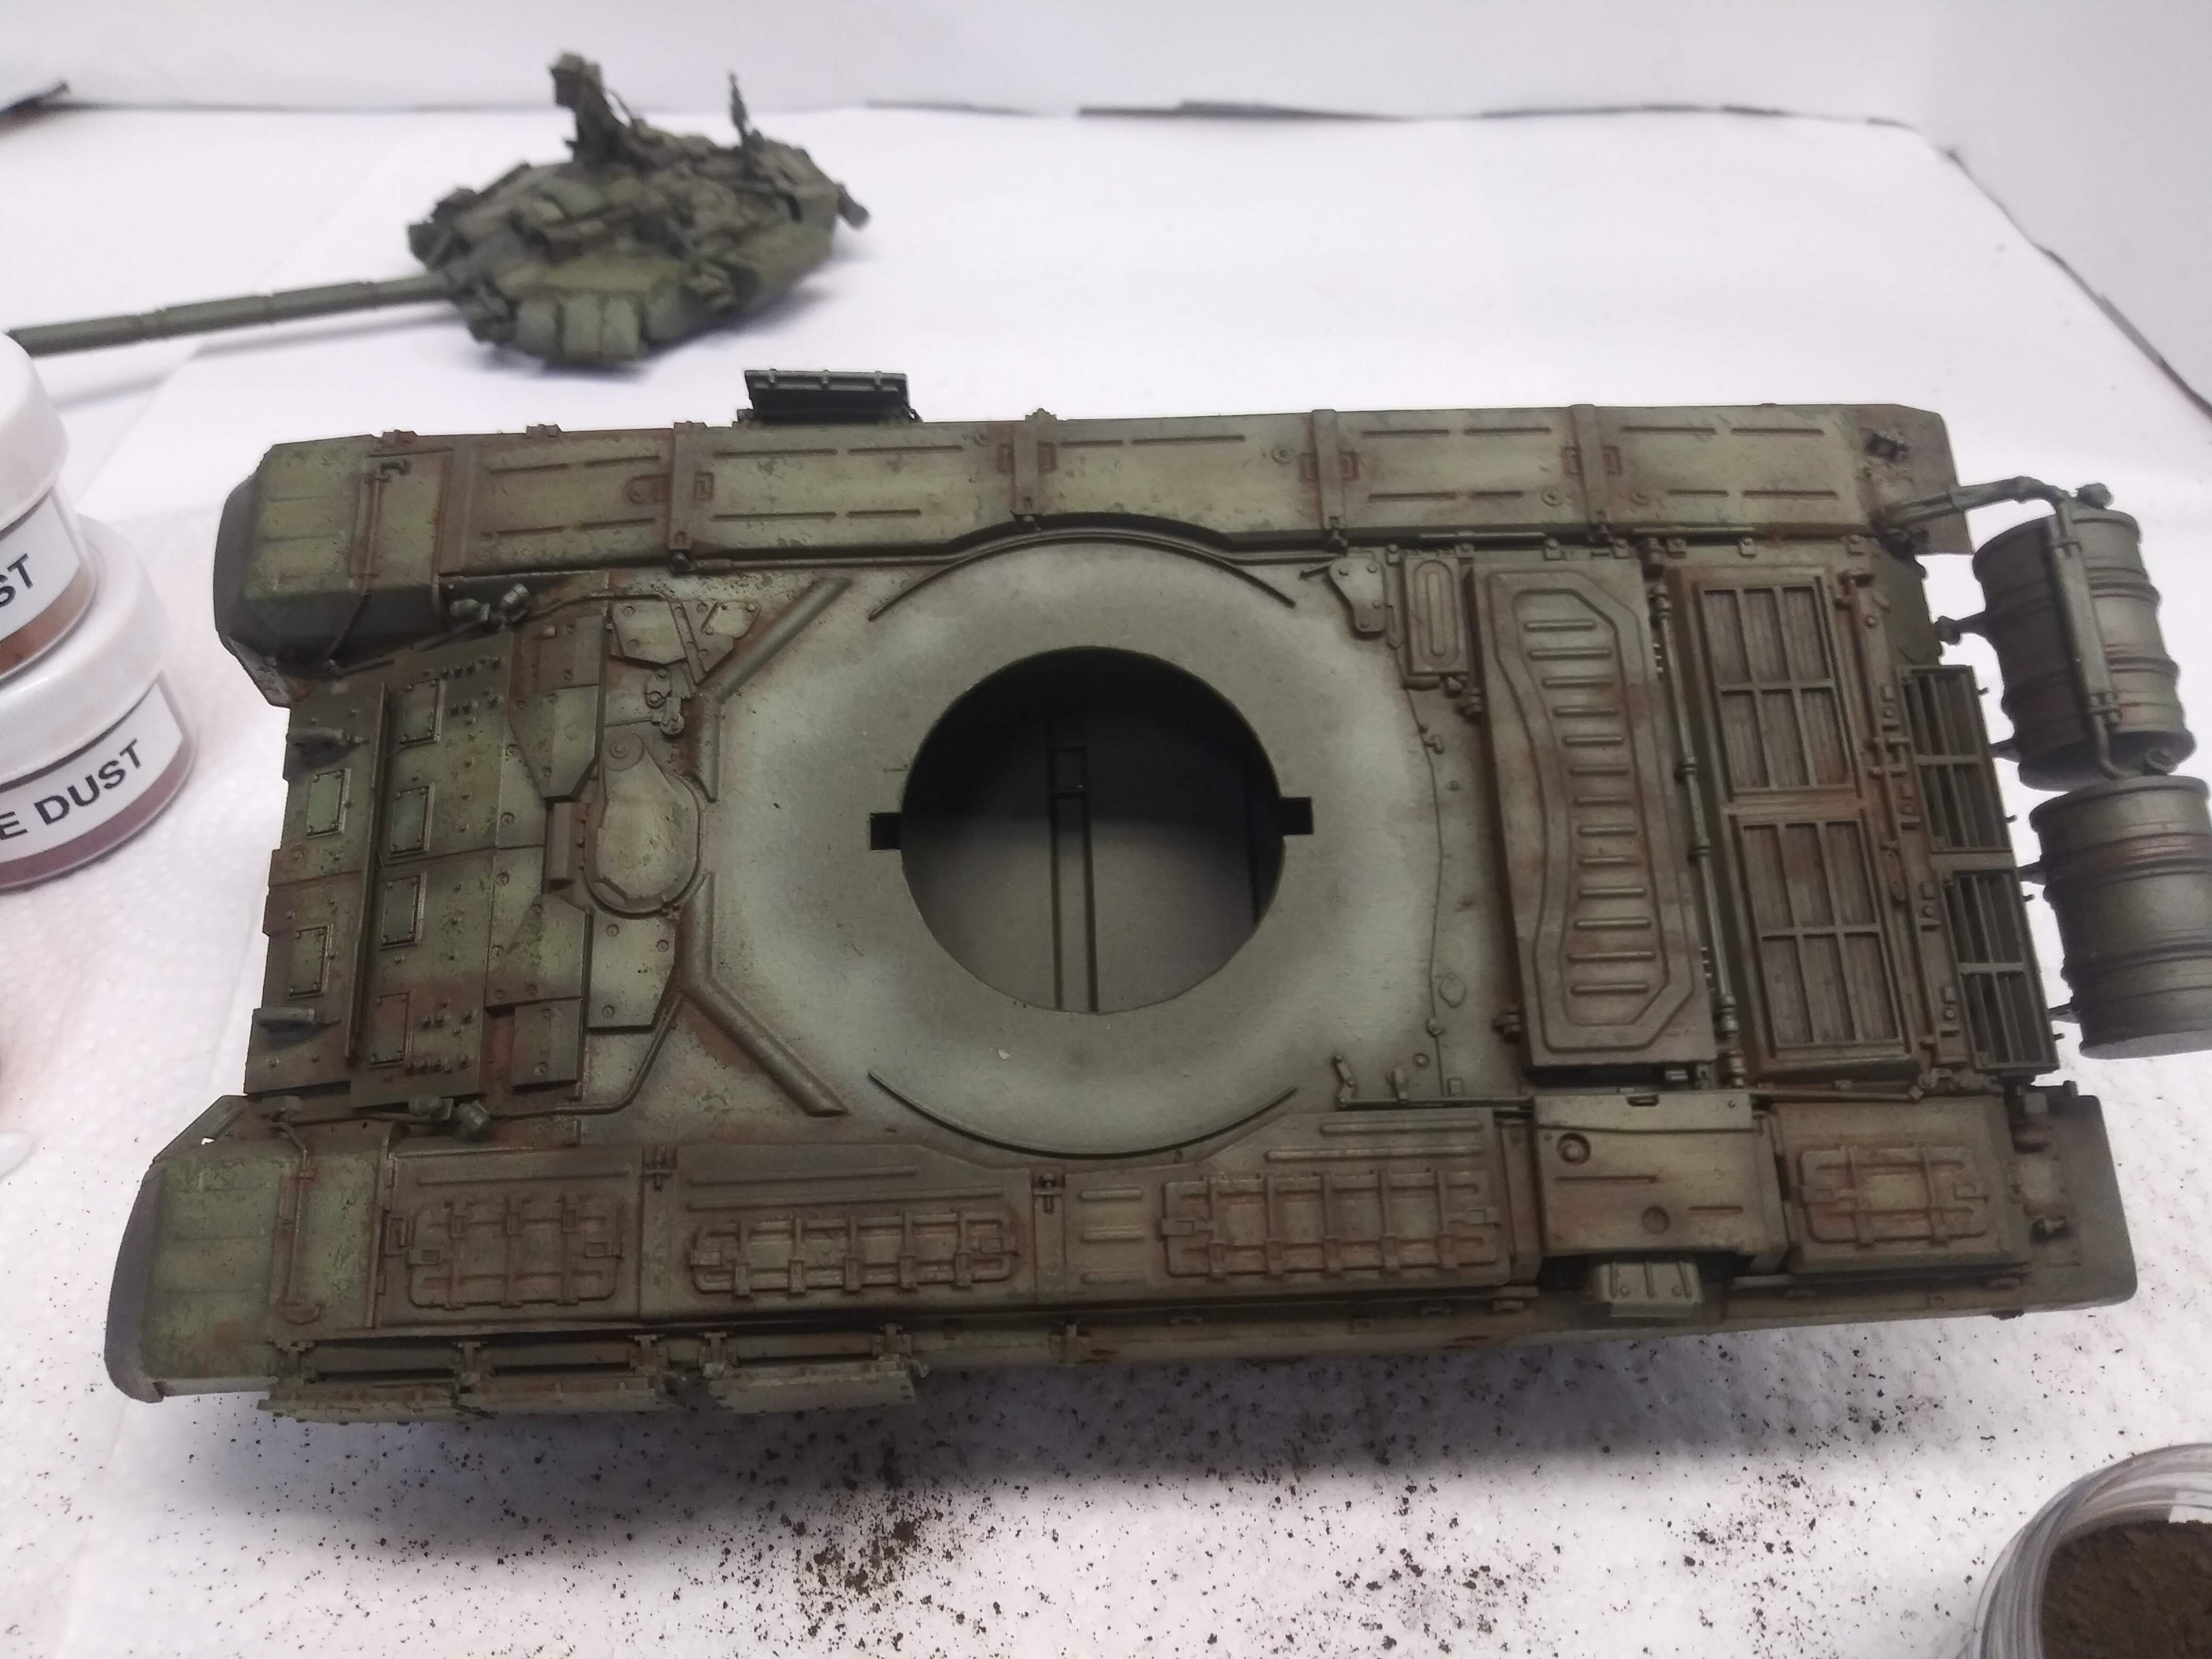
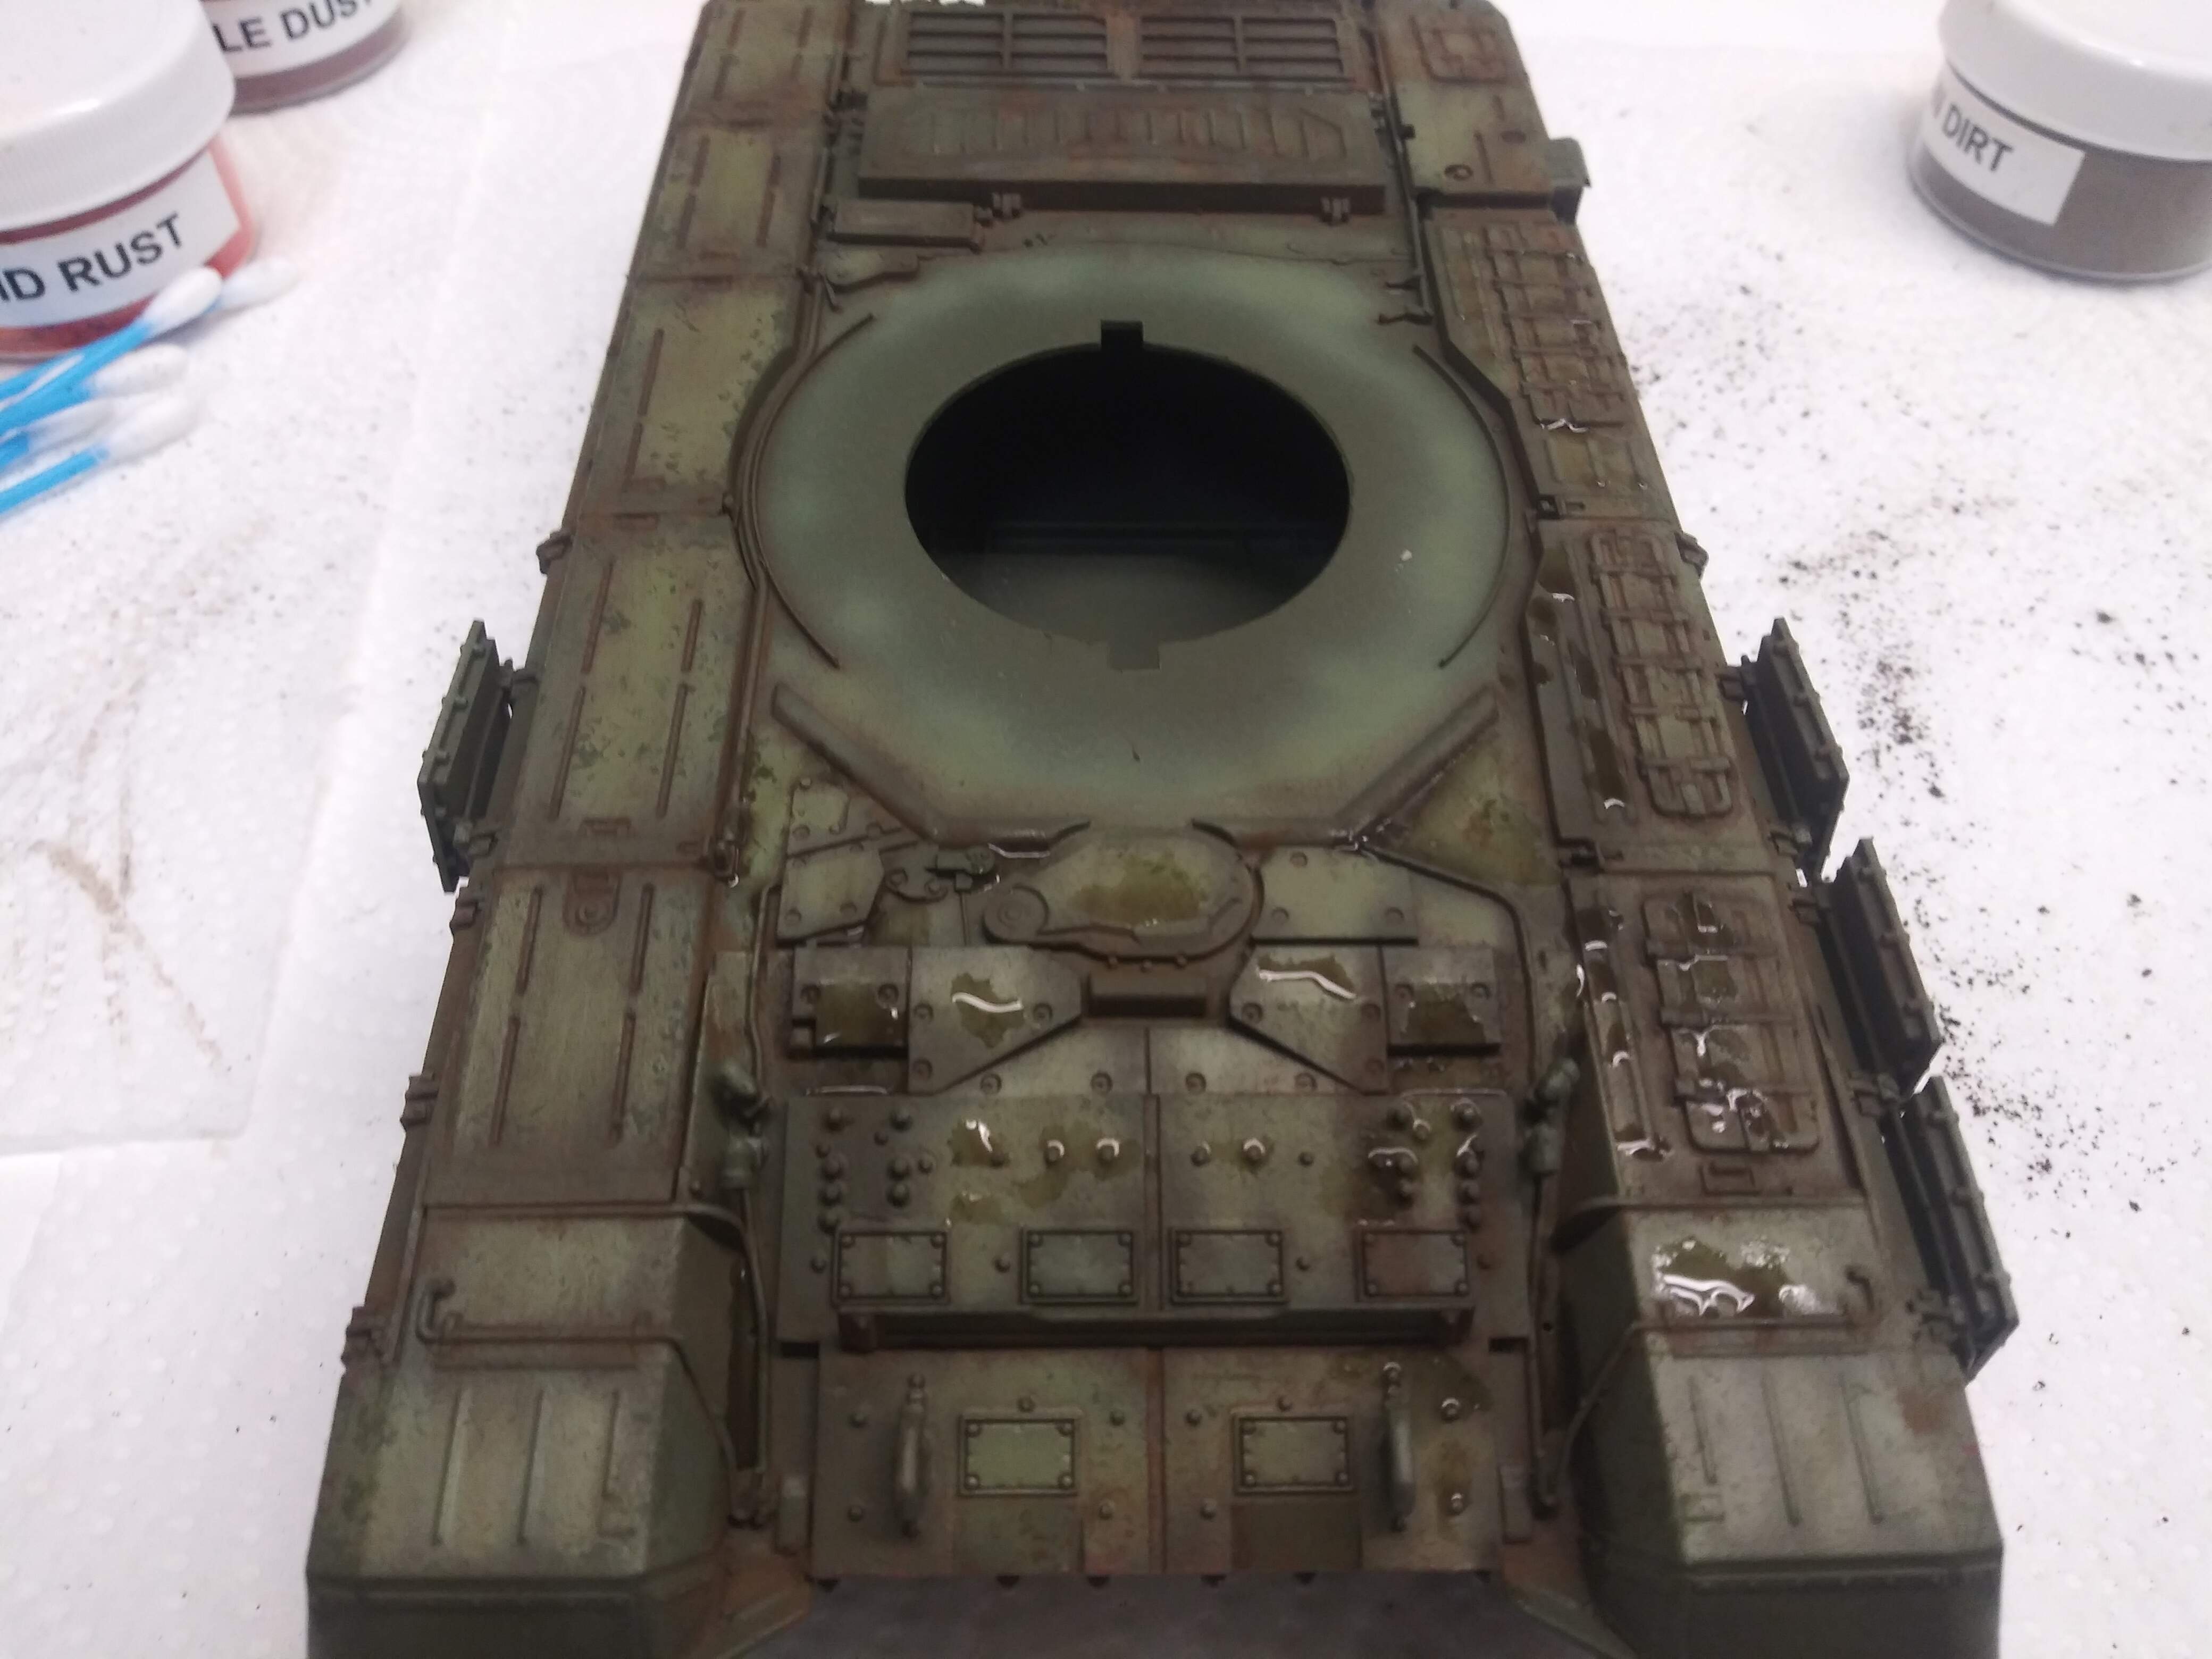
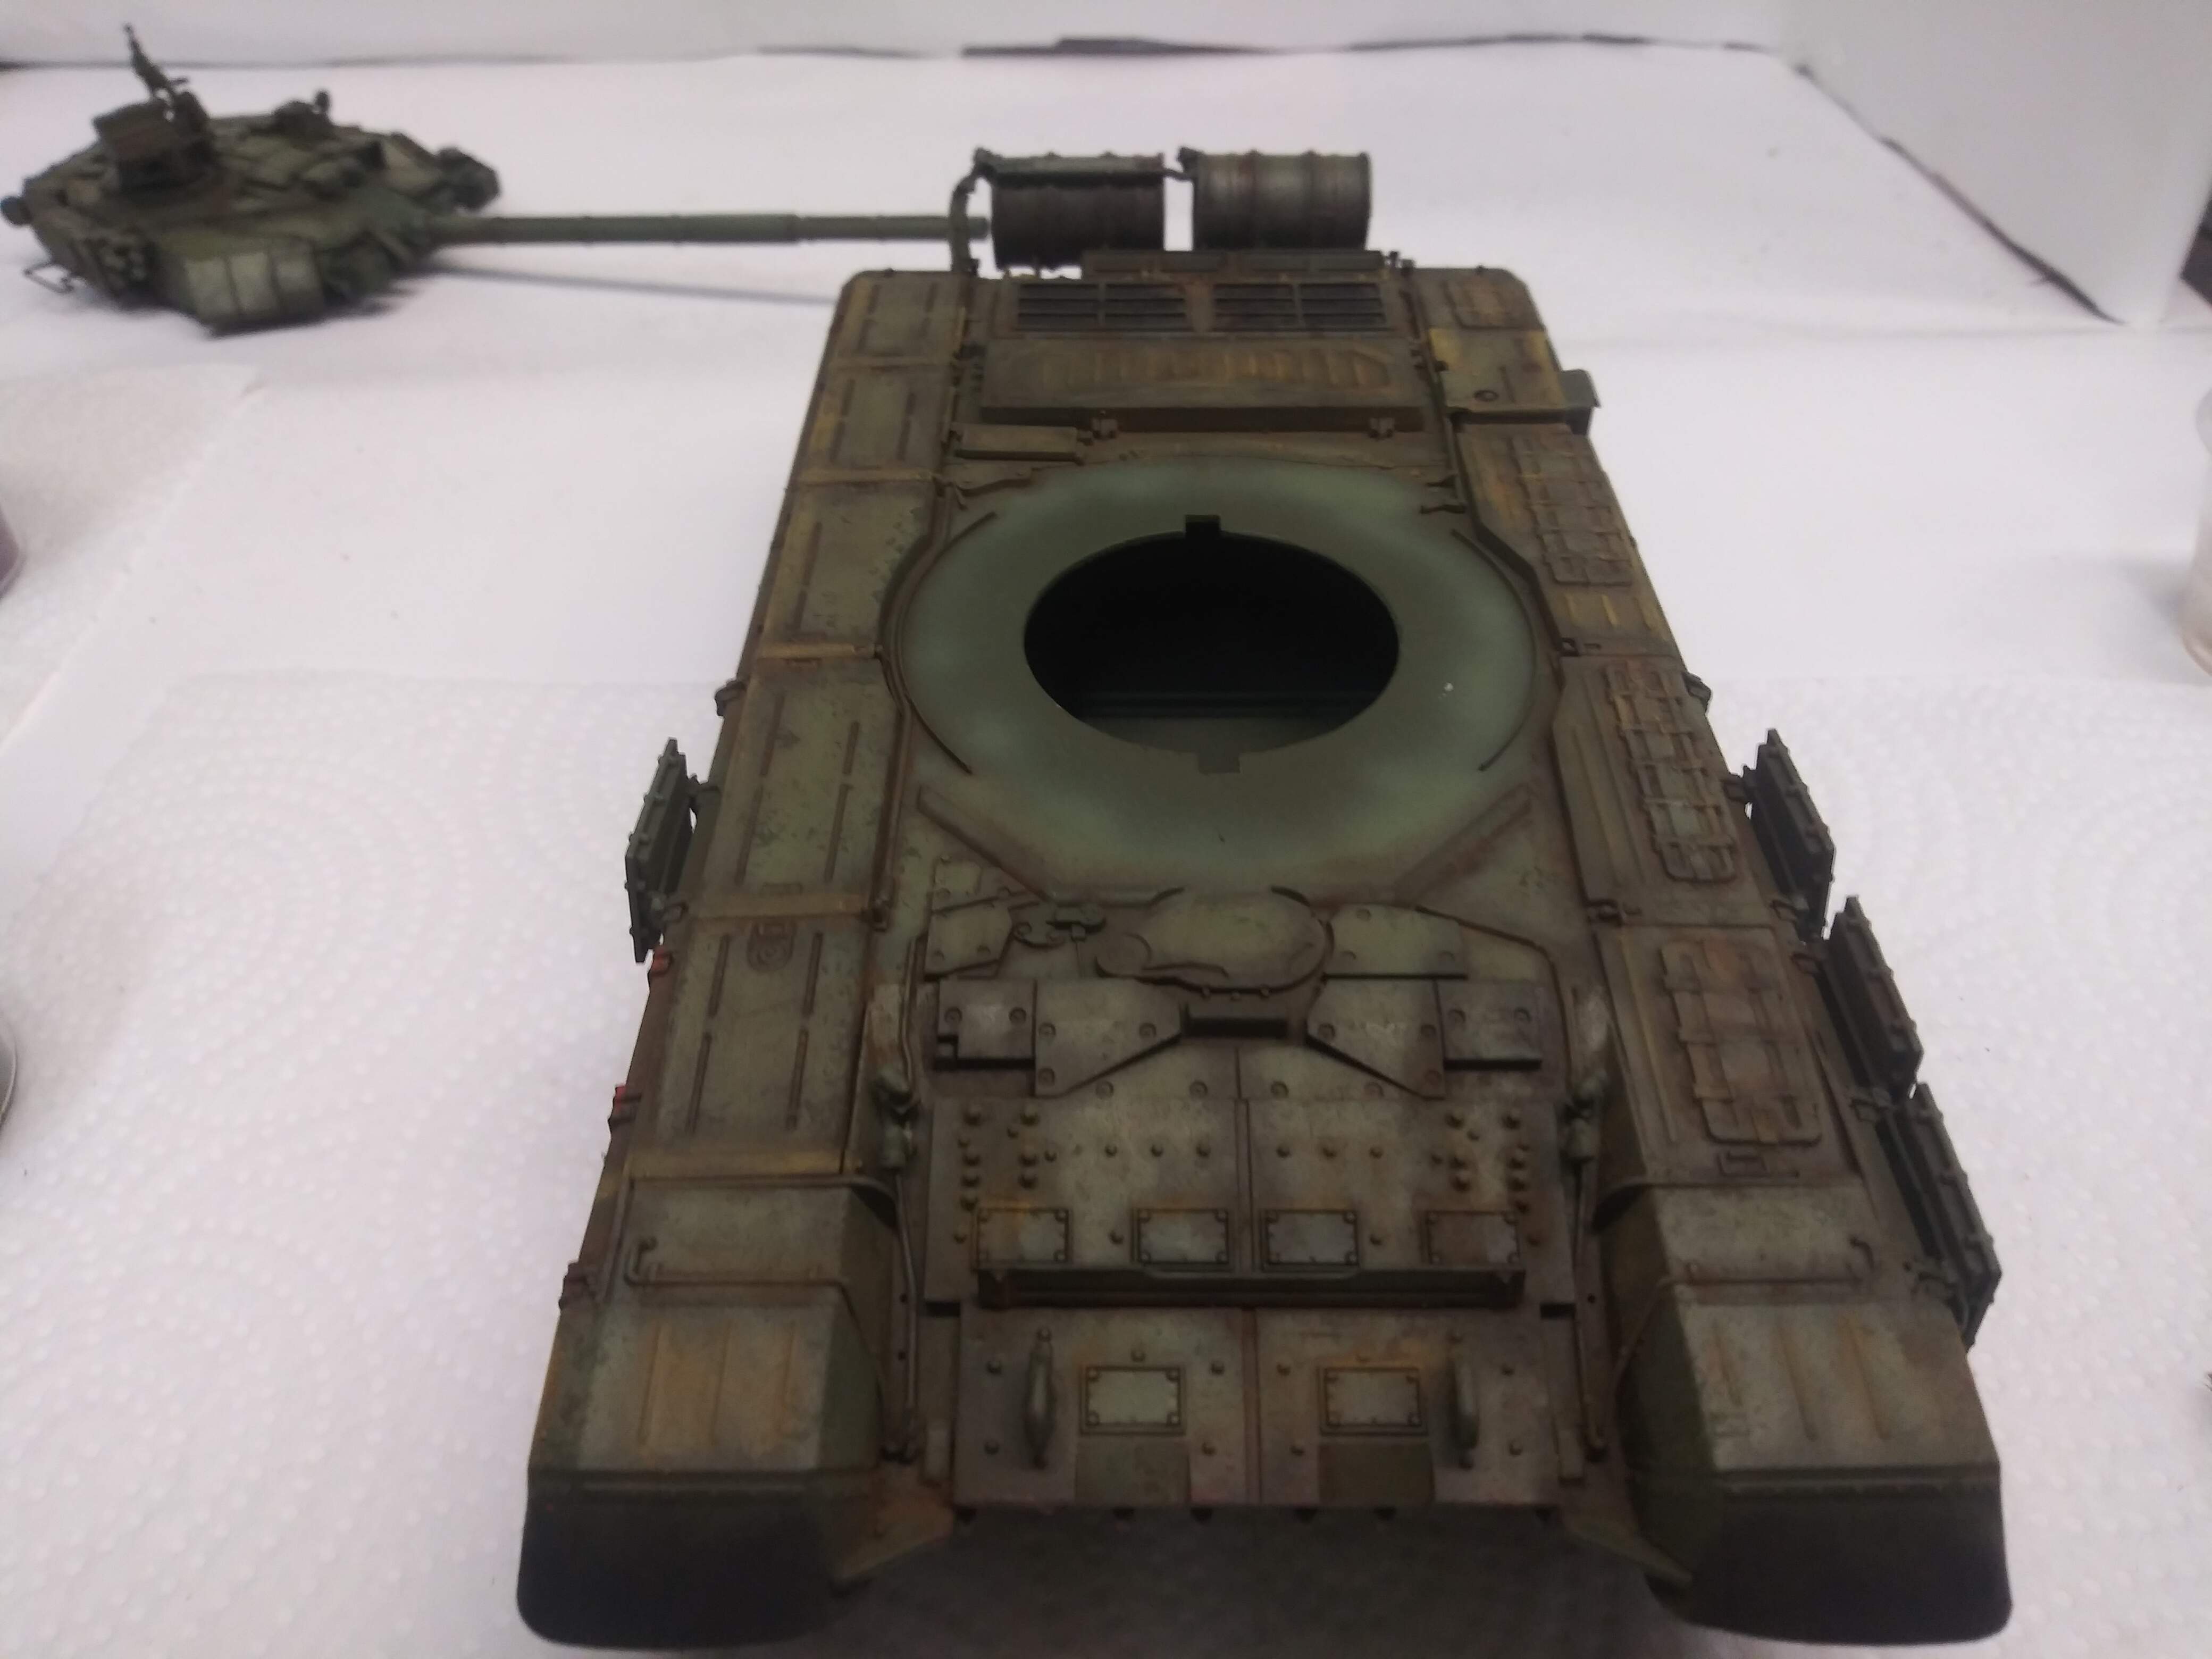
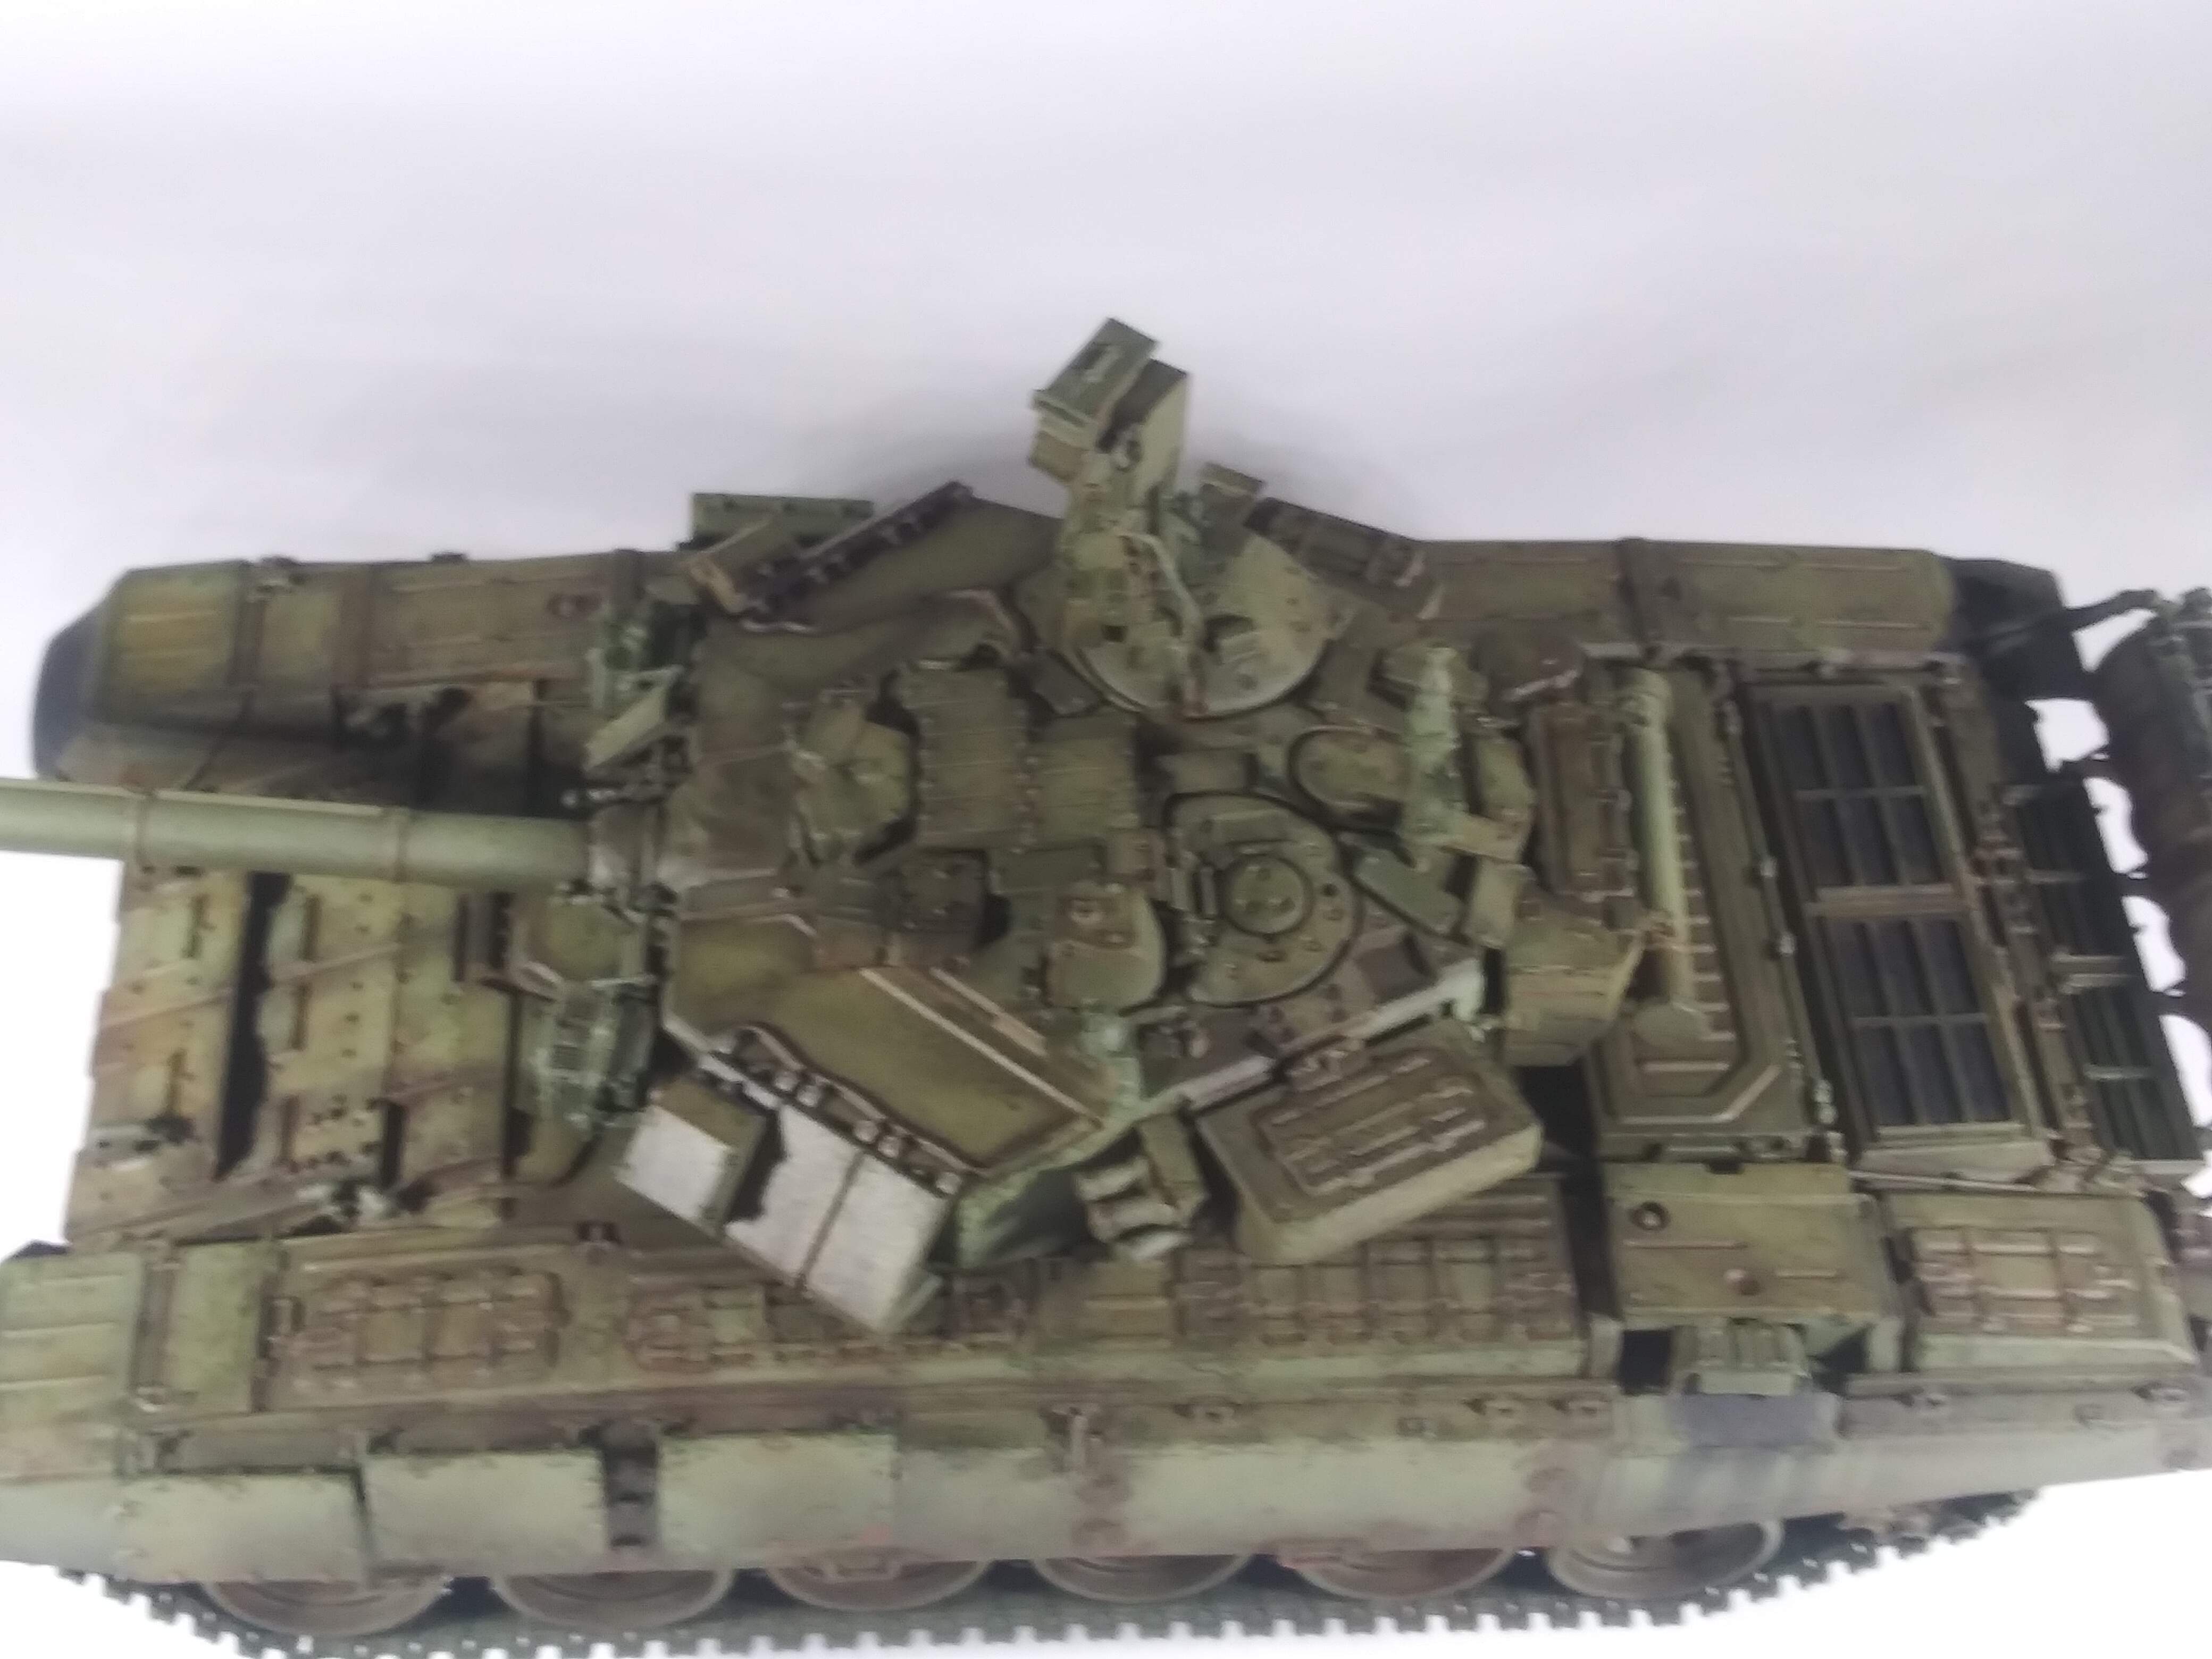
Now that we have some pigment on the top side and the excess brushed away . It is time for thw water again.
- Apply water randomly.
- Dab excess away with a cotton bud . On larger flat areas roll the cotton bud across the surface.
The un pigmented turret is shown here for a point of reference.
3 Likes
The next step here is where it really starts getting fun.
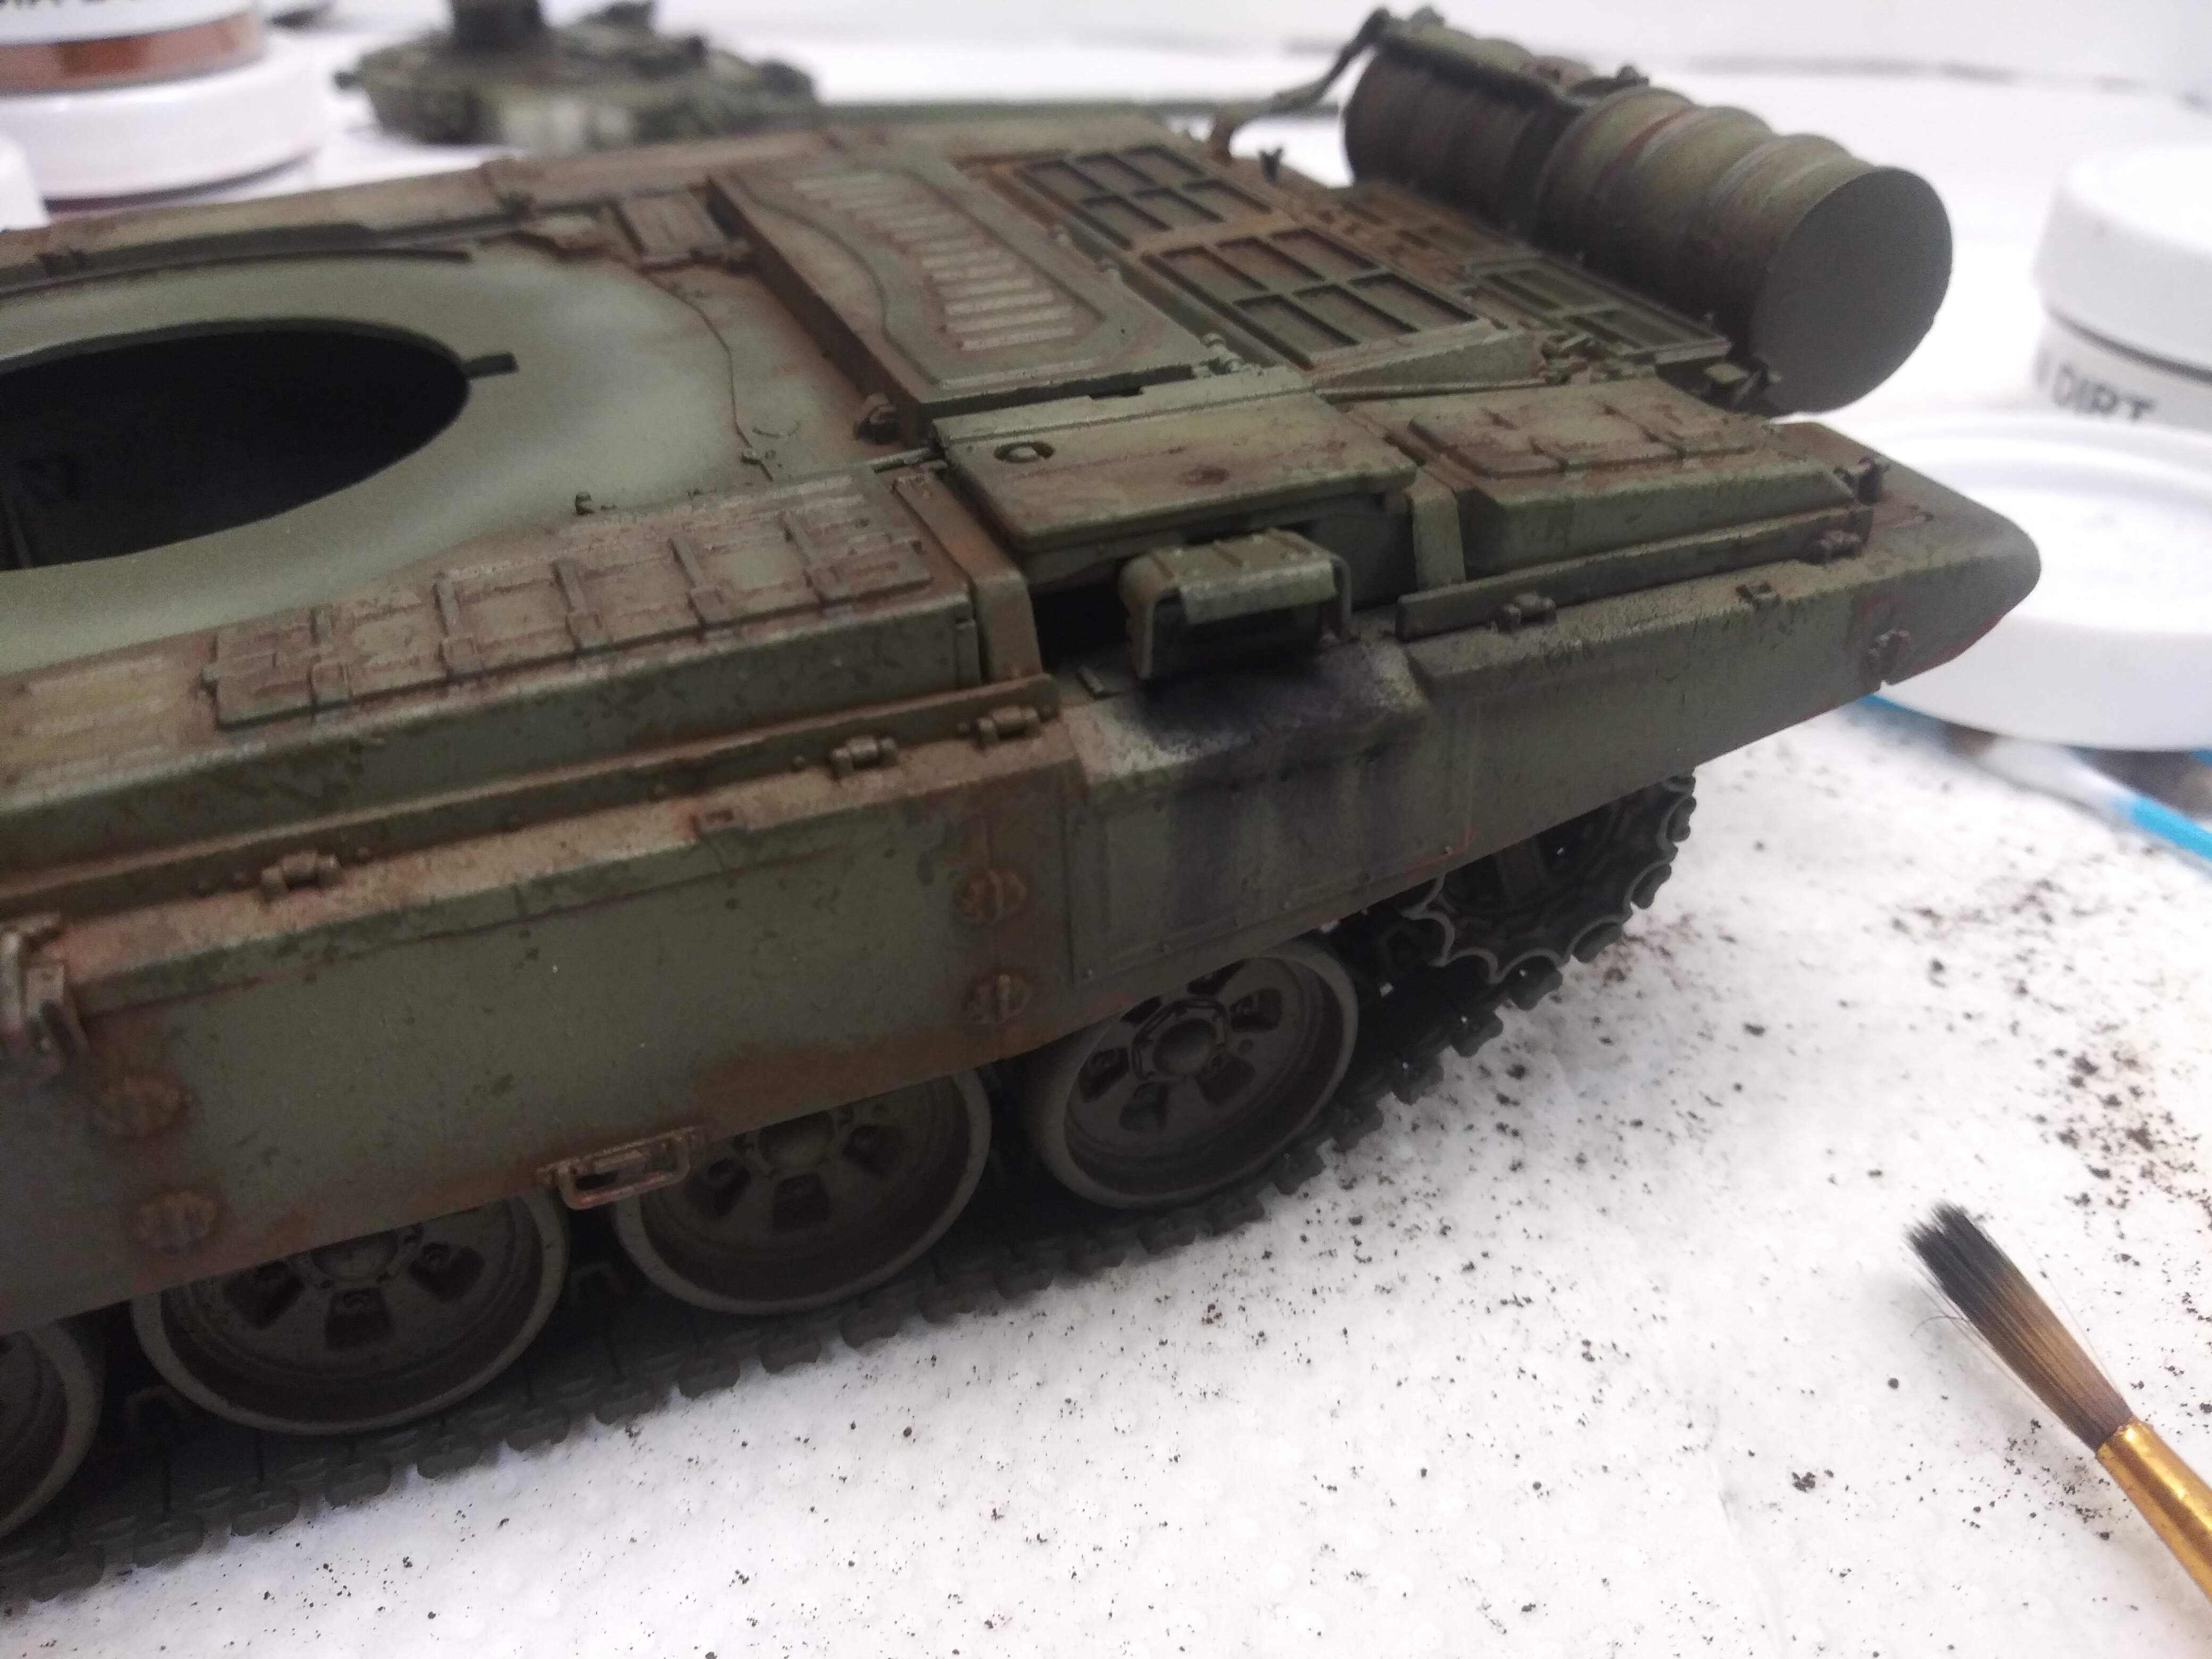
We now move on to the black pigment power and do the worn effect on the front mud guards.
- Since the front guards are a rubber material that often gets painted over , we show the worn effect here.
Apply black pigment starting from the bottom edge stippling aggressively to get a dark tone and gradually lighten and become more random as it goes up to simulate the worn look.
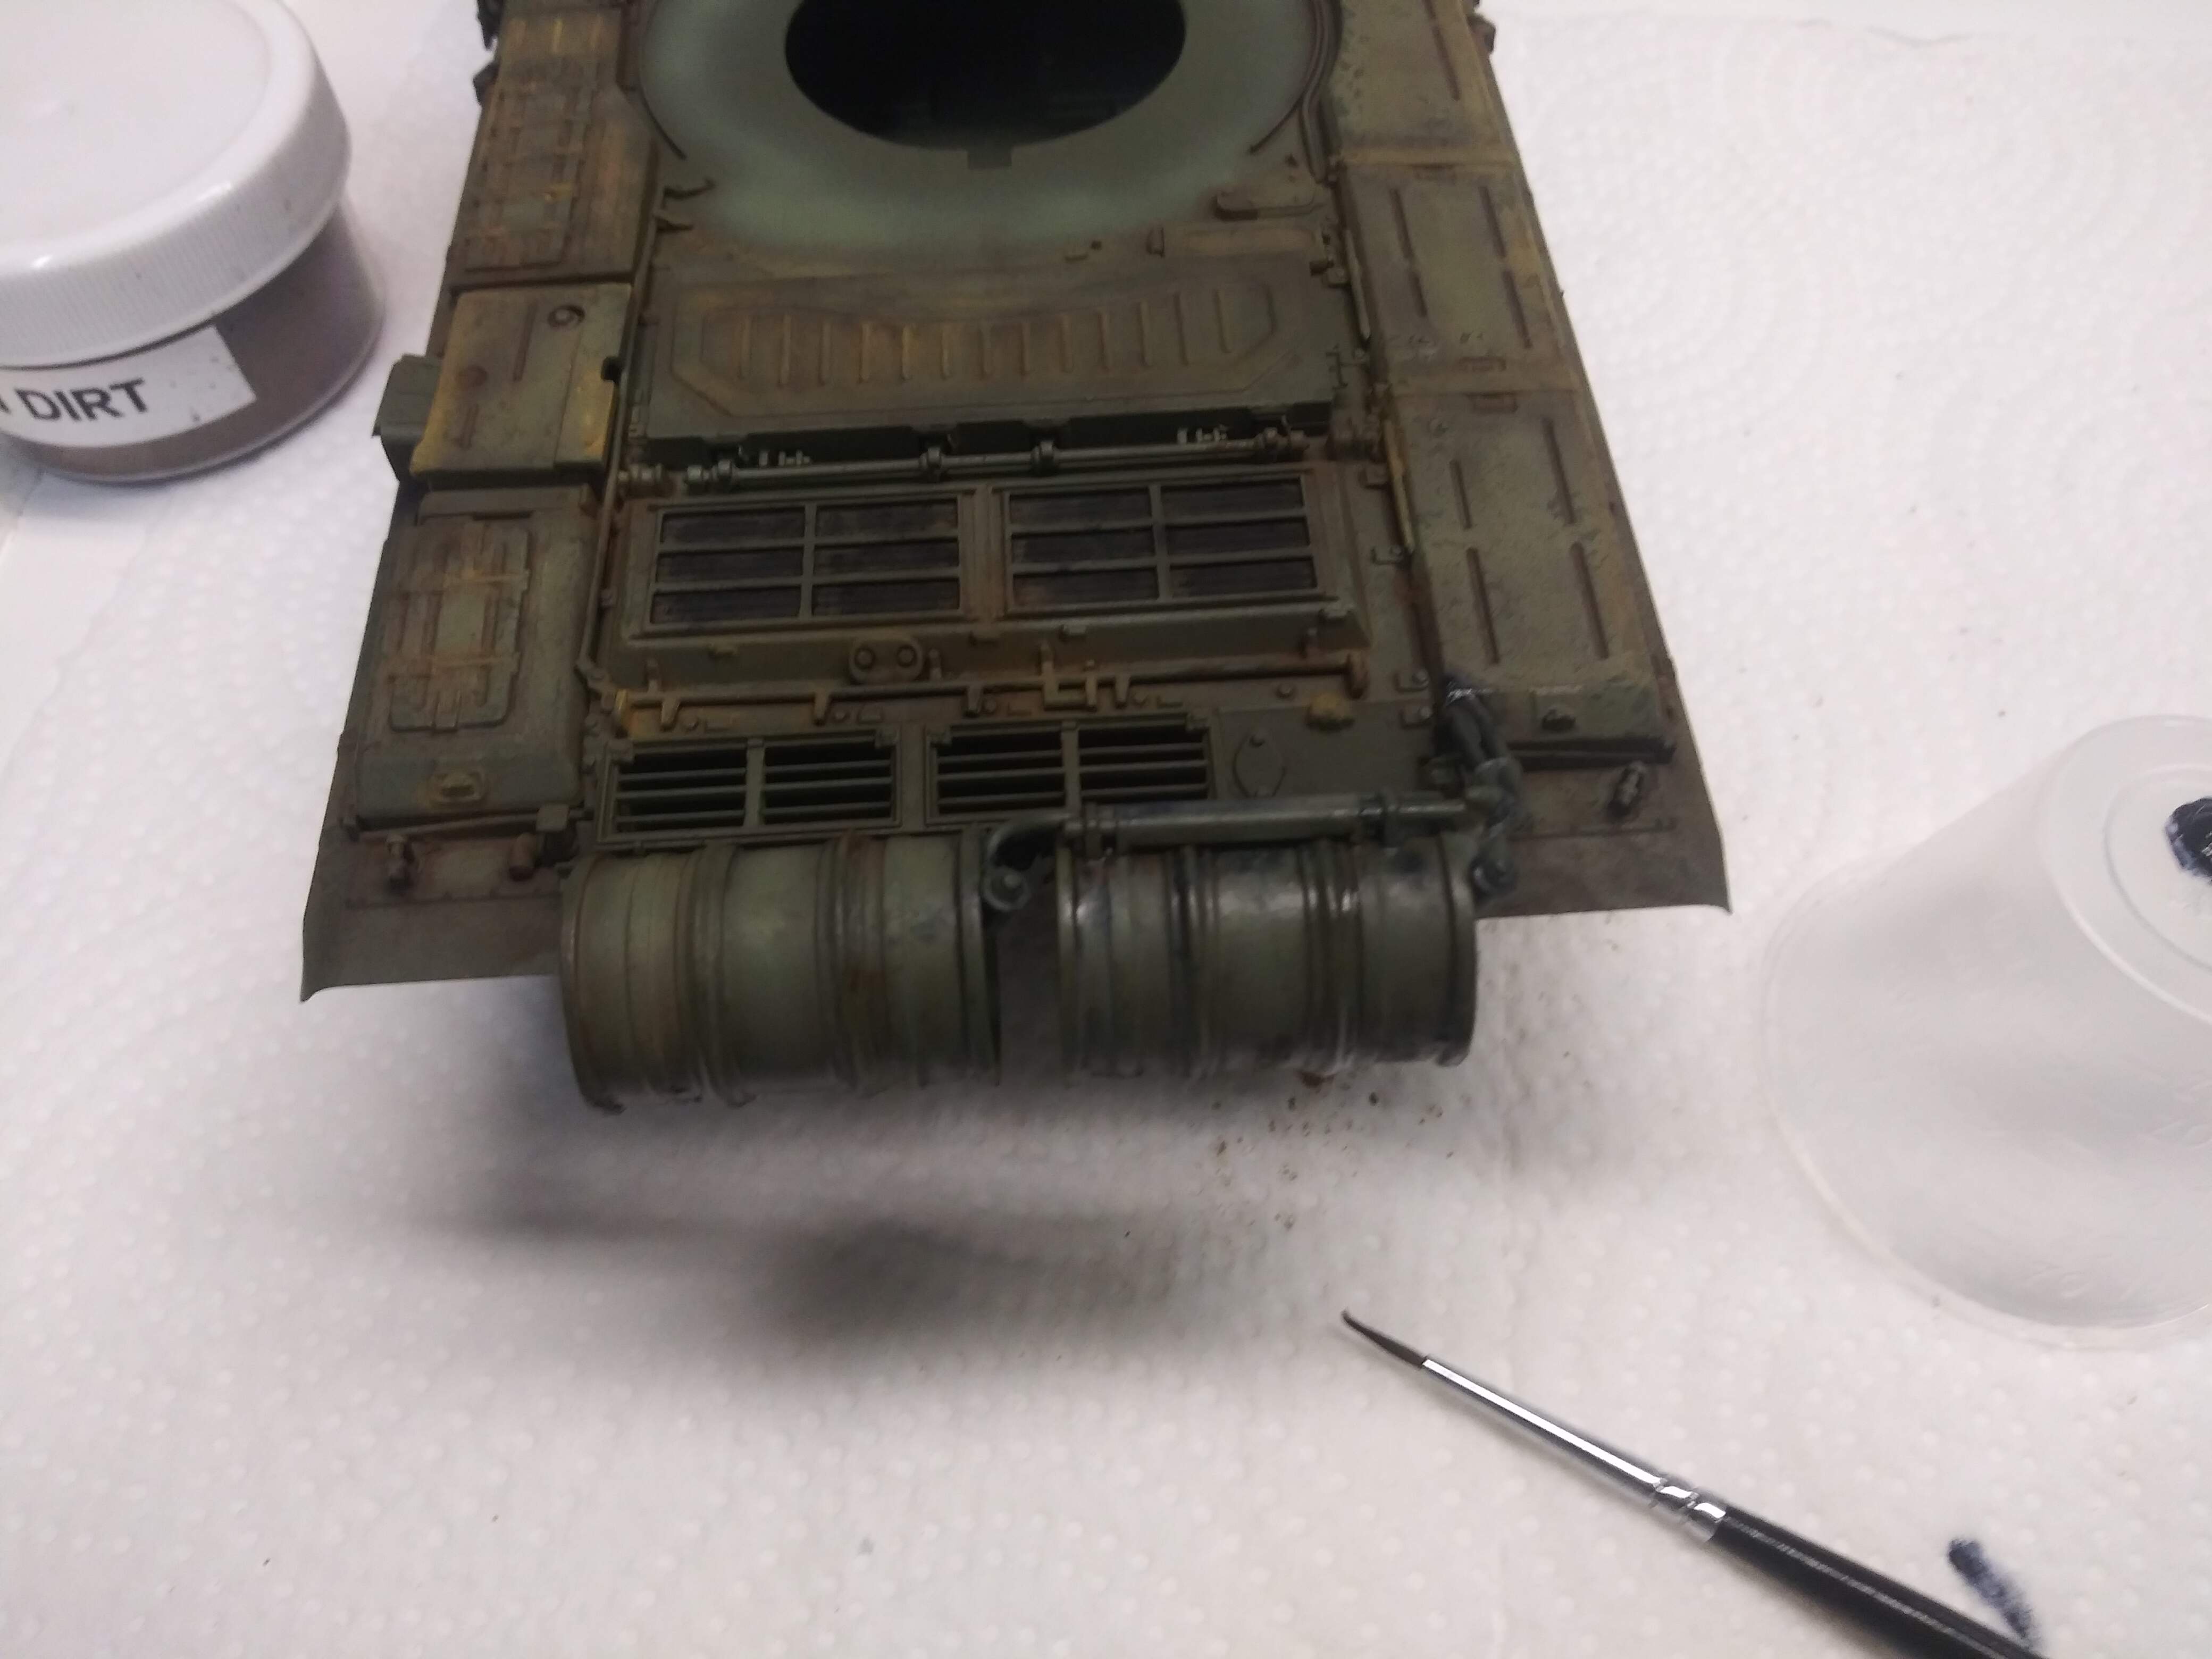
Next are for the black pigment is the exhaust.
- Stipple black on the exhaust port and gently brush down to create exhaust staining as well as lightly brush to the rear along the edge for more exhaust build up.
3 Likes
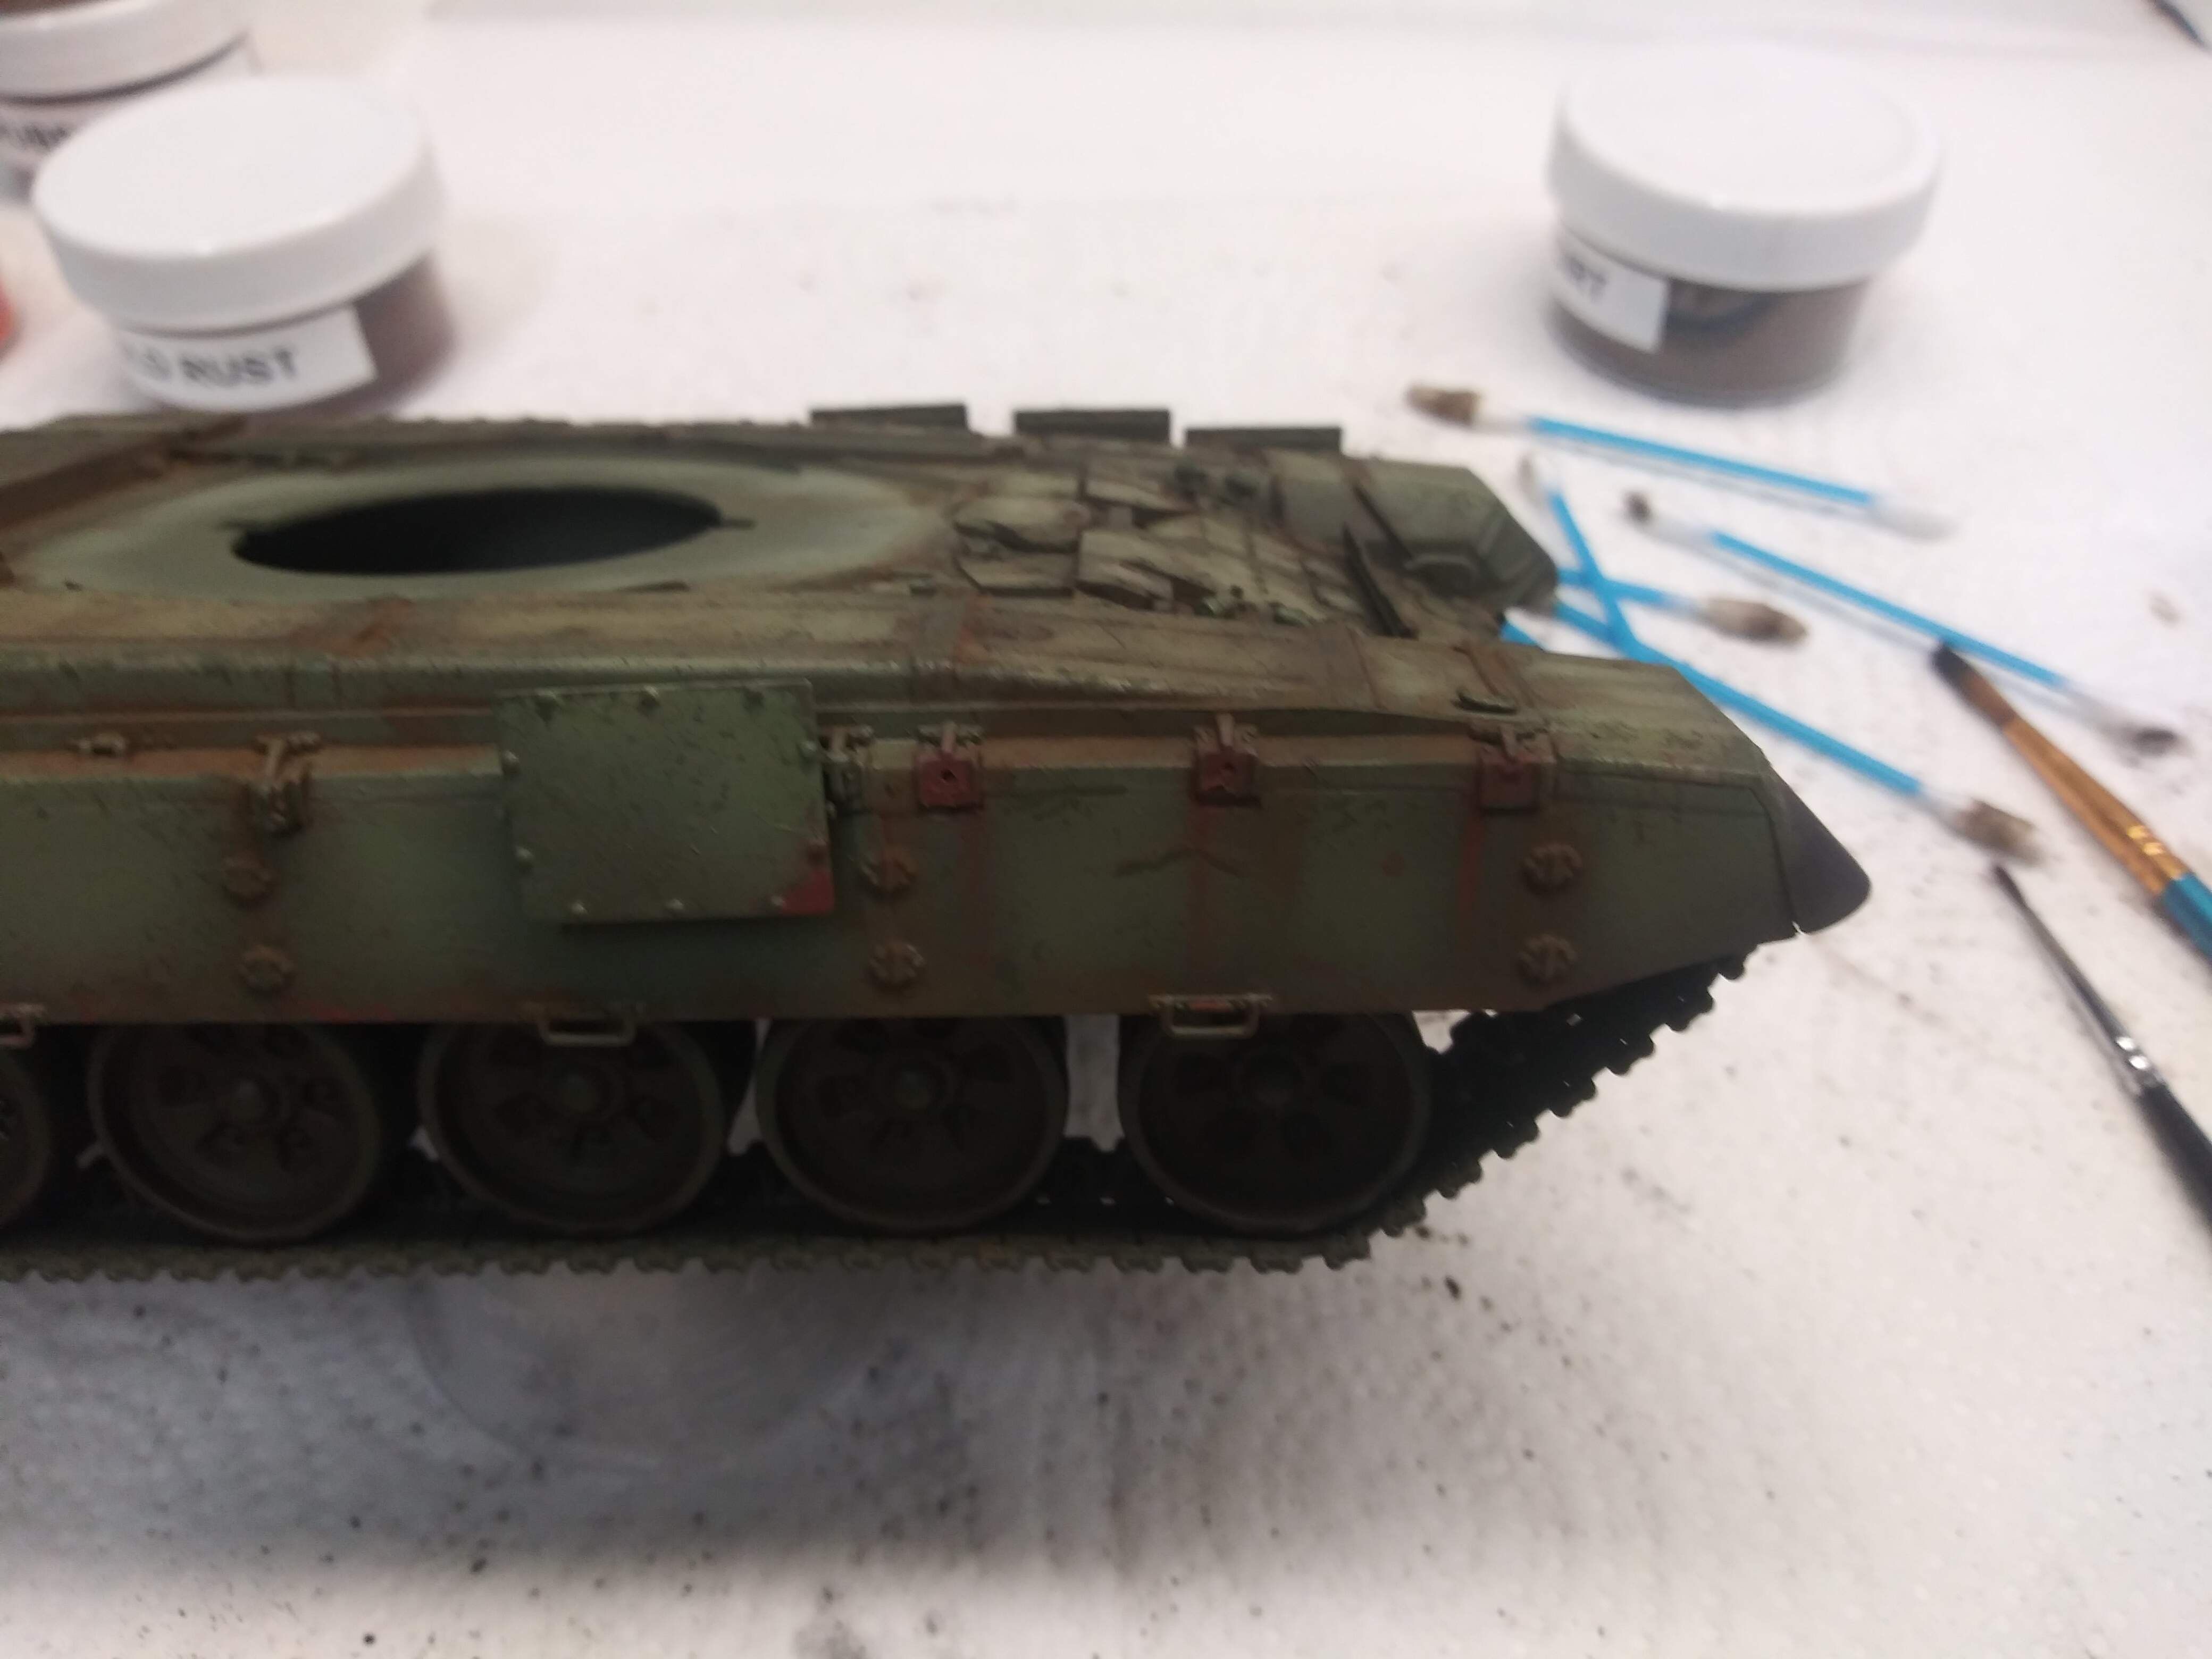
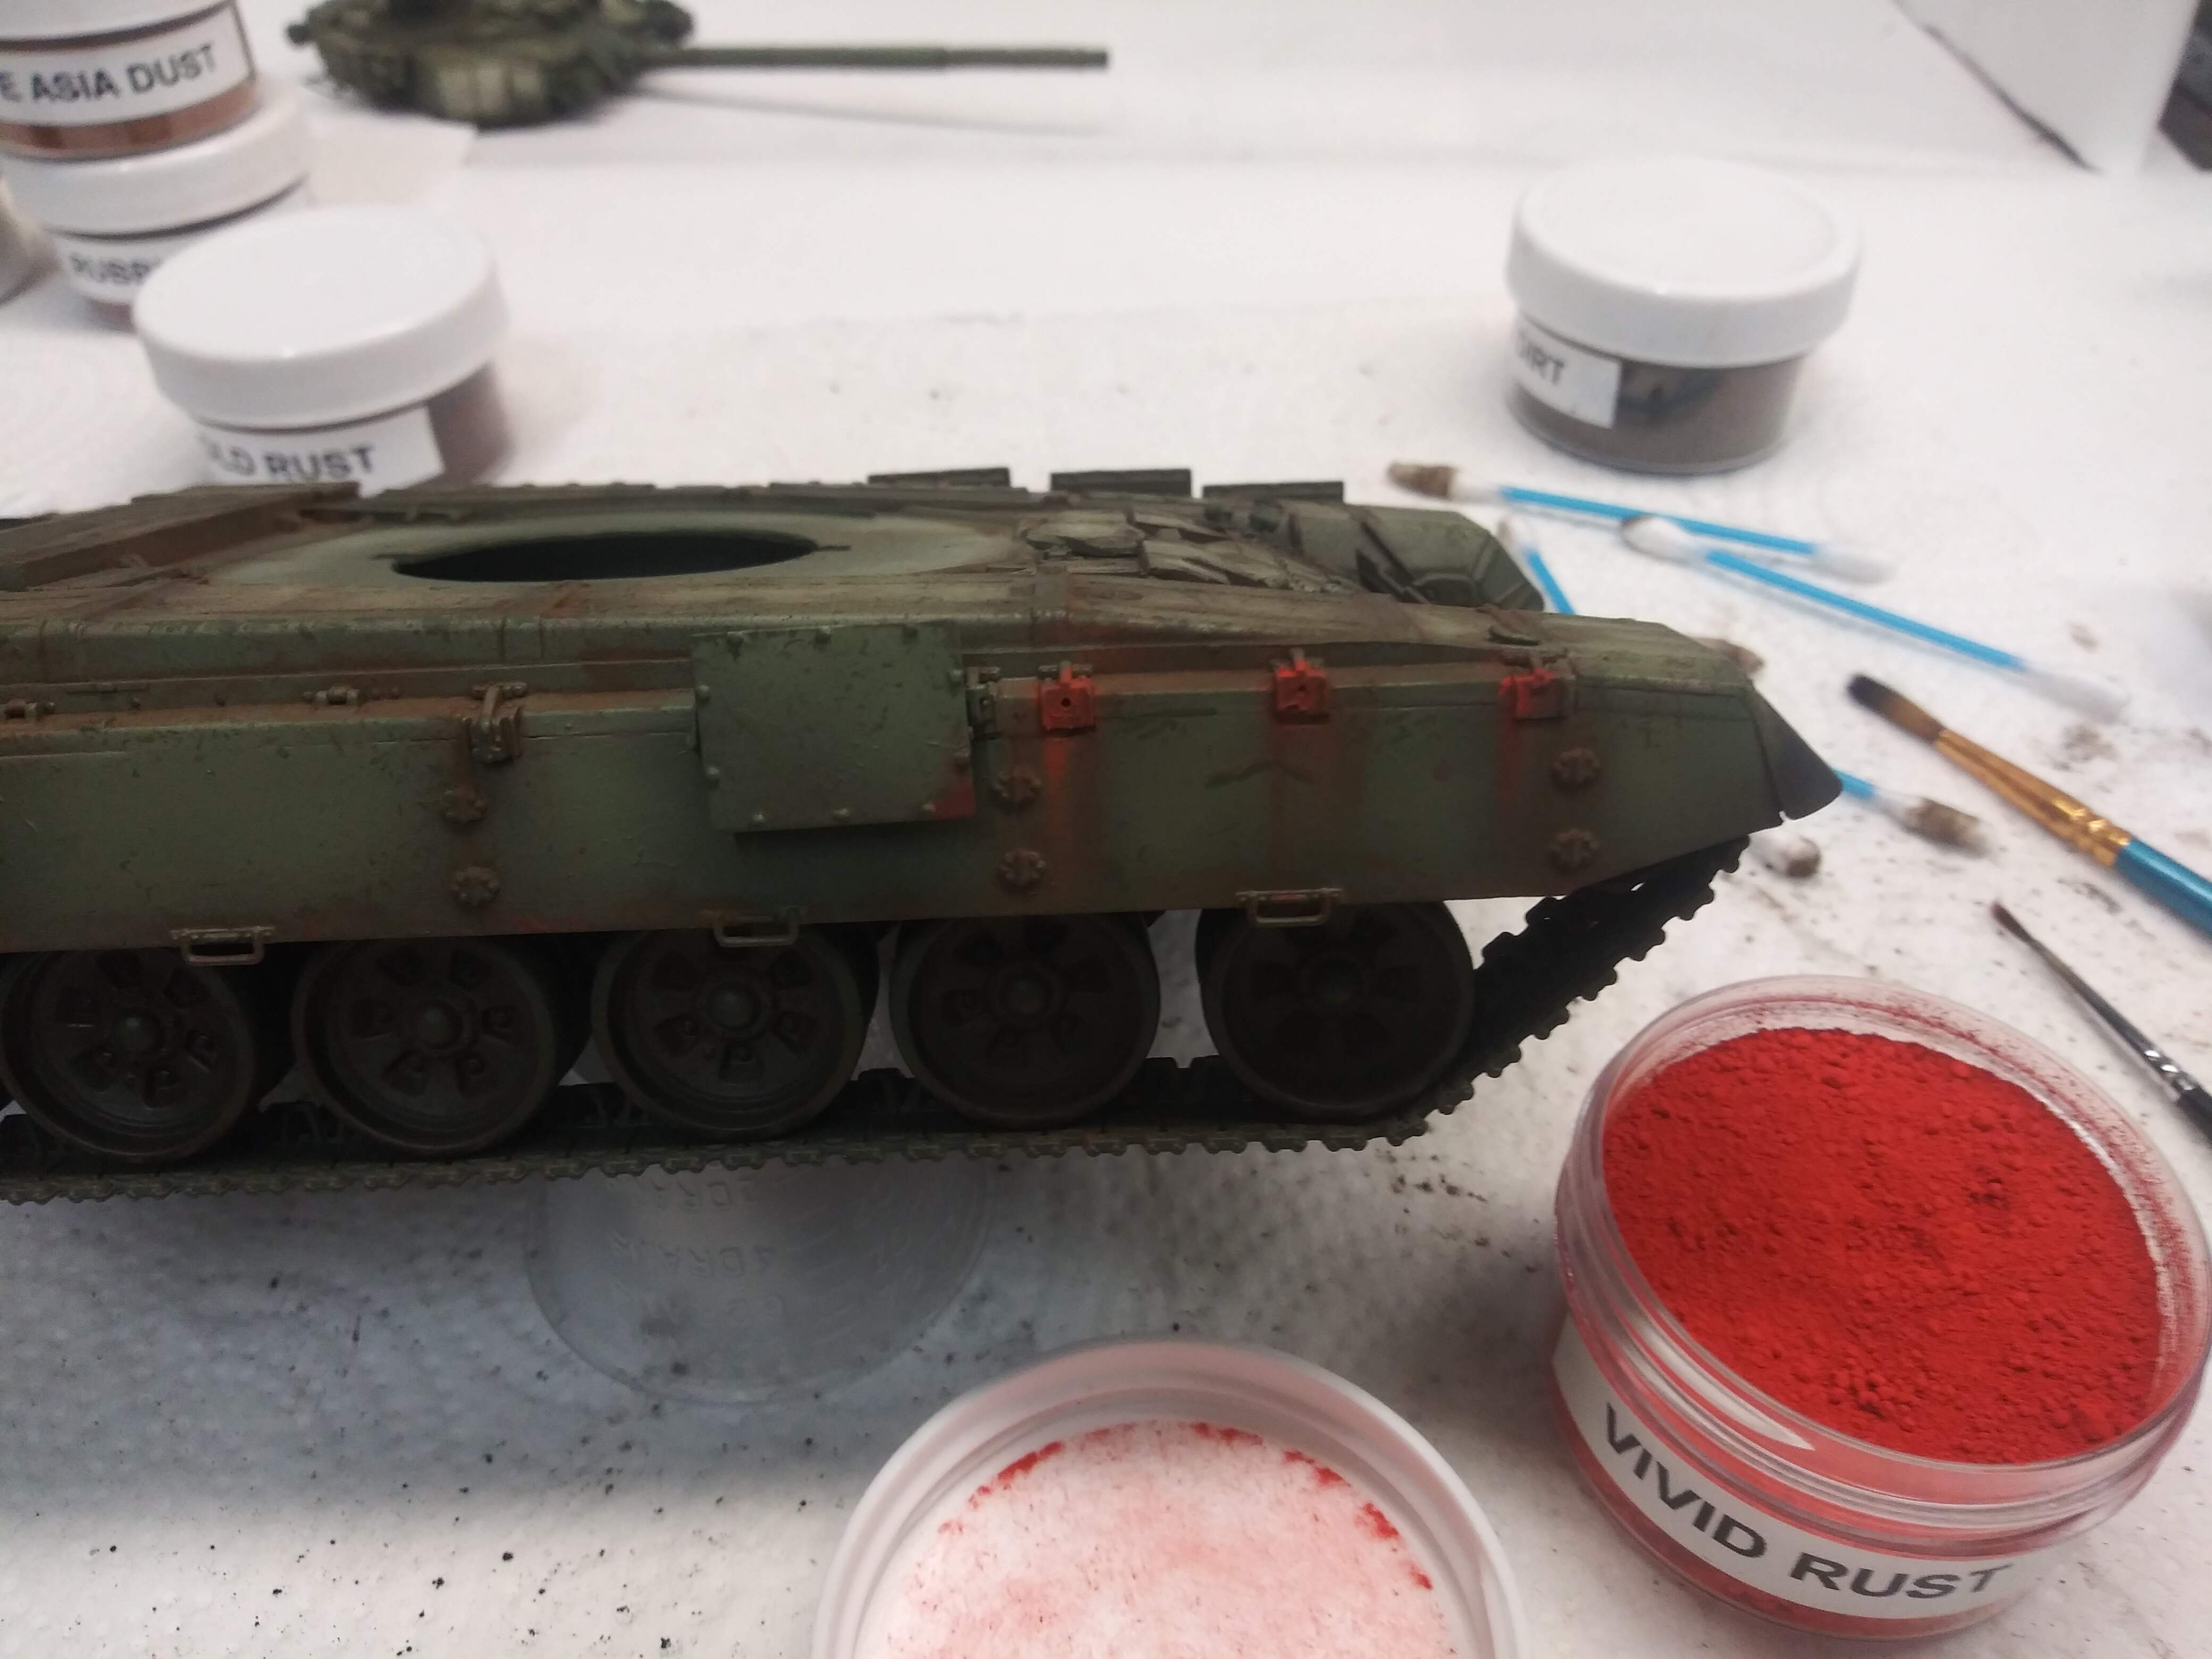
This vehicle does not need allot of rust and rust streaks . The standoff armor on the side has been ripped away so to simulate that rusted area.
- Apply dark rust color to the surface of the mount .
- Gently apply a vivid new rust color to the edges randomly and pull down for subtle streaks along the old rust streaks.
- Gently apply a small amount of black over the entire rust part
3 Likes
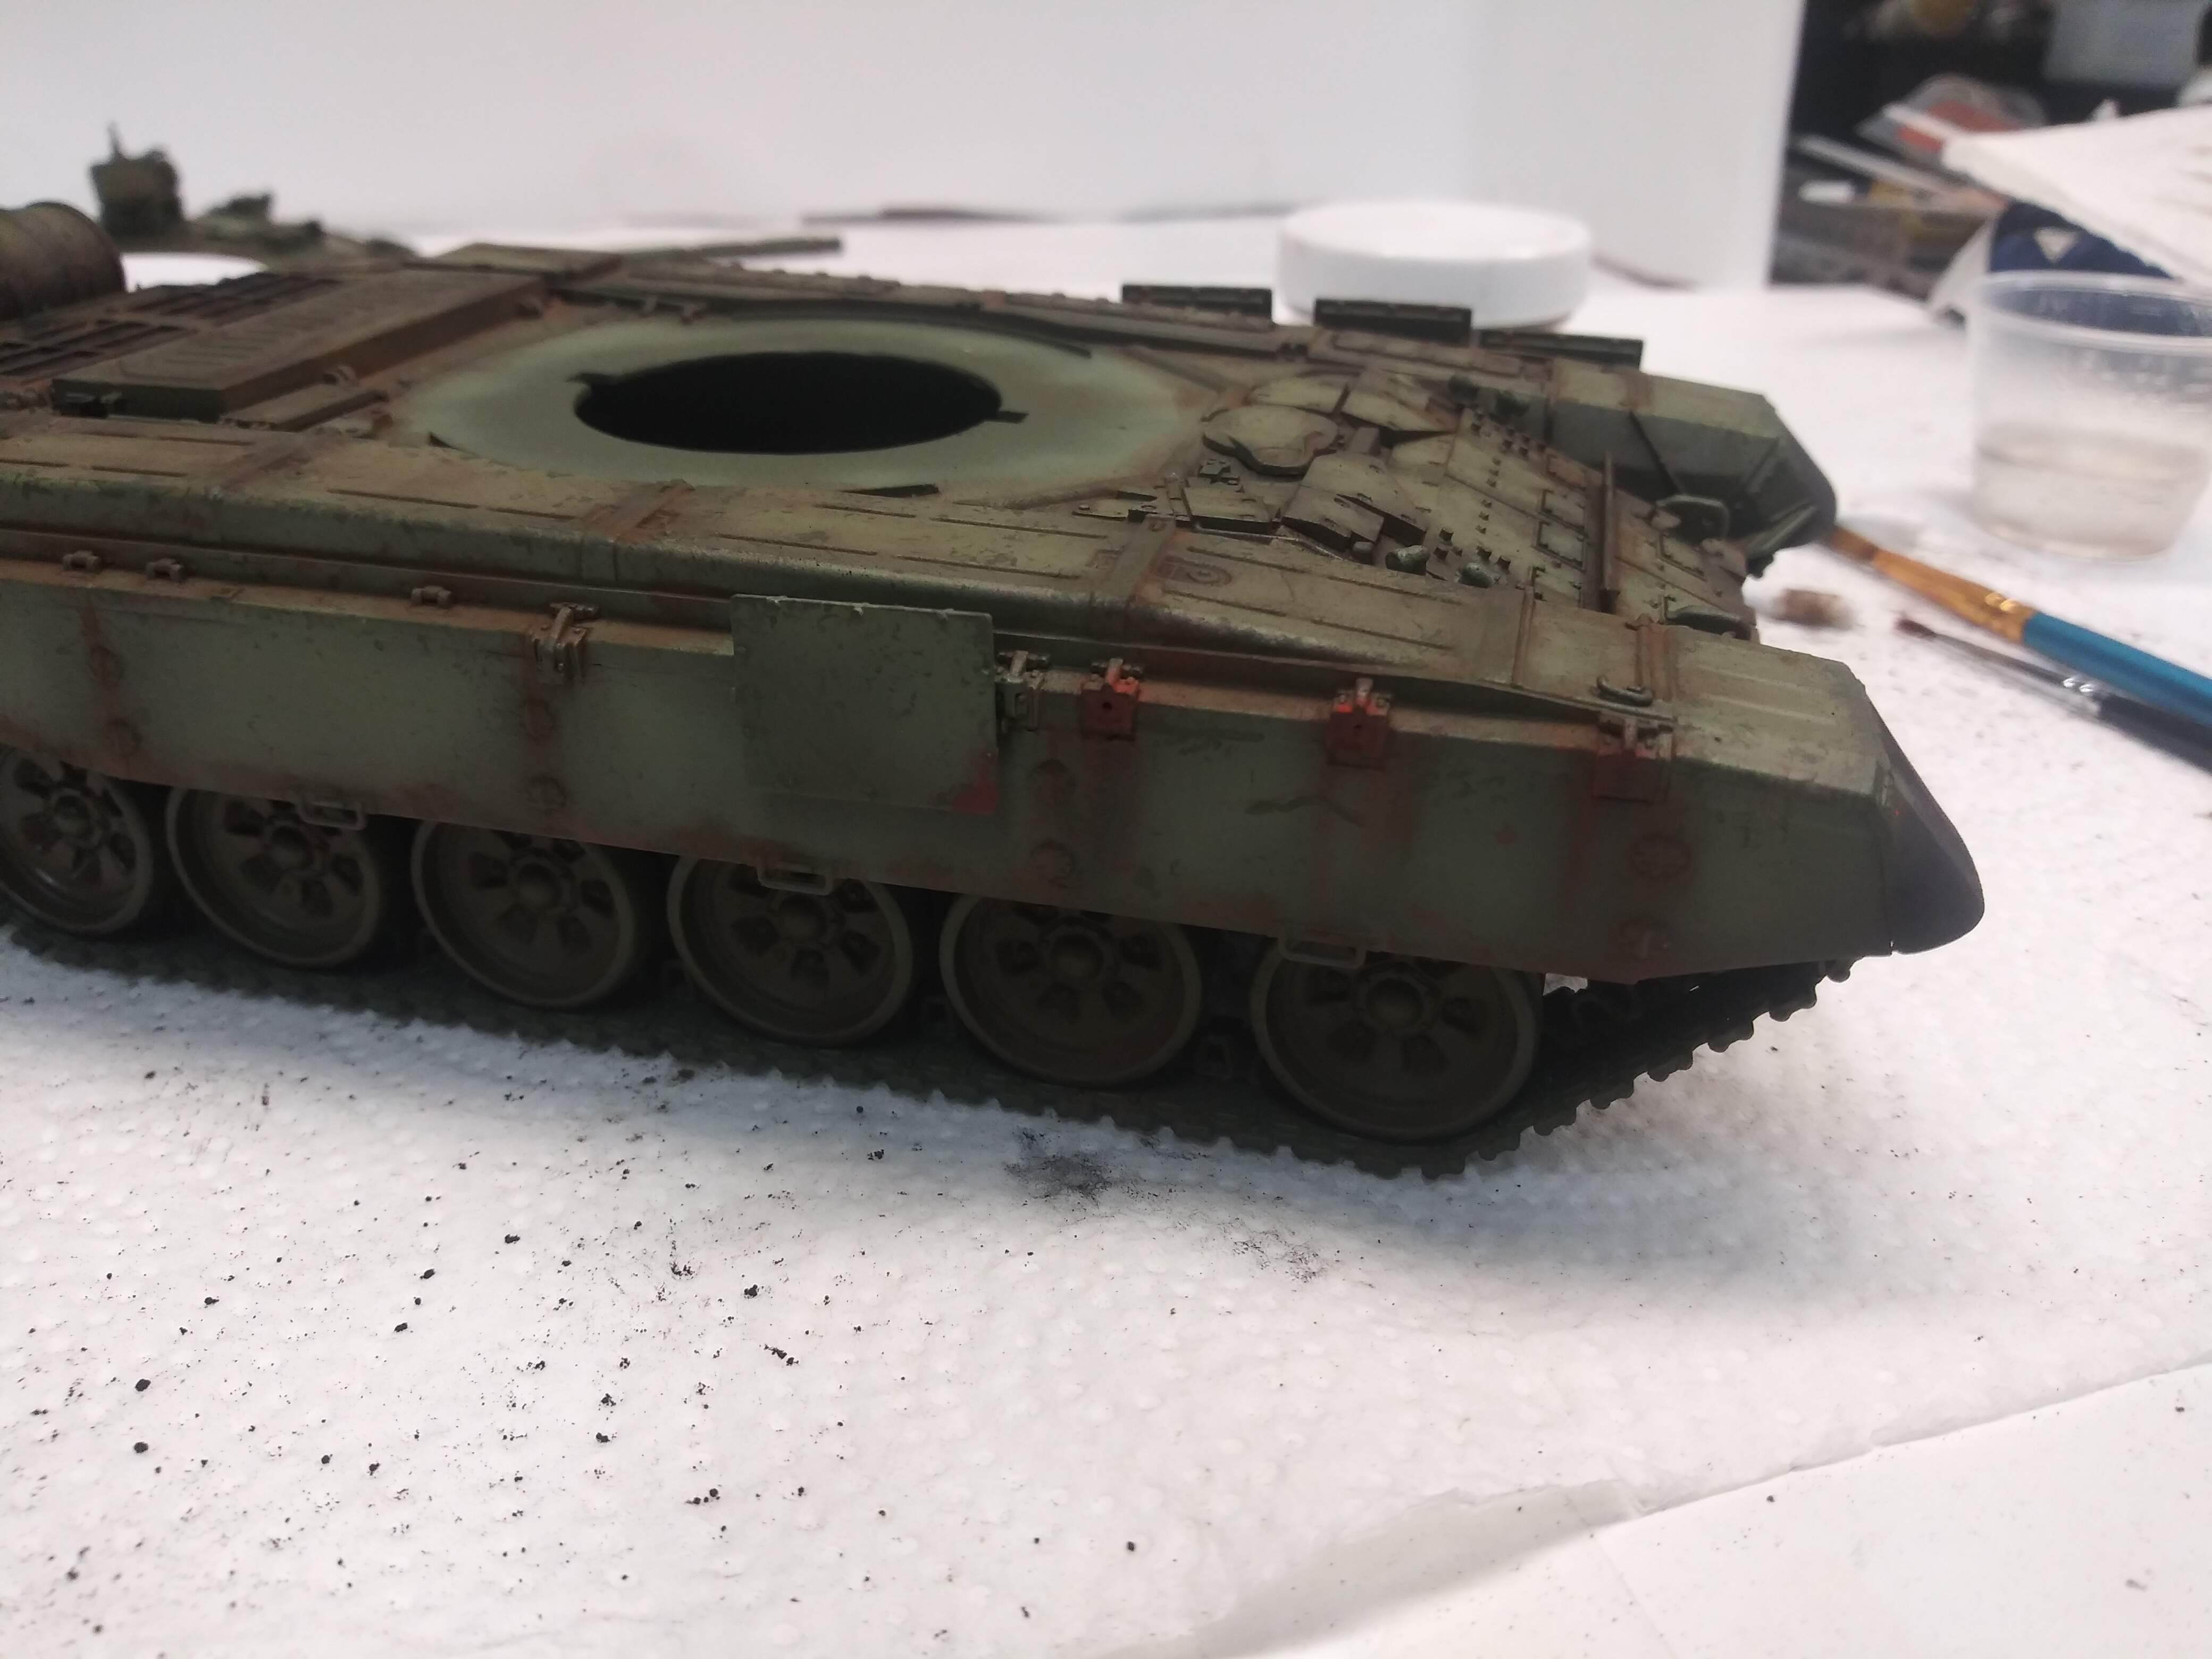
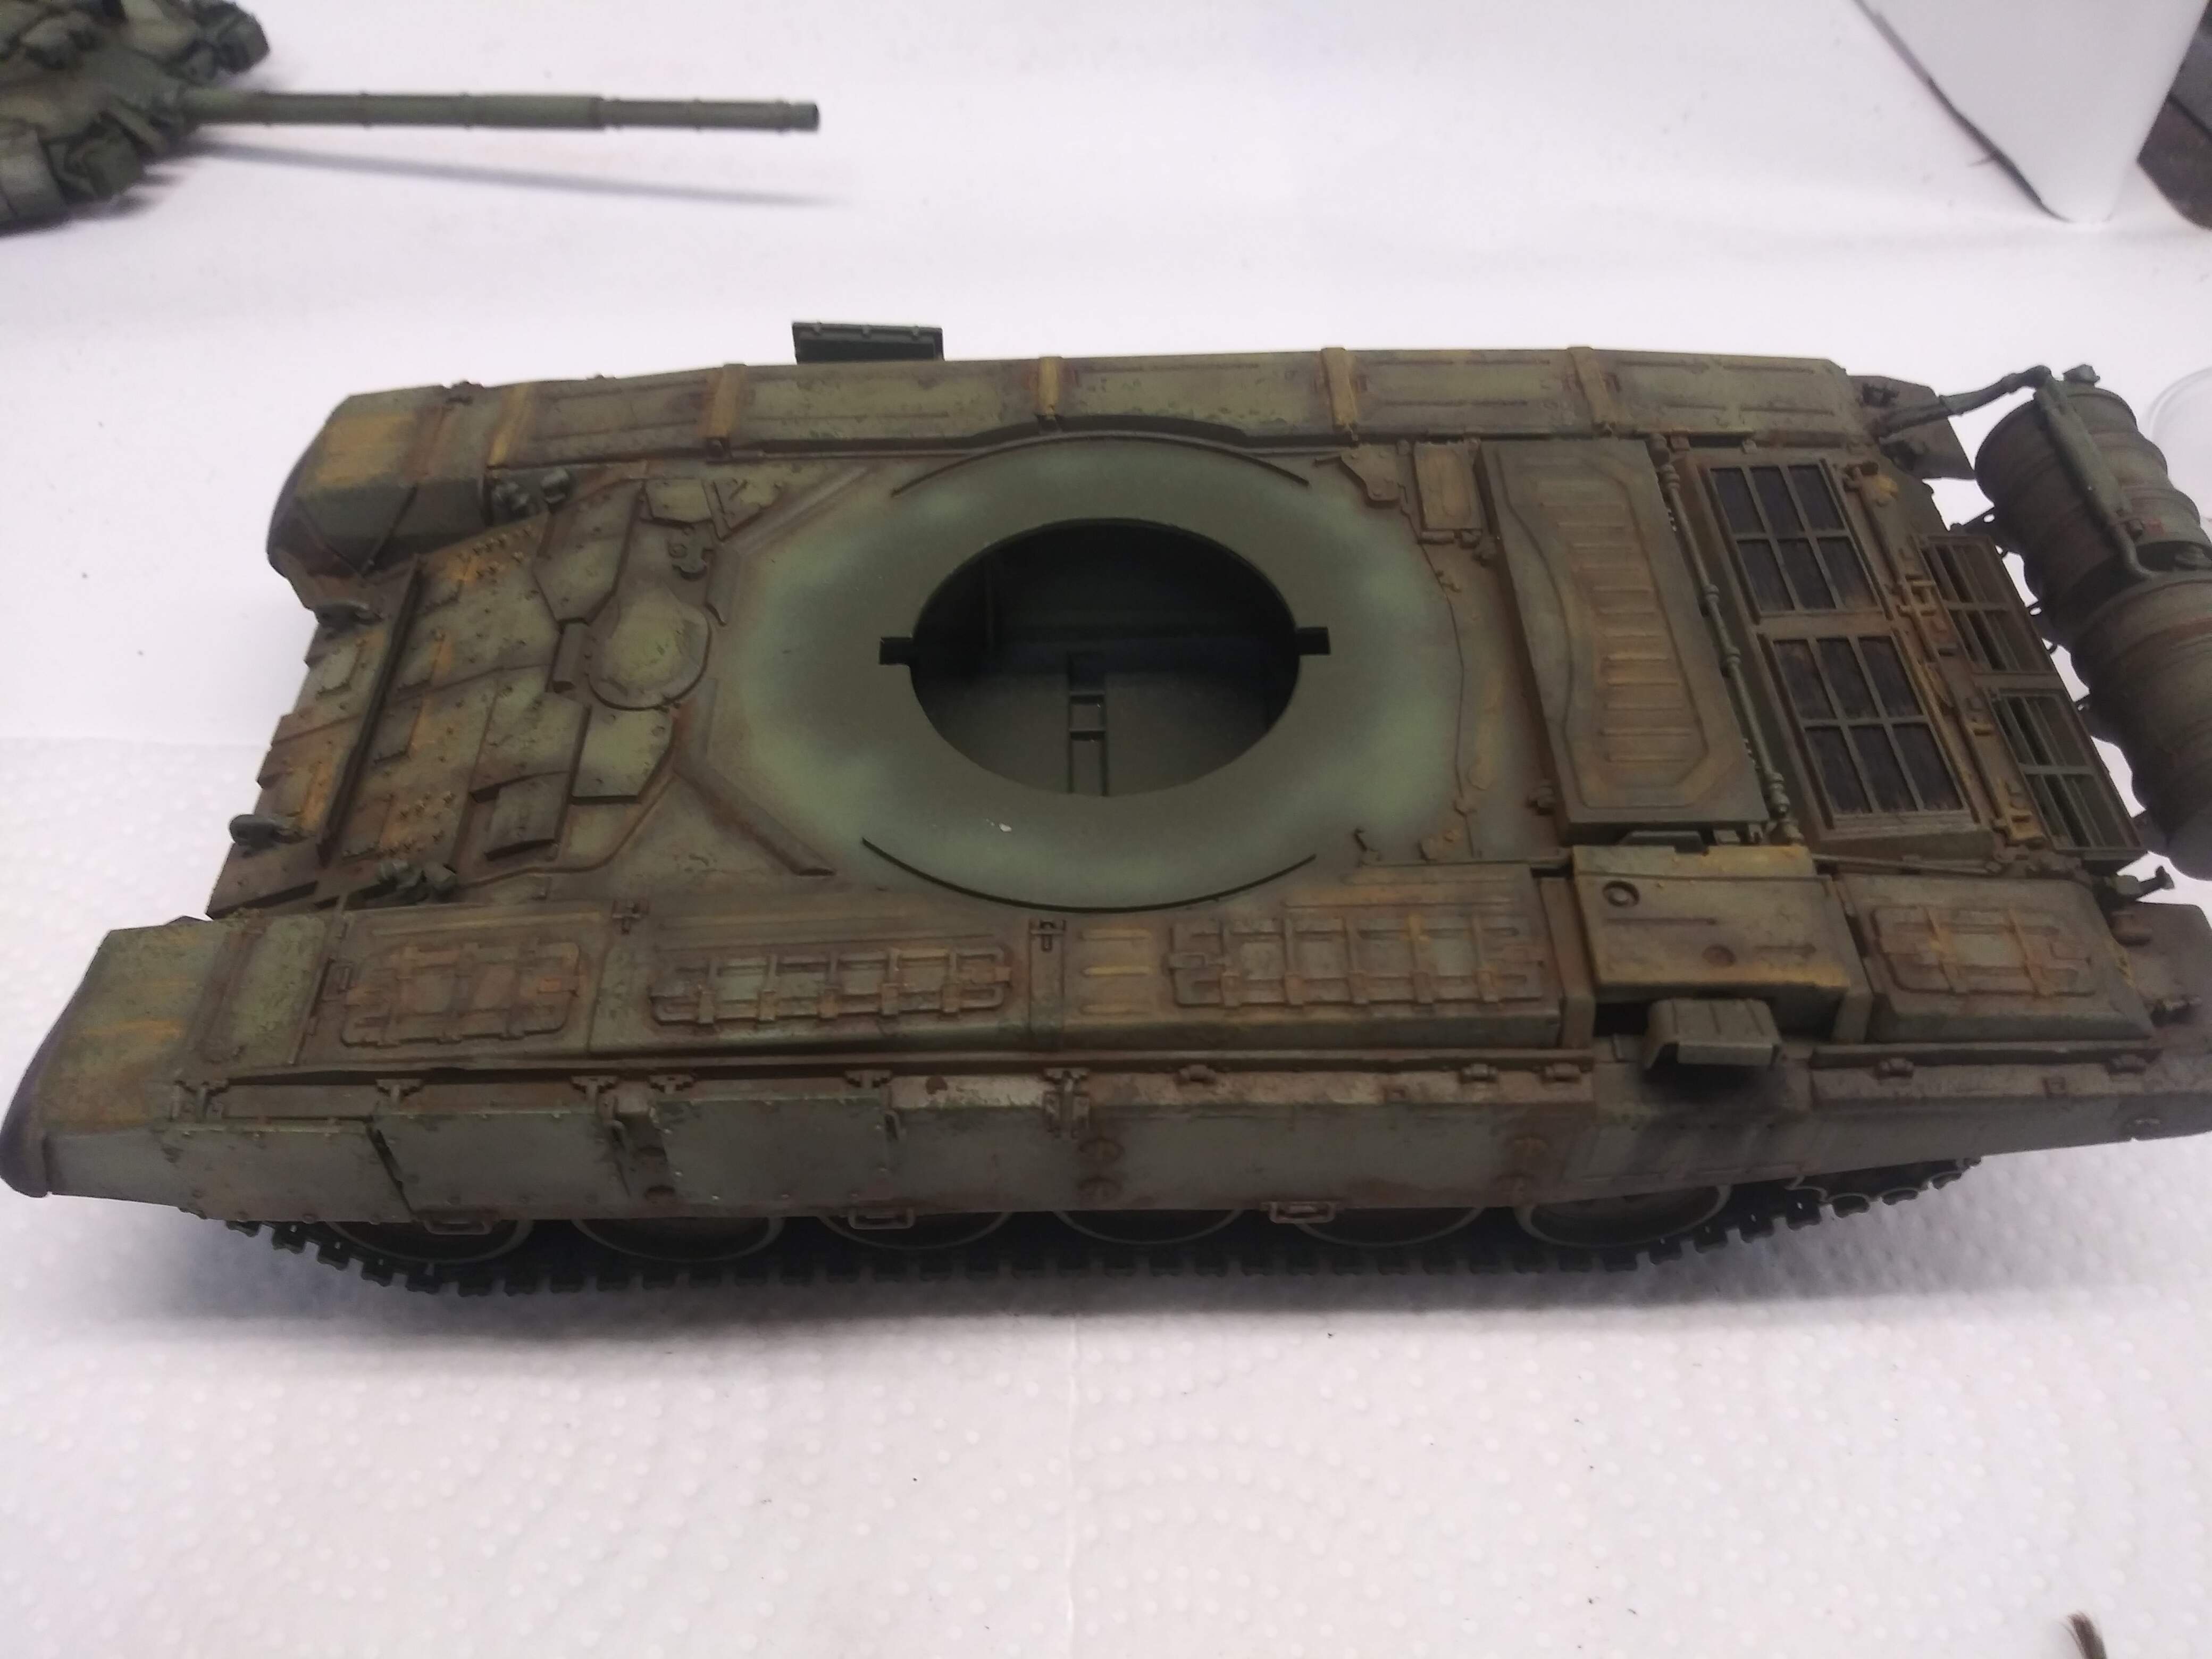
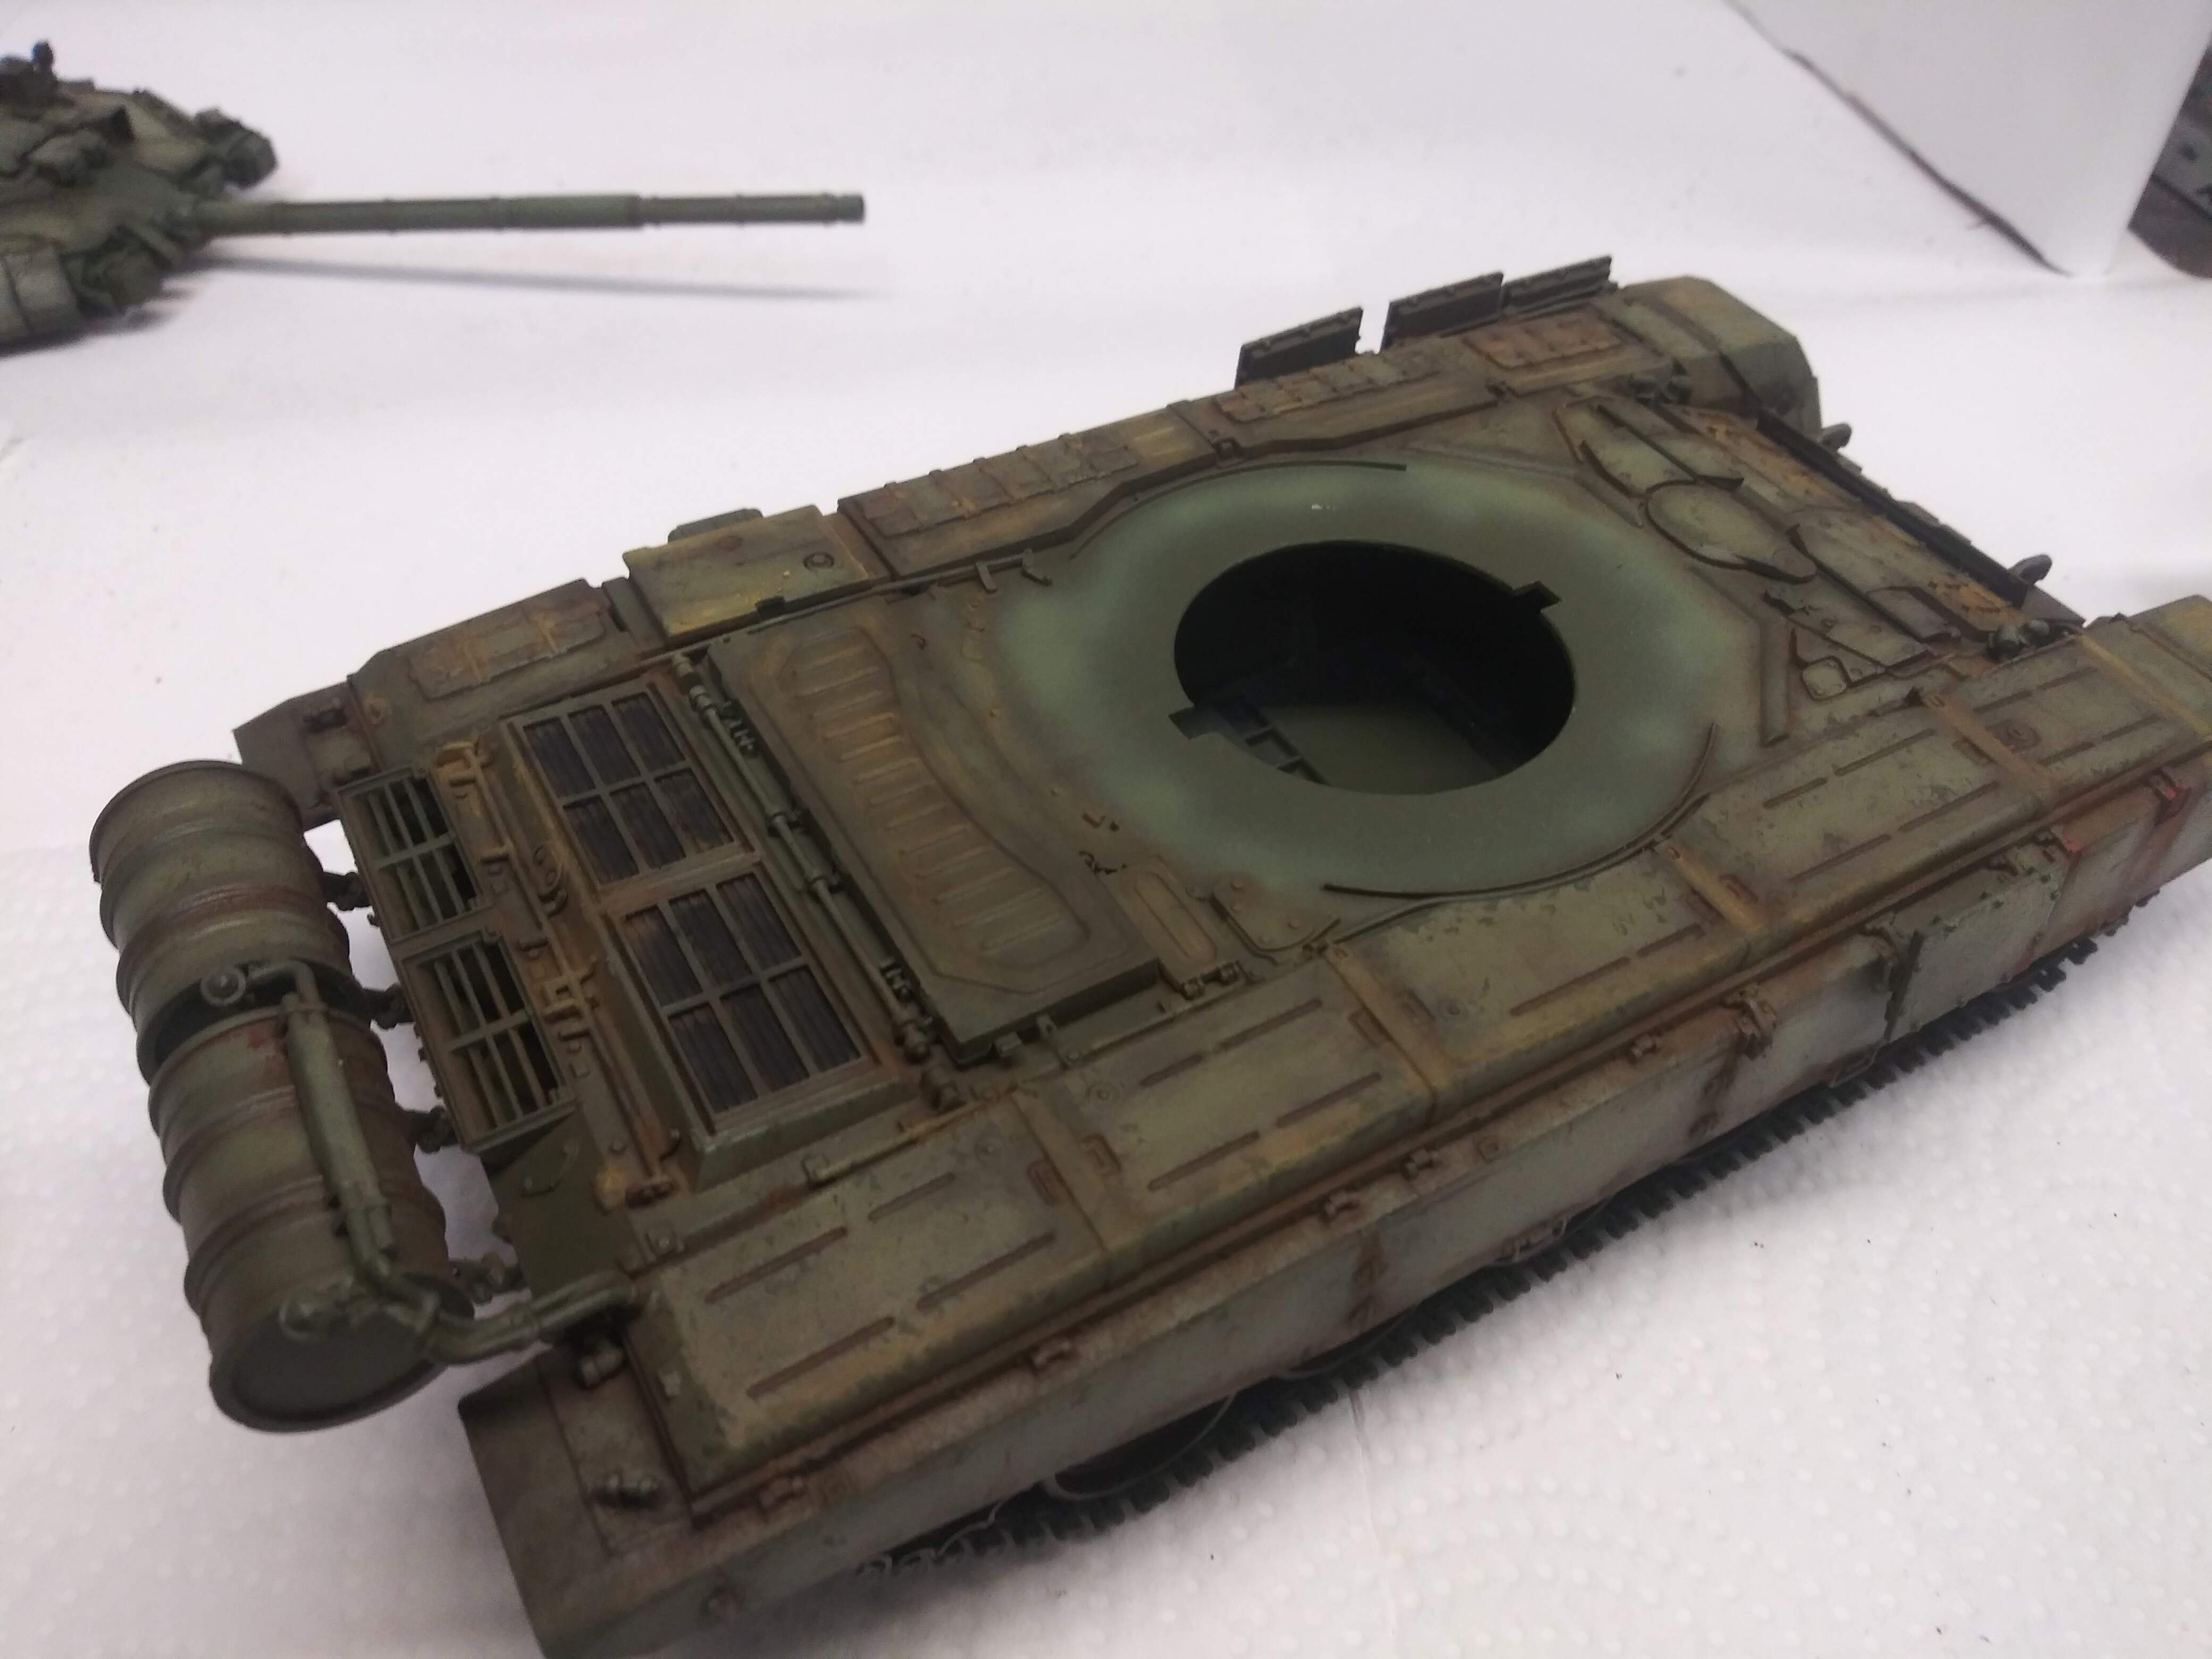
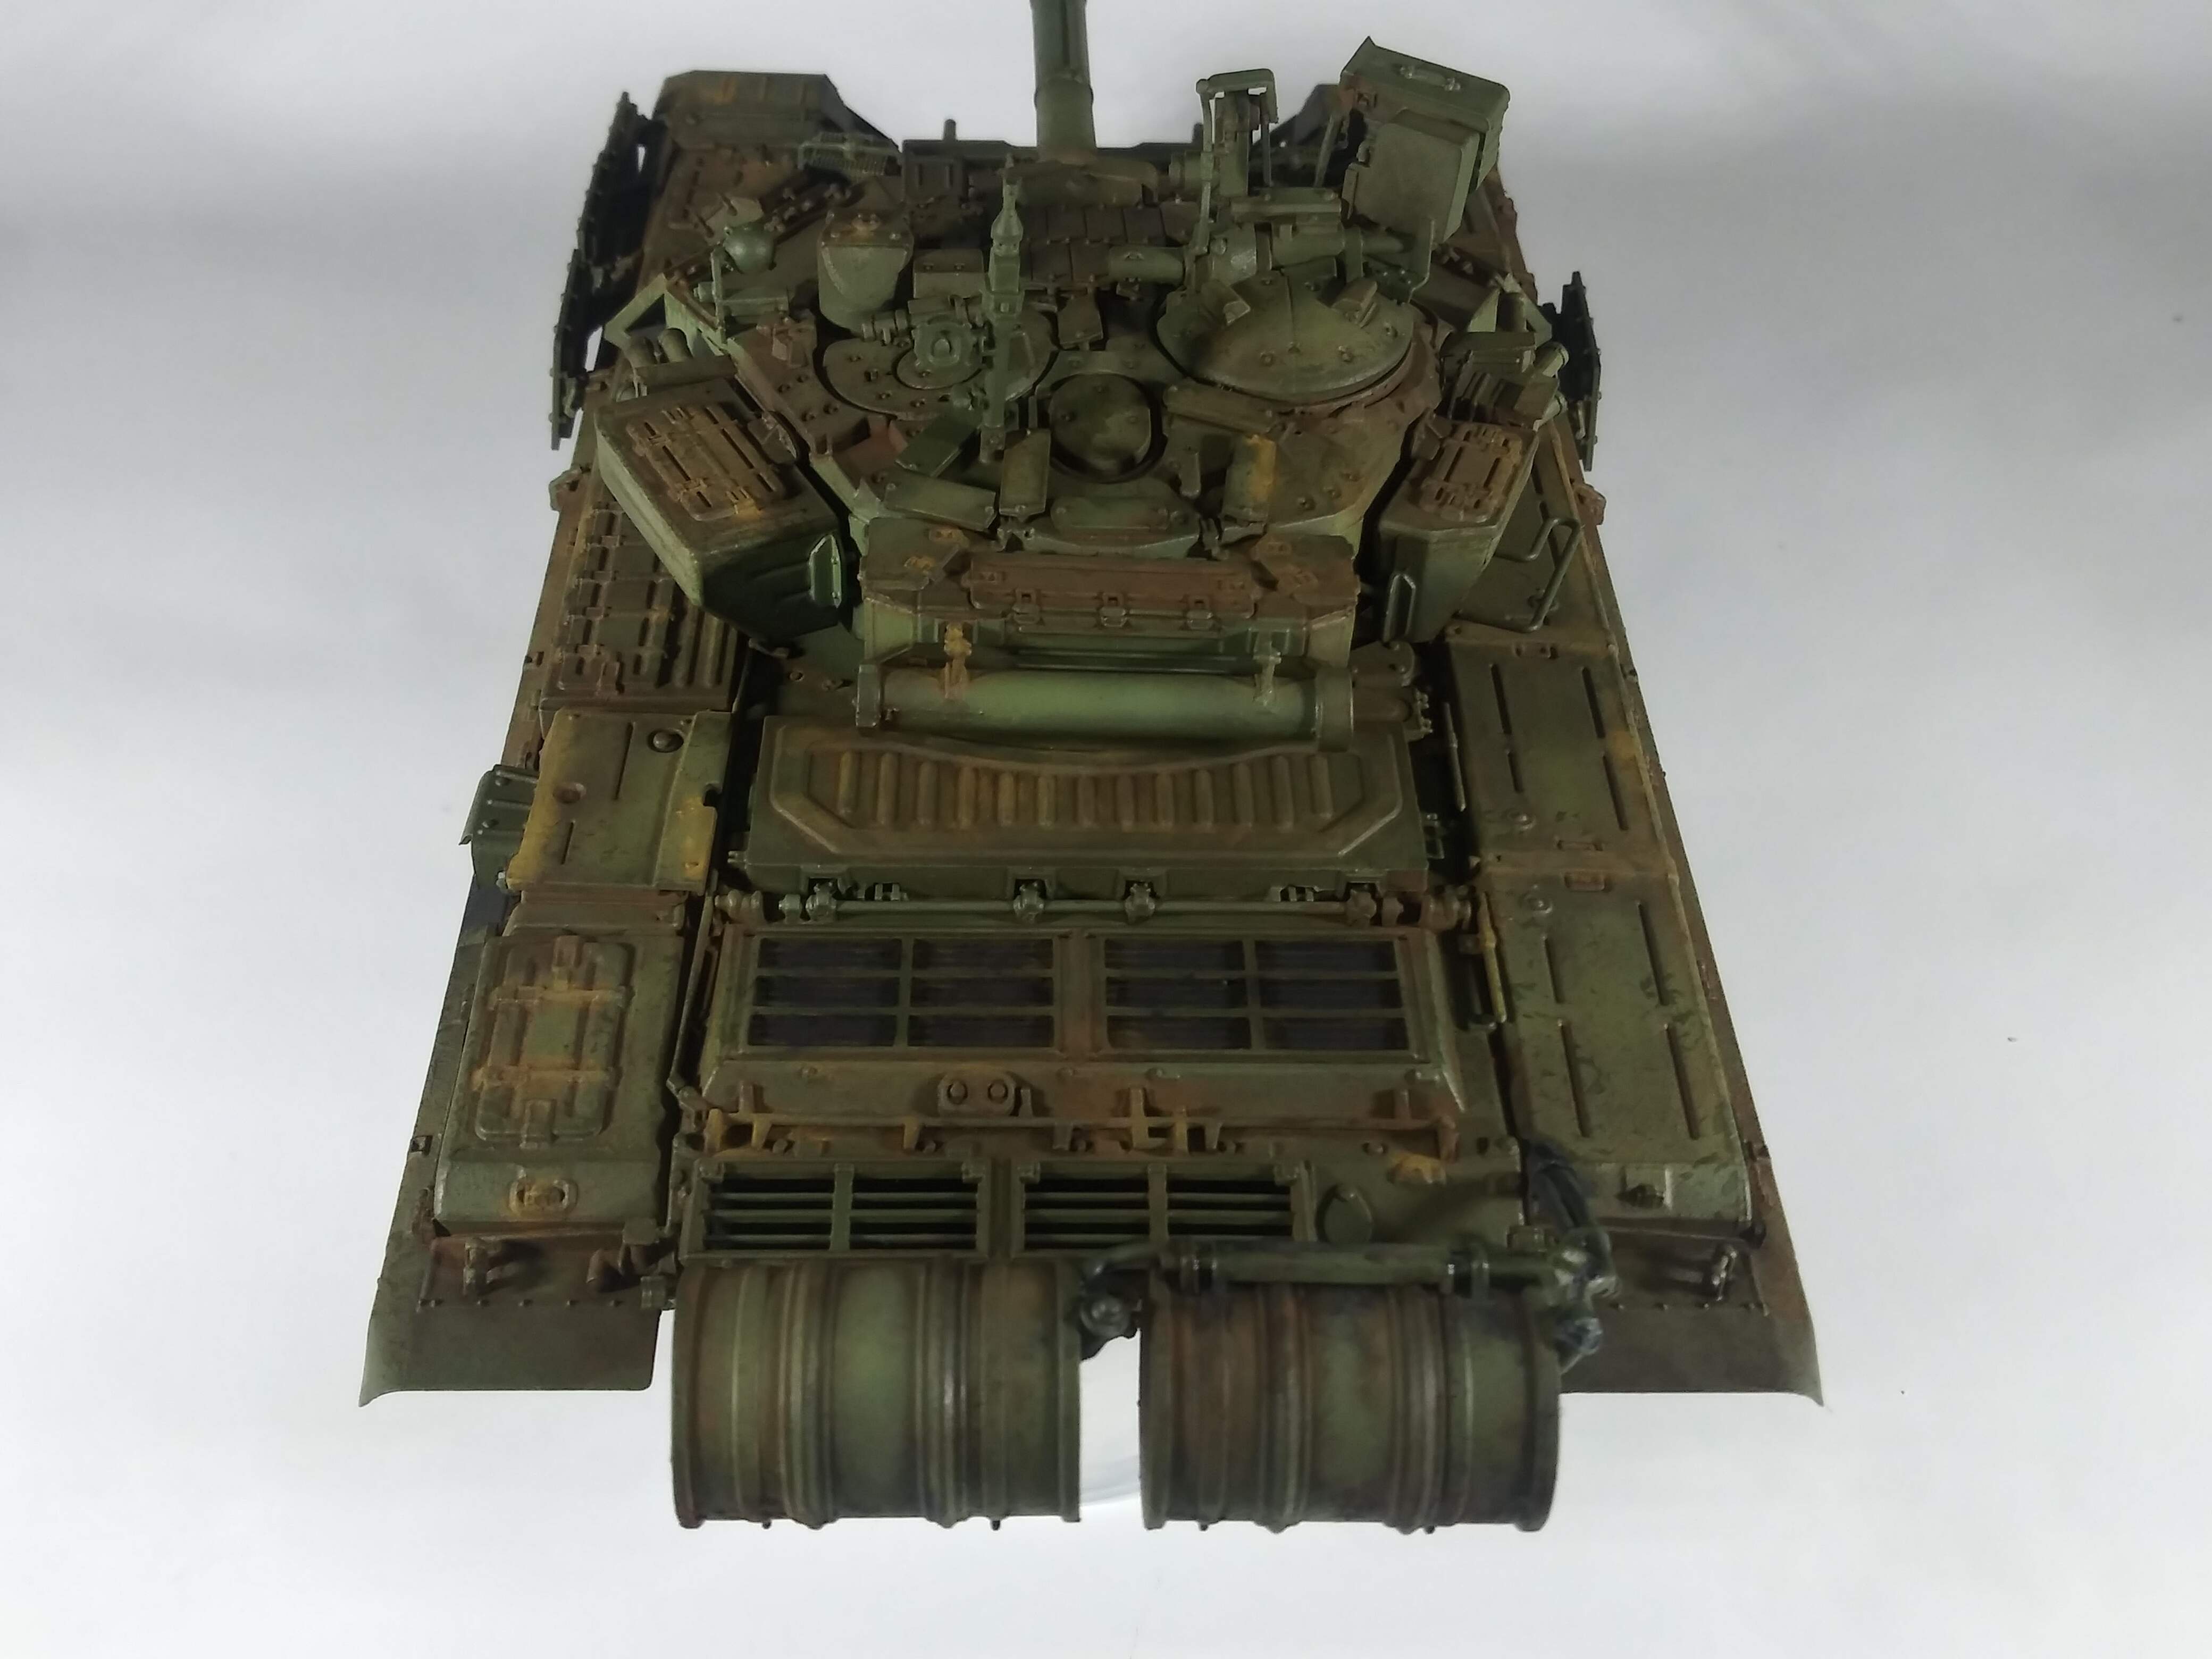
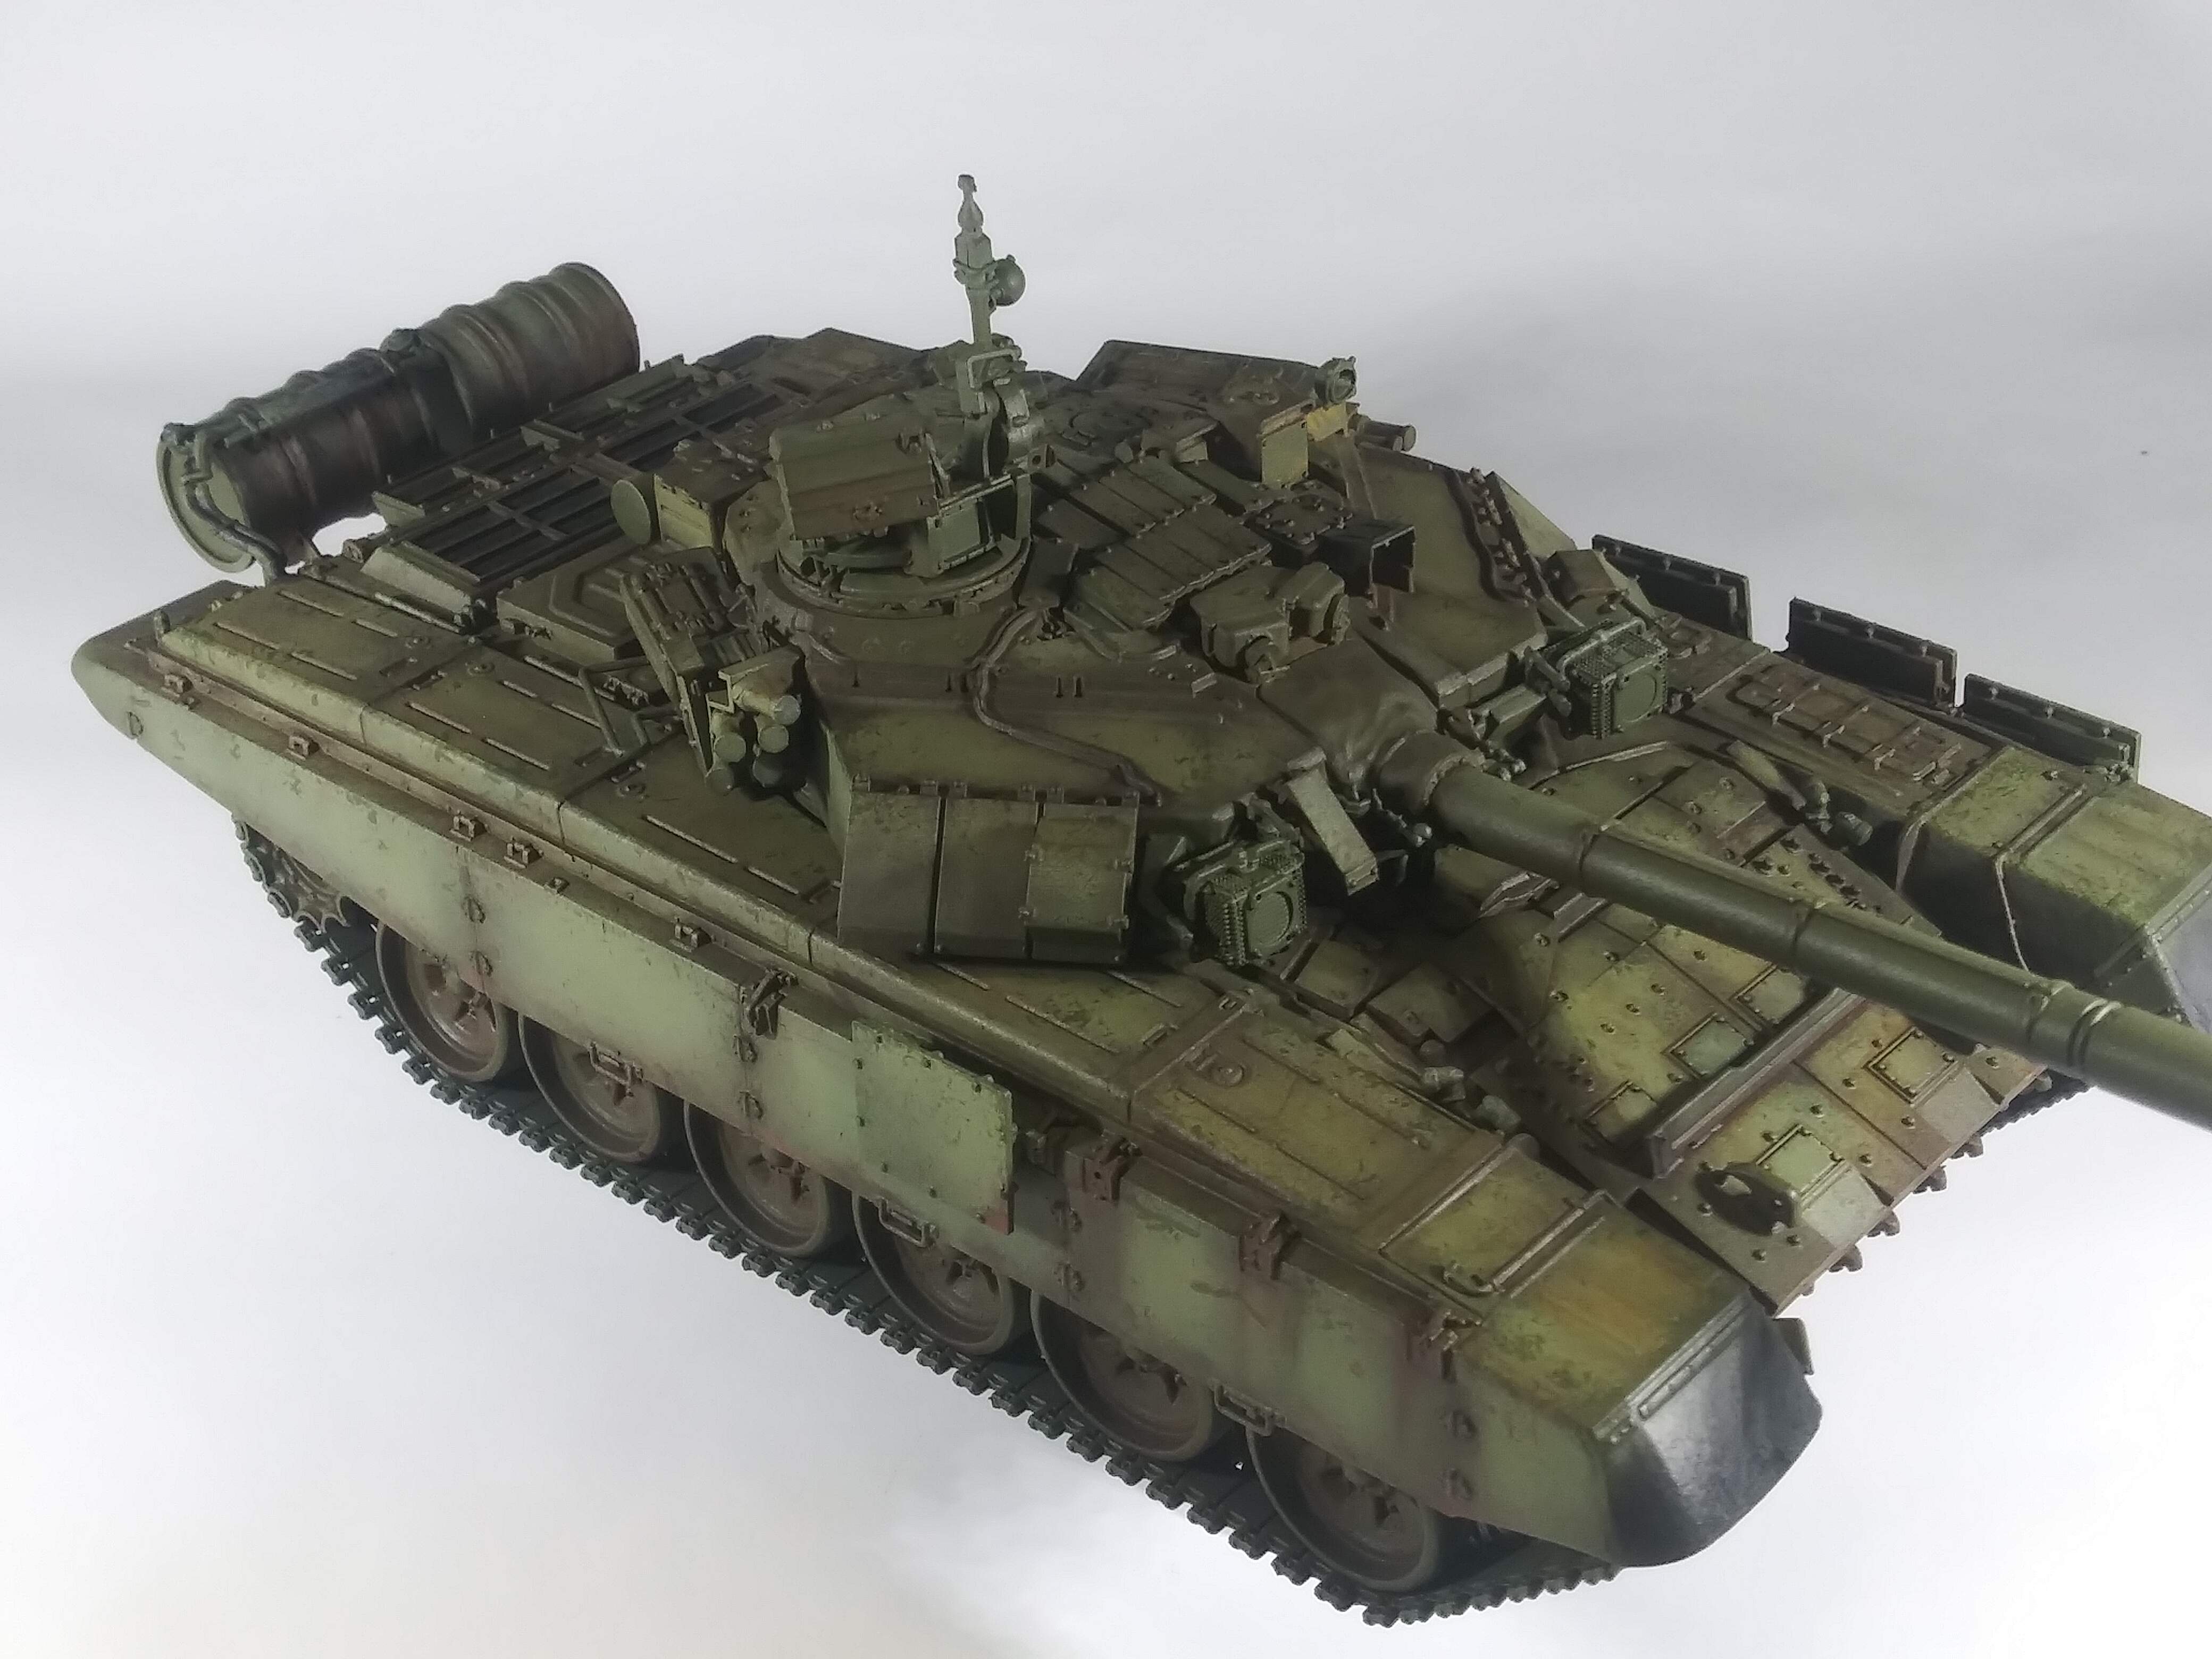
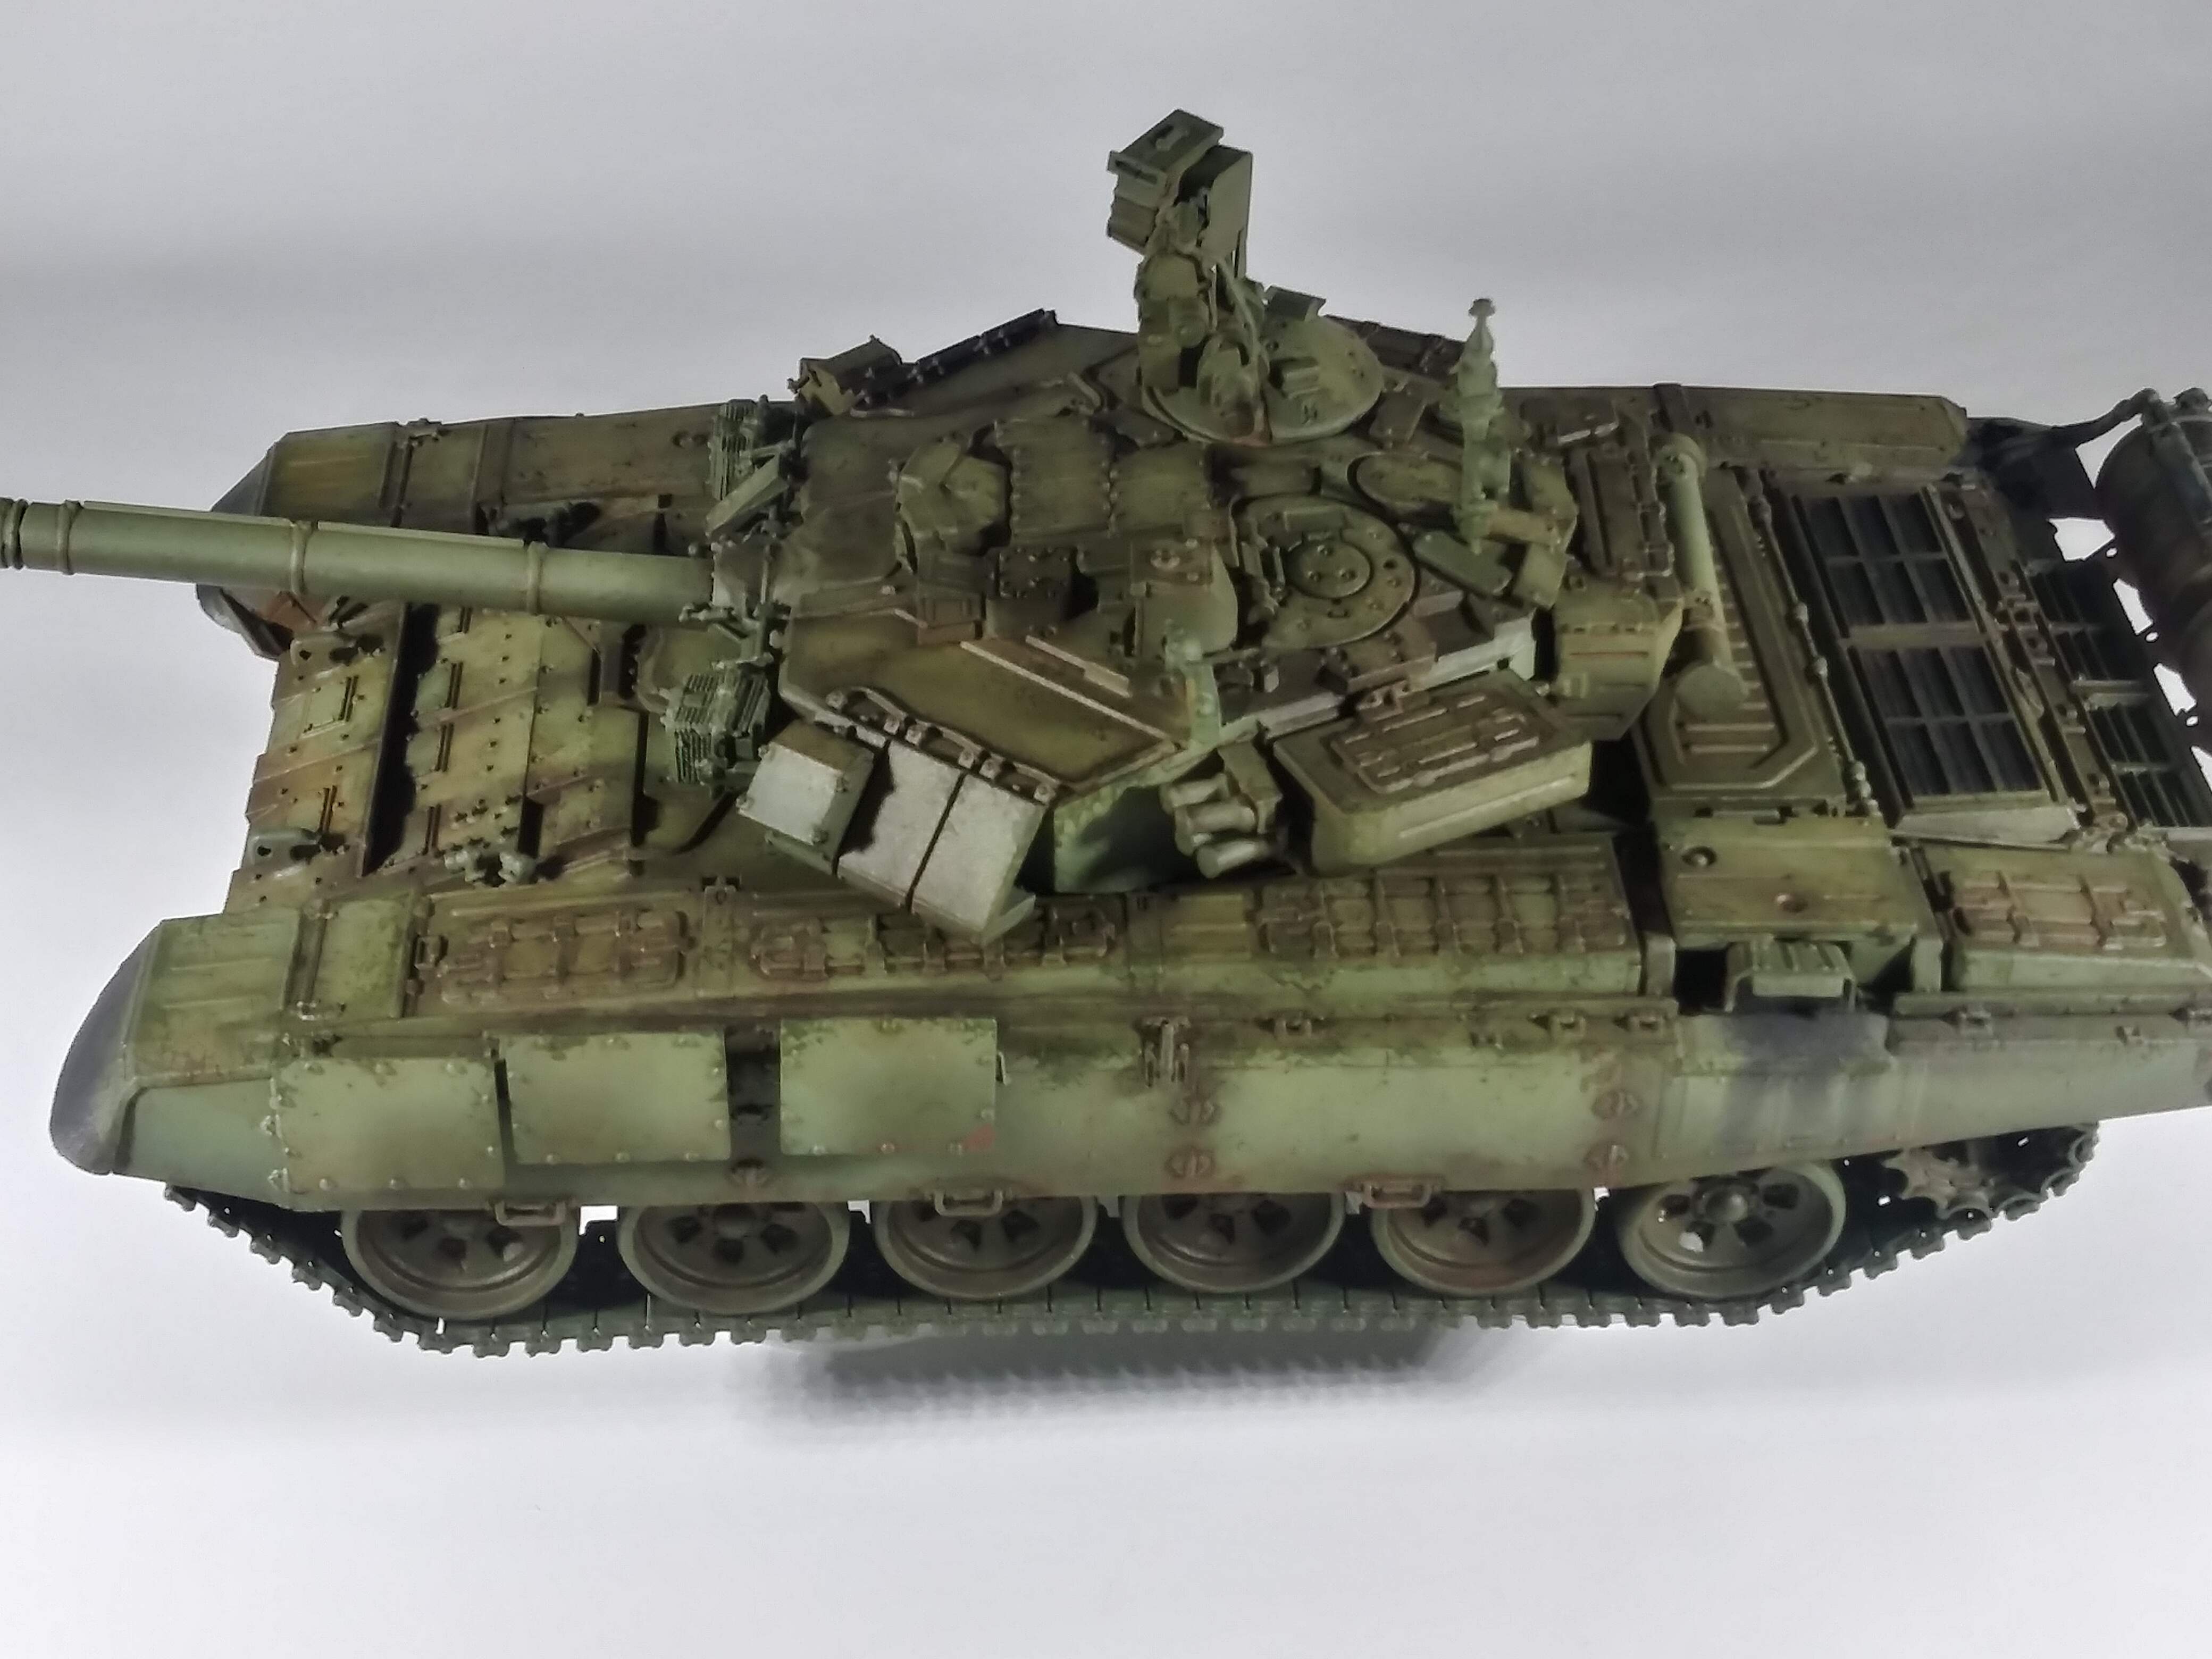
Next in the pigment powder weathering process is dar sand color.
This is where you think " has Chris lost his mind?". If you remember back to the early paint stages , a buff color was used to tone the original green.
Here we are primarily working on upper surfaces with thw dark sand color. This is also where it takes a gentle touch , and adhere to the less is more rule.
- Using a small fine point brush and tapping most of the pigment off of rhe brush . Apply pigment to small raised edges first , such as handles.
- Next move on to edges and corners using the same light touch , essentially dry brushing the powder on.
- Flat raised edges are next . Randomly apply the pigment in varying degrees of depth
5 Likes
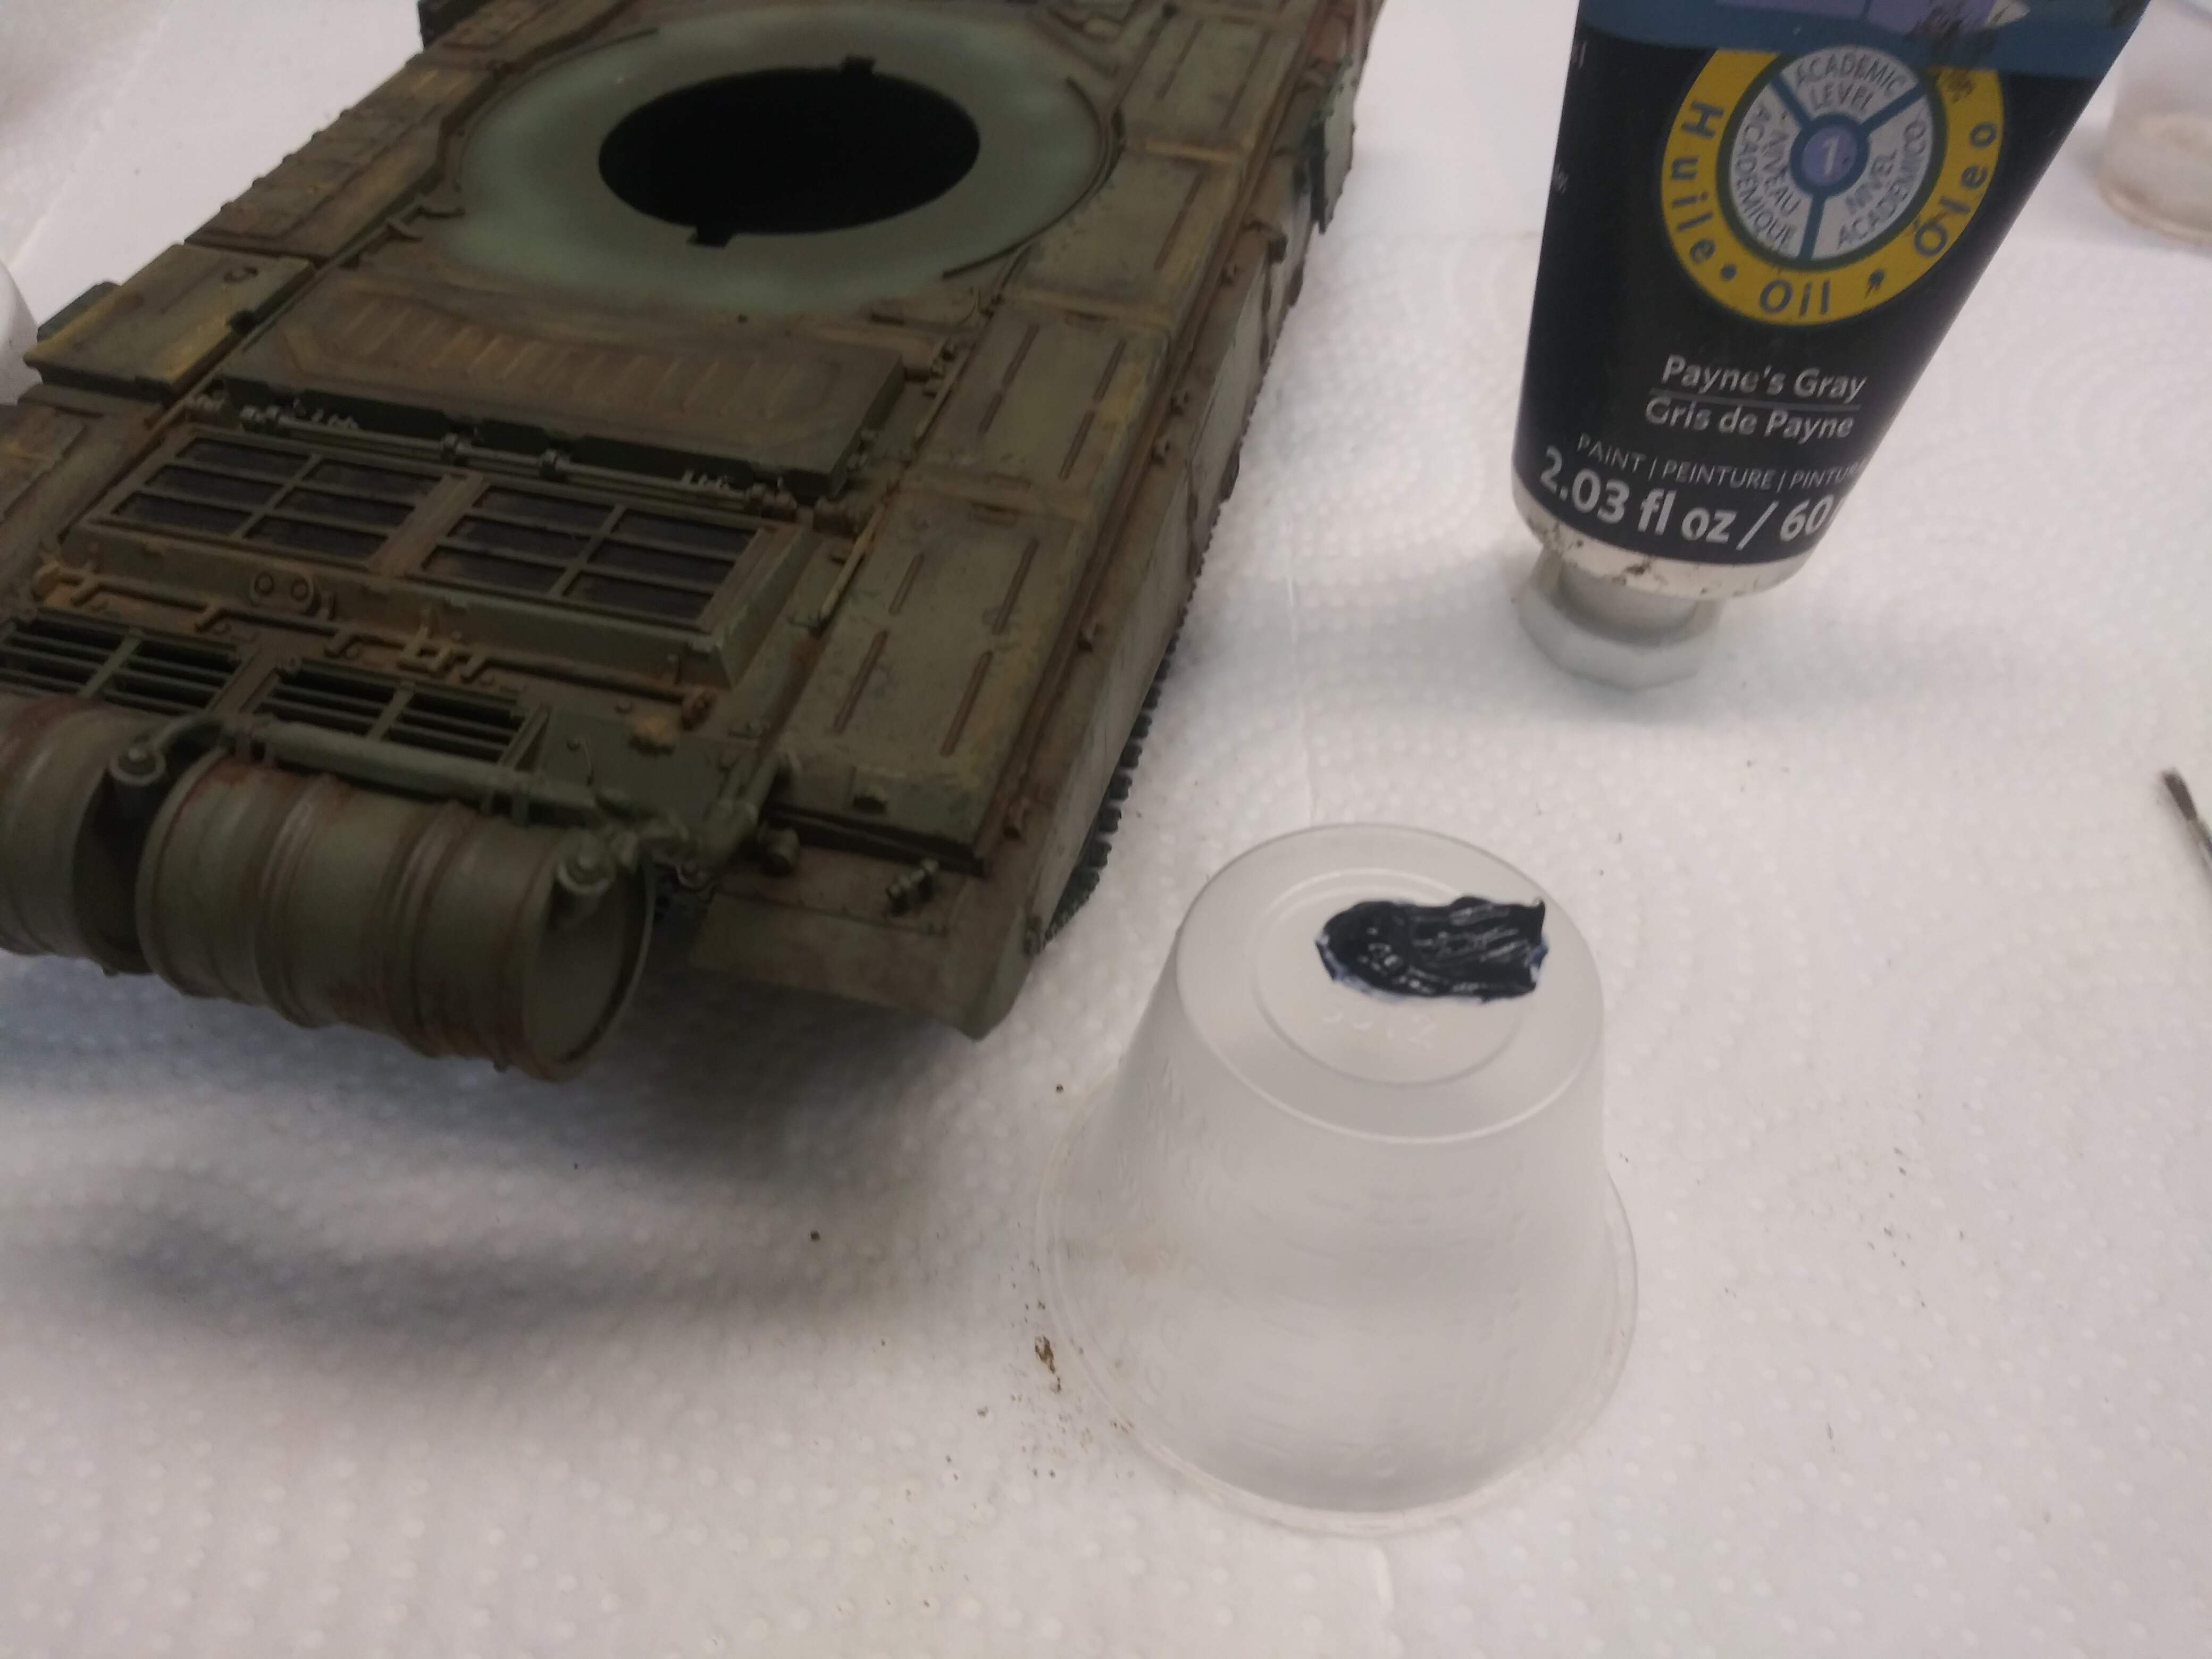
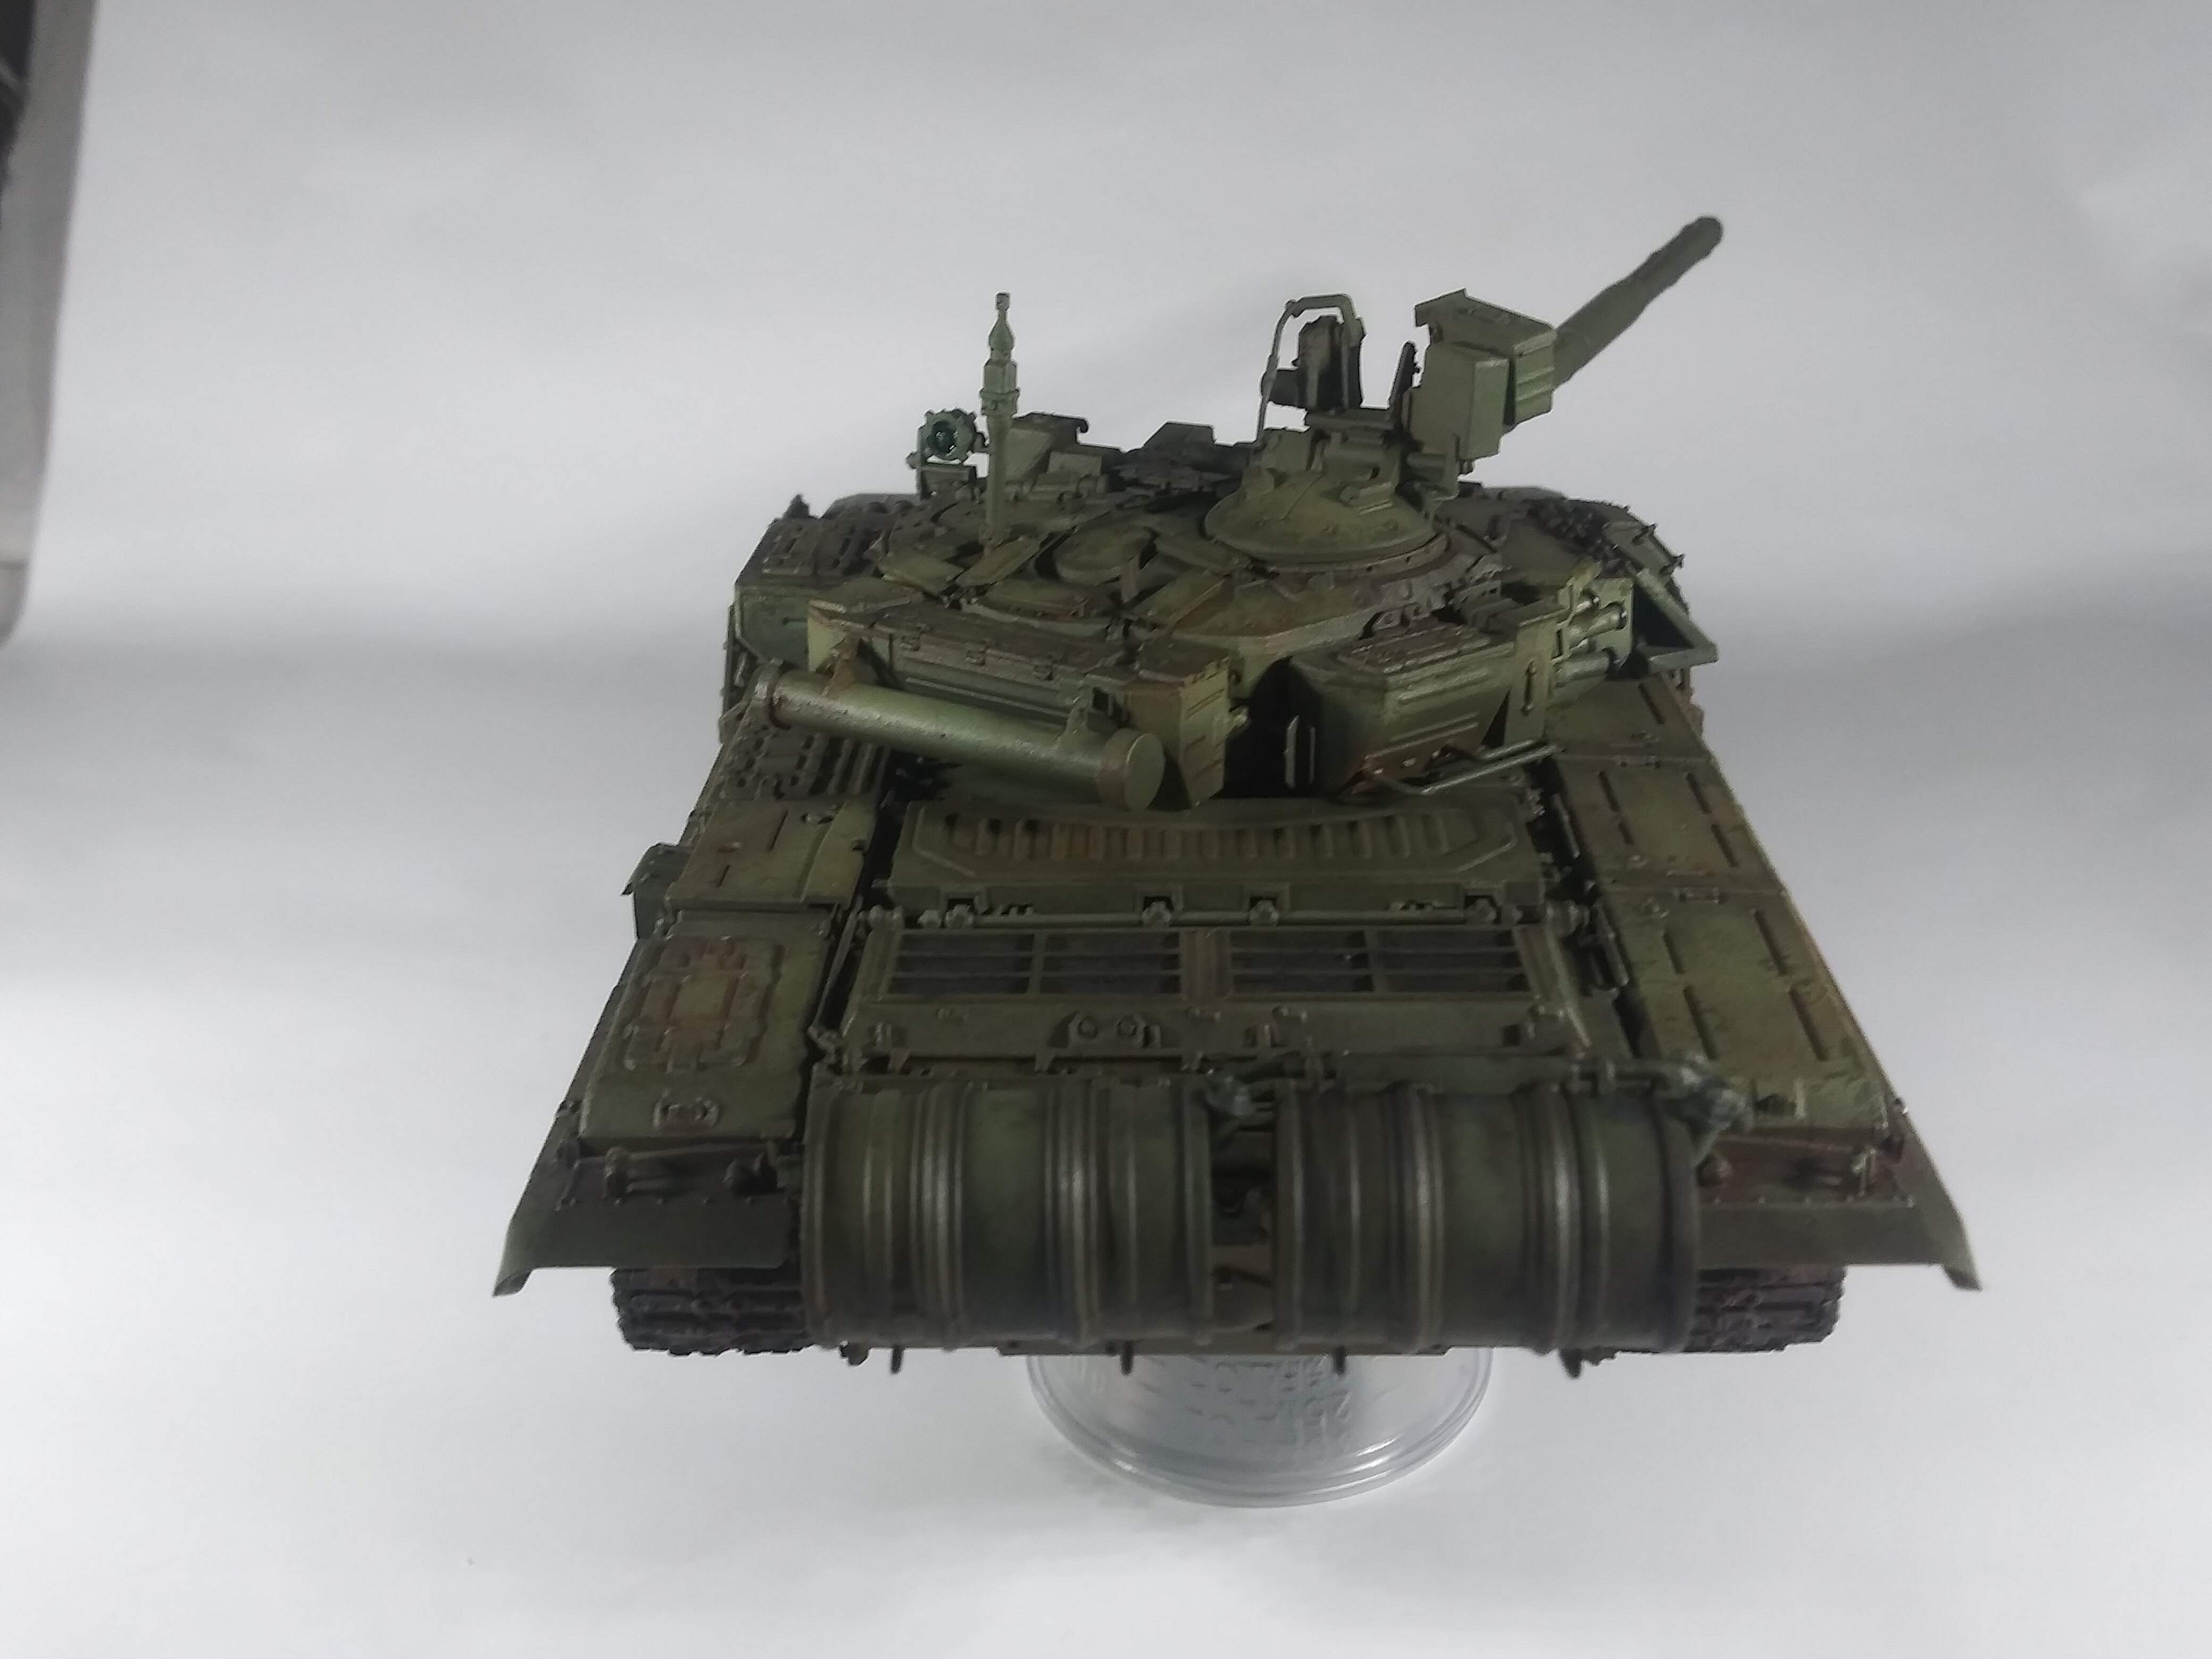
External fuel drums are the make or brake for some builds .
So here we go…
- Apply small amounts of paynes grey oil paint to the select areas of the drums and then dilute with pure naptha allowing for spread and run.
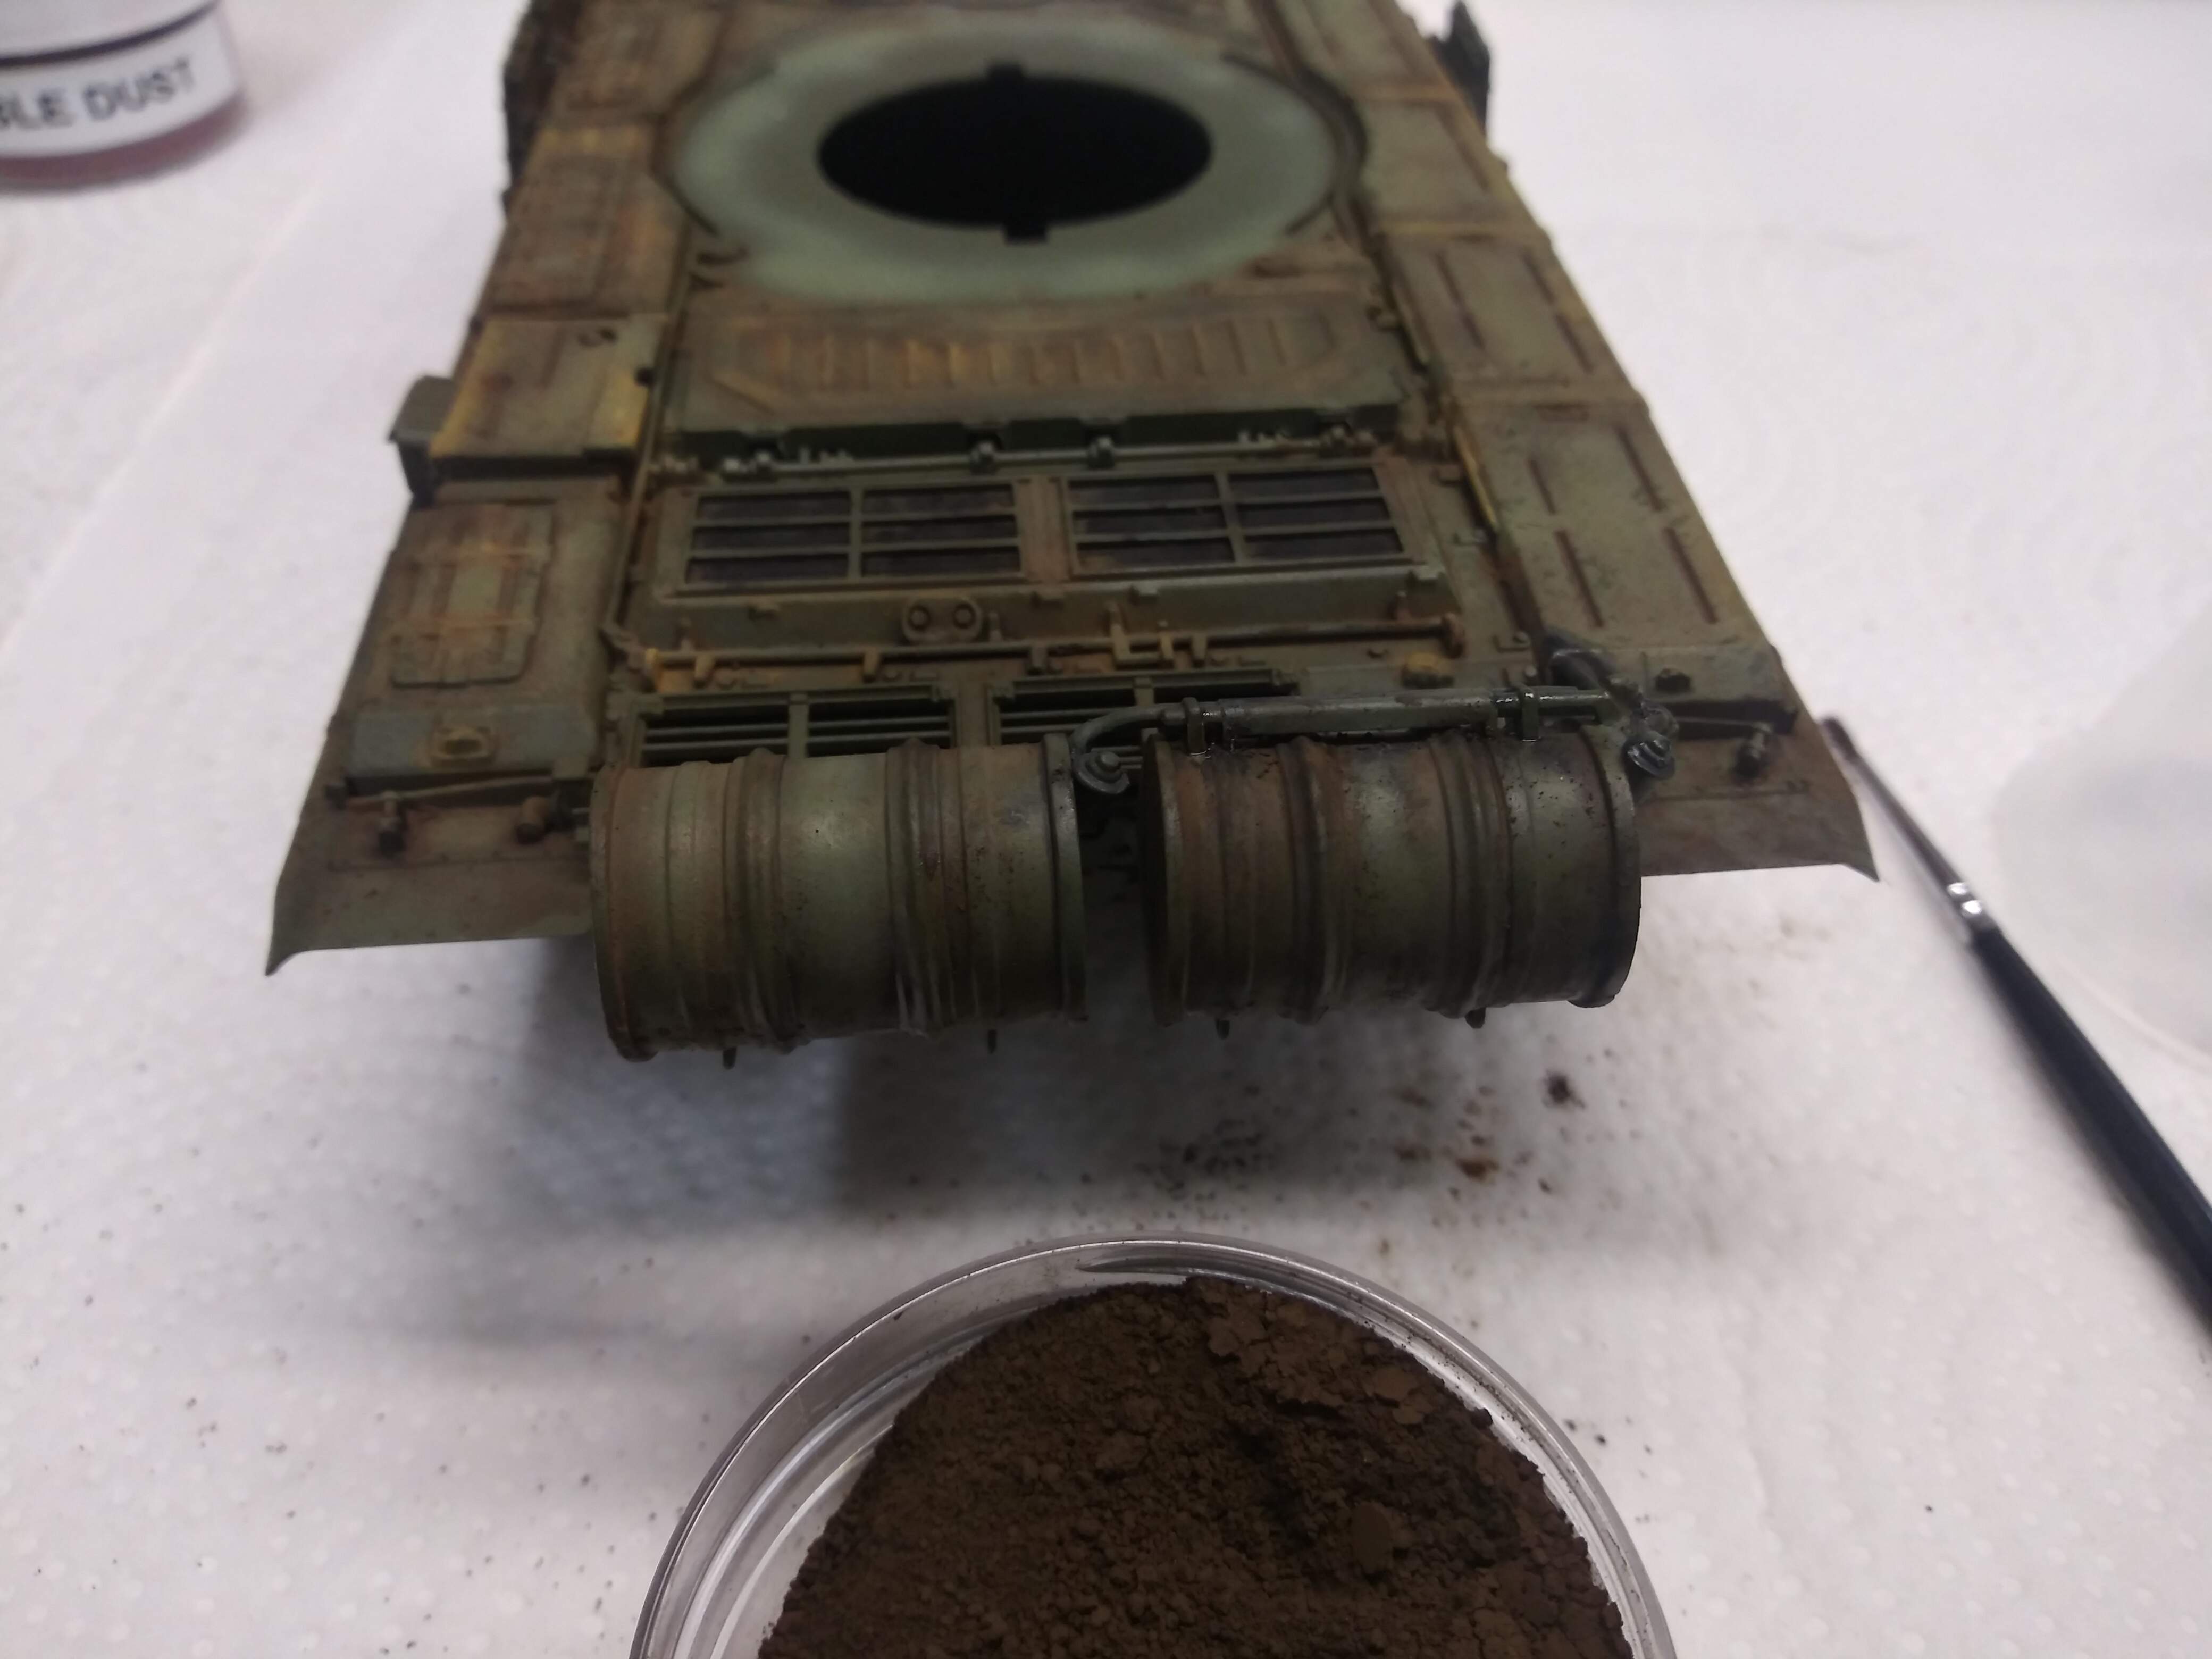
- Apply the same pigments used on the rest of the build.
4 Likes
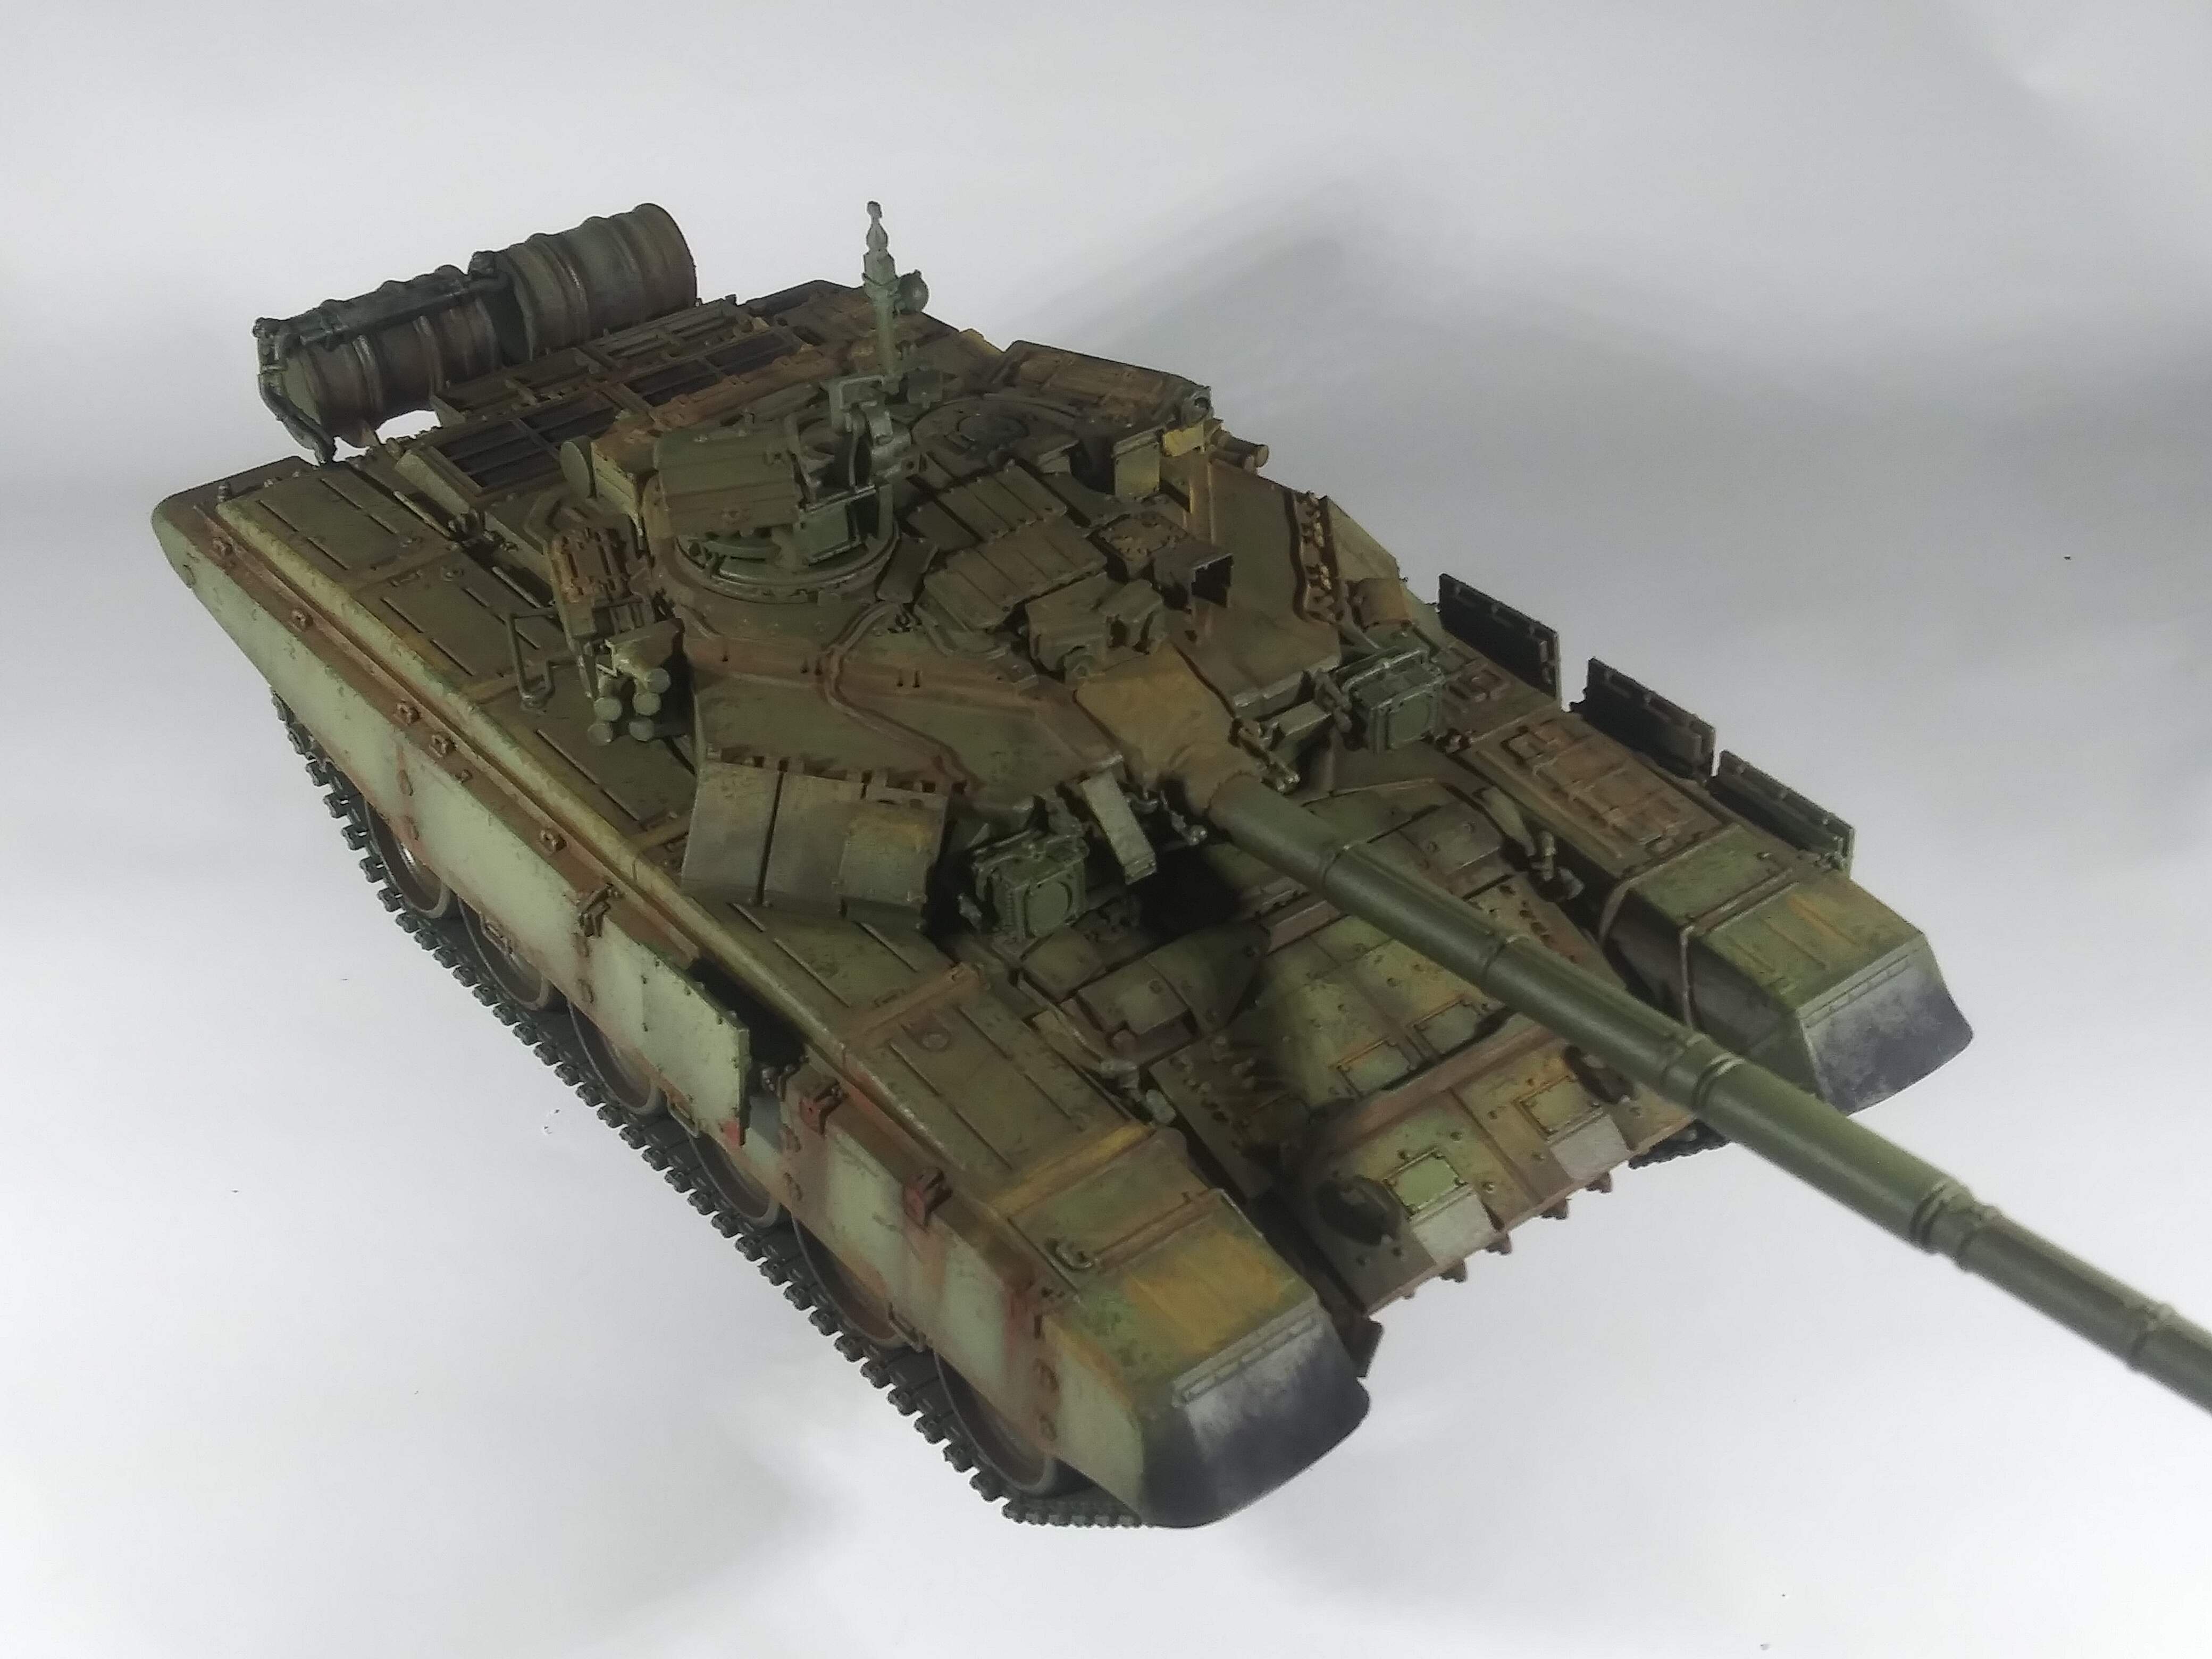
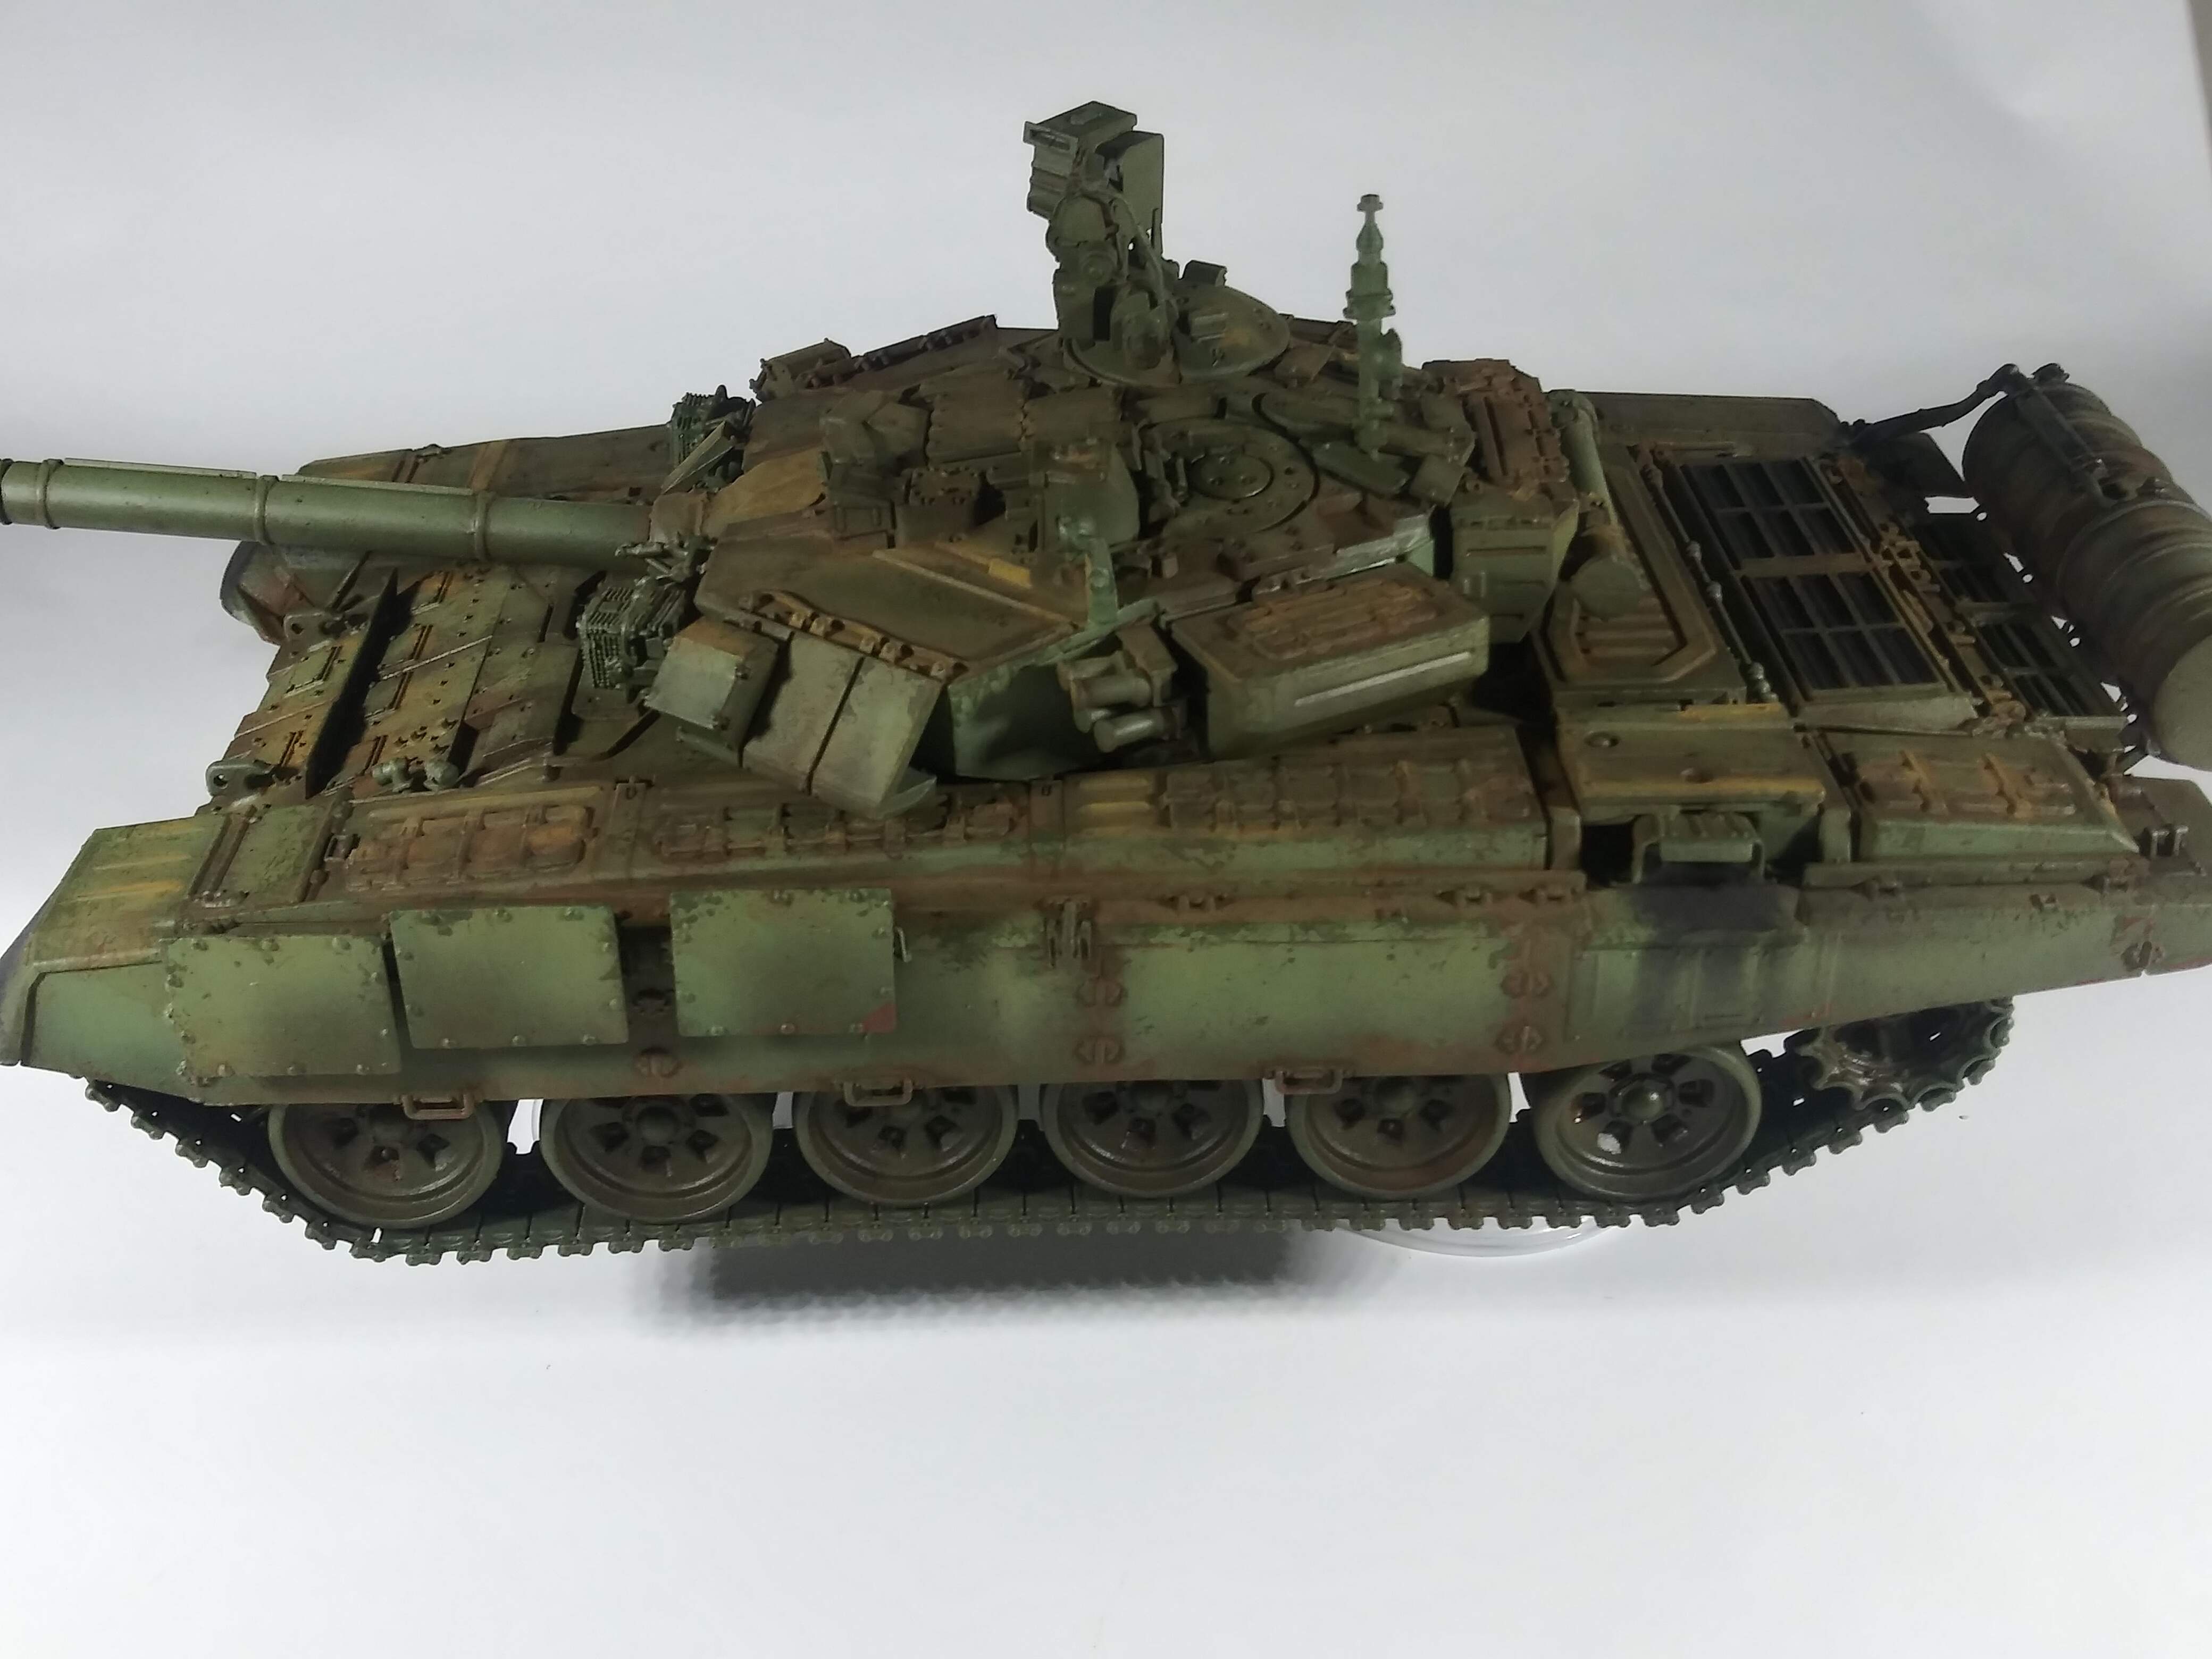
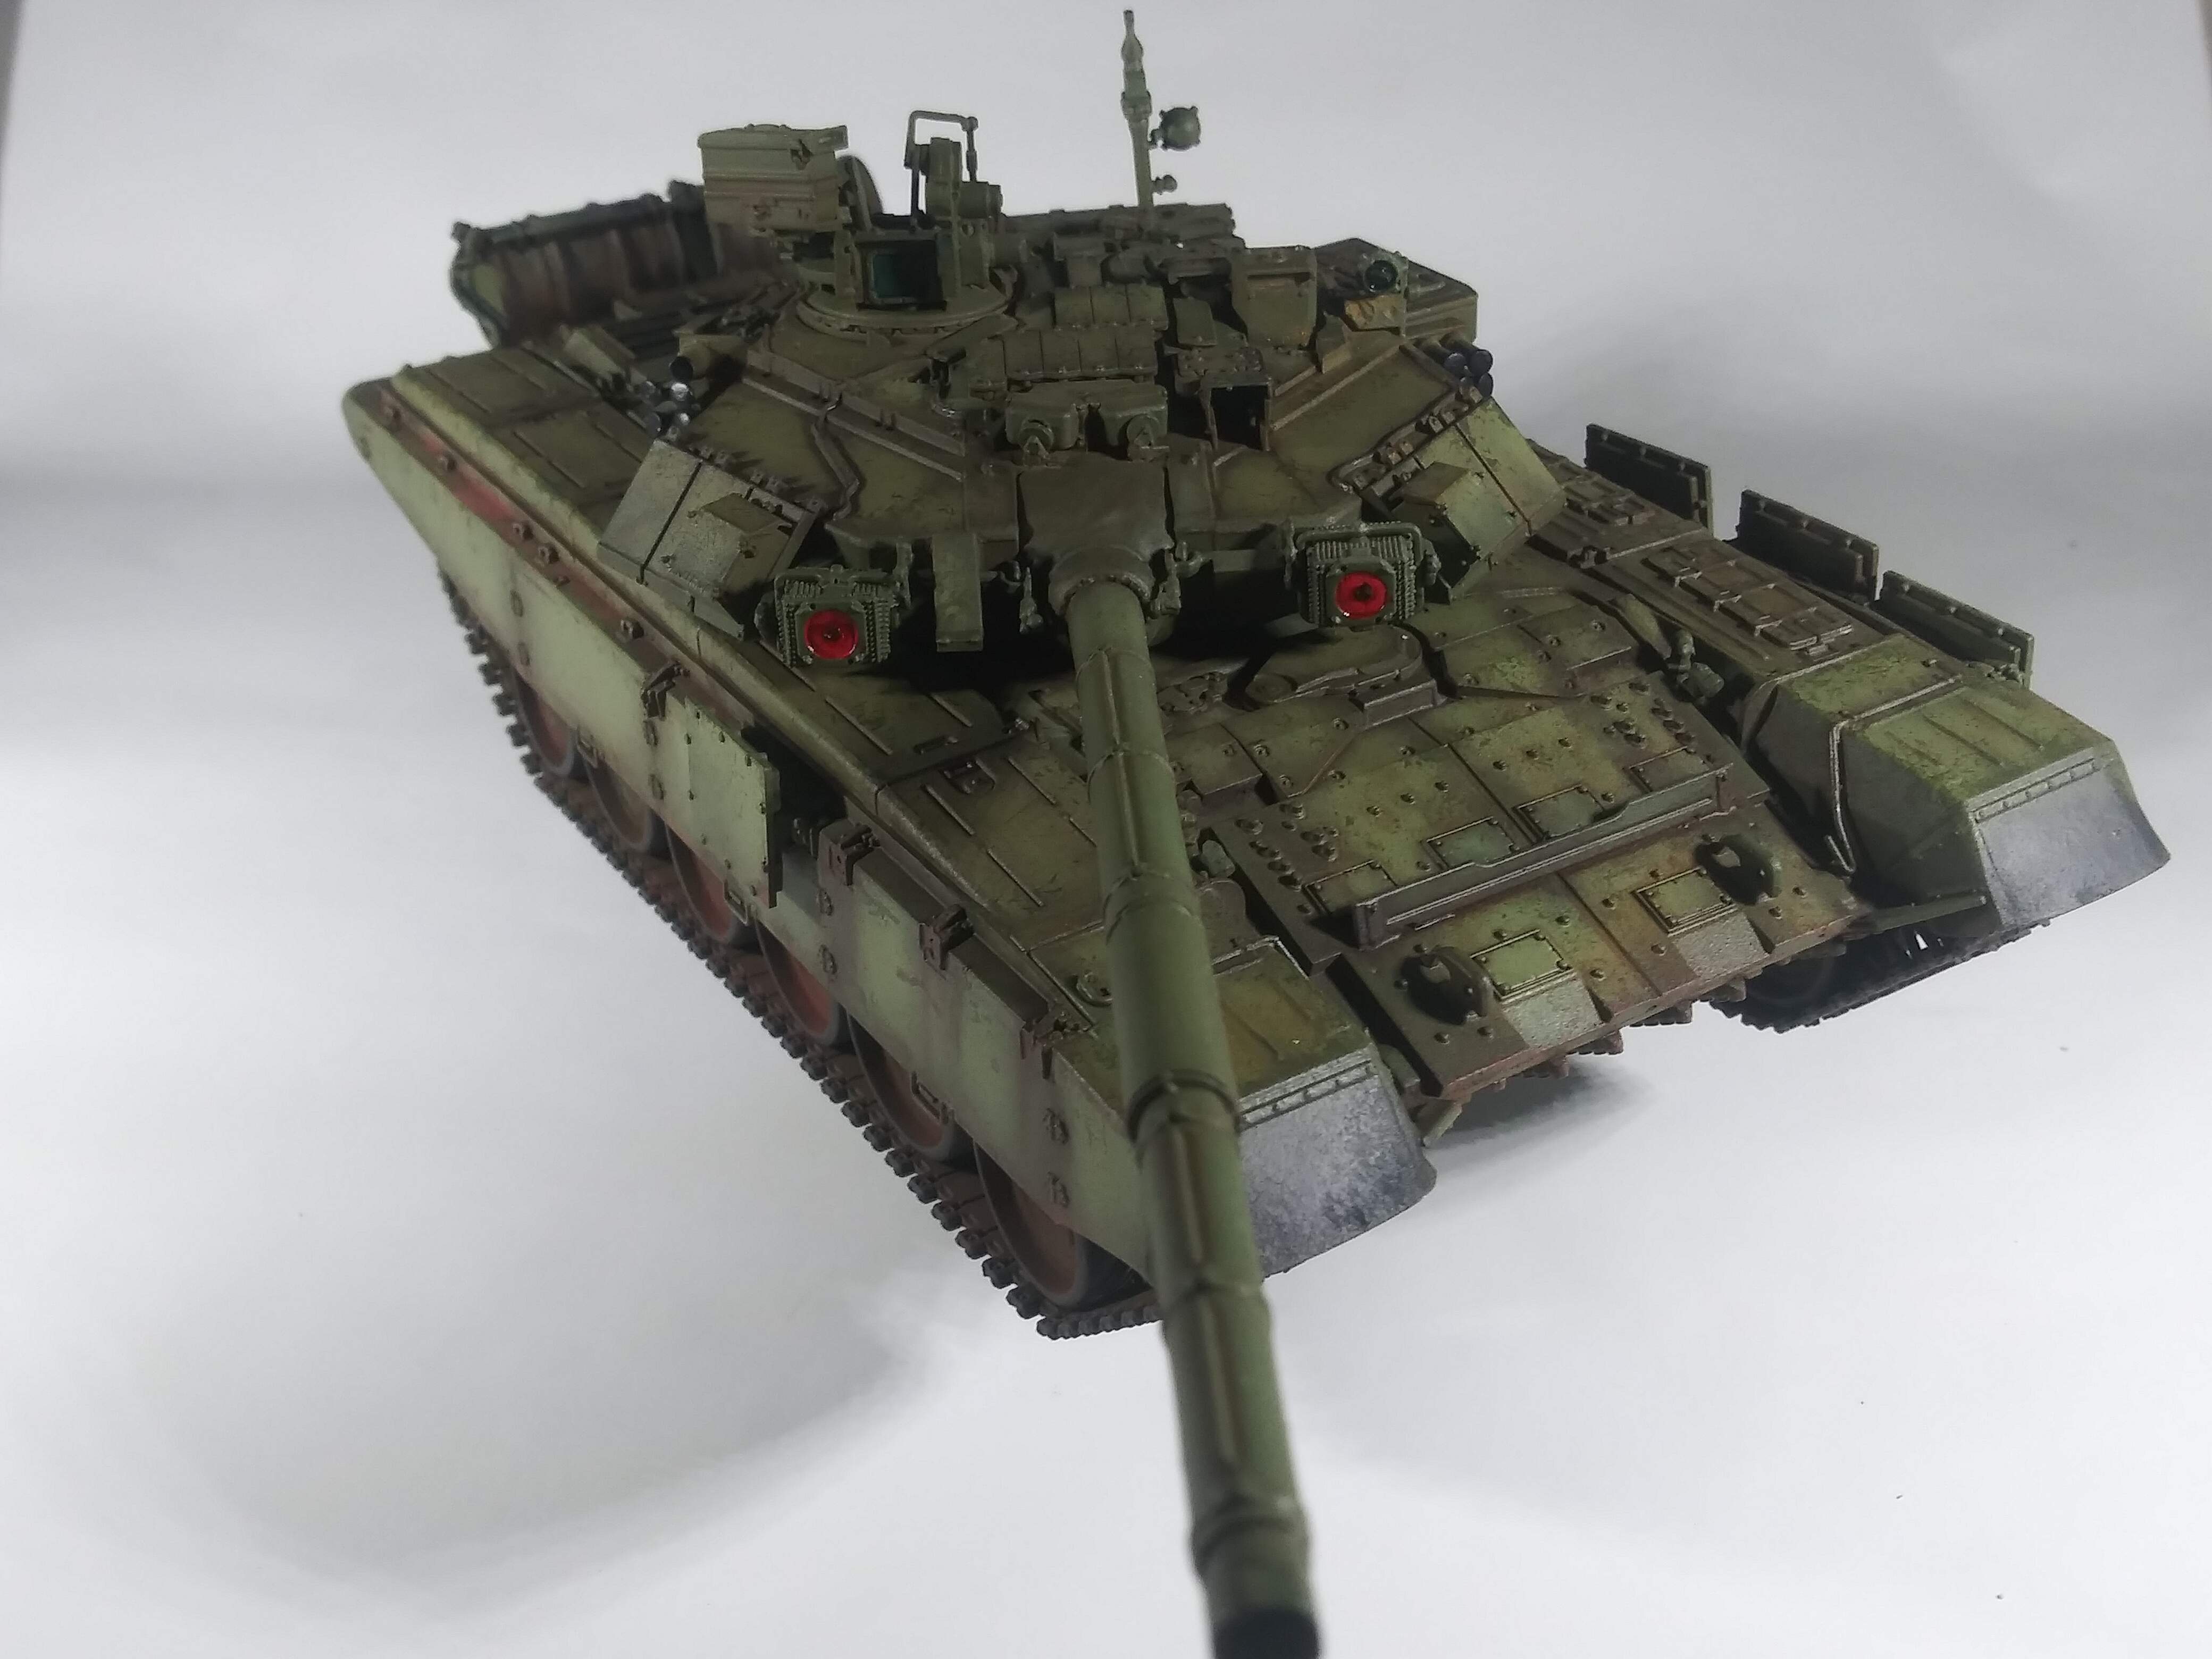
These are images from the photo booth of the before and after. The booth gives a better look at the build.Here is where the magic happens …
Here is the hat trick. It does a couple things.
- It seals the pigments.
- It tones and blends the pigments.
All that is done is to spray a mist coat of a flat sealer of your choice.
6 Likes
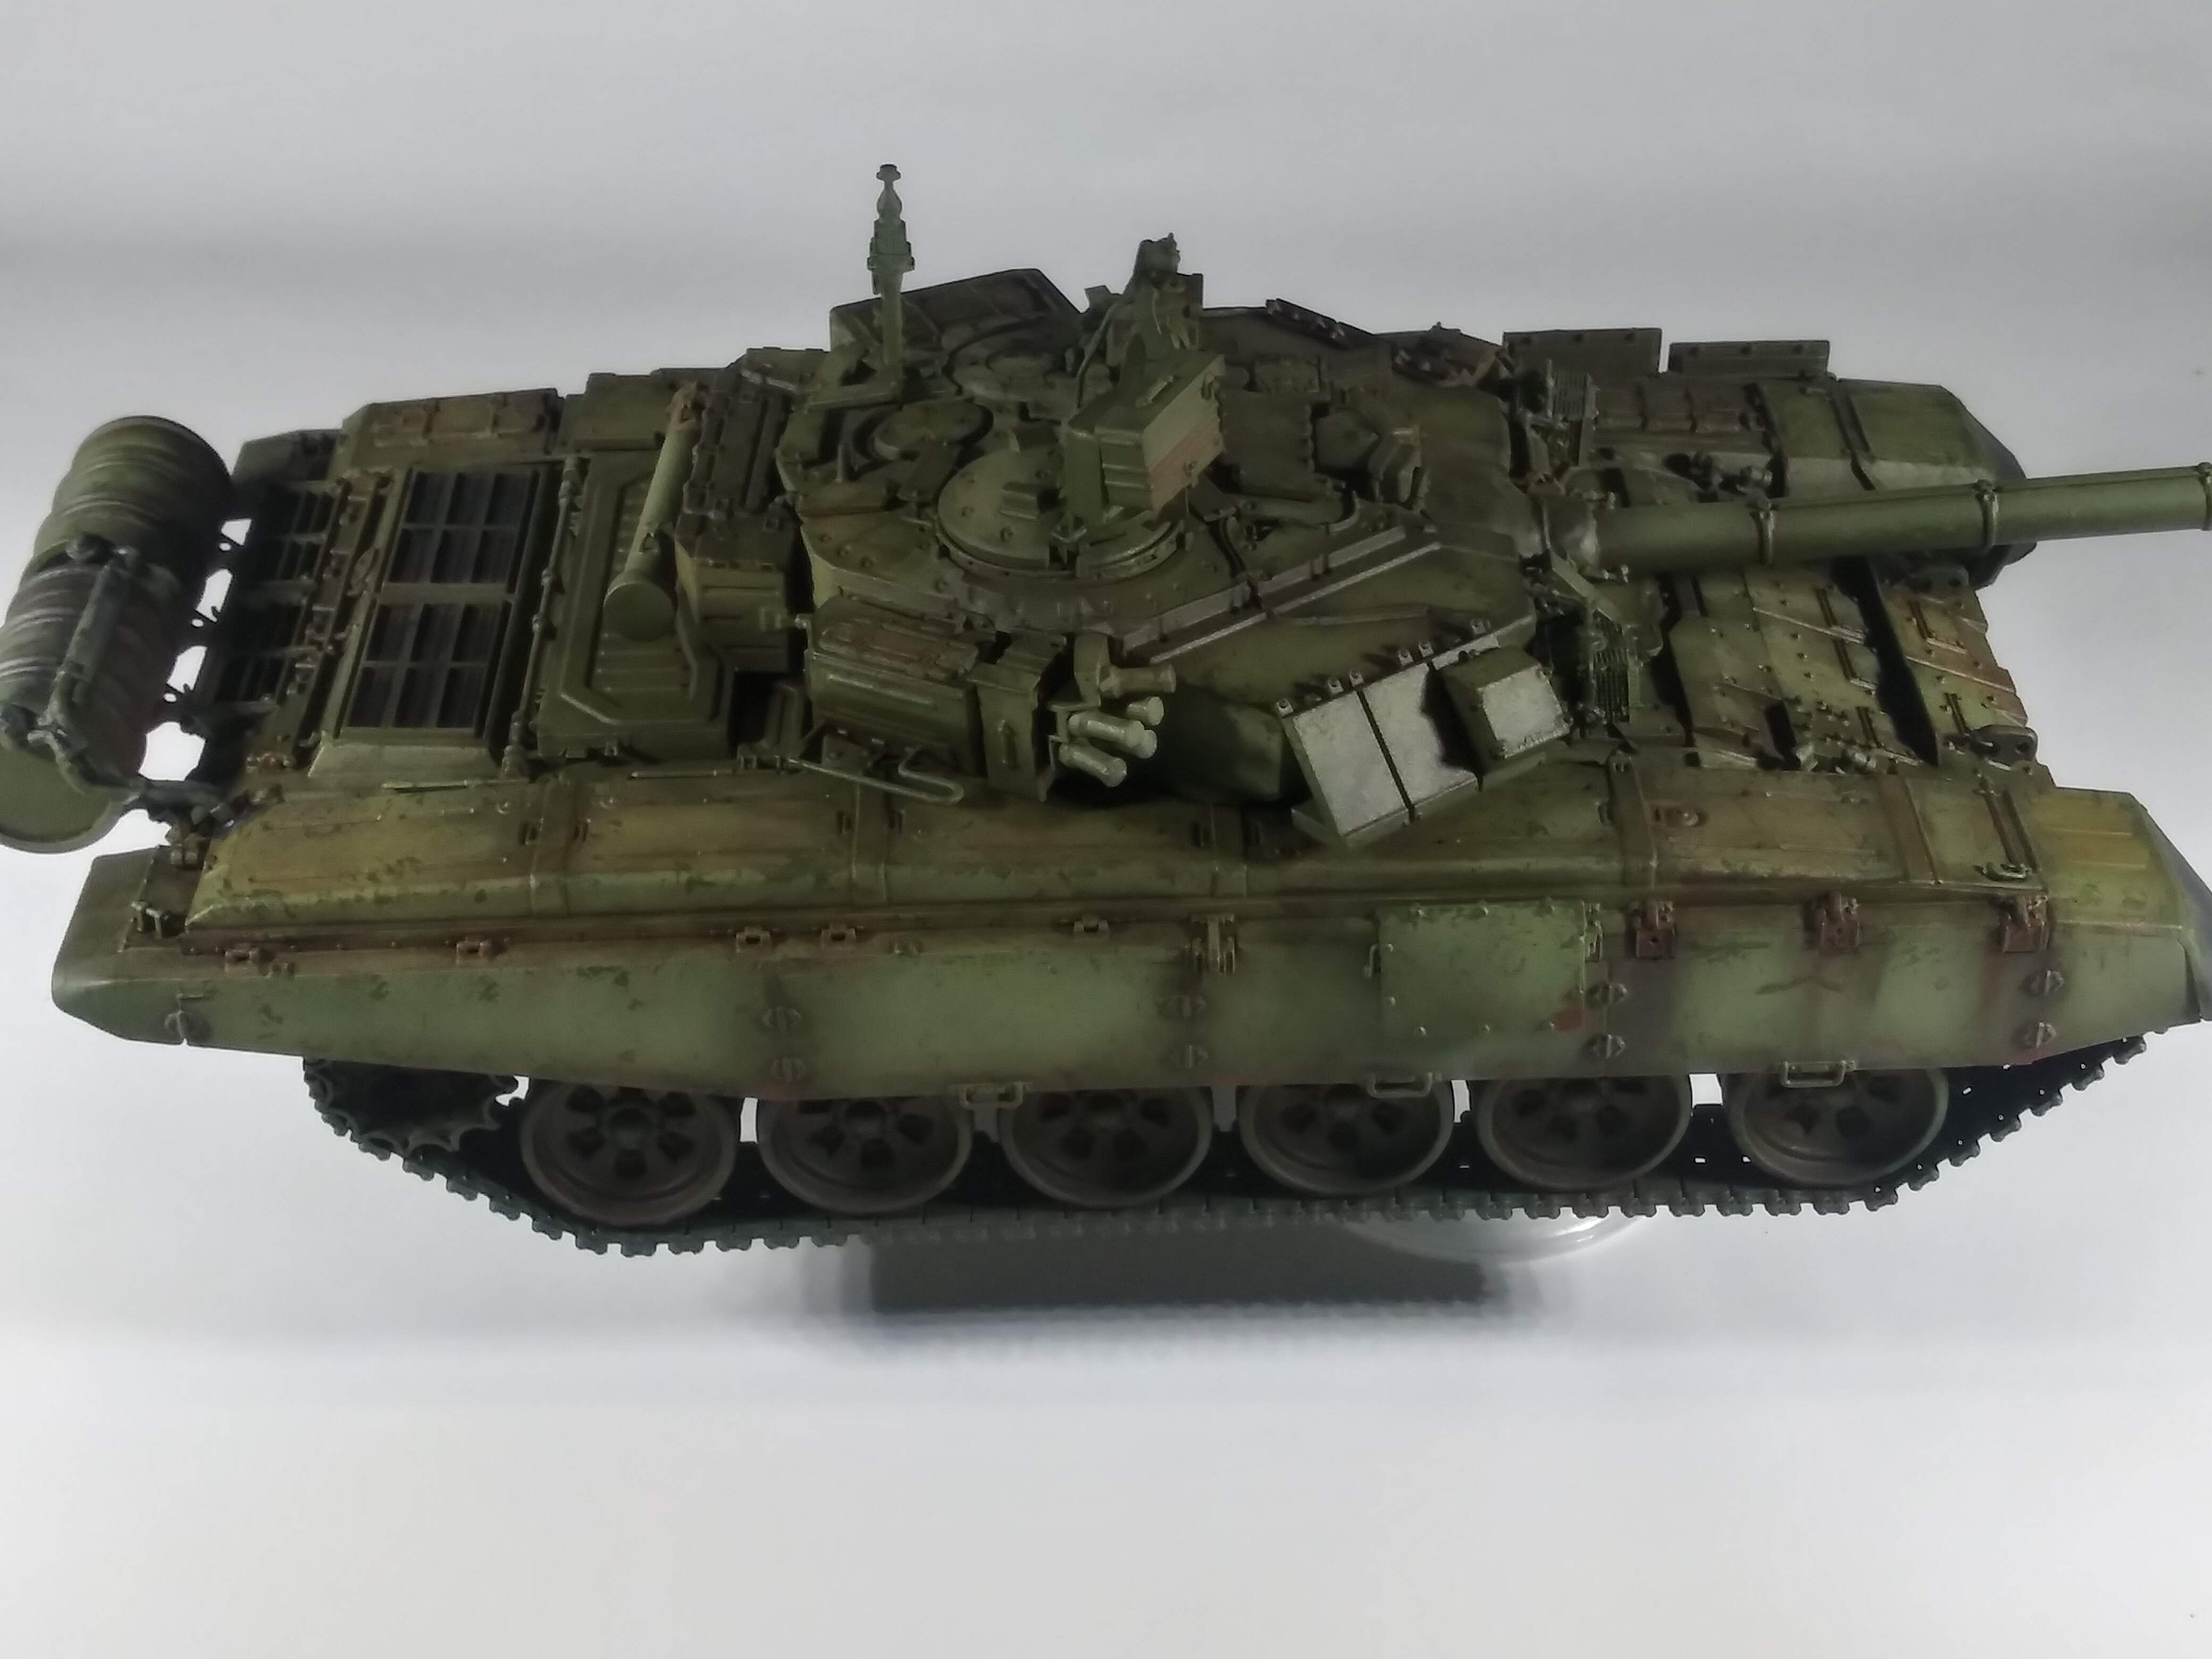
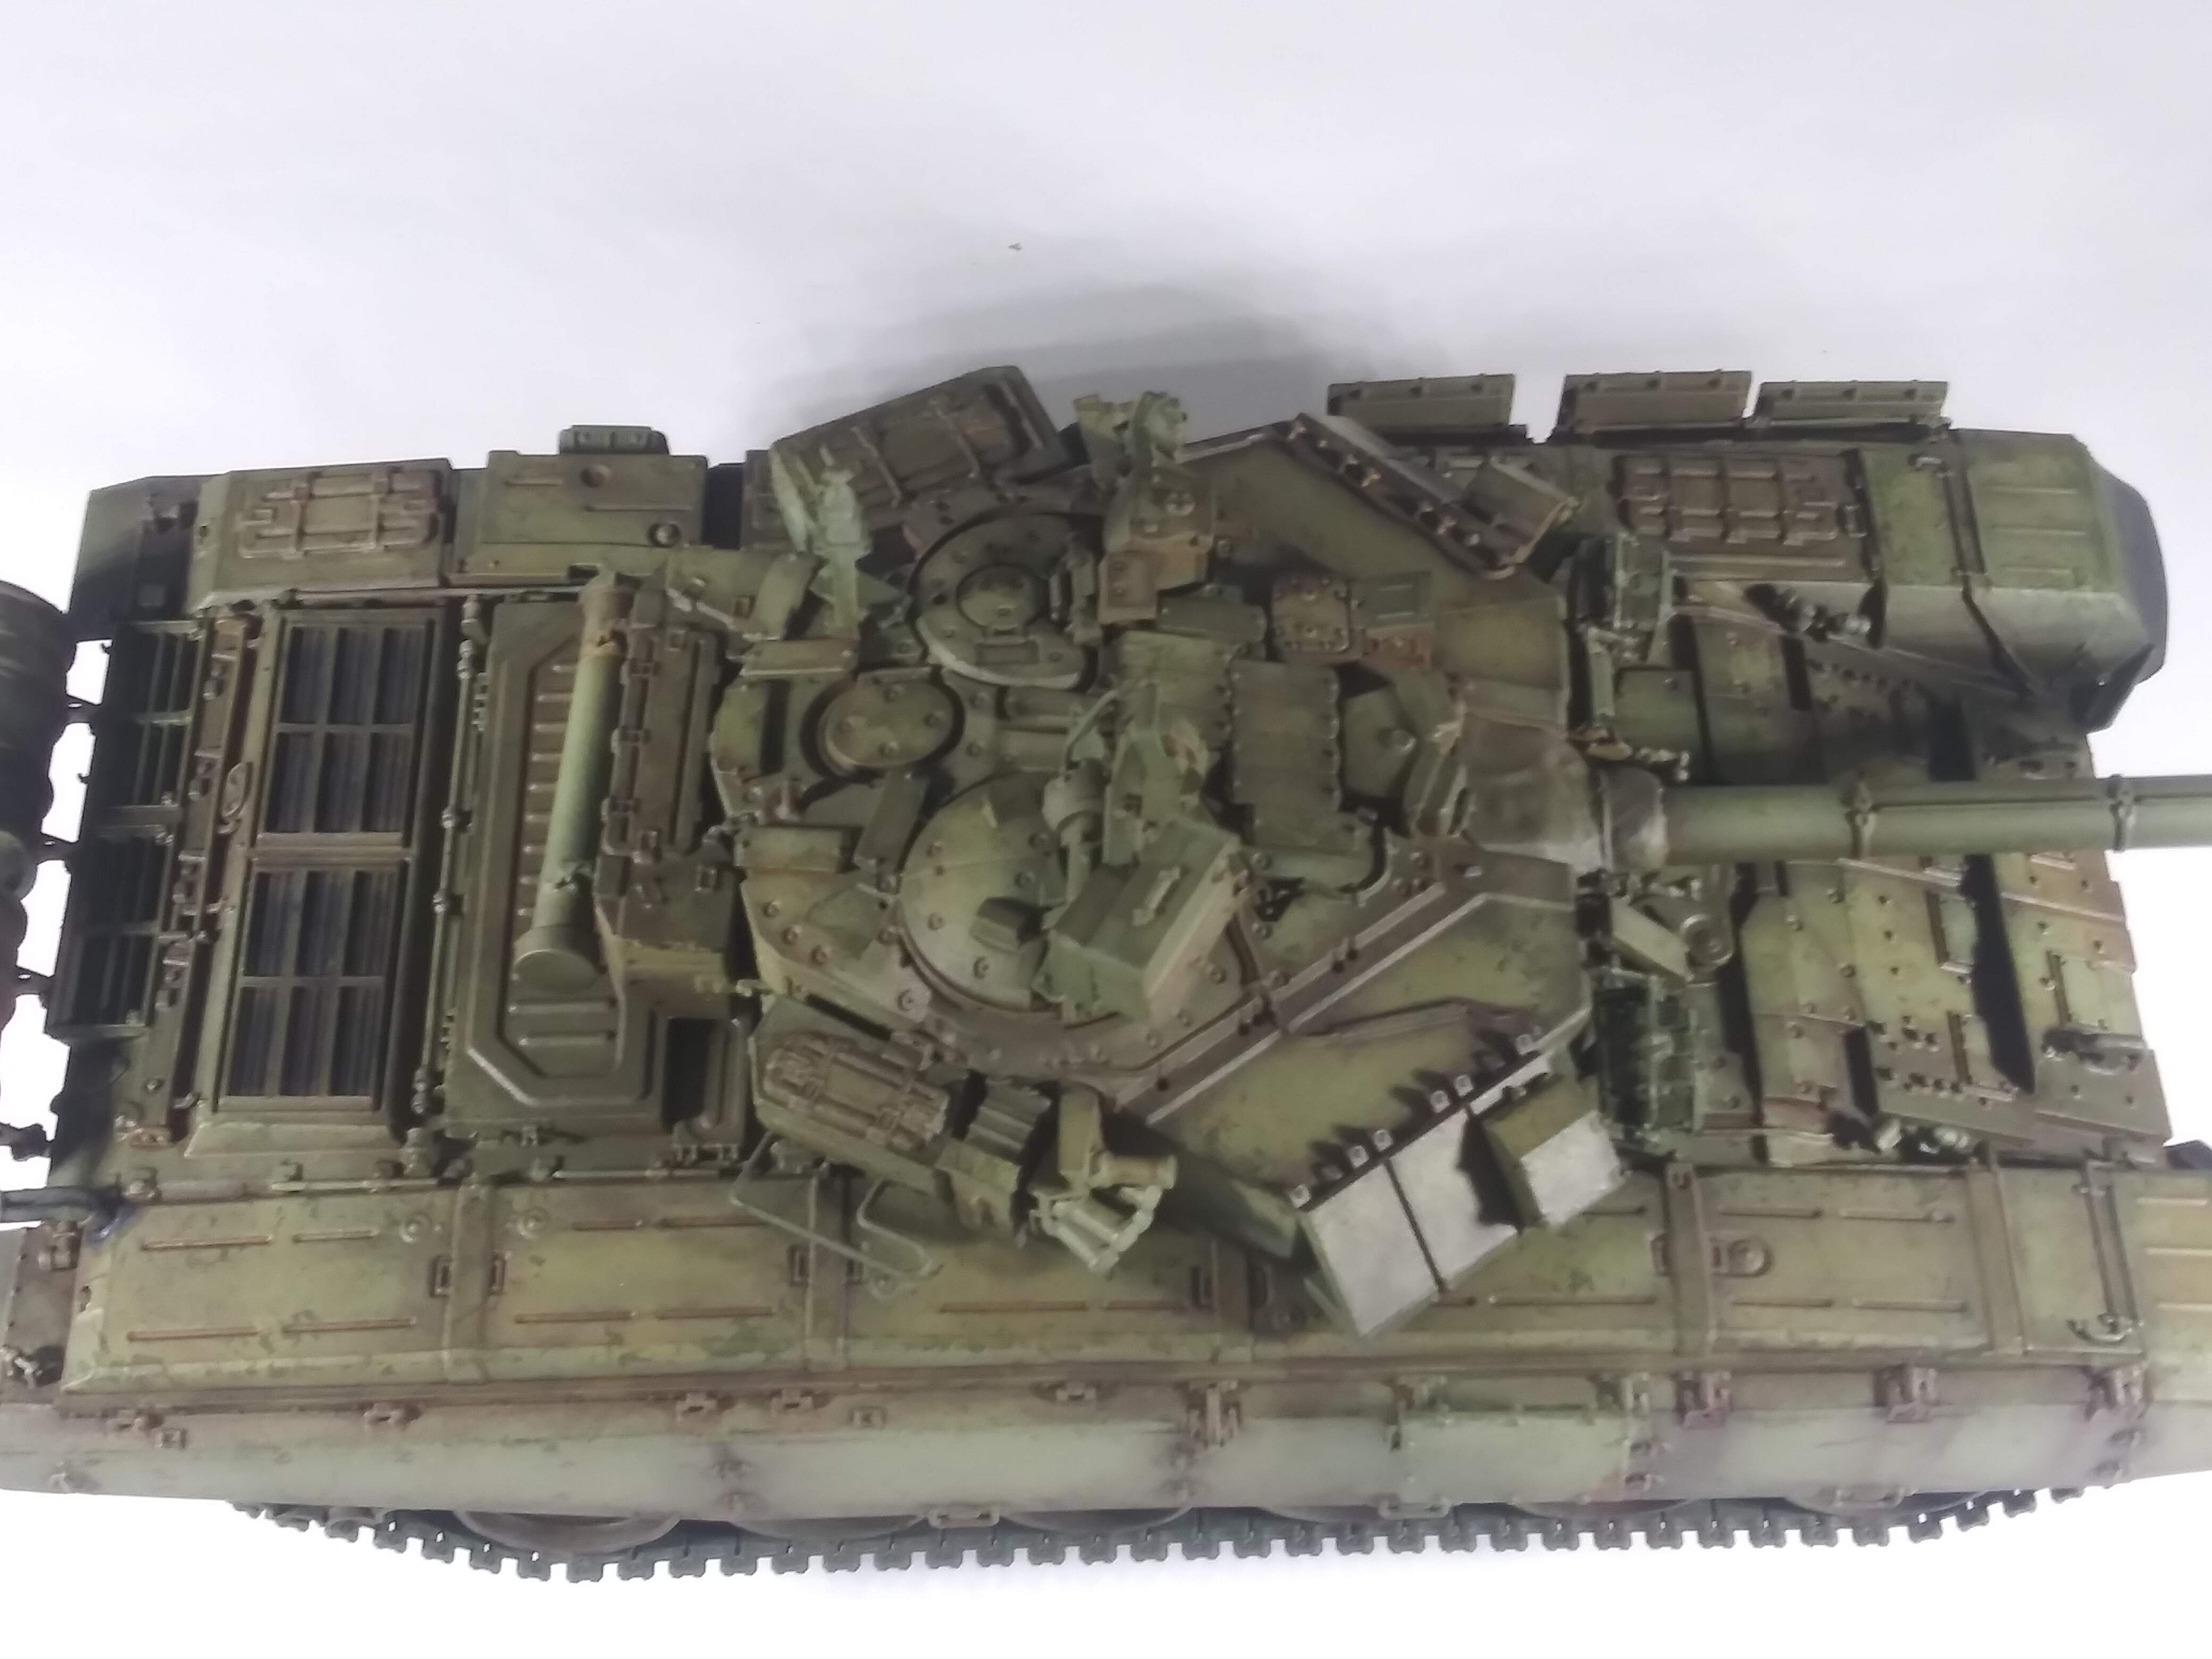
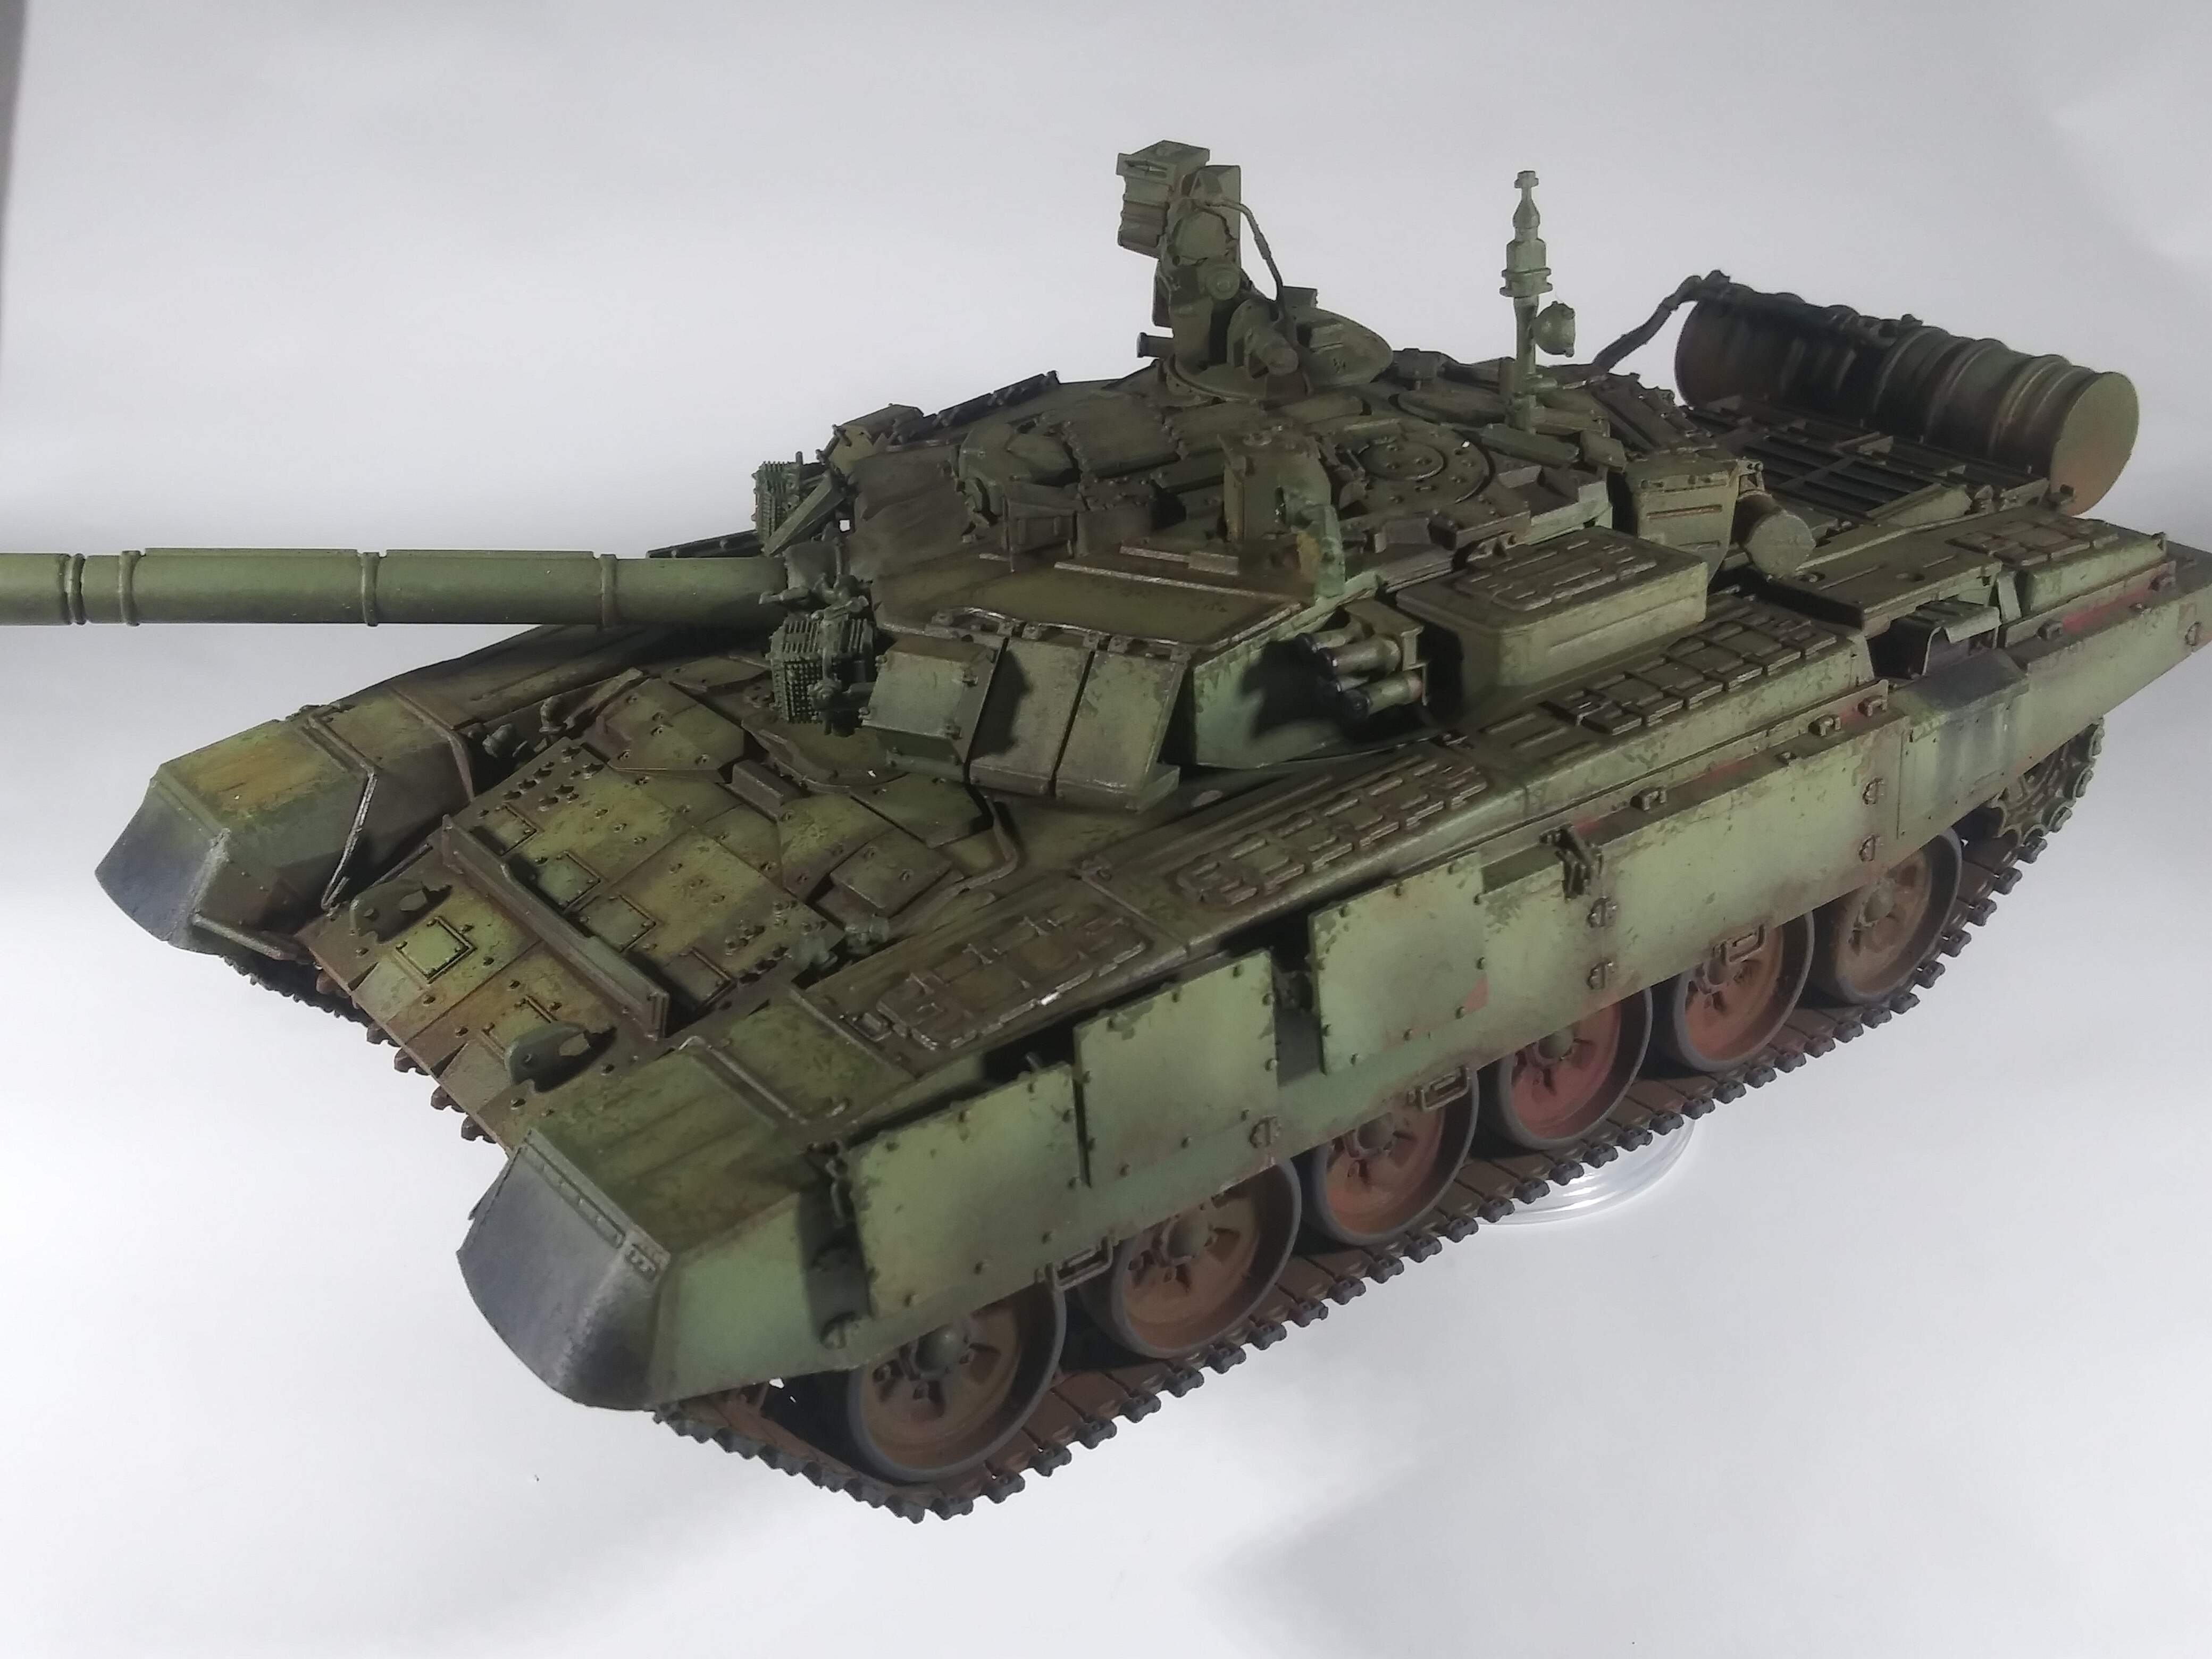
Final details are now done.
Raised conduit received the #2 pencil graphite rub .
Also used a fine point mechanical pencil to add a few scratches and complete run through on the paint in high use areas.
Road wheels were finished with a black grey for the rubber rings . a mix of european dirt and rubble dust was added to the road wheels and the tracks .
All questions are welcome and encouraged.
Fun fact this project began life as a parts bin model that was destined to be robbed for parts.
6 Likes
Super well done paint work and weathering.
Great SBS tutorial Chris. Everybody thinks there is some secret formula or magic spell but there isn’t. You make it look as easy as it really is.
2 Likes
Brother it is easy… Like I have said before " if you know where the stones are you can walk on water"
Really pay no mind to that because I am also fond of saying when referring to myself " every village needs one"
All the joking aside now . Thank you for following along and the way too kind words.
You are a master of the build , as well as several other people in here … Im just a squirrel in your world trying to share a few acorns of knowledge.
It has already been stated to another person , there are a few people in here that I go over their build like a junkie trying to find the lost spoon…lol.
I always seem to pick something out that I learn from it .
Thank you Chris that’s very nice of you to say.
1 Like
Chris, Truly Excellent Step-By-Step! I’ve enjoyed following the thread and definitely learned a few new ideas and a new way to use a certain tool.
A++
1 Like
@Armor_Buff . Its something you can hang on to and elevate your work …lmbo. That will forever be funny now.
1 Like
@Chris_Bryan Chris most definitely! My models will be moving to a new level at least during painting. Will probably save me a lot of rubber gloves too:) Never see an xacto parts alligator the same 
1 Like
Improvise , adapt , overcome… The alligator on your bench is just weakness leaving the body …oh no wait that is the Marines.
Pain is weakness leaving the body… Look at that , I confused myself. Lol
1 Like
Amazing final result! This thread is totally bookmarked for future use.
So glad it helps. I can hardly wait to see what you do next
1 Like
I’m absolutely staggered Chris. Never would I believe this was craft paint and lighter fluid (and several 10s of hours of hard work of course!).
1 Like