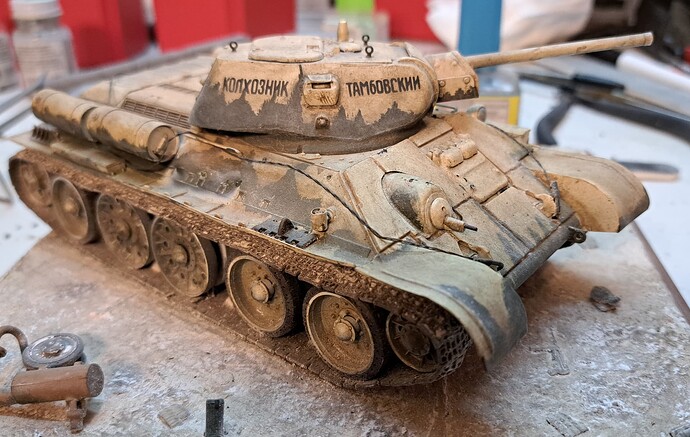
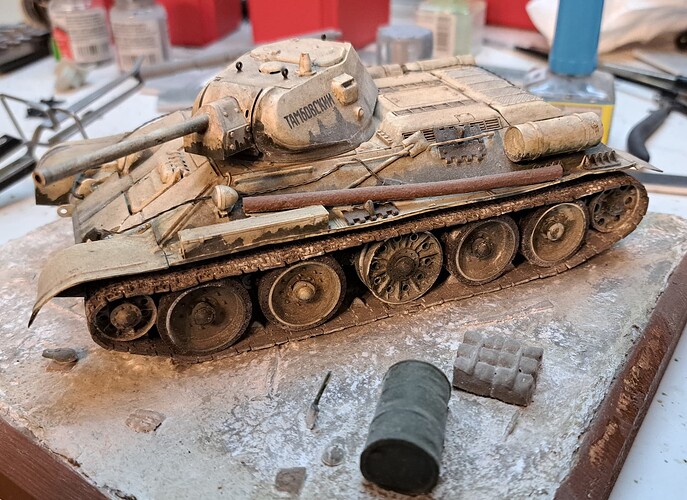
ICM T-34/76 Early 1943

I’ve wanted to build a T-34/76 since seeing @Vladyslav Vlad’s t-34-76-mod-1943-uralmash-uztm thread.

My T-34-76’s are all stone age Tamiya’s build before the information age. Time to update.

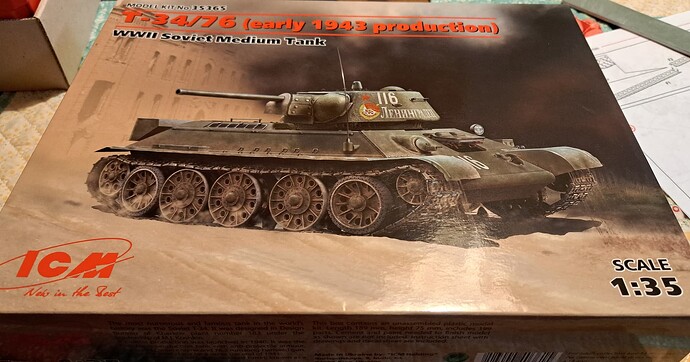
ICM’s T-34/76 Early 1943 usually sells for ~$40, thanks to Black Widow OKC purchased one in shrink wrap for $20. The kit is a 2015 release per Scalemates.

While one of my favorite AFV’s, I only have basic knowledge of the subject. T-34 Mythical Weapon is an excellent picture reference. T-34 wiki is a nice but incomplete primer.

Star of the thread…

…looks straight forward.

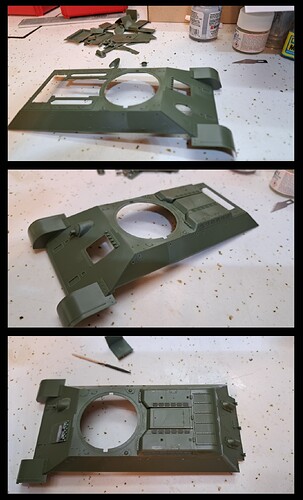
Trying @brekinapez’s build technique, removing all the parts from trees and cleaning them before assembly.

My 91 year old mother insisted we watch ALL of the US Presidential debate together.

One debate later…

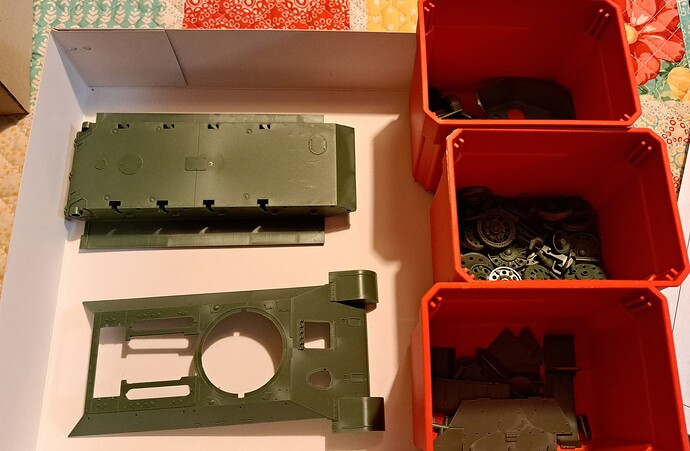
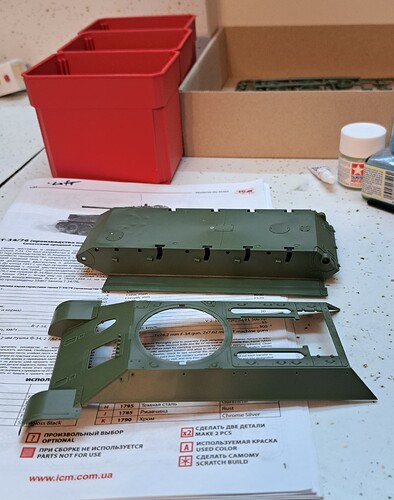
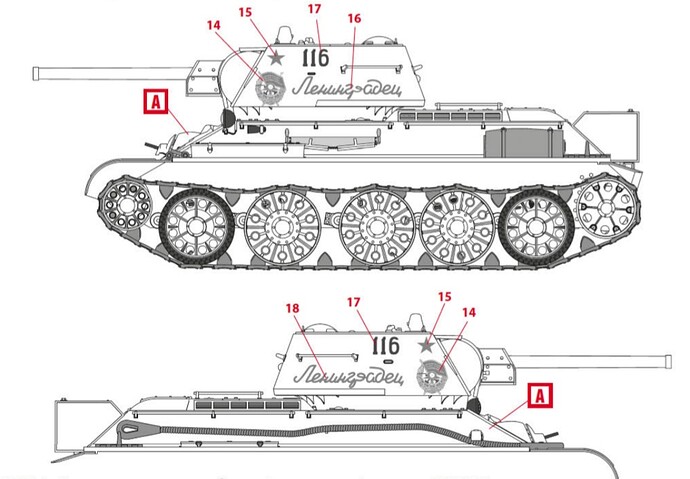
Separated parts into three categories, lower hull, upper hull & turret. The selection of markings are quite impressive!

5 Likes

Wade! Hi!

That’s awesome! I don’t know if it will be tactful on my part, but tell your Mom my greetings and my best heartfelt wishes!
As for the model, then, with your meticulous approach to modeling, I think everything should turn out “excellent”!
Despite the lack of time, I will be watching your construction!

3 Likes

Thank you, Vlad.
I sure will and that will make her day.

Today the Liquid Cement started to flow…

Decided to start in the middle and do steps 13 to 16, the lower hull suspension first.

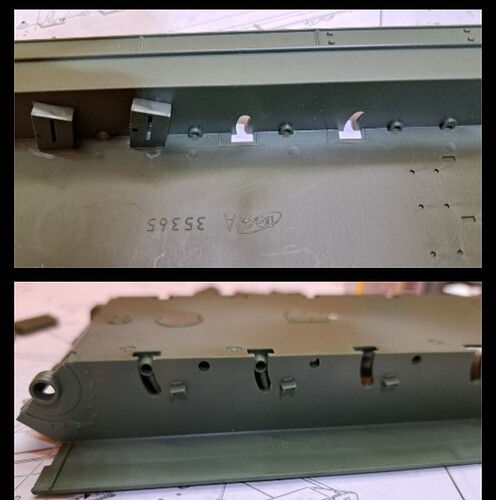
The location of the blocks has to be checked to ensure the swing arm can locate properly. It’s easy to locate slightly off center so worth checking to confirm alignment.

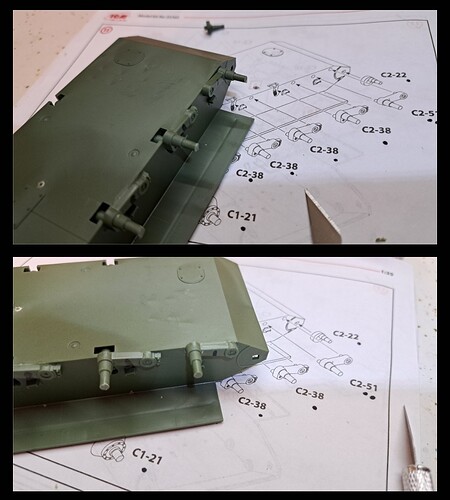
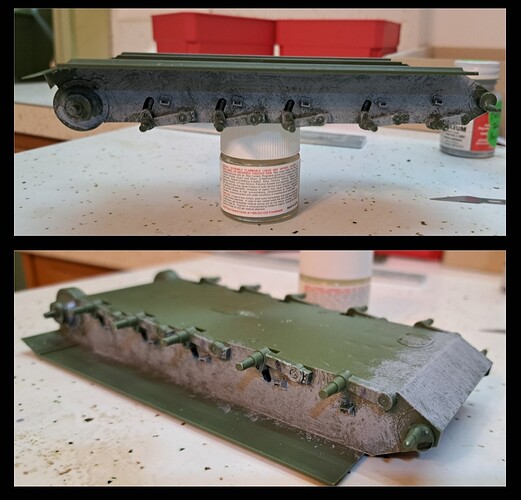
Second land mine, all of the swing arms fit flipped the wrong way. Top picture below is an example and the bottom one with correct placement.

Idler location isn’t perfectly clear so I referred to RFM instructions for orientation.

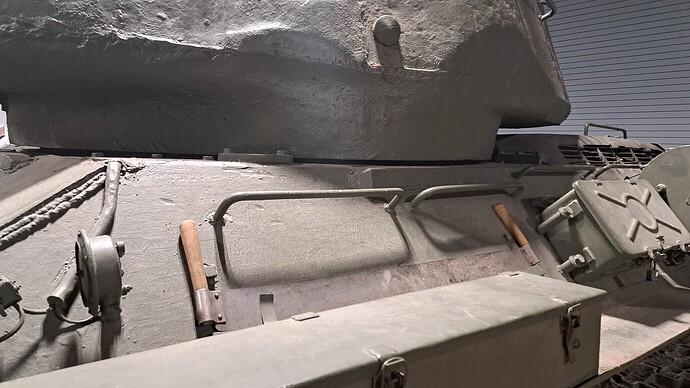
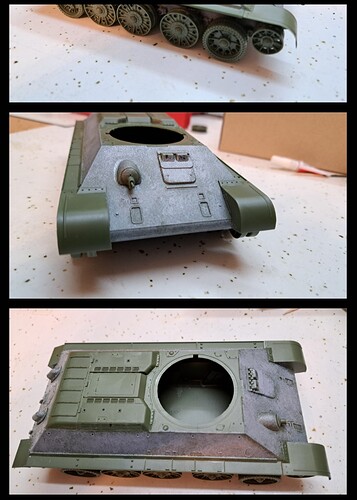
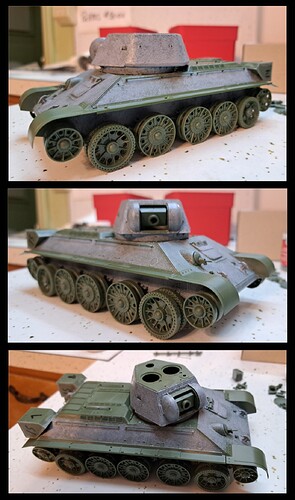
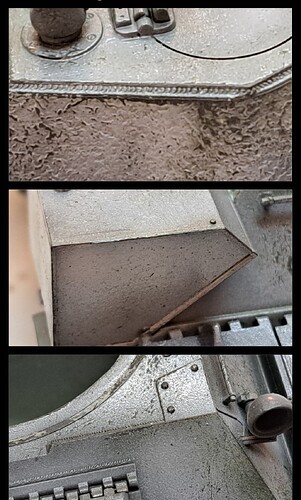
Added texture because I like to do that and the plastic surface was typing paper smooth. One can see in this picture from the Indiana Military Museum of the WW2 production T-34-85 that General Secretary Mikhail Gorbachev donated that the rolled armor plates aren’t perfectly smooth.

6 Likes

Good start Wade off to a great build! Give Mom my regards!

2 Likes

@Armor_Buff - do you know what the markings read? Let me translate them for you:
We have “Komsomolets-Severomorets” (Member of the communist youth from the northern sea), then there is “Marshal Tschoibalsan”, then “Revolutionist Mongolia” and two times “Leningradets” (a citizen of Leningrad) - once in white letters and once in red handwriting.

I’m curious, which one are you going to use?

Good luck with your build and have a nice day

Paweł

3 Likes

@Pawel Pawel, thank you very much for the translations! I like the Leningrad markings best so probably #2 in winter white wash.

@SSGToms, thank Matt, I sure will.

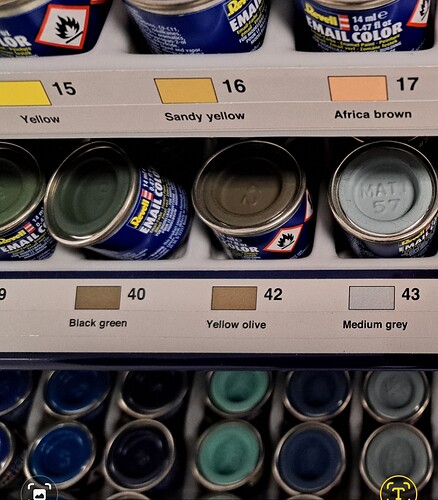
Today, proved productive even with a hobby shop run for paint for the Sherman M4. The hobby shop had the ICM flamethrower version of this T-34 for $59. Decide to pass on that and try Revell Enamel paint. Picked up the Wes German Olive Yellow for a future Leopard 1 of some sort.

Wrapped 28 of 62 steps.

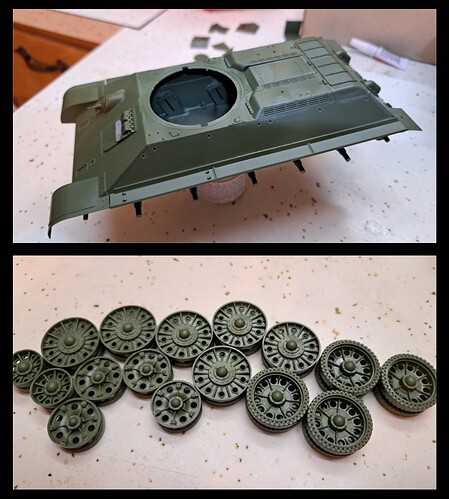
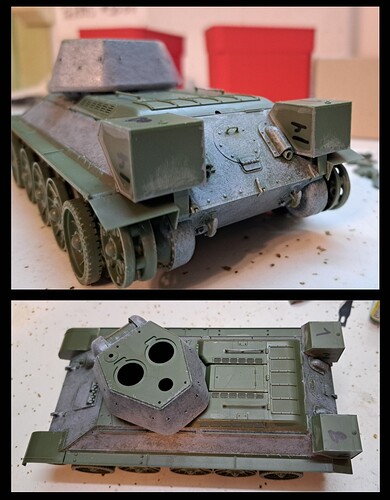
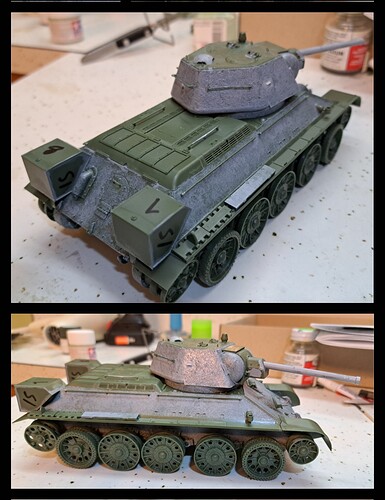
The upper hull feels flimsy but everything fits well for the patient modeler. The rear plate was a hair fiddly to get aligned because the thinly model hull sides flexed. However, it lines up well enough.

The remaining parts clicked together without a hint of drama.

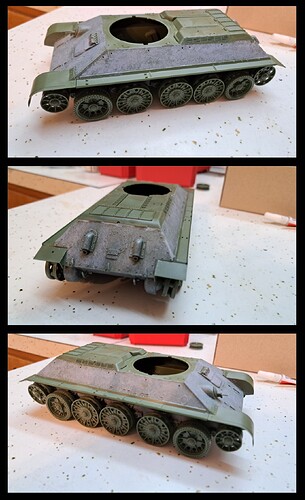
The upper & lower hull fit together near perfect on first test fit. I’d expect a Dragon Slaying level of struggle but there wasn’t any drama. Test fitting the wheels is always a good feeling.

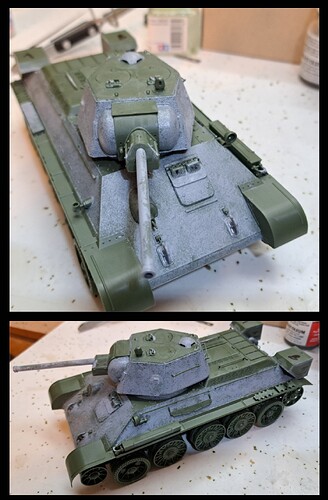
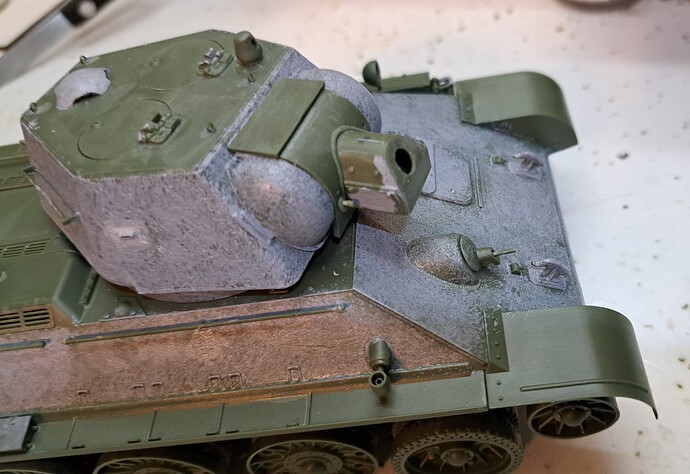
Added moderate texture to various armor plates with thinned Tamiya Basic putty with an old paint brush.

I was quite surprised how quickly the ICM kit builds.

7 Likes

Wow! Wade! Now that’s speed!
I understand that the kit has different versions of the drive wheels?
I support the choice of decals, I also like this version. I have doubts about the color of the tank number. Most likely, it was also red, not black. I think you have already found a photo of the prototype.

2 Likes

Vlad, the ICM kit almost falls together with a few minor hiccups. Yes, there’s two sets of drive sprockets, they look identical to me. Both sets are loose on the spindle and will have to be tacked in place when tracks are installed.

Today went pretty well, didn’t have as much time but 50 of the 62 steps are wrapped.

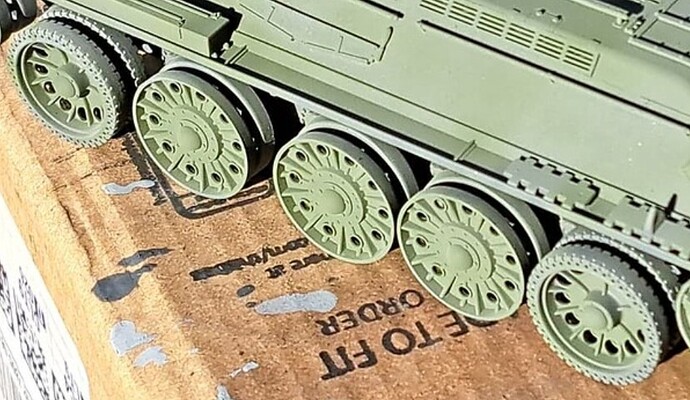
Generally, not a hex turret fan but those boxy extended range fuel tanks rock and two types of road wheels rule. They give the 76 a sweet aesthetic appeal in my opinion.

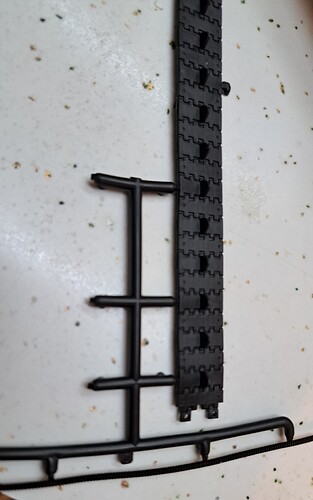
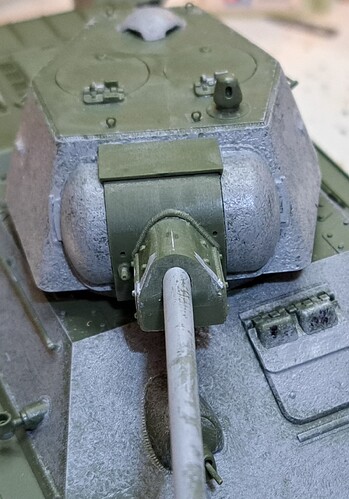
I’m not a fan of the kit gun barrel. Likewise, the two part vinyl tracks are OK but not to my liking. The vinyl tow cables are a creative solution but likewise not to my liking.

Logistical Control authorized T-34-76 replacement parts (tracks, main gun & tow cables) with Pz IV G urgency (Double Delta Code Red)

I’ll save the tracks as they are an upgrade compared to the old Tamiya T-34 kit tracks.

5 Likes

Ready for upgrades.

3 Price retail $45. I wouldn’t be happy with this kit at retail price. Paid $20 at Black Widow. Definitely worth while at a good price.

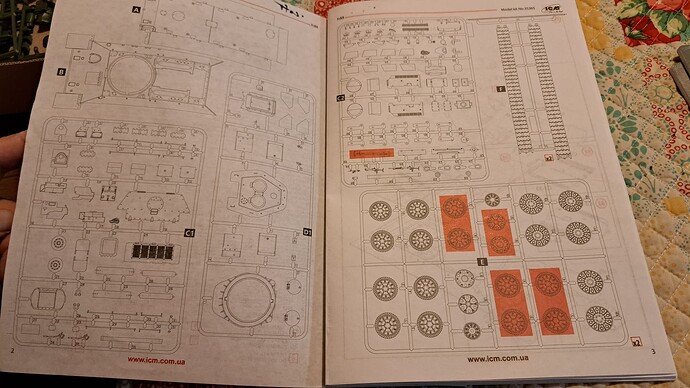
4 Instructions - Clear enough, simple small assembly steps

3 Molding Quality - has flash and seems ~1980’s Tamiya. It’s OK but far from state of the art.

4 Plastic Quality - soft almost fragile, takes Tamiya Extra Thin, Testor’s Liquid Cement & Mr Hobby without problems.

5 Parts Clean Up - shocking easy with the soft plastic. Engineered for minimal mold lines for many parts

4 Ease of build - Many suspension parts can be attached incorrectly because both alignment pins are the same size. It’s important to pay attention to part orientation.

4 Accuracy Shape looks accurate to me, no reference on hand to check against. Some details seem simplified compared to newer T-34 kits. The vinyl tow cables while novel and flexible, look like springs.

4 Fit Overall much better than I expected. Hull halves match up near perfect, working slowly front to rear with Tamiya Extra Thin. The bottom of the turret base had gaps. The turret side view ports have a terrible fit and required putty work to blend them to an acceptable manner. The turret halves fits better but required similar putty work. YMMV

1 Doesn’t Require Aftermarket Tow cables need replacement, vinyl tracks are just OK. The engine deck screen really should be cut out and replaced with PE or mesh. Disappointed PE wasn’t included along with a second rear engine deck designed for PE.

3 Details built Out of the Box It’s decent and will paint nicely.

** 35 points out of 50 **

35/50

Recommended for those interested in early 1943 T-34/76’s. Subject has an unique appearance with square fuel tanks, hand hold rails & mixed rubber & steel wheels. Nearly ideal as a FAST build as even a slow builder like myself can wrap assembly in four days.
7 Likes

Wade!

I think this is not about you. :slightly_smiling_face: This is rather about me! :rofl:
The casting and rolling texture looks very good!

2 Likes

Thank you, Vlad.

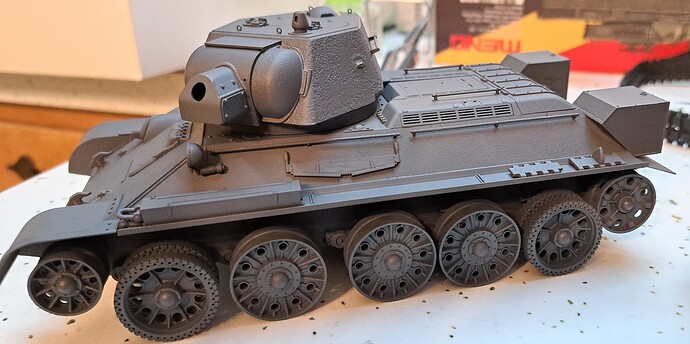
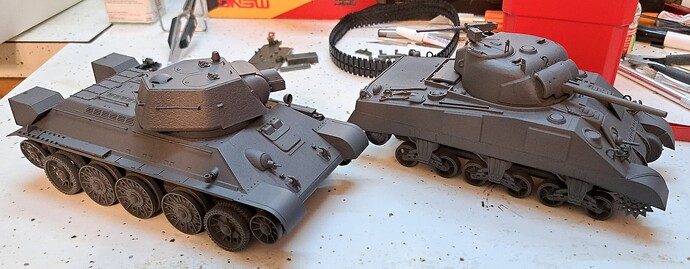
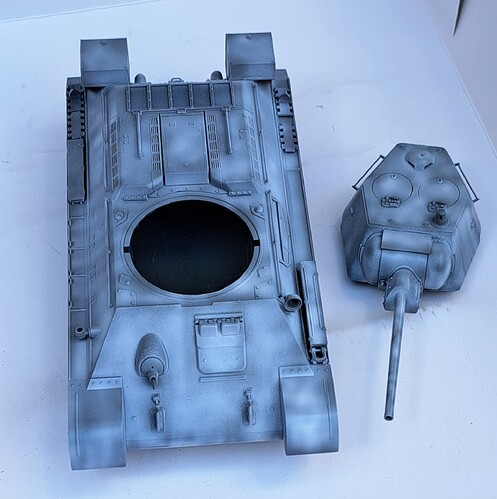
Weather cleared today so Prime Time to paint the T-34 Weathered Black.

M4 tagged along for the airbrushing

Aftermarket parts arrived today!

6 Likes

Installed aftermarket main gun.

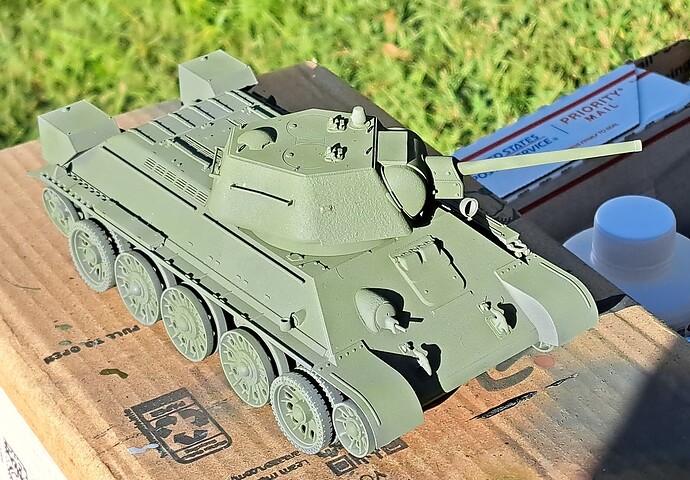
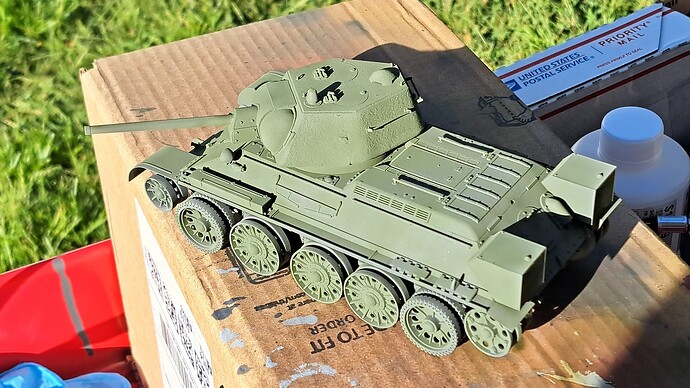
Primed main gun and shot some color.

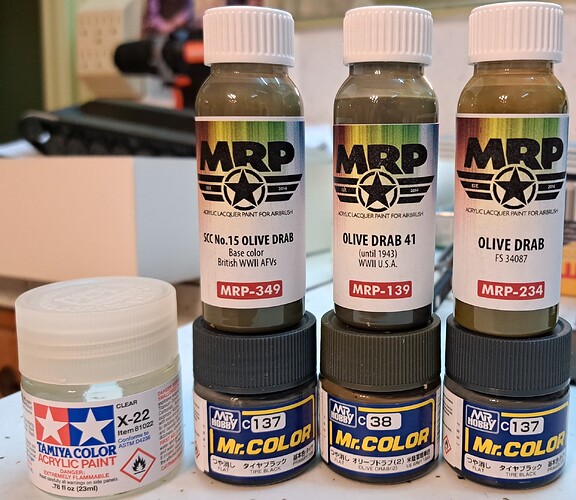
Use the cheapo Amazon airbrush set up for painting on the road. Really missed my home set up etc but Mr Color Leveling Thinner & Tamiya worked well despite being stuck spraying at ~40 psi.

7 Likes

So, how would you compare this to the Old Tamiya T-34/76 1943 kit? Nice build by the way. I wish Tamiya would have upgraded their T-34 kits like they did with their KV-2.

2 Likes

Oh that’s going back!

I last built one of Tamiya T-34’s in the early 1990’s. Those were T-34/85’s & T-34-76’s 1942’s. Didn’t get to the 1943 version. I’d probably review my old Tamiya T-34-76 1942’s as follows and I think the 1943 would be similar.
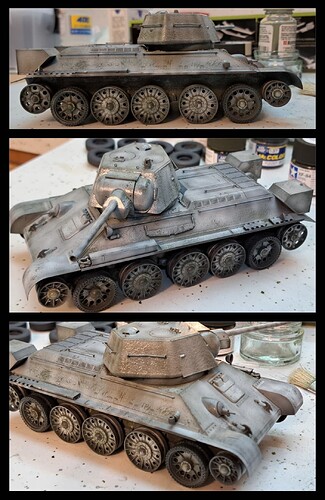
5 Price - I found the 42, 43 & 85 for $10 each at a show this summer plus Amazon has the 1943 for ~$28

5 Instructions - Clear, concise easy to follow.

2 Molding Quality - It’s dated, not bad but less than ICM’s

4 Plastic Quality - Hard, slightly brittle not Tamiya’s best but good enough.

2 Parts Clean Up - Mold seams are heavier and harder to remove due to harder plastic. Seams in fuel drums, motorization holes to dress or fill. Kit shows it’s age as it wasn’t optimized for easy clean up like some modern kits seem to be.

5 Ease of Build - Simple as it gets.

2 Accuracy - Looks like a T-34, same tracks provided for various versions which seems suspicious etc

4 Fit Overall much better than I expected even back in the 1980’s & 1990’s.

0 Doesn’t Require Aftermarket I can’t imagine building a 1st Gen Tamiya T-34 without replacing the tracks.

1 Details built Out of the Box those tracks really hurt, like wise the tow cables.

30/50 for 30 points not bad for ancient kit from back in the day.

Comments based on pulling these Tamiya T-34 relics off the shelf from ~1988 & ~1992 and looking then over.


Overall, the ICM kit is better not having motorization holes and somewhat better details.

HTH

9 Likes

Why am I shopping for a good deal on an ICM T-34???

I do wish someone made aftermarket wheel sets for early T-34 wheels. It seems like the late wheels are available in resin and plastic, new, or burnt-out, or damaged. I save the extra wheels from kits that have them, but it would be nice to just be able to buy a set.

3 Likes

I agree!

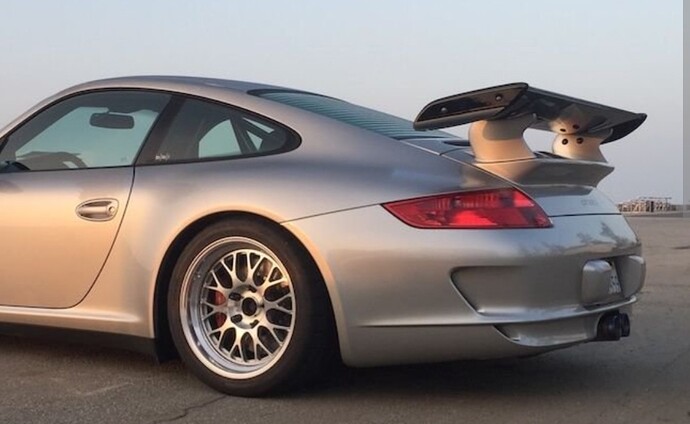
Those bitchin Russian WW2 spider & steel “mag wheels” are just as sexxy in their own way as a phat set of Fikse Profil 10’s on a Porsche.

The mix and match wheels sold me on trying the ICM kit.

5 Likes

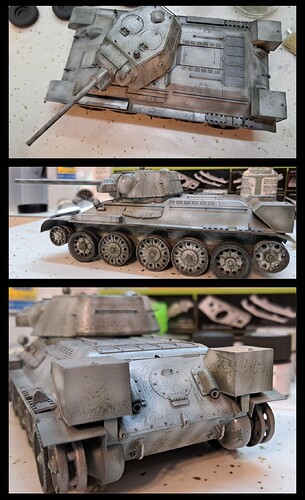
Tried a new to me method for winter white wash & chipping.

Hairbrushed edges then drybrushed model with Tamiya XF-84 Dark Iron for the raw metal edge. The result was hideous, to the point I didn’t take pictures. The intermediate step is so ghastly the possibility of paint stripping or a trip to file 13 occurred.

Next not having any chipping fluid available, a rattle can cross hatch pattern of extra hold Tresemme hair spray was applied.

1000034769

That dried for about ten minutes while, the airbrush cart etc was set up outside. Fogged Tamiya XF-2 Flat White on the model using a small spray pattern to creat vertical streaking.

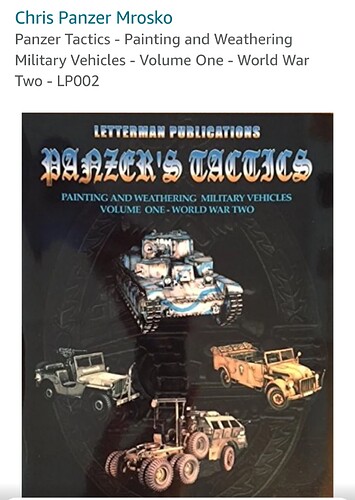
Cleaned the nail salon airbrush, took the model inside and went to chipping. Except instead of using water, took a page from Chris Morosko’s old book using Tamiya X20A instead of water to chip with a stiff paint brush.

Result…

I was happy with the Dark Iron edges that appeared after the white wash was chipped away.

6 Likes

nice outcome on that.

2 Likes

Oh no Wade, you wouldn’t File 13 a good solid build at this point, would you? You’re getting crotchety in your old age! At the very most a deep bath in Windex or DOT 3 brake fluid to strip it back to plastic - the kit itself deserves to survive for a new paint job. Wade’s World needs more tanks on the finish line!

2 Likes

@phil2015 Phil, thank you!

Matt, the T-34 is safe now. Testing a goofy technique and it had me halfway spooked :ghost:.

The danger was when the metallic was applied. It looked horrible but white wash & chip fixed it.

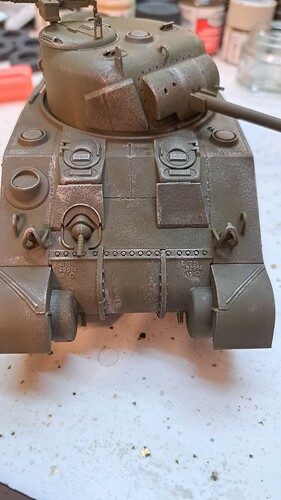
I’m trying same on my off color Sherman today. Check out the “HiHo Silver” the Sherman harshly drybrushed in metallics…:laughing: :rofl: :joy: :joy_cat:

I think the Sherman will benefit from white wash and when chipped the “silver” will be ok instead of gaudy.

The T-34 looked even worse :flushed: at the same step because I painted the metallic in way heavier than the drybrushing.

I definitely need to finish projects! I lost some time after making a Meng Leopard 1A3 build blunder. Hope to post after it’s fixed later today.

5 Likes