Thank you for the info and the link to the photos - they will definitely be useful!
1 Like
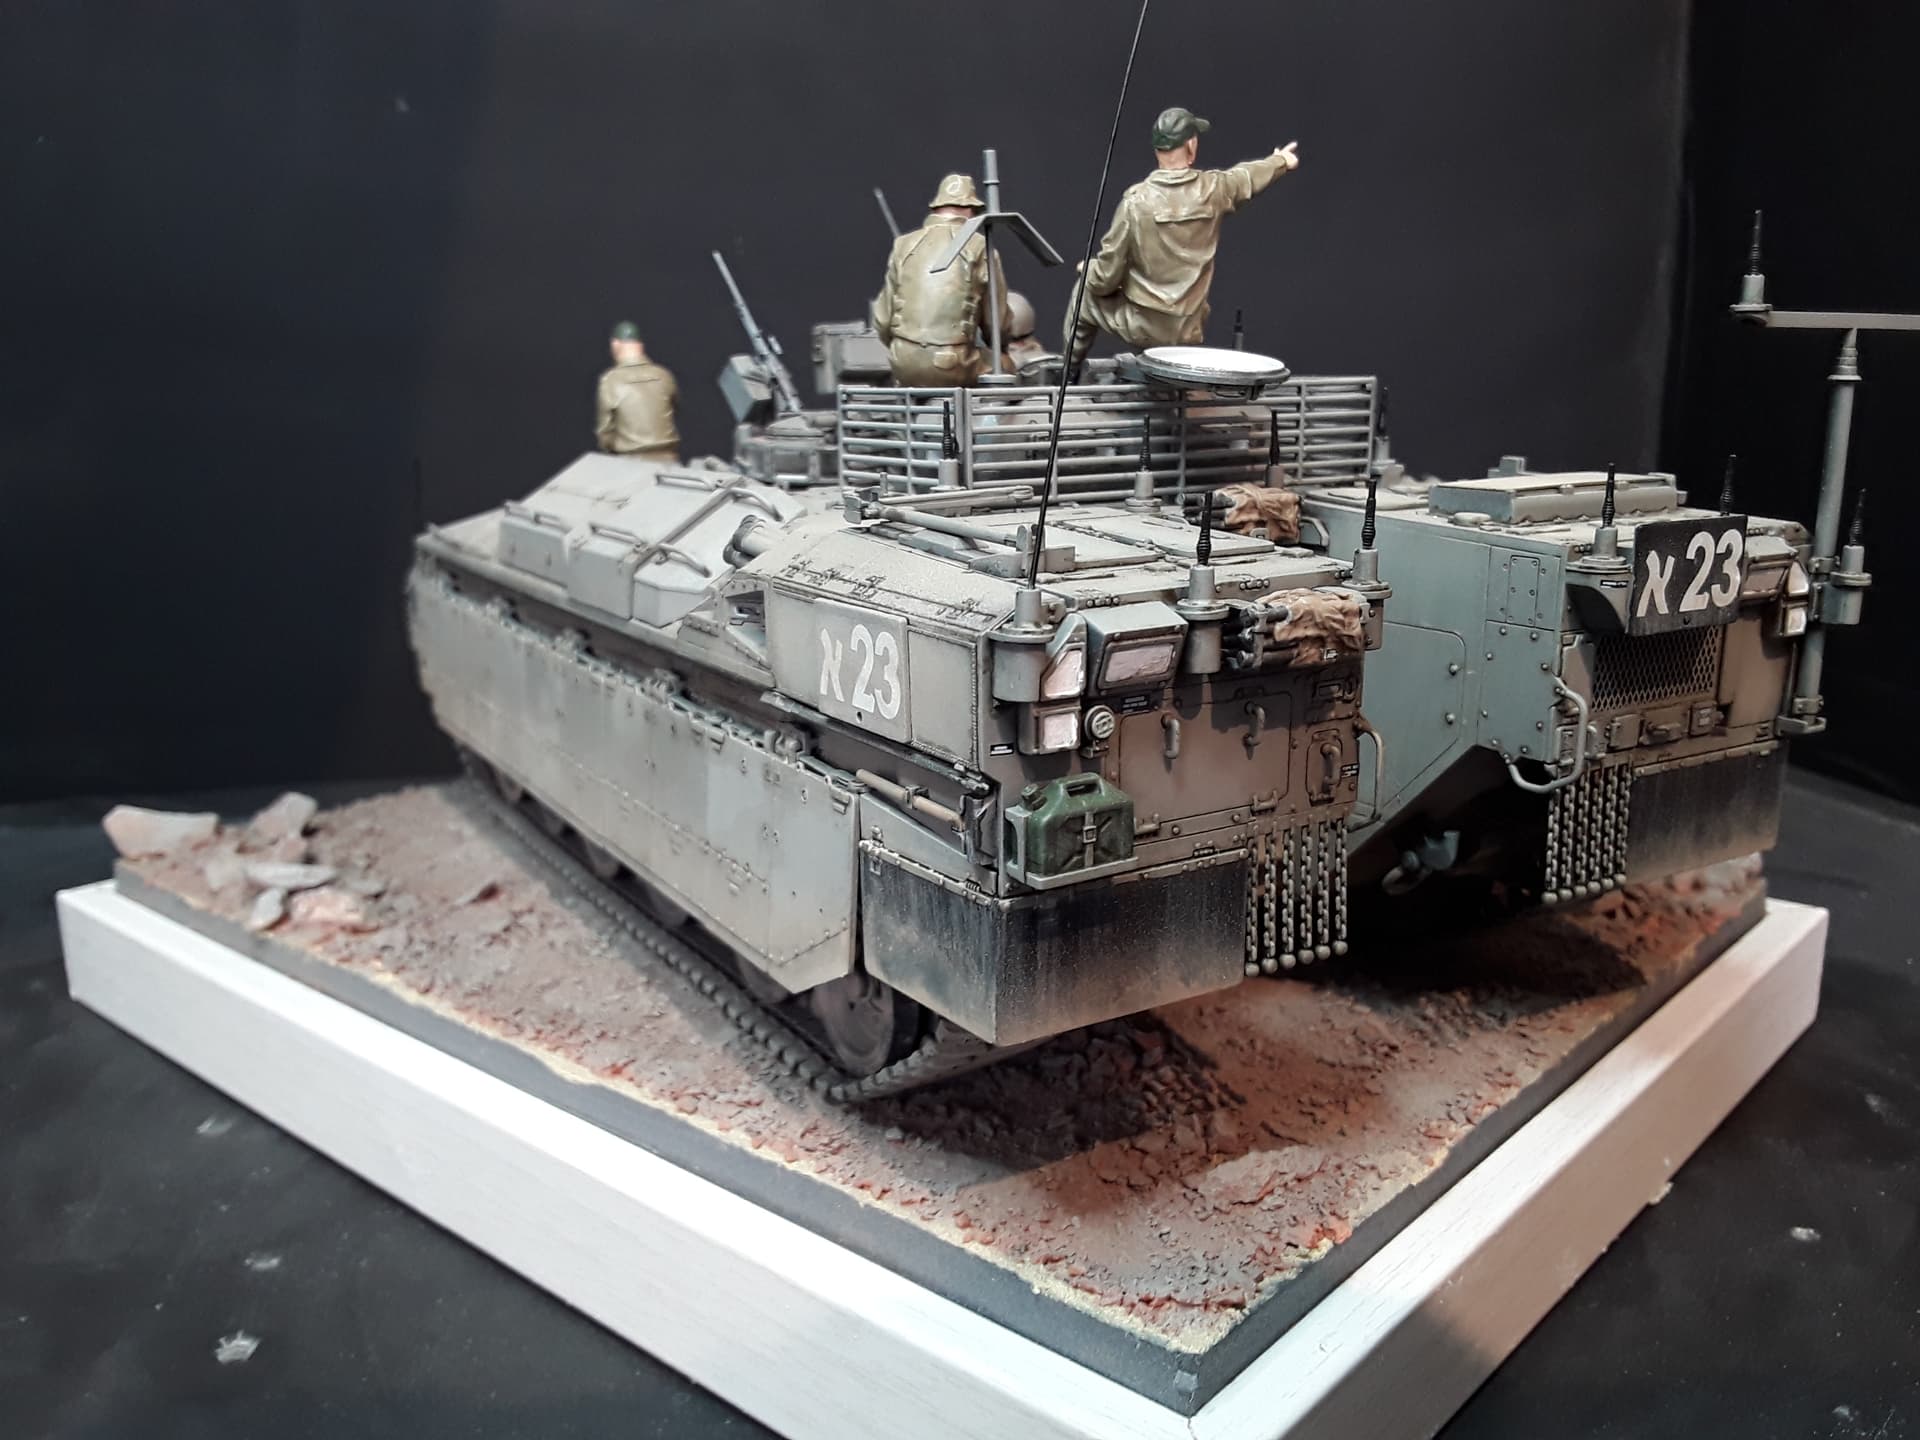
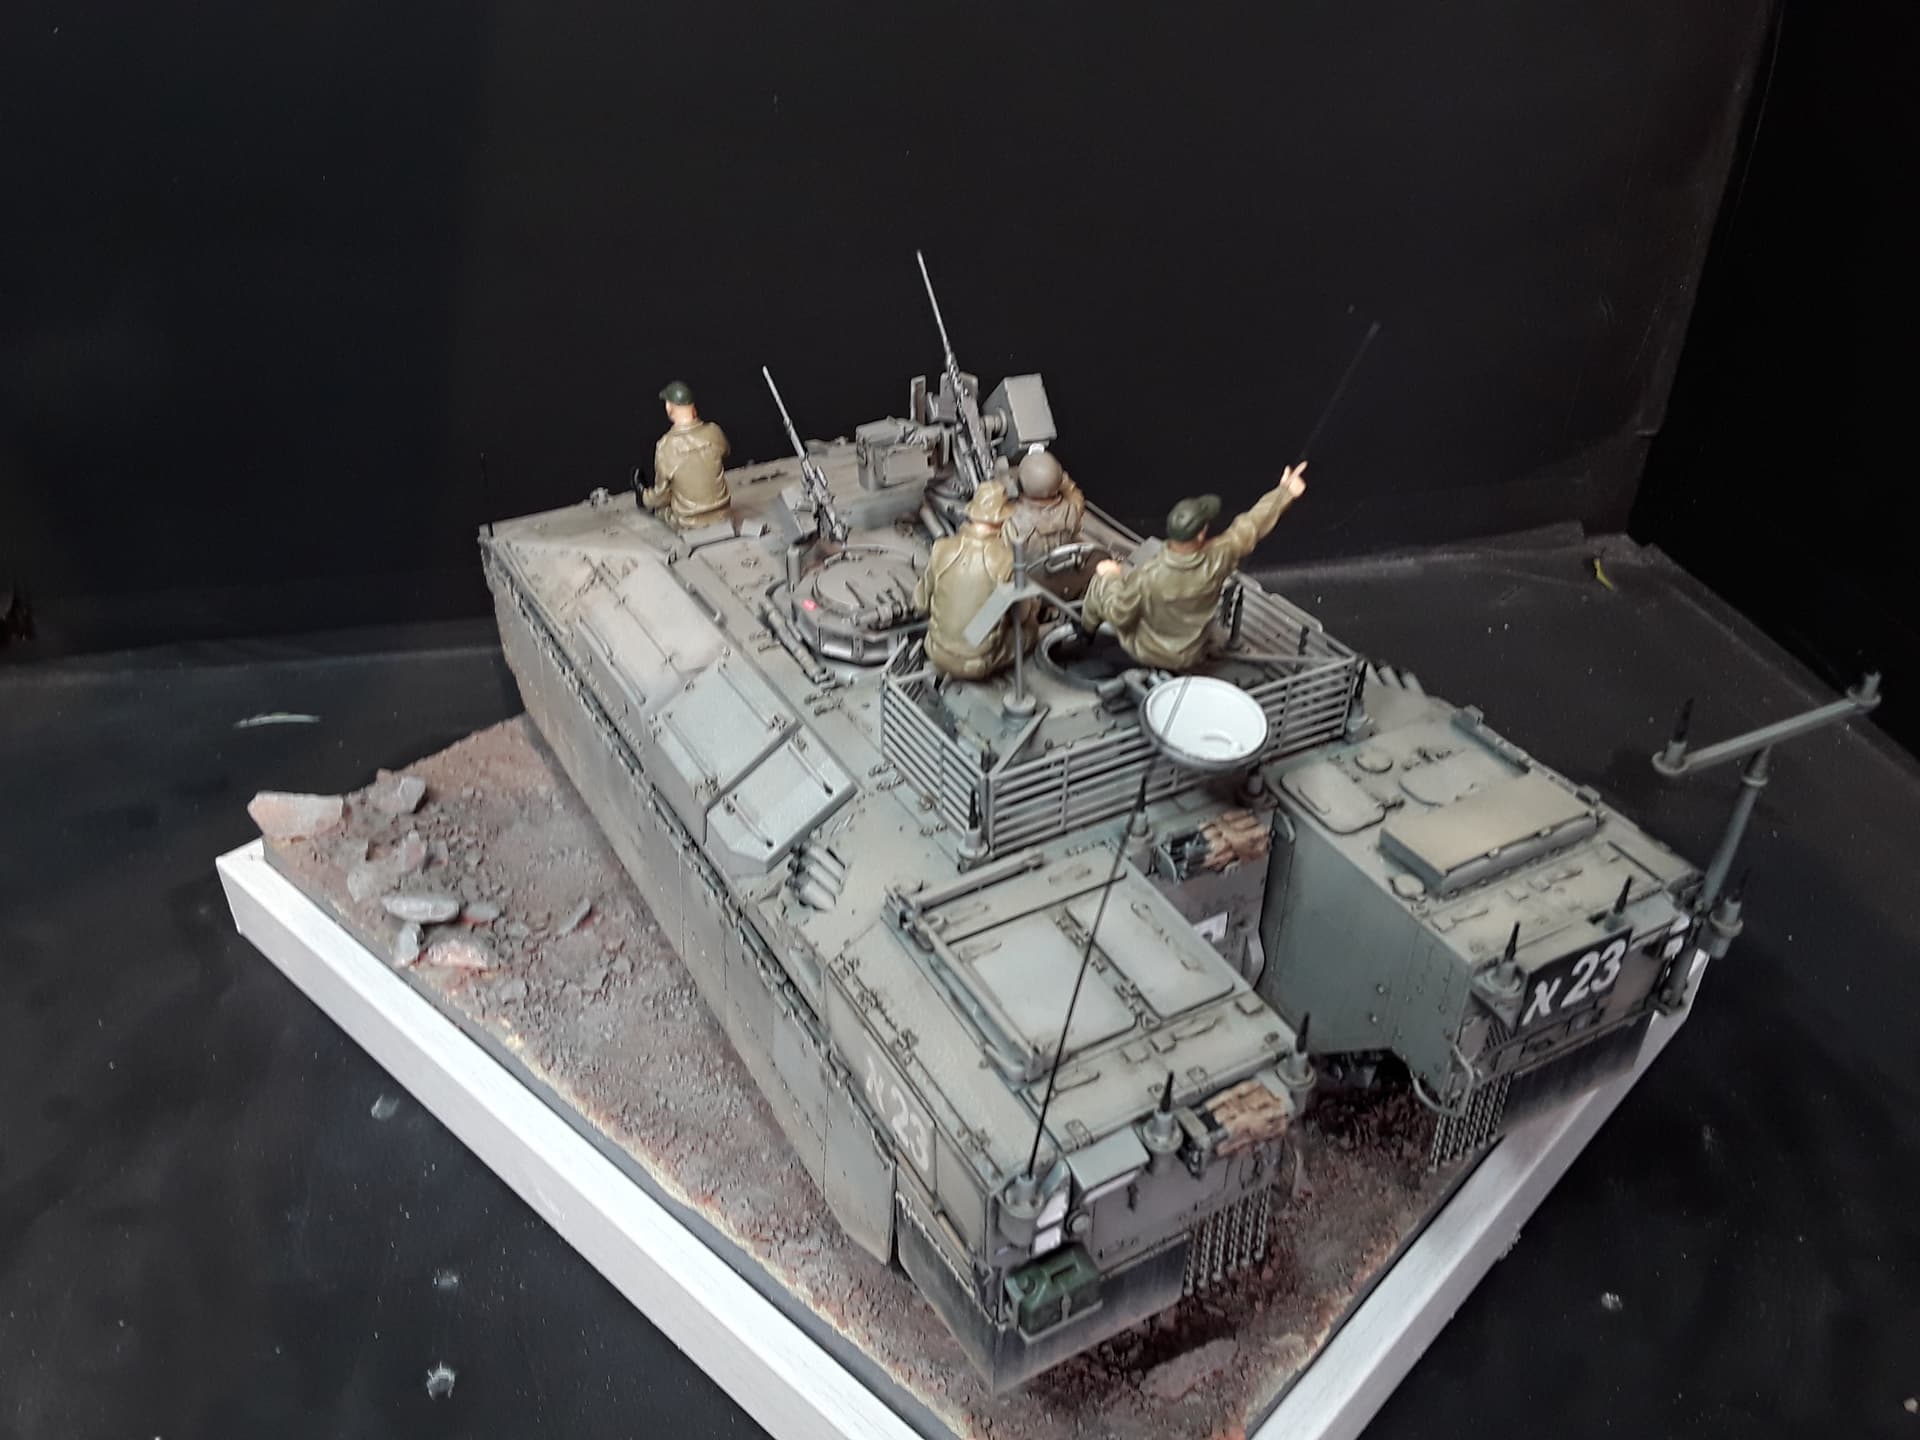
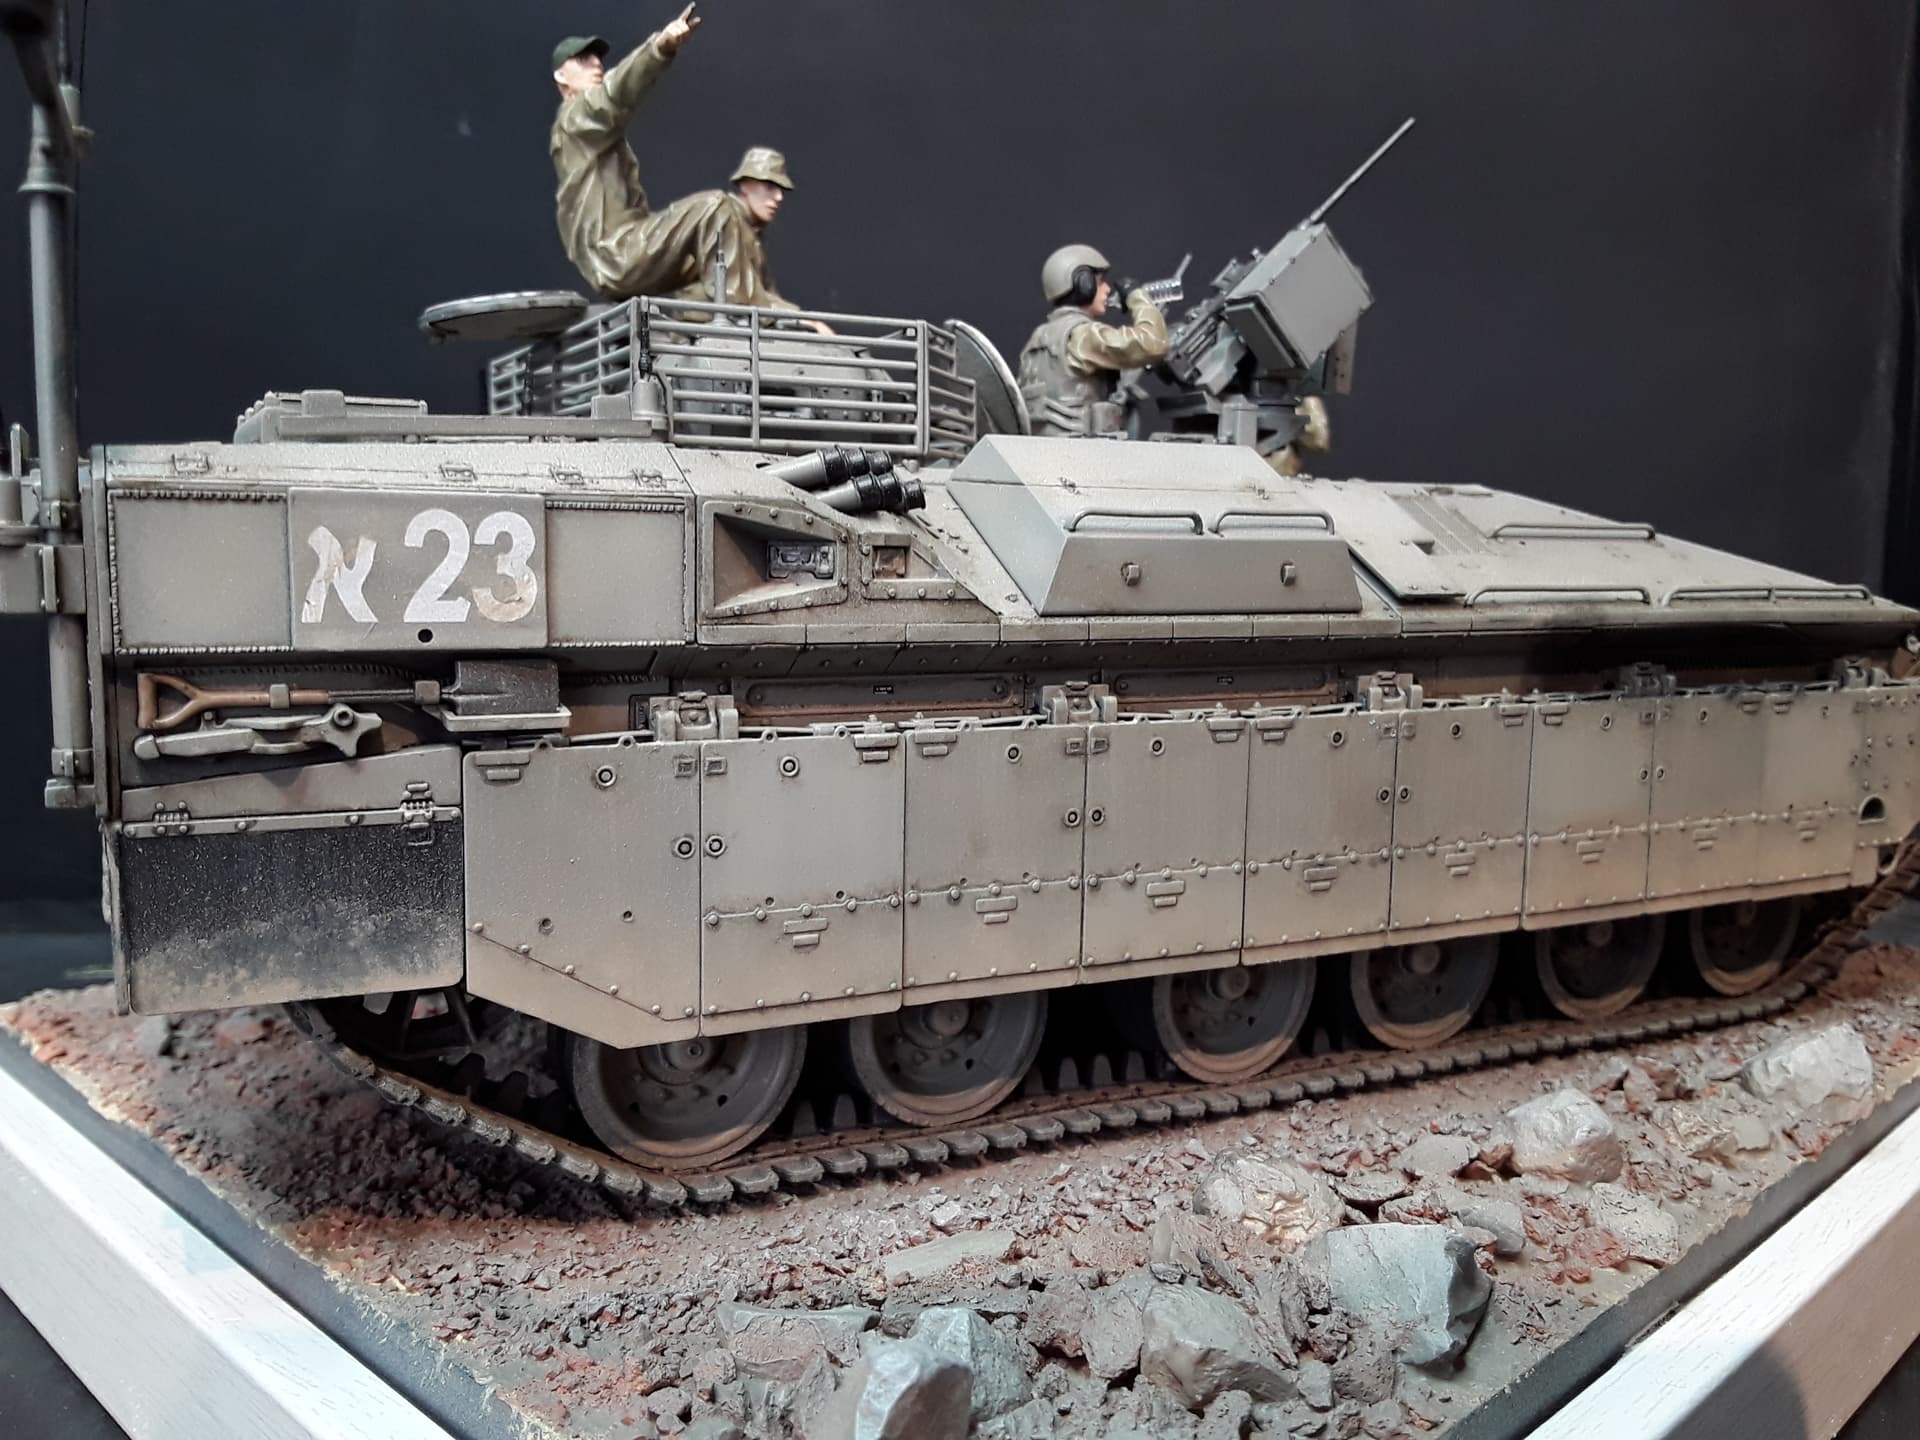
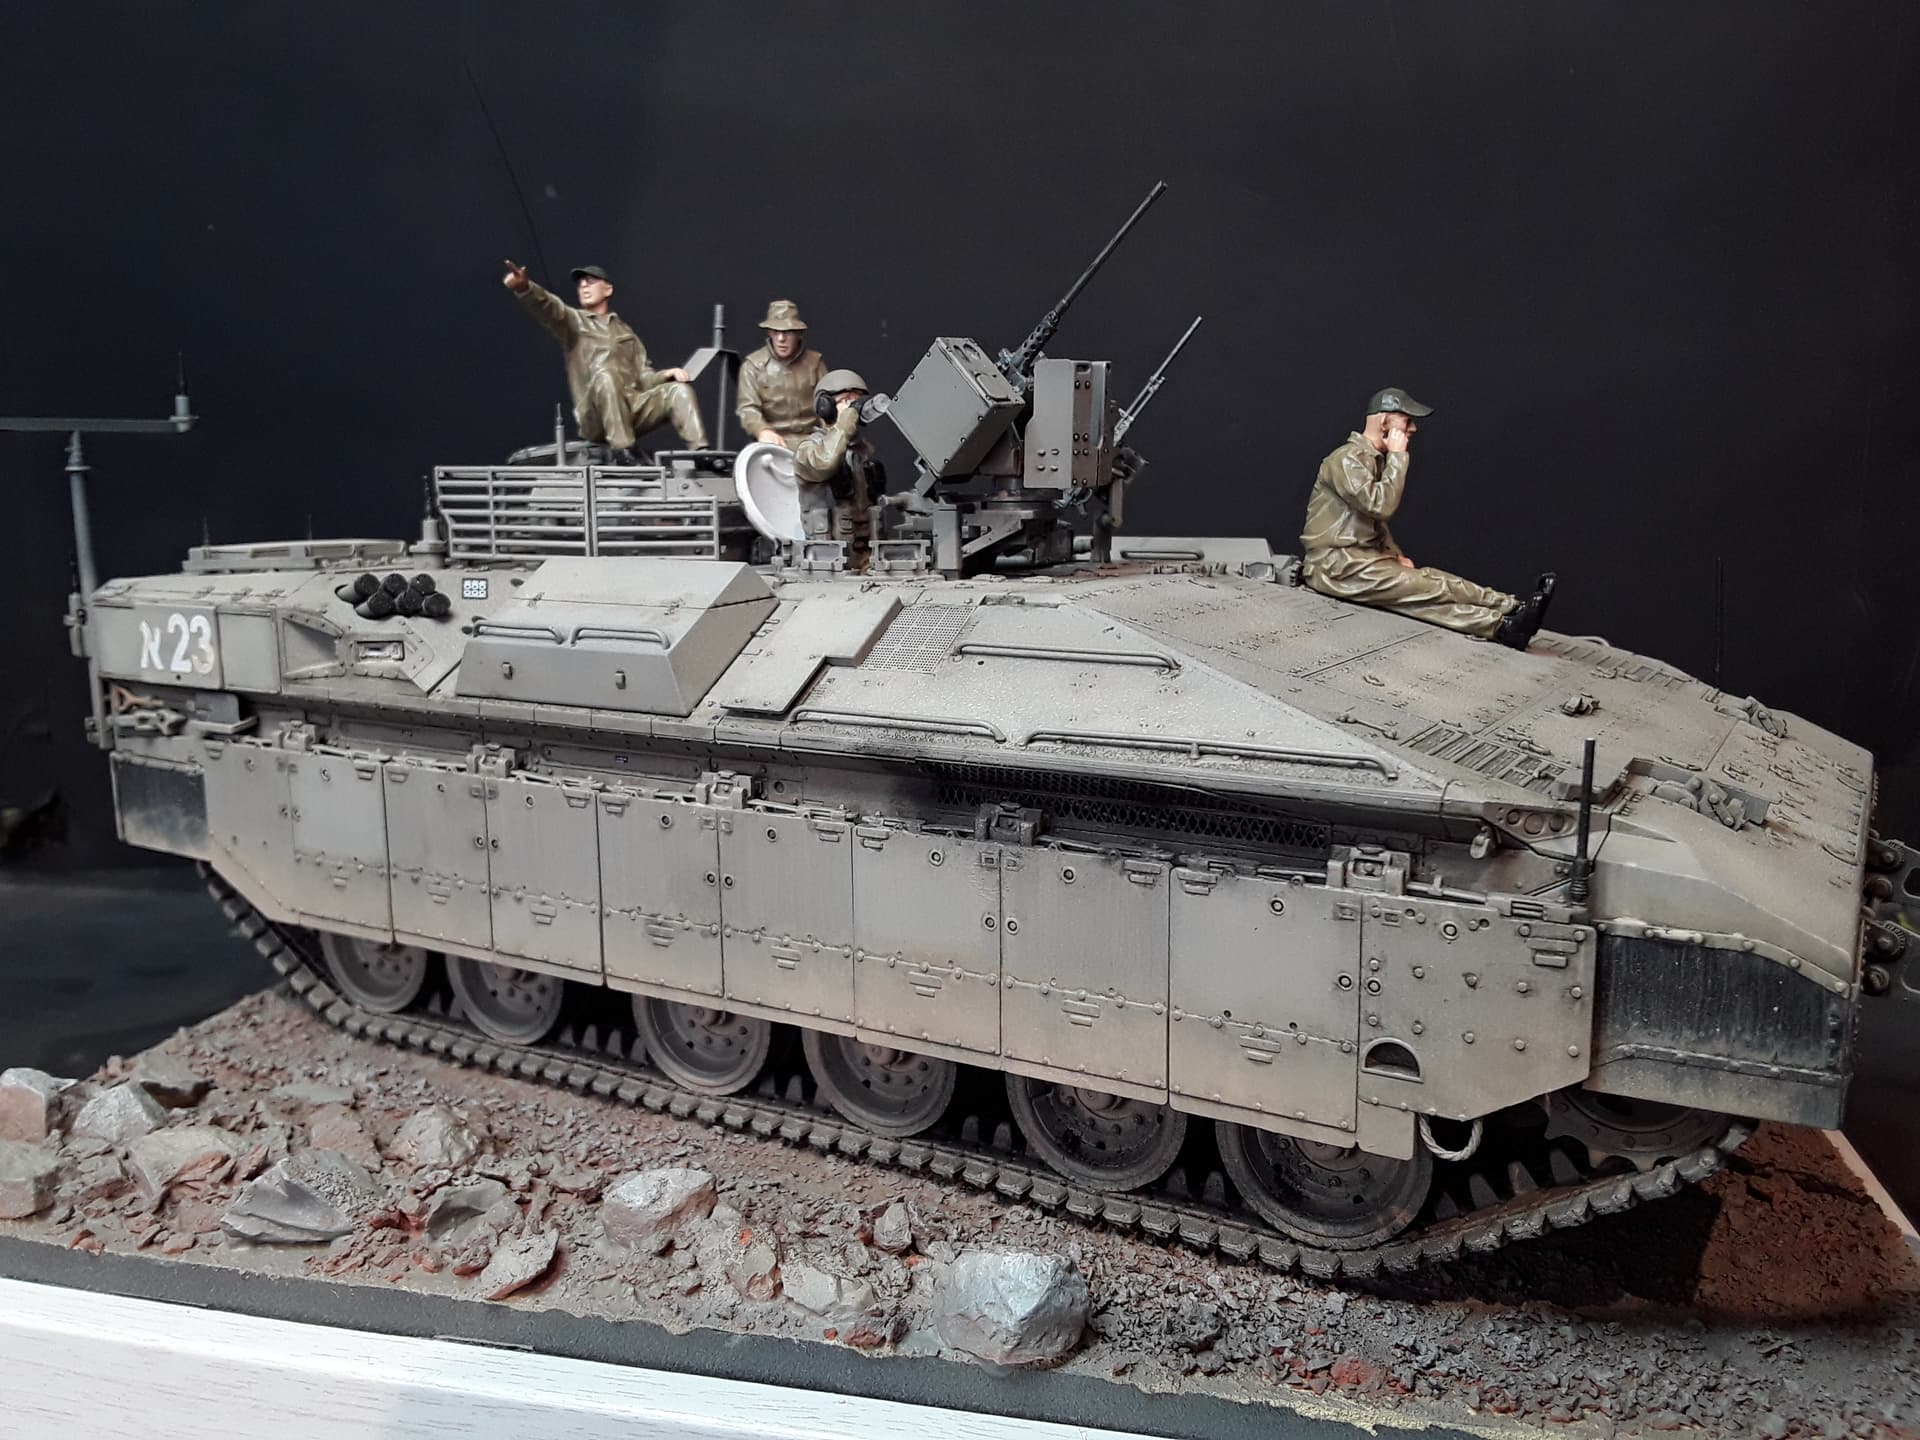
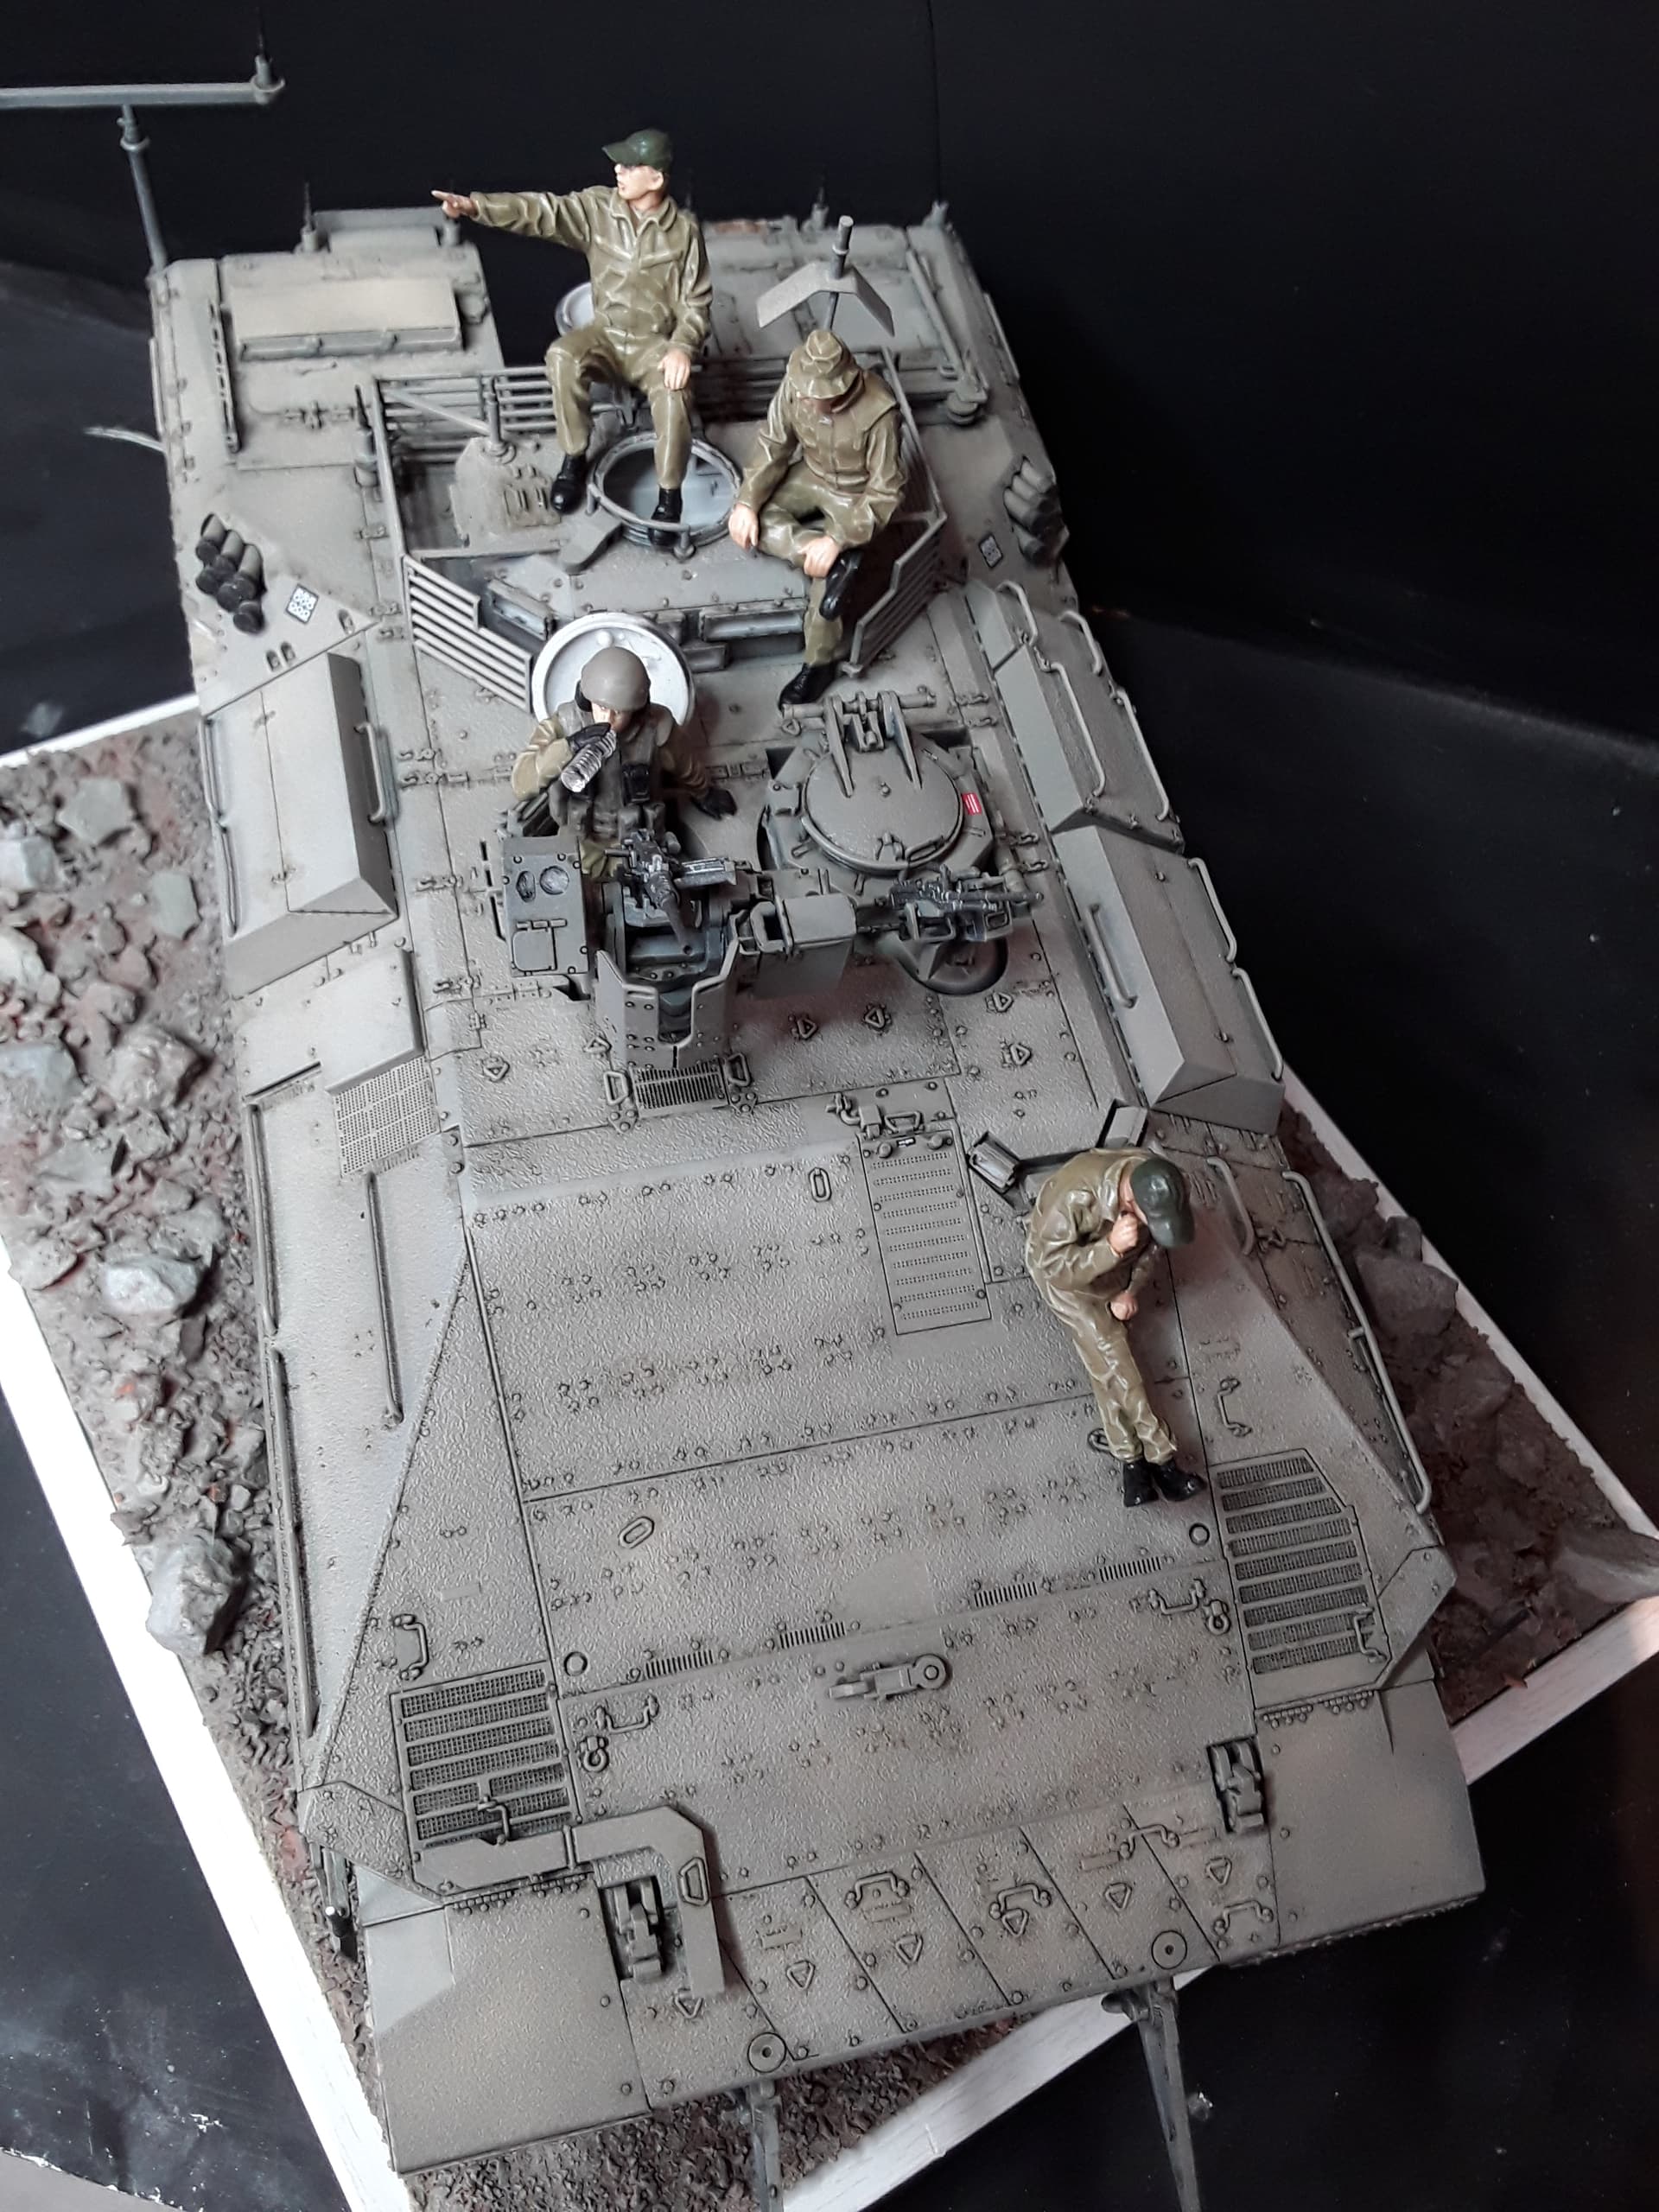
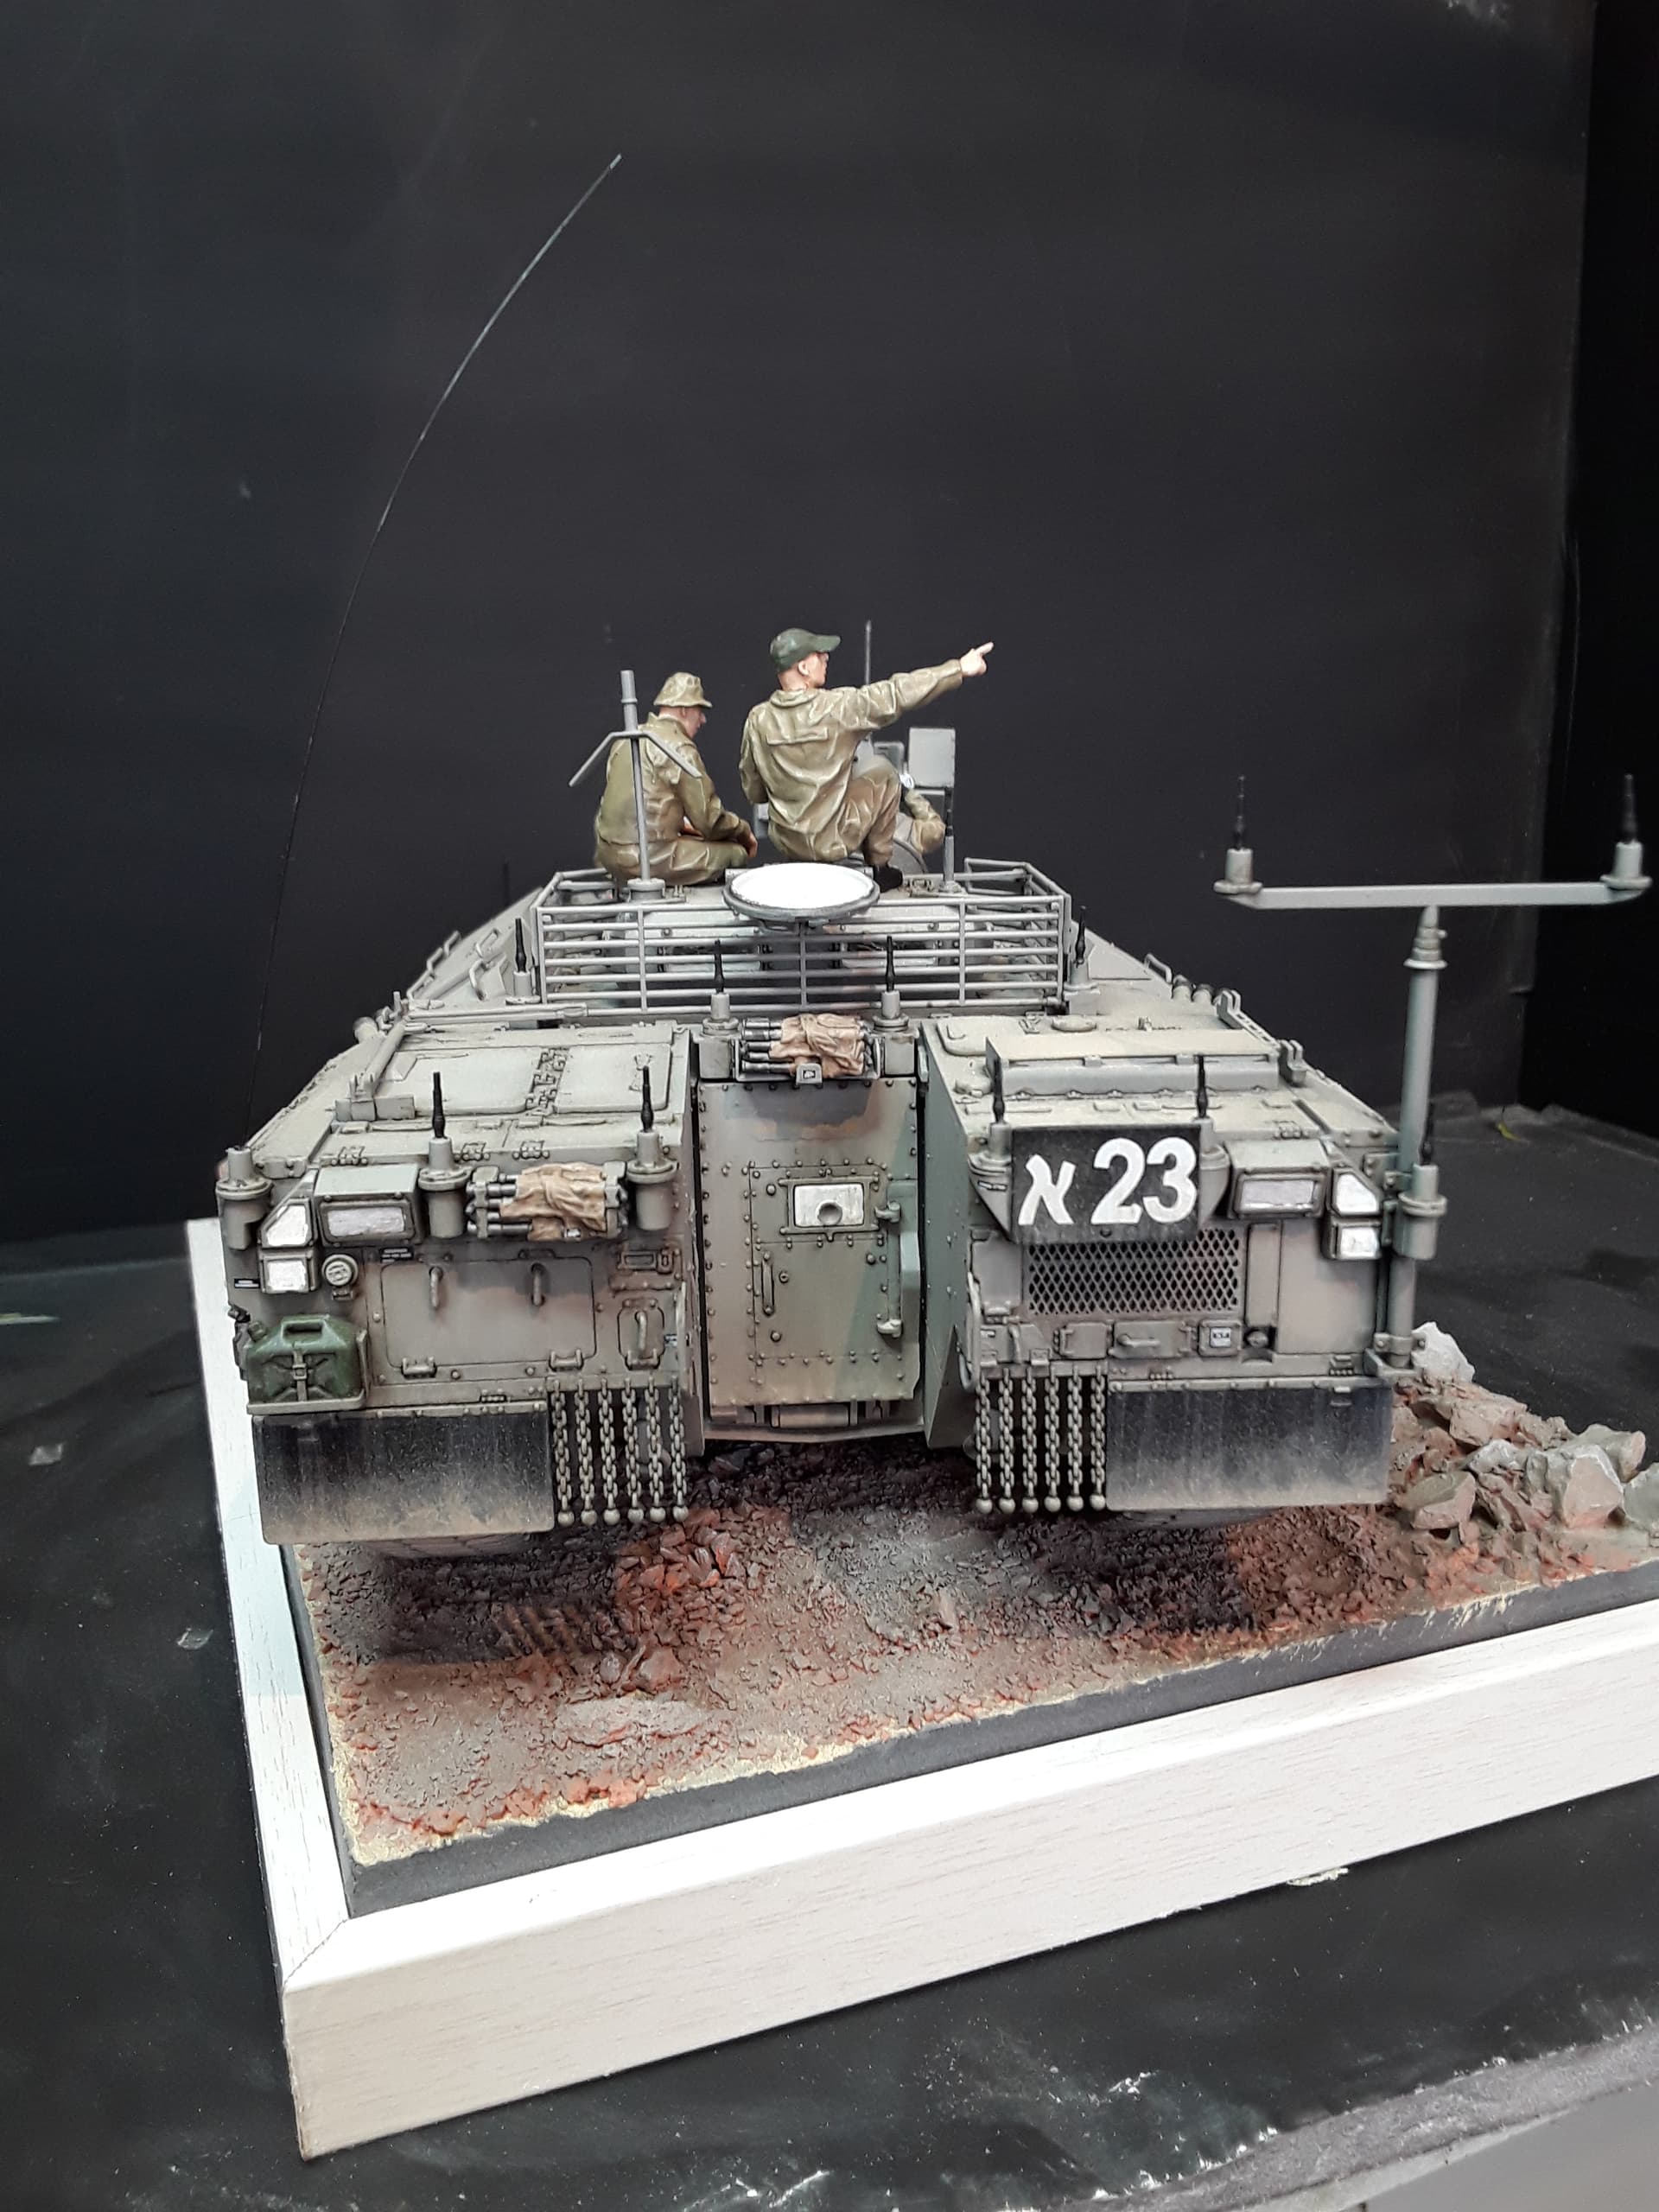
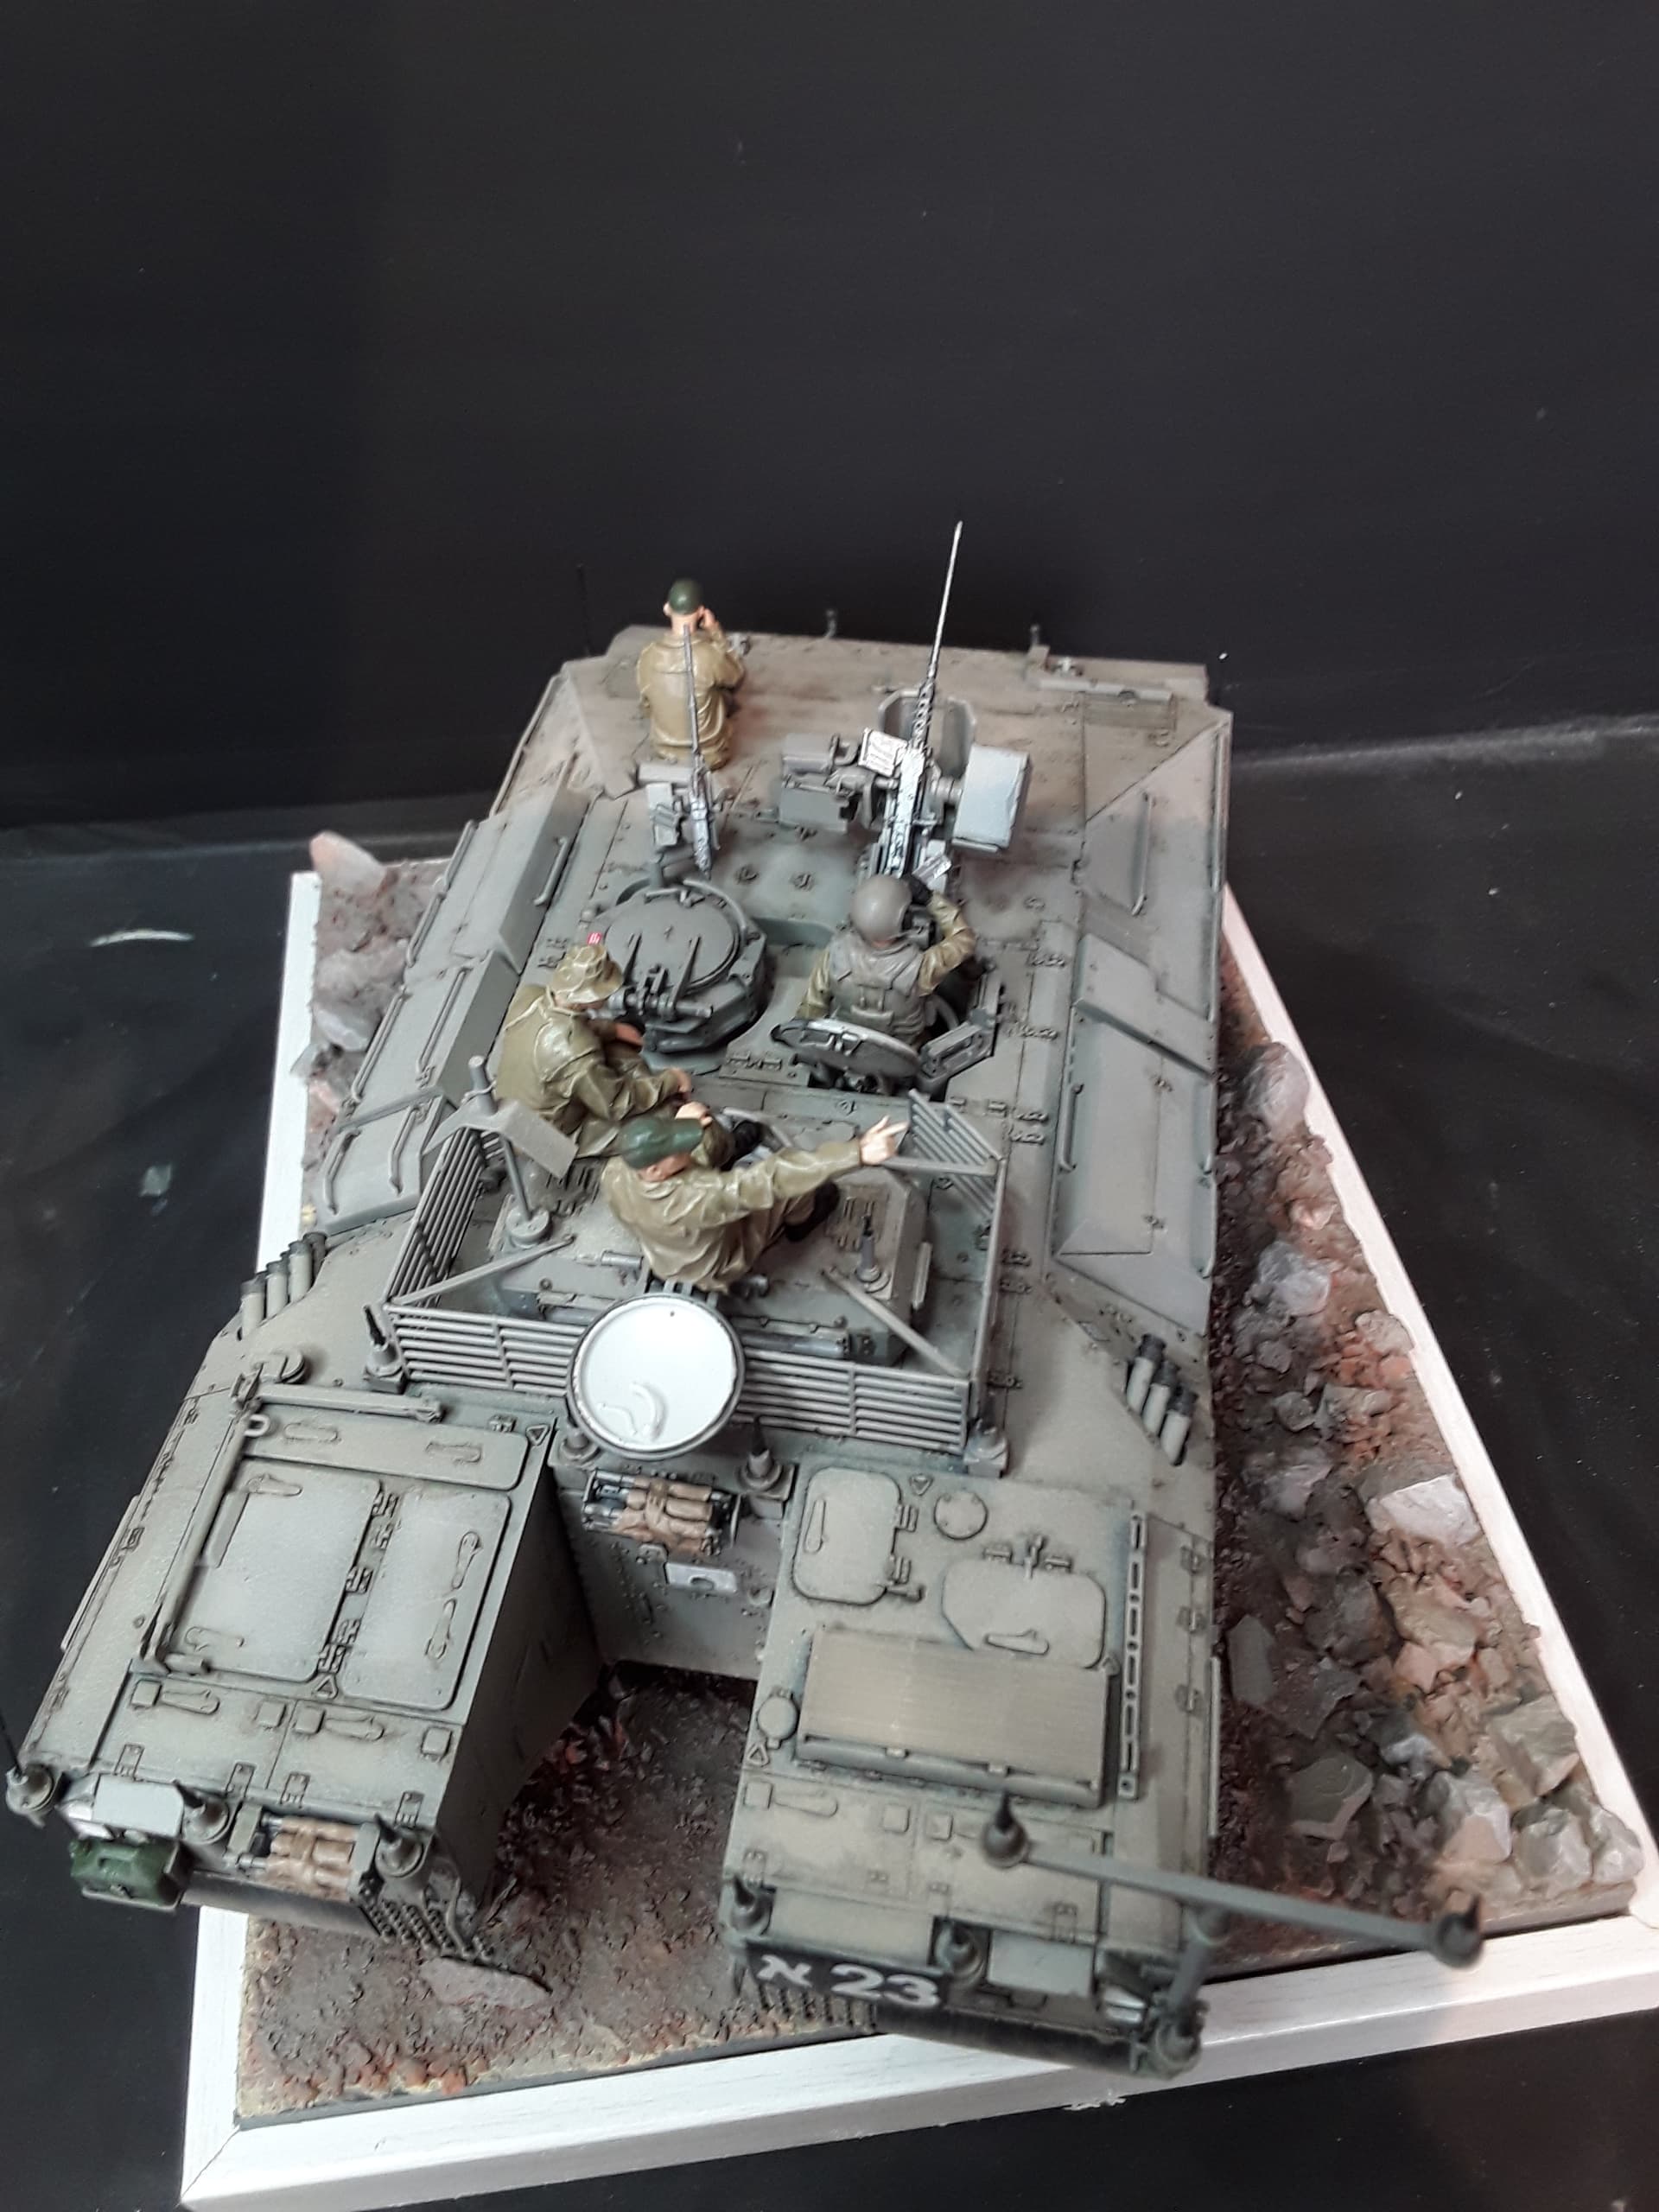
arround May this year i finished the Namer from Meng Models
this is the result
i have also an BF109 that i’m gona confird to an Israelian one
about that later more
10 Likes
Indeed.
1 Like
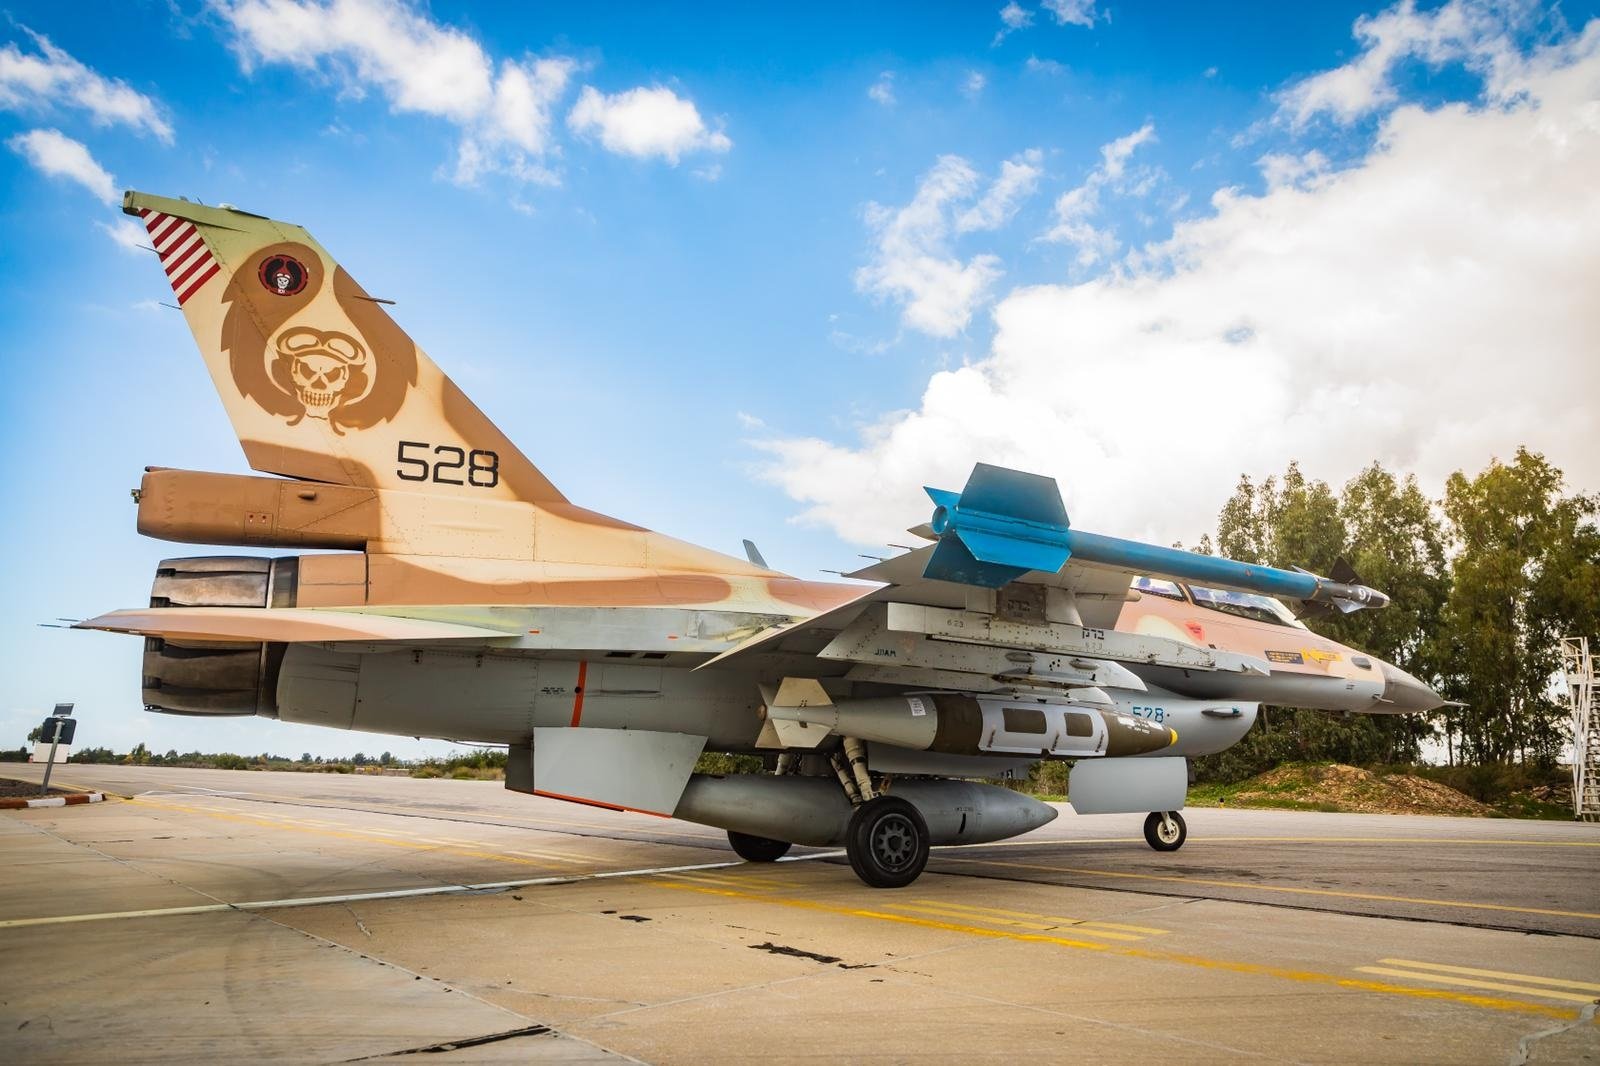
As far as I understand, yes, they are dummy missiles for training.
Kind of adds a nice splash of colour, no?
Thanks Israel… I was thinking of doing the wing tip ones blue, but I also want to do an under wing load out of GBU 24s and x2 AIM120’s so I think 2 blue training ones would look a bit out of place …
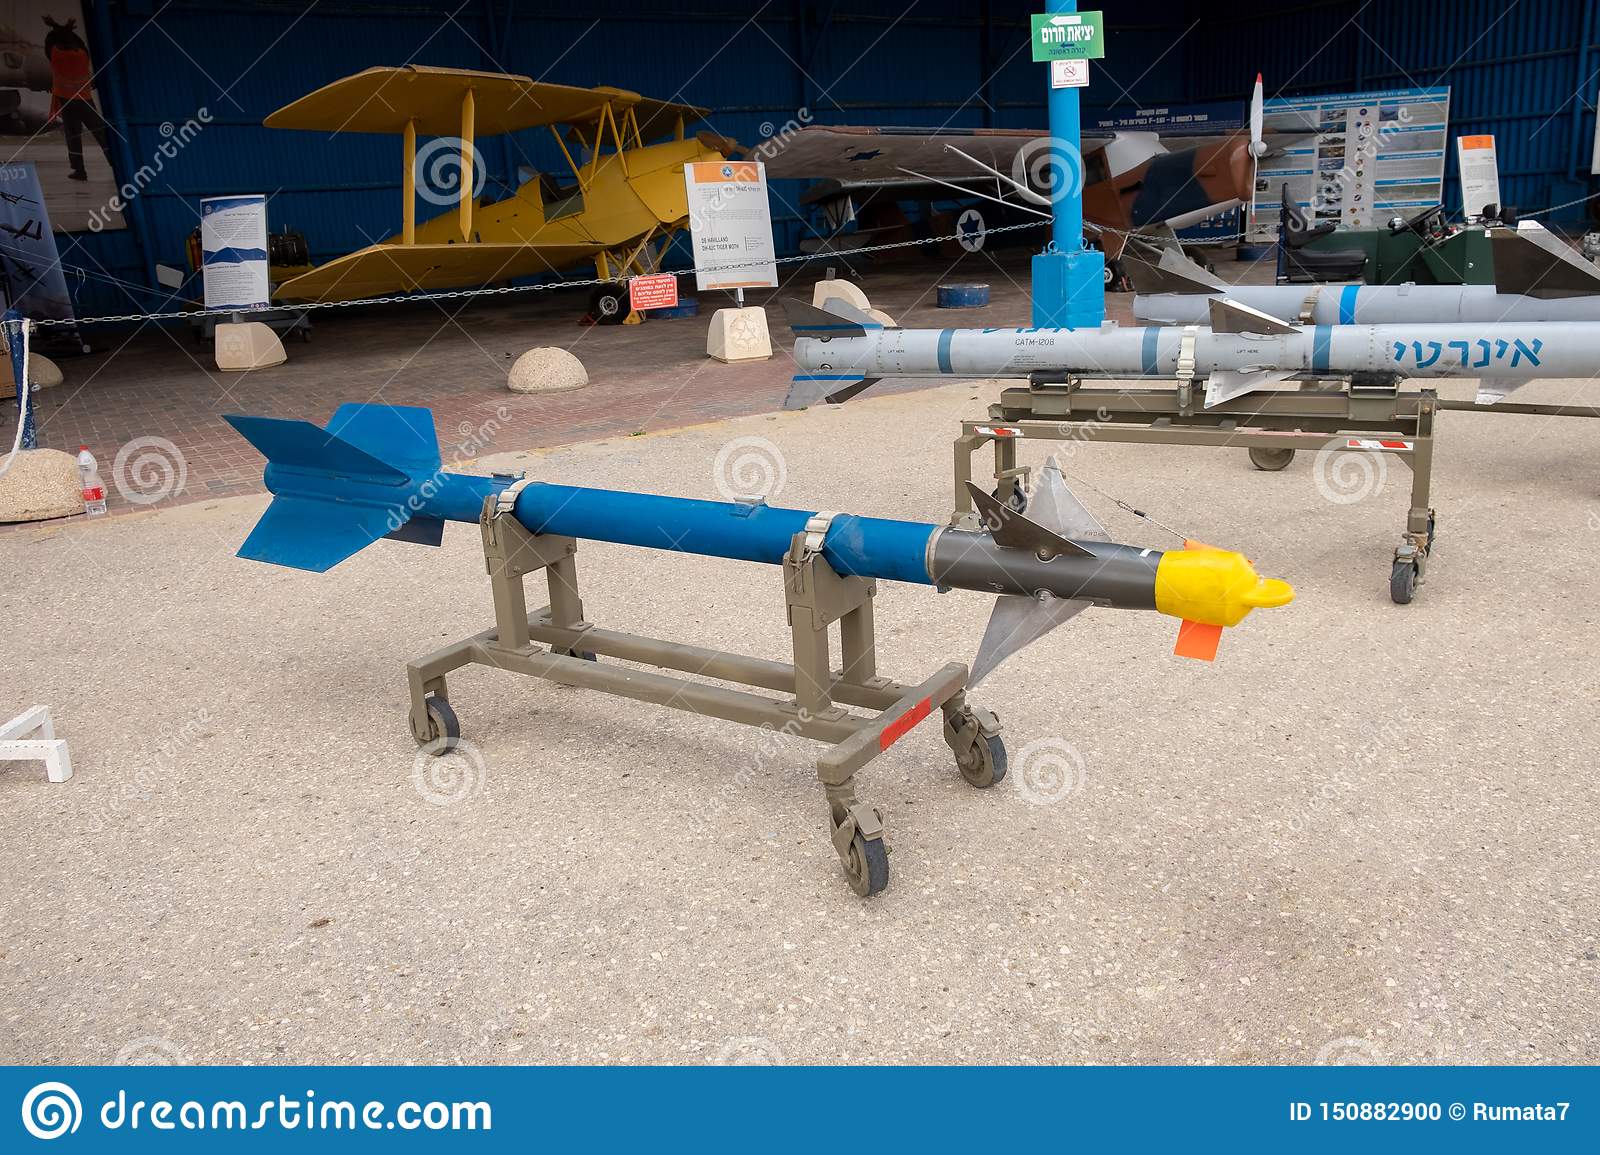
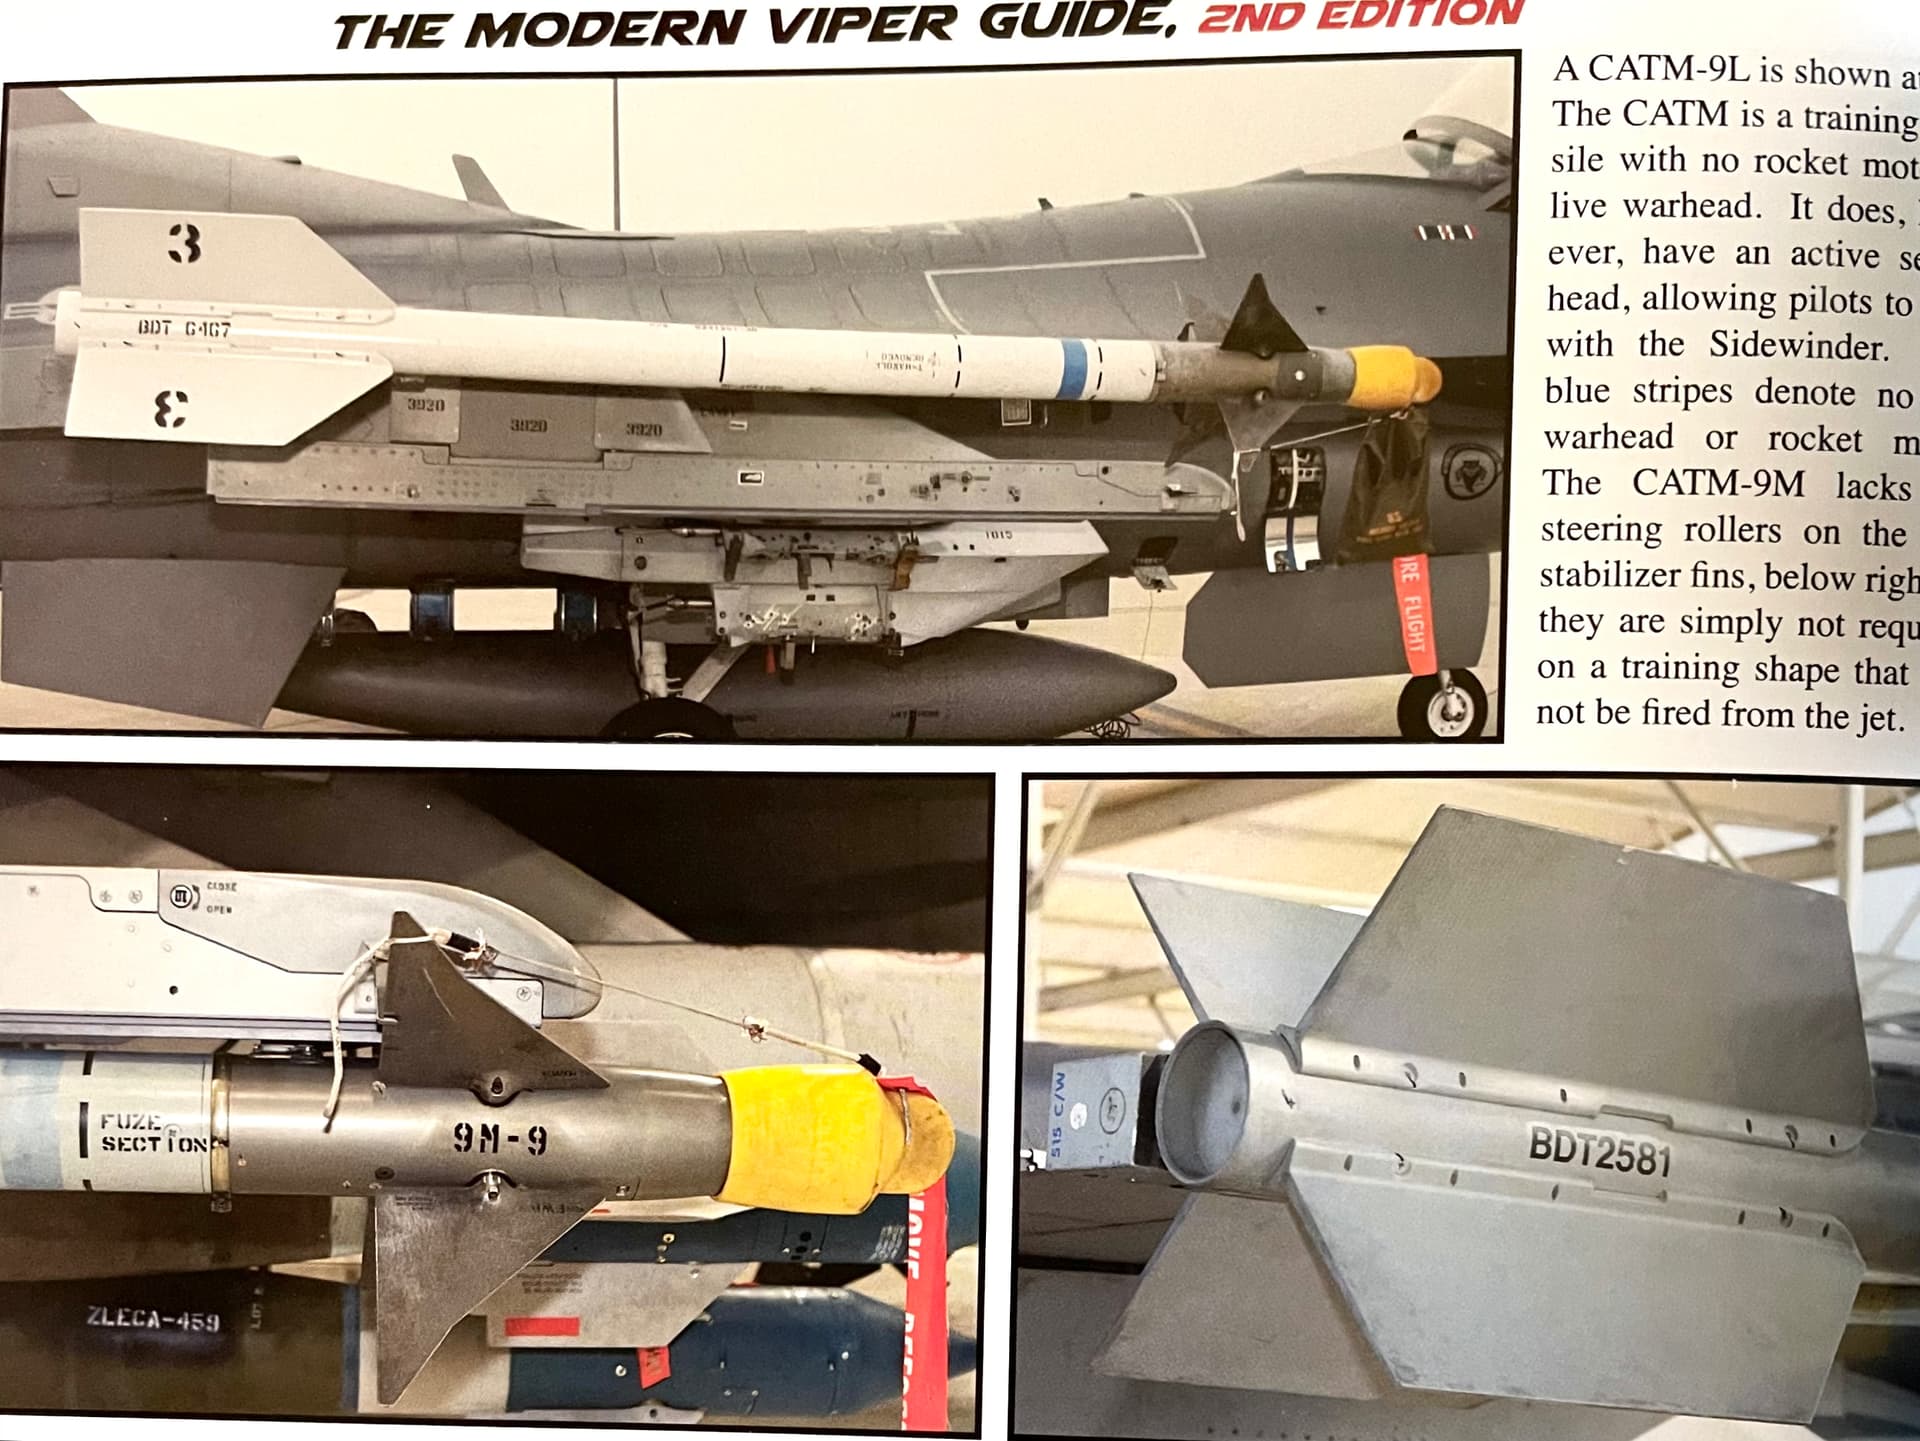
An all blue missile means that all of its three main sections (propellant, warhead, seeker) are inert. This kind of dummy missile is used to simulate the size and weight of the real thing in order to generate accurate flight characteristics without the need of mounting a live (and rather expensive) missile.
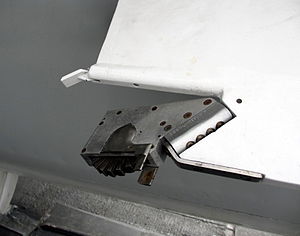
It could easily work alongside real ordnance. In case you decide to paint them all blue, you need to remove the small anti-roll tabs from the fins.
1 Like
As Israel said, they are inert and do not have motor.
Here is a nice little there’d on F-16.net talking about this.
https://www.f-16.net/forum/viewtopic.php?t=563
Edit: few photos added…
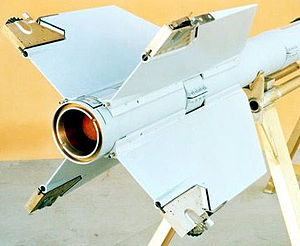
Live missile.
Photo from the net.
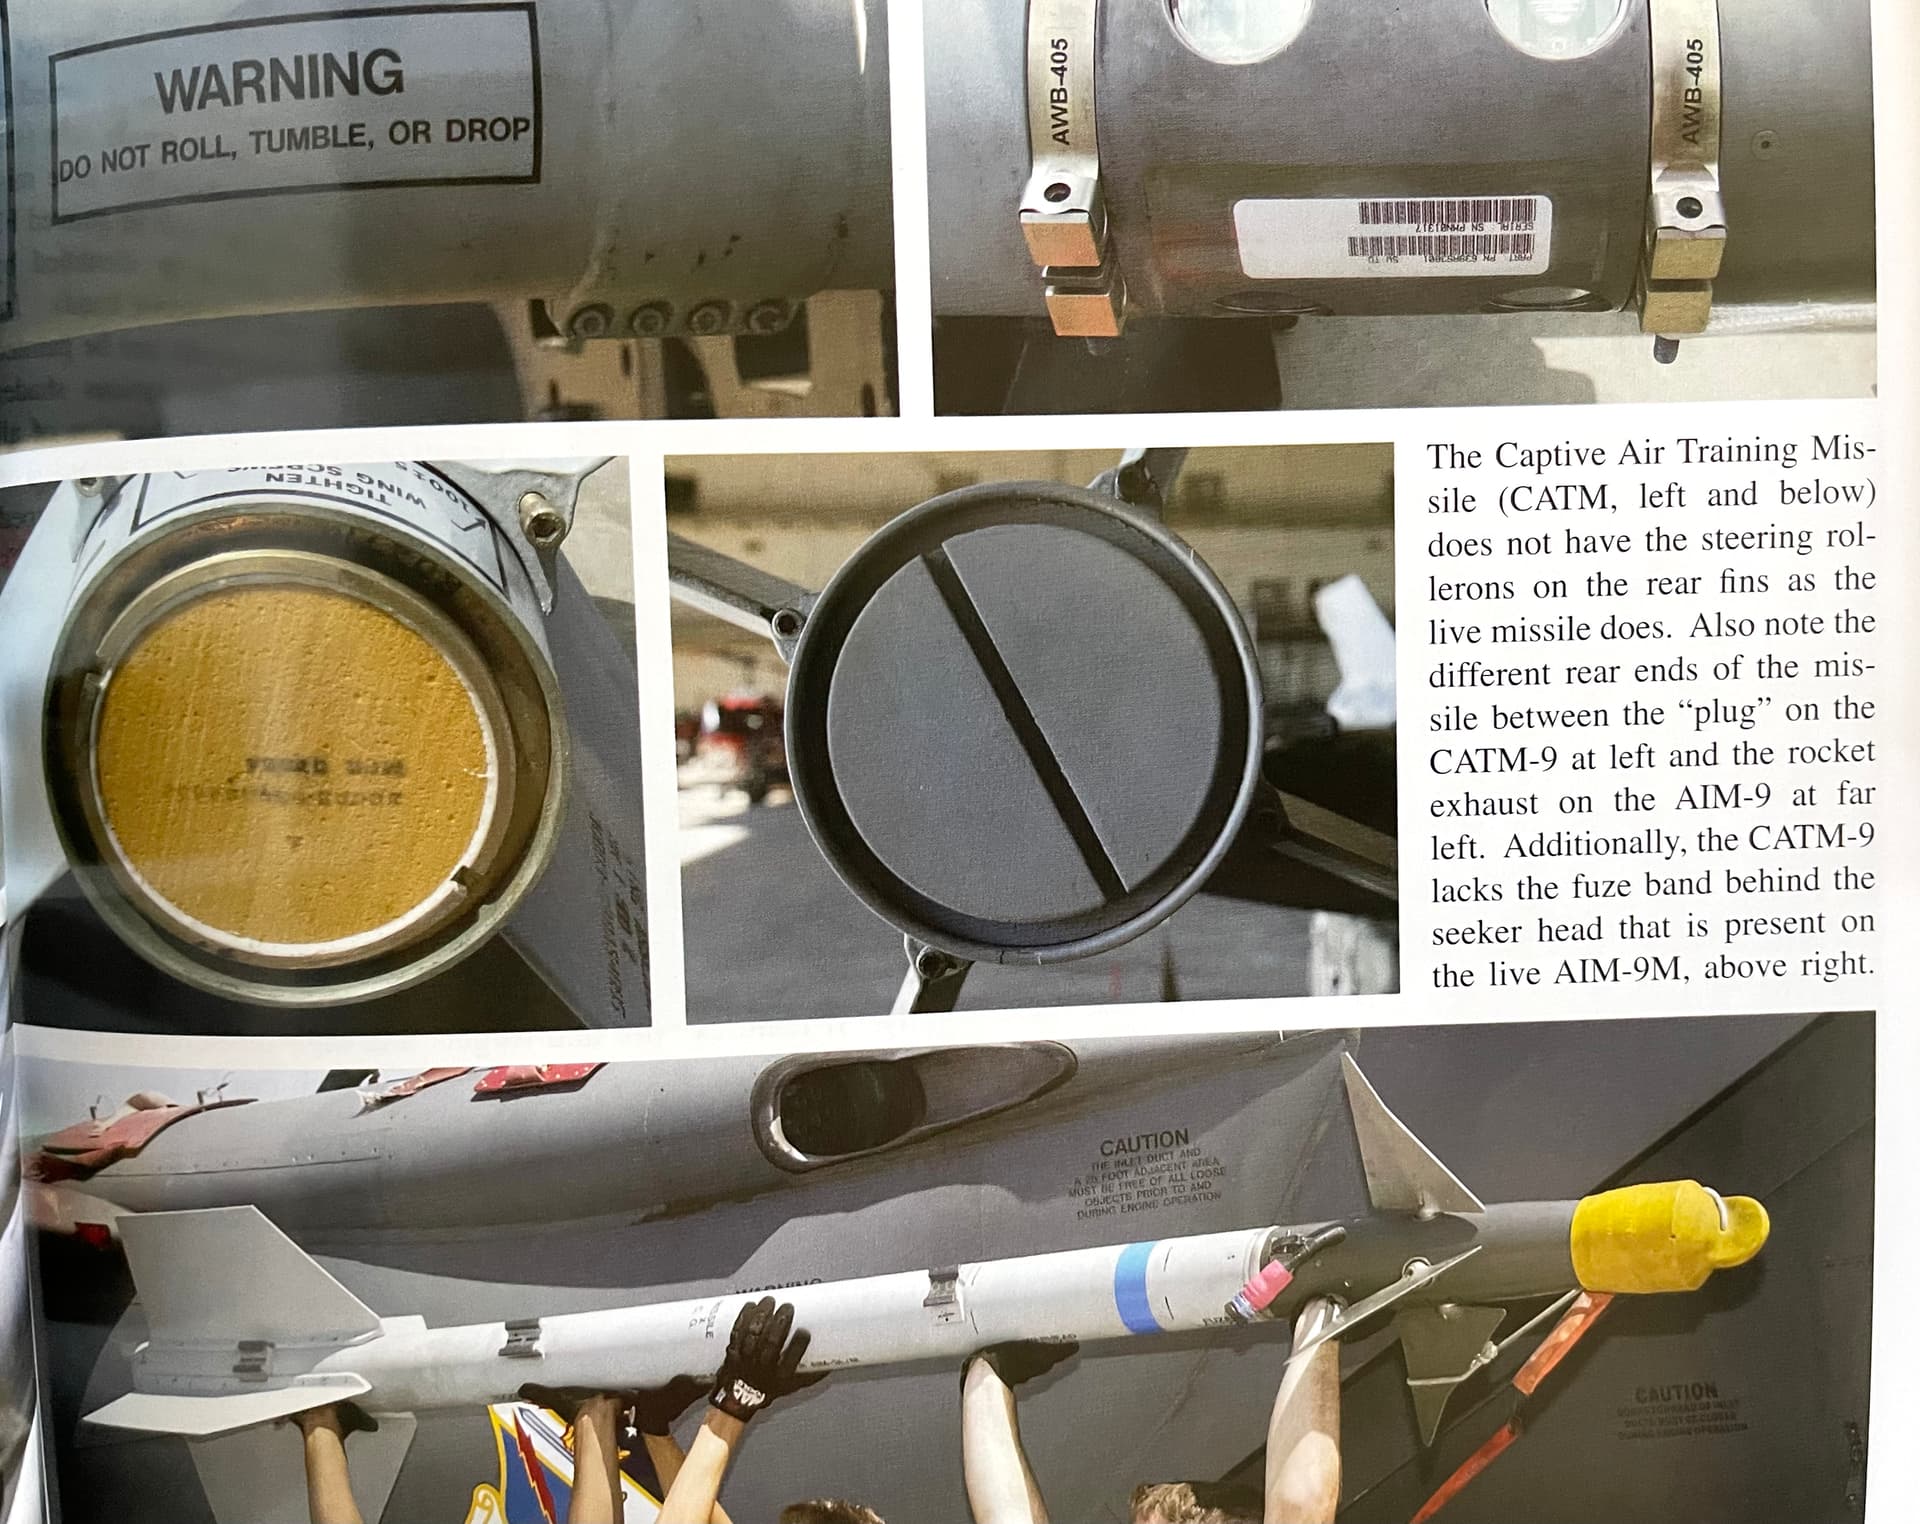
INERT missile and photos from the books of Jake Melampy.
1 Like
Sounds like our inert ordinance… ours is just a different shade of blue …
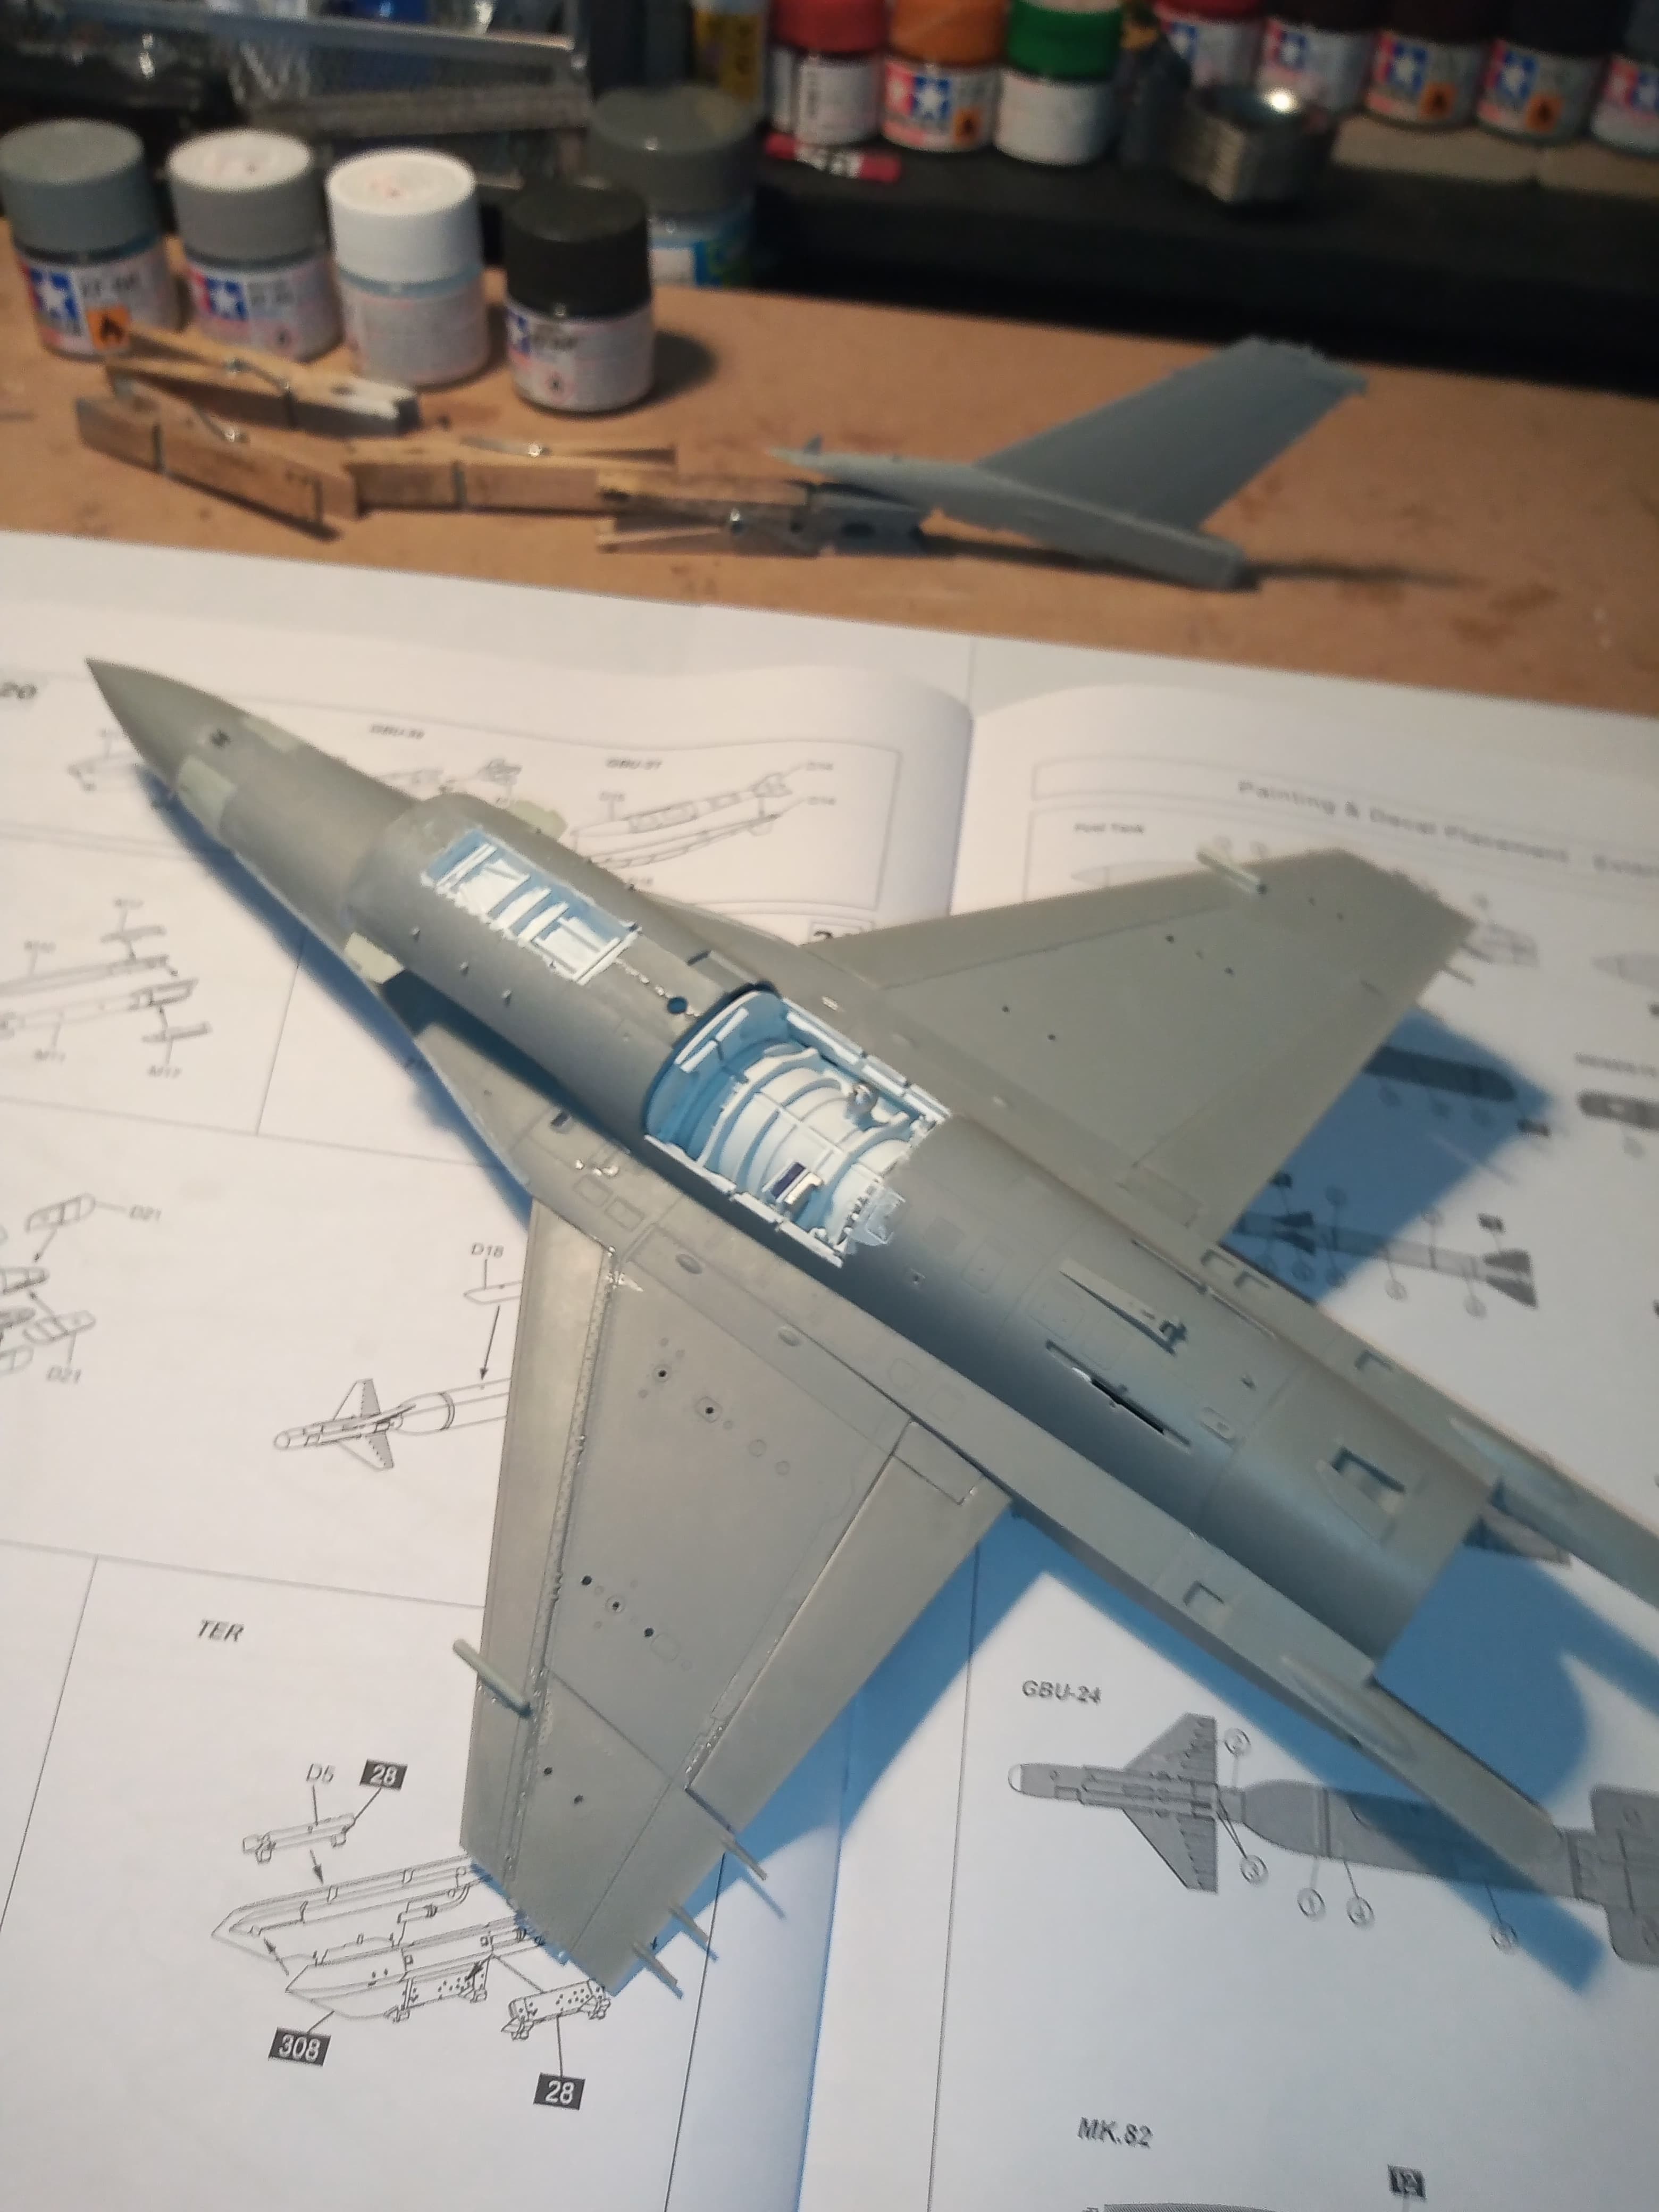
Spent the night making sure I was going to fit the correct missiles to the proper launch rails, which I eventually found out about…
And also put all the underwing payload/ fuel tanks together with their hard point. Just have to finish off the GBU24
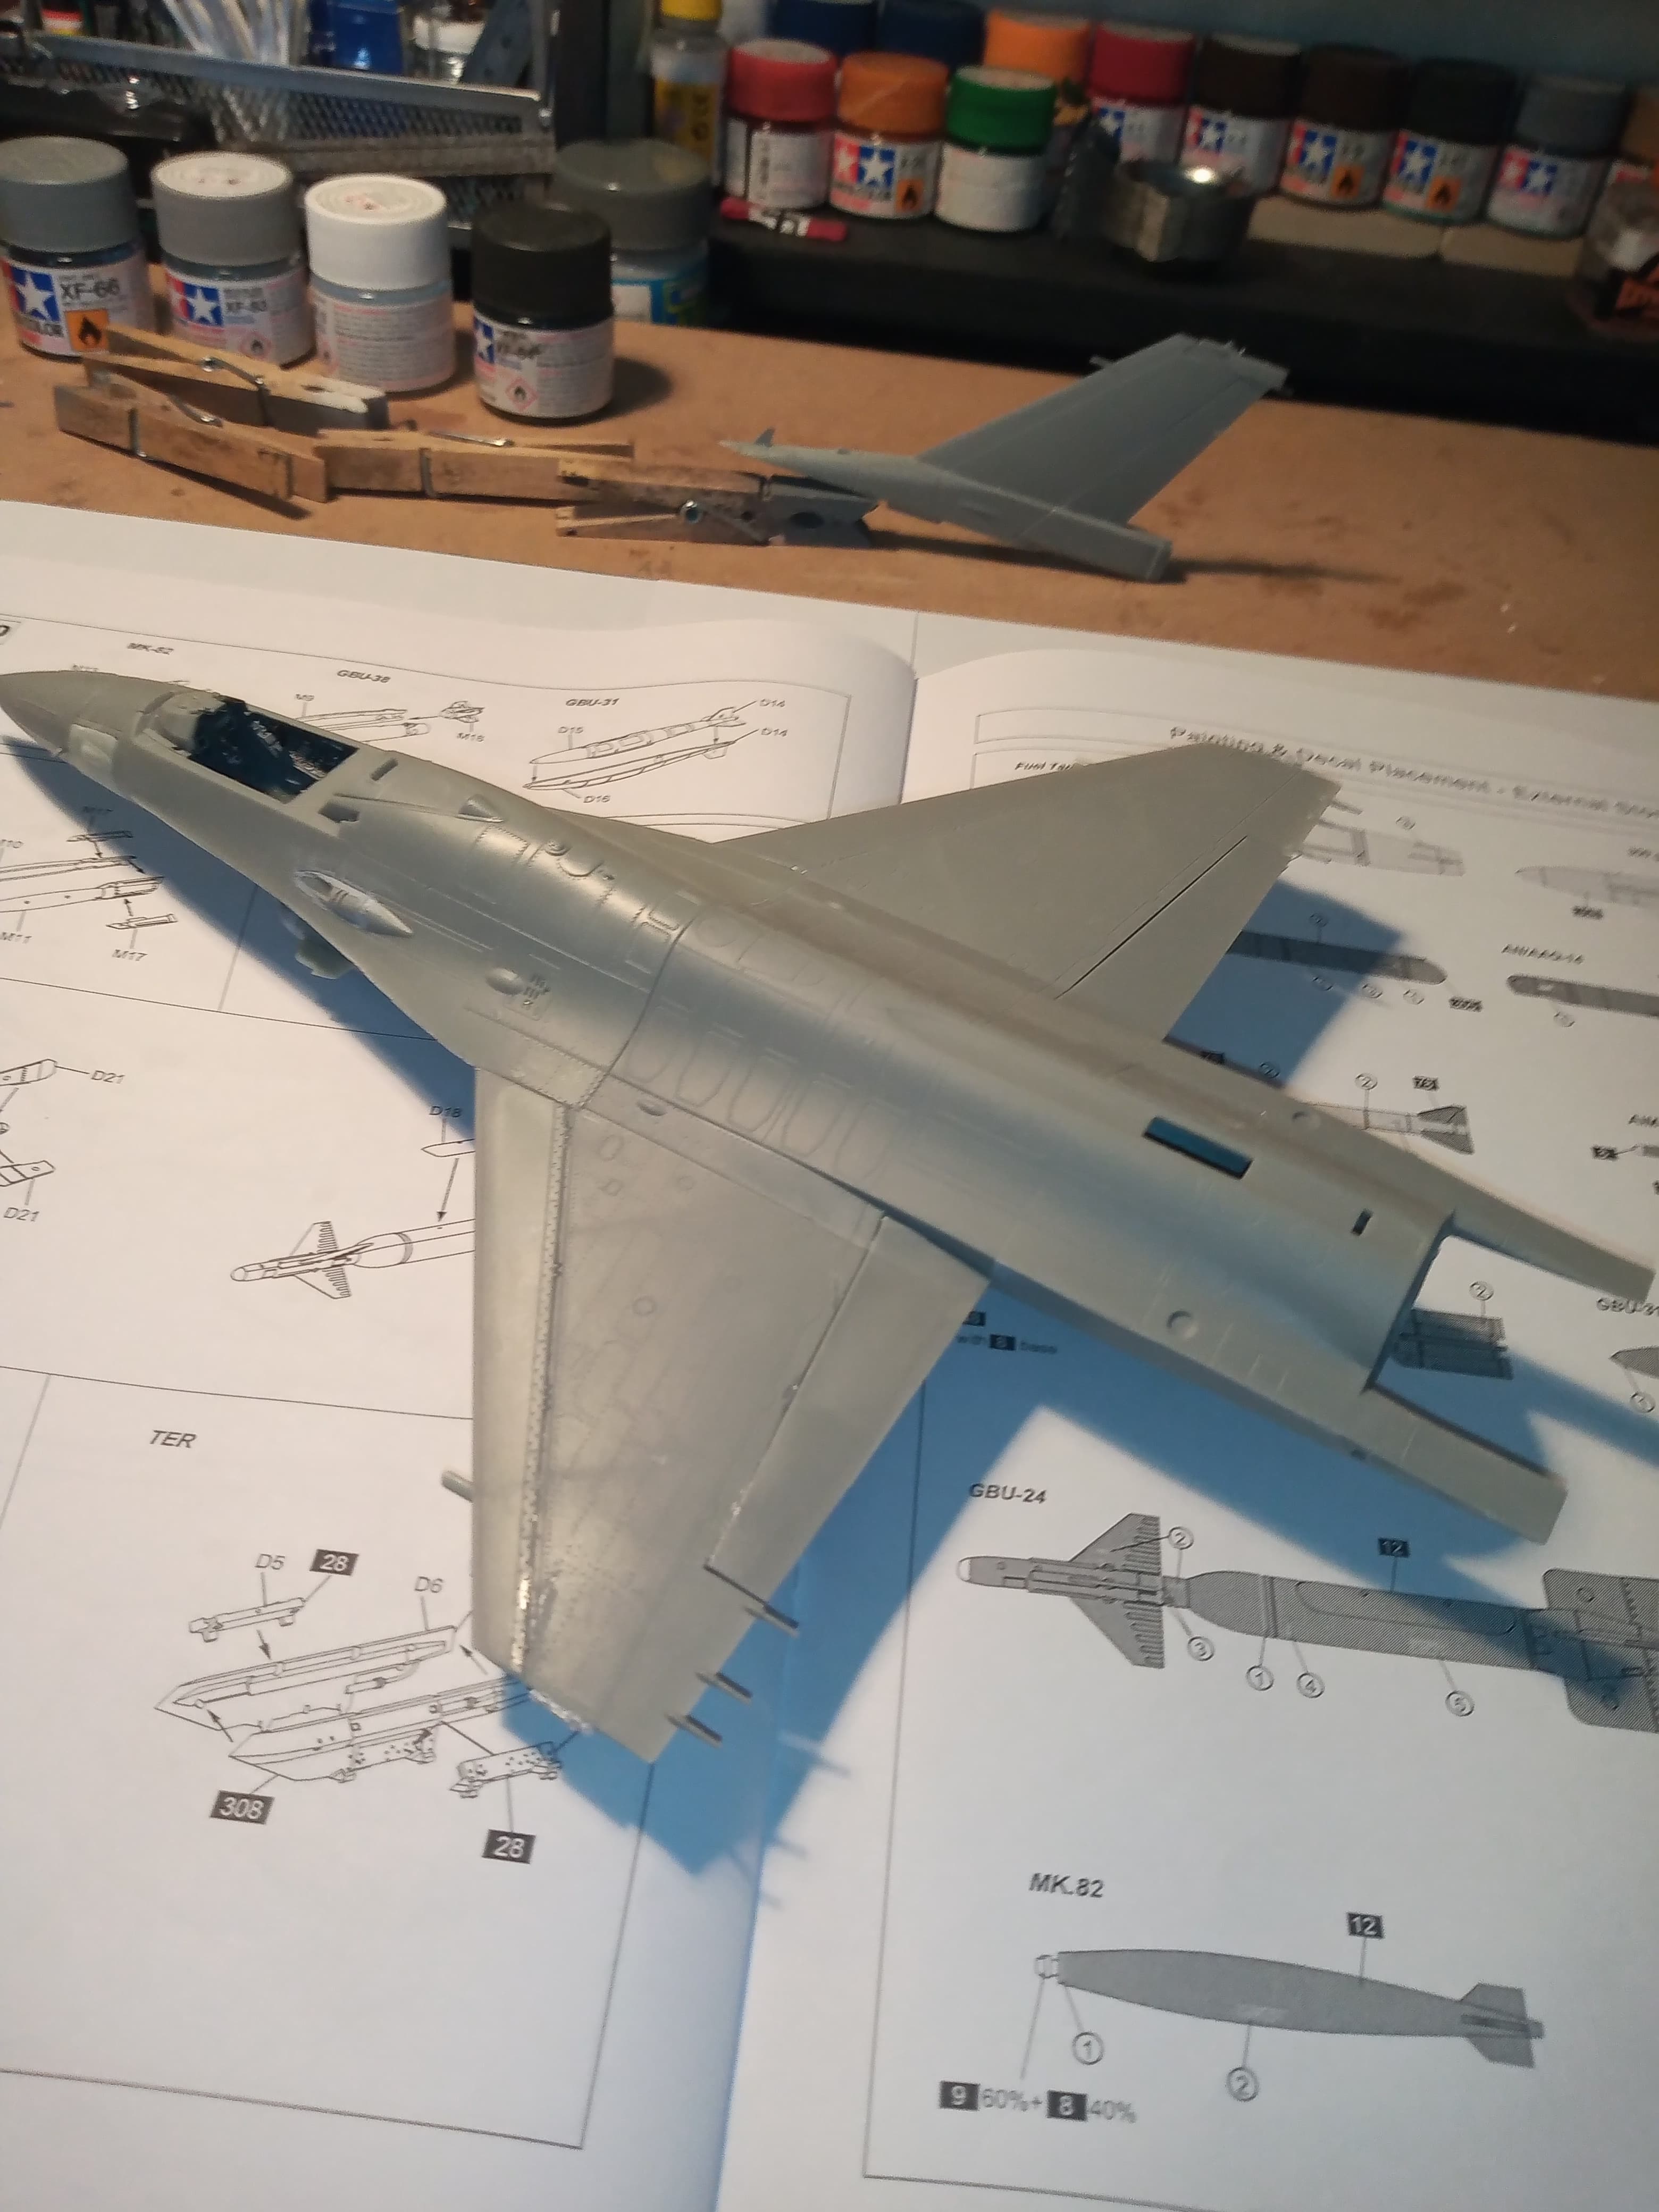
Got all the wing sections fitted now. The tail plane is also fully assembled, but not fitted yet as Is the exhaust section.
Air intake section fitted and cleaned up. That needed a bit of TLC to get it on properly
1 Like
Not sure what this kit is like John, but when I built wingy thingies (last of which was quite some decades ago) the one thing I remember was that fitting ordnance was a pain to get positioned right. In the end, I used to drill a hole in the pylon and the attachment point of the bomb/missile and then glued a piece of steel pin in the hole in the pylon. When it came to fitting the bombs, the pin went into the hole in the bomb and everything was aligned and had a firm attachment point. The holes in the ordnance were also handy to use for fitting temporary rod handles for painting.
Lately I have been tempted to drag out one of the aircraft kits I still have in the stash… I’m just worried I’ll like it too much and want to start adding aircraft kits to my stash… and my wife would LOVE that (NOT)!
1 Like
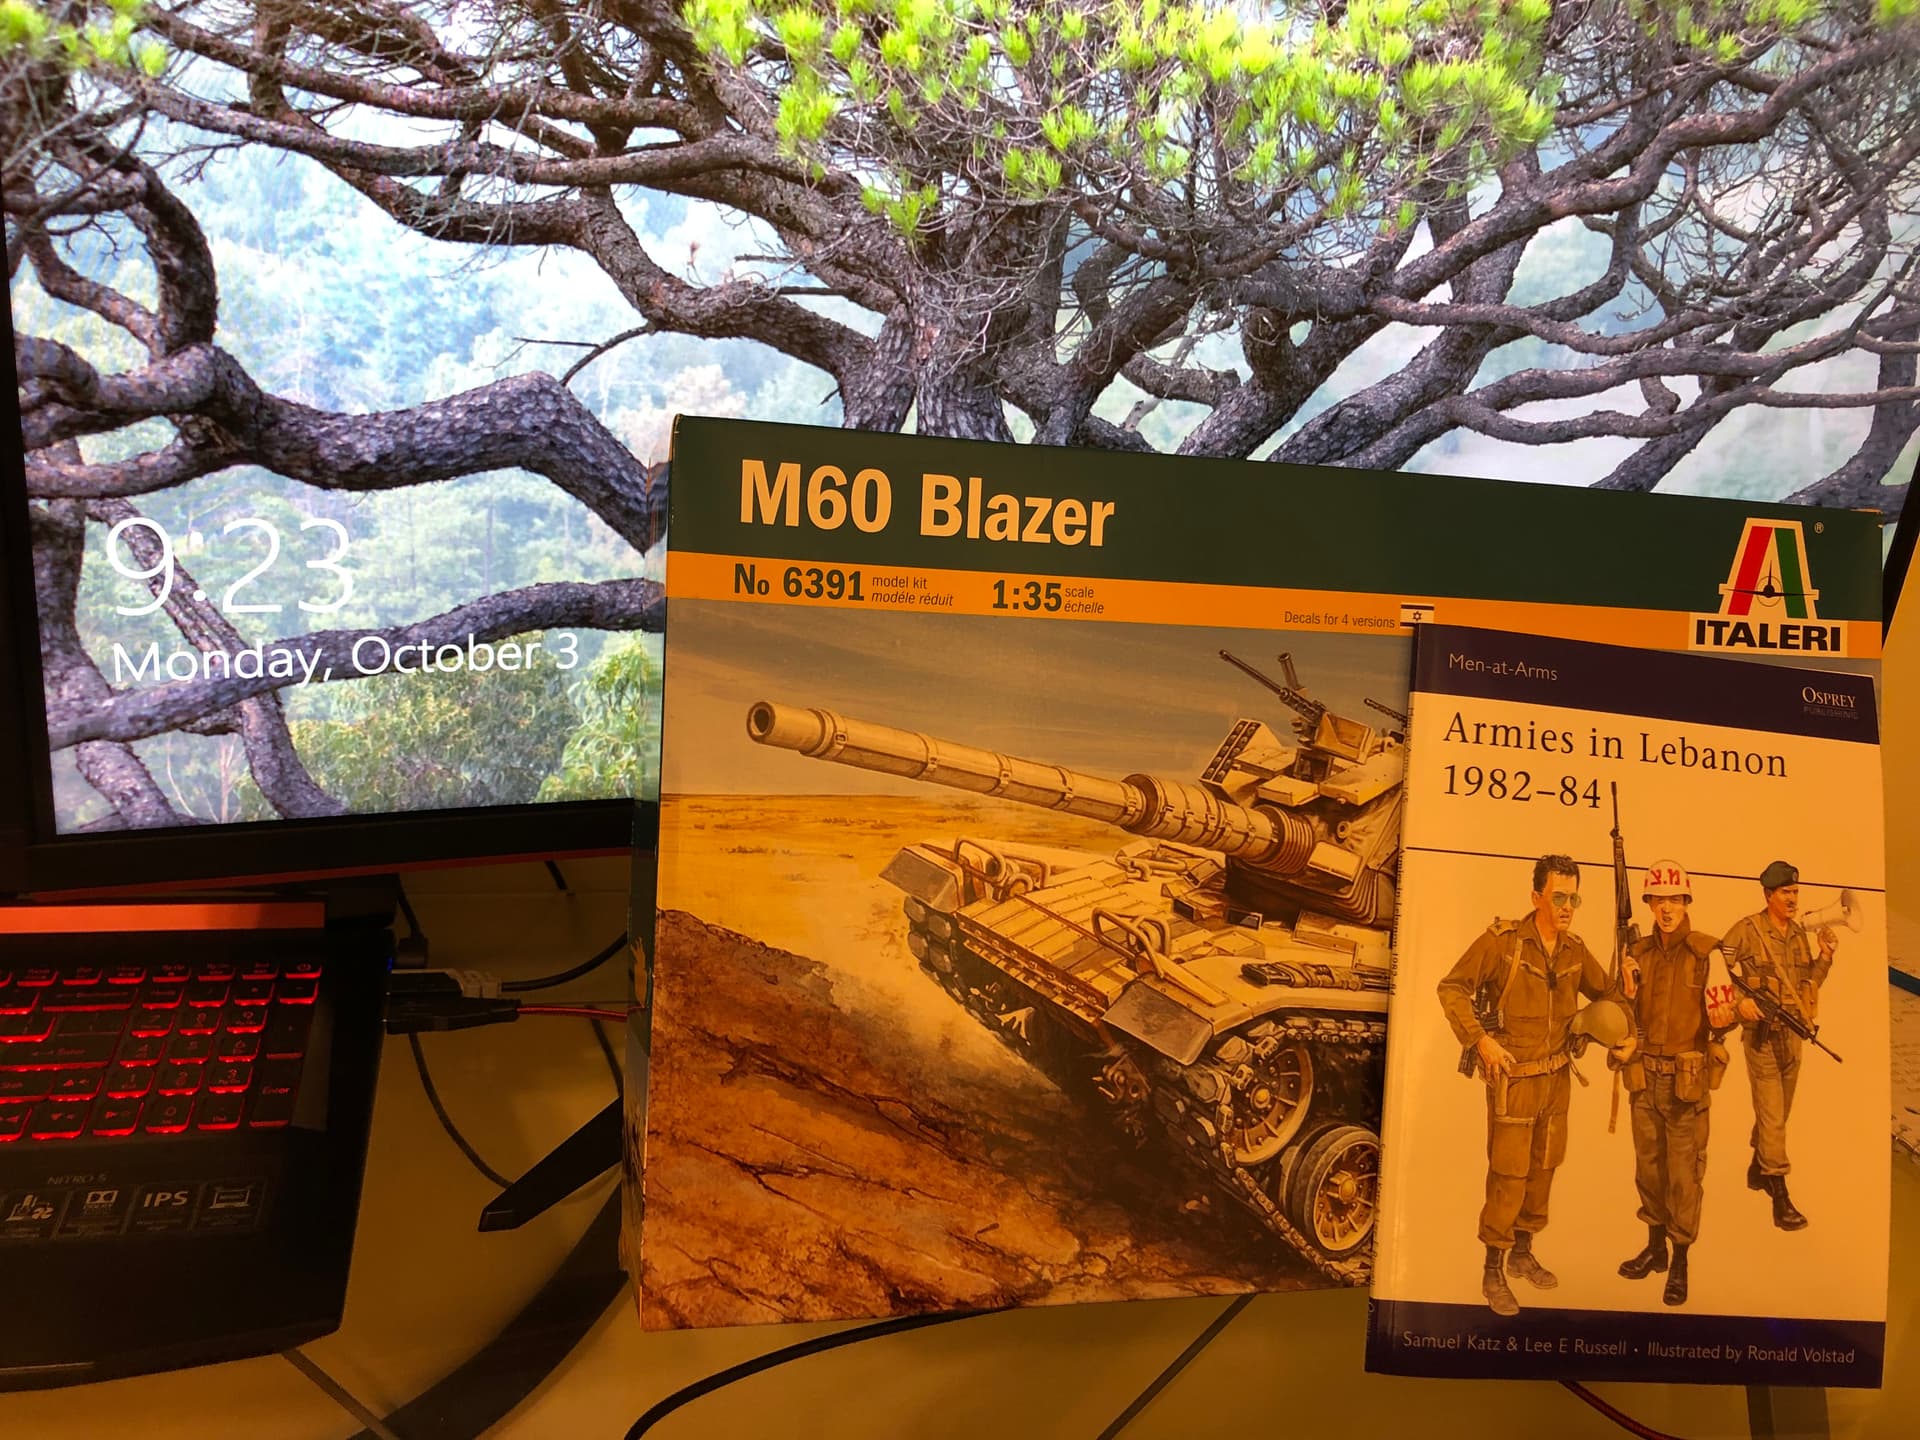
Finally starting my build, ended up switching to the old Italeri Magach. Also picked up an Osprey book on the 1982 conflict for some reading on the side. Looks like an easy enough build, anyone ever tackled this one?
4 Likes
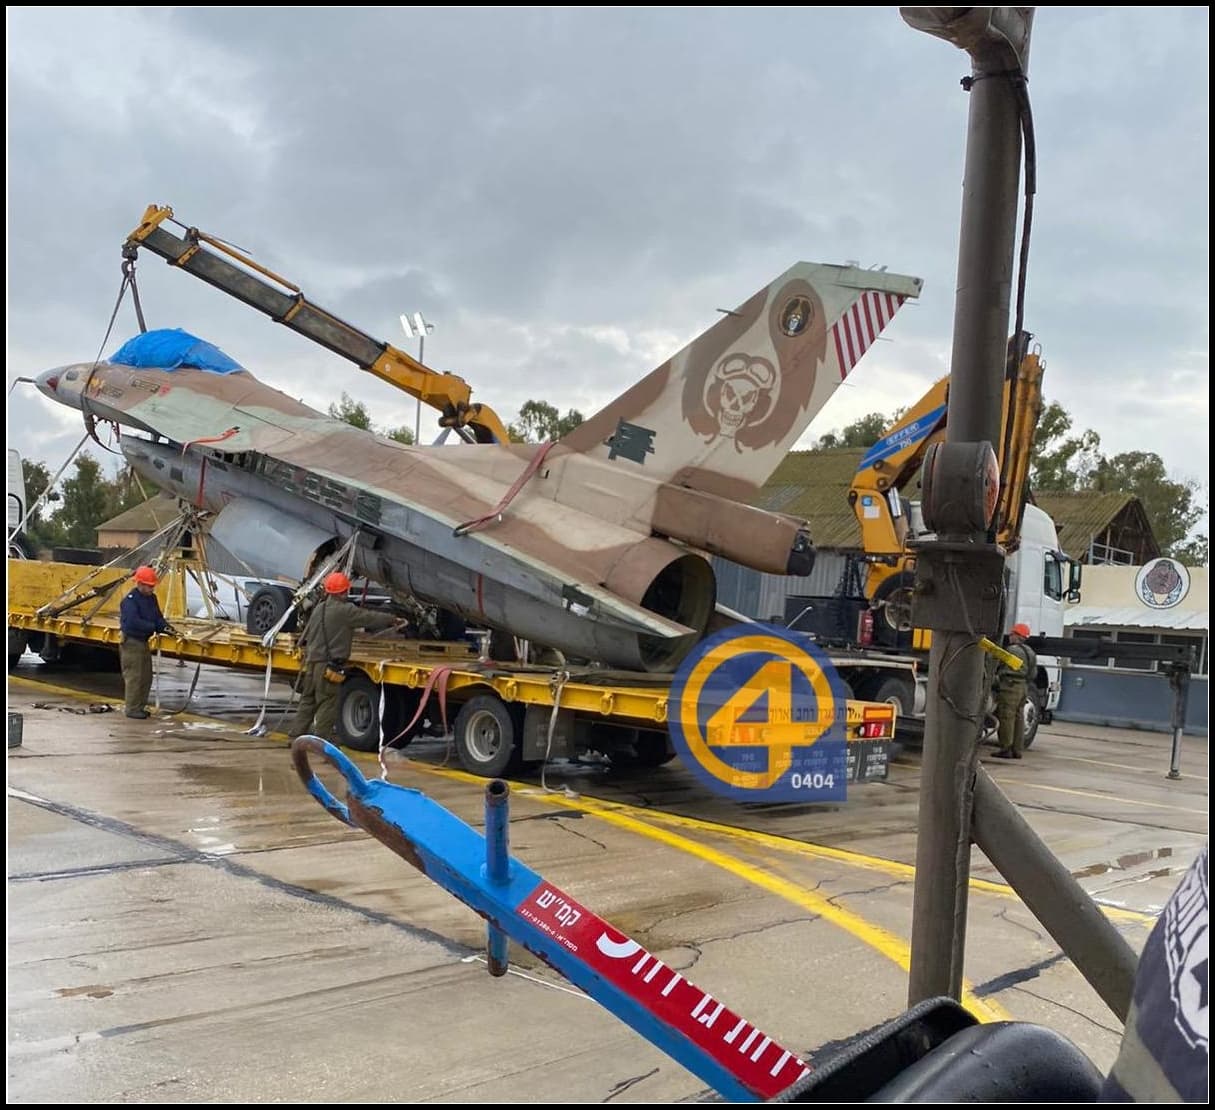
John, you might find some of these photos of 101st planes useful:
2 Likes
Thanks Israel …some nice shots there … That water logged F16 would make a great Dio …![]()
1 Like
Well, that’s a way out in case you screw the undersurfaces up… ![]()
2 Likes
Lol… Never say never ![]()
![]()
1 Like
What caused the flooding ? Natural event or something else
1 Like
Whoops lol…