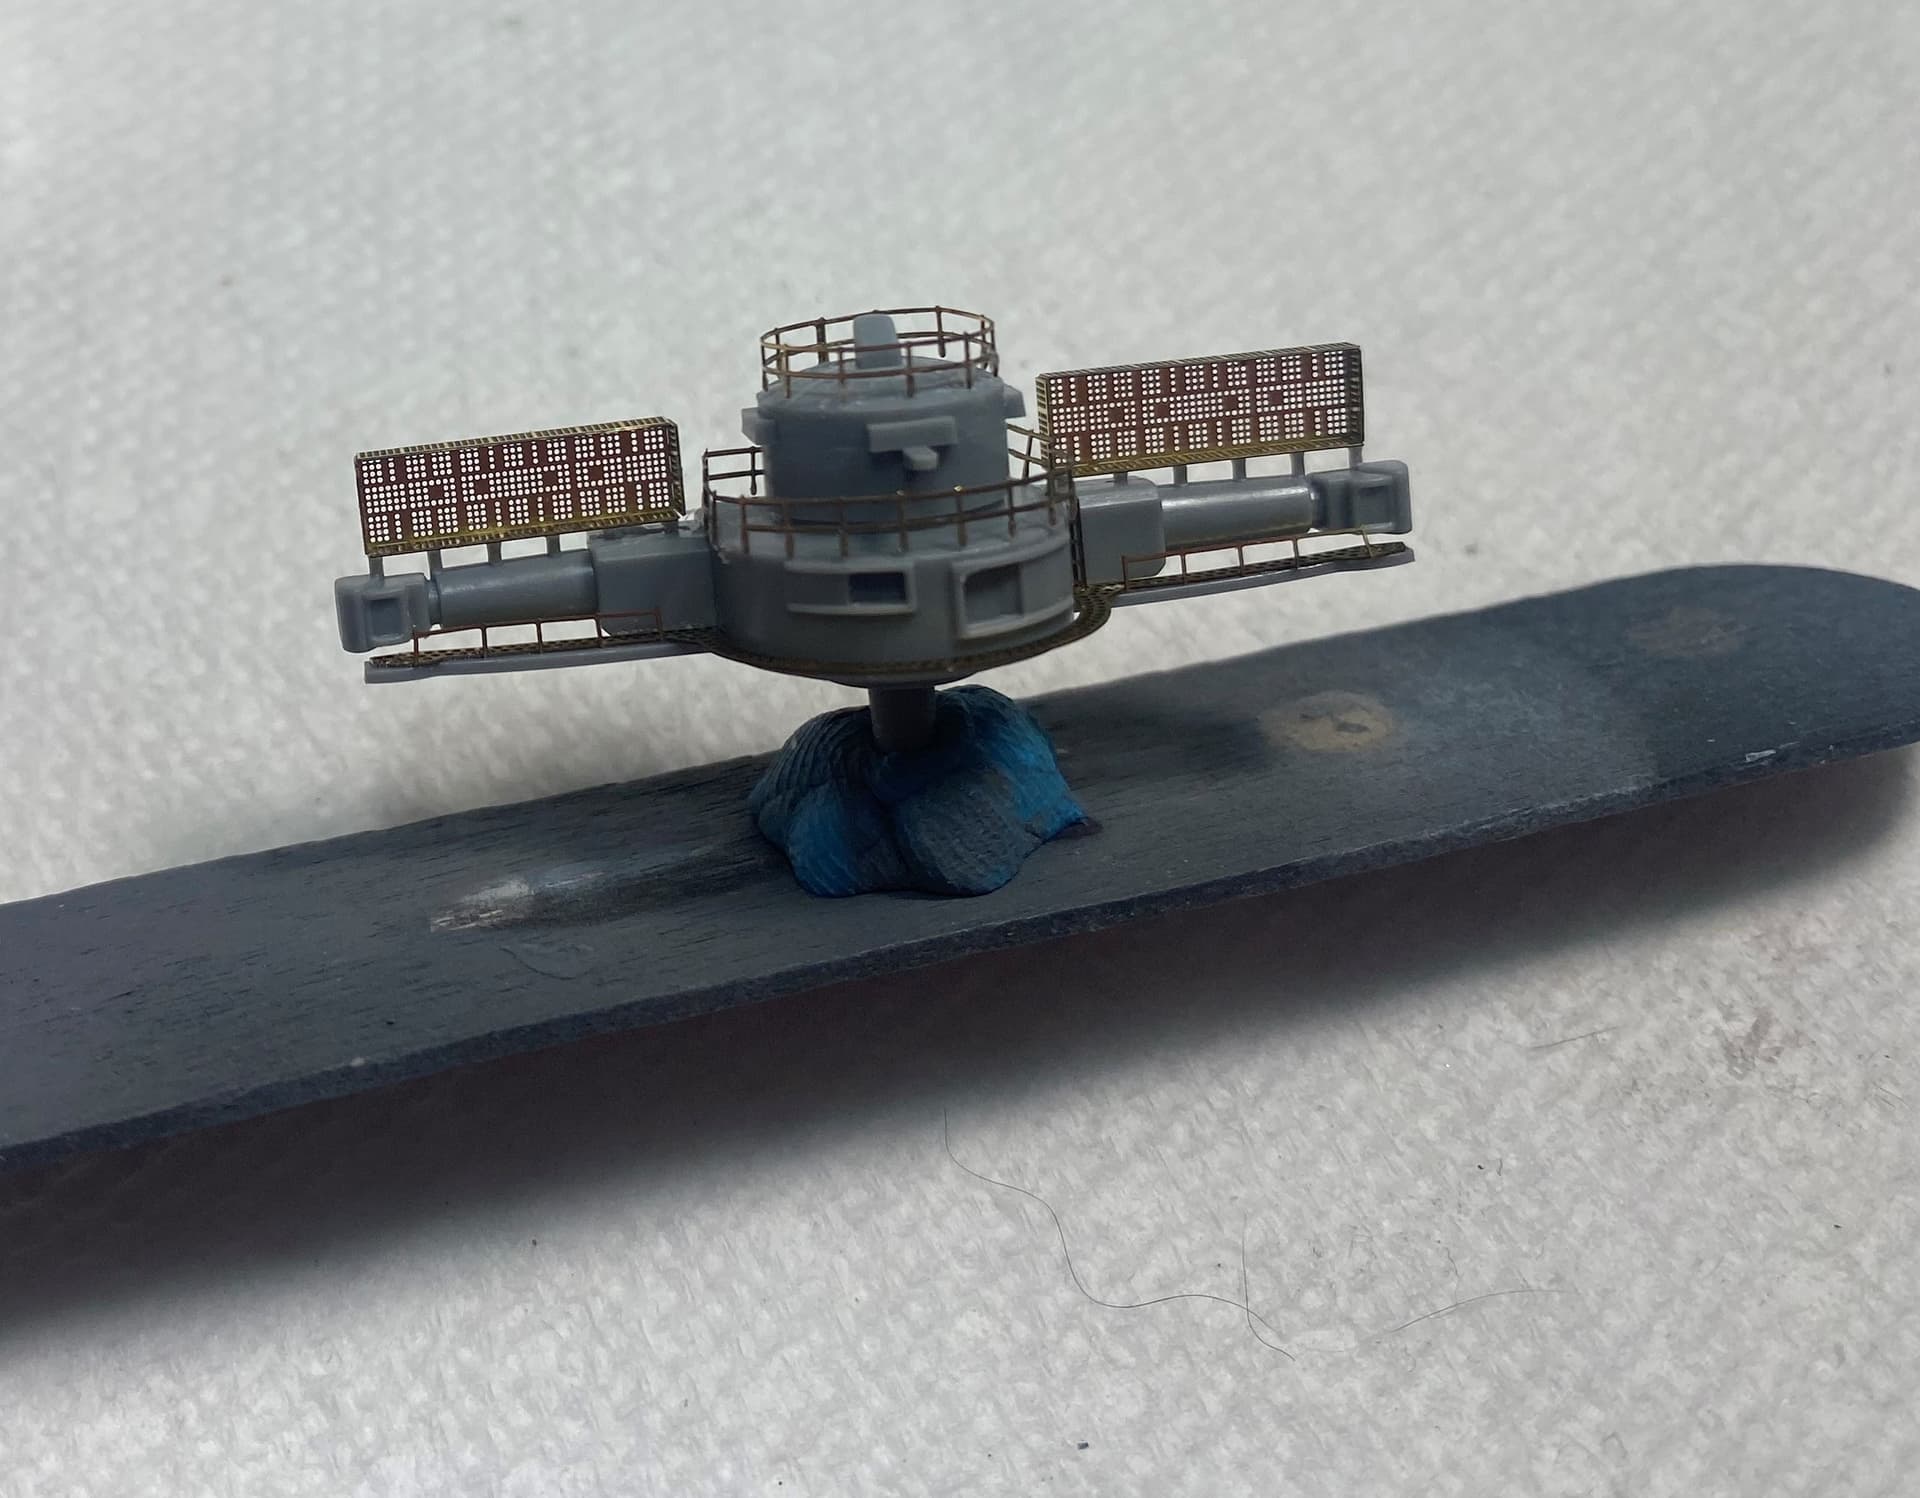
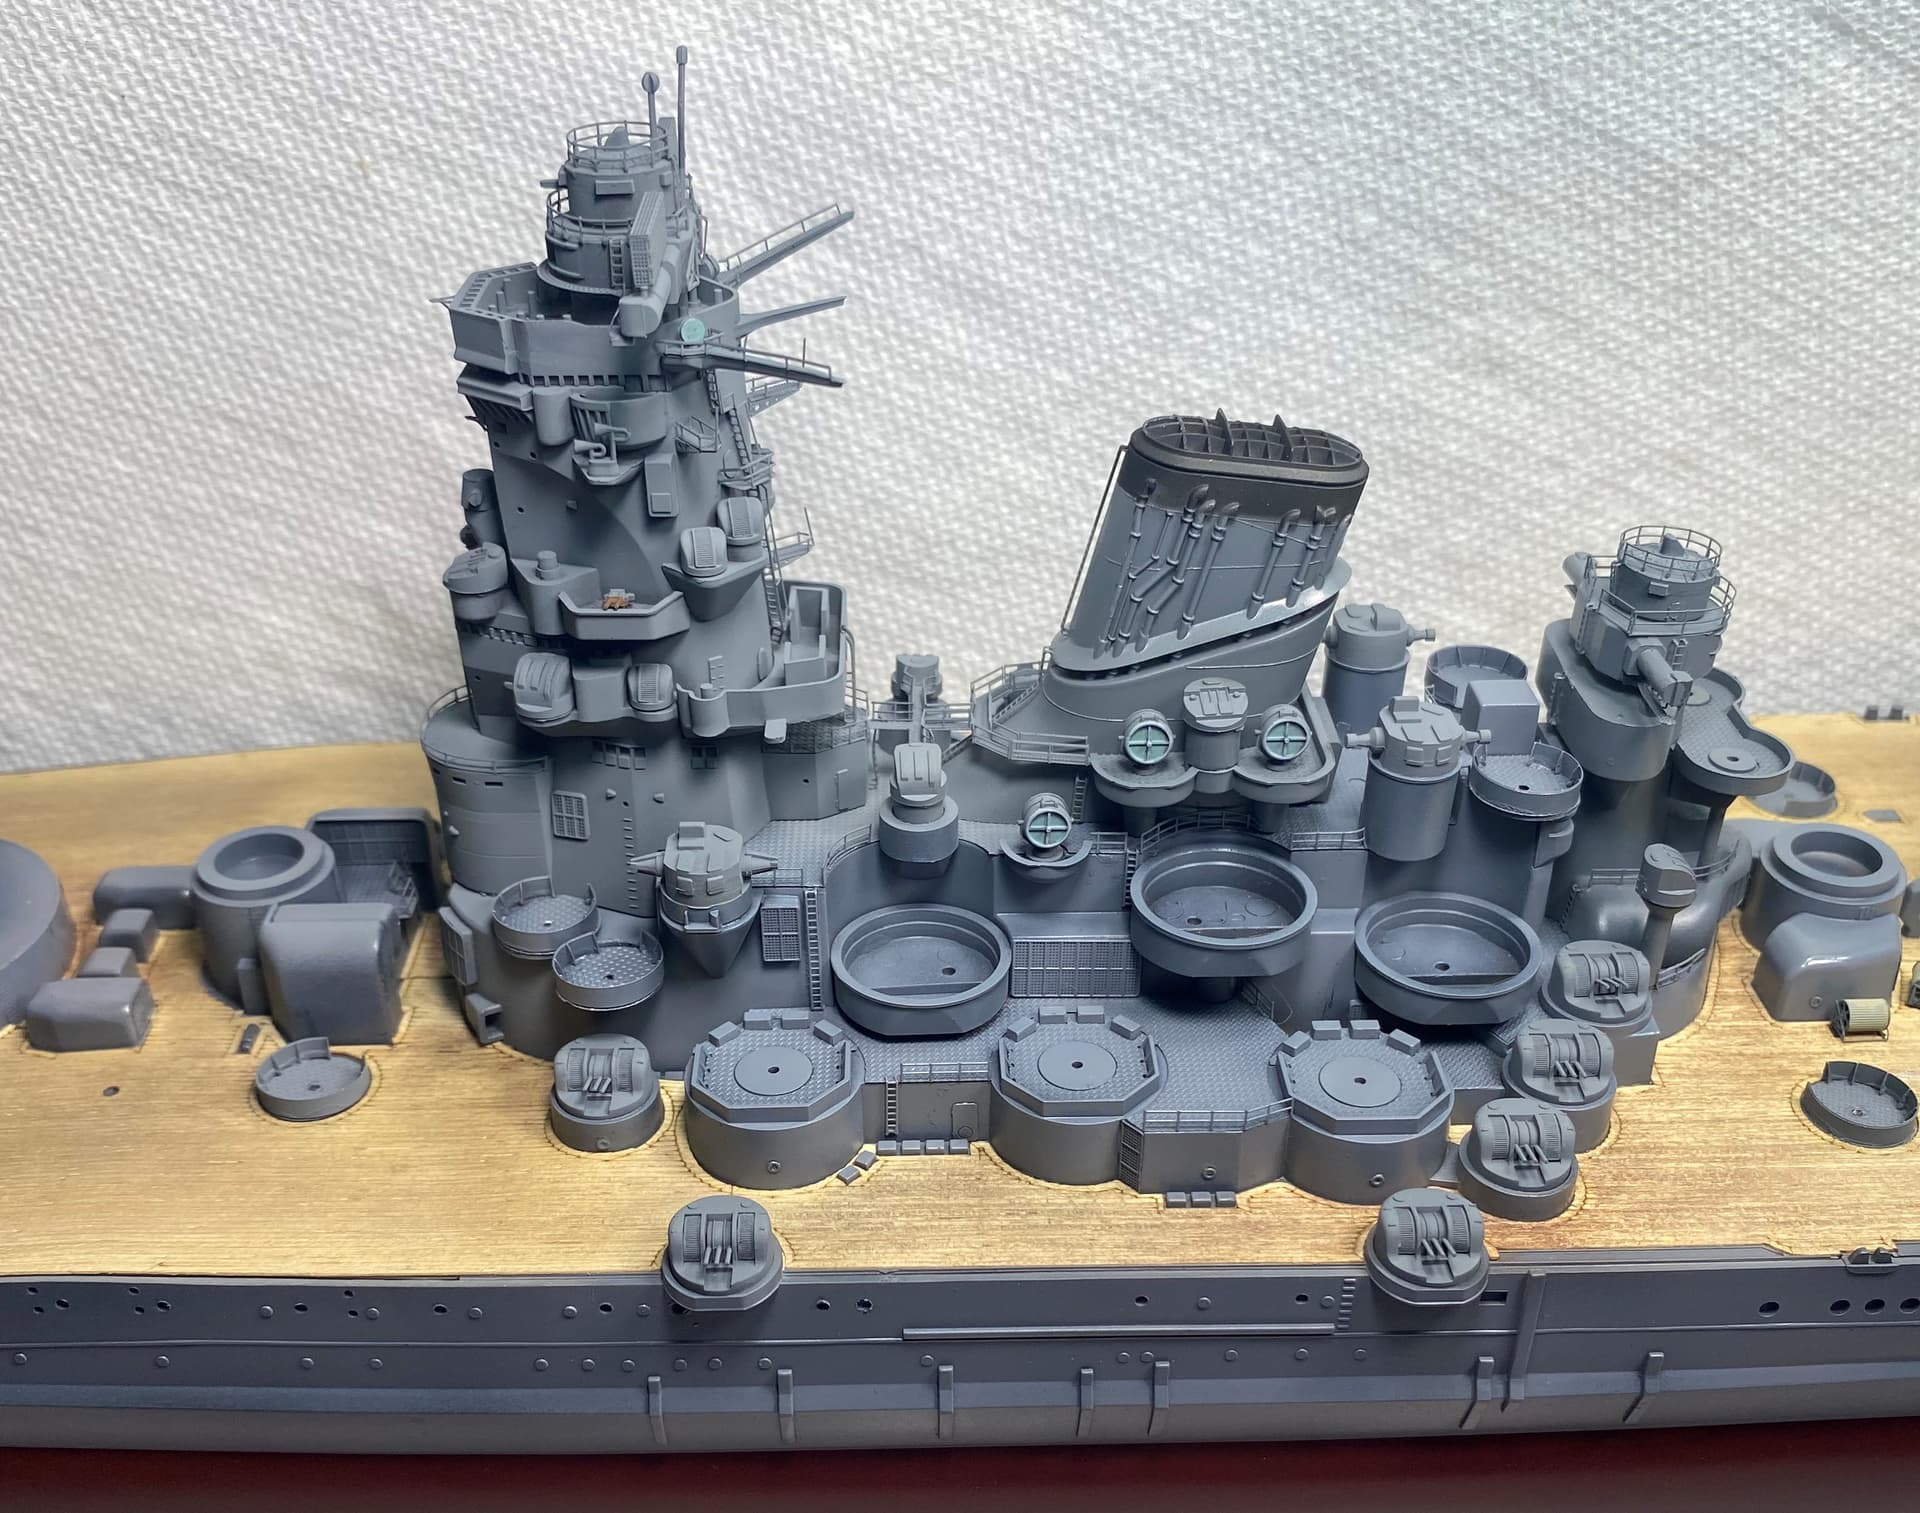
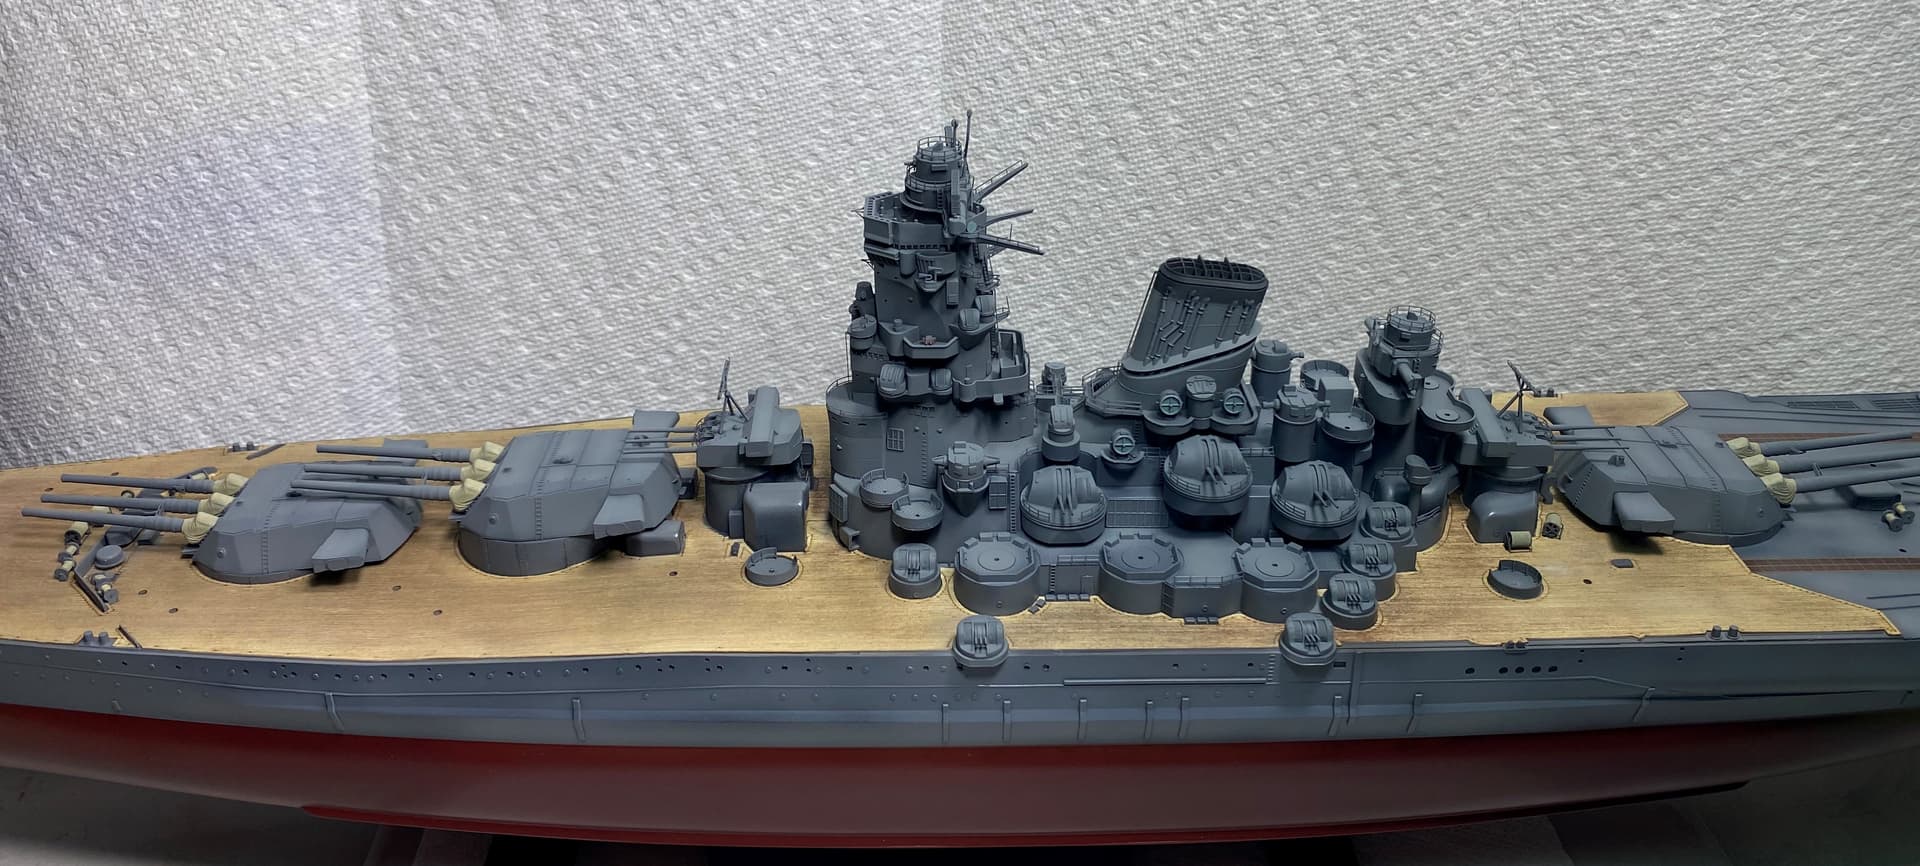
Accomplished a fair amount today. Got the forward rangefinder complete. Not happy with the railing but at some point you run out of curses and just accept its not going to be as good as you want.
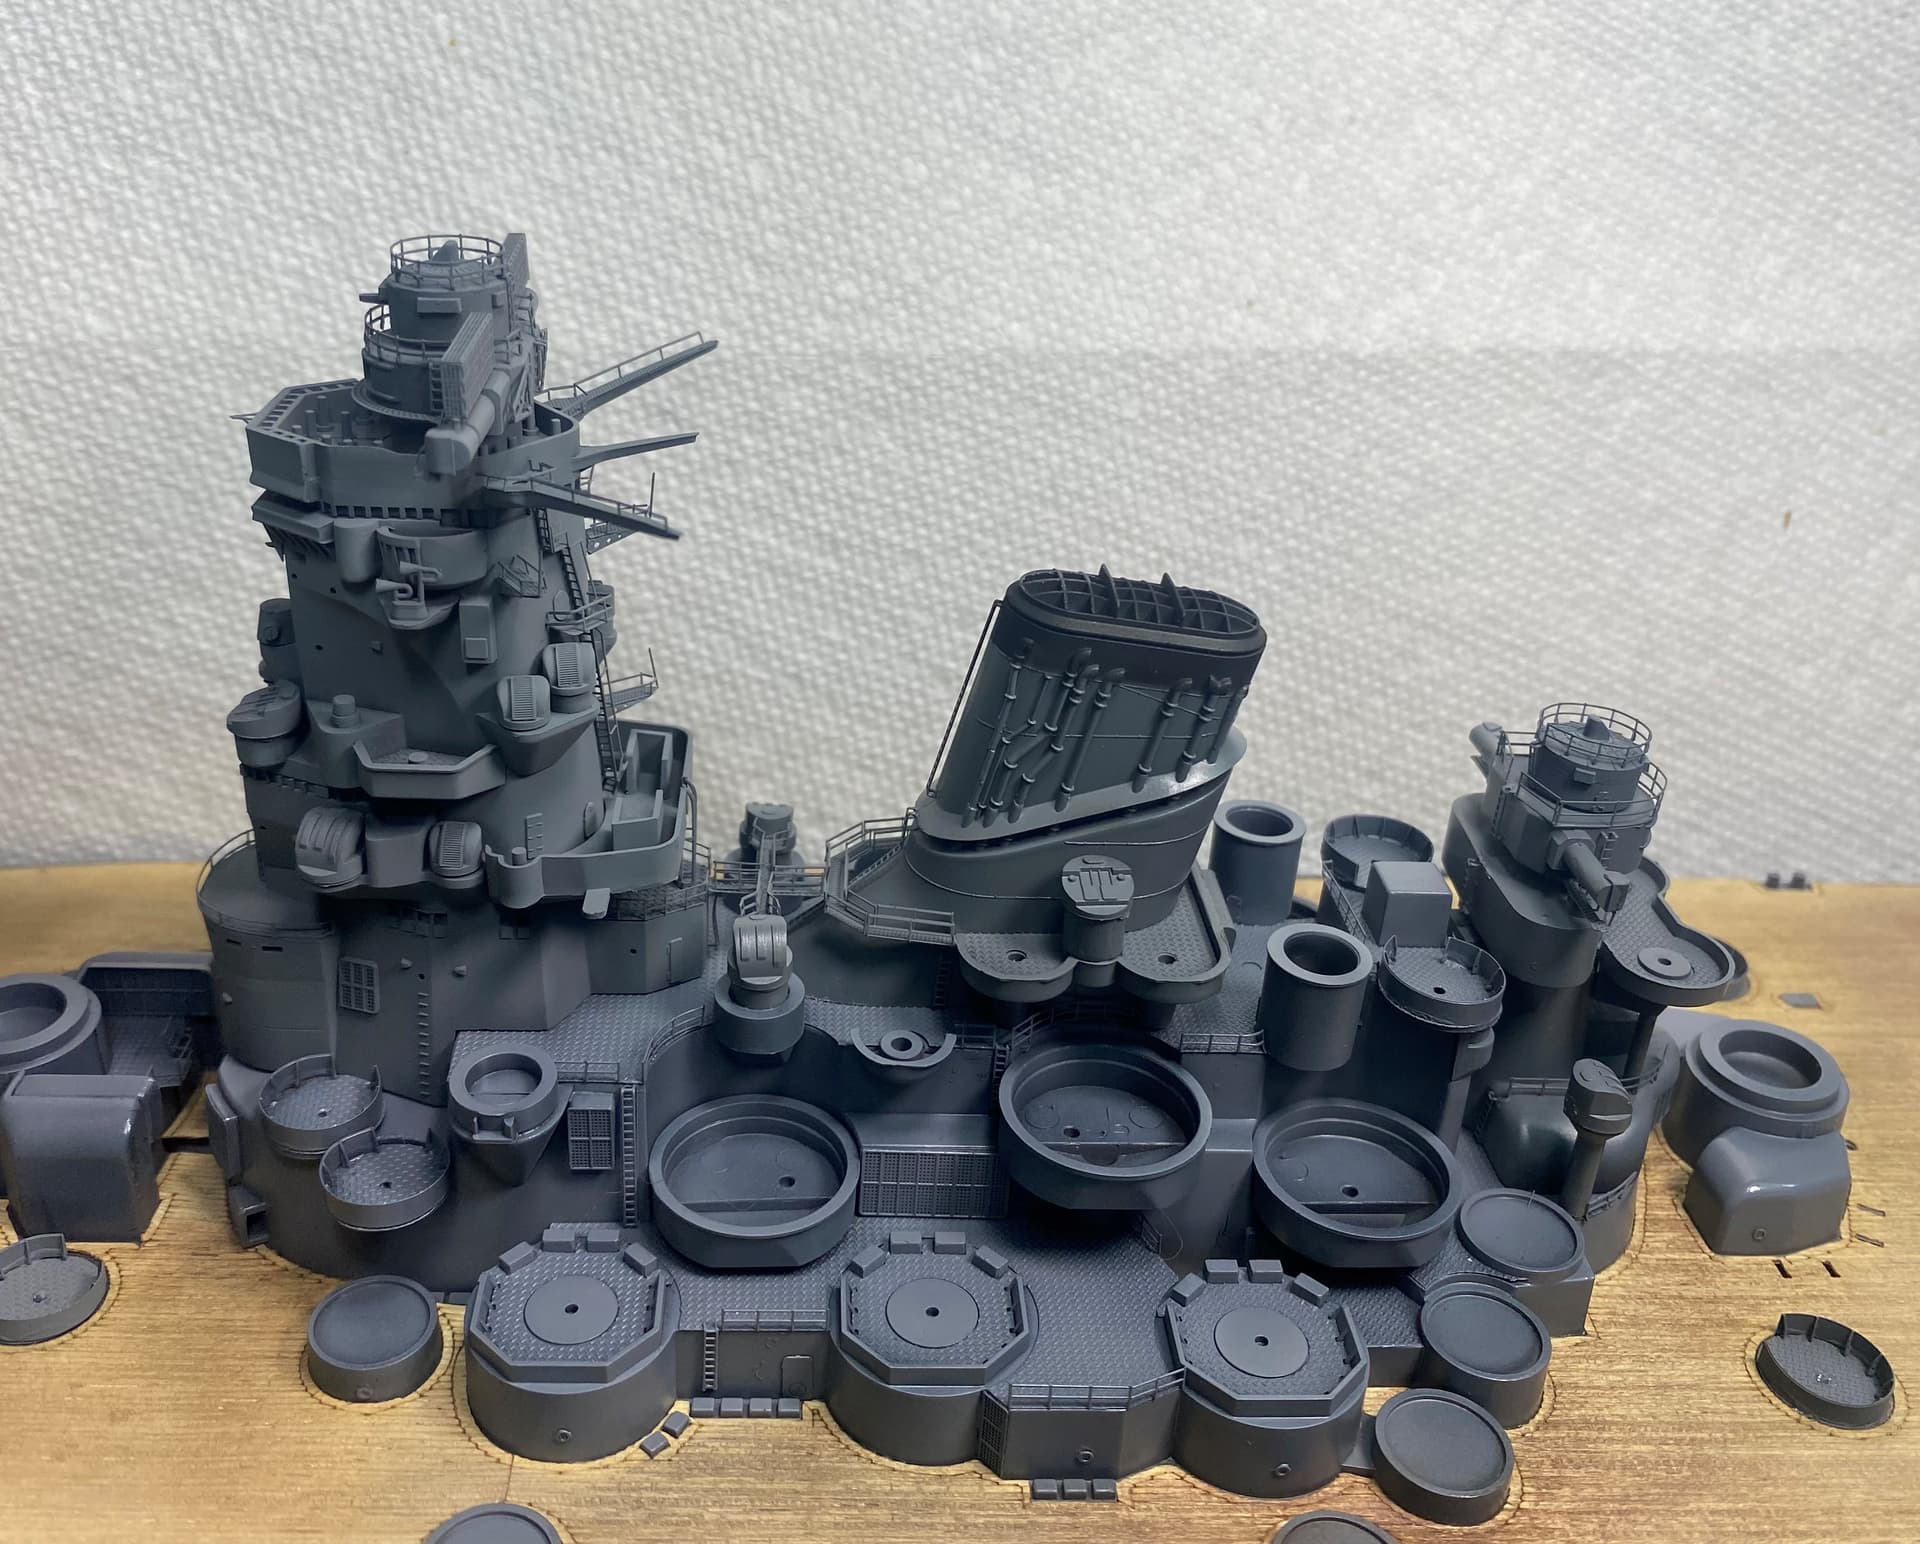
These large floaty kits are amazing. When you look at one as it is in the box, they are impressive for size, detailing and just seem wow… But then when you get builds like these, with the PE, the resin or 3D guns and the amount of detail they then bring… It takes it to a whole new level of amazing
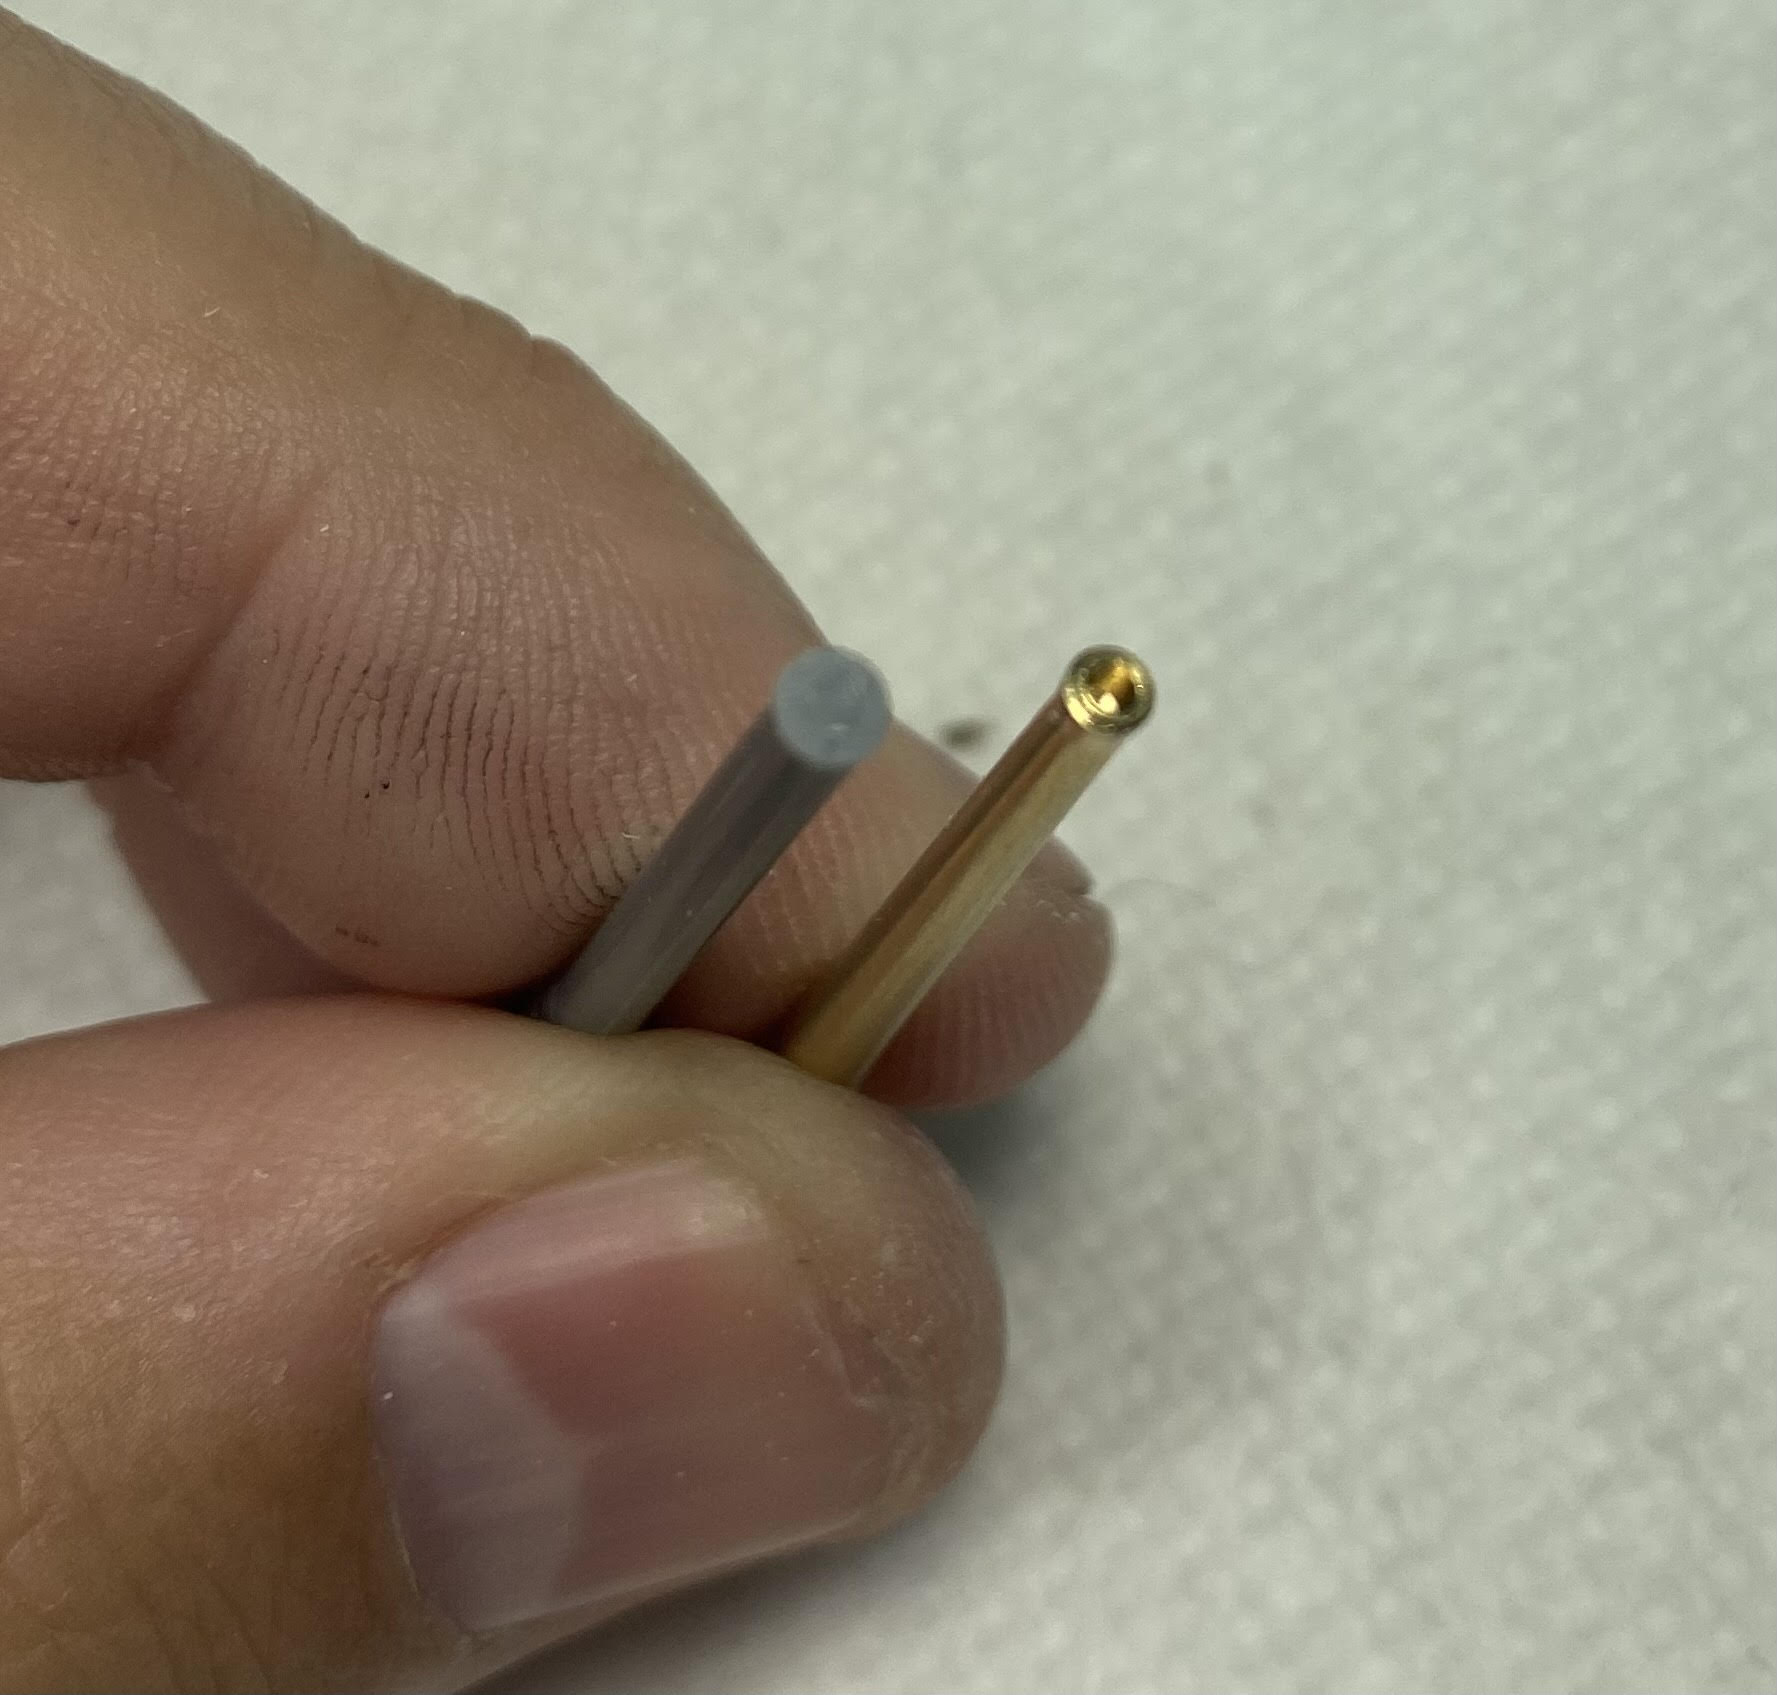
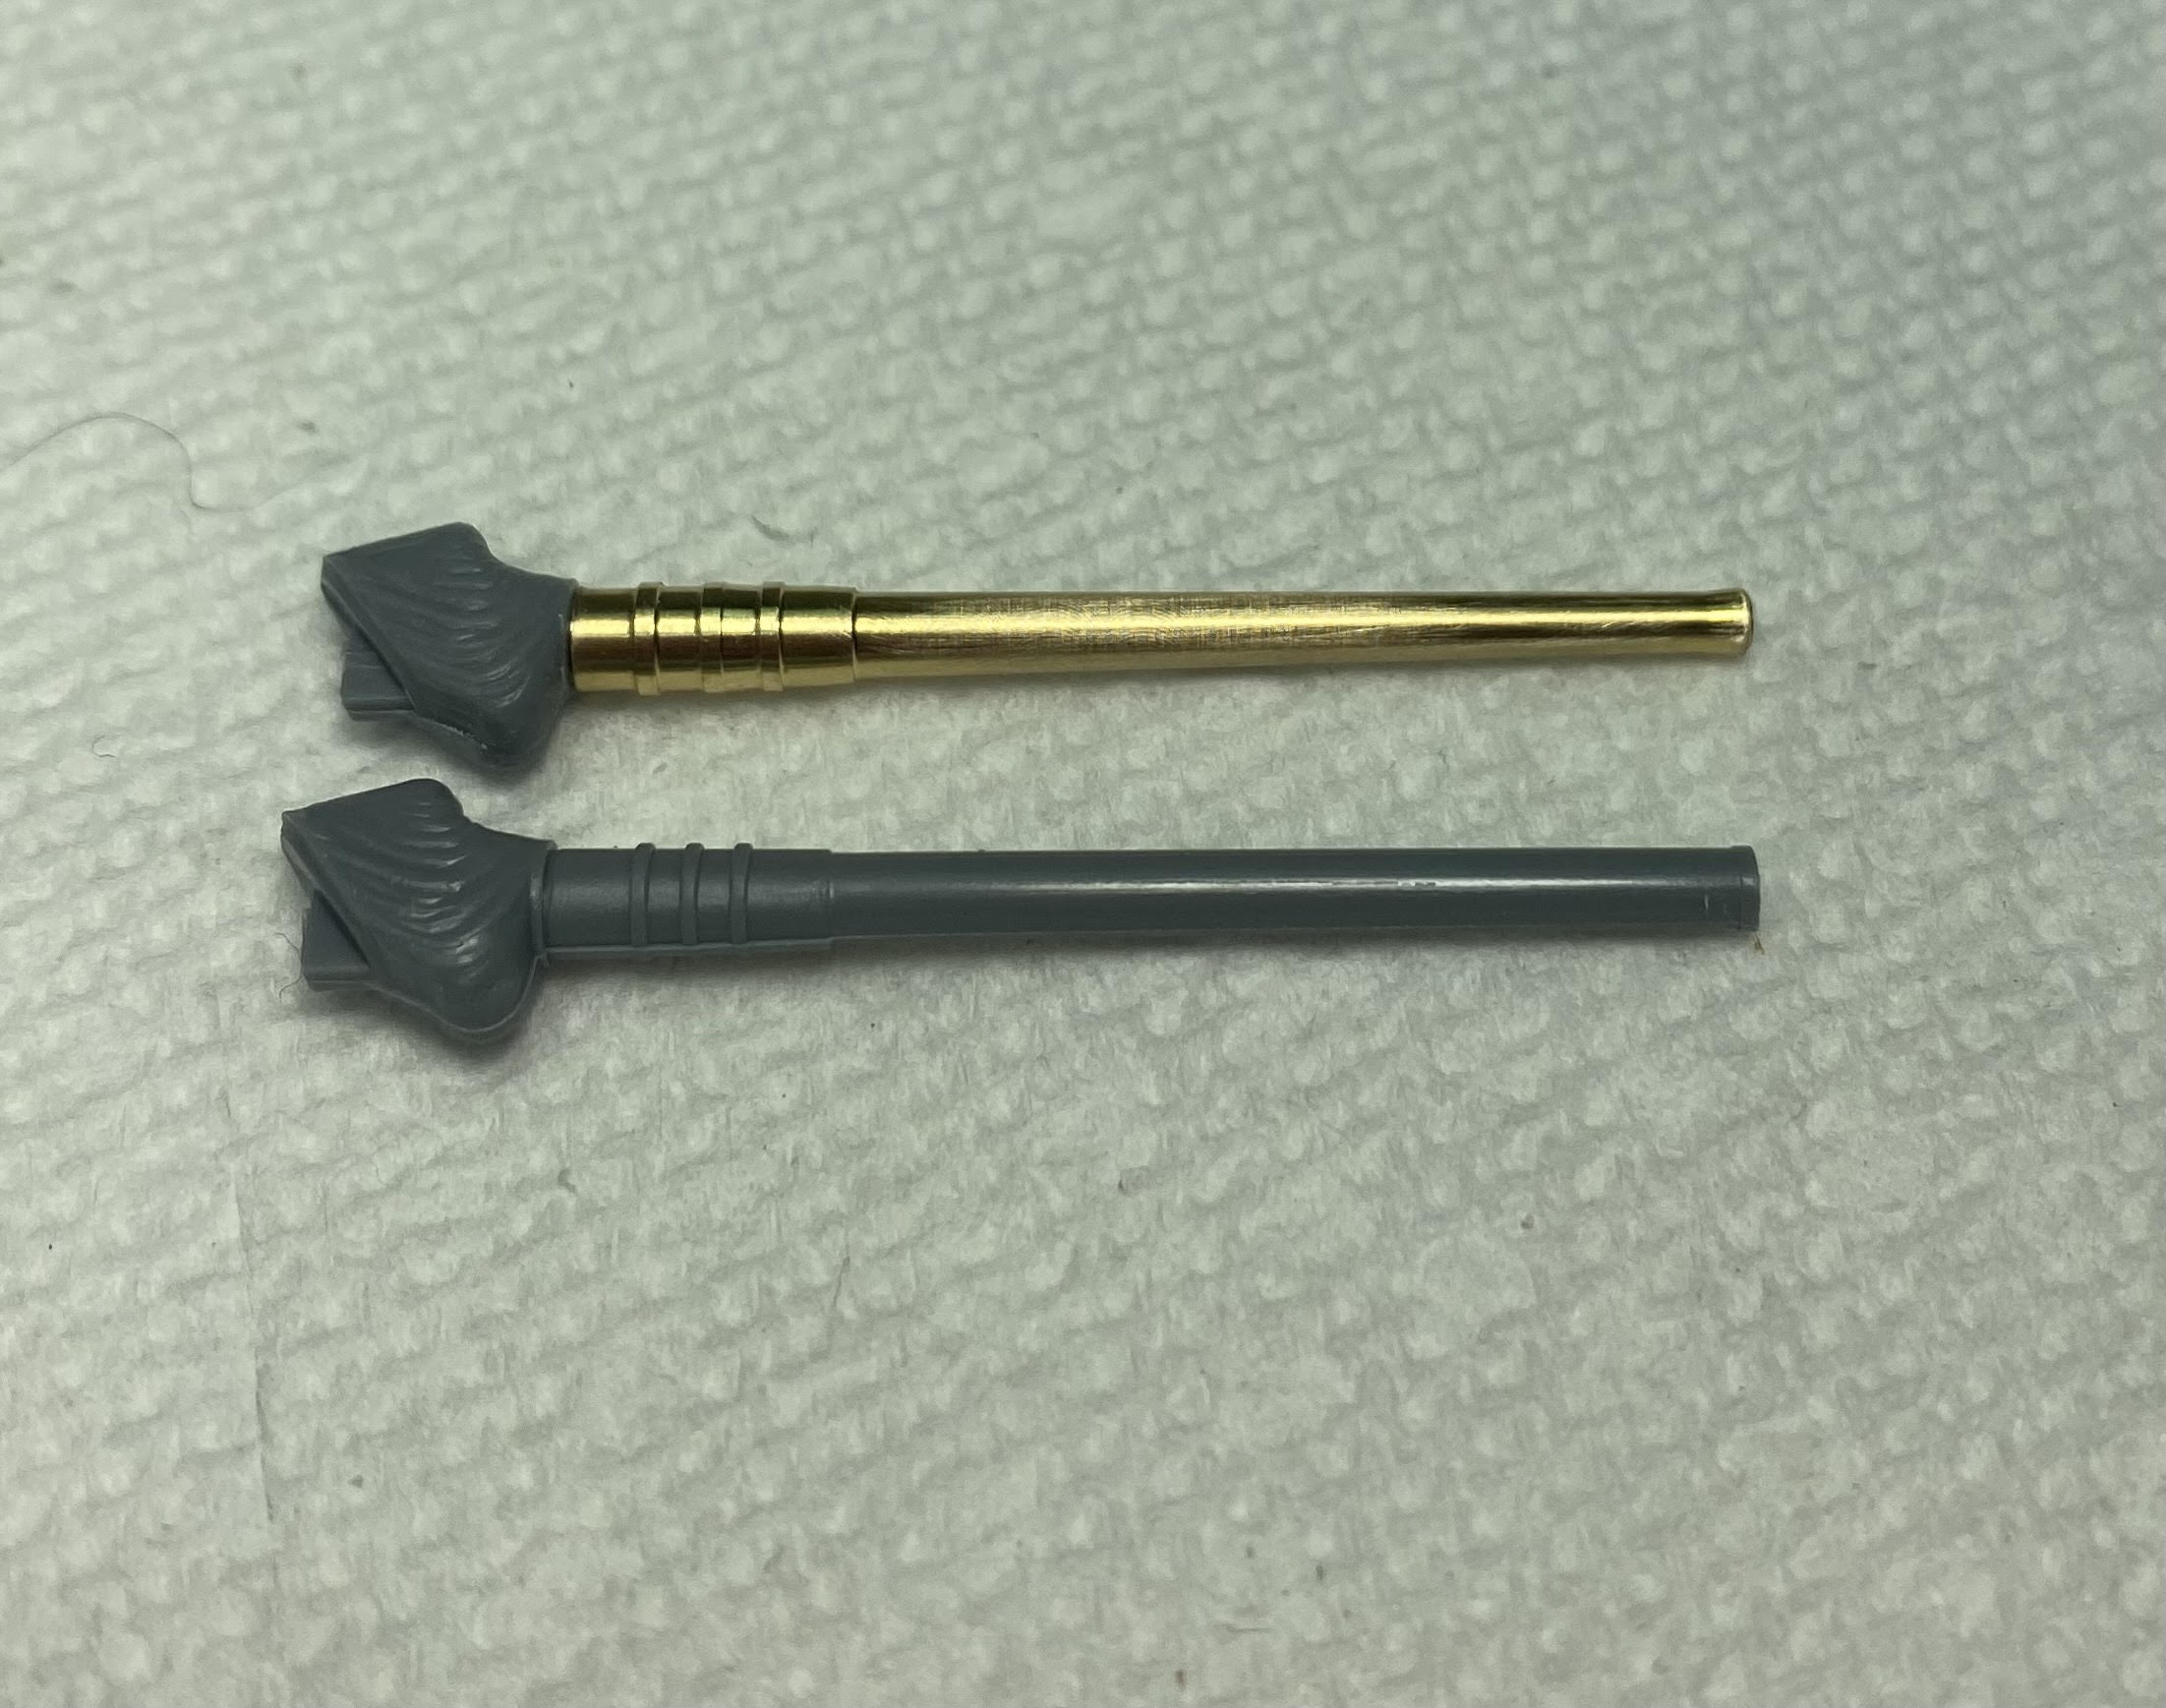
In an attempt to keep the cost of this one down I thought I could make the kit 18" barrels work but I just couldn’t. They are very typical of late 1970’s mold - thick, shapeless, seam lines for days and a solid muzzle.
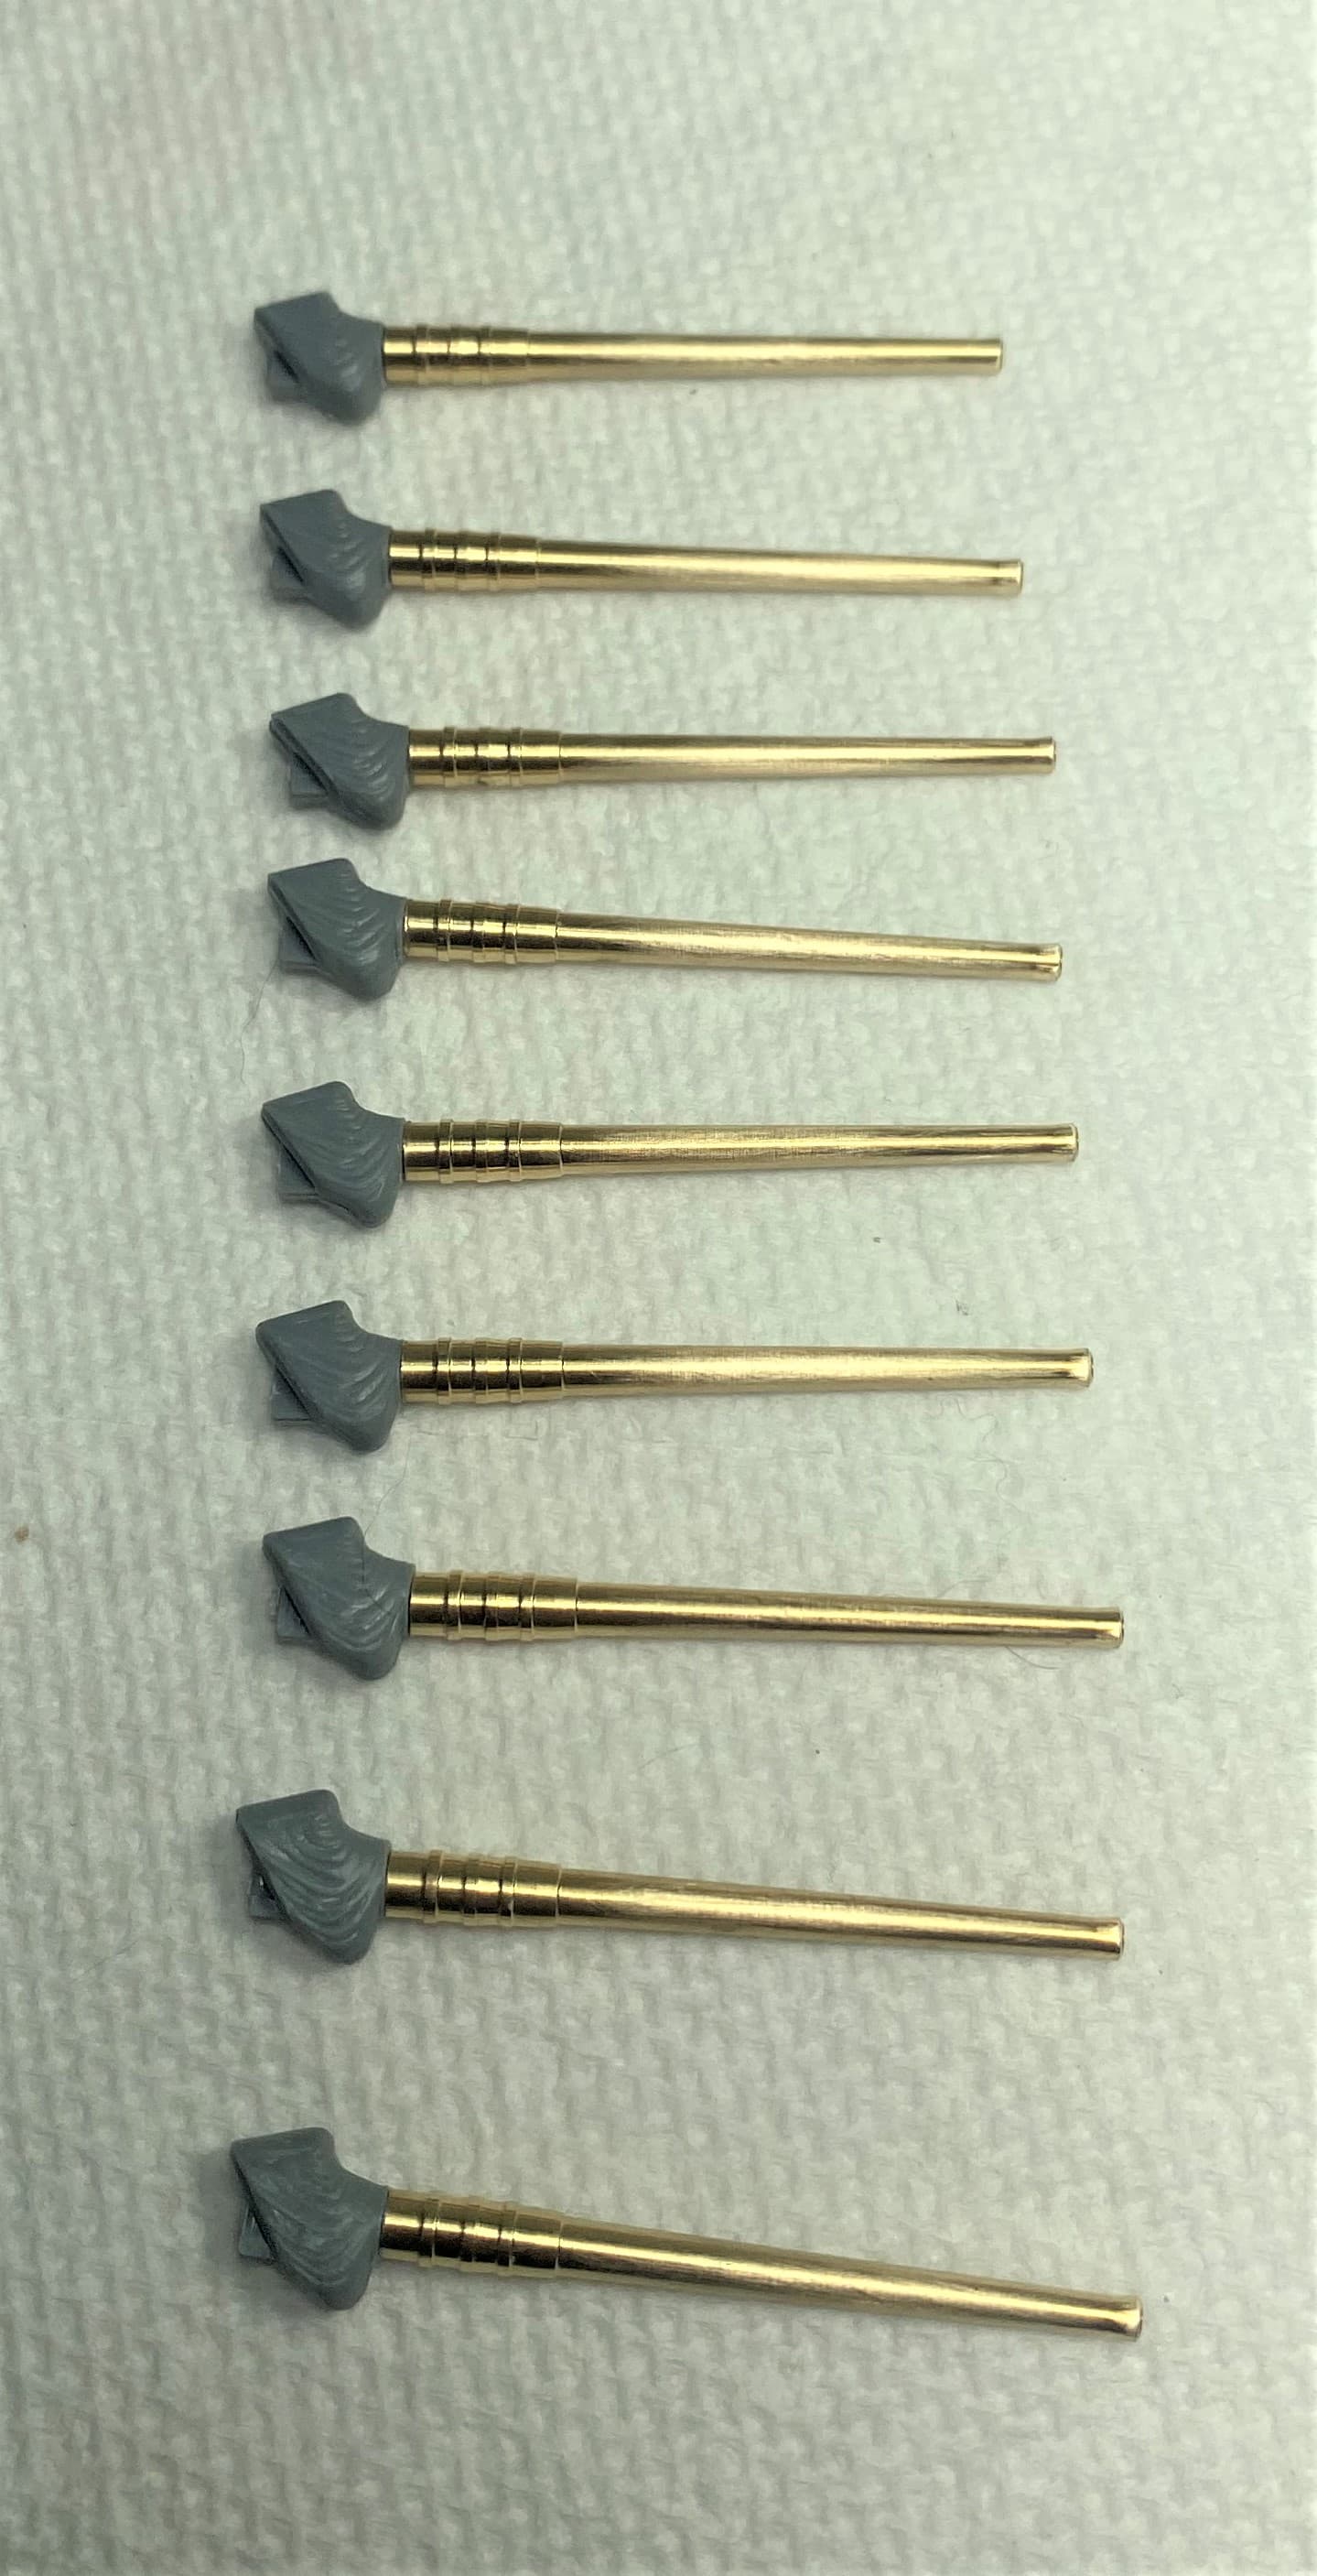
I was able to acquire some Chinese no-name ones for pretty cheap and they look amazing.
I am super happy with these barrels. They have been the easiest barrels I have installed into kit blast bags. No alignment issues, no cutting off too much etc. They just worked. Given the fights I have had with my last few kits this one has been a blast so far.
A lot has been accomplished this weekend. All rangefinders are now installed as well as searchlights, deck reels etc.
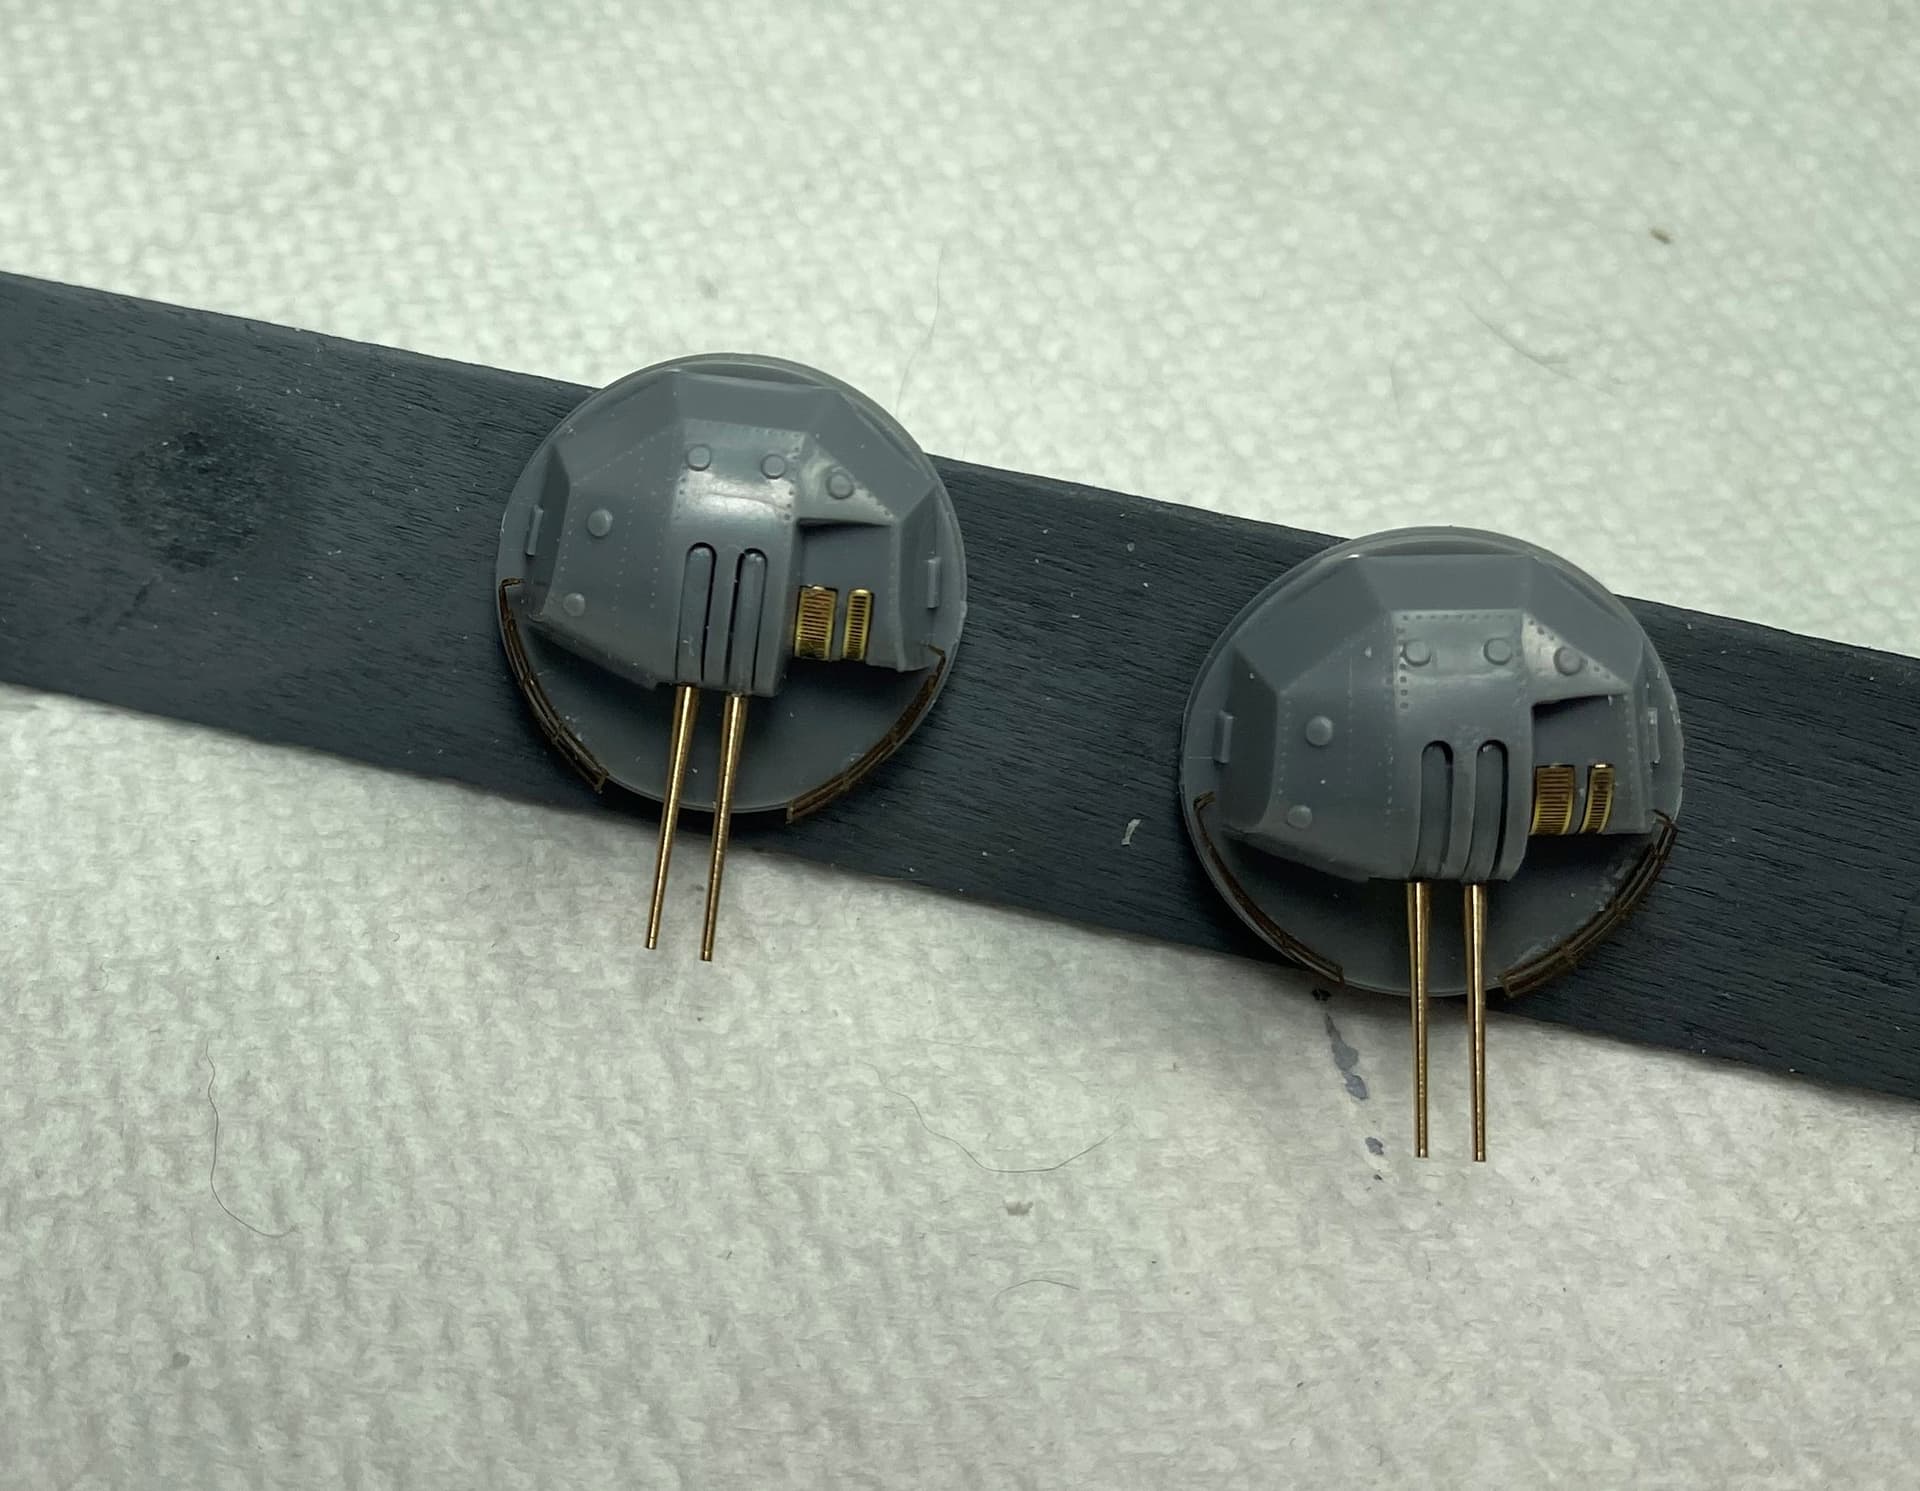
One of the things I don’t enjoy about ships is the repetition, especially on weapons. 16 triple 25mm turrets completed. Fortunately the PE wasn’t too bad on these.
The annoying part is that there are PE hatches on the back which you absolutely cannot see (except for 4 on the rear deck). Wasted effort. I was tempted to buy AM for these but ultimately decided $50 was just too much. In the end they actually ended up looking pretty good.
I do have barrels for the 127mm’s on order. The kit ones were just too nasty. Should be here later this week, along with a new friend for Musashi. Had some birthday money to burn so have added to the stash
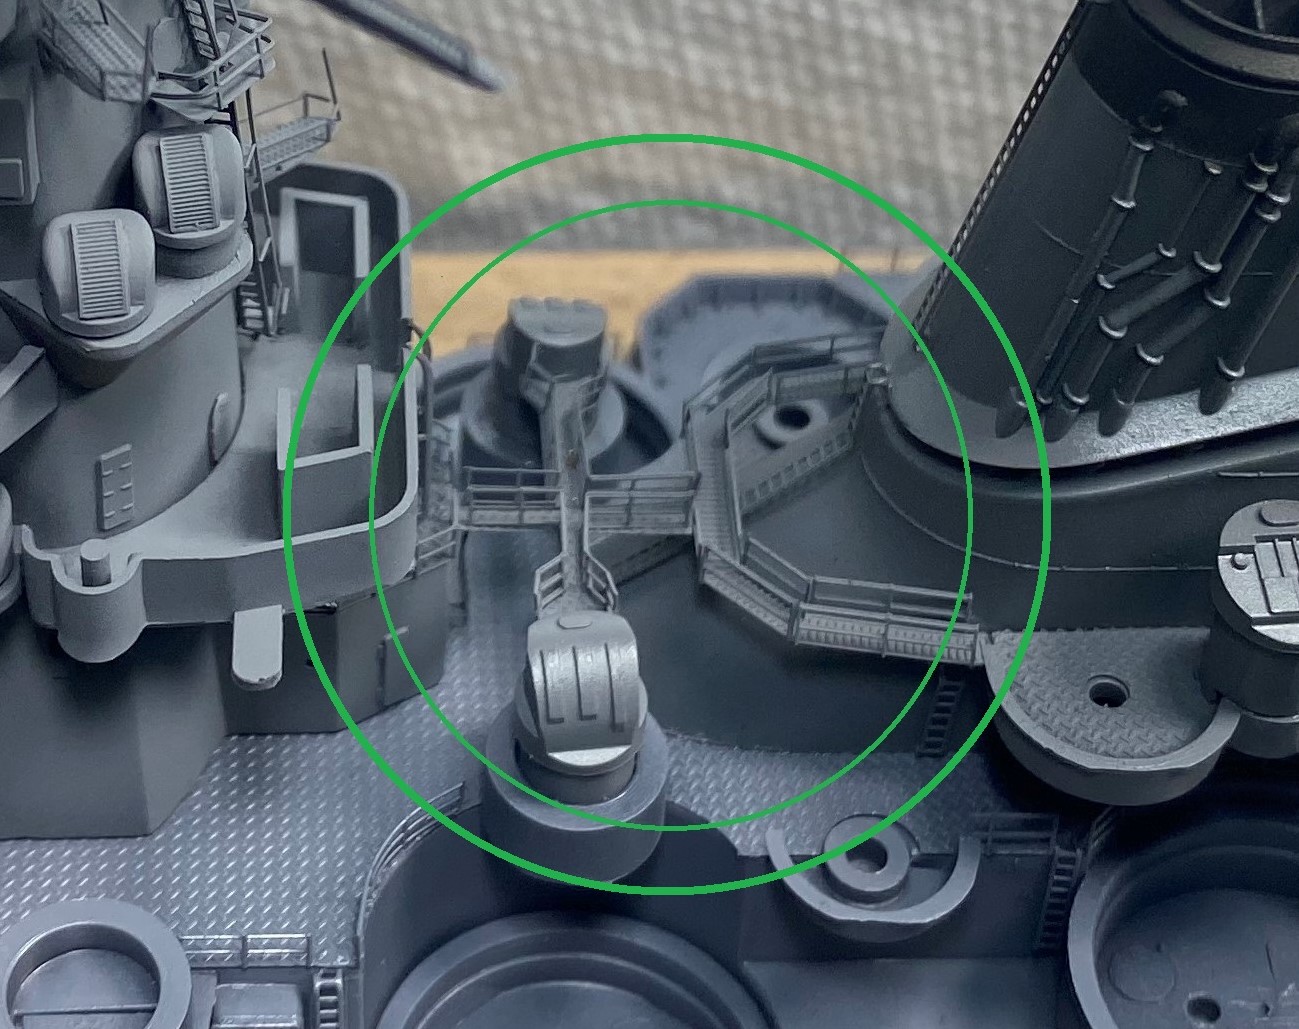
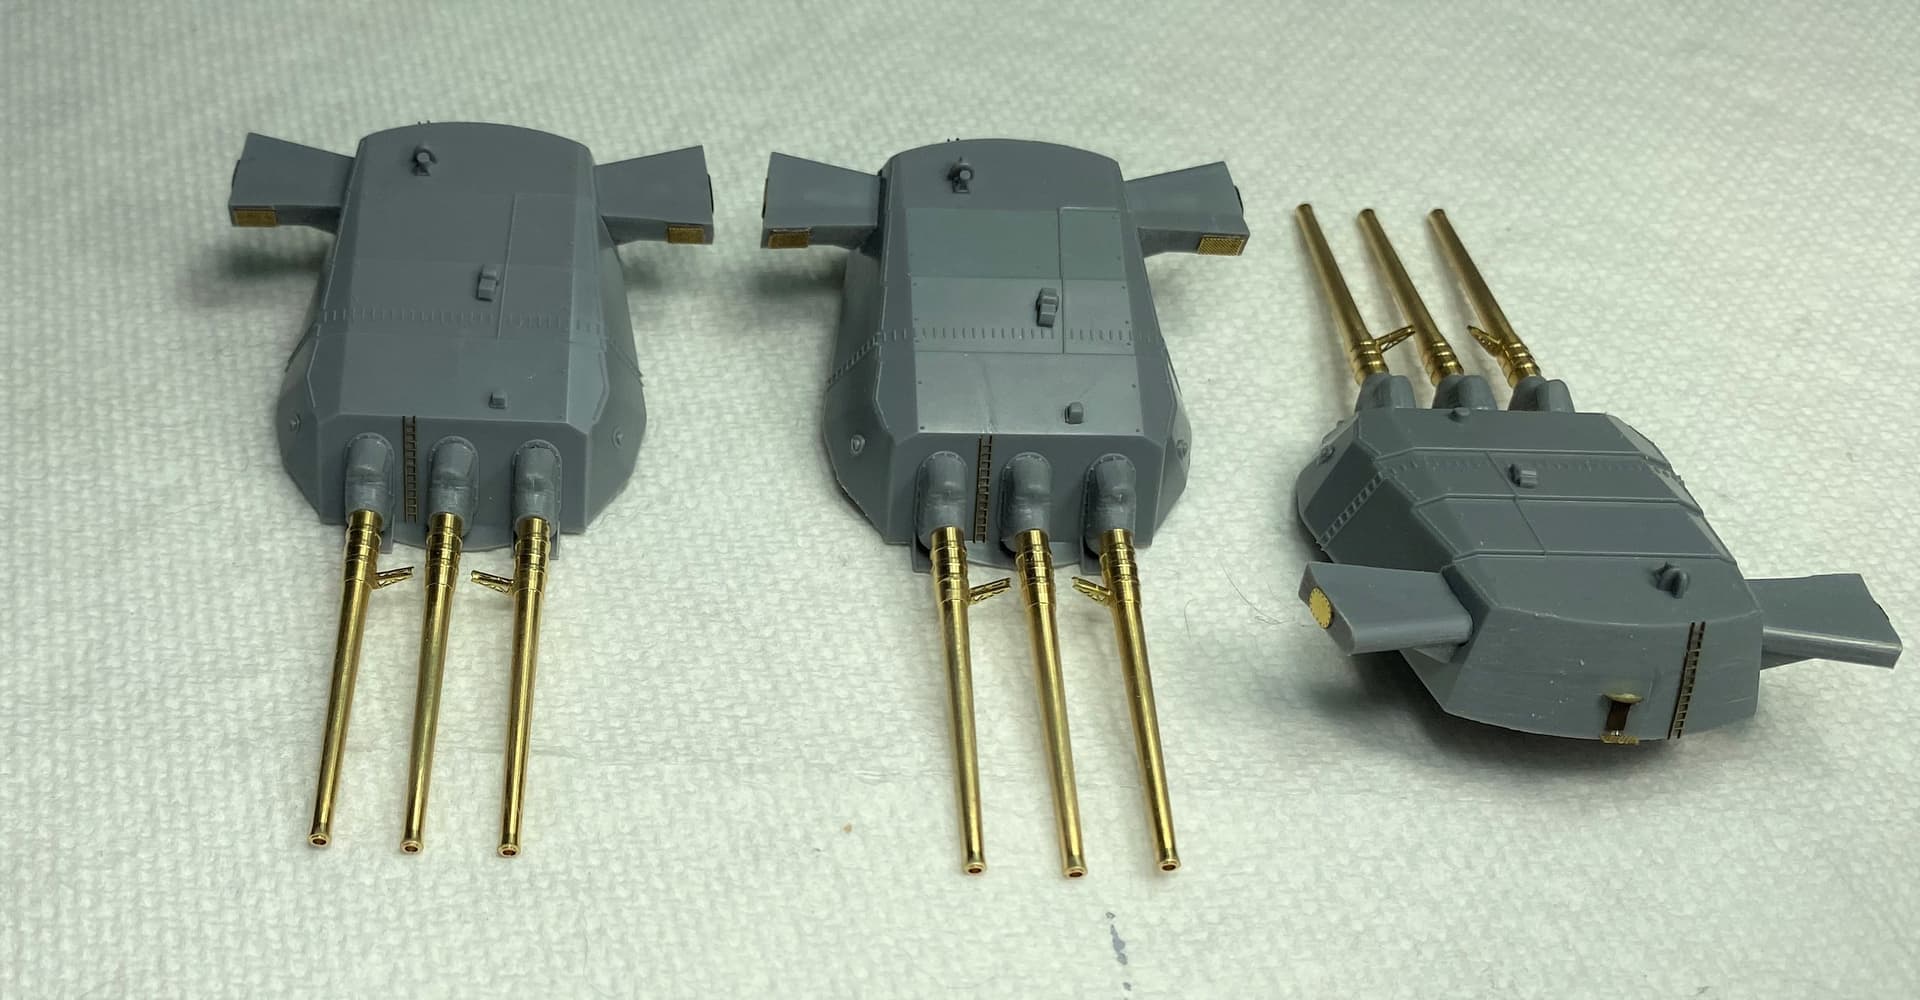
Will work on the 155mm turrets in the interim. Then onto the open mount triple 25mm’s which I have PE parts for. Not looking forward to that part. They look super finnicky.
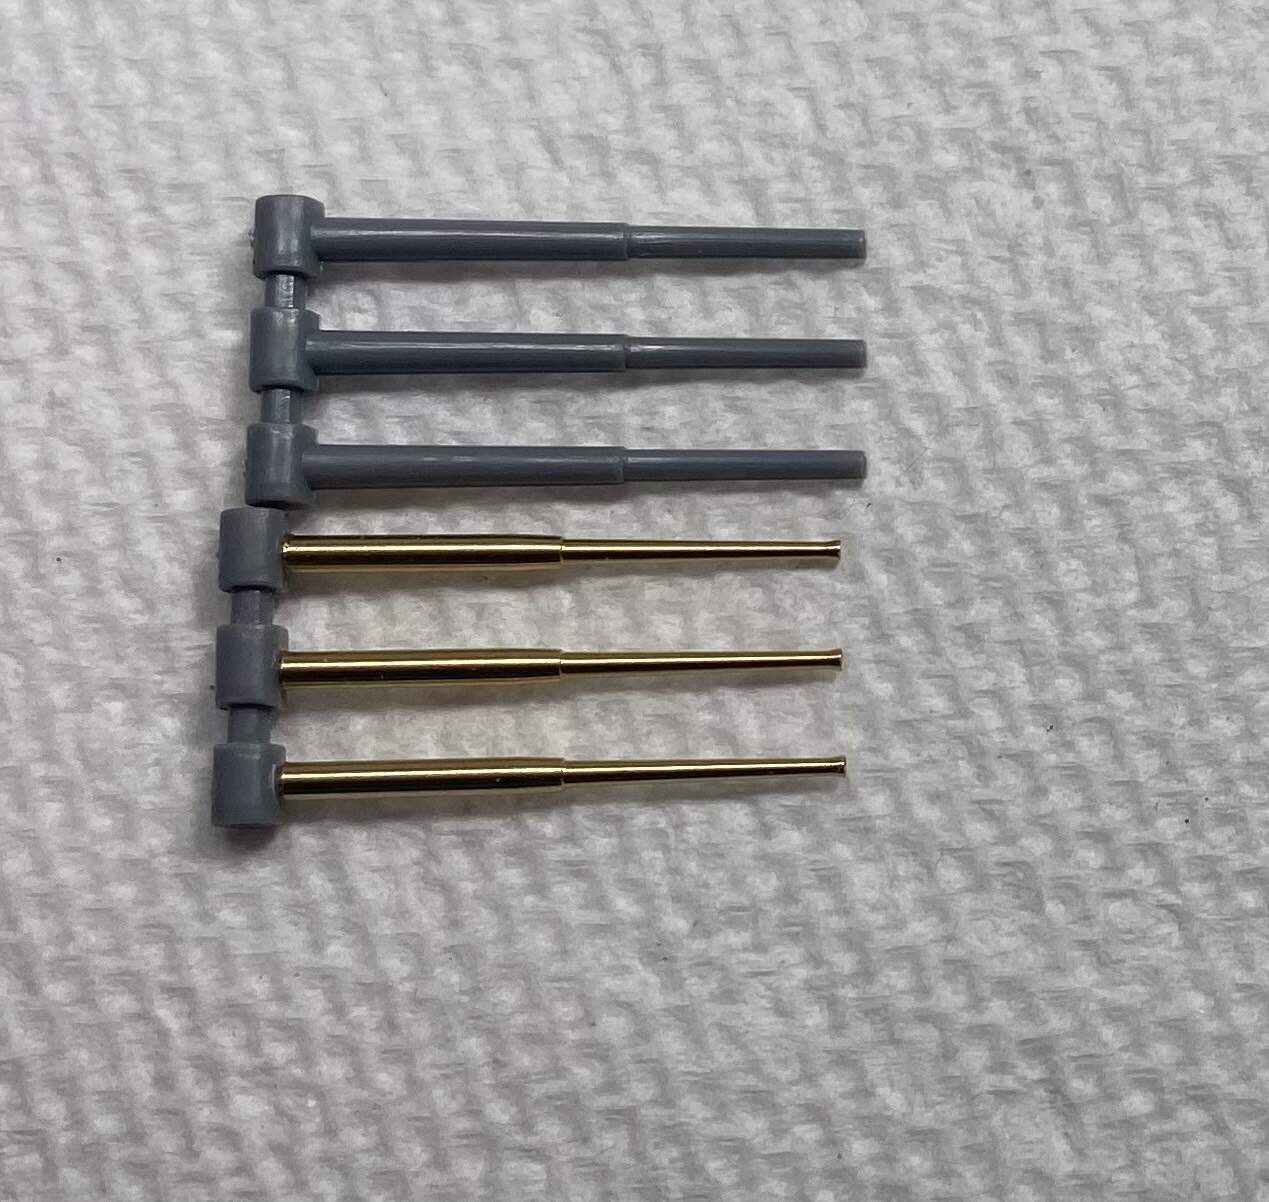
Work started on the 155mm guns. First thing to do was get rid of the plastic gun barrels. Pretty easy switch out in the end.
Comparison. I am not entirely convinced by the shape of the new ones (specifically the flare at the ends, I think they should have a smoother transition) but at the scale and price point, I can happily overlook any inaccuracies.
I agree with you, Rory, these replacement barrels aren’t perfect, but they are miles ahead of those plastic kit parts for sure. Keep it up, I’m really enjoying watching Musashi take shape!
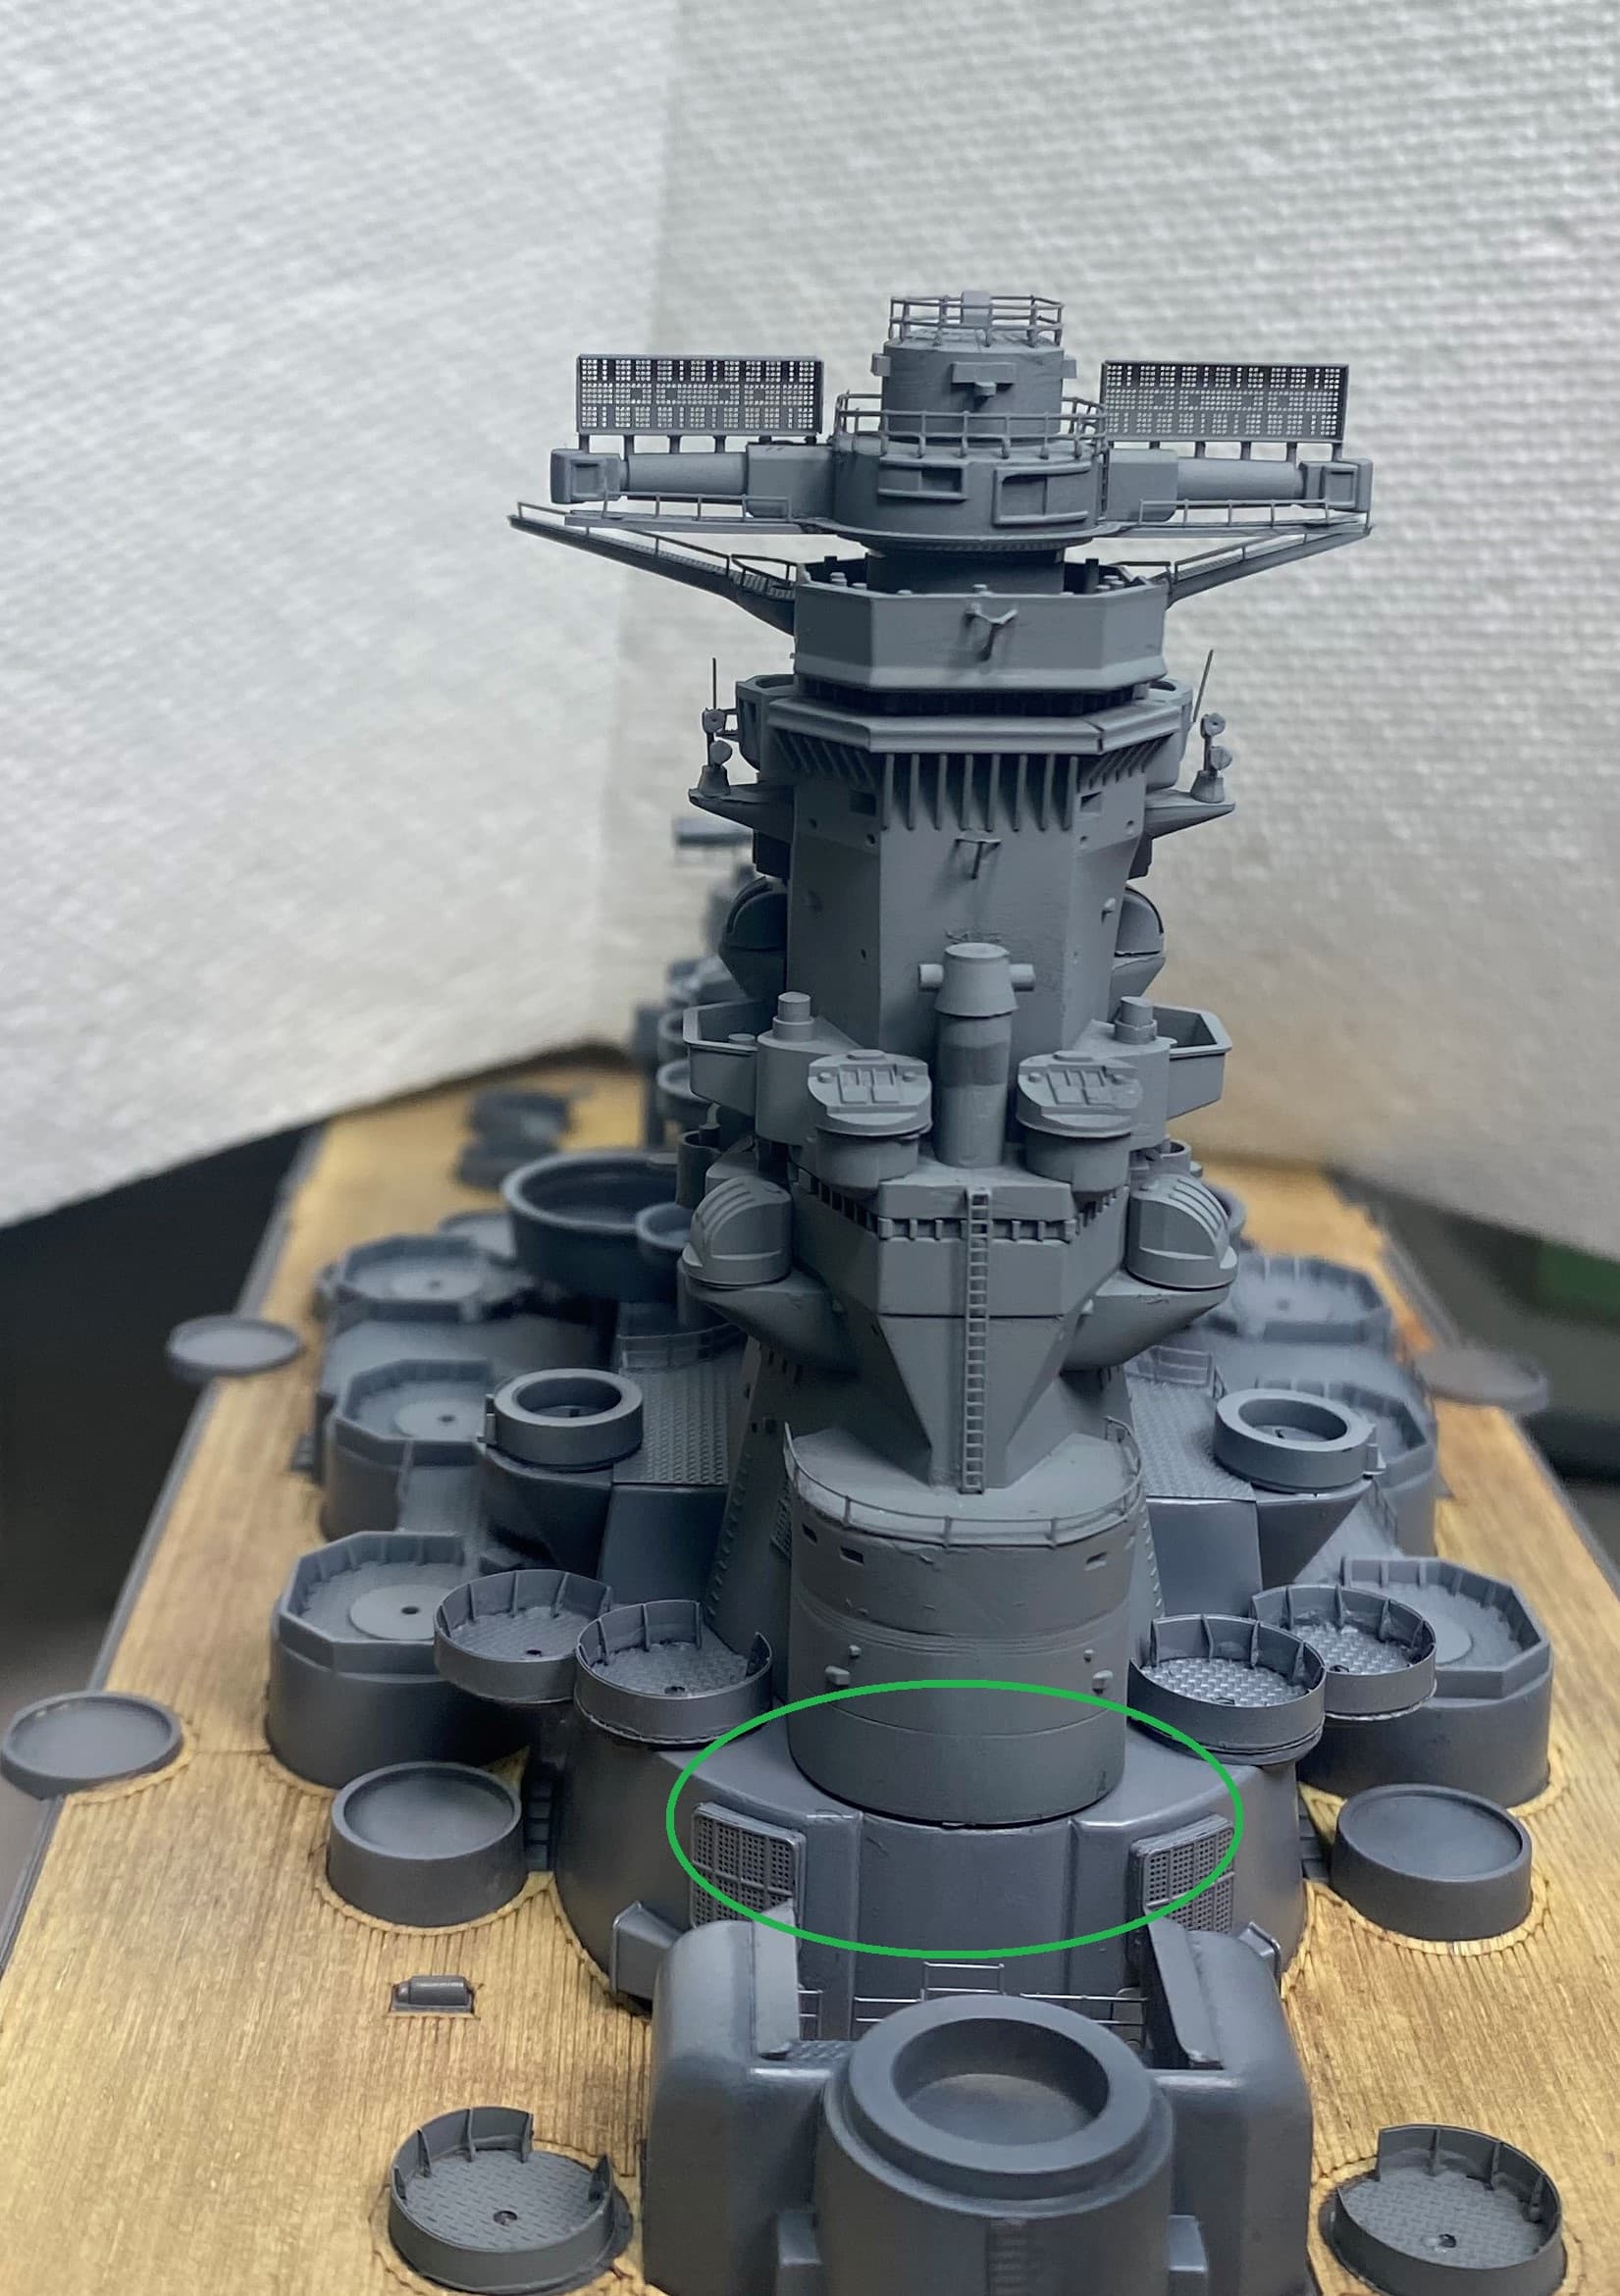
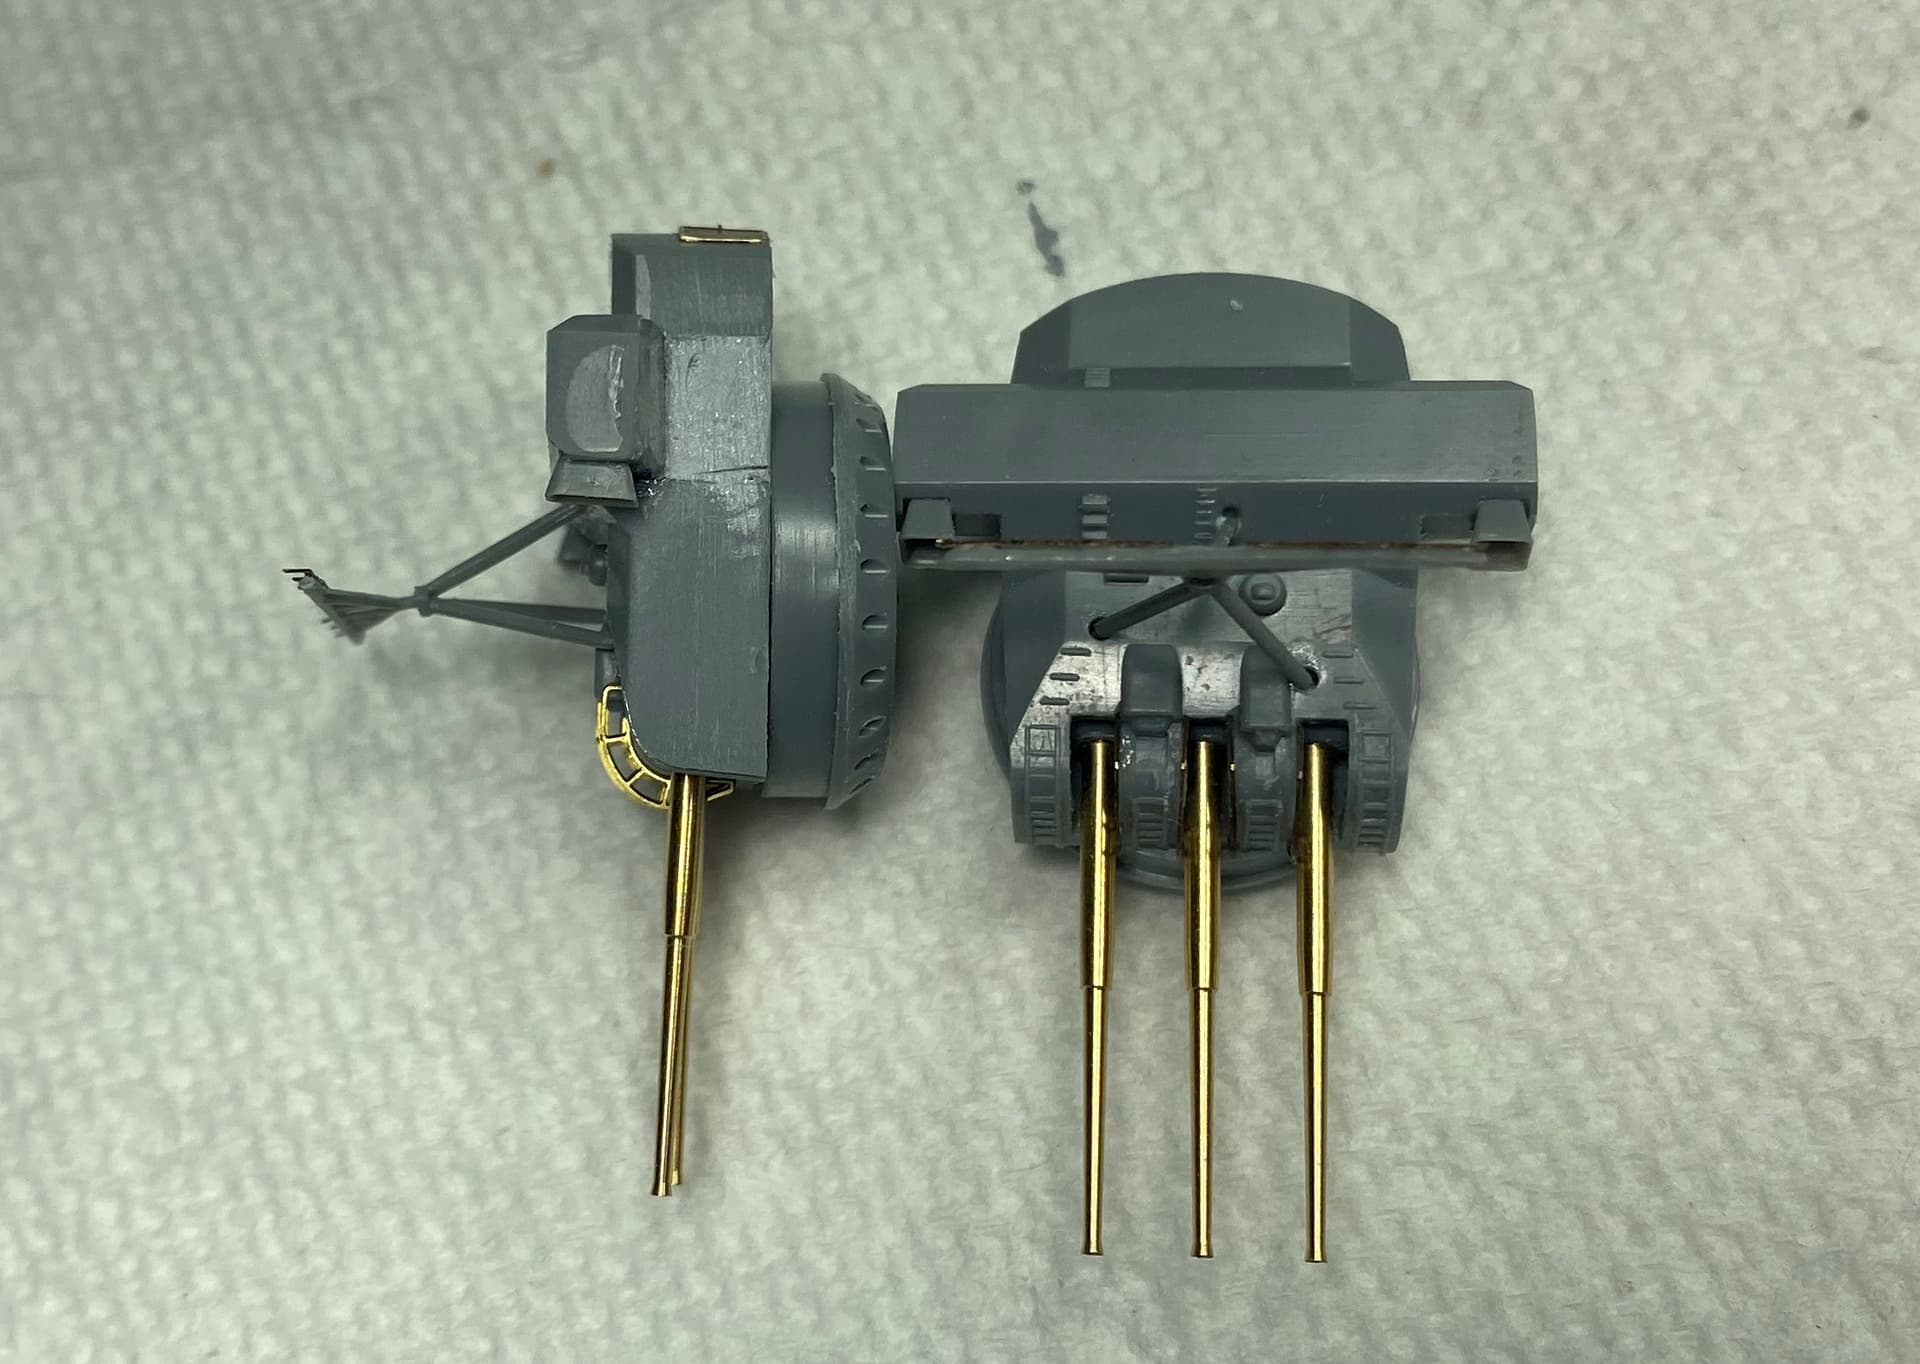
Decided to keep the kit part for the turret antenna holder mast thingies. The PE ones were very nice but super flimsy. Since I plan to rig the ship I need some robustness.
They should have platforms on either side of each barrel but I could not make the PE work. It was designed for a smooth barrel and mine have those ridges. Destroyed a few trying to get it right but ultimately just couldn’t. Oh well, I can live with it.
Next up I started on the 127mm mounts and those new barrels are some finicky buggers. Have to drill 0.3mm pilot holes and then use the 0.5mm bit. Still, they look really good. 2 down, 4 to go.
Need to do some pin washes to make some of the details pop and then I can start on some of the remaining detail, of which there is still a surprising amount to do.
She’s got her teeth now Rory and indeed, looks amazing!
It’s so true of WW2 battle wagons: every surface was filled with some kind of device; a world away from their WW1 predecessors with their clean lines and uncluttered decks
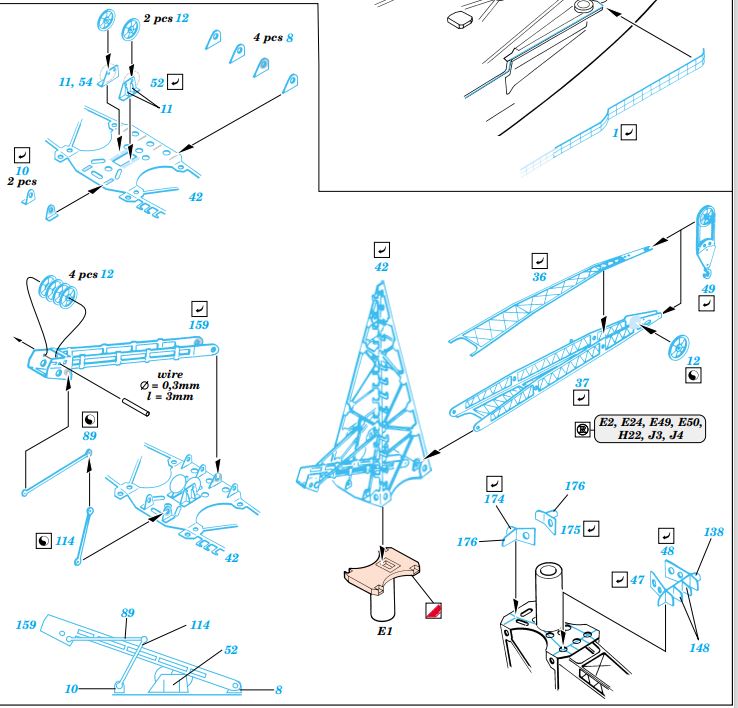
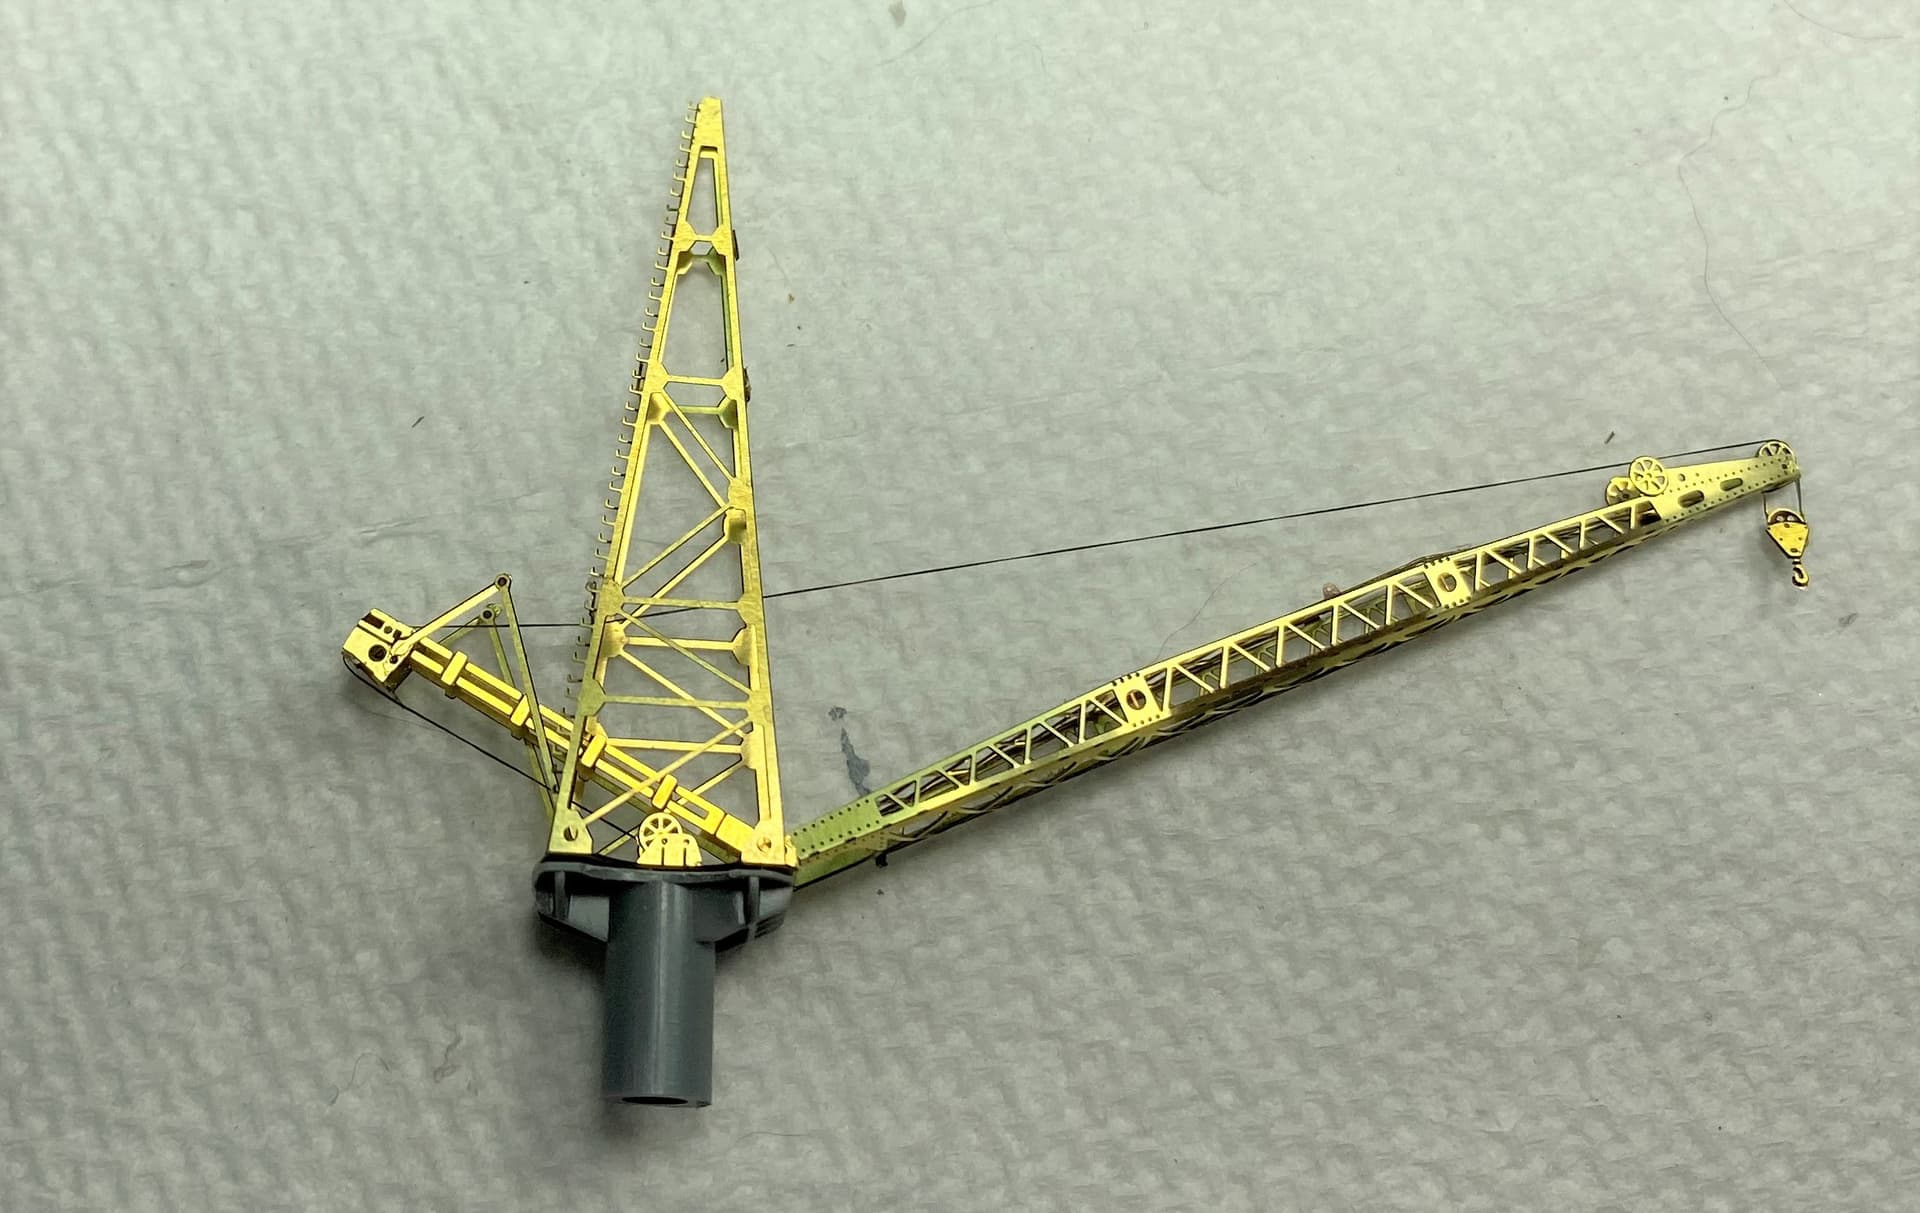
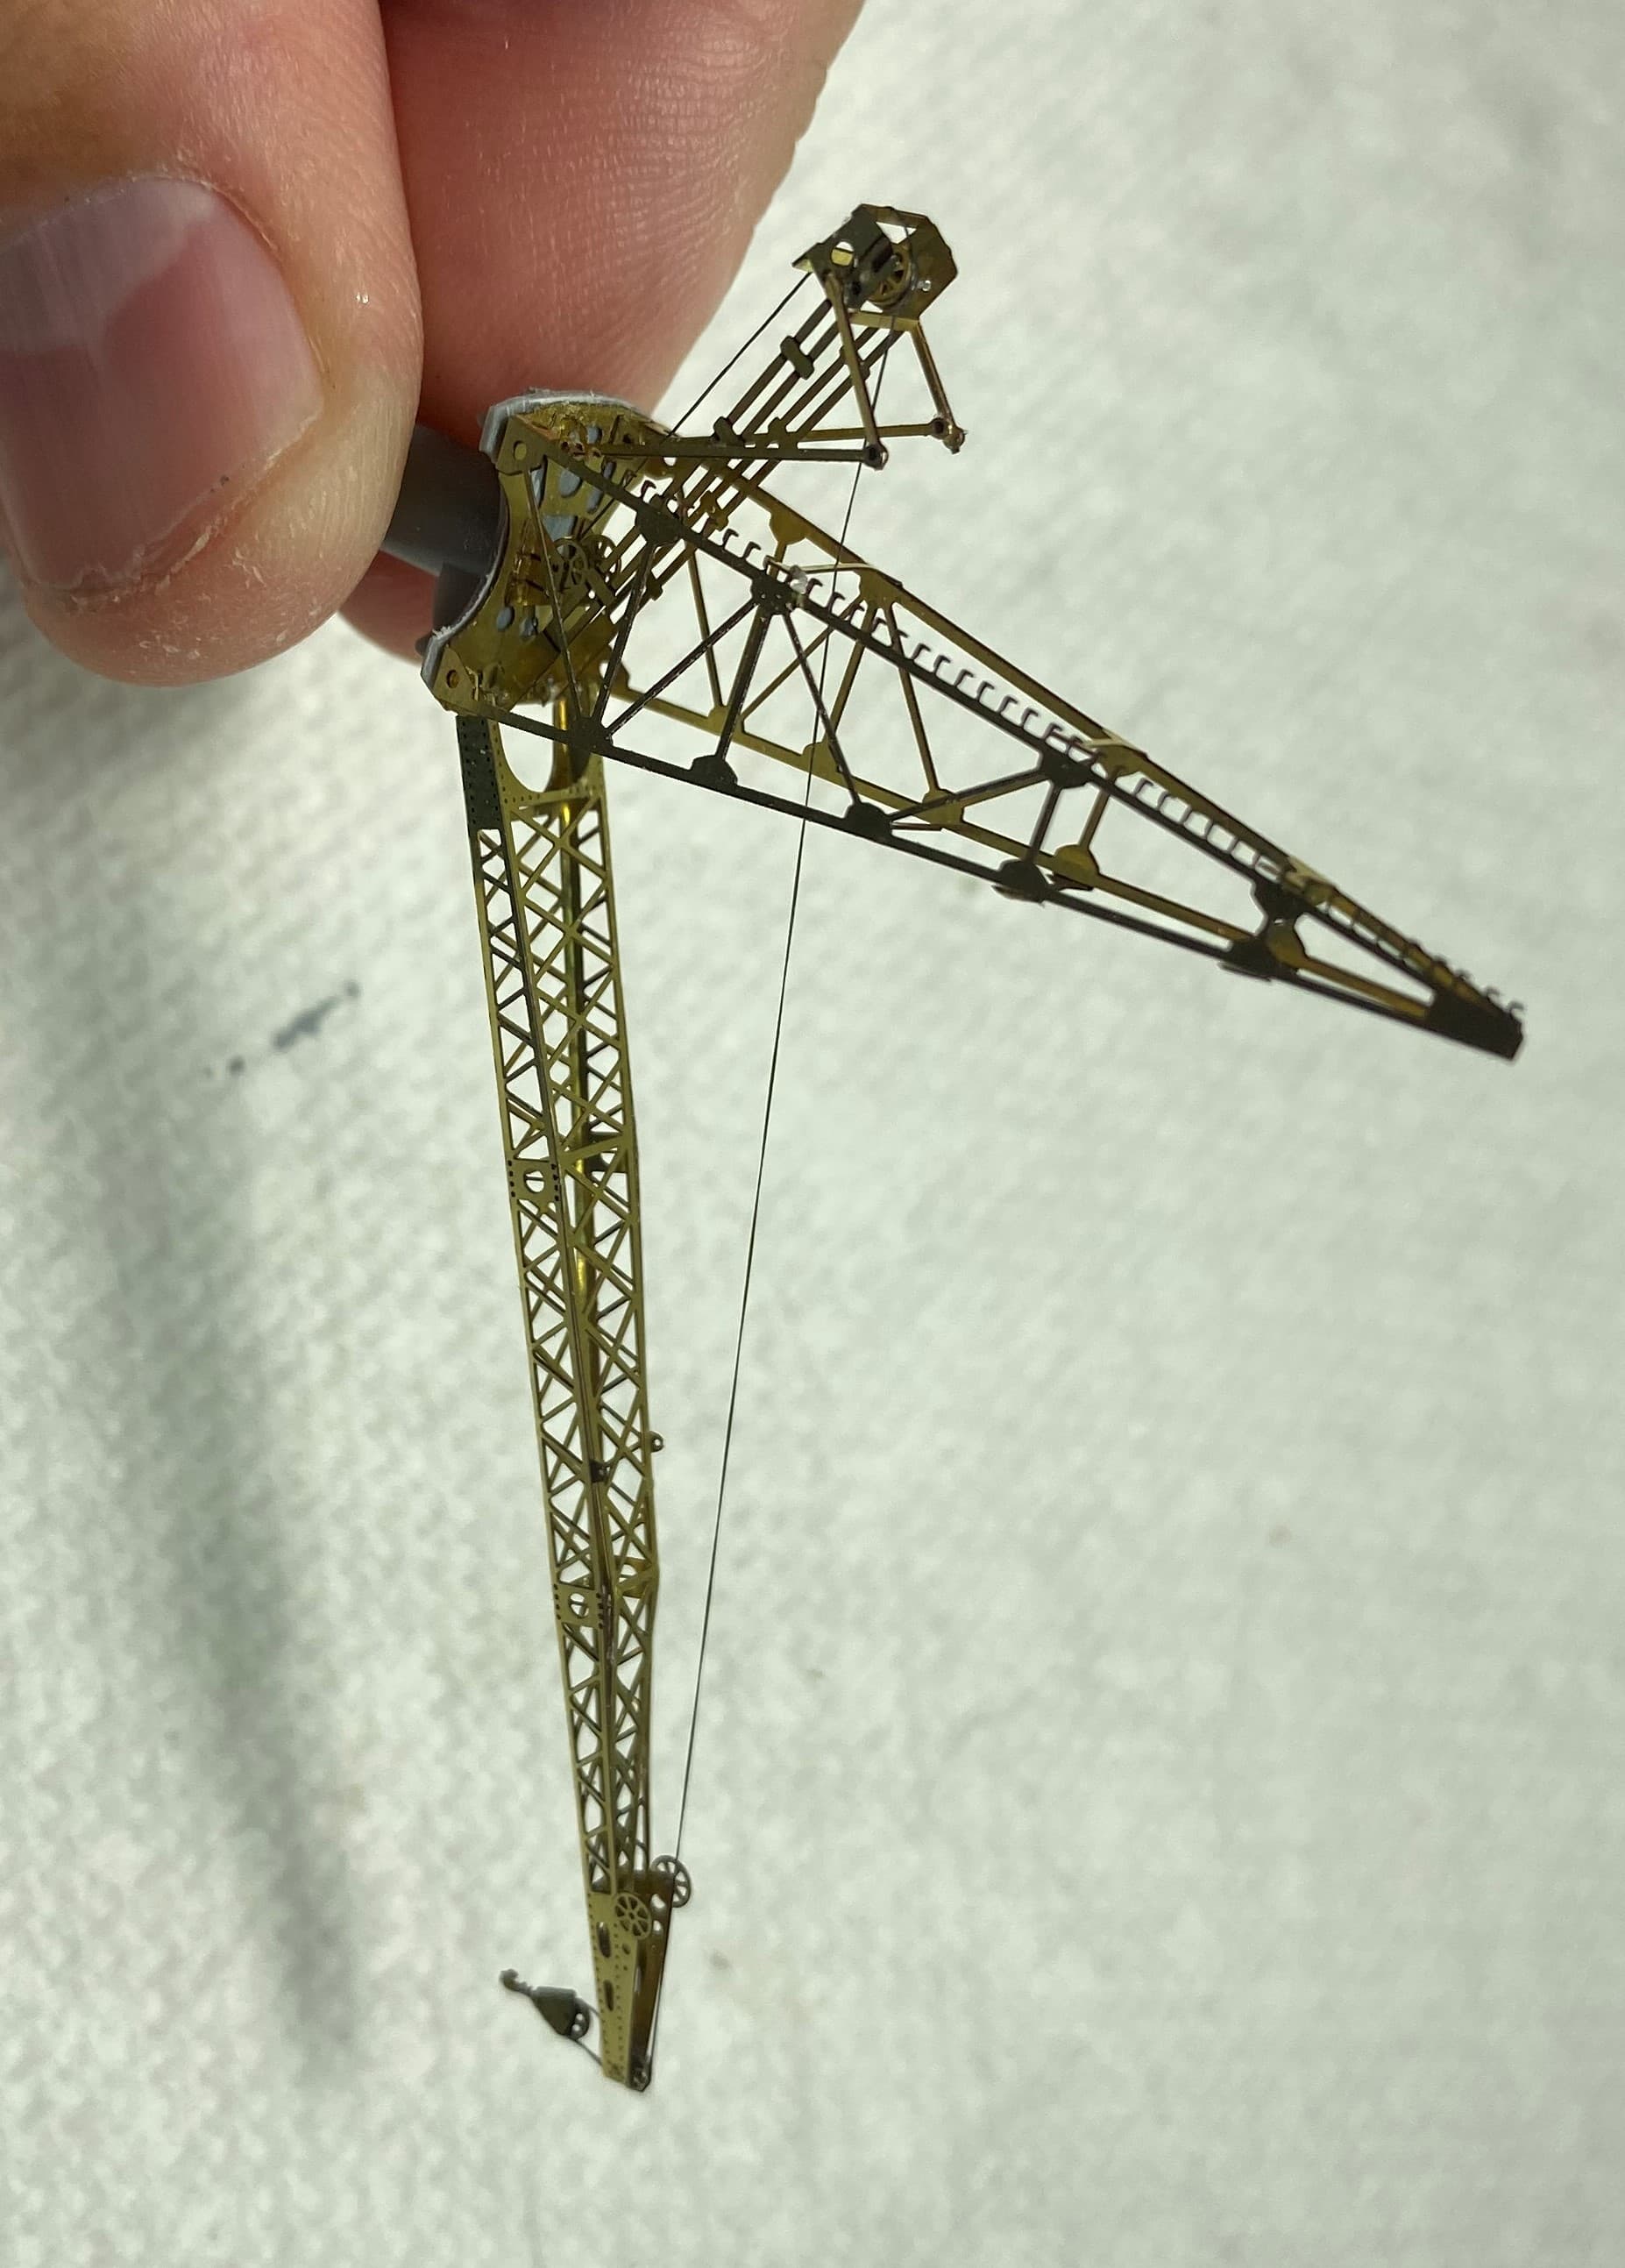
This thing took me hours. It’s one of those builds where you need 4 hands. Calls for 0.3mm wire for PE 12. Did not have that. Used stretched sprue so it was super fragile and didn’t come out right. (But good enough for me)
In the end I got it done though I did a few short cuts. I used the plastic bracing under the crane (PE parts 174 - 176 etc) just because I didn’t want to drop or damage anything and it will be barely visible. I also ran some cable. I know its not right (should be 2 strands and not 1) but its a good representation, plus, since PE 12 didn’t come out right, I didn’t have the right profile for 2 strands.
Still, with a lick of paint I believe it will be most presentable.