Hi M,
I am a lurking steampunk fan and I also want modelers to enjoy the hobby, so I vote “yes” to your rail model ideas. I do not see it as different than the “paper projects” and “Wehrmacht 1946” subjects elsewhere.
Hi M,
I am a lurking steampunk fan and I also want modelers to enjoy the hobby, so I vote “yes” to your rail model ideas. I do not see it as different than the “paper projects” and “Wehrmacht 1946” subjects elsewhere.
I am also a steampunk fan and so I would enjoy seeing what you build. There was a steampunk campaign a few years back that I took part in that was a lot of fun. Might have to try getting a second one going one of these days. 
Thanks again Tom for taking the time to answer my questions so promptly, much appreciated, 
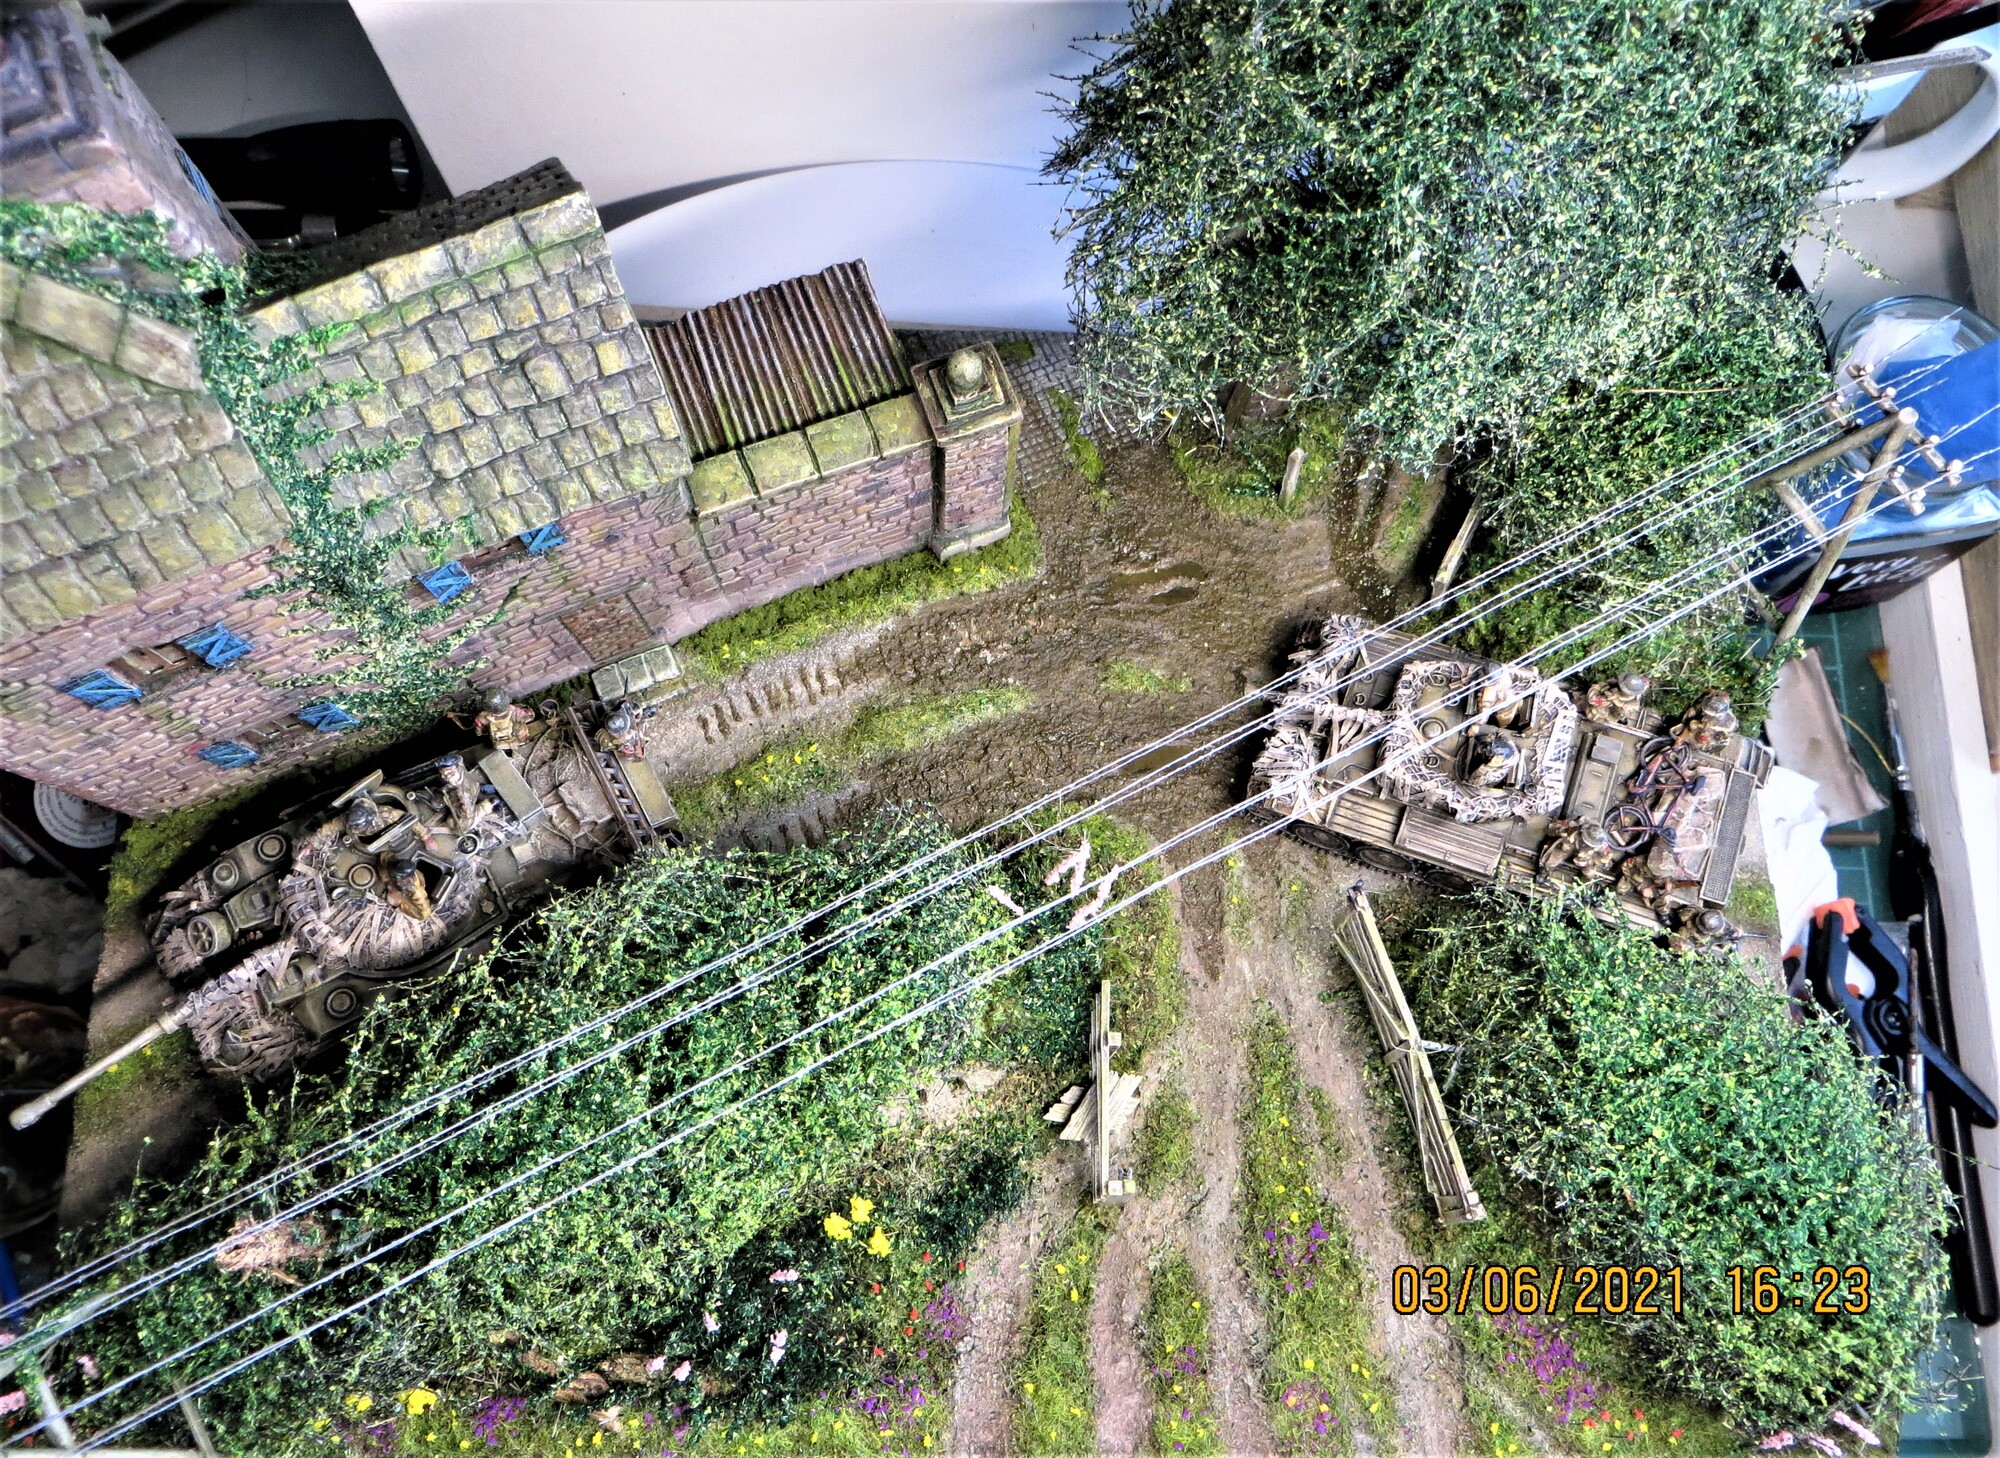
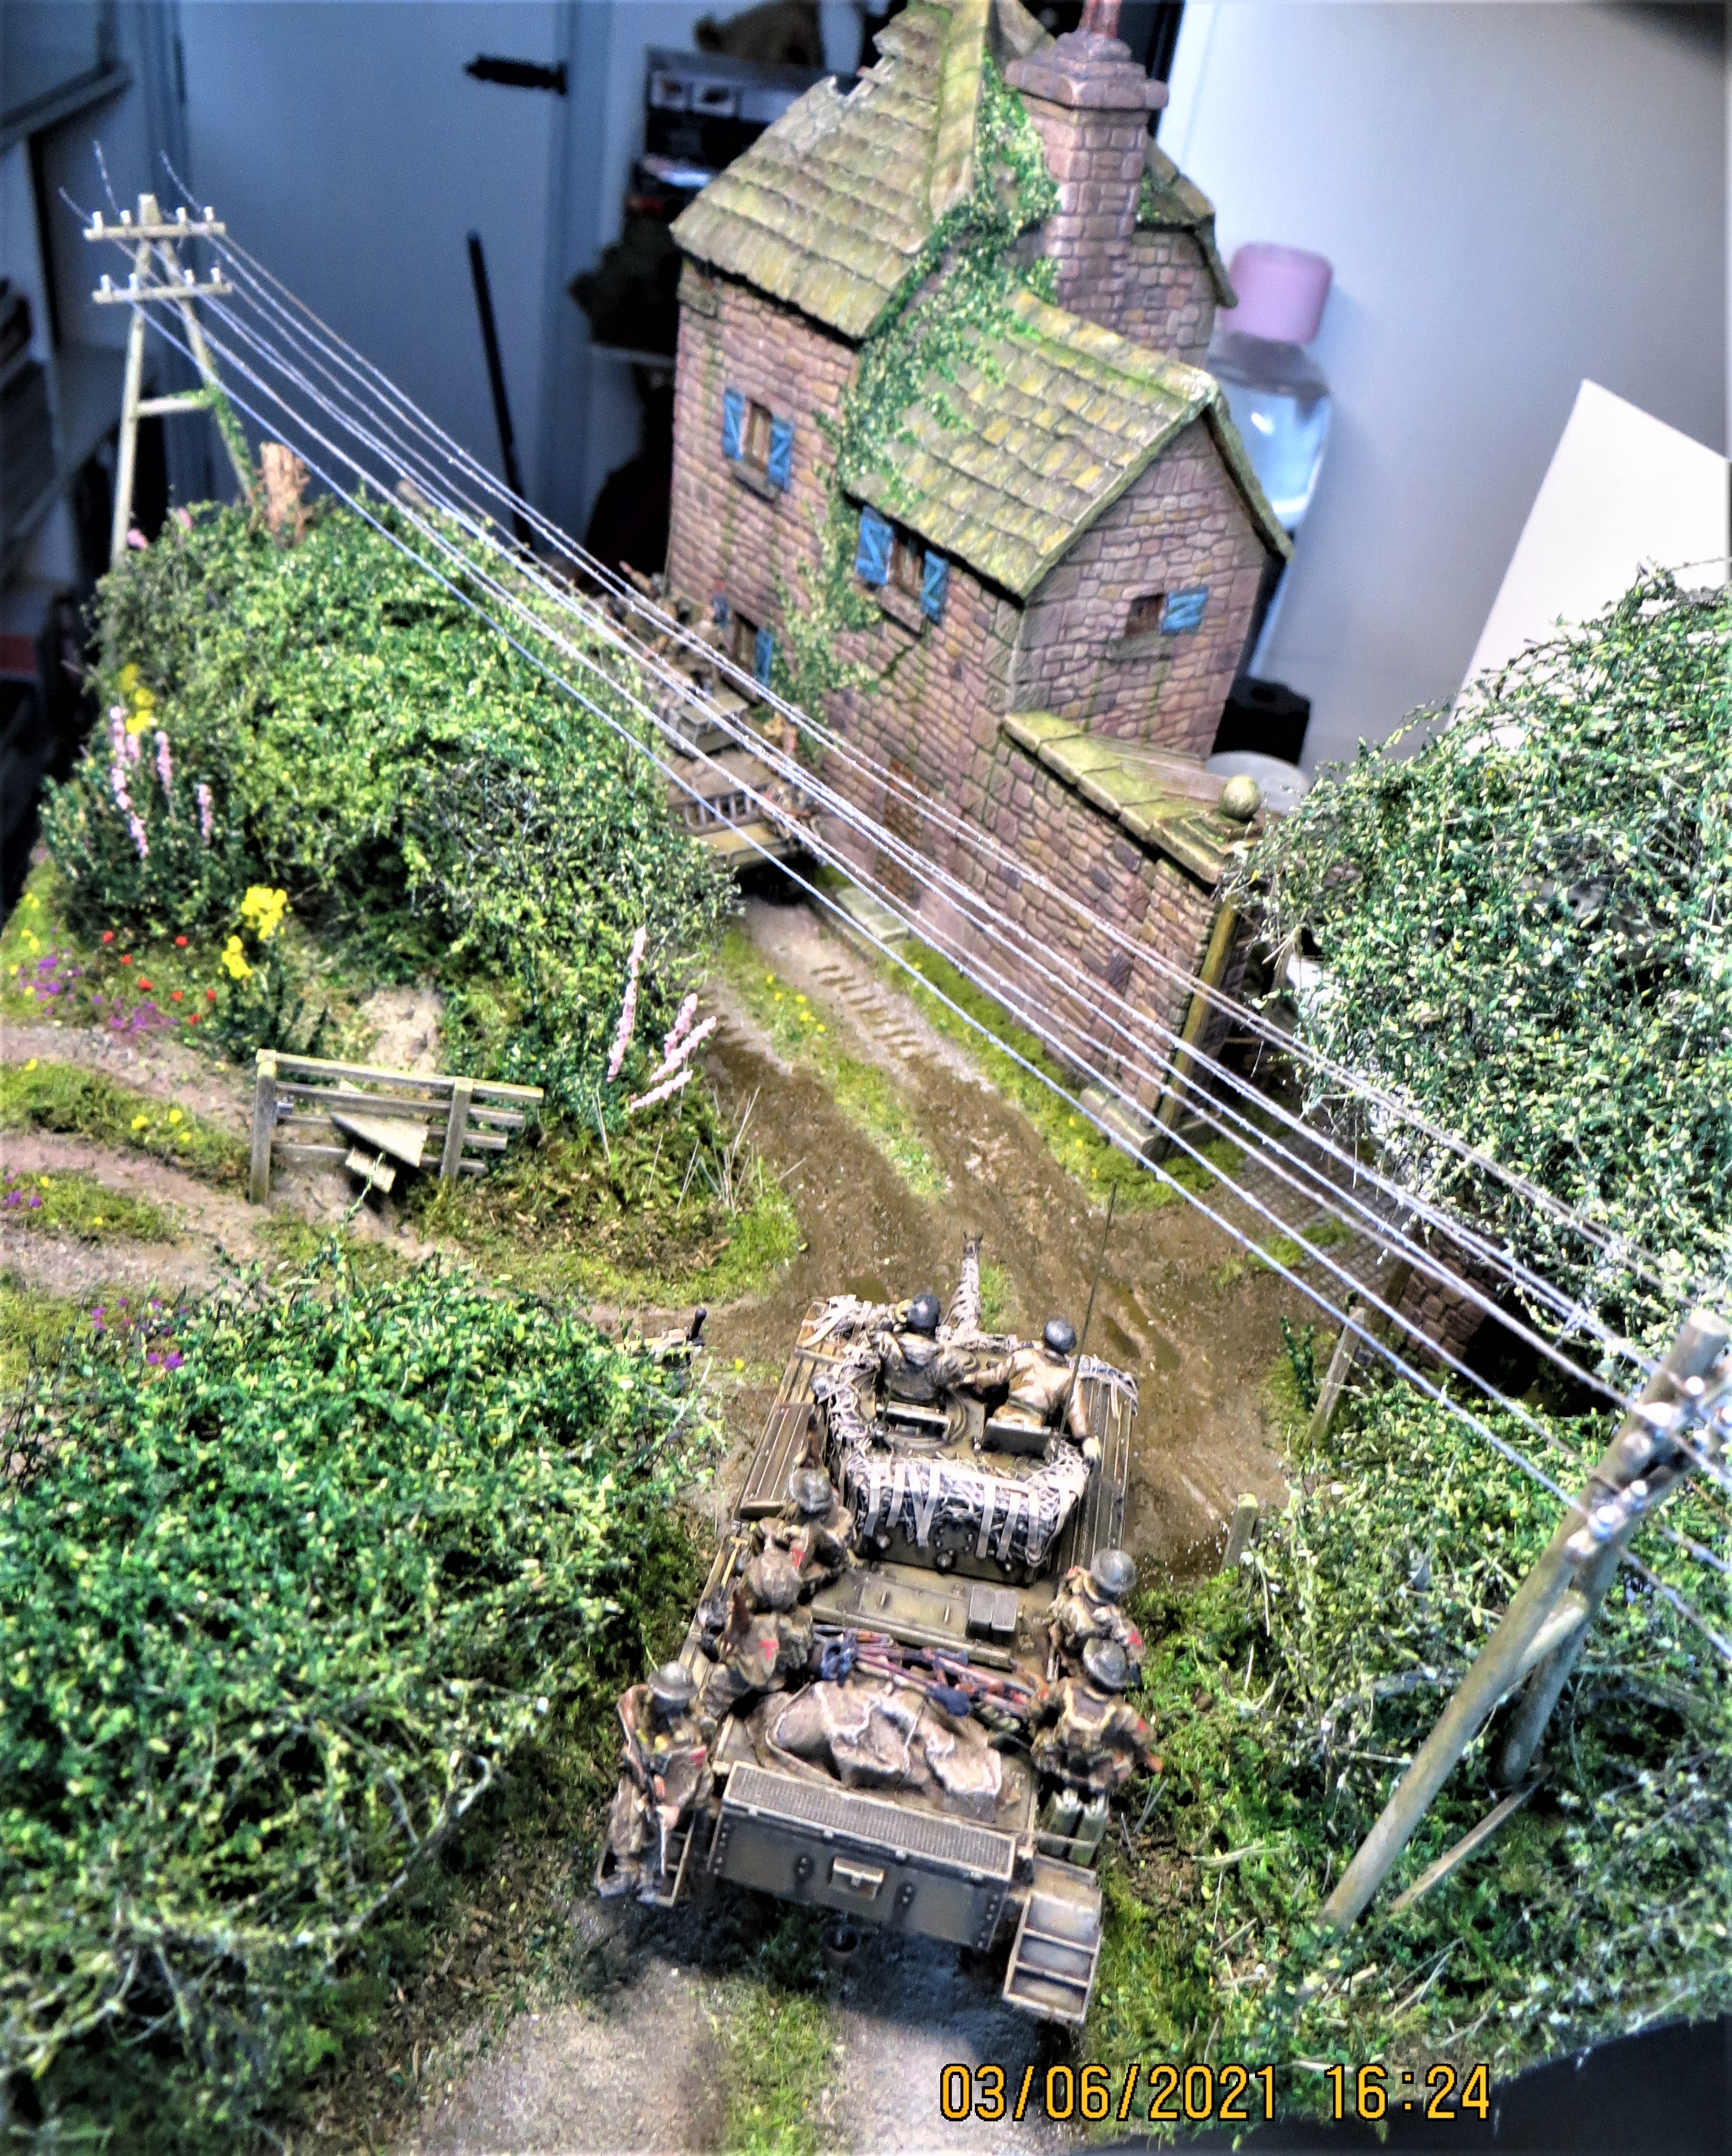
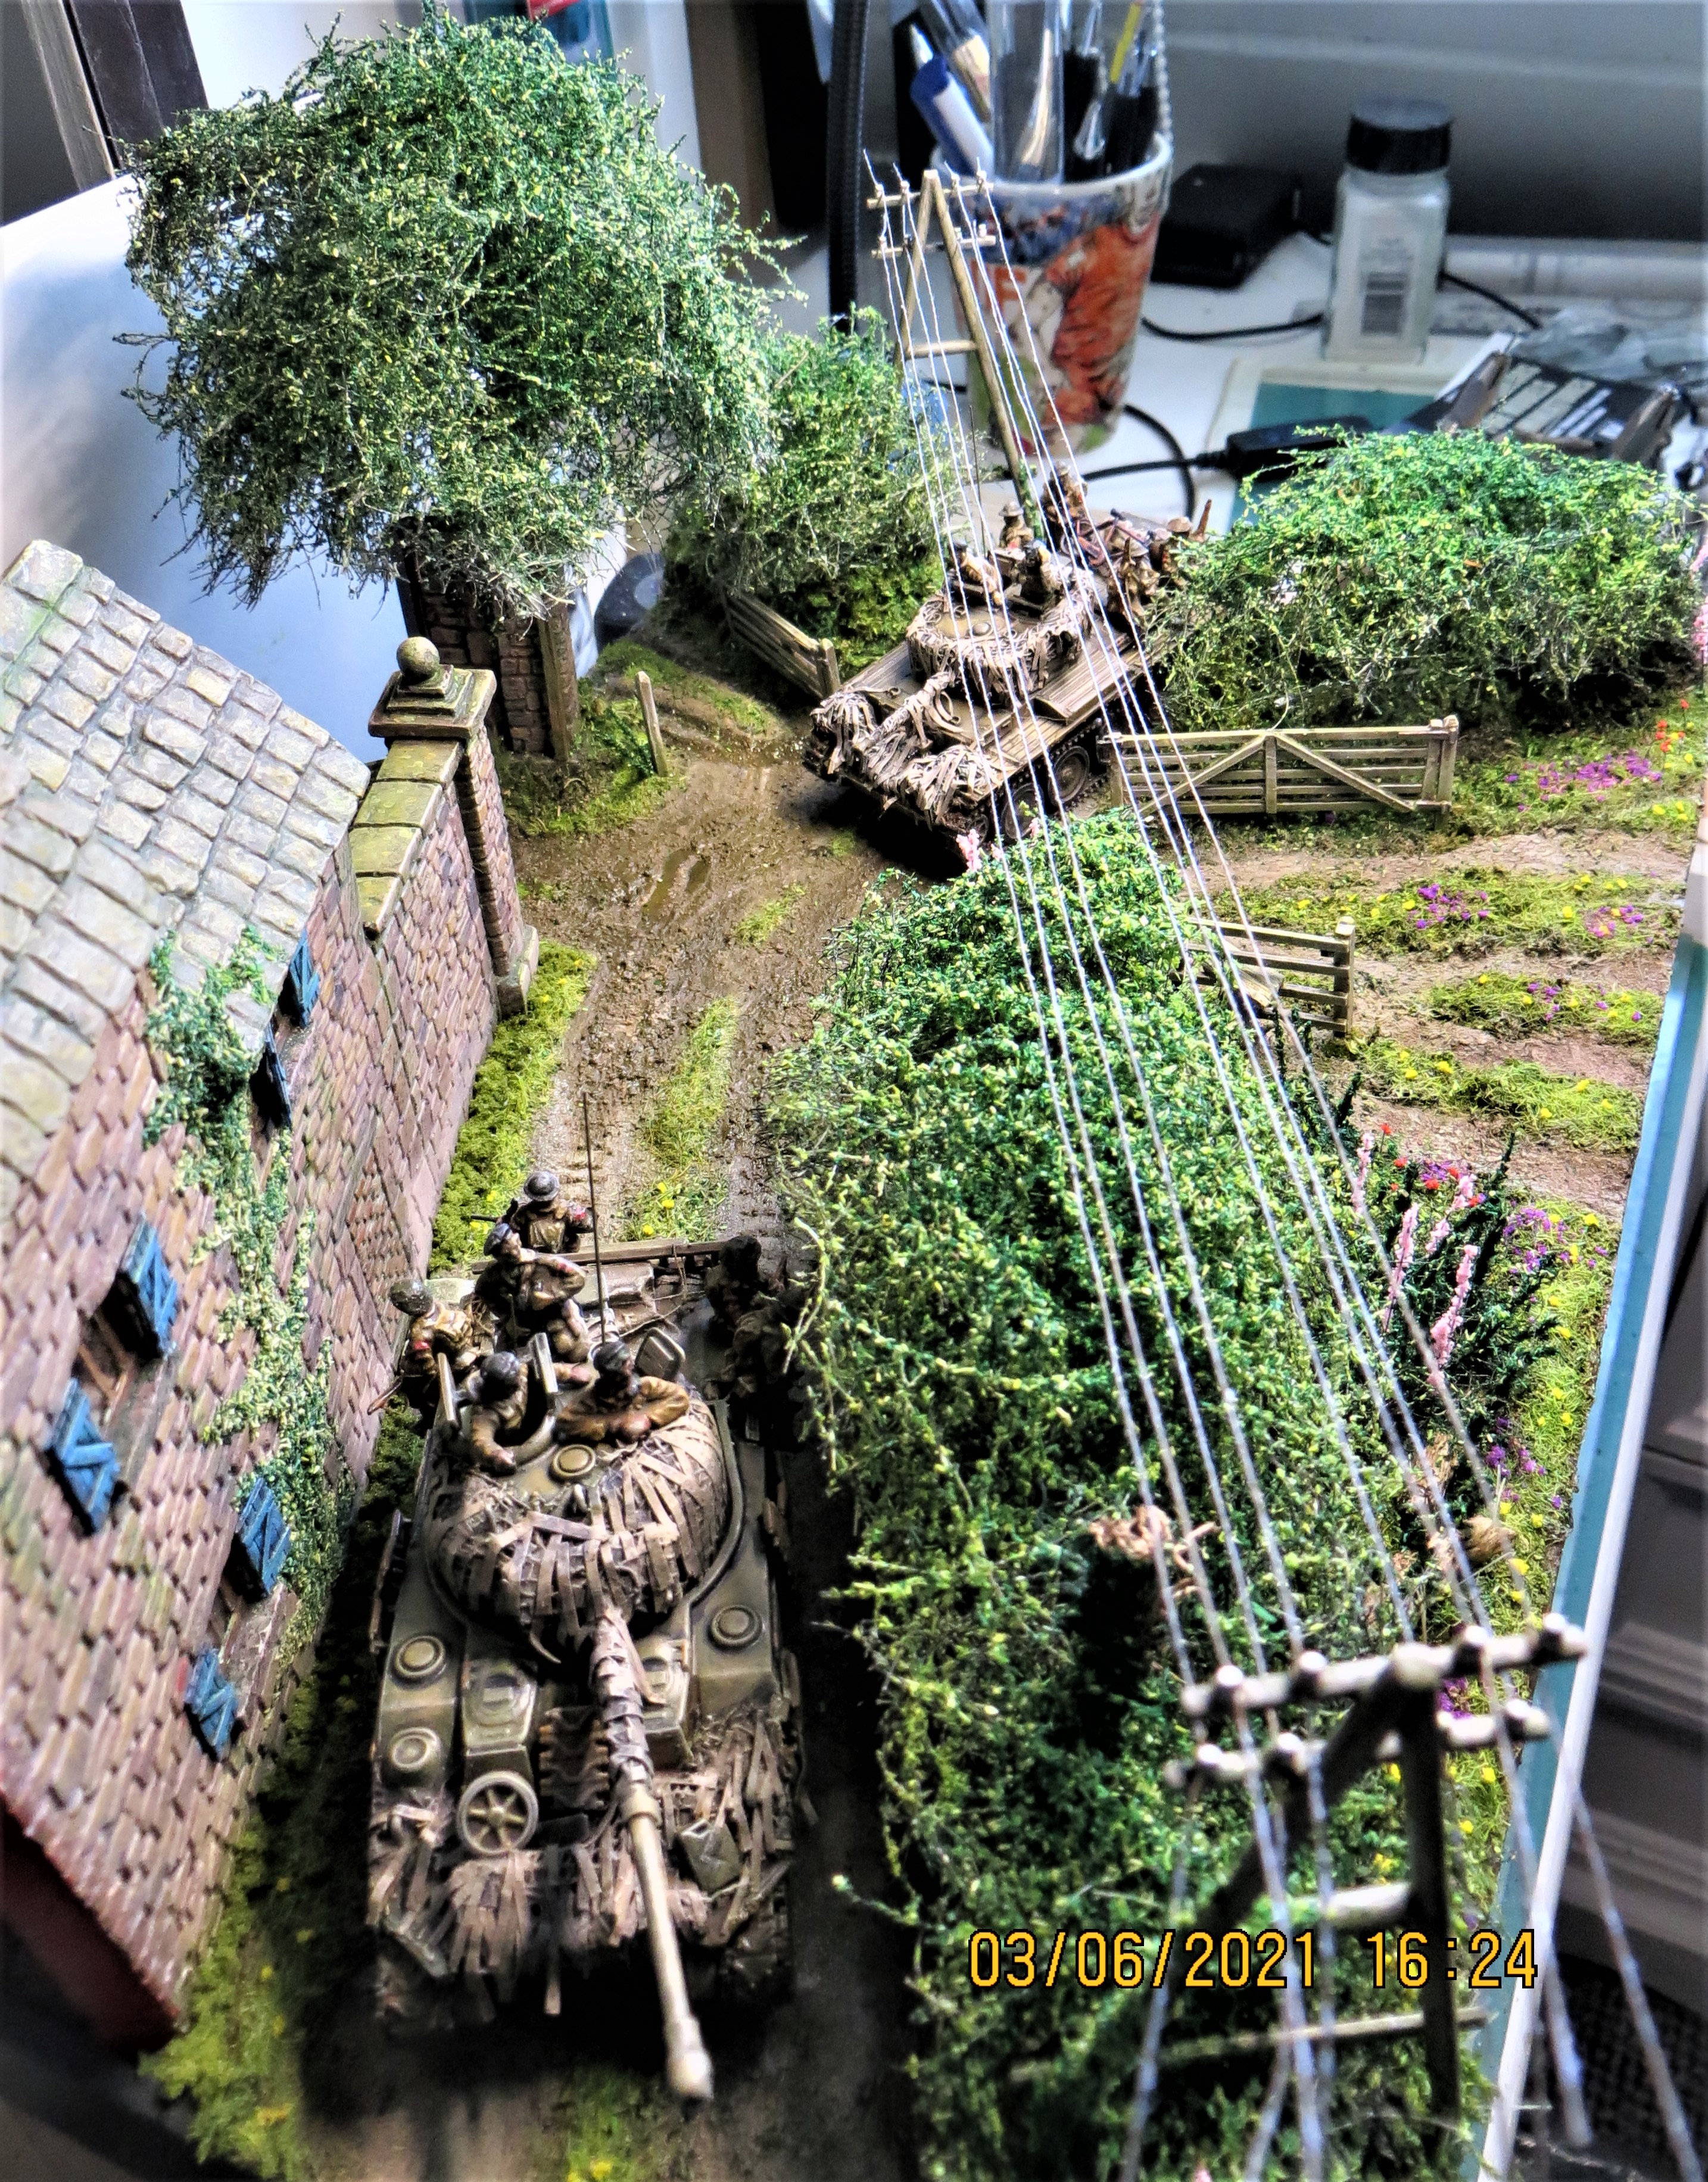
 , the photographs are very useful, especially numbers 3 and 4.
If I’m understanding your comments correctly would it be acceptable to show the pug shunting just a Brake Van, as I think they always look interesting bits of kit,  ? (Guards Van as I incorrectly called it…just shows my train knowledge,
 ).
).
Just called time on my first attempt at an A4 ‘Braille’ scale build, (images below for those interested), too many errors on the building, mainly related to windows and doors, apertures the wrong size, not enough forethought in what it would look like, especially the dimensional flaws on the floors,  , not enough scale clearance,
  .
.
Anyway, I’ll start the construction of the base over the next few days.
Cheers,  ,
,
G
p.s. Your suggestion and images of Steampunk/Dieselpunk was a nice share, .
Thanks for sharing the photos.
Brake Van, Guards Van, who cares? We know what we’re talking about!
I have a couple of reservations about just the Pug and a brake van, but I can’t be definitive. My impression is that at a small harbour space on the quays is at a premium, and train make-up and de-coupling would be done in a shunting yard adjacent to the port, with only small sections of a mainline train being taken onto the harbour itself at any one time, without the need for a brake van which would remain in the yard.
The other thing is if you are thinking of using the Dapol C038 Brake Van (from what I can find on the net) this is a post-war BR item. It was based on a pre-war model, but this was an LNER design and perhaps not appropriate for the south coast. However, during WW2 the major railway companies essentially operated as a single entity, and given the massive increase in freight traffic in the Southern region with shortages of rolling stock LNER vans may have been seen there.
By the way, Brake Vans may “look interesting bits of kit” but having sheltered from inclement weather in several on occasions I can assure you they are very basic items. This was in the period when their numbers were being reduced, so my impression of them being a third-world slum on wheels may not reflect their condition in their heyday.
Regards,
M
Thanks again Tom, a good point regarding the brake van, I’ll see what flat cars there are, and what loads.
I’m torn between doing something early war, maybe at the time of Dunkirk, with some ambulances collecting survivors from a ‘little ship’, in which case I might simply add a coal wagon to the pug, or…
A late war scenario with a tank on a flatbed and a troop truck…decisions, decisions.
Does anyone know whether there is any 00/H0 static track, i.e. plastic as opposed to proper metal and plastic, suitable for British scenarios, ? I know various manufacturers make such stuff for European situations, but I think rail shapes and the rail ties to the sleepers differ over here. Or is it easier to simply buy a single straight from the likes of Peco, ?
G
I do not know of any plastic OO track.
Thanks for the feedback Fred, think it’ll be the cheapest bit of suitable model railway track I can pick up, especially as my aim is to set it in to the stonework so that the sleepers will be invisible.
G
Hi all,
Spent a few hours this morning starting to rough out the shape of the A4 base.
Original rough sketch:
Roughed out base:
If anyone has any good images of the sort of stonework, walls and cobbled surfaces that they can share I’d be very grateful, .
Cheers, ,
G
I’m in the midst of painting subcomponents on the Gondola, nothing interesting for show and tell, so I stopped and assembled the track section that comes with the kit.
OK, I guess that’s not that exciting either…
Their track goes together very well. I had assembled some before from their dead end track section. The only nitpick I have is that the bolt section that goes on the inside of the track, holding the track to the ties, is a separate part. So you have to clean and glue 20 of those on for each subsection of track a total of 40 for what’s in this pic. The sprue attachment is on the visible side which means you have to clean it carefully, which leads to parts zinging around the work area. I lost two and had to fabricate new ones. Having said all that, I’m very pleased with this part of the kit.
Now, a question about tracks, sidings, and dead-ends. I guess I’m under the impression that the dead-end bumpers would really only show-up in rail yards? Is that the case?
I have a vision of this gondola, and maybe a few other cars, sitting alone on a rural siding, perhaps next to the main track, perhaps with some facilities (a watering tower maybe), but have no idea whether any of that makes sense. I really know nothing about rail operations, much less rail operations in central or eastern europe.
One more question. If I do two side-by-side rails in 1/35, how far apart should they be?
I did the math on HO recommendations which seems to be 2" center-to-center and I think that works out to 5" in 1/35? 2*87/35 is just shy of 5. Does that seem right?
Hi Phil, 5" between track centres at 1:35 is equal to 15 feet in 1:1. That allows for 2* half the loading gauge of 10ft for US and many European railways, plus a gap of 5 ft between trains for crew walking the ground when carrying out checks or maintenance - that seems pretty realistic. Bear in mind the loading gauge widens on curves since the ends of the carriages will swing out more. And standards are the minimum permitted - there’s always scope for wider if the space allows!
As for buffers at ends of sidings, it really depends on the railway, the track, and of course cash. If the track had a slight downhill grade it might need a big solid buffer block to ensure no runaway could squeeze past. But other tracks might make do with crossed wooden sleepers to stop the wheels, or special metal chocks bolted onto the rails. Ironically yard tracks were often double-ended so did not need any buffers…
Thanks very much for this info.
On the dead-end, I think I actually needed to ask a different question. Thanks for the info about the dead-end buffer as it is very useful. But I’m wondering about the siding itself. Would it be likely to have a dead-end siding alongside a main track, or would the siding be brought back into the main track? Typically?
This stuff appears to have accessory track parts in the right size:
Regards,
M
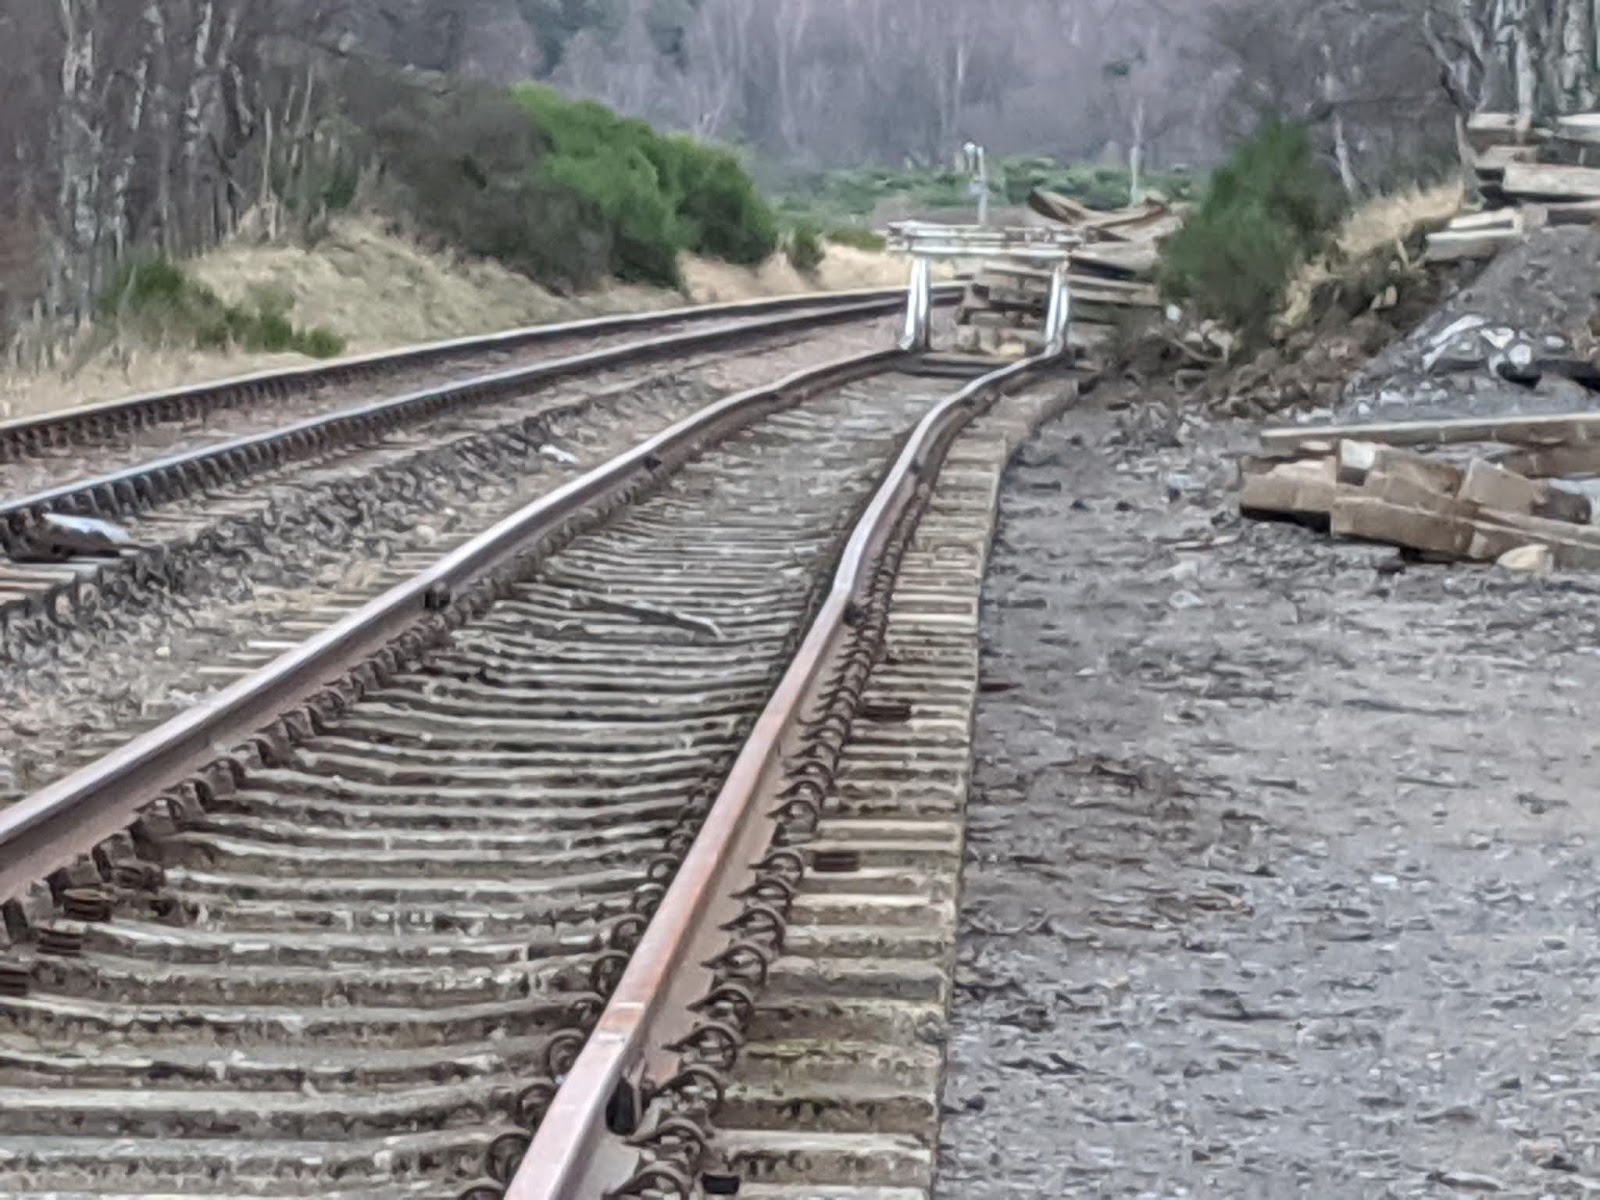
Hi Phil,
Not sure if this helps, and I am not a railway expert, nor even a novice, , but does the picture below fit what you’re describing, .
Cheers, ,
G
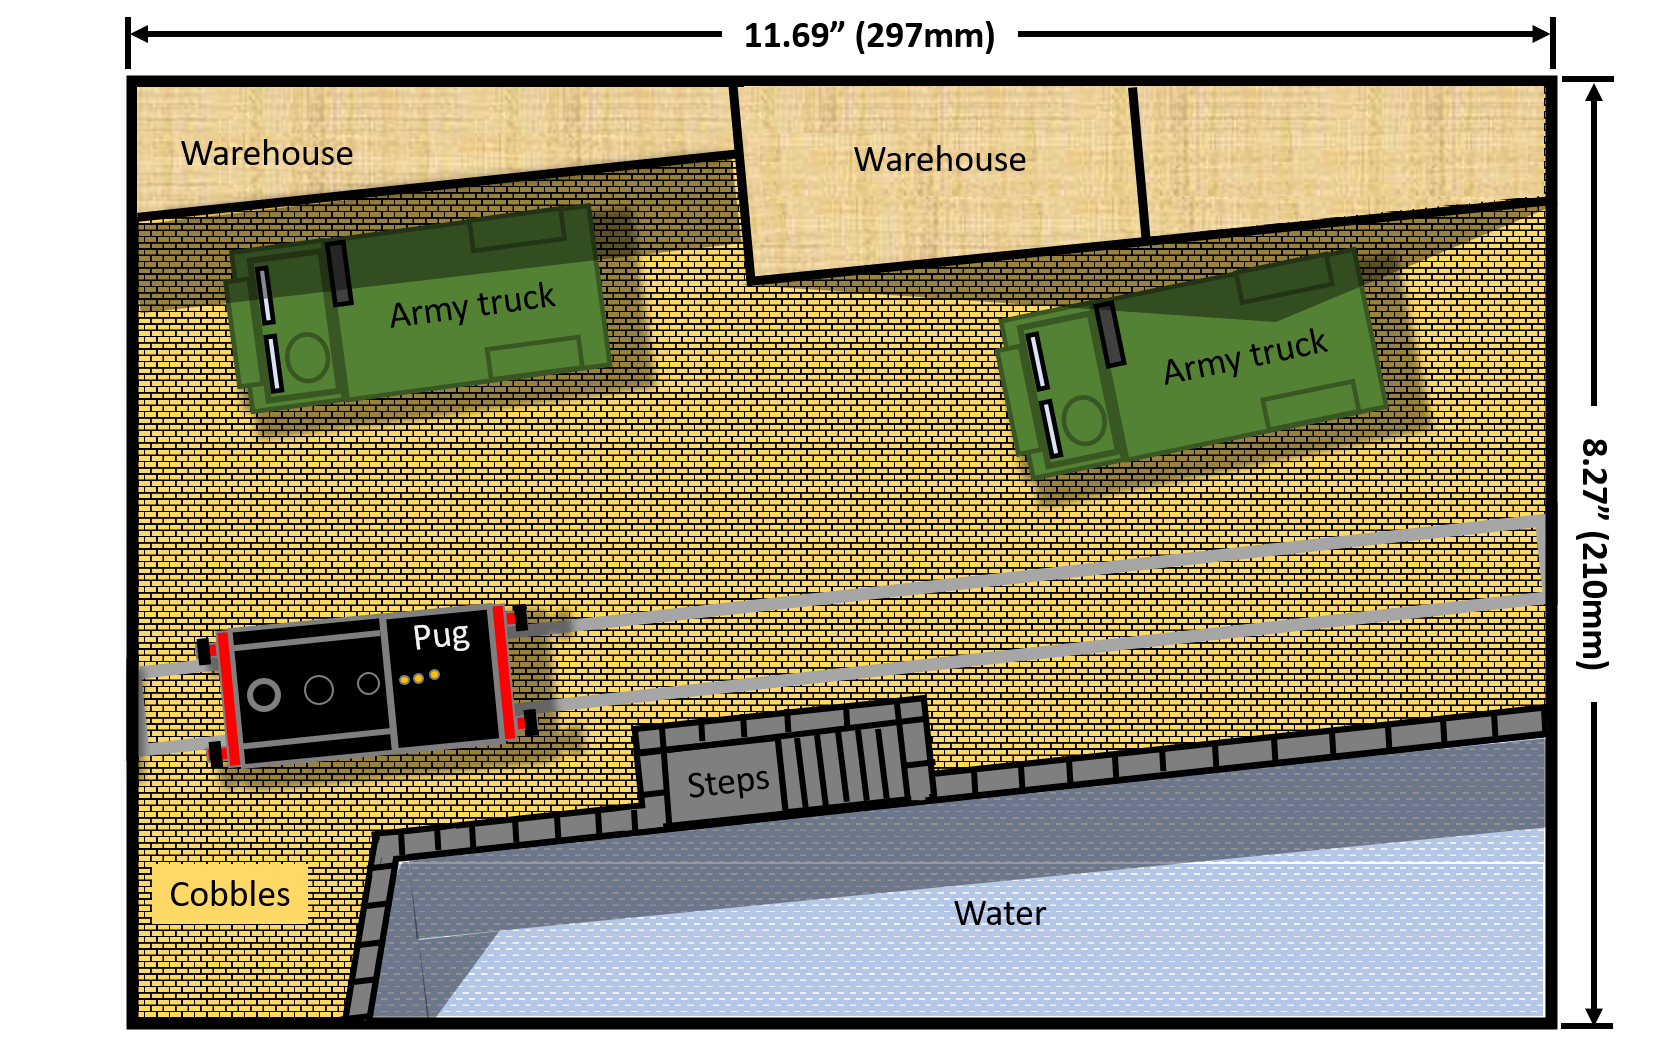
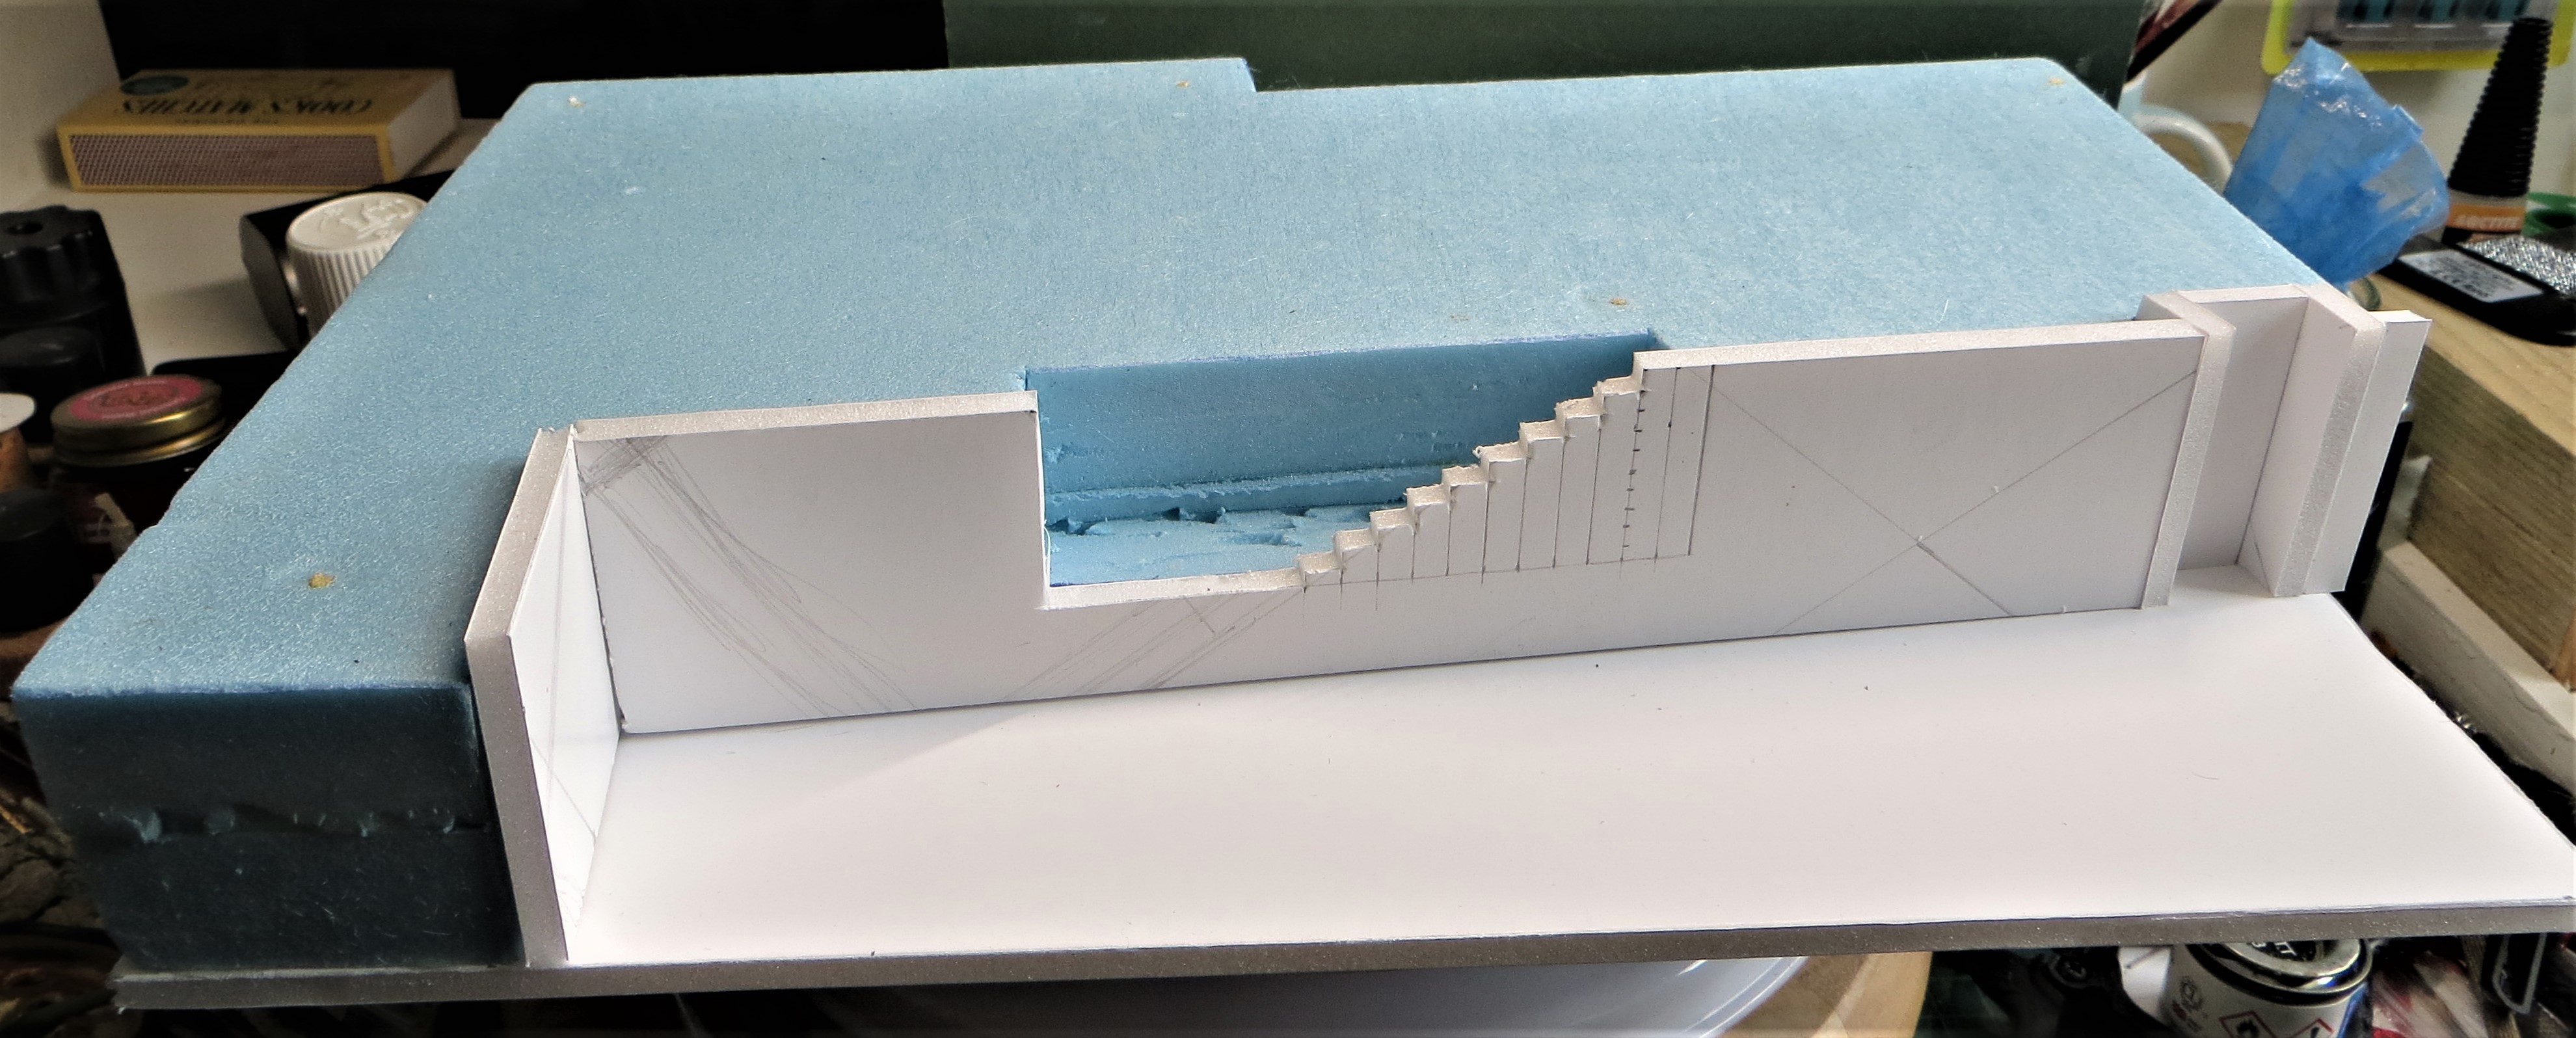
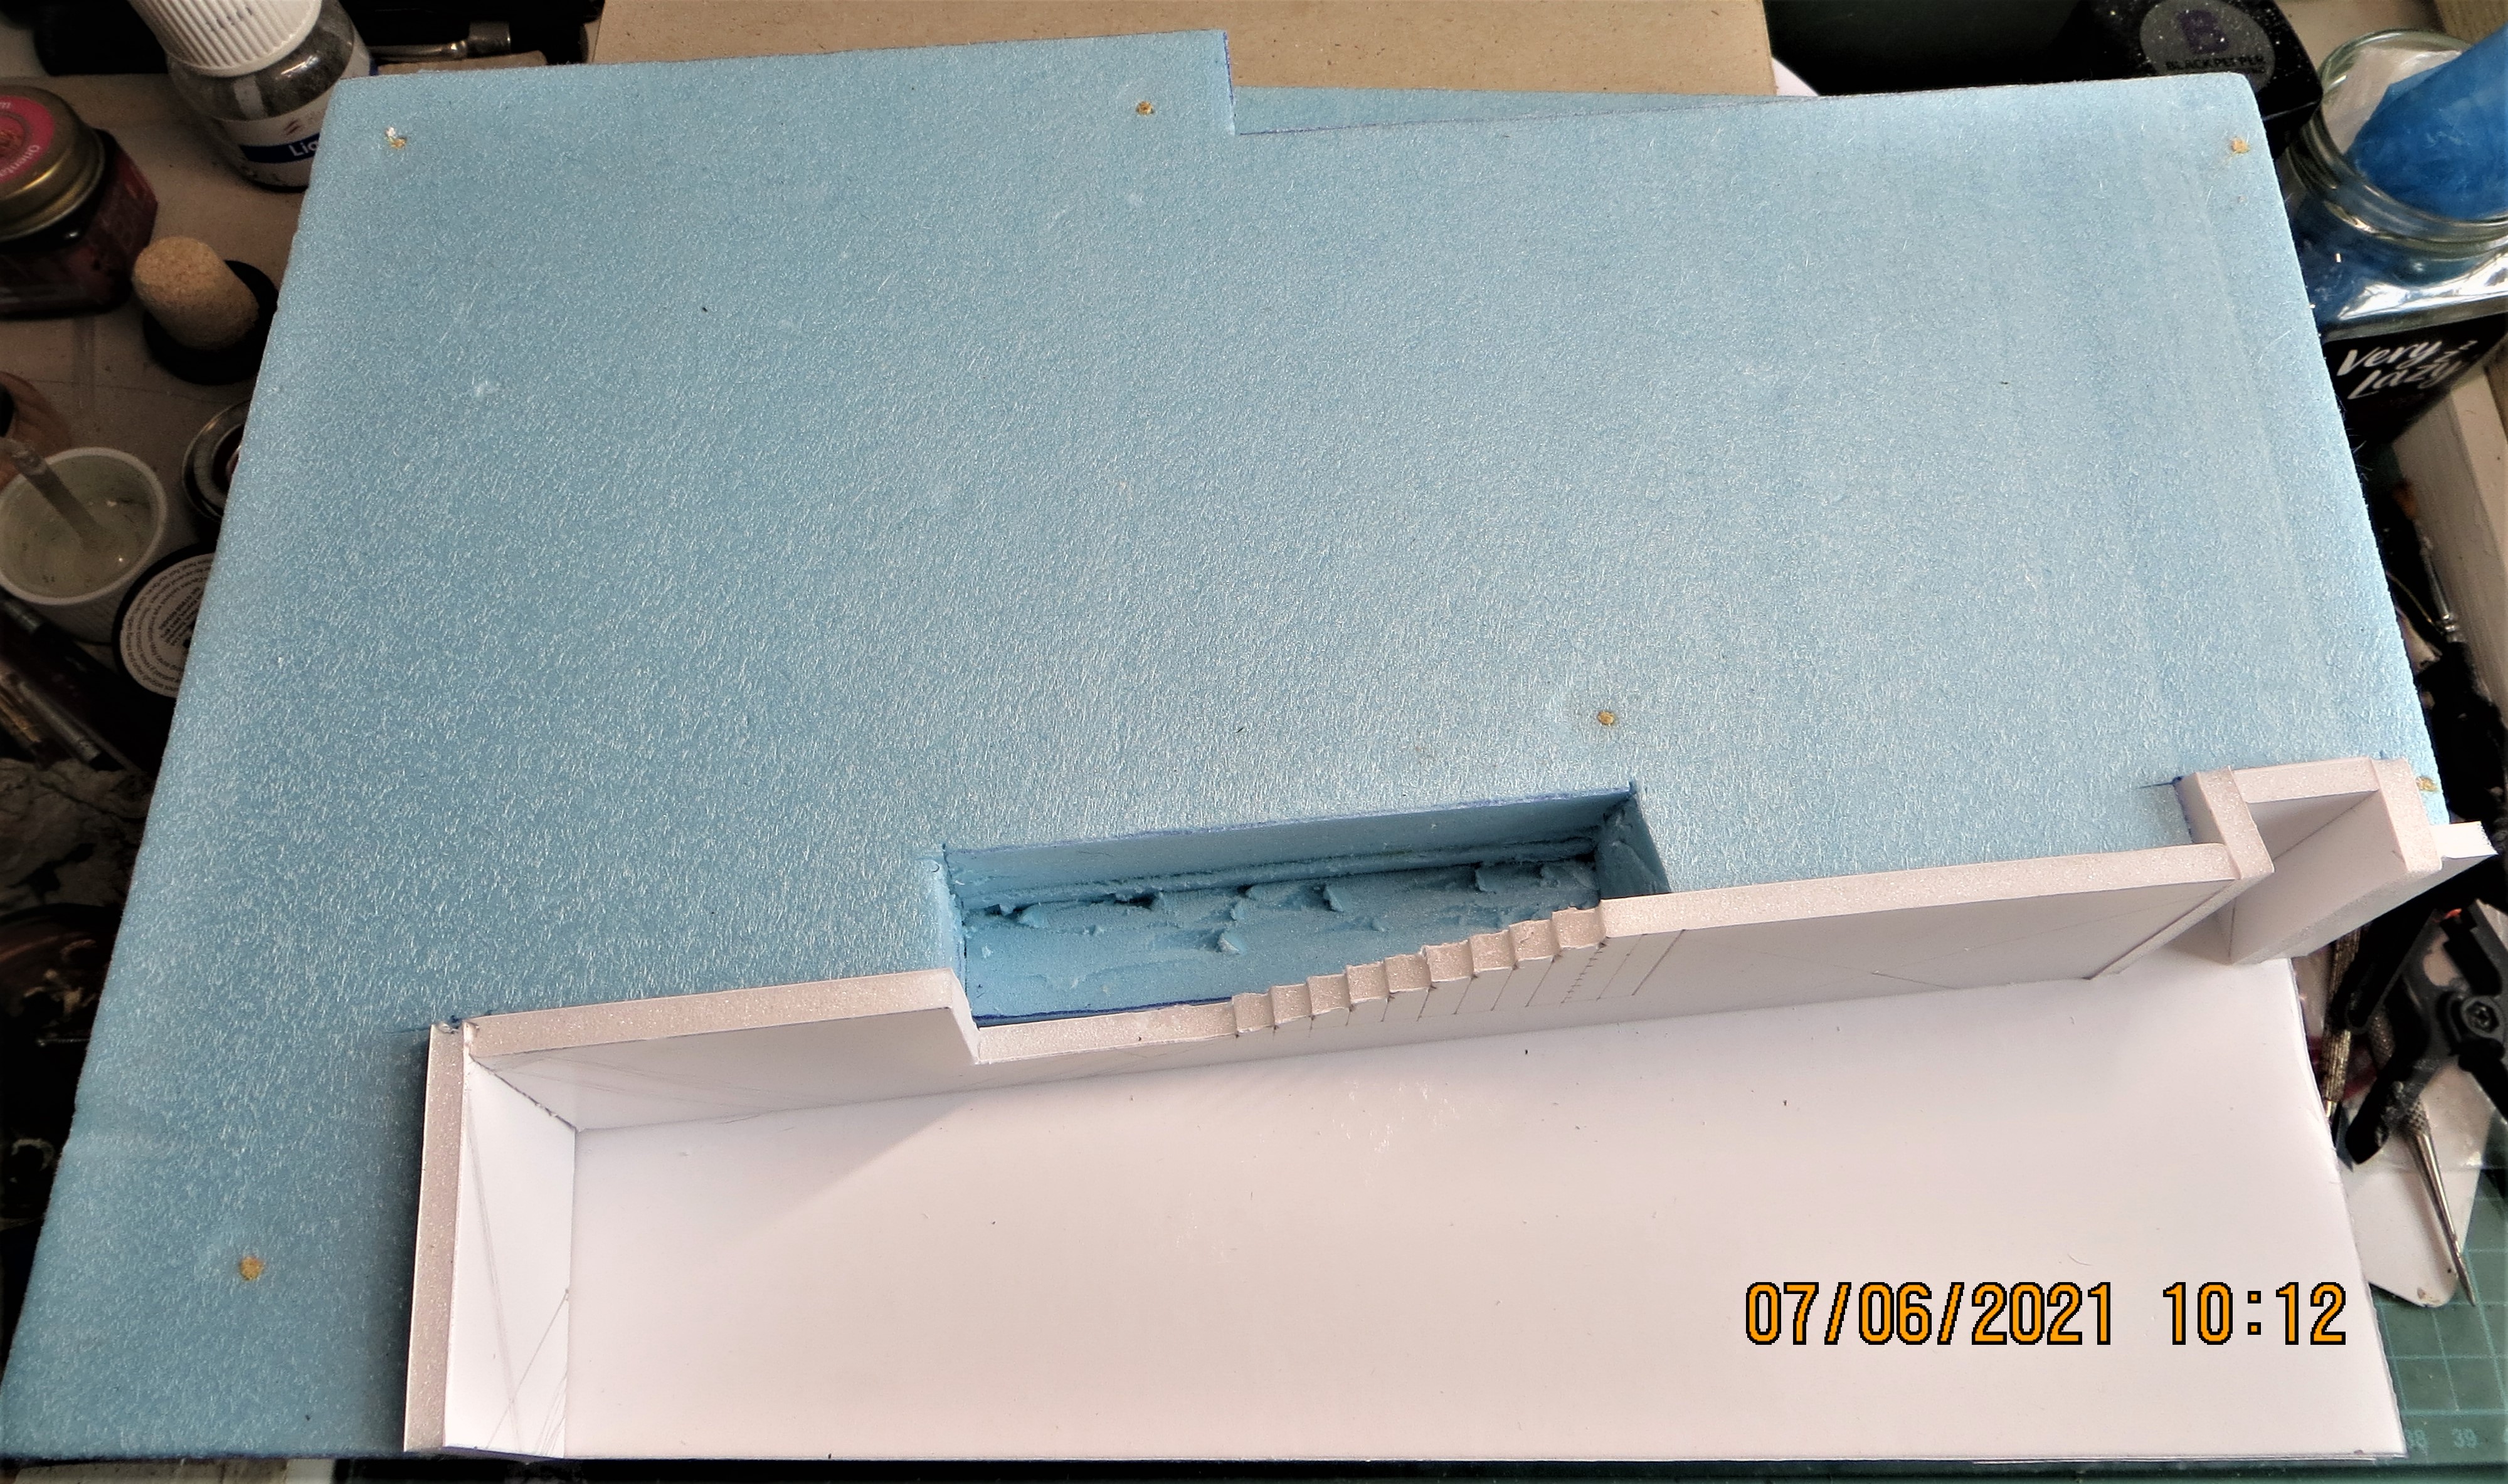
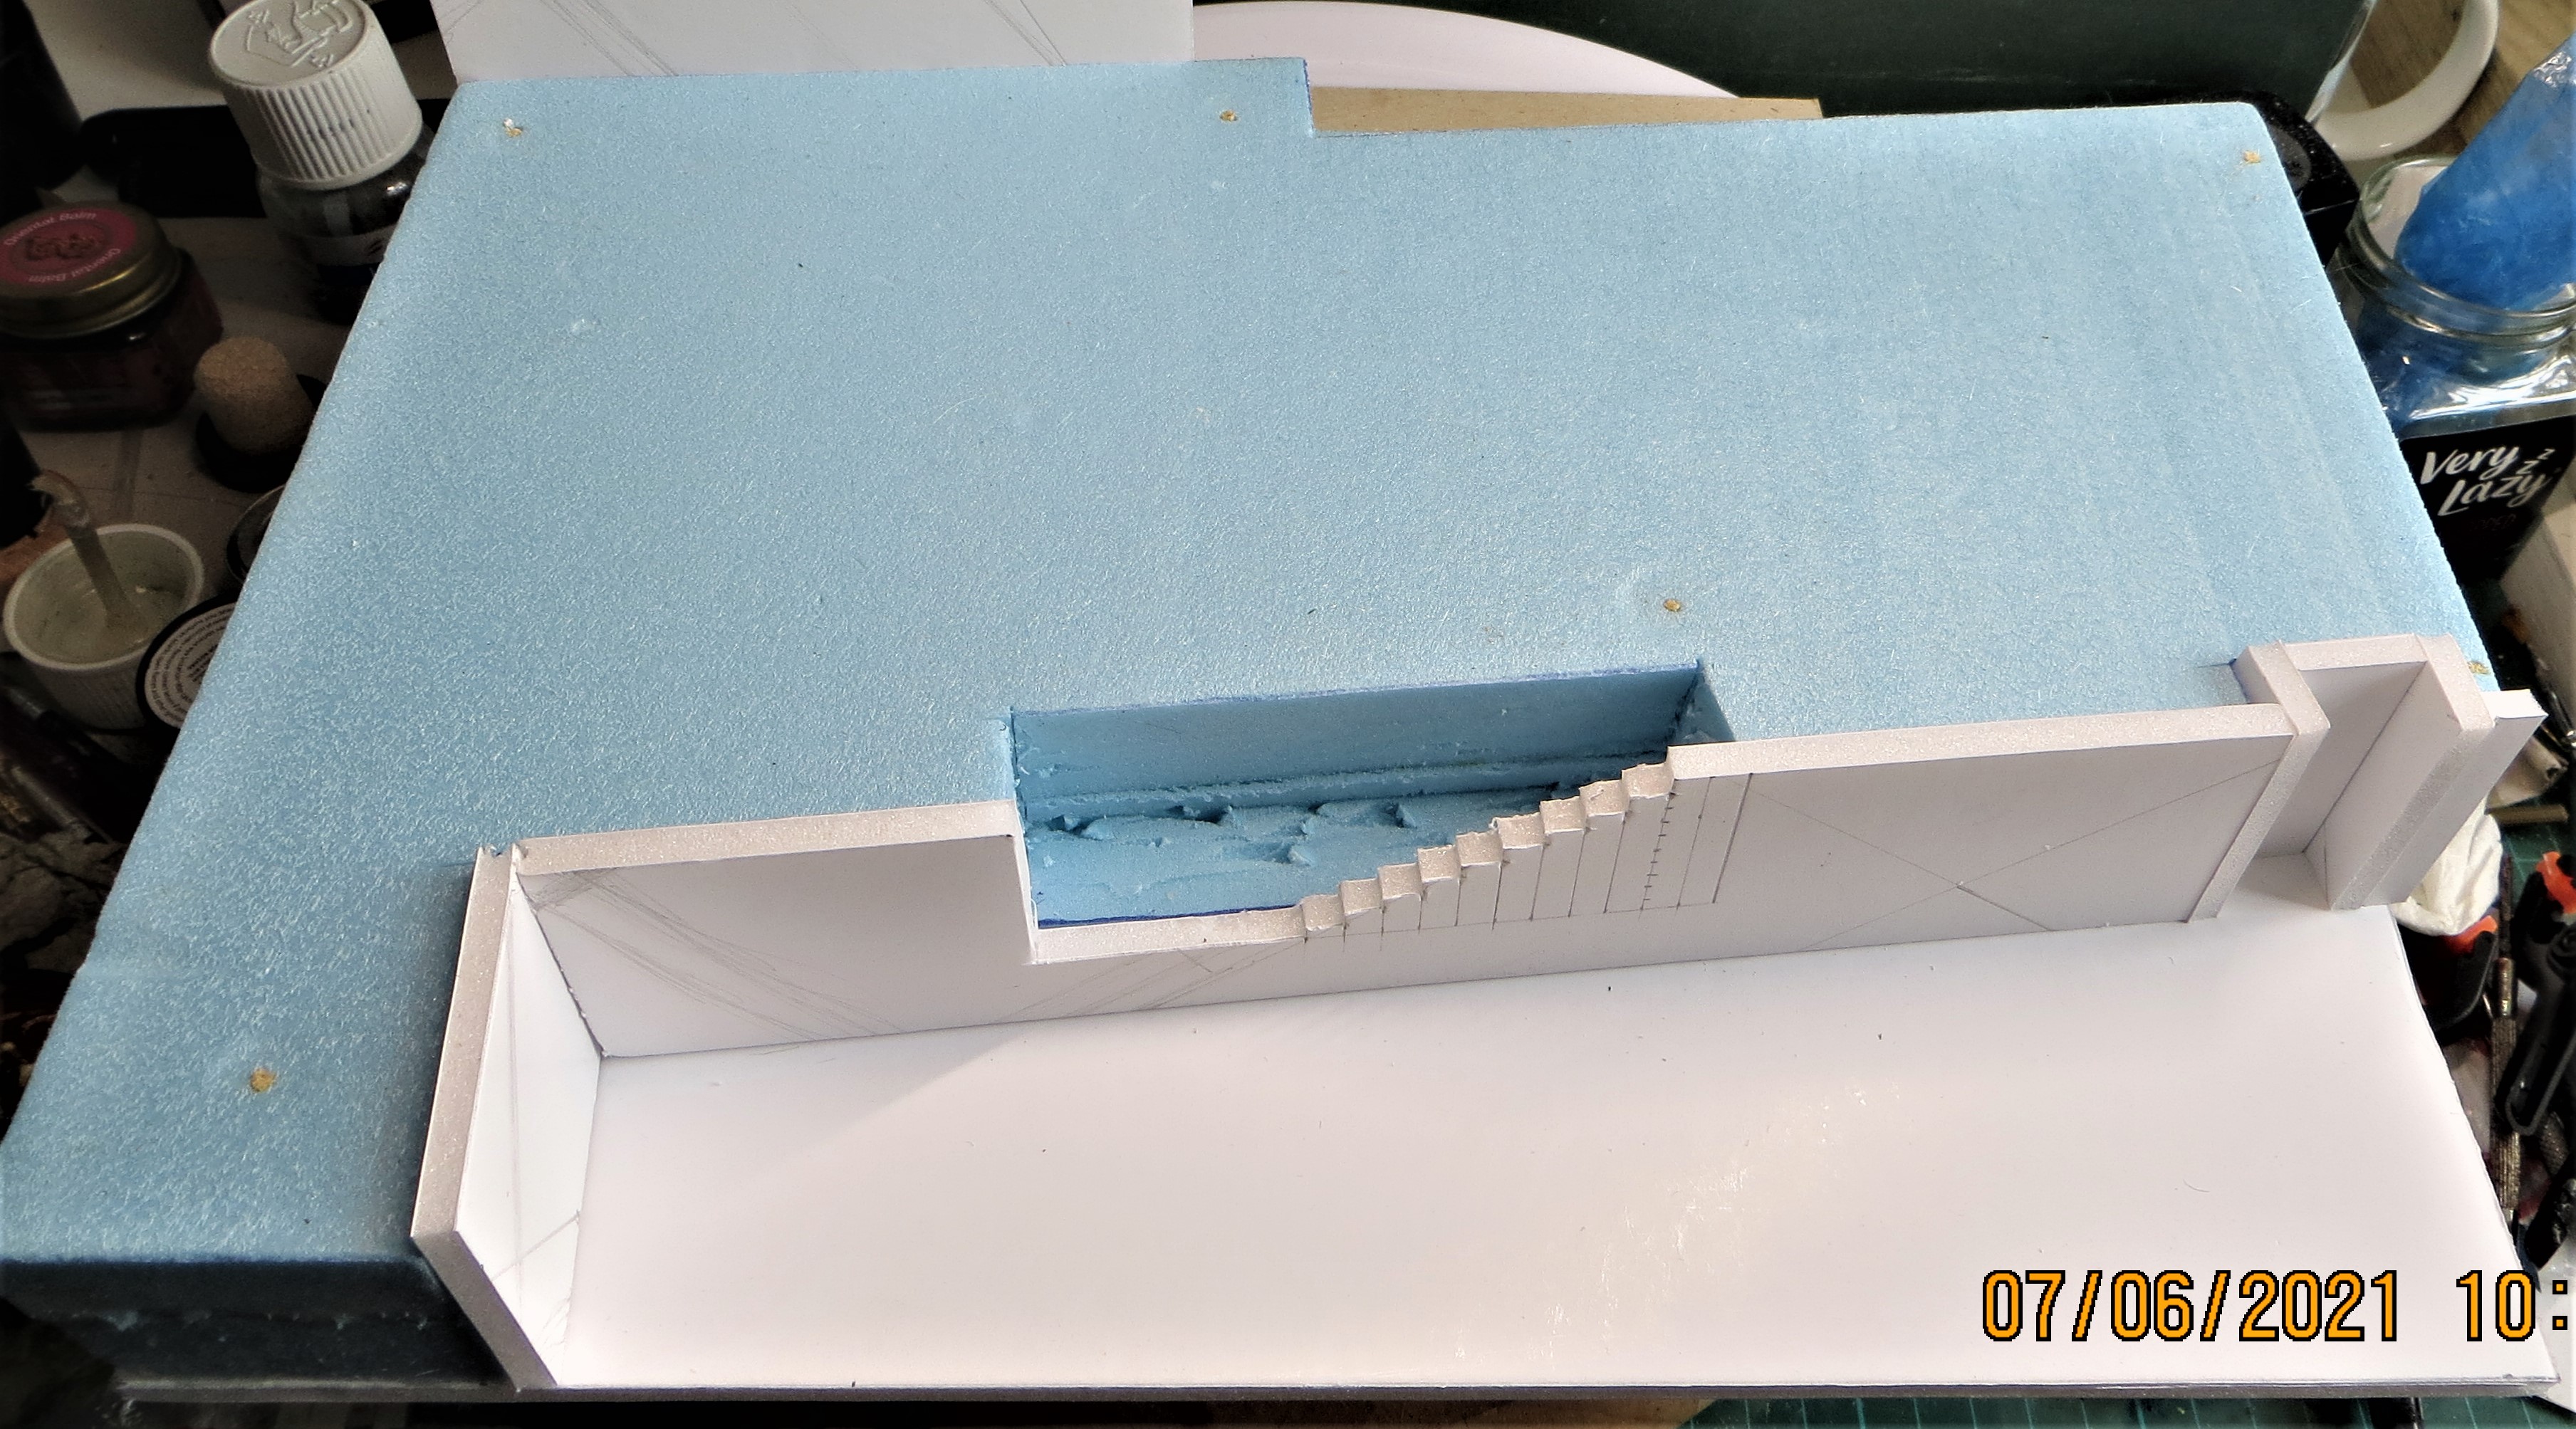
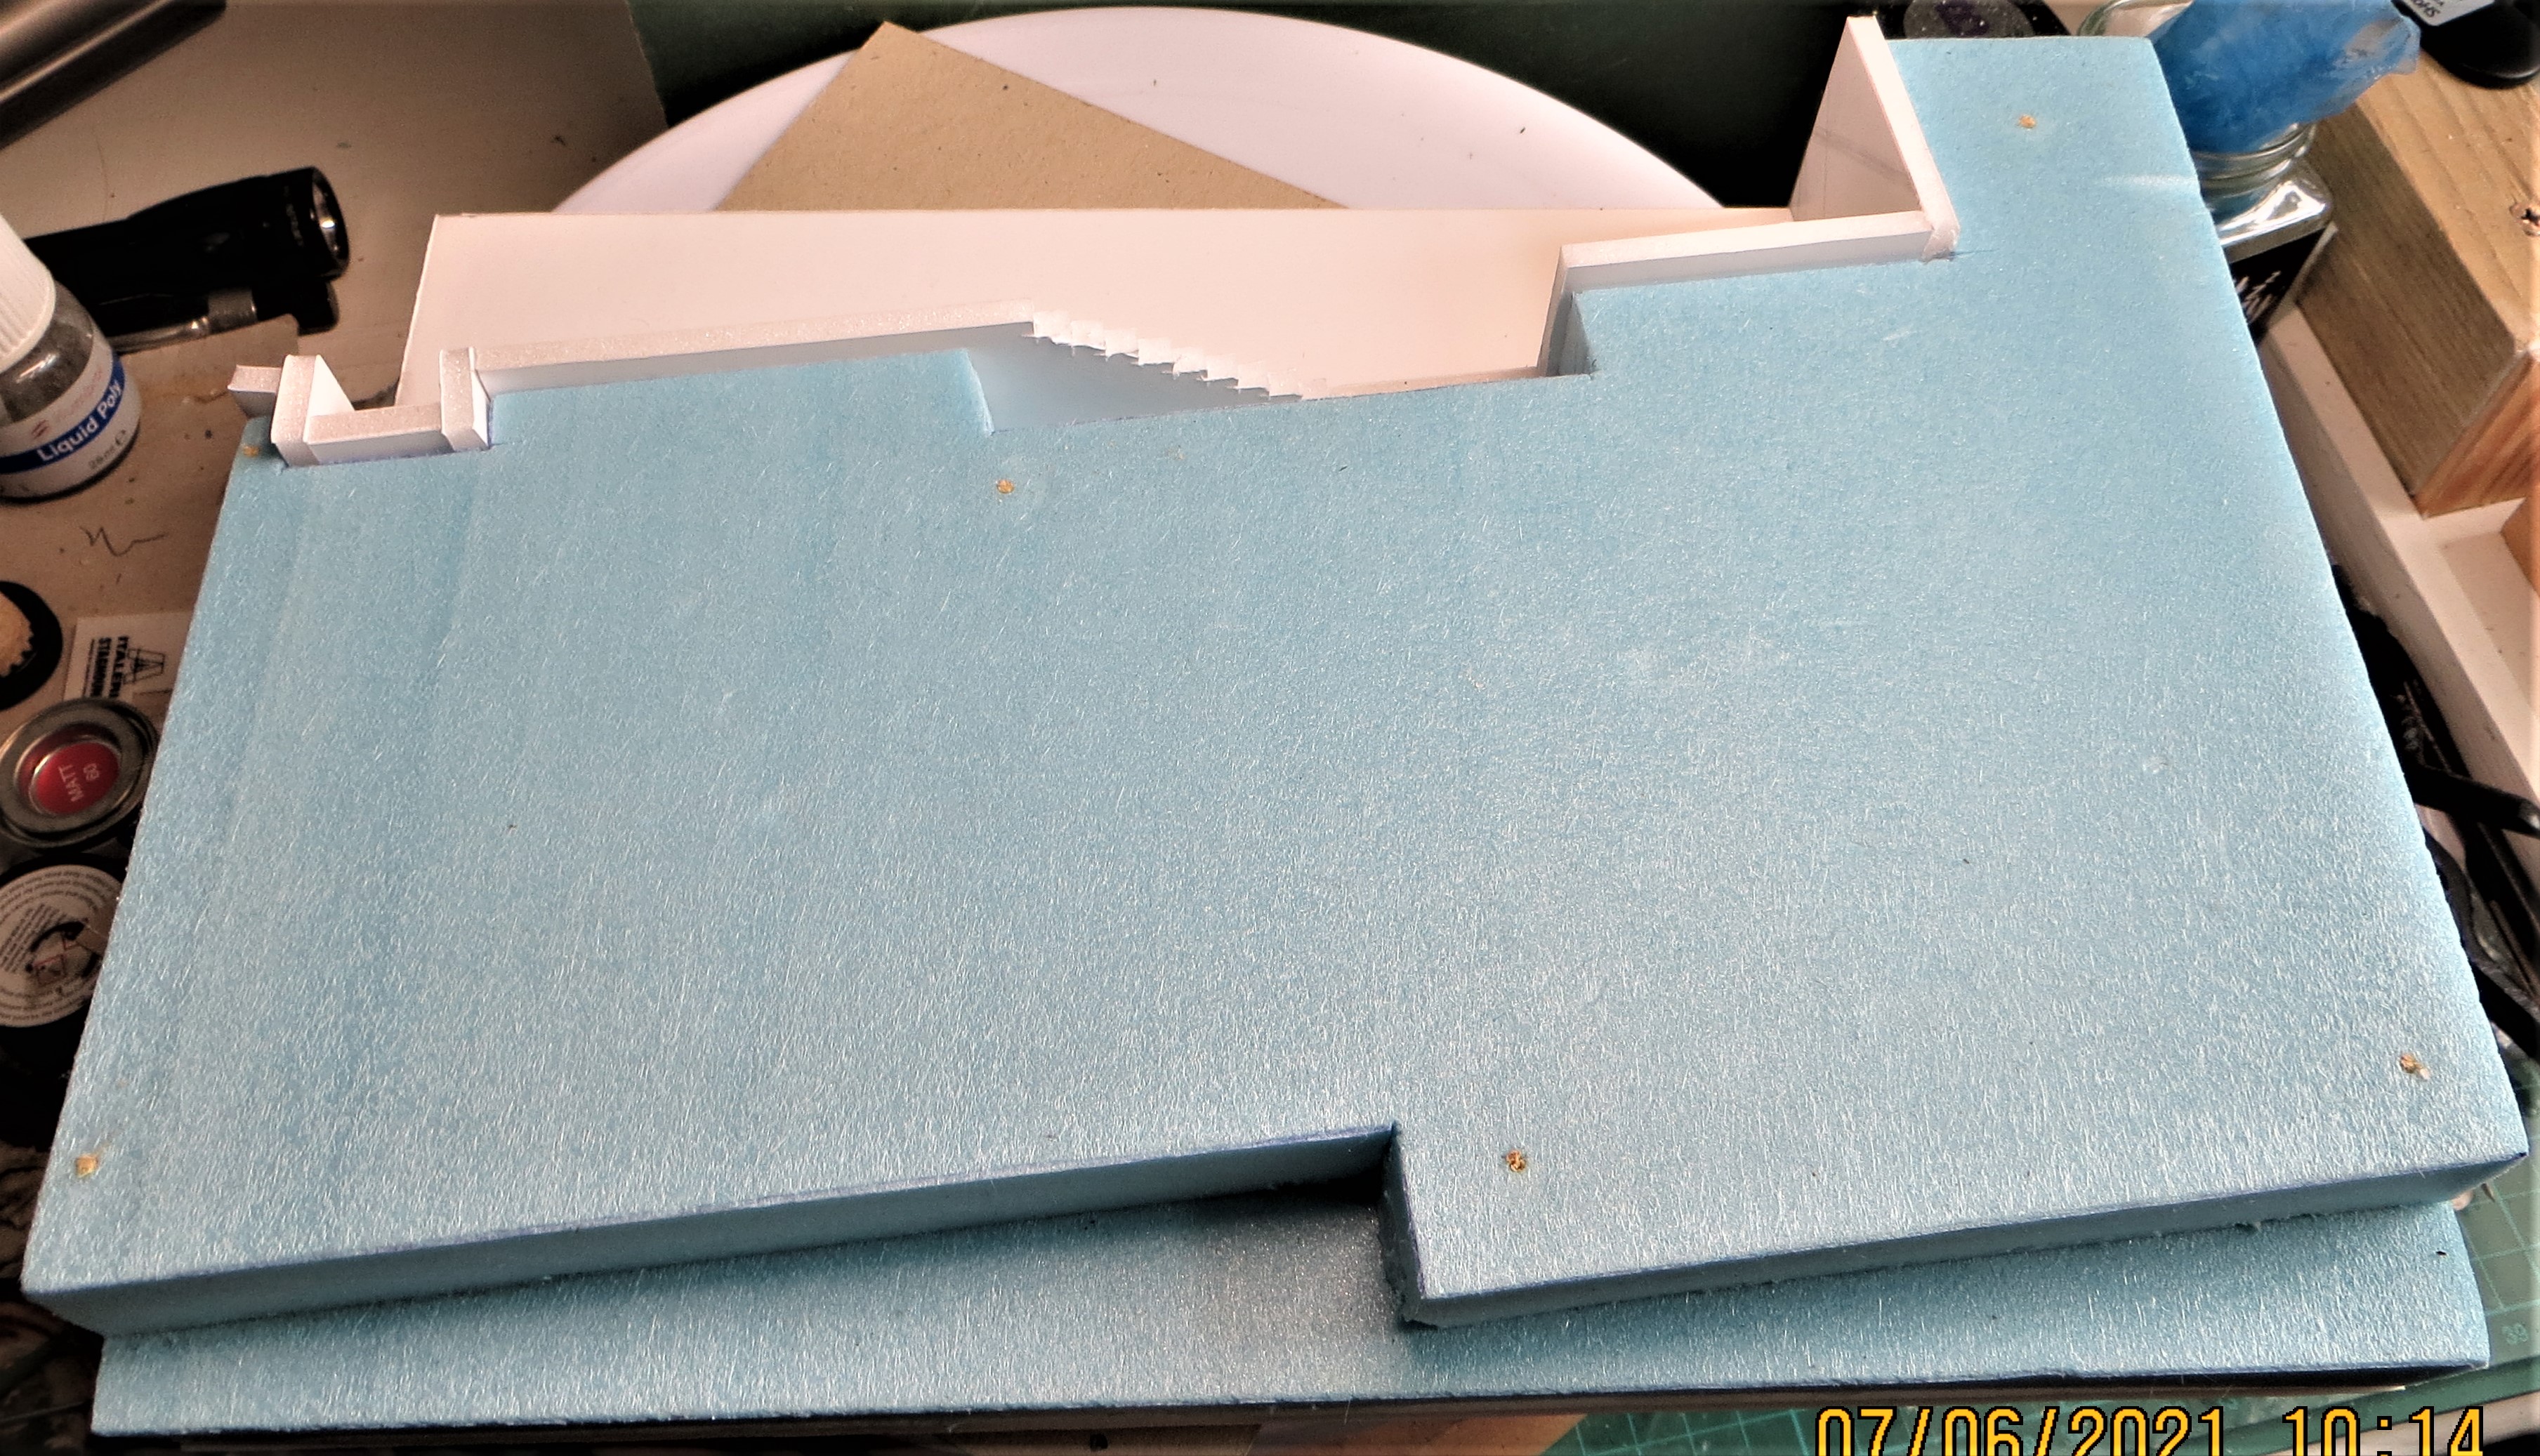
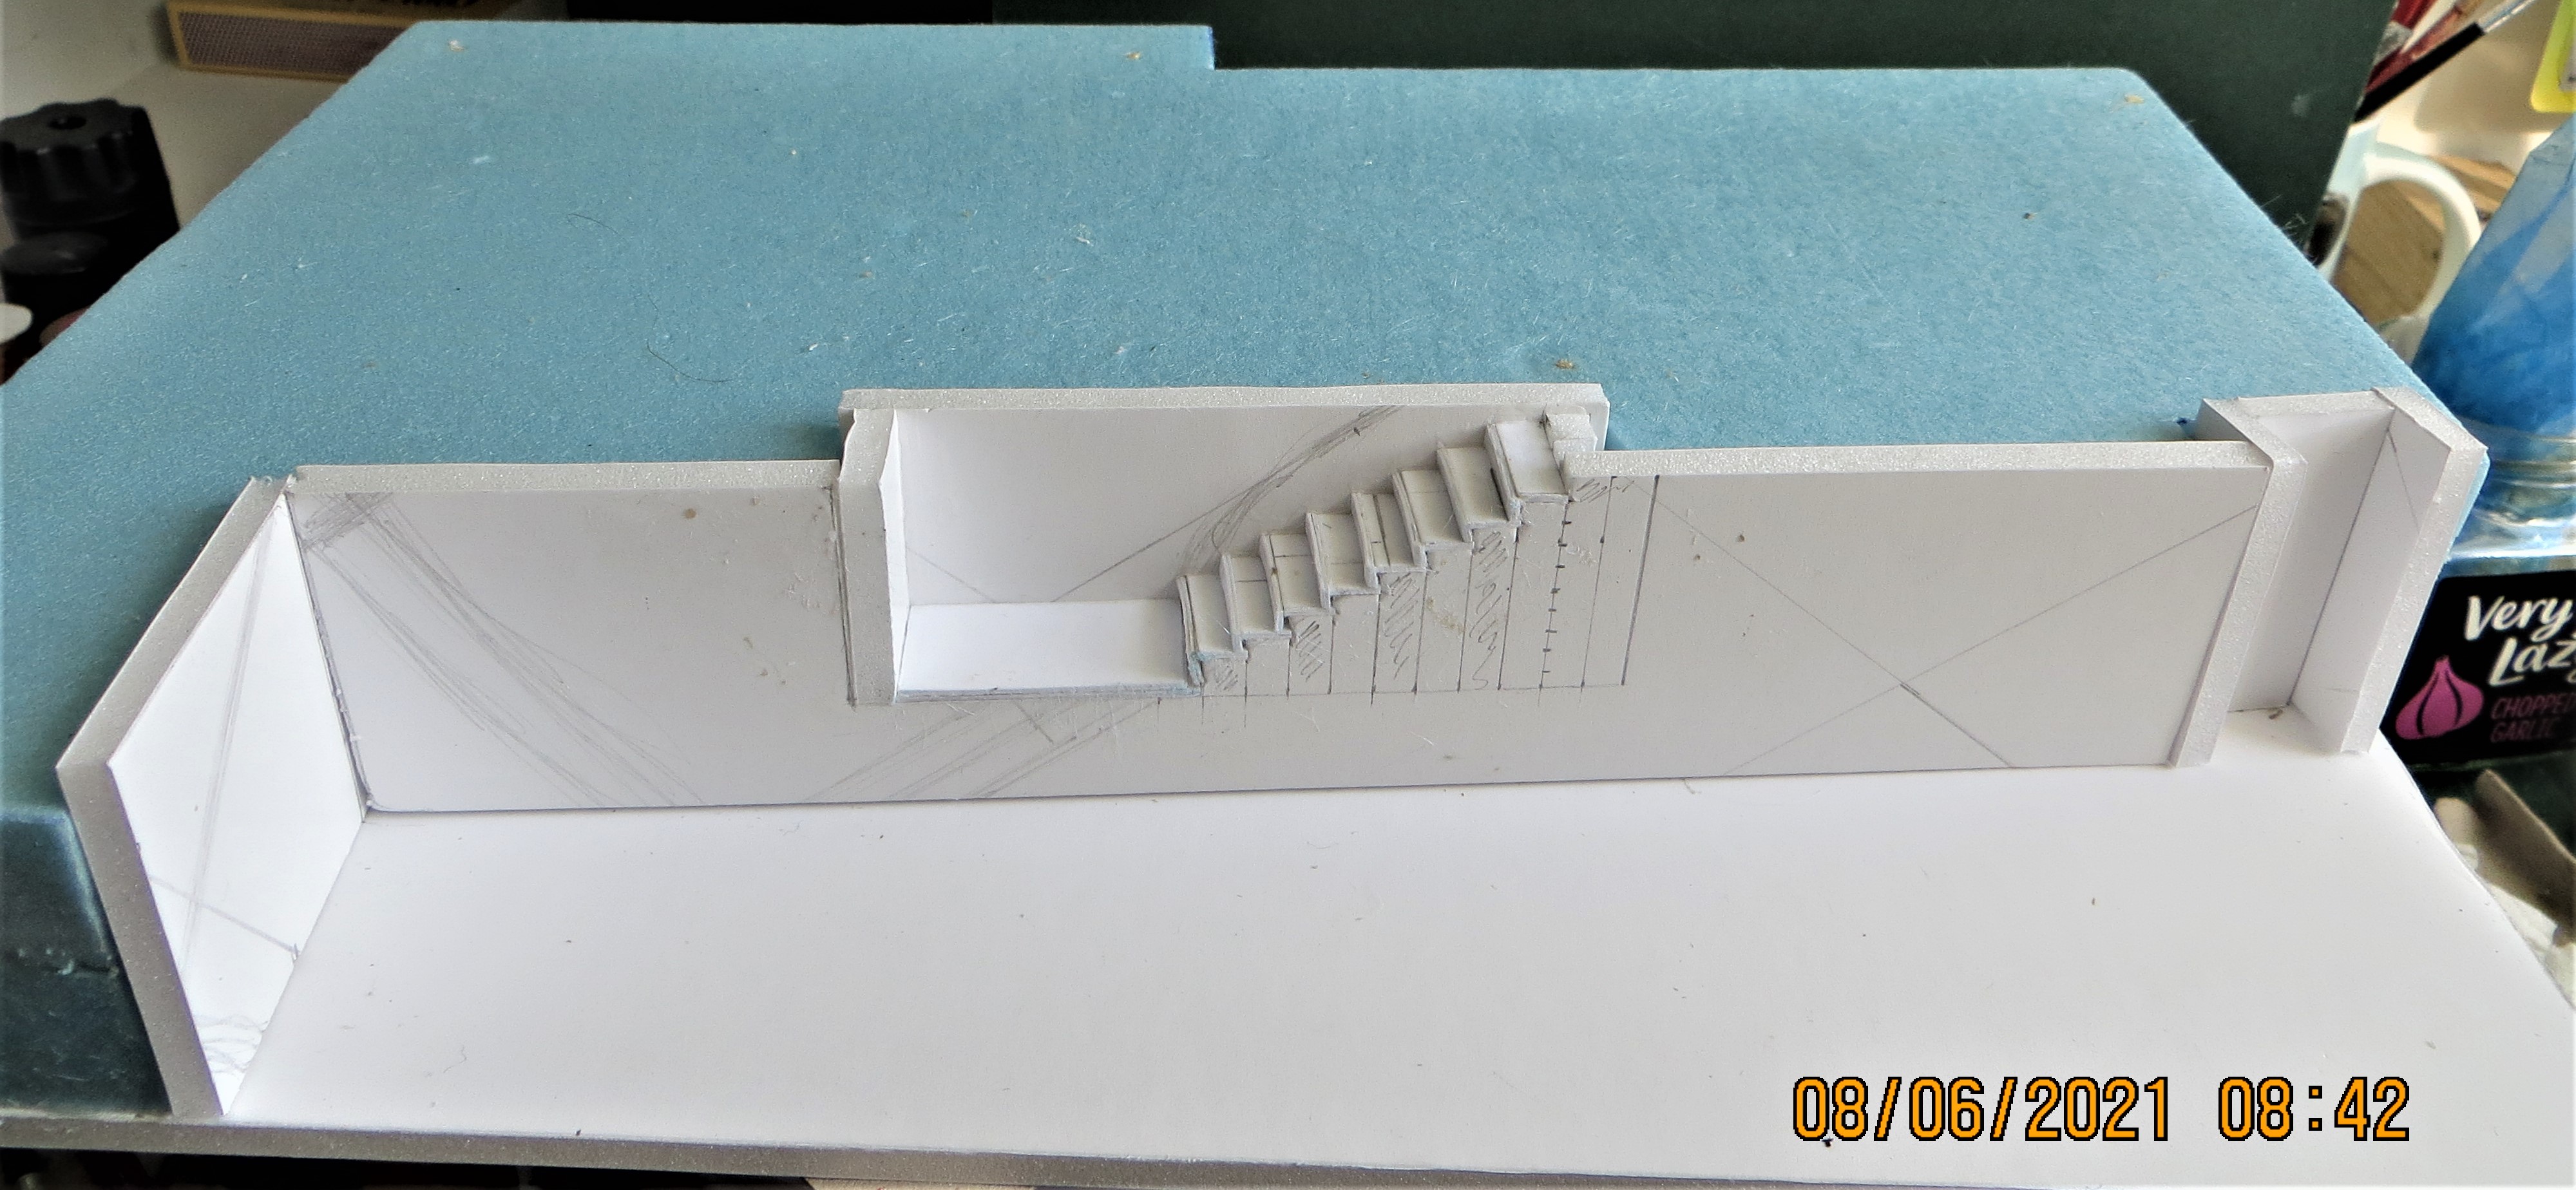
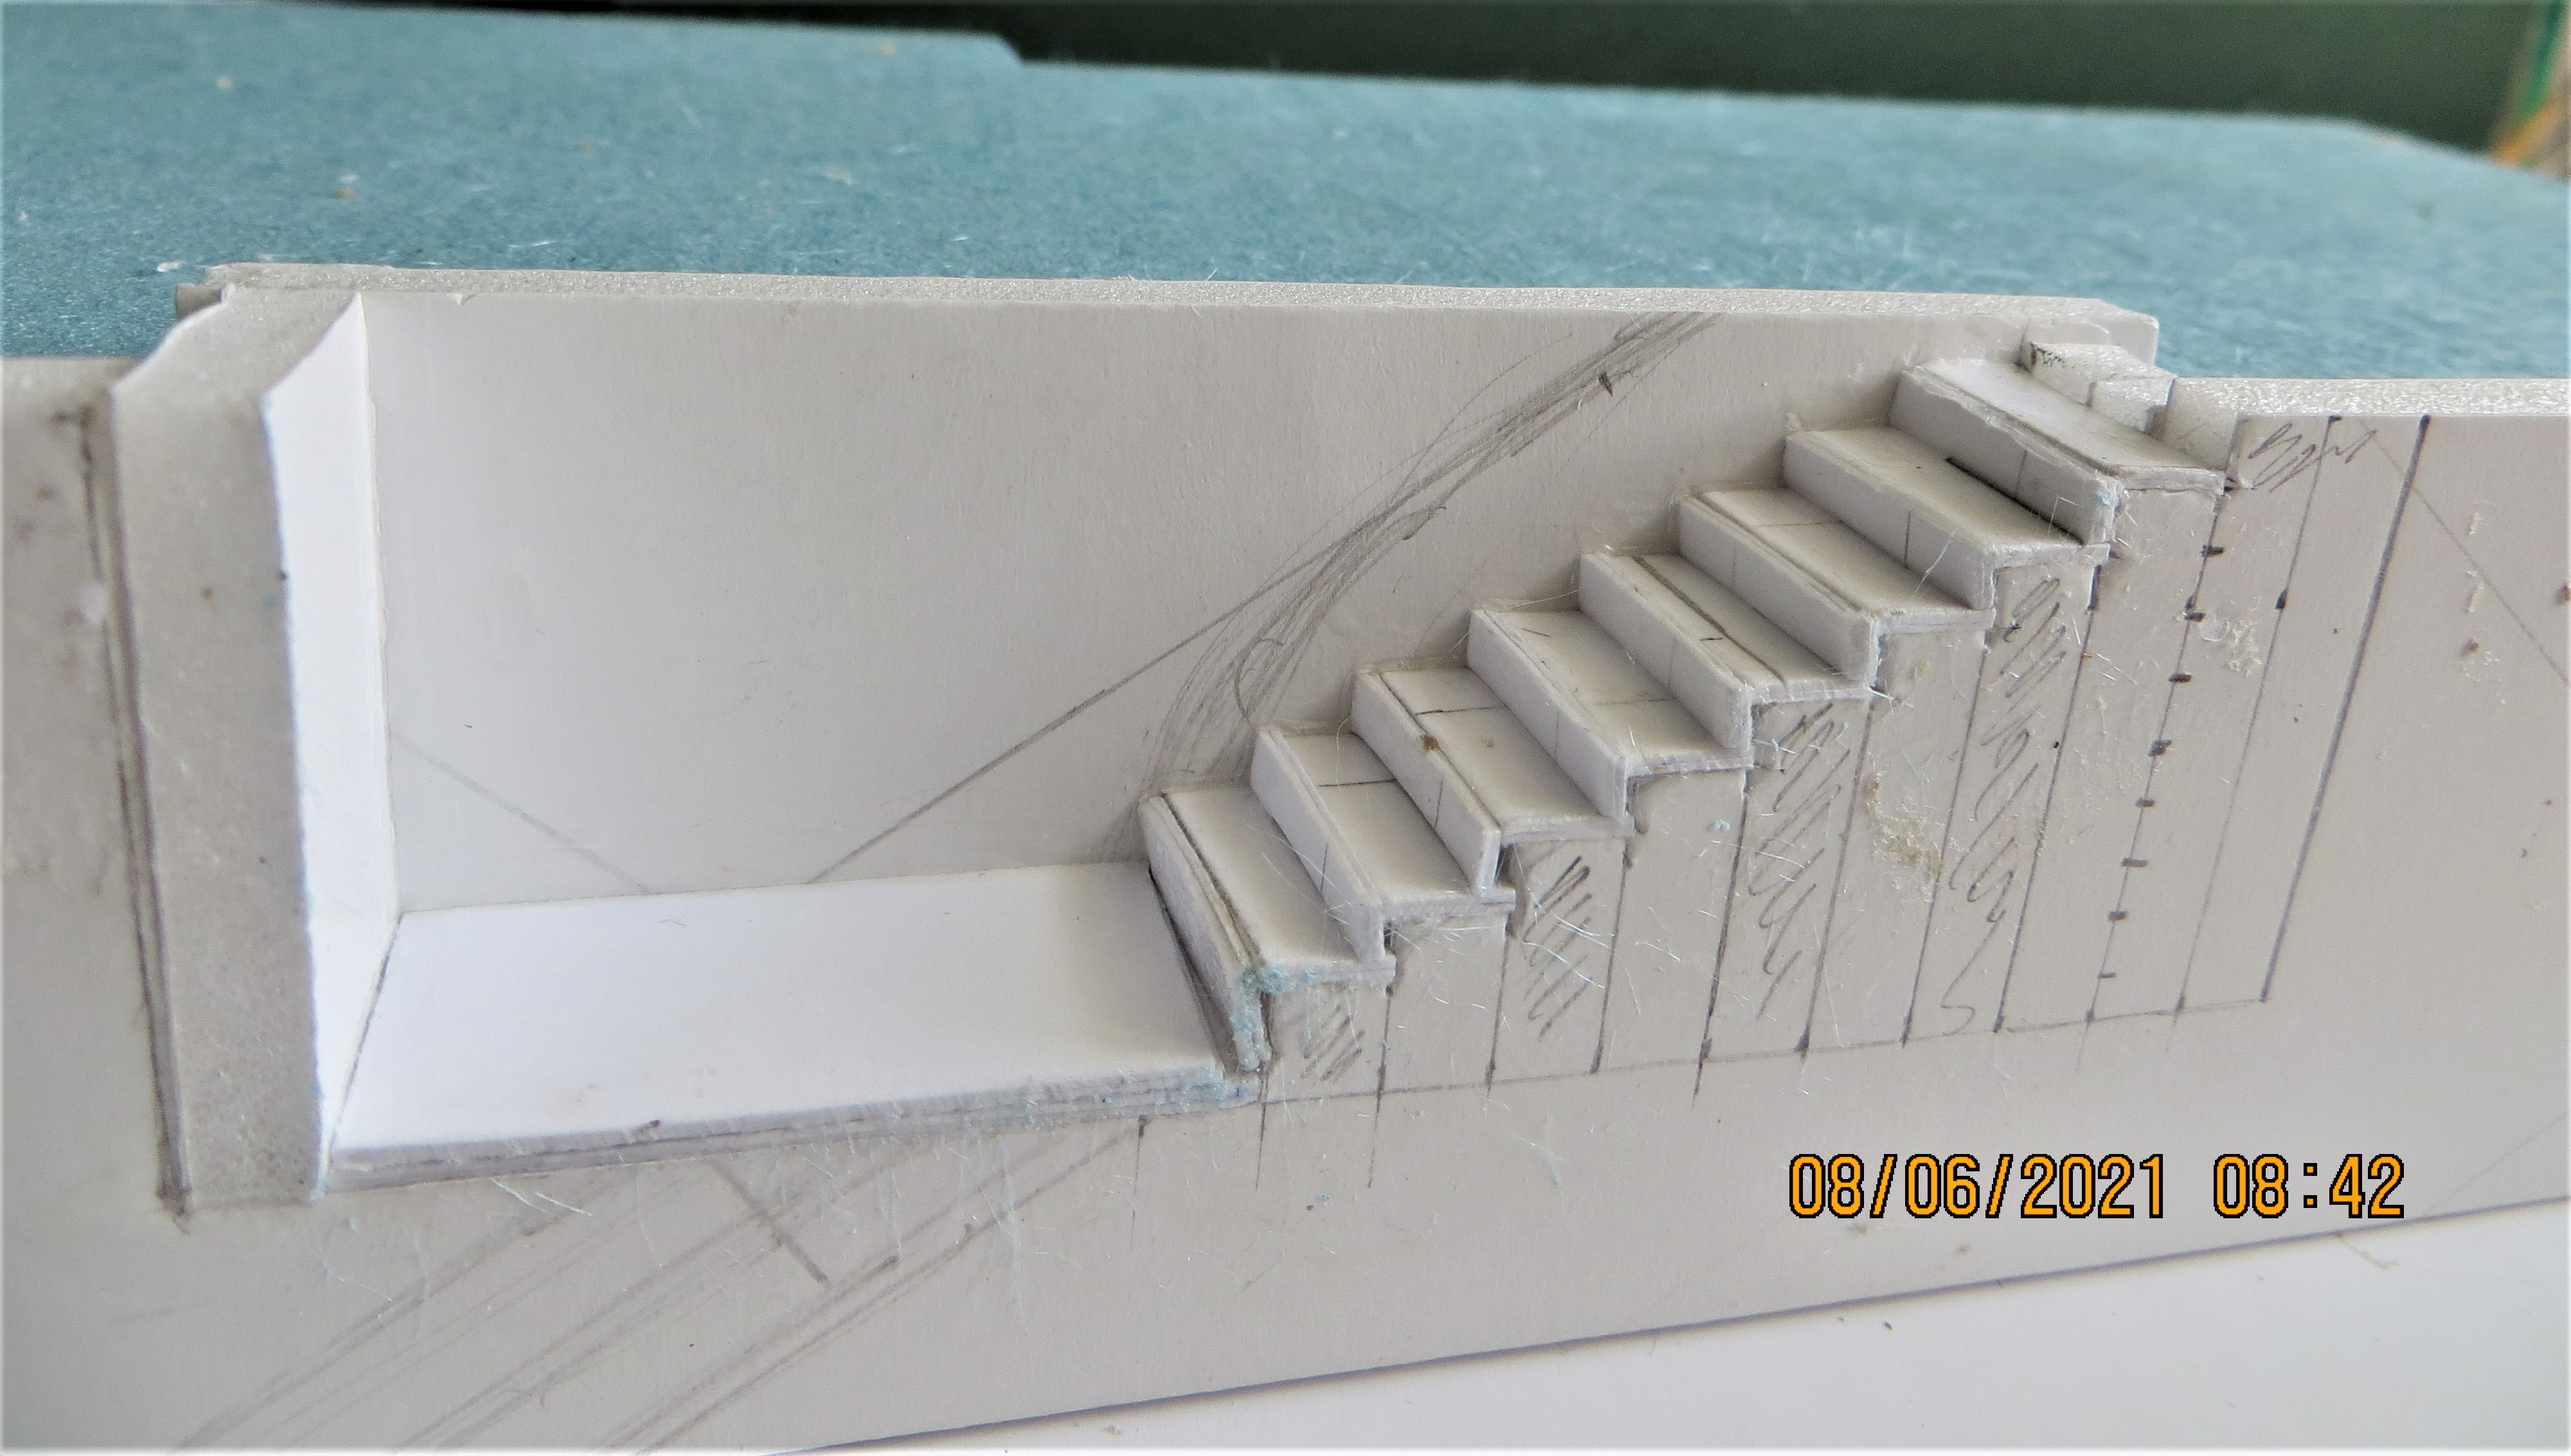
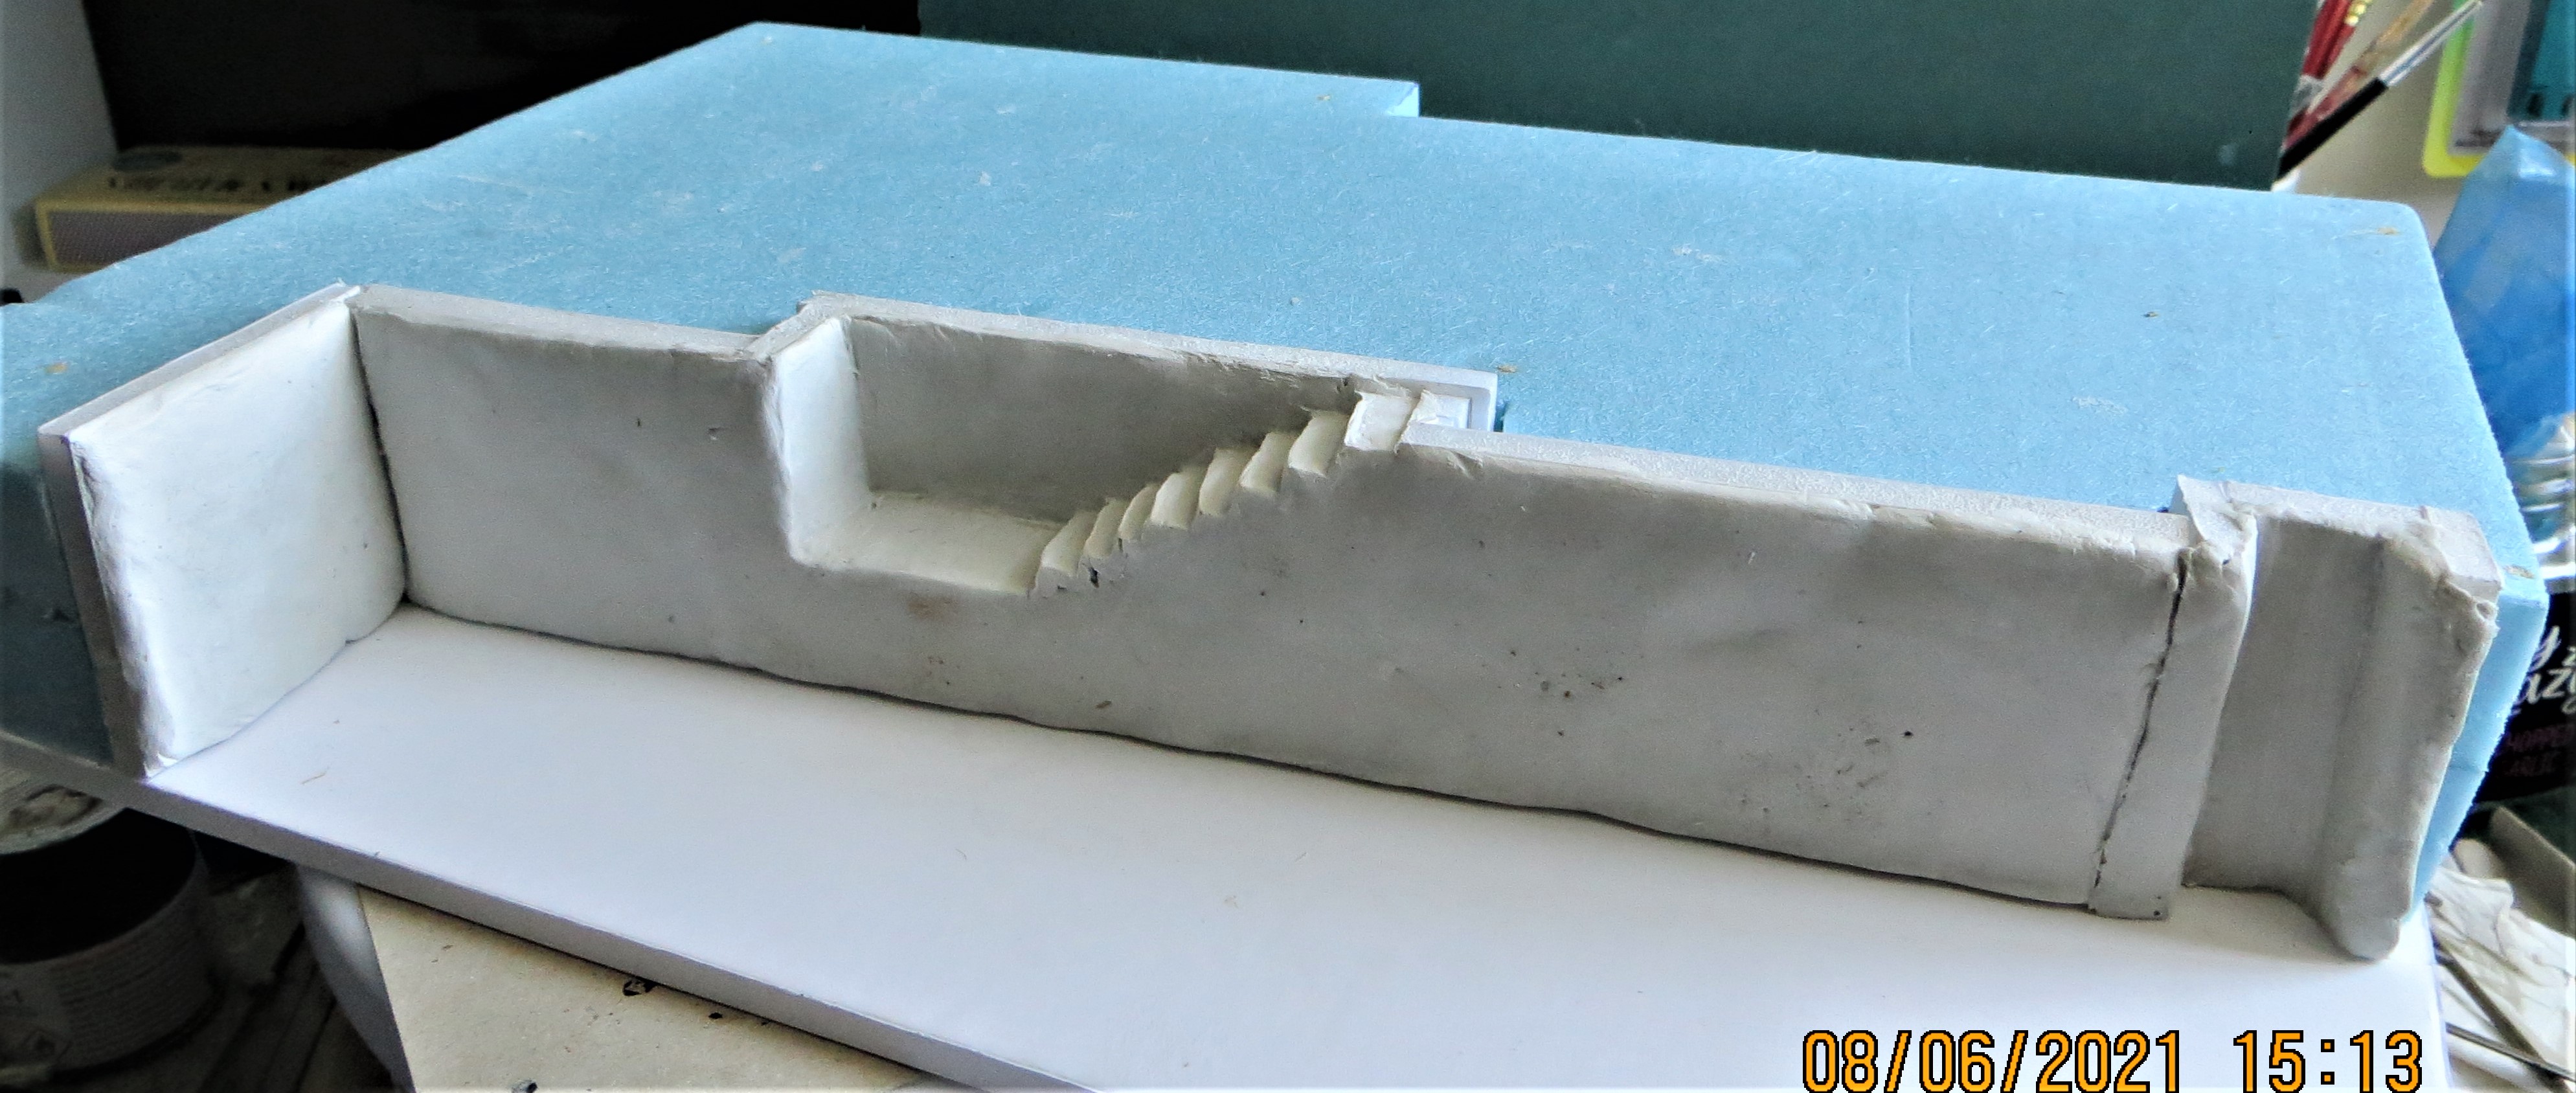
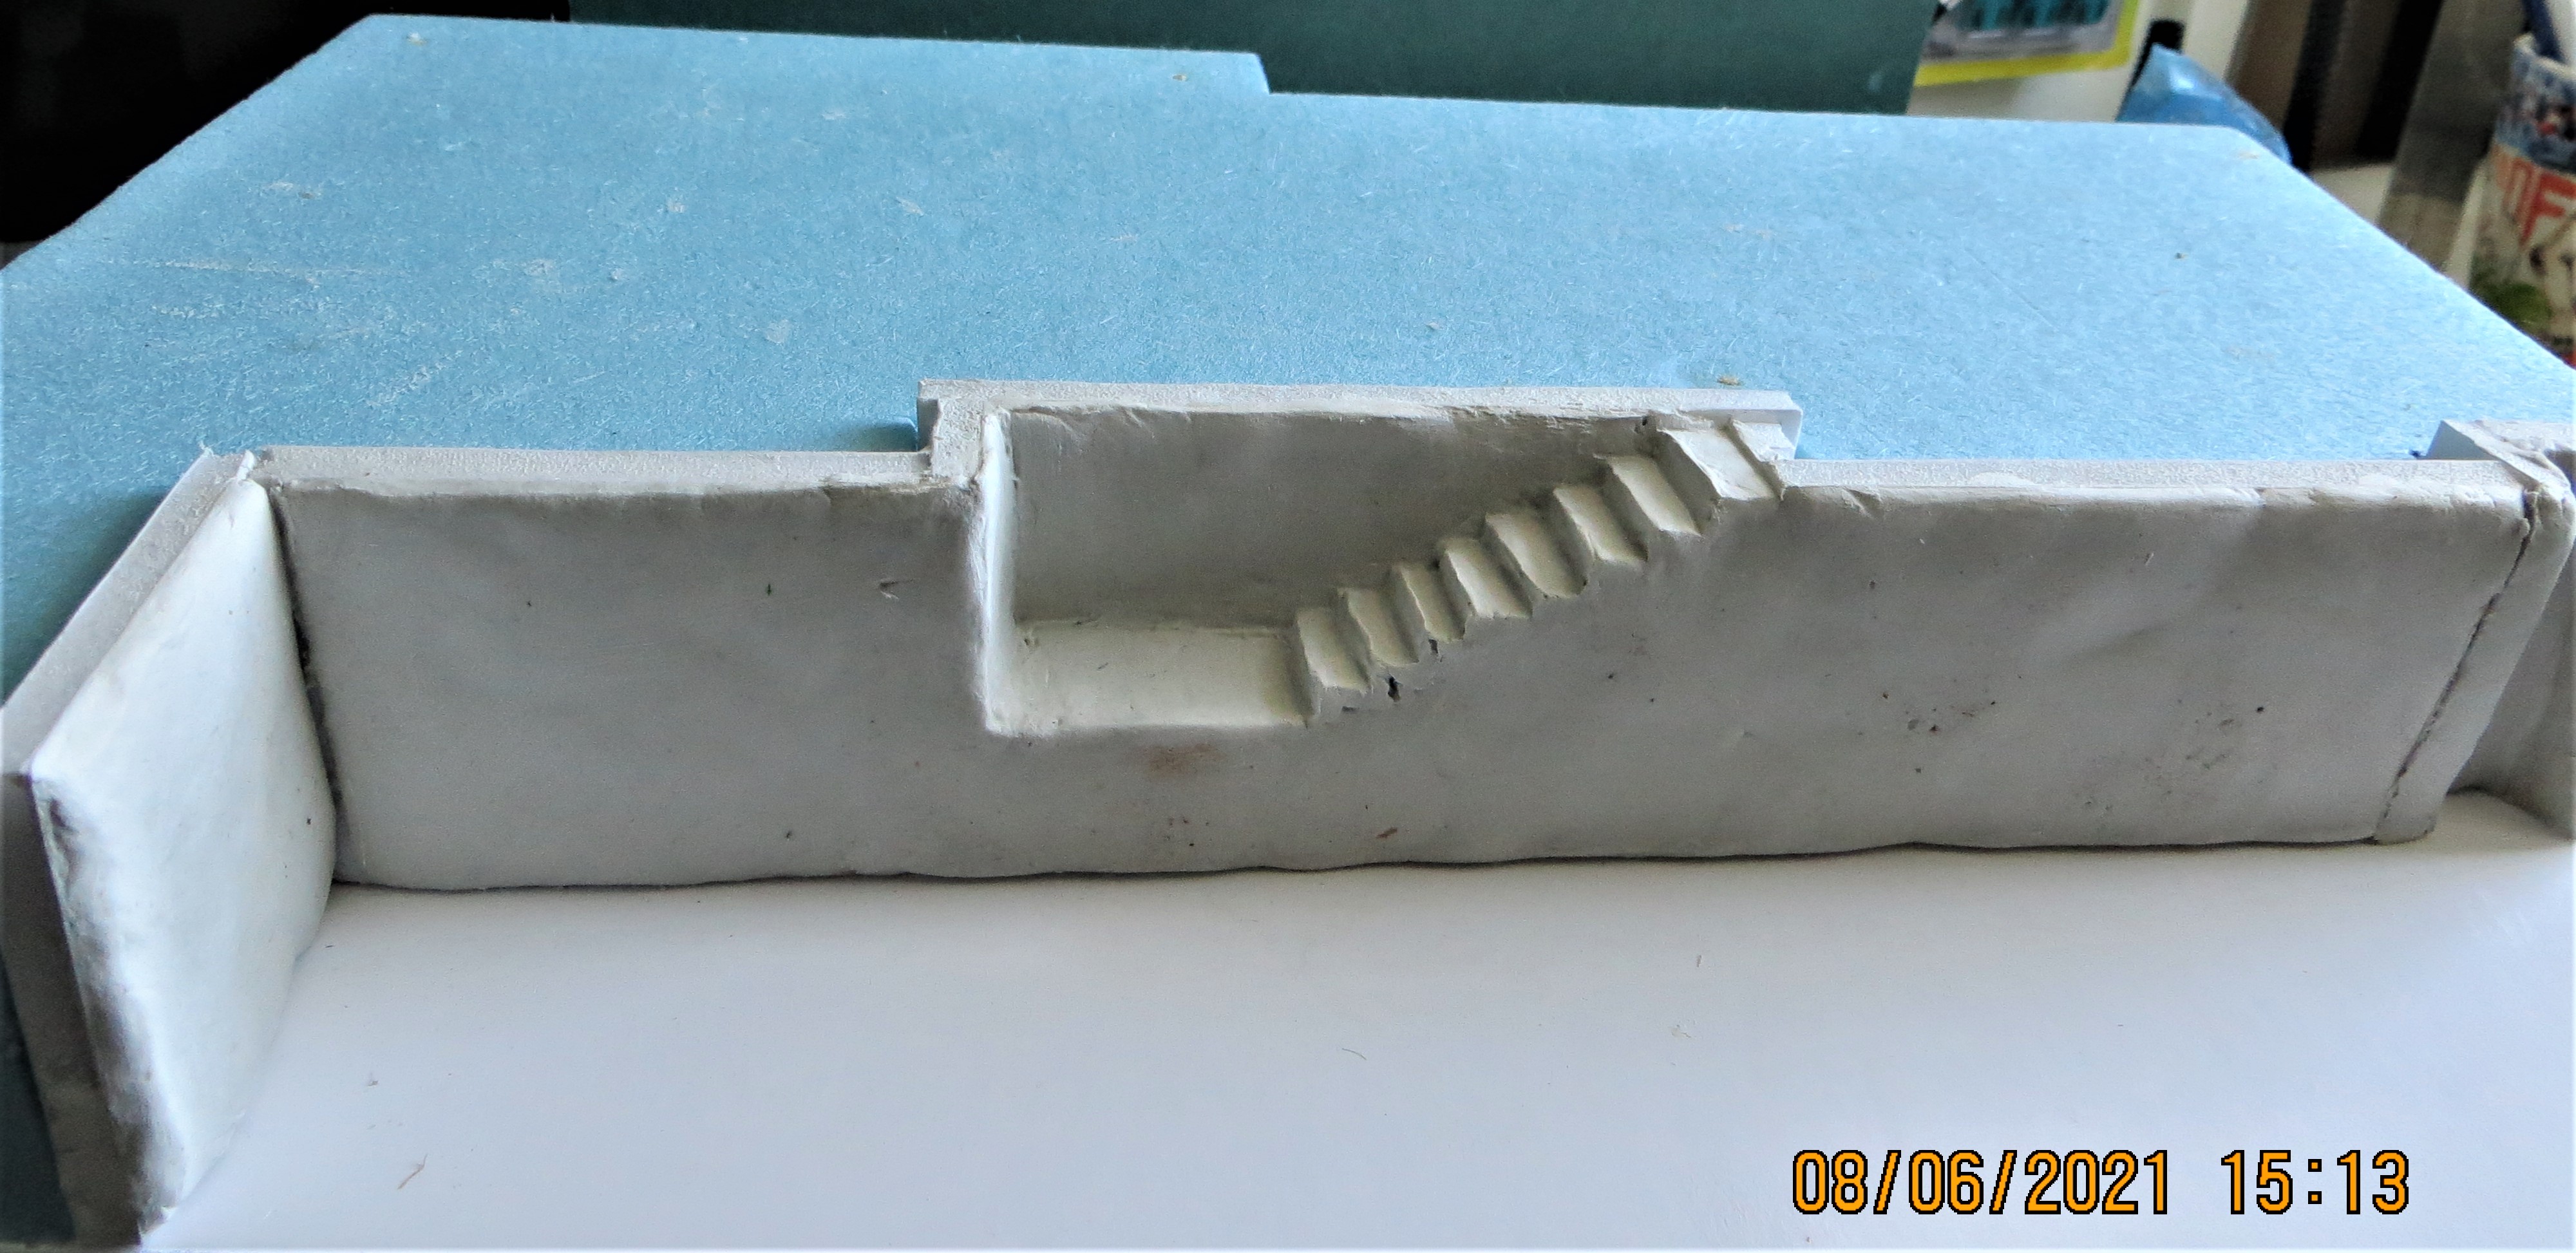
Hi all,
Today I made up the steps and gave the foamboard quay walls a first coating of DAS, at the moment each length is separate so that I can still remove them for scribing once I’ve finished applying and cleaning up the DAS.
Cheers, ,
G
Hi Phil, it depends on need. The switches (or points as they call them here in the UK) are expensive to install and maintain, so if a siding can get away with a dead end that’s a cheaper option for the railway. Lots of industry sidings are dead-ended, with freight cars pushed in and pulled out by passing freight trains. This adds a little complication at the time, but it’s still cheaper than a second set of points to allow through-running. There are plenty of times though when a track needs to have points at both ends, often when at a yard or station. It’s best to decide on a typical area or facility to model, and look for examples. Hope tis helps!
Thanks to both of you. It does help!
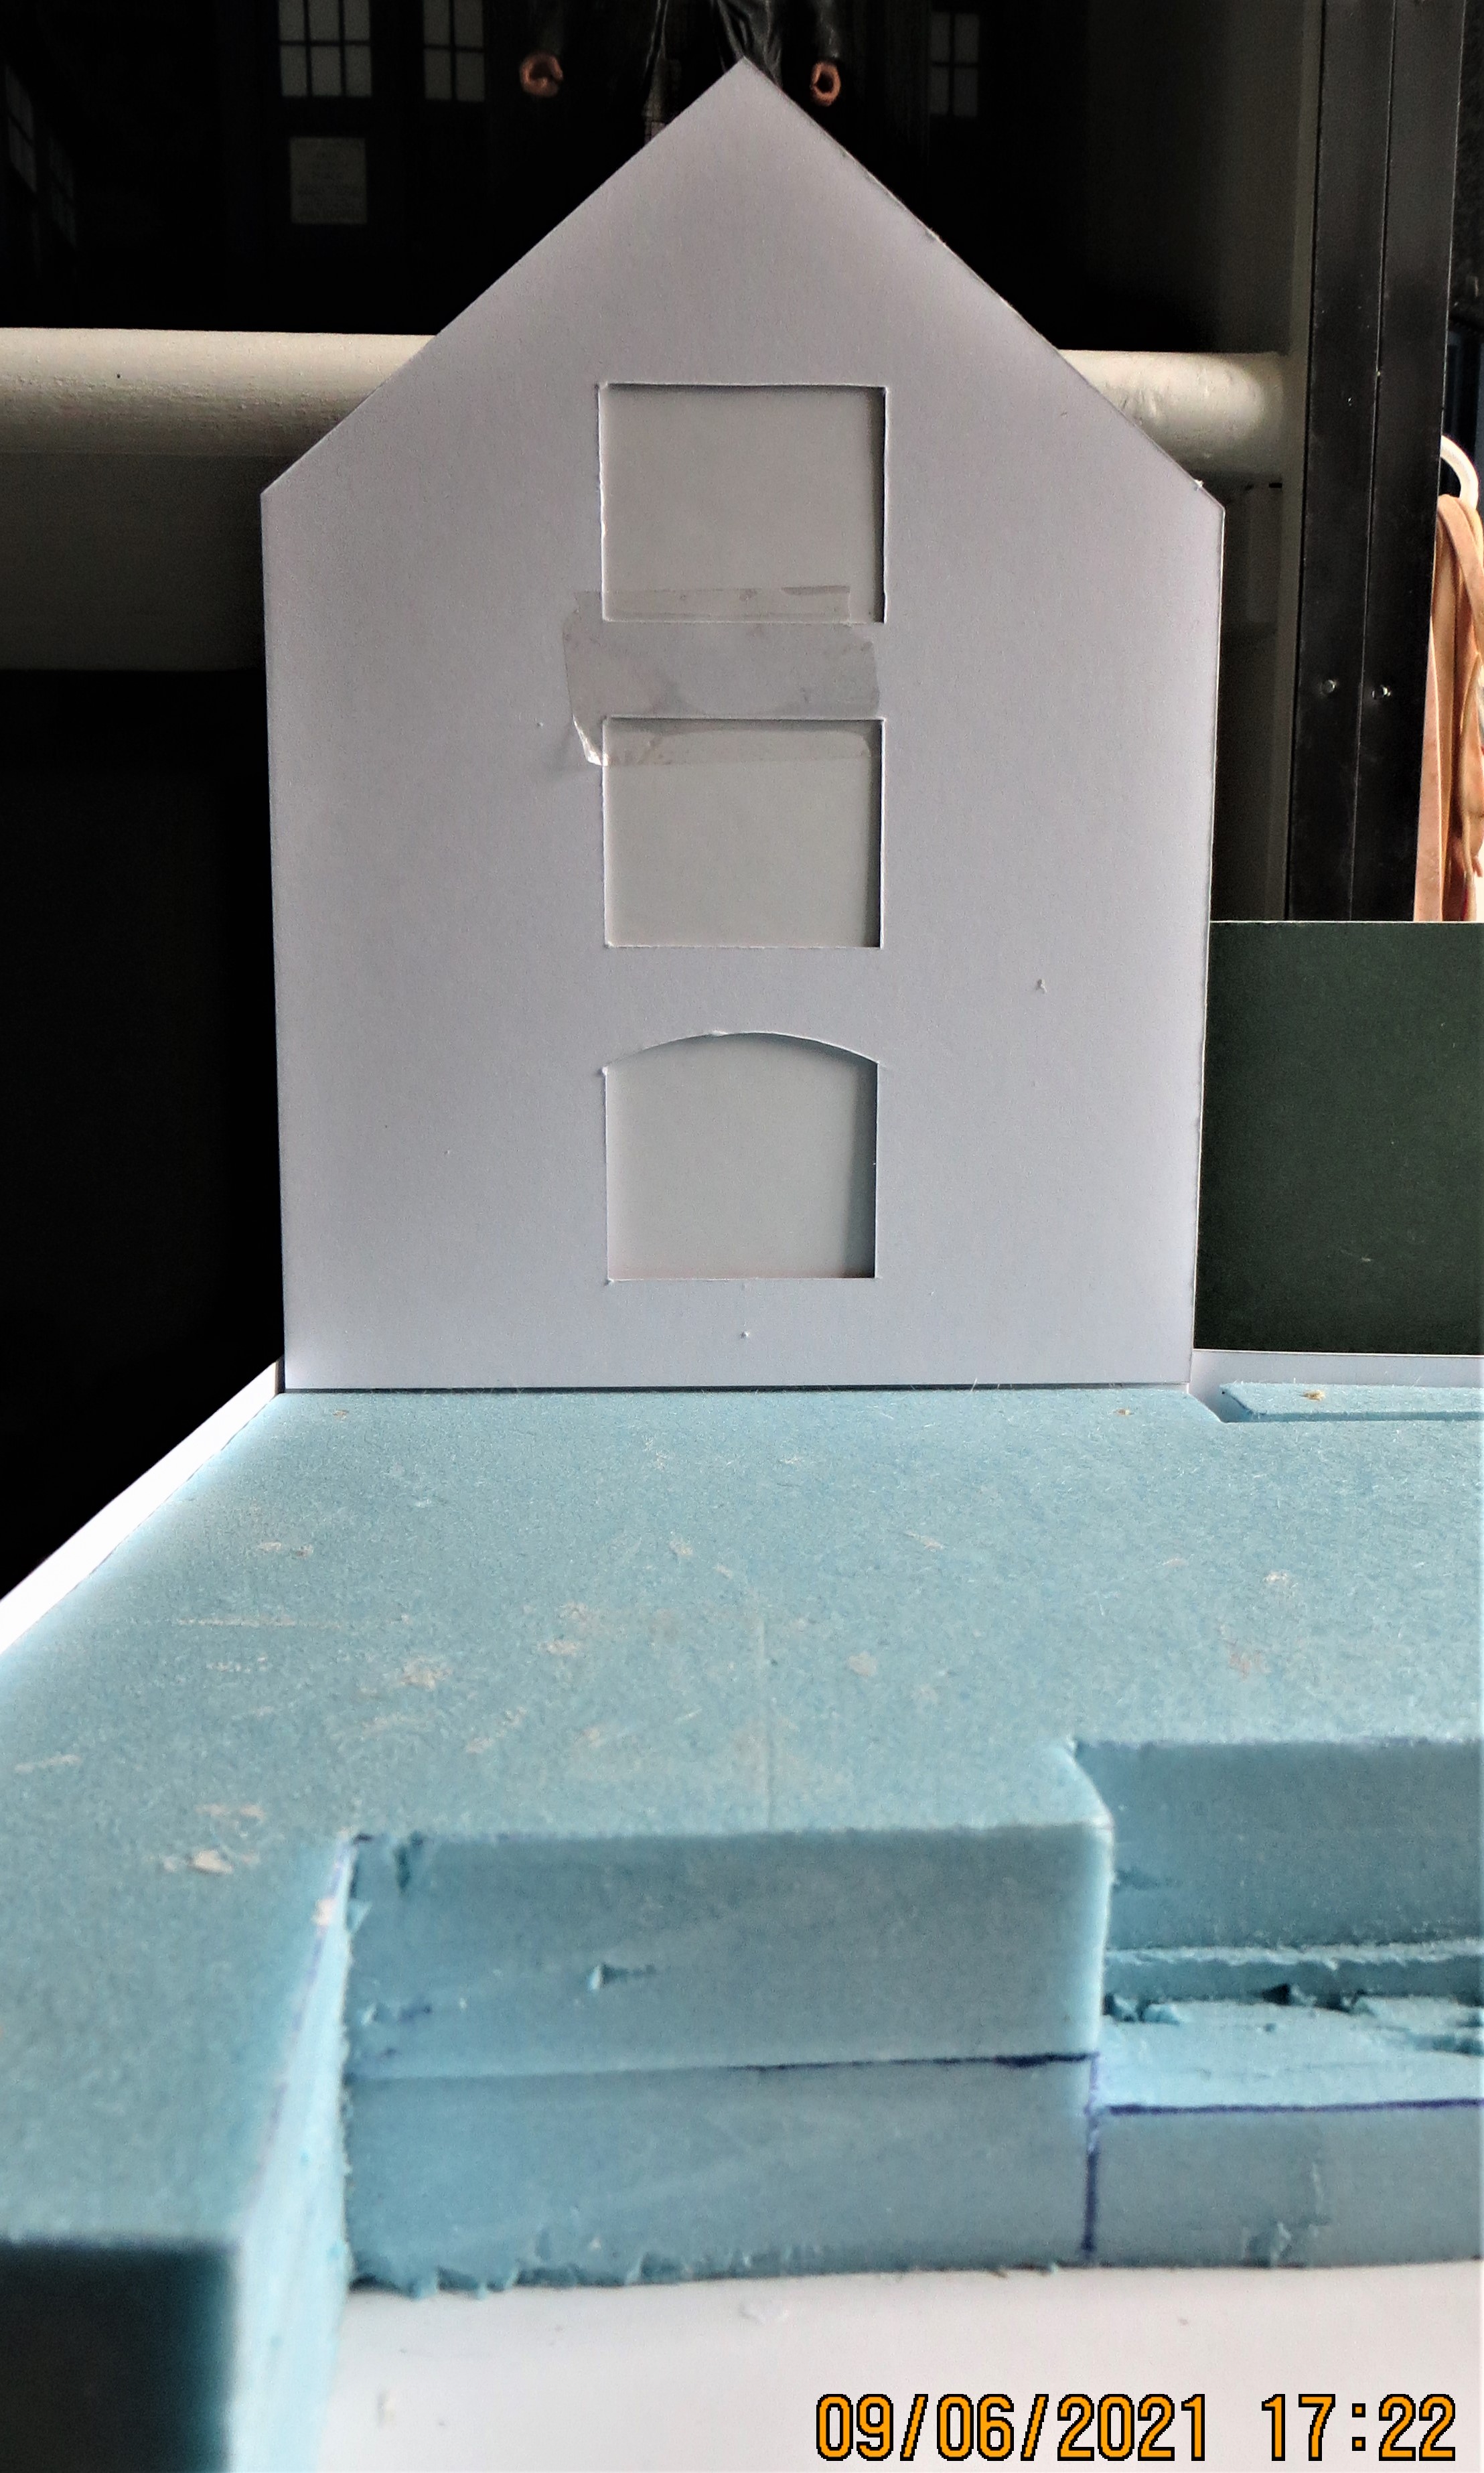
Hi all,
Started roughing out the first of the background buildings which I intend to be a 3-storey warehouse, , trying to find ‘real’ dimensions is proving a struggle, , so I’ve guesstimated the doors at 10’ wide x 9’ high to arched lower door, and 8’ high for the other two, how realistic this is I’m not sure, …
Shame there isn’t a ‘modelling source’ that gives useful dimensions that one can use as a basis, such as typical warehouse timber door sizes, and distances between floors, etc, that could be used as guides, and as a method for scaling off of drawings/photos, .
Not sure if the second building will be another warehouse or maybe offices, but it’s likely to be just 2-storey, and I’ll probably orientate it so that you see an Eave elevation as opposed to a Gable one, just to add a little interest.
Cheers, ,
G
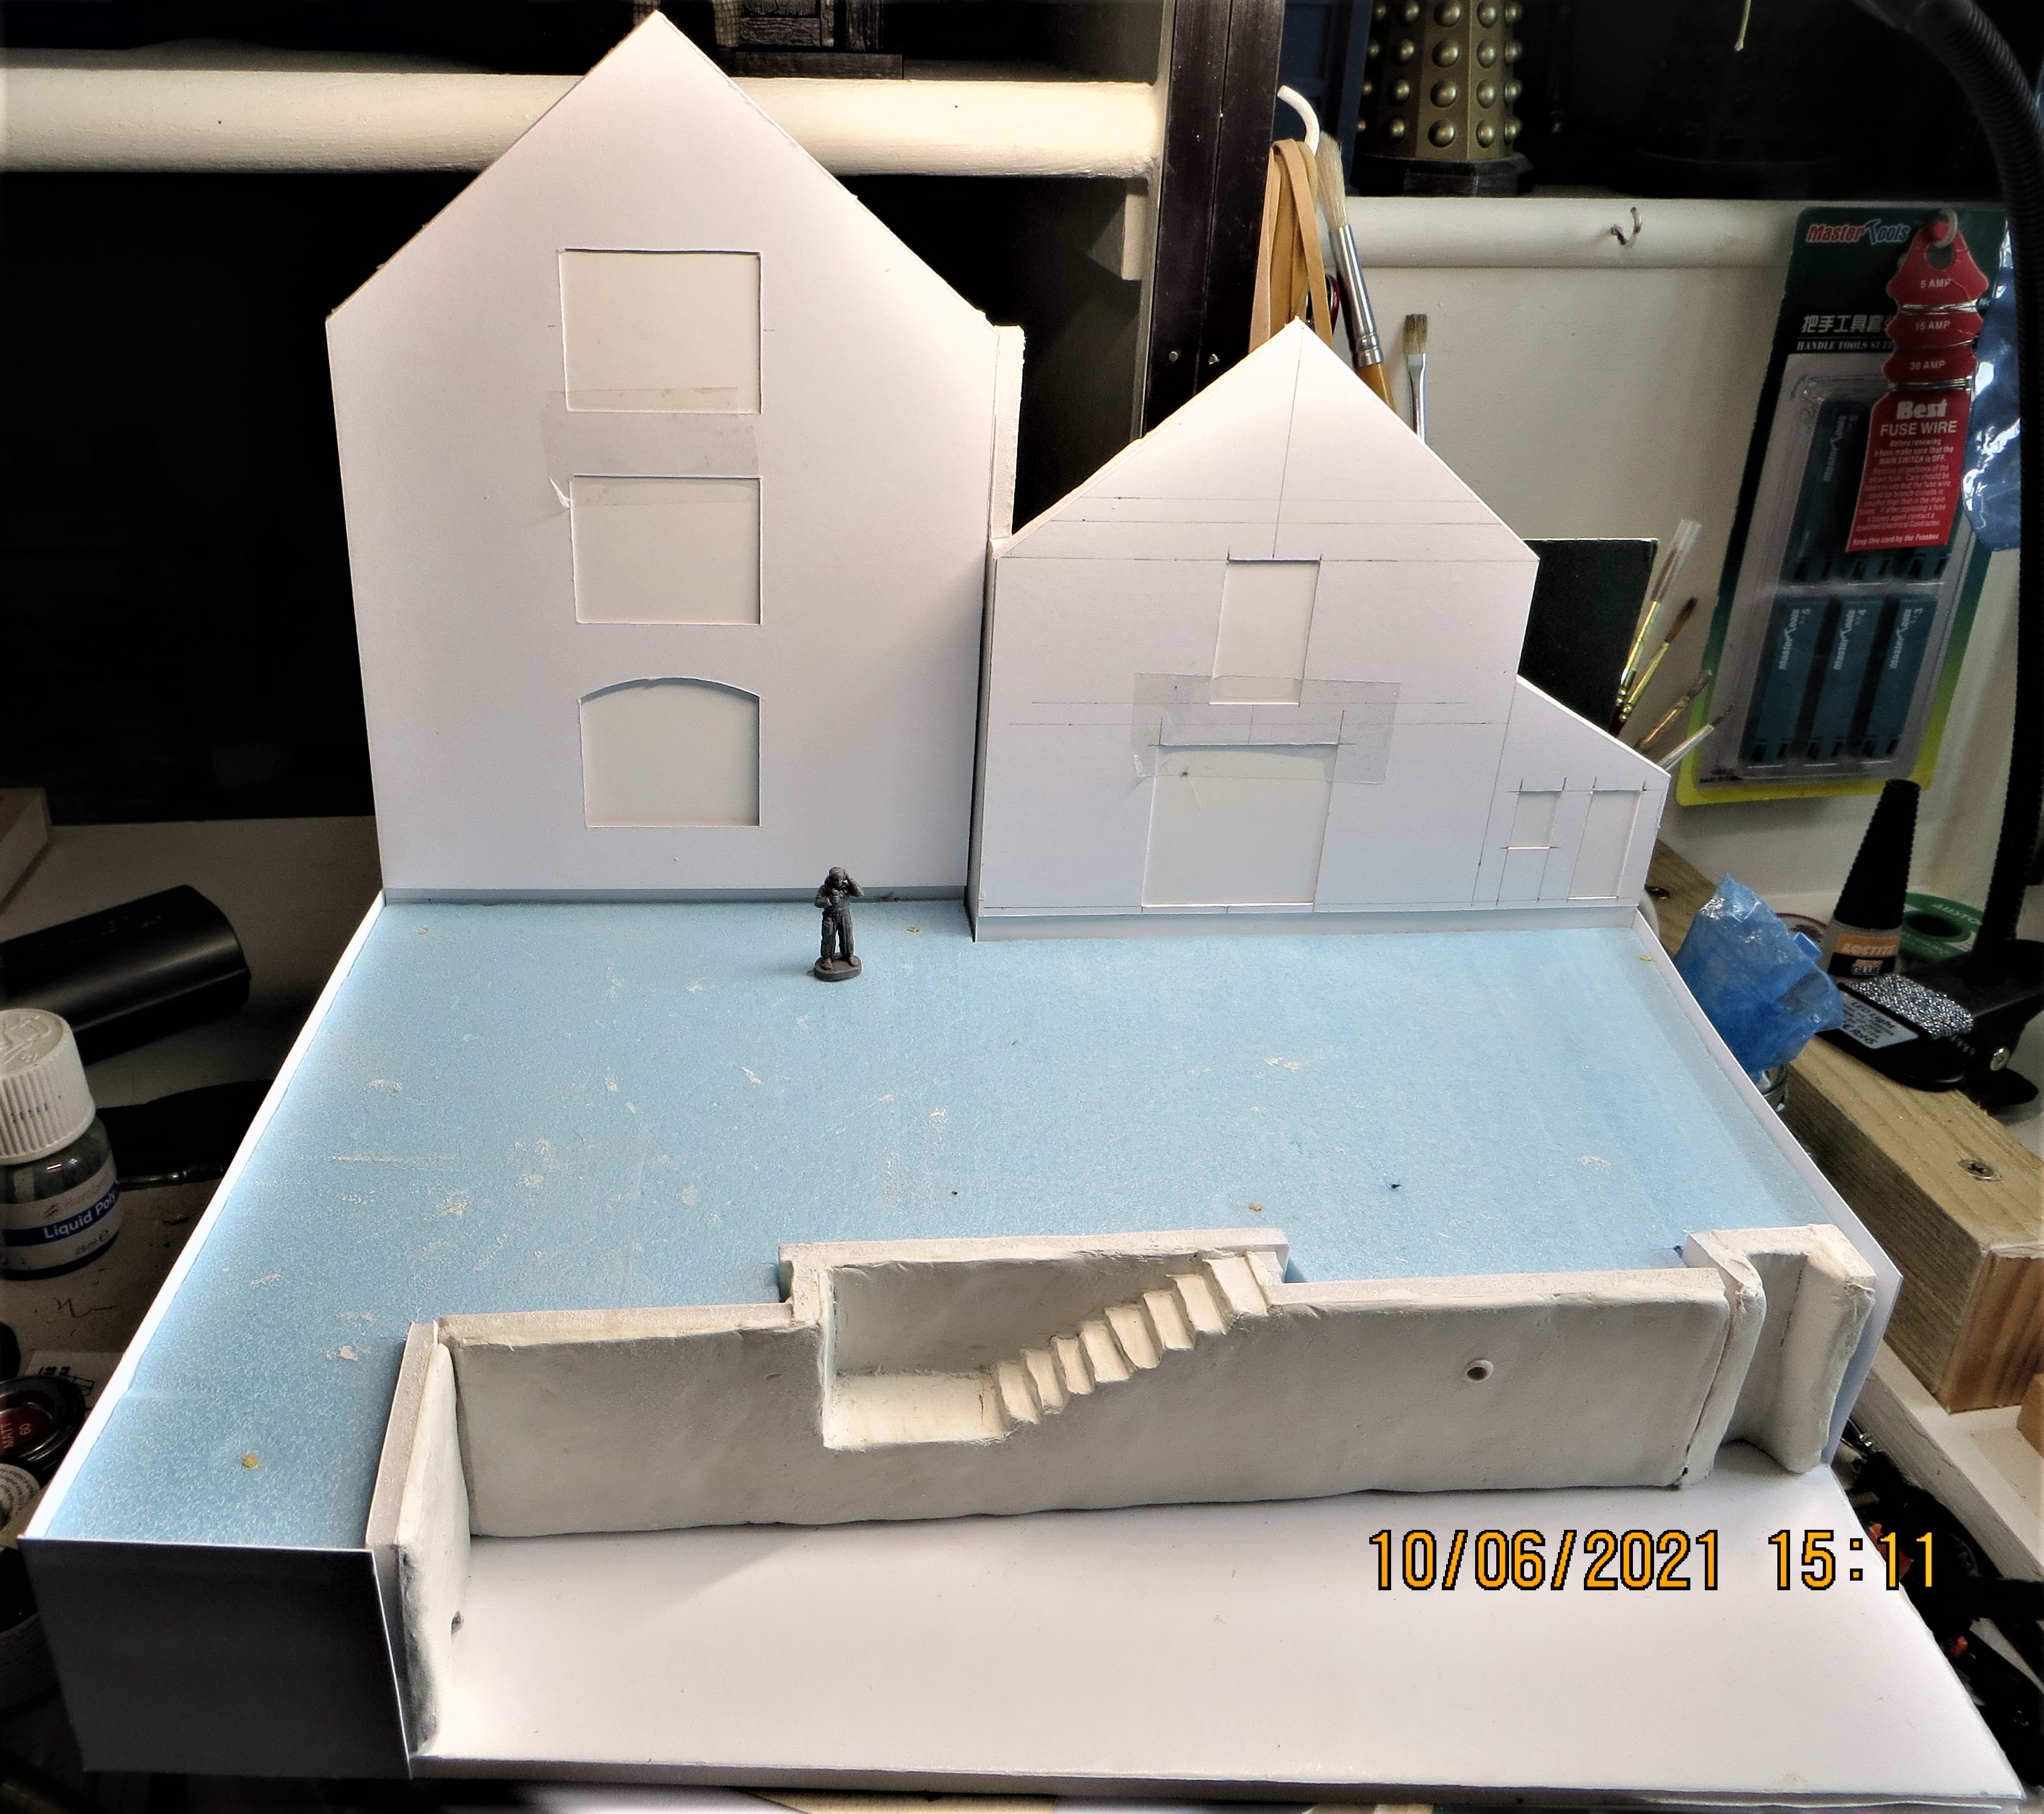
Hi all,
Roughed out the second background building façade, in the end I chickened out of doing an Eaves elevation as I struggled to picture in my mind how the roof would marry up with the other façade, …not bright enough to work it out,  .
.
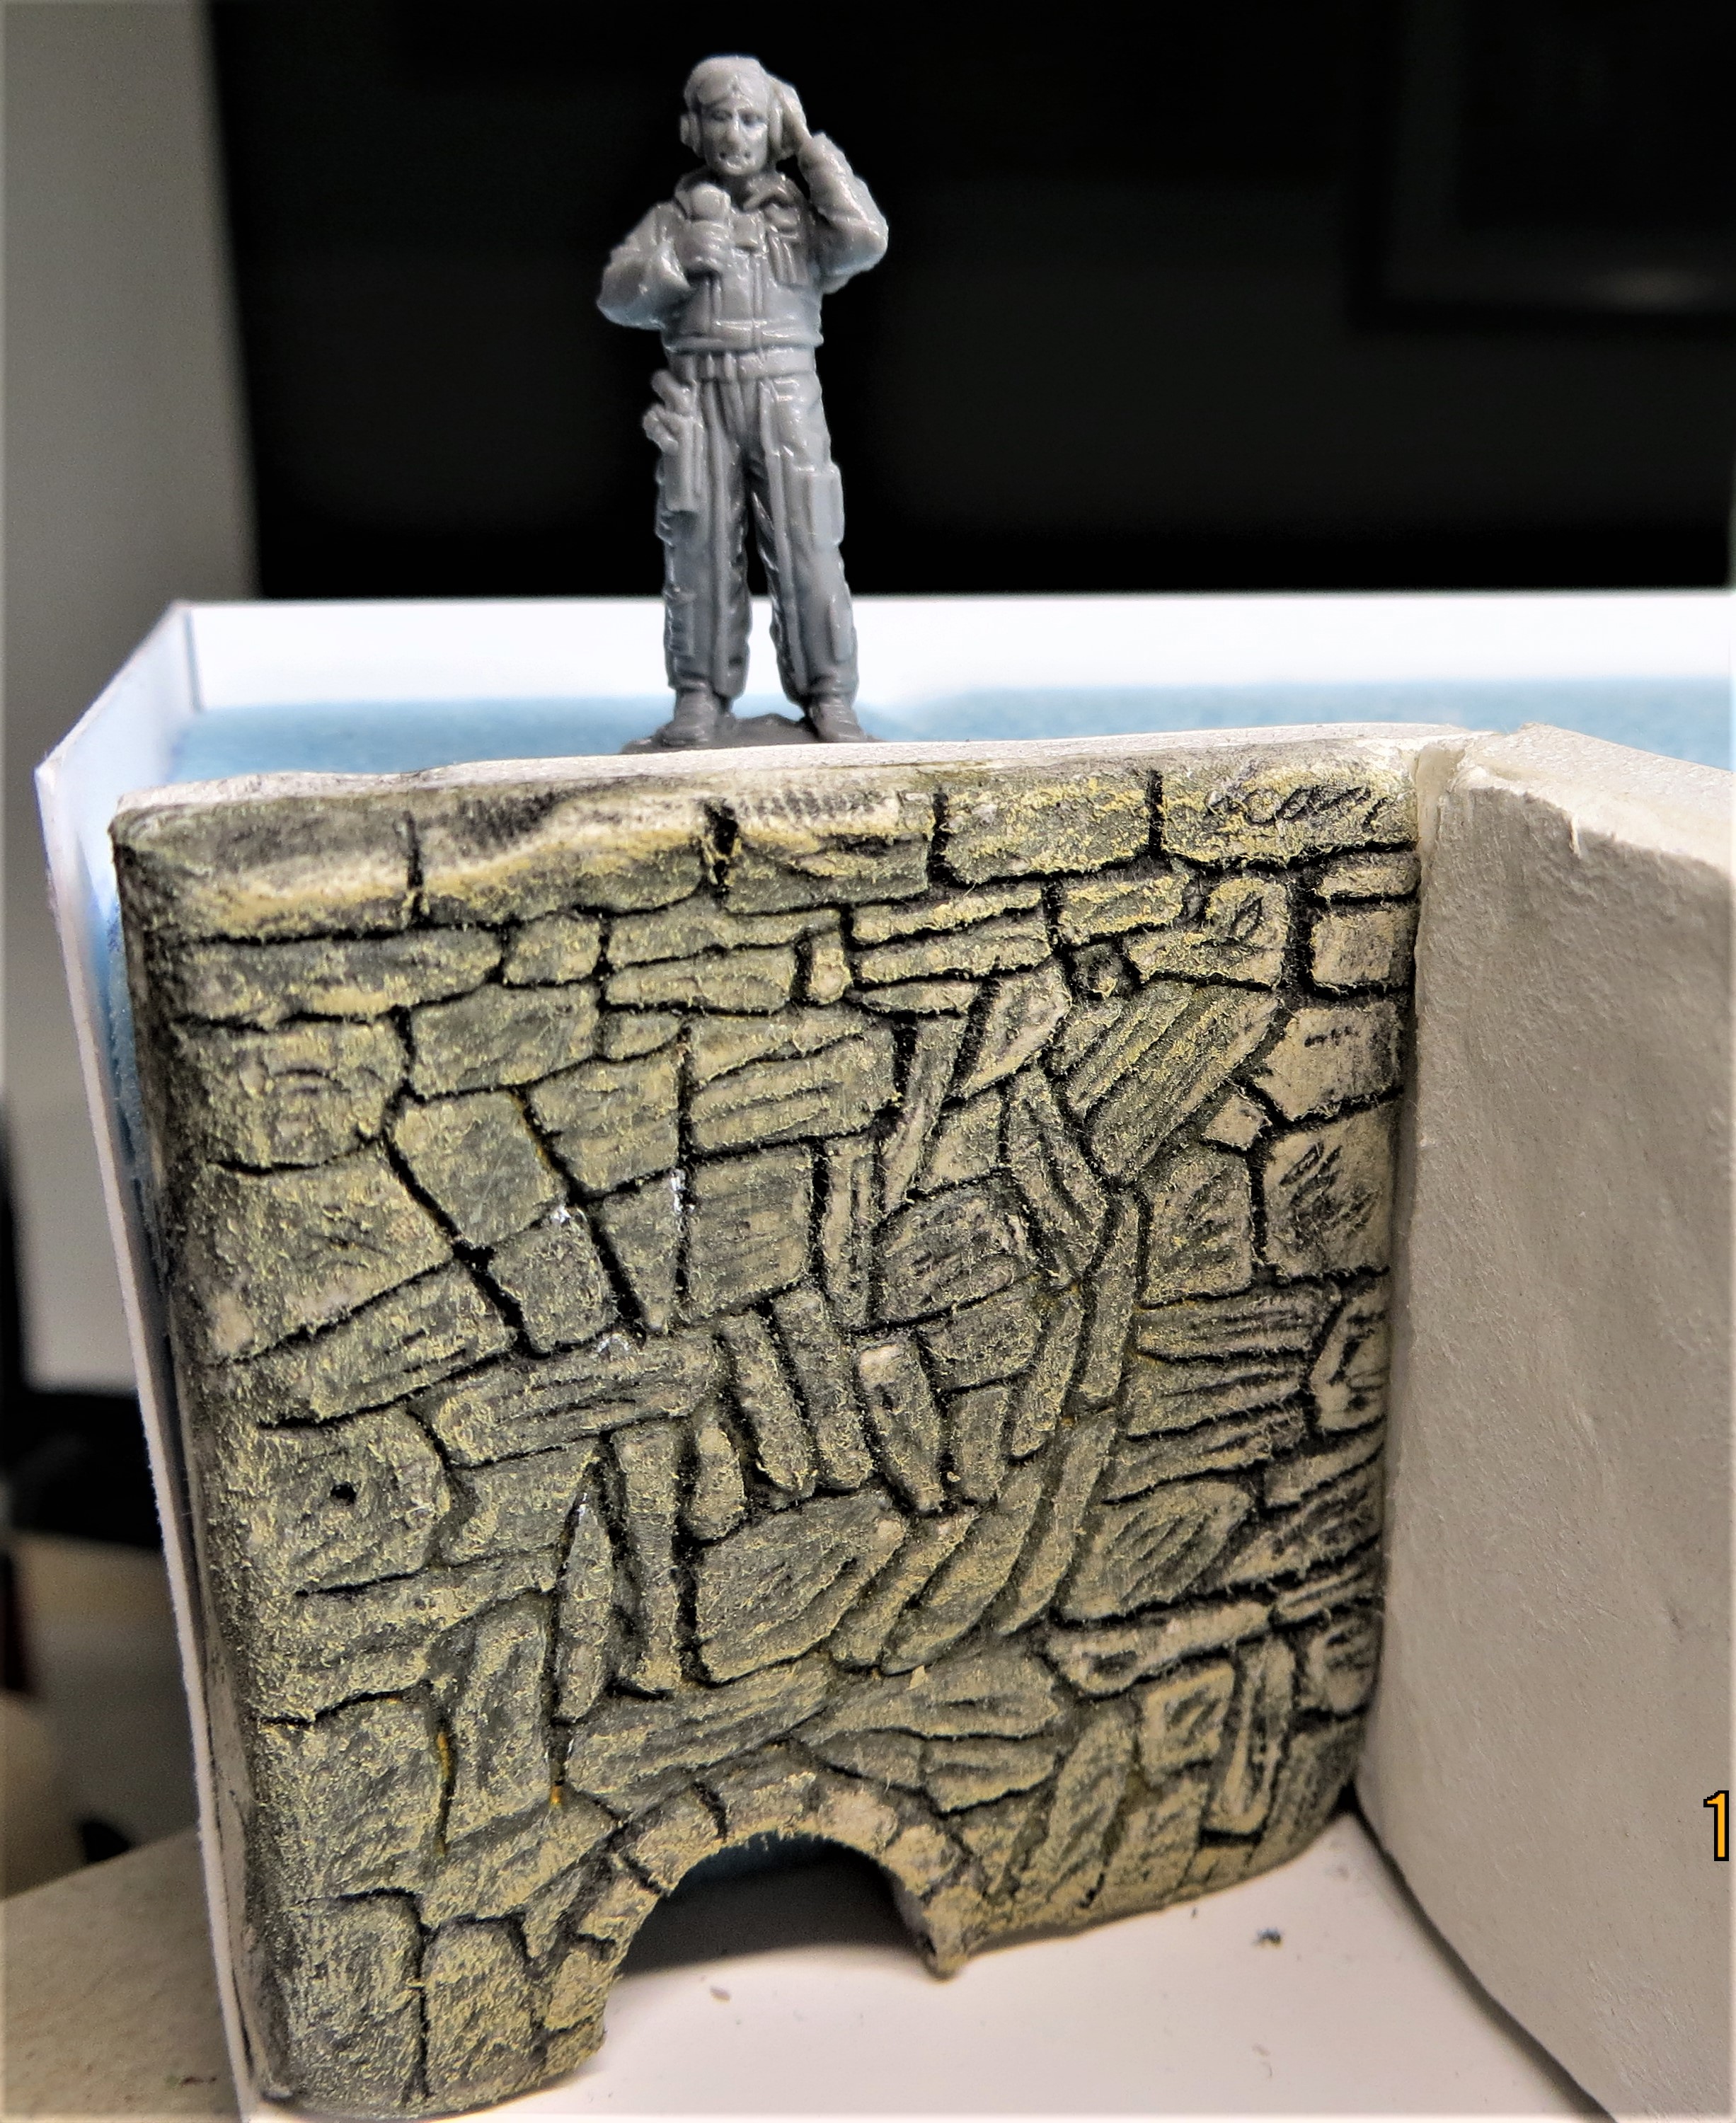
Also had a bit of a play at scribing out some stonework to the small end wall of the quay, the colour isn’t the fiinished article, it’s simply to allow me to get a feel for whether it works, or not, .
1/72nd figure for scale only.
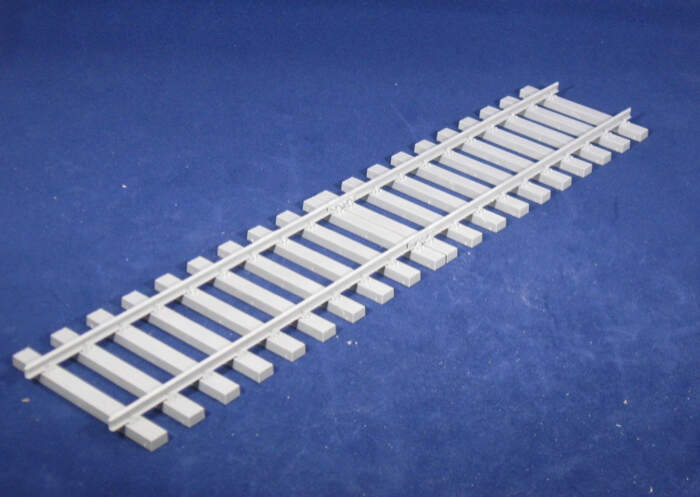
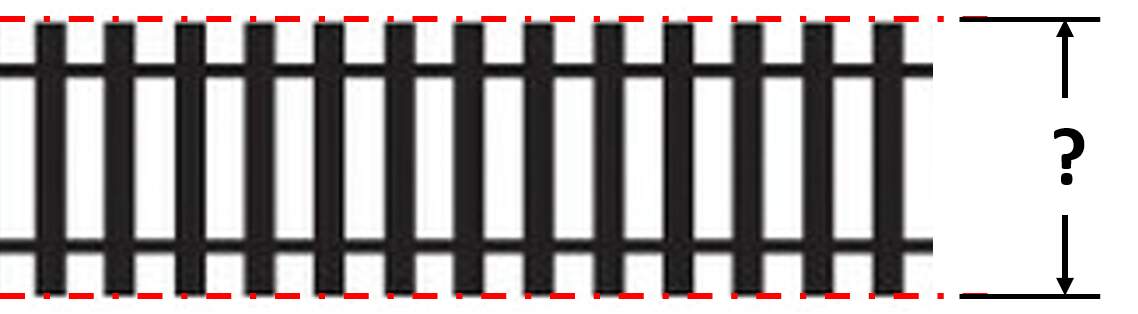
Can anyone tell me the outside width of 00/H0 track, I found 16.5mm online, but I’m not sure if that is the actual distance of the rails or end-to-end of the sleepers, . I’m after the dimension highlighted below by the ‘?’.
Cheers, ,
G