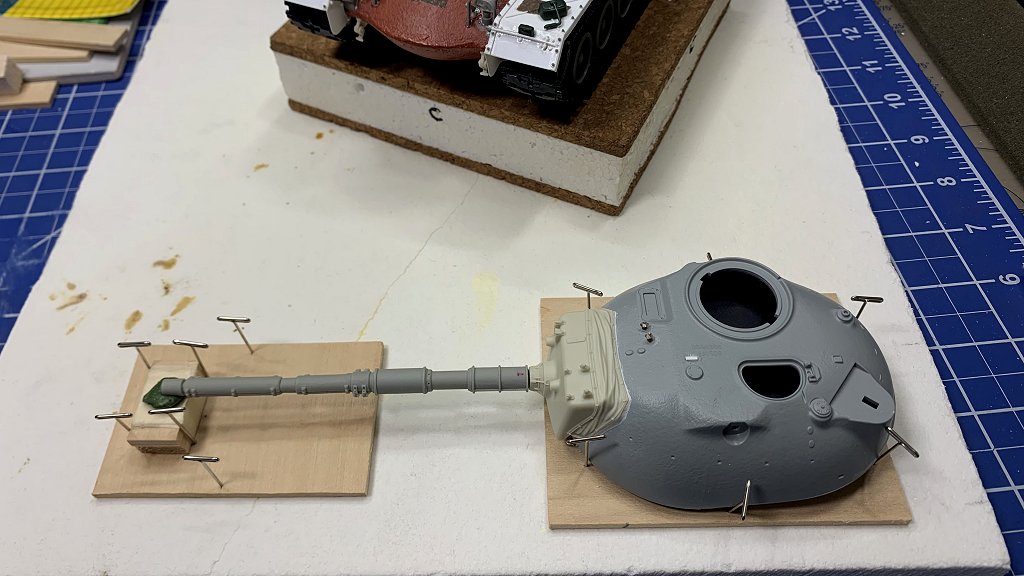
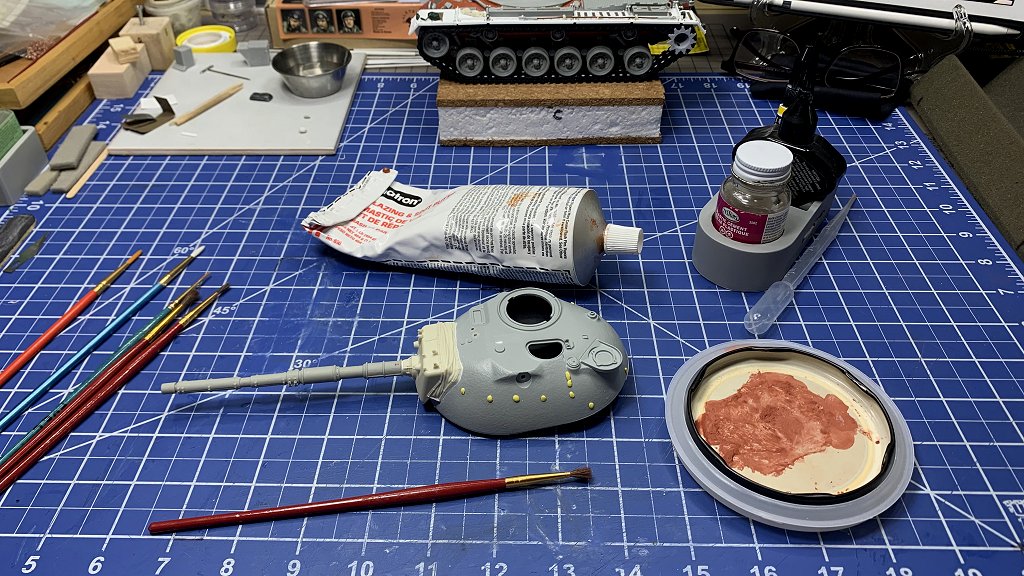
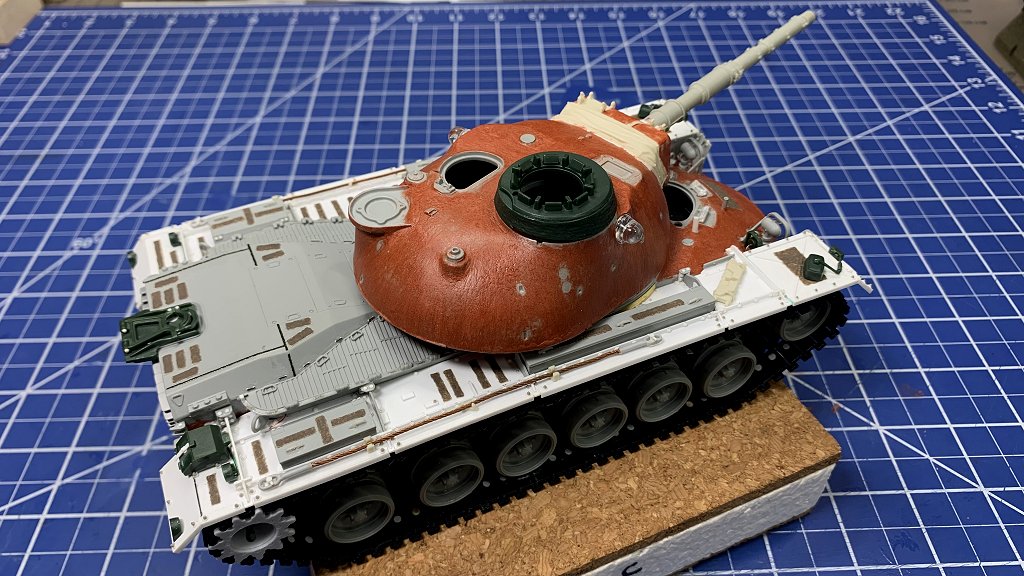
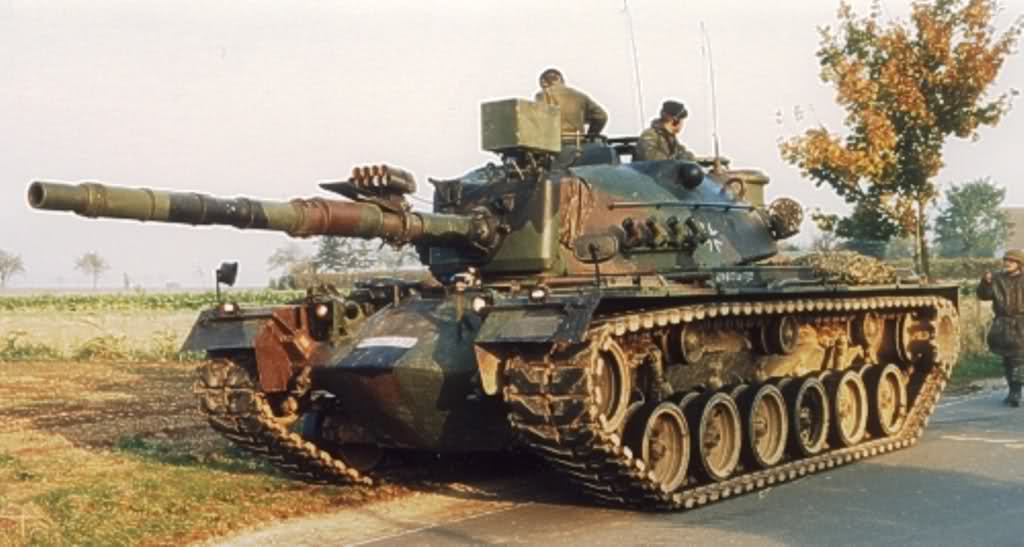
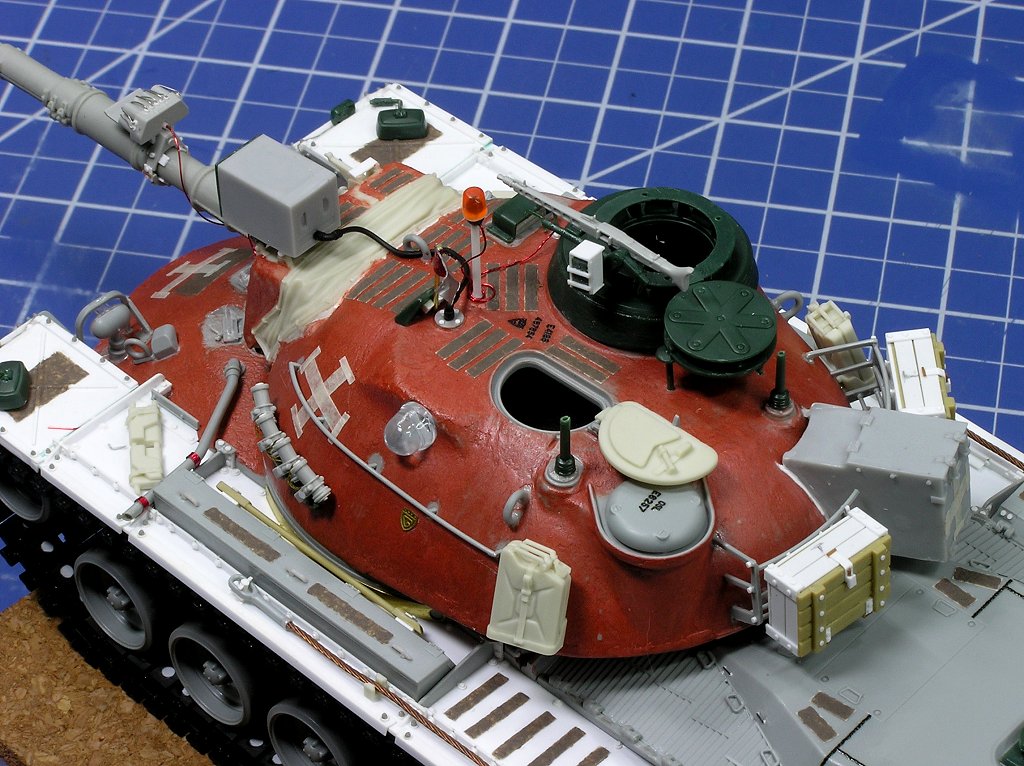
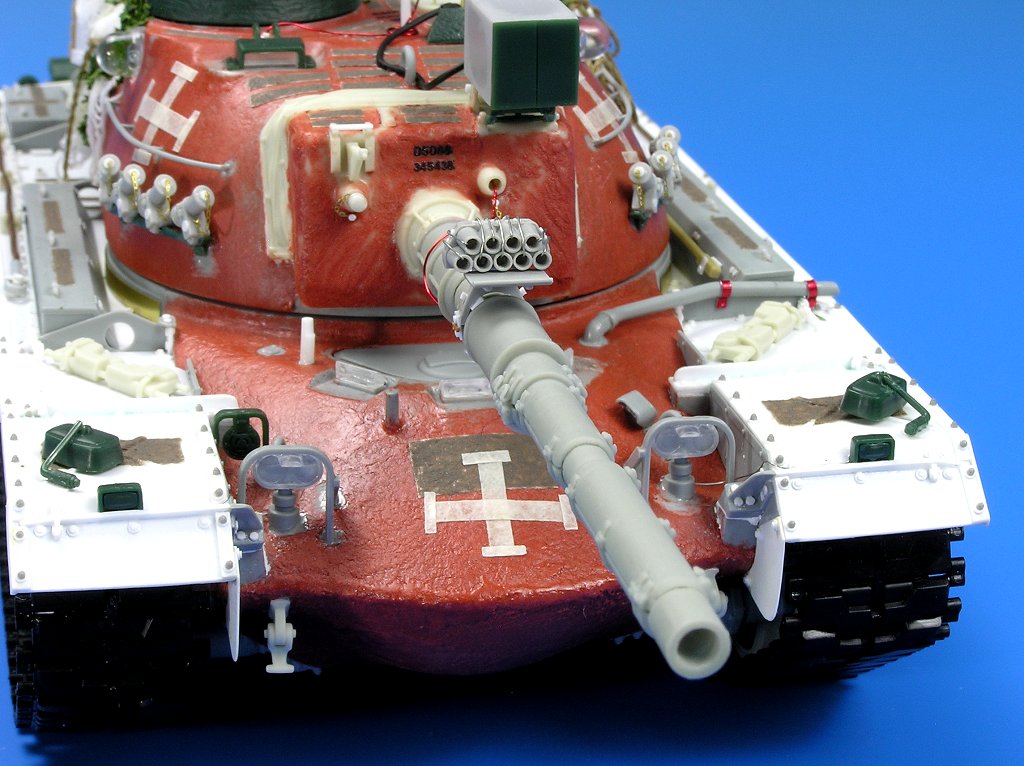
After much feet dragging and apprehension, work began on the turret with the attaching of the gun shield and gun tube. But in the end I was able to pull it off and then texture the turret in preparation for further detailing. Now it’s starting to look like a tank!!
First up I added that platform for the figures
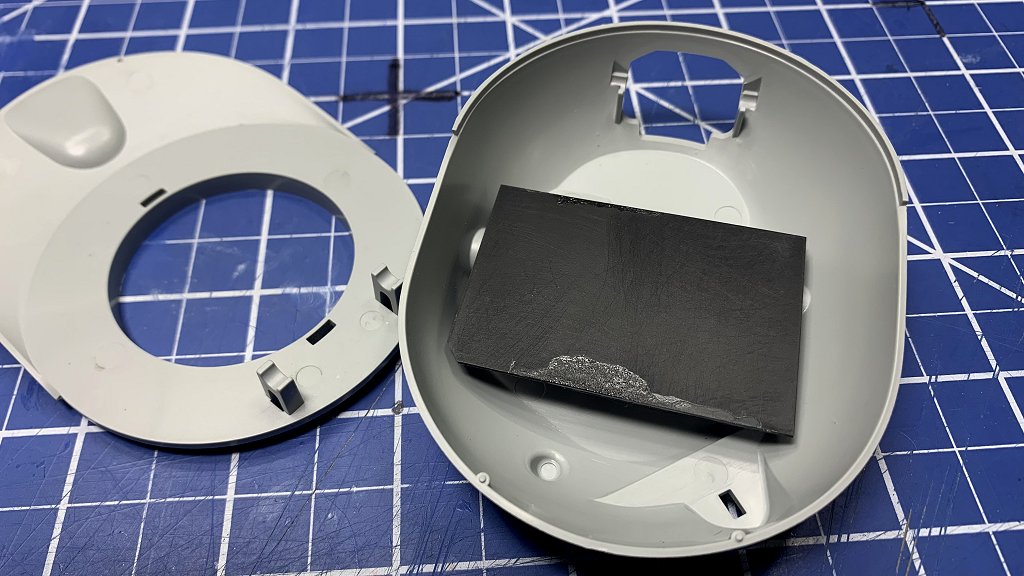
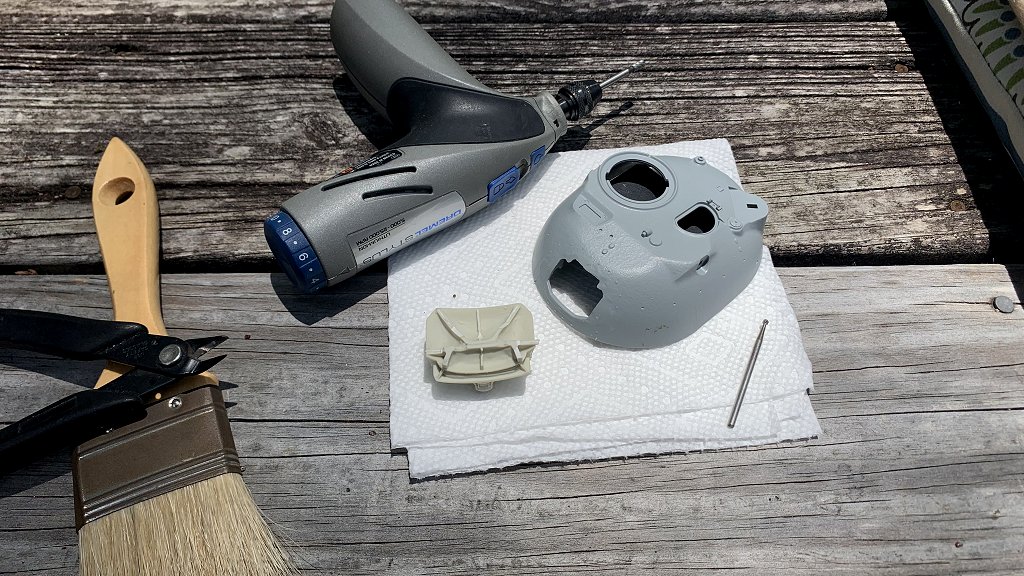
Then removing the pouring blocks from the resin. Did that outdoors with a mask
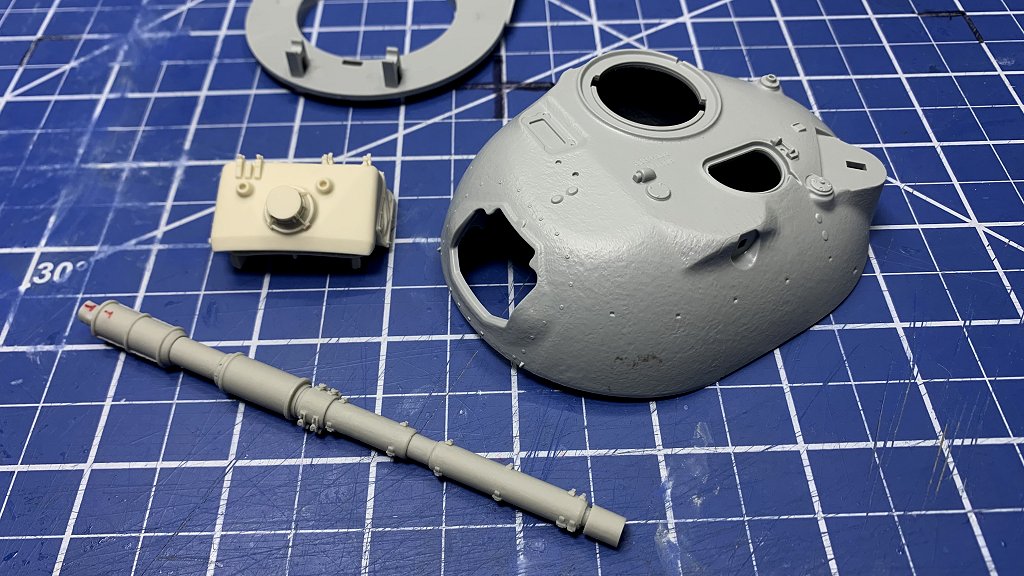
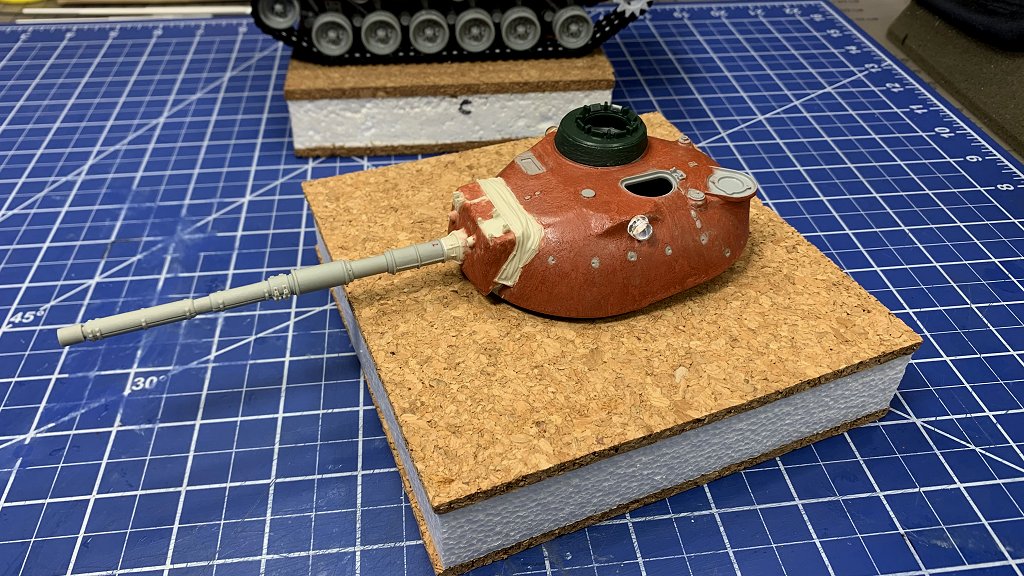
Then Attaching the parts with a combo of epoxy putty and glue
Then adding the texture…I really got to find a new way of doing…man what a headache afterwards
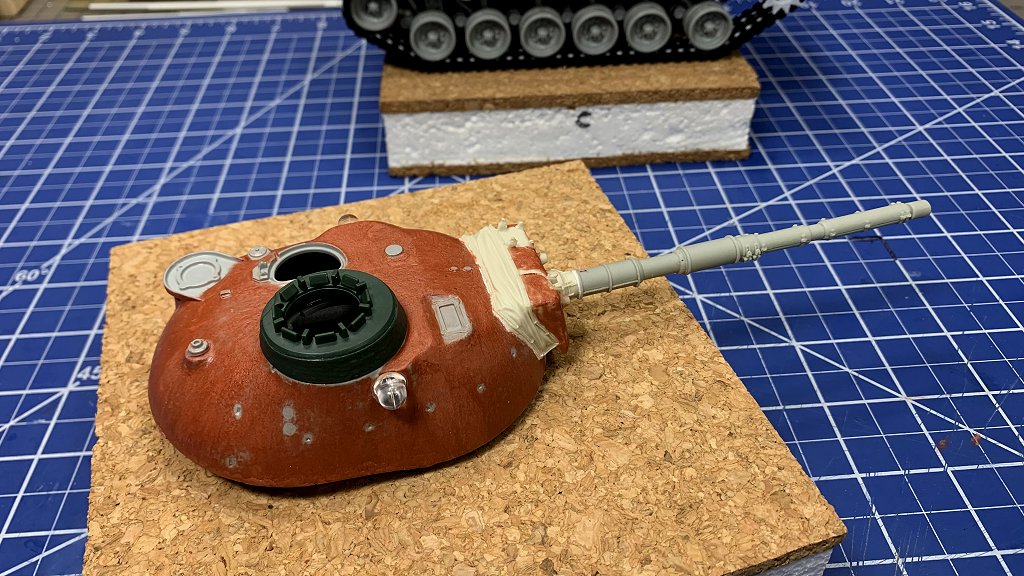
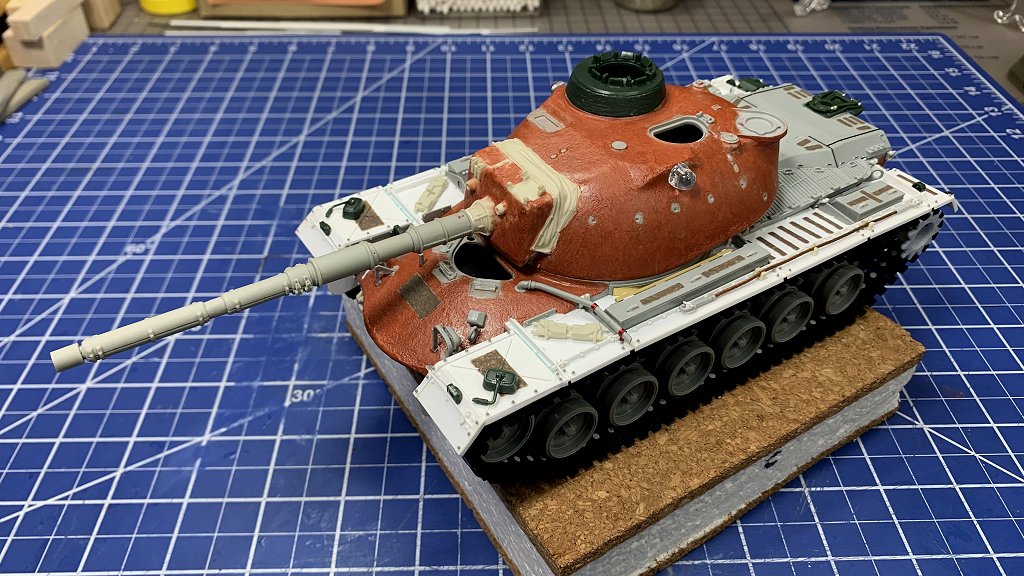
Starting to look like a Tank!!! 
Thanks For Stopping By!

8 Likes
That texturing looks really great!
1 Like
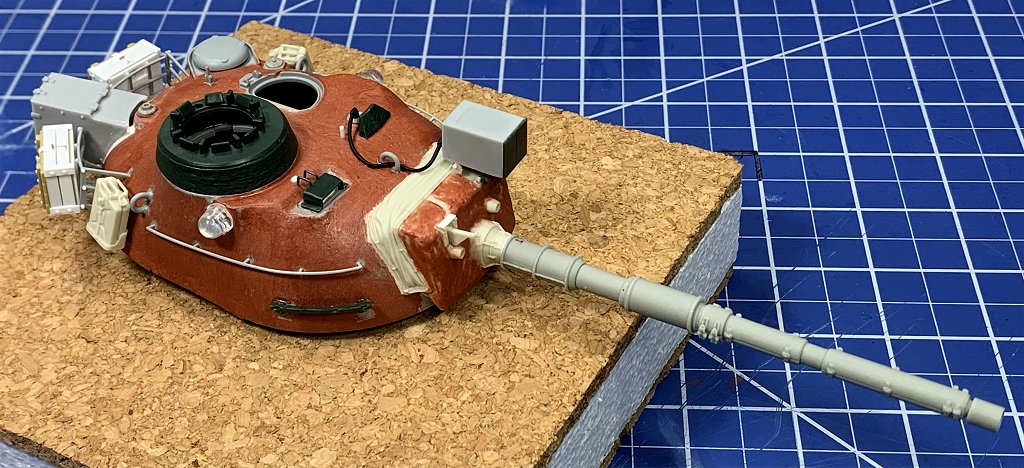
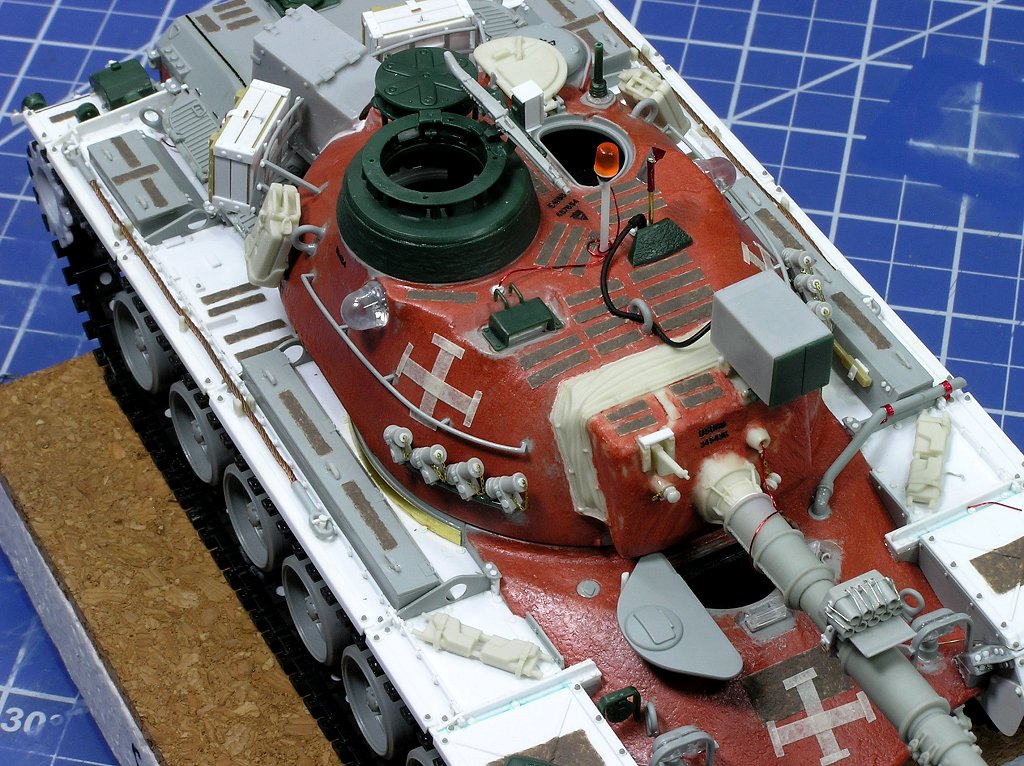
Detail work continues on the turret. Getting close to the end of the construction phase.
Thanks for Stopping By!!


6 Likes
Always a treat to see progress on this one 
1 Like
Thanks Sir!! I’m getting excited for the upcoming paint and weathering.
Nor sure about epic, just trying to make a good show of it. Thank You Chris.
Brother you are rocking it.
I was enlarging the images to at study your work . it is super clean and well executed.
Ill be keeping my eye on you
1 Like
Looking fantastic Eric, can’t wait to see it with paint !
2 Likes
Eric, 'love the extra work you’re putting in on this; however, just a thought - are you planning on adding any camouflage nets - either stowed or draped? Nearly all the Bundeswehr beasts I recall from various exercises were so bedecked. Of course, it’s a bit counter-intuitive to cover up all that lovely detail, but just a suggestion.
1 Like
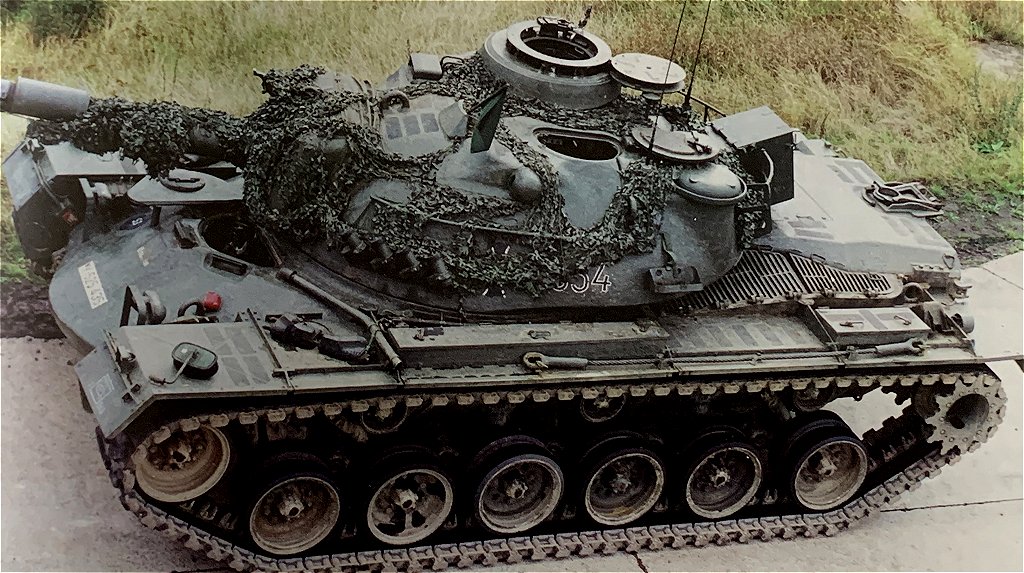
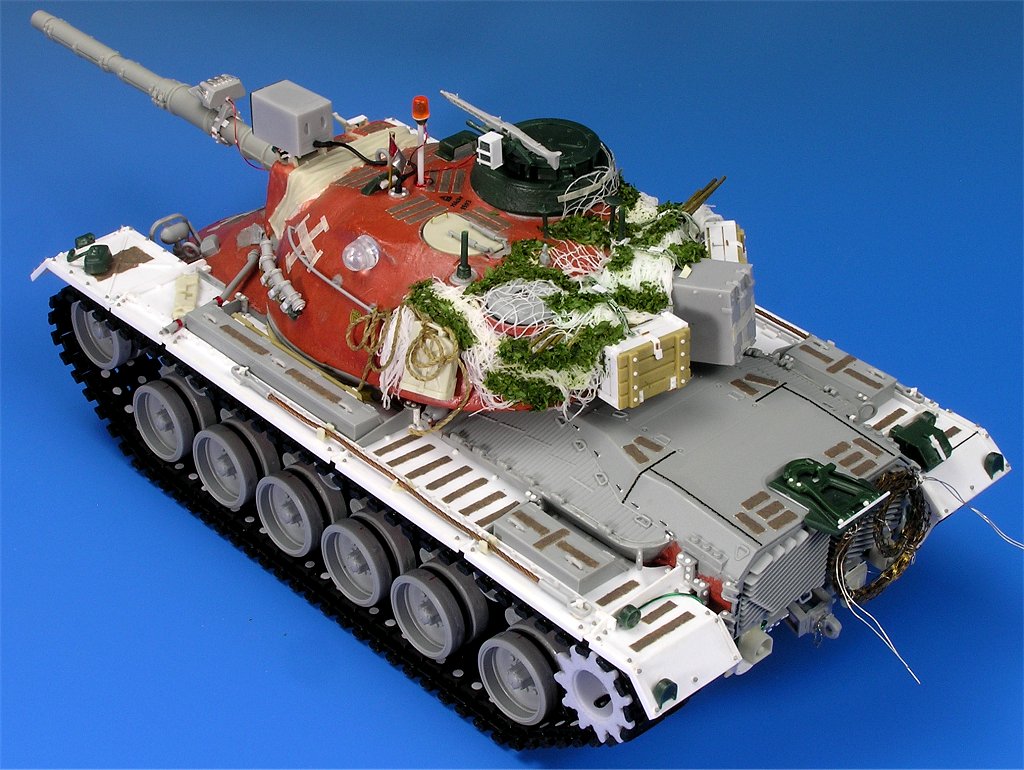
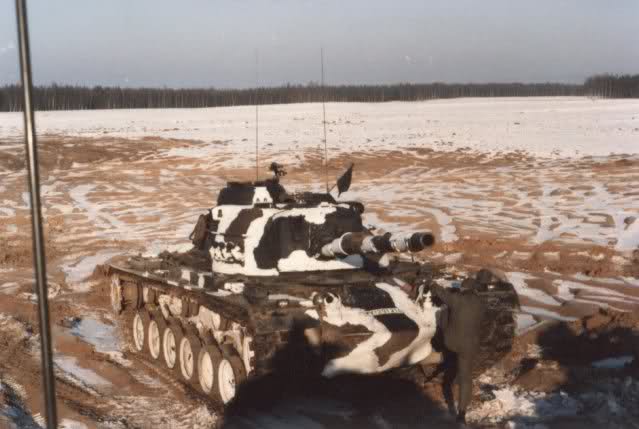
Thanks Boots!! The plan is to show this in exercise “colors”, so a net is planed along with some stowage, hence the boxes on the back the turret rack. Not sure just how much I want to cover with the netting but here are a few examples I’ll be using for inspiration.
FOR DISCUSSION ONLY!!
…or Maybe just like this
4 Likes
'Love it; man after my own heart!
Looking great. Careful with the netting, you might get carried away.
A couple of teaser photos in case you change your mind about the netting:
5 Likes
Really great job on the turret. The whole project is a pleasure to look at. I’m eager to see it with some paint on.
Olivier
1 Like
My first tank model was an M48 many, many years ago, and it left a soft spot in my heart for them - this is a gorgeous model and I, too, eagerly await pics with paint on.
1 Like
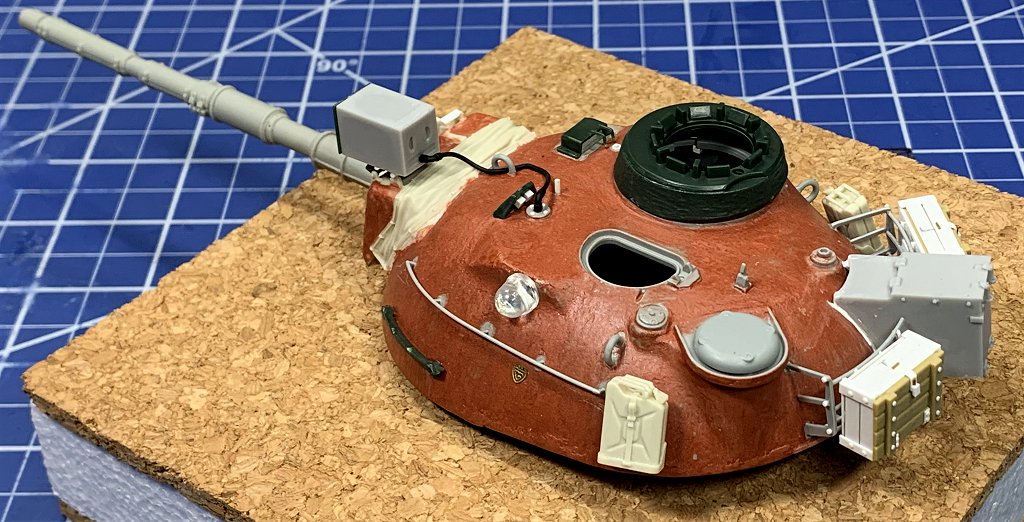
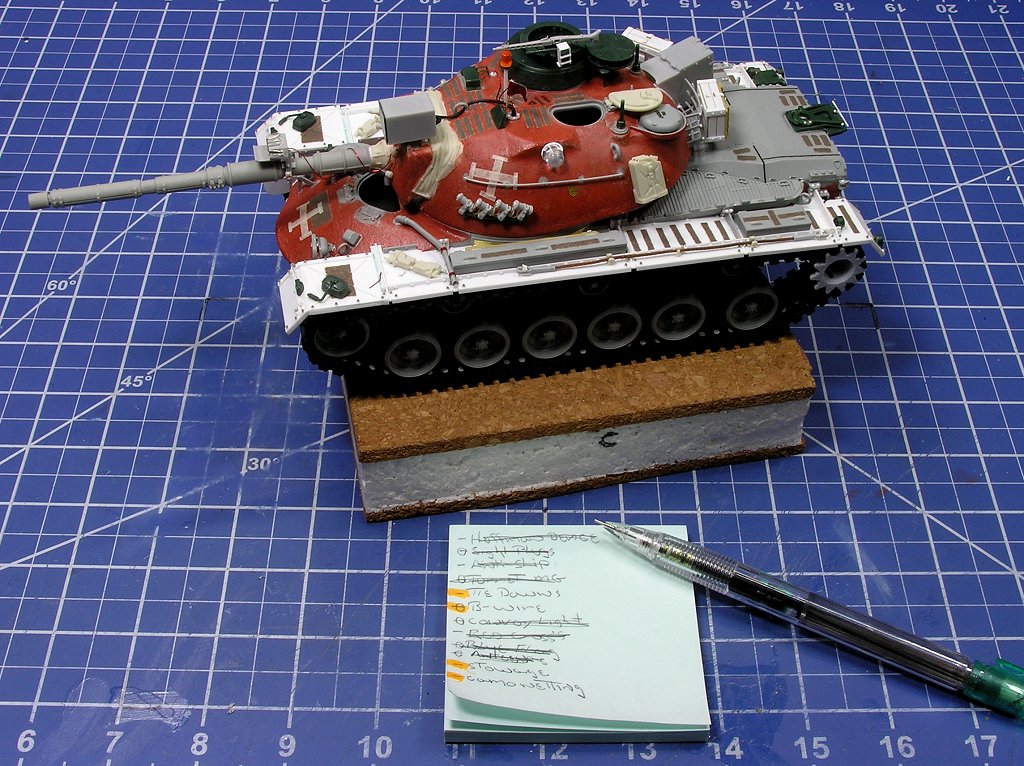
Its a good feeling when your so close to finishing the build phase you have to make a list as not to forget something. All that left is the stowage items… 
Thanks for stopping by!!
8 Likes
Looks awesome Eric ! So much detail on that thing, almost a pity to paint it. Beautiful job!
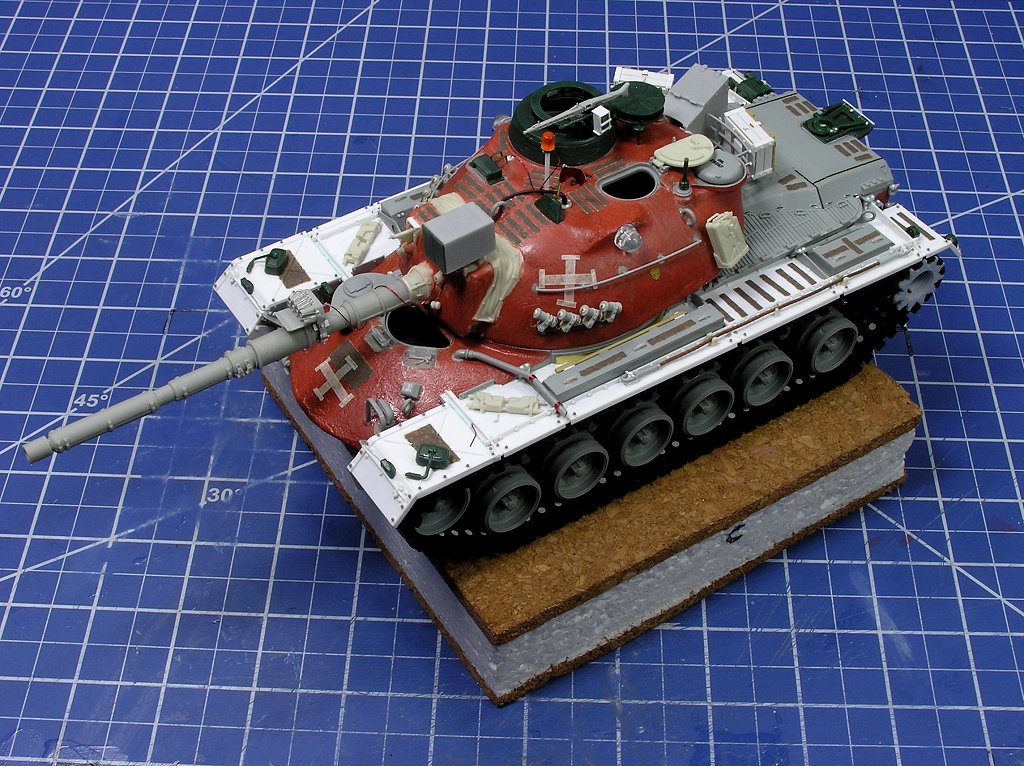
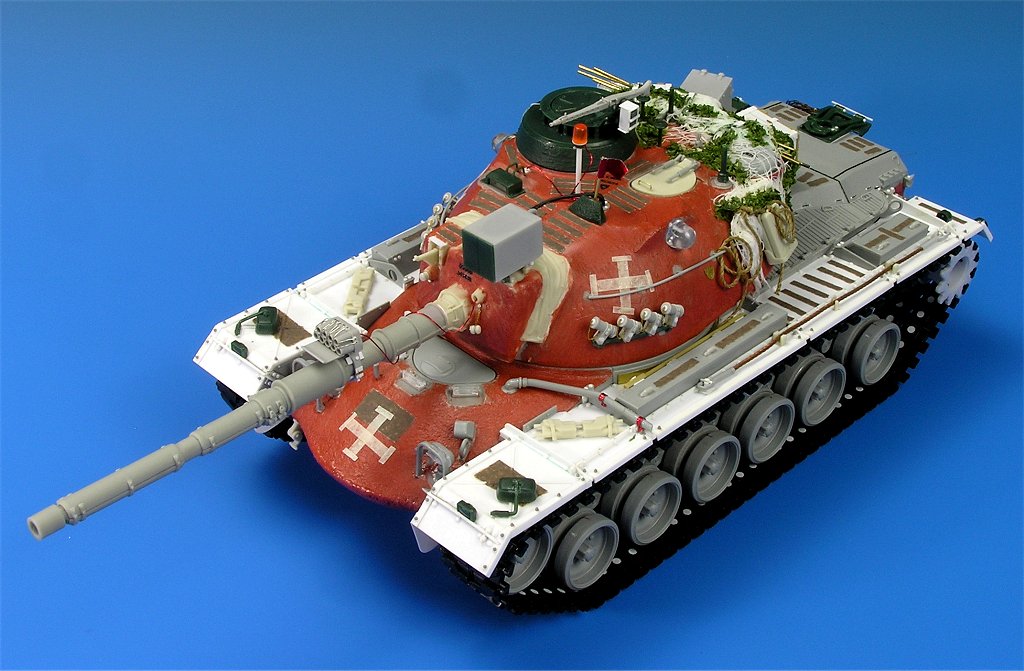
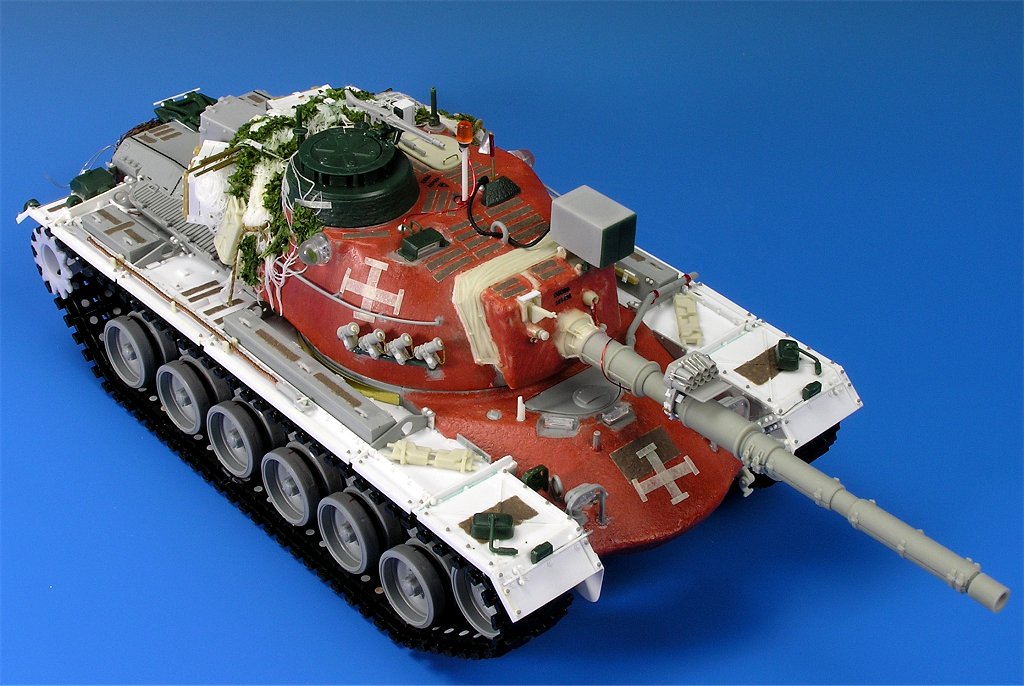
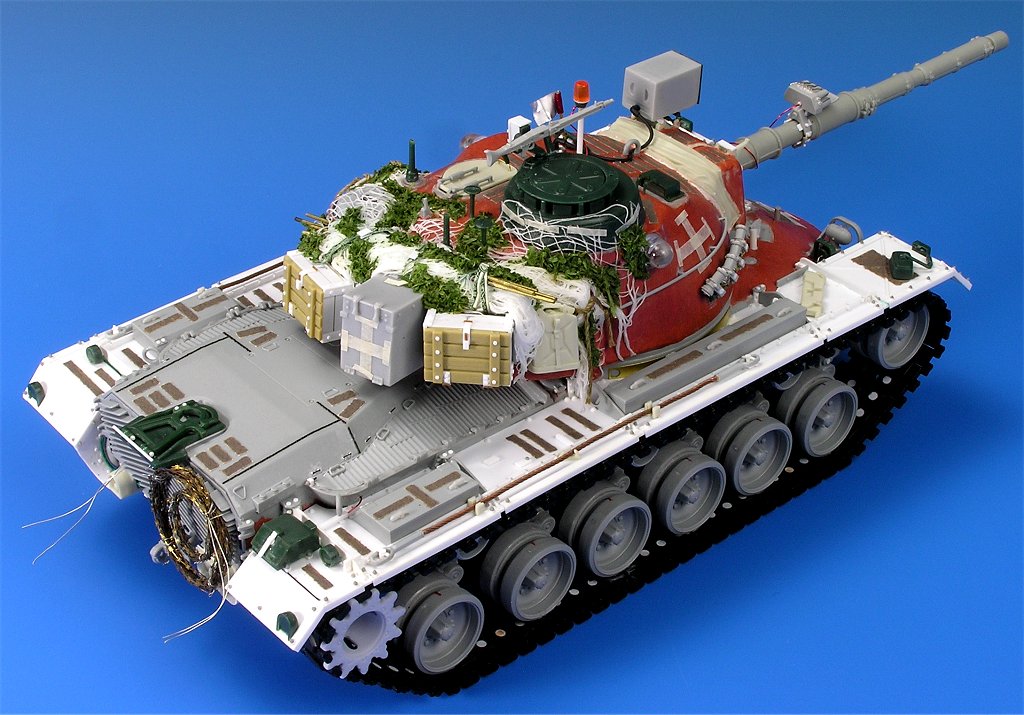
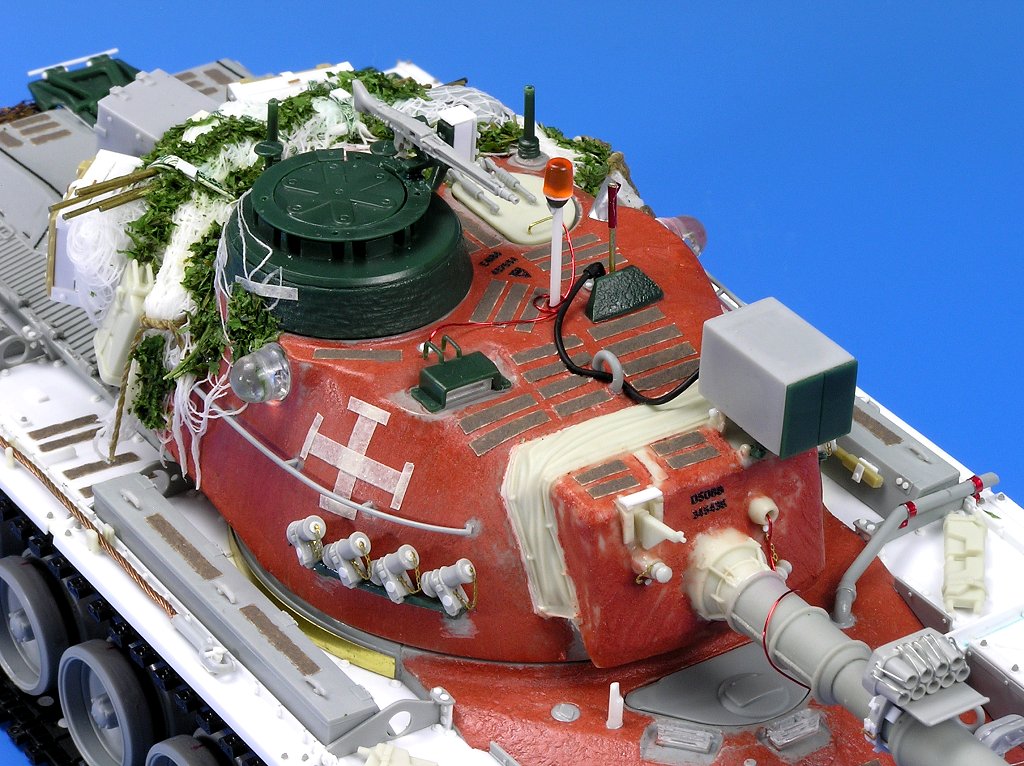
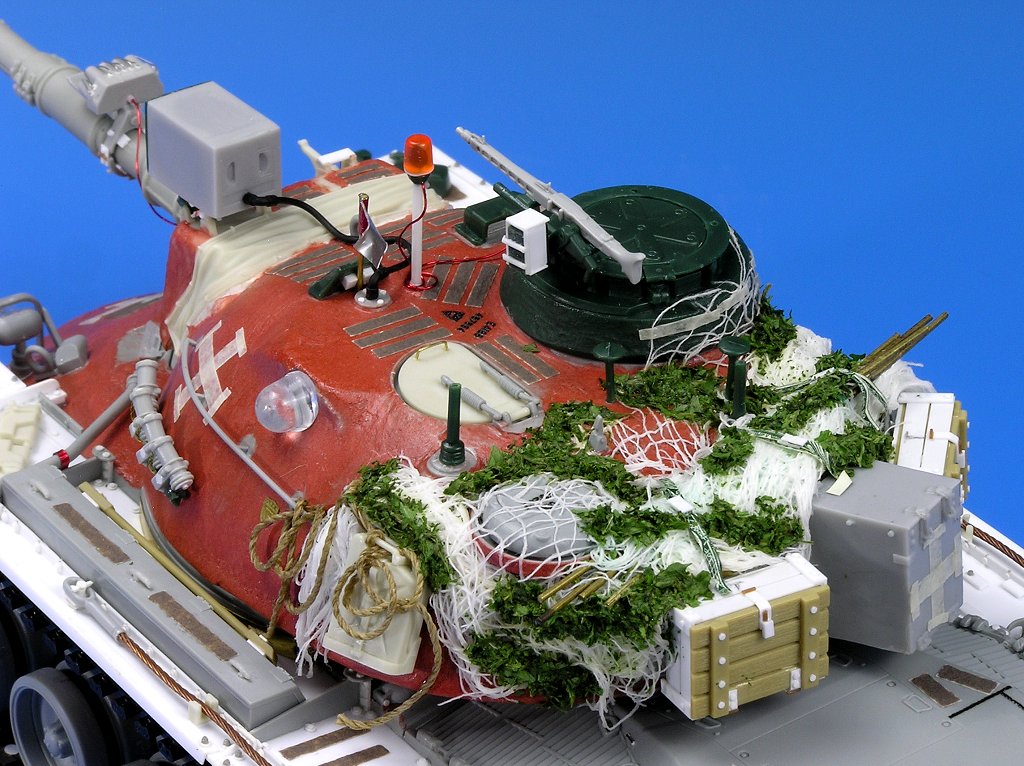
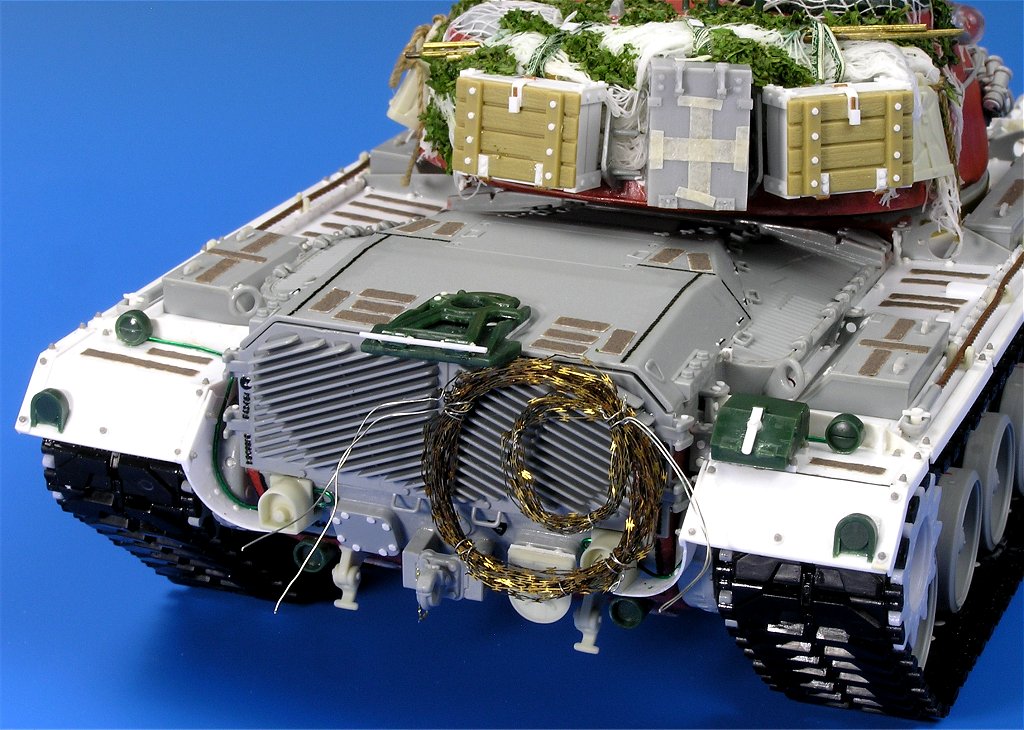
Finished up the construction phase and all ready for paint. Here are a few beauty shots before laying down the color.
Thanks for stopping by!
9 Likes
Incredible Eric. Love the pics showing the various materials you used. It’s a work of art as it stands now. Can’t wait to see it with a coat of paint on it.
Are those AFV Club tracks? You probably mentioned it in an earlier post but it looks like you cut out small discs to fill in the punch marks. I used a set from them for an Israeli Nagmashot conversation and while I love the detail on the tracks, there were 4 sink marks on each link, 2 on either side of the guide horn. PITA to fill.
Again outstanding job!
1 Like