Kenworth 963 Super 1/24 scale

Hello gents, and thanks - yes, that “box” - it is huge - it’s funny, with no context, it’s hard to tell, so take my word for it! :smile:

My missing materials arrived:

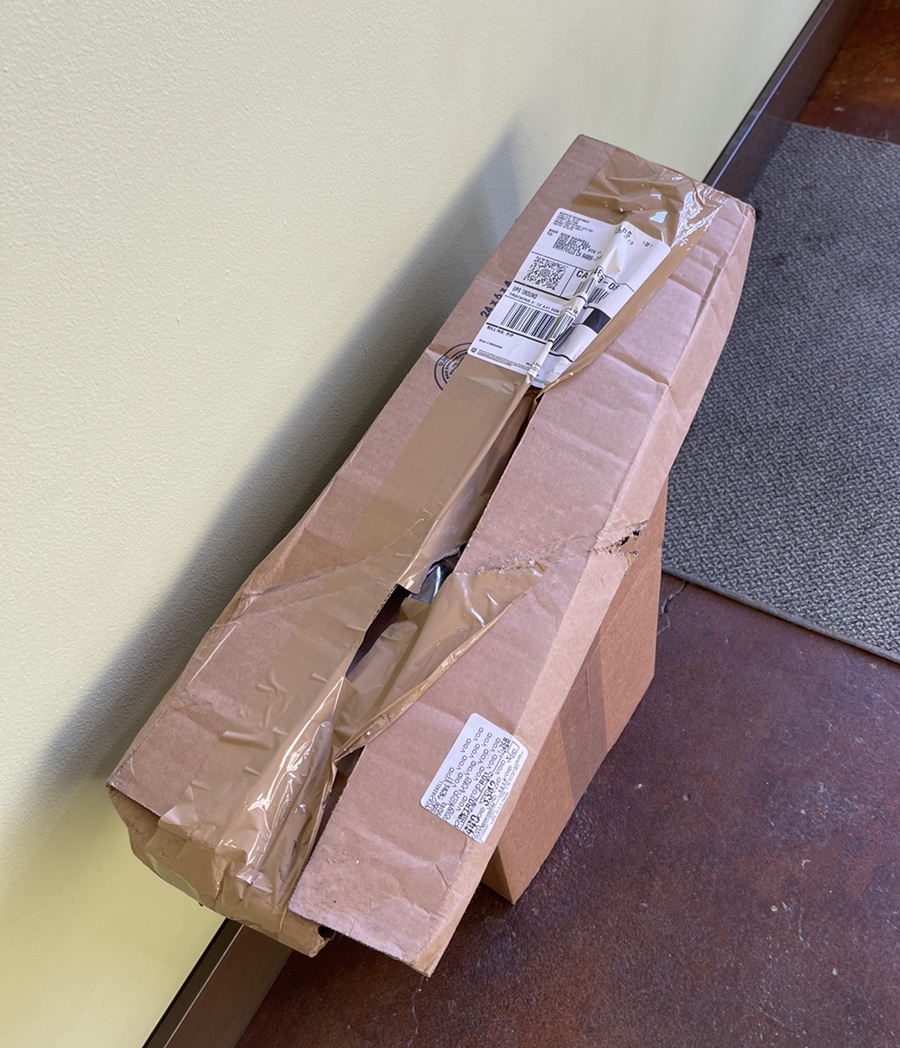
Uhhh, well - one smashed up box - who cares? the long awaited “C” channel arrived unharmed, so it went into the bed:

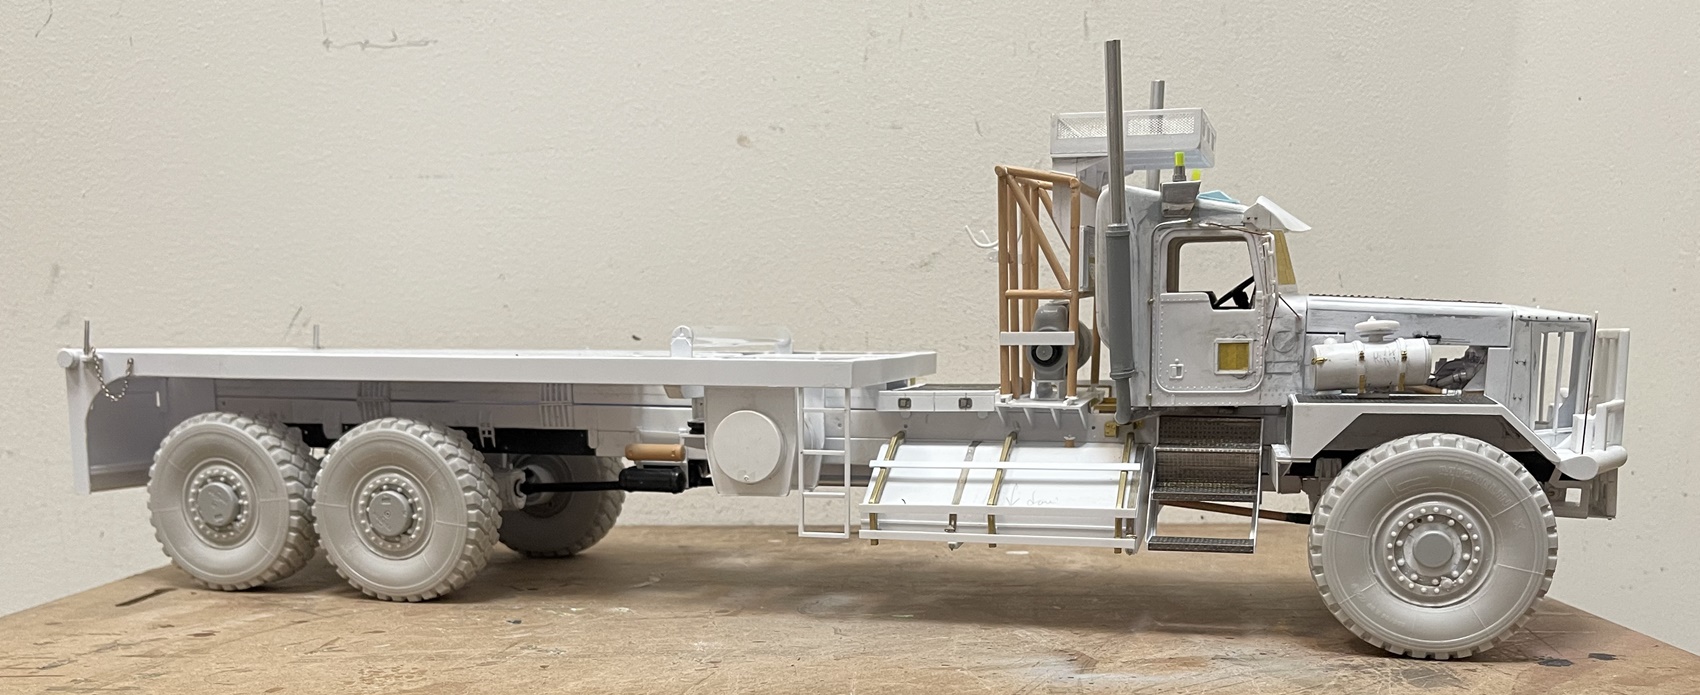
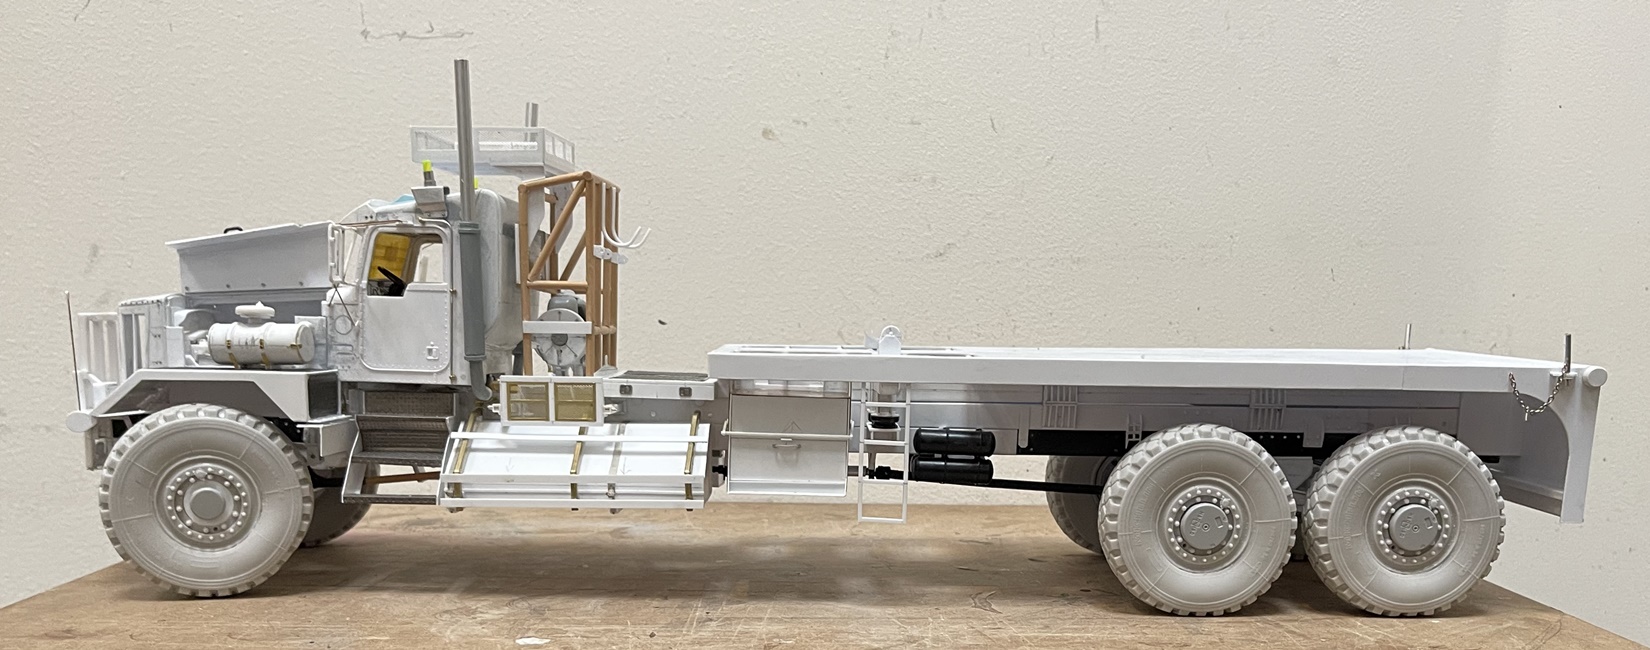
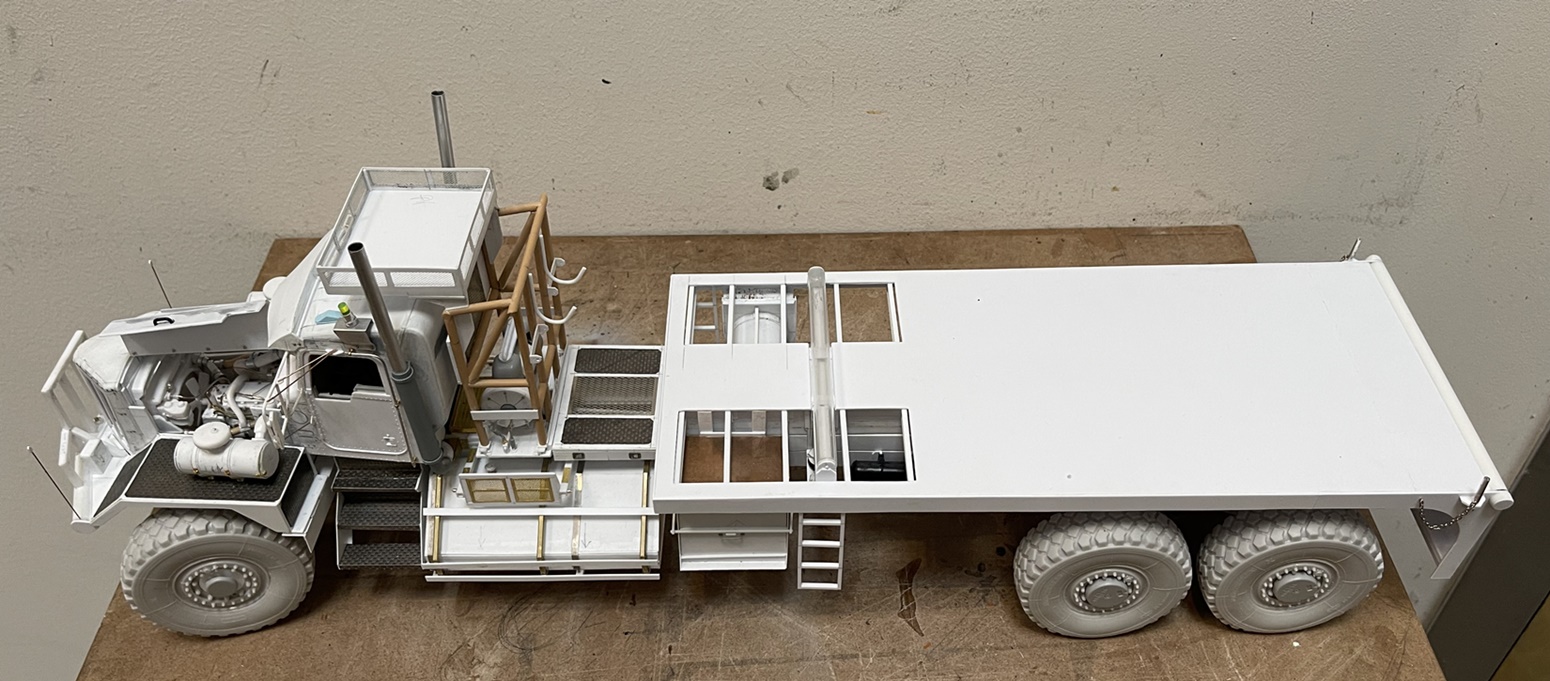
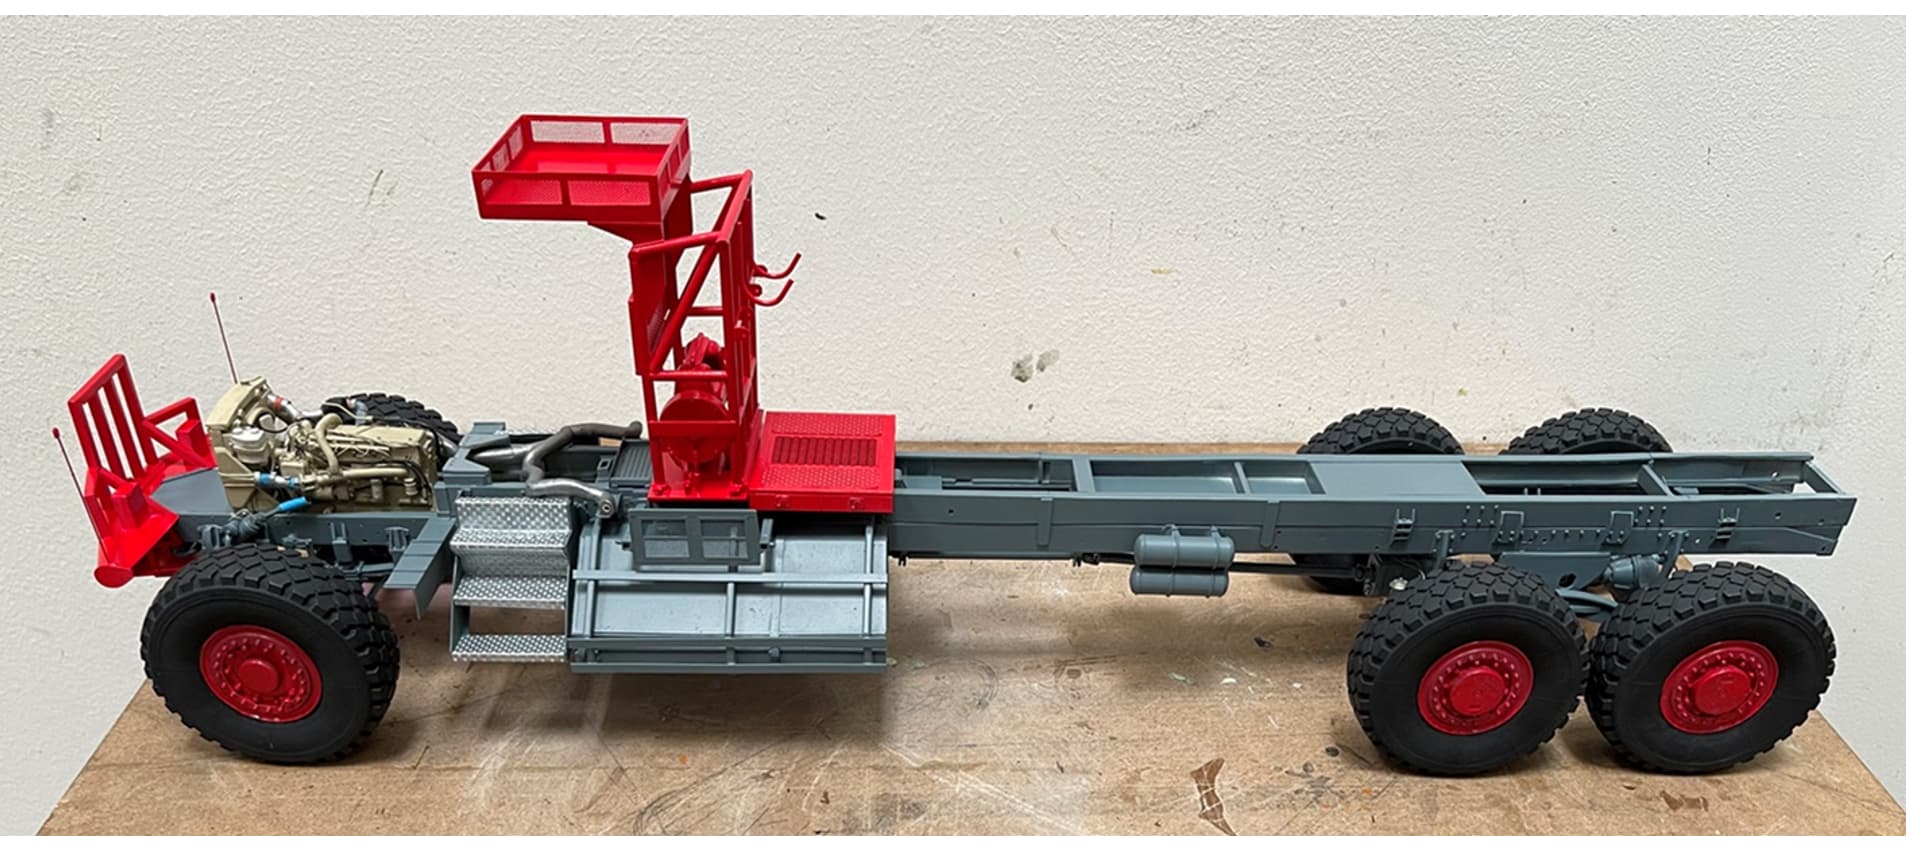
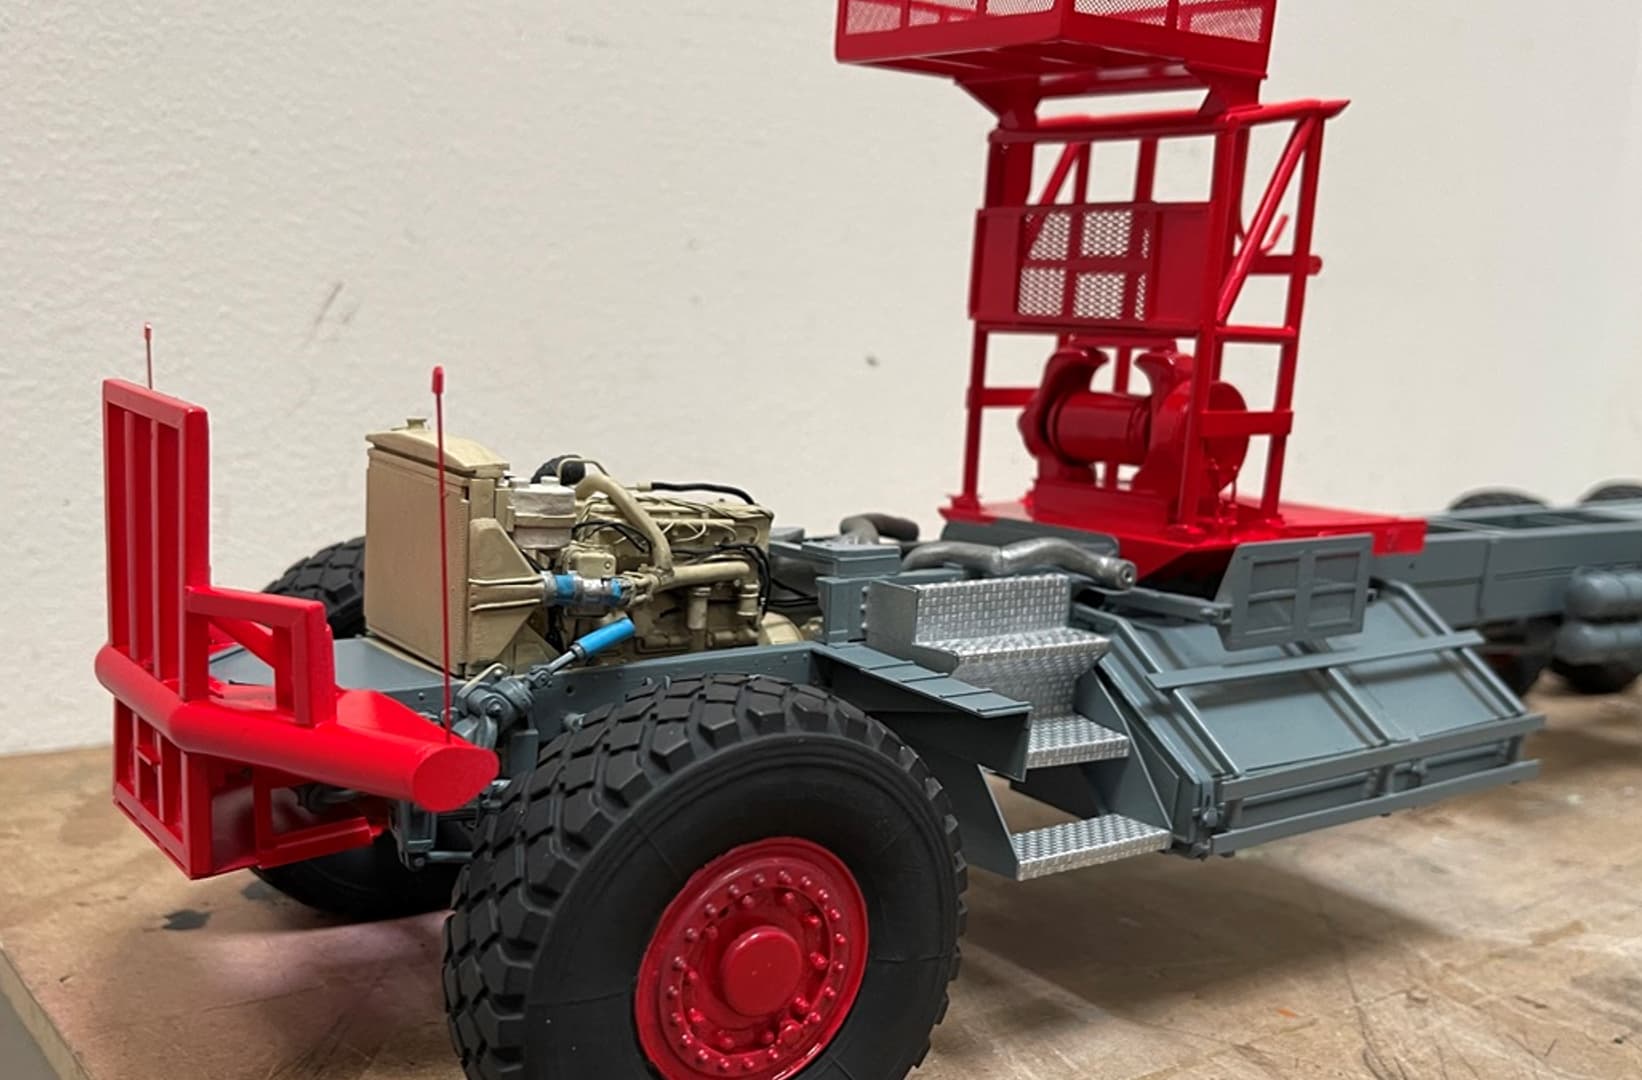
Naturally, it will never be seen - so unlike the real truck, which has dozens of these, my version has one about every inch - so 20 on each side!! well, we know they are there.

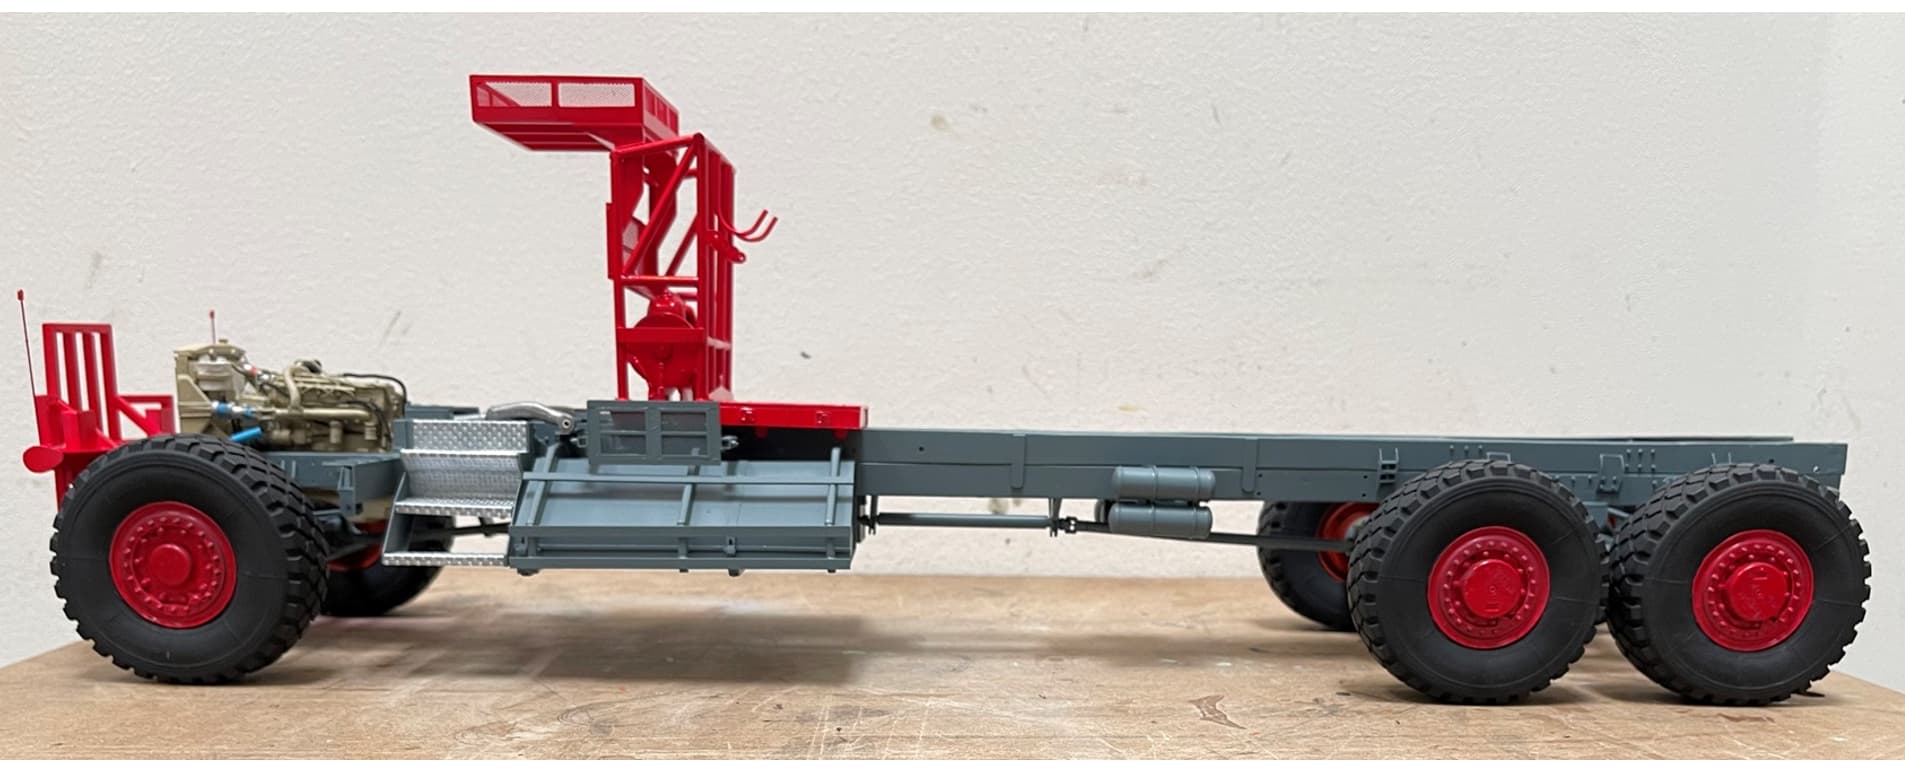
I also added a second bed roller. It turns out, this is located directly above the bed struts and airbags I wondered about. These are apparently used to help with loading, that is, the load rests on these when they are elevated and it then slowly lowers the cargo onto the bed. Then, as items are being unloaded. These trucks rely on gravity for unloading - ie give it the gas, and let momentum do its thing and as an extra boost, these are elevated, physically encouraging whatever is onboard to tilt and slide off the deck! All the safety here!

And added a pretty big tank - not sure what it’s for, but I now have one too.

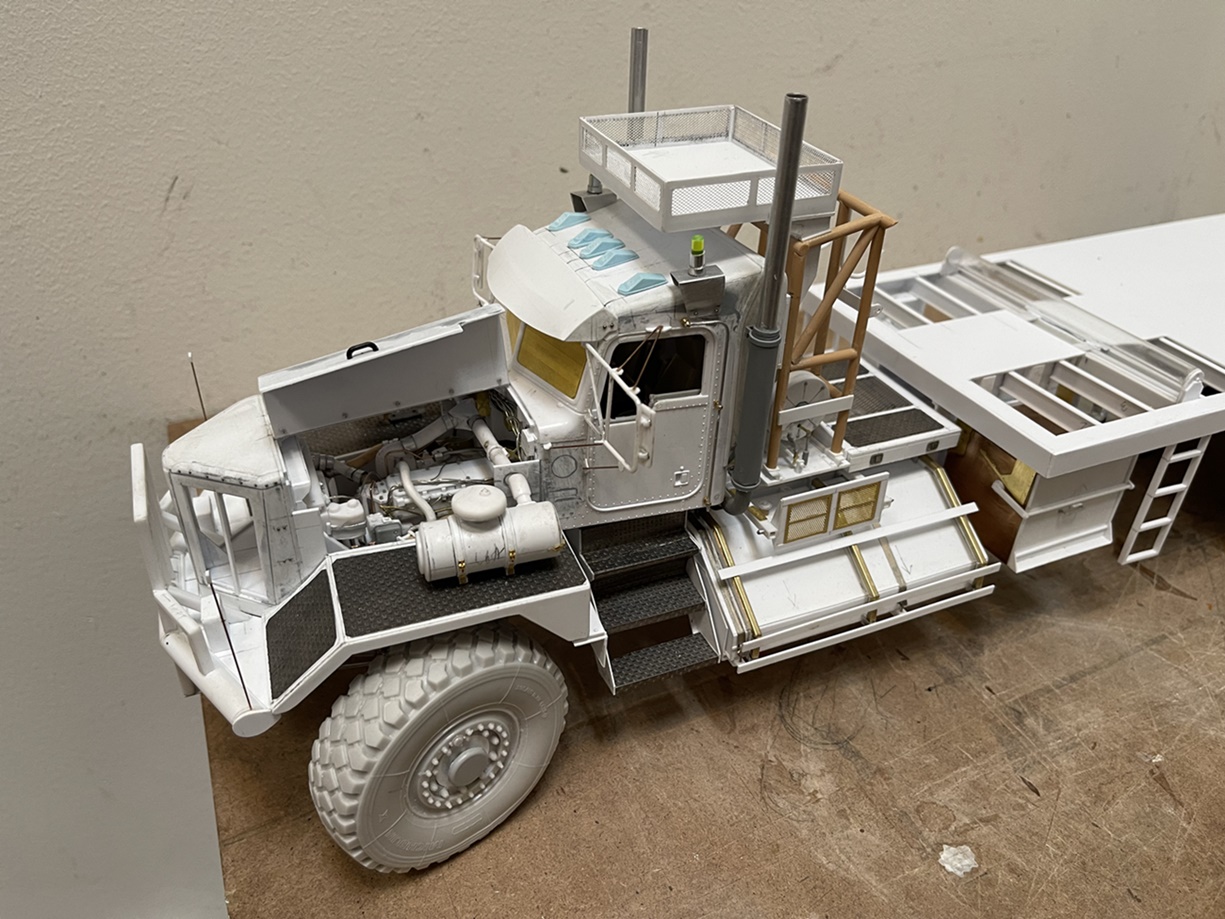
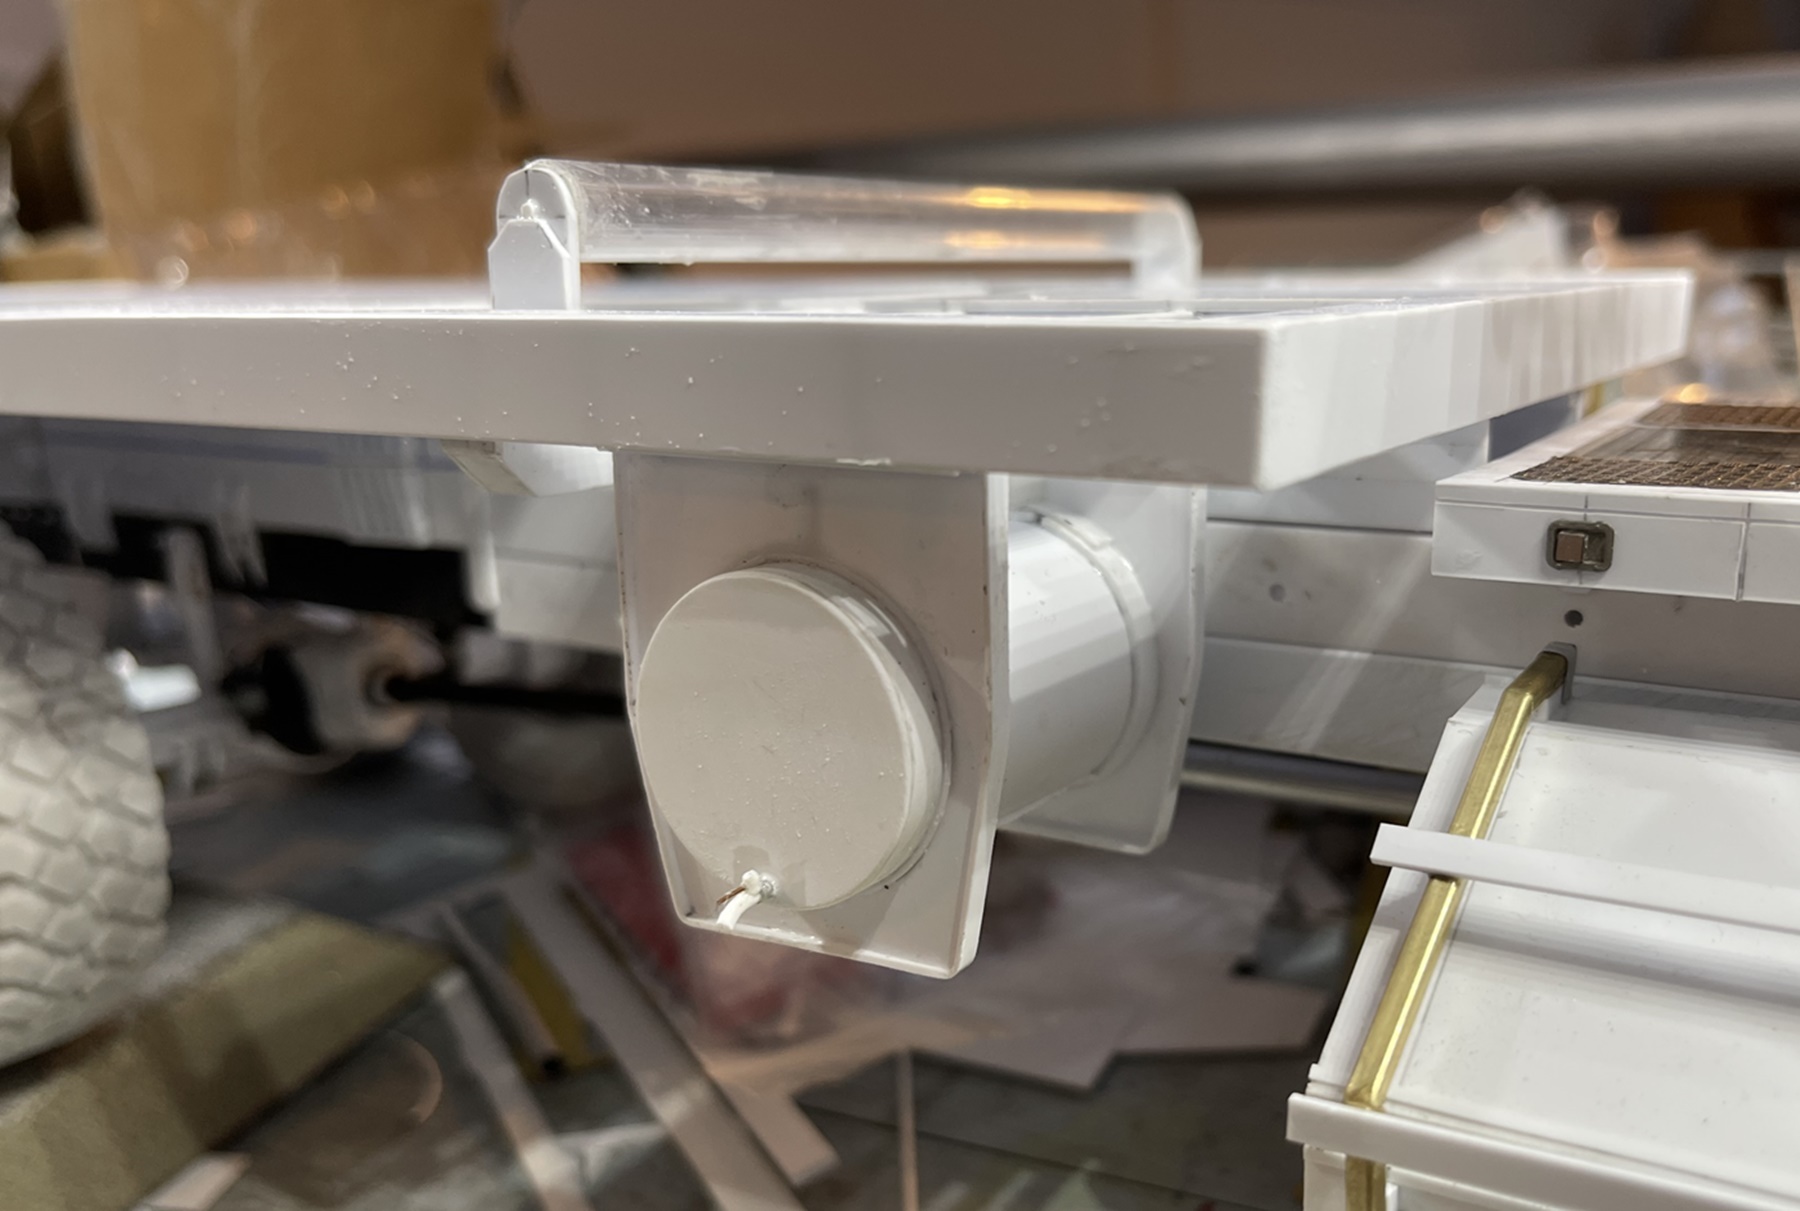
Then on to some of those tedious, but necessary tasks - making roof top light beacons and cab grab rails:

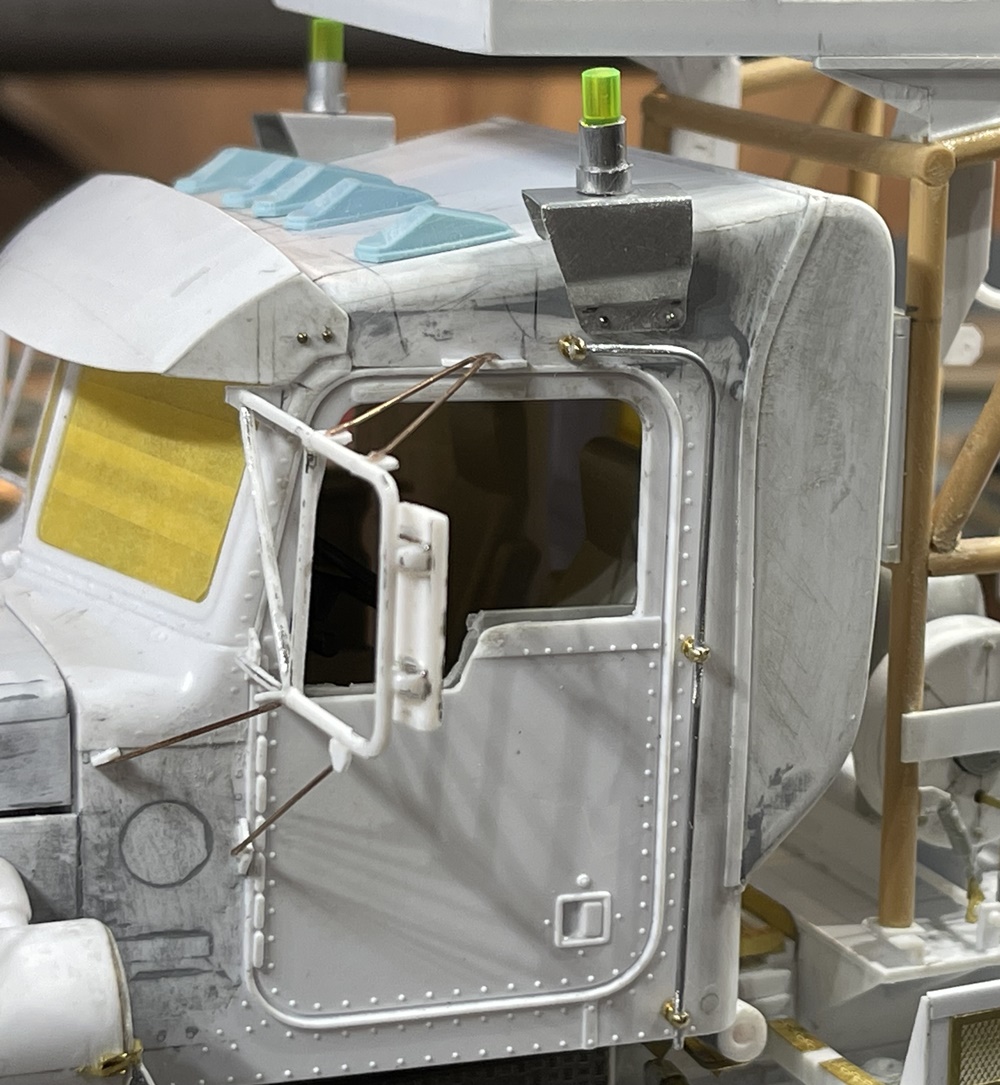
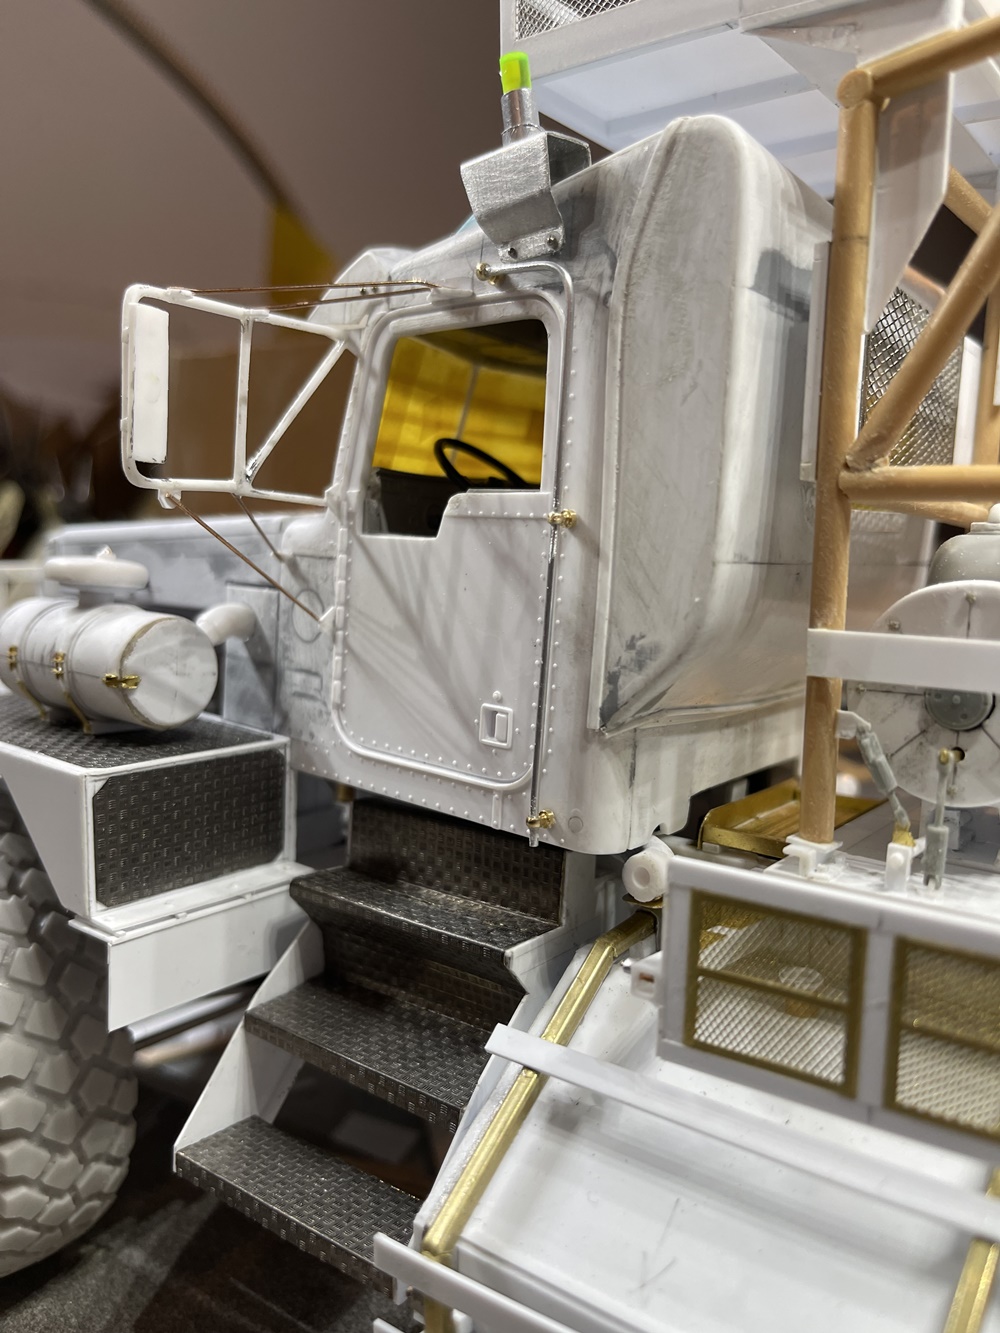
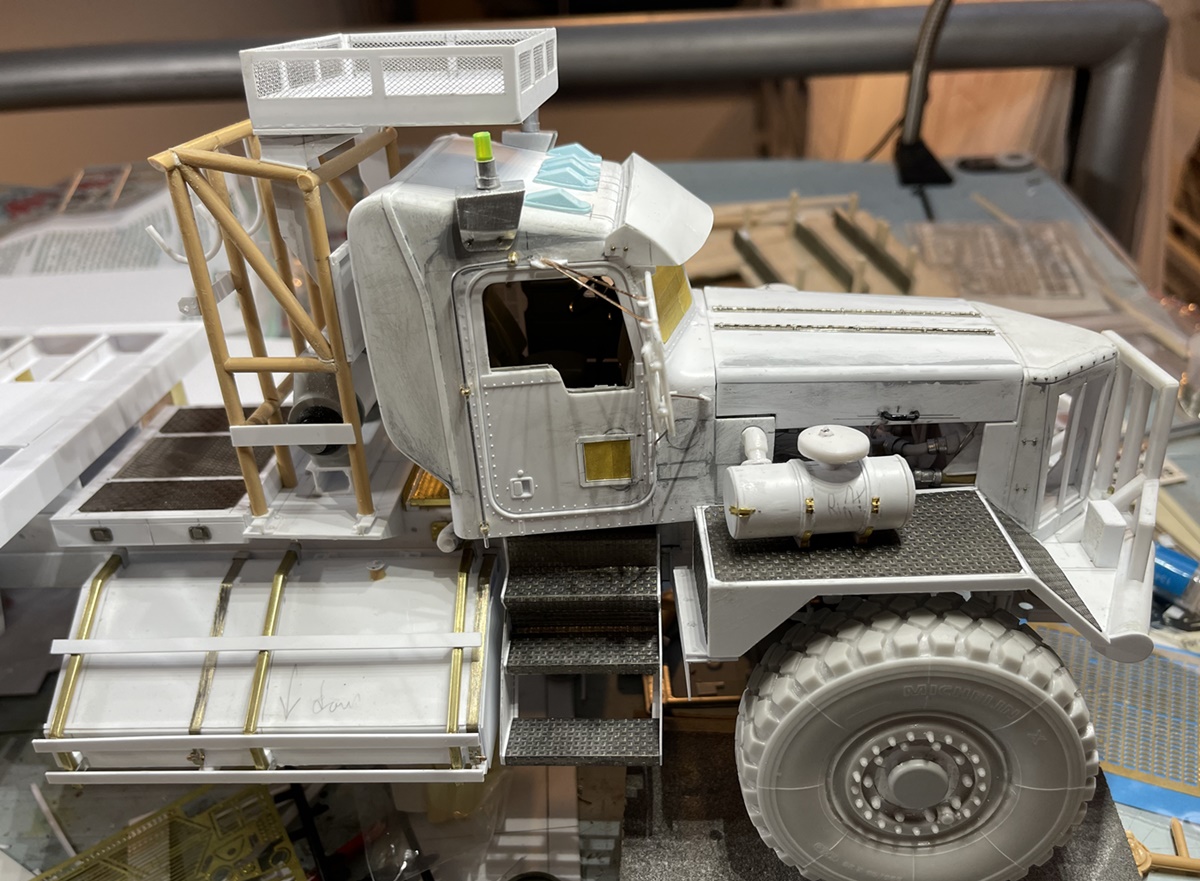
How much fun? all of it! of course, these “simple” bits take forever and test patience! but, they are now made, and are removable. The beacons will stay in aluminum, and the grabs painted.

Ok, on we go speaking of “go” - GO NINERS!!

Cheers
Nick

9 Likes

Some beer for those overnight stops perhaps? :joy:

Badass build so far! Can’t wait to see more!

Cheers :beers:

2 Likes

HI model builders,

it seems the construction phase of this is now done. Off to paint as soon as the weather gets better here, as we have rain, which is not ideal for paint in general, and as this will be primed with Tamiya rattle cans, well, not too great for doing work outside.

So, here we are:

This required a lot of evergreen to build. This has been a fun build, requiring many other materials too, ranging from old sprue to brass, remnant and aftermarket parts, and on and on. I’ve said this already, but, will say again, this is a big and heavy model:

For scale, I took these. The red Pete pole truck is also big, as it’s a 6x6 with big tires and long bed - but, the KW is a lot bigger!

It’s funny, as I have been working on this for a while, my eyes adapted to the project, and all seems about right, but when put side to side with normal 1/24 projects - wow :flushed: it’s big!

This is all just dryfit, so next will be disassembly and on to painting :crossed_fingers: :crossed_fingers: :smile:

Cheers and happy model building -

Nick

16 Likes

Awesome mate, just awesome! Can’t wait to see the paint work started.

Cheers, D

3 Likes

What an absolute beauty, I’m hearing Peter Gabriel’s Big Time in the background. Helluva parking challenge, how big’s your display case? Or will you need to scratch a new one out of styrene? :upside_down_face:

4 Likes

Massive!

4 Likes

I’m very impressed! That is some superb scratch work, and a lot of it too. Looking forward to the paint!

2 Likes

That rig is insane. What a cracking achievement mate … Scratch building at its finest :beers:

3 Likes

Well done as expected Nick - I’ve enjoyed following this build and looking forward to the painting phase.
Cheers- Richard

3 Likes

Oh my God! It is just a freaking Monster! Cool job, you are a magician, sir !

3 Likes

The best one out there by far.

4 Likes

Thanks guys! The positive words are greatly appreciated right now - as we are now well into some nerve wracking painting :sweat: :sweat: :smile:

What a mess! we’ve had rain on and off for the last several days, which I had planned on waiting out, but of course, I tossed that plan - and instead have been running outside with batches of parts between rainfall - pretty smart eh? :smile: Making it worse, as many of these parts are big, they are hard to hold - which is ideal when you are trying to hurry… :smile:

The tires - seem simple enough? right? we’ve all painted resin wheels - but these are giant. So I came up with a tedious approach for handling this - prime then, make wheel templates for each and paint red with a rattle can - then, paint much of the adjacent sidewall with a hand brush, then, paint the tread with an airbrush - then, flip and repeat for the other side - what a treat!

And of course, the in-frame engine paint job. I figured this would work out just like an armor project, straight forward enough, except, making the wrapping to protect the frame rails, axle, steering and drive shaft - from an ample over coat of Vallejo Sand (Ivory) to represent Cummins tan :sweat: As with the rest not particularly hard to do, but, because the frame is so long, good and anxiety inducing. Much to my surprise, there was very little overspray.

I’ve since picked out some wires and hoses on the engine (NATO black, and black), and a few details, and added a light wash of anthracite grey over all of it.

As you can see above, in these shots, only one side of the tires were painted - this was slow going. Making this more of a headache, there is not a consistent “wheel” line in the resin, so, required some leaps of faith with the brush. Up really close not great - from viewing distance, fine.

The steps are painted with a blend of Vallejo Steel and Vallejo Metal Color Chrome, painted with a hand brush, which turned out really well.

Next, getting after some RED frame accessories:

I was nervous about this, because getting the wheels painted red was not easy, and the results just ok - in fact, they have received a very light wash of barley grey to tone them down a bit. I don’t know what the difference was between the two - both received Tamiya pink fine primer, and then Tamia Italian red - but the wheels look darker and shinier.

I think this is fine - they will eventually receive a wash of anthracite at bolt heads, followed by an overall wash of Life Color Dust I, so that will tone them (and the tires) down - but before painting the accessories, I seriously considered using a different shade of red. And now, I’m glad I didn’t.

OK, next up will be the cab interior, and eventually the cab itself.

Thanks for having a look -

Cheers
Nick

16 Likes

WOW! What an epic paint session! That RED and everything came out looking absolutely gorgeous! :heart_eyes:

—mike

4 Likes

Painting anything red is not easy, with models or 1:1 vehicles. That’s why Richard Petty insisted on keeping half of his car in Richard Petty blue after obtaining the STP sponsorship - it was just too hard painting the whole car red. That’s not mentioned in the Wikipedia article, which called it a “negotiation,” but I remember reading the story back before the interweb found its way into everyone’s homes.
1,000 pardons for the ramble. I tend to do so often after midnight.
At any rate, great job so far. It looks like a 1:1 truck.

4 Likes

Red really jumps out, great start on the painting :+1:

3 Likes

For scale models priming/painting white first does help. That’s my plan that for the Dodge Buddy Baker #11 car.

2 Likes

Really looks good. Red’s a great color.

2 Likes

Nothing says Get Outta My Way like a blood red 963 :japanese_goblin:

4 Likes

(System told me above post didn’t post…)

Must have been a temporary glitch. Nothing in the post that would trigger the “Naughty Words” monitor.