Nice steady progress Matt…taking your time gives you more scope to pick up on any issues and sort them. I know what you mean about the clean up process… It is a laborious part of the hobby… And can try the patience of a saint, I think we have all been down that gloomy path.
That engine is the business, looks sharp with the detailing… Will certainly take the kit up a level or 2 once it’s in and displayed. Great effort 
2 Likes
Thanks John. Of course, I don’t have to tell you about fixing things and adding detail. The difference between the MAZ-537 parts and the KET-T parts is like night and day.
1 Like
Genuinely, it’s just great watching it come together. And that’s what I still love about this site, you see so many fantastic builds on a daily basis sometimes from some really very very skilled modellers… Or should that be engineers…
1 Like
The “black half” of the truck is done. Everything below the fenders is black. Will airbrush it flat black tomorrow unless the power goes out due to the hurricane.
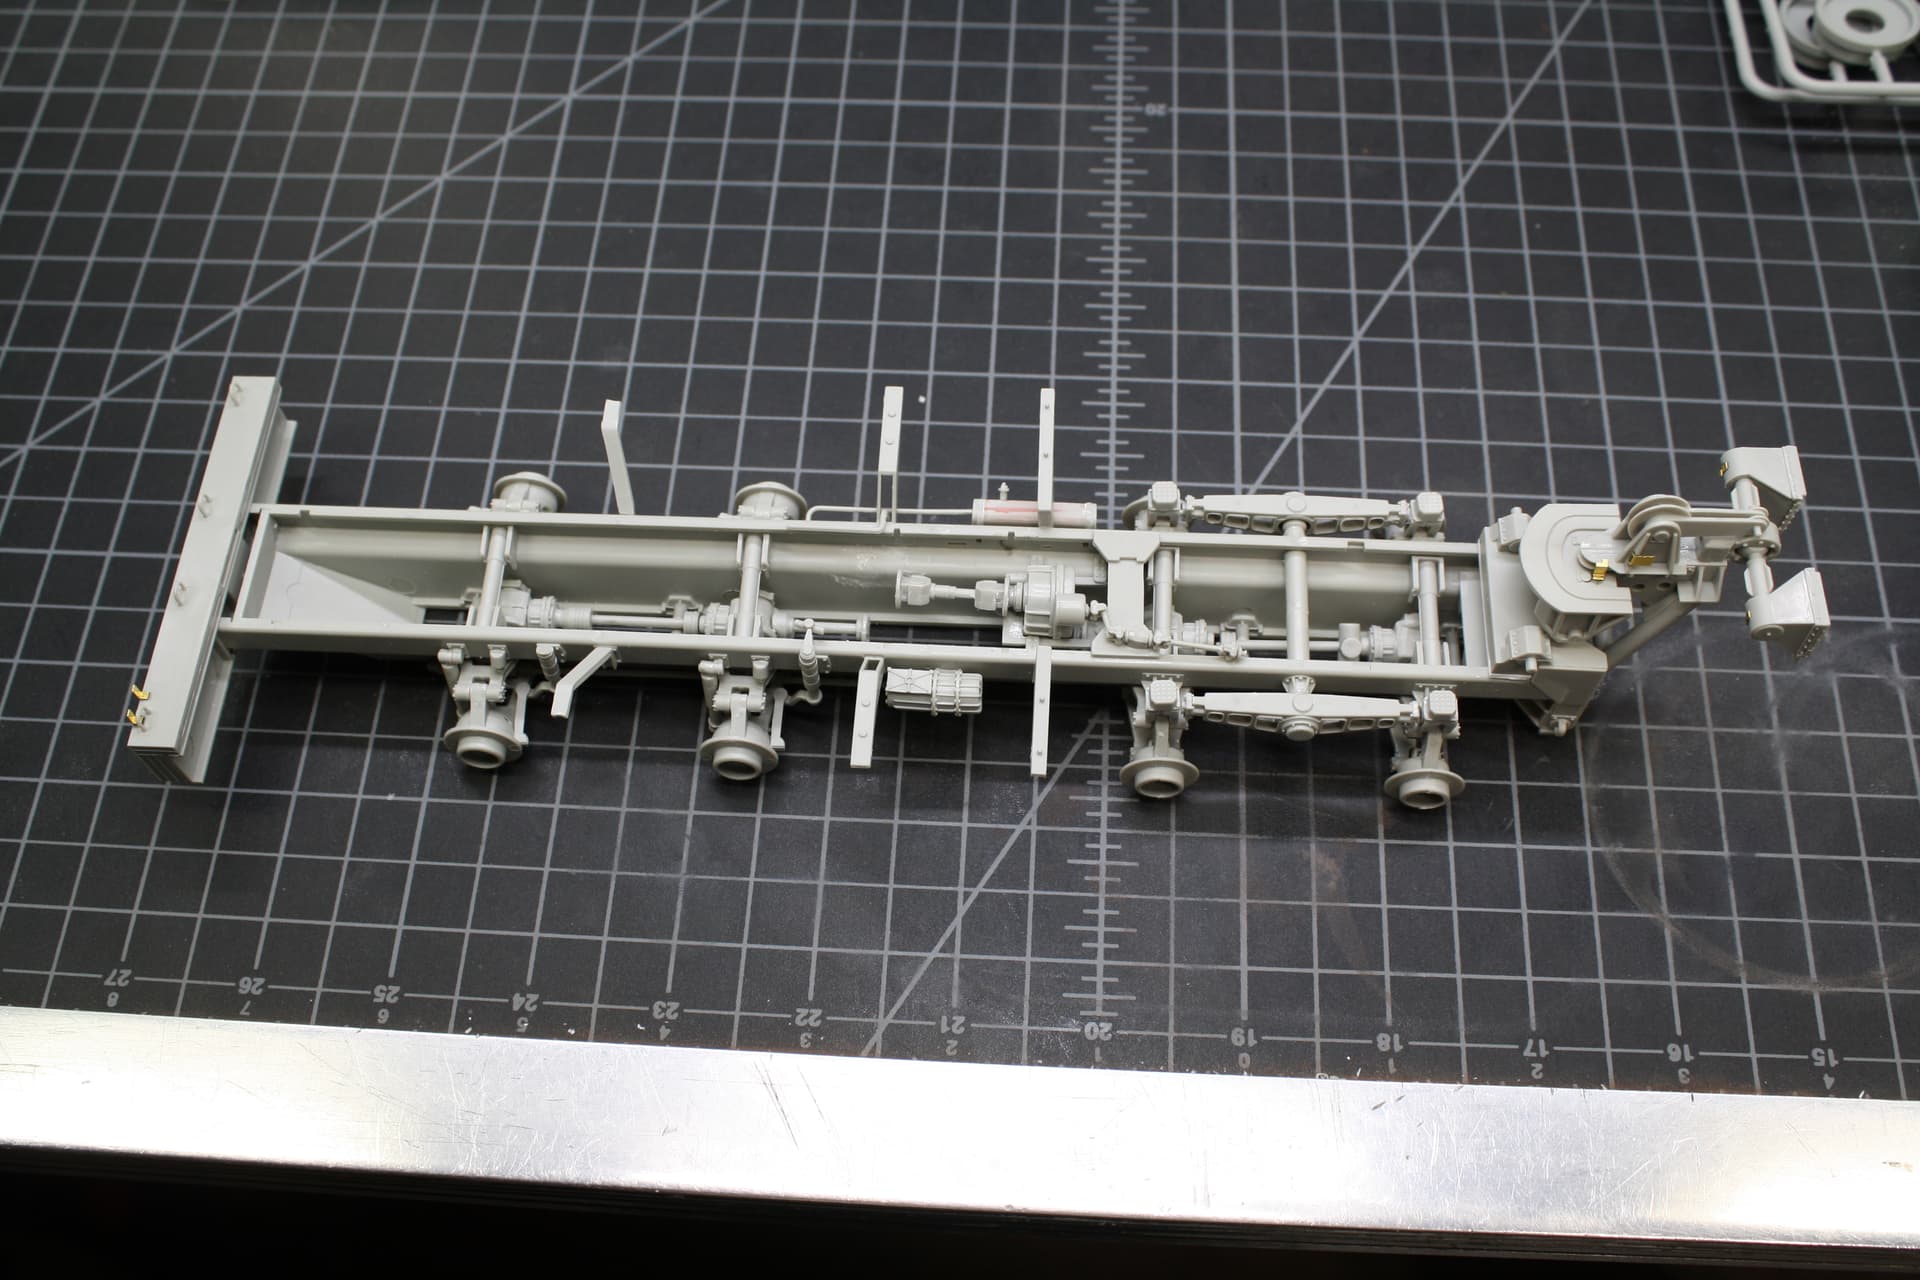
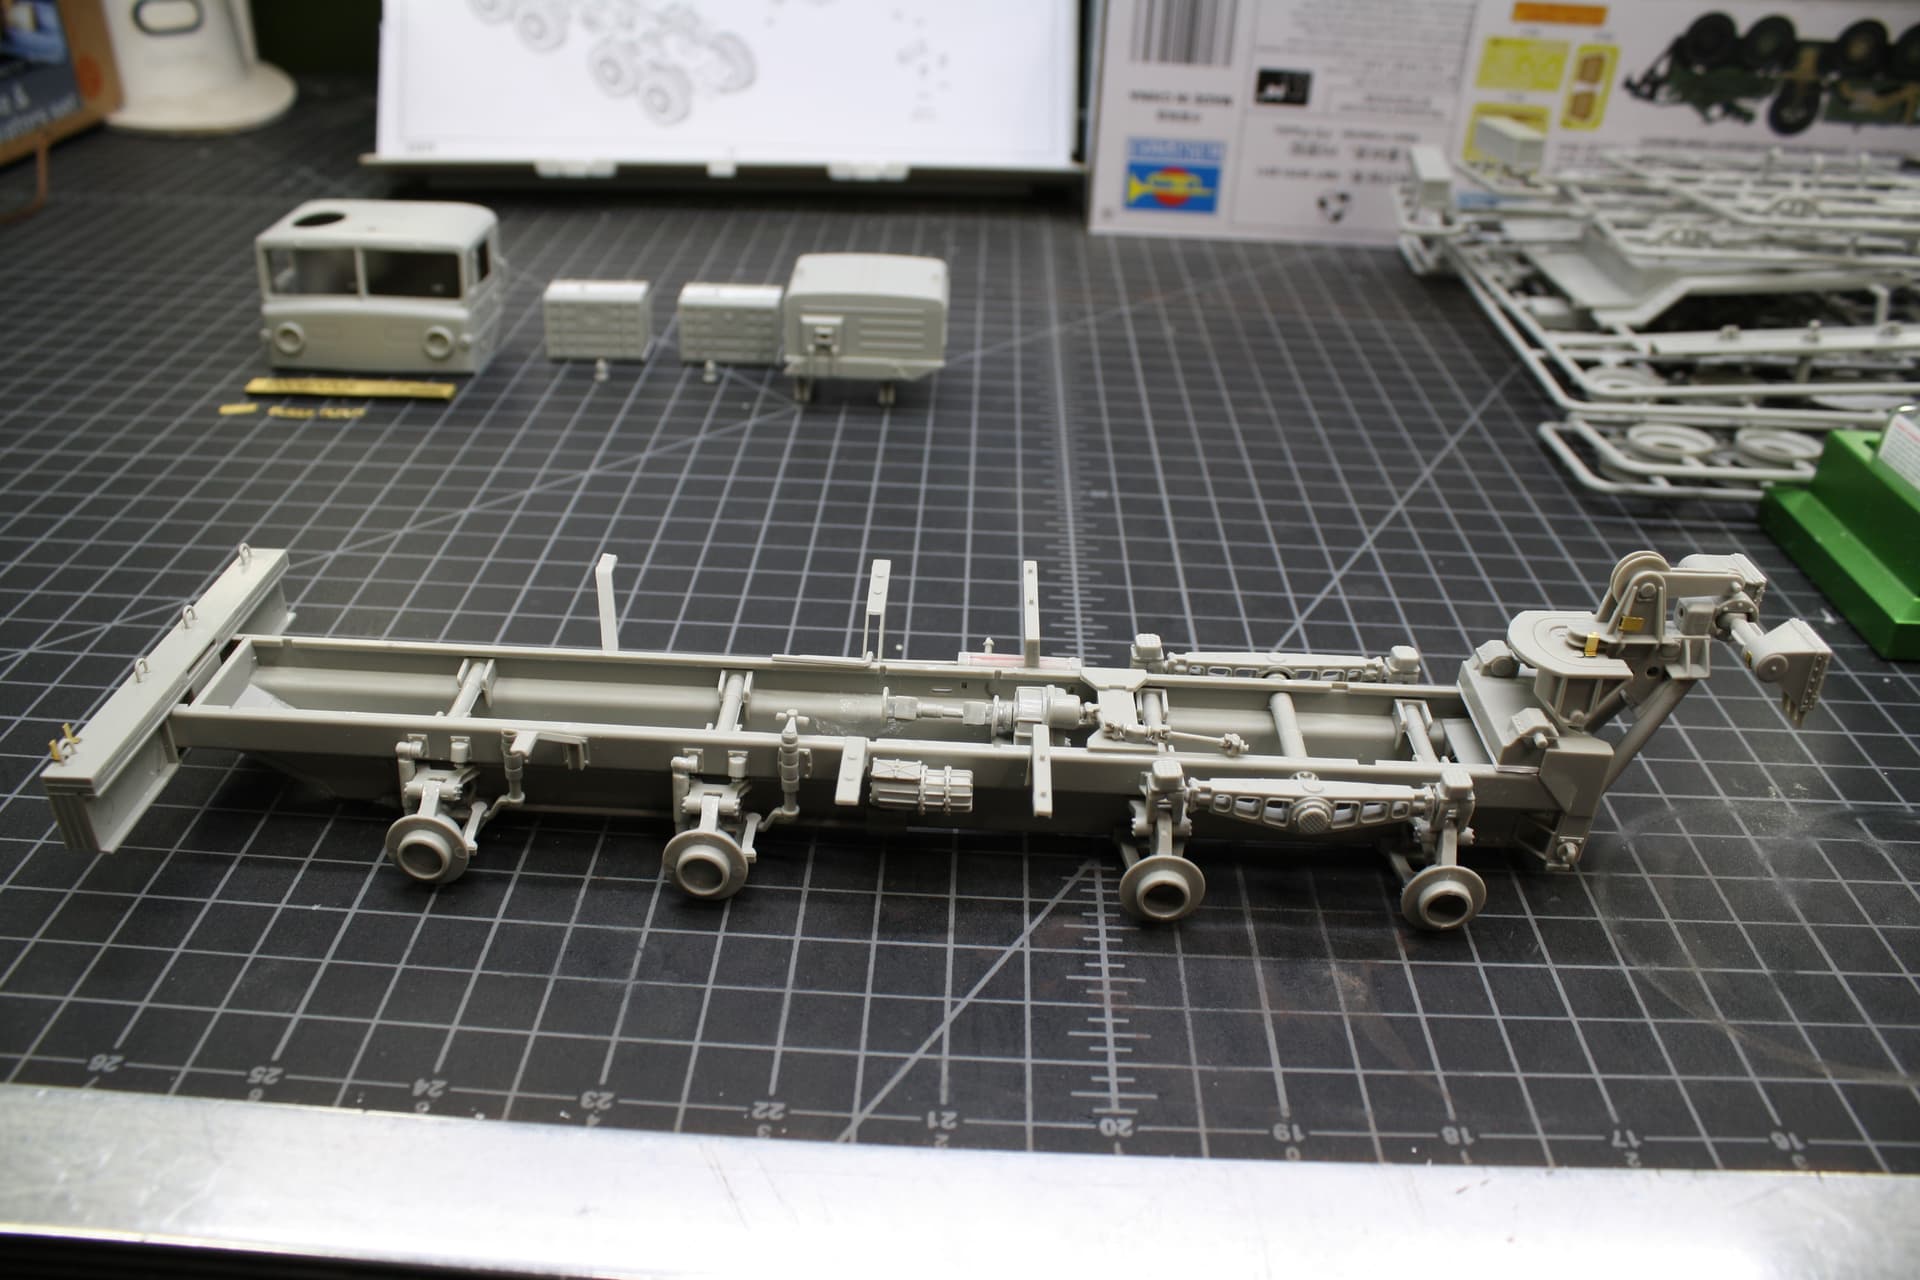
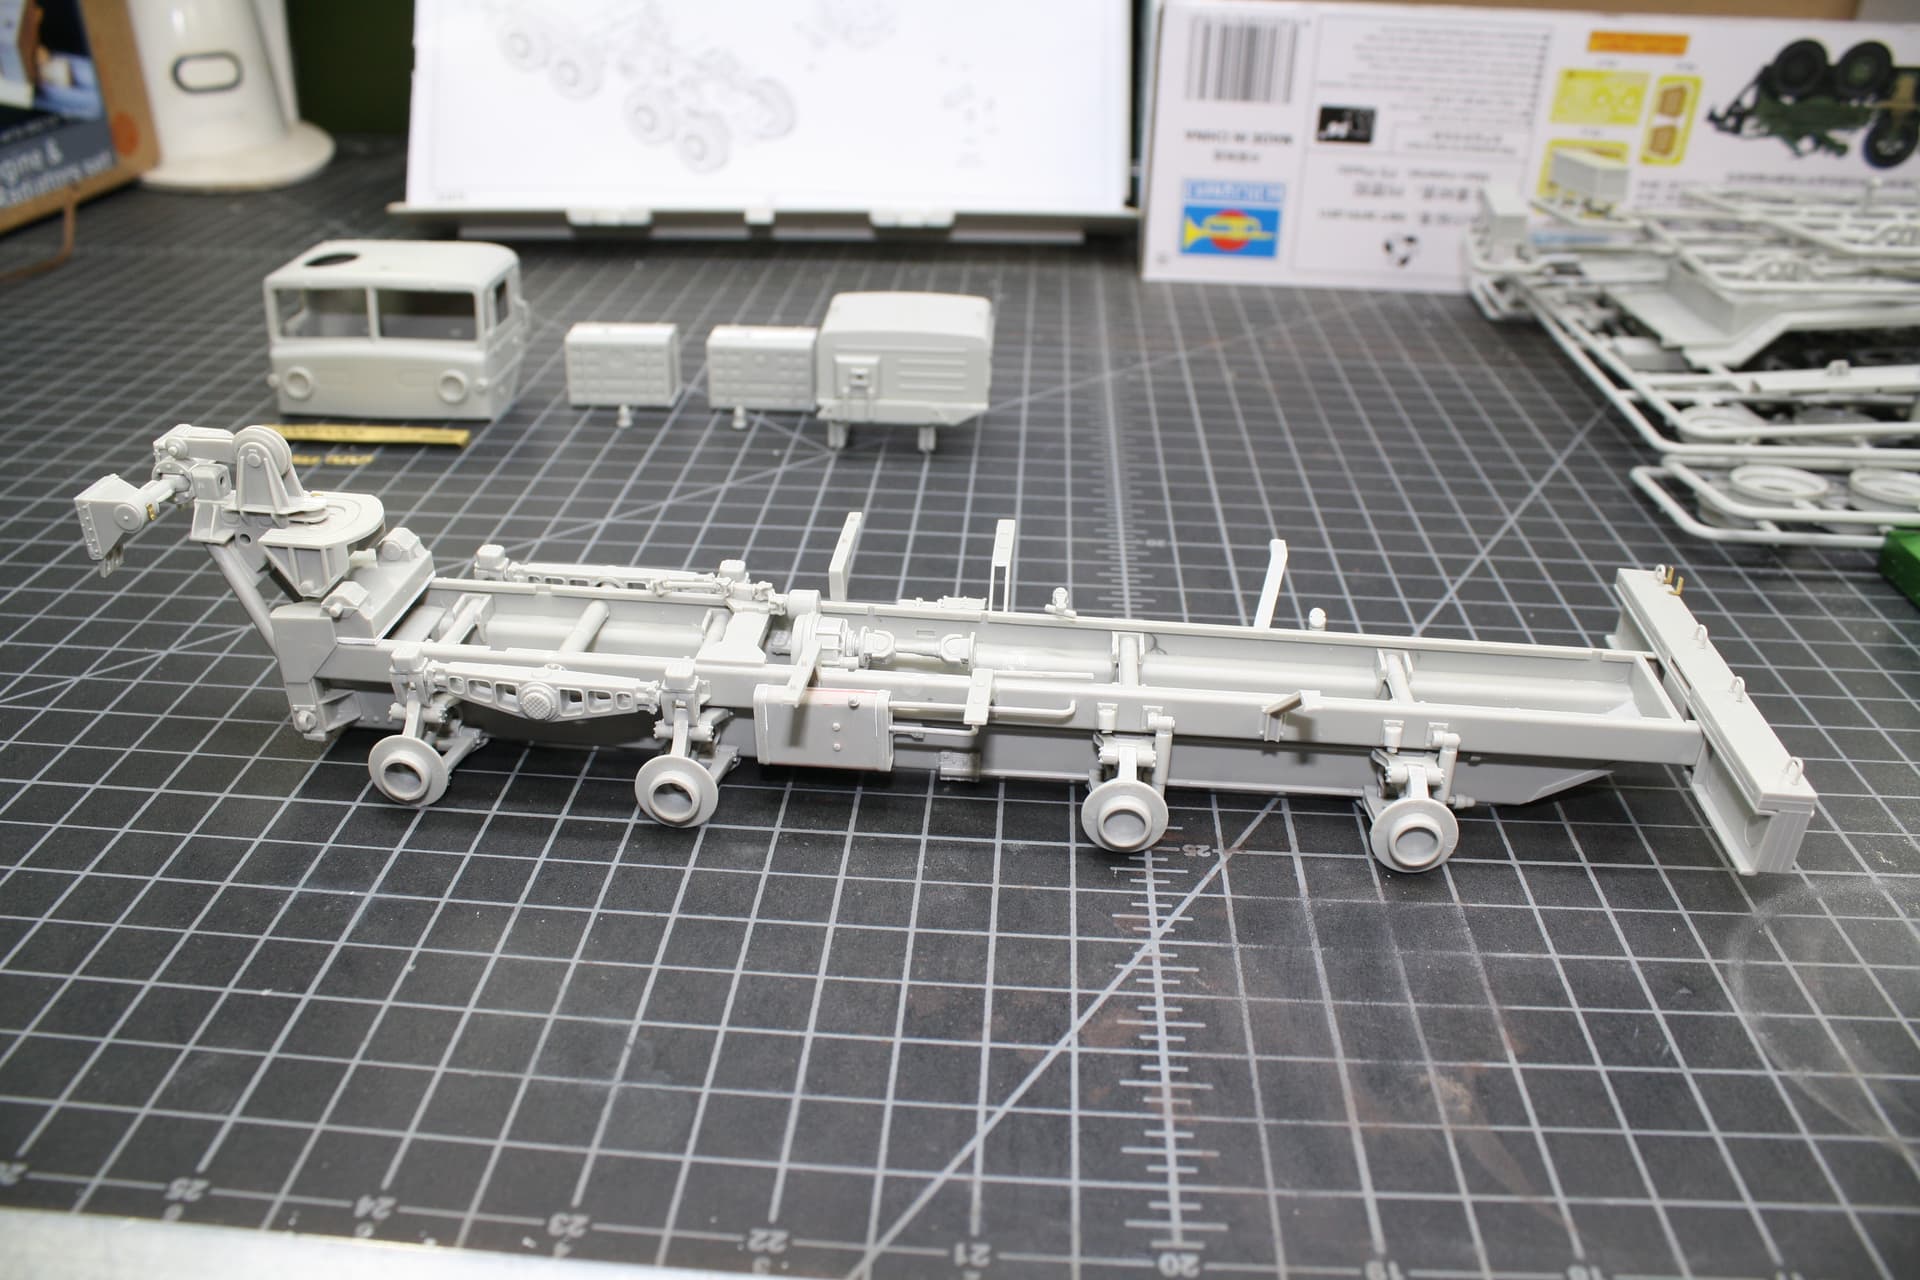
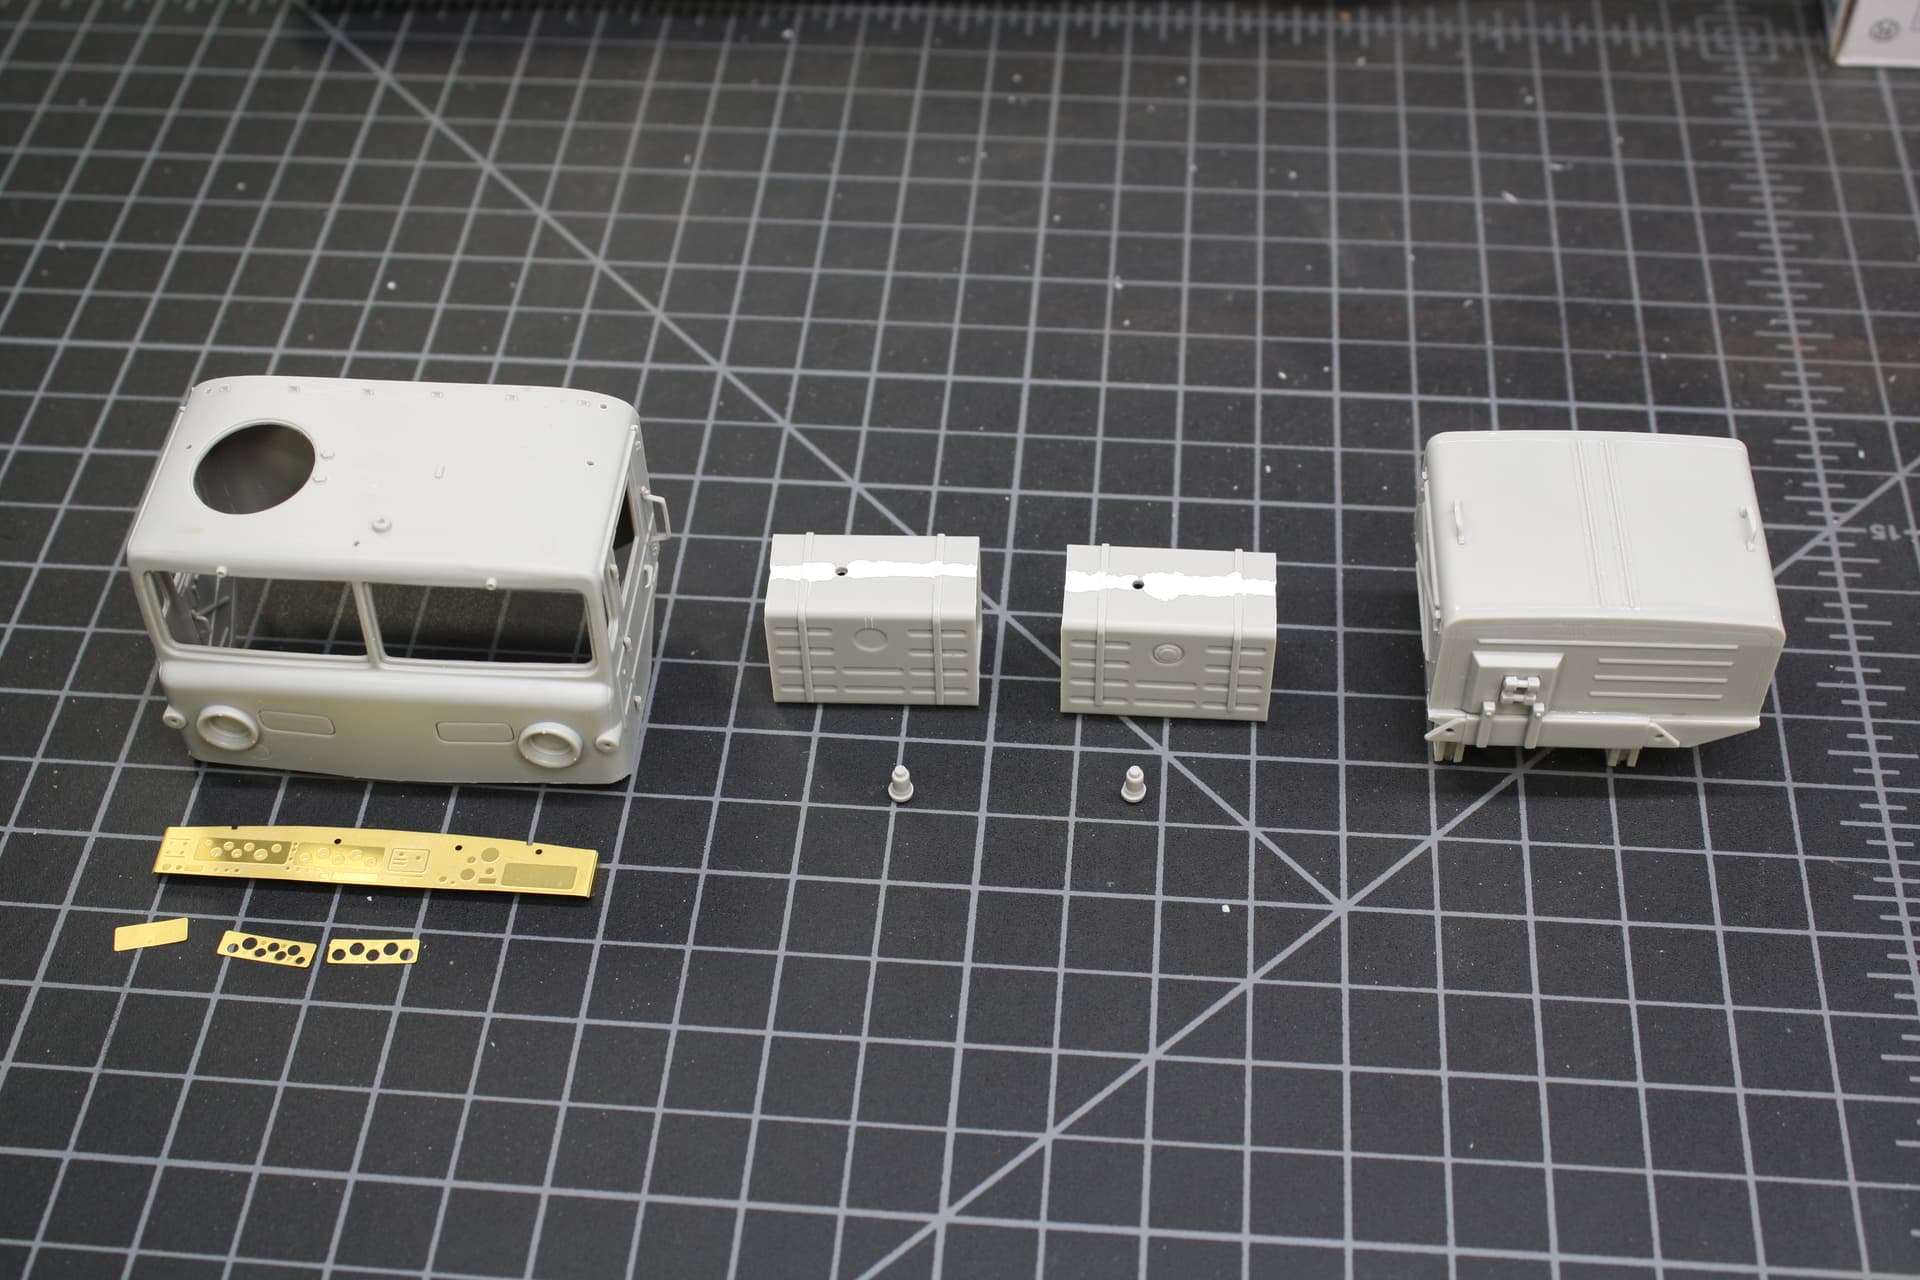
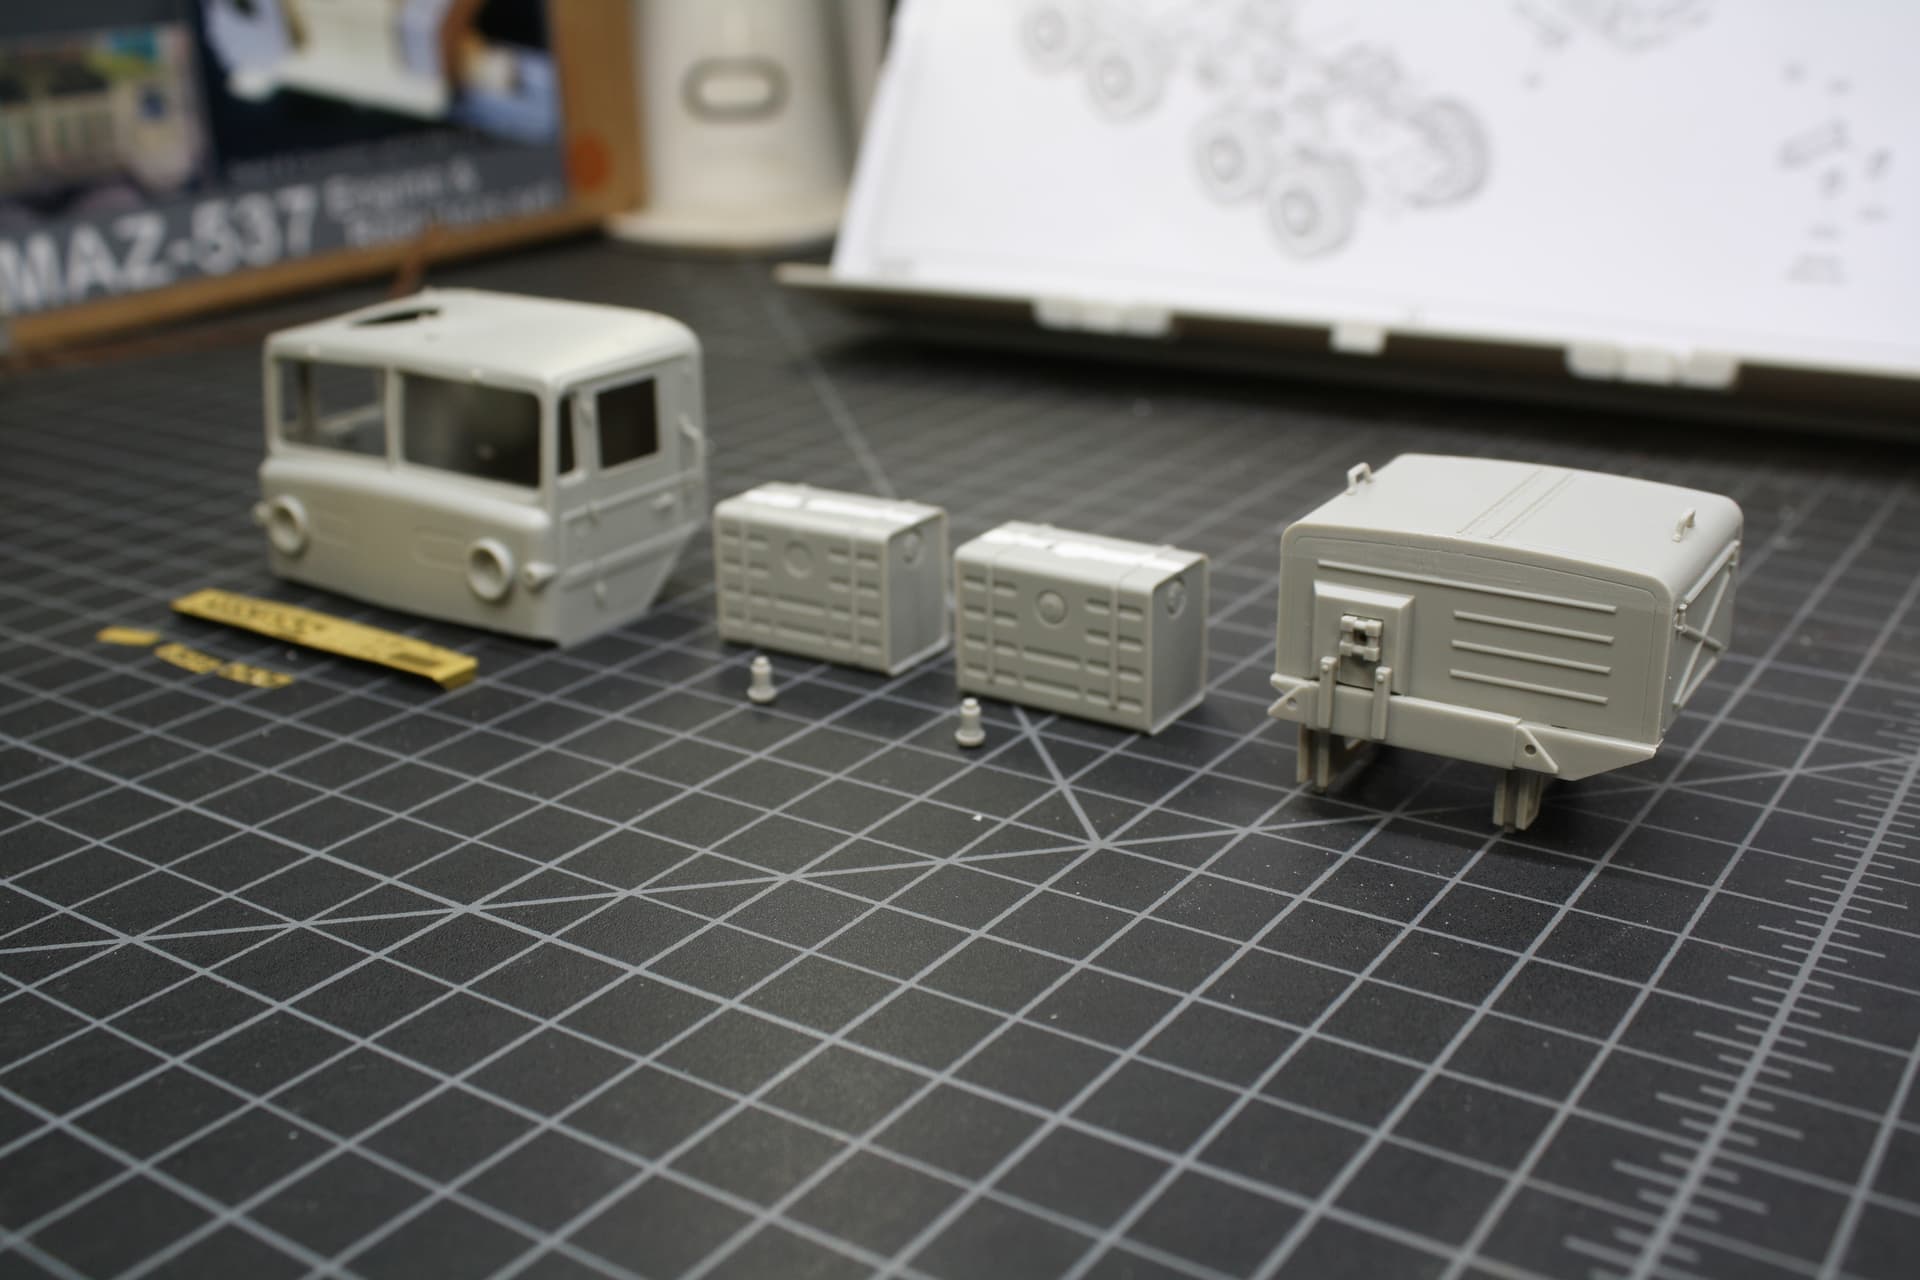
So, I moved on to the “green half” of the mighty tow truck, everything above the fenders. After a day’s work, have the cab, fuel tanks, and generator/hydraulic housing done and looking good.

9 Likes
Makes good sense taking the modular approach… Something I should start doing on some of my forthcoming builds.
Chassis looks great Matt
2 Likes
Nicely done and we’ll planned!
1 Like
Looks great Matt.
Don’t pull out my 537, finish other kits first. Don’t pull out my 537, finish other kits first. Don’t pull out my 537, finish other kits first. Don’t pull out my 537, finish other kits first……
2 Likes
Pull it out. Those other kits can wait and they have also received some love and attention alrady
3 Likes
Your not helping. I already got an APB from the UK diorama police. I don’t need any more….oh look a shiny ball rolled by.
3 Likes
You’re worse than our new puppy for being distracted !!! I am going to have to keep a firmer eye on you now ![]()
2 Likes
Hey now, I ta….squirrel.
2 Likes
Moving back to the engine cover, this is where some time consuming modification comes in. There are intake cowlings on the sides, which are open and louvred but the kit part looks like this:
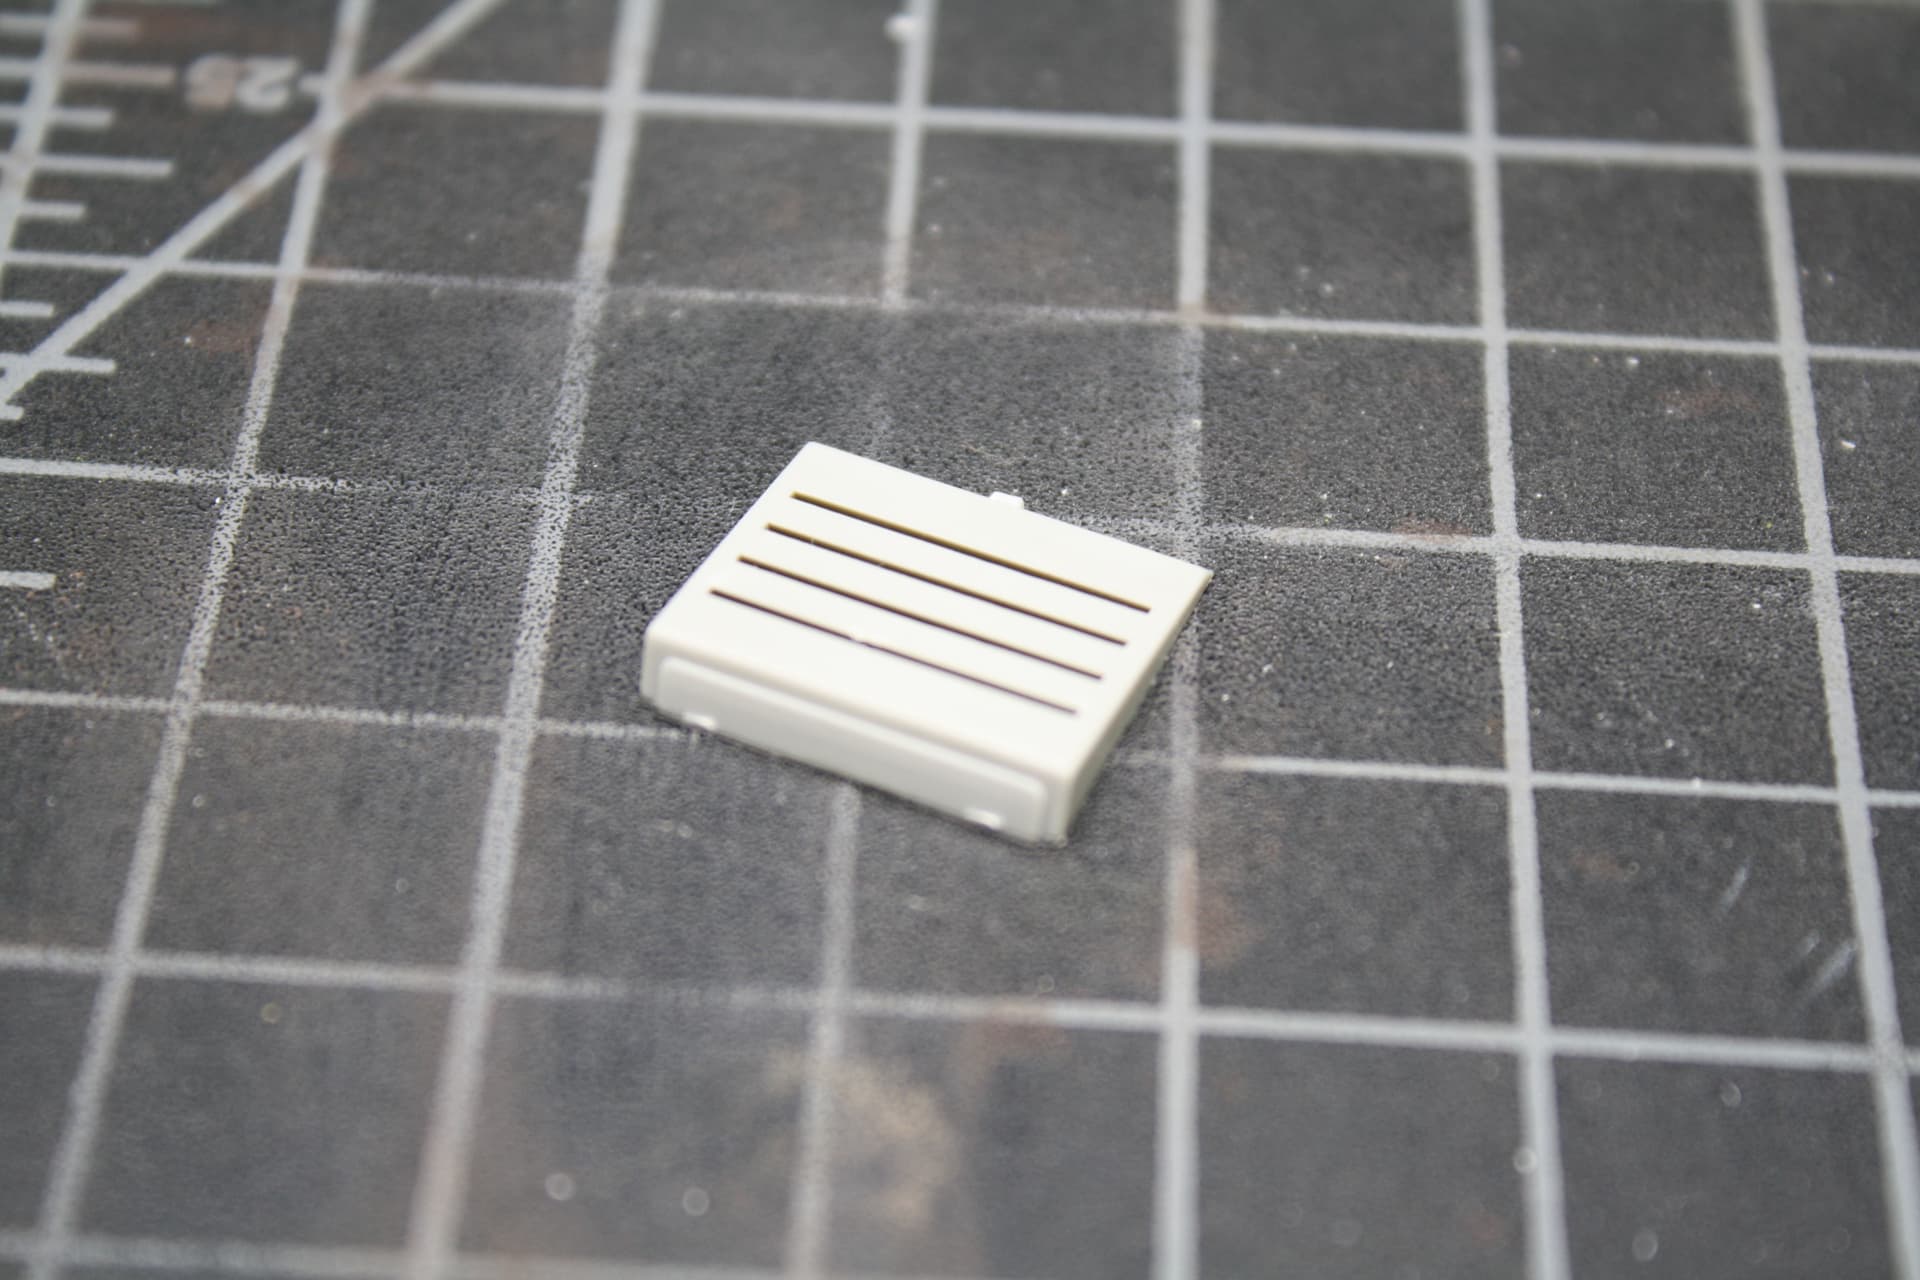
BLECH!
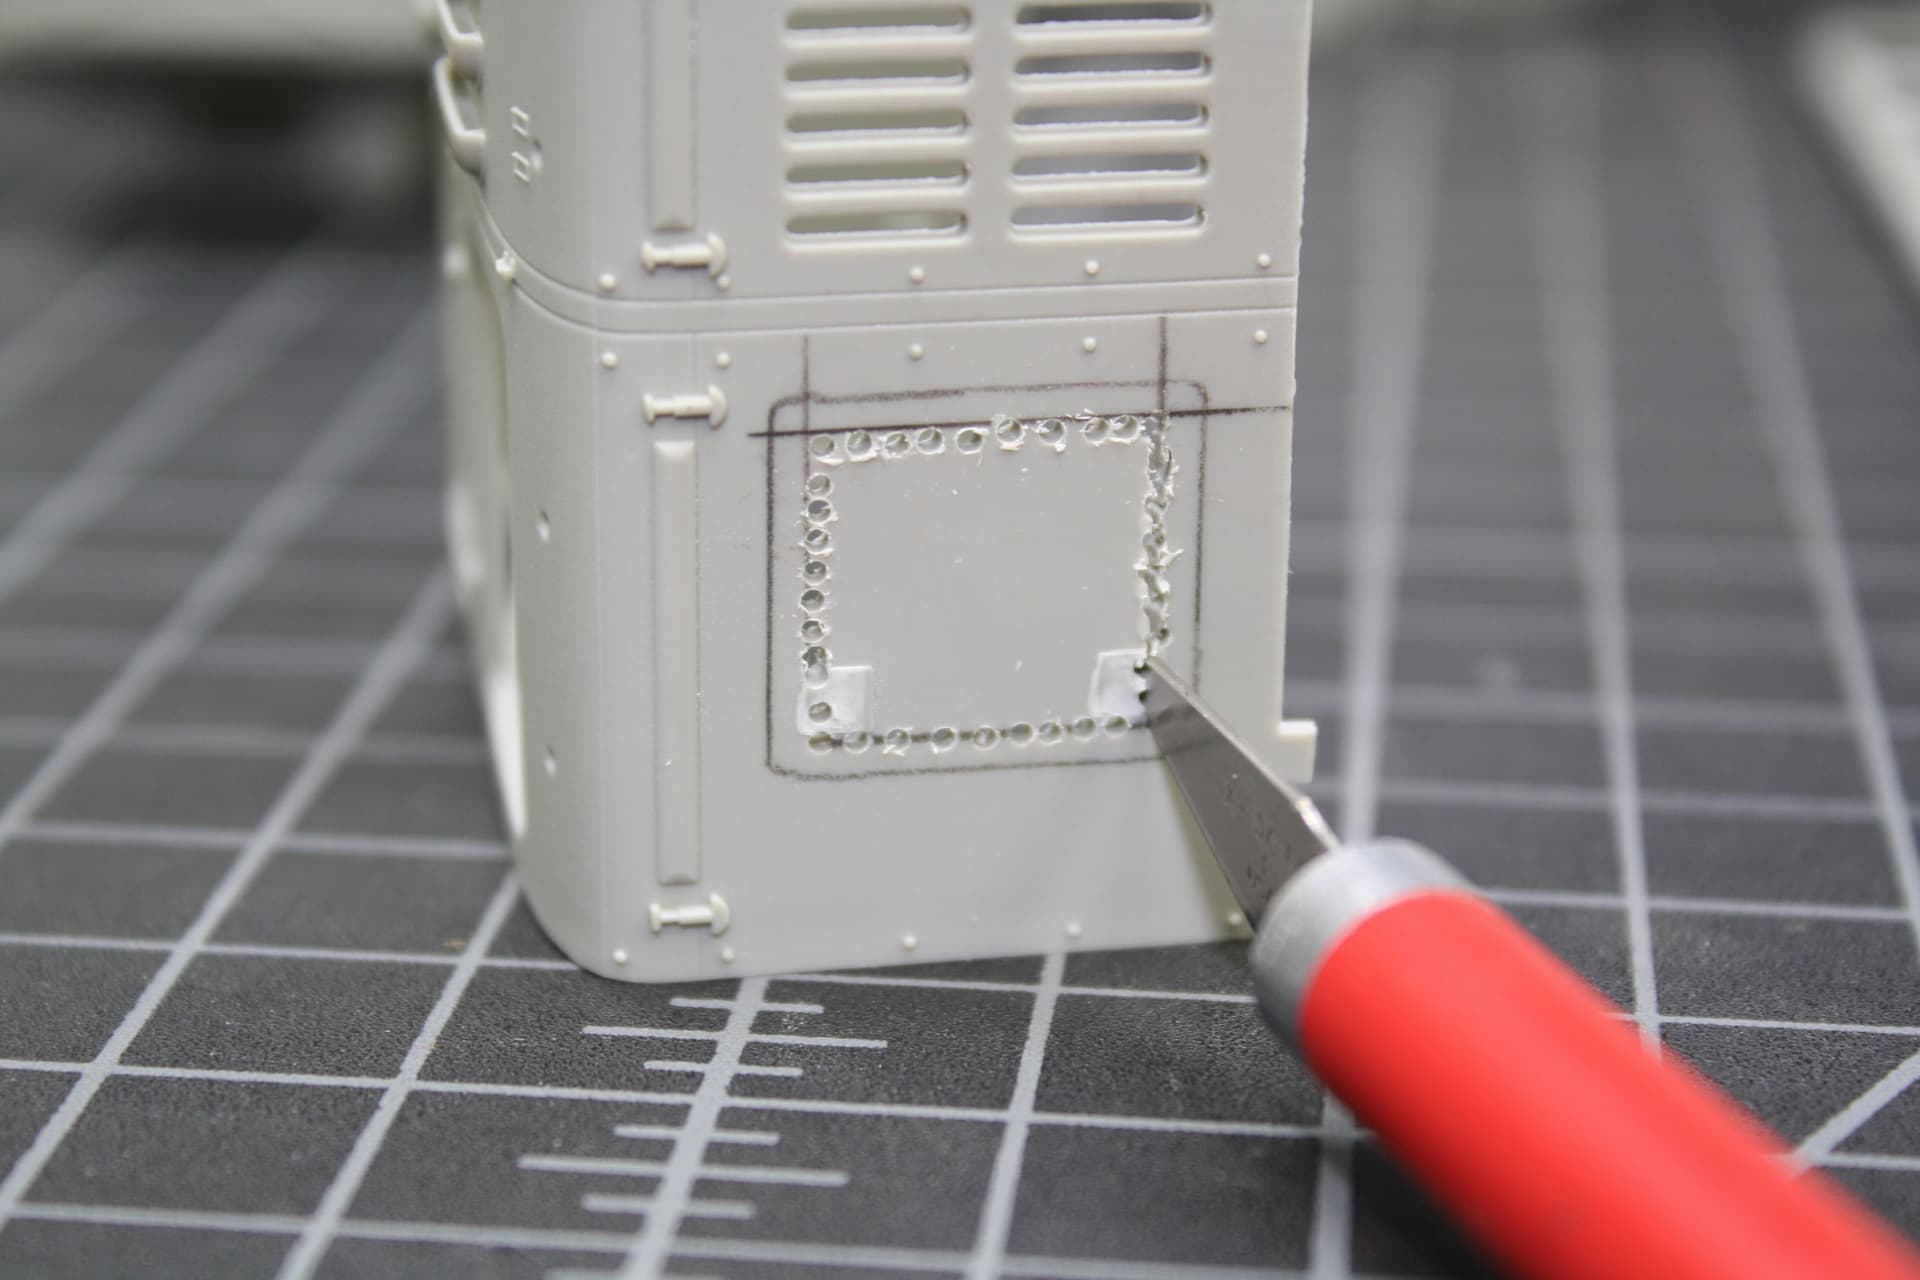
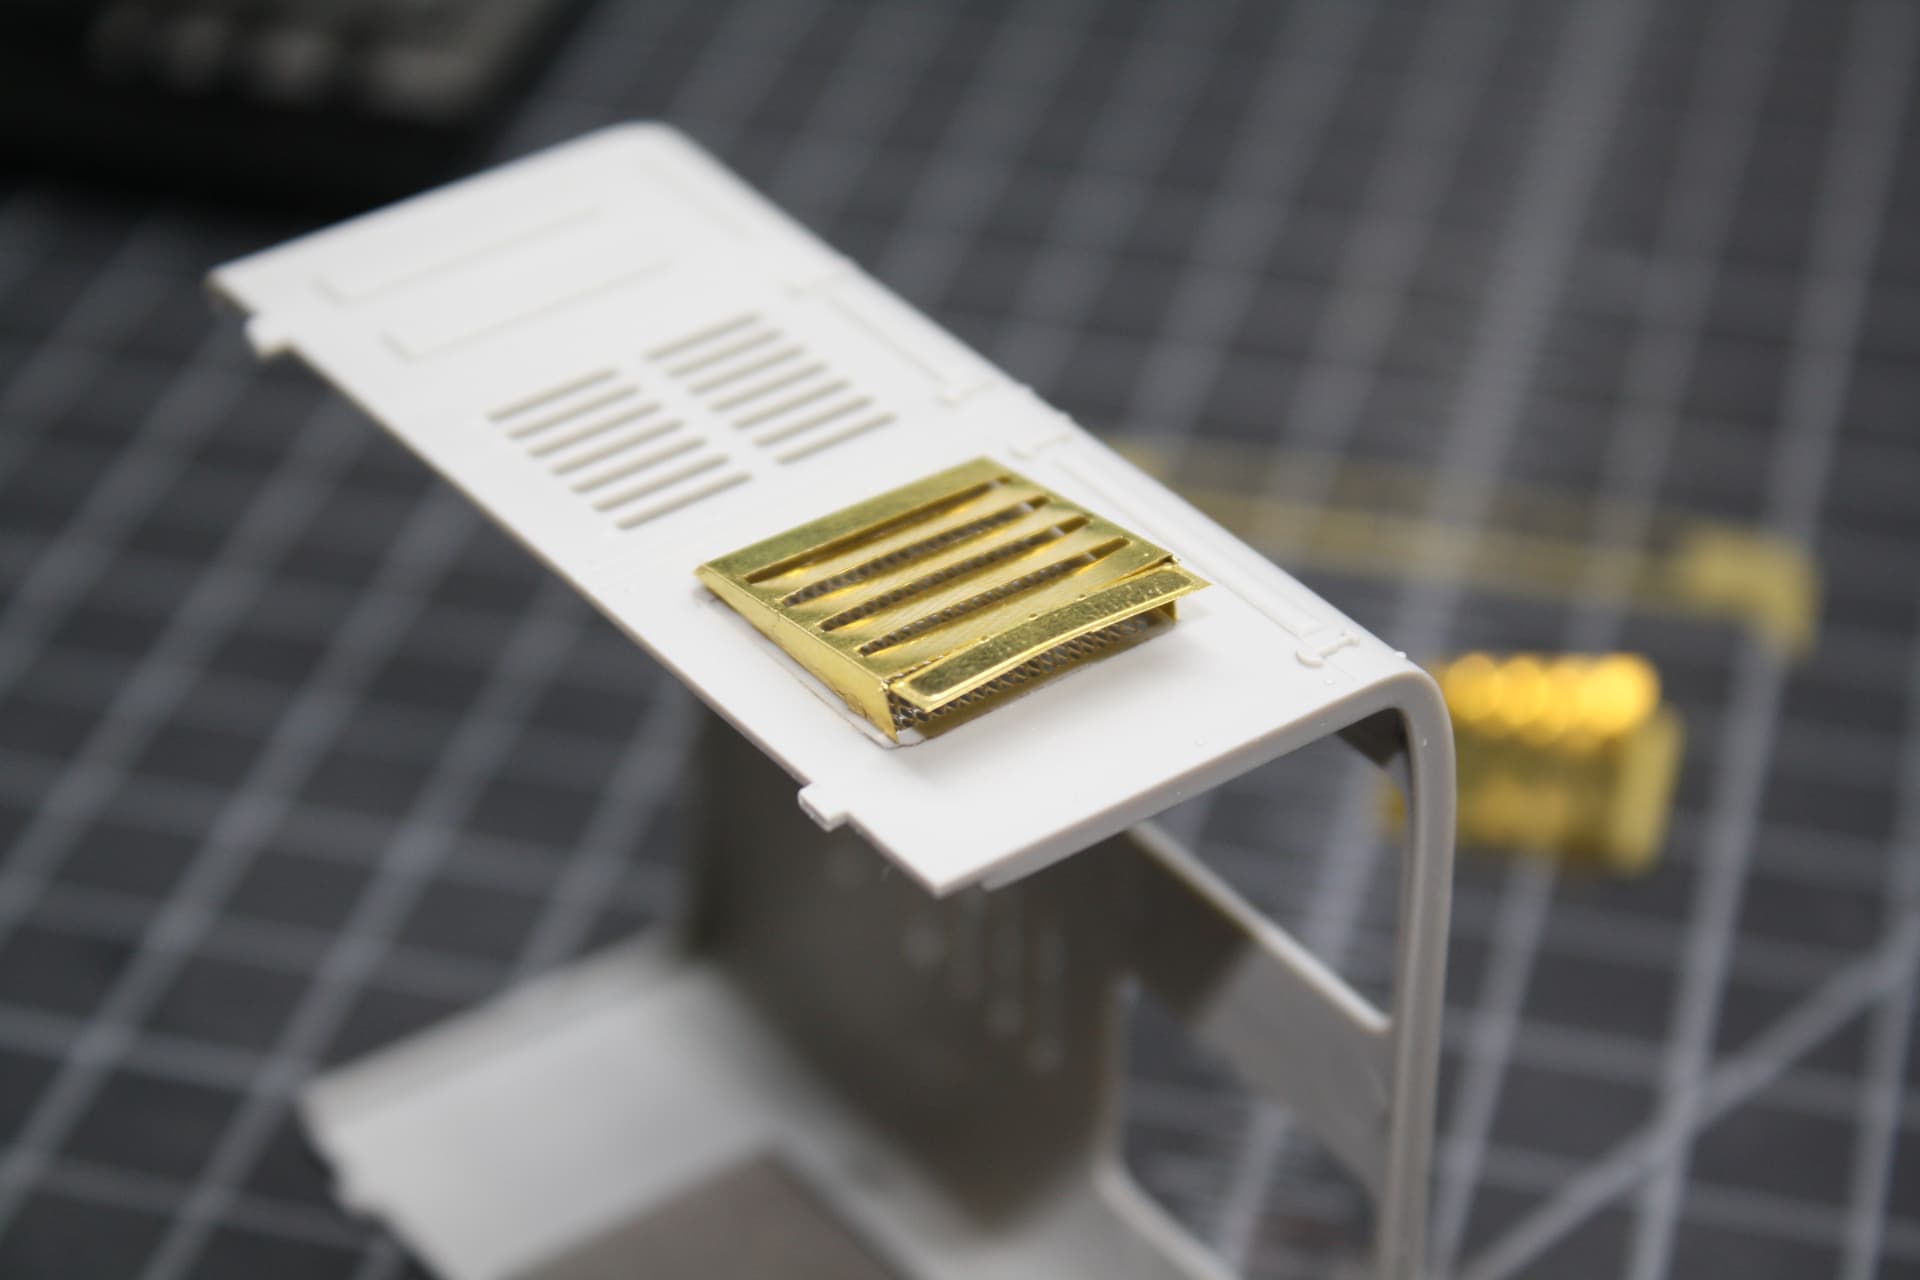
Luckily we have nice PE ones in the PE set, but using them reveals blank plastic underneath, so I need to modify the kit part and make vent openings. First measure everything out and draw reference lines. Then drill holes all round.

Then use a #11 blade to connect the holes.

Then use a file to shape the opening and square everything up.
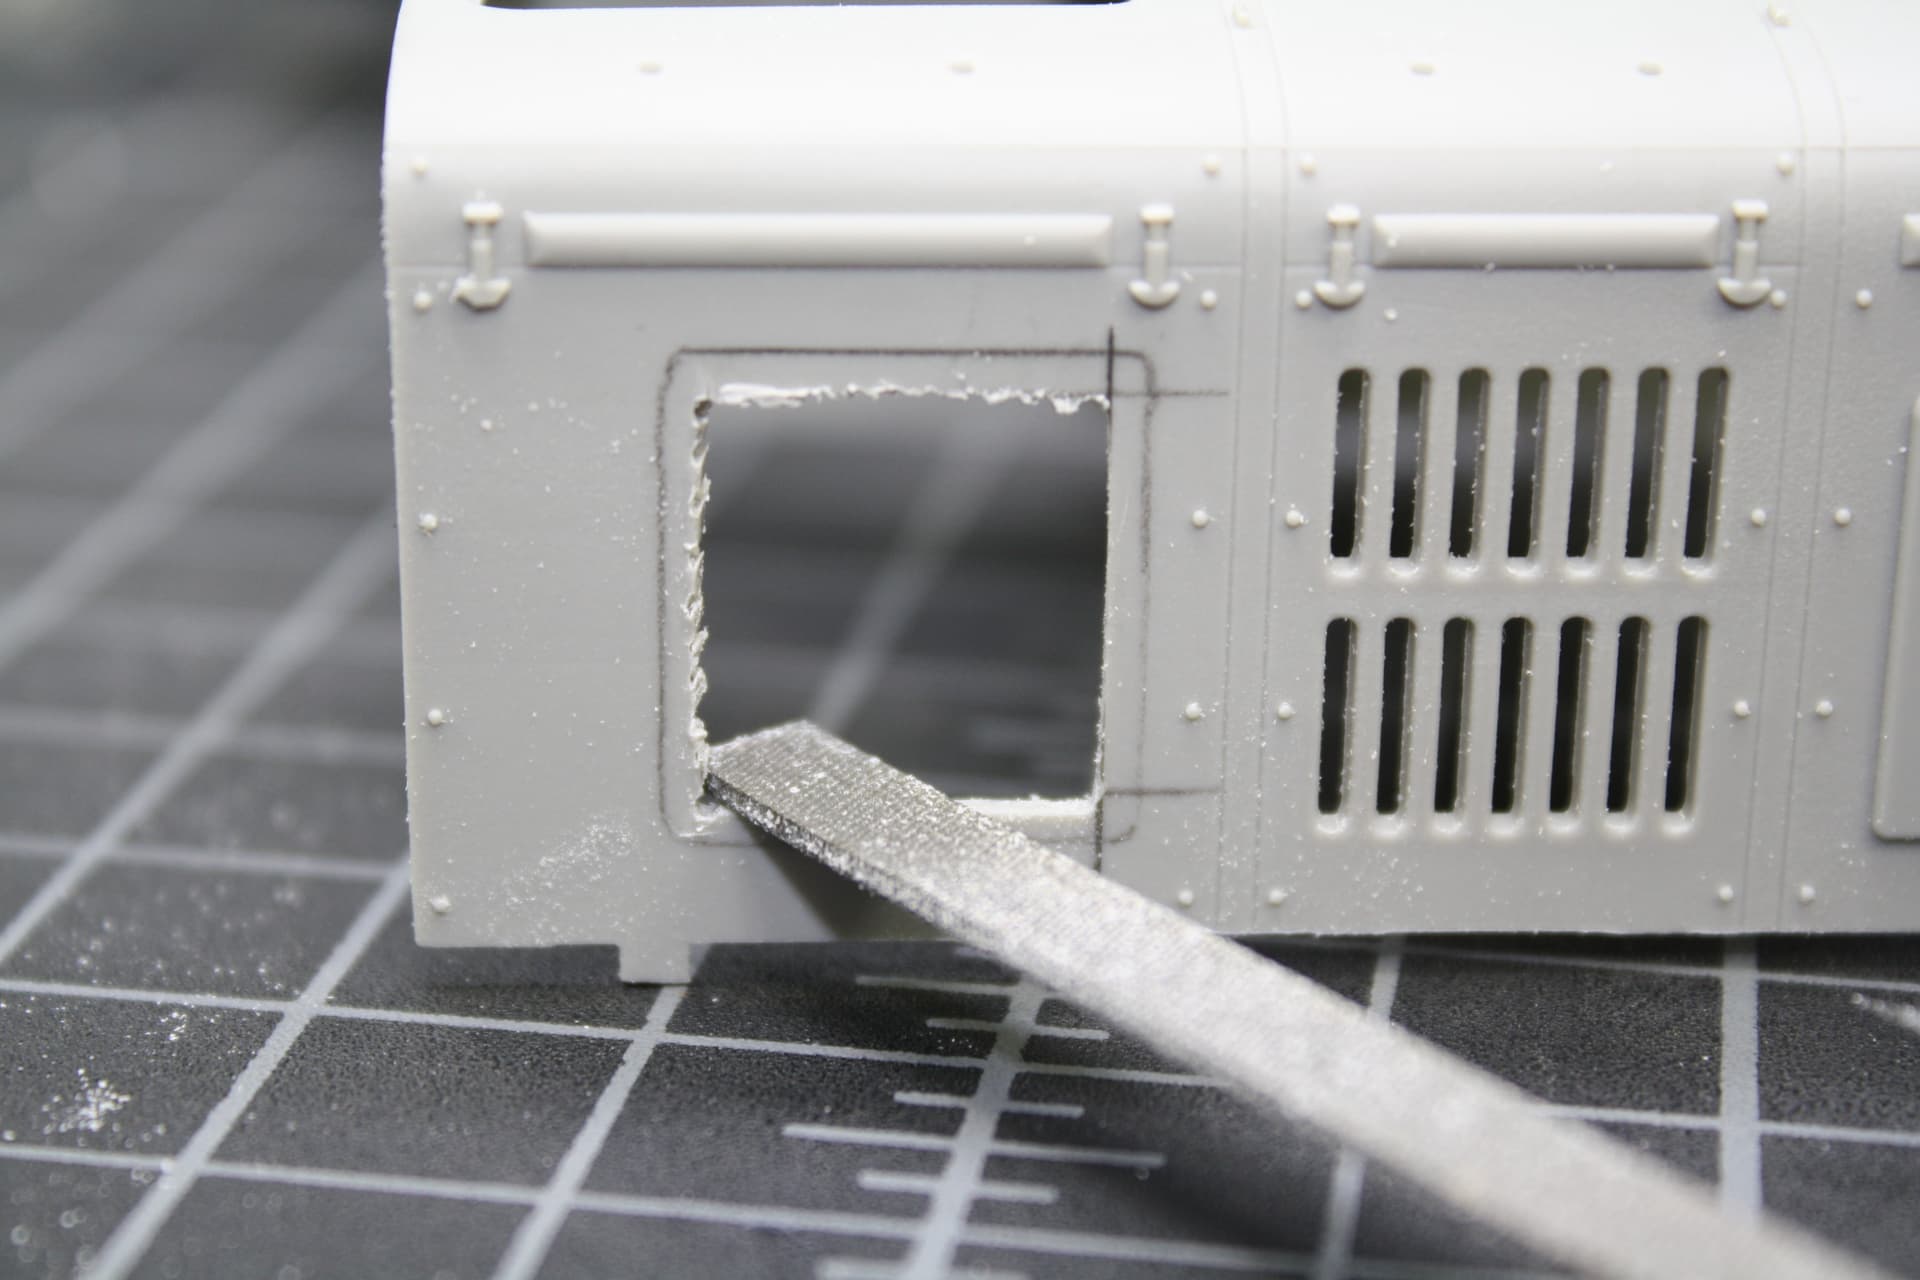

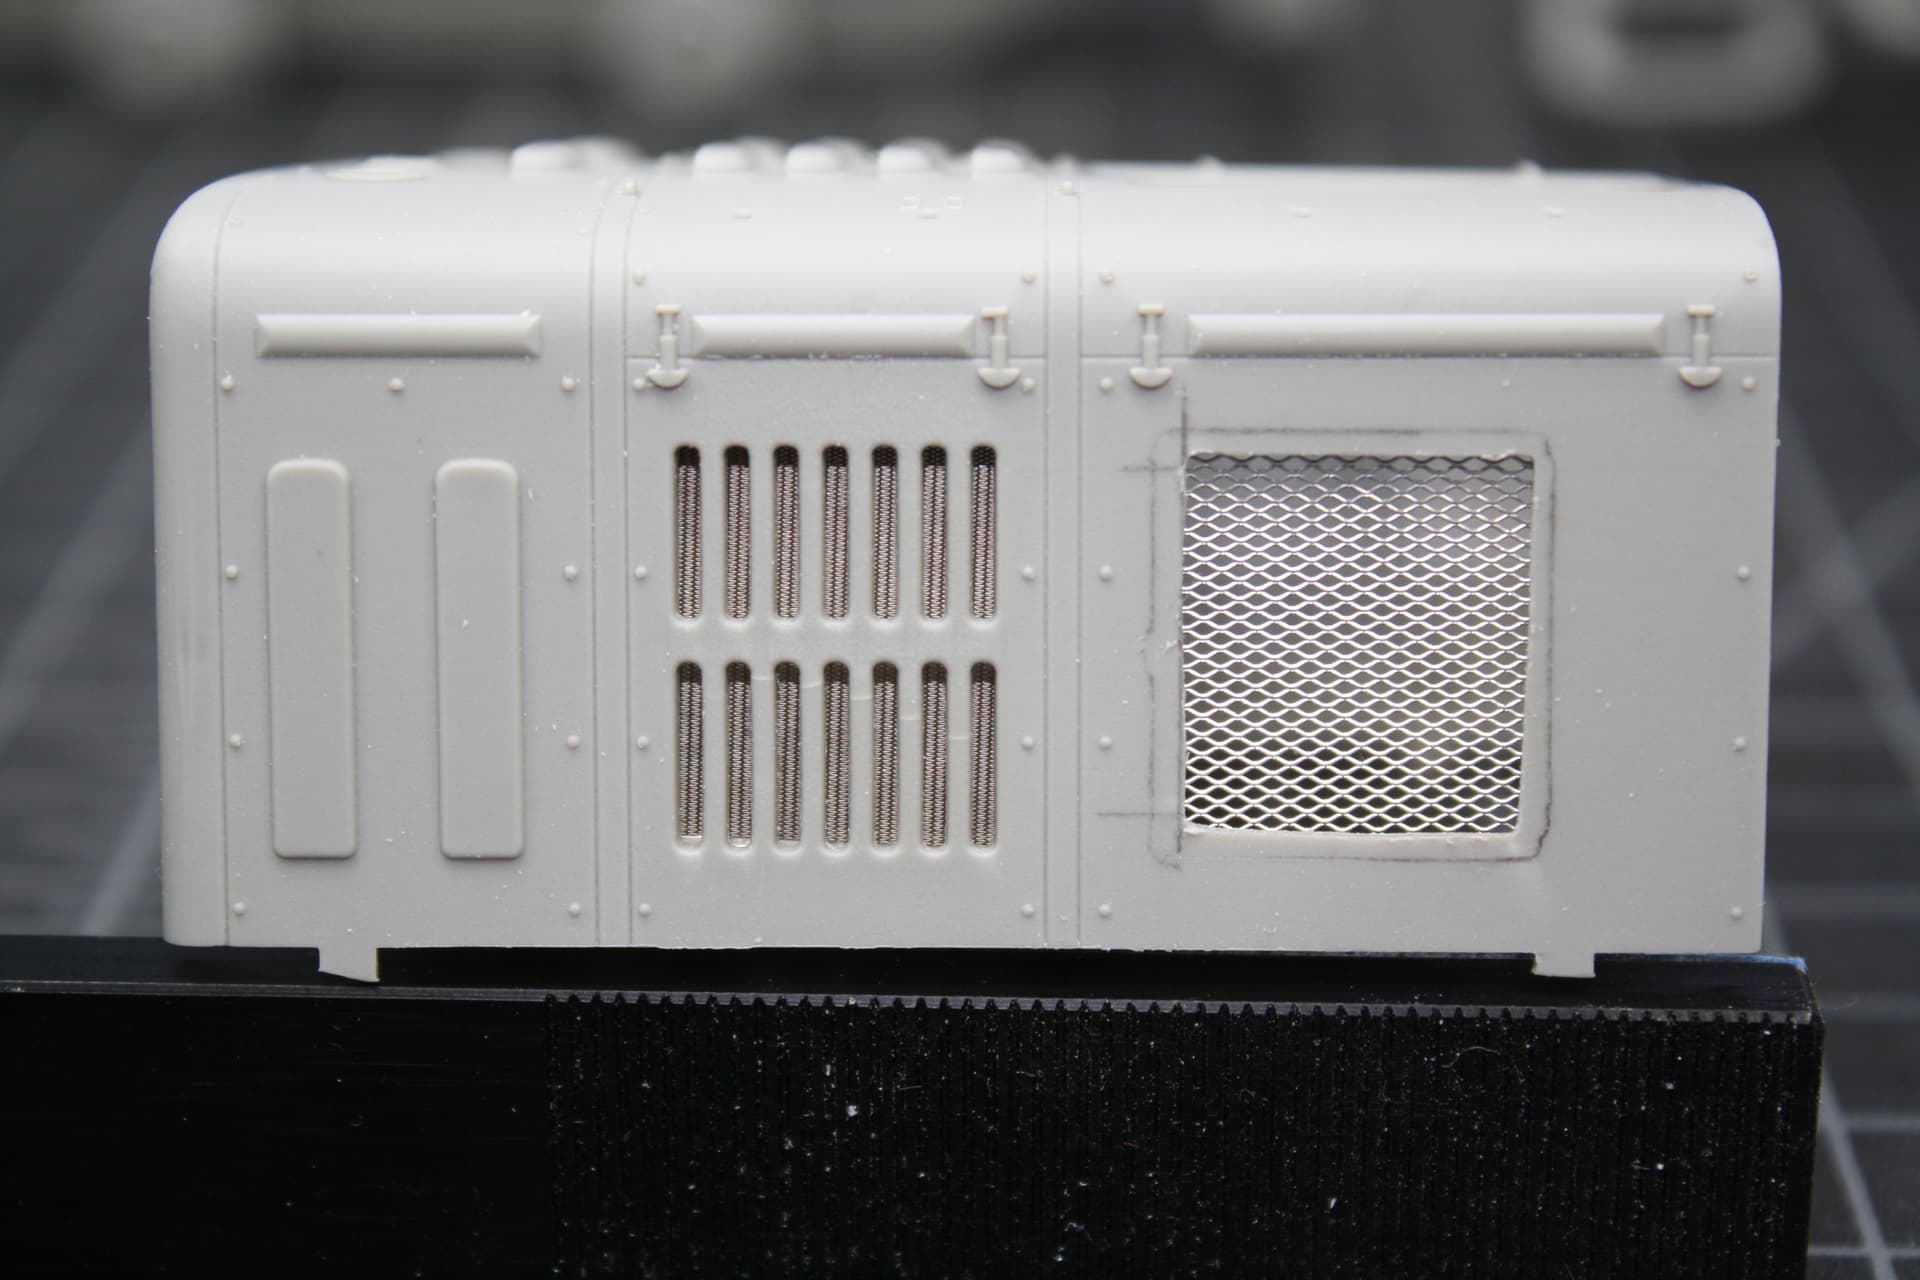
Then glue some mesh from the parts drawer to the inside. The PE screen for the other intake is next to it.
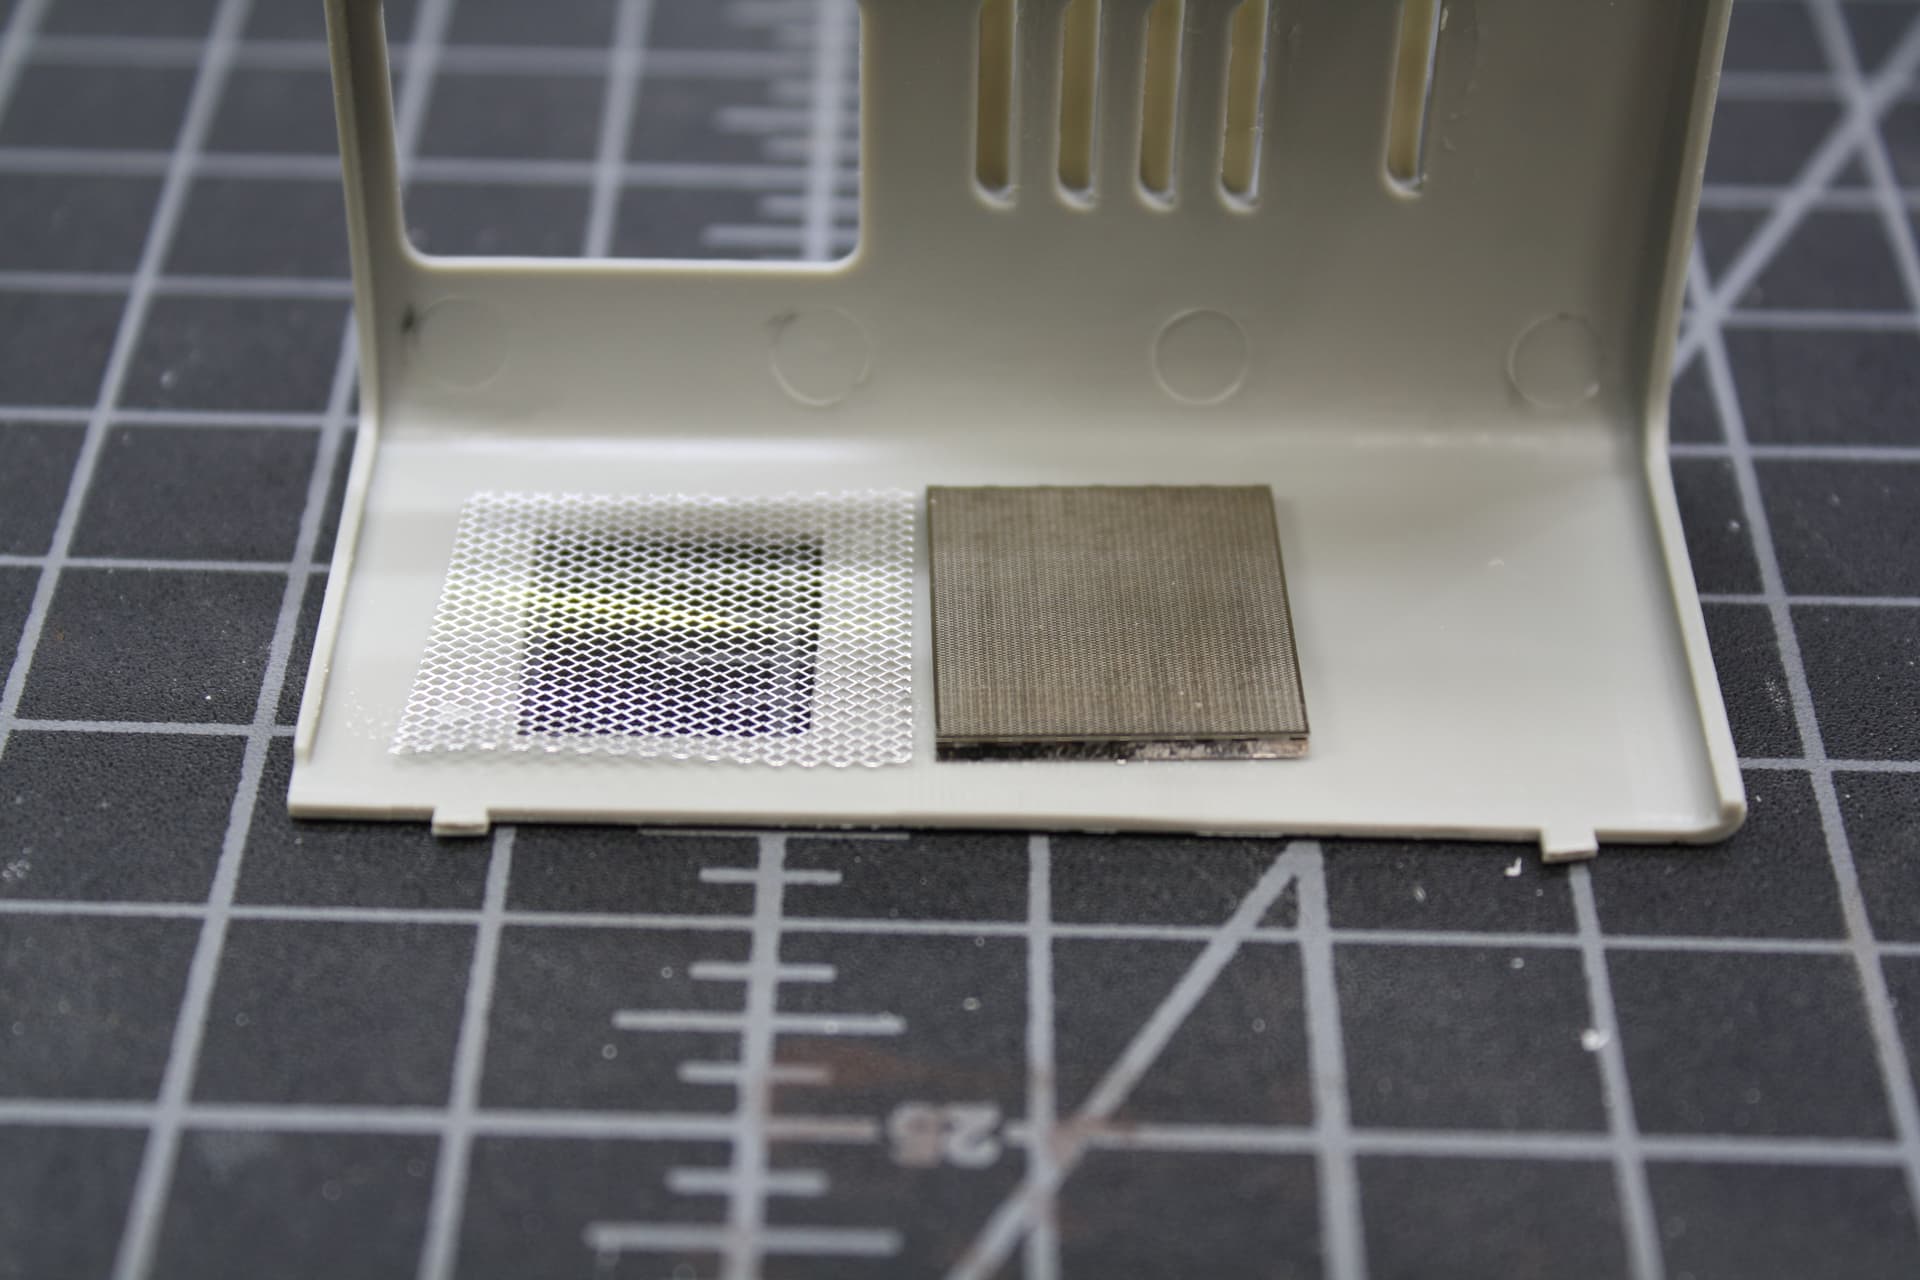
And here’s how it looks from the outside.
Then we bend and glue the cowling for the outside and put it in place on top of our new vent. I still need to tack down the corners.
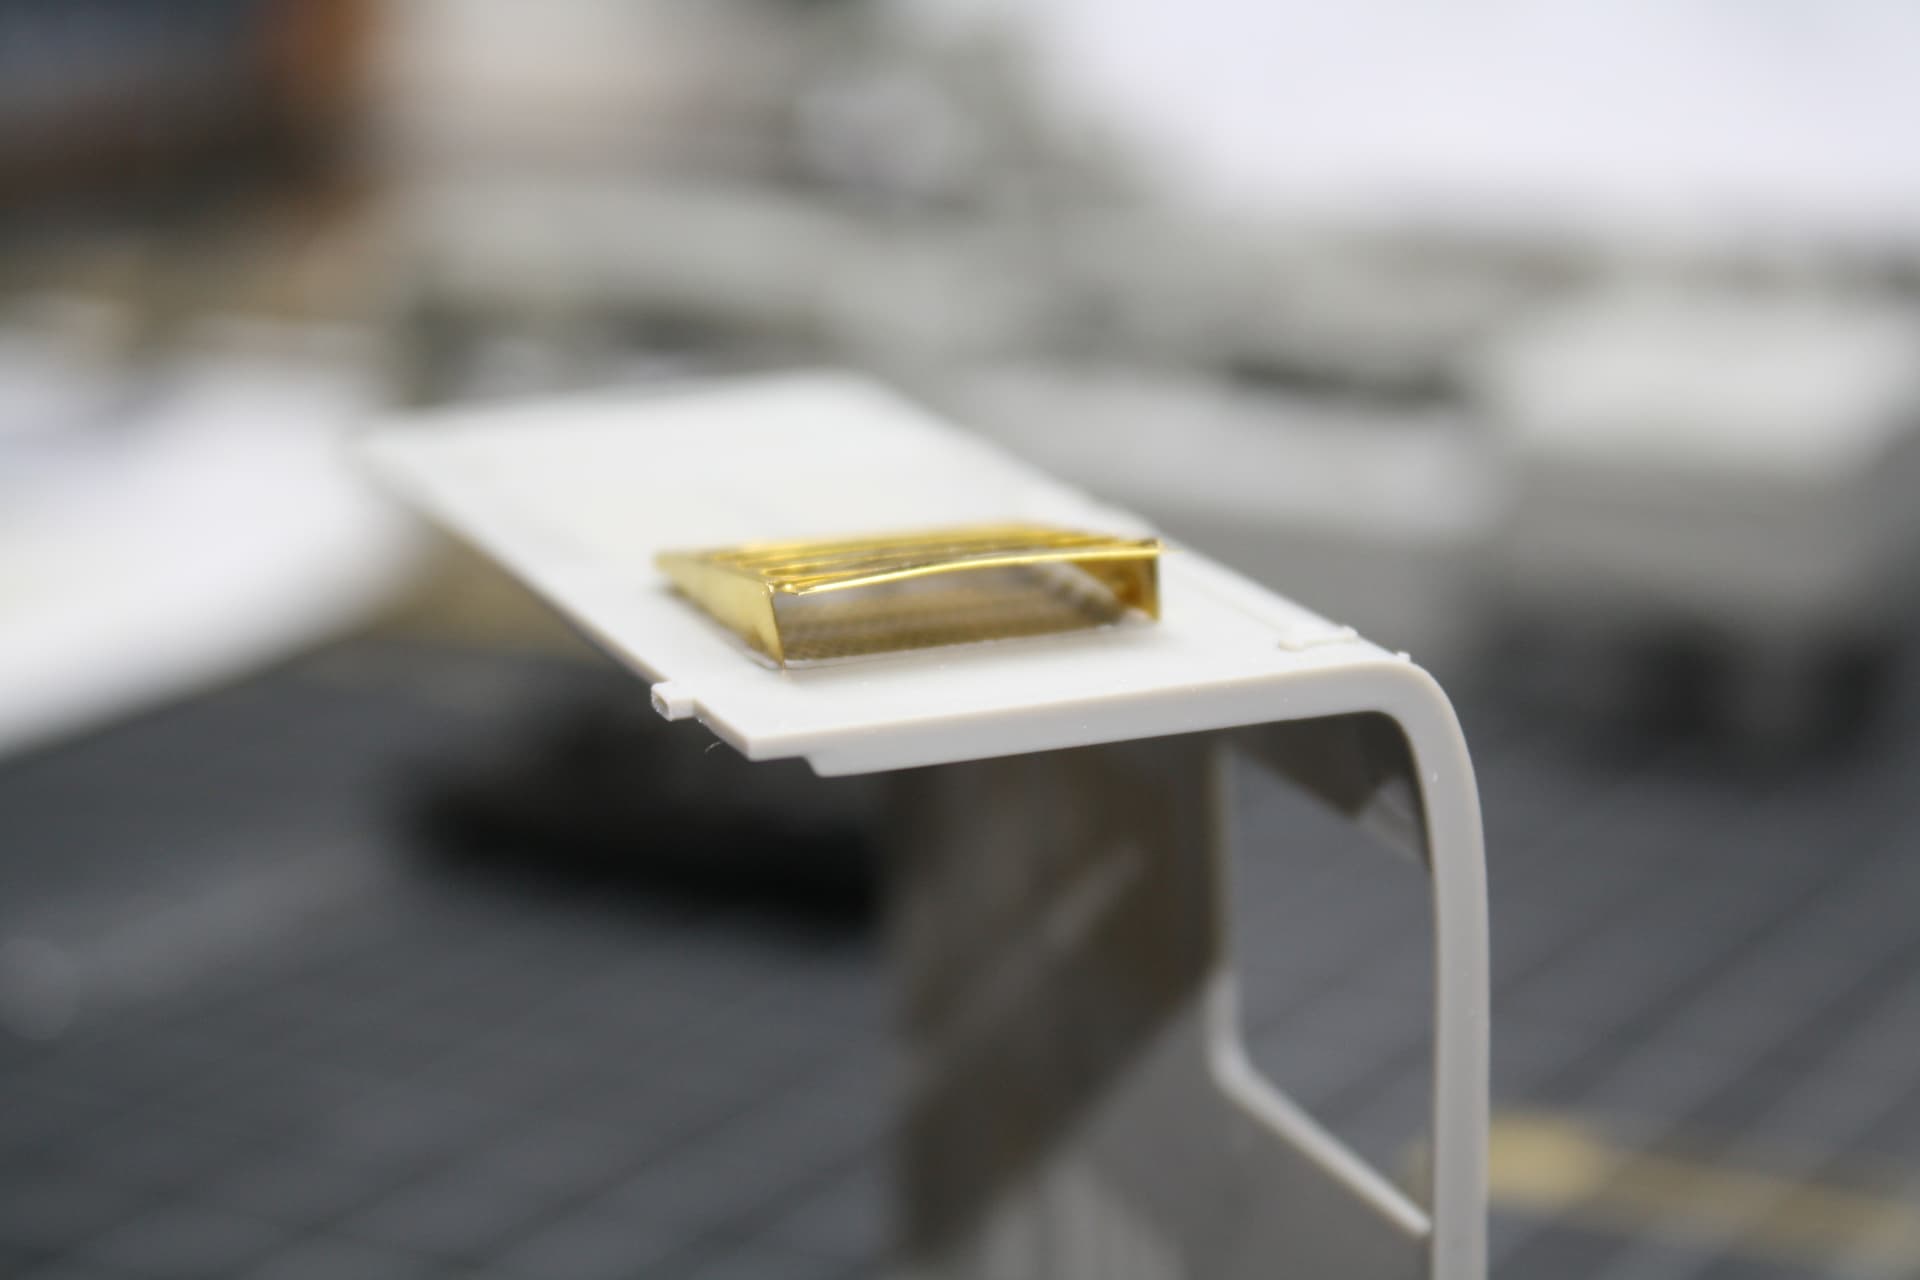
This whole step took most of the day, so that’s it for now!
6 Likes
Lovely detailing with the intake Matt. The time it took was well worth it as it’s made a bit you wouldn’t look at twice now something worthy of a nice prolonged look over so you get all the care that was taken to add to the realism
1 Like
Thanks John. A lot of work for what I hope doesn’t wind up a minor detail.
That looks exquisite! Nicely done and yes that looks tedious enough to eat quite a few hours!
2 Likes
Looks amazing Matt!
That scratch work is awesome.
2 Likes
As I have some of these Russian trucks, I will be watching this build so I know how it should be done… not that I will be doing all this extra detailling… but it is nice to see what is possible. Looks absolutely fantastic allready!
1 Like
@Johnnych01 @Armor_Buff @Panzer_modeler @bwilt Thank you for the compliments gents and thanks for following along. I’m glad somebody’s watching! 
1 Like
There are more of us watching, biding our time, waiting to strike when the time is right… ![]()
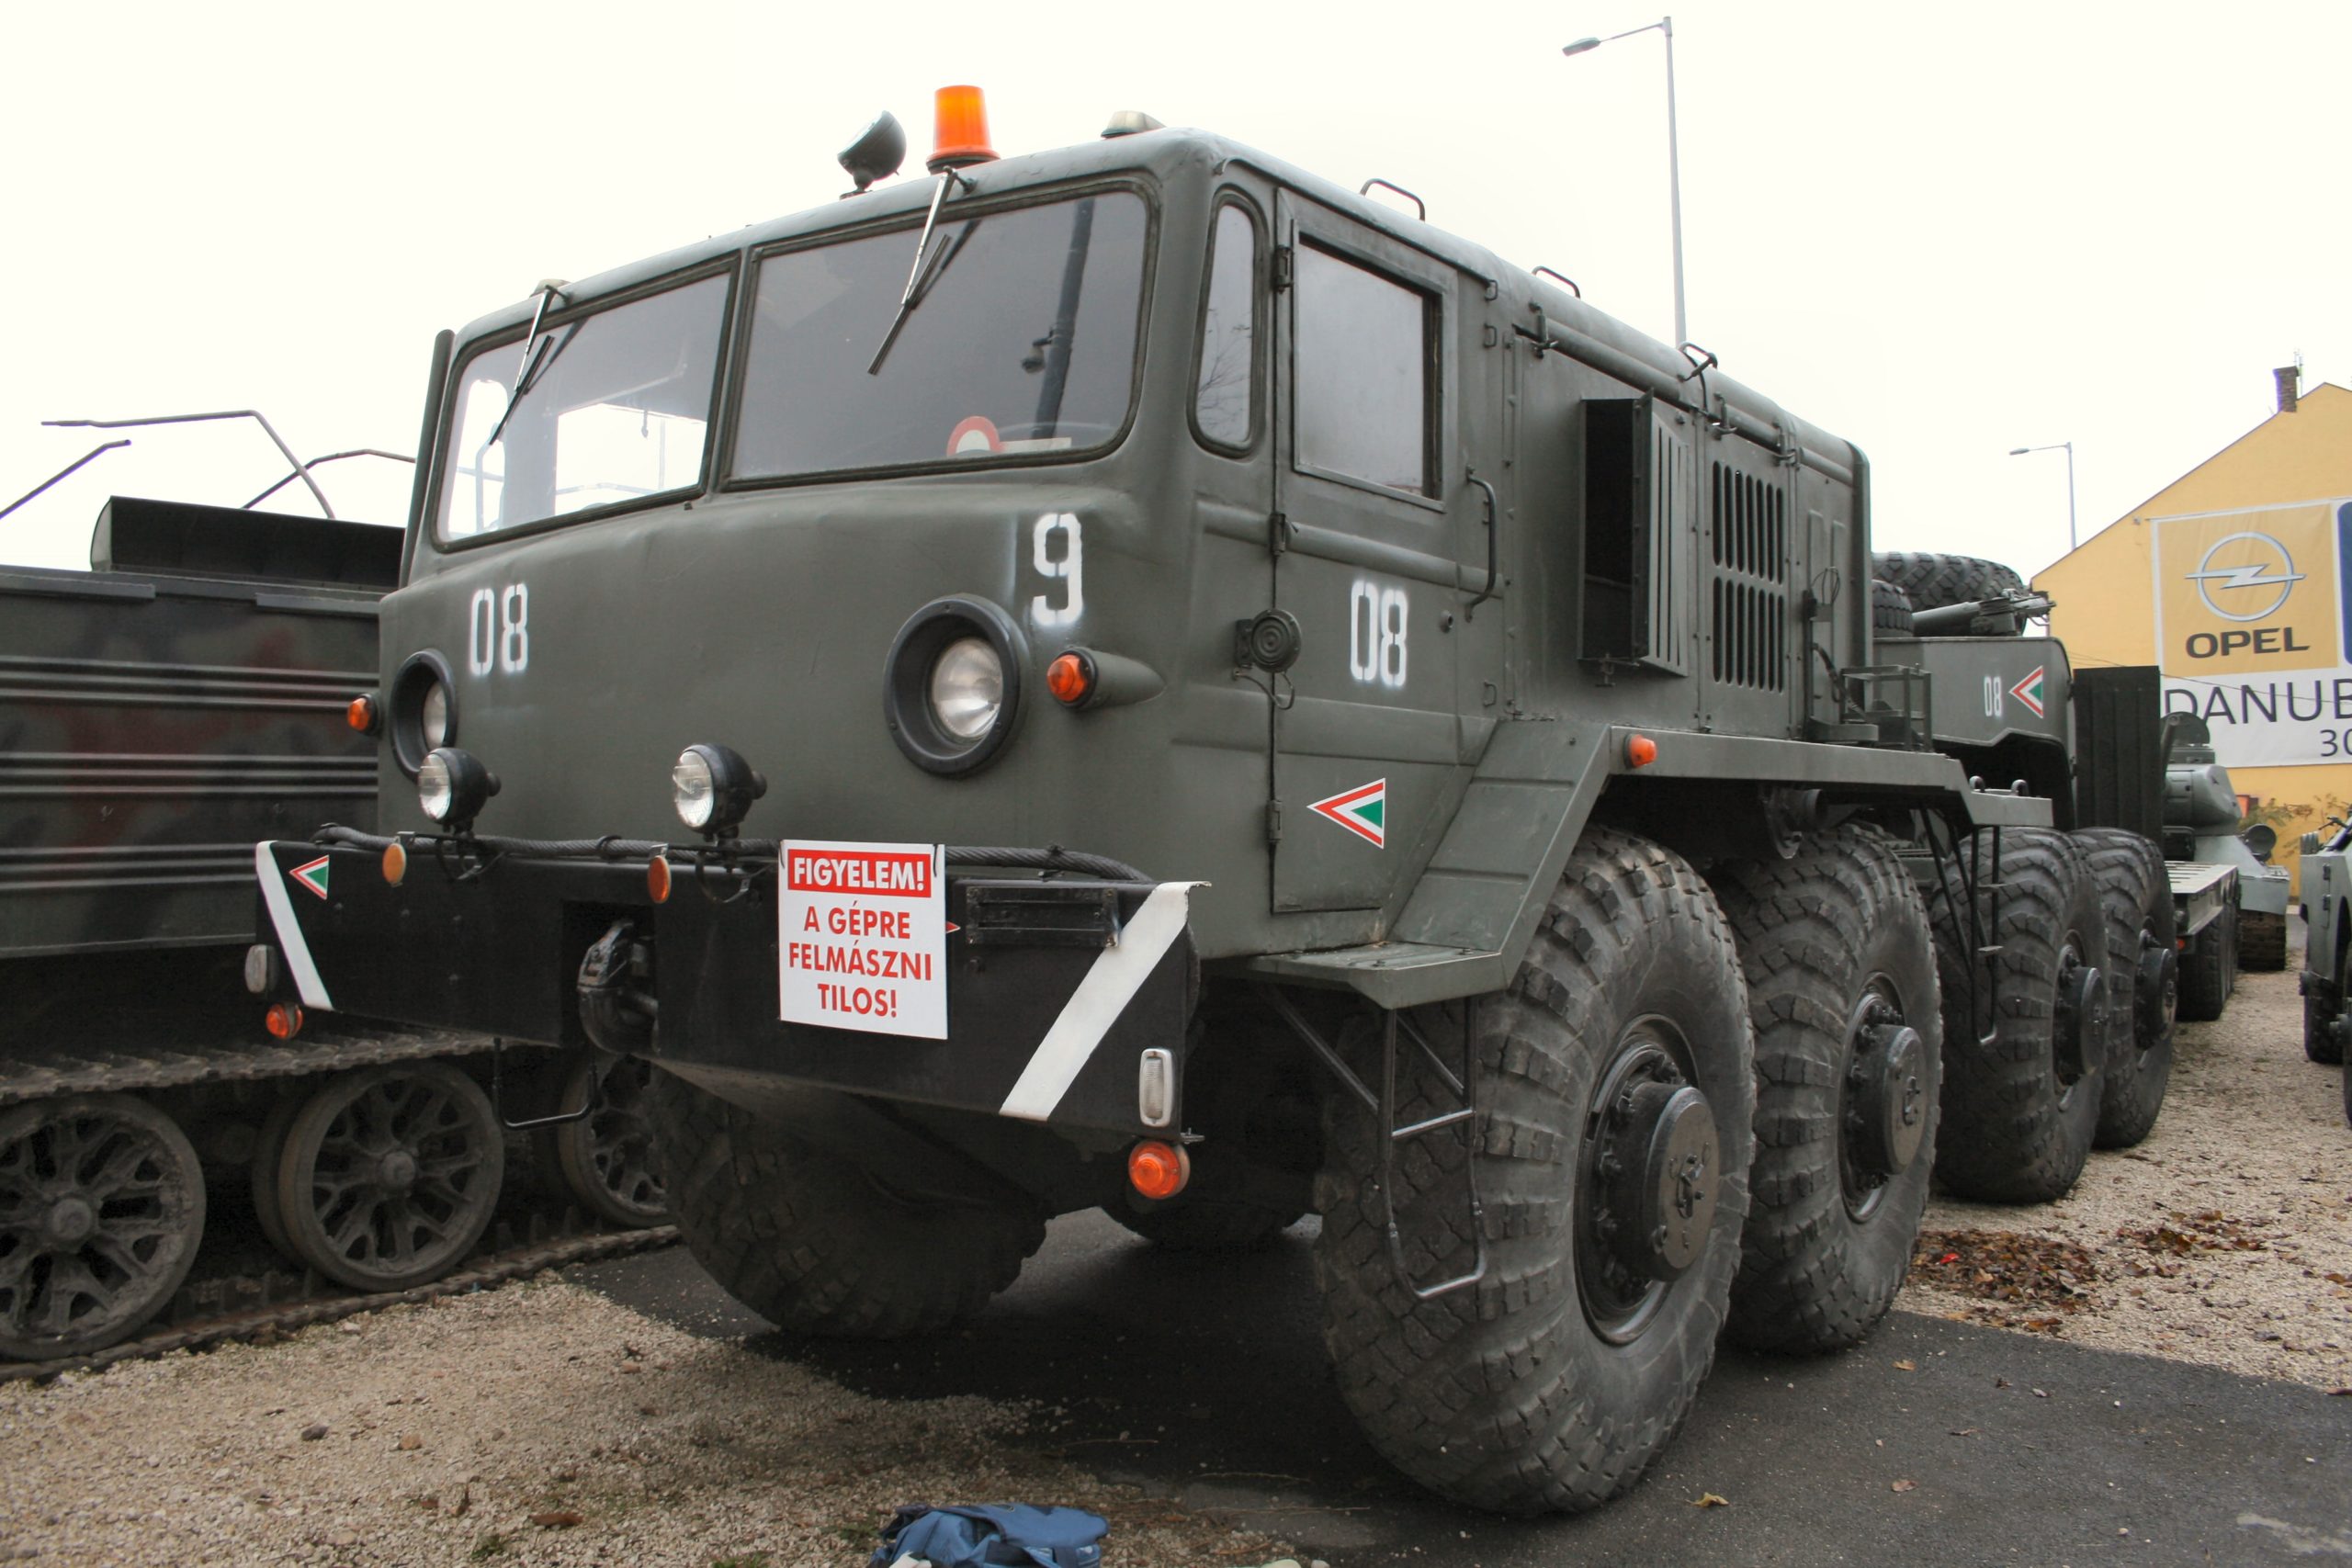
Any plans for improving the looks of these latches (?) ?
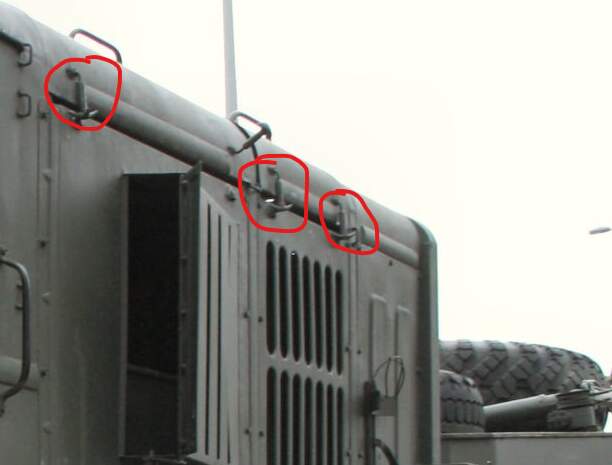
http://www.primeportal.net/trucks/gabor_fodor/maz-537/
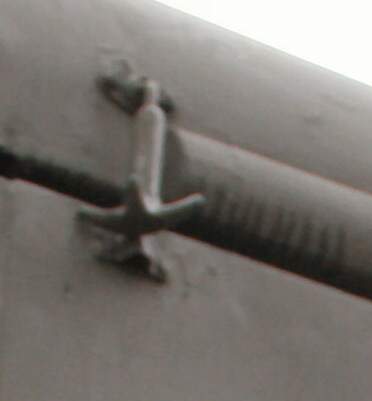
Spring loaded? Pull down and hook into an attachment point?
3 Likes
What he said….
2 Likes