We’re gonna get you to level up to a jump qualified Quebecois one next.
2 Likes
The best is coming together!
I love it!
1 Like
 your killin me smalls
1 Like
Glad your ok Chris and it’s also good to know this place helps you ![]()
1 Like
I am still struggling with a head full of bad wiring. Some days are good and sone are bad . The crew here is good therapy
5 Likes
@SSGToms Matt, one thing I want to comment on and thank you for your effort. You are posting clear & sharp photographs. Love the fact there are no distractions in all of your images. The eye goes right to the subject. Even though this is just a hobby but these steps require extra time and it shows in your work. So, Bravo!
3 Likes
Thank you Mike. I appreciate the recognition. I believe photography and lighting are just as important as the model itself. Every one of my photos are carefully “staged” so that the subject stands out. I have a DSLR that I set for close ups and a wonderful lighting set up on my workbench. Thanks for the thoughts.
3 Likes
Very nice progress on this monster.
I too appreciate your pictures. I just can’t shoot clear and sharp ones, nevermind the settings I used.
Olivier
1 Like
The left rear fender completed with tow bars. This assembly represents an afternoon of cleaning and assembly!

8 Likes
And the time and effort was well worth it Matt. It looks very detailed and really nicely put together 
1 Like
Very impressive work on a very impressive beast. I’ve always liked wreckers, been waiting for Trumpy to bring out the M984 wrecker version of the HEMTT.
1 Like

7 Likes

Matt, you’re making it look easy 
2 Likes
Really good progress Matt. I think no matter how old the moulds actually are of these kits like you said, and the possible softness of those line details, the remaining parts and the details that are shown on those and the shear number of the little sub assemblies like the above just make the whole thing that more impressive. looking forward to more
1 Like
Thank you guys for all the helpful and kind comments. 
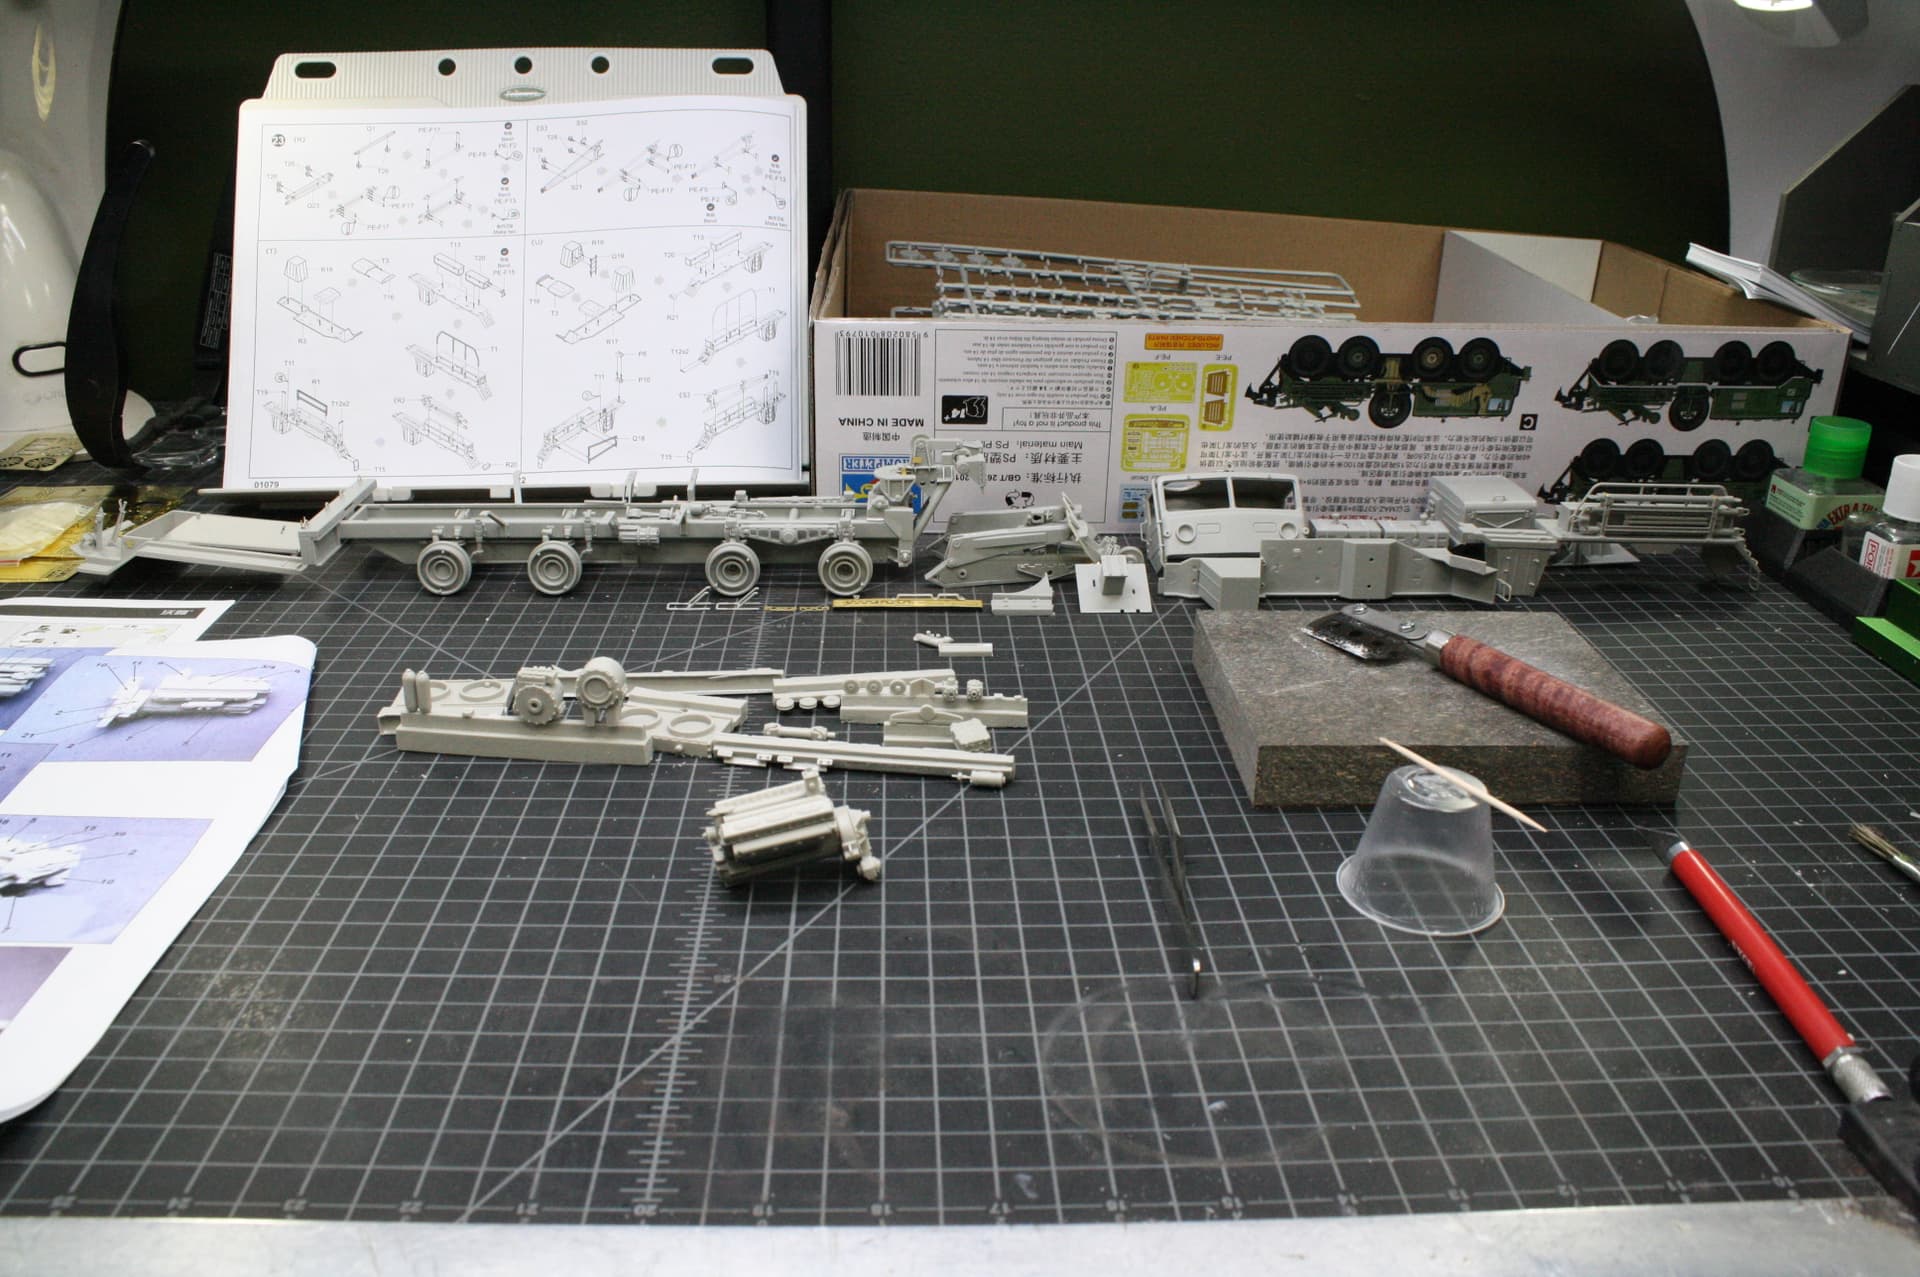

That’s a lot of plastic Matt. It looks like the way to go is definitely doing sub assemblies and building it up like that. Will you be painting as you go ?
1 Like
For the most part, yes. First the interior, then the green (upper) half, then the black (lower) half, then final assembly. That makes it neater and easier to mask.
1 Like


