That was a nice touch from your pal to do that with the spare tyre. It looks really good. I fully agree with you about the spare… The manufacturers must know it is probably something modellers would need… Would it hurt to try include one extra in the kit… Absolutely not !!
Nice job getting the black on … Be good to see the rest of the colour soon 
1 Like
What’s the cab of this beast looking like detail wise Matt? Are you going to end up dropping a couples miles of copper wire in there as plumbing?
Also not including a spare should be a flogging offence.
3 Likes
Details are kind of sparse but I have some PE to dress it out. It will take some wire and pipes to finish it off, and I’ve got decal gauges.
So - 6 straight hours of airbrushing later, we have lots of tires coated in Tamiya Rubber Black -
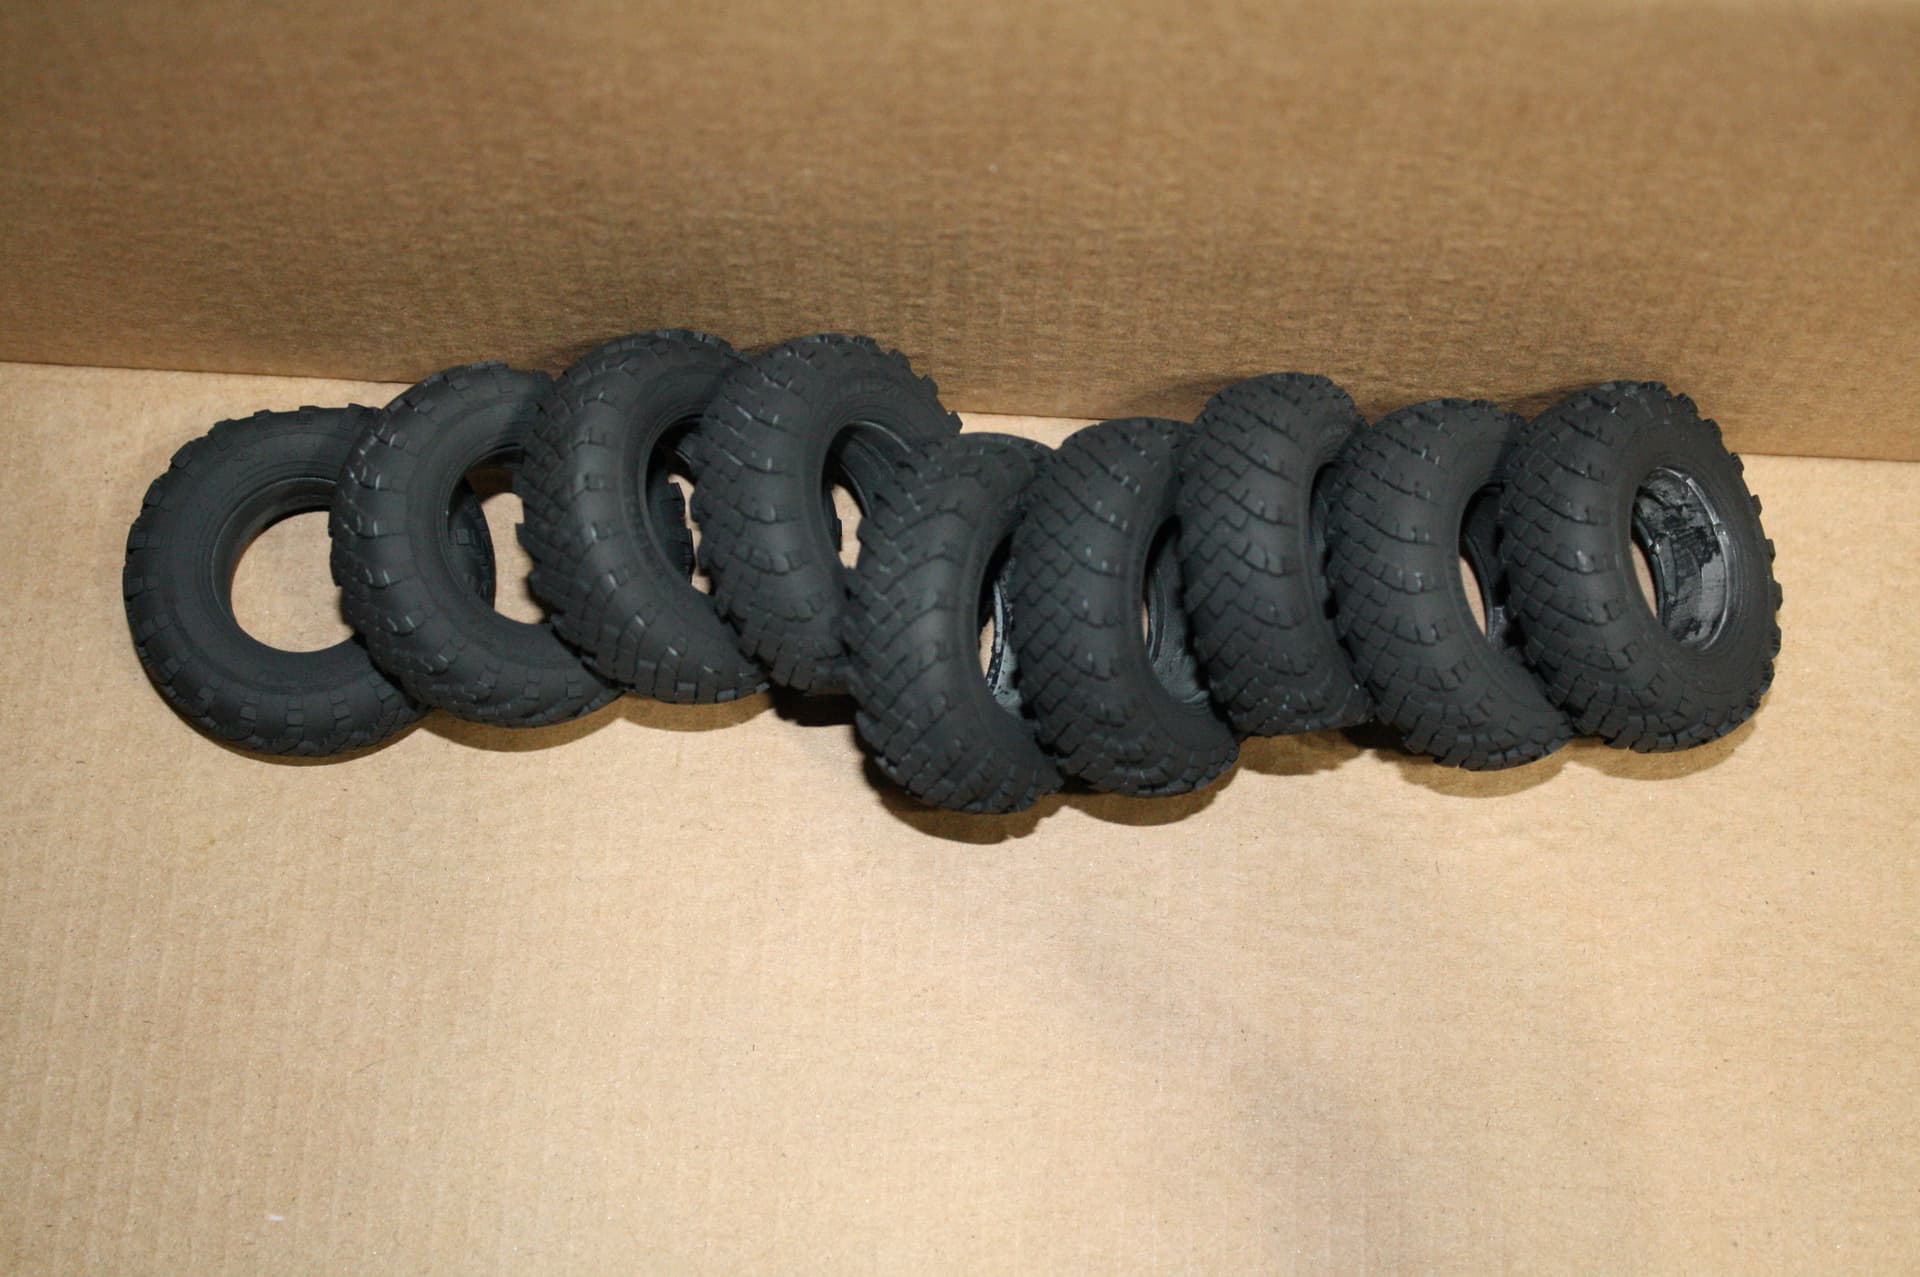
I like Tamiya Rubber Black better than AK Real Colors Rubber Black. The AK paint is too light and too grey. The Tamiya paint is just right. I have also started thinning my paint with Mr. Hobby Mr. Color Leveling Thinner and wow! You guys are right, this thinner is amazing! It’s expensive as hell, but it does amazing stuff! It turns Tamiya and Real Color into magic elixir that performs incredibly out of the airbrush and dries smooth as glass. I don’t think you could mess this paint mix up if you tried. I use maybe 4 ml of thinner at a time, so a $13 400ml bottle is good for 100 airbrush cups, not prohibitively costly if you think about it. I’m using the Mr. Color thinner for painting and the Klean Strip thinner for cleaning now.
I ran some Klean Strip through the old Iwata Revolution CR to switch colors to AK Real Color Modern Russian Green and began shooting the enormous pile of body parts. The planets were all in alignment and everything went without a hitch. The paint layed down beautifully and I was able to get inside the vents and into all the nooks and crannies.
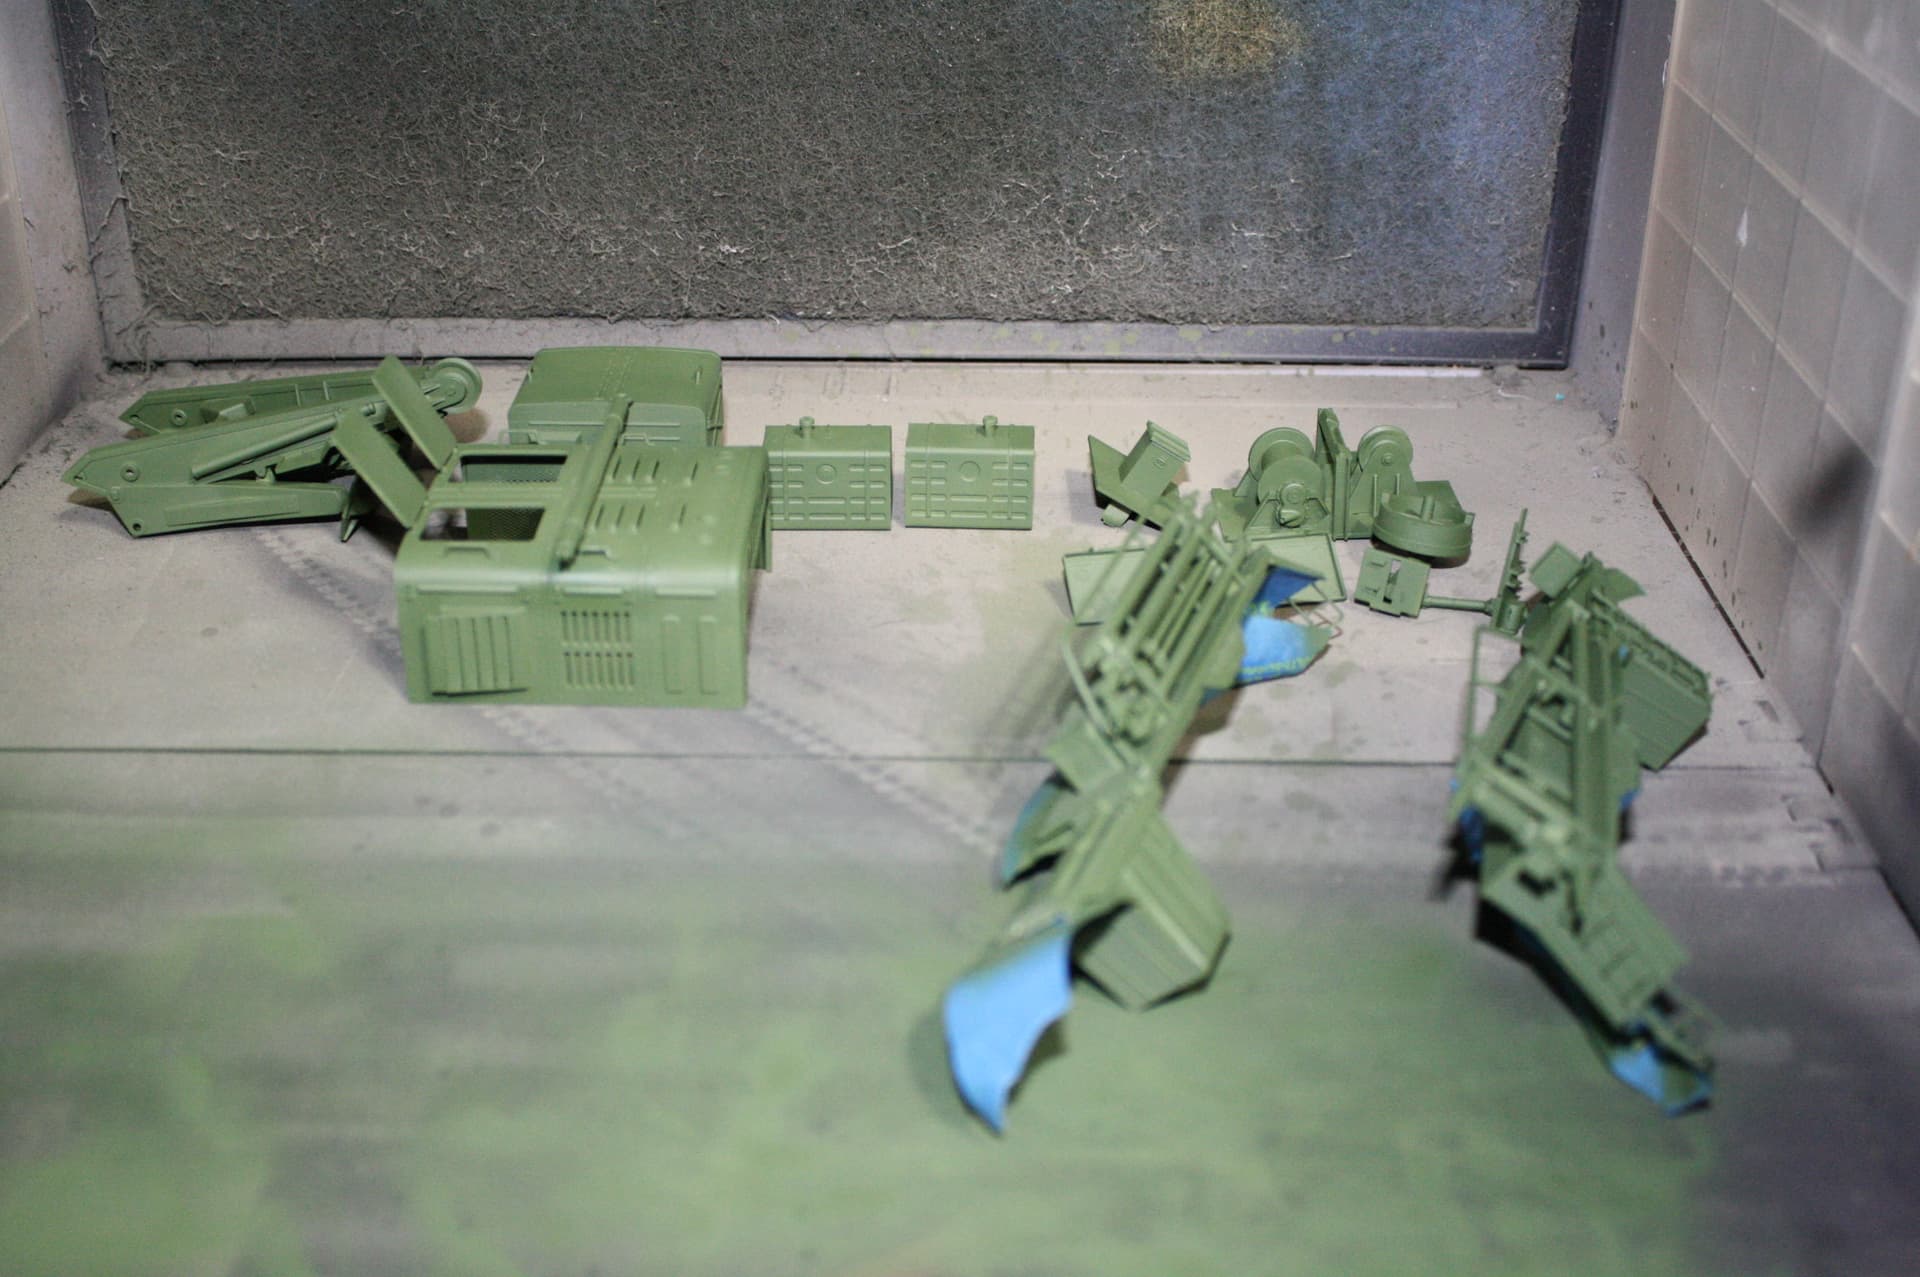
I taped off the bottoms of the fenders, which were previously sprayed flat black. Missing here is the cab and engine bay. I had some serious fit issues with the PE dashboard when I tried to mate the cab top and bottom, so the cab top needed some rebuilding and time for the glue to dry. It didn’t make it in time for this airbrushing session. I’ll get to it today.
Also, here’s how I tackle airbrushing small parts:
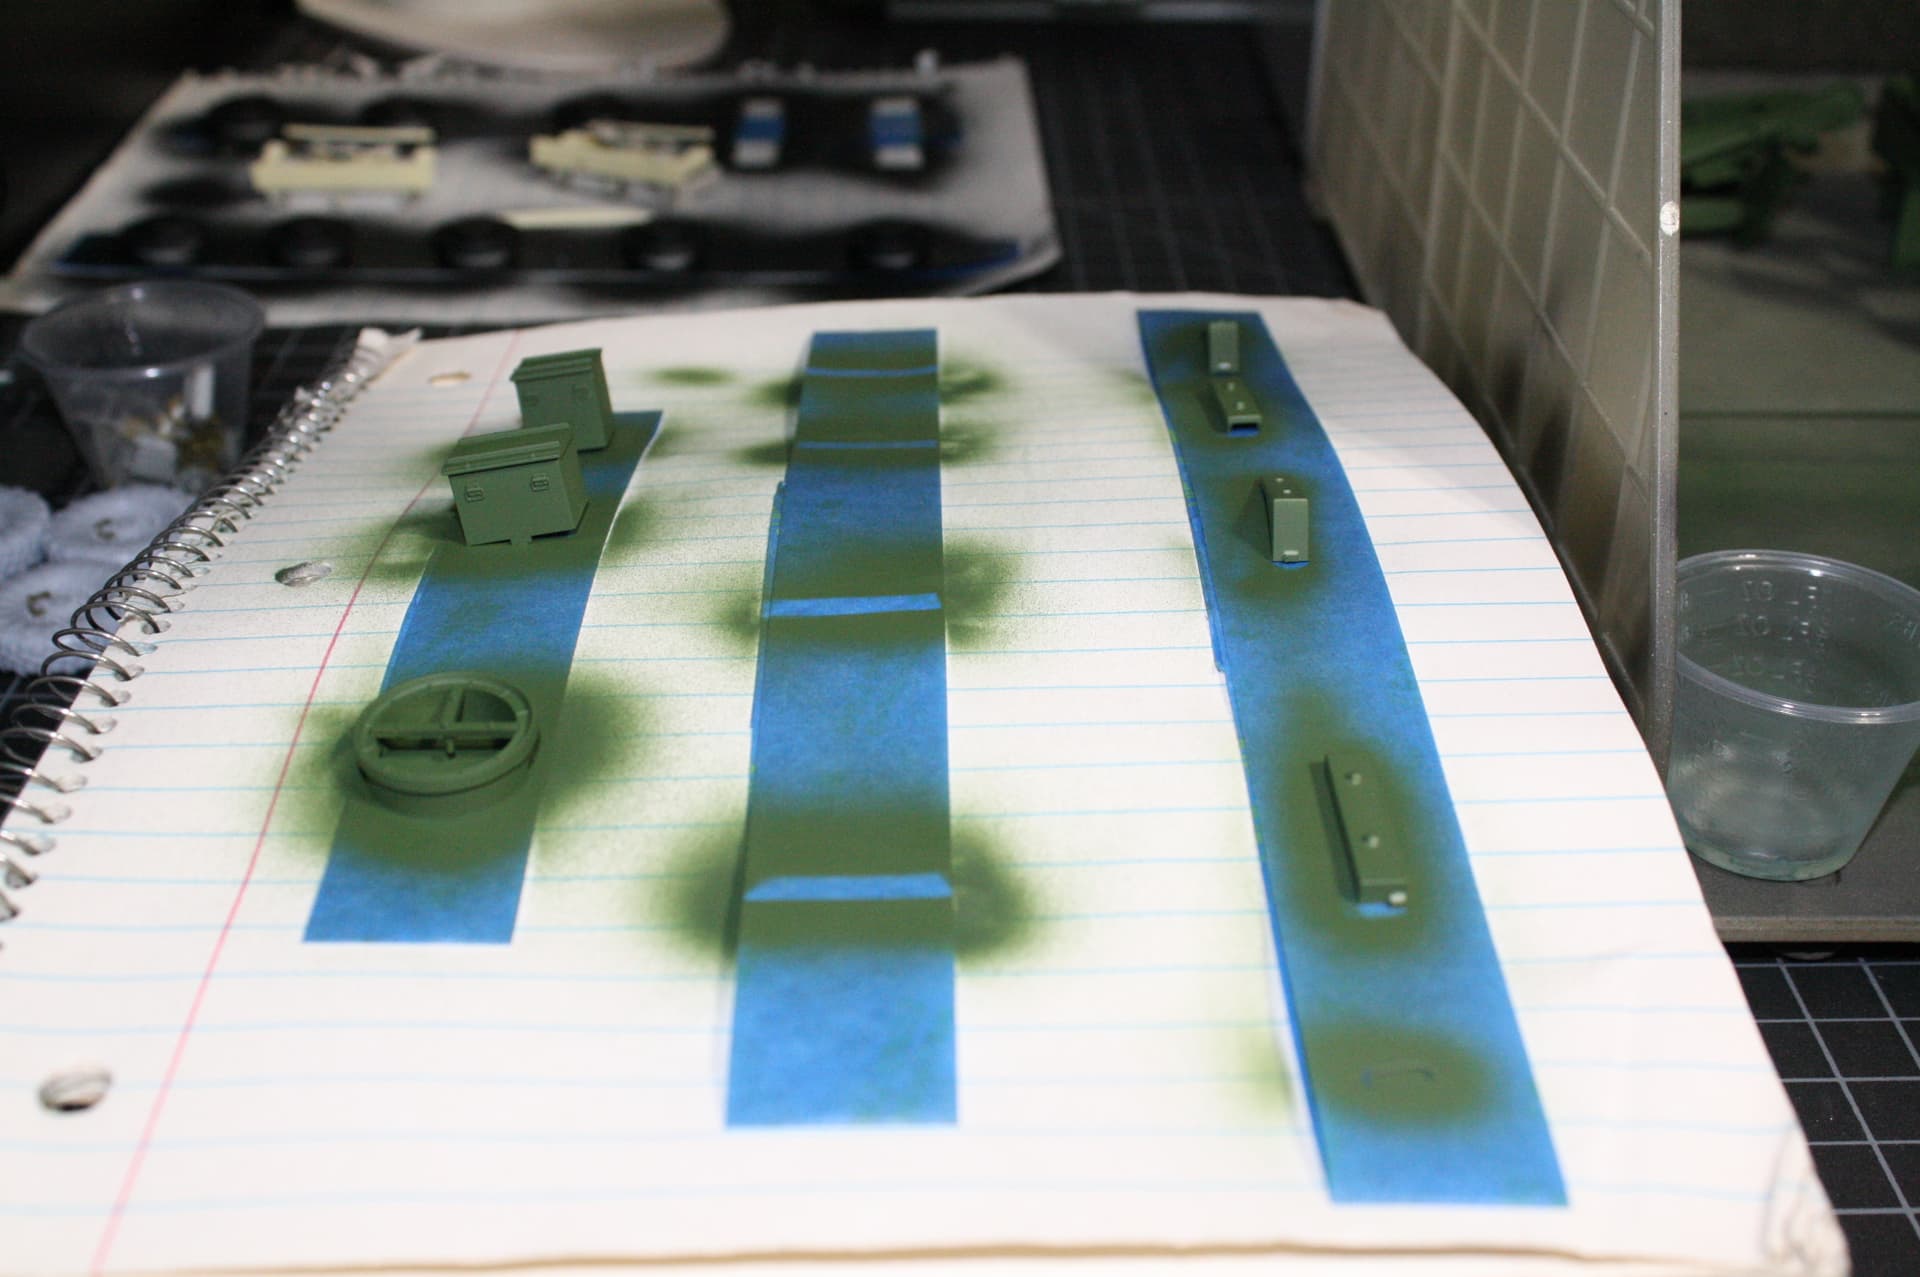
I put tape loops on a notebook and stick the parts to them, then let them dry and flip them over to paint the other sides. Just rip off the sheet and start a new one when you’re done. I also have a sh*tload of these:
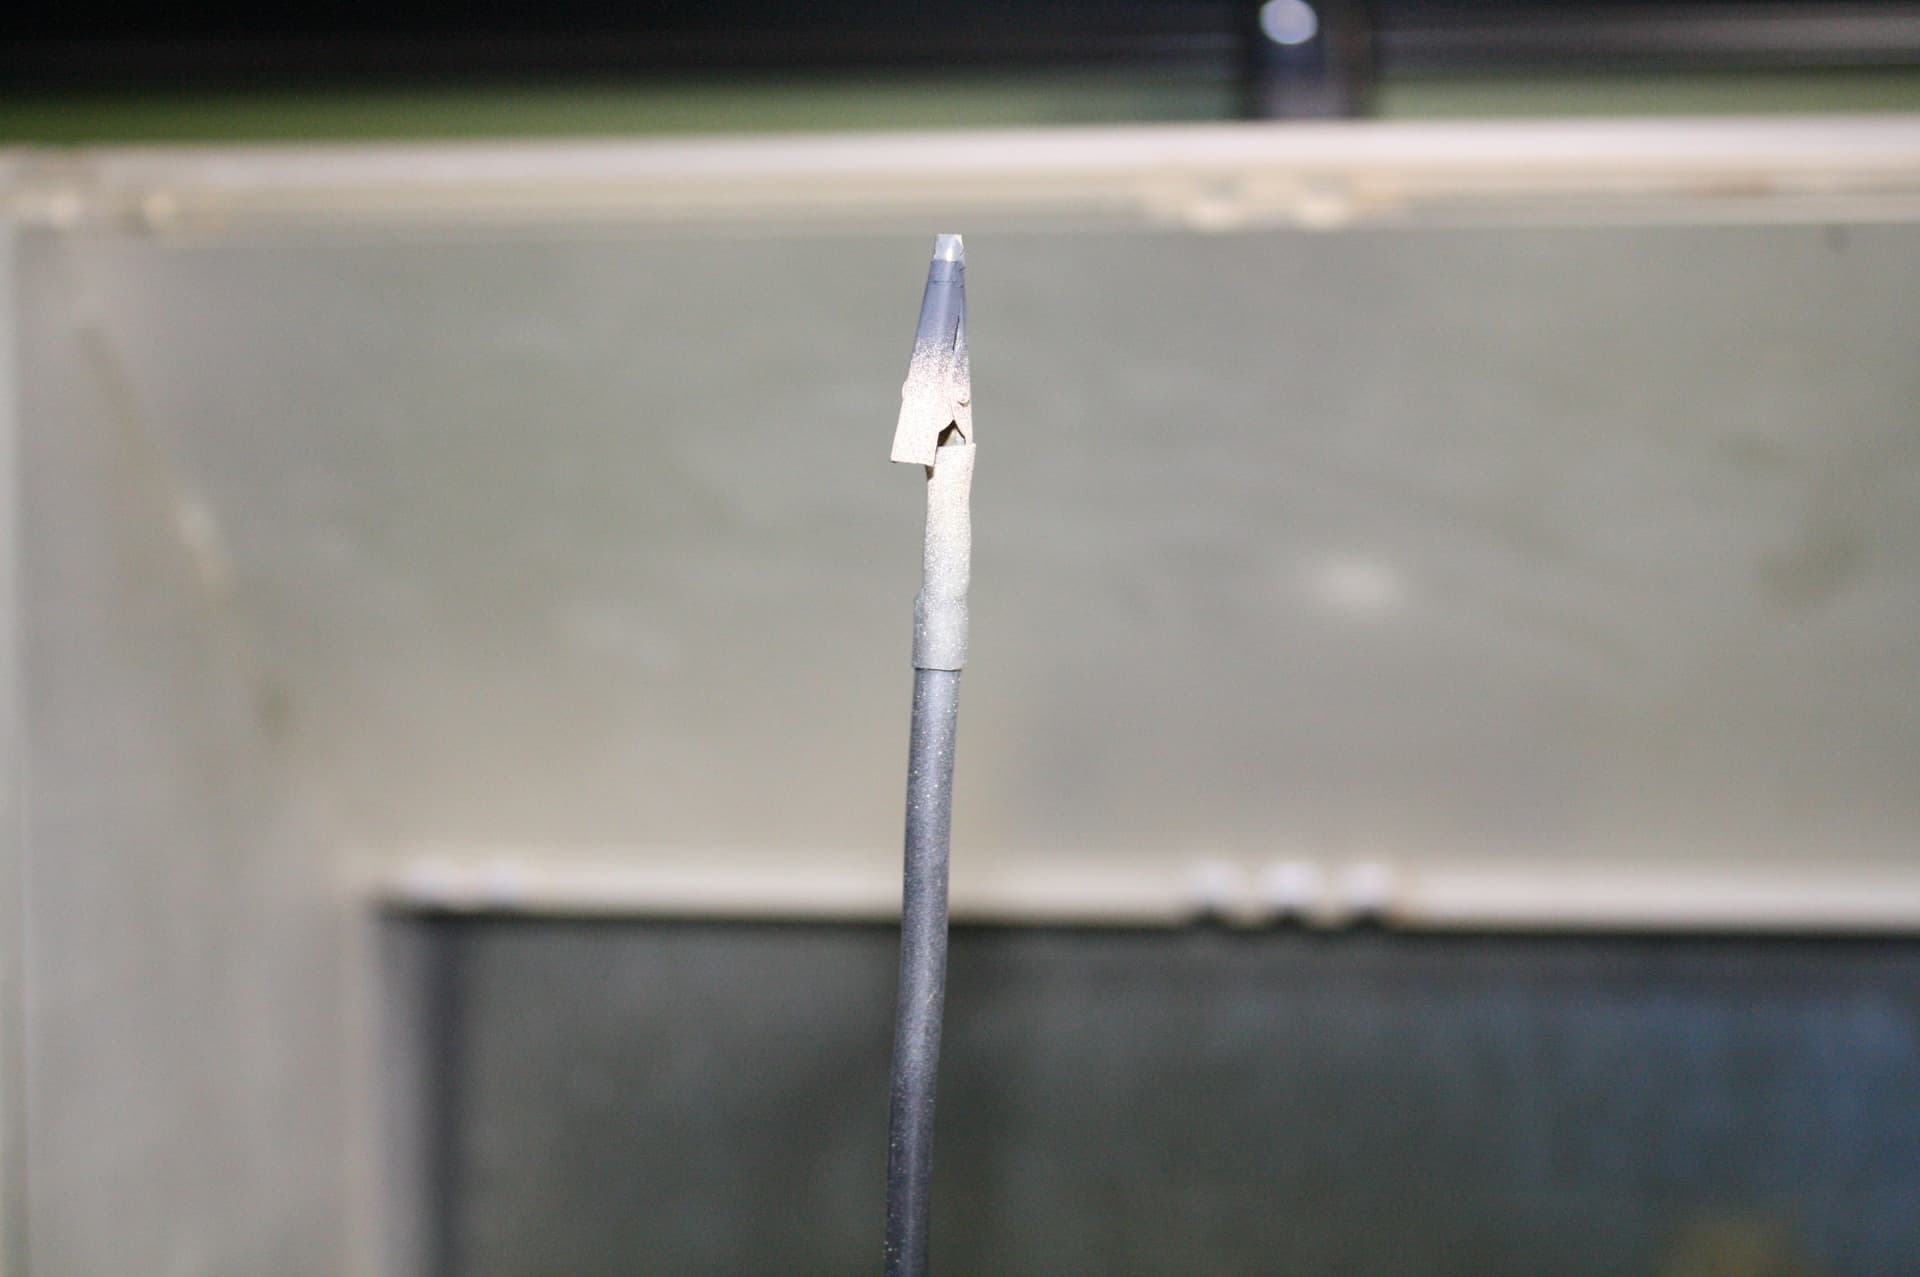
I made them from heavy gauge wire, alligator clamps, and shrink tubing. They fit in the holes in the Tamiya Spray Works airbrushing stand. They are necessary items and I have enough to hold all the wheels of a Tiger or Panther and airbrush them all at one time. You must make yourself a set.
Today I will put the cab together and install the glass. Any one who’s been on the new site for a while knows that me and truck glass don’t get along (Steyr ambulance, TFFT) to say the least, so this should be an interesting tempt of fate. Wish me luck. Then I’ll mask the windows and paint the cab. After that, it’s time to finally put this bad big boy together.
9 Likes
Coming along very nicely Matt. I to like that Tamiya Black rubber over he AK one, I think it does look better than the AK version. It looks like I might be getting some of this Mr Colour Levelling thinner … I have seen good reports about it in various chats in here …
Glad its going well and looking forward to some instalments … take a deep breath before you start that glasswork Matt 
2 Likes
I don’t use it all the time as I like how Tamiya sprays as is (thinner and retarder) but on light colors like white which I could never get to lay down right but CLT fixed that issue.
I use the same method with the tape but I use cardboard from the cat food trays. So I can airbrush or rattle can. I usually just get new tape but have a ton of cardboard if I need it.
Like what you have going. ![]()
Future the glass and you won’t have fogging issues.
3 Likes
The green looks great! I cant wait to see this best come together.
1 Like
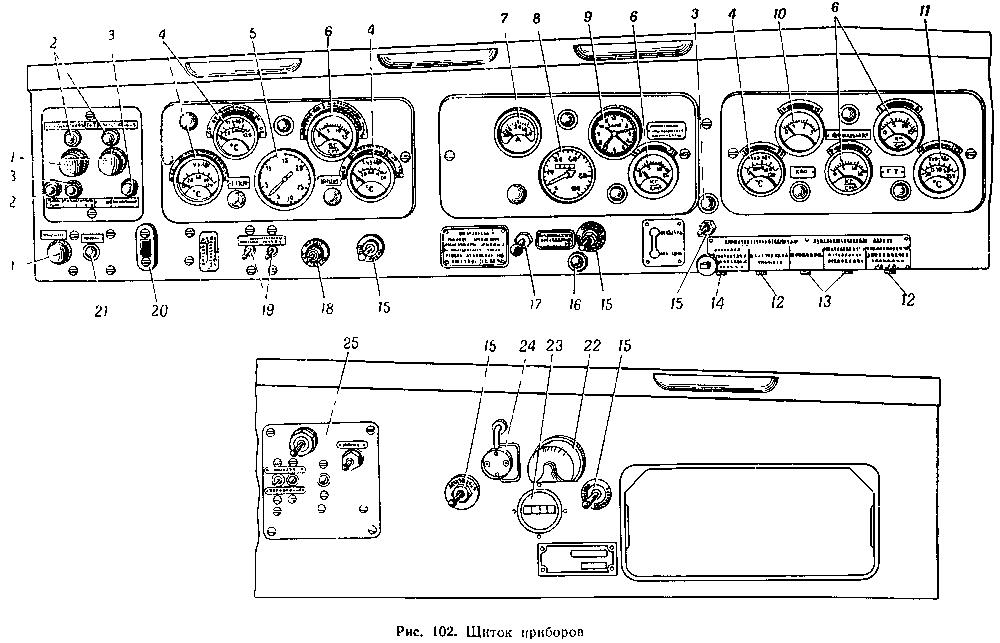
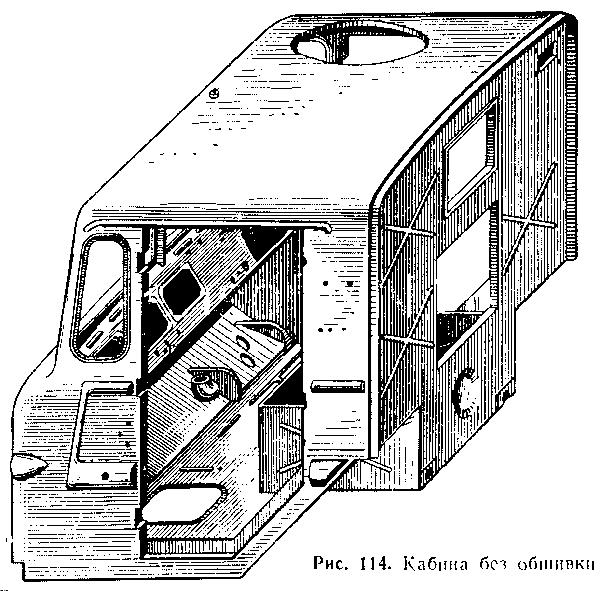
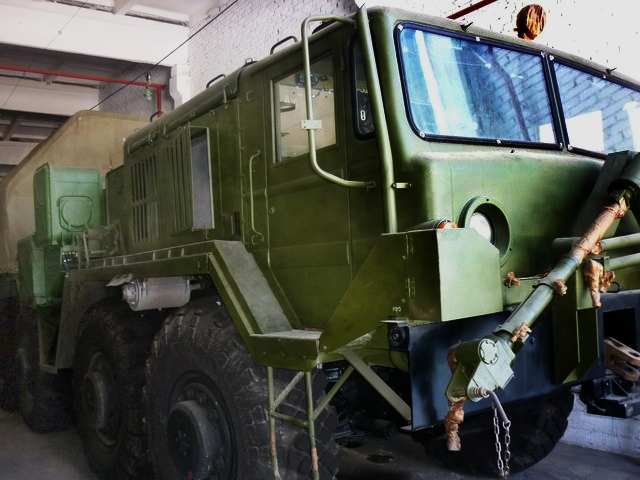
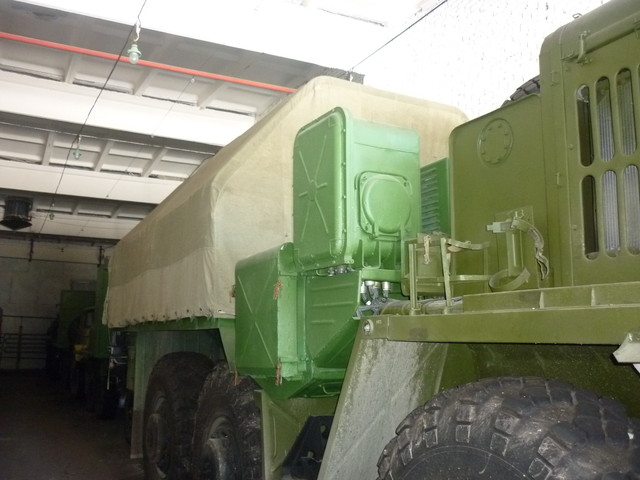
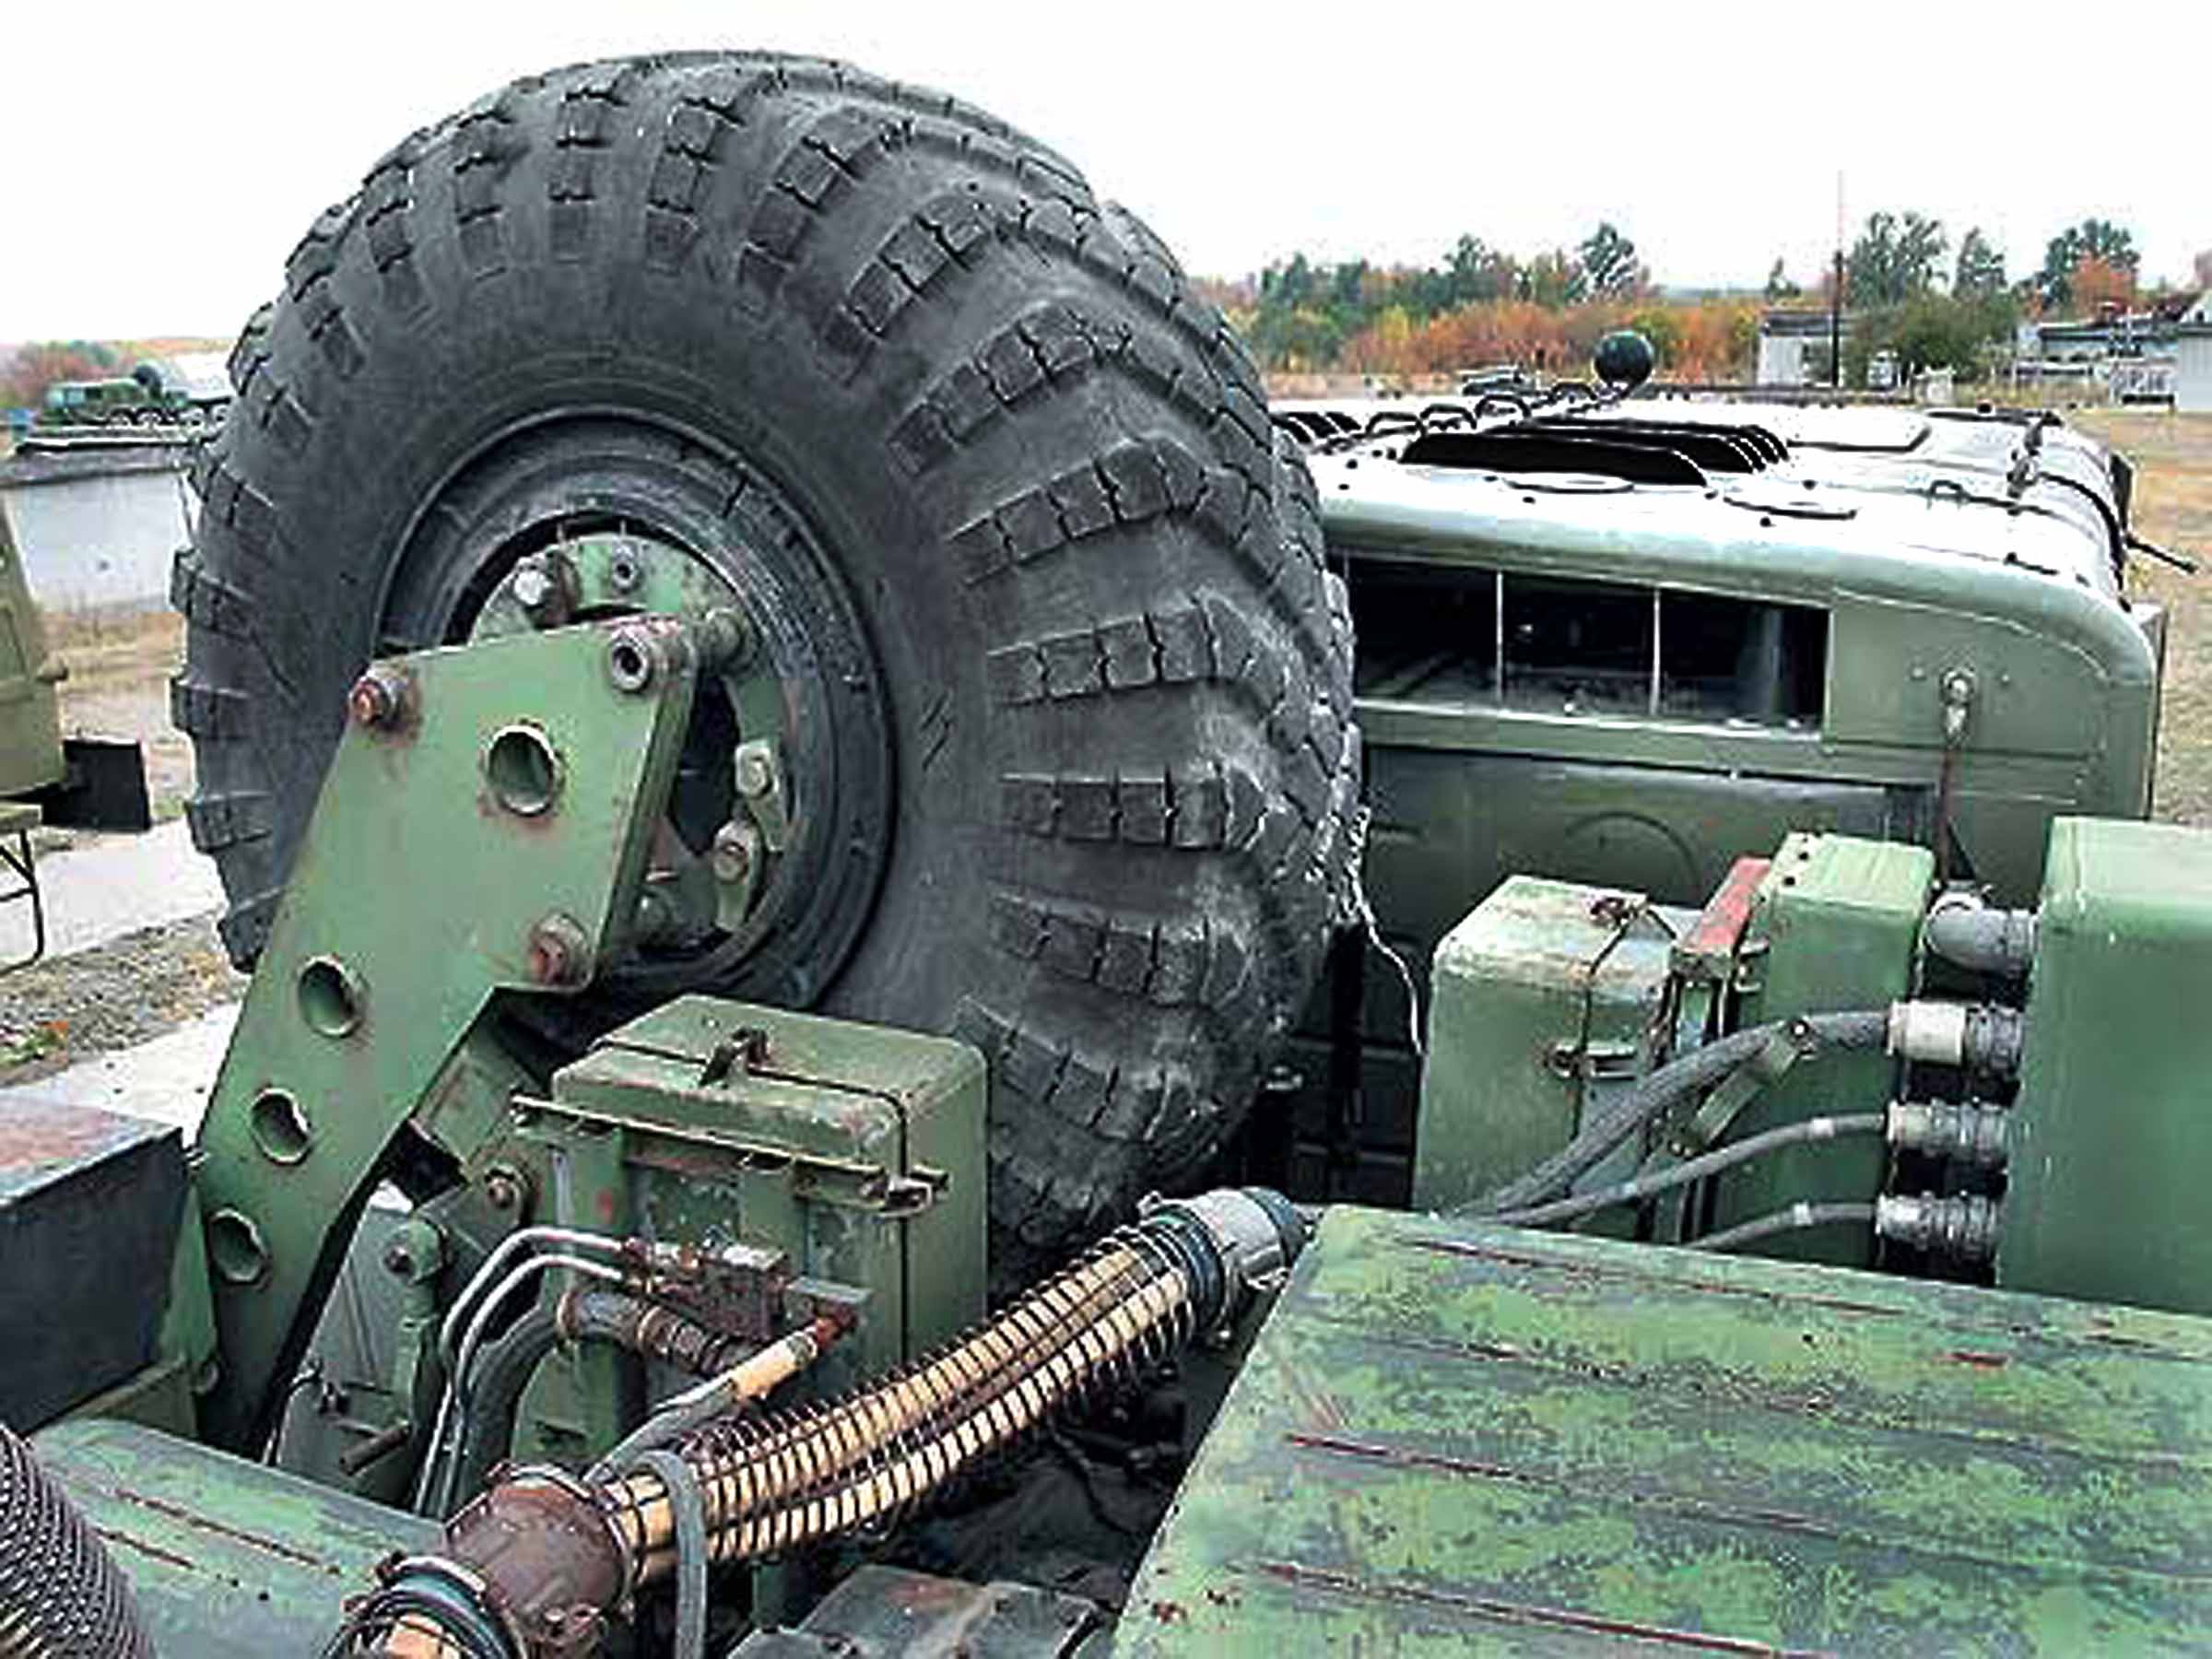
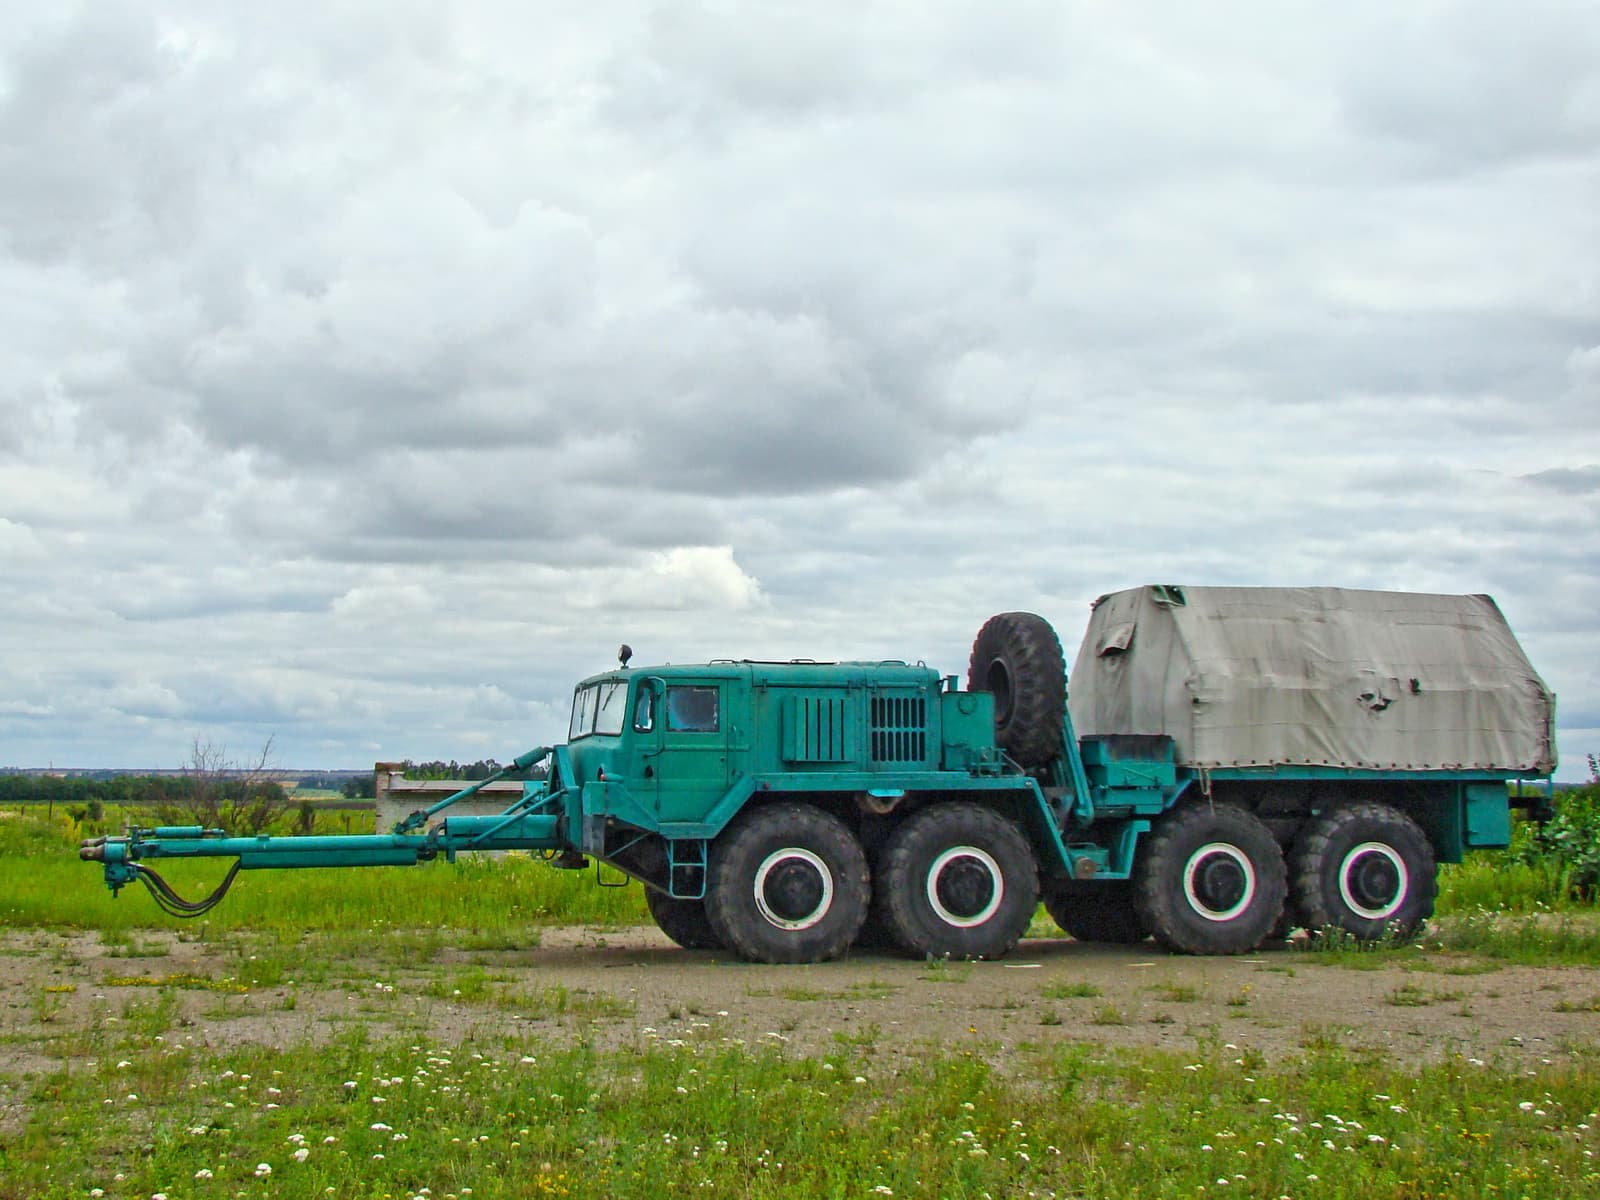
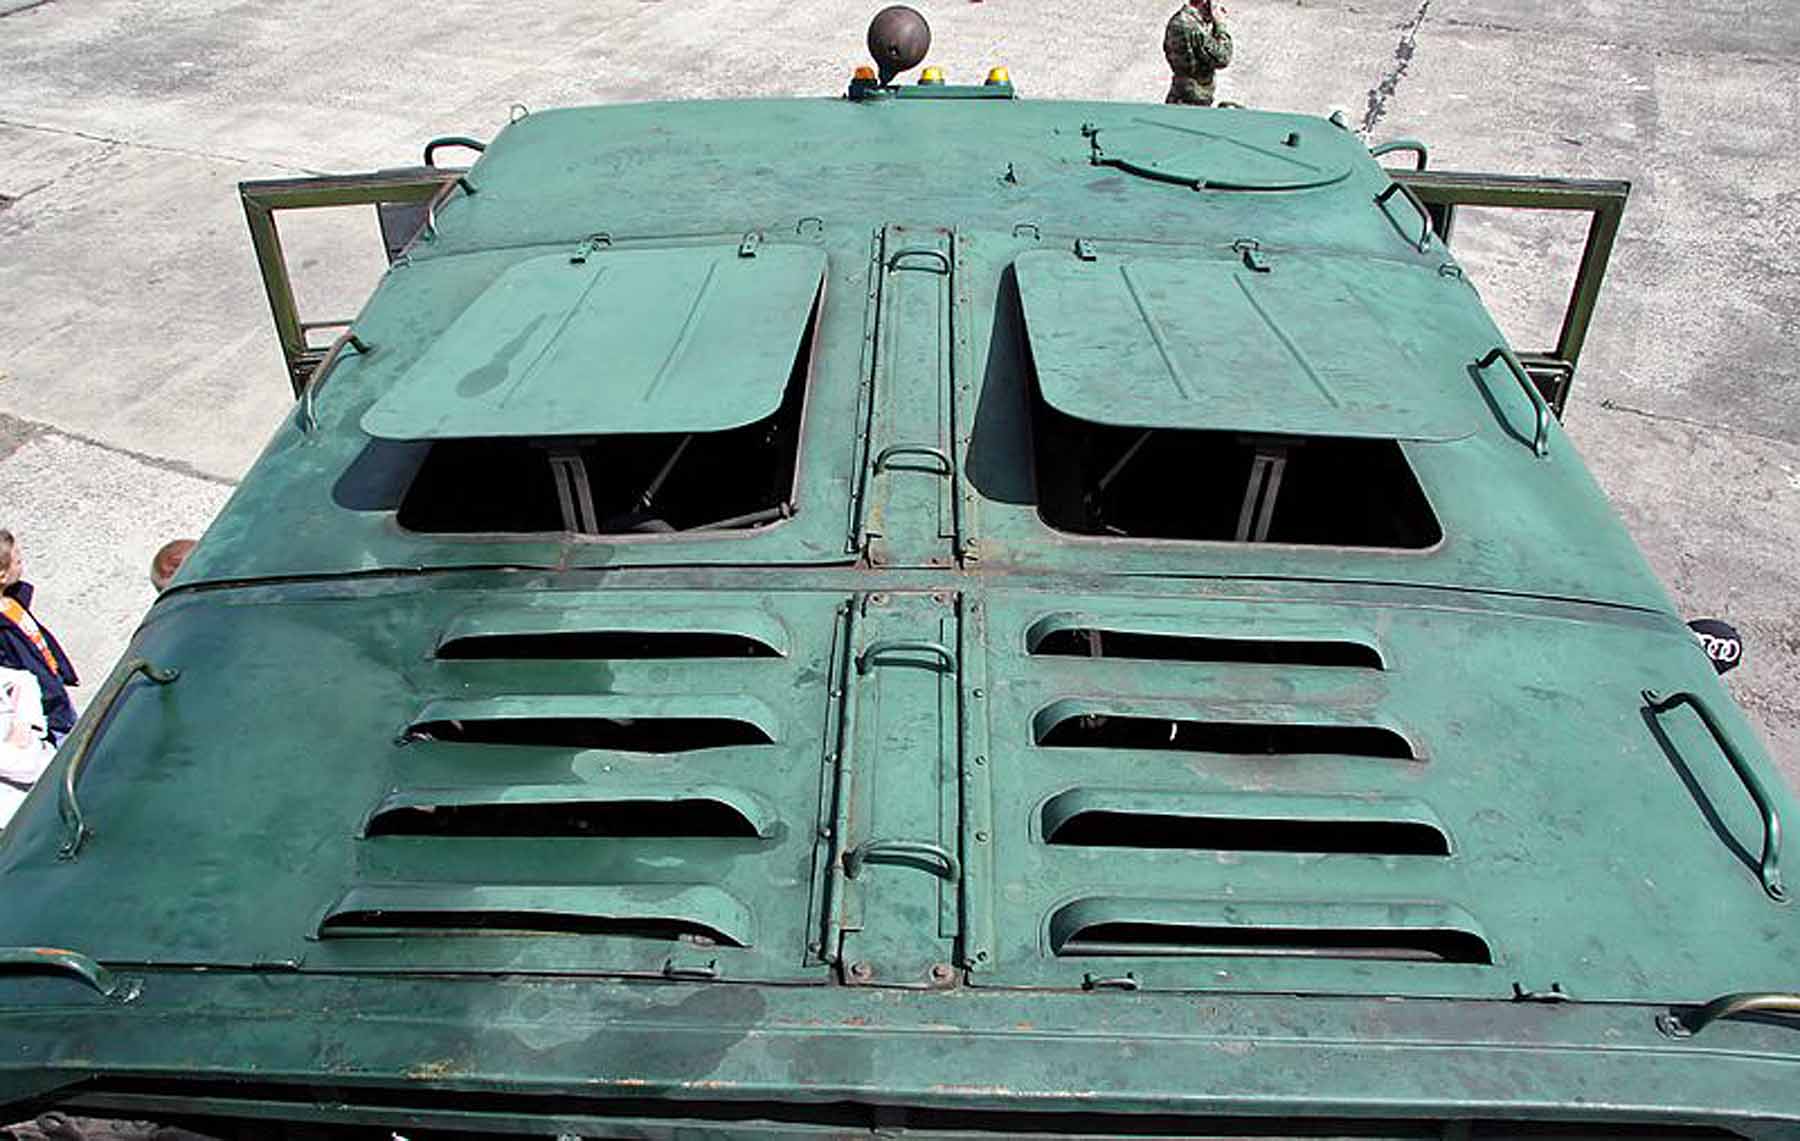
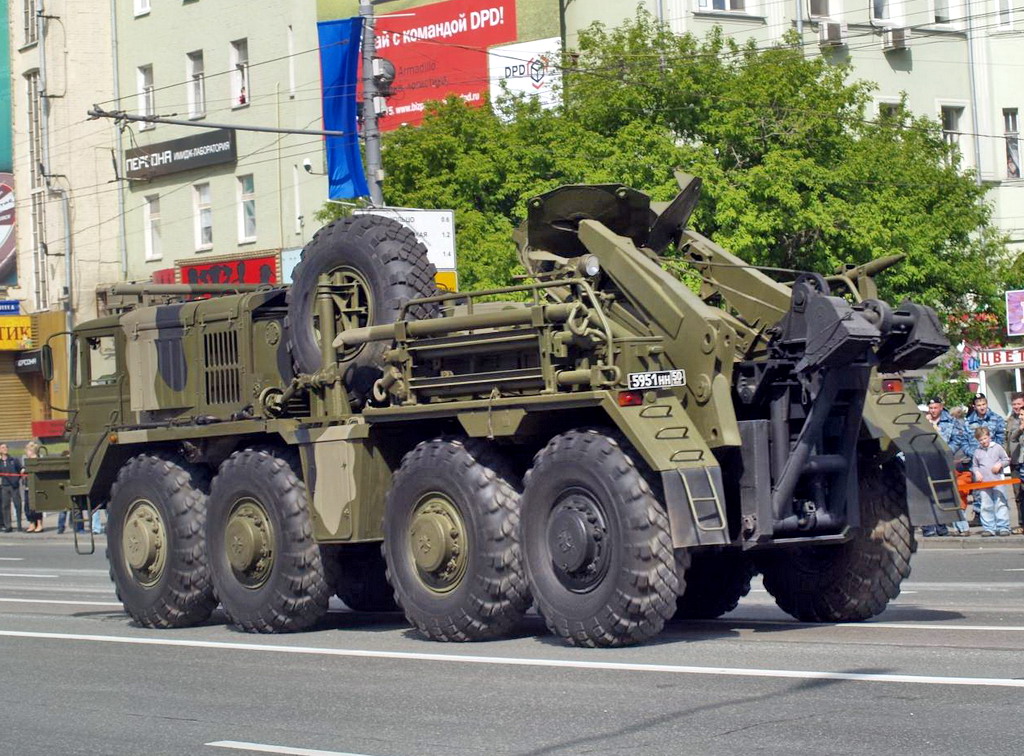
You probably already have tons of cab references but I thought I would toss these in just in case.
(I have lots more myself but cannot seem to find them at this particular moment.)
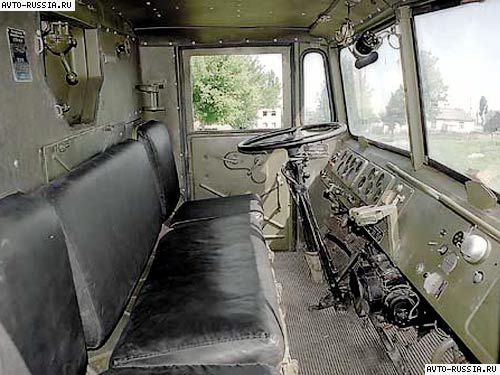
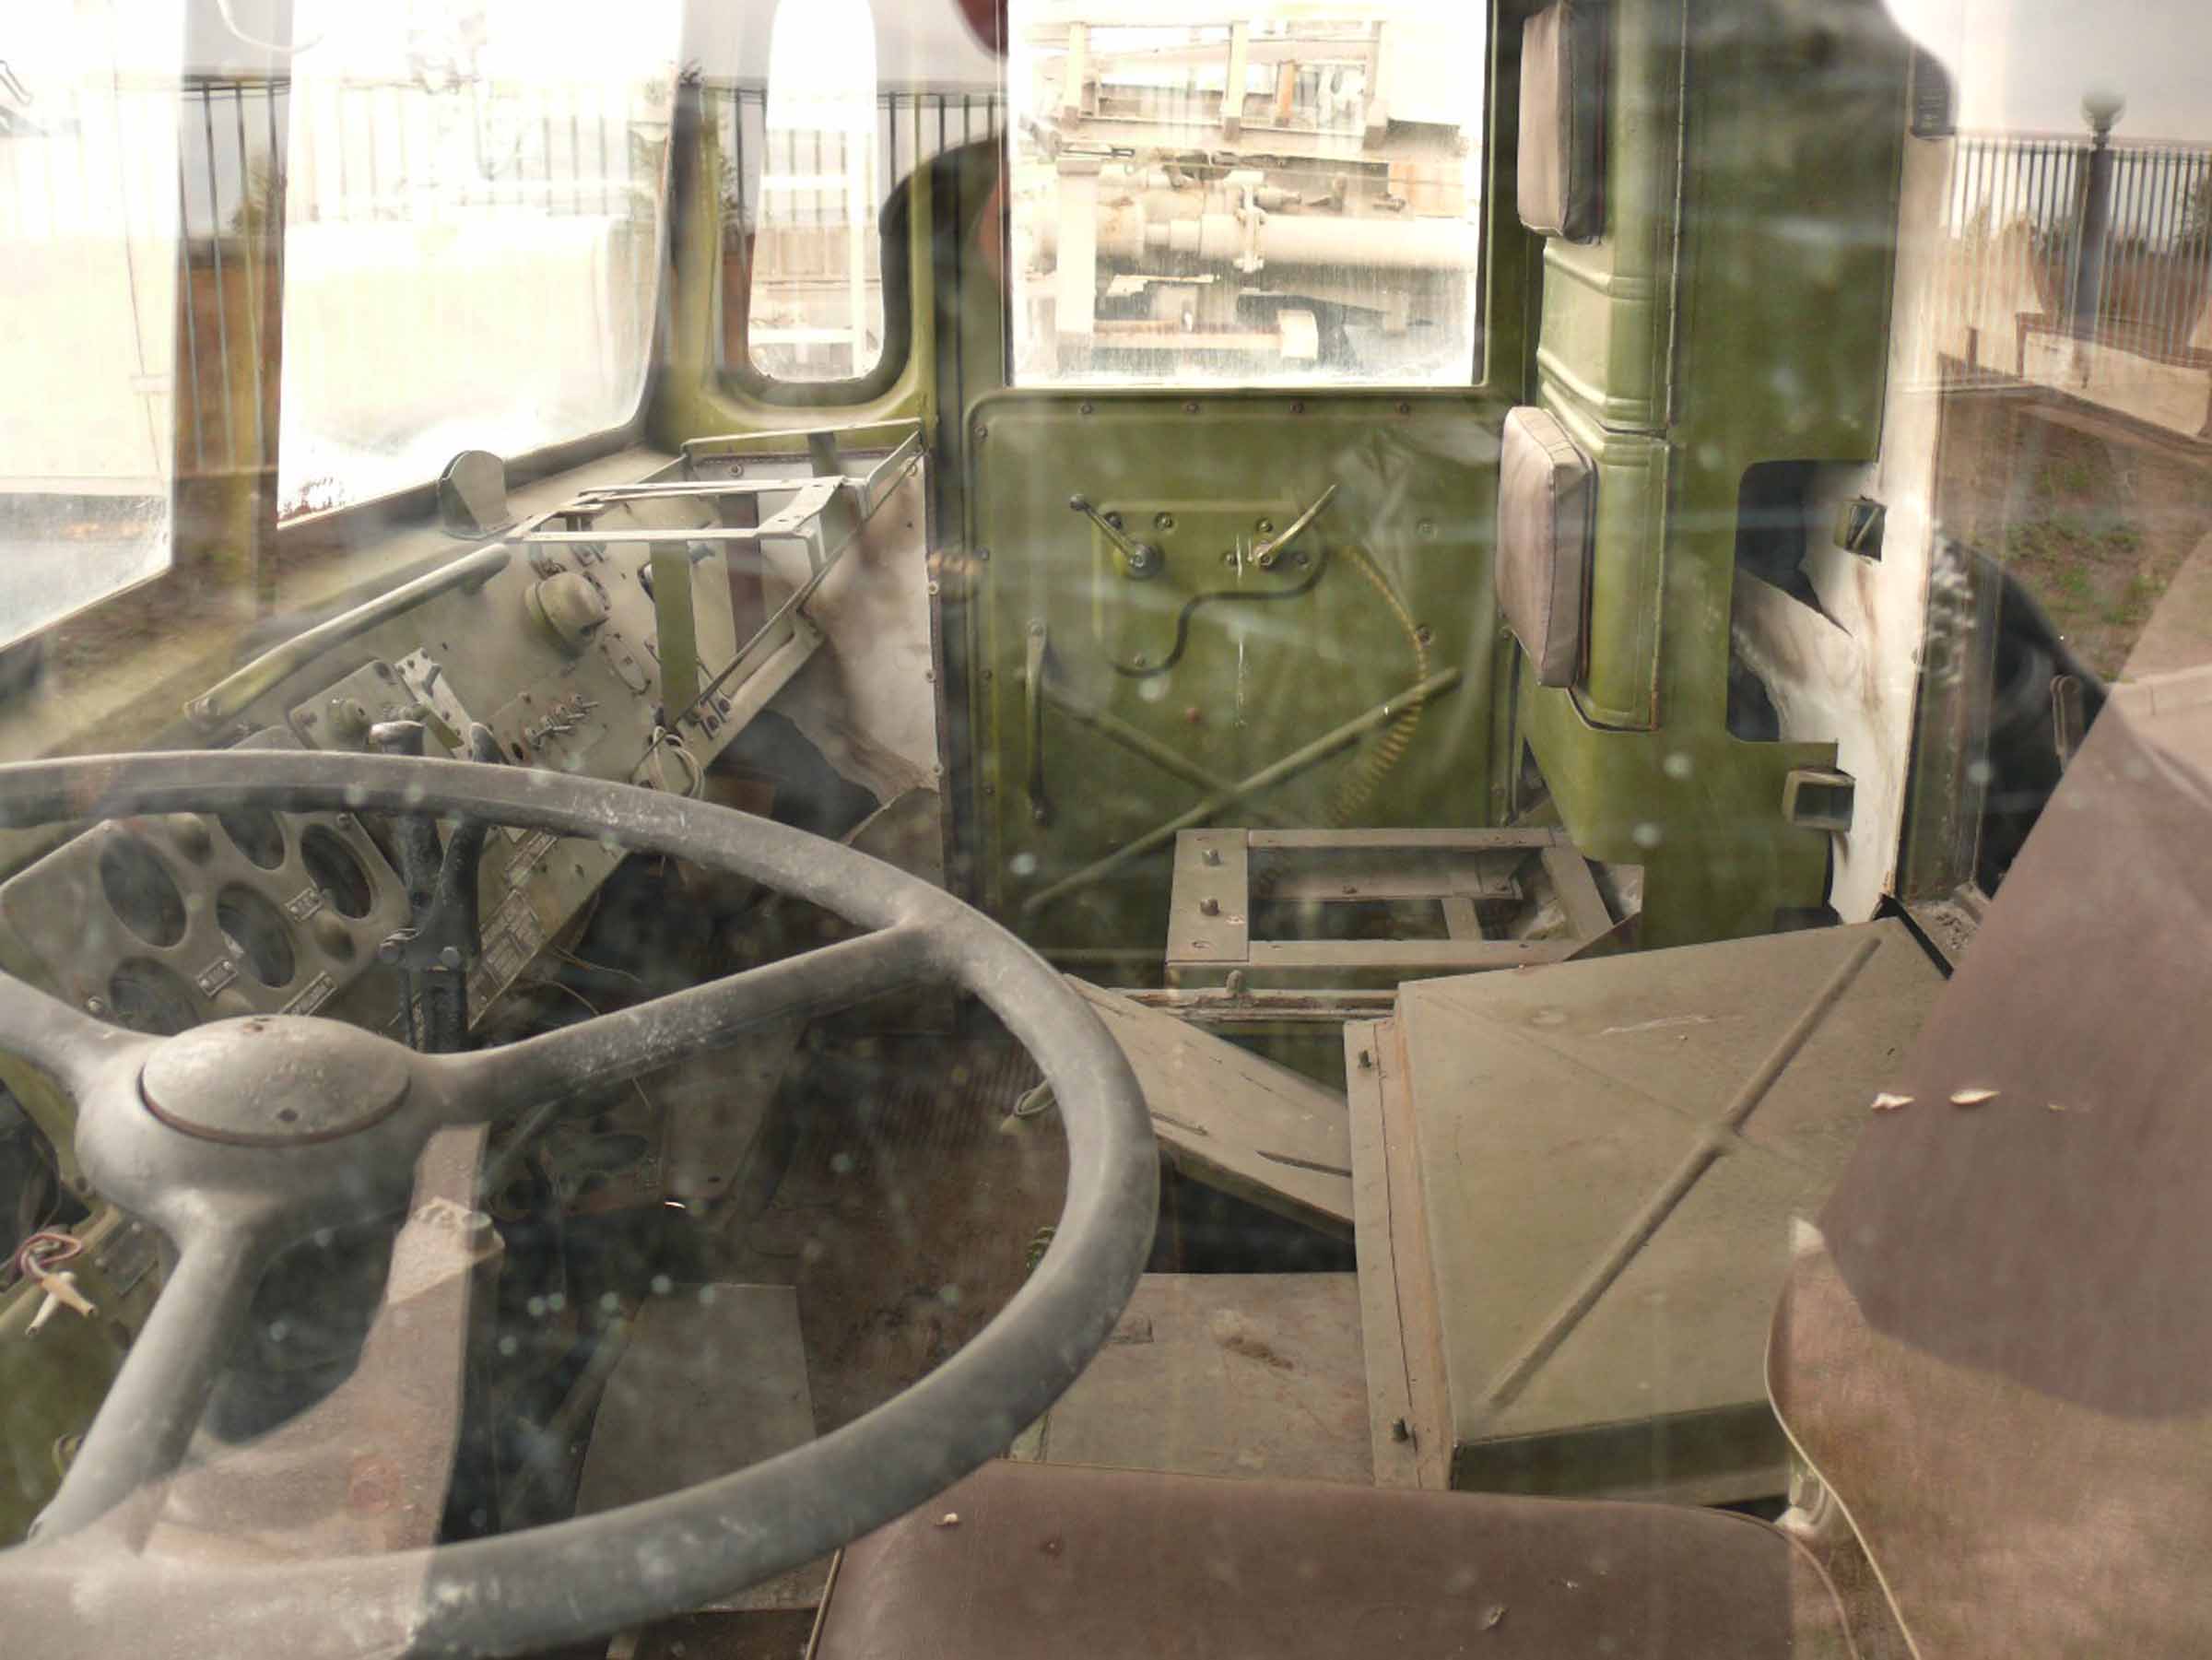
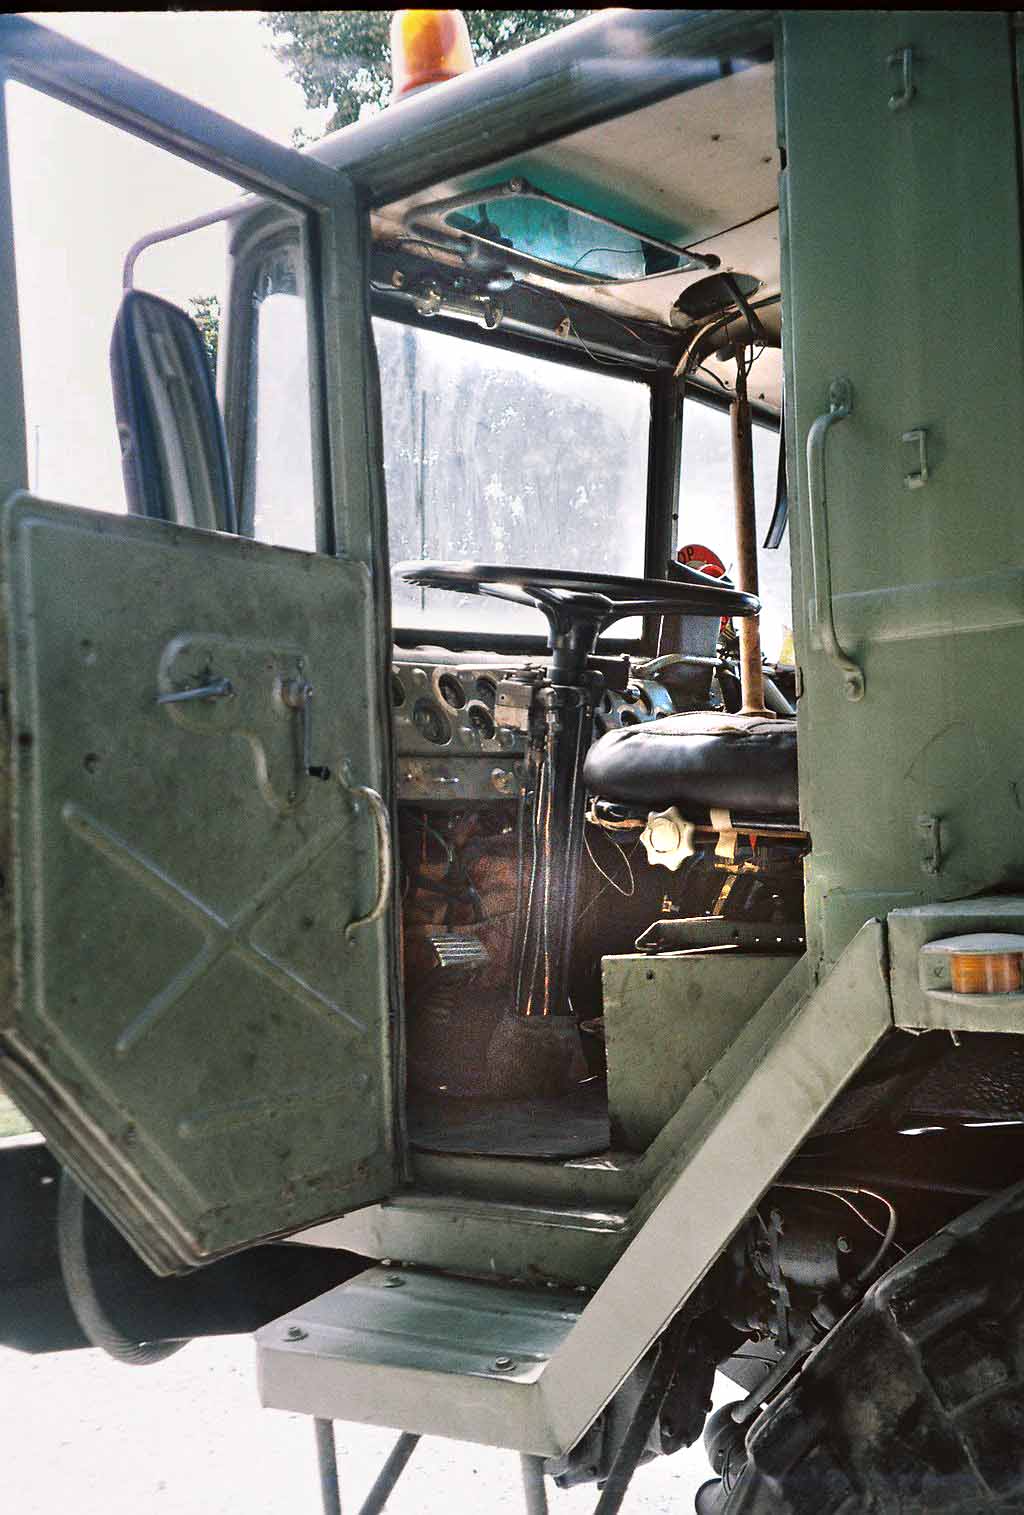
Edit – New Photo Added Below:

Mike
165thSPC
3 Likes
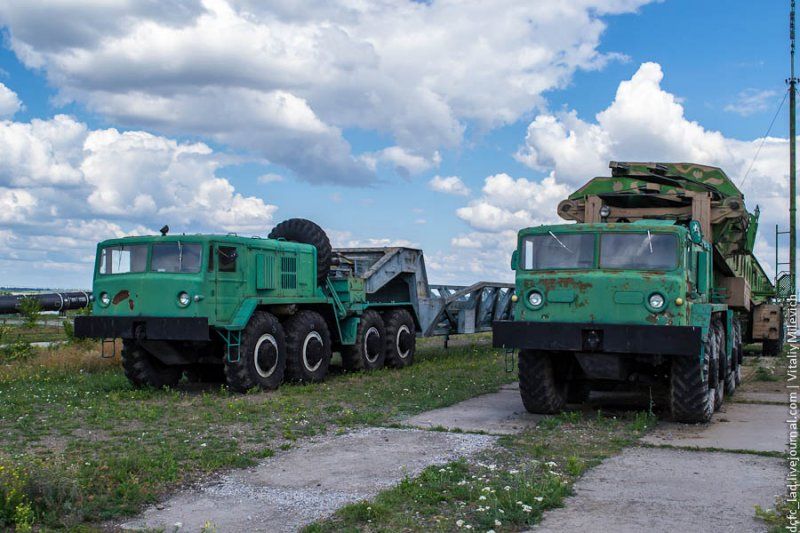
That particular persuasion of Russian vehicle green paint is difficult to exactly match but on the other hand that same paint will eventually turn to just about any shade of green/turquoise you might desire when left out in the sun for too long.
5 Likes


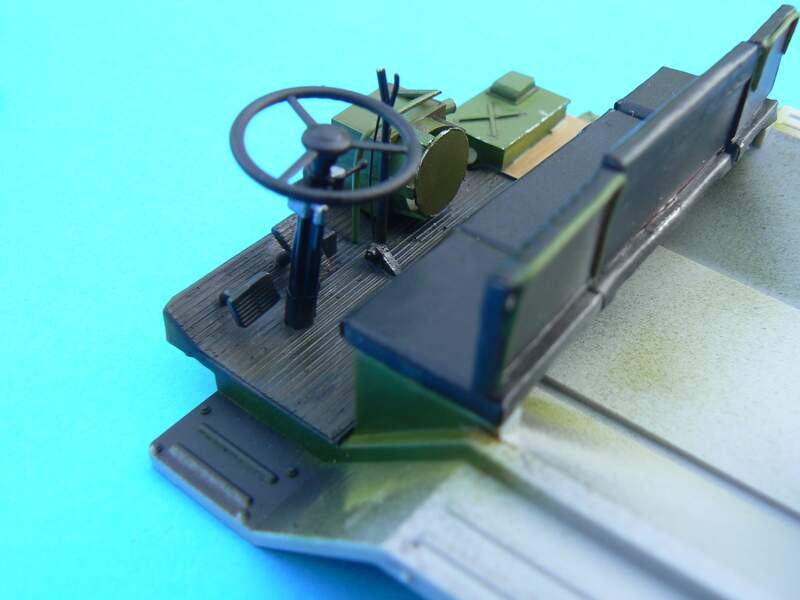
I am not really sure just what paint color “look” I was going for here. All I know is that I wanted a fully functional vehicle but with a very old and faded paint scheme.
No Explanation - except that it matches what I was striving for!
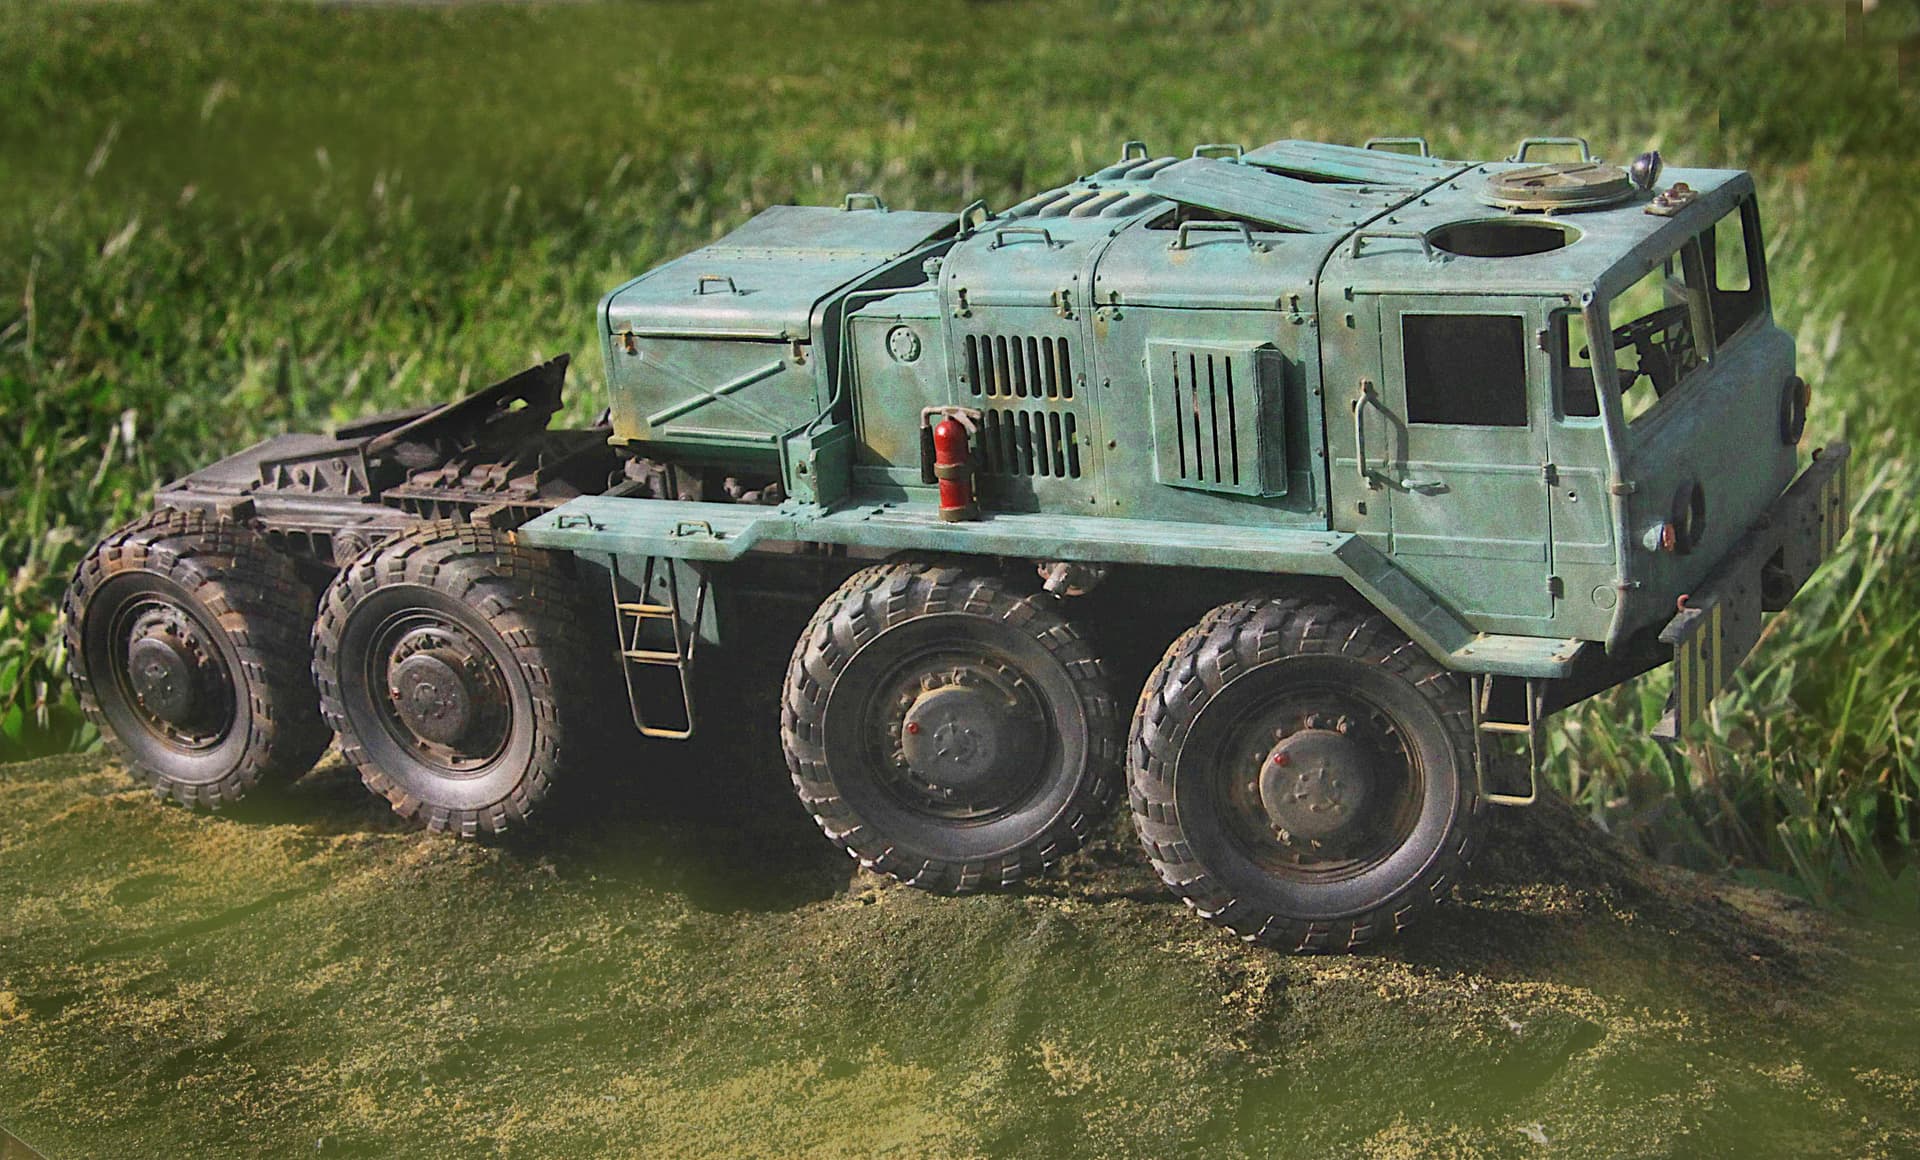
5 Likes
These are such beautiful huge monsters… 
1 Like
I completely agree!
1 Like
Its always a good feeling when the color coat is sprayed. Looking great Matt. A++
1 Like
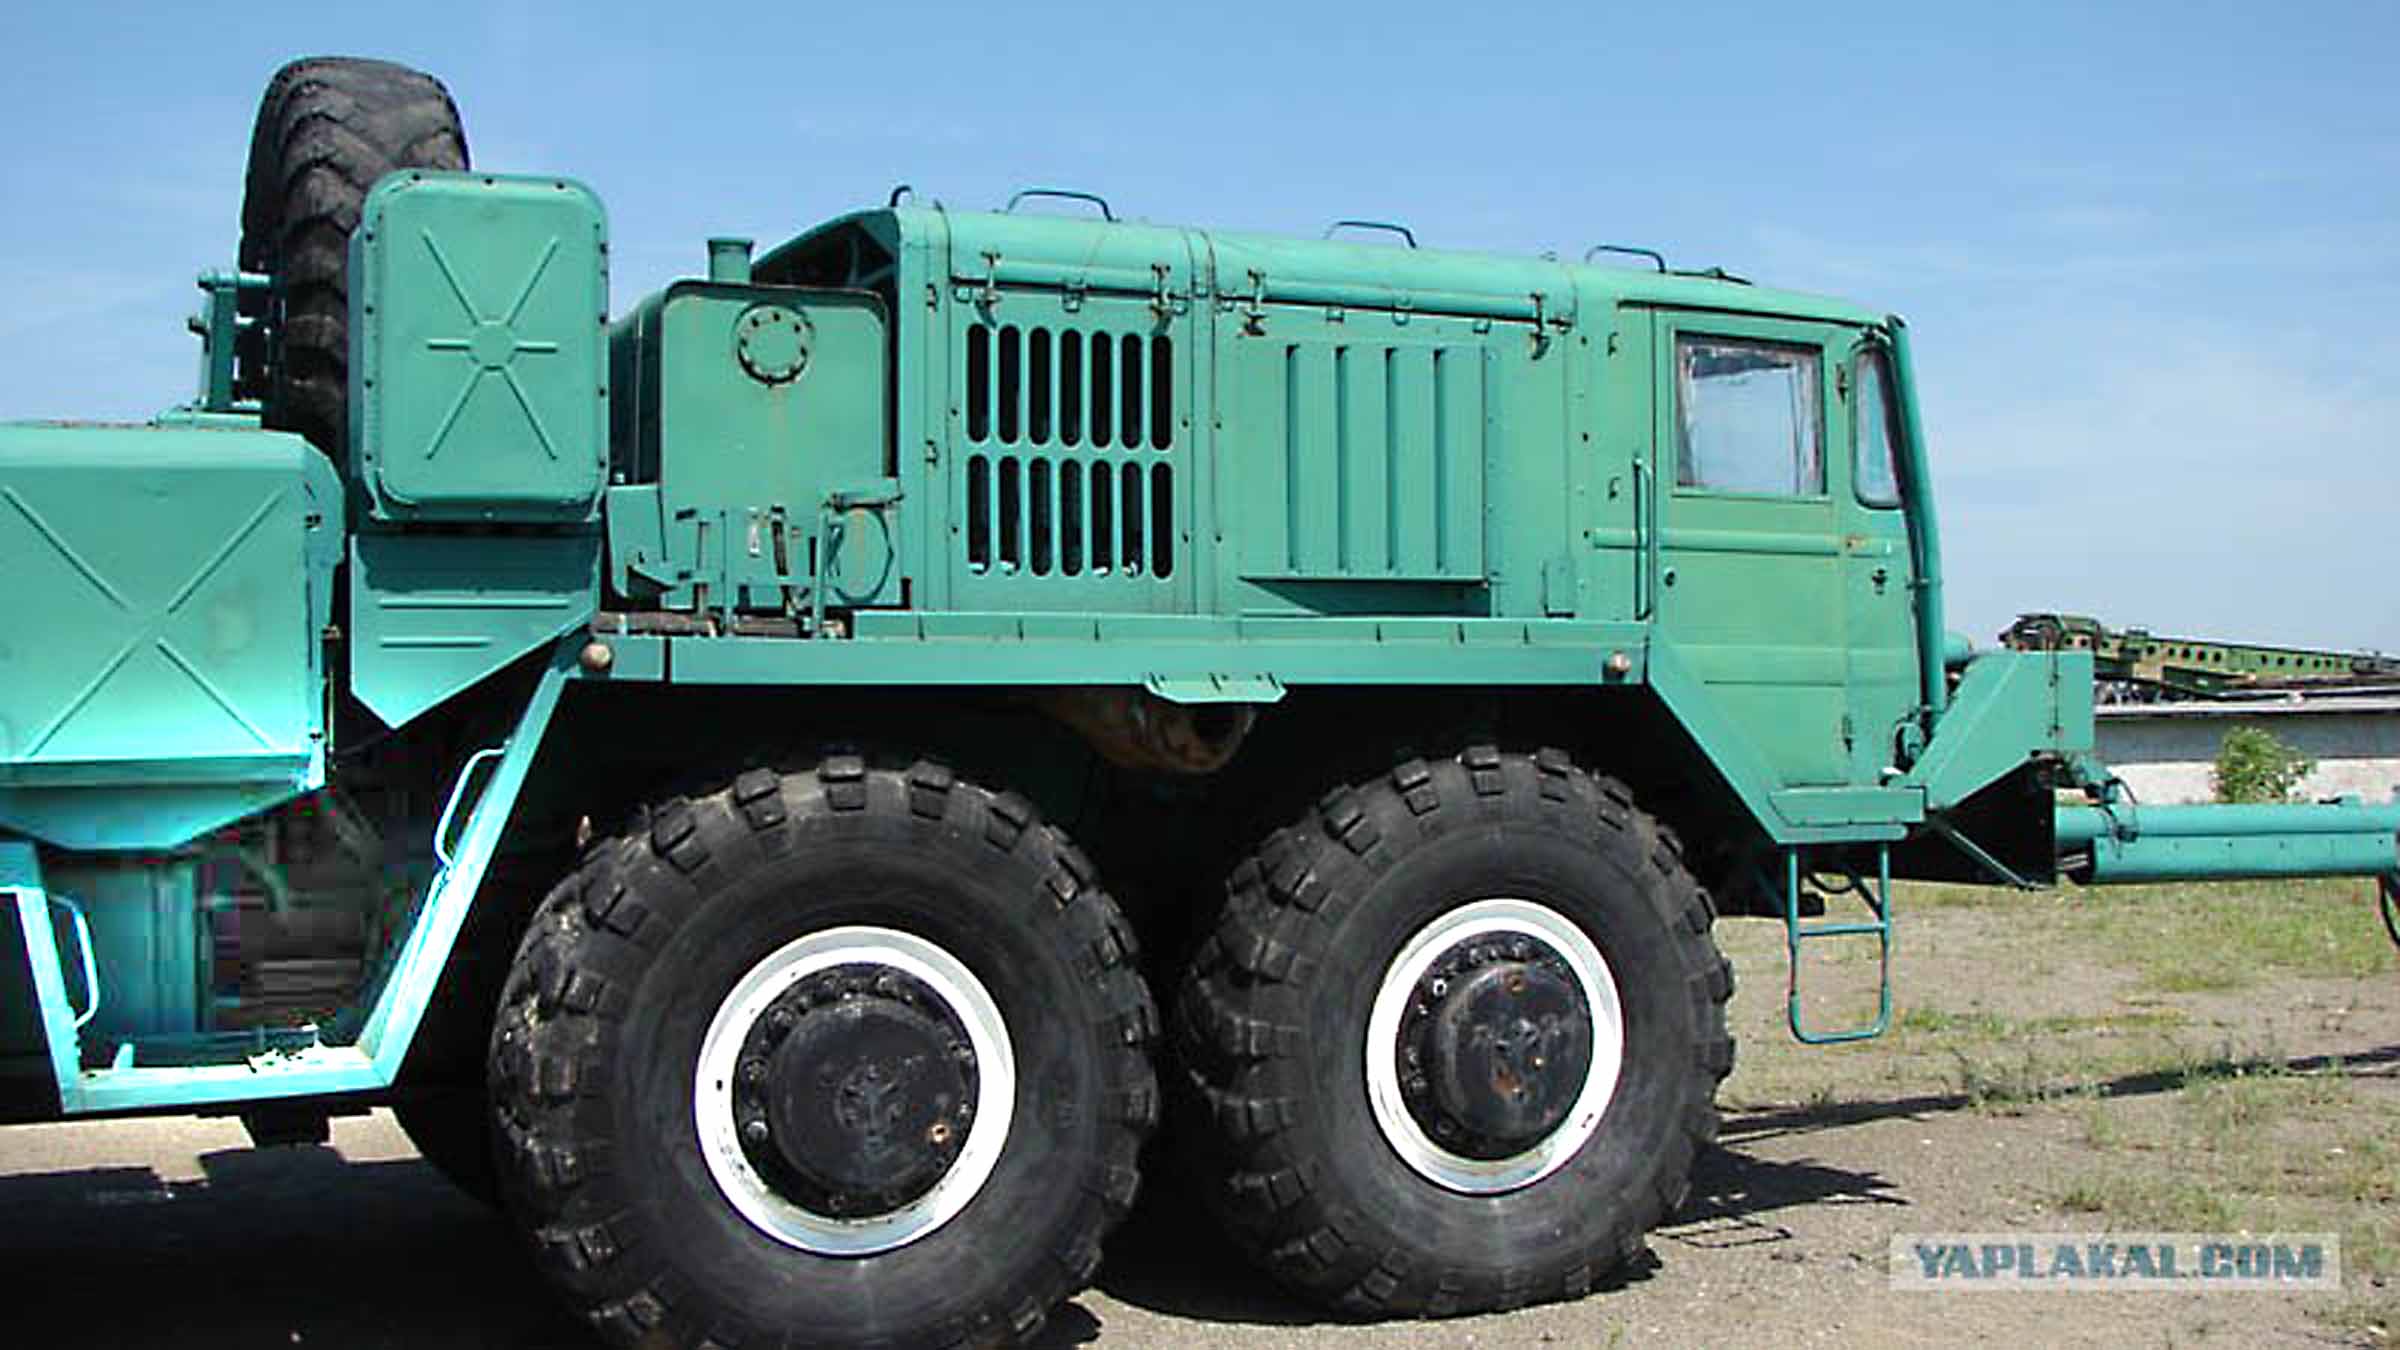
Thanks Mike for all the images! I think my color has a little more continuity than the real ones!
1 Like
Thanks guys for all the nice comments. @Tank_1812 Ryan, I will remember to Future the glass. Thanks for the tip. @Johnnych01 @Panzer_modeler John and Ezra, it’s coming along, there is SO MUCH to do on this model, it’s so huge with so many parts! There are so many things to take care of! @Armor_Buff Thanks Wade, you’re right, seeing color on it gives a great amount of satisfaction. Like a great barrier has been crossed.
3 Likes
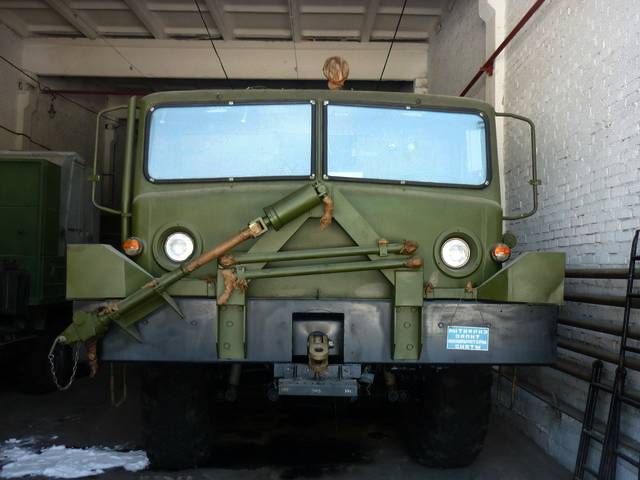
I know I am coming late to the party here and I do apologize but a small detailing hint here: IF you should decide to go through with using some of those small PE details.
This hold down is basically the same as the old hold downs on a US WWII Jeep hood having a round cross section and being spring loaded.
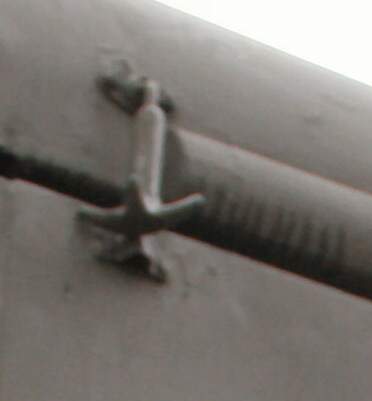
I suggest dipping this part several times in a thick paint to give it a more rounded appearance and then allowing it to dry thoroughly. (This is the same thing 1/350th scale ship modelers do to those tiny scale PE figures to “flesh them out” a bit before they do the actual figure painting.)
1 Like
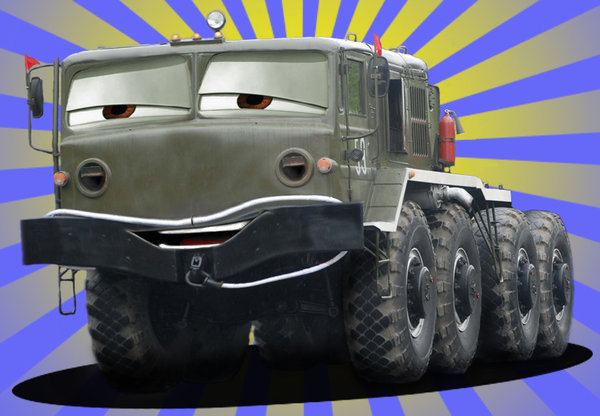
Unfortunately the character of “Mazzy” never made it into the second Disney movie of “Cars” where they were surrounded by spies in Europe.
6 Likes
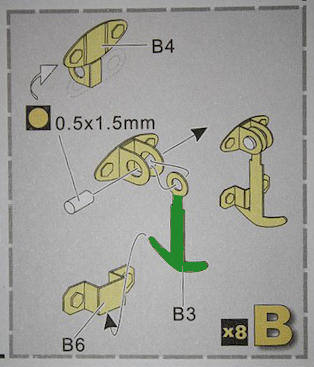
A GREAT modeling reference for the MAZ is this paper modeling book from “E63”. It is/or was, available as a free download on line.
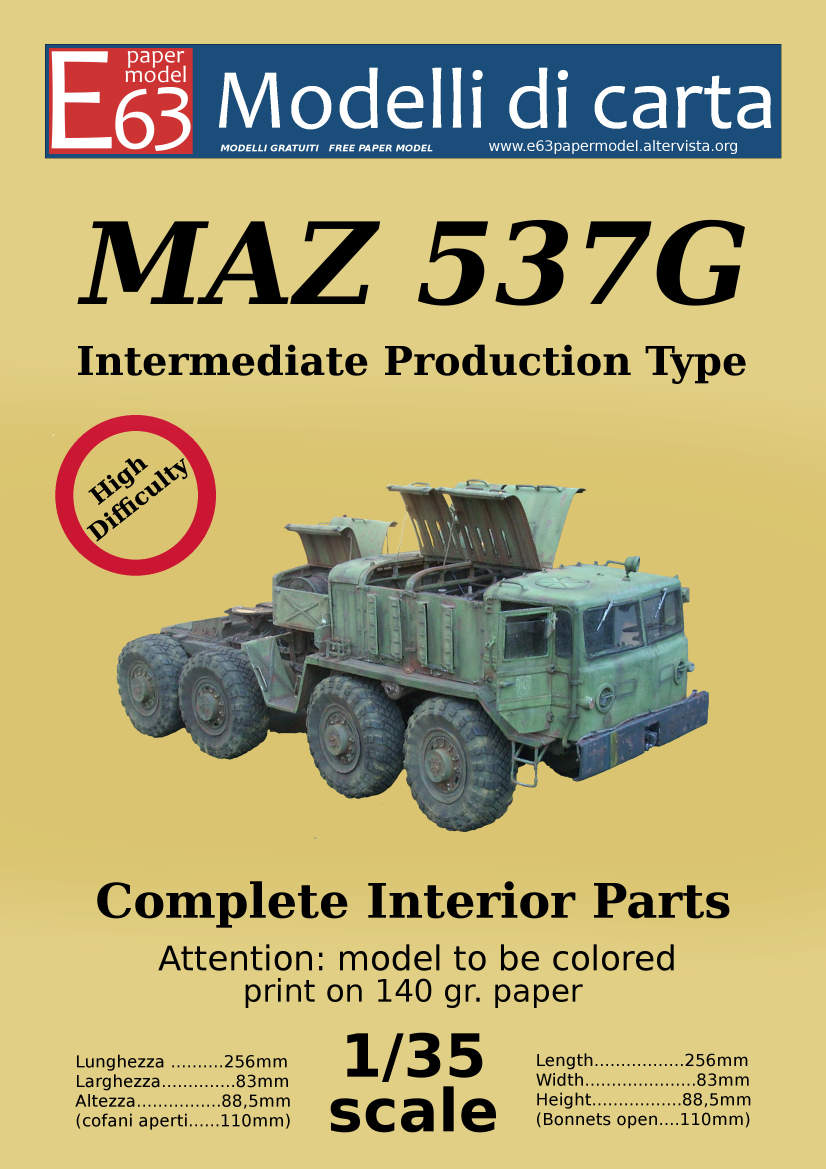
I have the complete book in pdf format if you are interested. It helped me immensely.
Send me a PM with your e-mail address.
Sorry but the document is 63MB and e-mail doesn’t seem to want to accept it.
1 Like