Loving the progress and all the reference
Sadly, I do not know who to give credit to for this walk-around and I apologize. I found these images on line years ago and have had them stored on my computer since 2010.
Used here for discussion ONLY.
PART 1

3 Likes
PART 4
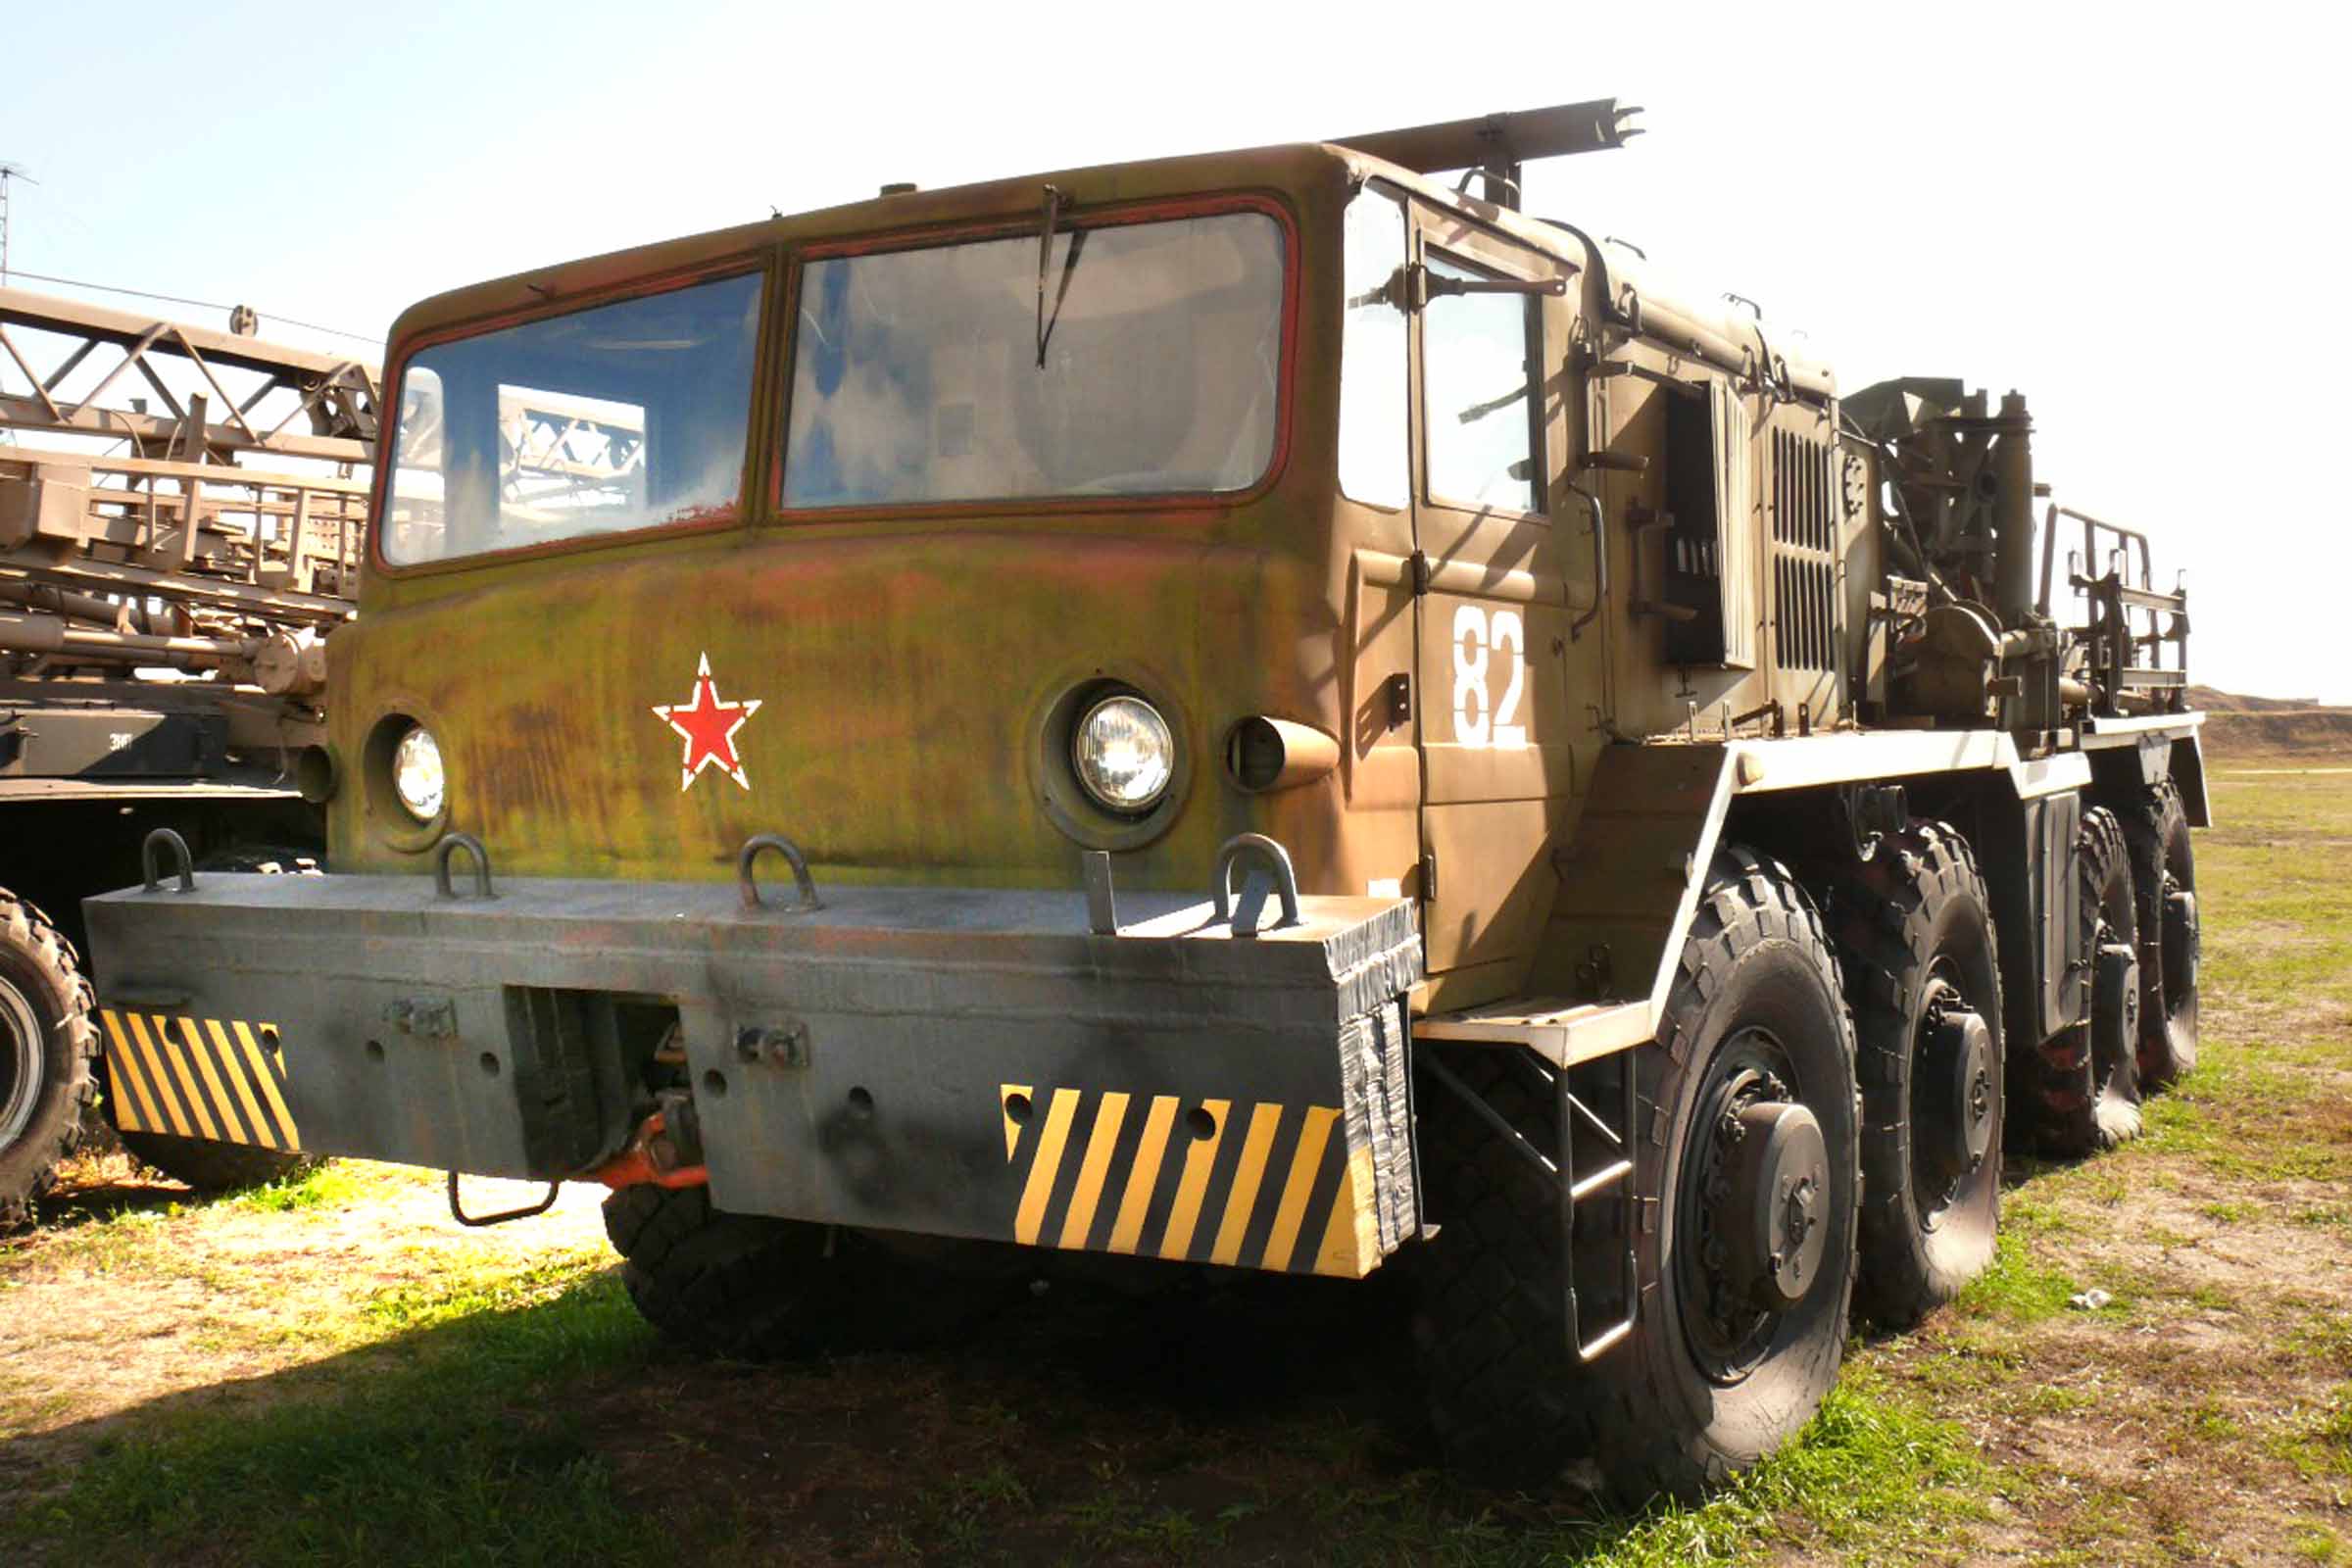
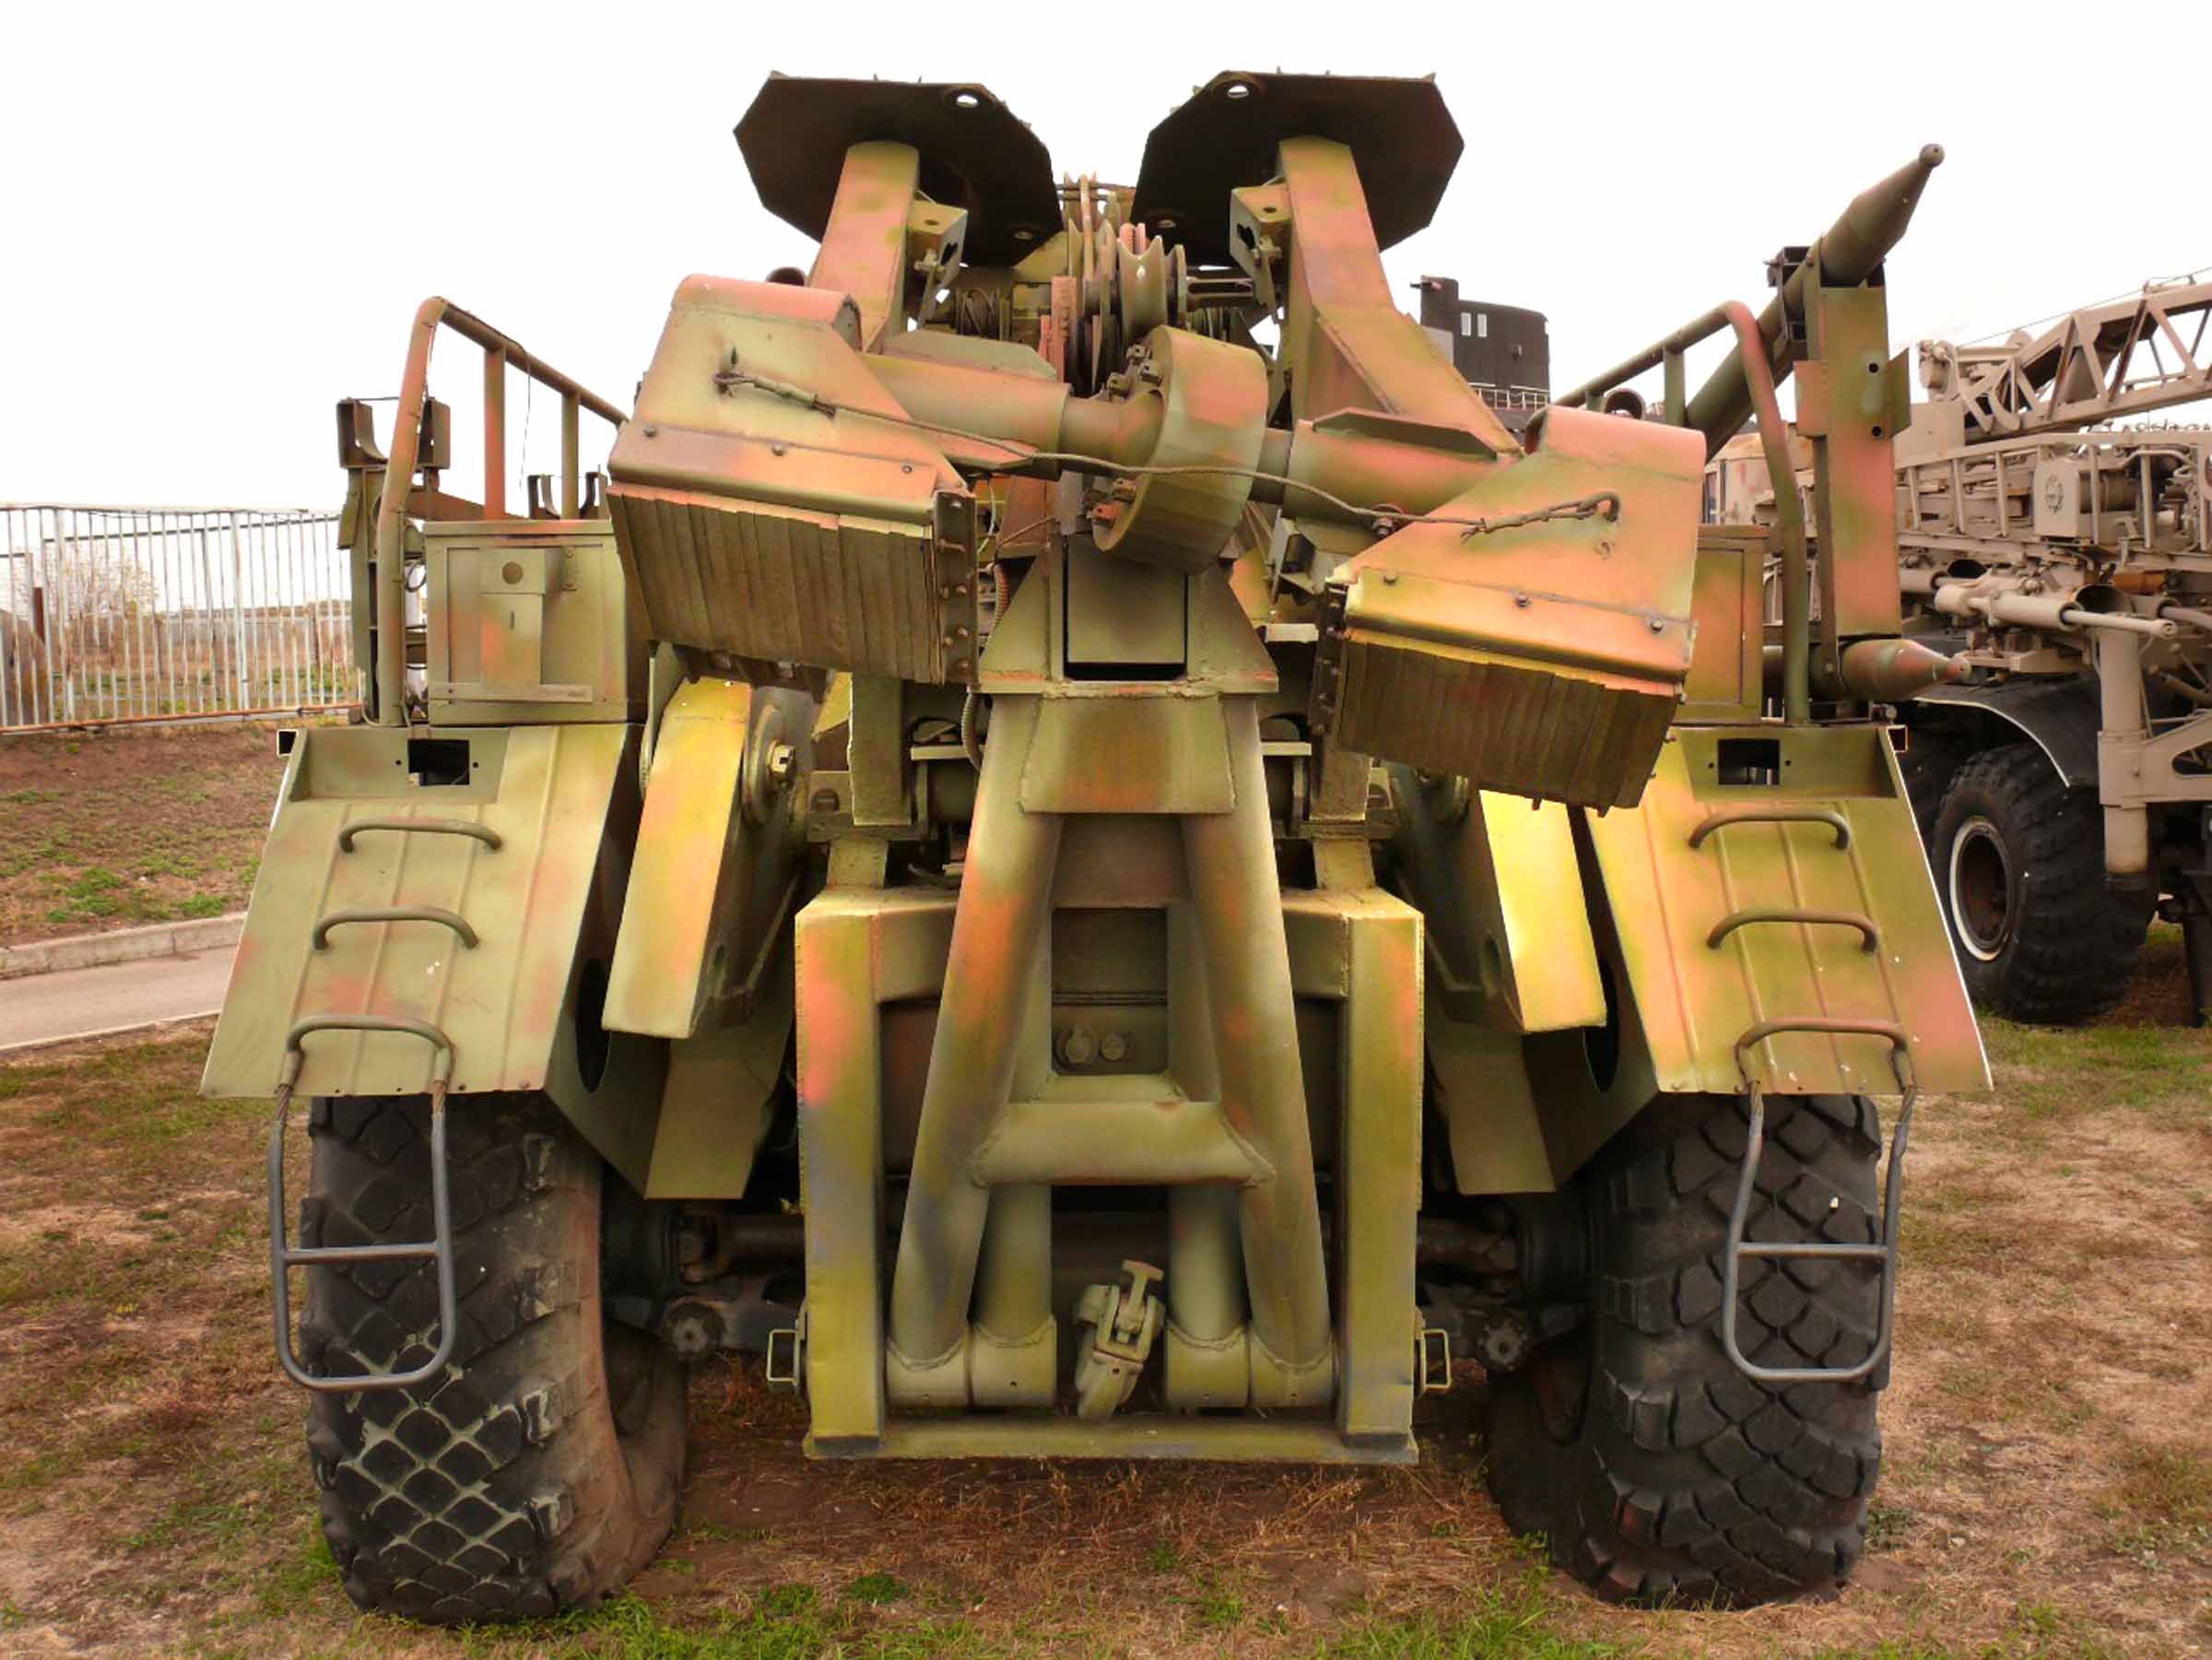
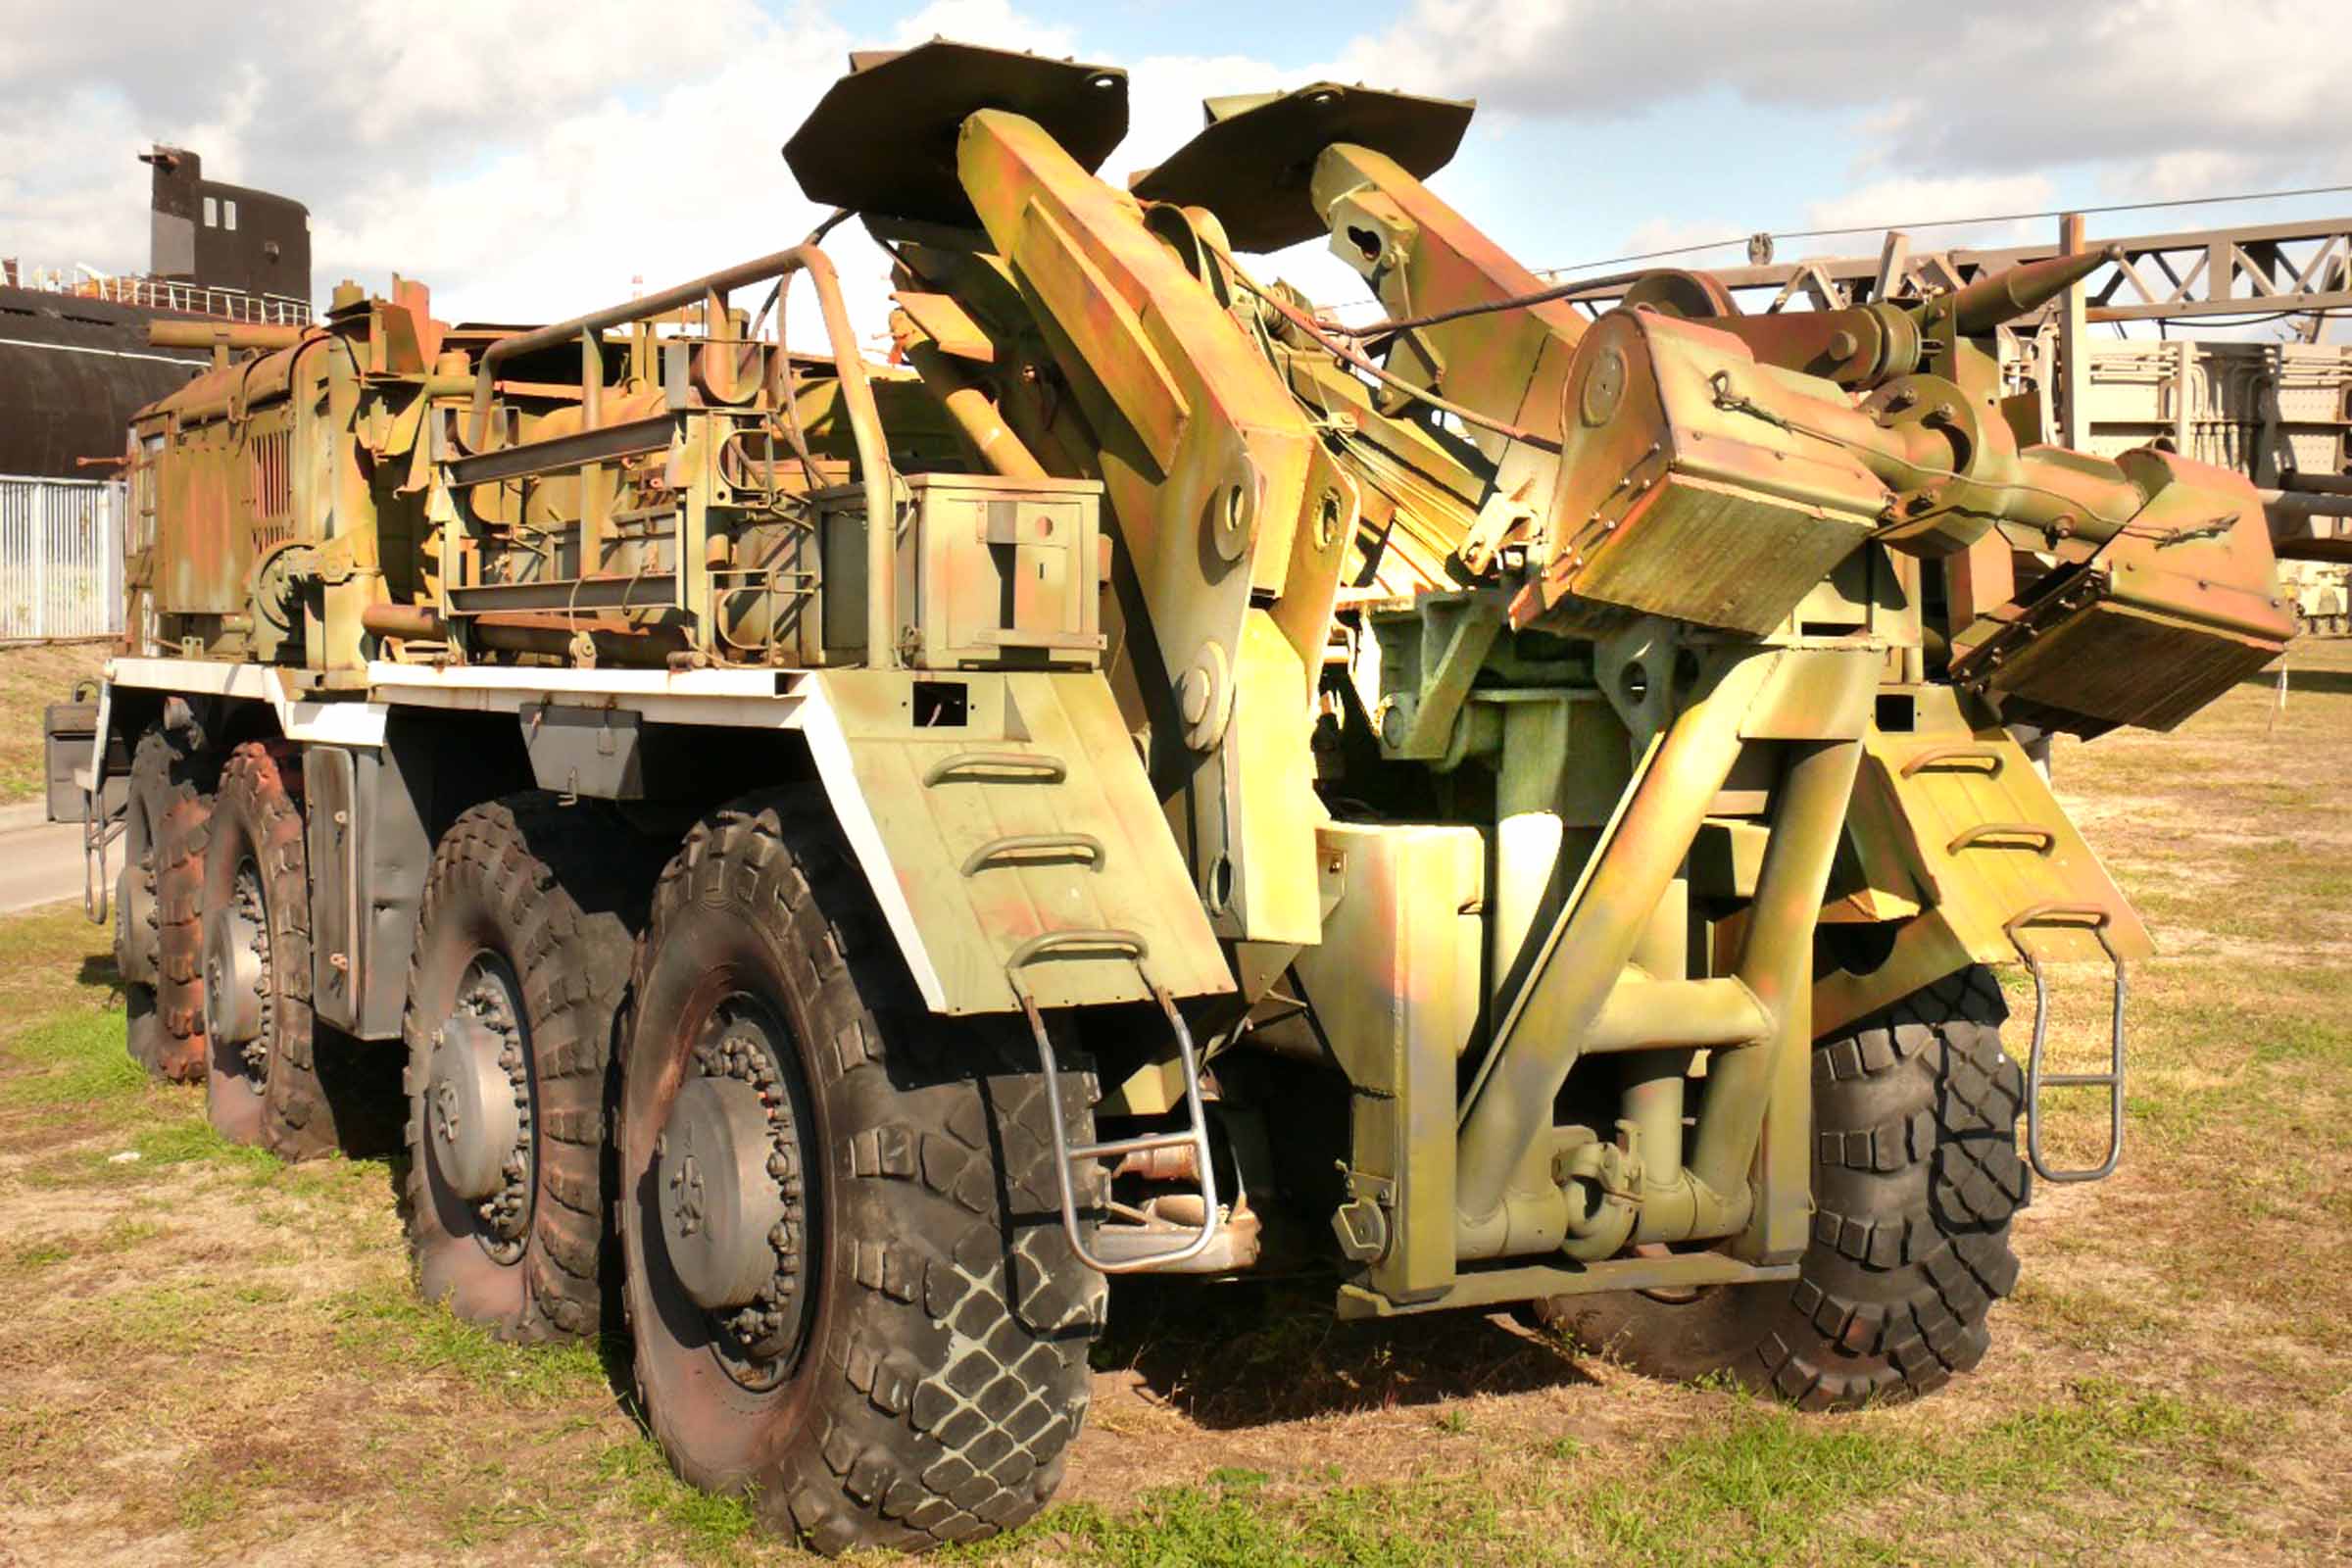
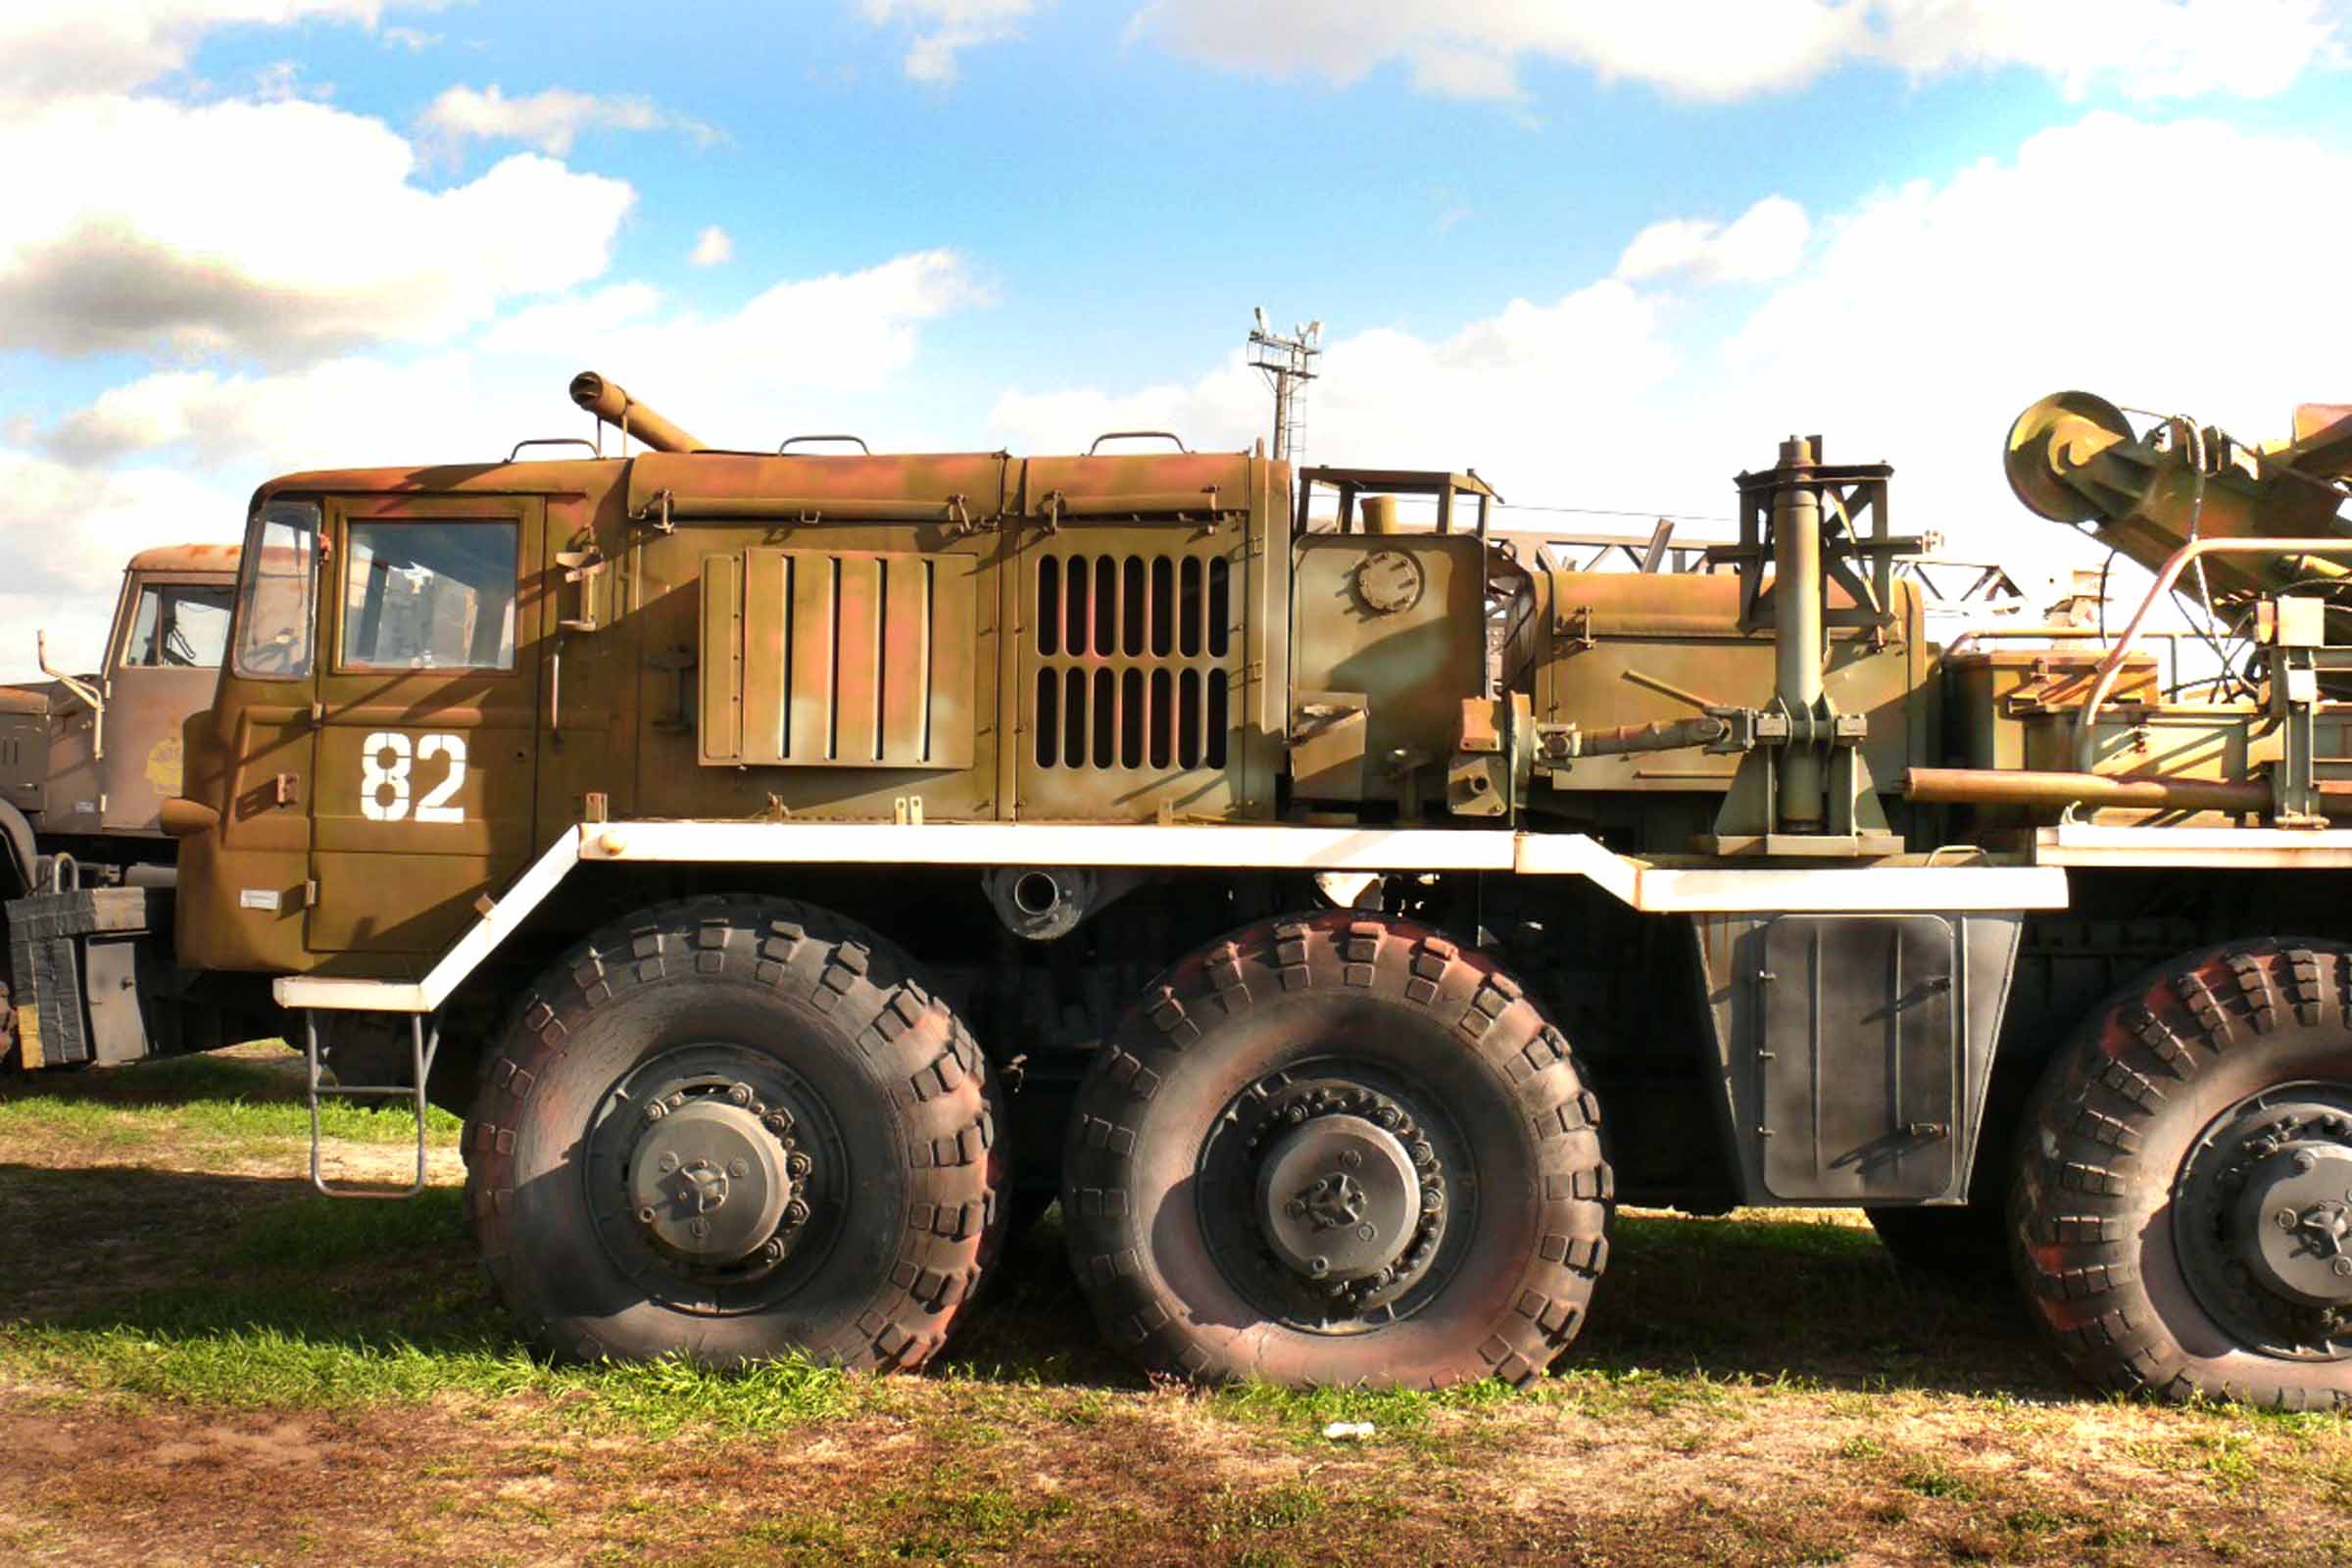
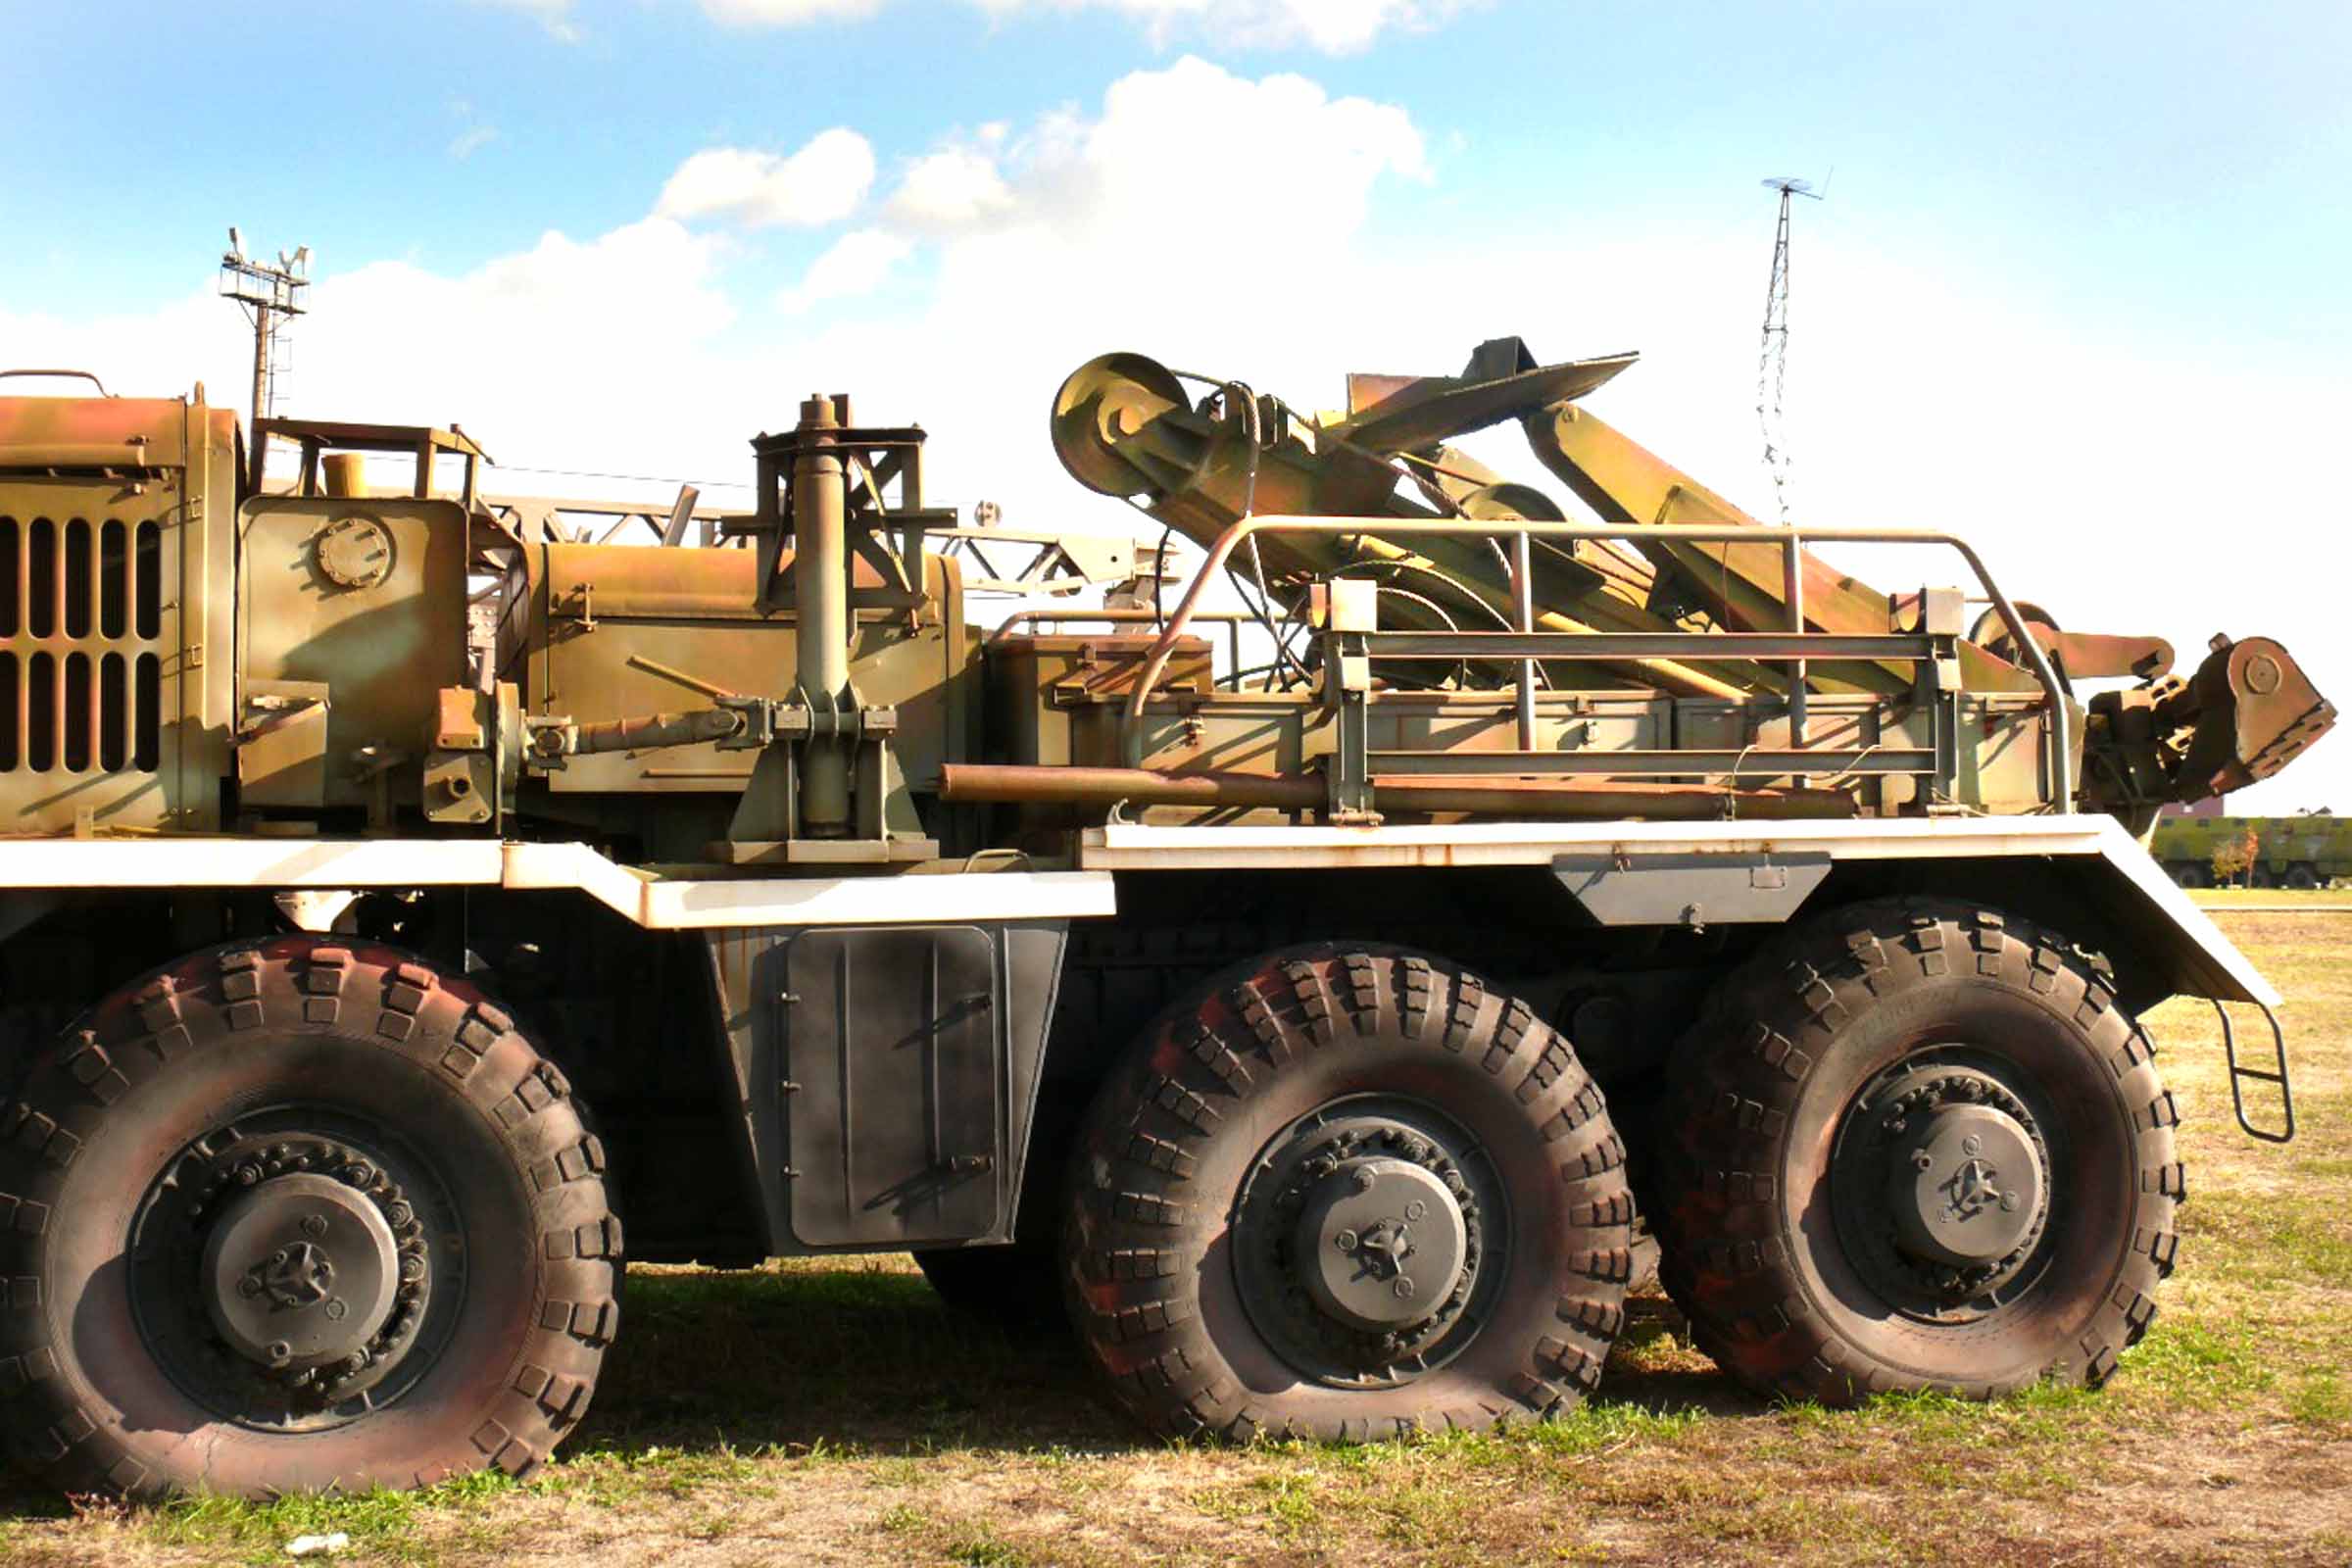
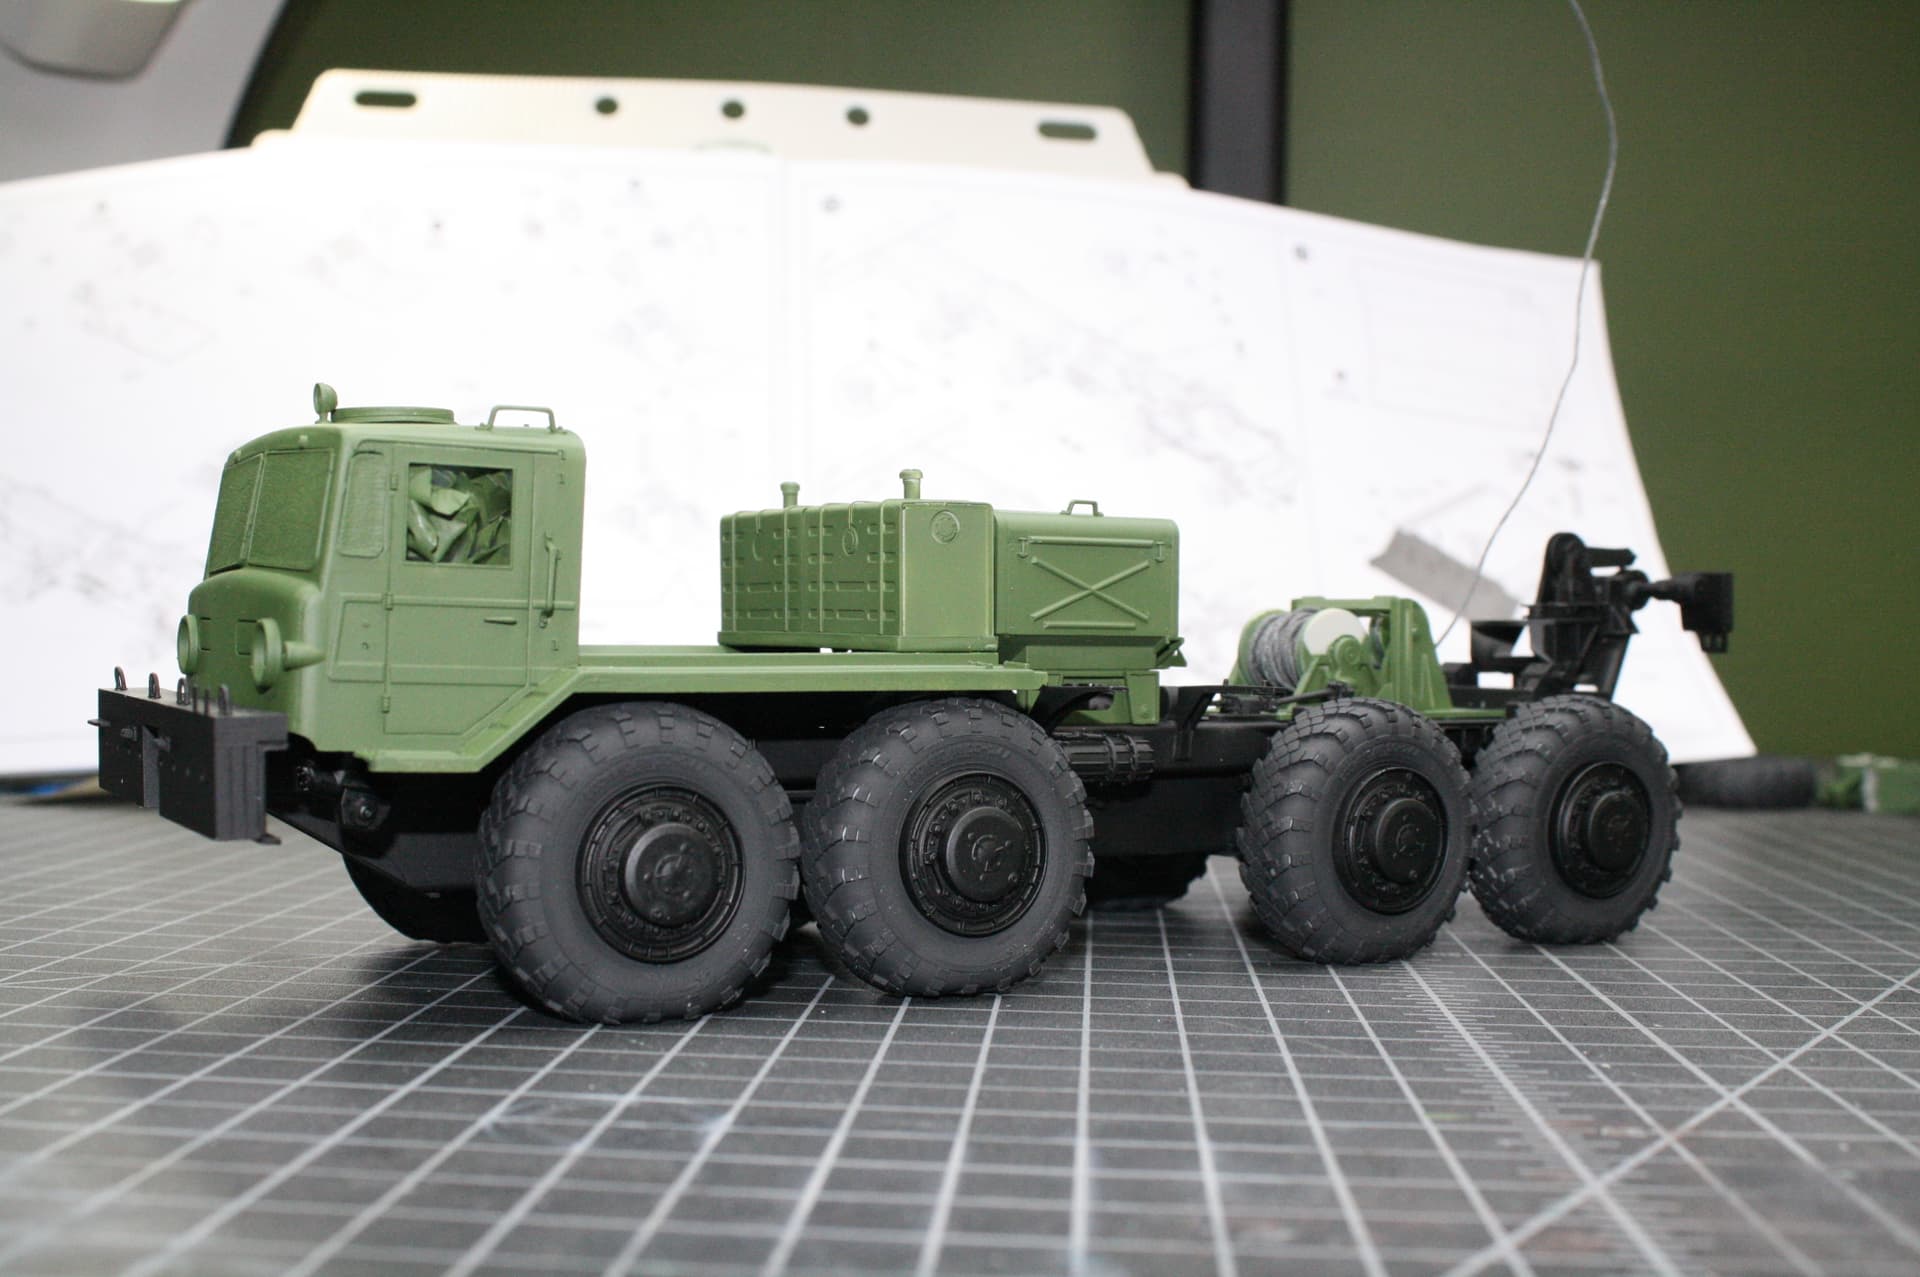
Vehicles such as this are so much a “jack of all trades” I cannot imagine letting it go to rust.
3 Likes
Two questions:
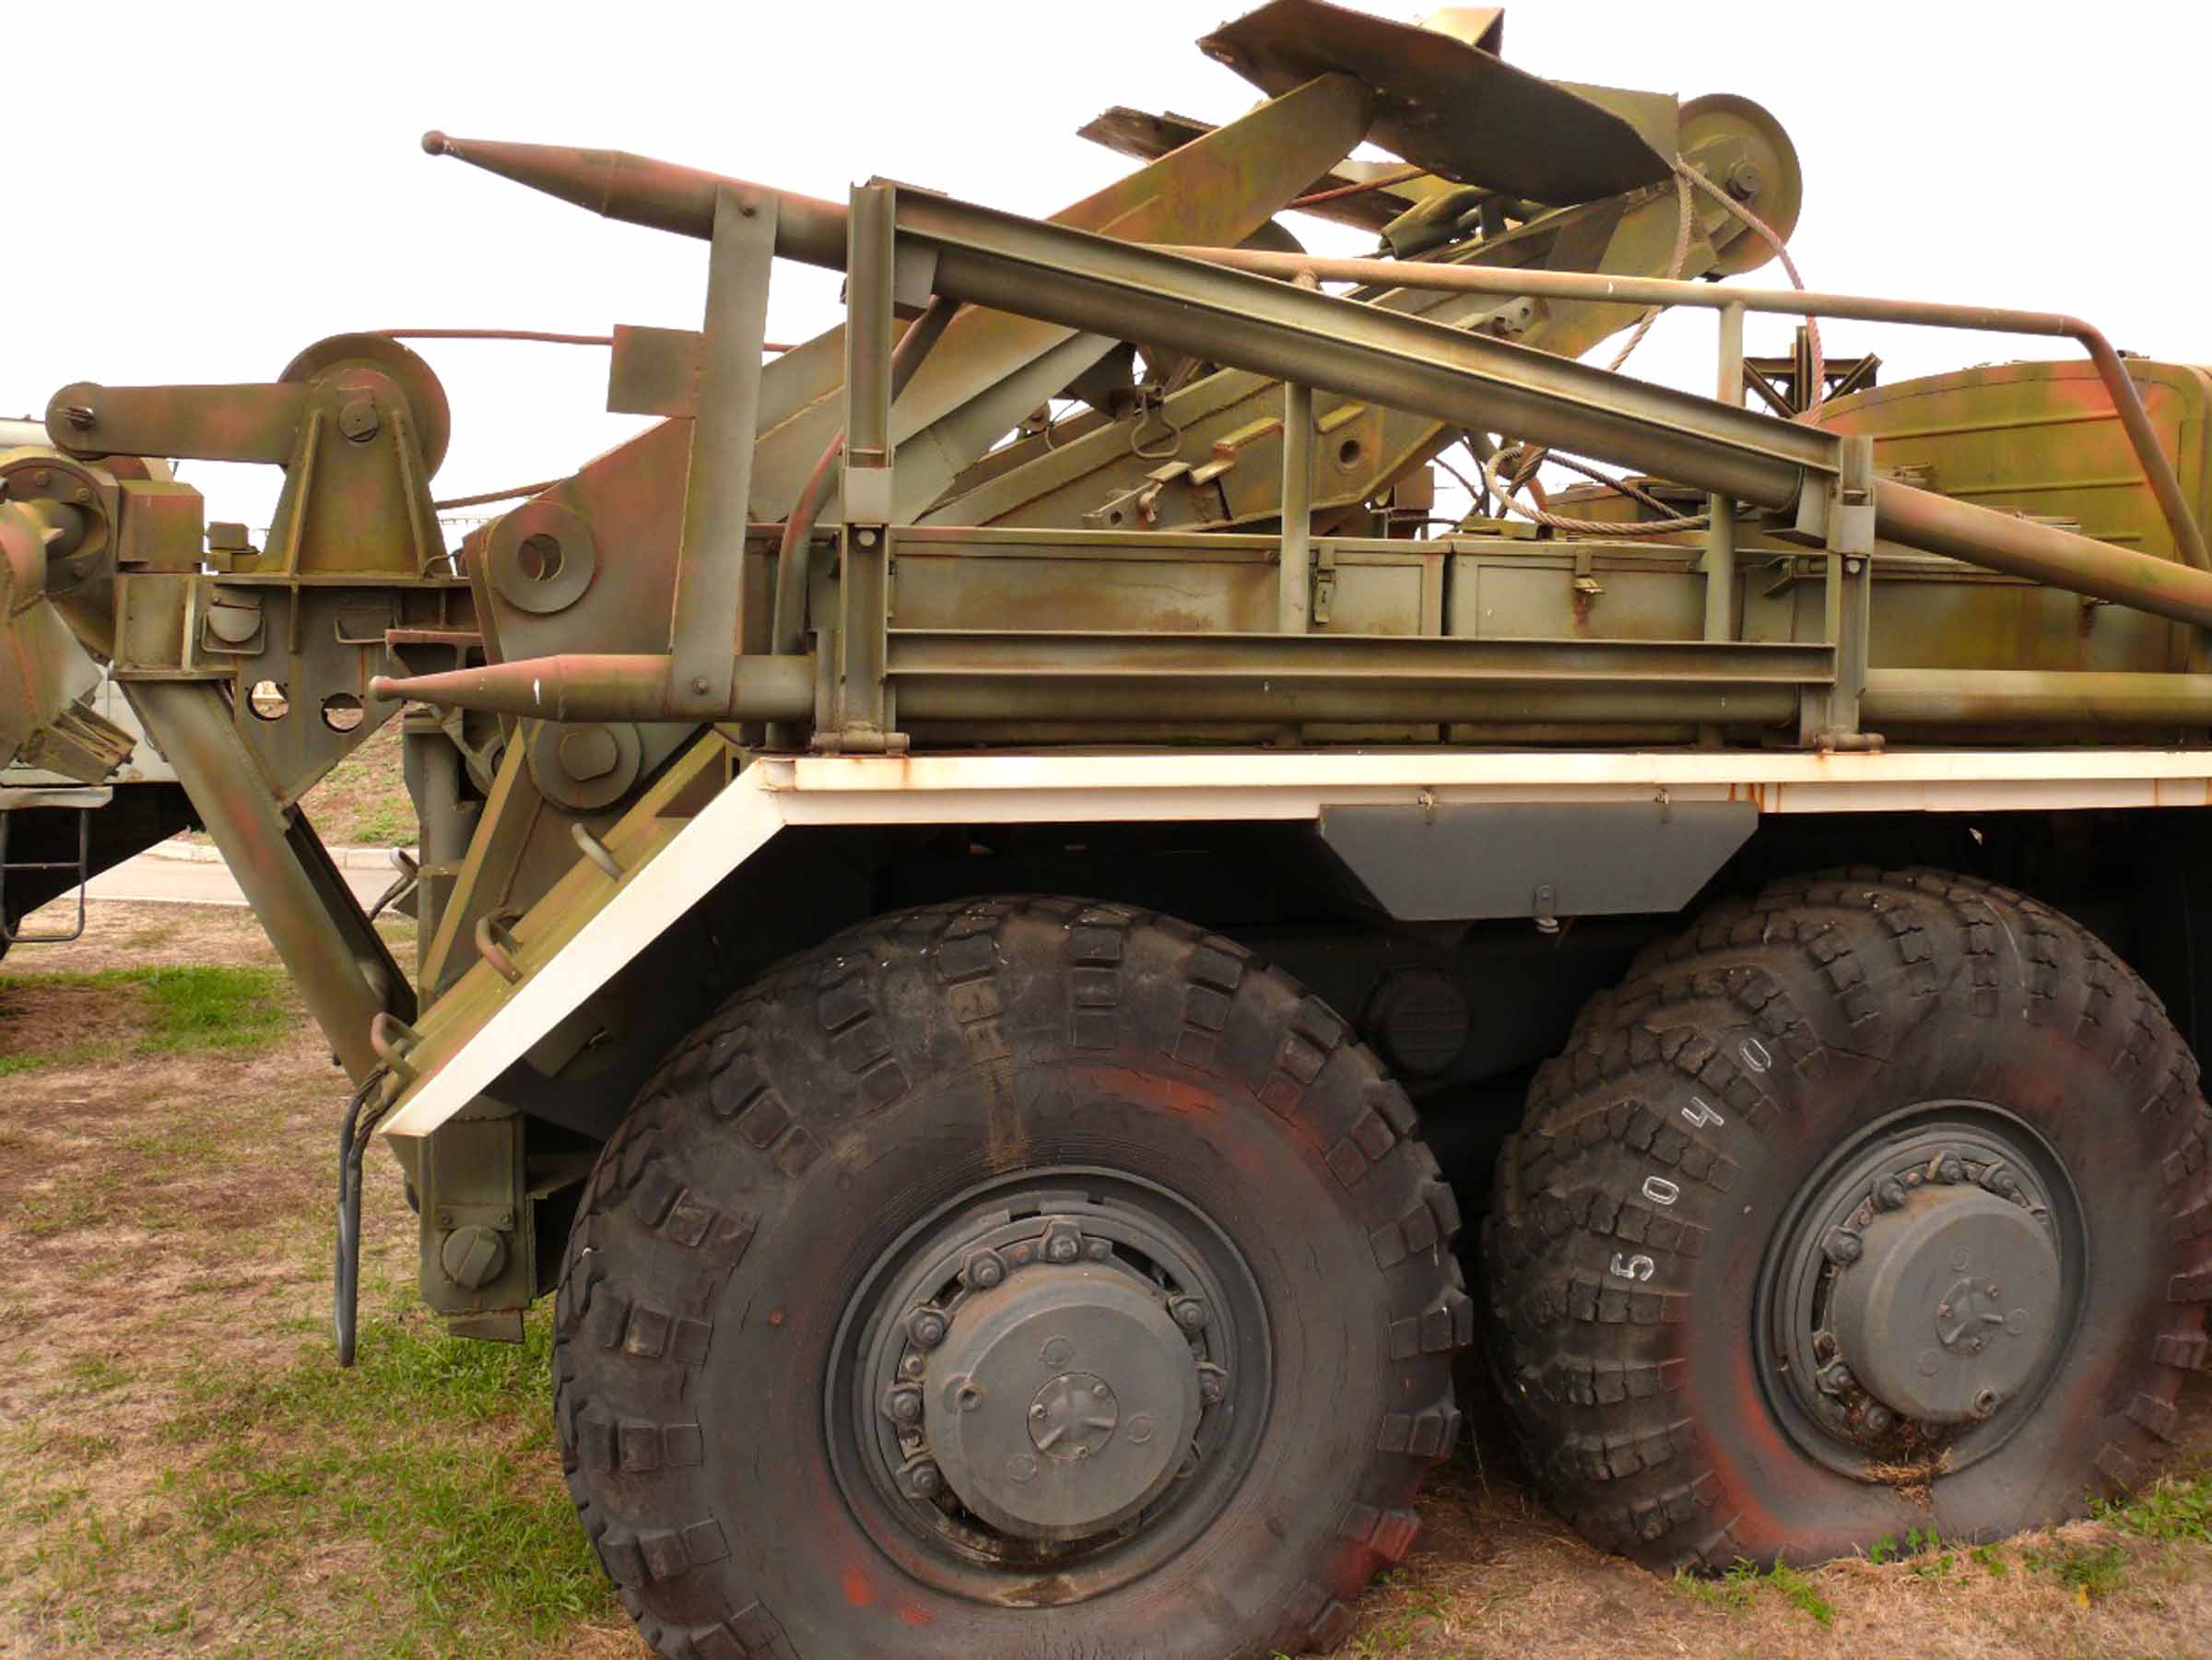
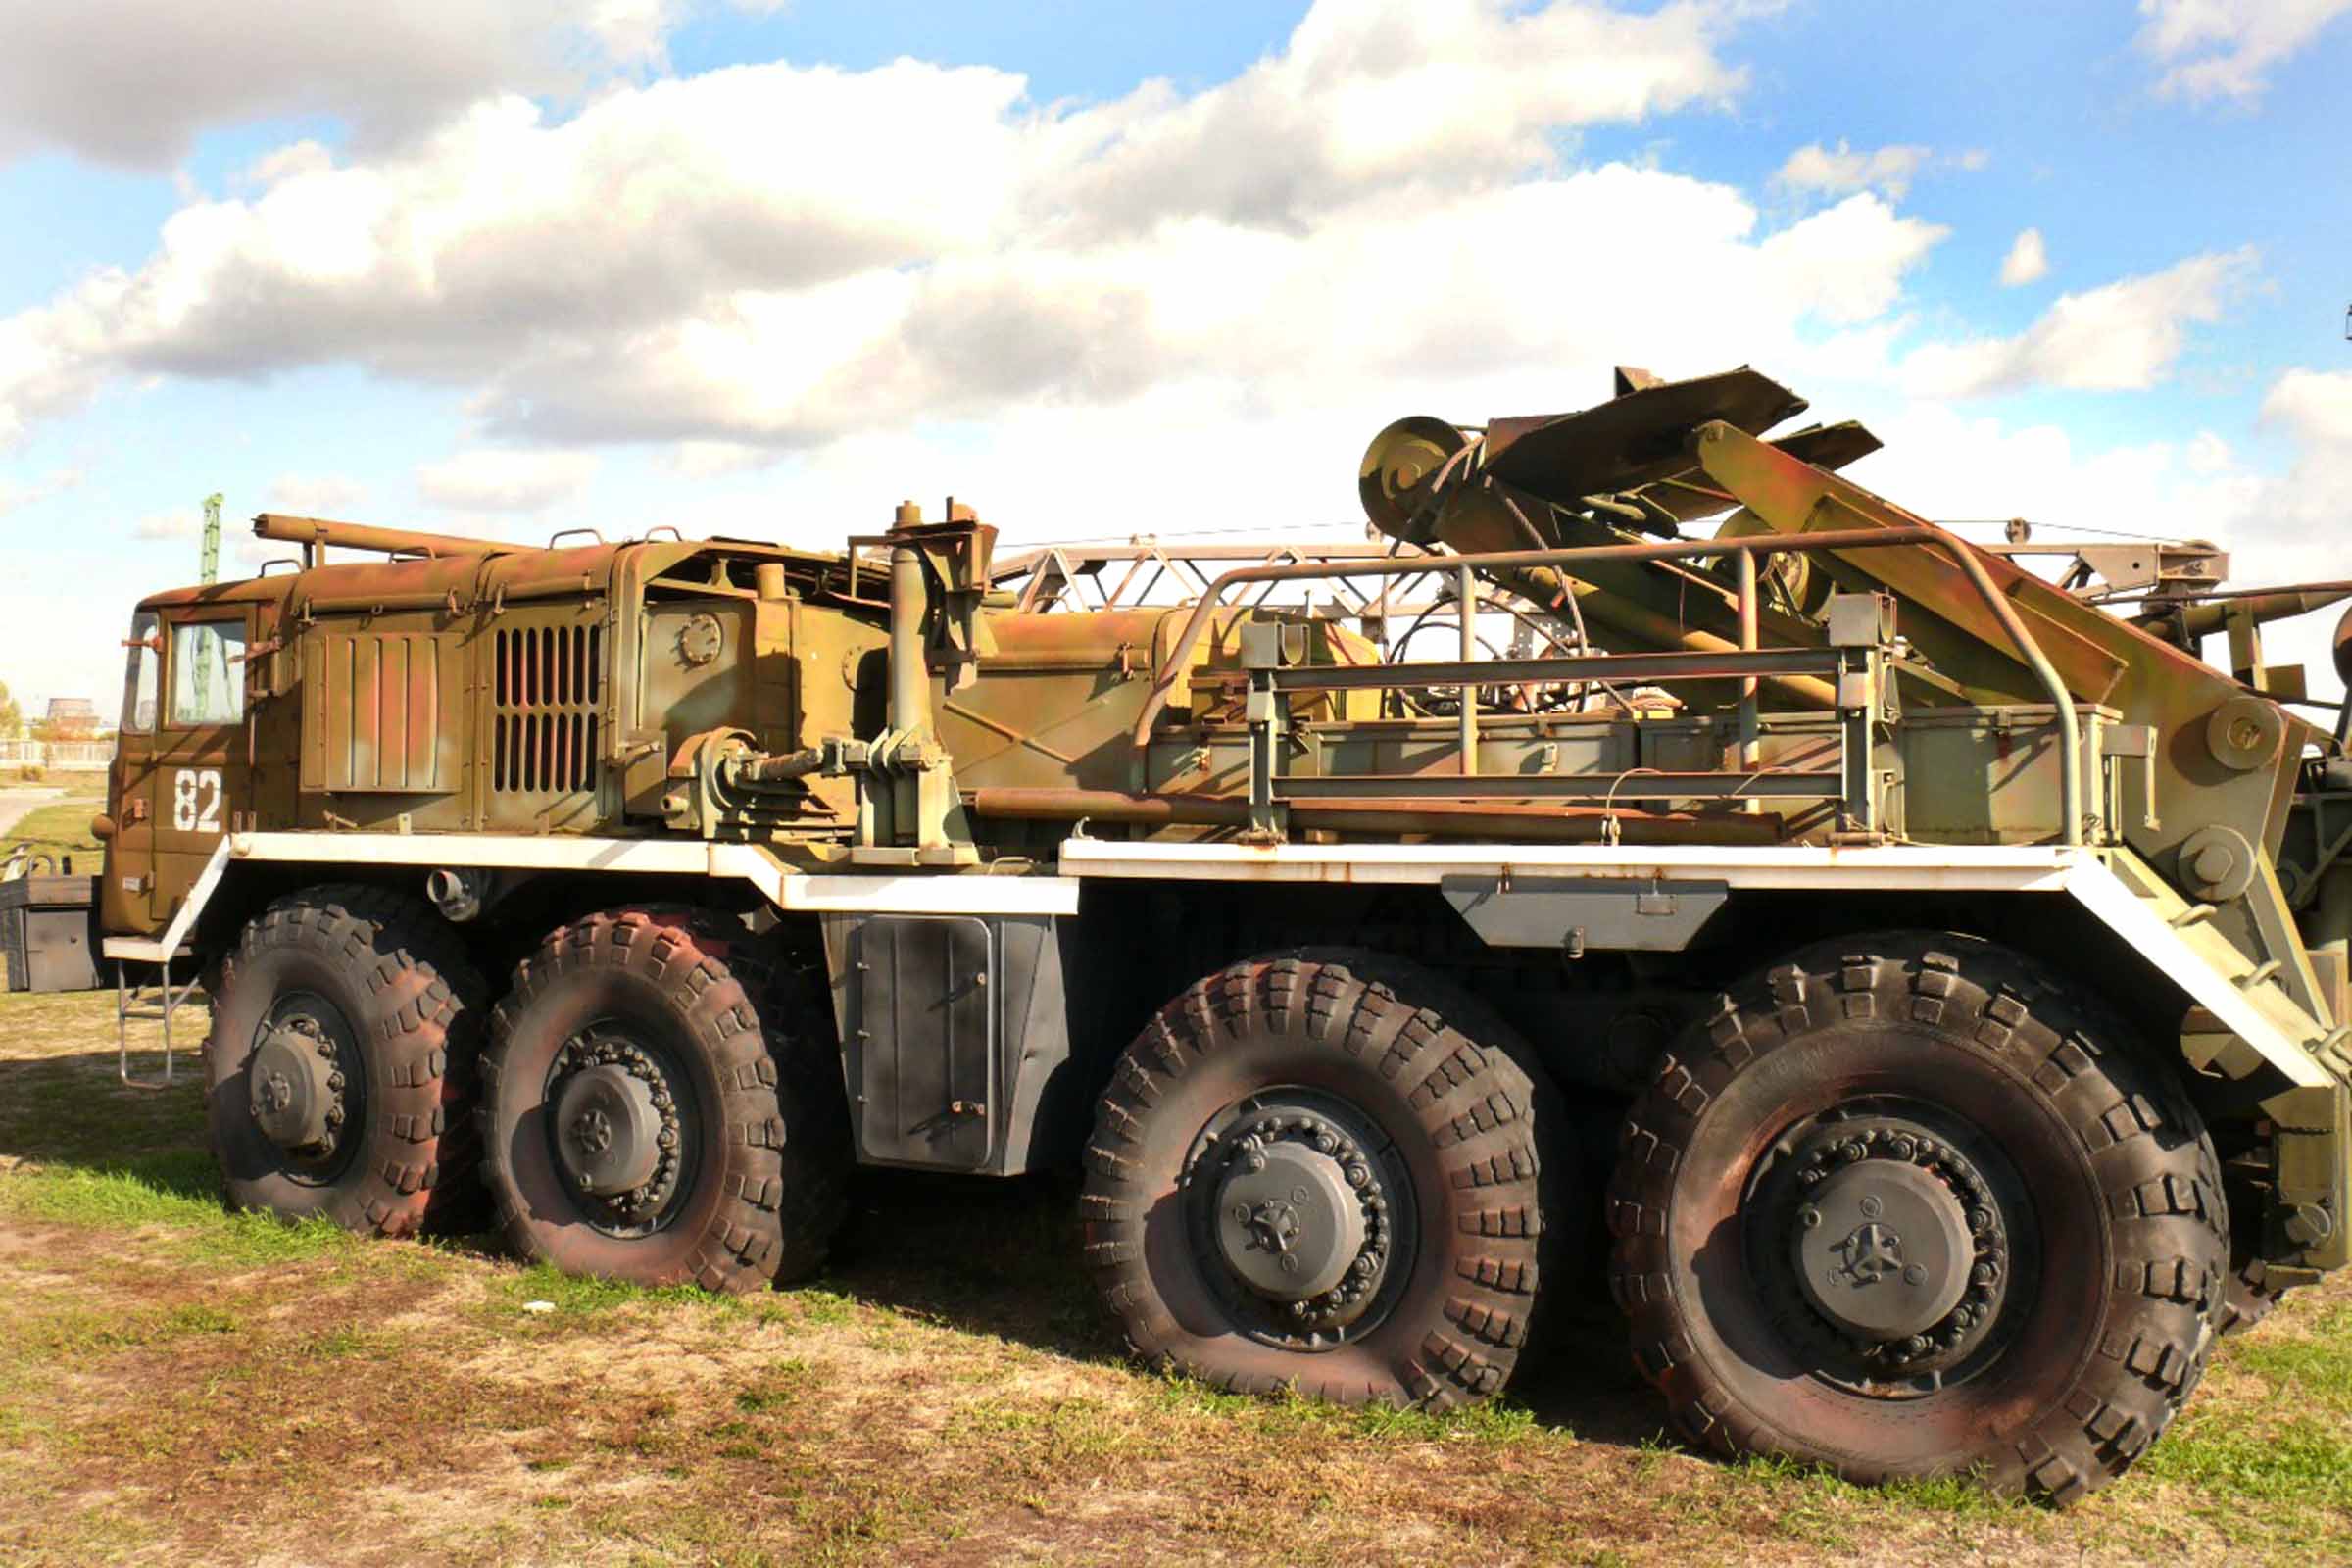
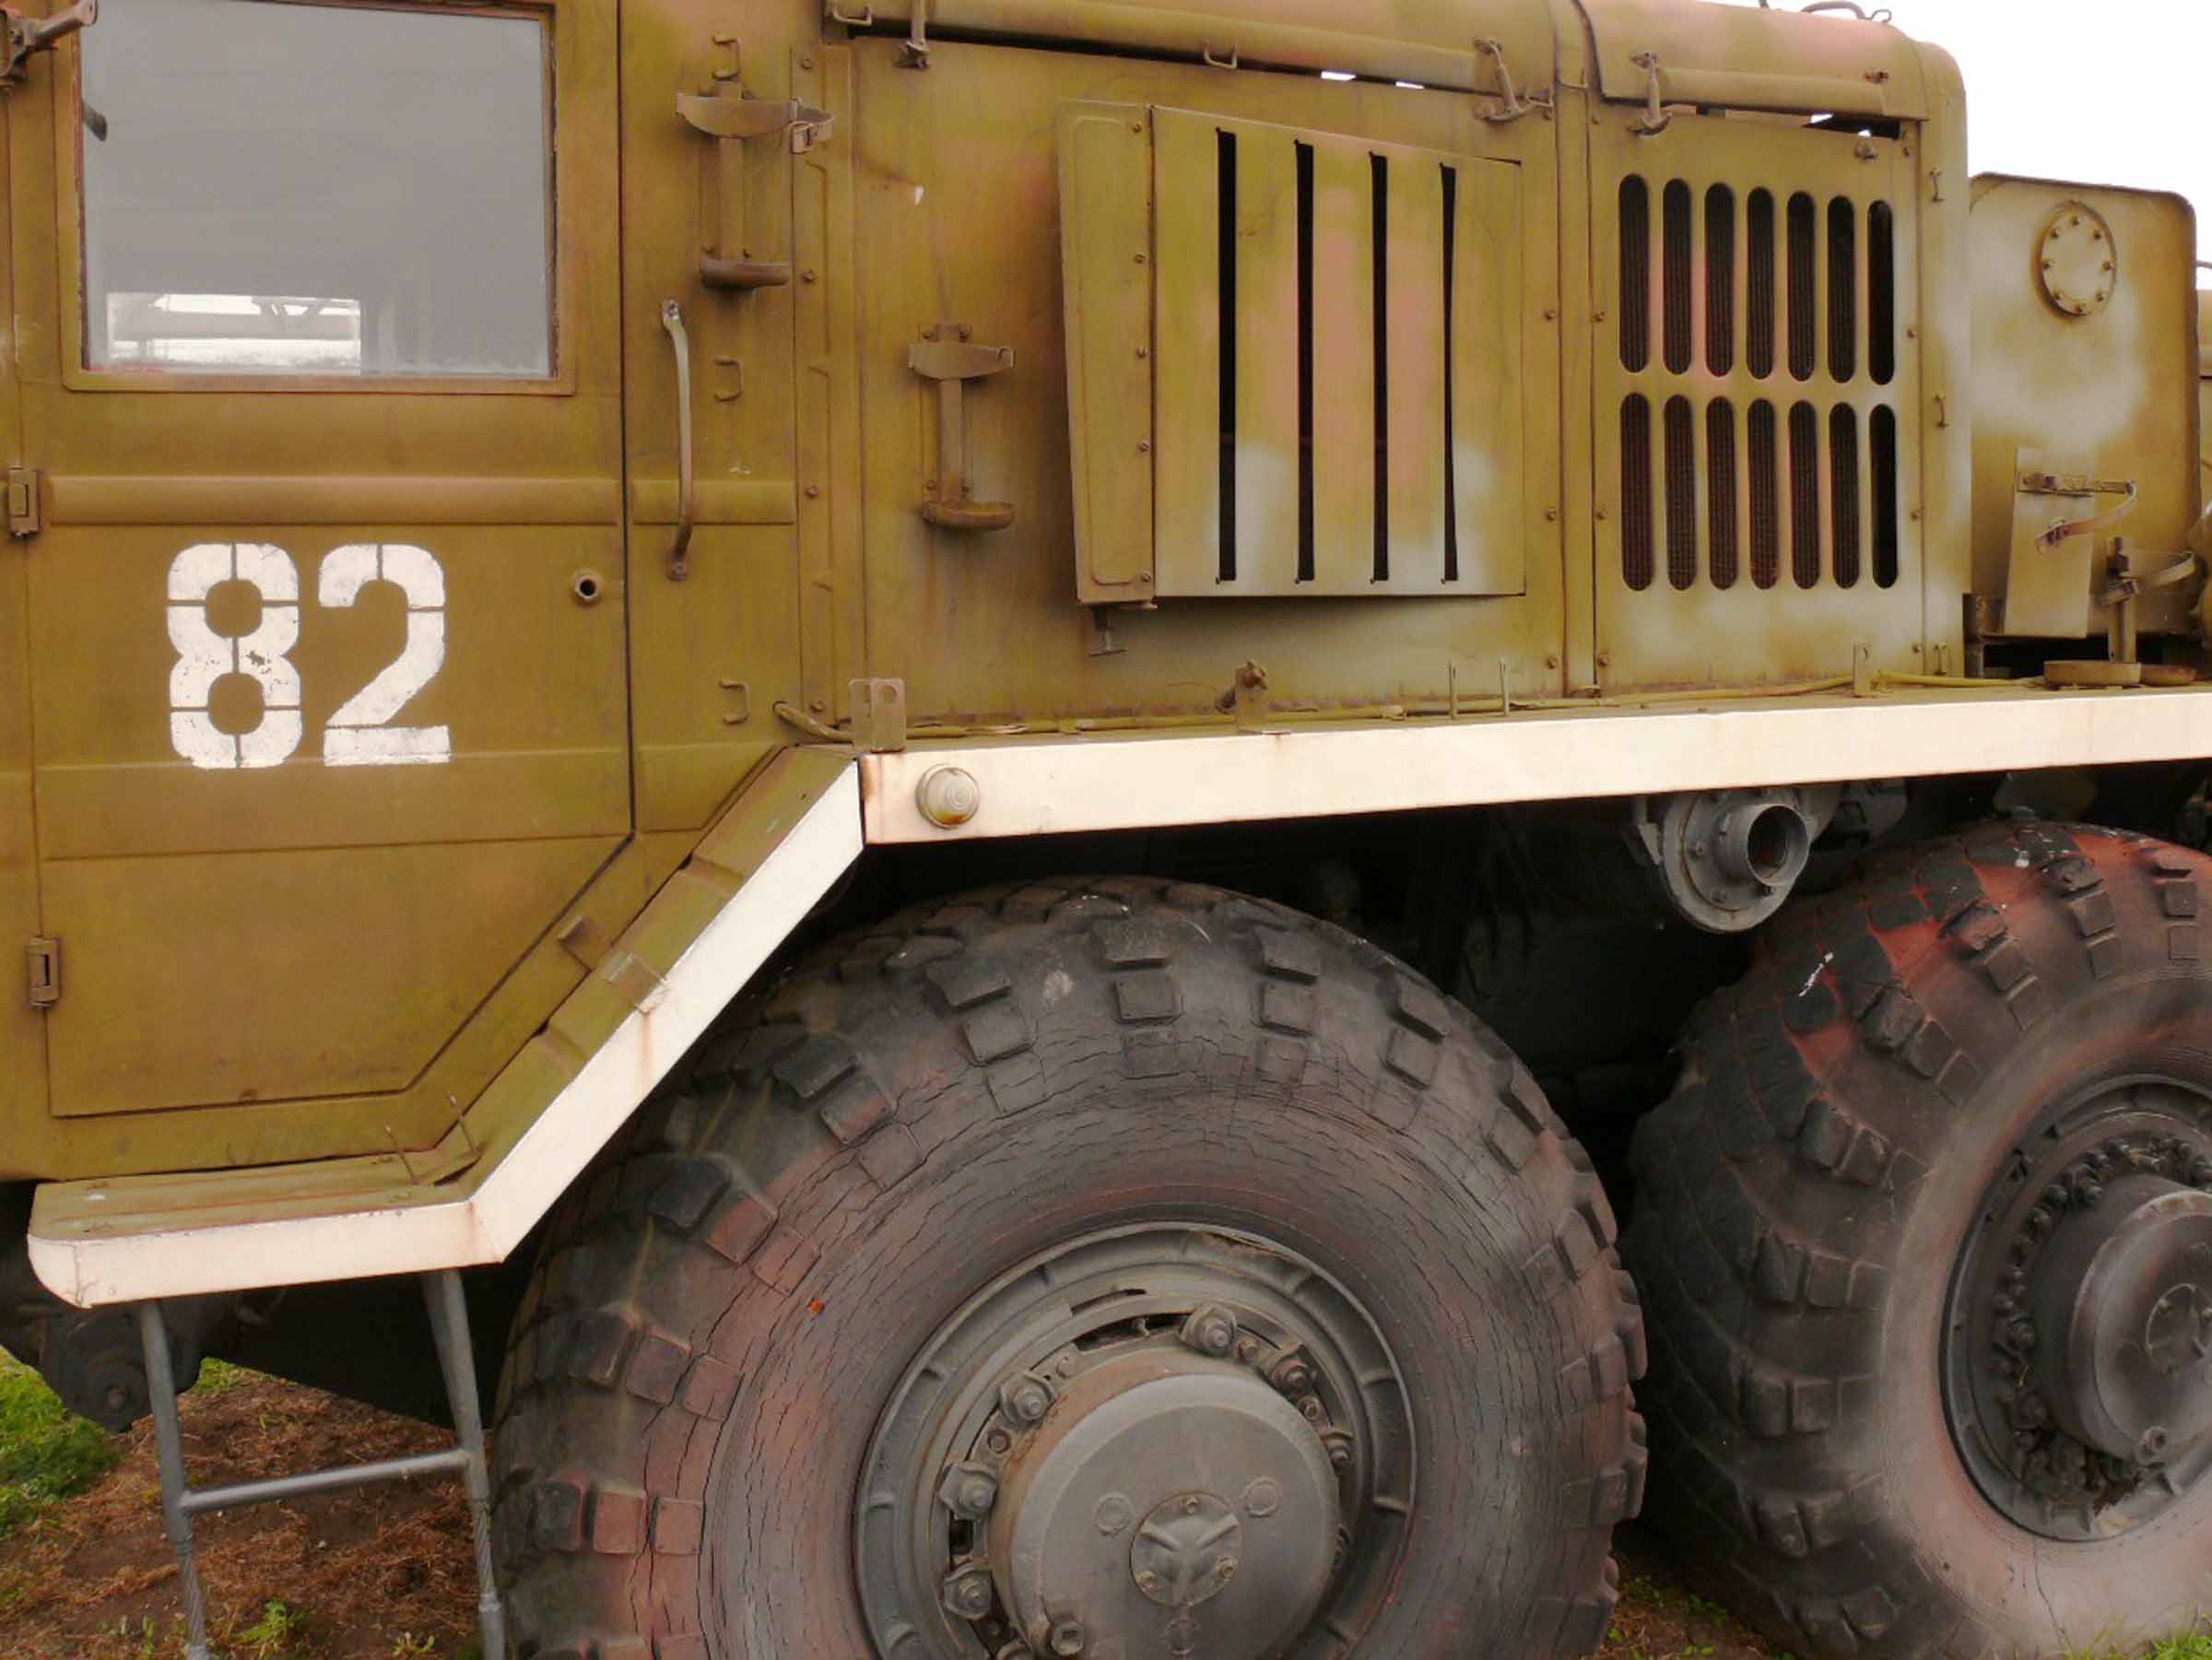
You had said that the resin conversion set to the KET-T included a much better transmission. Did they also possibly include an improved transfer case in the deal??? To my mind the transfer case is a really weak point to the Trumpeter plastic model kit.
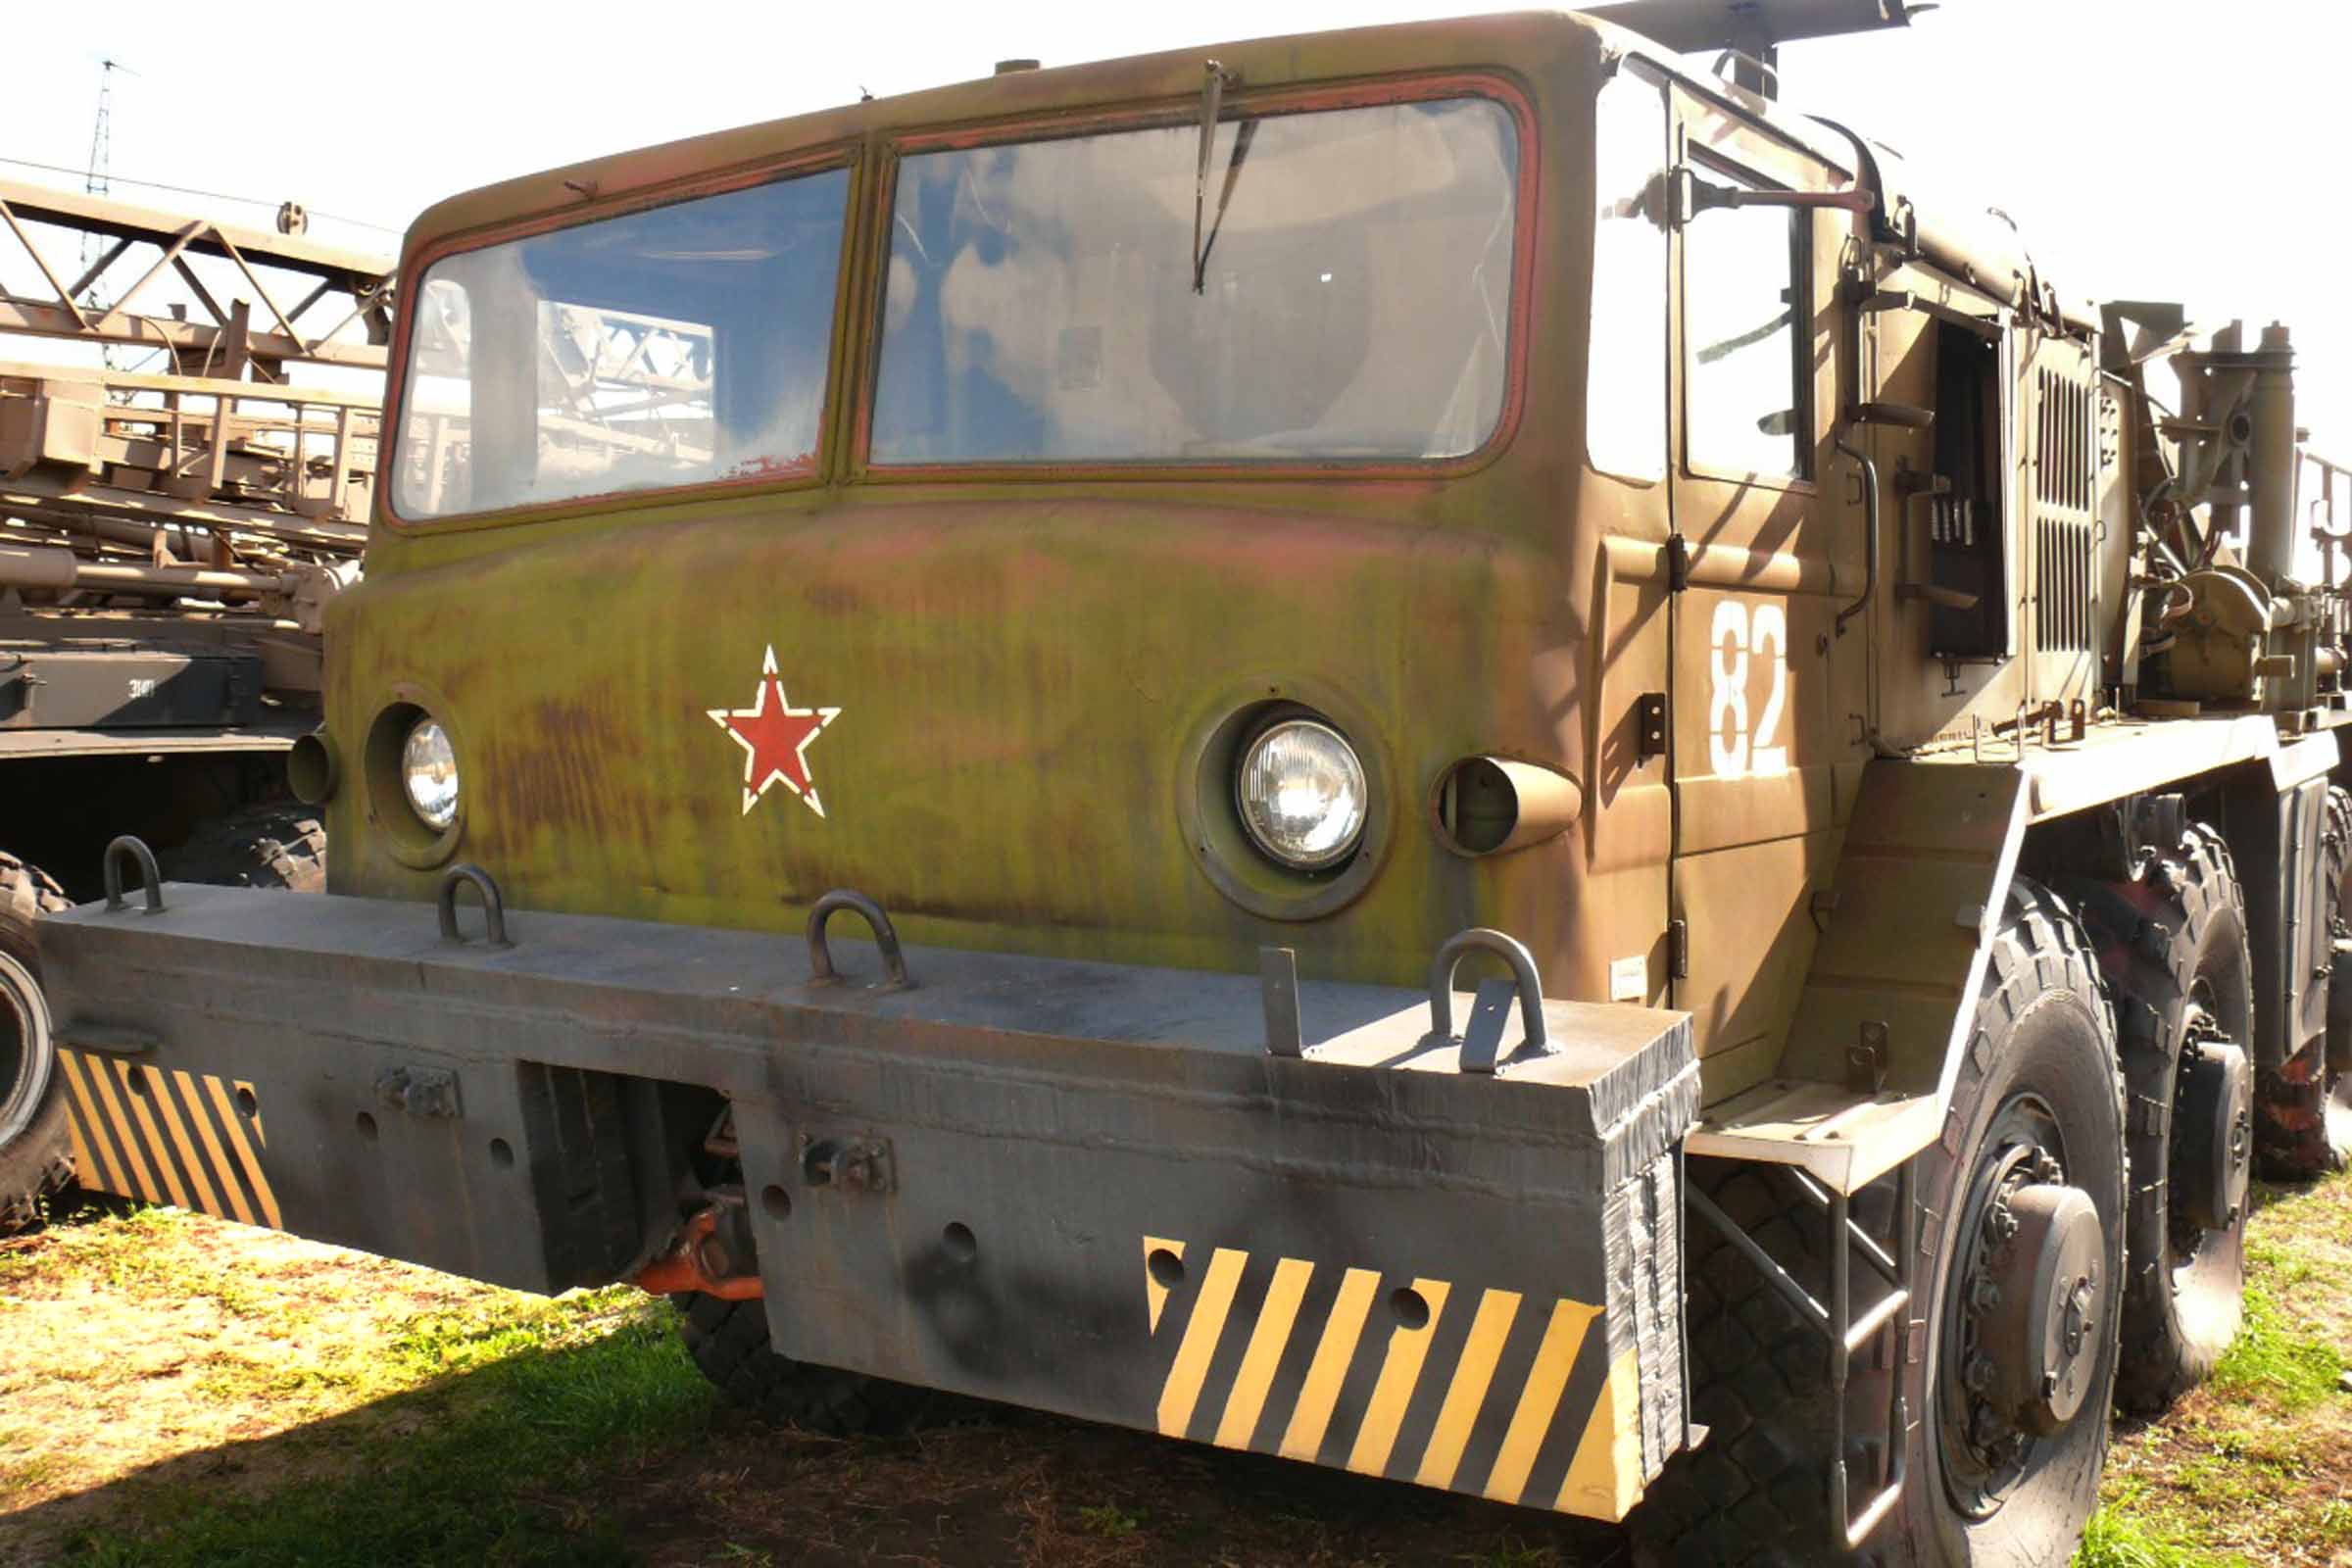
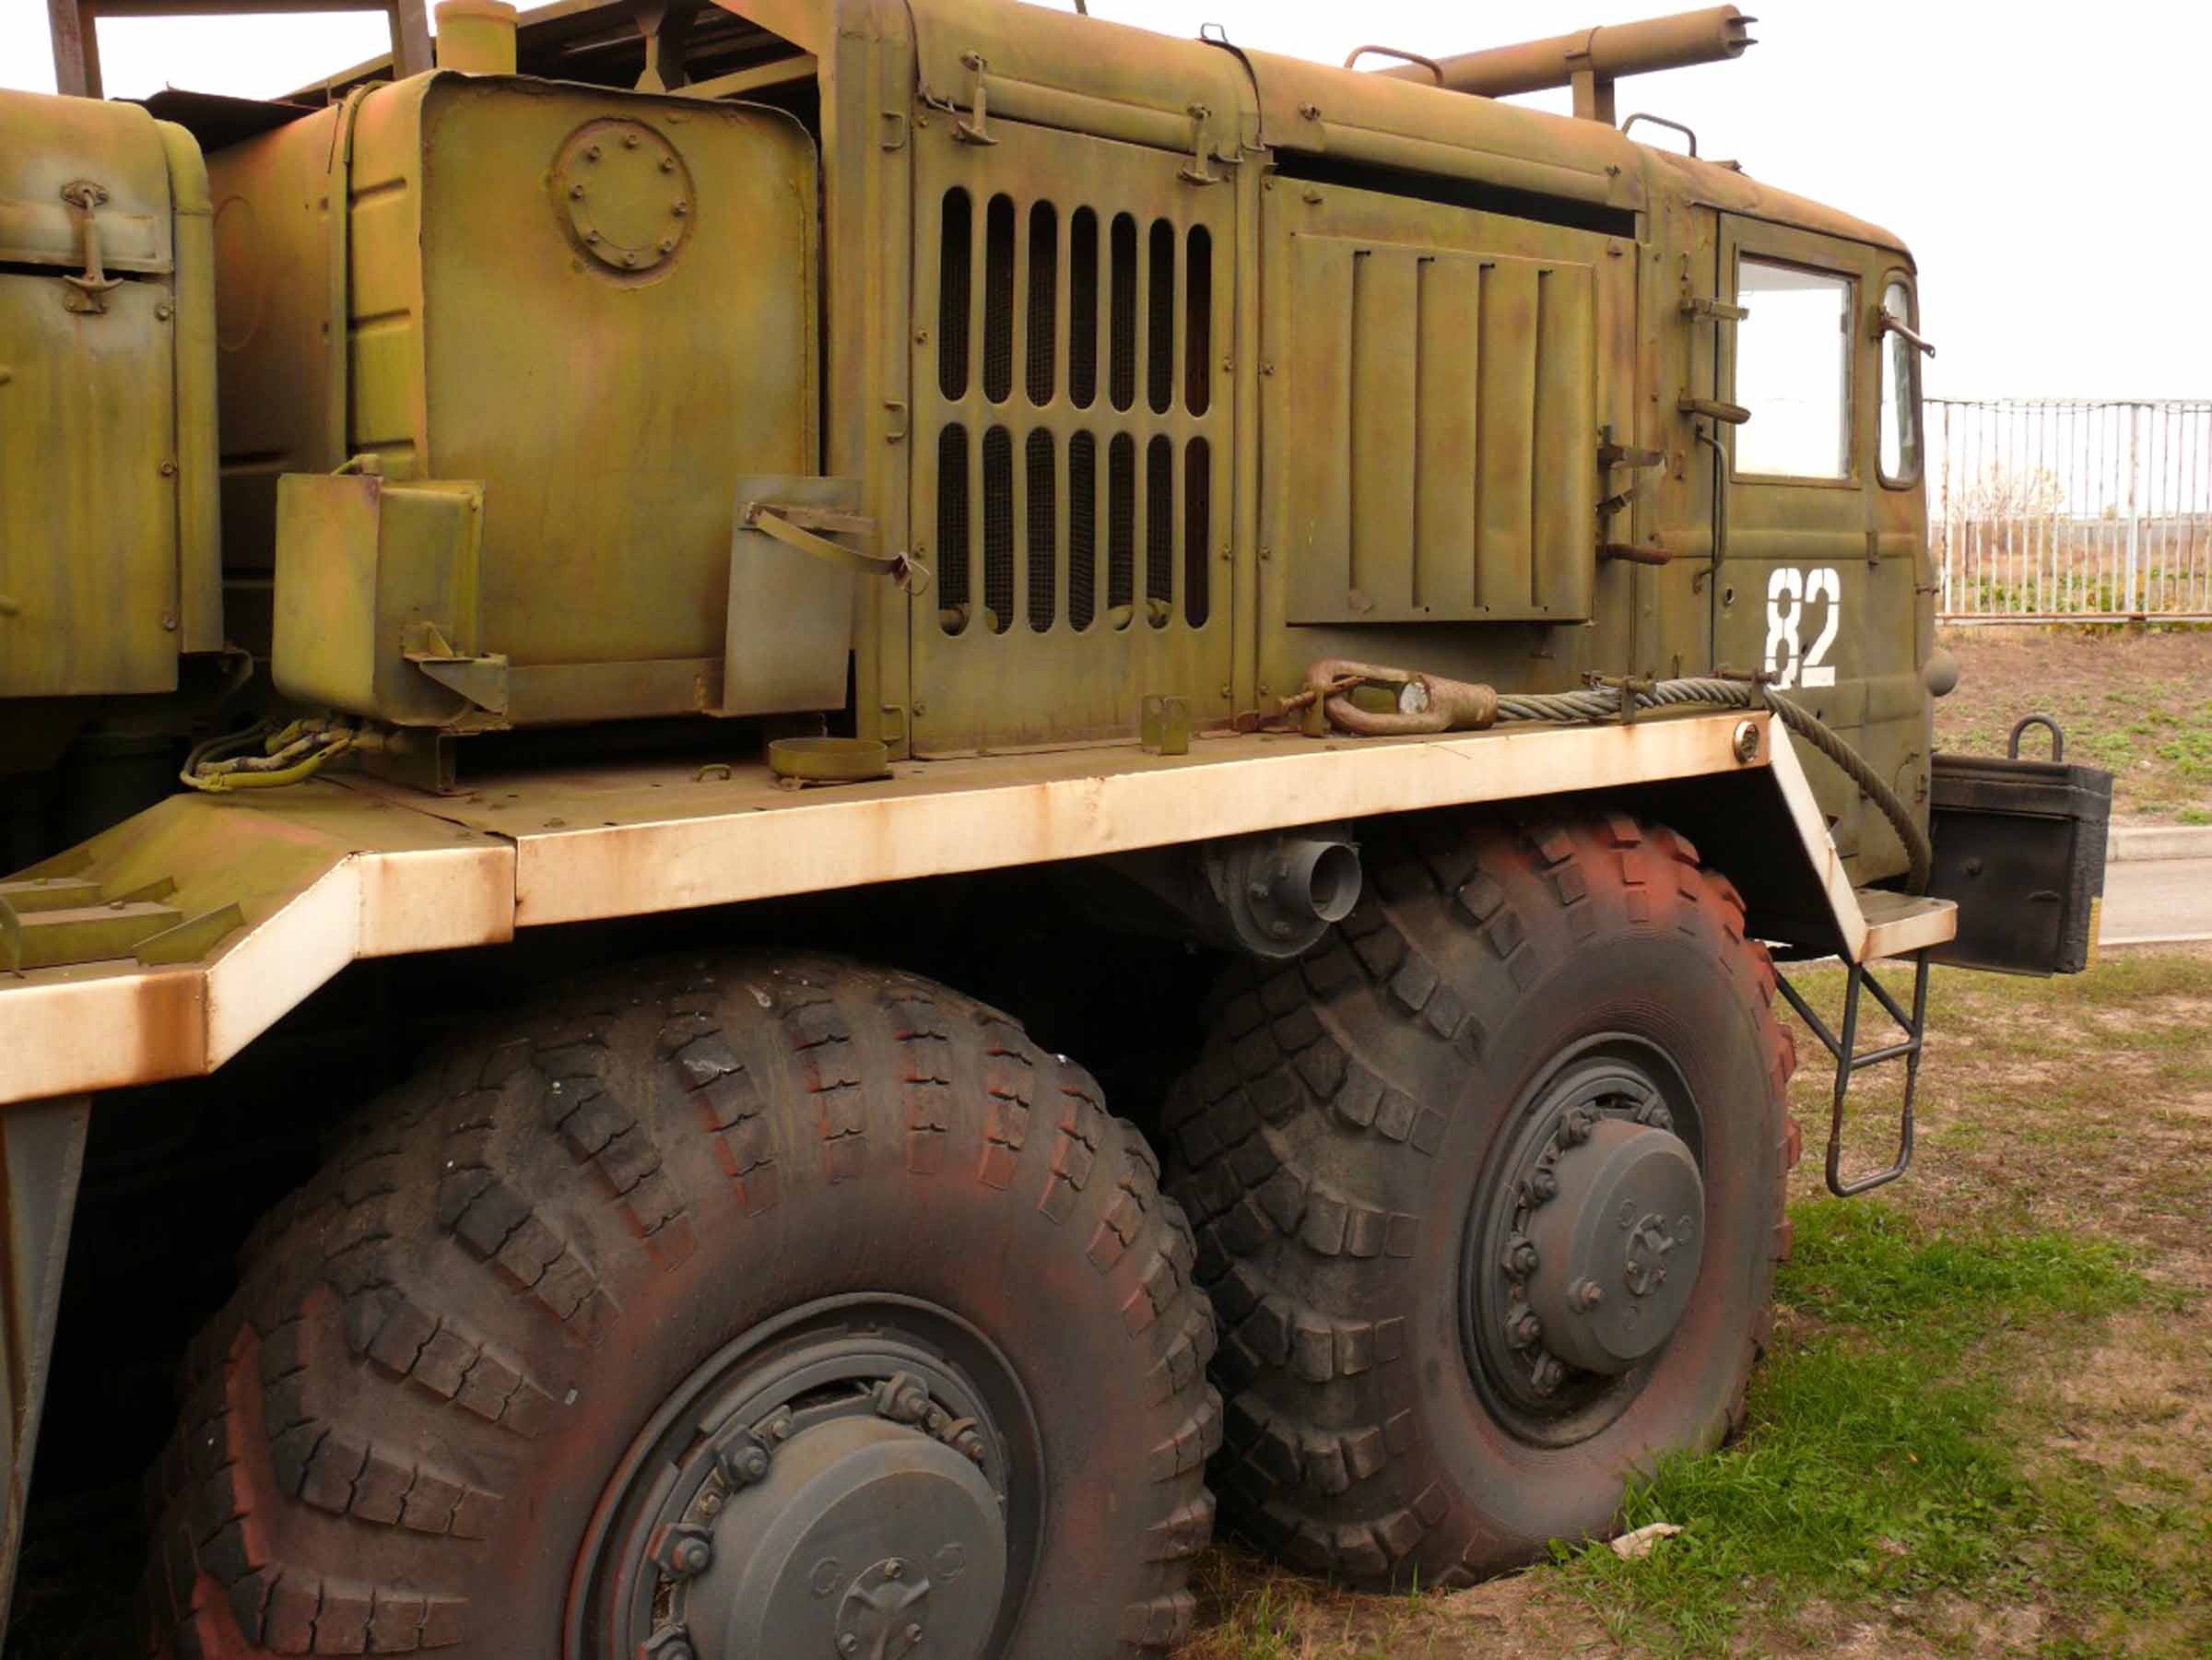
And second. has the Trumpeter kit as yet corrected the error of the winch housing being centered on the frame? (It is actually supposed to be mounted off center to the passenger side.)
Mike,
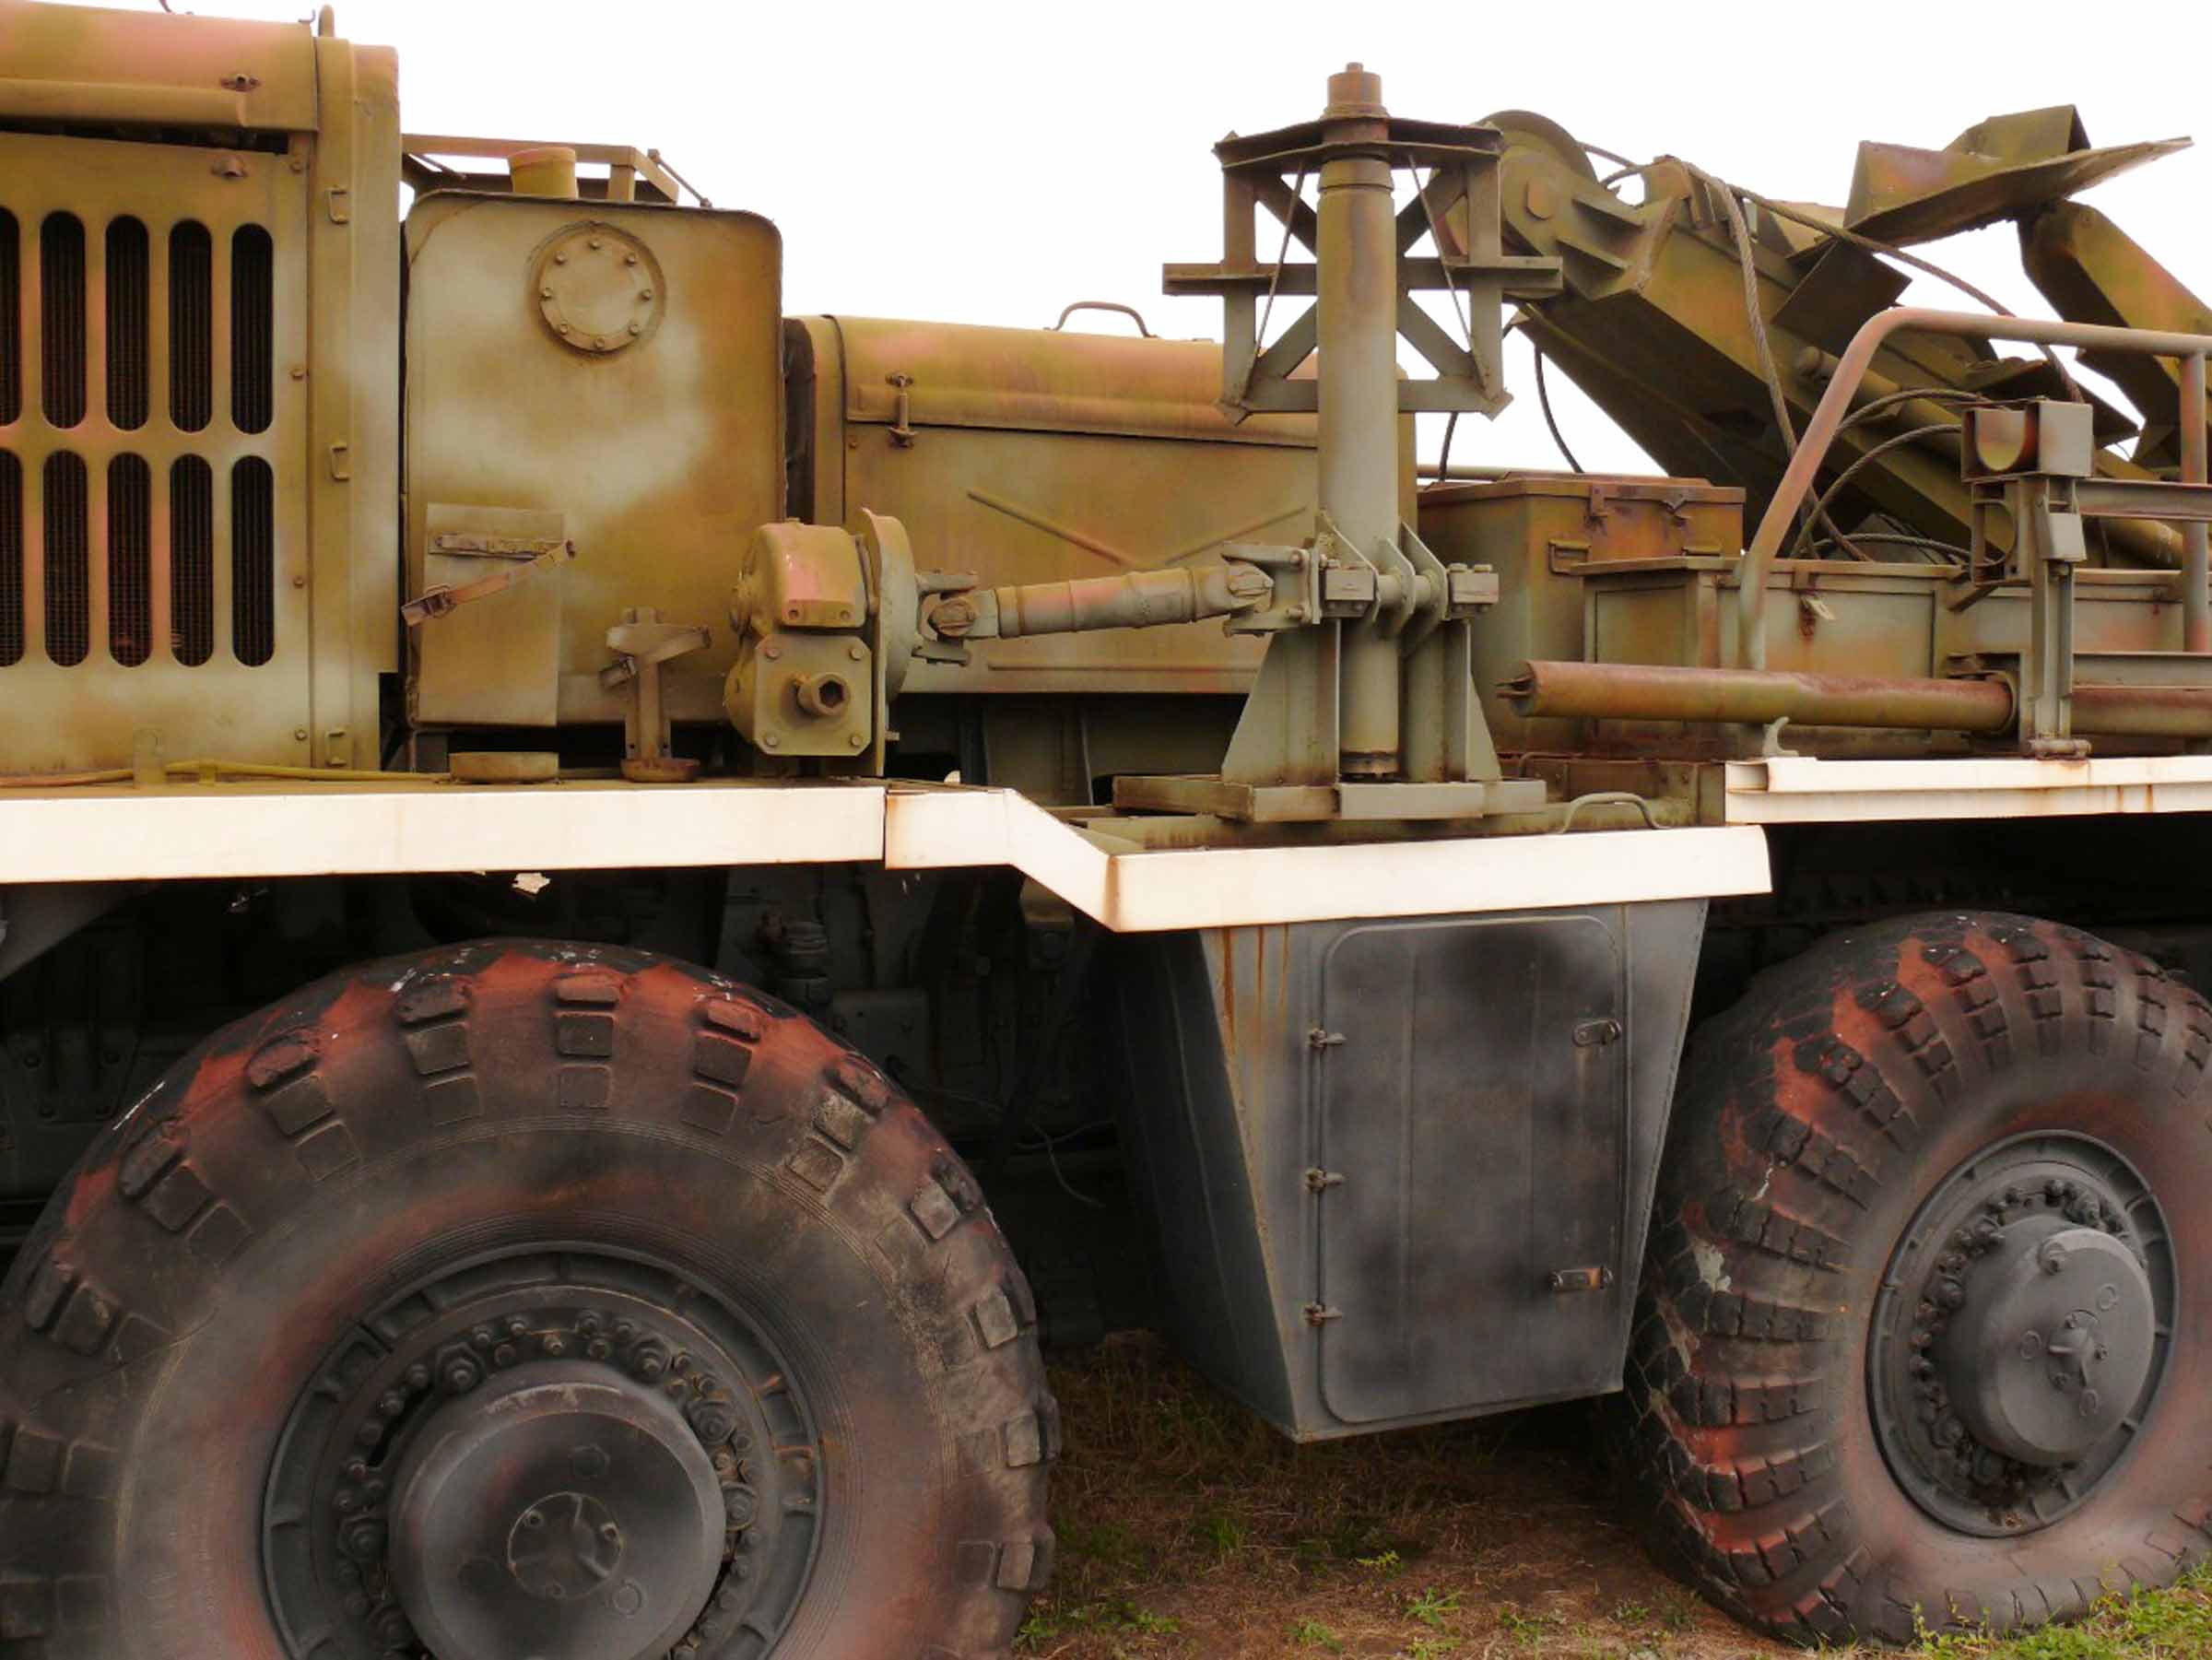
The resin set did not include a transfer case. I used the kit one. The housing you refer to IS offset to the right on the KET-T kit though.
1 Like
Half a loaf - better than none!
p.s. If there is any reference relating to the mechanics of the basic MA3 vehicle that you might be interested in just say the word and I will try to provide.
2 Likes
Thank you Mike I appreciate that! 
Here is an FYI - worth every penny you paid for it!
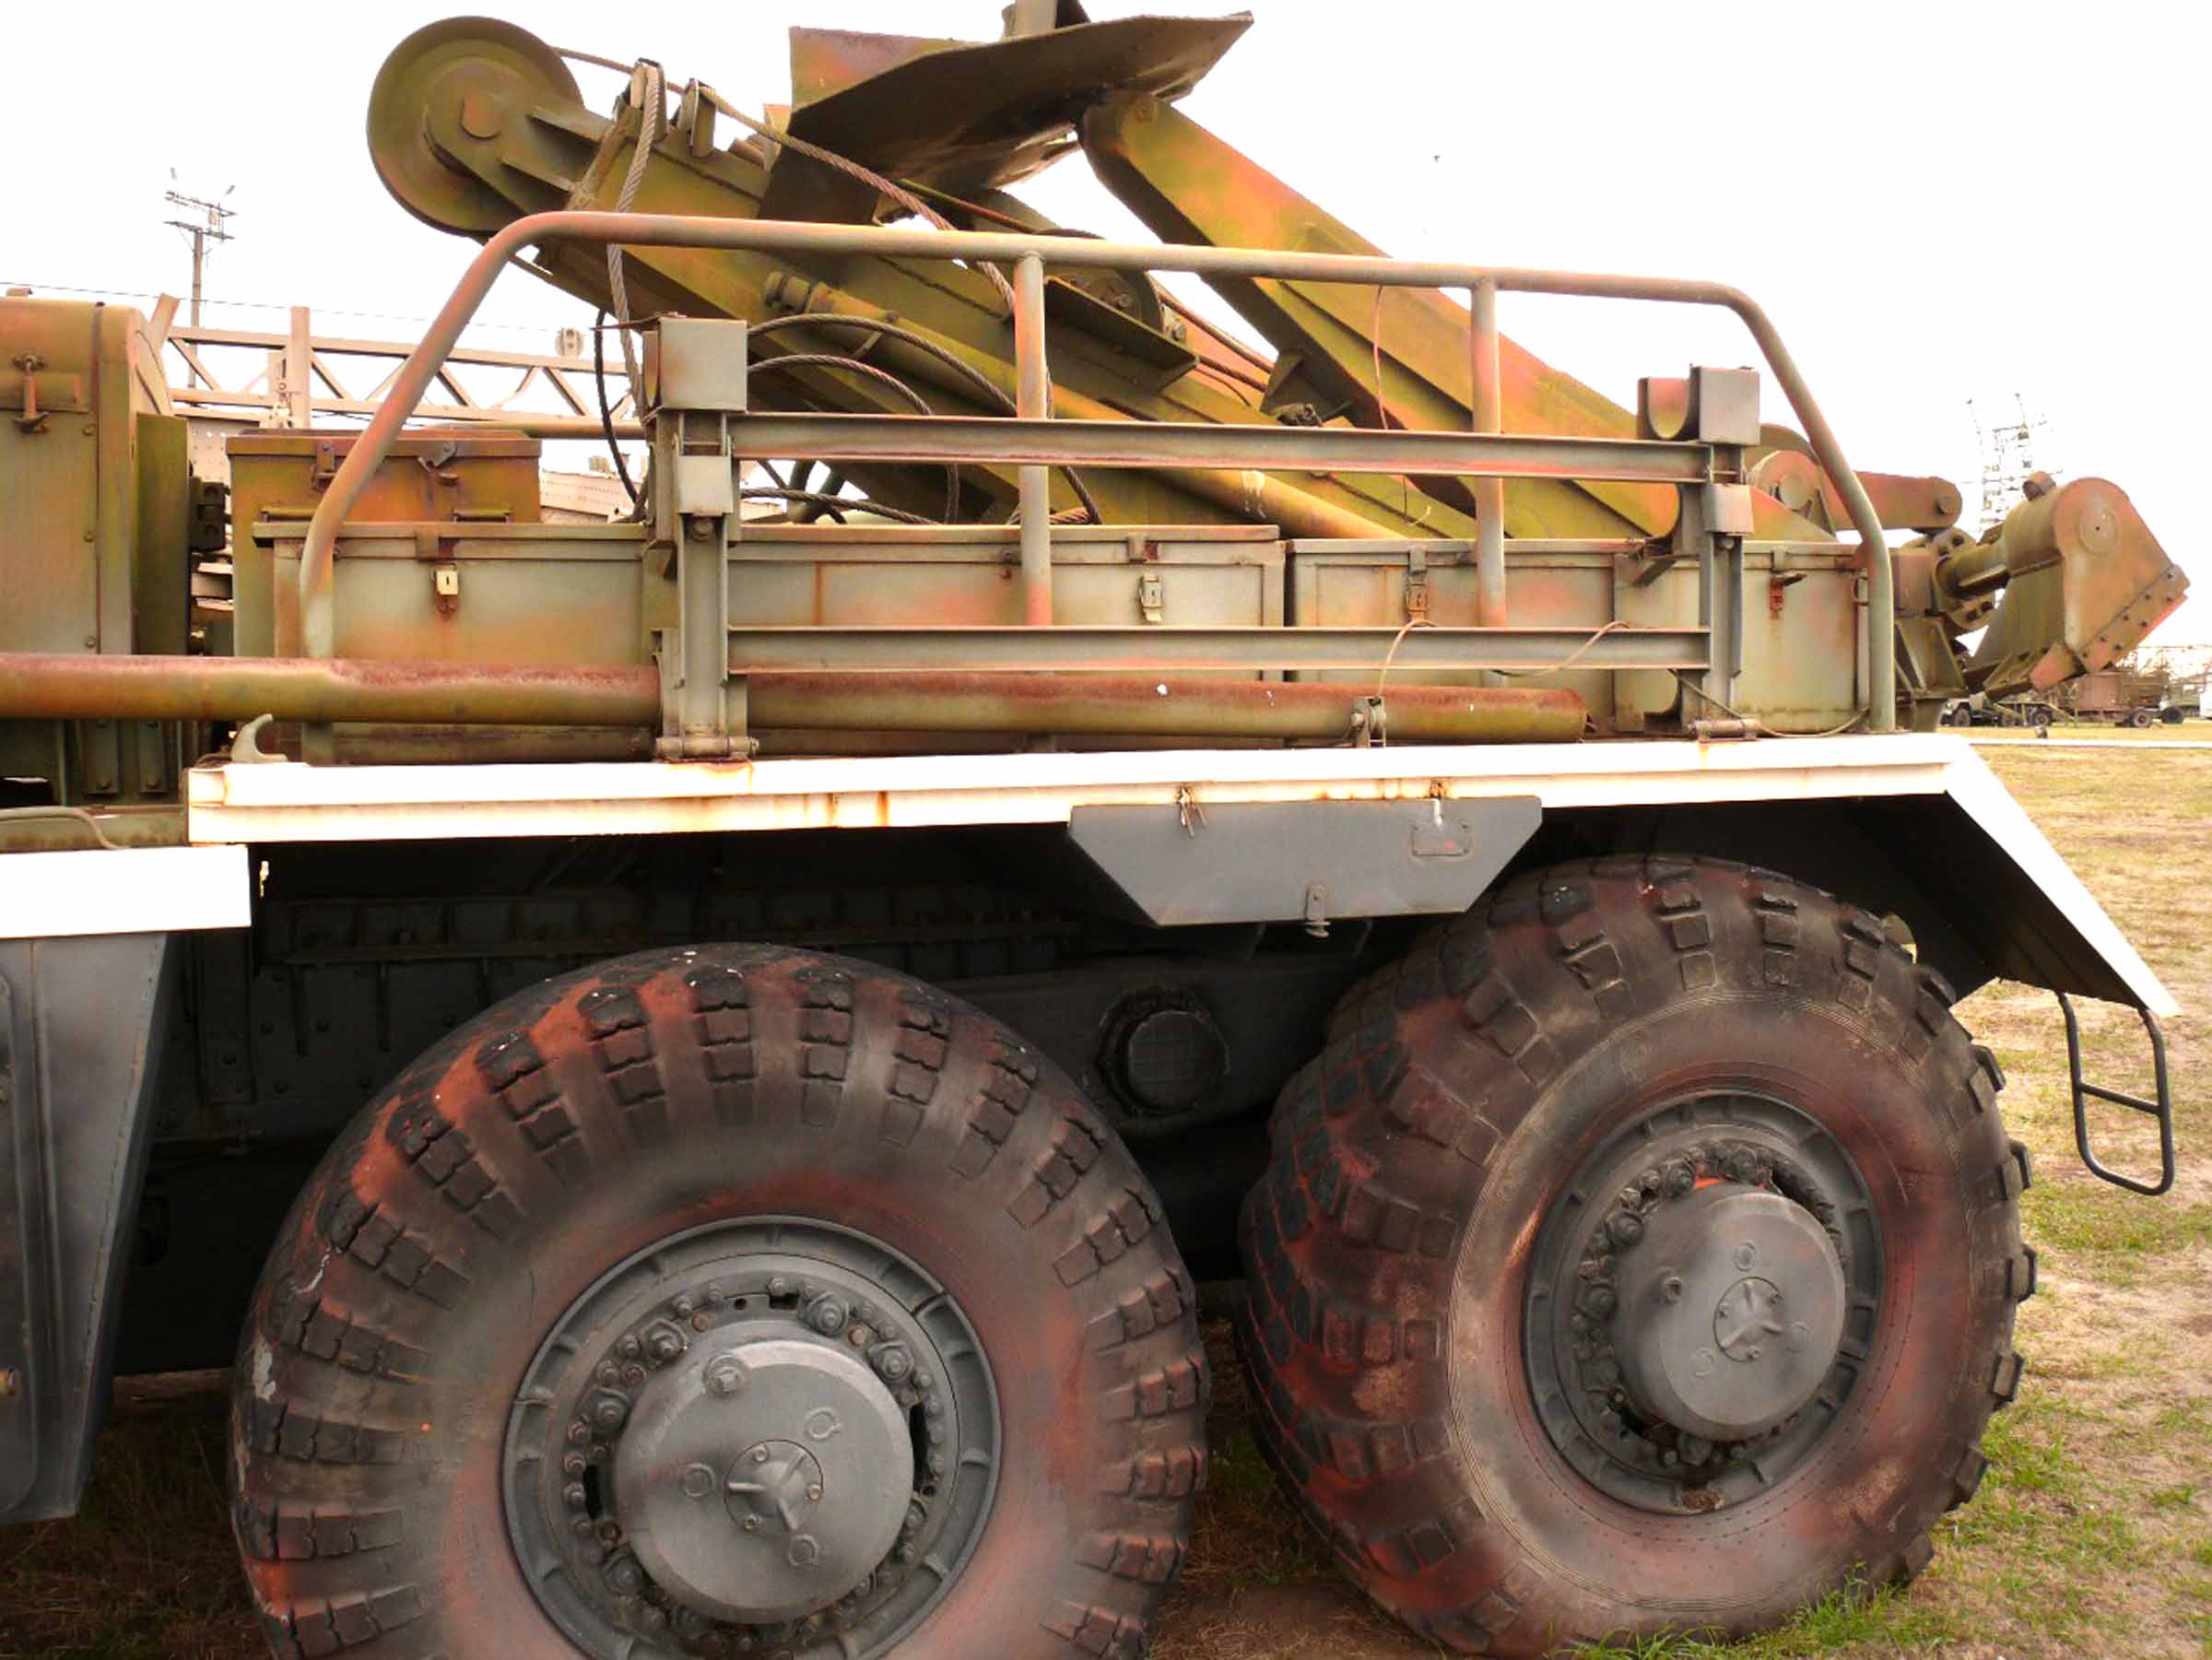
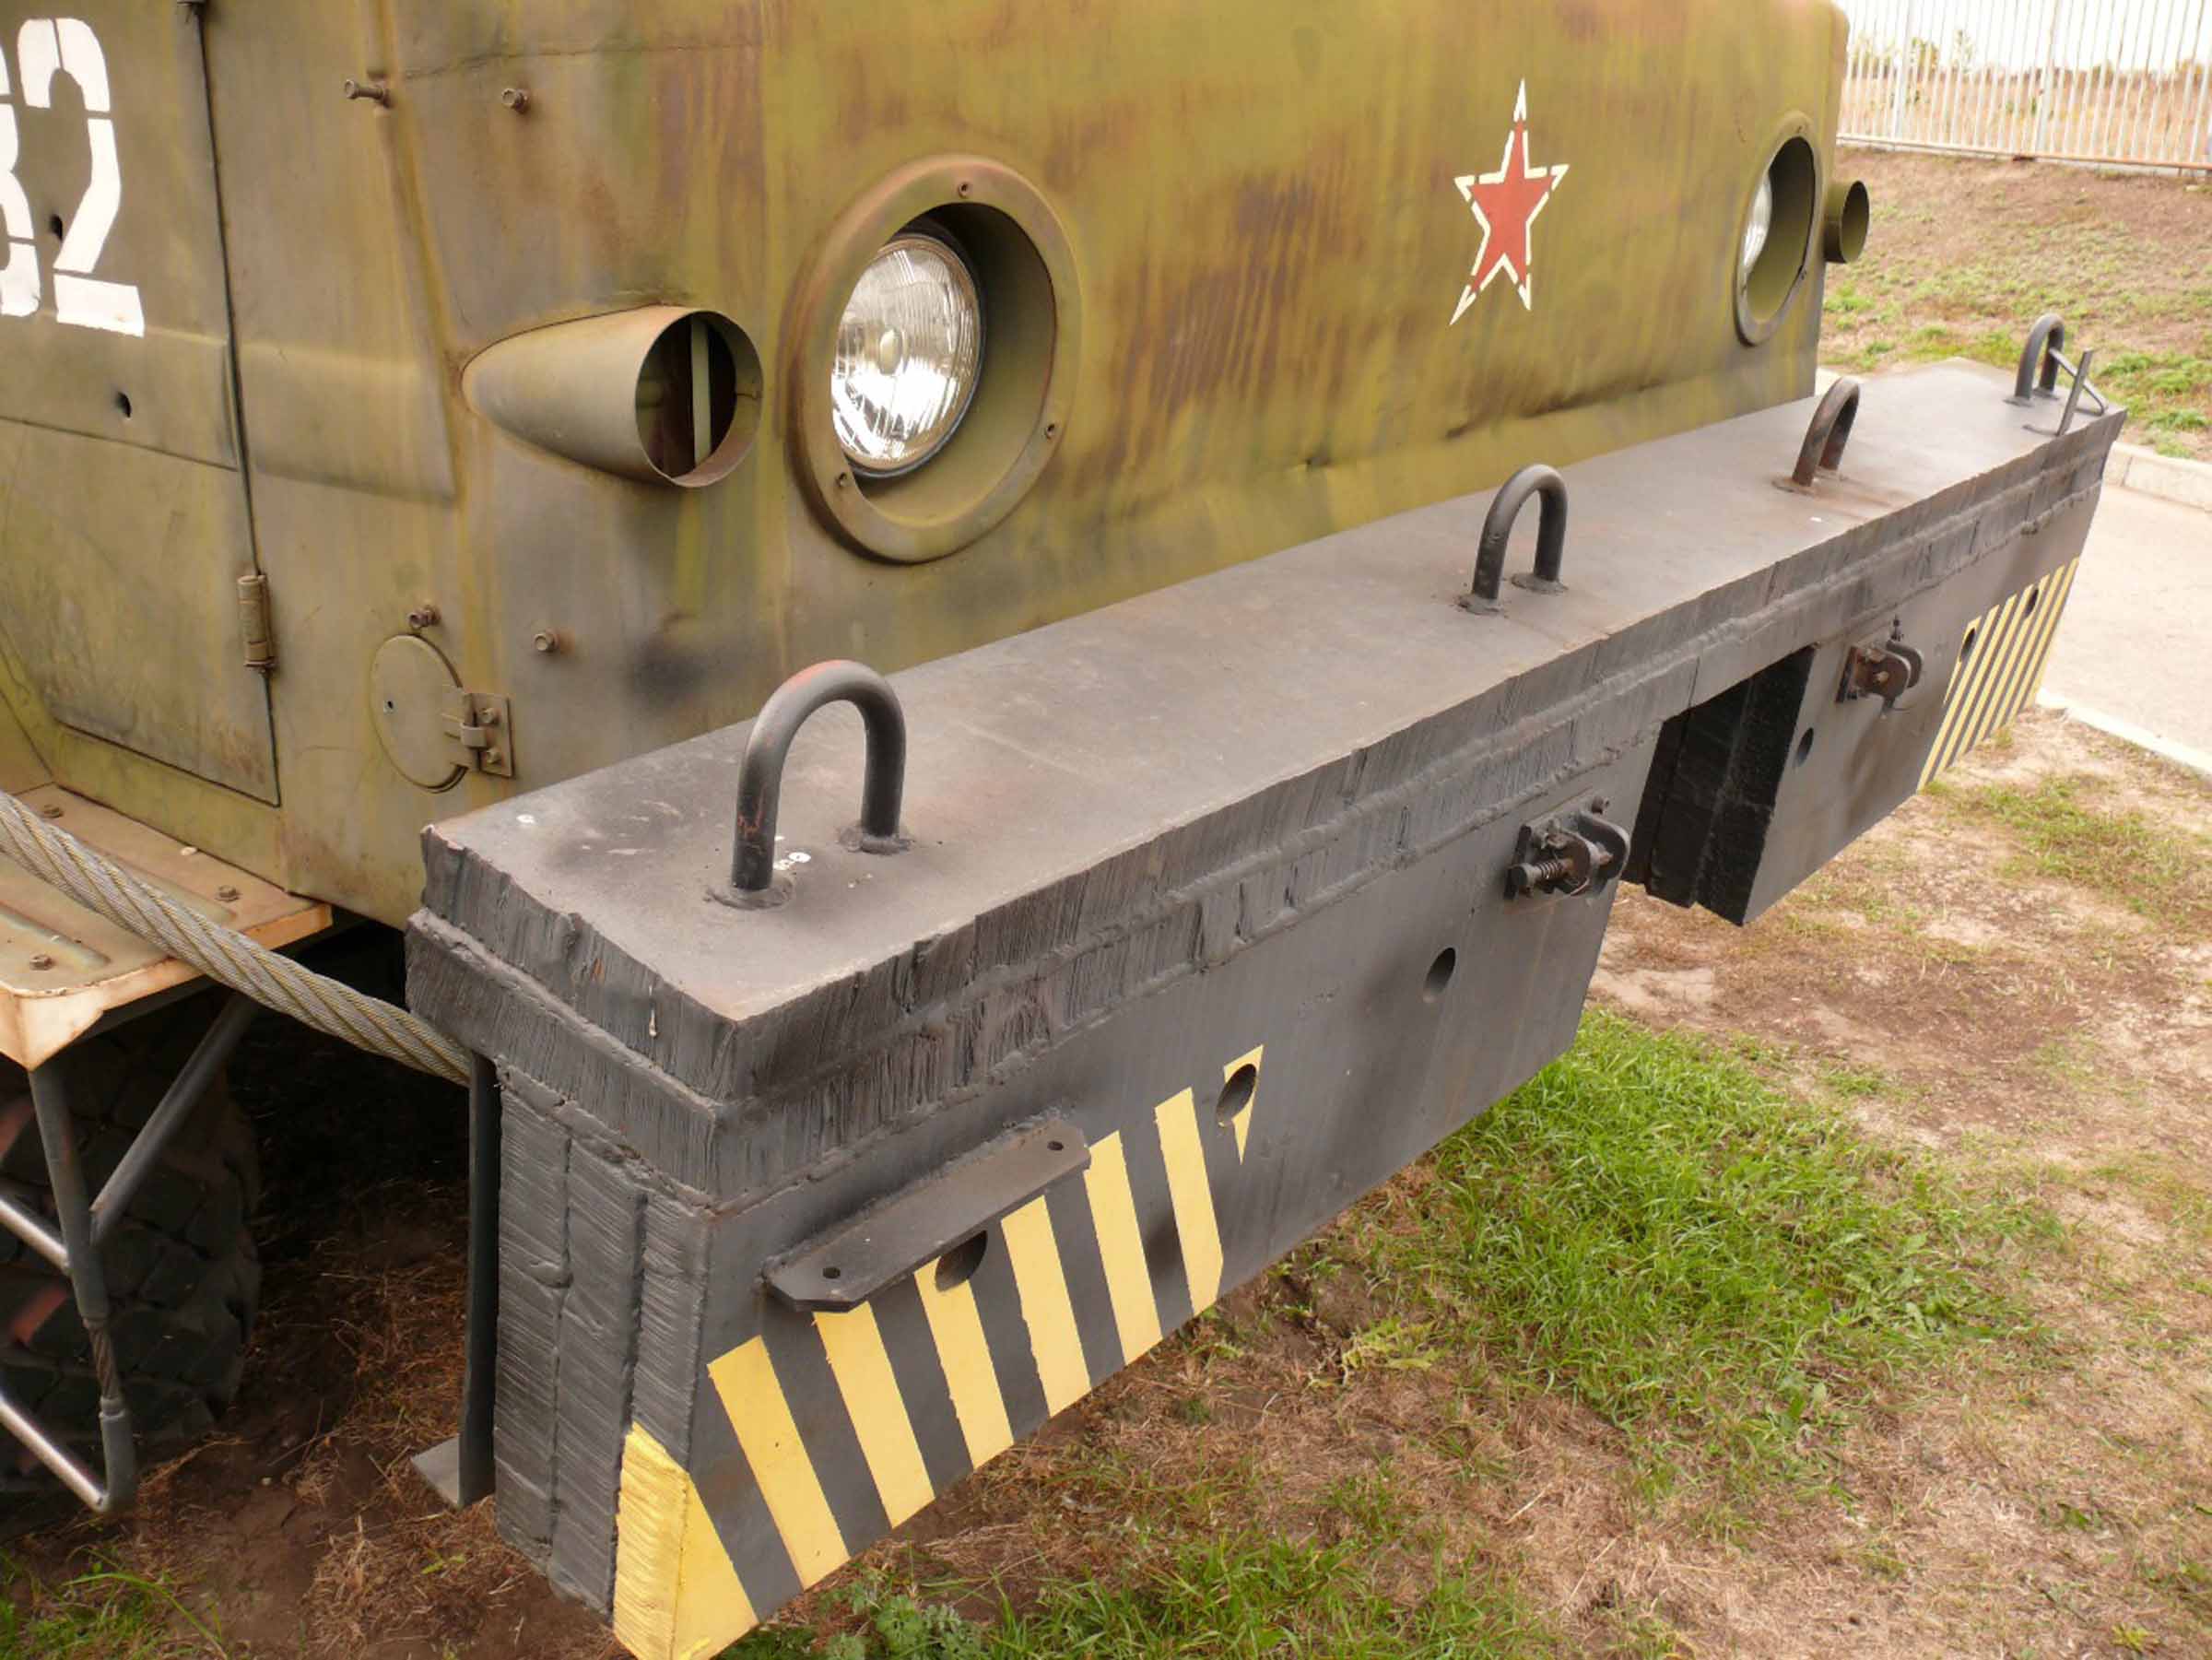
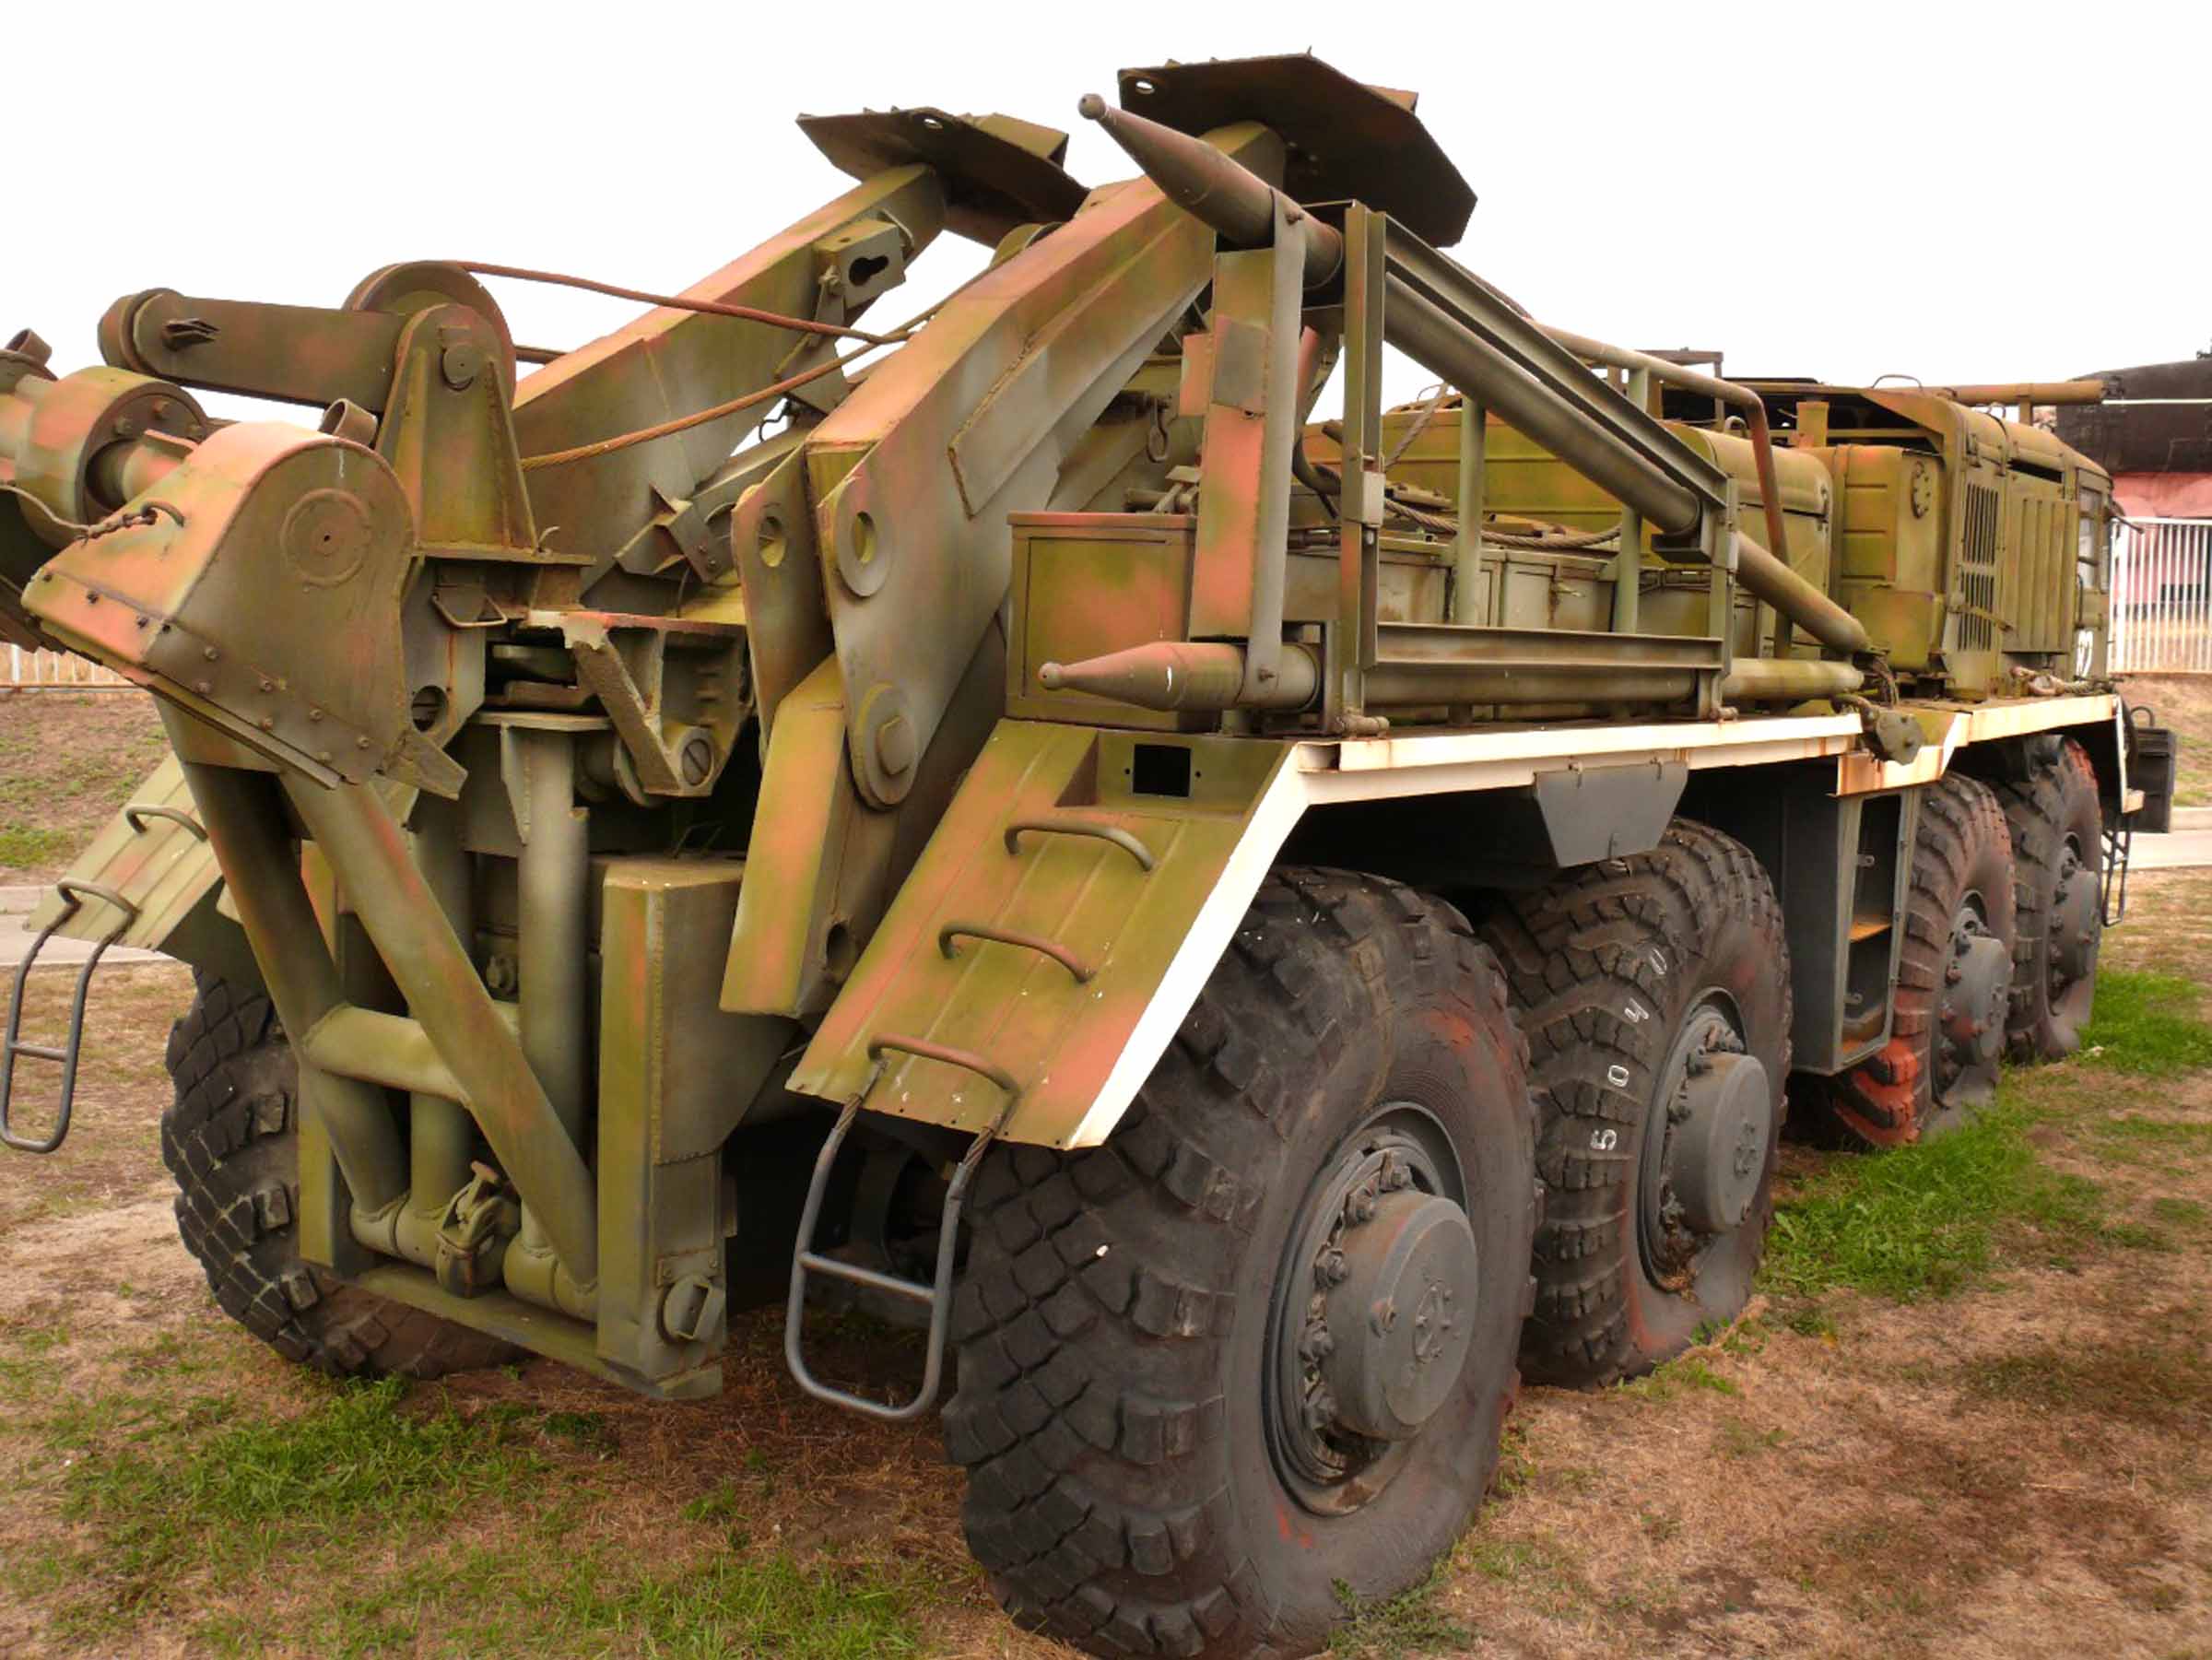
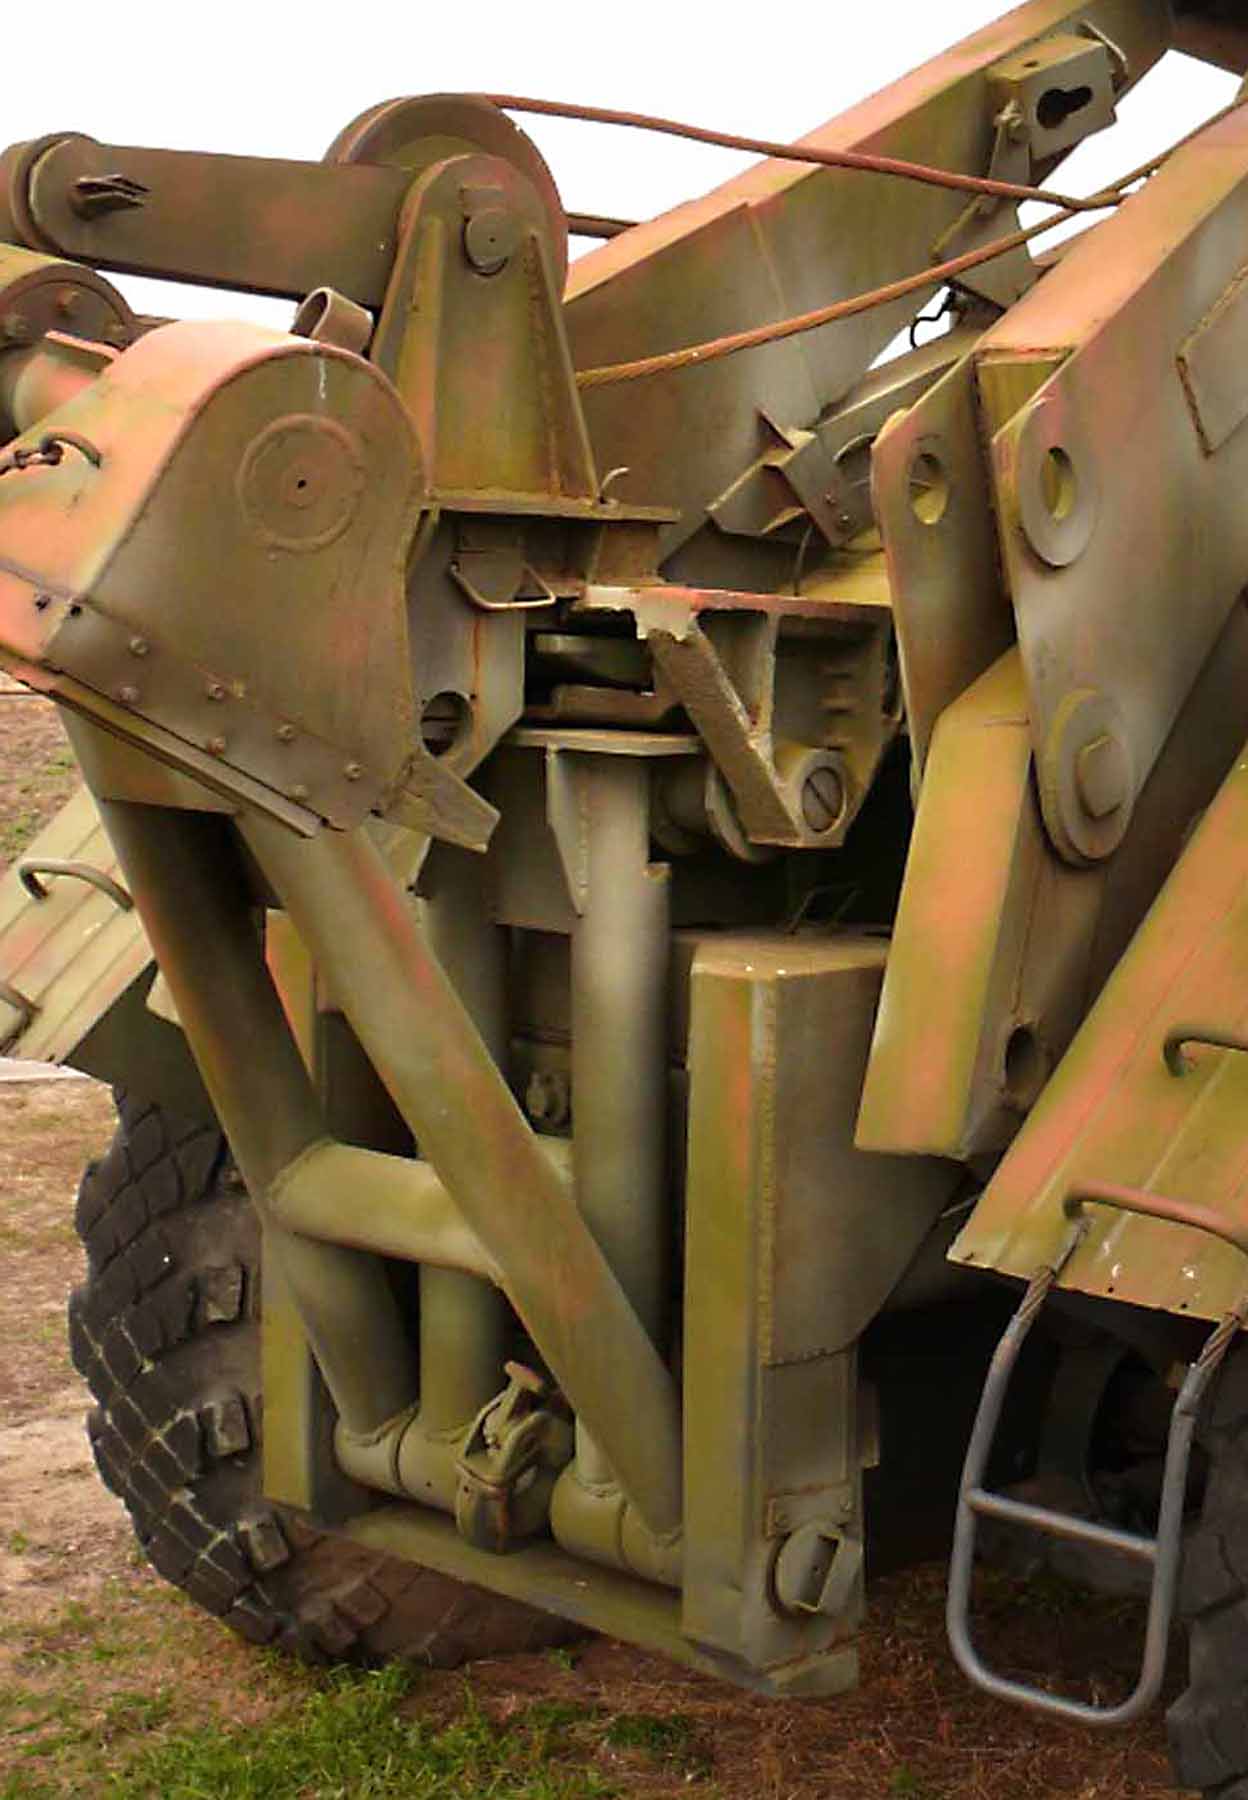
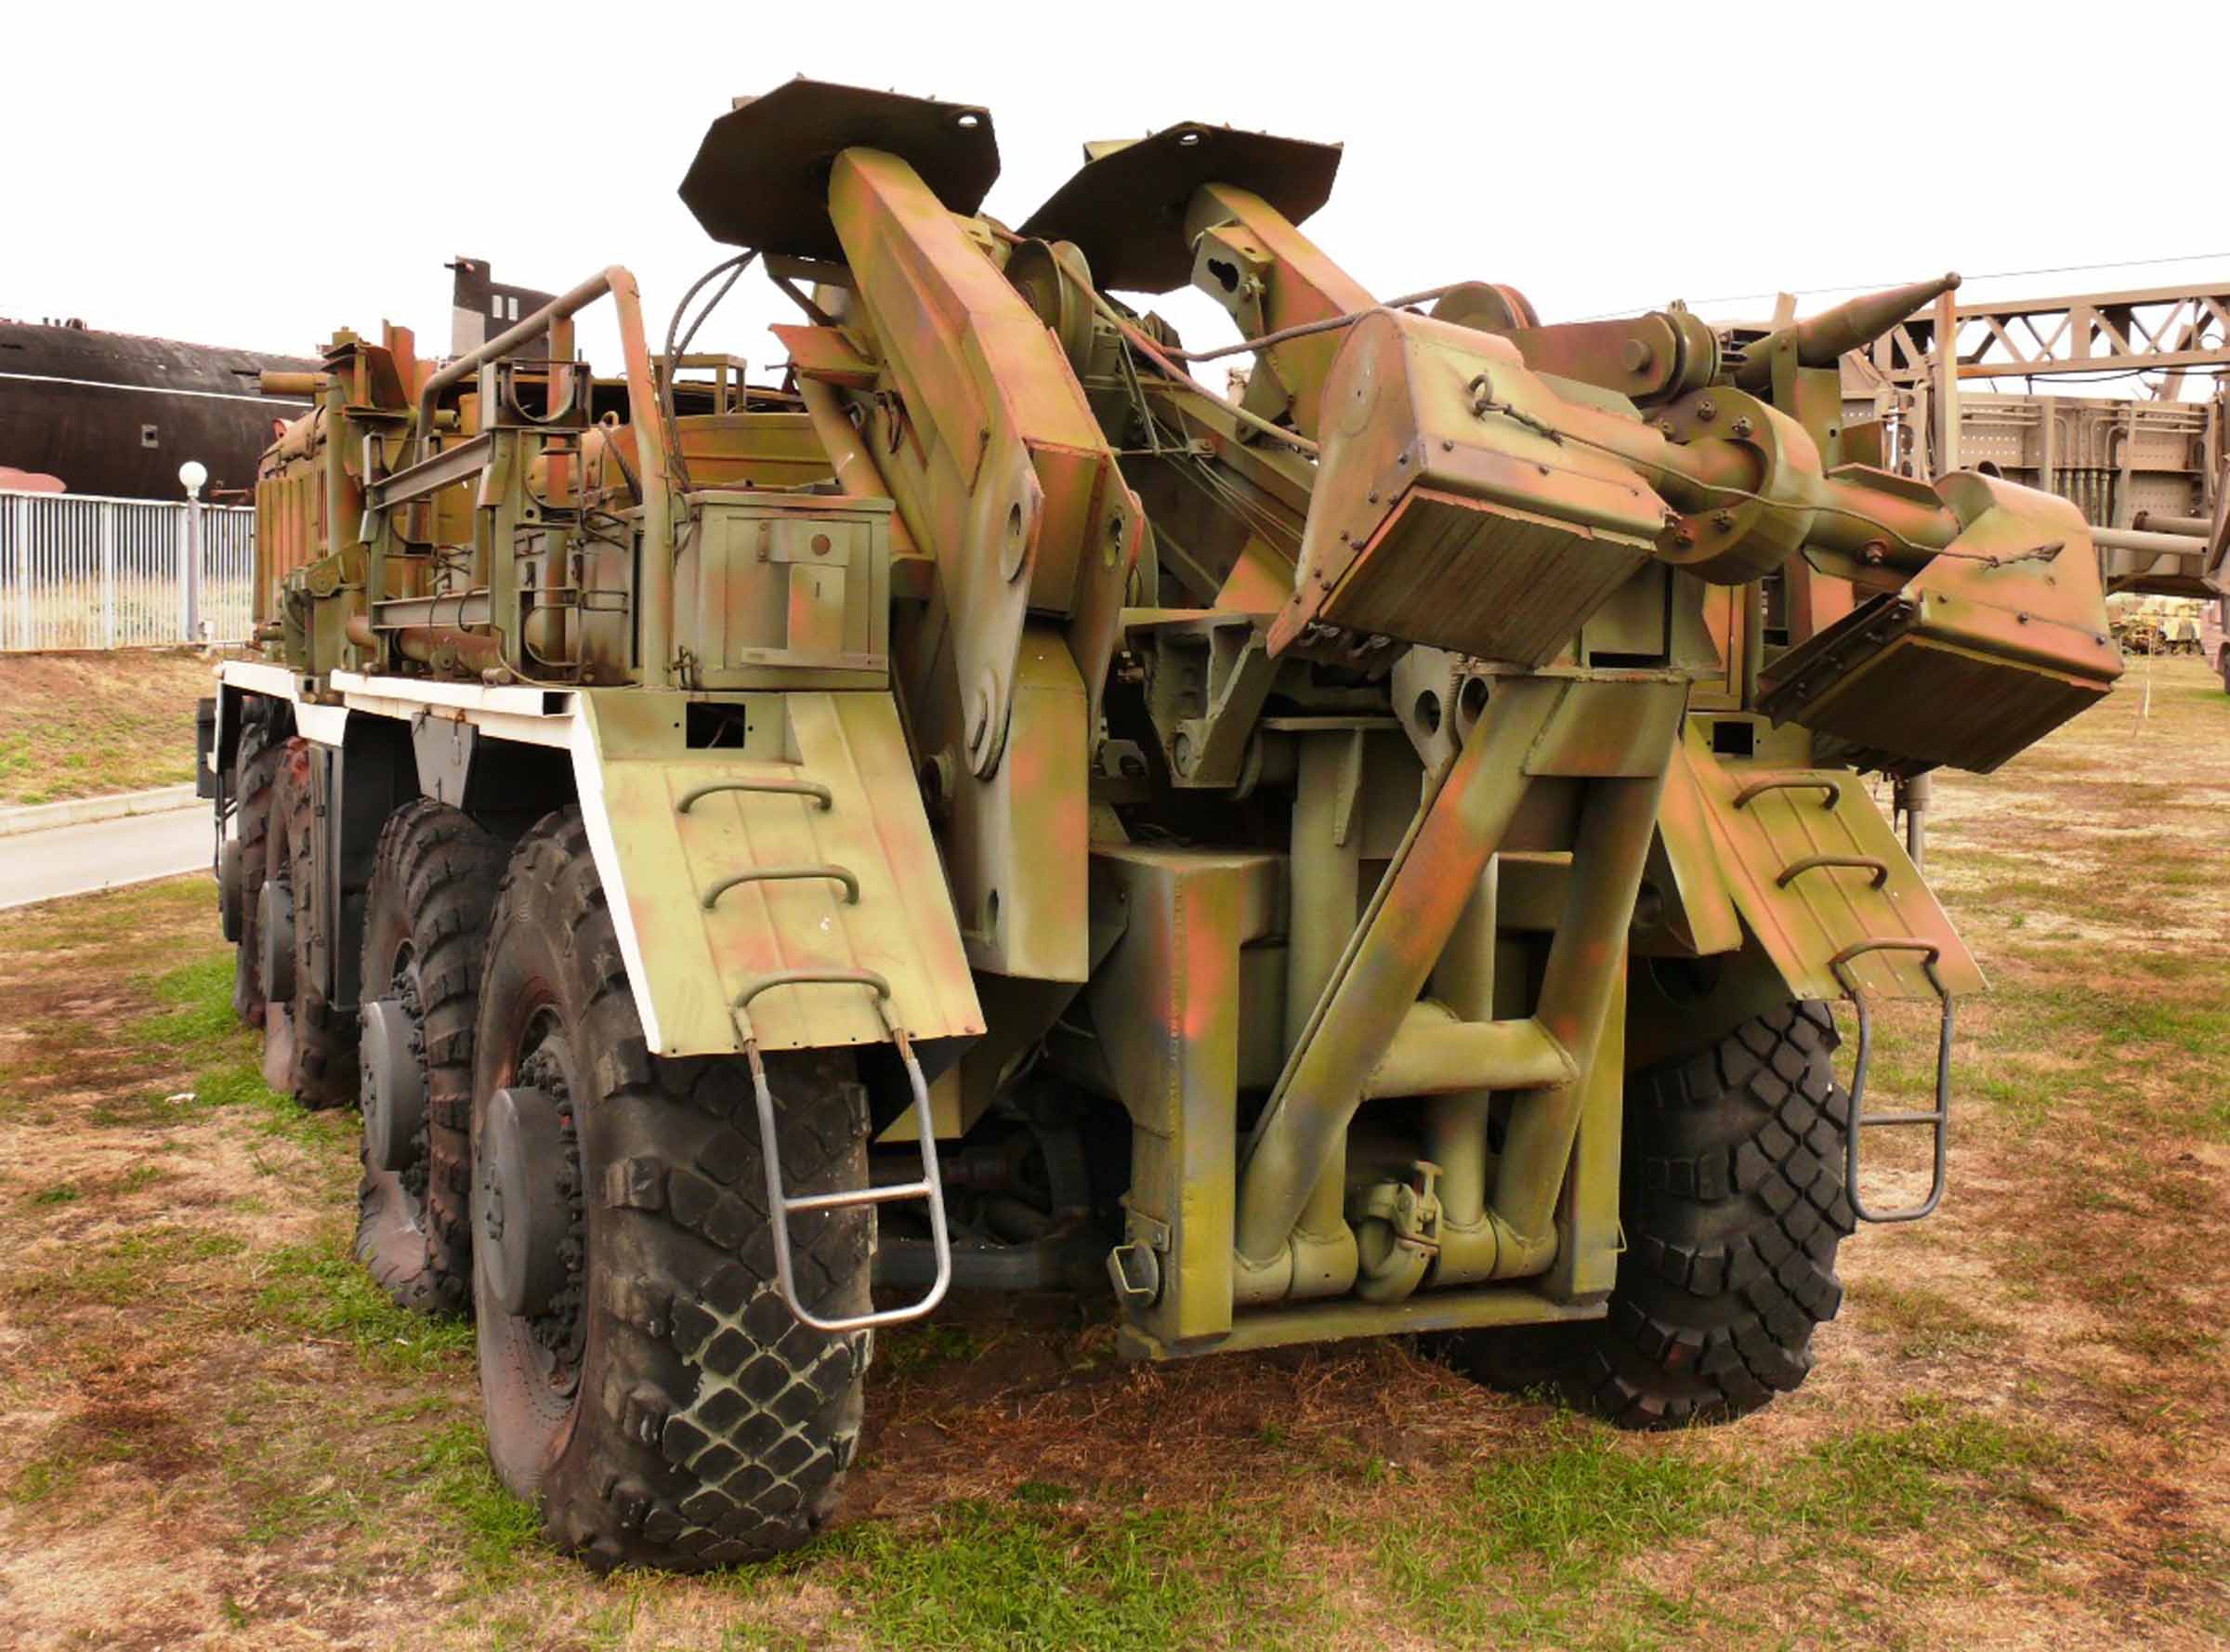
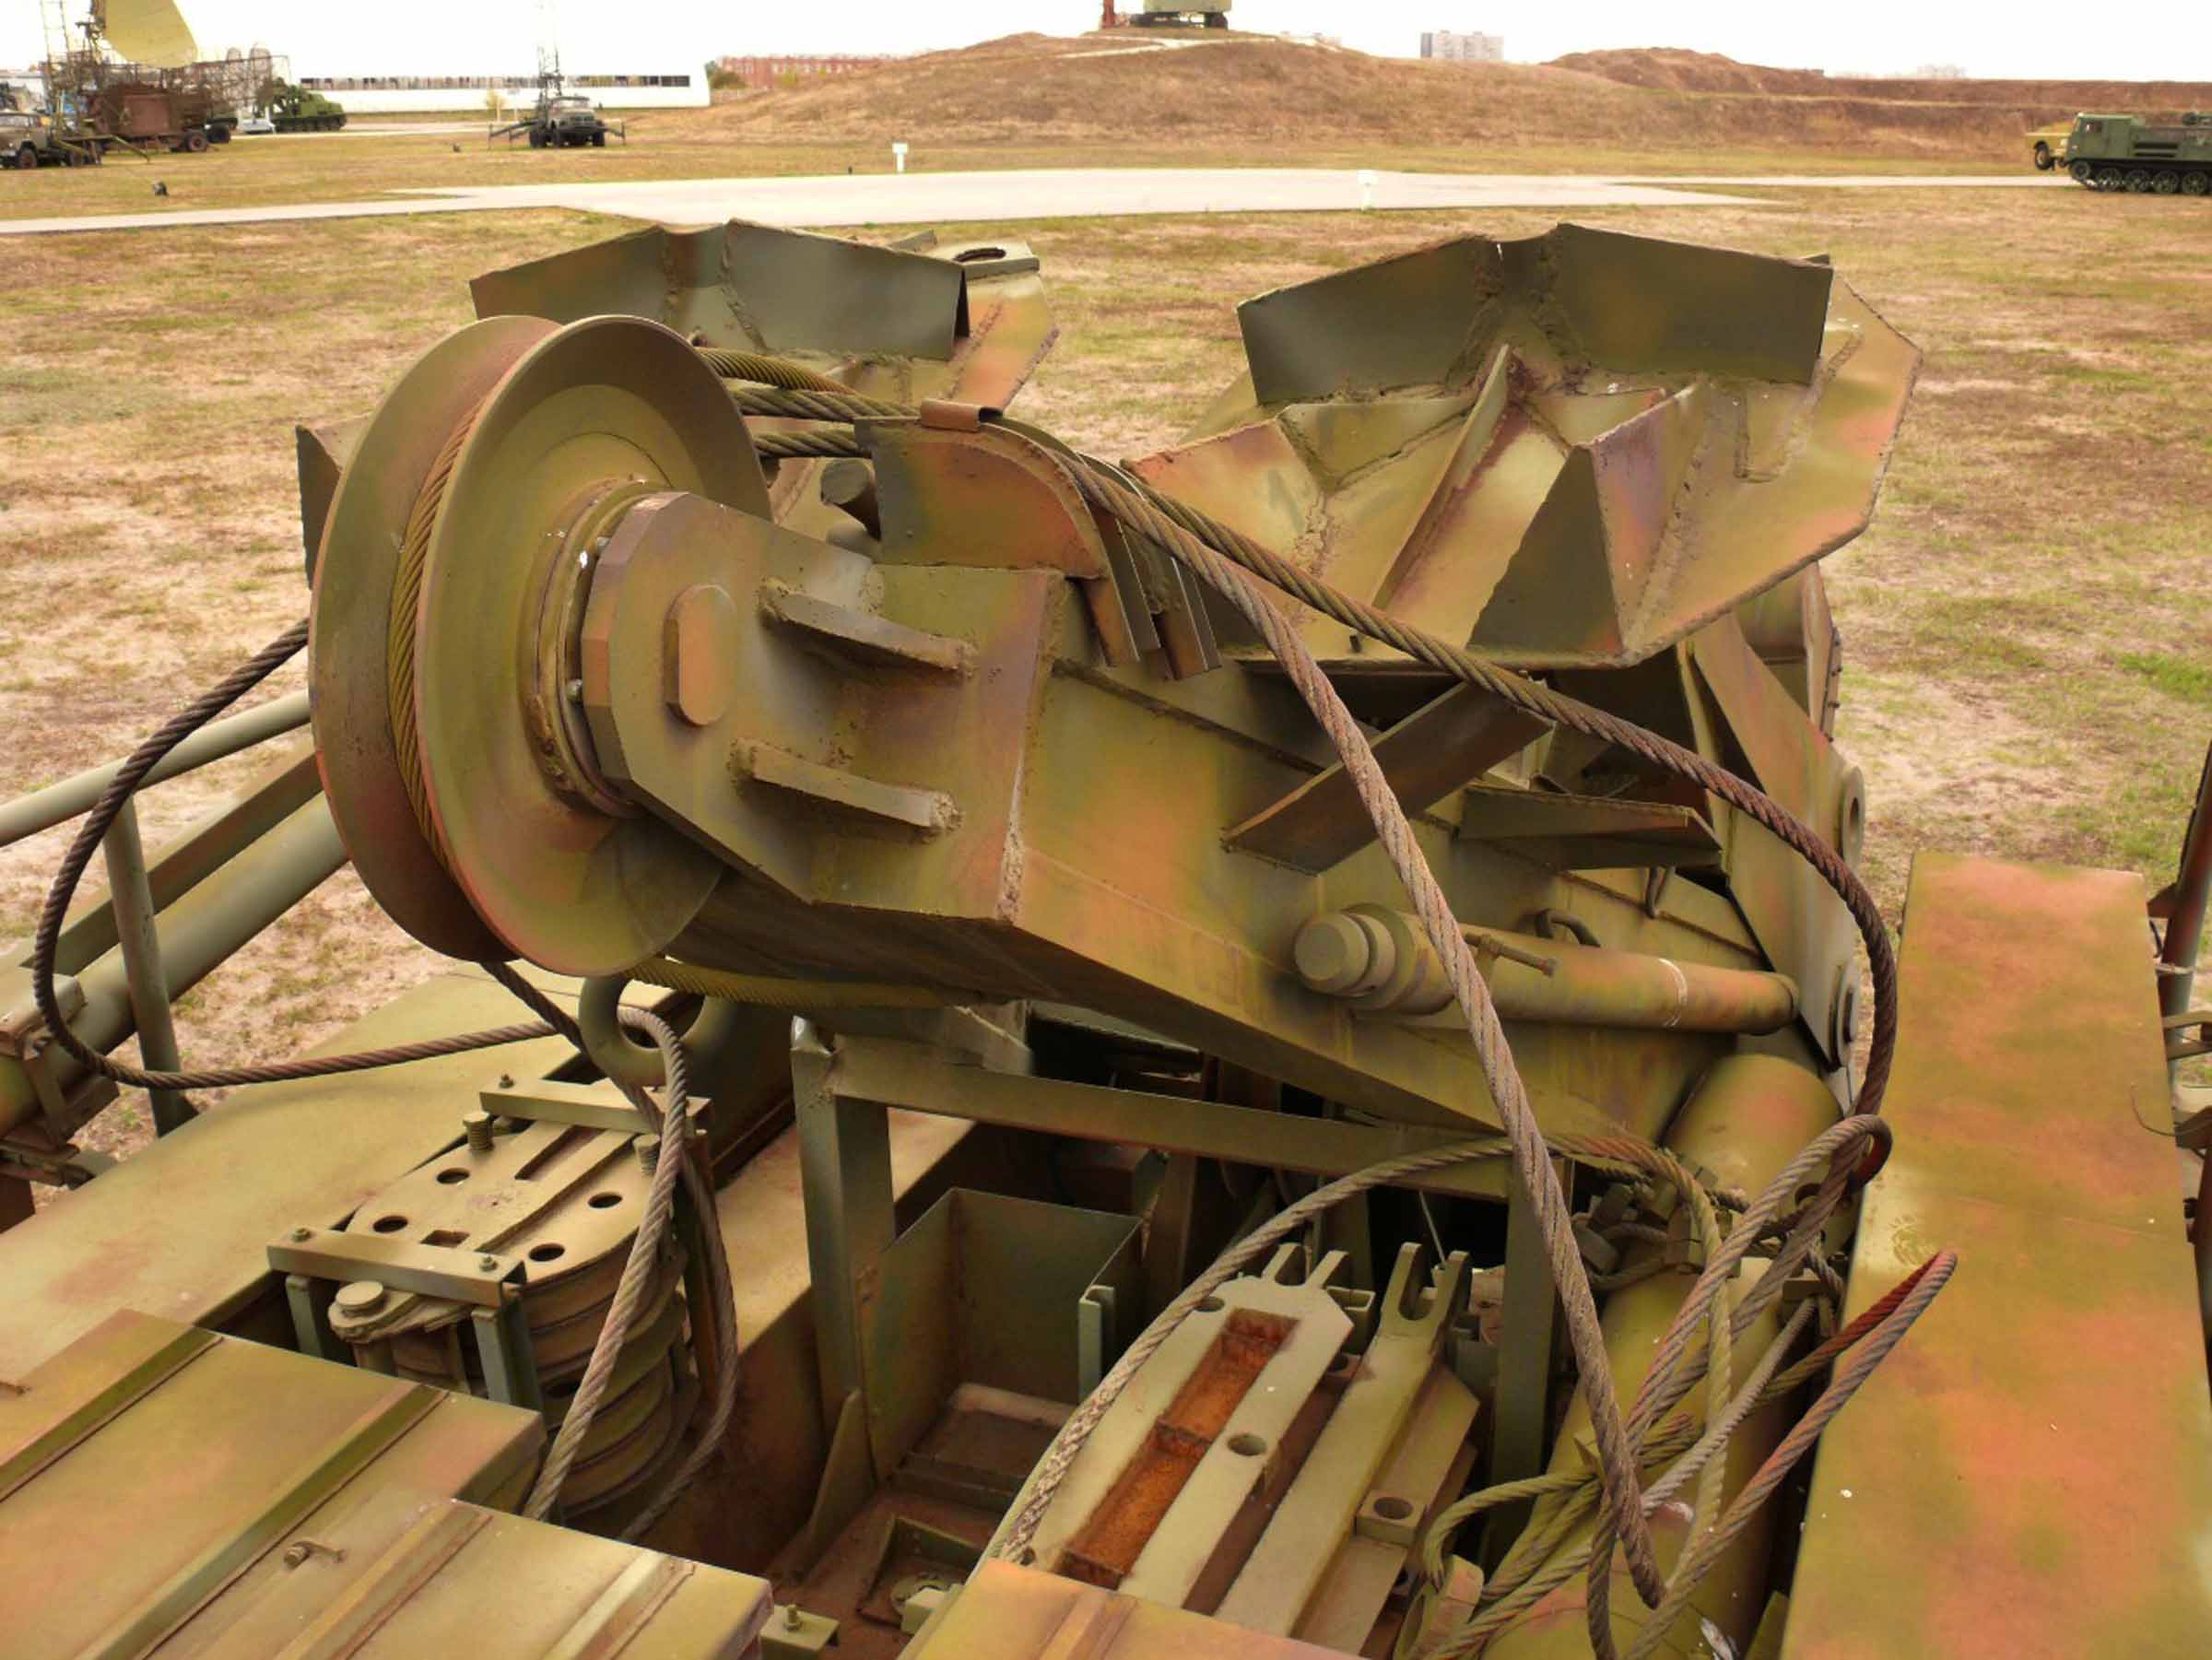
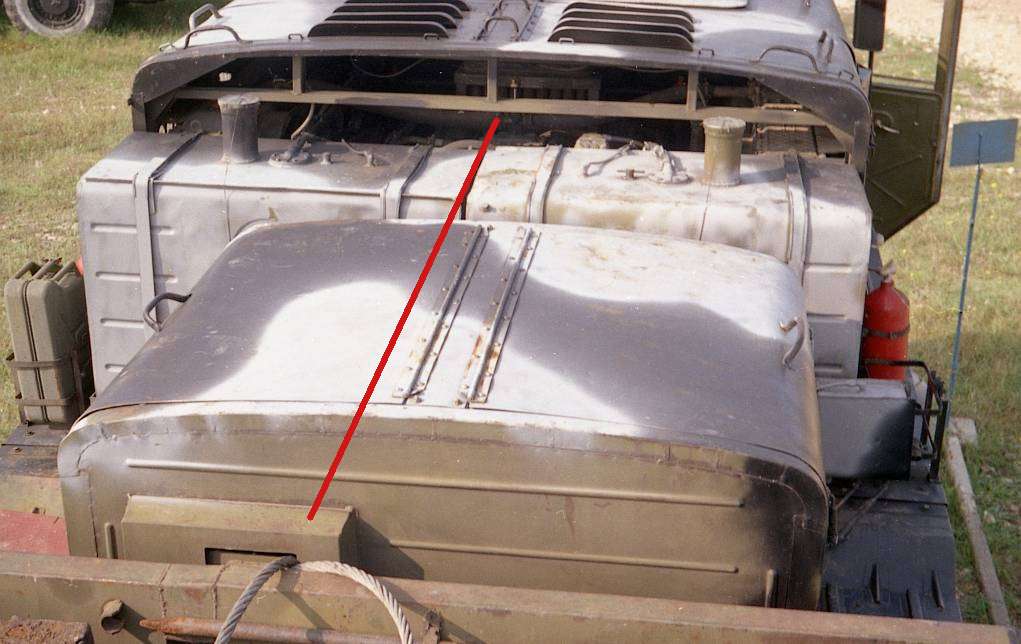
In the original Trumpeter 537 kit the small driveshaft for the winch is missing. If you look at the transfer case there is a sort of “Mickey Mouse Ear” on the driver’s side top of the T case. This is a power take off that can be made to feed either to the front or the rear to power an accessory. In this case a small drive shaft comes out the front of the ear and goes up at about a 20 degree angle into the bottom of the winch.
A shortened CCKW drive shaft works well for this.
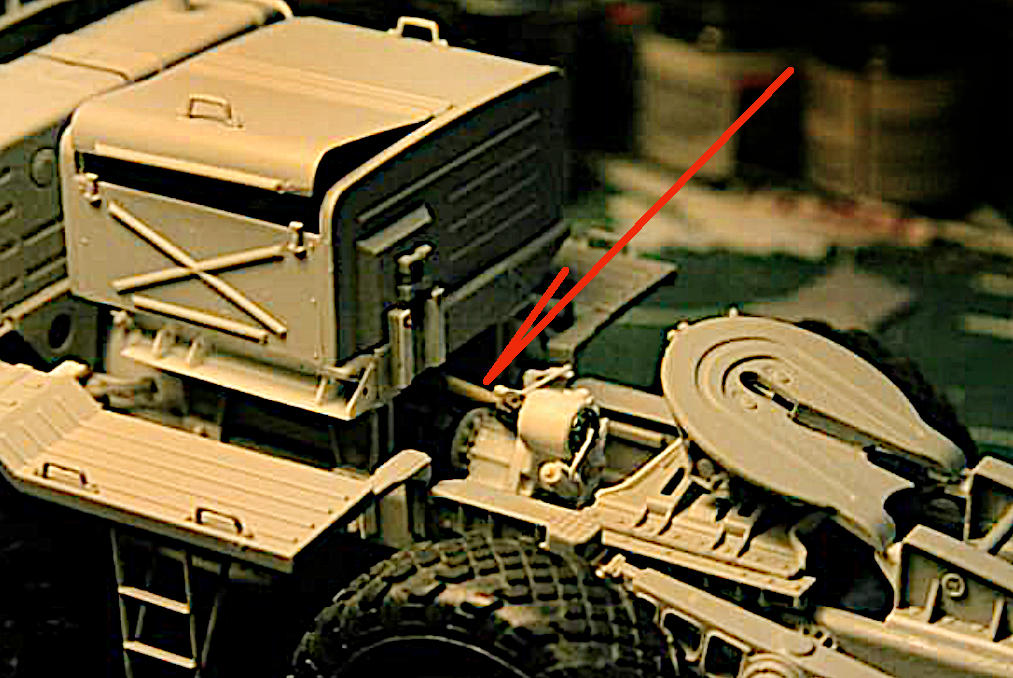
p.s. I later shaved off those hold downs on the “popped” winch cover and relocated them to the lid.
4 Likes
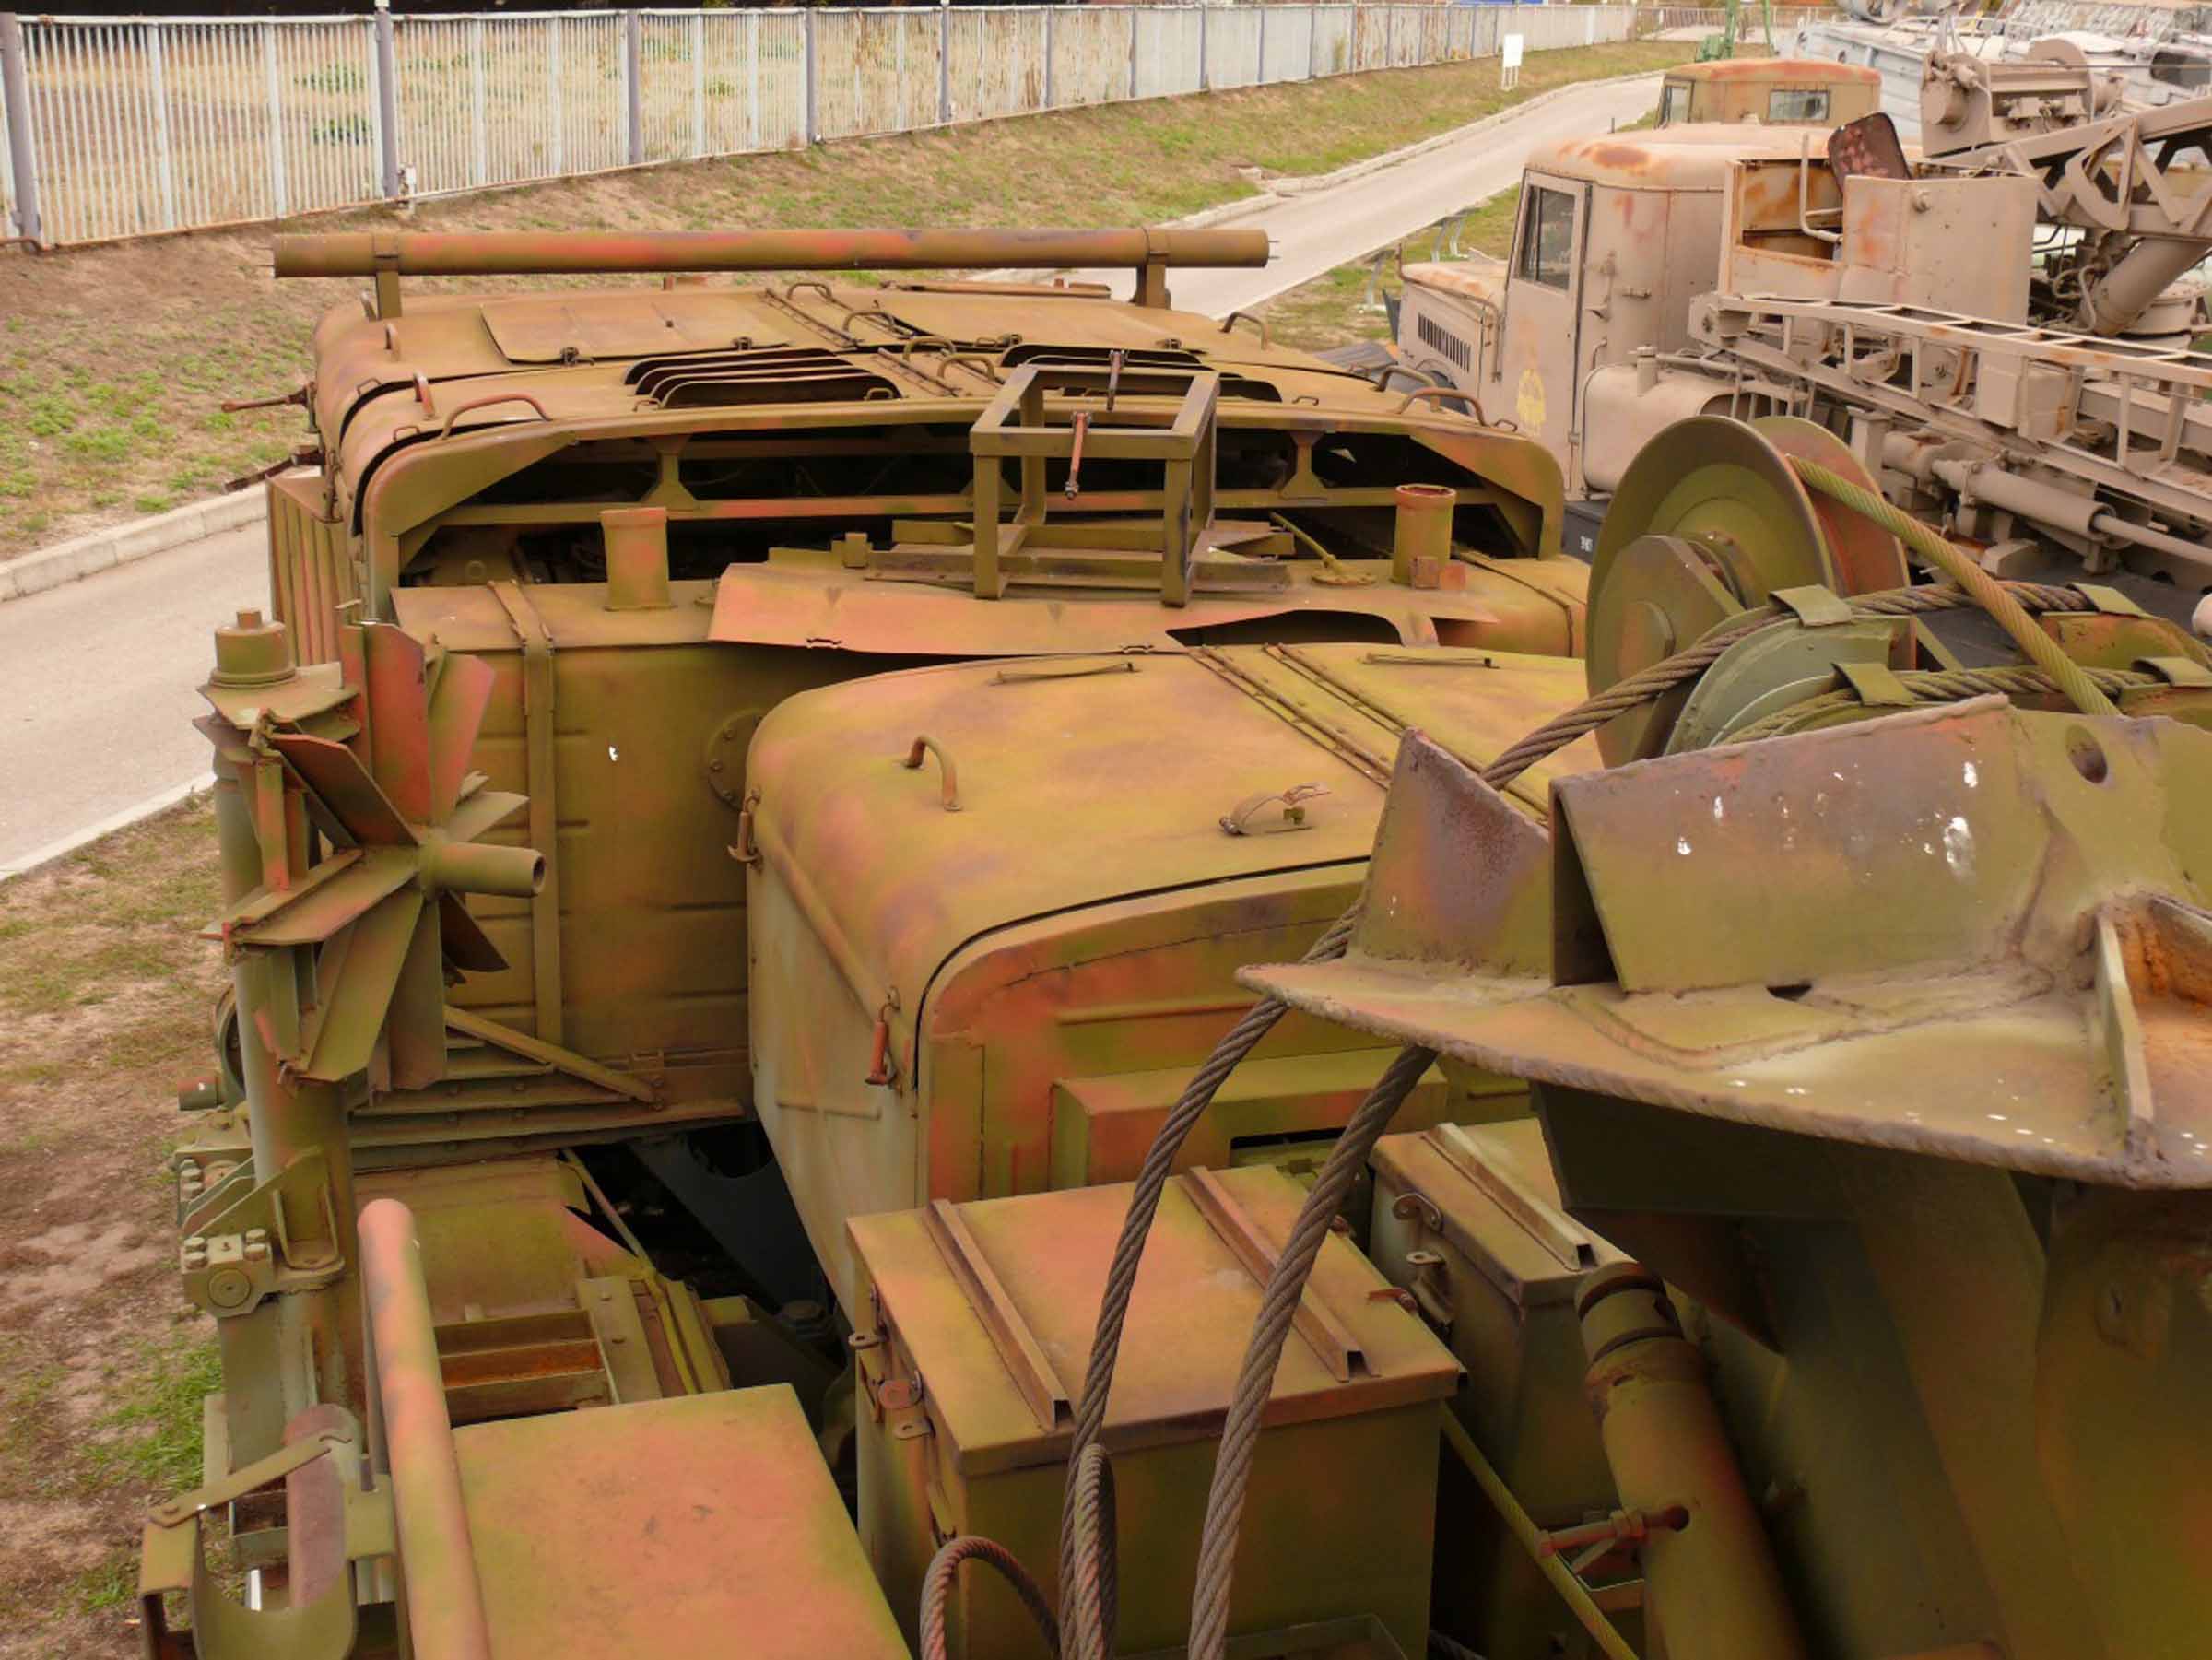
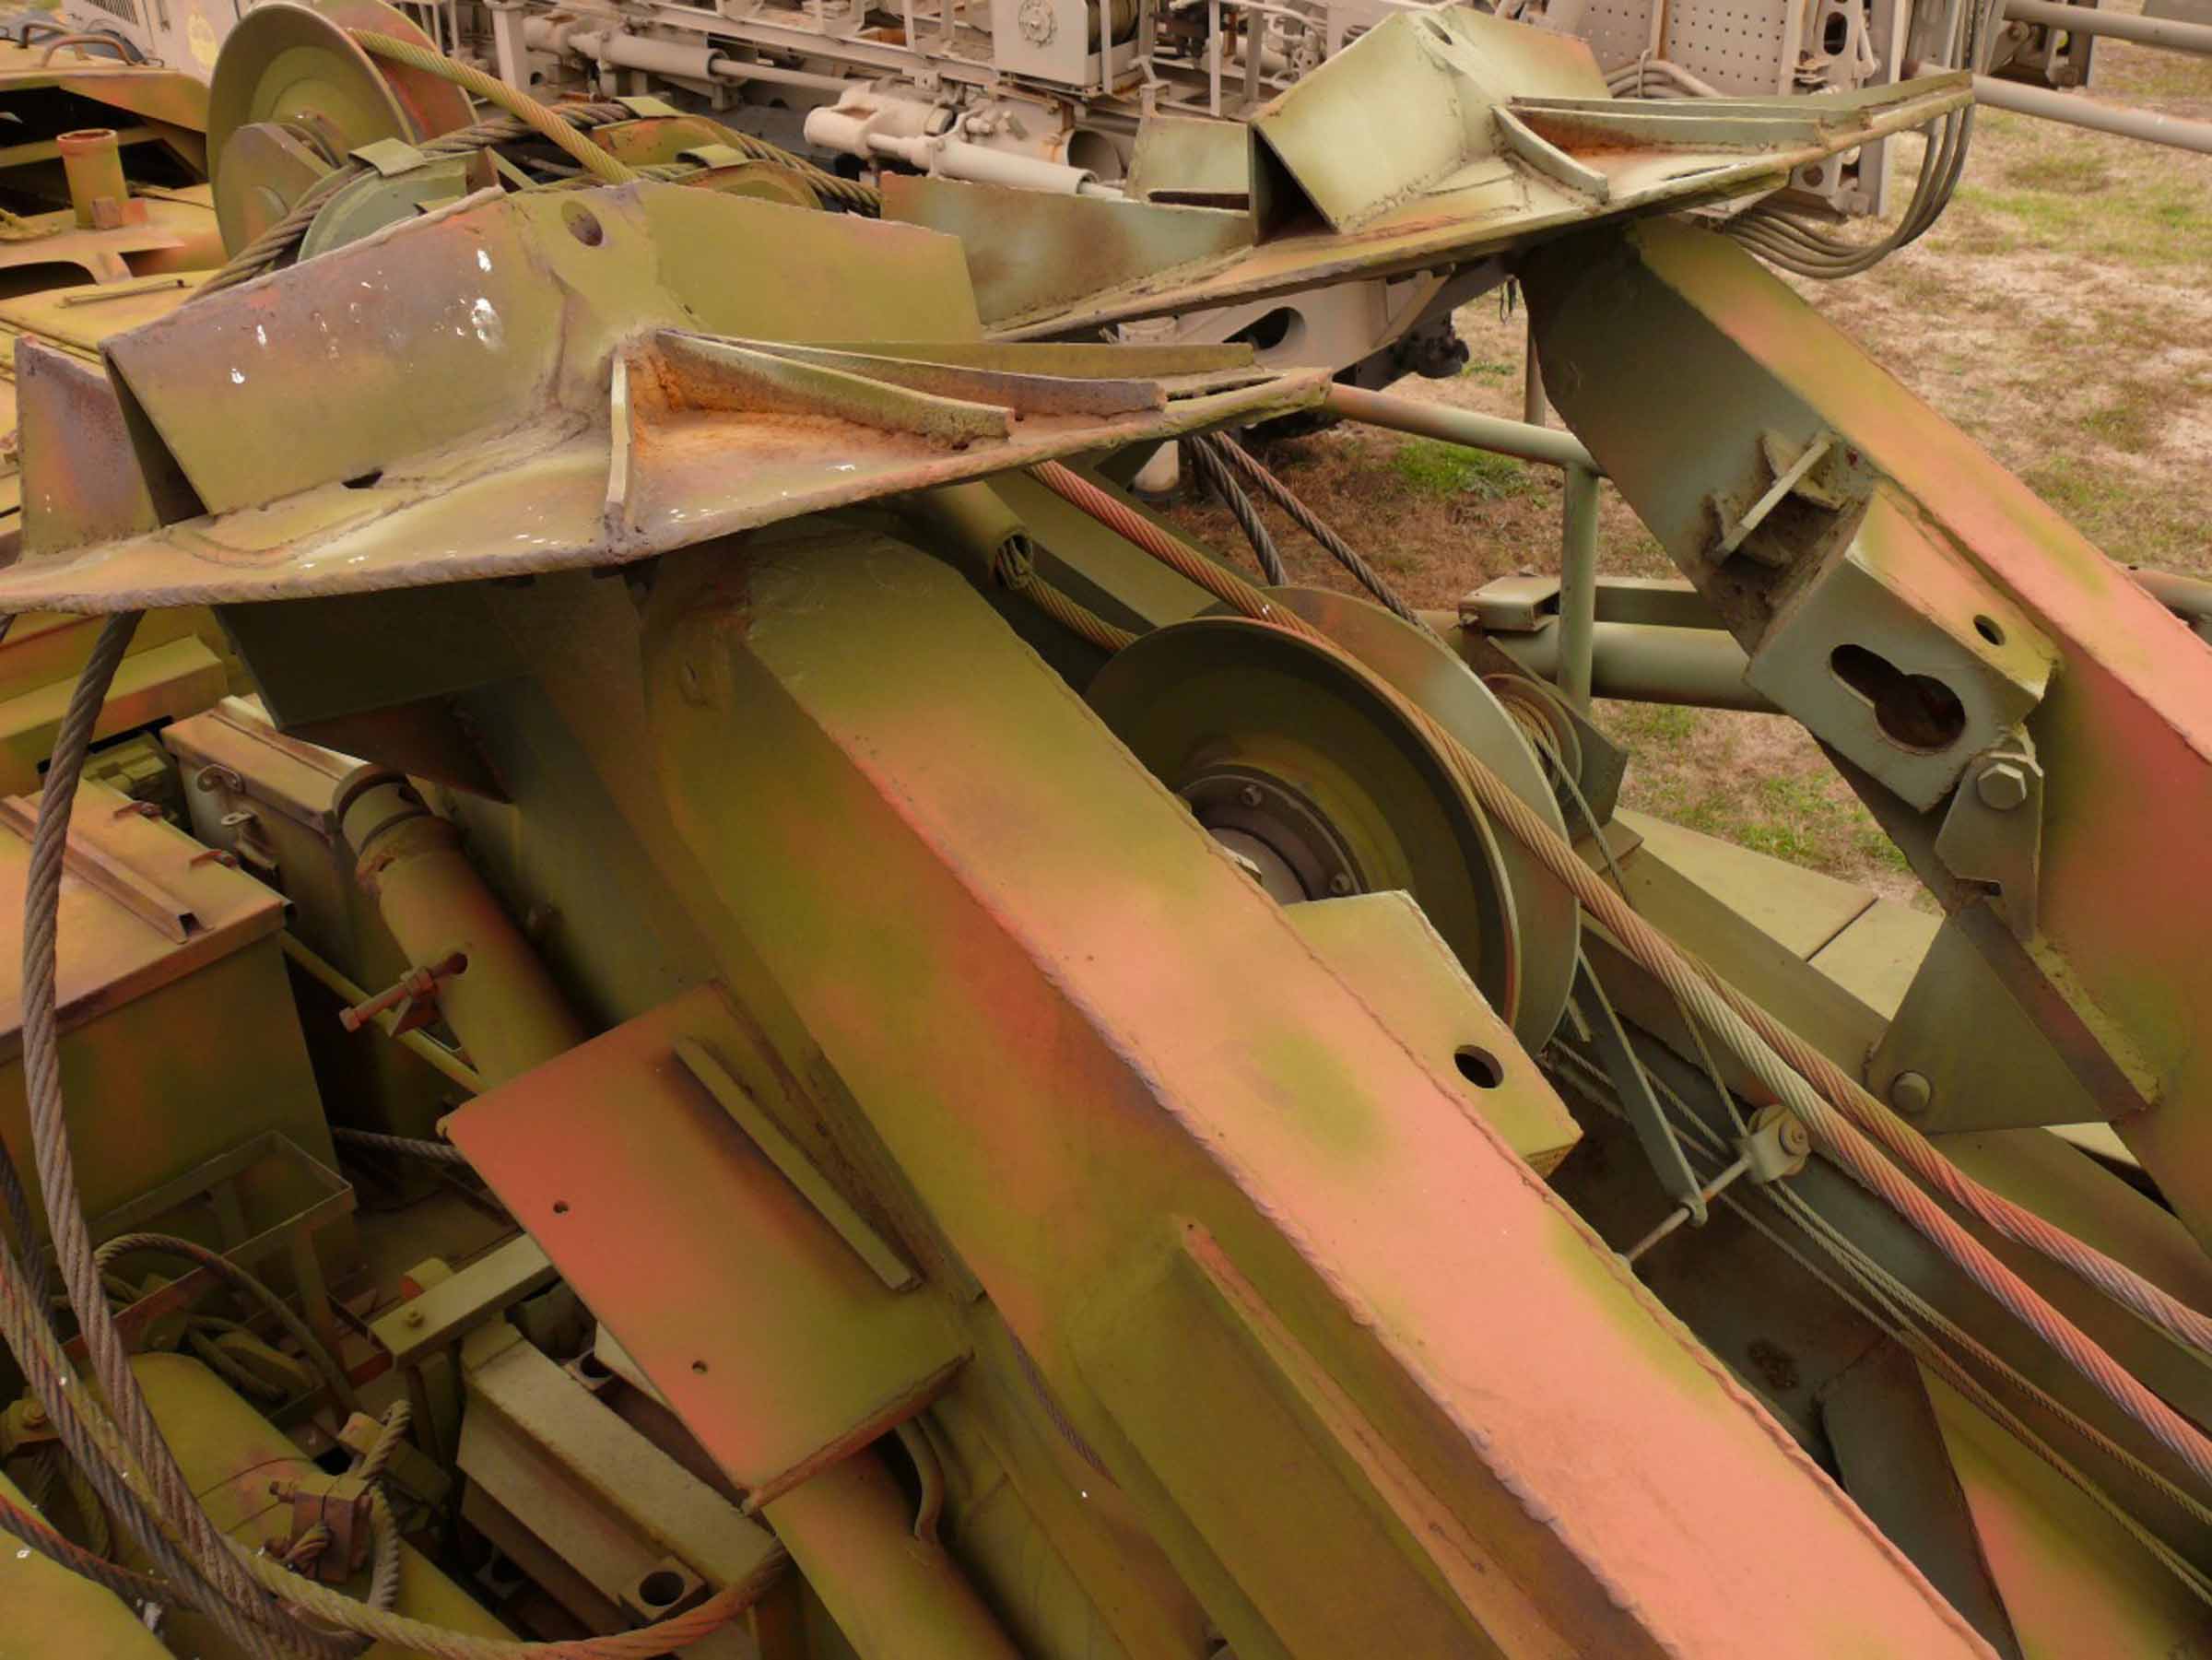
Fantastic reference pics
1 Like
Thanks Mike I’ll be sure to add that.
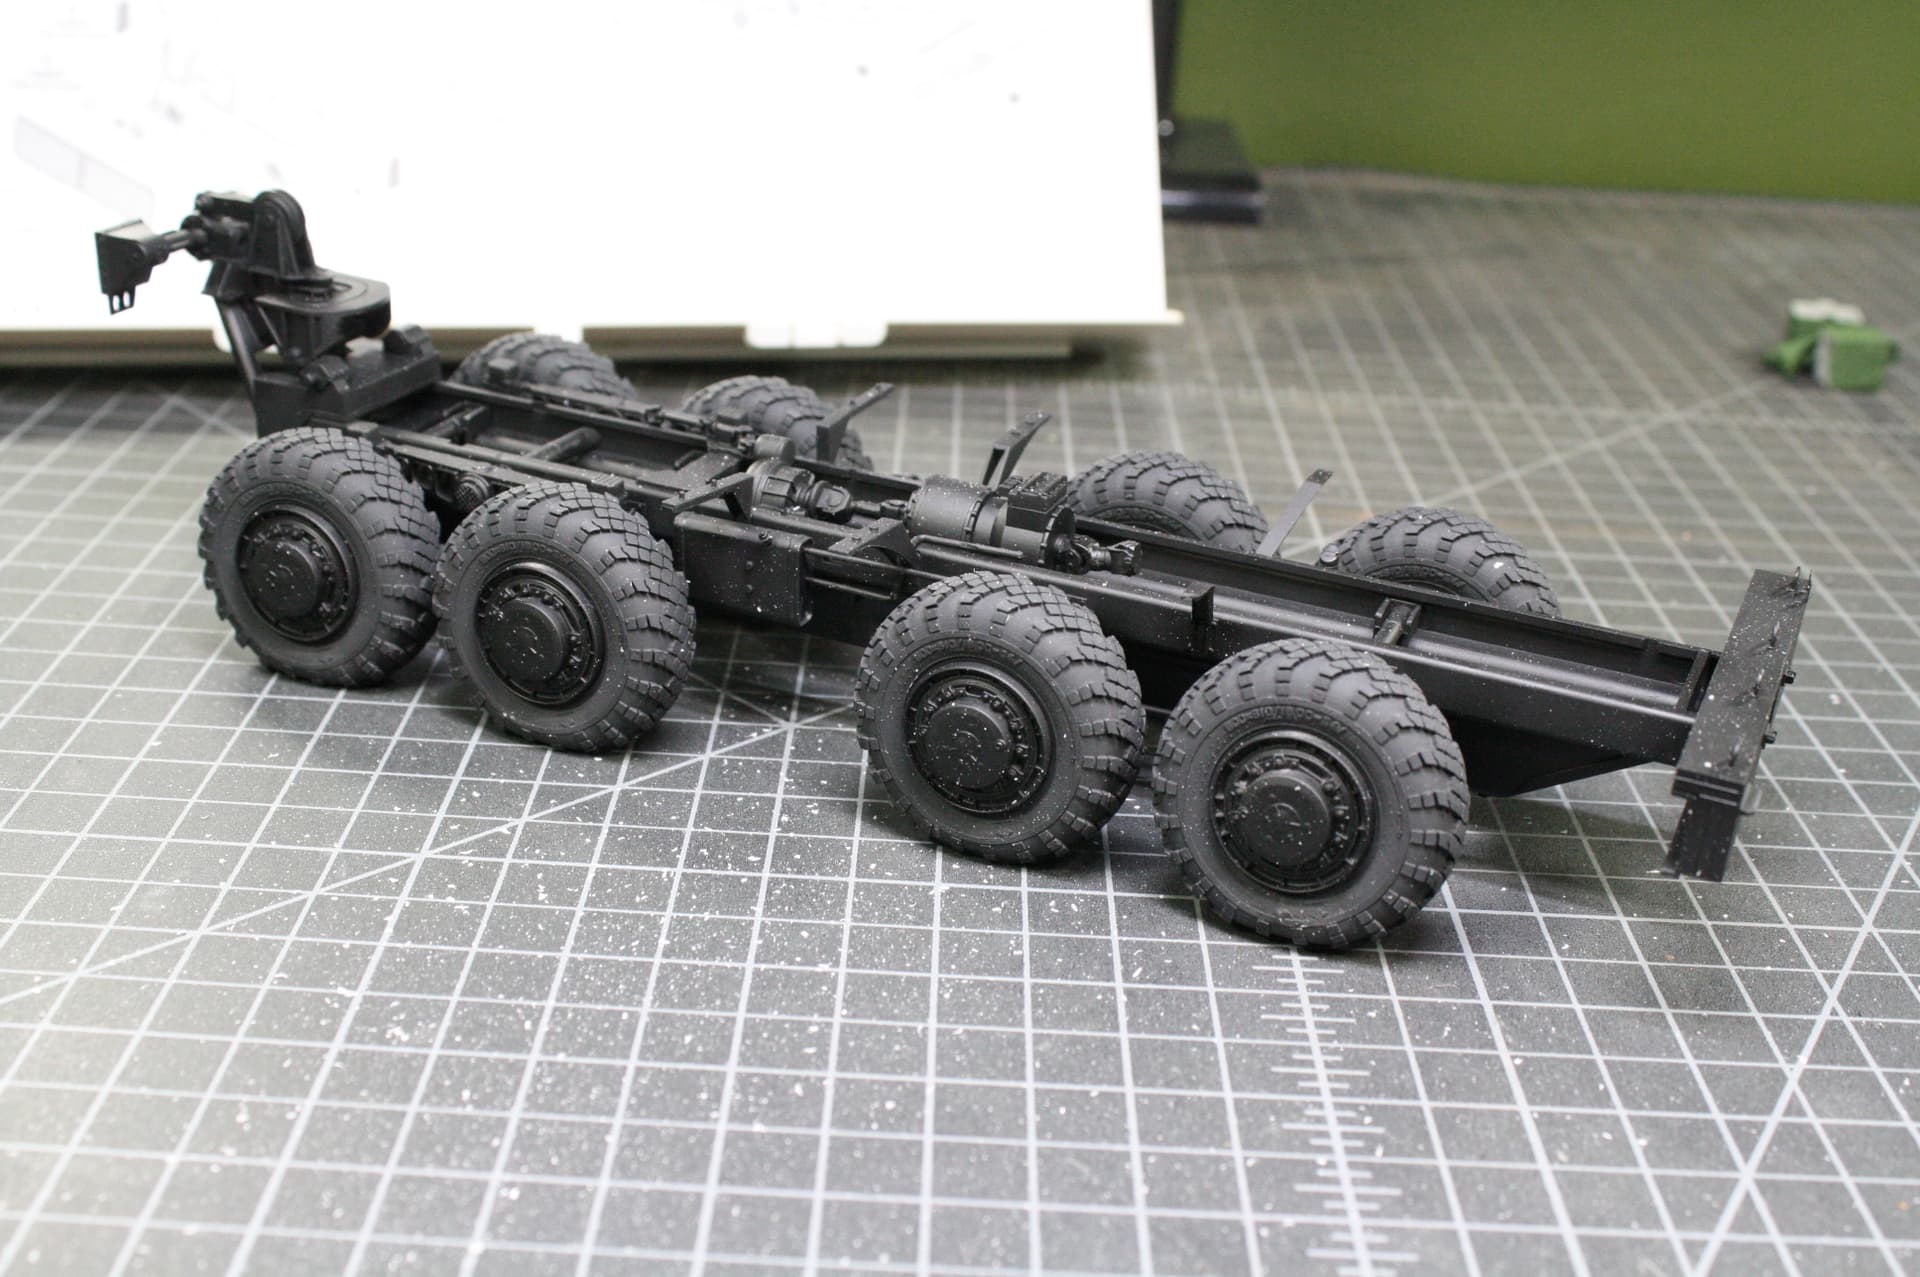
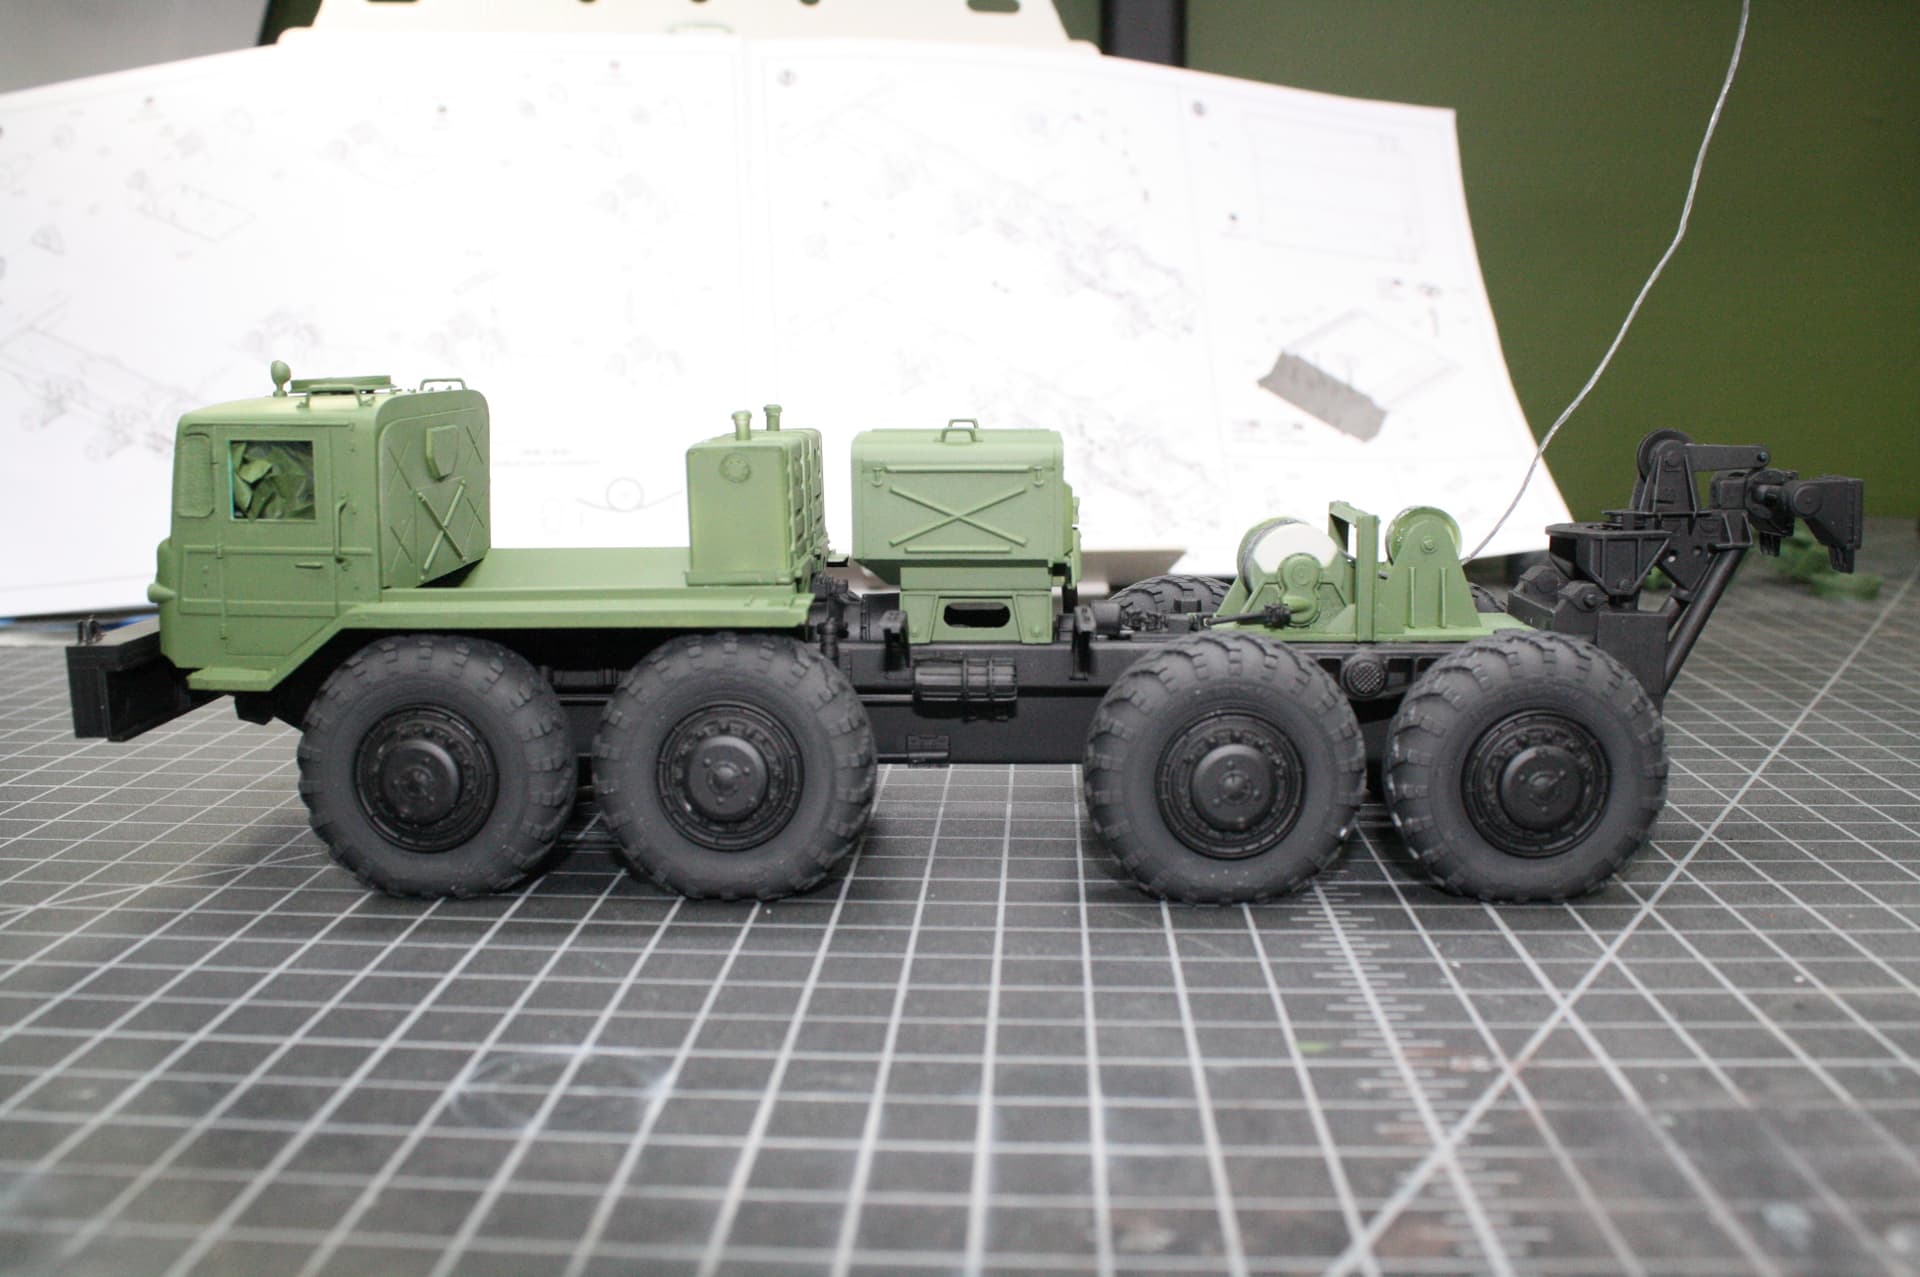
Spent the morning touching up flat black and rubber black. Glued 8 monster truck tires on.
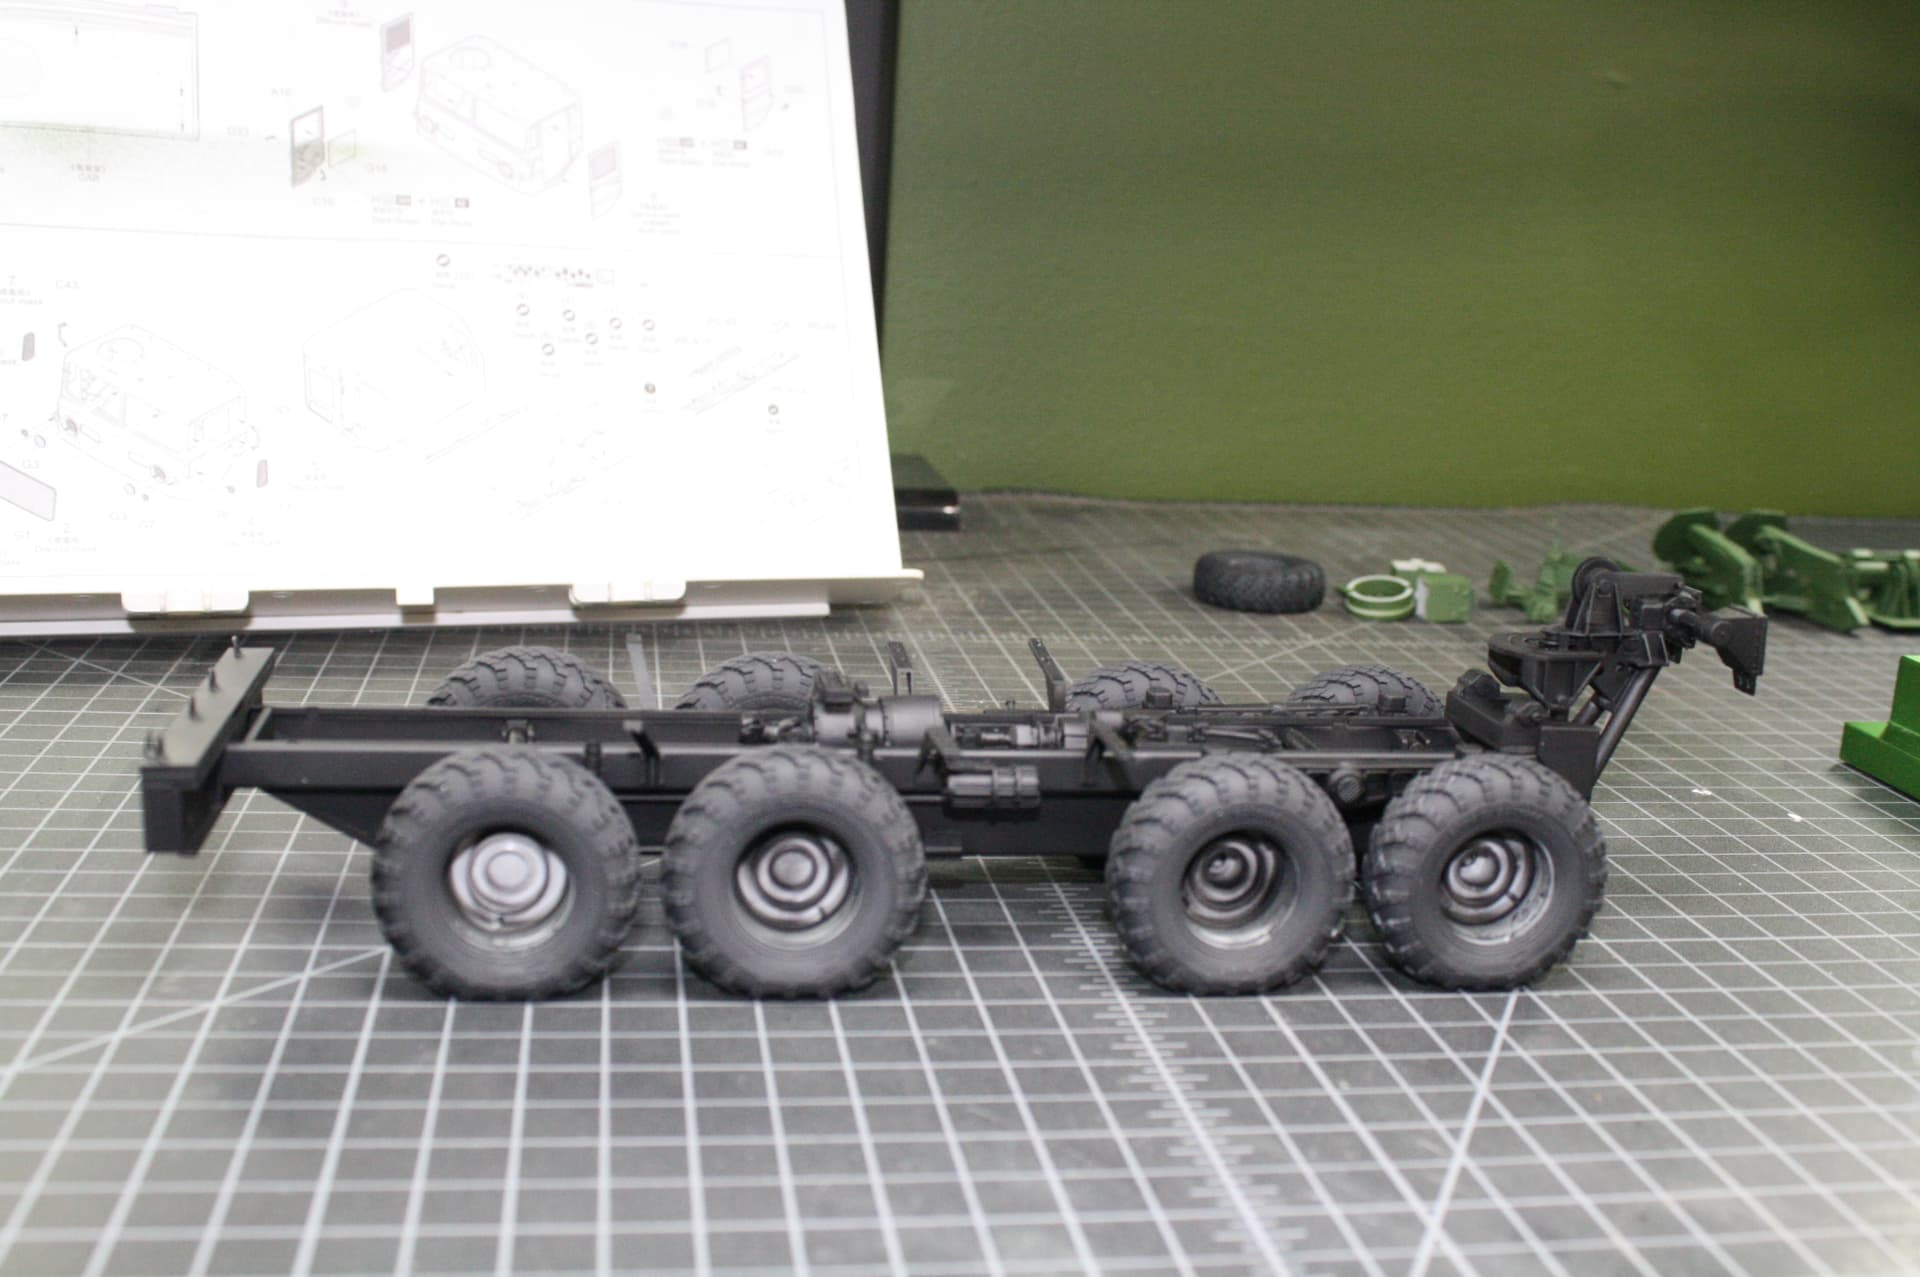
Man are they gorgeous, and heavy.
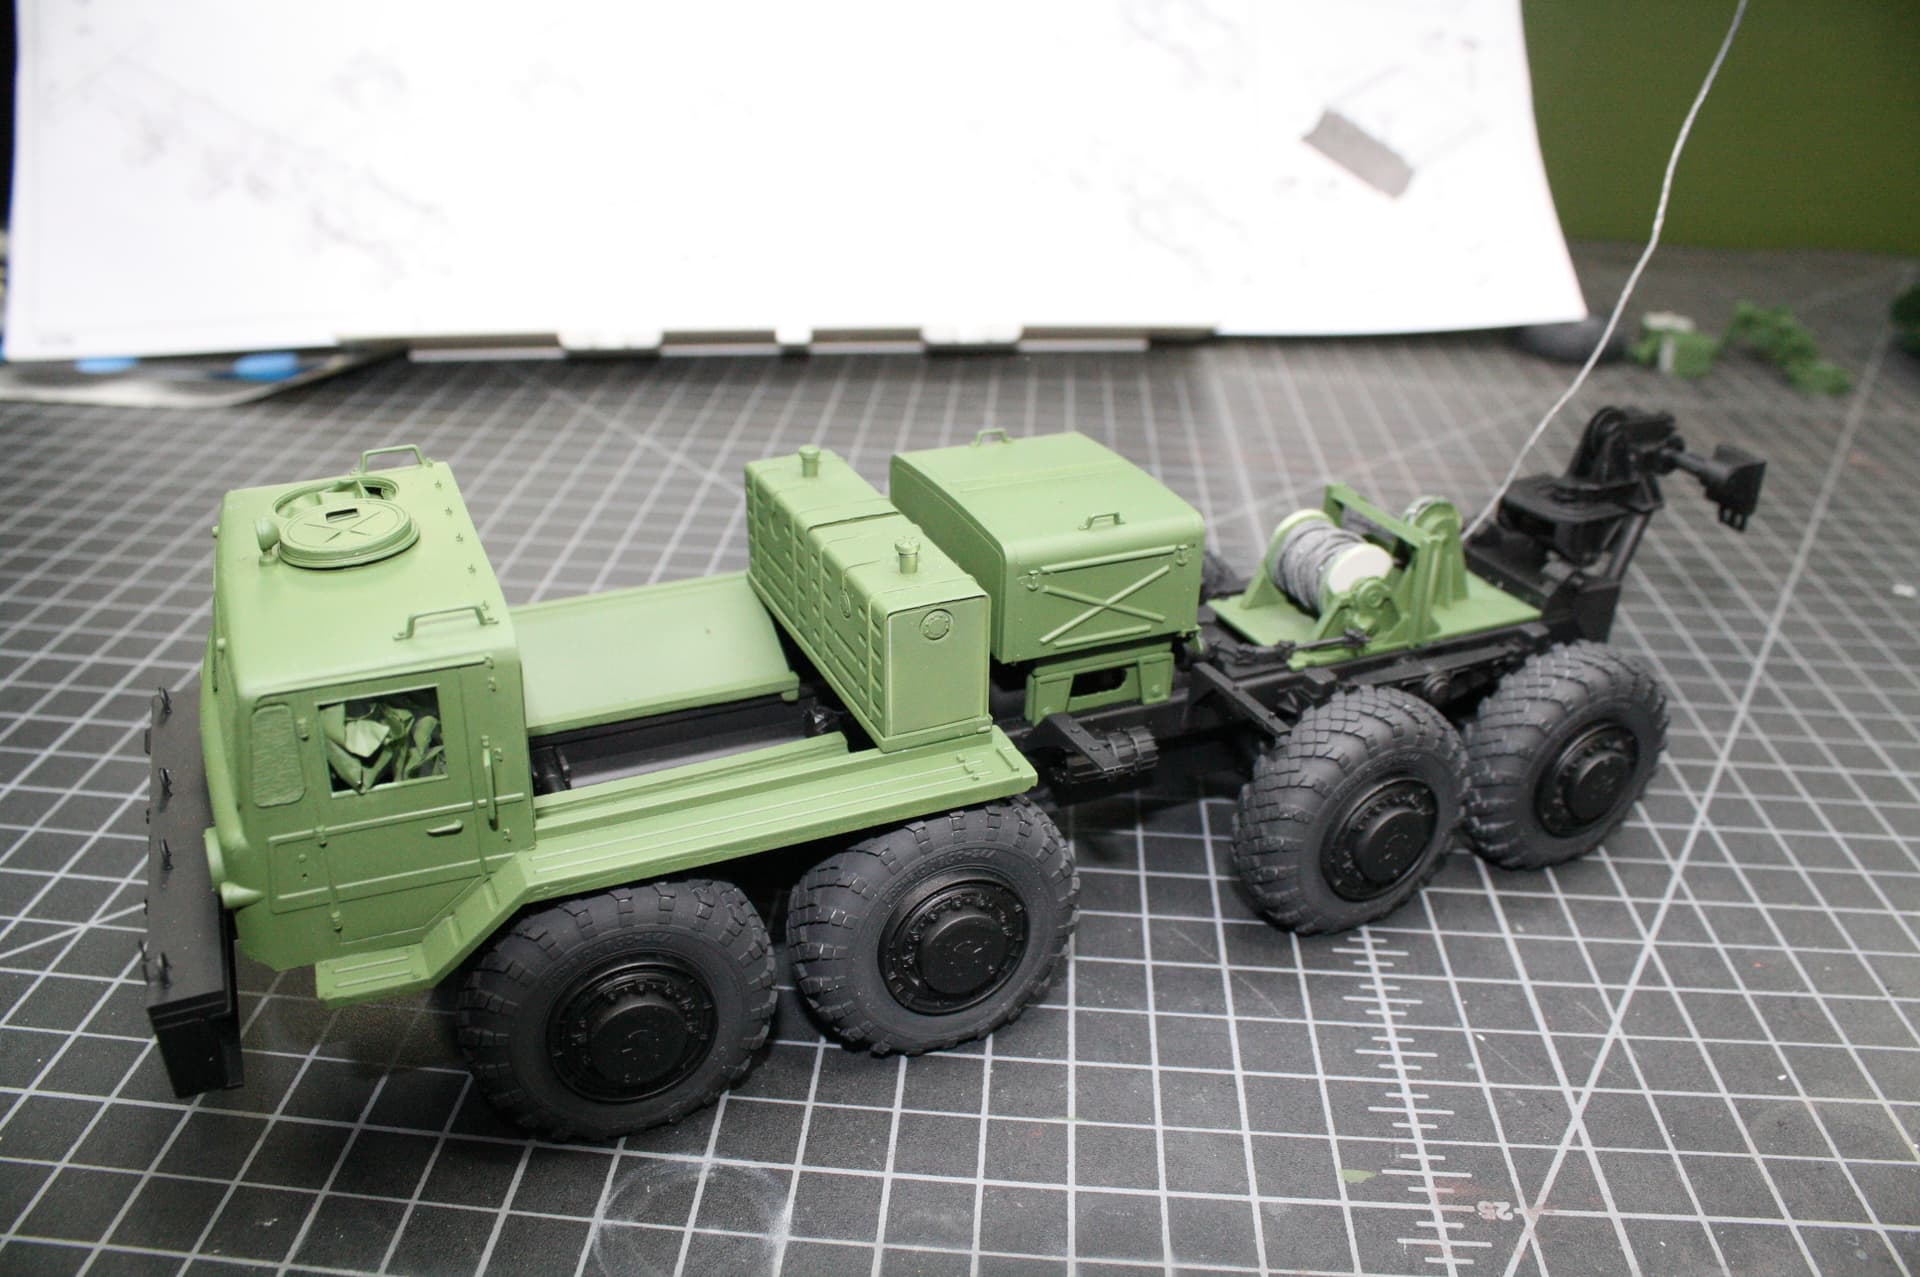
I ran into a snag with the resin copy spare. The hole was too small to fit on the carrier. So I started filing. An hour later I broke out the exacto knife and started shaving. Half an hour later I got desperate.
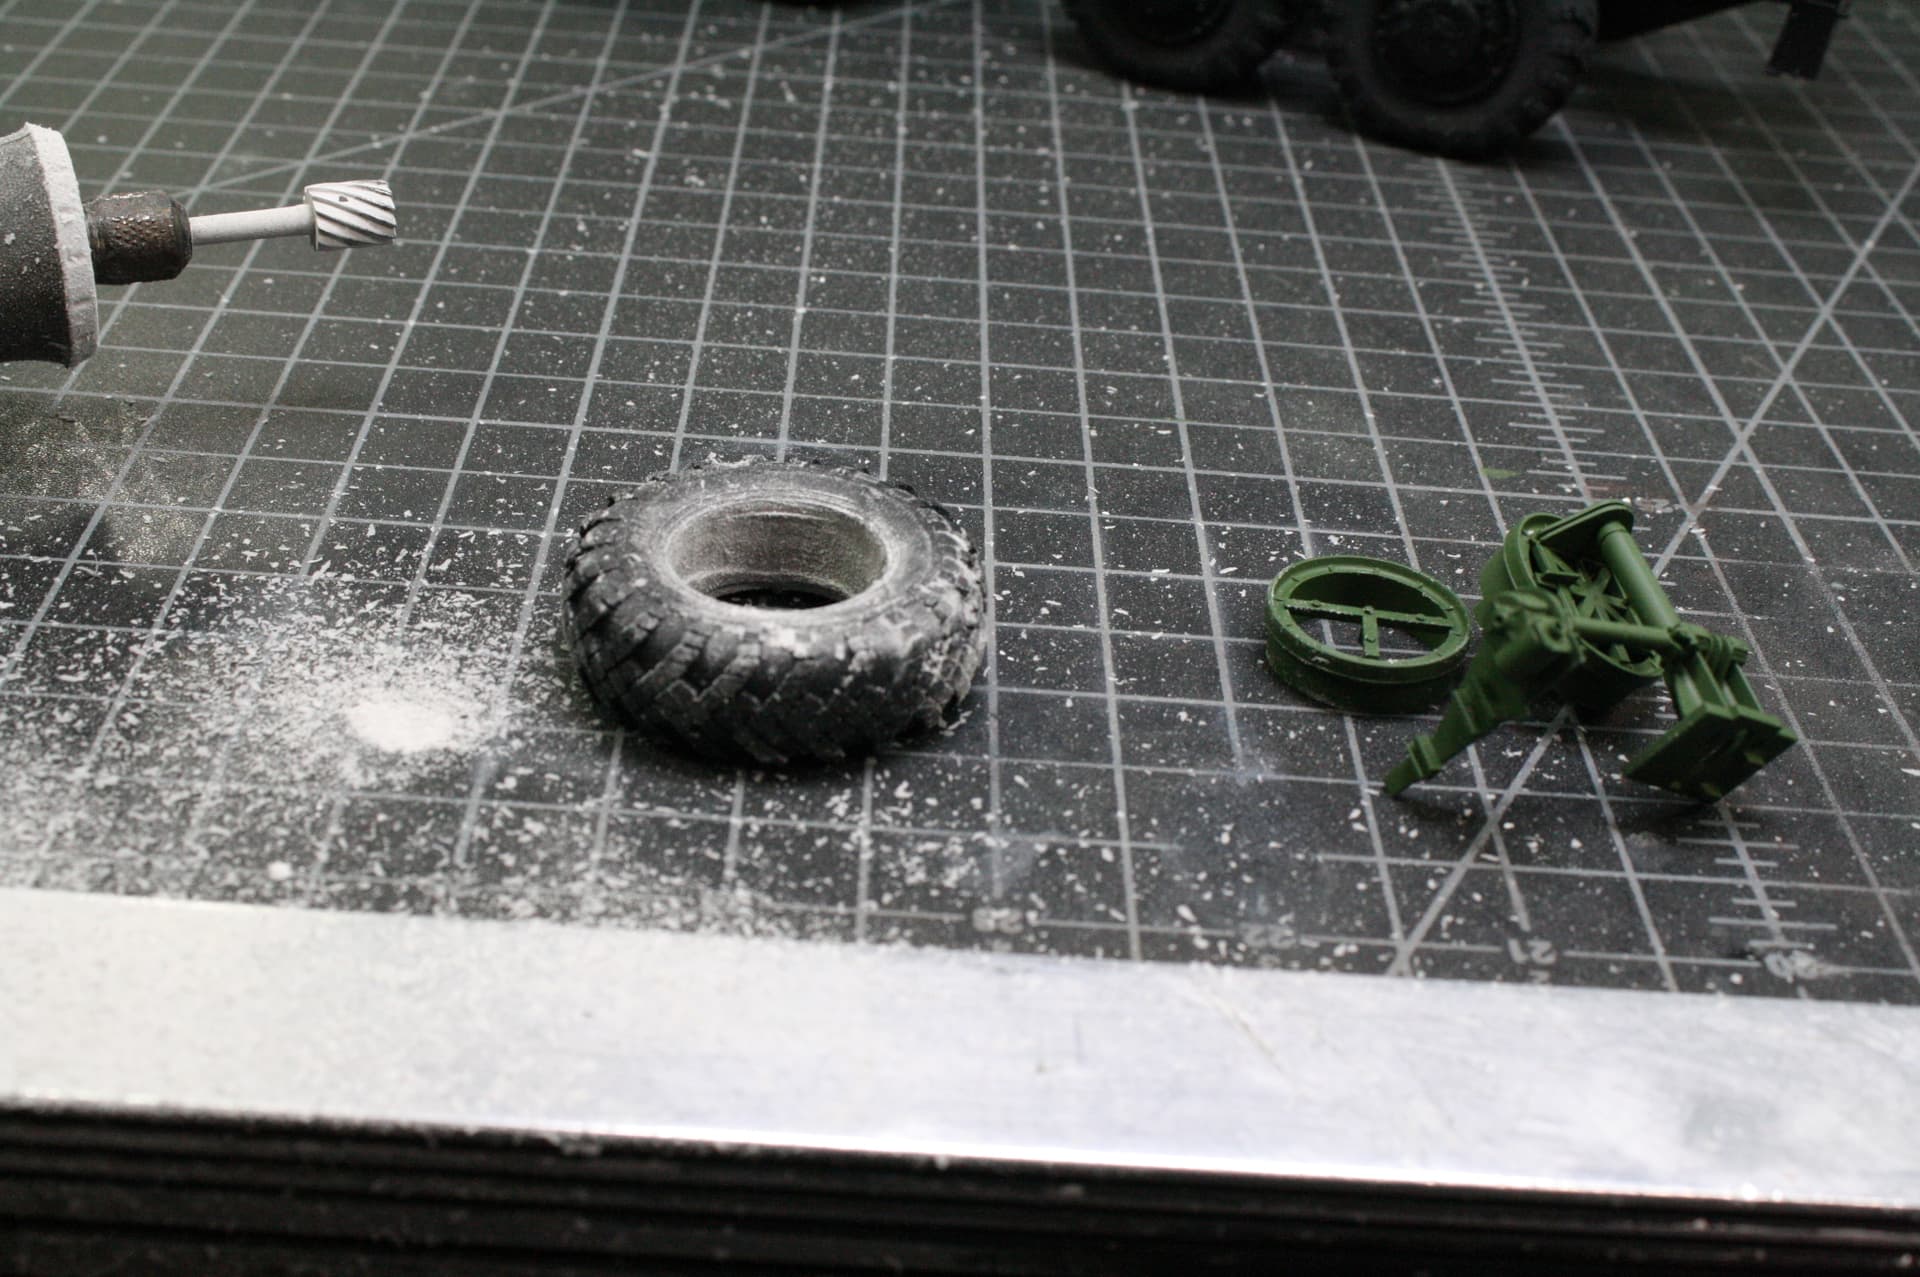
For the first time in history I used a Dremel tool on a model for good instead of evil. Armed with a high speed cutting bit and a steady hand, I carefully enlarged the hole until the rim fit and it was perfectly round. It worked and the tire is usable. A miracle! I also succeeded in throwing resin dust all over the workbench, me, and the finished model parts. It took me 2 hours to clean everything back up.
Progress continues tomorrow…
7 Likes
Vive le Dremel! … ultimate tool of destruction! 


Suggestion: Put a damp paper towel or rag under your work to cut-down on the mess. And don’t even think about breathing-in that stuff. 
—mike
1 Like
Thanks for the tip Mike - next time. It was a big mess!
2 Likes
Great fix on the spare wheel Matt, the time spent on it certainly produced the goods … that looks like a very nice clean round inner circle. The whole chassis really jumps out now and it shows how big this beauty will be … very nice indeed. 
1 Like
Thanks John and I agree with you. The whole black on black look on the chassis looks very sharp. Way cool.
Mmmmmmmmm … I like it … A lot …looks great
Off Topic:
Well Staff Sergeant, thanks in part to your thread here I just ordered this puppy.
I had been planning on a scratch conversion build of this tractor but while researching for your thread I discovered that Trumpeter has now issued a model of the 7410 tractor so once again I have been sucked in by my own desires!

I just sort’a love the close coupled rear axles and those giant leaf springs! - I’m going to miss the chance to scratch build those springs!
3 Likes