Rory, very impressive!
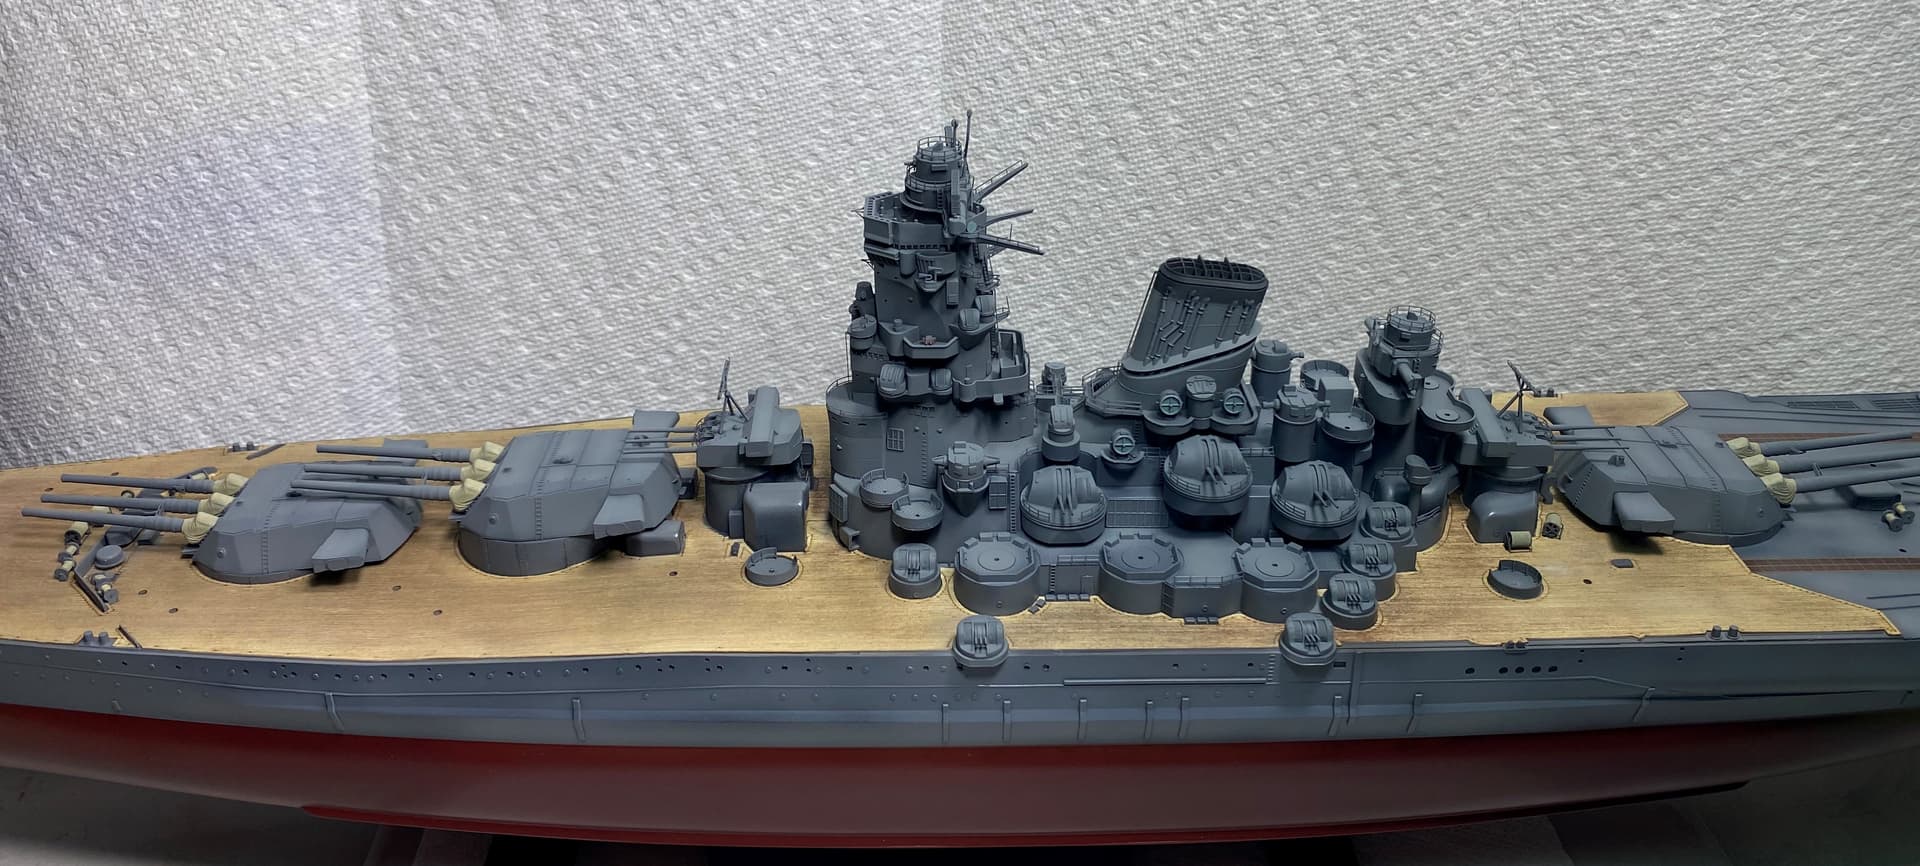
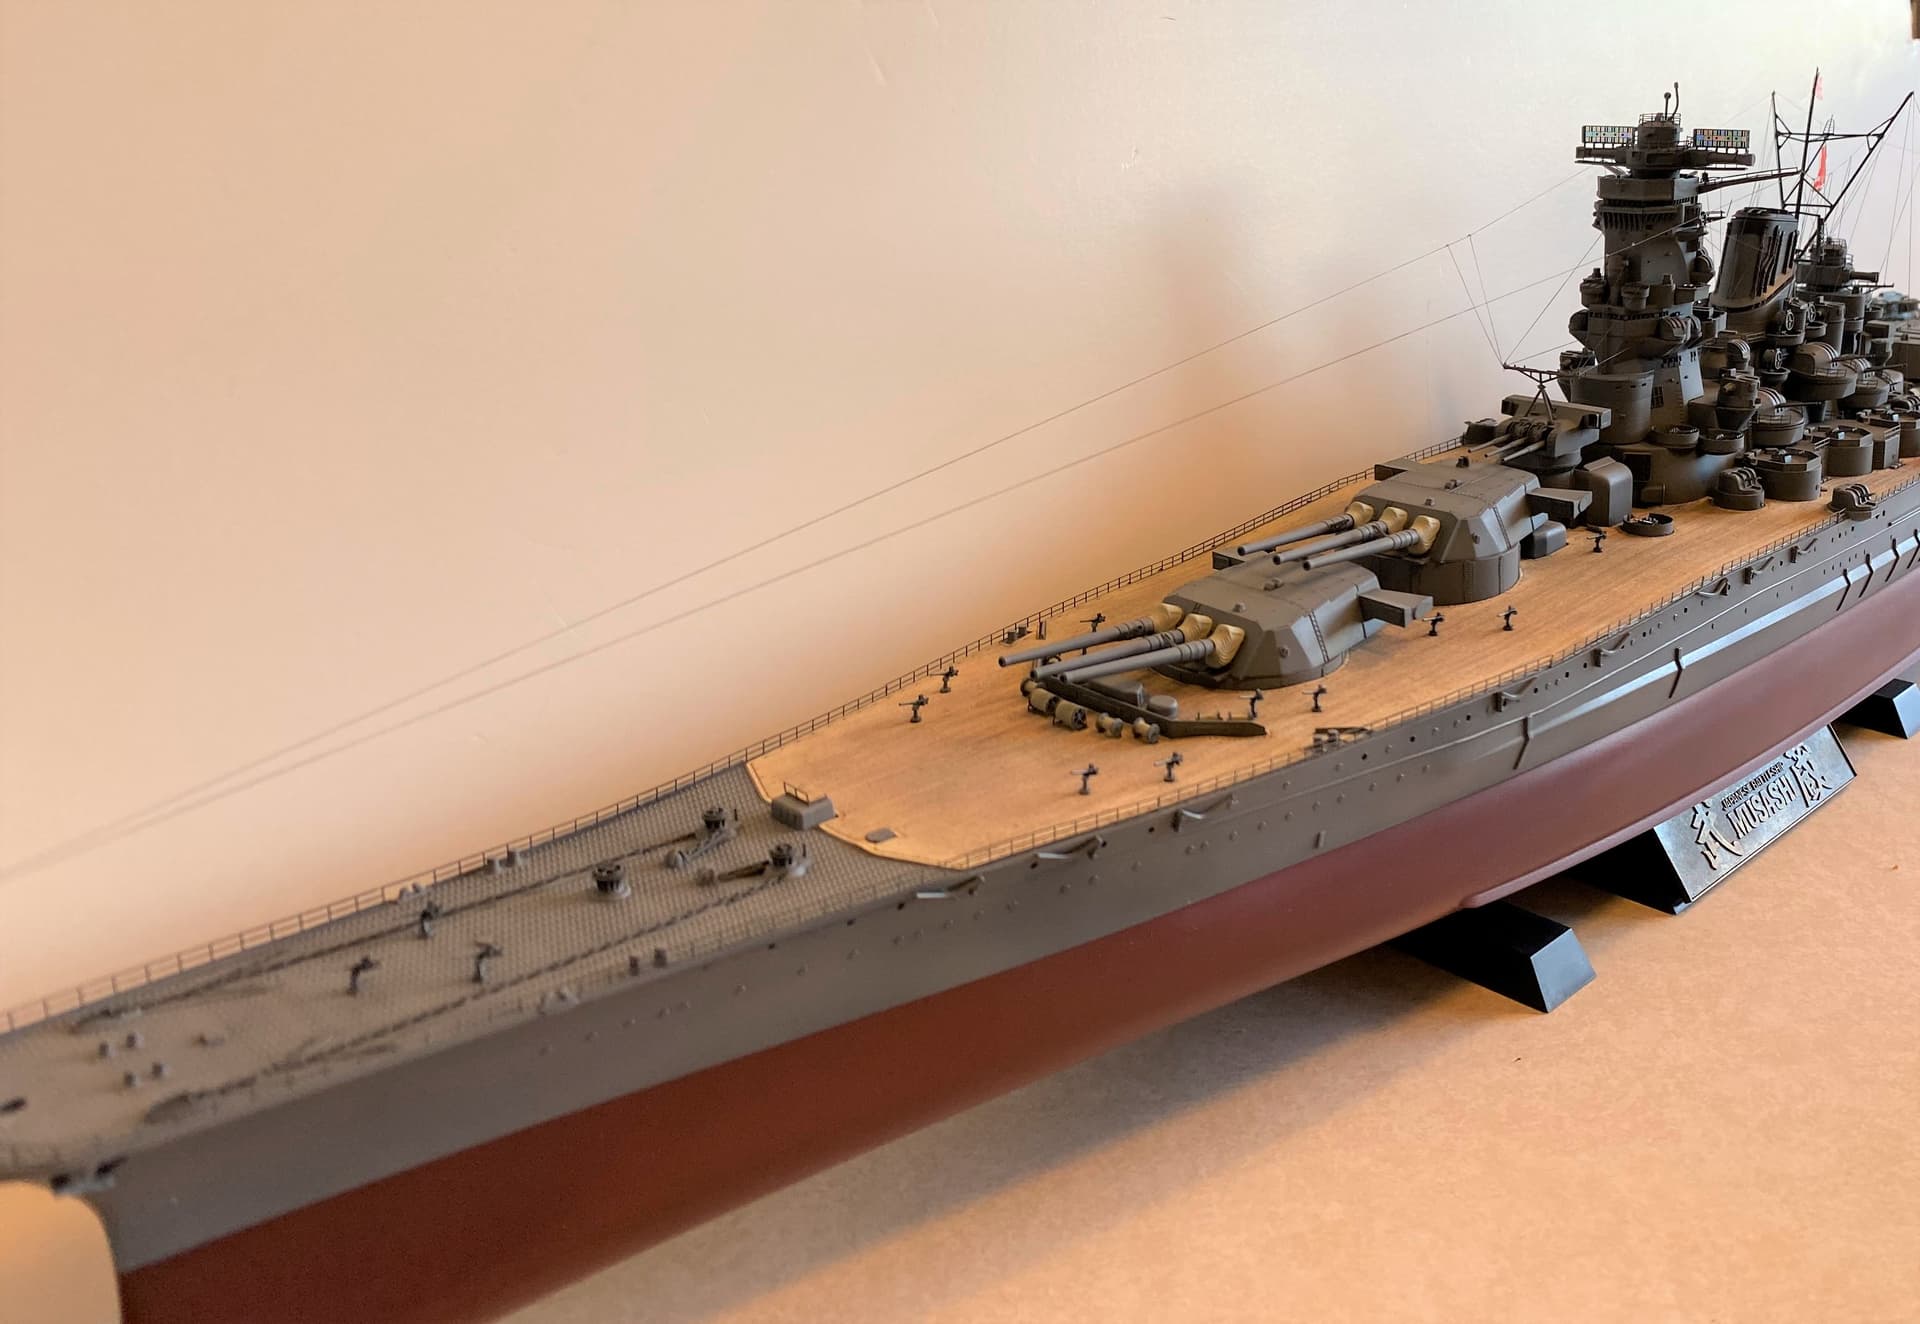
She is coming along. Main batteries are all installed. Still need to do the triple 25mm’s but those will be done slowly as they are all very finicky PE builds.
8 Likes
Rory, even more impressive!
And she is complete. Really happy with how she came out in the end. Honestly, she was a nice, easy build. Just what the Dr. ordered after my last few builds.
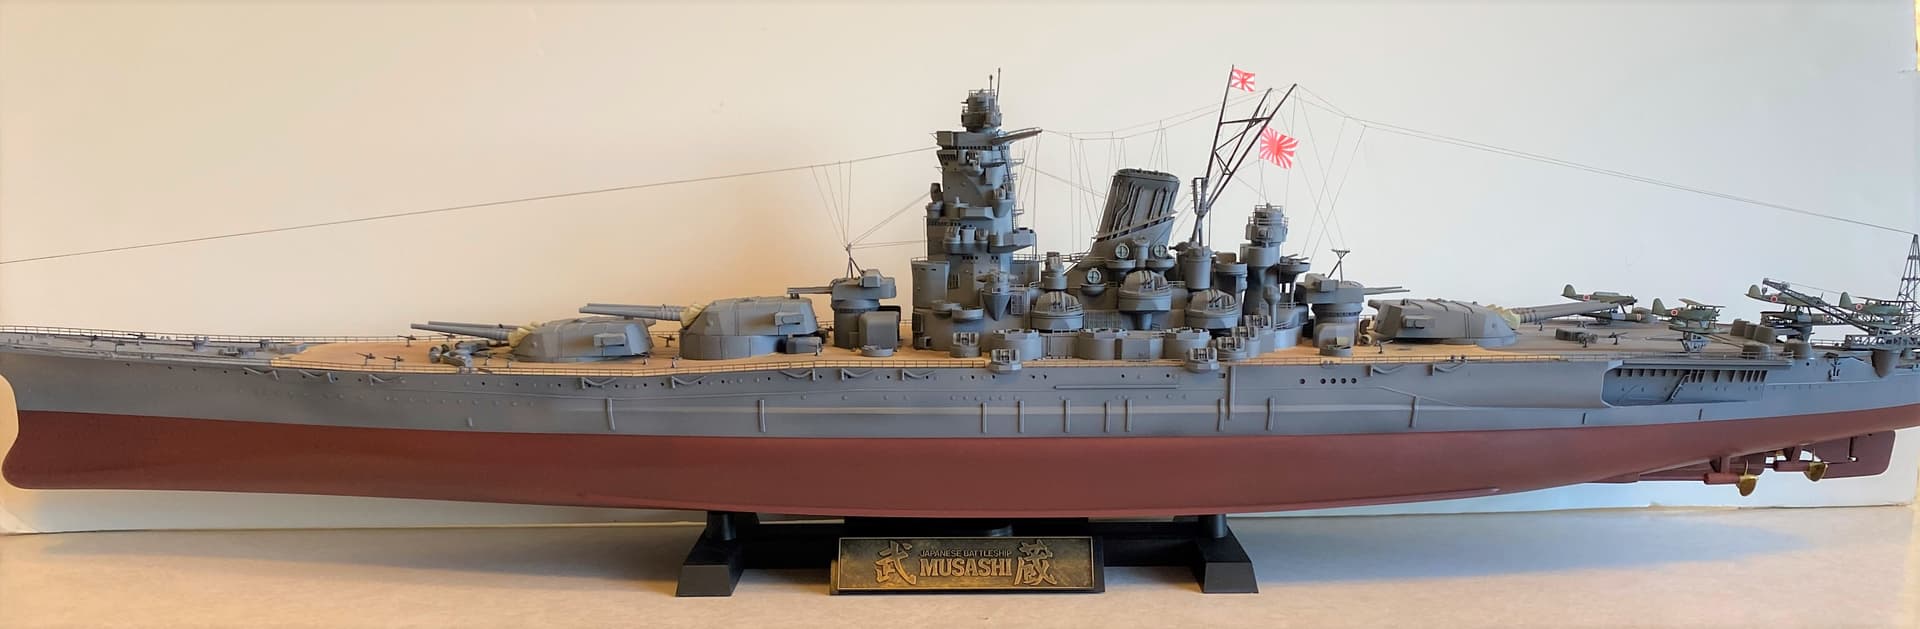
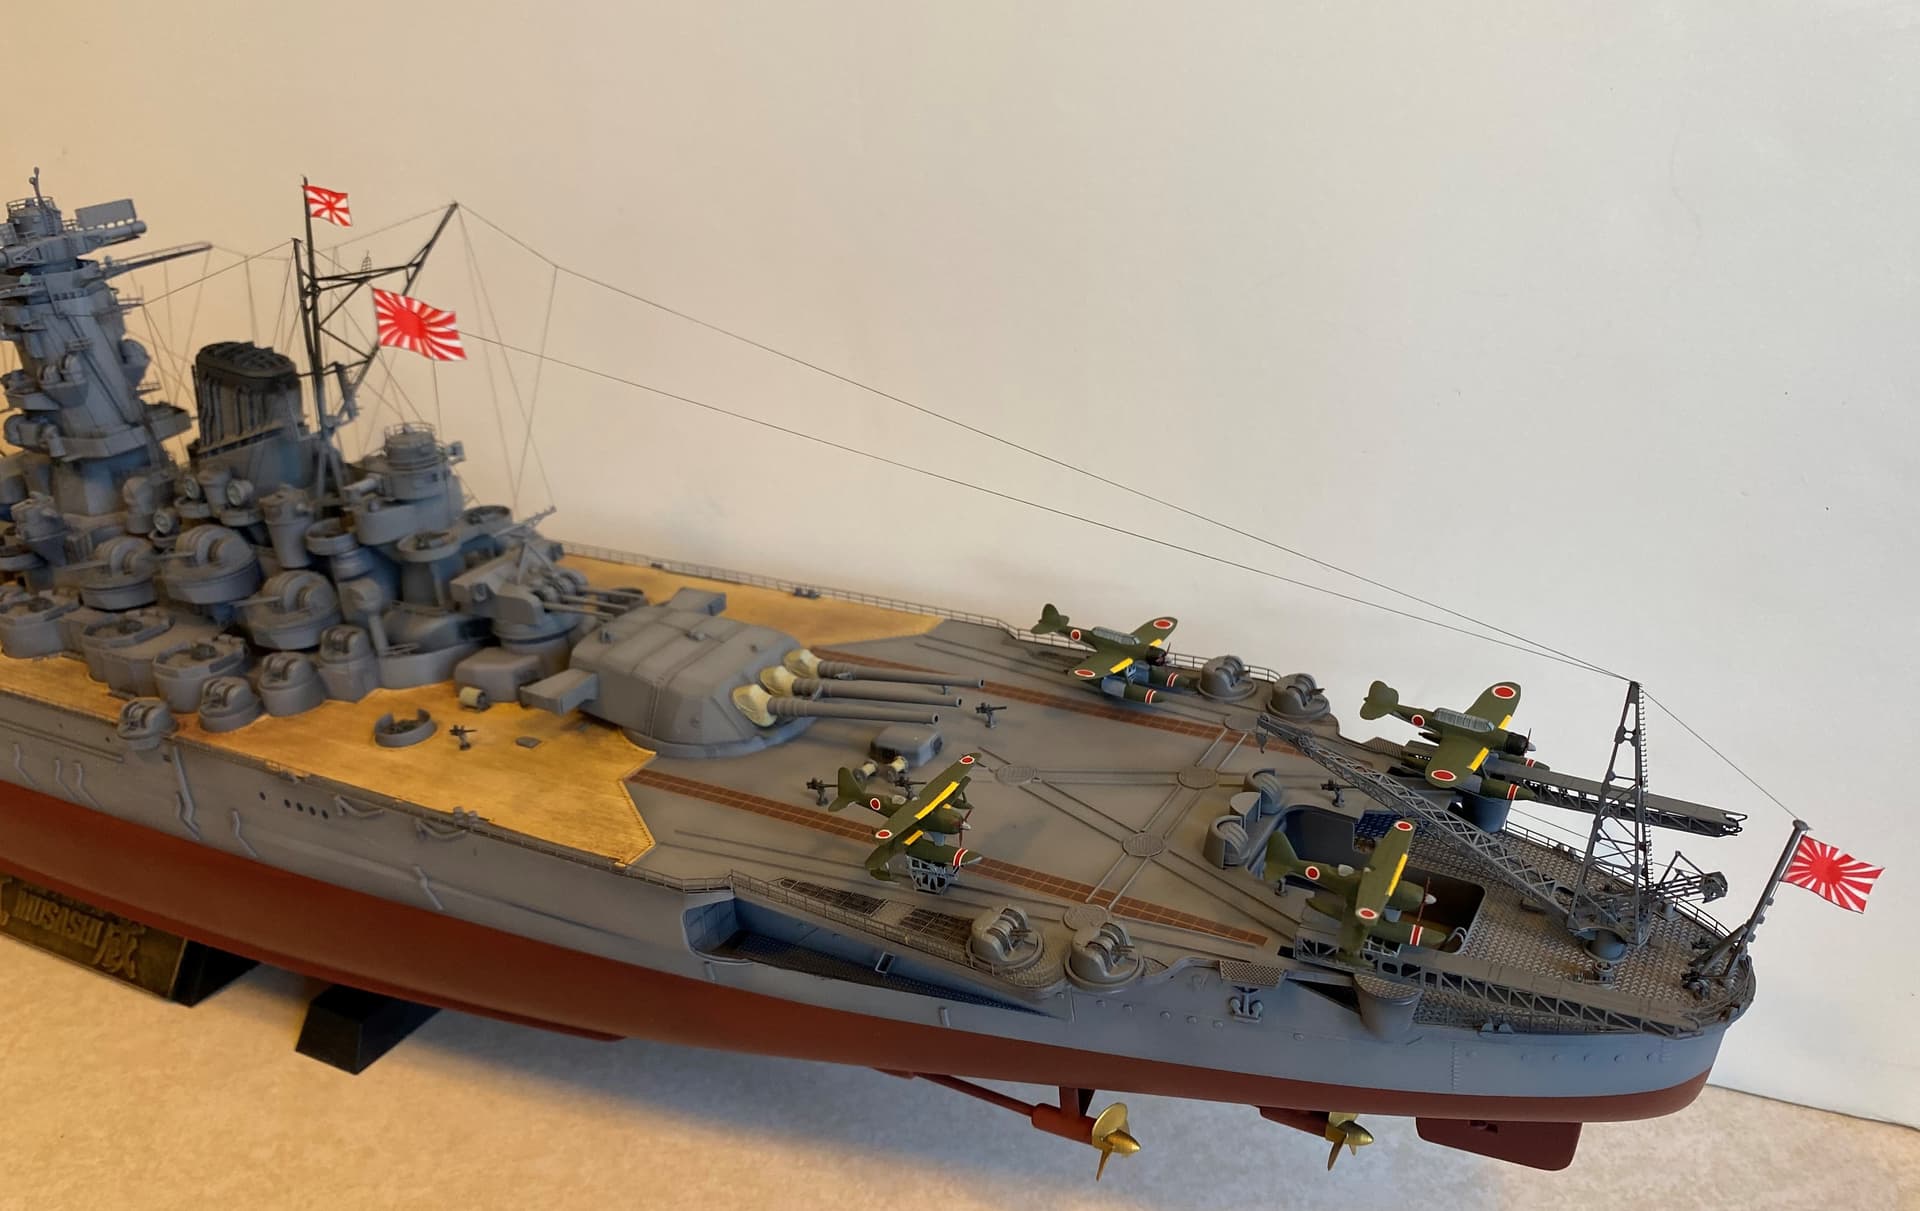
Thank you for the campaign. Finally gave me the impetus to build this monster. She had been sitting in the stash for around 7 years.
12 Likes
Looks fantastic Rory. I loved watching the progress as it came together. Cheers.
Looks great! Tempting me to do the Raiden!
Nice looking Mushashi @McRunty!
Mind blowing beautiful kit, Rory! What is the size of this beast?
Inspirationally. Five-star.
I believe she comes in at around 75cm long.
1 Like
Man, once I clear my bench and the next three campaigns I’ve lined up, I really need to build a ship. Never done it before but they look so cool when done!
Might crack open my graf Spee though I’m probably better to start on something small like my uss England
Not a bad plan. Don’t be like me. My first ship was the 1/350 HMS Warspite with full Pontos PE set. It was a bumpy ride to say the least especially since I had never used PE before that.
1 Like
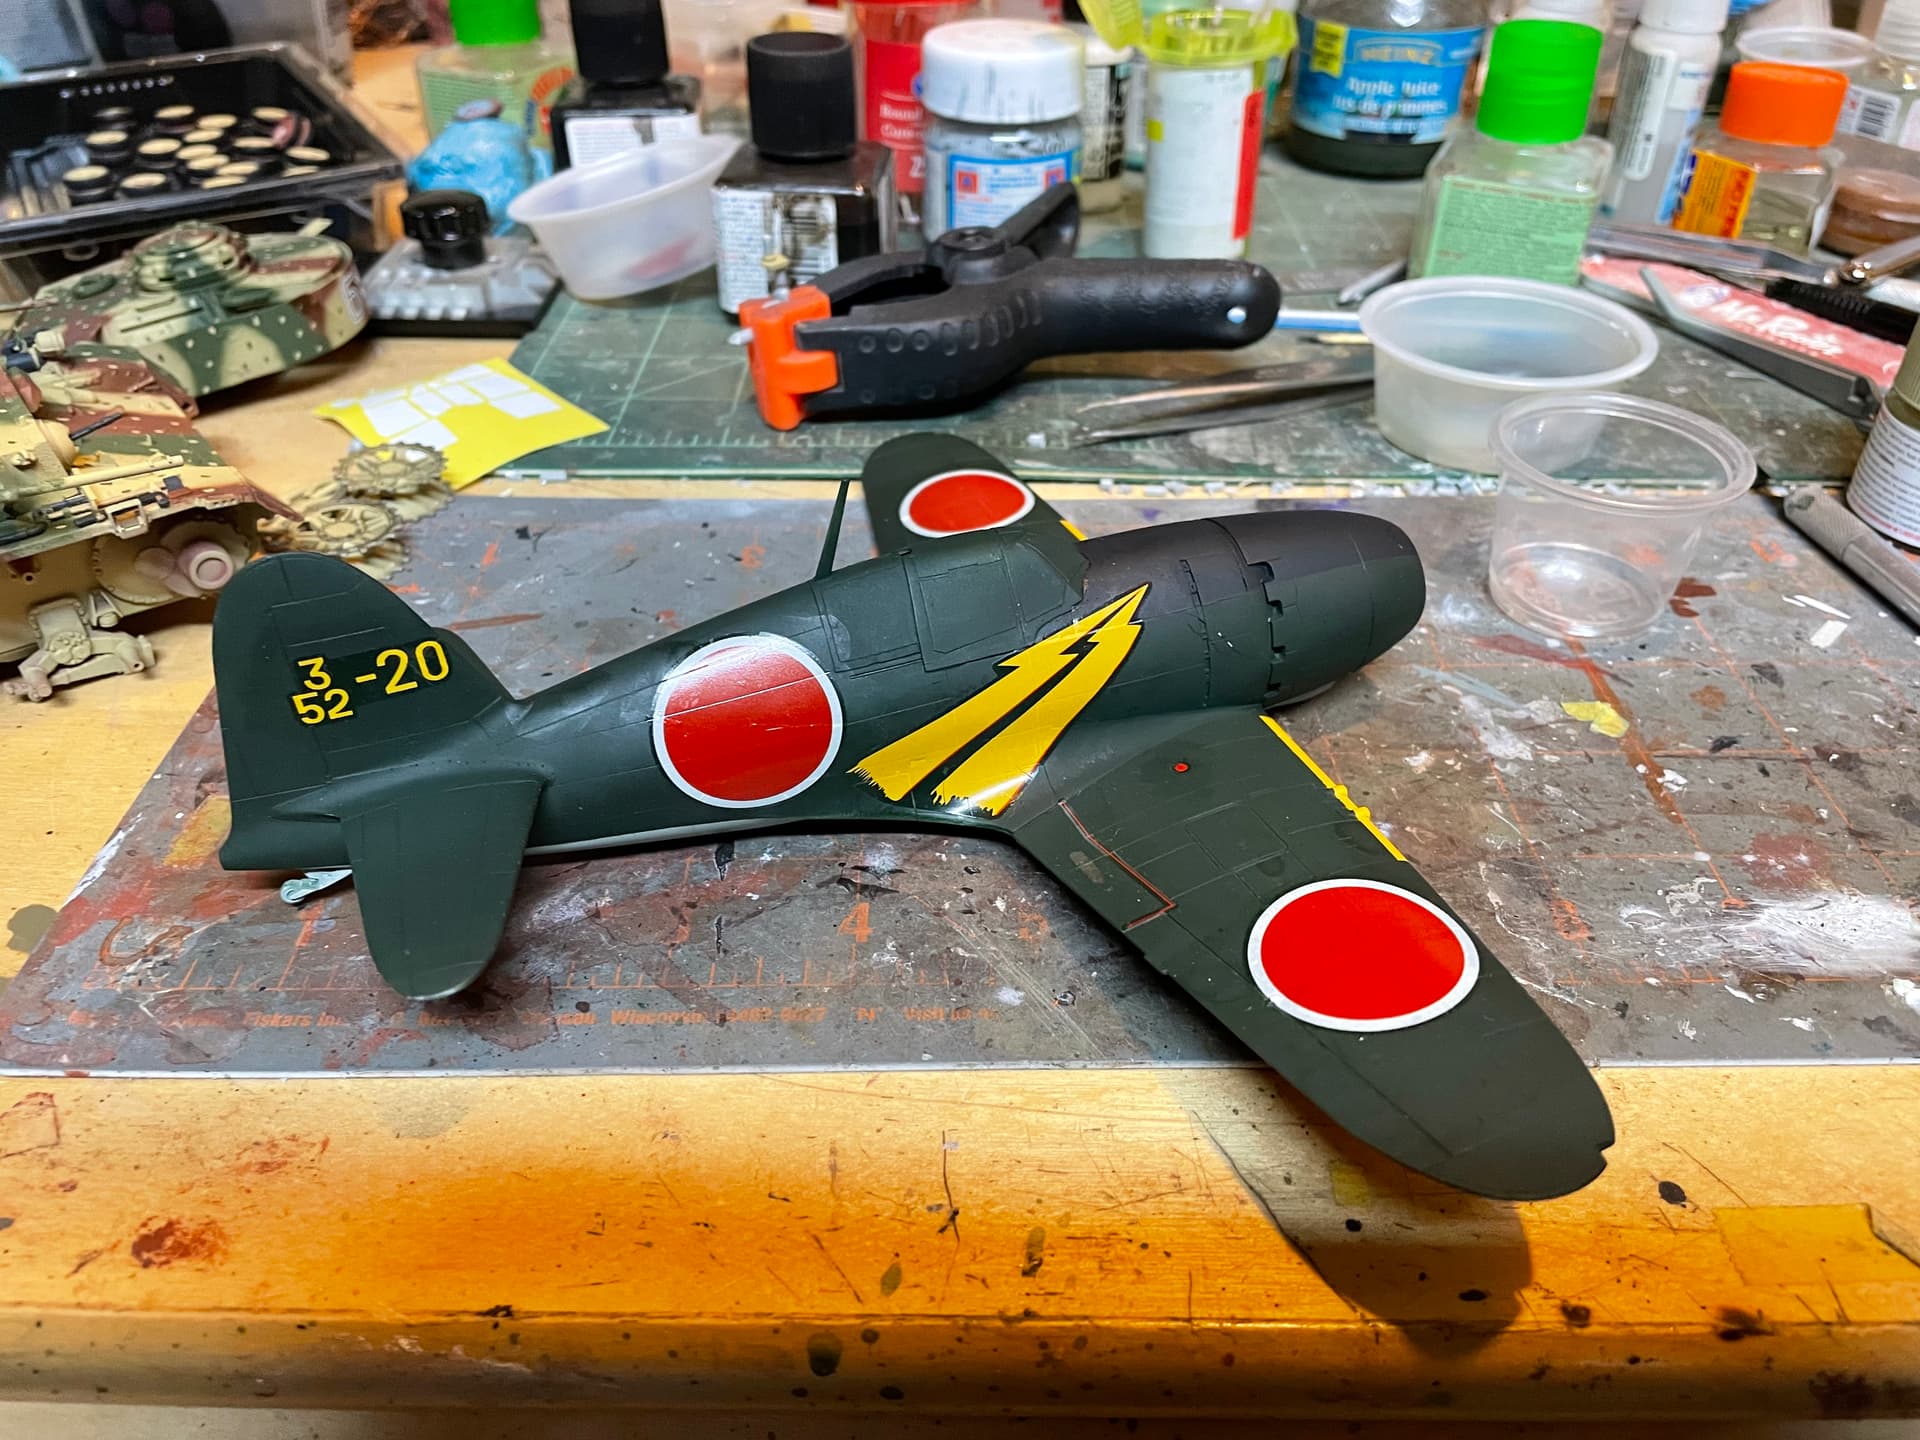
Looks great. I love the green camo on Japanese aircraft. Always contrasts so well with the meatball and any yellow that goes on!
Man, luvin’ me some Raiden there.
What is the top color/ brand?
Top colour is Tamiya J.N. Green, XF11
Hi Everyone,
Colin, that’s one nice looking Jack! I’ve always liked the one with the lightning bolts on it.
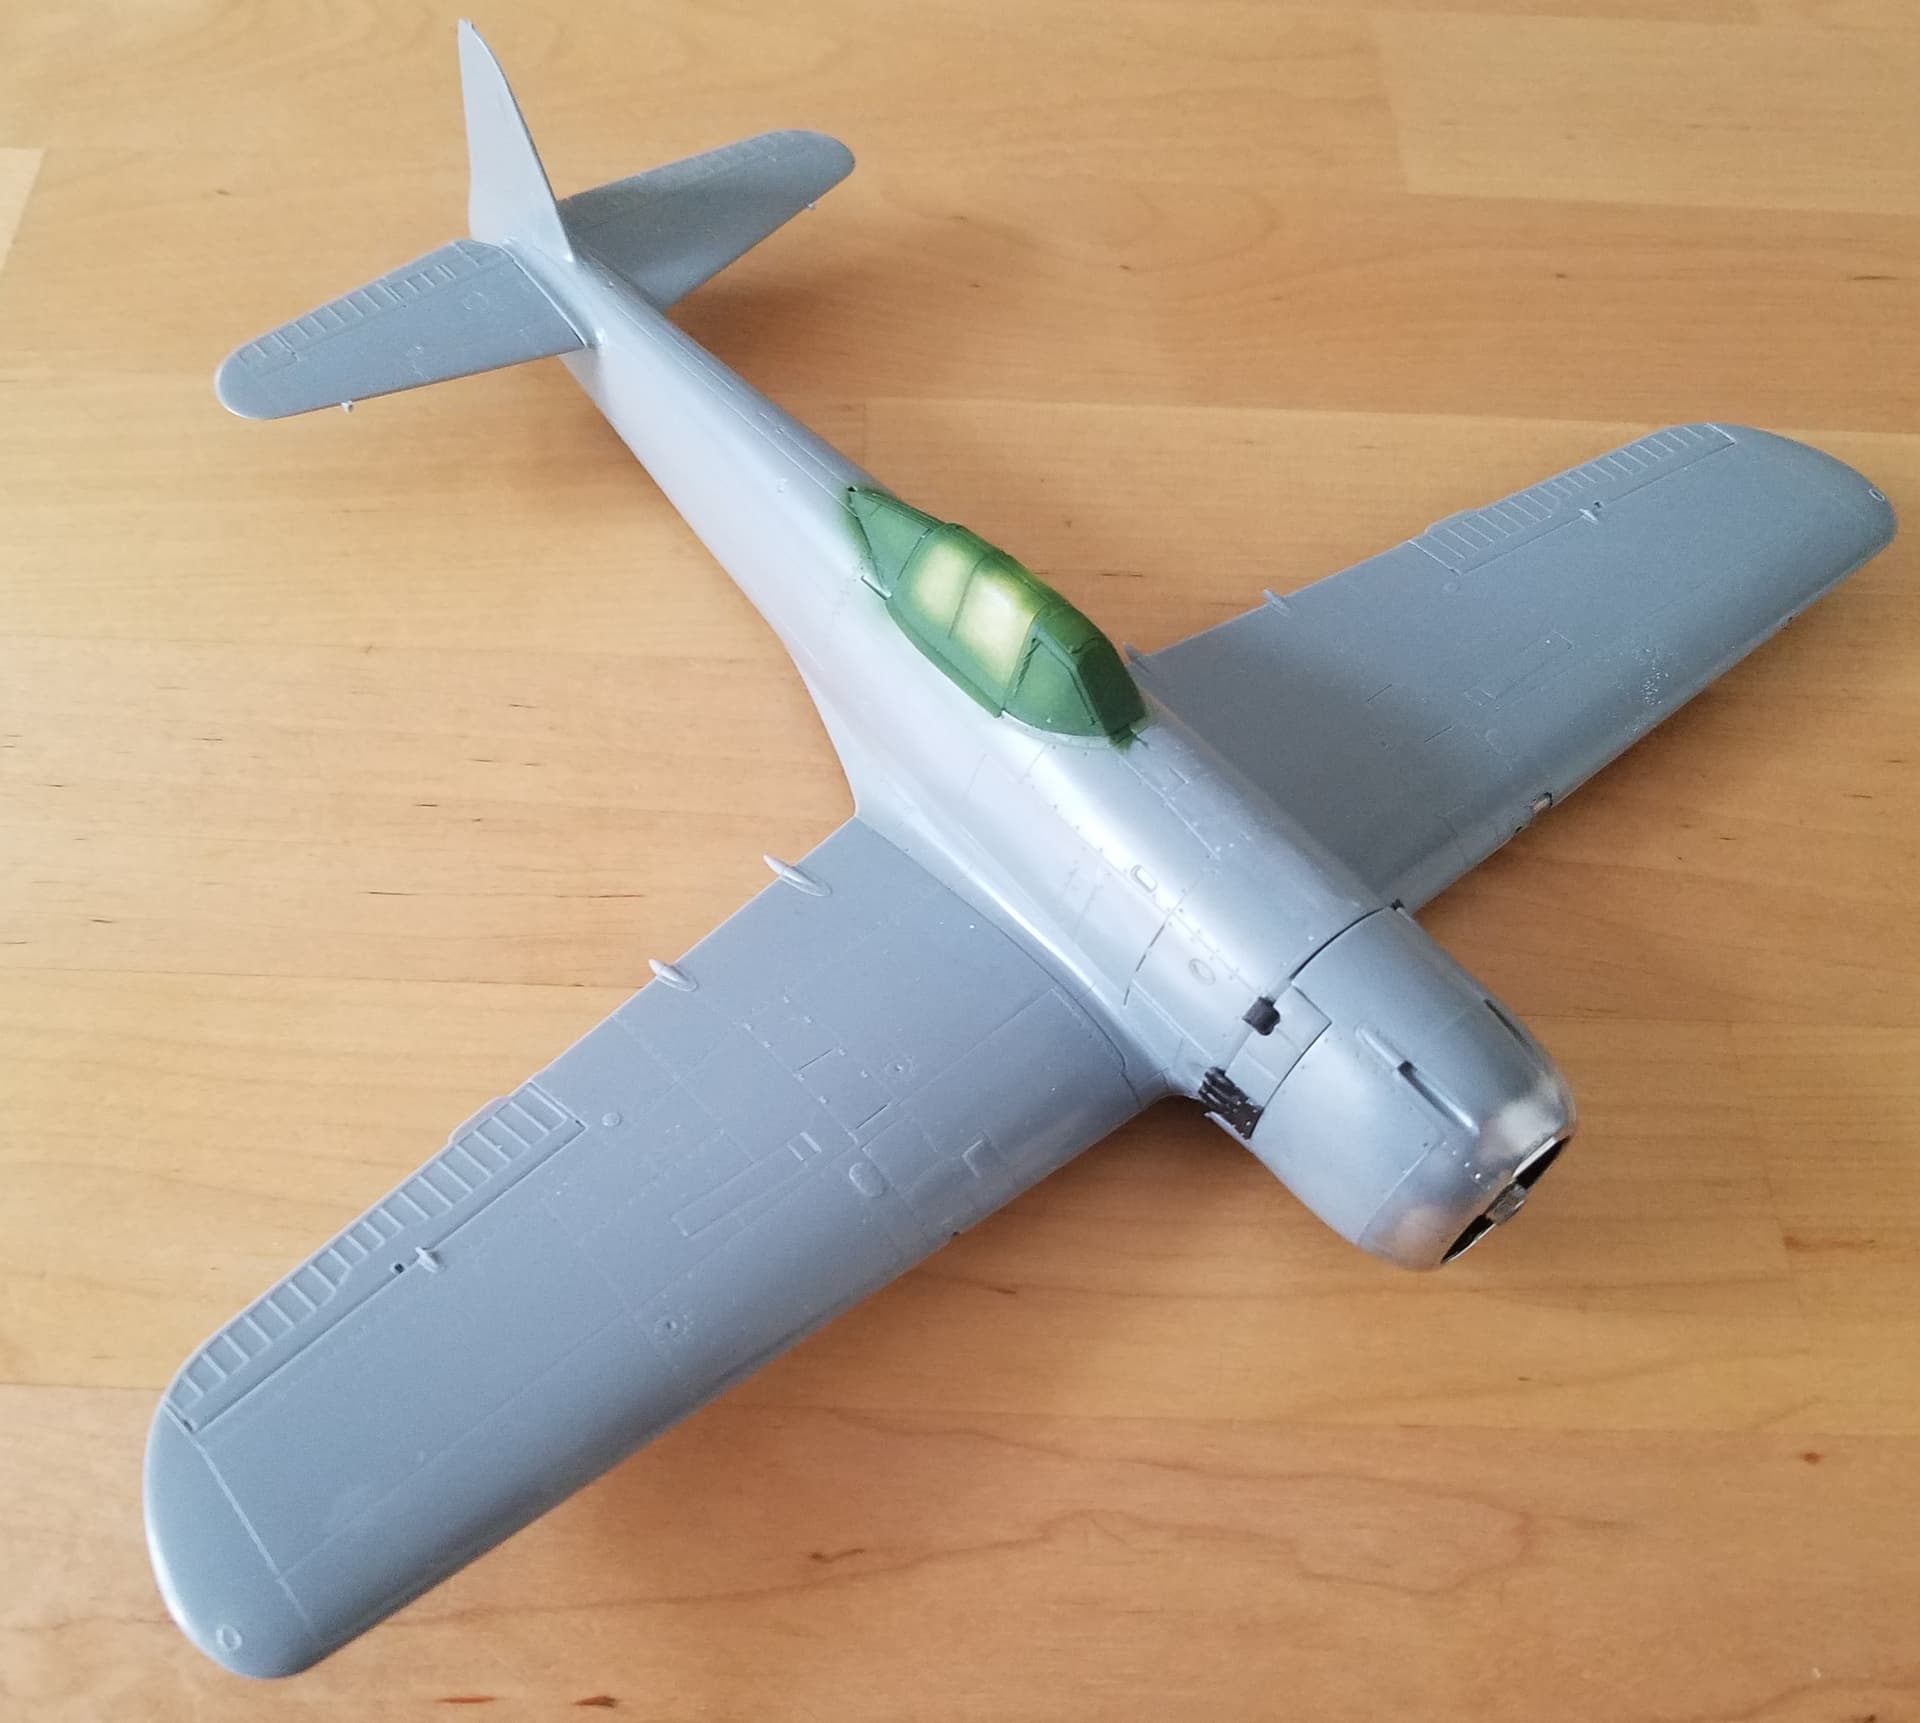
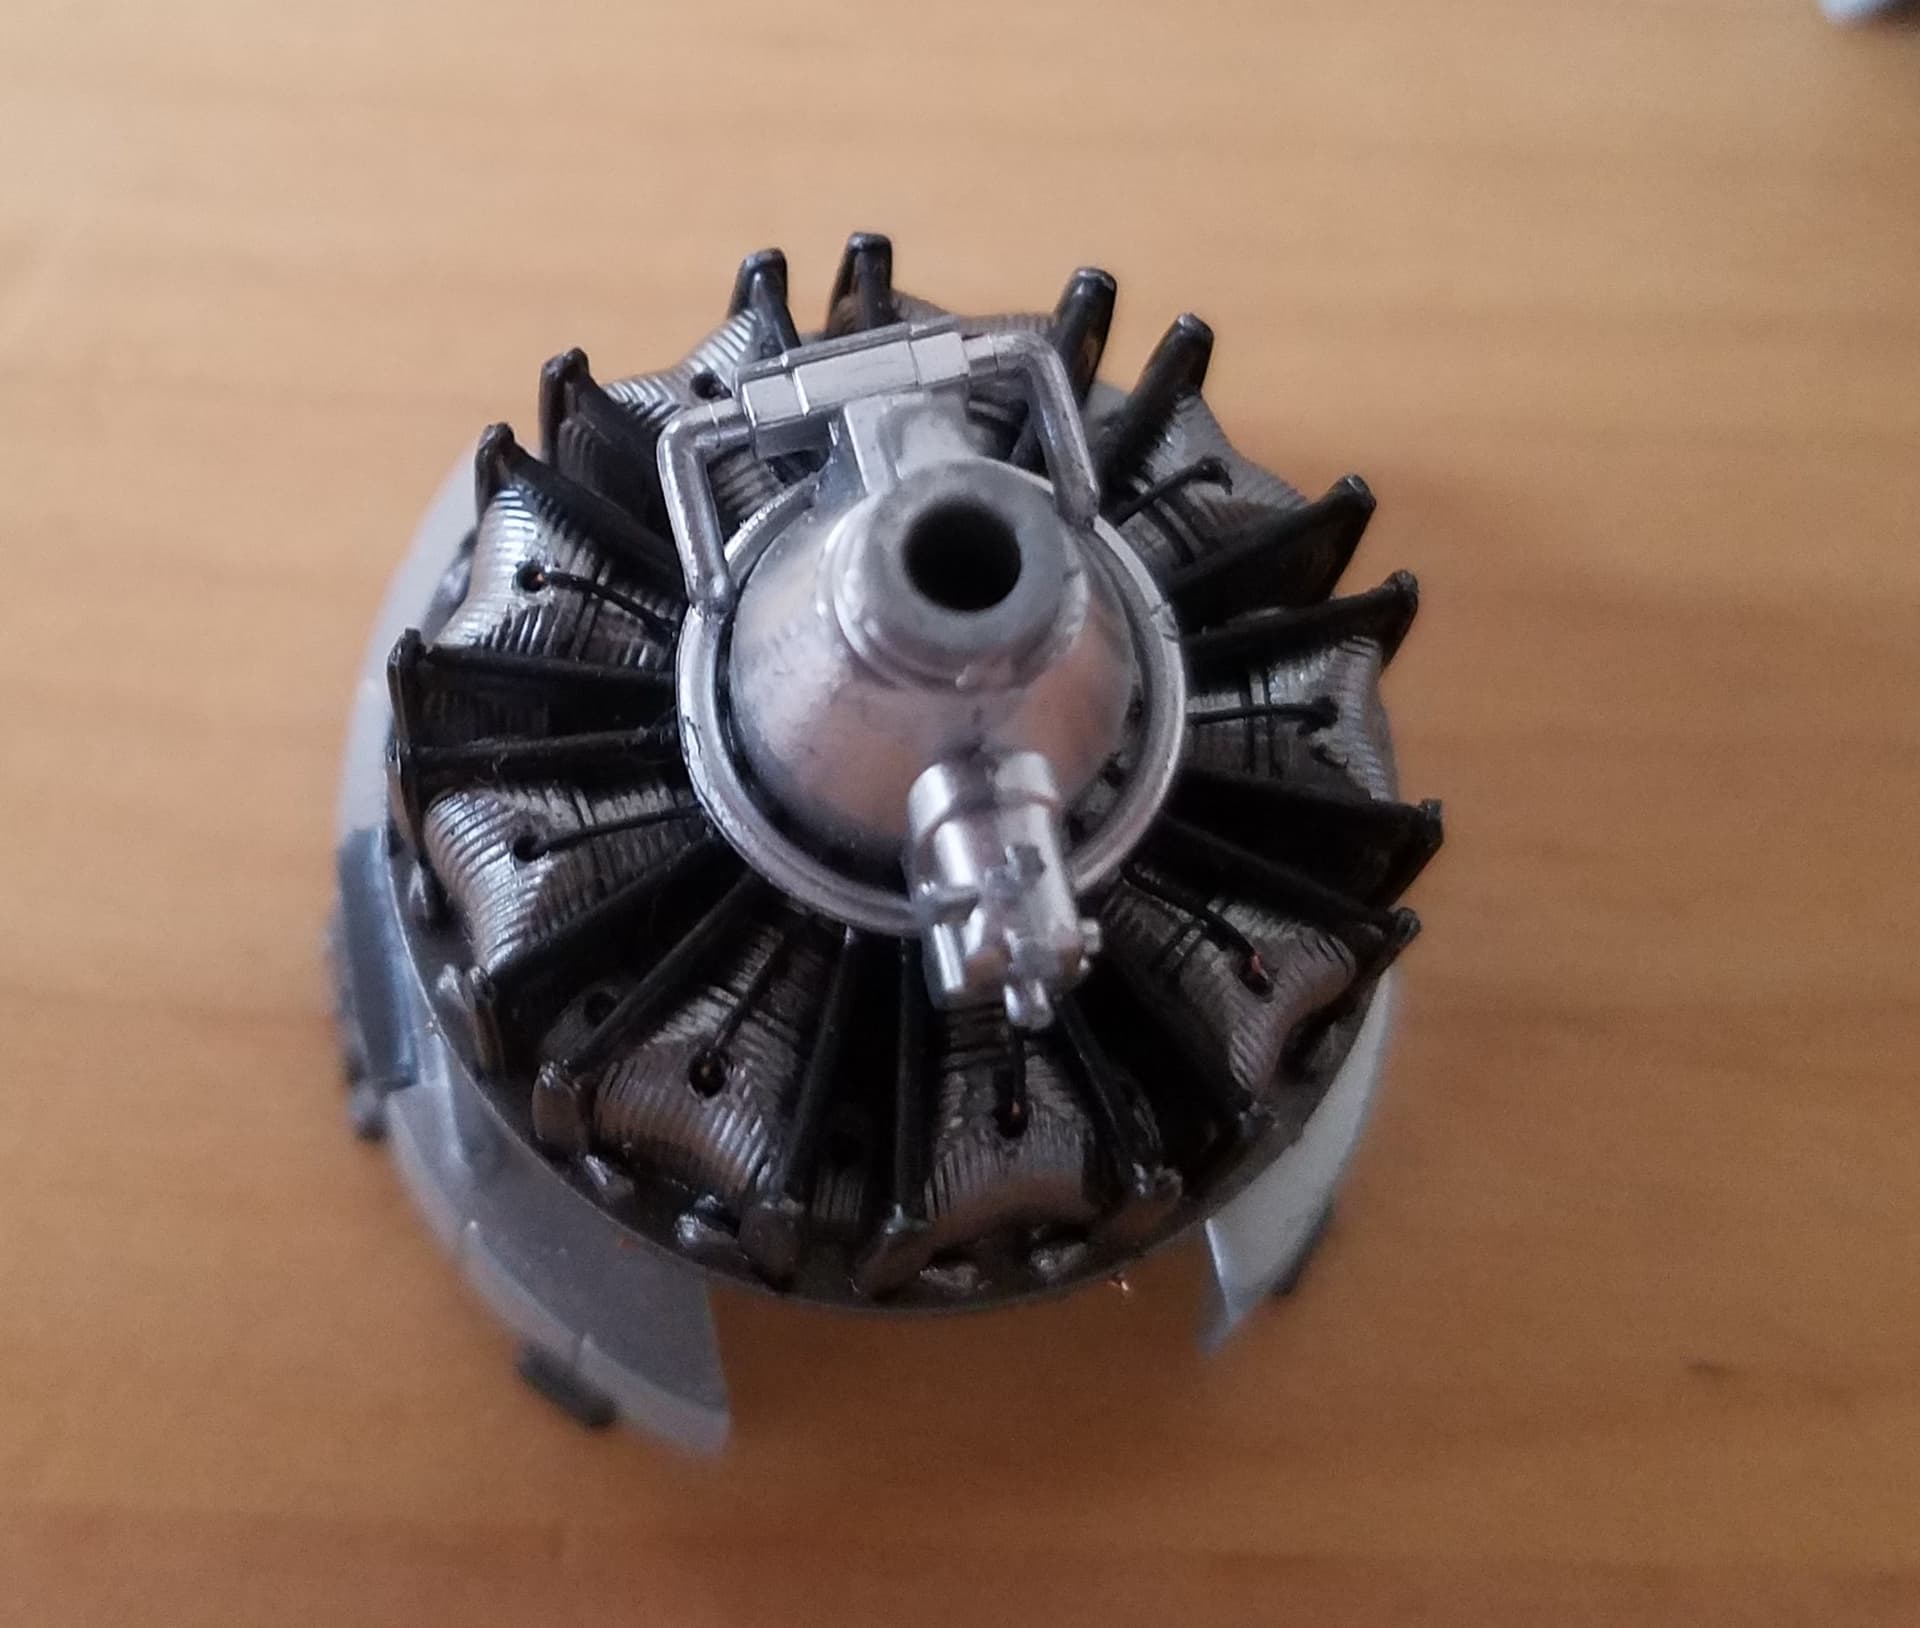
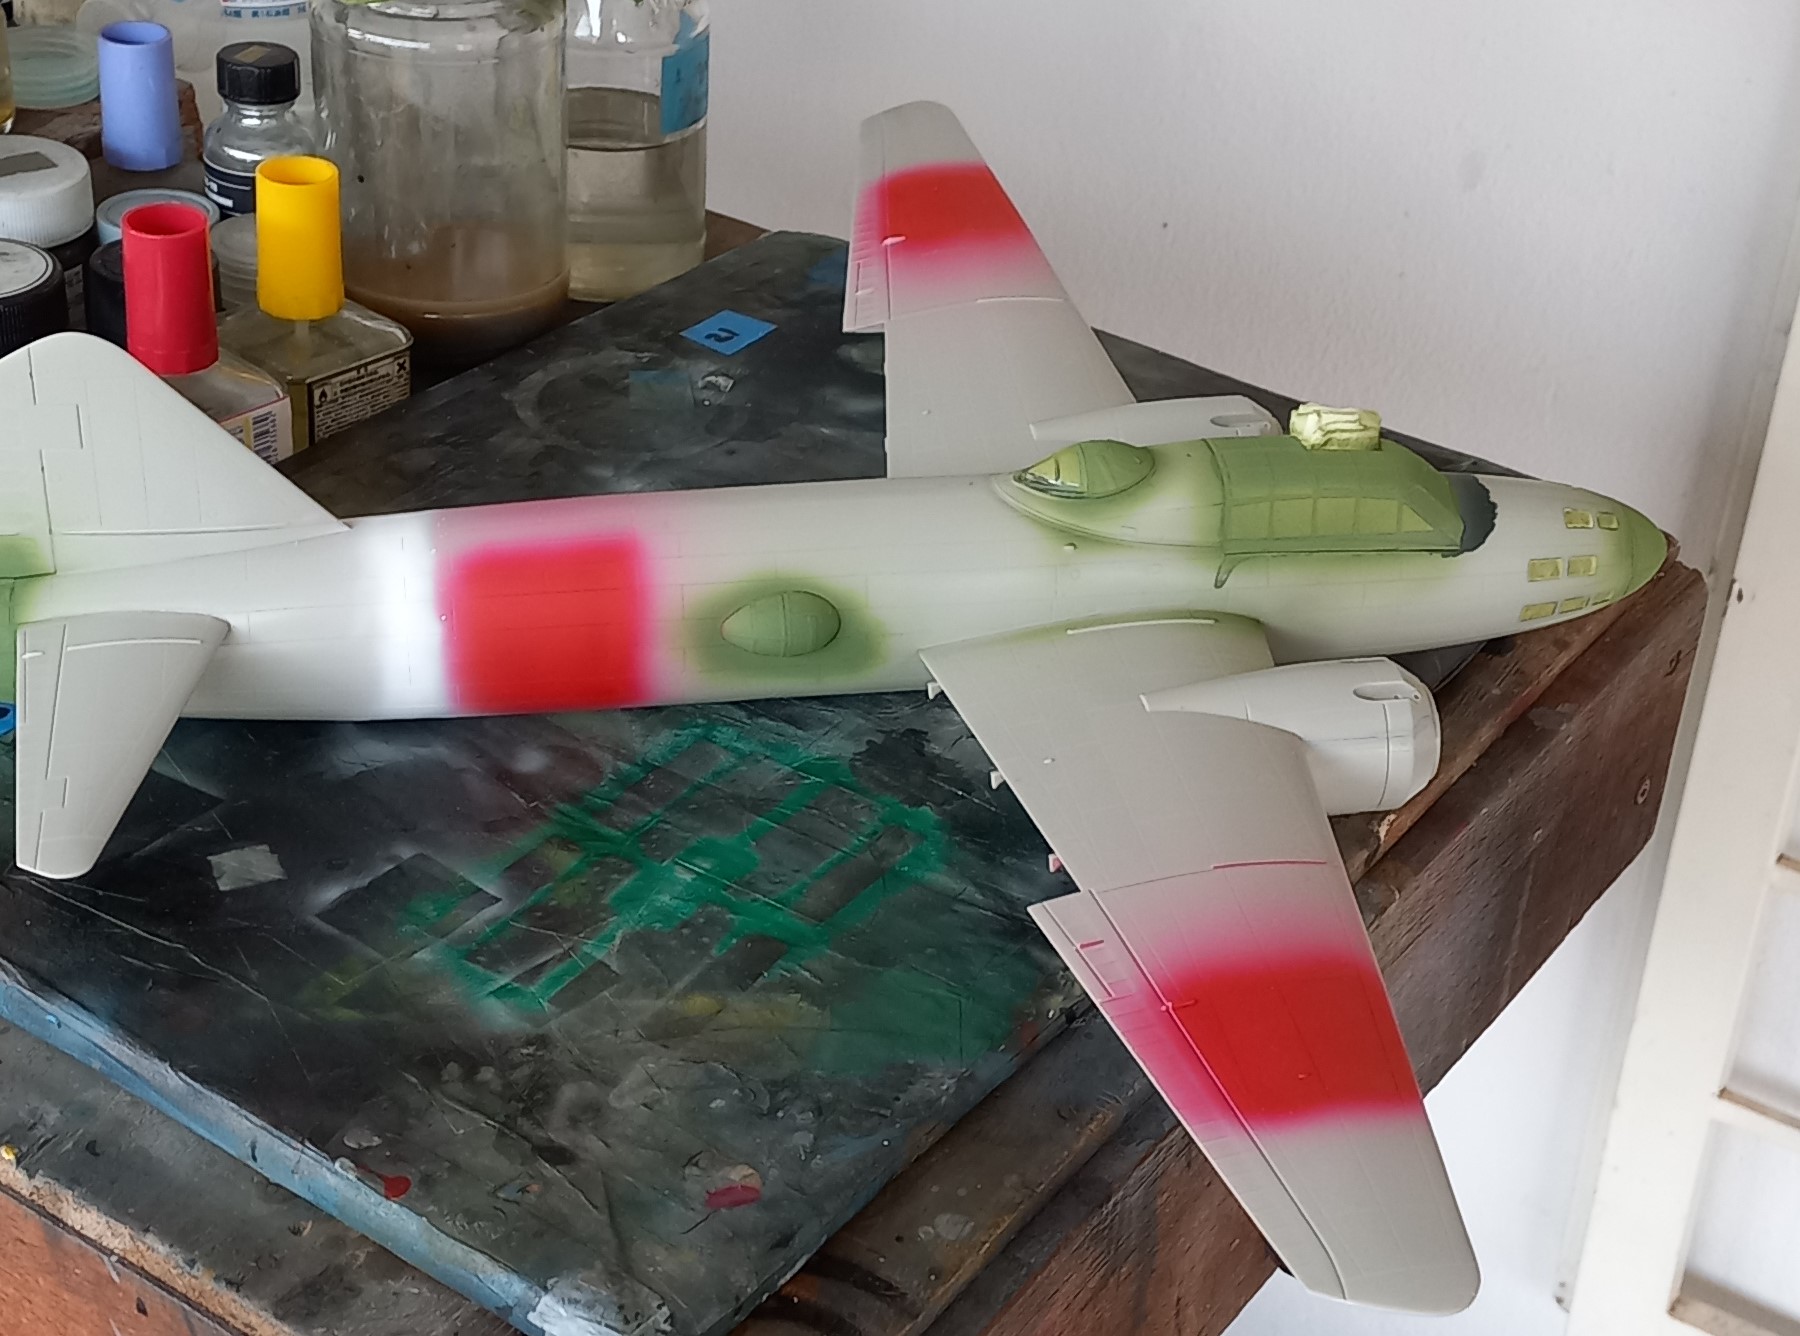
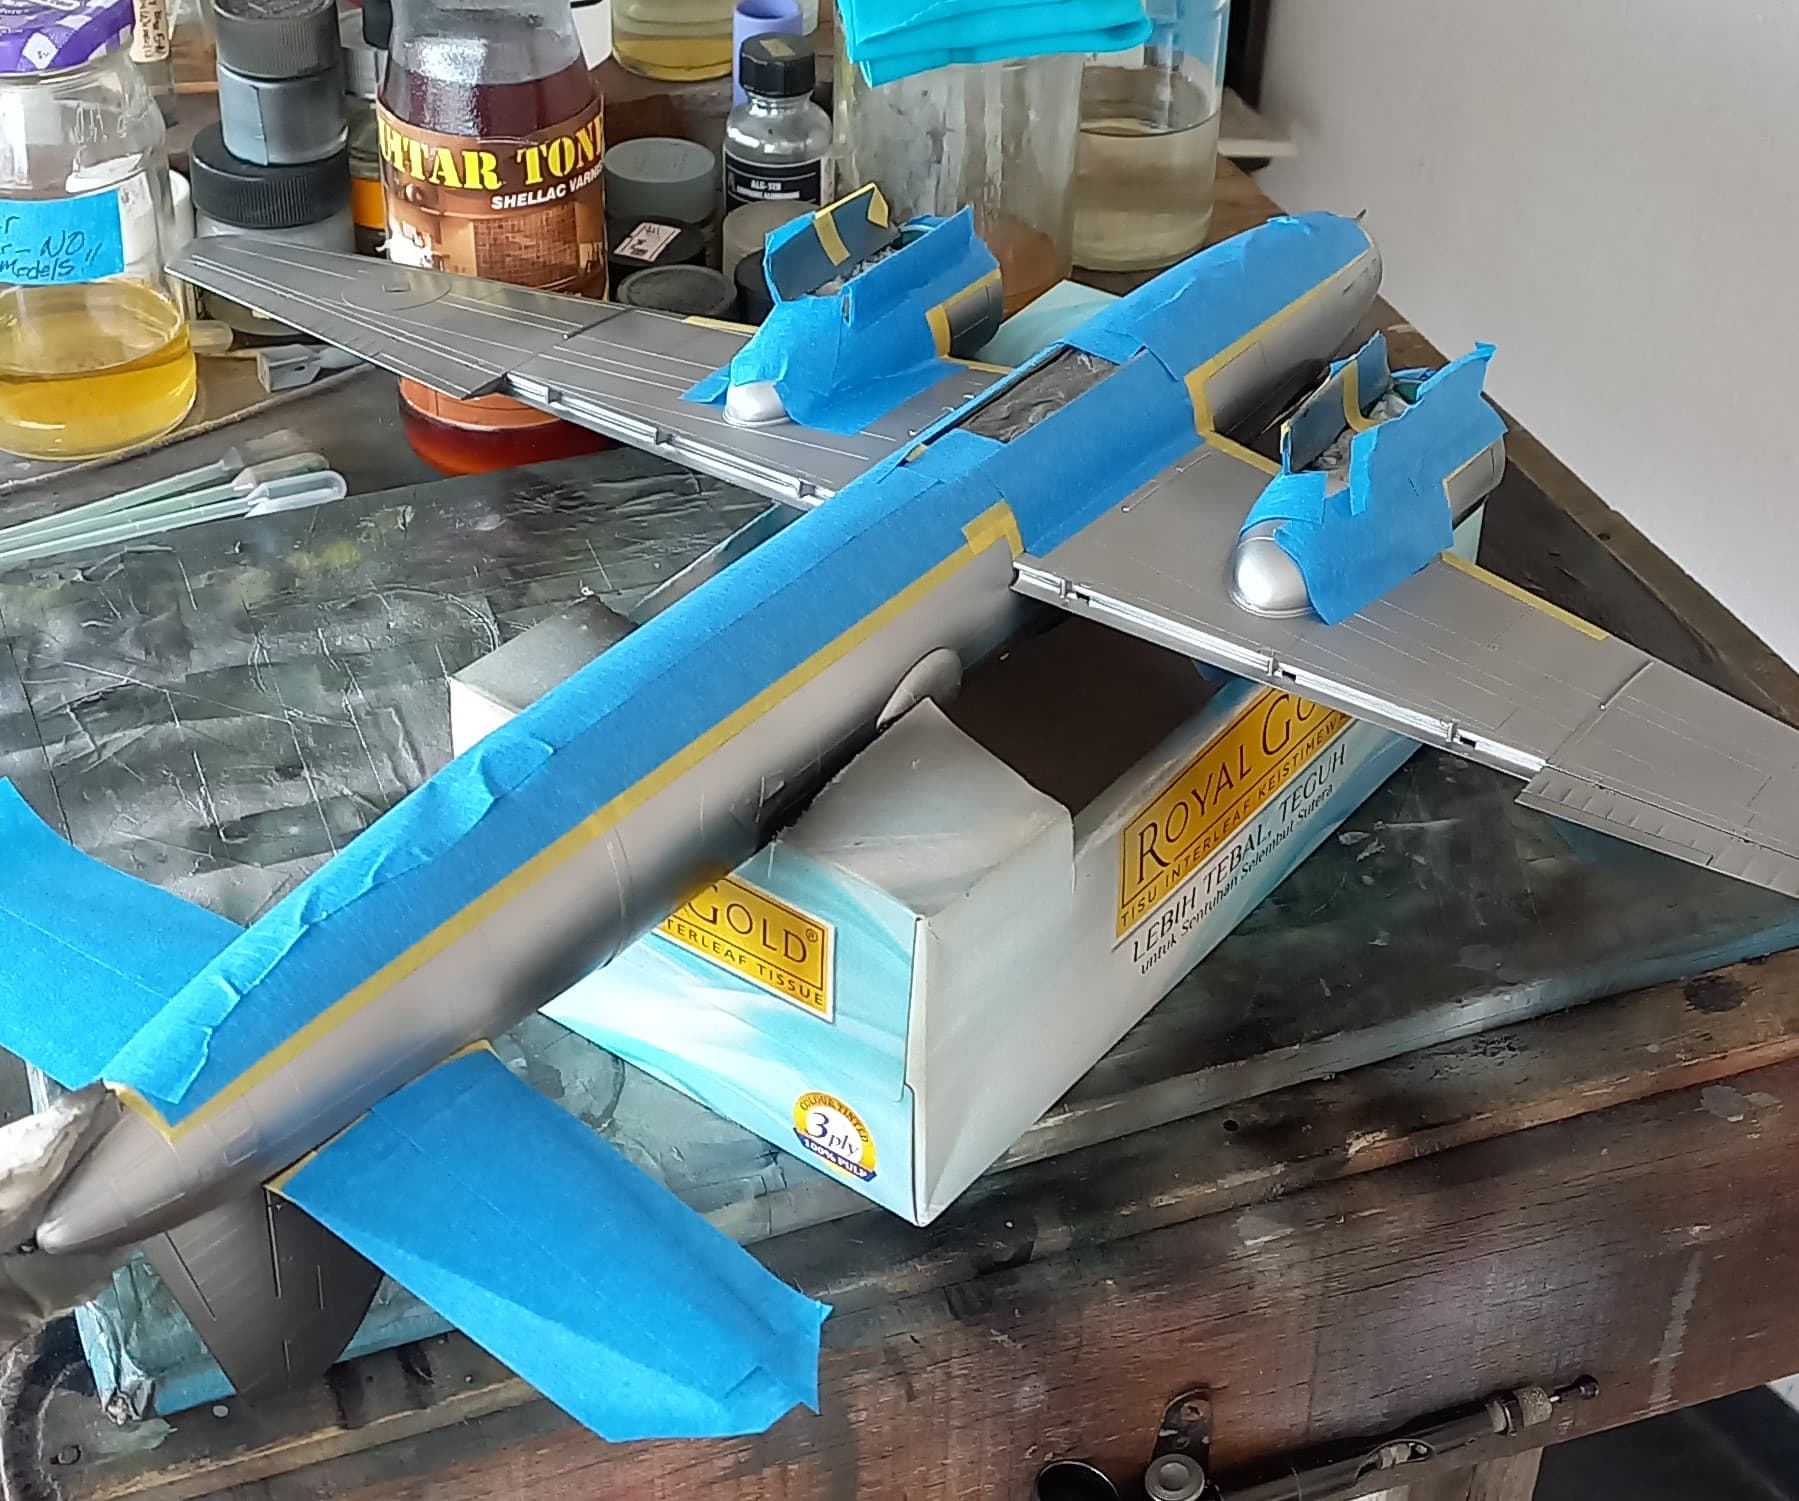
In my last update, the G4M had the airframe complete and then prepped for painting. The intent is to do the early camo 3 color scheme of IJN Green, and Red Brown over metal (silver). There’s been some conjecture as to whether the undersides were painted IJN Grey or left unpainted. Best I can figure is the planes were left in their silver-colored undersides as received from the manufacturer (Mitsubishi), which in photos can appear to be painted in a grey color. Either way, this one will have a silver underside.
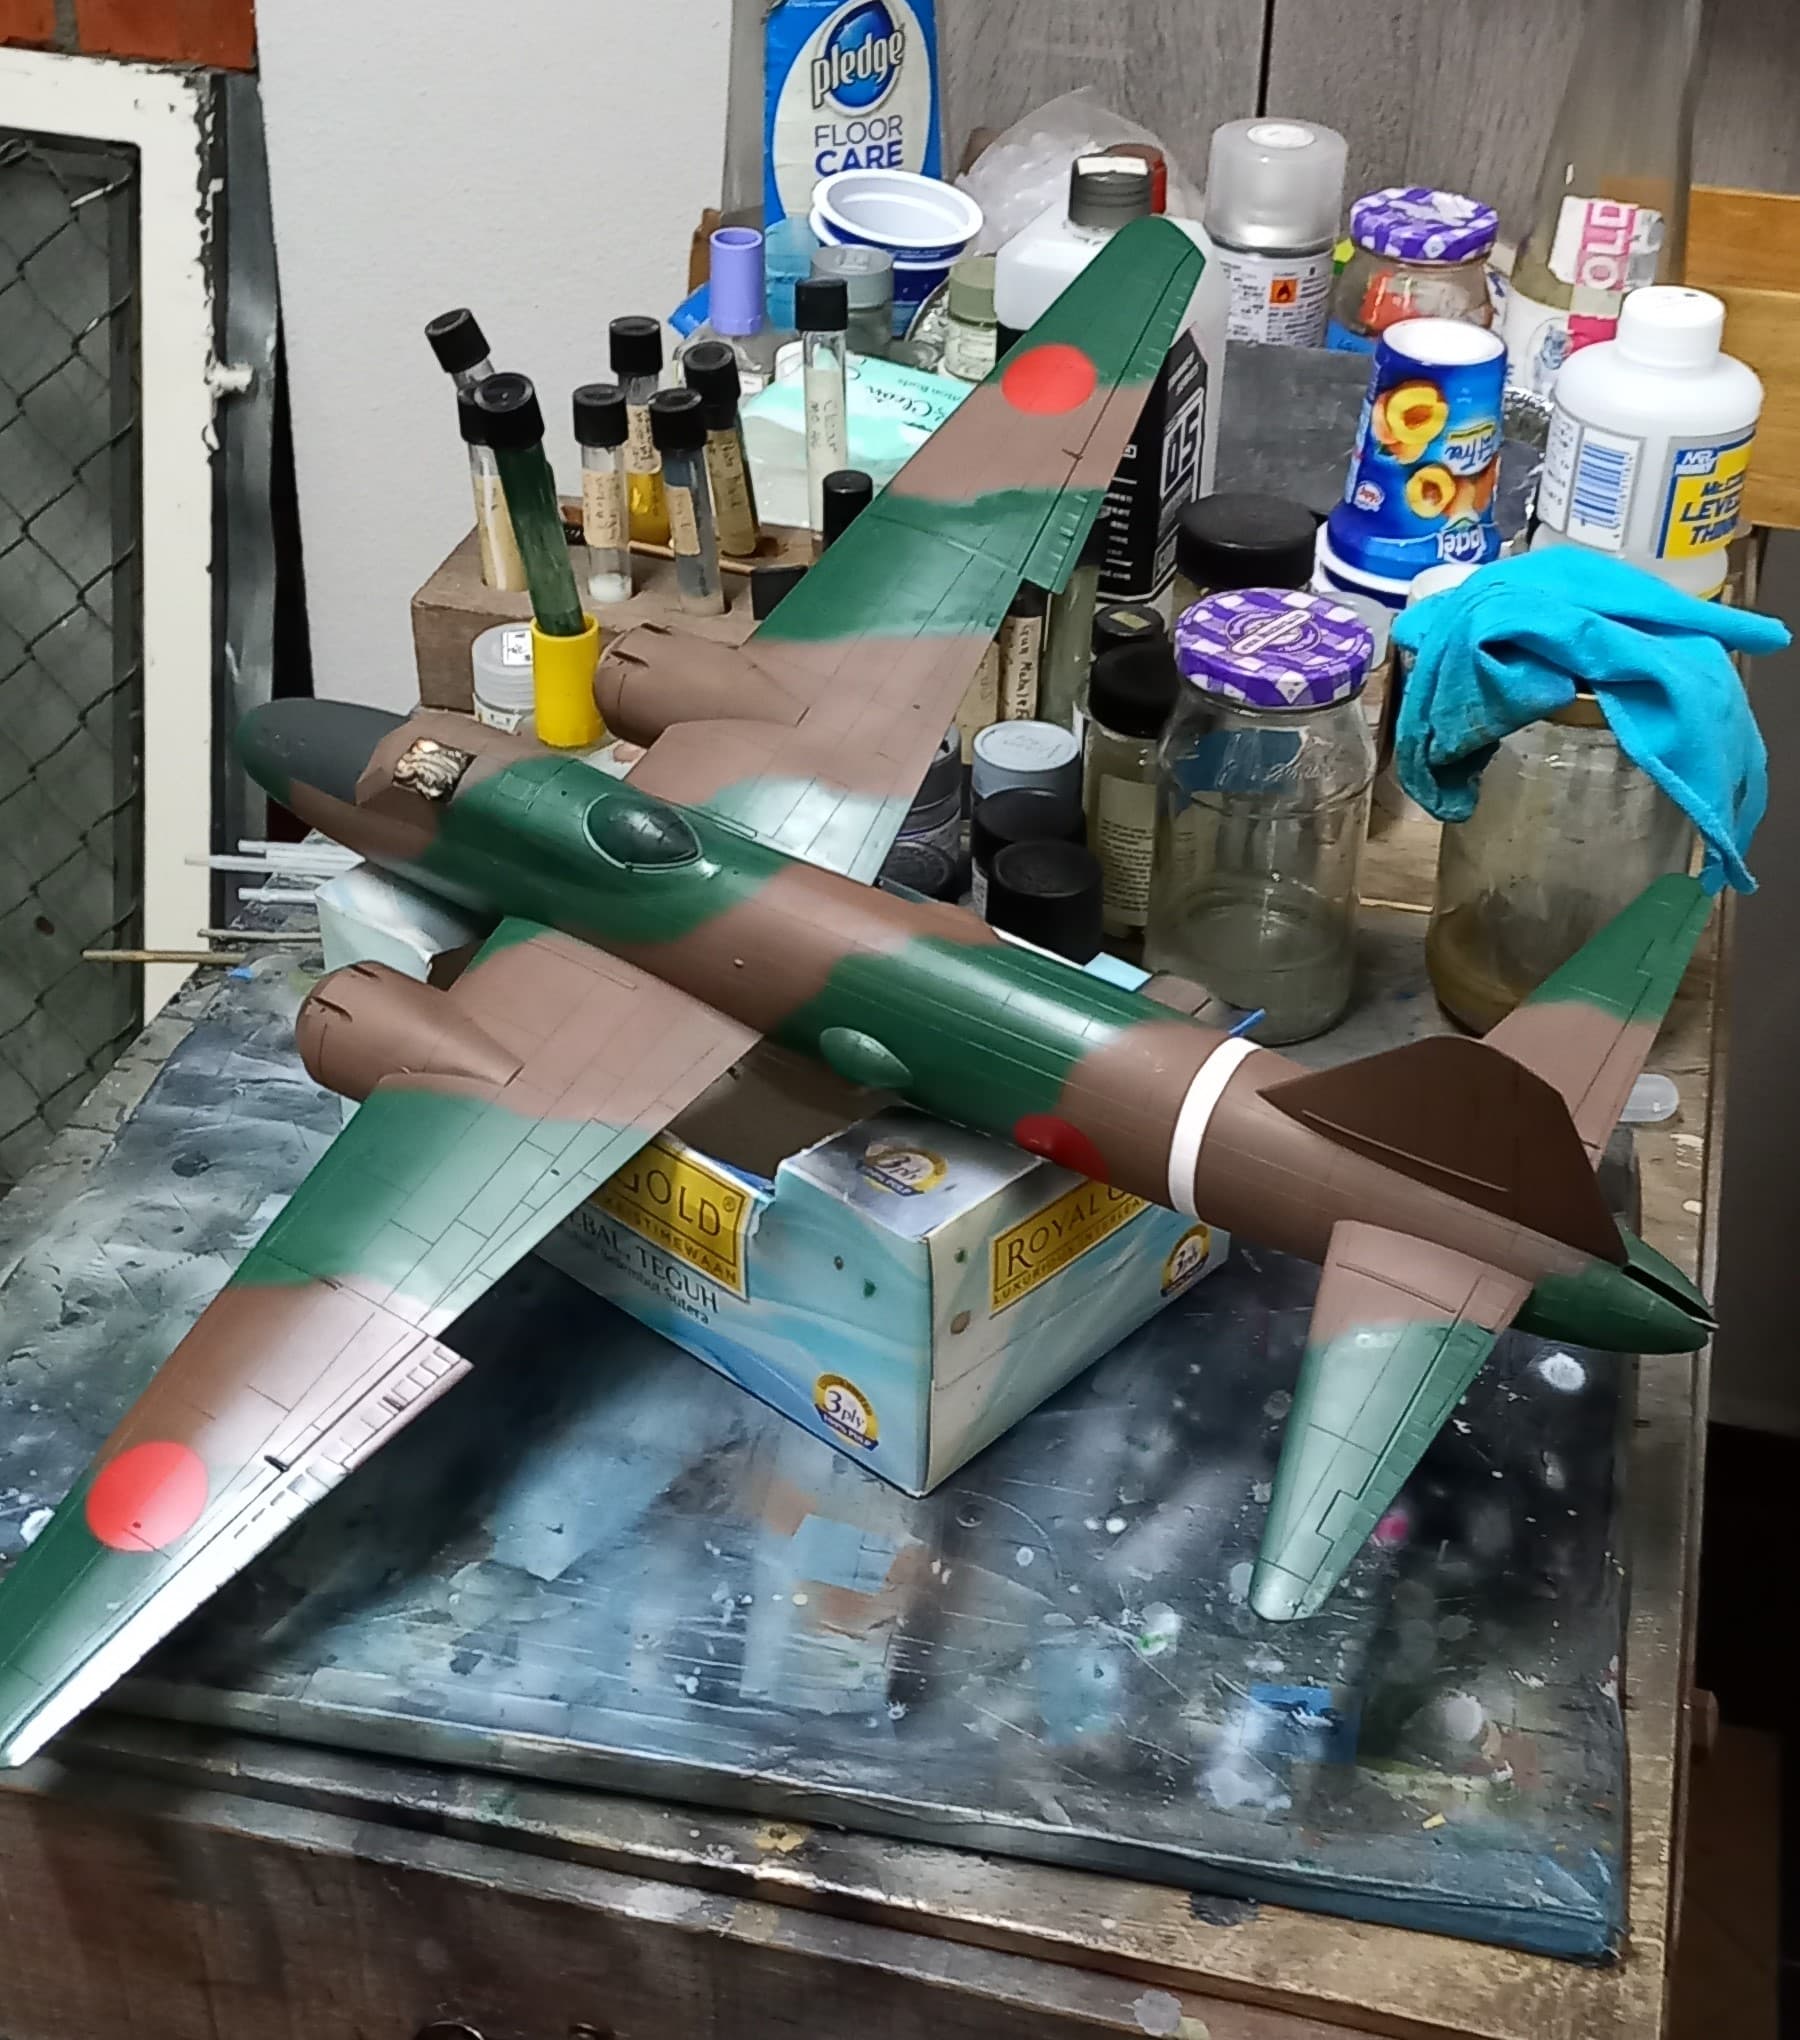
Since I intended to paint the insignia as opposed to decals, I laid the paint and cut the masks using frisket paper. Insignia red is a close match to what the Japanese used for the Hinomaru (the red circle), and Mr Color has made a red tint, 385 “Red IJN Aircraft Marking”, which I used. I believe that this color tint falls into Mr. Color’s catagories of “Prop Color”, “Cockpit Color” etc., that leads some of us to investigate a little more as what the color is, but in the end it looks right. For the white unit stripe I used good old gloss white. I also painted the glass interior frames using XF-71 Cockpit Color IJN, Tamiya’s answer to Mitsubishi interior green, which is a good representation of this color.
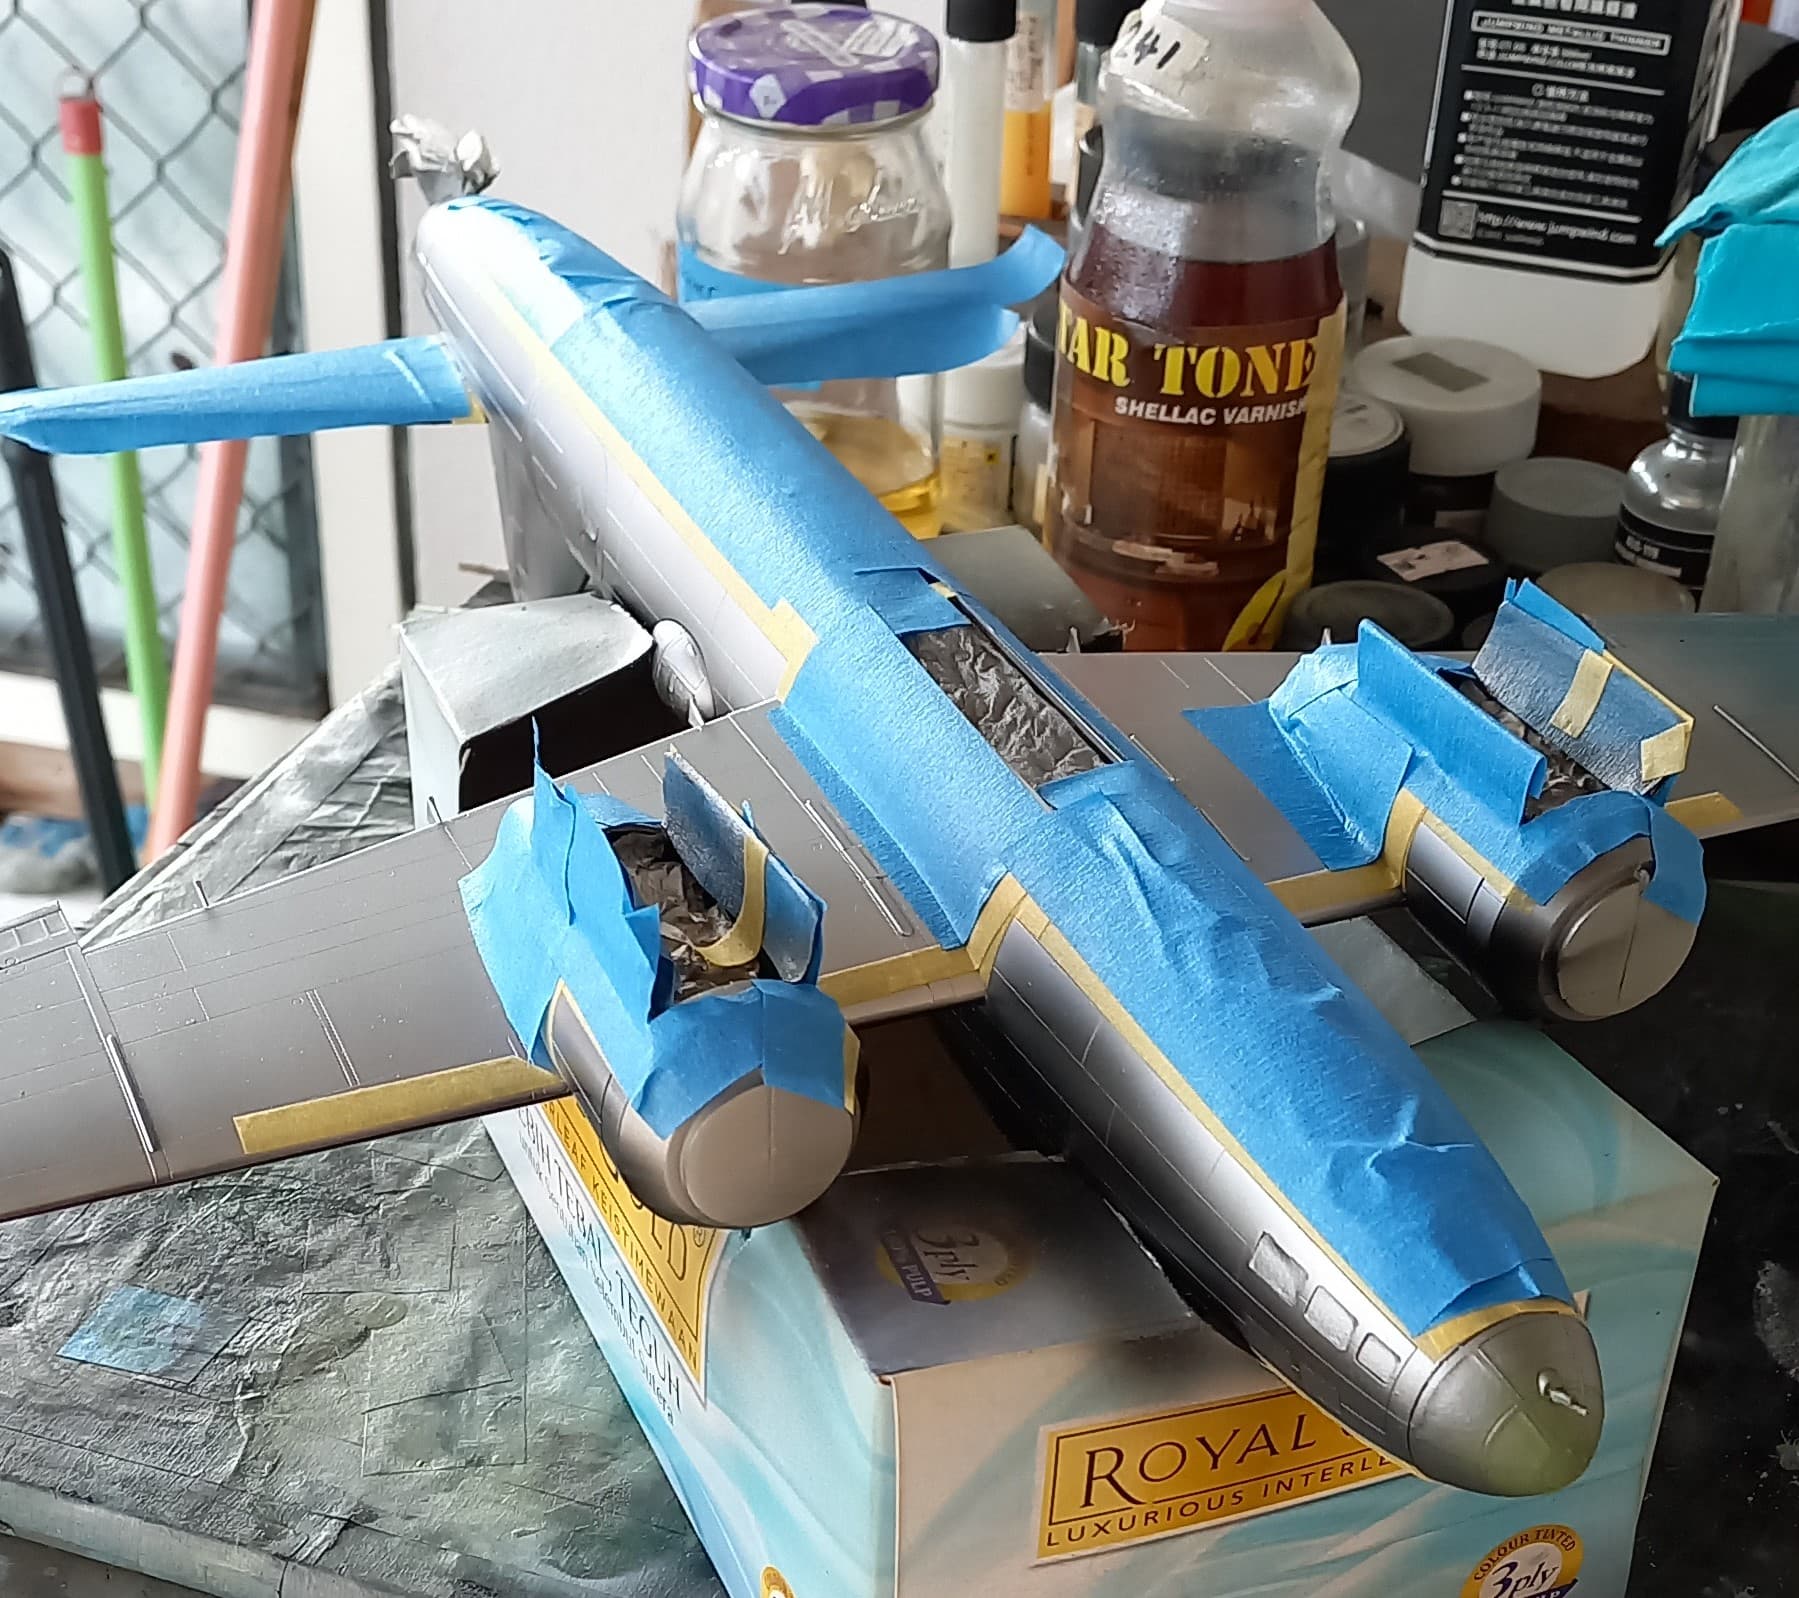
Using a razor compas I cut the circles from frisket paper using the kit decals as a guide, and for the stripe on the fuselage I used thin strips of Tamiya tape. Satisfied with the placement of the masks, I proceeded to paint the entire bird gloss black MC 2. I used gloss to allow the patina of sliver to show through while leaving the undersides nice and smooth, and then black base the uppers.

After the black had dried, I painted the undersides silver using MC 8 Silver, which to my eyes is a nice generic metal color that will leave a dulled aluminum shade. Given the airstrips that the G4M flew from this should be a good representation of the undersides. Once dry, I masked off the undersides to allow for application of the upper camo scheme.
Since I had my red paint handy, cleaned up propellers, and plenty of masking tape around, I opted to go ahead and do the propellers. I’ve come up with a method to airbrush props that works pretty well, which to me is important as these are a high view item on the finished project. So, for me doing propellers that look right and real is important. Once the prop is cleaned the tip color is applied, in this case red stripes that are 1 mm wide seperated by 1 mm.
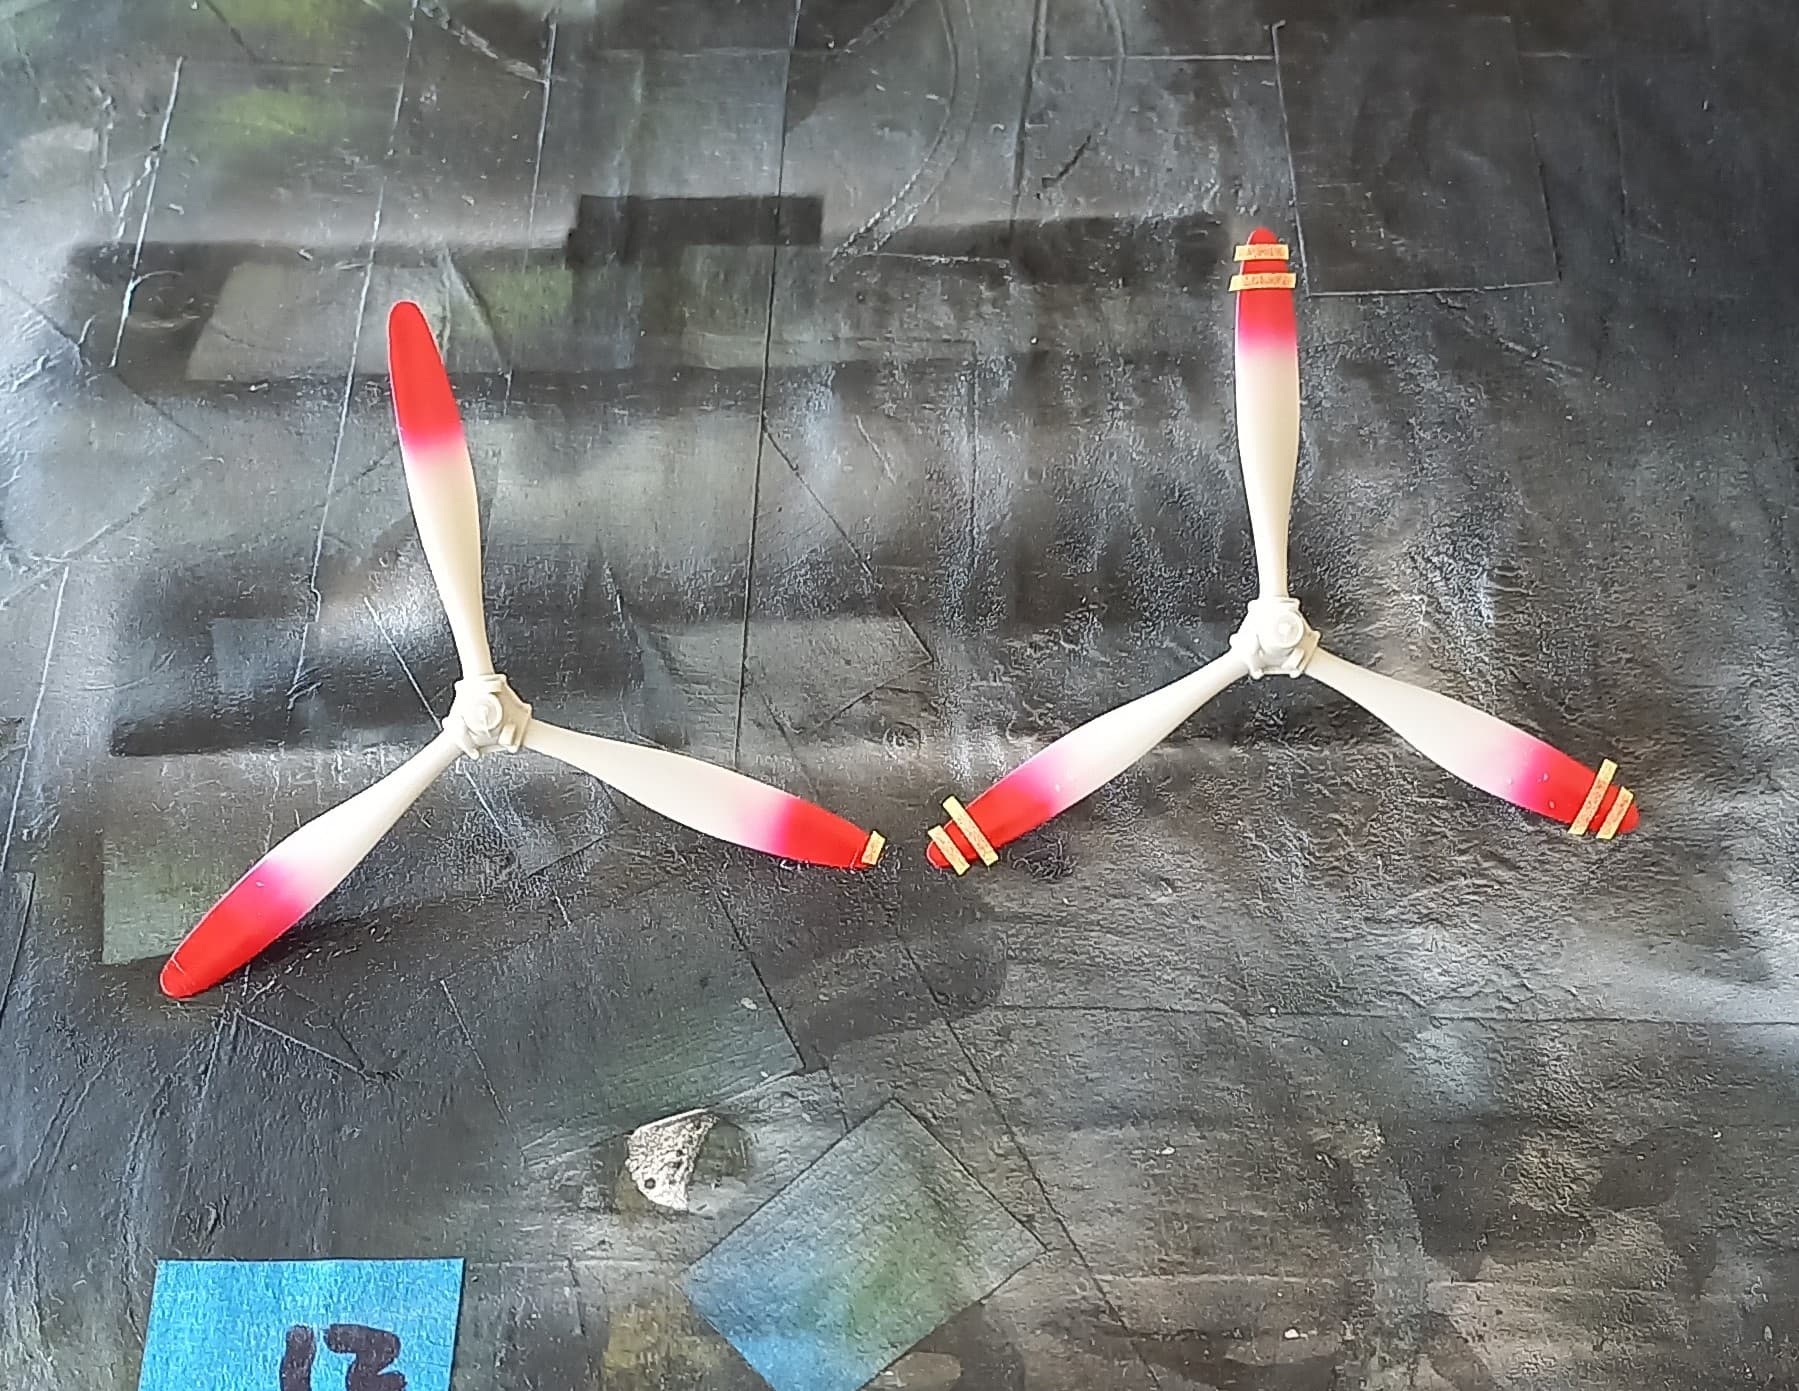
I then paint the entire prop gloss black, given that most props are black this makes things go faster. In this case the props were left natural metal, so I used MC 218 Aluminum, which is buffable and gives a really nice polish. For other props I still follow this method which would be to do the tips, mask them, gloss black over the entire prop, and then mask off the blade area, and paint the hub metal and then mask and apply any prop hub color, following this with a coat of flat clear on the prop blades. Hope that little tip helps!
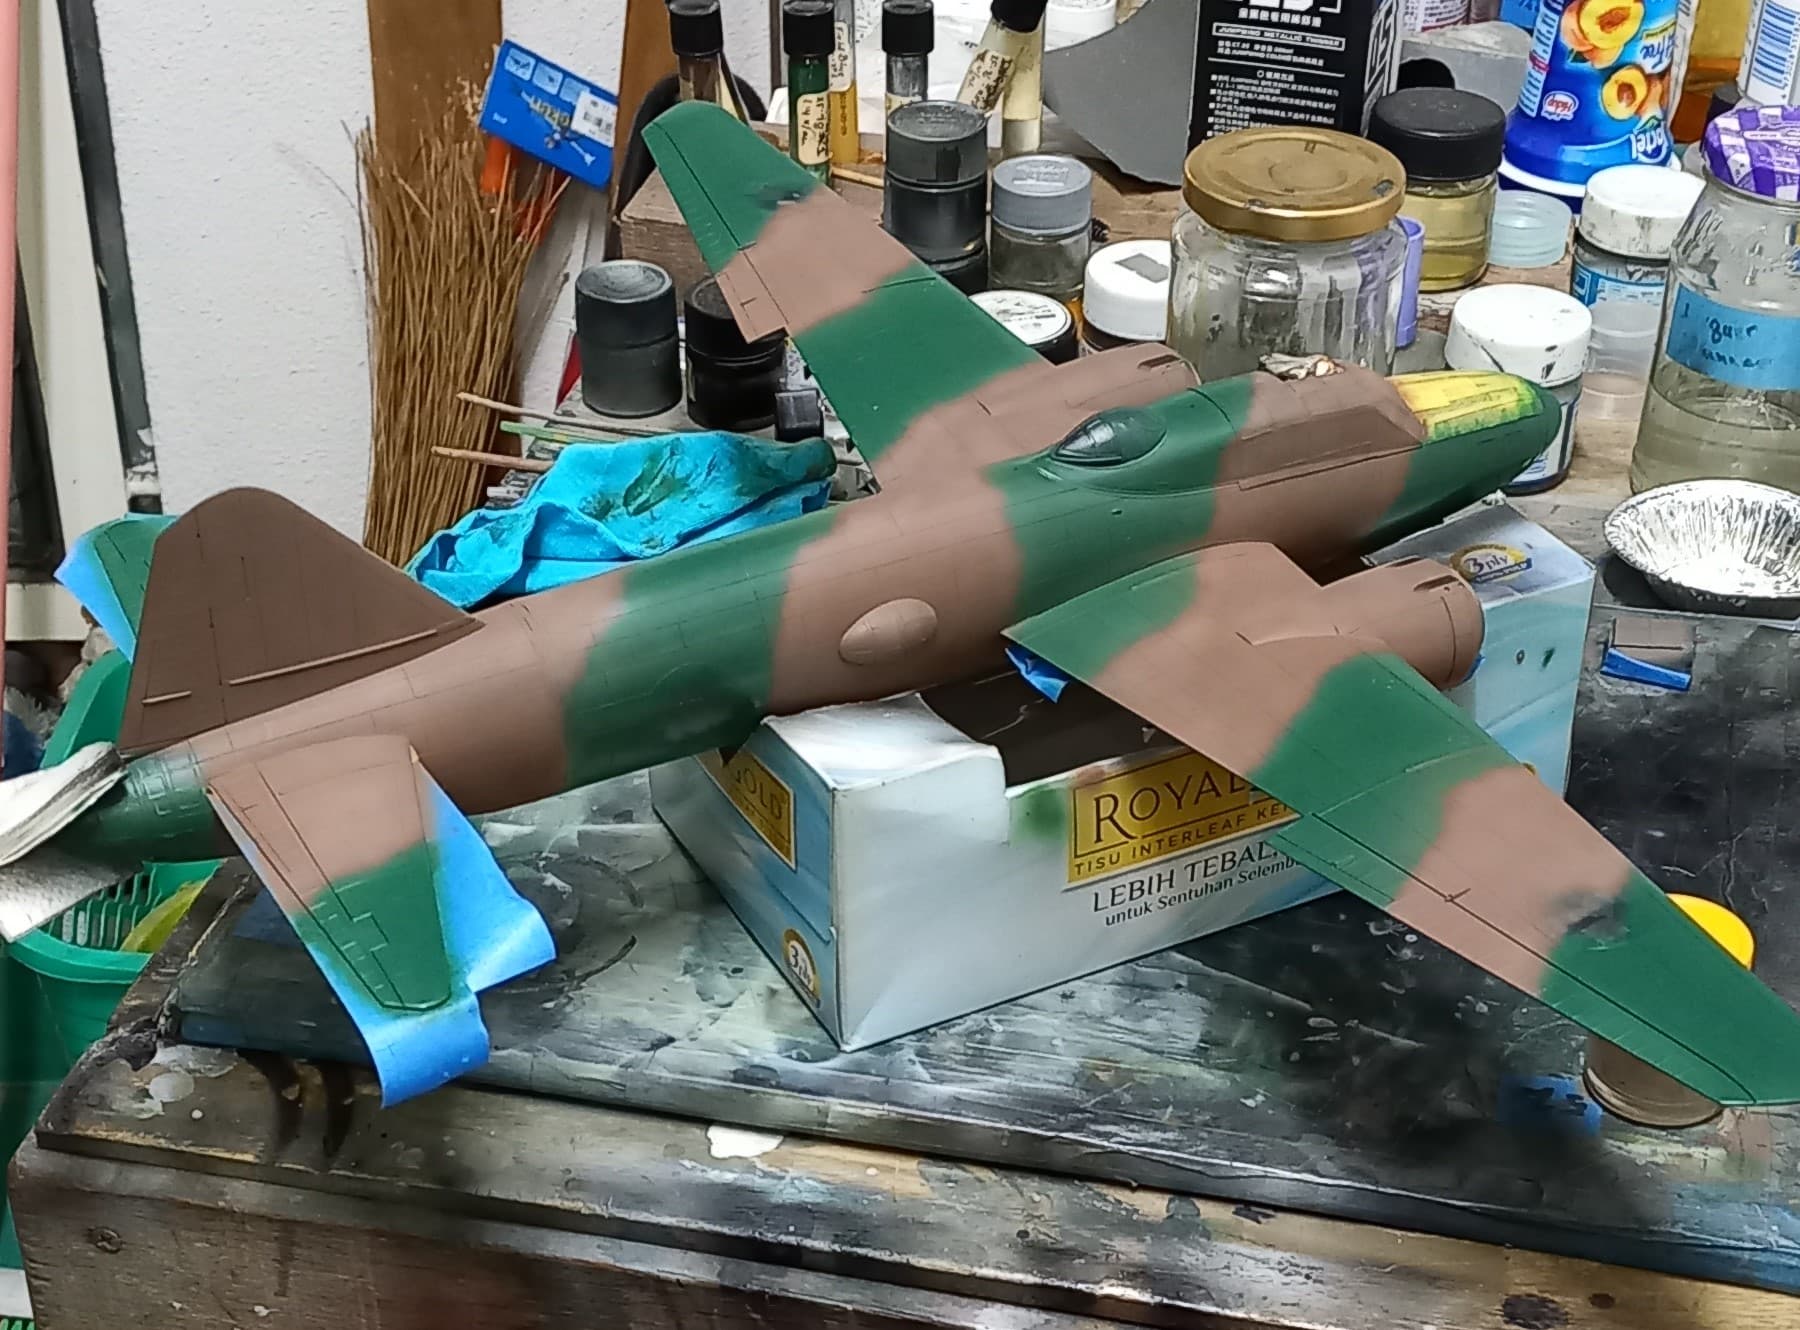
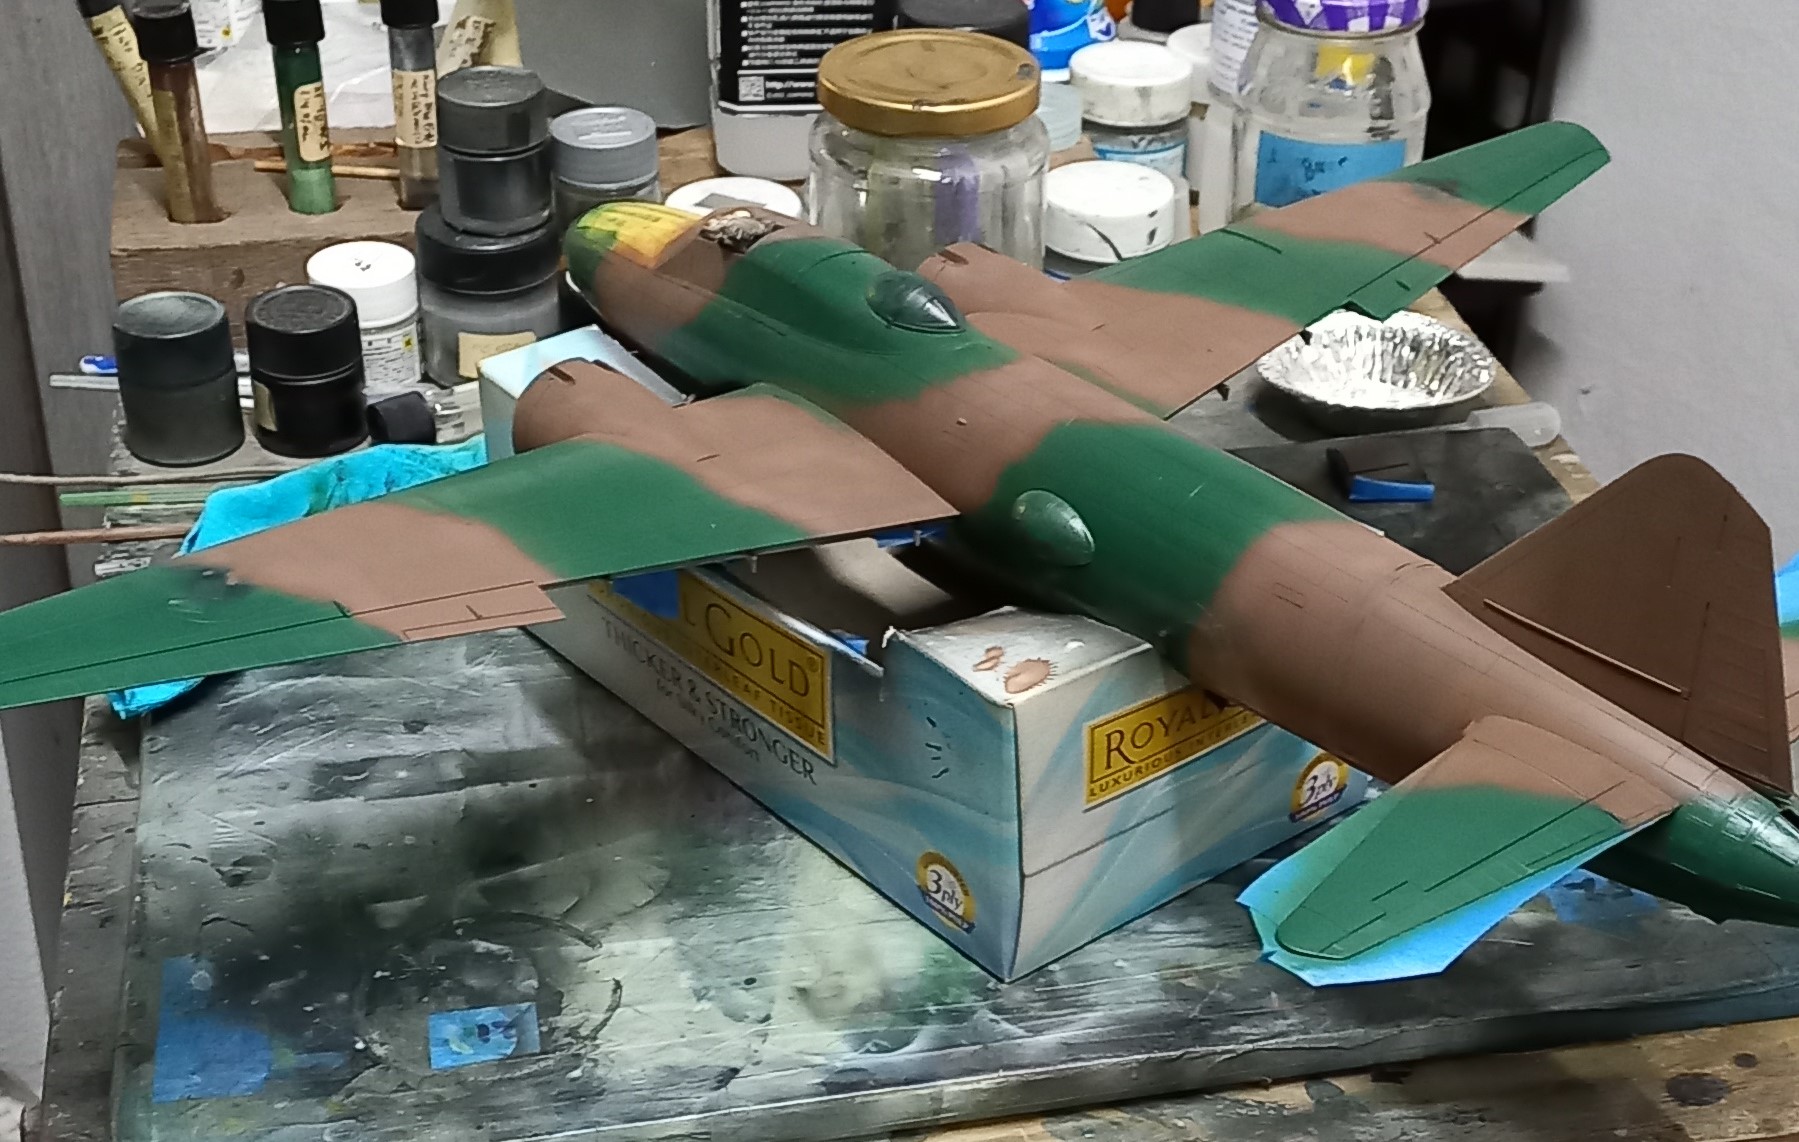
Next it was time to do the upper camo scheme! Normally, I free hand camo schemes by hand using the lightest color and proceed to the darker color, this helps in hiding the lighter color slight overspray appearing on the darker color which optically makes the demarcation line appear larger than it is. This time I didn’t and can only blame post-surgery healing as the reason. There must of been a little anesthesia still running around my head which lead me to start off painting green. I used Tamiya Green, XF-11 (Mitsubishi Green) and white (2 parts green one white) and then diluted using Mr. Color Thinner 1:4. Using the kits artwork and paint instructions I laid down the green.
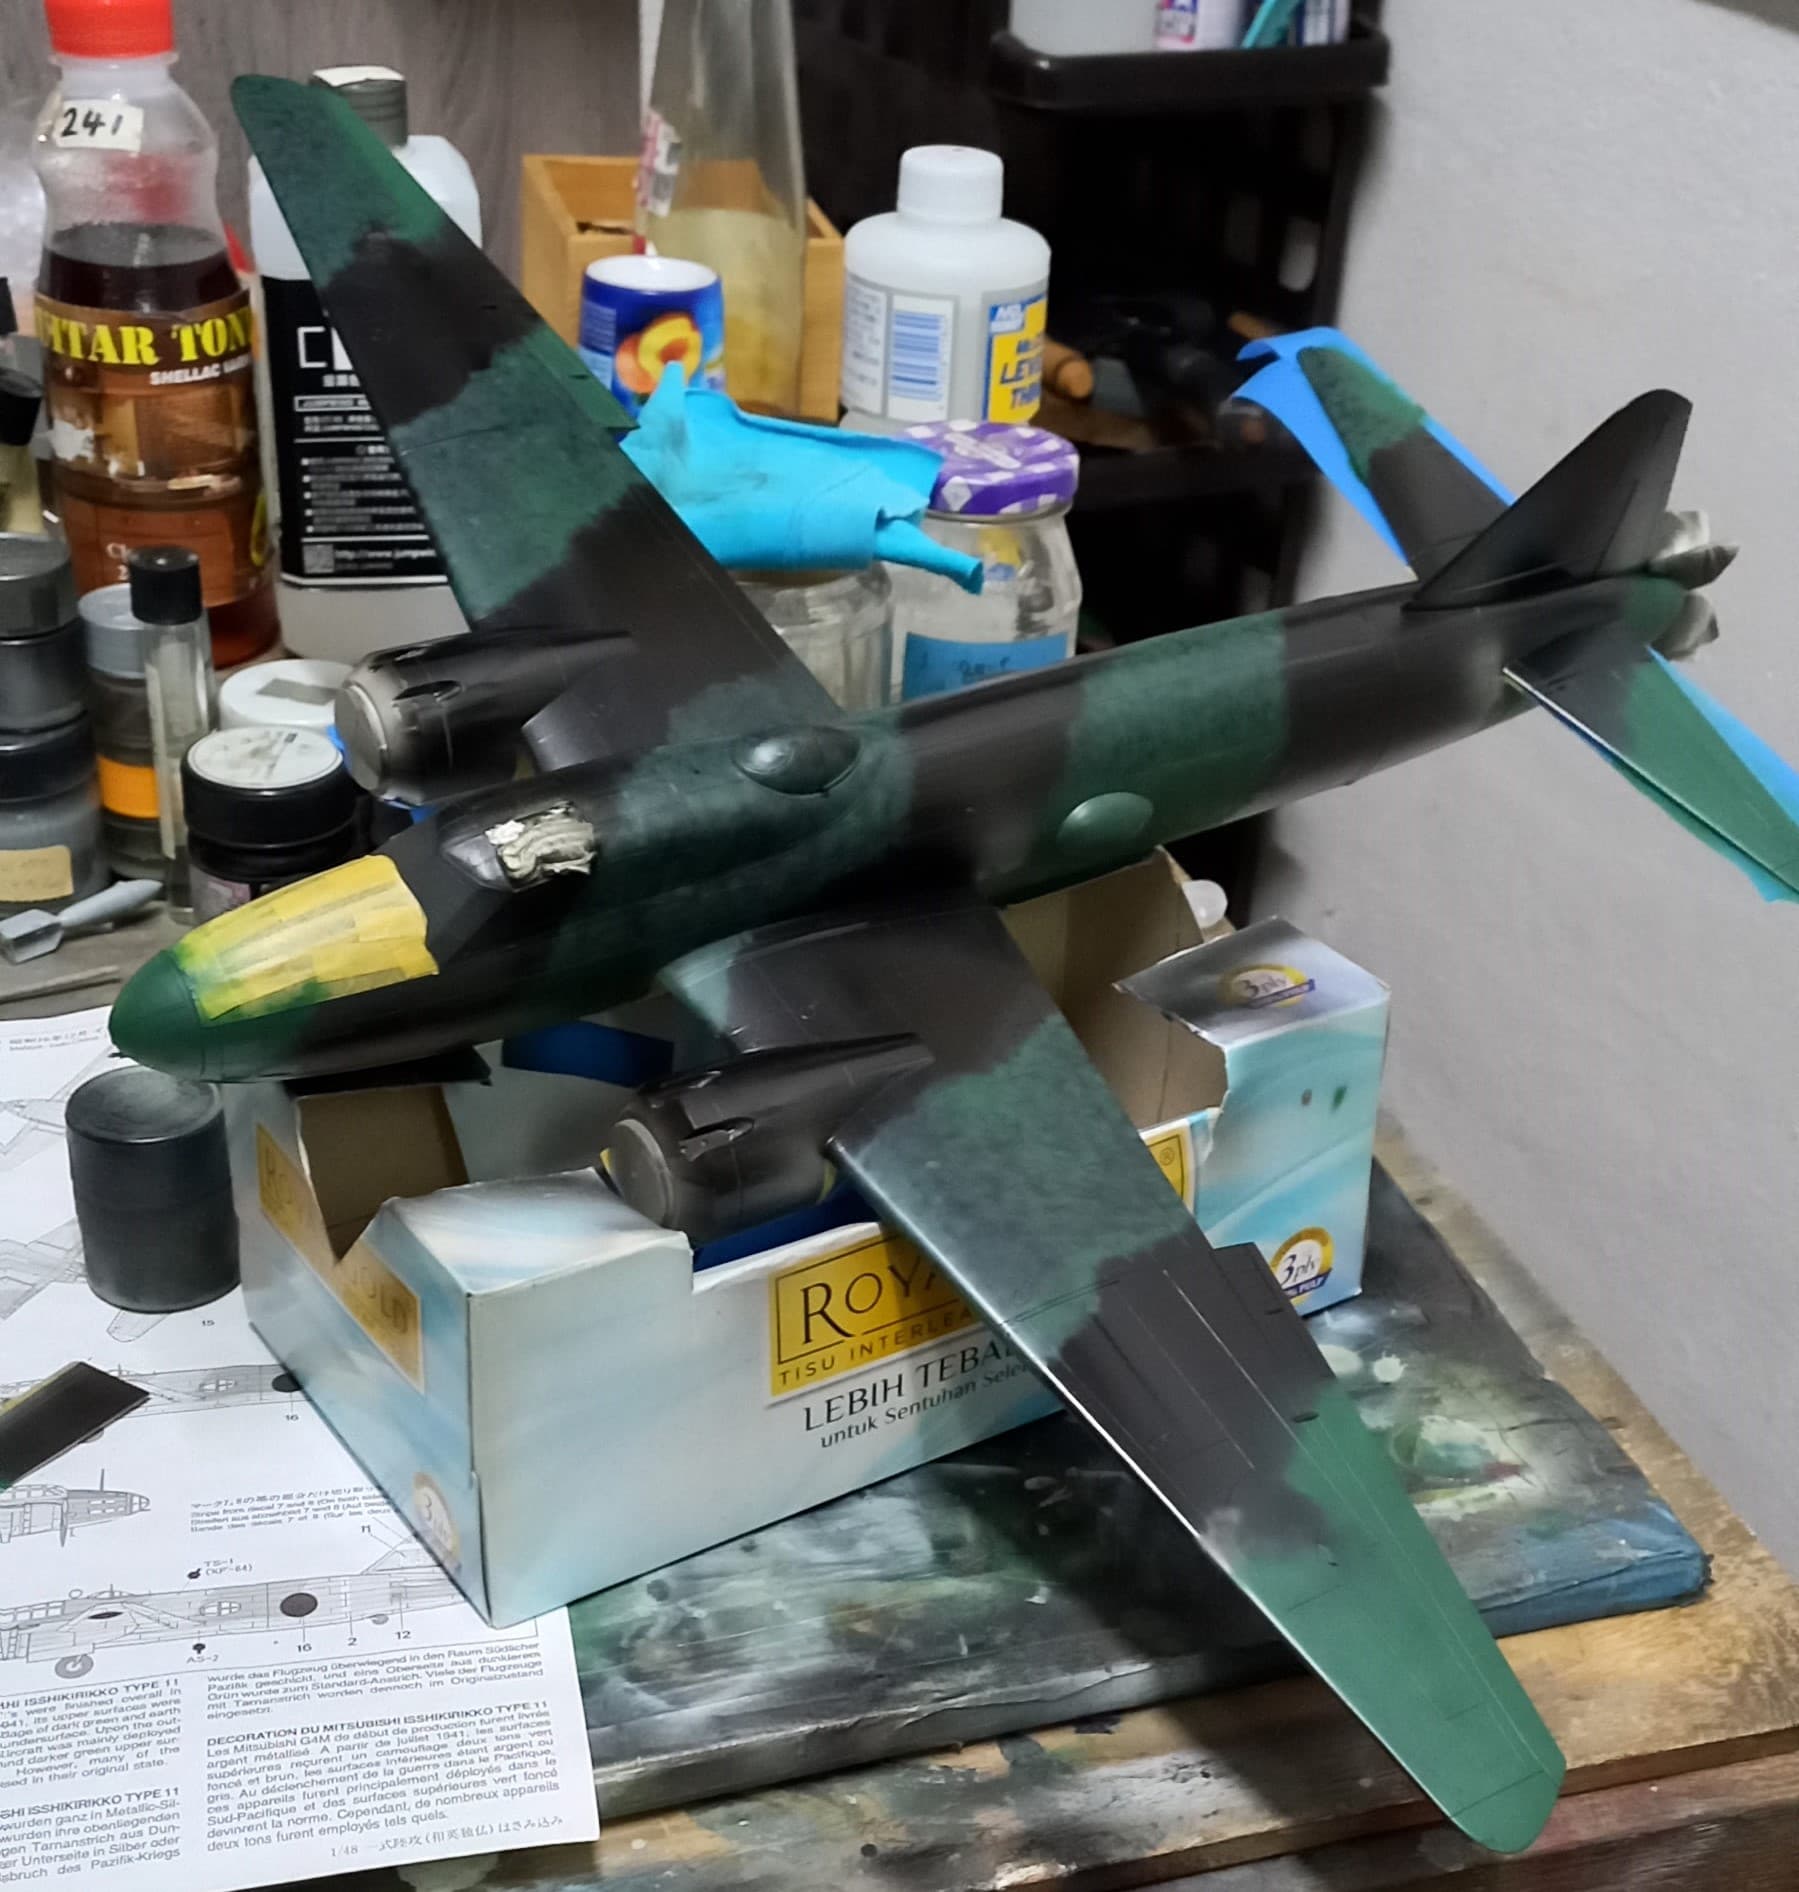
Next, I used Tamiya XF-64 Red Brown diluted 1:4 with MLT, and filled in the areas to complete the basic camo scheme.
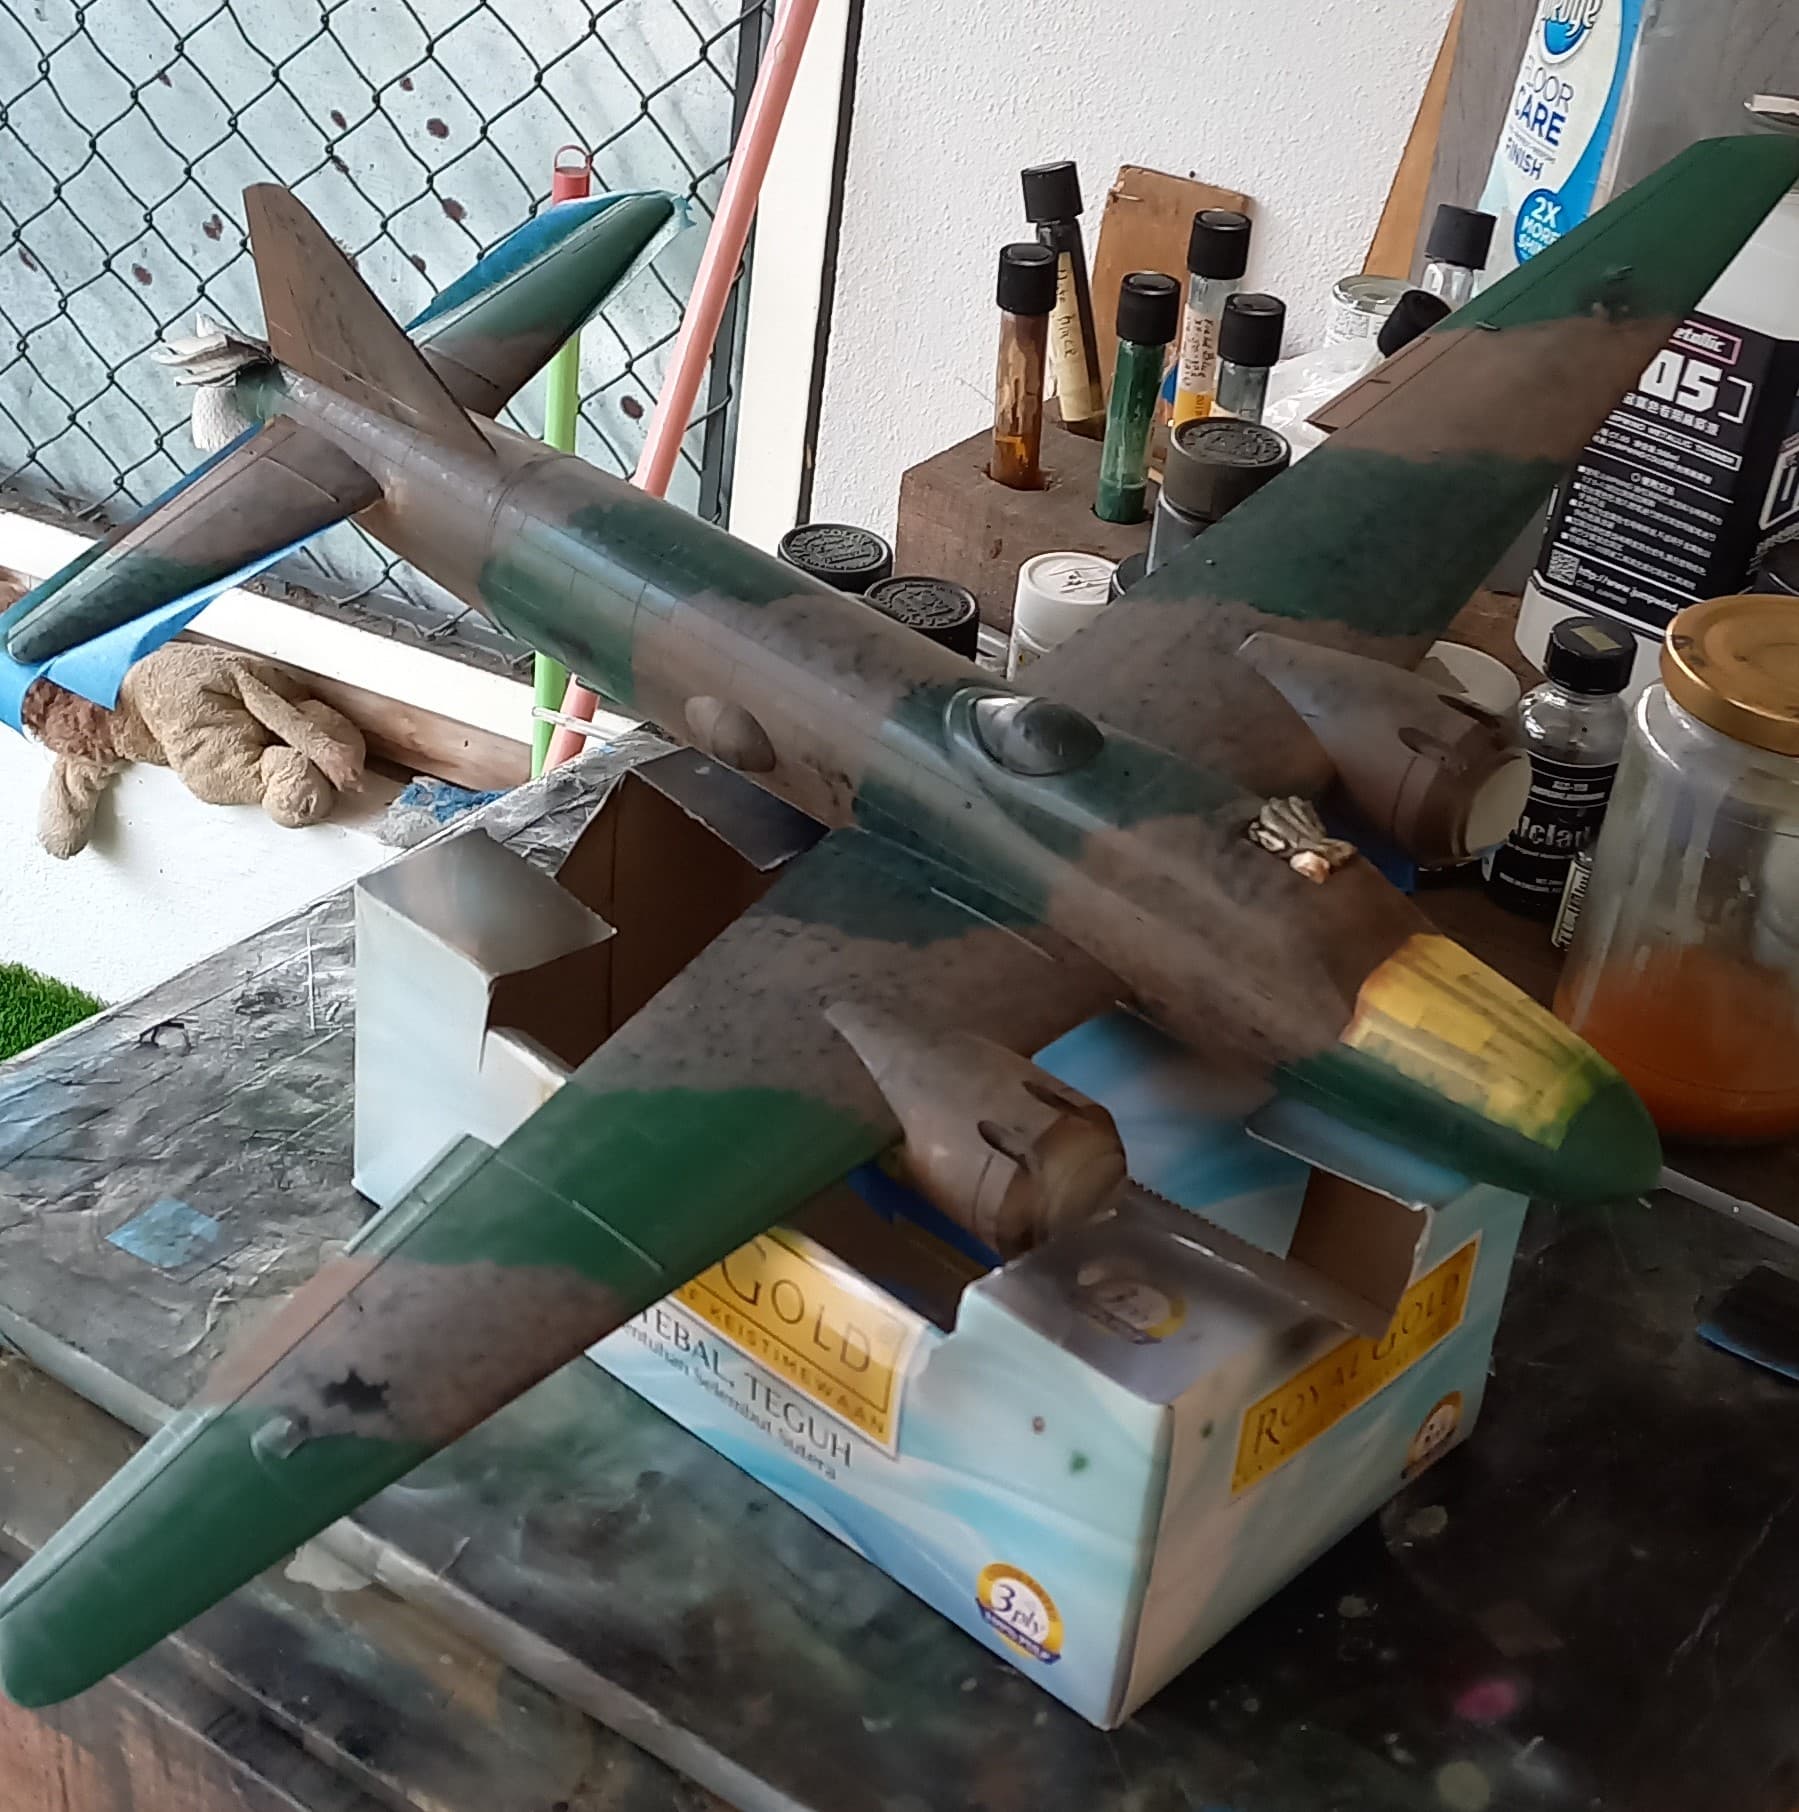
I then touched up the areas that I missed and tightened up the demarcation lines. Feeling pretty good about this paint job so far!
Satisfied with camo, it was time to remove the insignia masks.

Next up will be some clean up followed up with some clear coats in prep for some washes and weathering. Also, taking this time to finish up the little parts. I’m really pleased with the way this one is turning out. Till next time, have fun modeling!
10 Likes
Woah! Spectacular paint job! Really like the in progress shots too!
1 Like
Great job on the Betty!
1 Like
I have that one, too.
I might just jump in with it…
1 Like