Can you explain what parts you got?
Hi PiotrK,
Not sure what parts you are referring to, but if you can describe a bit more, I’ll be very glad to answer your question.
Hope you are doing well.
chuck
I’m interested in some white parts from the last photos you put in. I’m fine with everything - I glue the model and drink beer, listening with my ear to how my favorites get whips from Argentina ![]()
Very cool. What Argentina groups? Oh, the white parts are sheet plastic from either Evergreen or Plastruct. They produce a variety of shapes and sizes, but you may already know that. So, I used a 1mm wide flat plastic strip to make the vision port handles. The handles basically prop open the vision port. I also had to make from the same thin 1mm strip, an “L” shaped latch the handle rests in when the vision port is closed. The pics that I’m working from probably have missing details and the viewing angles are not the best, so I had to kind of interpret a bit, so perhaps some of my details are wrong. I just don’t have any more resources showing better interior detail.
Hope that answers your question. If not, keep drinking, listening and drop me another line.
Cheers!
chuck
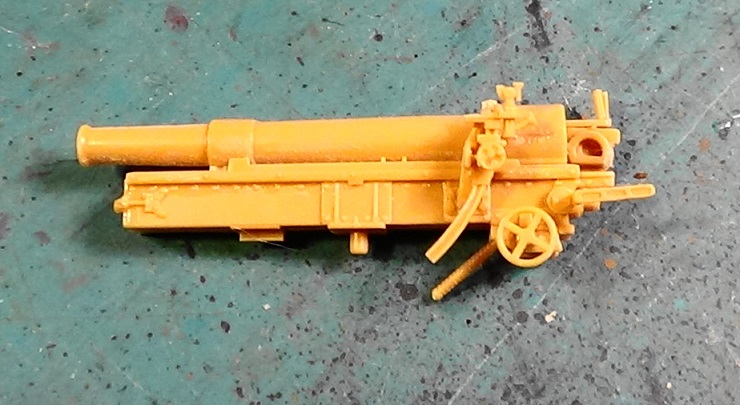
Hetzer, Panzerman, looking forward to your building this mountain gun, Panzer man. I had the privilege of reviewing it several years ago. It’s a beautiful little kit.
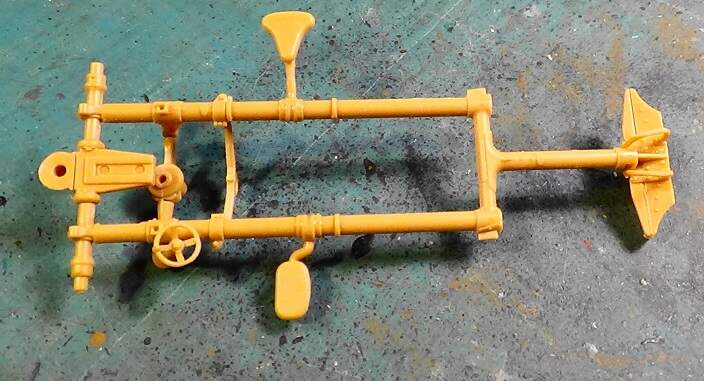
Fine Molds Infantry Gun
And everything is clear! Thank you for the information! I’m watching because I have this set on the shelf together with Eduard’s photo-etch plate!
And after the match … 3:0 for Argentina … poor chances for Croatia to rise …
If you can - share photos…
Piotr,
I’ll share photos along the way when I add more items. I do not have the Eduard photo-etch update for this set as it’s been discontinued long ago. I will sometimes look for it at model shows as I would like to build another one with the photo-etch upgrades. If you are a collector, you might want to hold on to that set for a while as it might me worth something.
Cheers!
chuck
Nice job on those miniscule hatch brackets, Chuck. The result of adding little details has a cumulative effect of…“Wow! That’s a friggin detailed model!” Just remember, Grasshopper, styrene is your friend. Hahahahahaha! Keep up the awesome work, Chuck.
Thanks, Panzerman. I’m really enjoying this kit.
I got work done on my Japanese Mountain Gun. This kit is awesome. The level of detail is off the hook good. Though working with very tiny parts necessitates the use of tweezers. Enough…blah blah blah. Here’s some photos.
Bill

6 Likes
Love the added detail.
Are you using the kit-tracks?
Panzerman, thanks for posting this progress shot. This kit looks great. I’ll be looking forward to building this one in the future.
Cheers!
chuck
Thank you. I’m still adding more interior and drivers compartment details based on some old Aberdeen Proving Grounds pics and will post them soon. Interior pics of this vehicle are very scarce, well at least for me to find. Regarding the tracks, I will attempt to use the kit supplied tracks, but if they don’t fit or break, I’ll probably have to resort to some aftermarket set. The kit supplied tracks are actually not bad at all so long as the modeler can get paint and pigment to adhere to them.
Did you enter this campaign? If so, what are you building?
Cheers!
chuck
I am currently working on several season-appropriate “Ardennes”-kits, in several stages of completion.
After that I am thinking on doing Tamiya’s Chi-Ha tank.
Very cool. The Chi-Ha may be my next one as well. Looking forward to seeing some of your ‘Ardennes’ builds.
Cheers!
chuck
1 Like
A bit more progress on the Type I Ho-Ni Japanese self-propelled gun. I think I’m done adding all the interior to this kit as I really don’t have any more detailed pics plus my scratchbuilding skills are stretched to the limit.
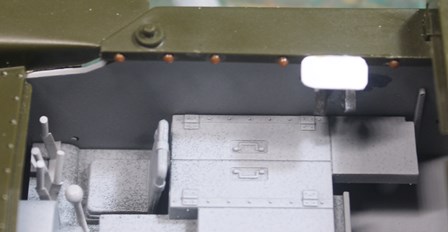
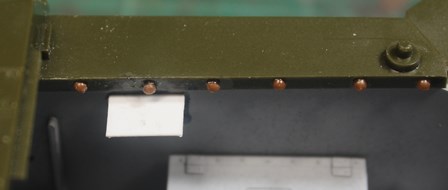
Right side interior hull/fighting compartment. Added round bolt on the upper wall and a shelf or step (?) per available pics. Below the shelf are 2 triangular brackets, possibly for support? After several attempts to replicate this triangle (as per original pic) using thin, plastic strips, I went with lead foil which worked like a charm.
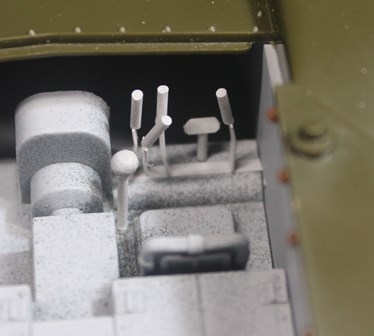
I’ve added some levers in the drivers’ compartment. The available pic I have of the drivers’ compartment from the APG collection is trashed, so again, I was taking some educated guesses to their original location. While most will be obscured when this kit is completed, there’s enough to see that it looks the part.
Left side interior. Again, possible a shelf or step for the crew.
I think I’ll be getting ready for some painting in the new year.
Hope everyone’s projects are progressing well and you are having fun along the way.
Merry Christmas and Happy New Year 2023.
Cheers!
chuck
5 Likes
Panzerman, wonderful work with the mountain gun. Looking forward to the next series of photos.
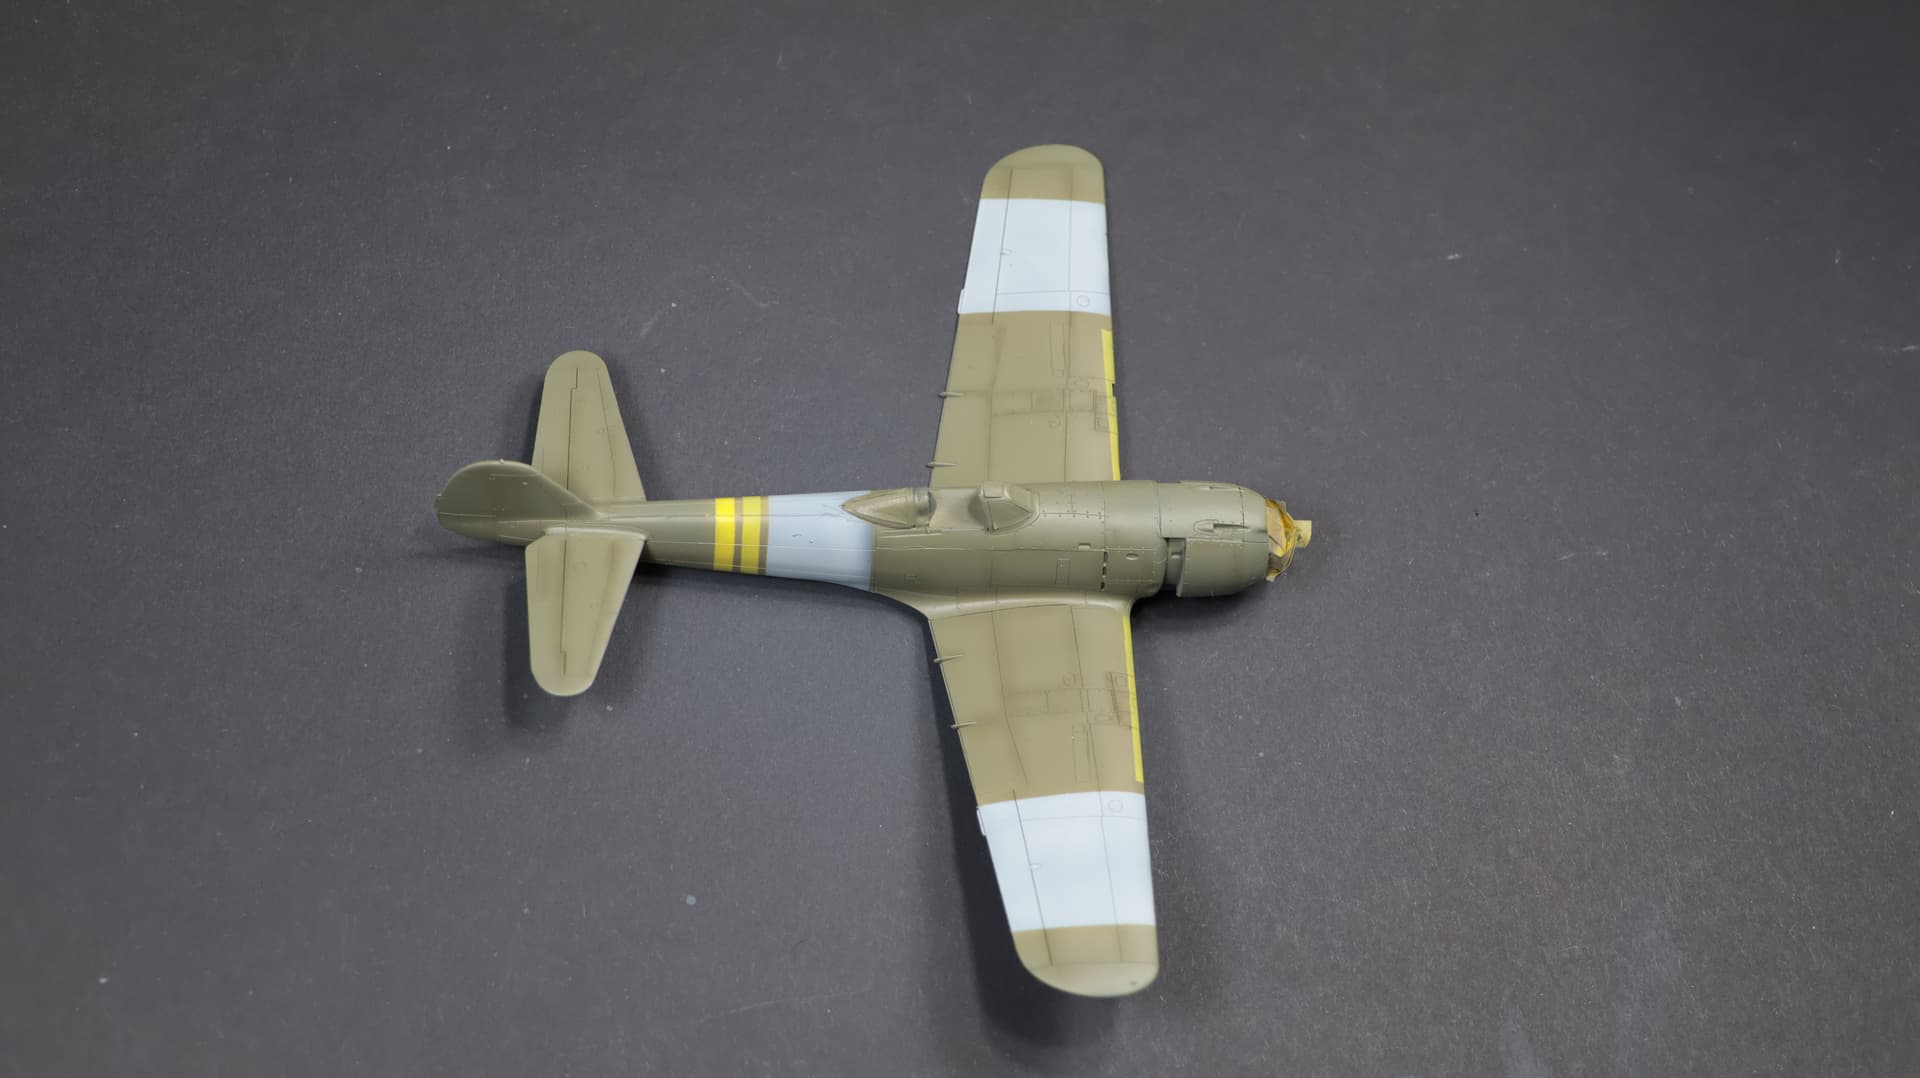
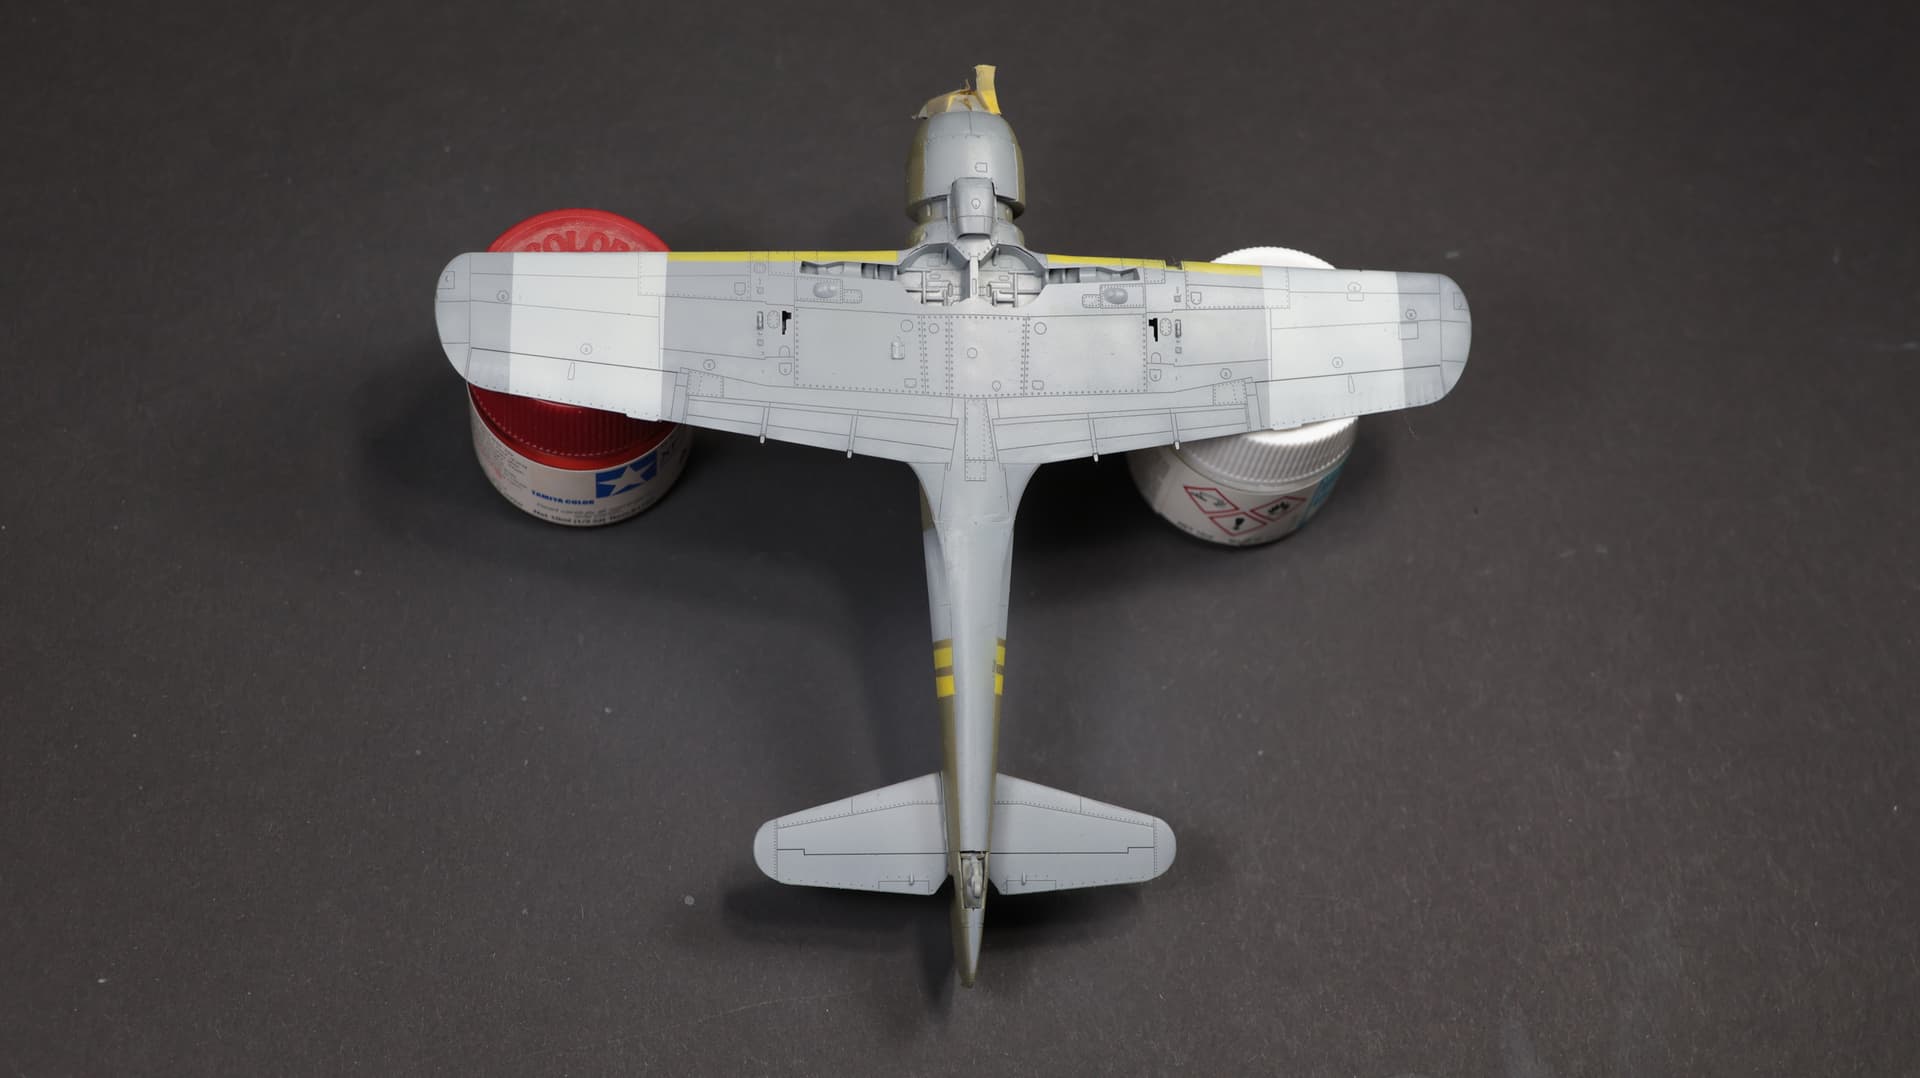
As end of year is nigh I had to make last effort to do some progress on Hayate.
So here it is - all main colours applied. I used Hataka Orange series paints according to provided guide.
Next update next year, so I wish you all Happy New Year 2023!
Cheers,
Radek
6 Likes
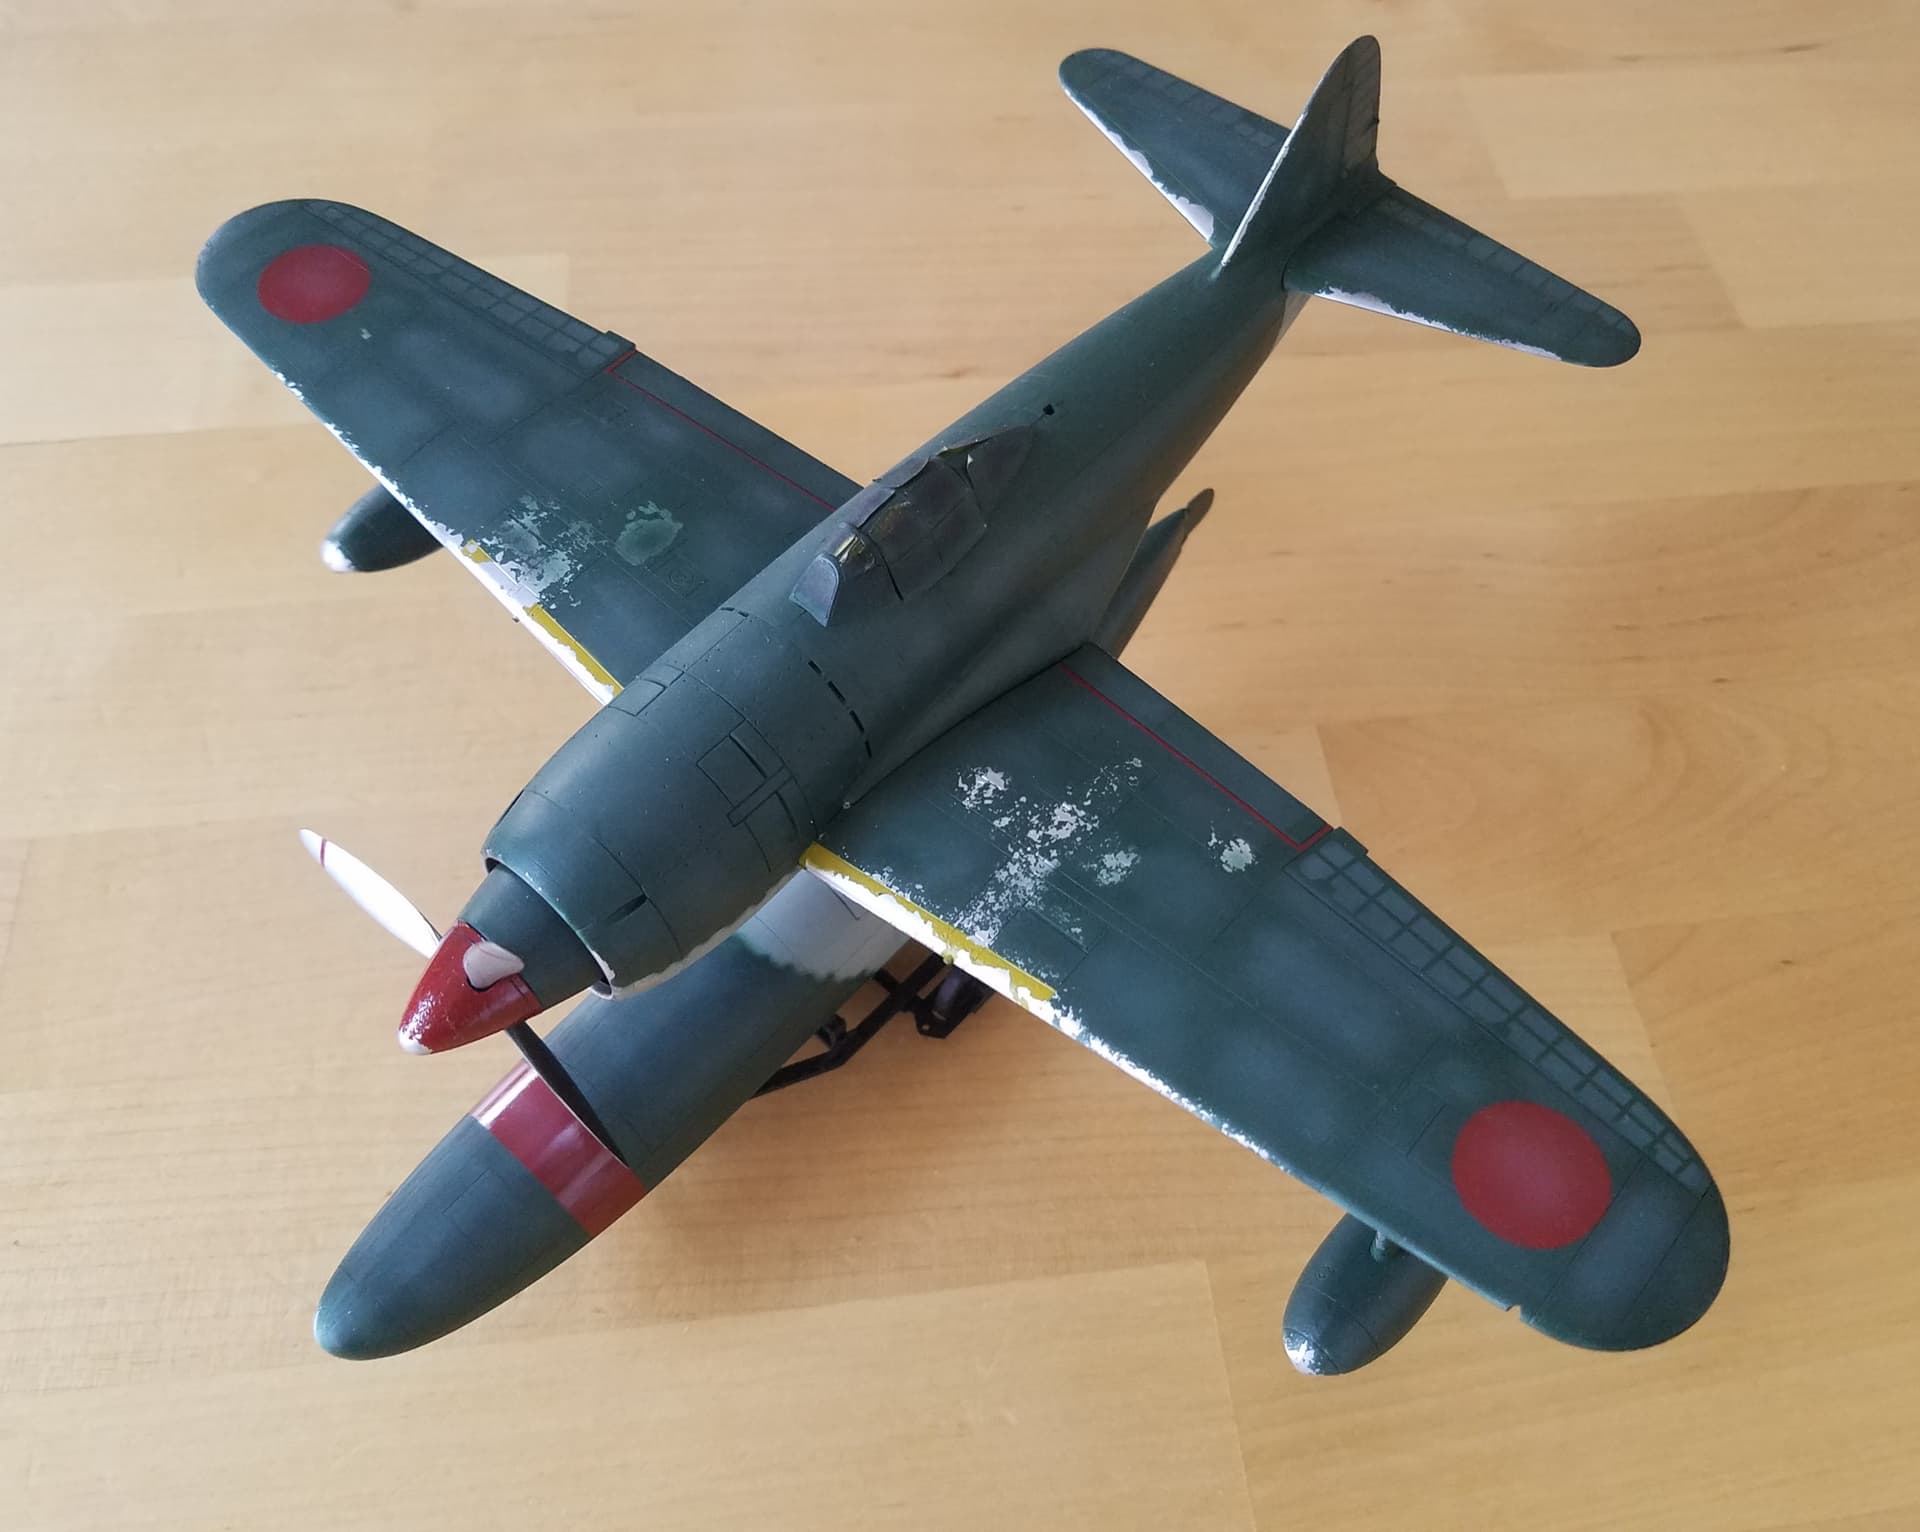
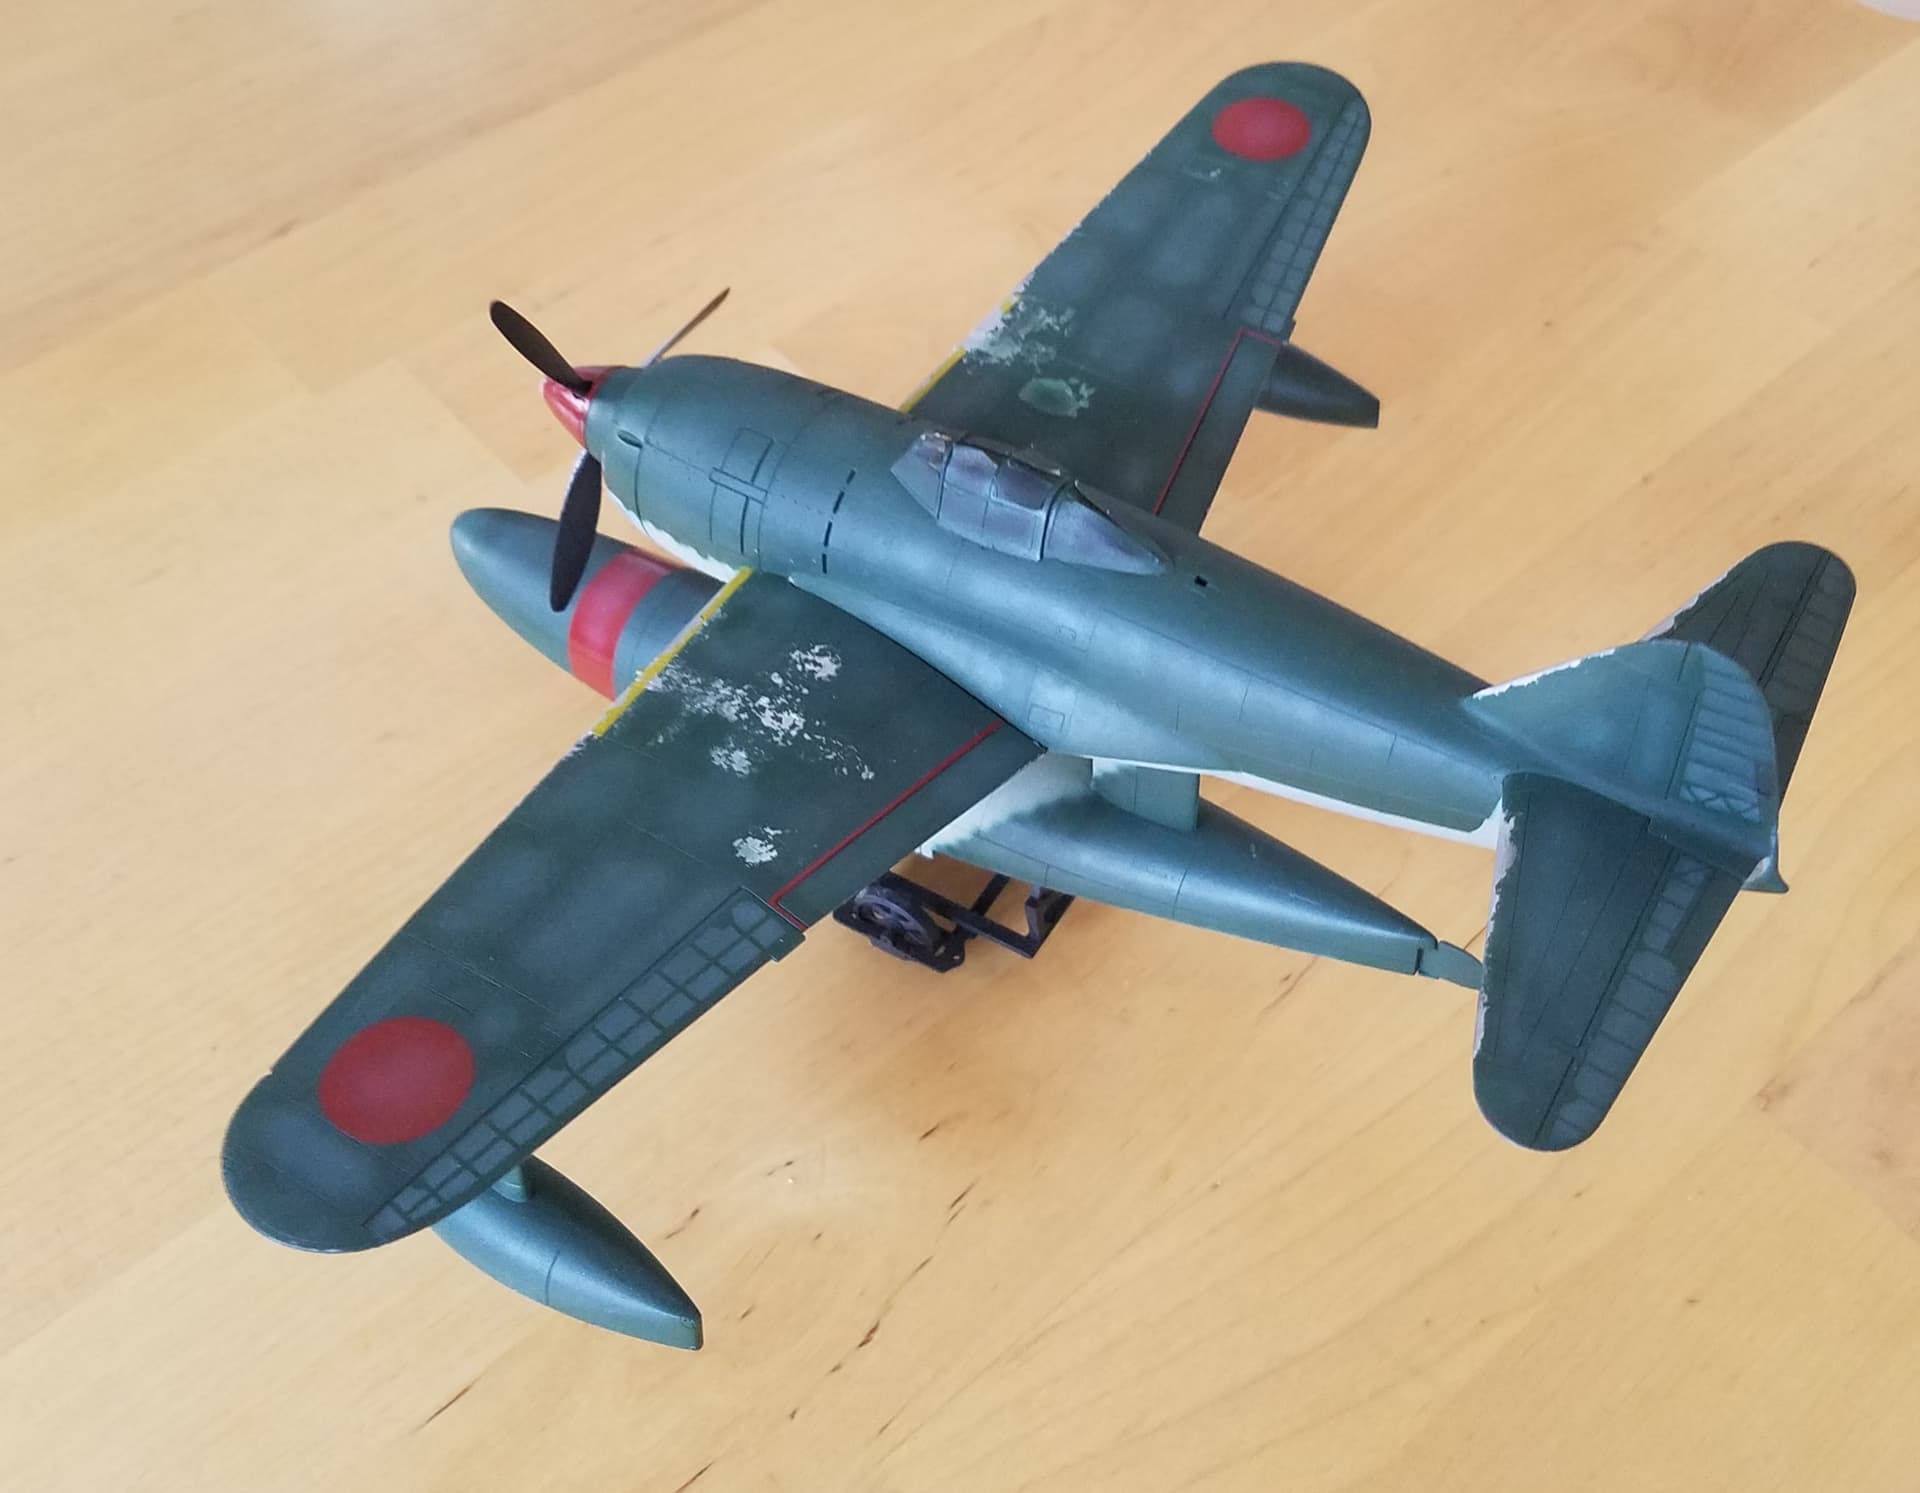
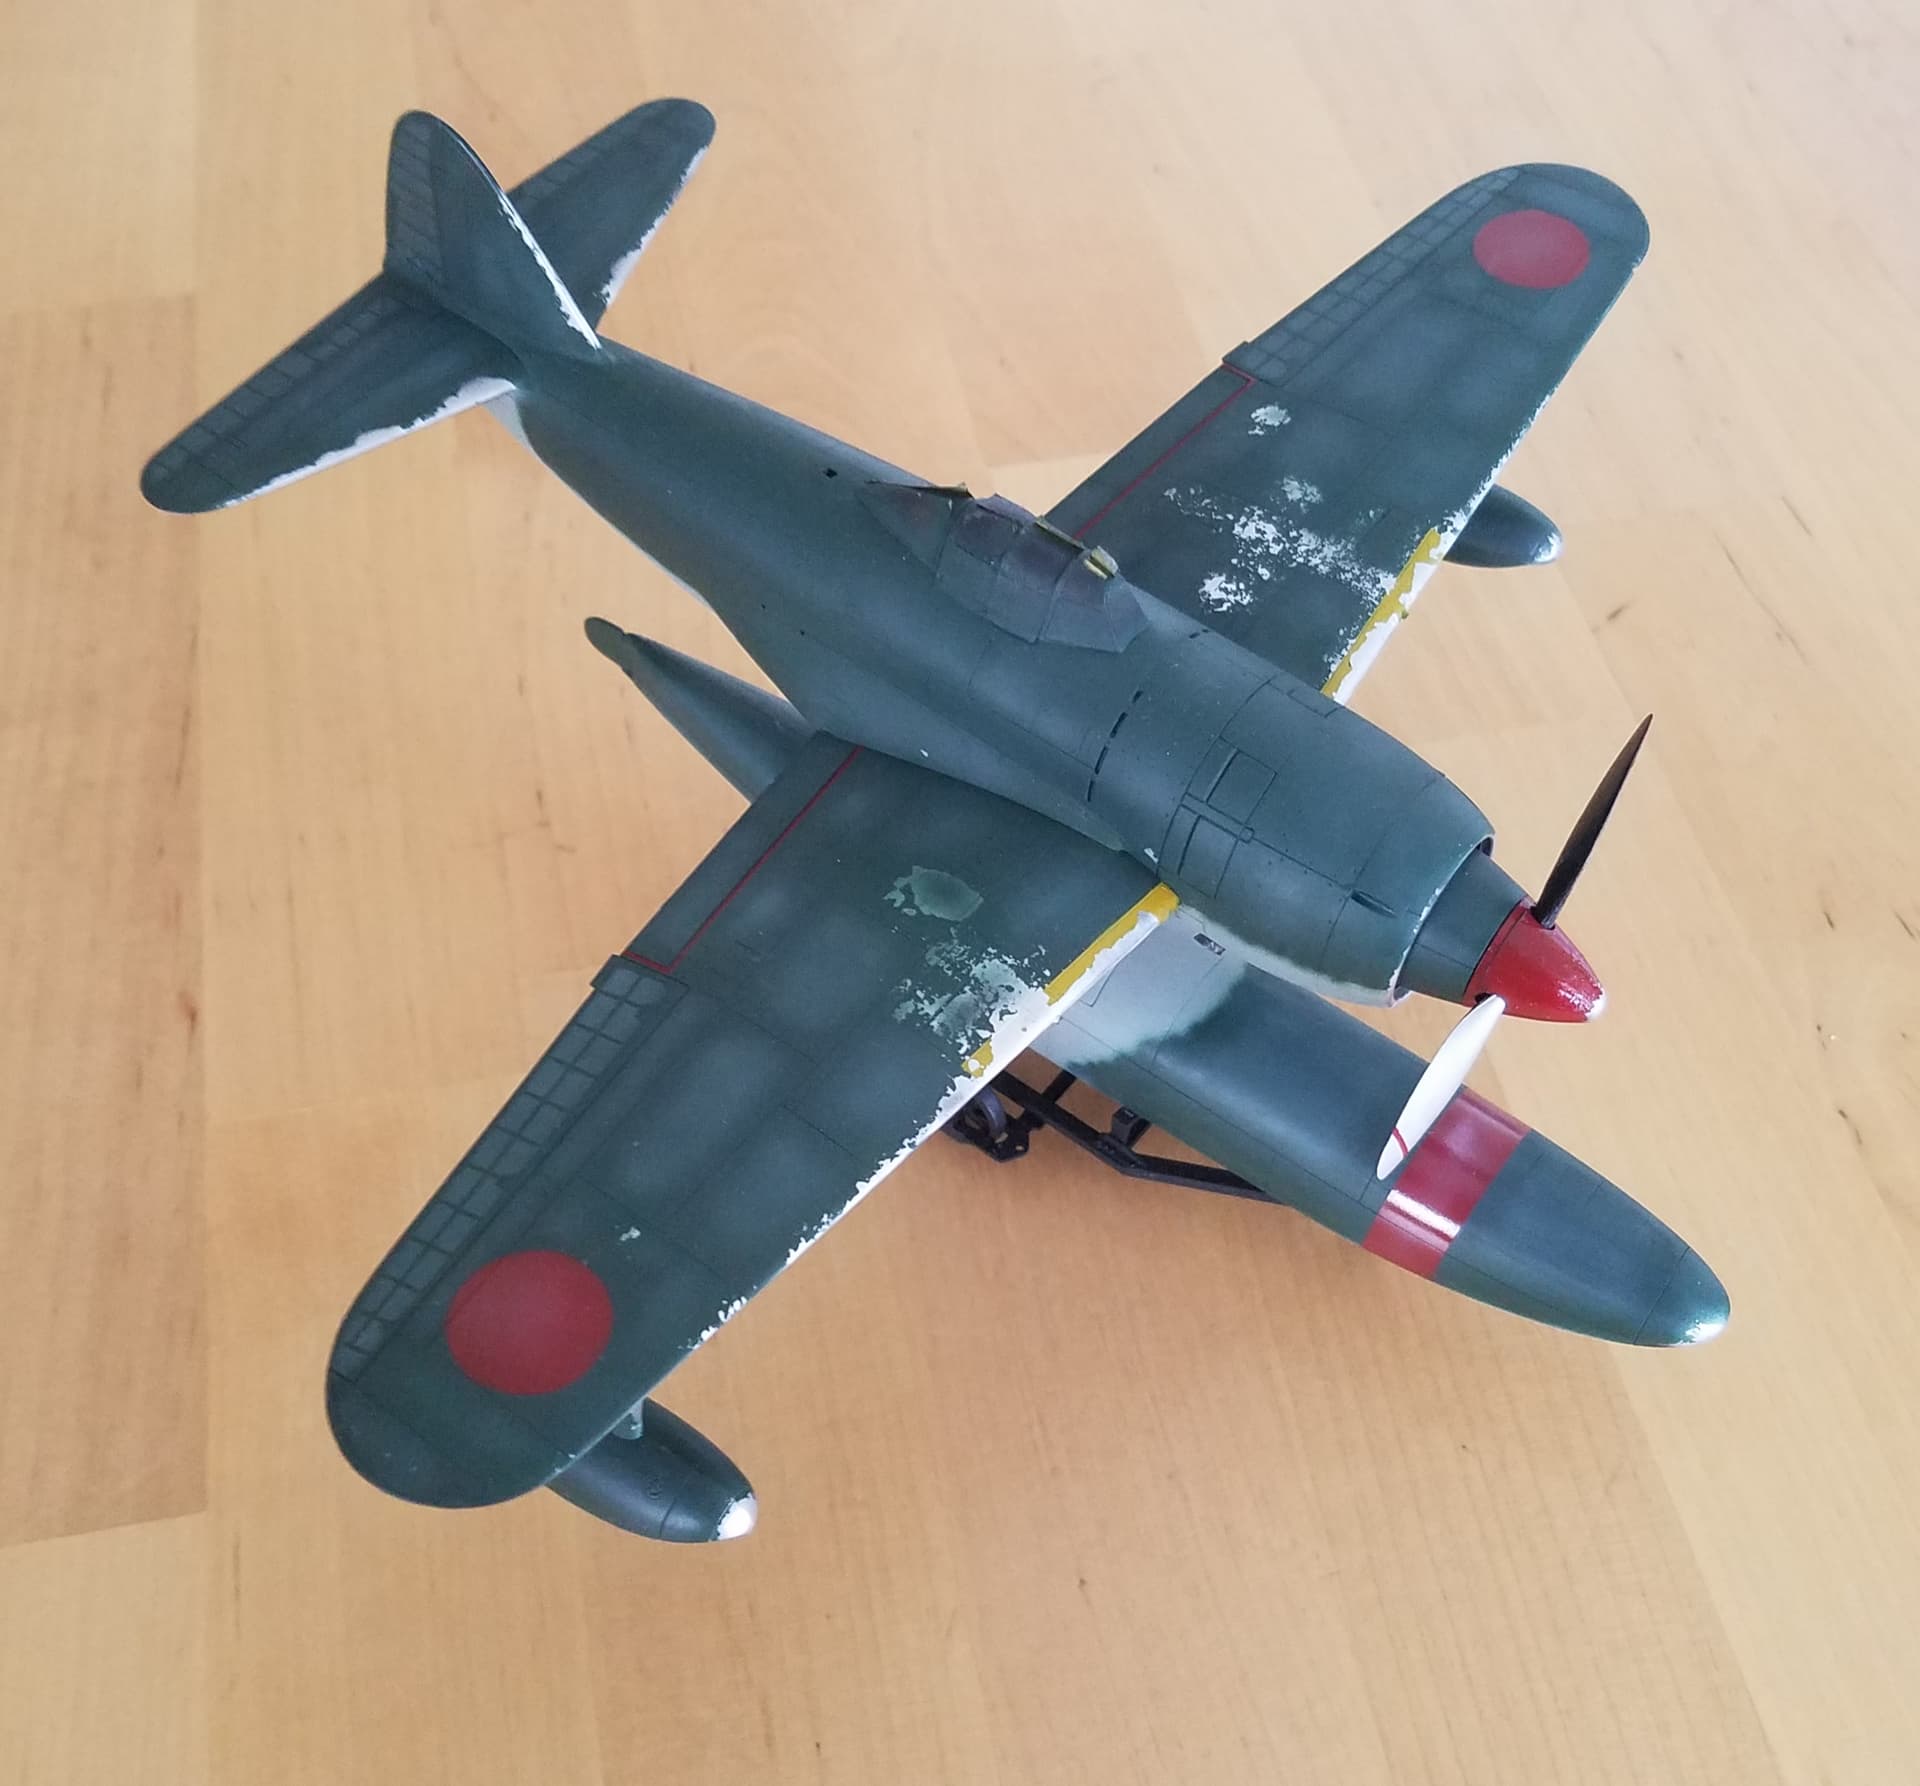
update before the new year eve. My kyofu is ready for the decalling and varnising. I have only one regret: the carpet monster eat one exhaust.
8 Likes
I fully support the extermination and Extinction of all carpet monsters.
3 Likes