Land of the rising sun

Thank you! I appreciate it! Makes it easier knowing someone is following along and learning from my hardships lol!

To be honest, it is still a nice kit. The cockpit is really nicely detailed for a 1990’s kit, the fit of the cockpit, fuselage halves, cowl, and lower wing to fueslage fit is near perfect. It is completely possible that the wing root fit was somehow my doing as others claim there’s was perfect. The only down side of this kit is the outer wing sections, I am pretty confident my fix will work with some cement and super glue to strengthen the joint. With wings folded I think it would look decent and this might be the solid option any way as with wings extended the wingspan is around 12 inches in 1/48

1 Like

Encouraging that it is still a good kit. And while this is just supposition, I’m sure there are a lot of lurkers out there that are following your every post with glue and putty-baited breath. I can pretty well guarantee that for everybody that posts about your work, dozens are watching.

Except for fighters, my Japanese hanger is very much early war. I built a half dozen Vals and three Kates ( two are the Nichimo kits which I still consider to be a beautiful model), but the only late war attack aircraft I have are the Hasegawa Grace, and a 1/72 LS Judy. I want to build a modern kit of a Judy, but for some reason Jill just hasn’t excited me that much, before I build a Jill I want to build another Myrt, a Francis, a Peggy, and every Japanese seaplane and flying boat available.

But thanks to you, Jill is moving up closer near the top of my interest right now. Thanks for all of your posts about your build.

1 Like

OK, I really ought to get started. Here’s my entry, Hasegawa’s 1/72 A6M2 Zero.


Scalemates suggests that this is the 1980 boxing of a 1972 molding. Lots of classic Hasegawa features, the instructions feature a different set of markings than the supplied decals, so they added a new instruction sheet for the markings. There are also 2 engine options and 3 cowls. It’s a charity shop find, $1.99, but no canopy. I probably spent more on the replacement than the kit. :roll_eyes:
Two of the options are for early war, pre-Midway, planes. I thinking that these would only be lightly weathered, no need for black basing and mottling, but maybe some bleached out panels. Since it’s all raised panel lines an rivets, panel lineing might not work. Any other light weathering options? :wave:

1 Like

@md72, Mark, good to see your diving in. I have to look and see how much longer I have on to complete my entry. “I got a bad feeling about this.”

Try a mechanical pencil. Gives you a ton of control and allow you to put very fine lines onto the aircraft. I’ve seen other modelers do that, and I’ve tried it a couple of times where I just could not make wash panel highlights as fine as I needed them, and very satisfied with the effect. I used a number three and four lead drafting or artist pencil. It’s been a long time since I bought them but I think they even go up into number five and above. I don’t remember.

The other thing you can do is mask off along the prominent panel lines, just a few of them, and give a very light shot of the main exterior color, just tinted or shaded with a hair of white or black. Just enough that the eye would pick up and tell the brain that there are different sheets of metal there. And is your A6M a carrier based or land-based?

One other idea that I’ve used on several of my most recent models is what I describe as spatter pixelation. Take the base color, change it with tints or shading, and even add some other colors. Very very small amounts. You want it to be very subtle. Then you mix it up as a glaze. Even thinner than a wash. Protect your fingers or hands however you see fit, dip a very stiff brush like an acrylic artist brush into the mix, get as far or close to the model as it takes to get the effect you want, and just spatter the solution onto it. You don’t want to make the surface of the model wet or everything just pools together and then you have horrific cloudy globs of ugly. Let the first little mist of particles dry and then hit it again, preferably with a solution that’s slightly different. But it does simulate all the little microscopic pigments that make up paint, in a random pattern.

1 Like

The wings may have won the battle but I won the war!


There are a few gaps and a couple small parts with a slight step between the two sides, but I think I’ll fill the seam with a combination of strip styrene and super glue and then scribe a panel line where the wing seam is

The wingspan and dihedral on this thing are crazy! It has almost the same wingspan as the TBM avenger despite weighing 4000 pounds less

6 Likes

What a neat idea! How do you spatter the paint? Is it flung by hand or blown of a brush somehow?

Paul

1 Like

I didn’t get any more done on the Kaiten II model this weekend but did build another stand for it. This one is supposed to be something like the one the Japanese might have built for the thing themselves but made in a model display stand.


This project is nearing completion now, just a bit more work on the rust.

Paul

8 Likes

Thanks @JPTRR. This build has raised more questions about how should I do it than a lot of others I’ve done. First plan is Shigeru Itaya off of the Akagi. So Naval version. I can see sun bleaching, lightening up some of the wing panels. I’d like to do panel line darkening, but there are almost no panel lines. it’s all raised rivets, same with almost all of the panel lines. I’ve got some very soft leads, I think they’re 9B (I believe the range is from 9B softest to 9H hardest). I may see if I can do anything usable with them. If not maybe some sort of light alcohol, acrylic or oil wash to highlight the rivets. If they’re going to be there, I might just as well highlight them because there’s no way I’m sanding them off and rescribing this thing.

Colors have also been a bit of fun. Hase is suggesting the cockpit be metallic blue, I assume the aotake blue, or even silver (aluminum) but every online source suggests a light green, dark green or brown interior depending on the manufacturer, not the aotake (blue). Then just for simplicity’s sake they suggest painting the landing gears malachite green and give the Gunze color code for aotake blue. :face_with_spiral_eyes: At least one source suggested that how you translated the aotake it was green or it was blue. Oh, that simplifies everything. Not sure if I’m going to just use the aotake blue from Tamiya or go with straight aluminum then add a clear green overcoat. At least the overall finish isn’t too controversial, although I’m sure there’s some difference from manufacturer to manufacturer. :wave:

1 Like

Hi Paul, I use a very stiff bristle acrylic paint brush. I get the El cheapo, the kind that come in like a bag of 10 or $1.99 or so. They work with acrylics and solvent based paints. I simply load the brush as much as I want pull back the bristles with a finger and then just let it go. Sort of like shuffling a deck of cards. You can slowly let the bristle spring forward a few at a time, or let them all go at once.

Thanks for that, I will try it on the Mk VIII tank build which will be getting its weathering in the next week or two. I did want moint liquid mud spatters that would have dried.

Paul

Another good technique for splatters is to hold a toothpick a couple inches away and flick the brush against the toothpick

Hello fellow Campaigners. After a lengthy absence I’m finally back to the forum. I’m caught up with all the posted builds and have comments below.

FlyingSauerkraut// Your Kyofu seaplane turned out great. I like the weathering. The Ka-Mi paintwork looks good. Plus the Type 95 is progressing nicely.
RadezZ// Great save on the painting mishap. The affected areas look like natural weathering. Cool diorama.
hetzer44// Yes, Chuck, I’m planning on placing the gun and figures on a jungle base.
TacFireGuru// You Mountain Gun turned out great. I like the paintwork.
hudson29// Your Kaiten looks terrific. Funny seagull idea.
Gregory_J_Copplin// Awesome paintwork on the Super Heavy tank. Adding the figure gives it a sense of scale.
Mead93// Your cockpit painting on both kits is fantastic. Amazing level of out of the box detail.
Bomber14// I like the weathering on your Frank build.
JPTRR// That’s a blast from the past. I built the old Aurora kit some time ago. Fun stuff. Project 2 looks cool too.
RollTide// The navy utility boat set is a cool entry. Awesome paintwork on such a tiny boat.
md72// Classic kit for the campaign. Enjoy!!!

Hopefully I’m all caught up with everyone’s builds. Great work being done here. Keeps me inspired. Good luck with your projects.
Bill

4 Likes

Finished my 75mm Japanese Mountain Gun by Fine Molds in 1/35 scale. Hope you like it. I did forget to take pics during the final stages…my bad.

I already have a 2nd entry in the works. I’ll post the start soon. Thanks.
Bill

15 Likes

That looks Awesome.

Looks stunning. Really great work and the base is just perfect. Looking forward to your second build!

1 Like

@panzerman1 awesome. What an inspiration.

What a neat idea! How do you spatter the paint? Is it flung by hand or blown of a brush somehow?

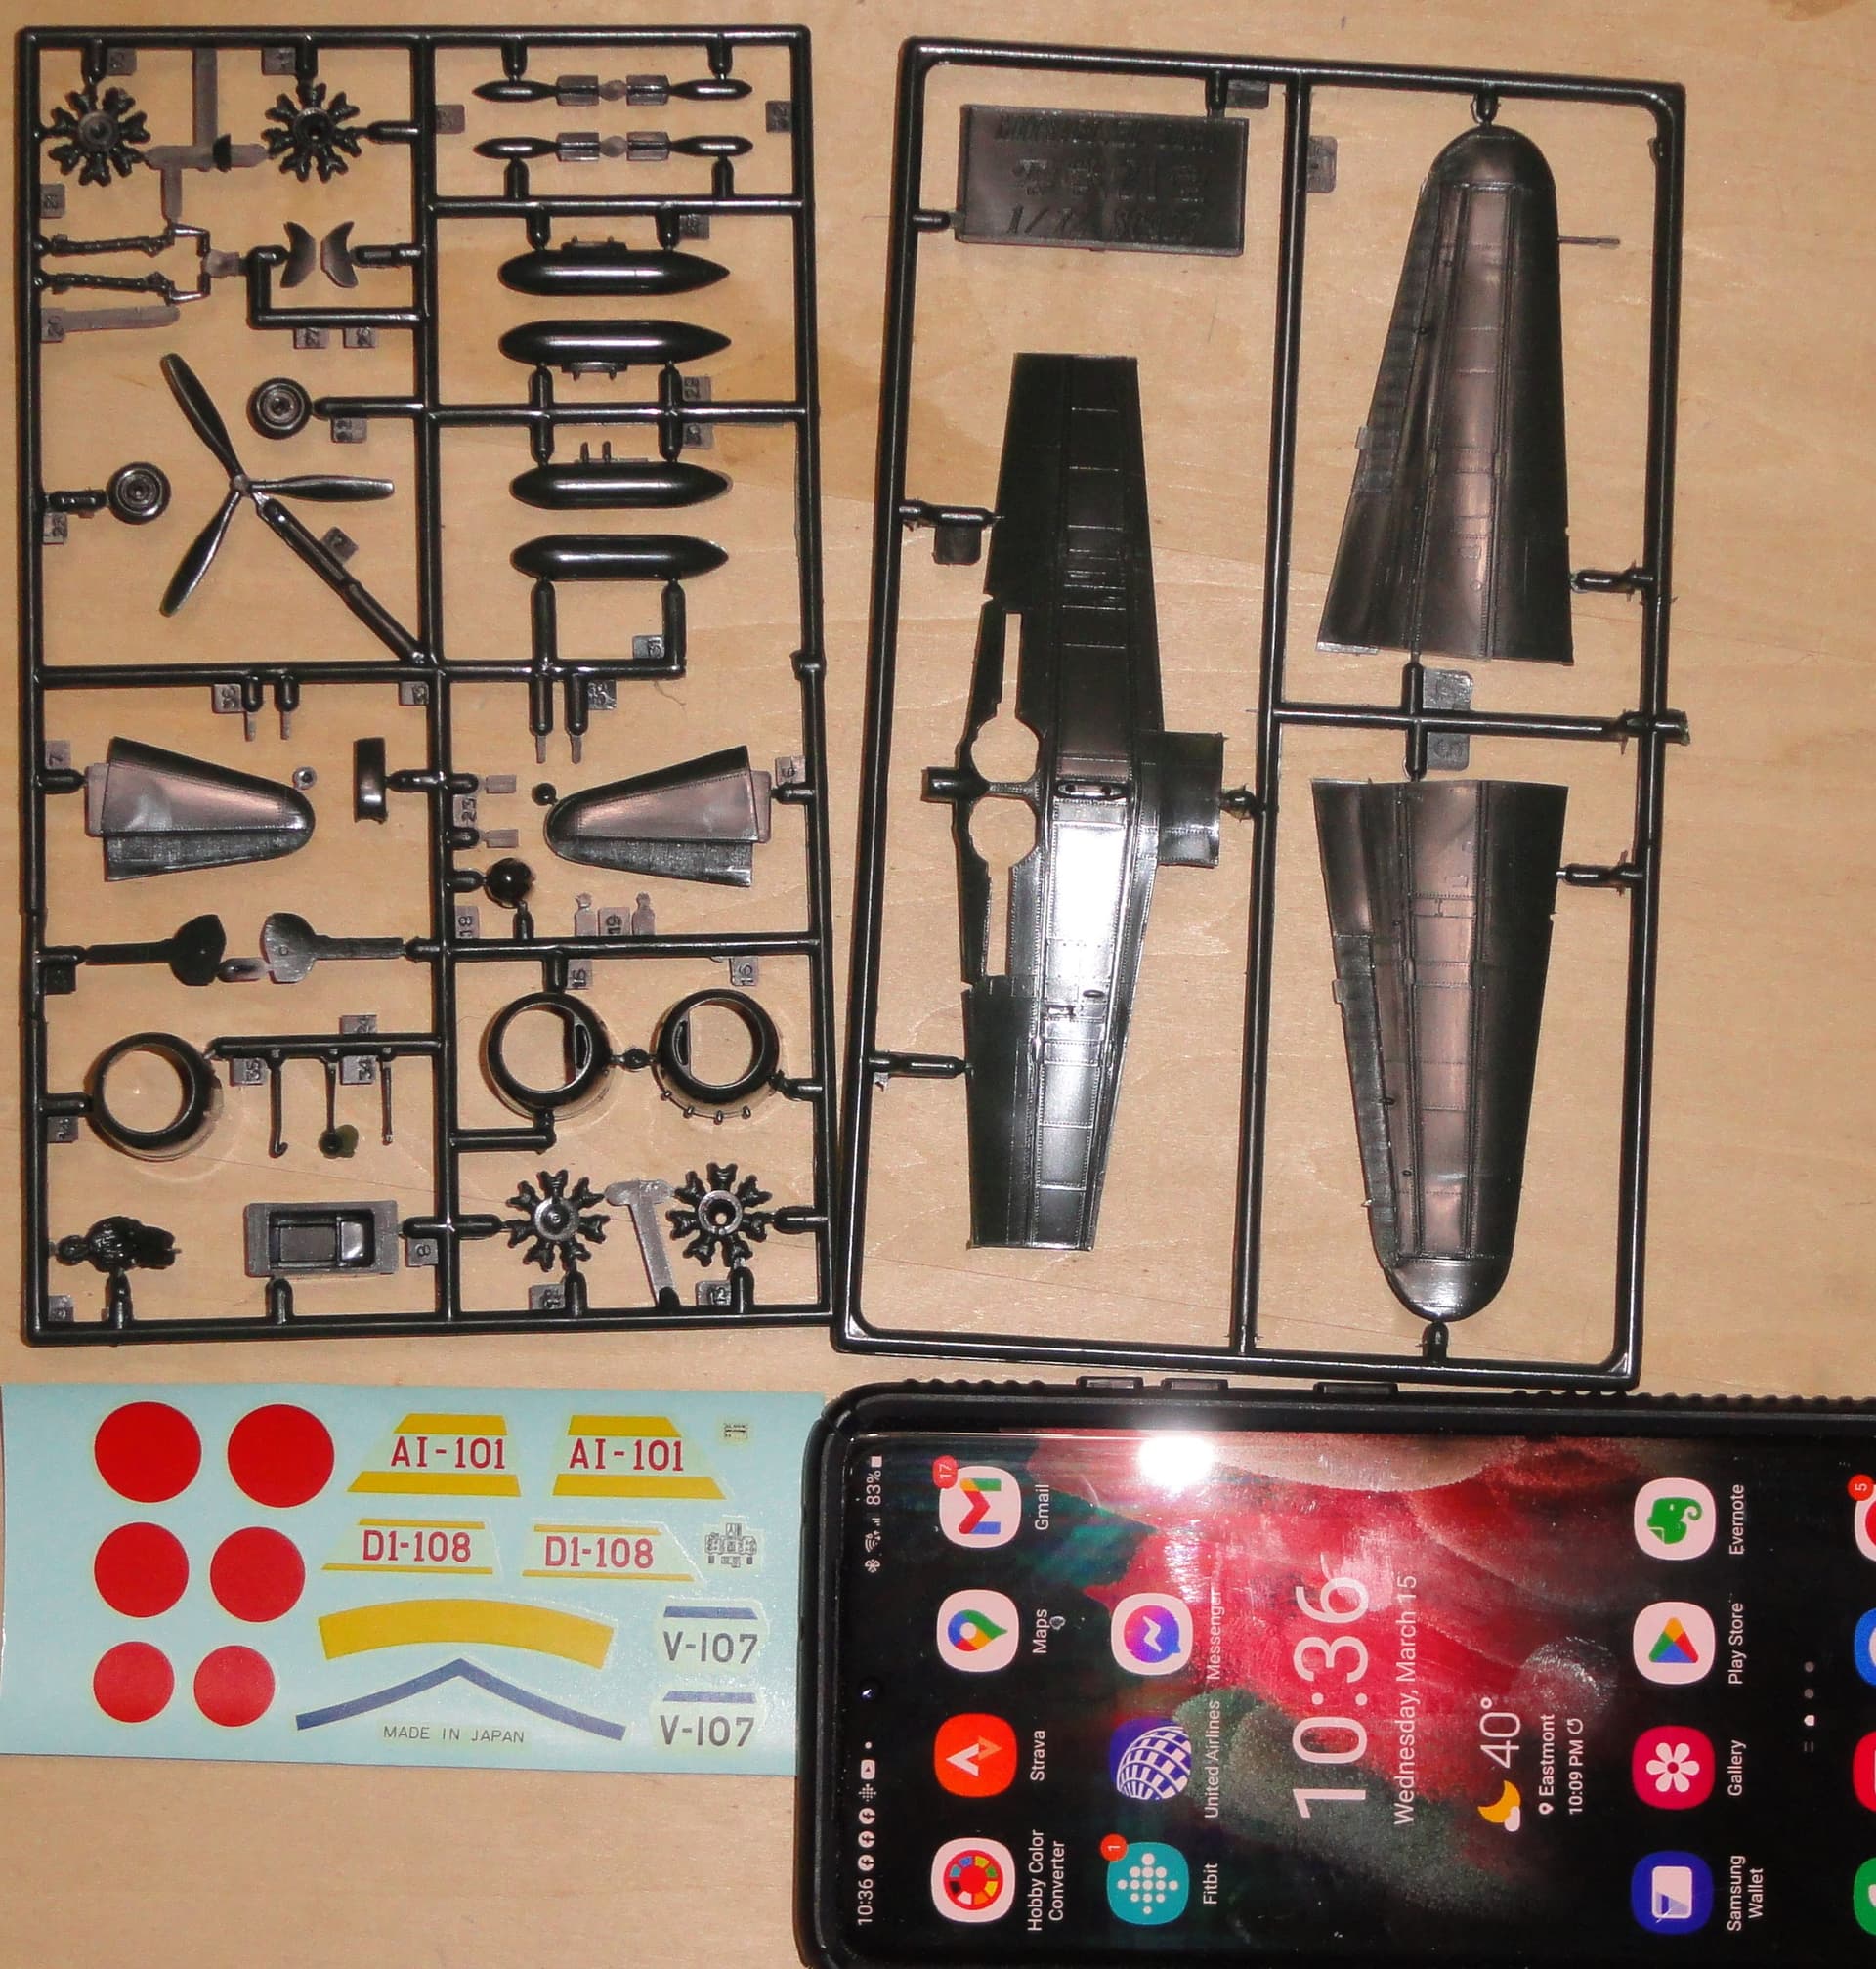
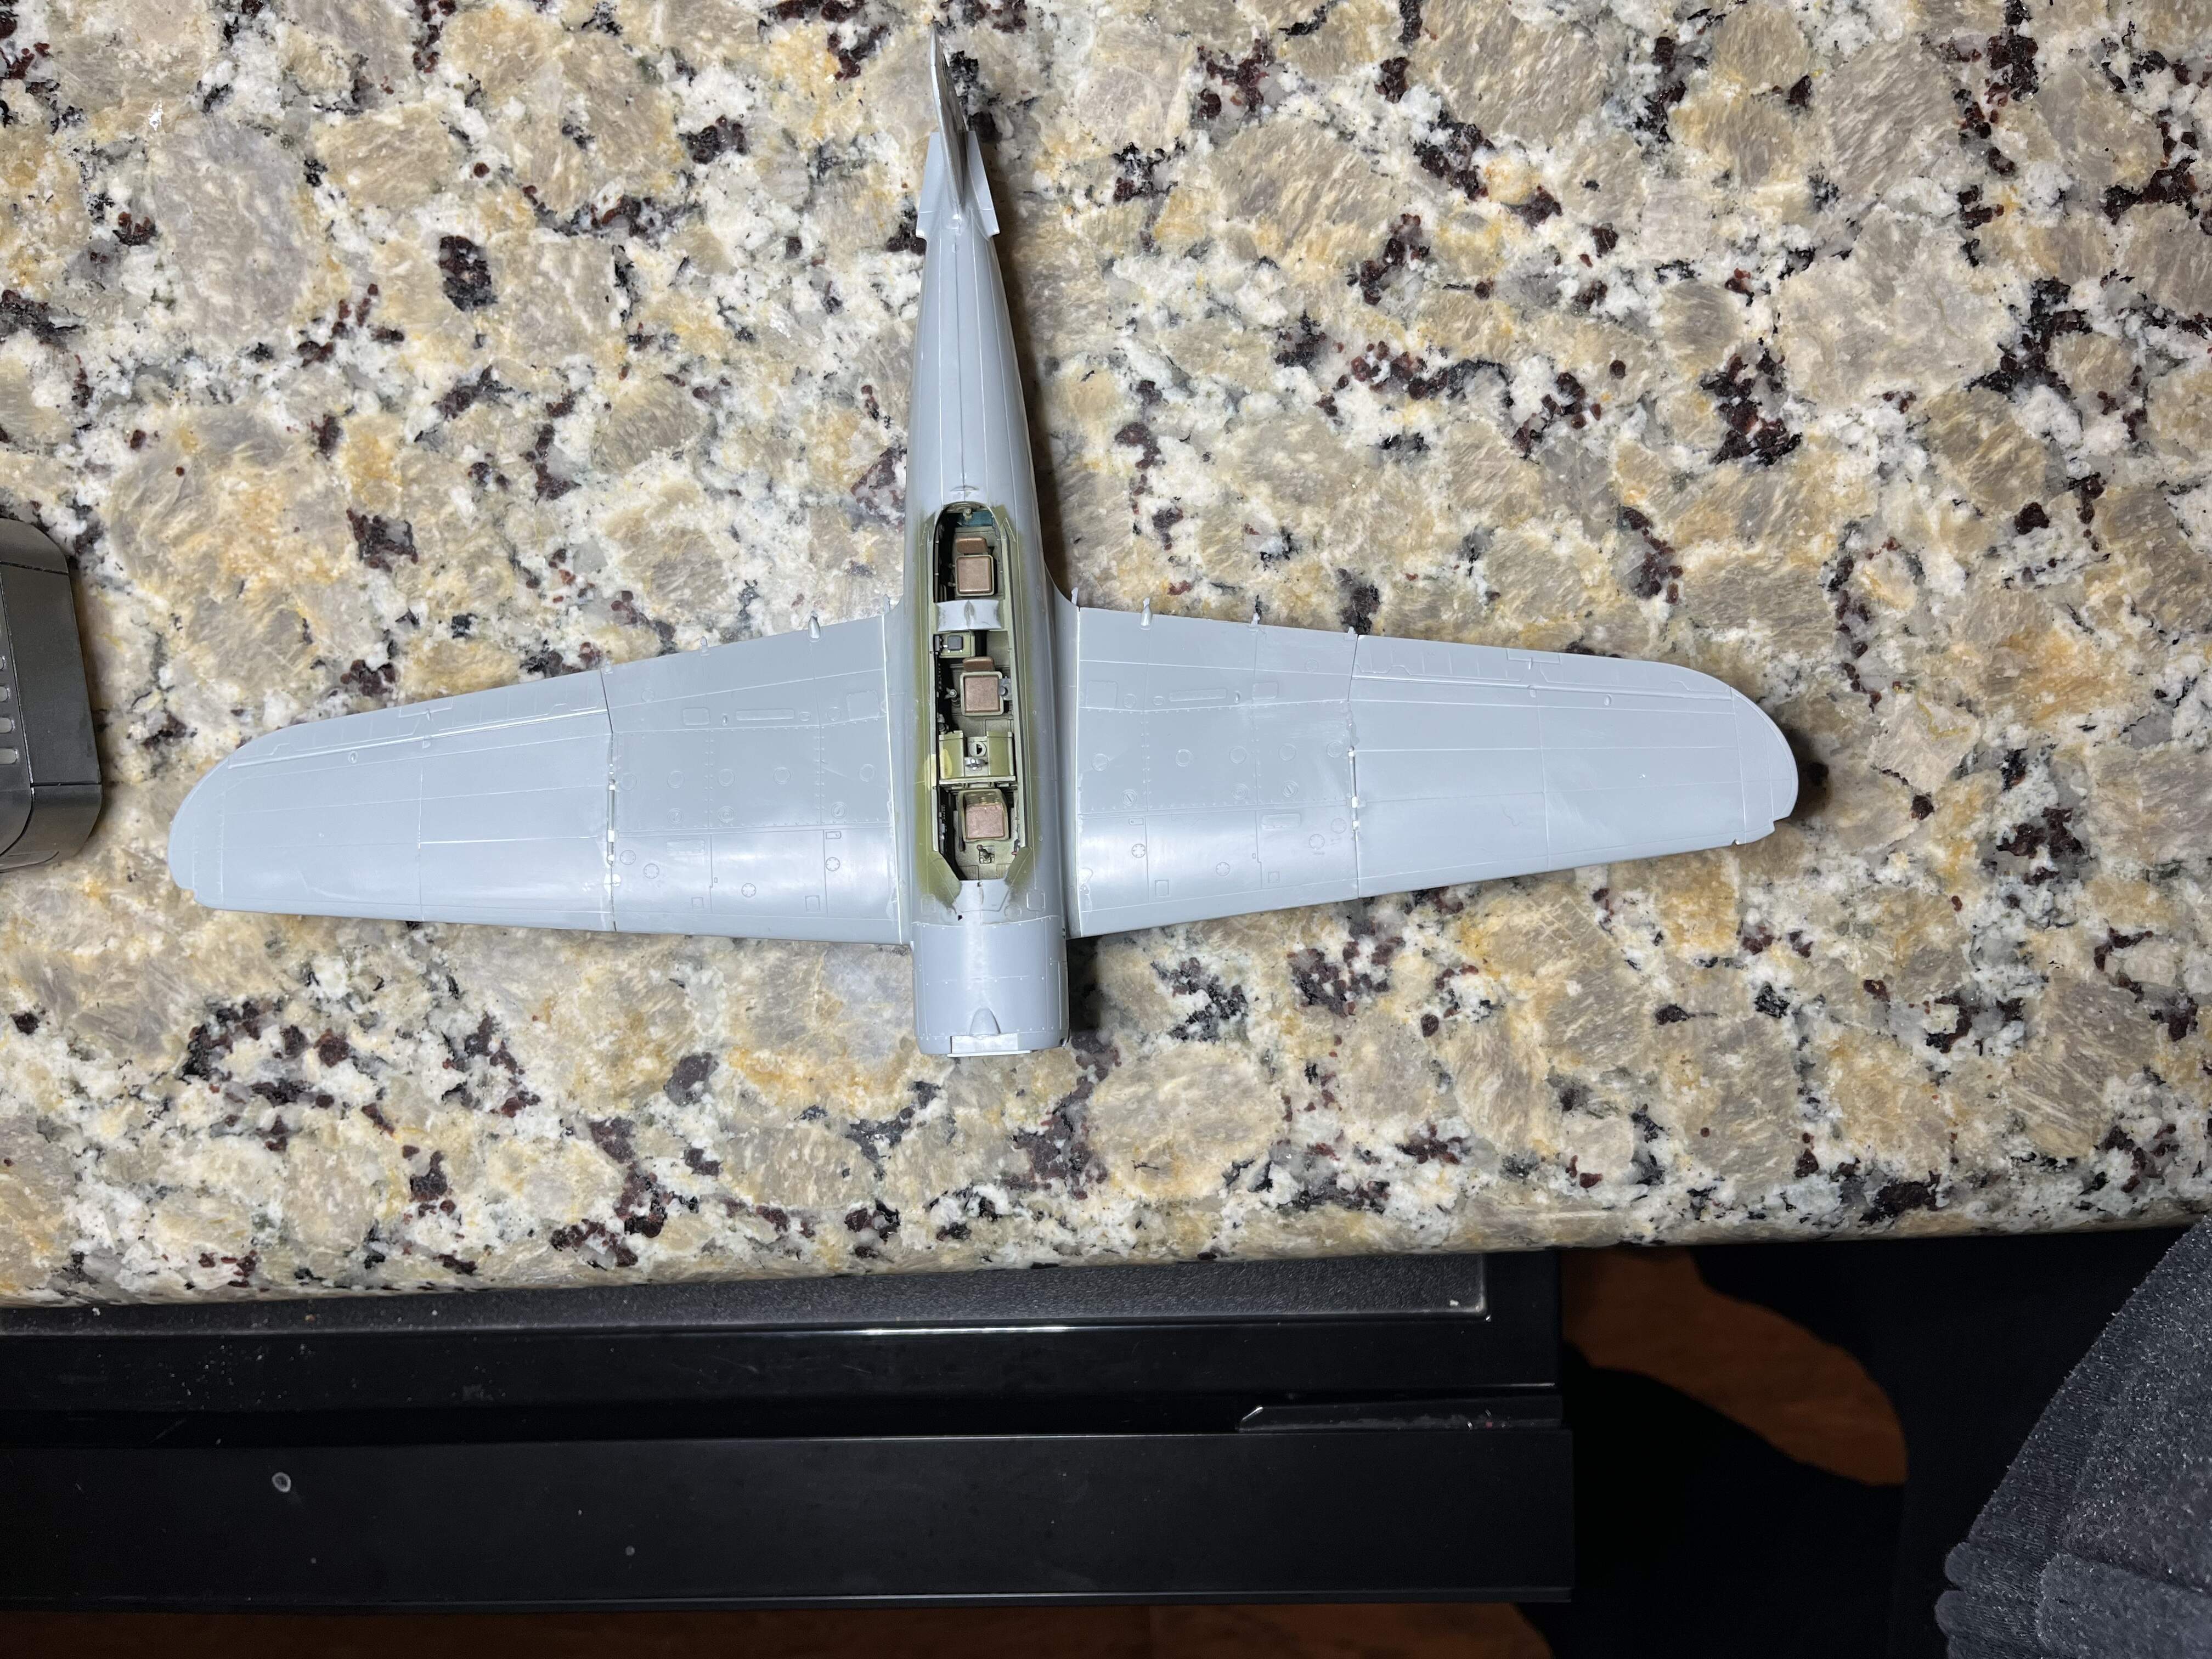
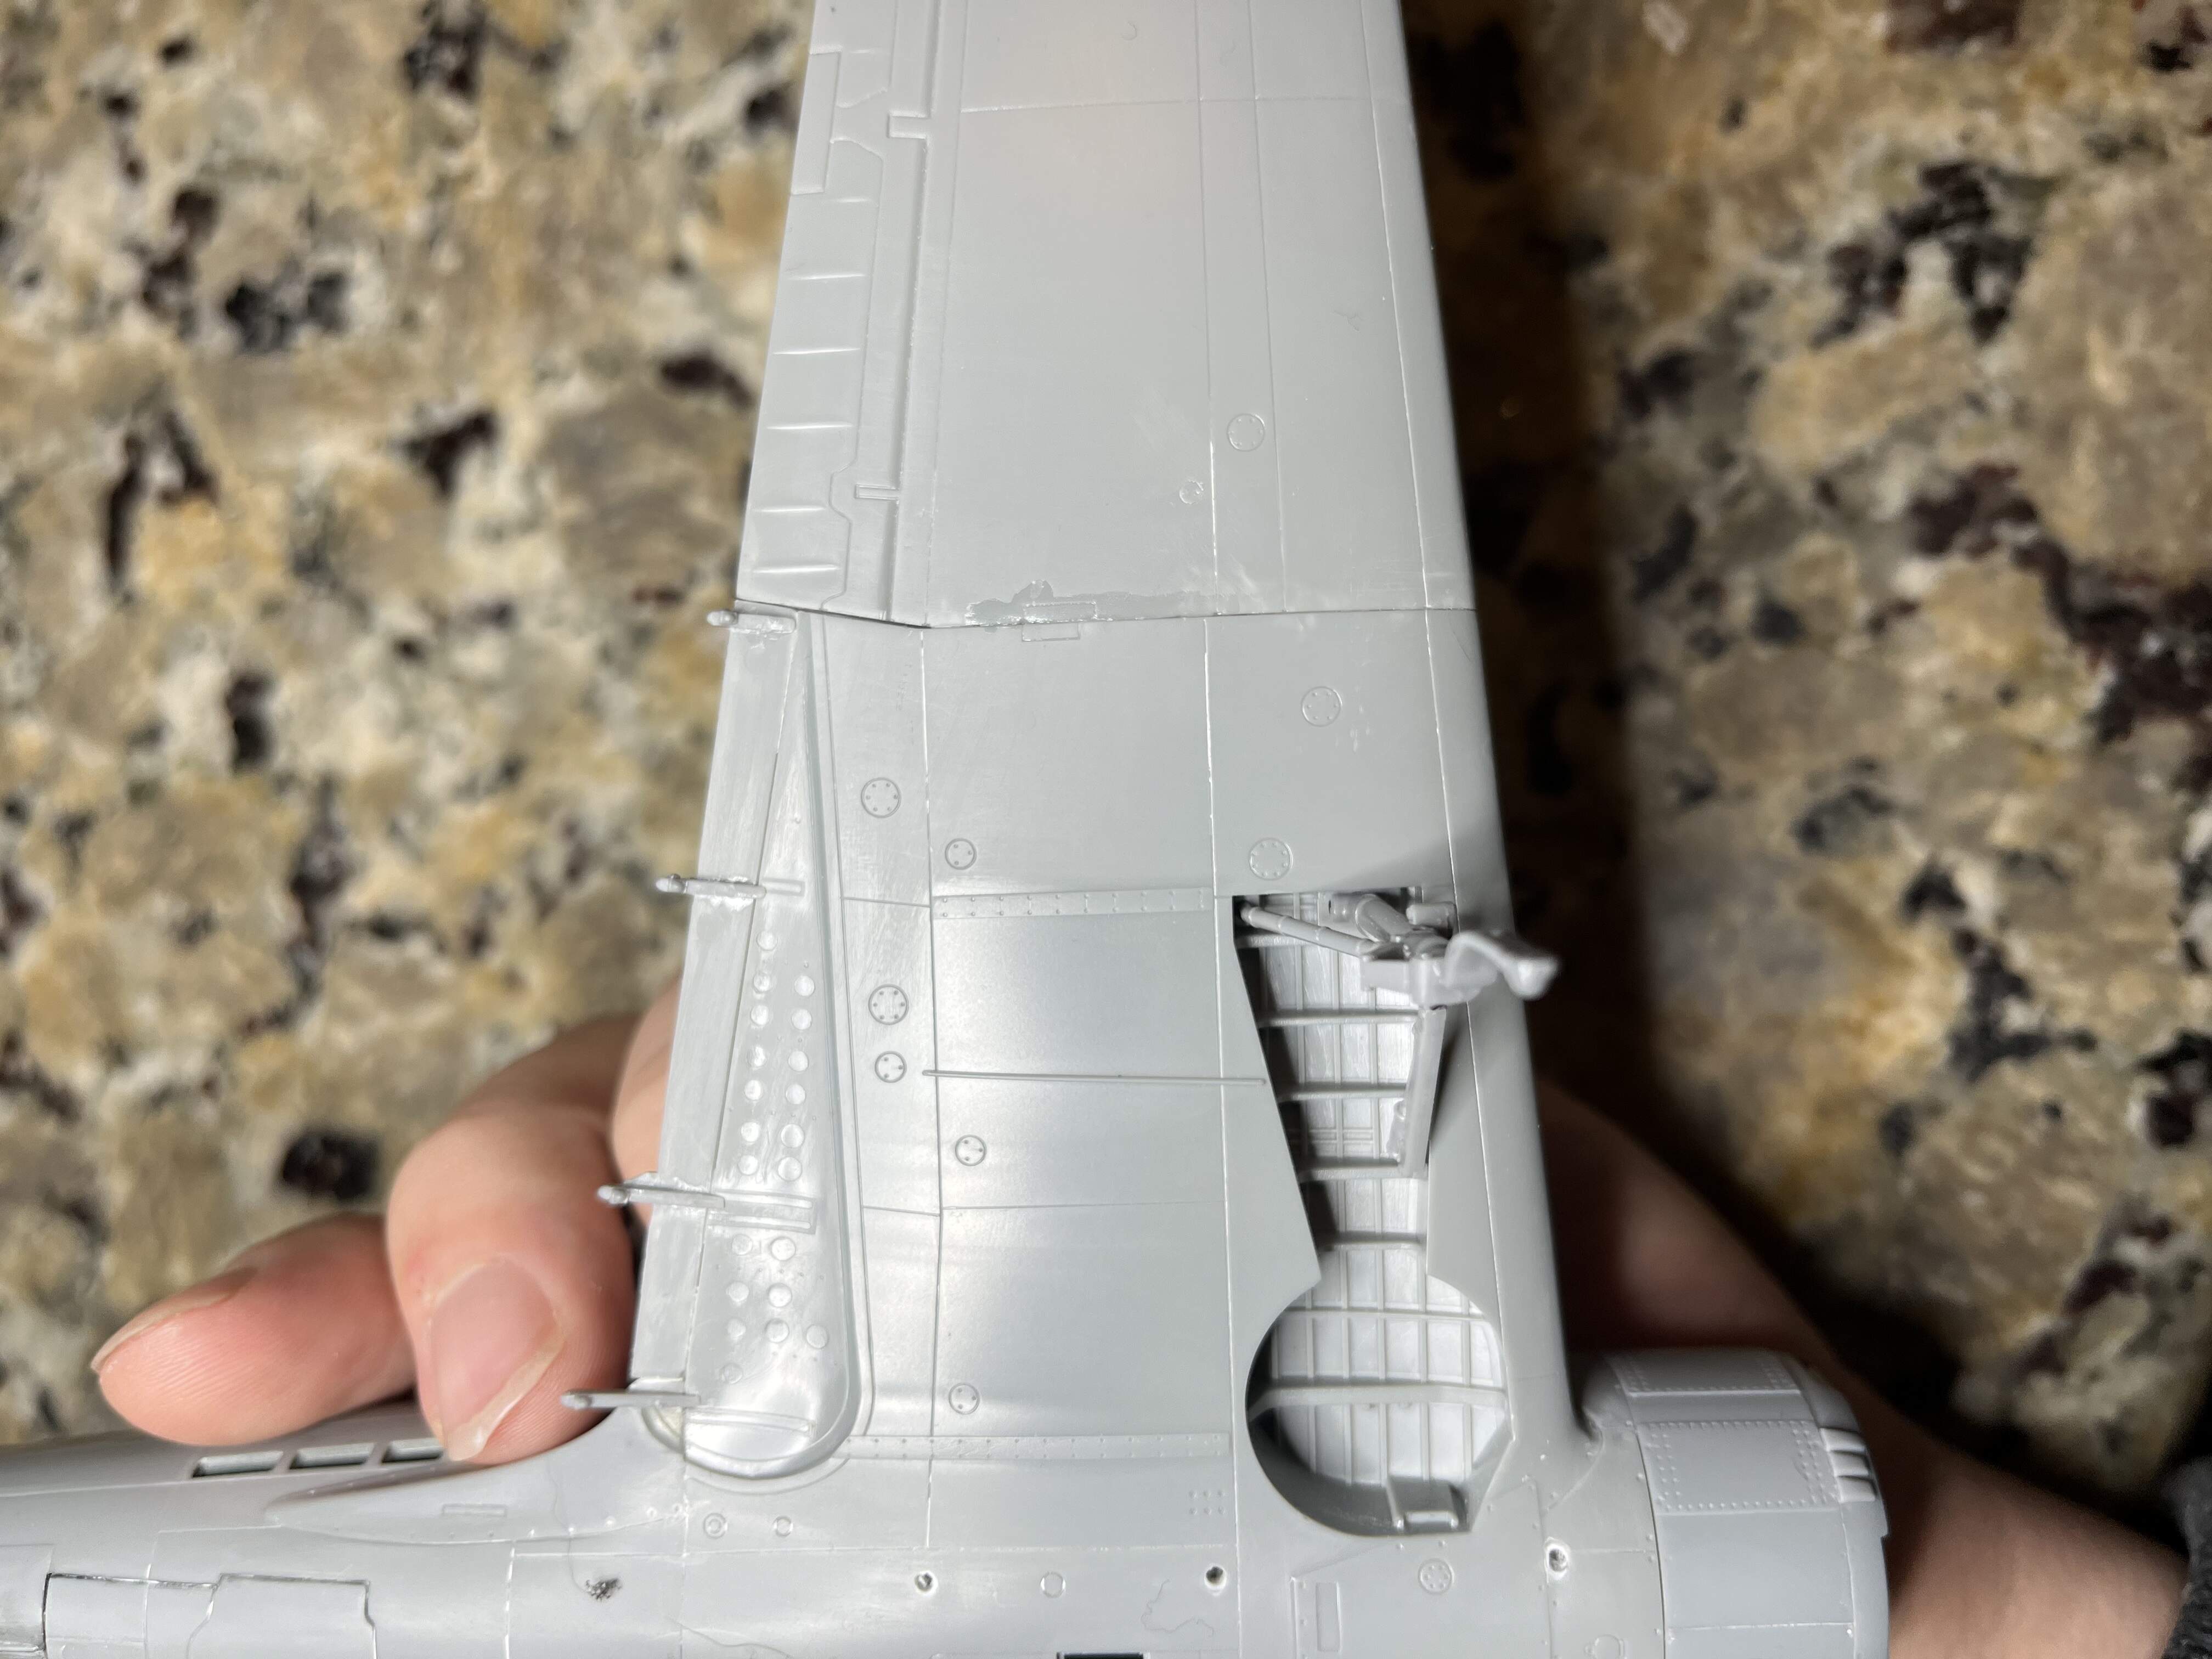
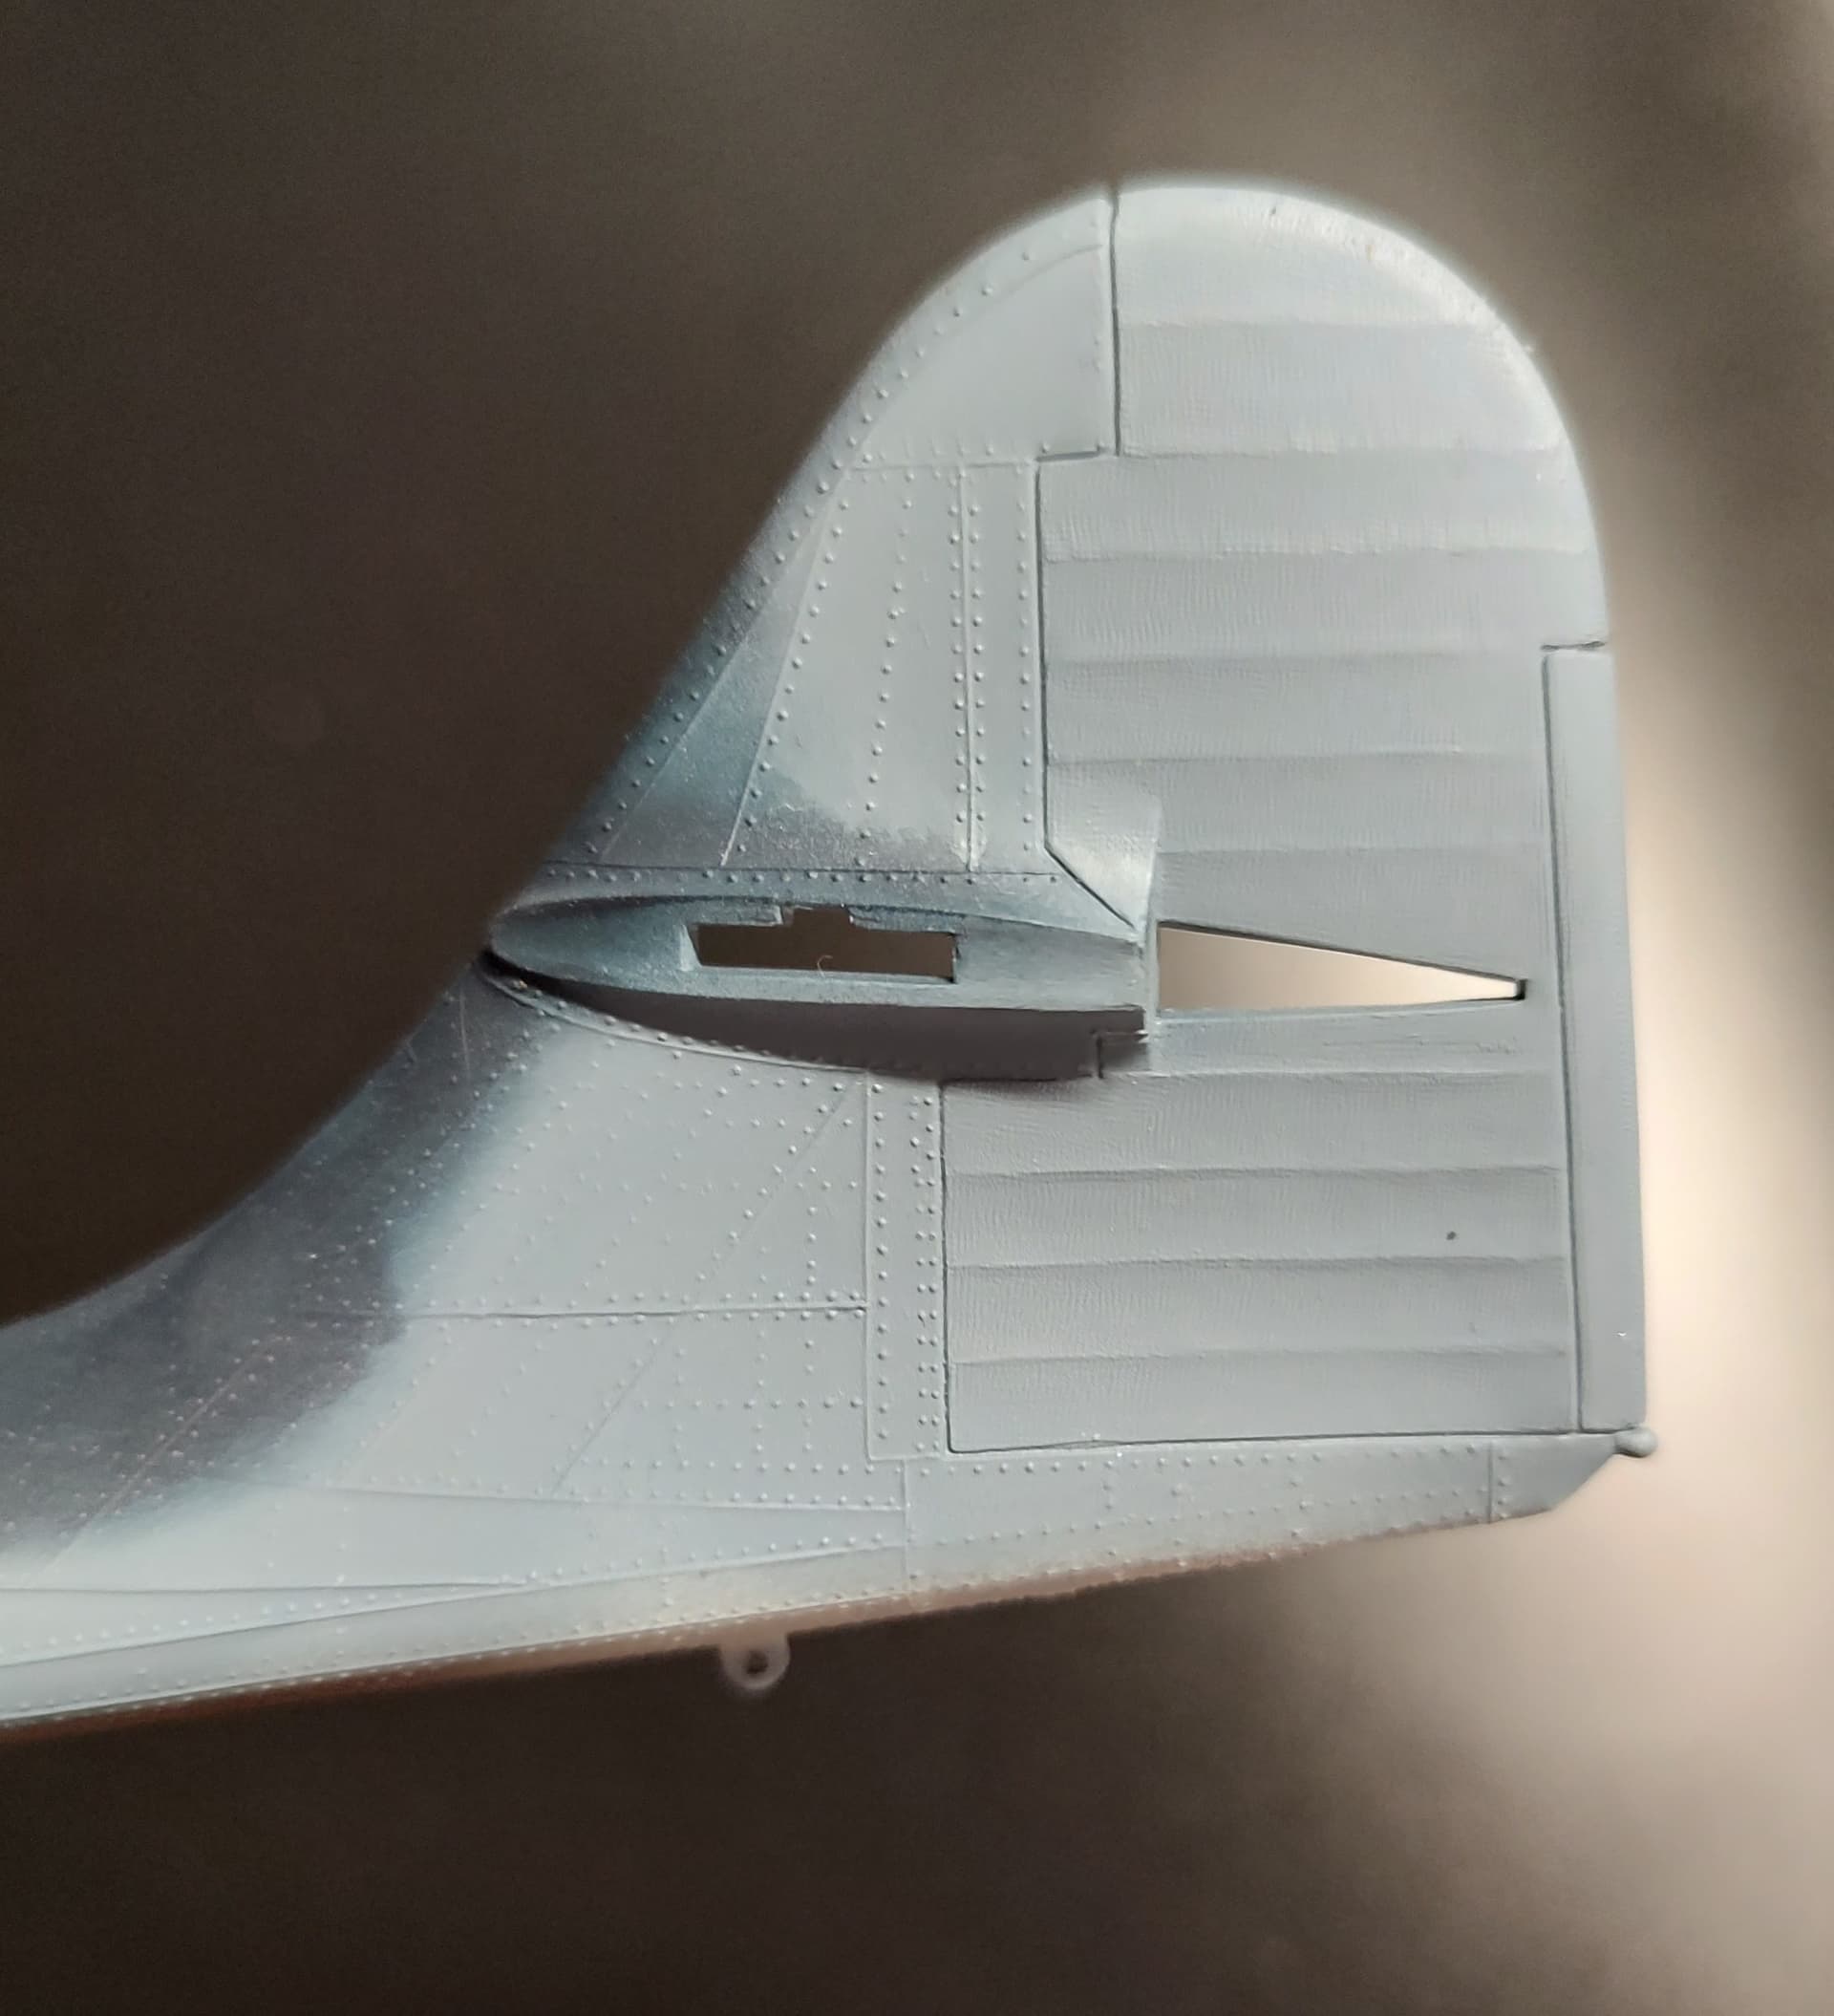
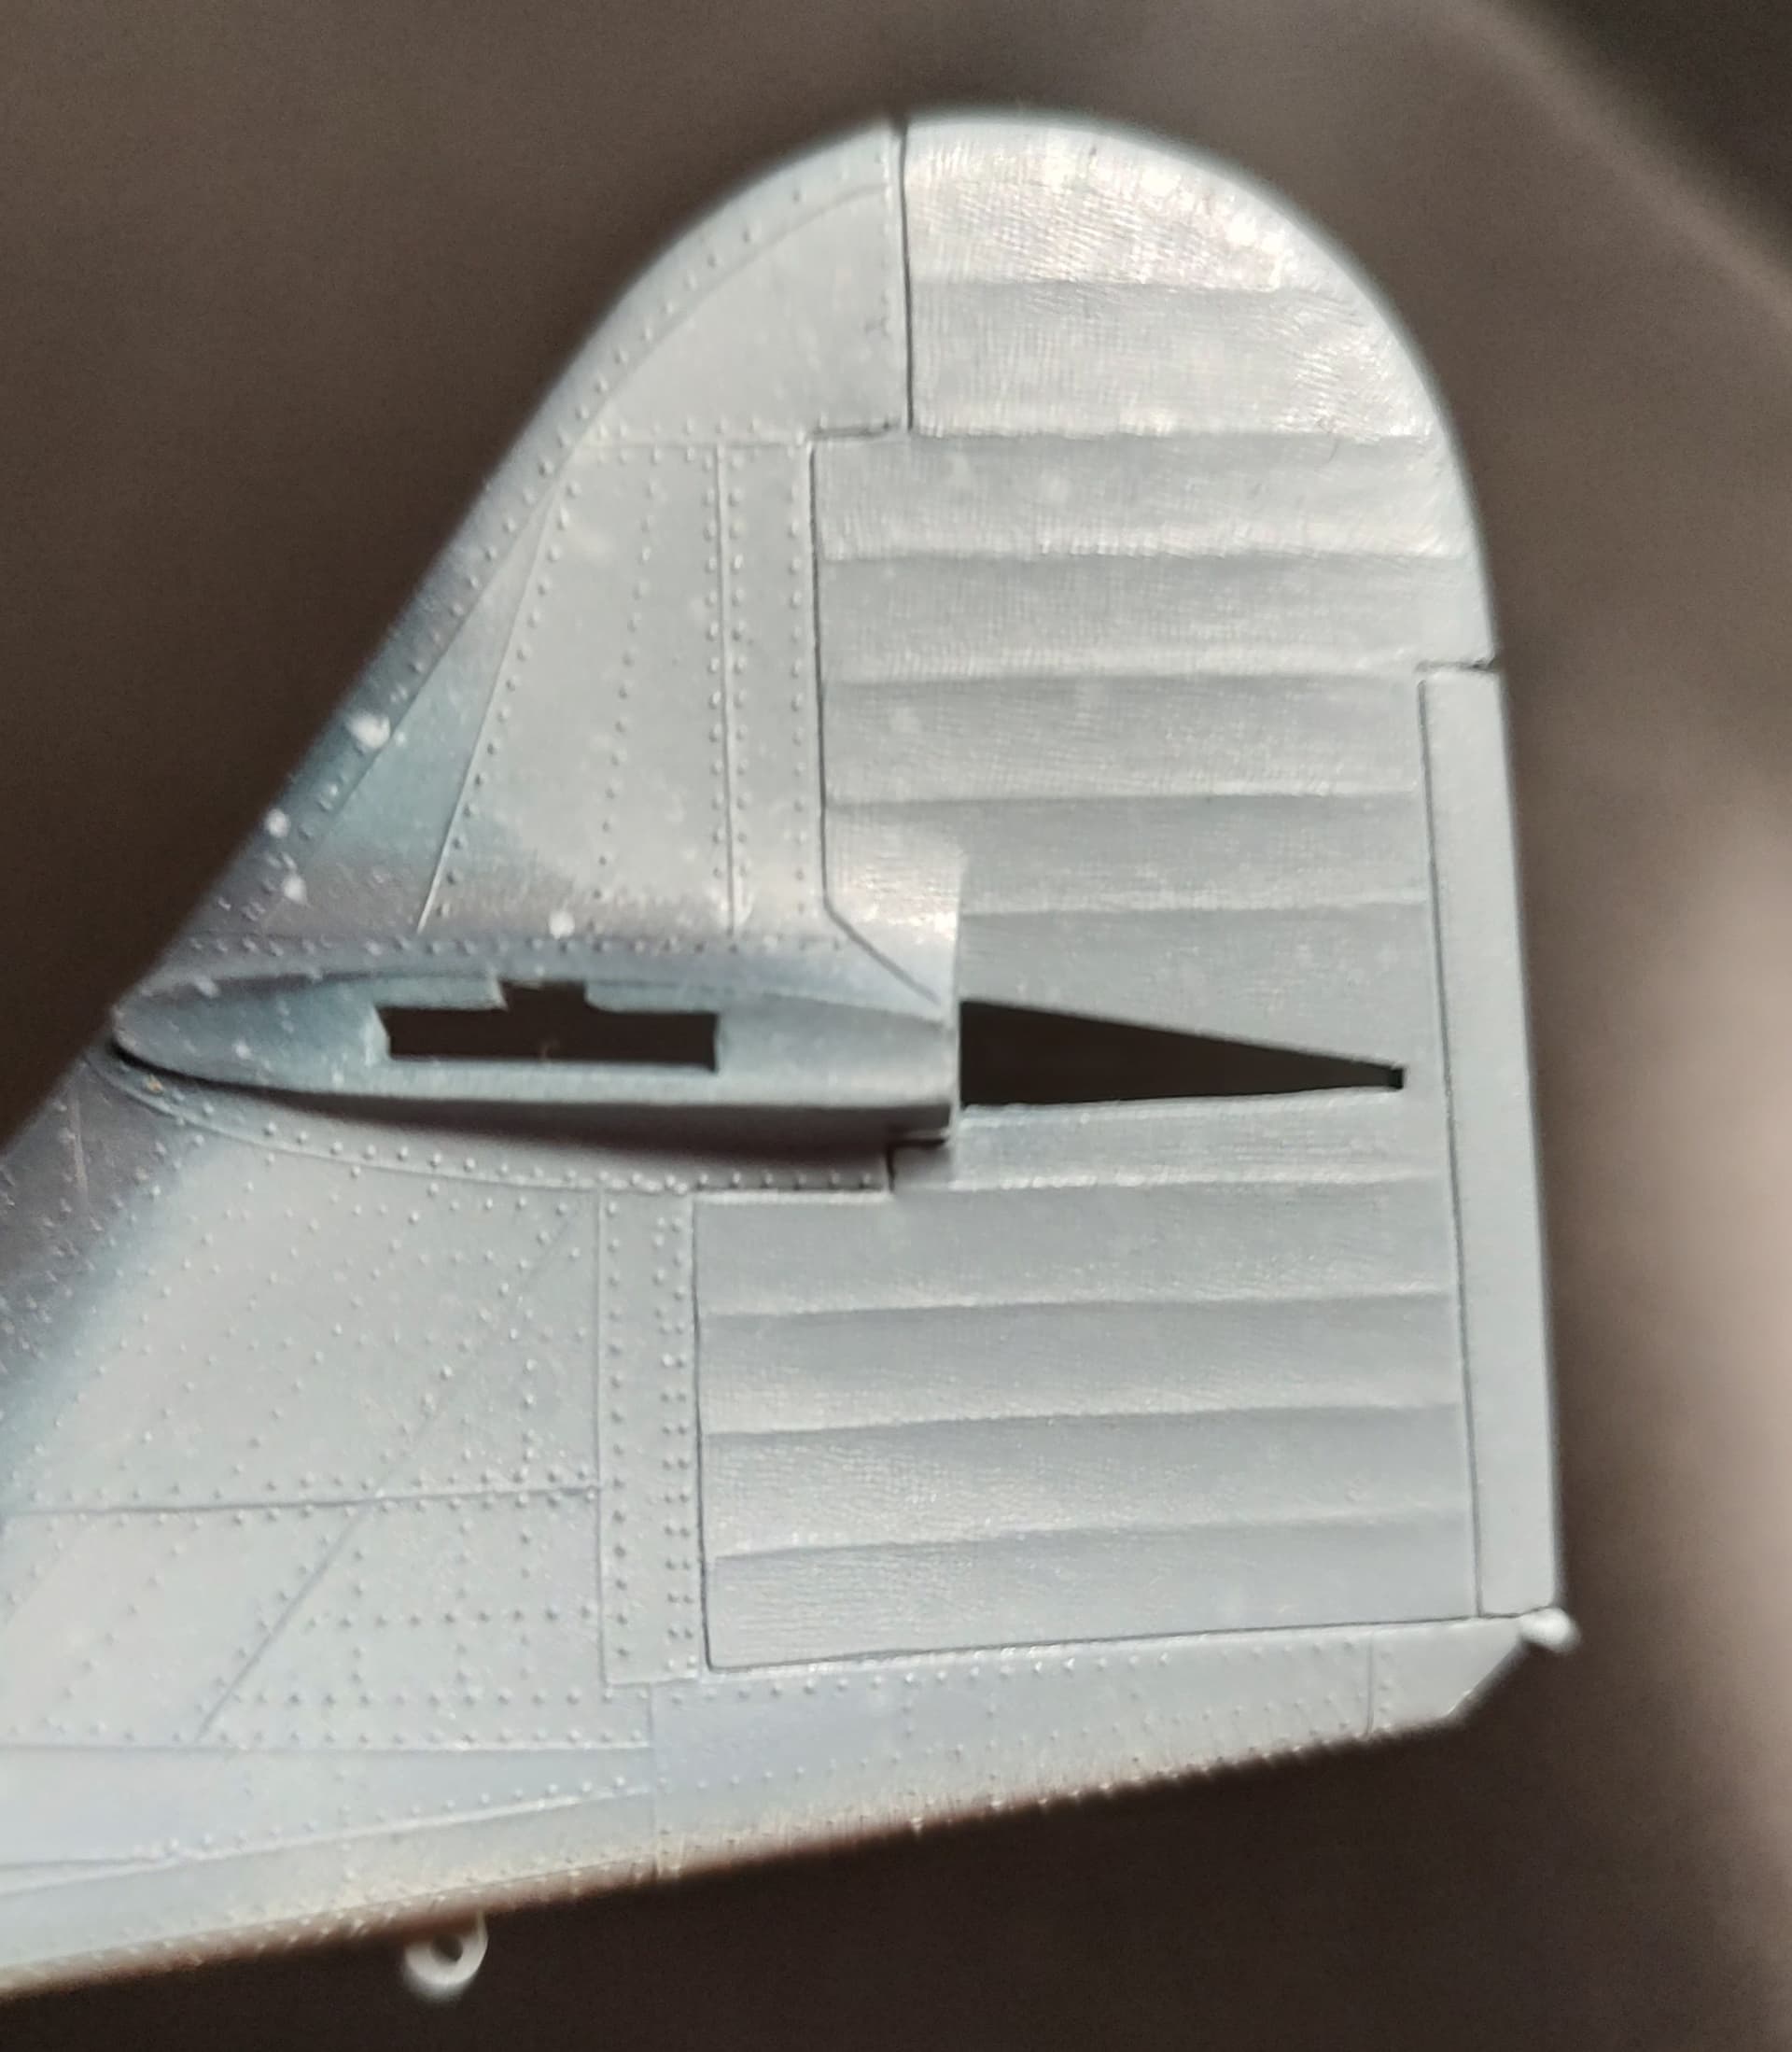
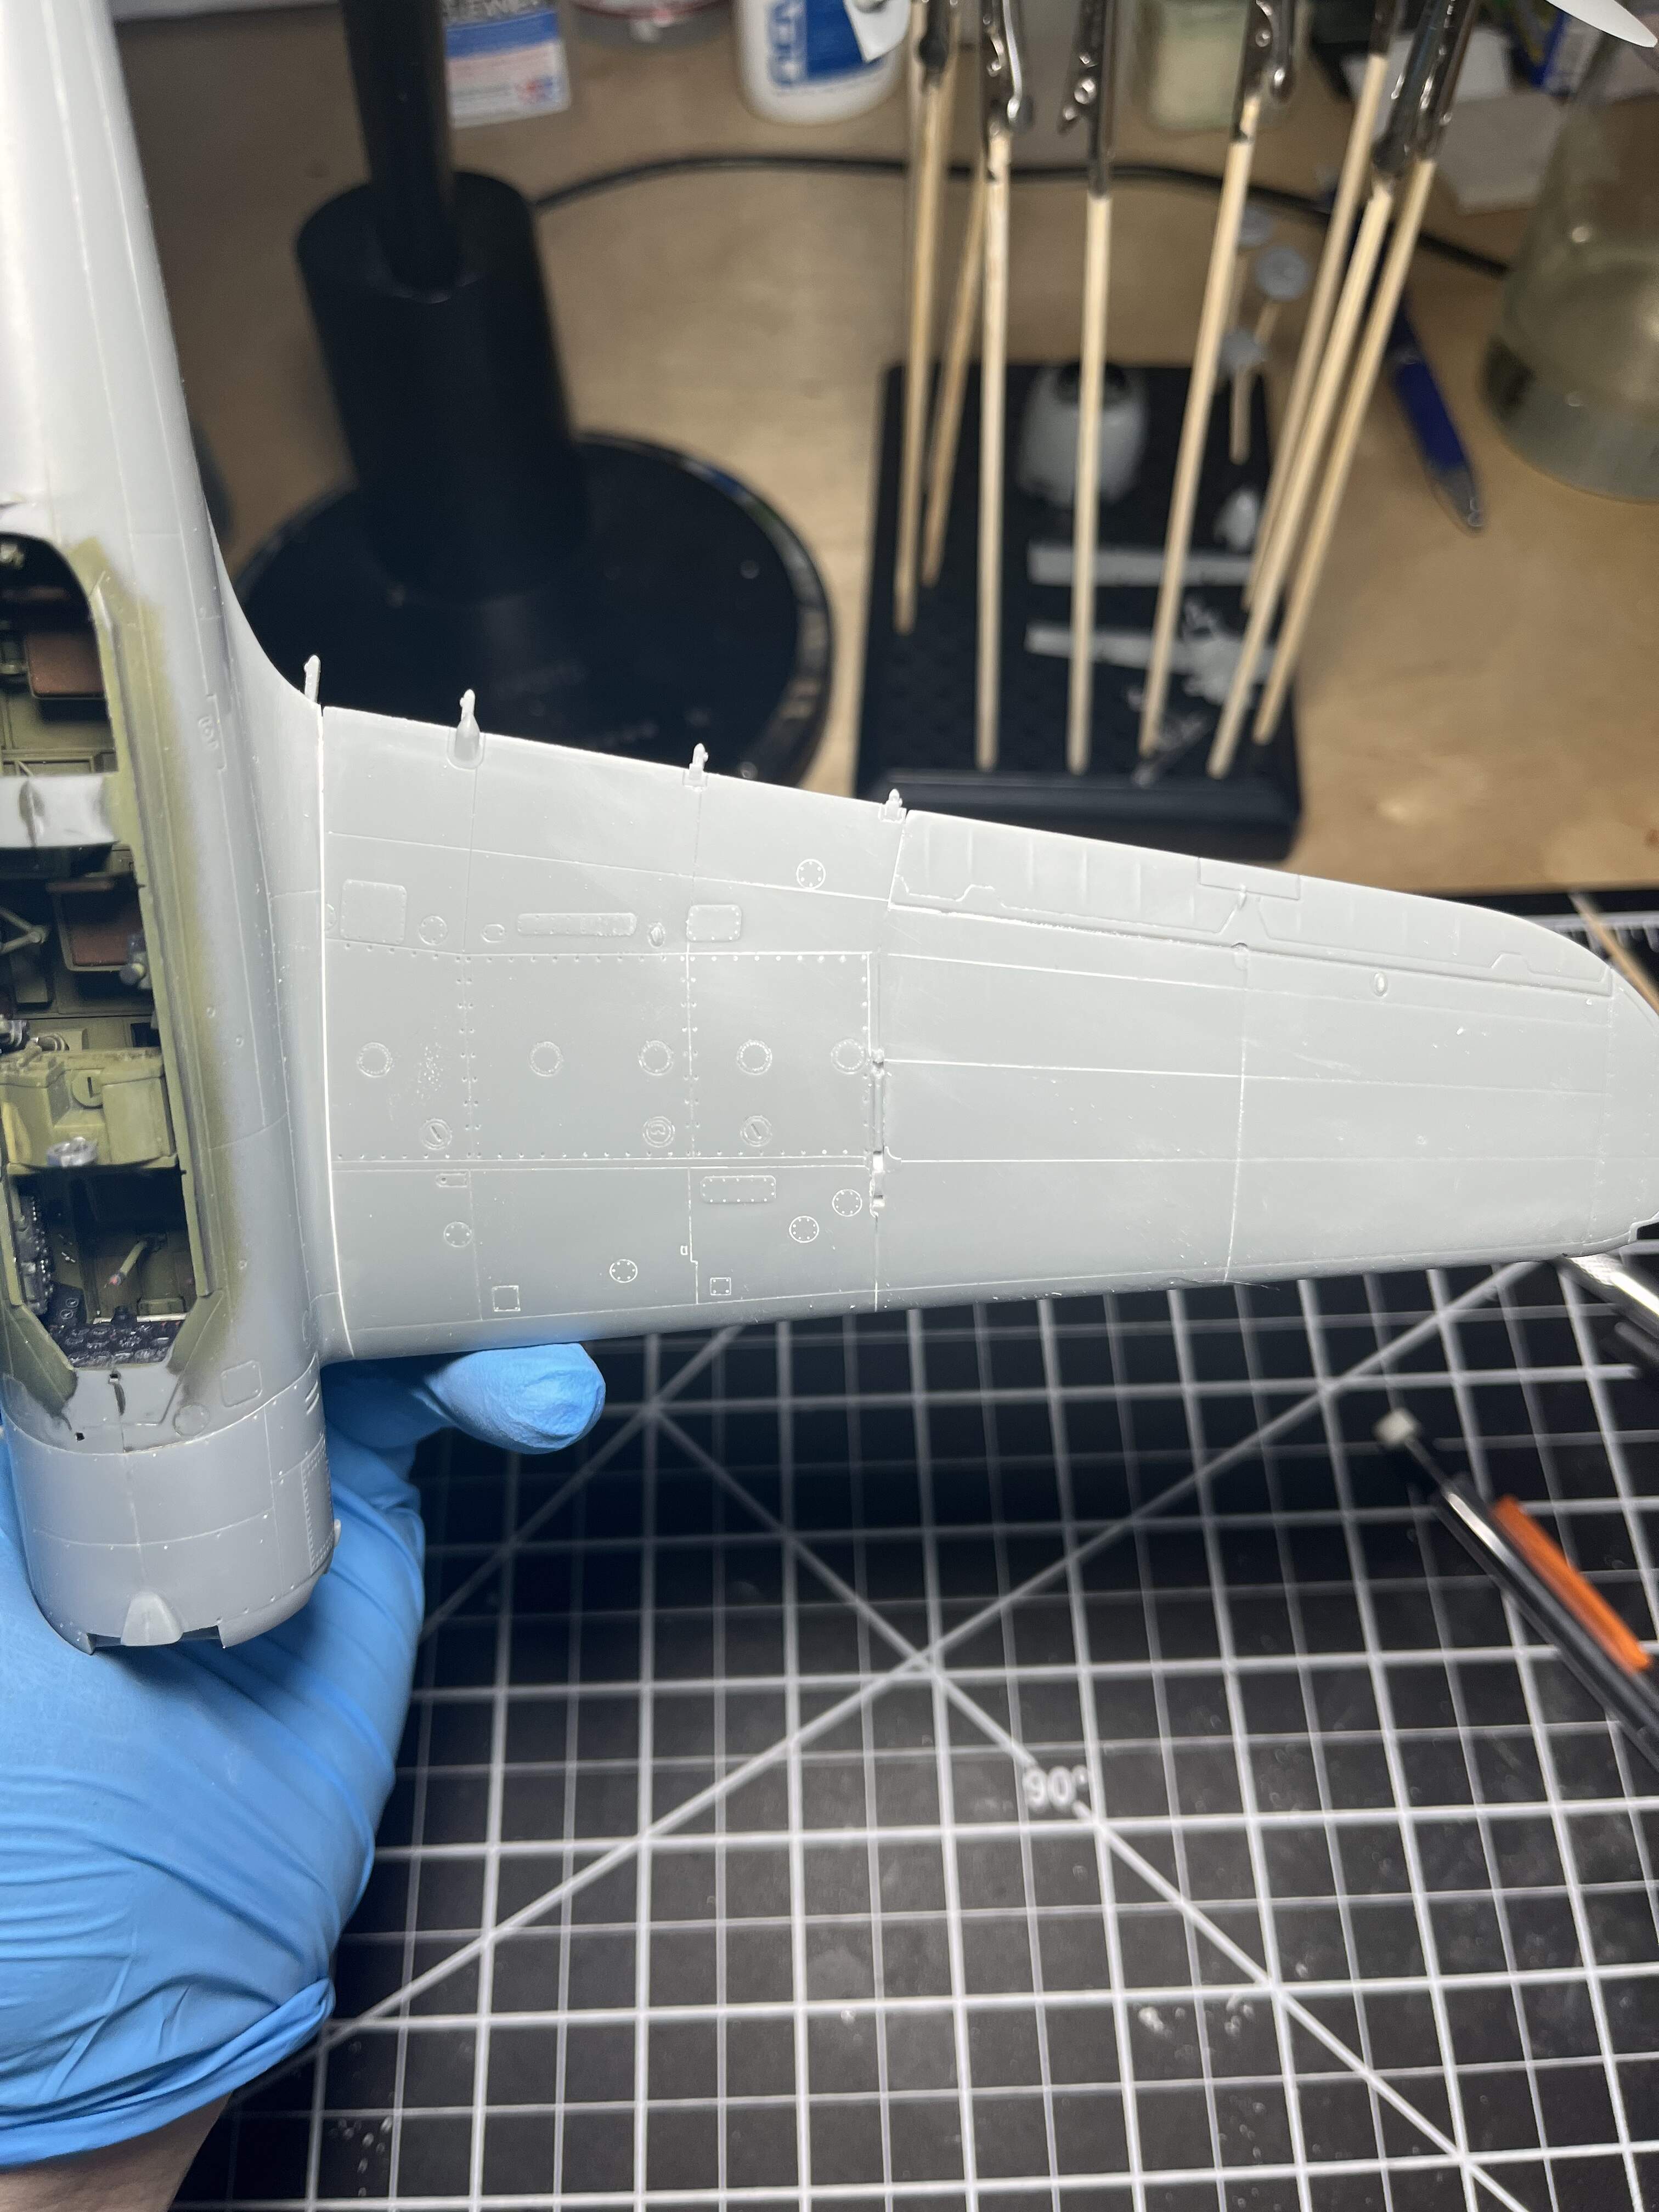
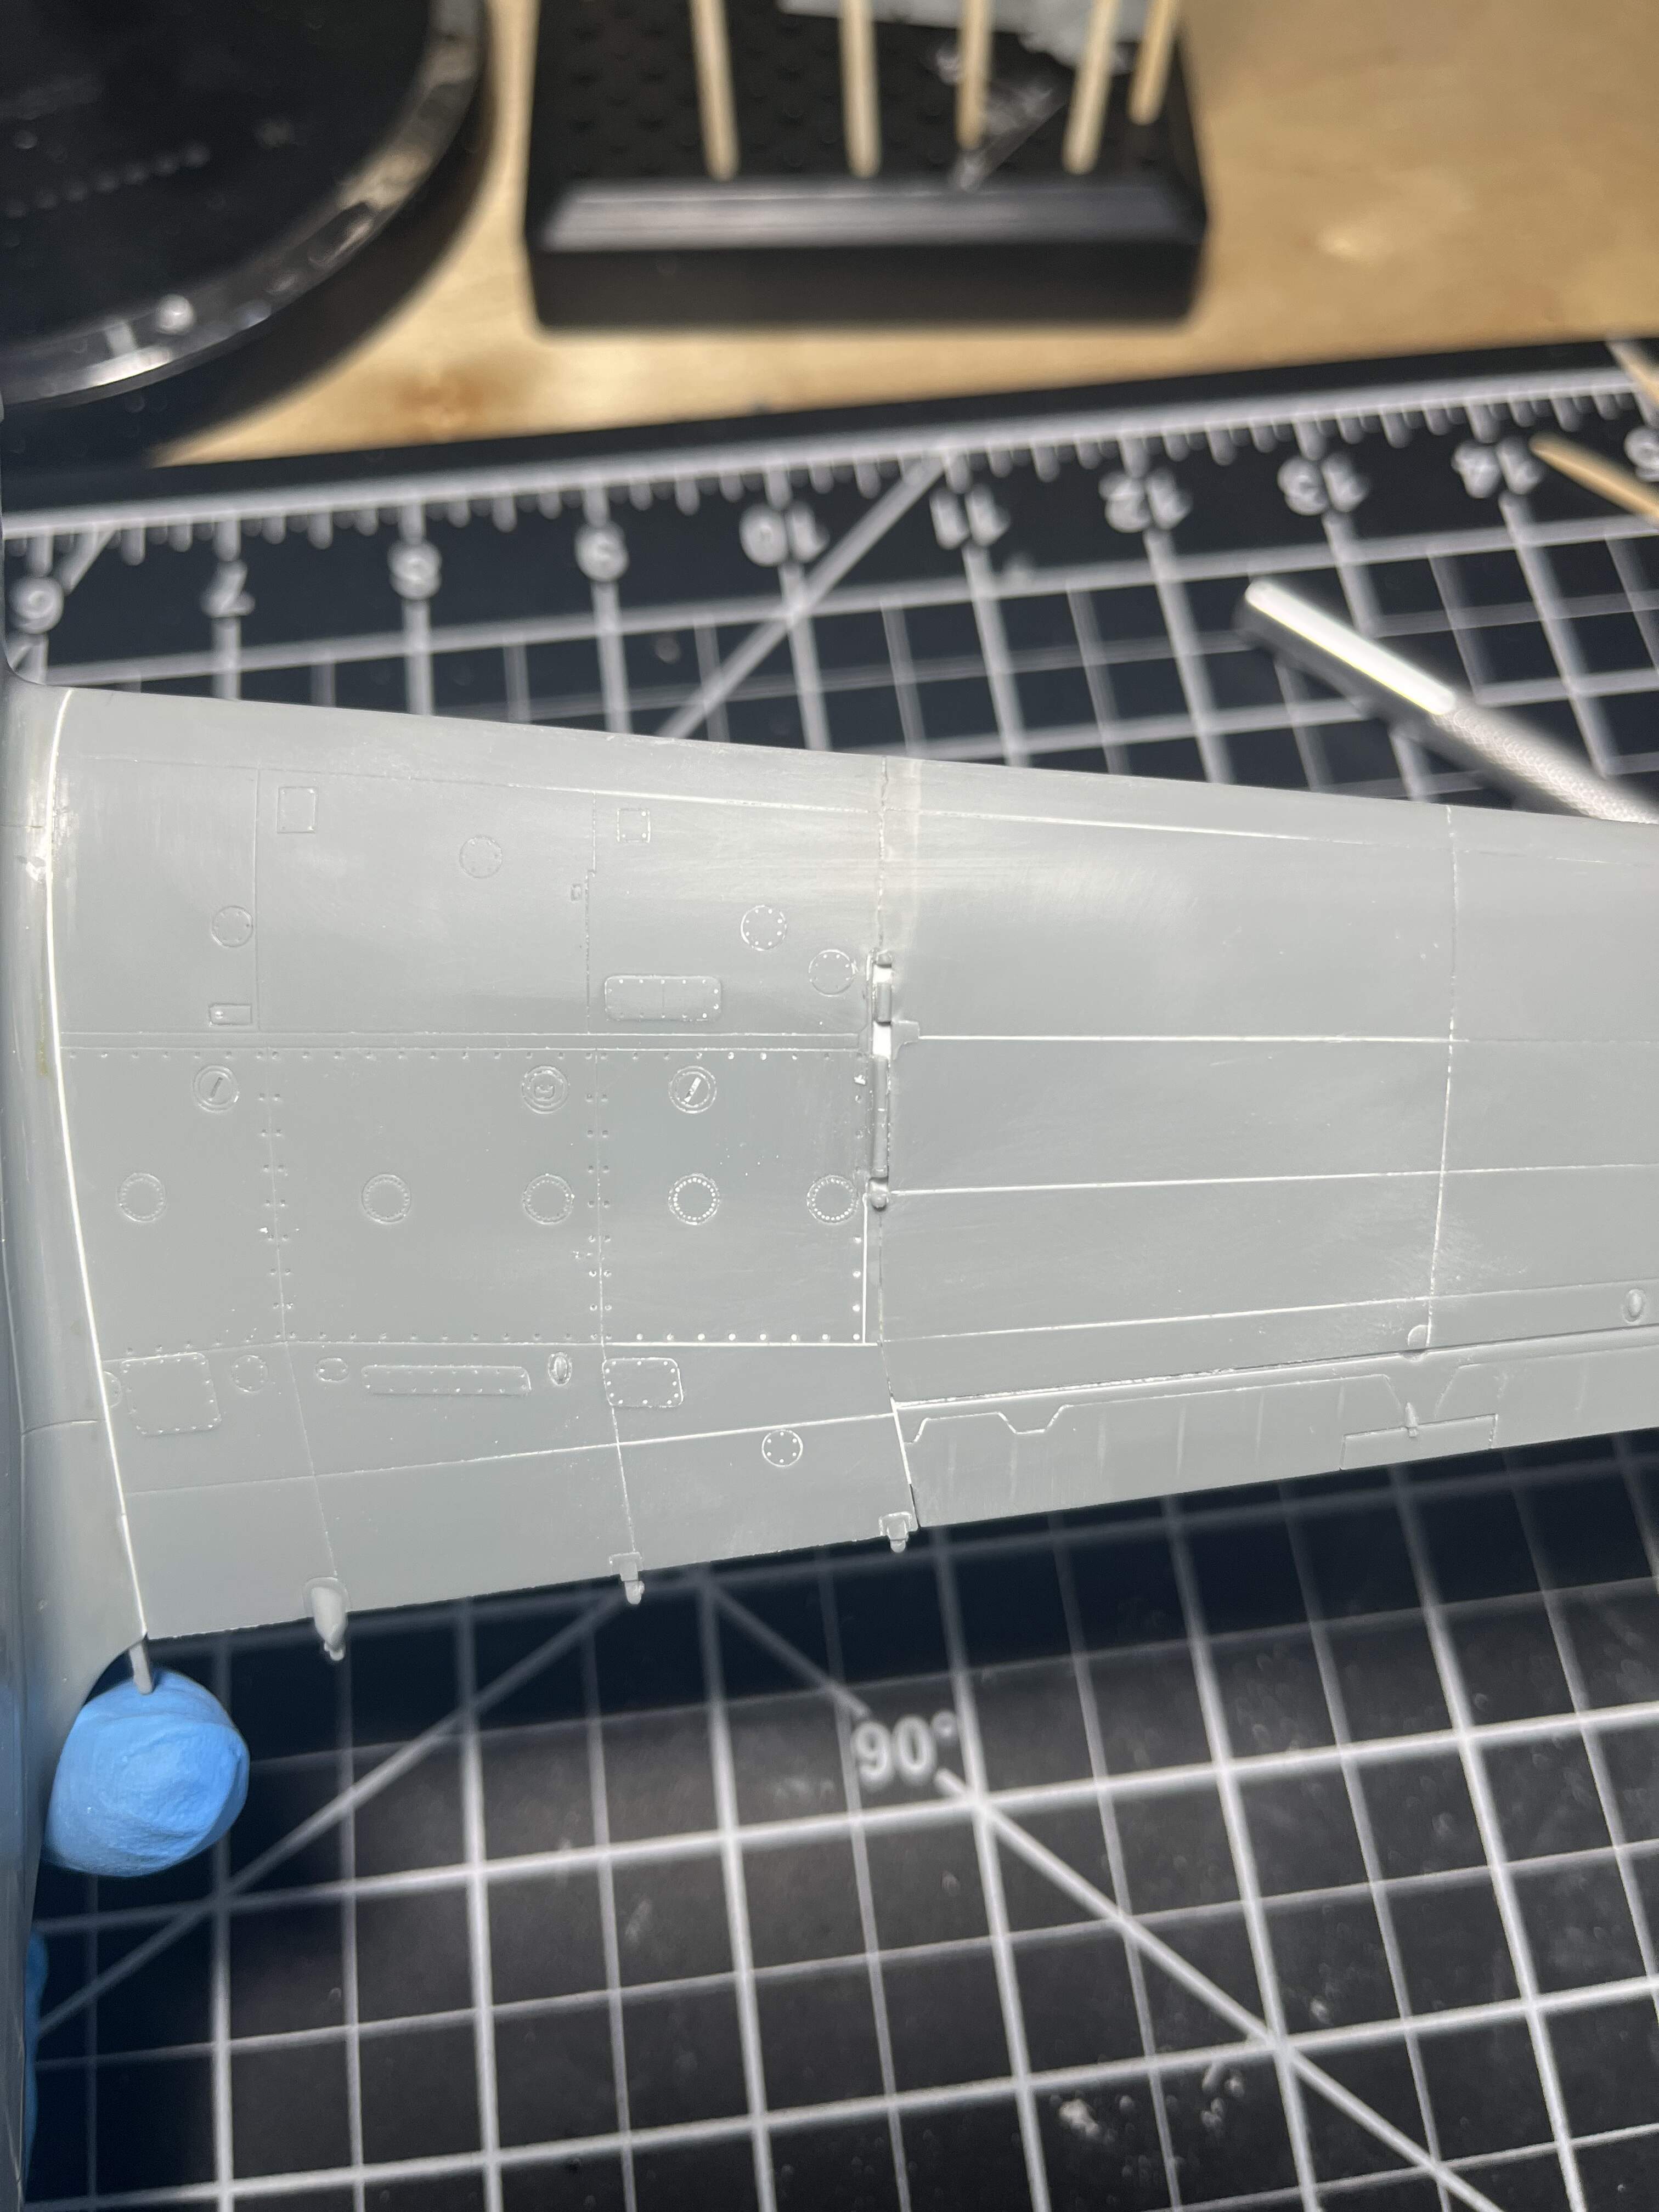
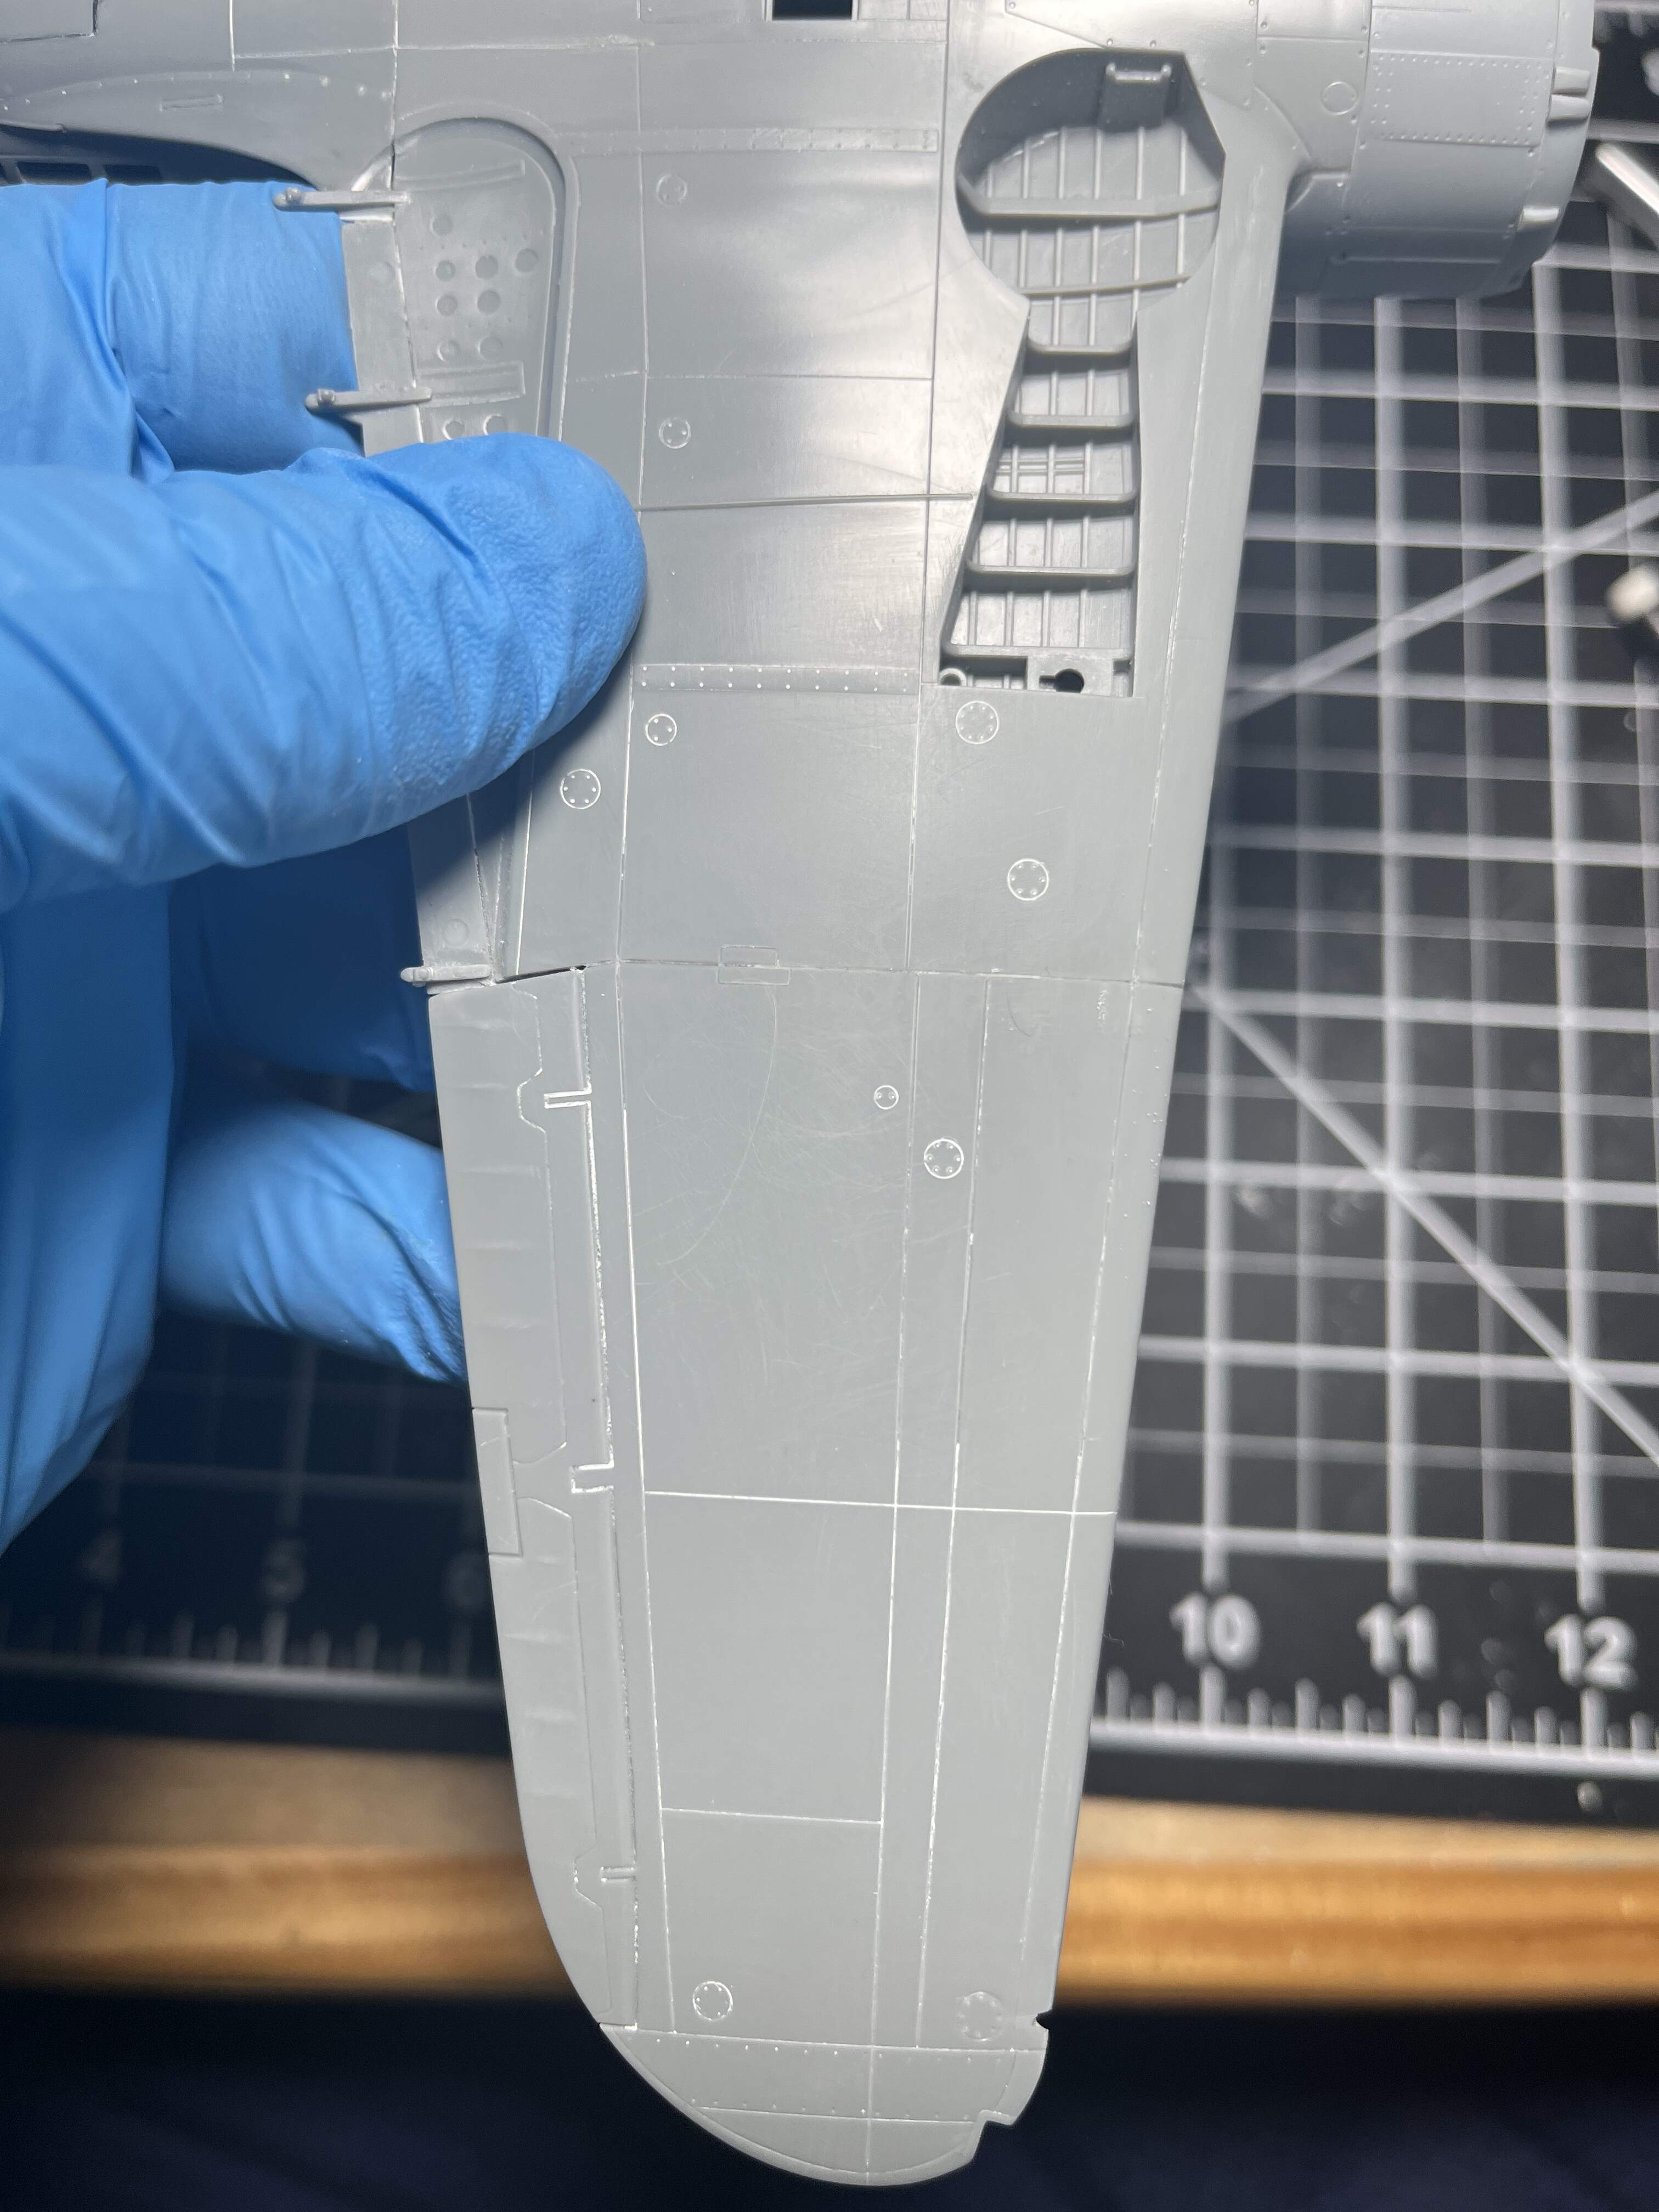
Hi Paul, I had a little extra time last night so I decided to make a demonstration. First, we’ll start out with a pristine nonspecular intermediate blue PBY tail. This is the ancient Revell kit so it is also festooned with raised rivets, which is completely accurate and authentic for a PBY. Just a bit out of scale. :wink:

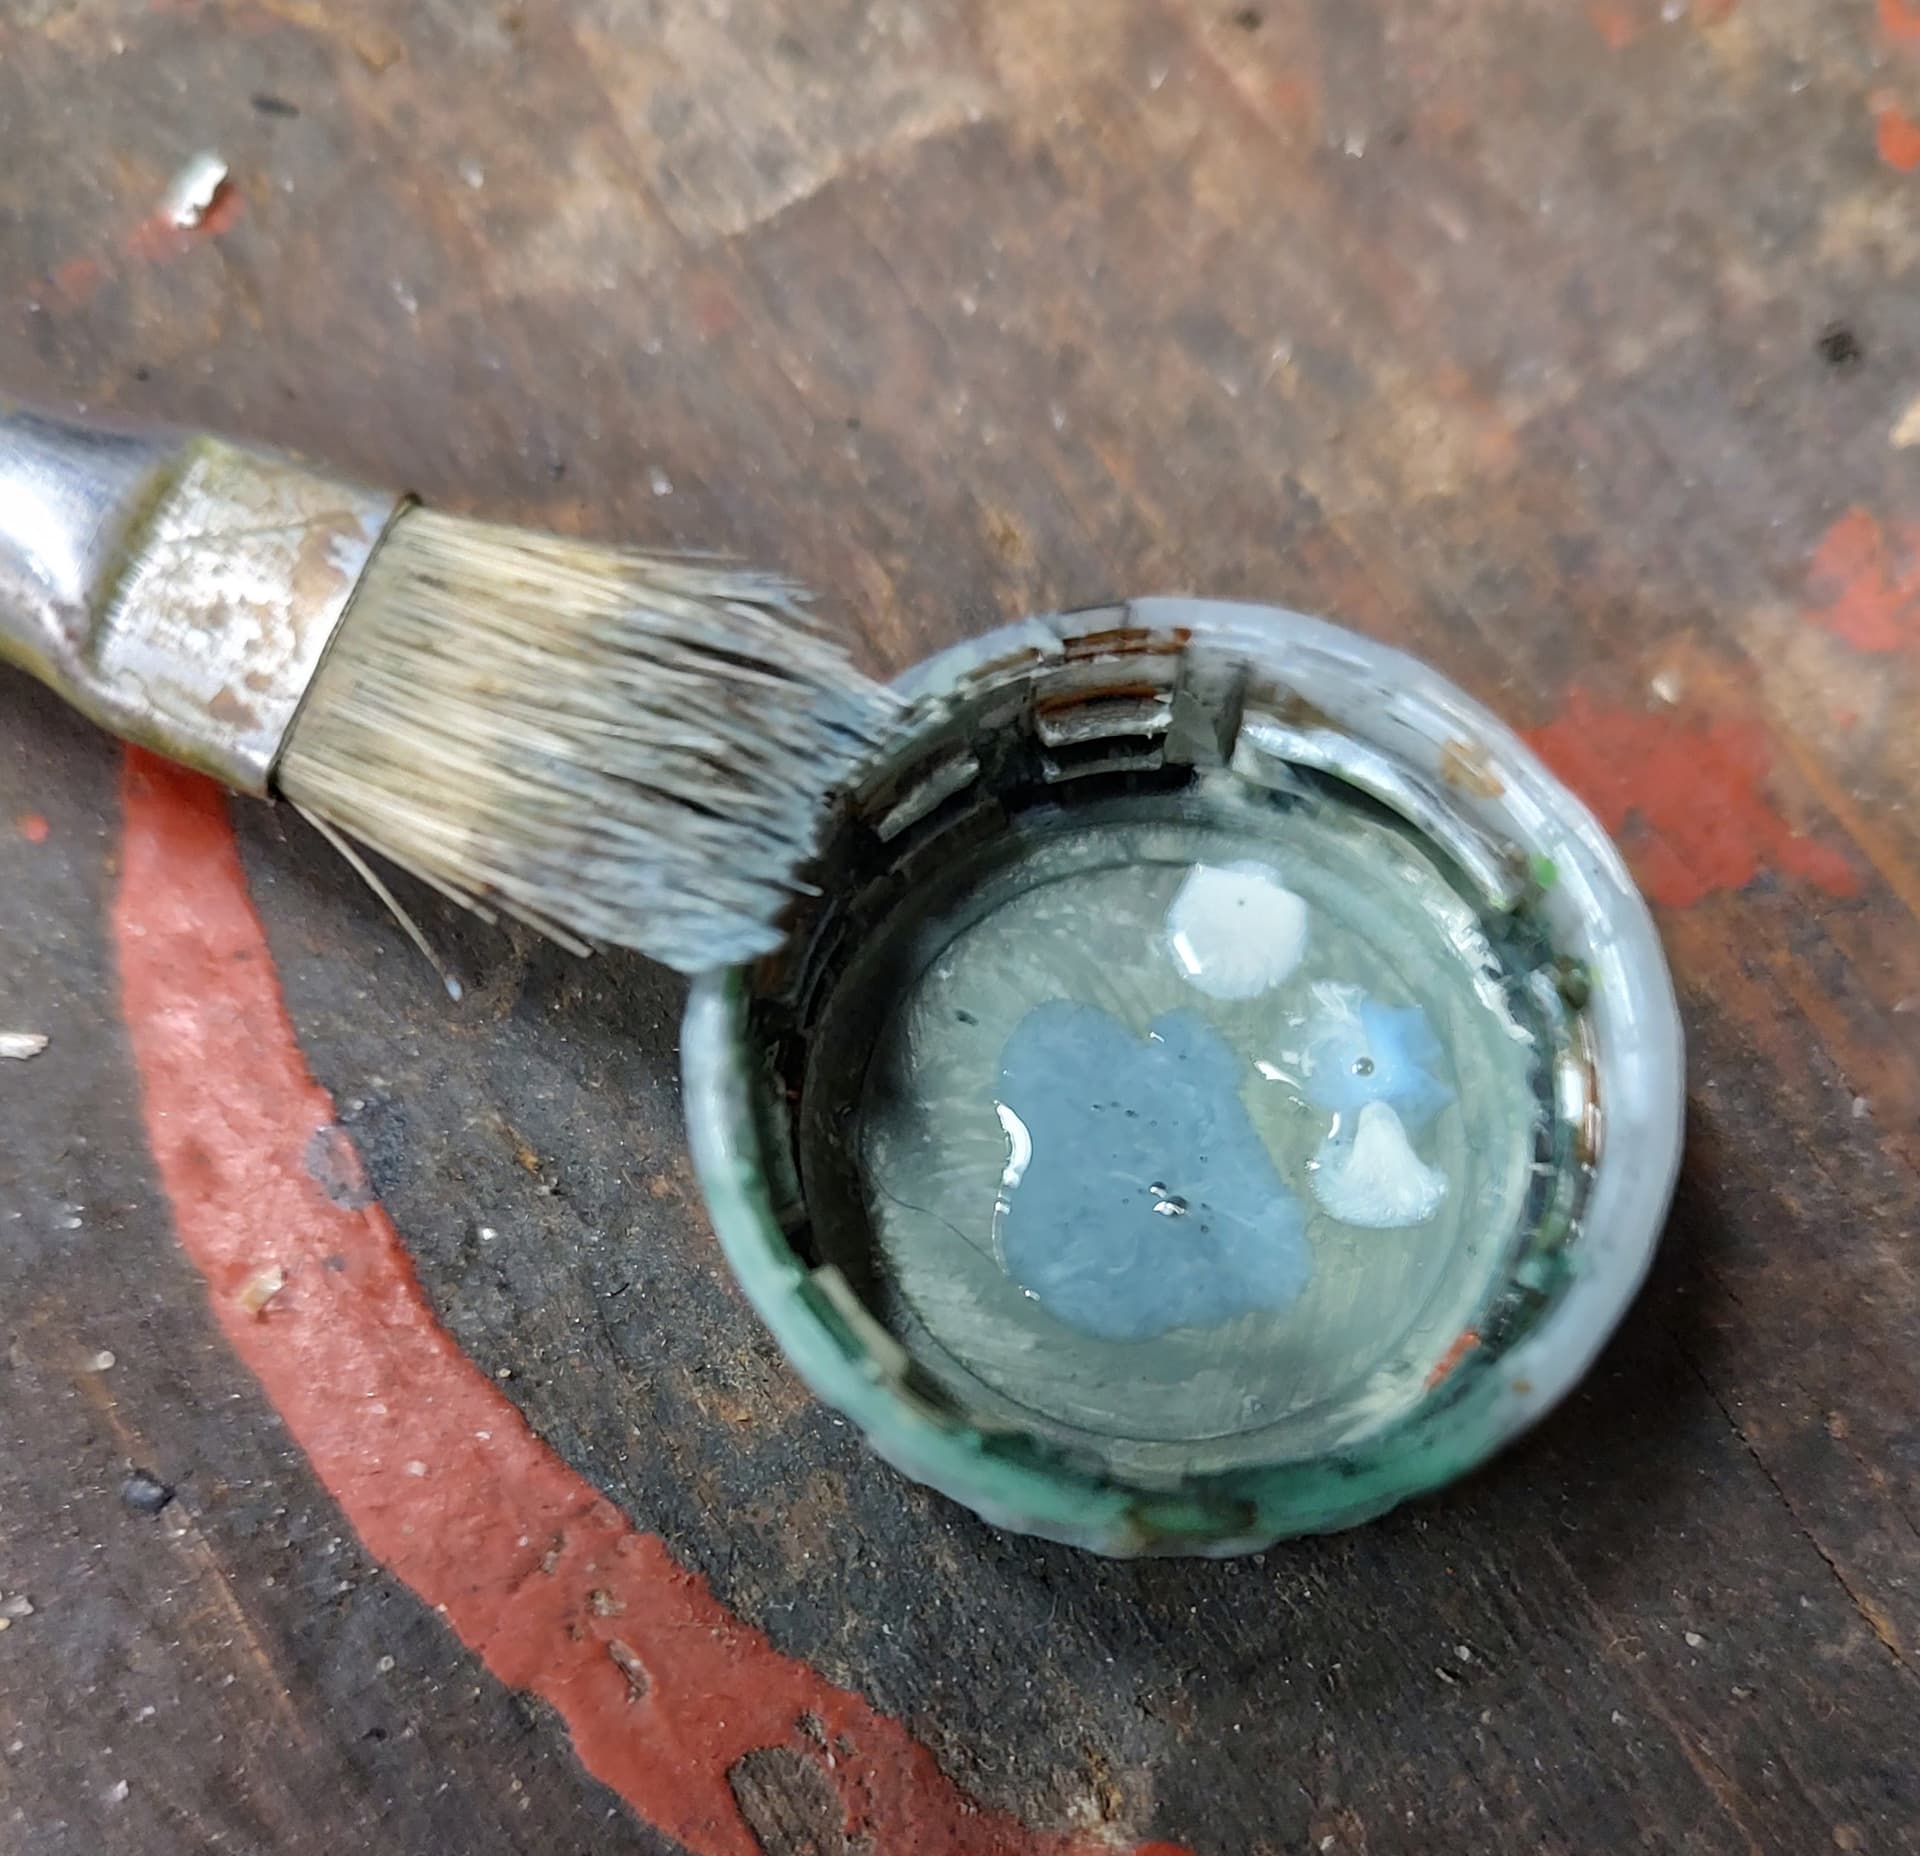
The tools of the pending disaster…

I suppose this technique is akin to color modulating. I’m not going to look up the technical terms but what I’m doing is just trying to break up the solid uniform color with random patterns.

Then I took some intermittent blue and put a smidge of white in it. It does not matter if you use white, gray, blue, red, whatever, just something to modify the hue.

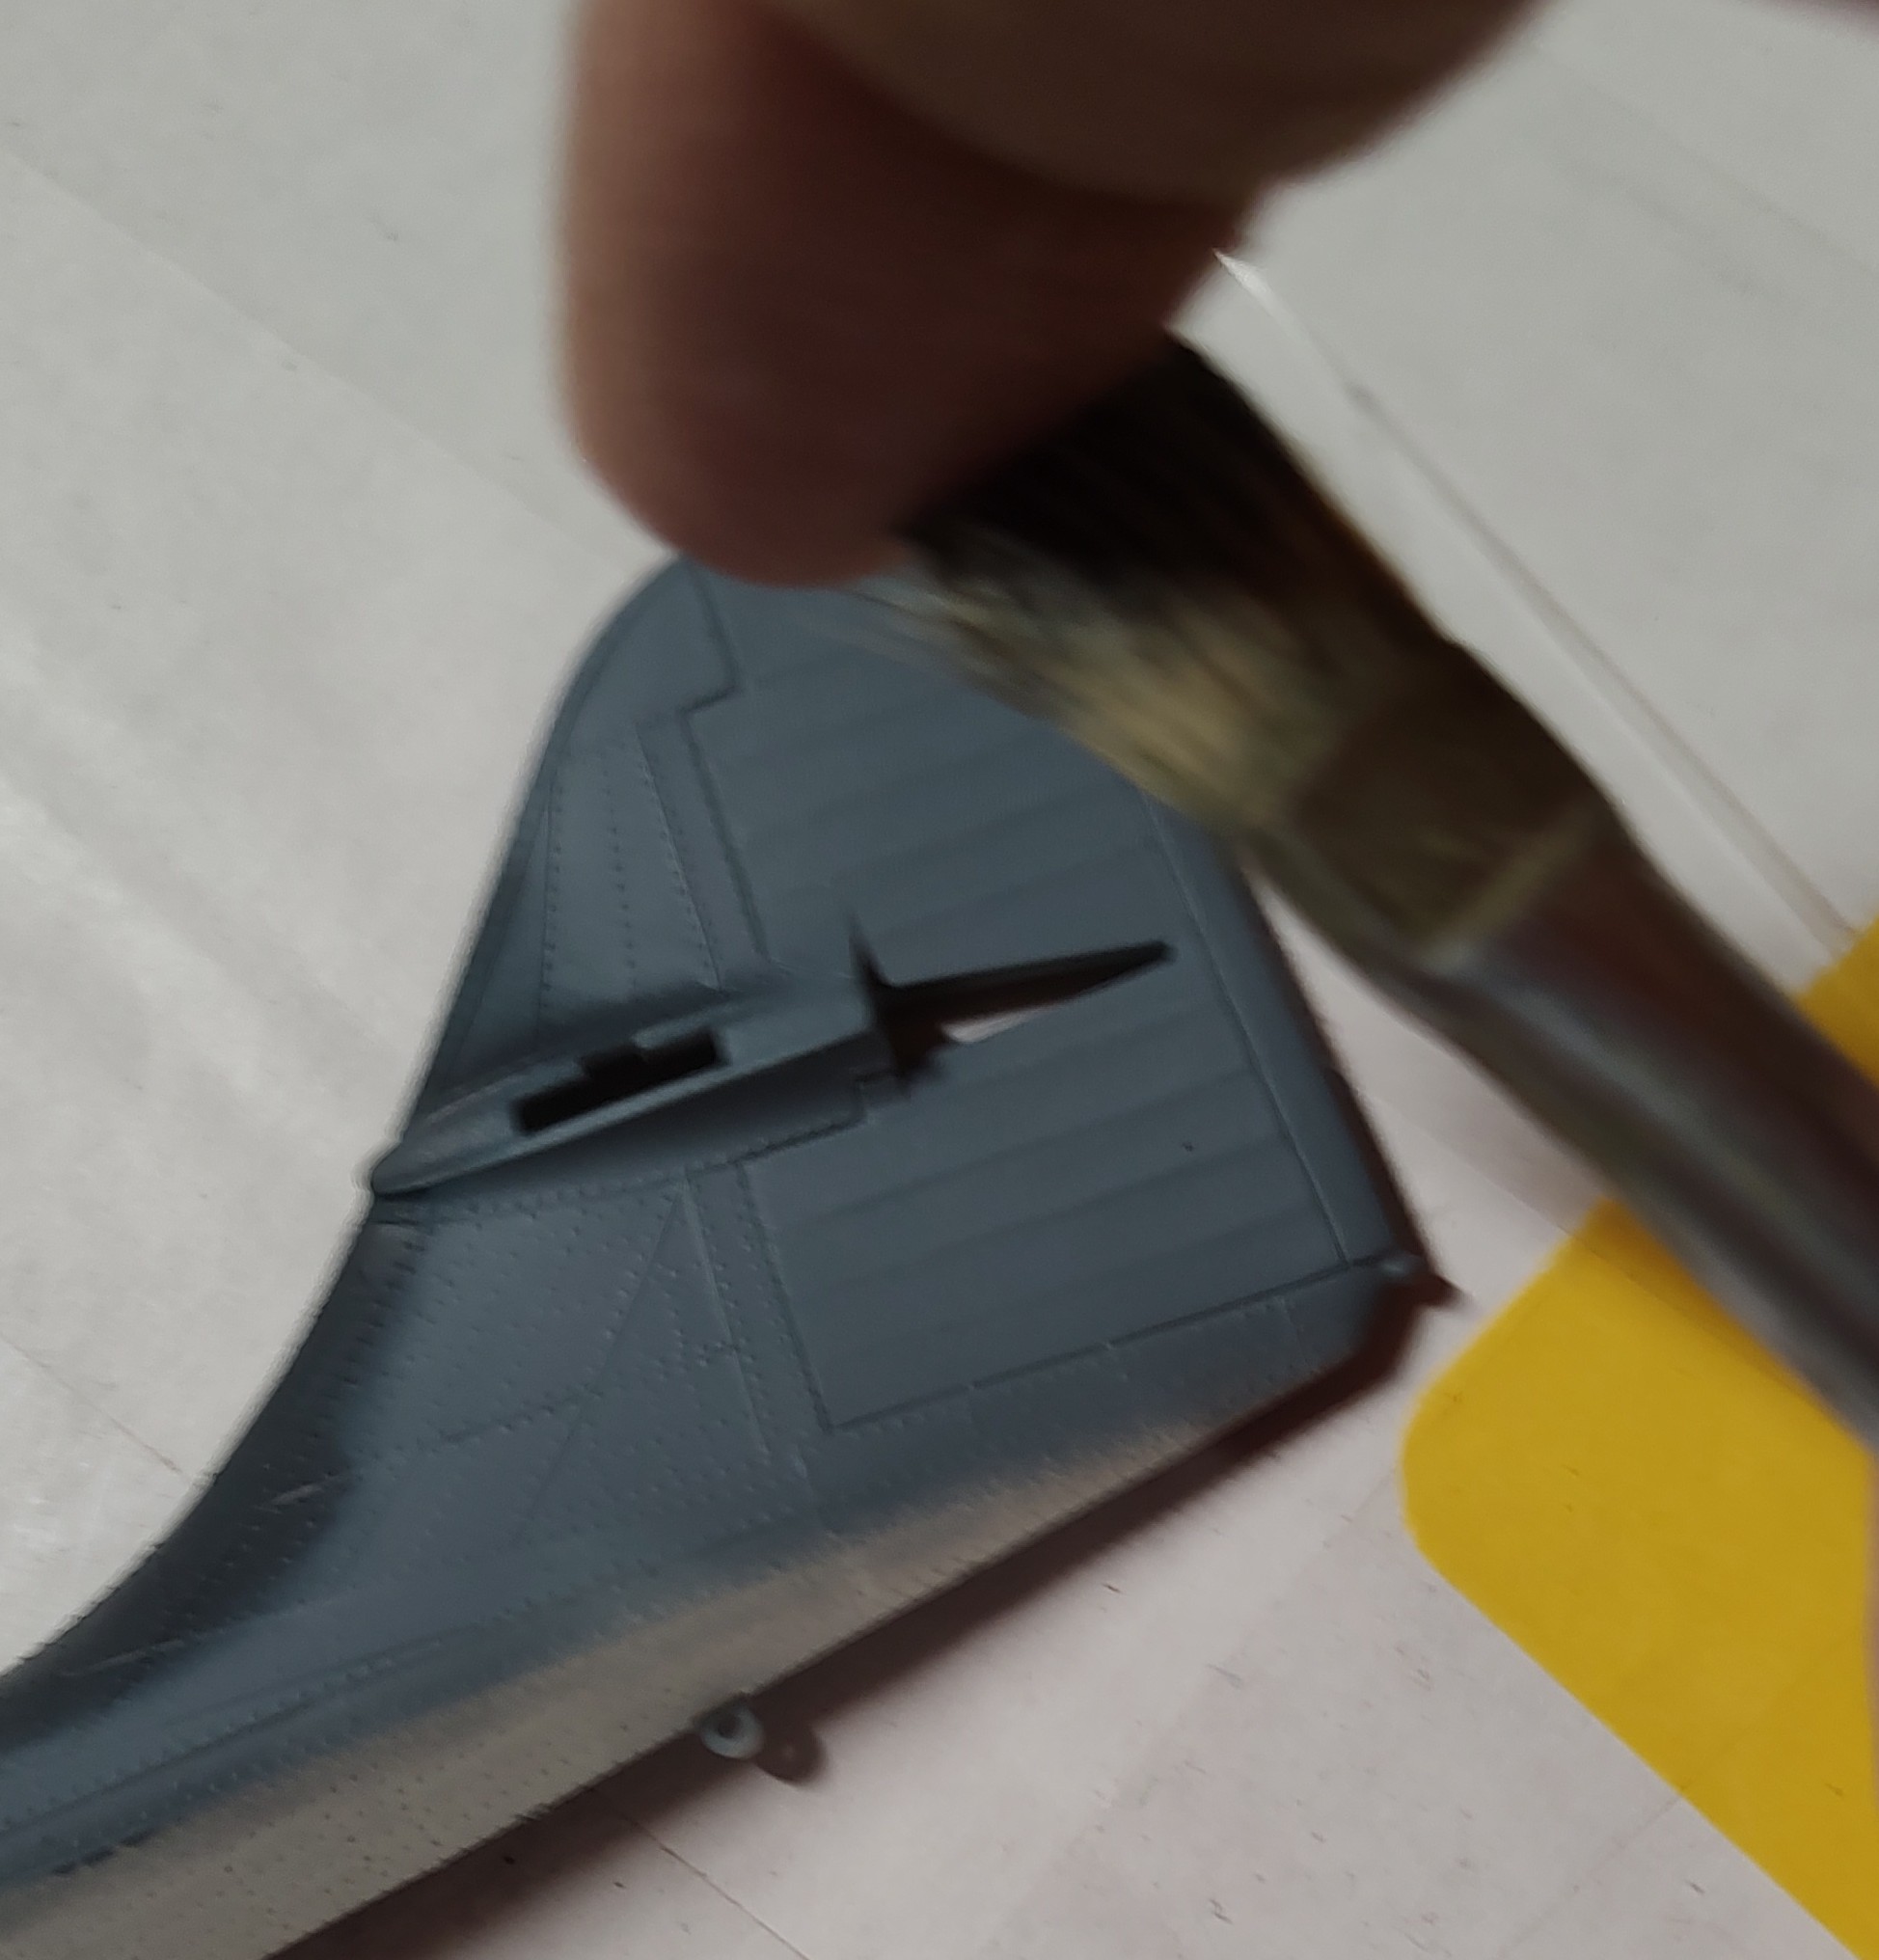
Load up the stiff bristle acrylic brush. Doesn’t matter if you use a lot of paint or a little. The more paint or the thinner the paint, the more will spatter. You have to develop your own “trigger pull” for your finger to adjust how much you want to go out, whether big globs or tiny speckles.

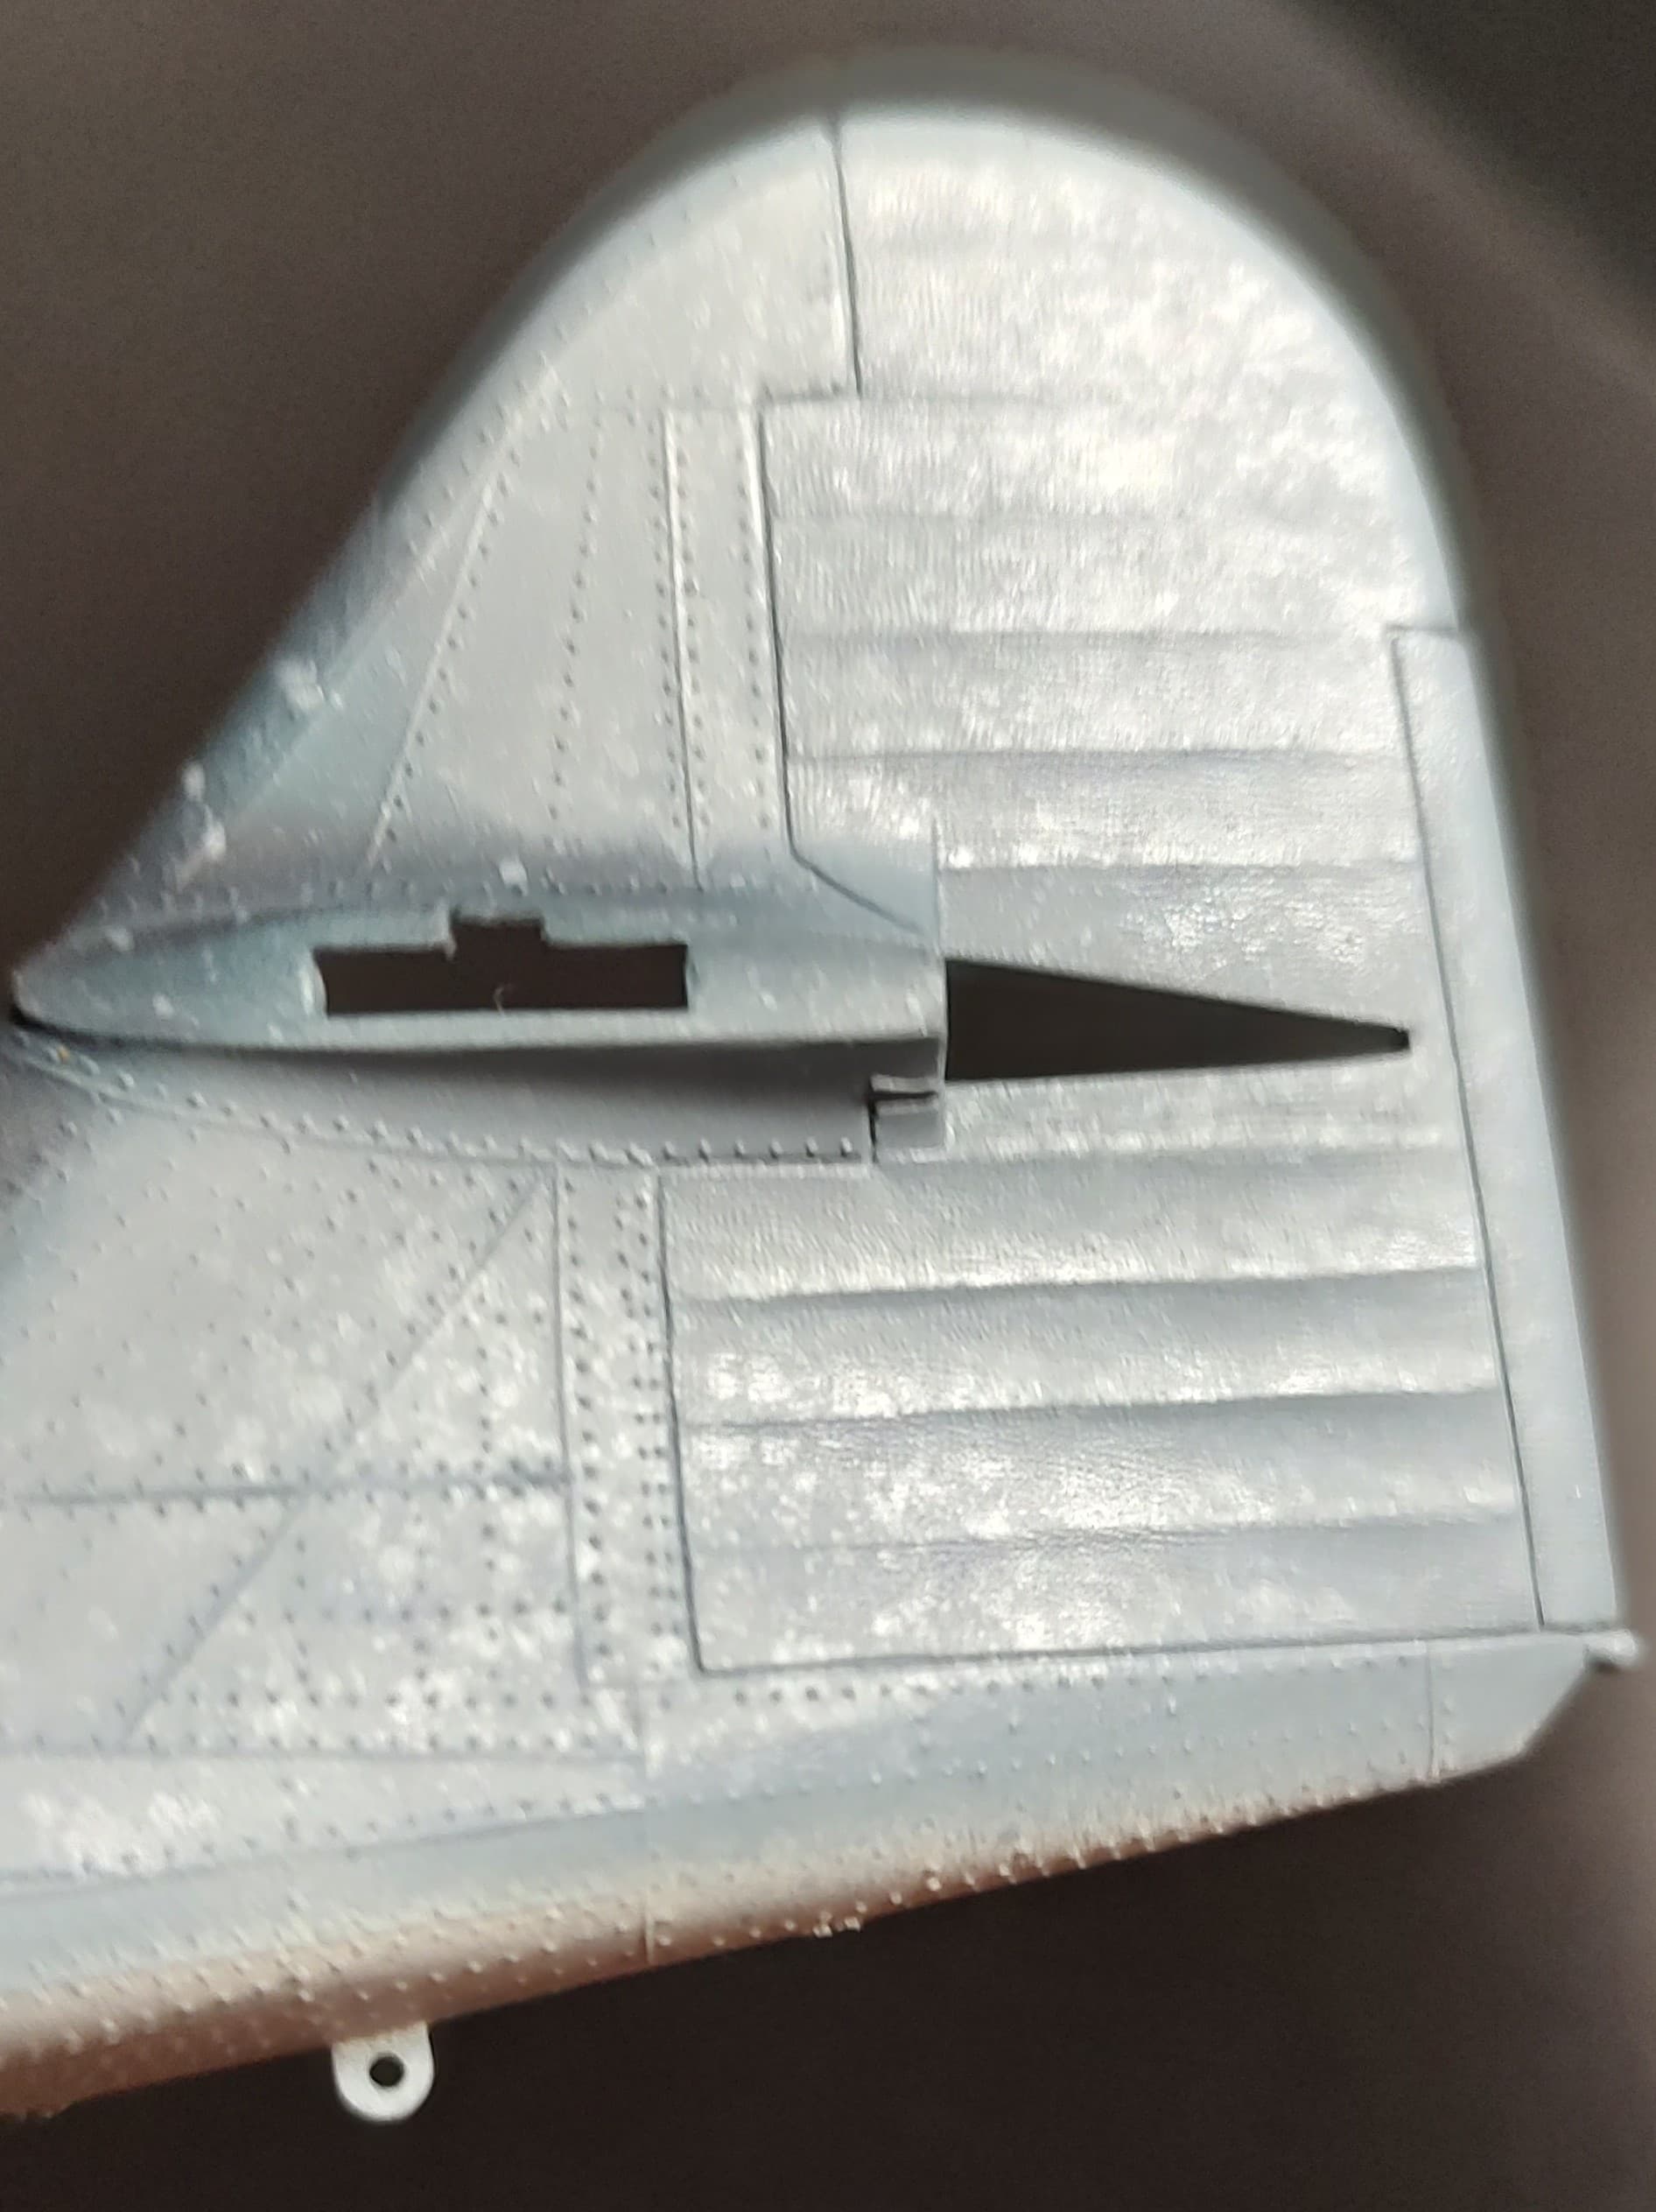
Use your finger to bend to the bristles back and then let them flick forward. Here, you see the tail after spattering the paint on a dry surface. Ach du lieber! I’ve ruined my model!

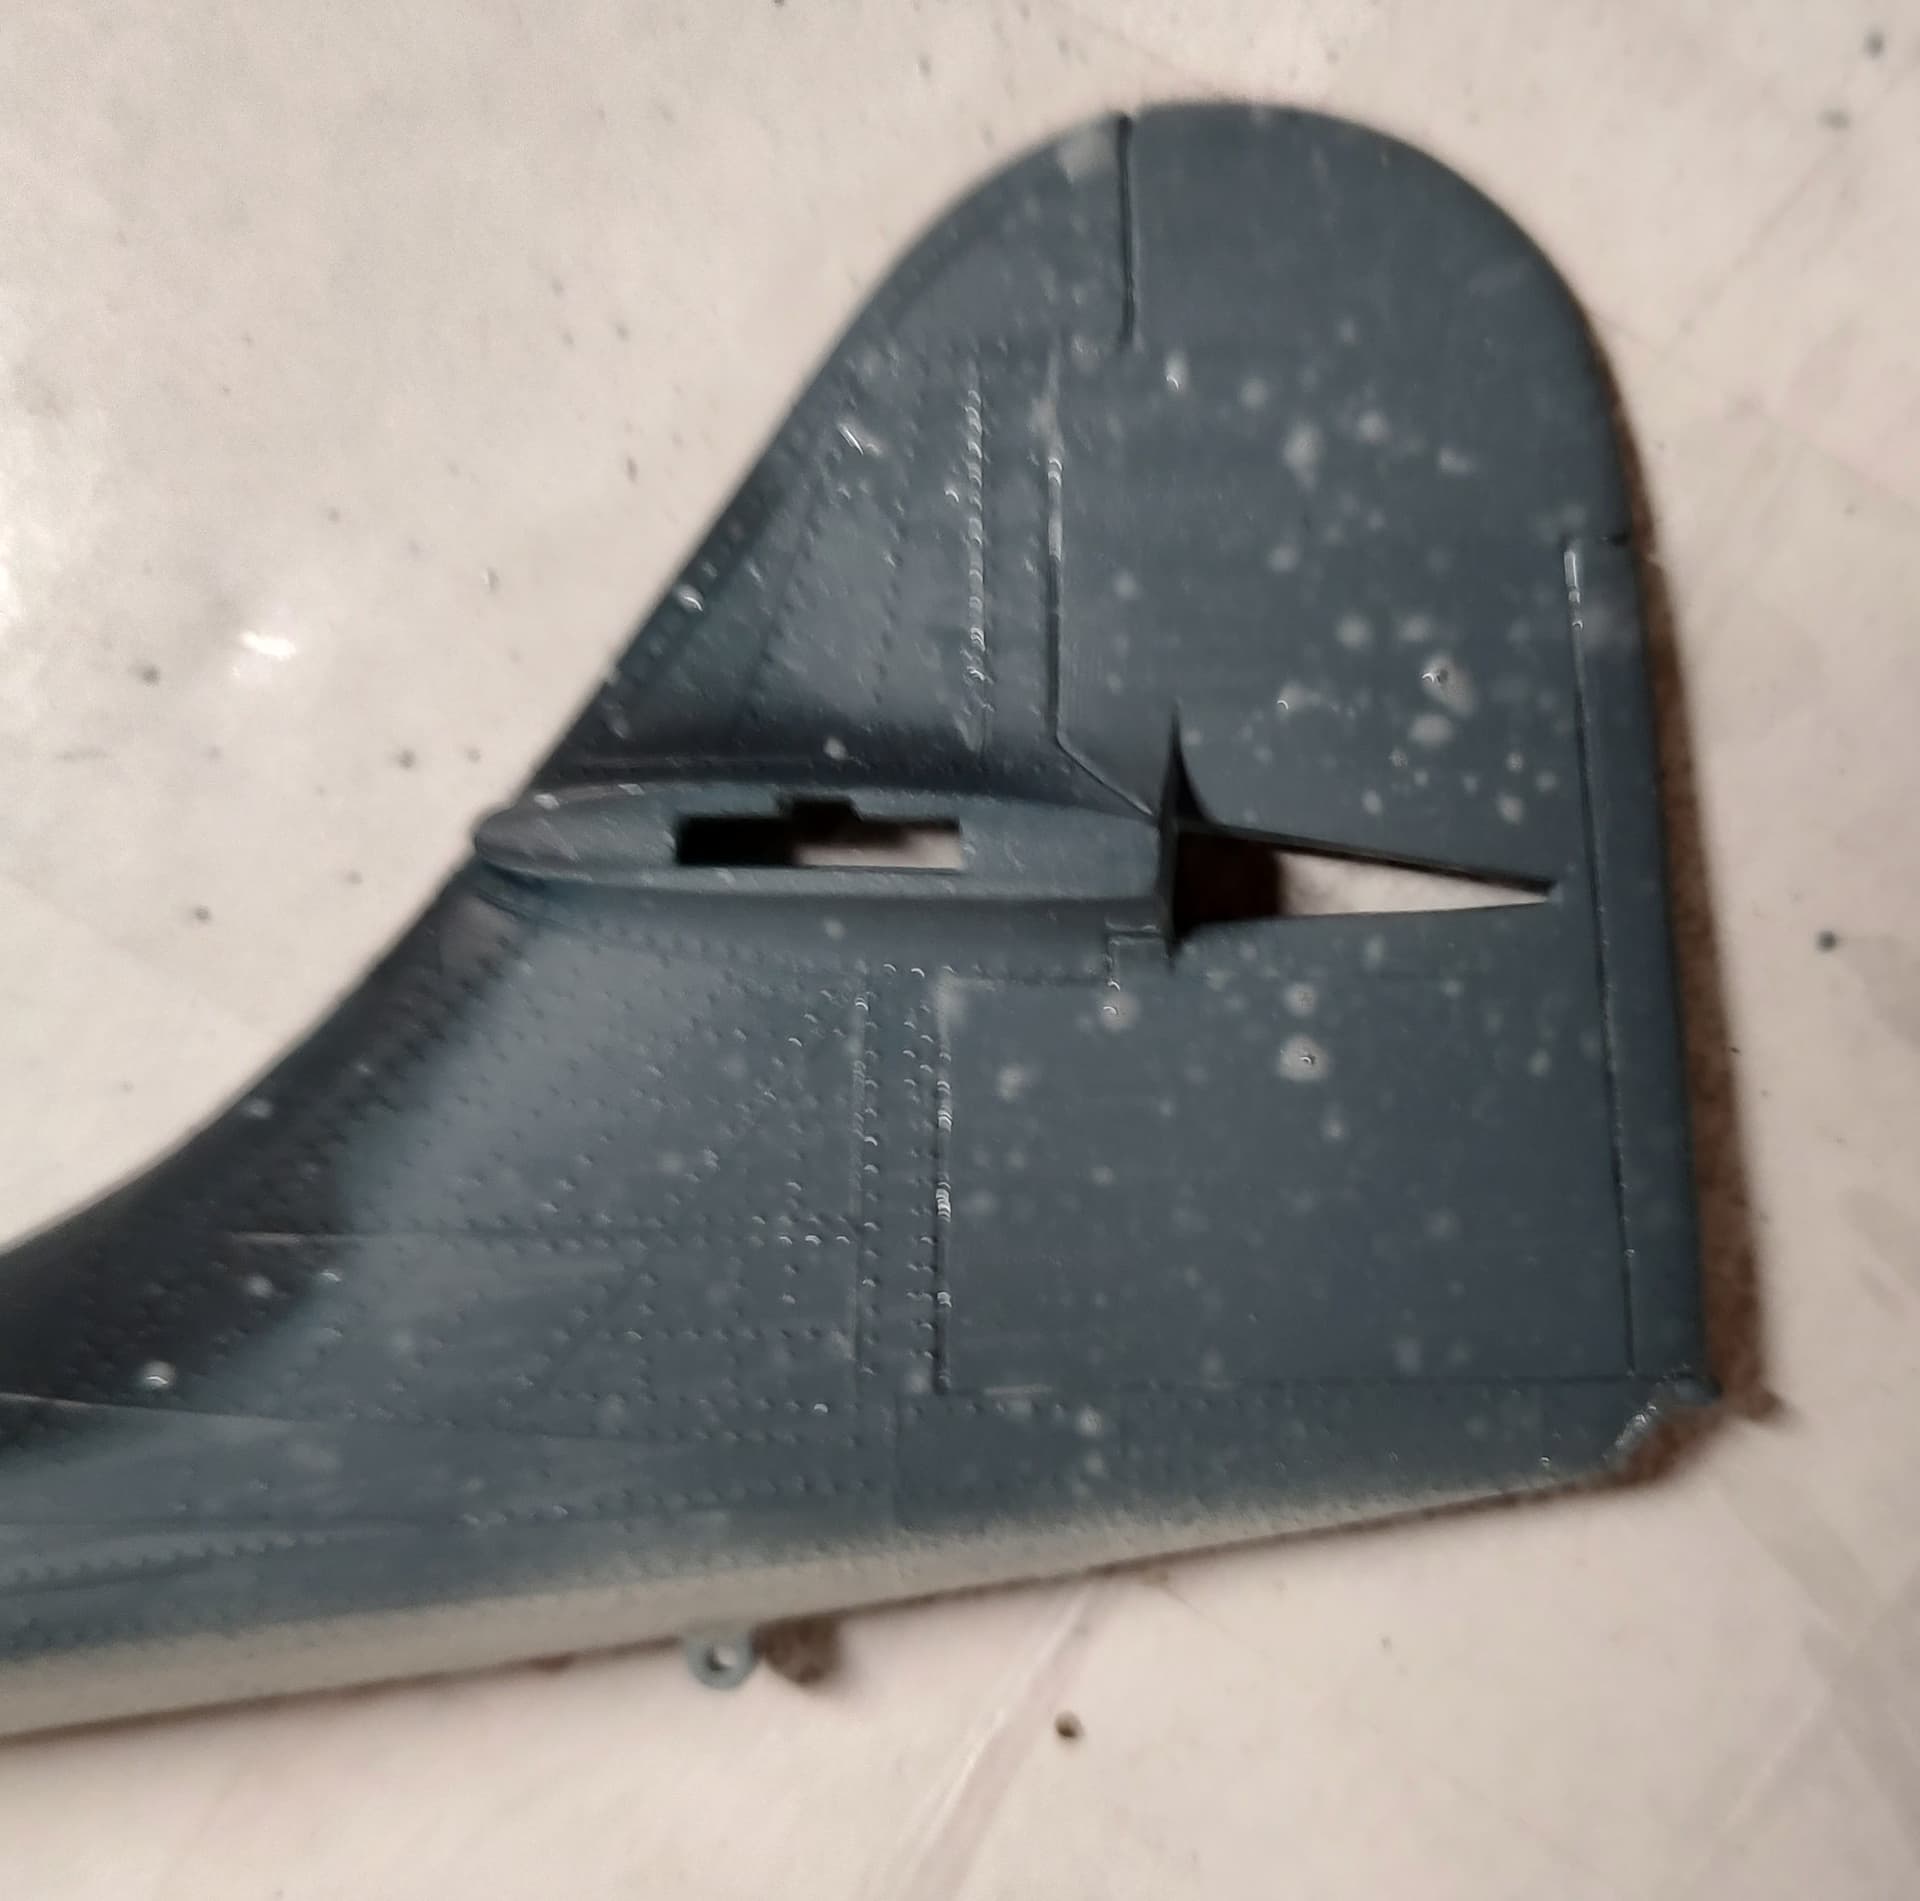
No, it’s fine. The very thin spattered paint just has to dry. Applying it over a dry surface is a good way to simulate rust, or for aircraft, maintenance touch-ups, or spatters from splashing mud or other stuff all over the airframe. Here’s the tail with a very light film of water on it.

By spattering it on a semi wet surface, it helps dilute and diffuse the drops. When it dries, it looks like this:


Here’s what I see. Almost imperceivable changes in hue and mottled areas on the background intermediate blue. Very subtle. A random pattern of oxidized paint.

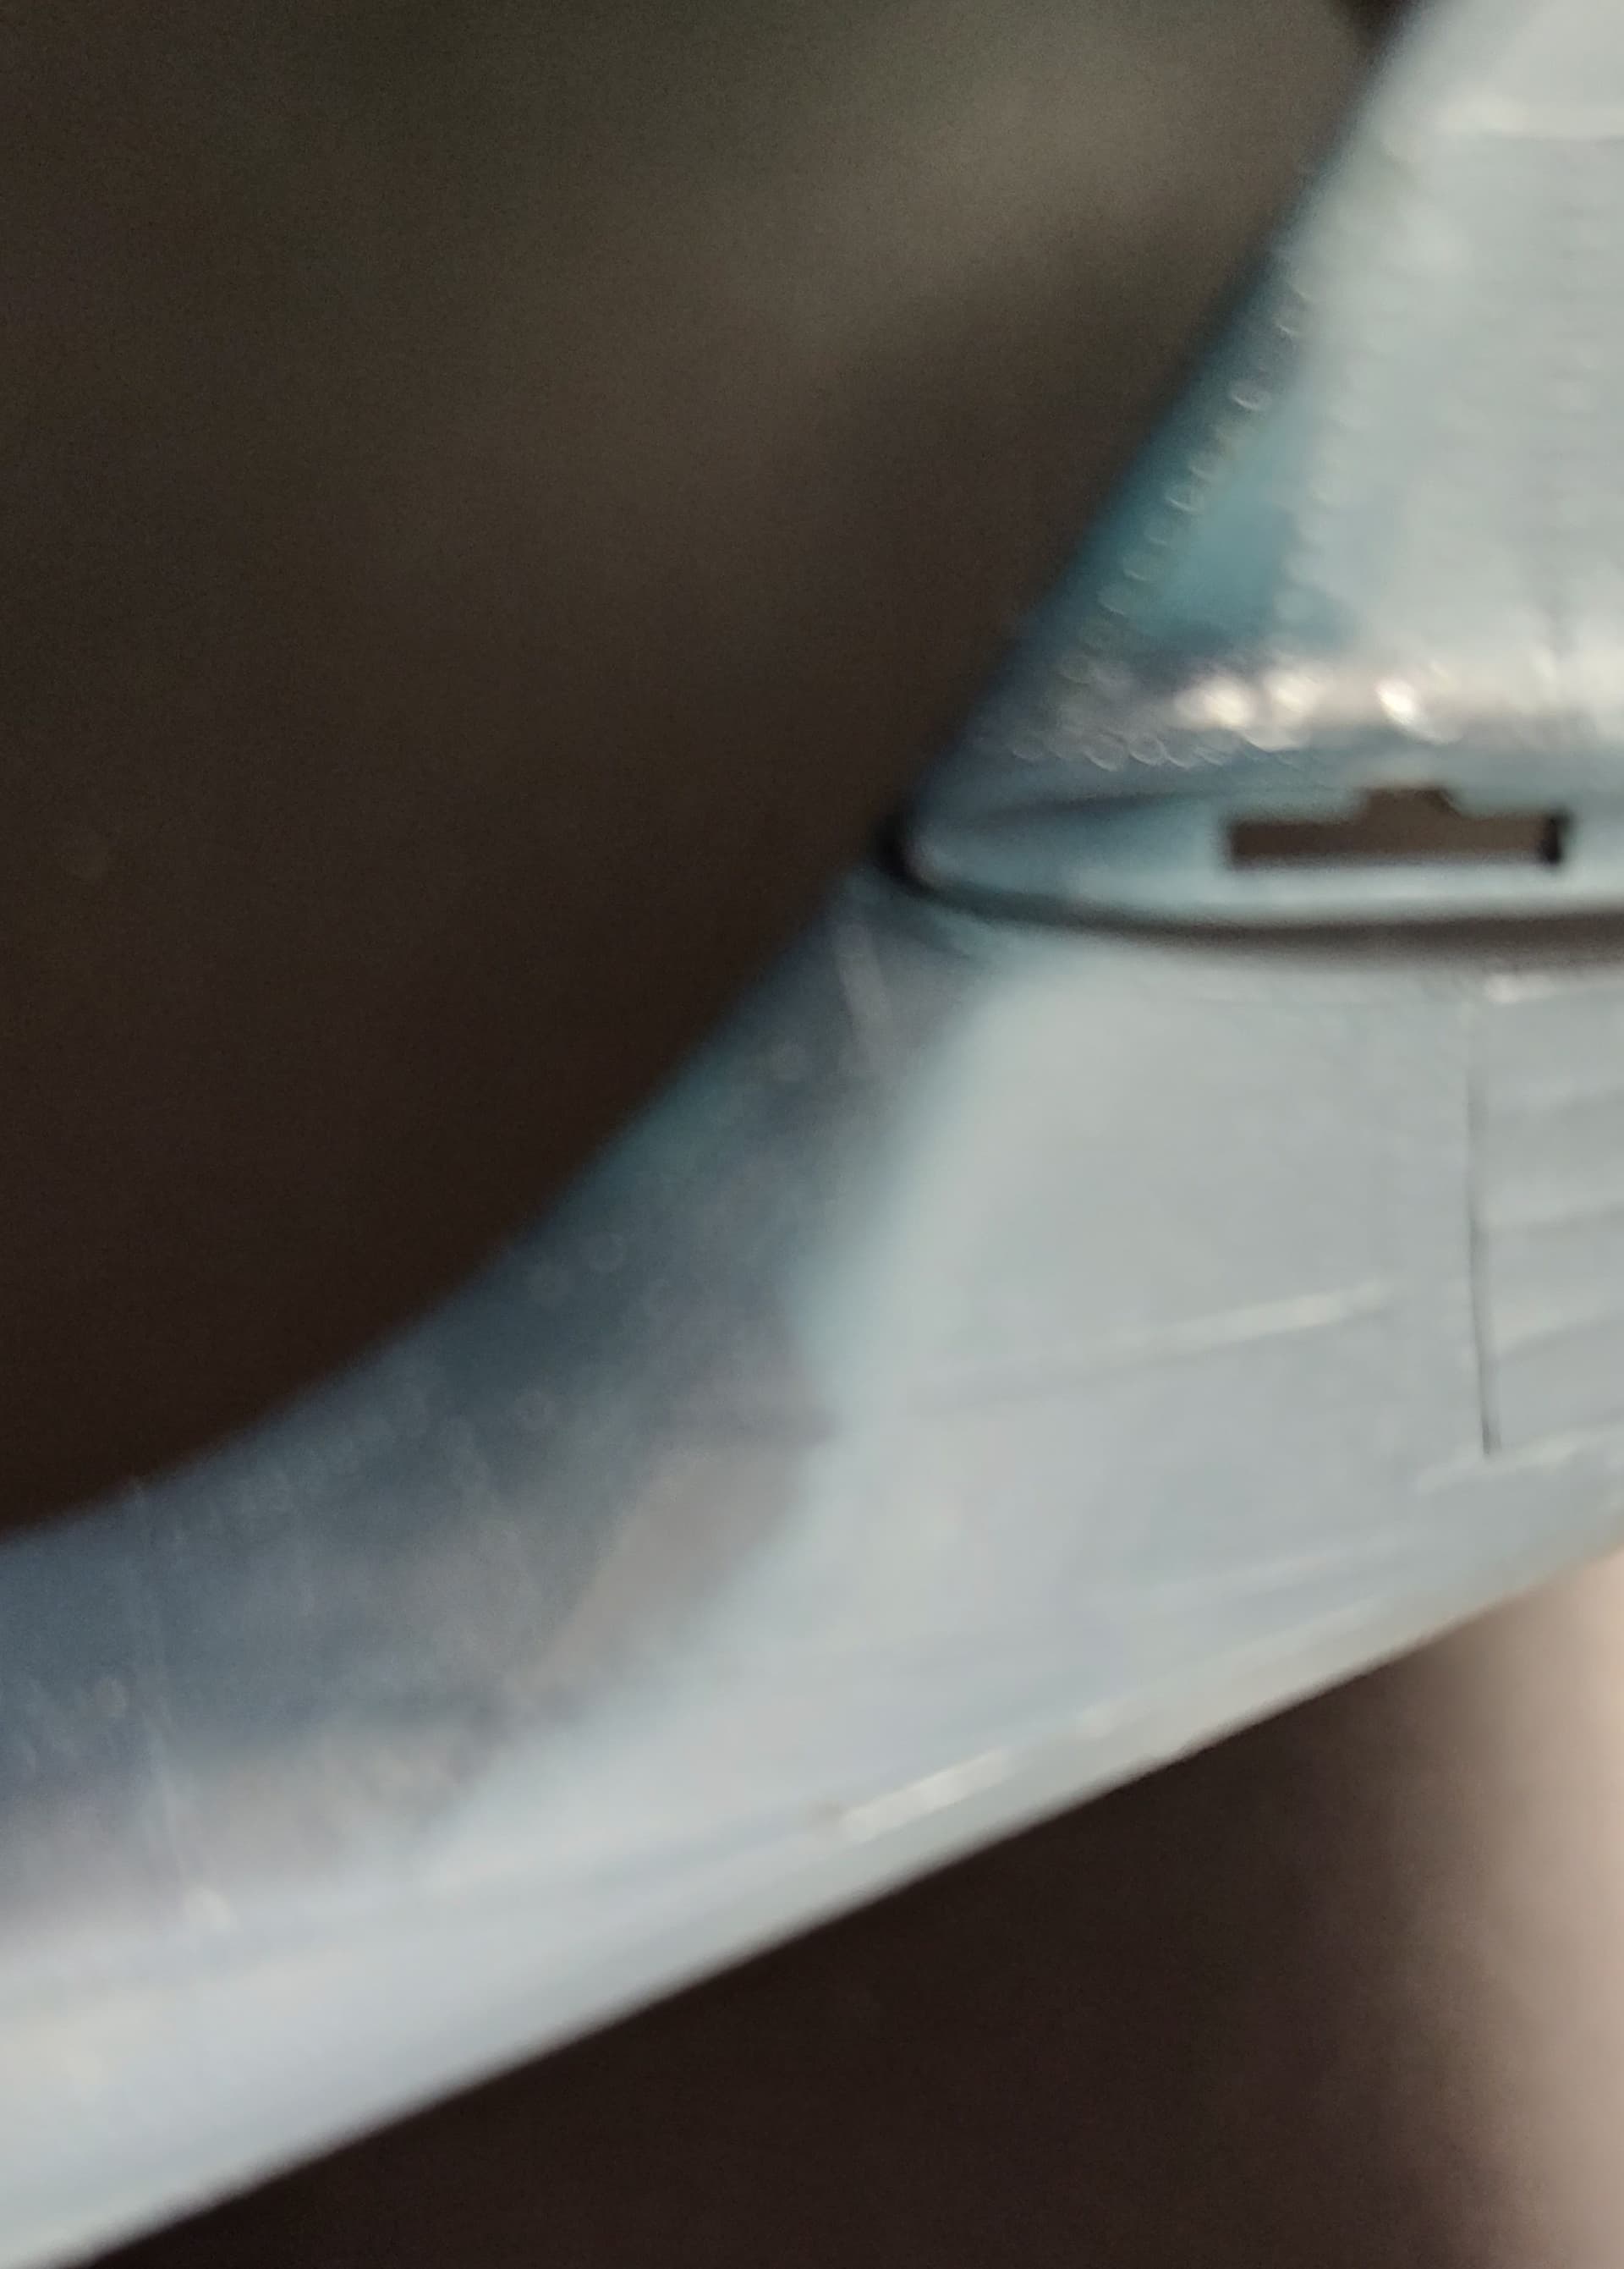
So what about those gigantic light blue spot eyesores on the dark blue paint above the stabilizers? “They’s ain’t fr’m 'round here.” In this case, I am using acrylics and the paint really hasn’t had a chance to cure so I just wetted it and wiped the errant drops away with the Mark 1 index finger.

In doing so, it left just a smidge of oxidation on the darker paint, as well. I can also be removed or left as is. Likewise, if you spatter the dark blue, you might get some over spatter on the light blue. Wipe it off (after your previous layers have cured) and look for even more happy changes to the base coat. As Bob Ross said, “Ever make mistakes? Let’s make them birds. Yeah they’re birds now.”

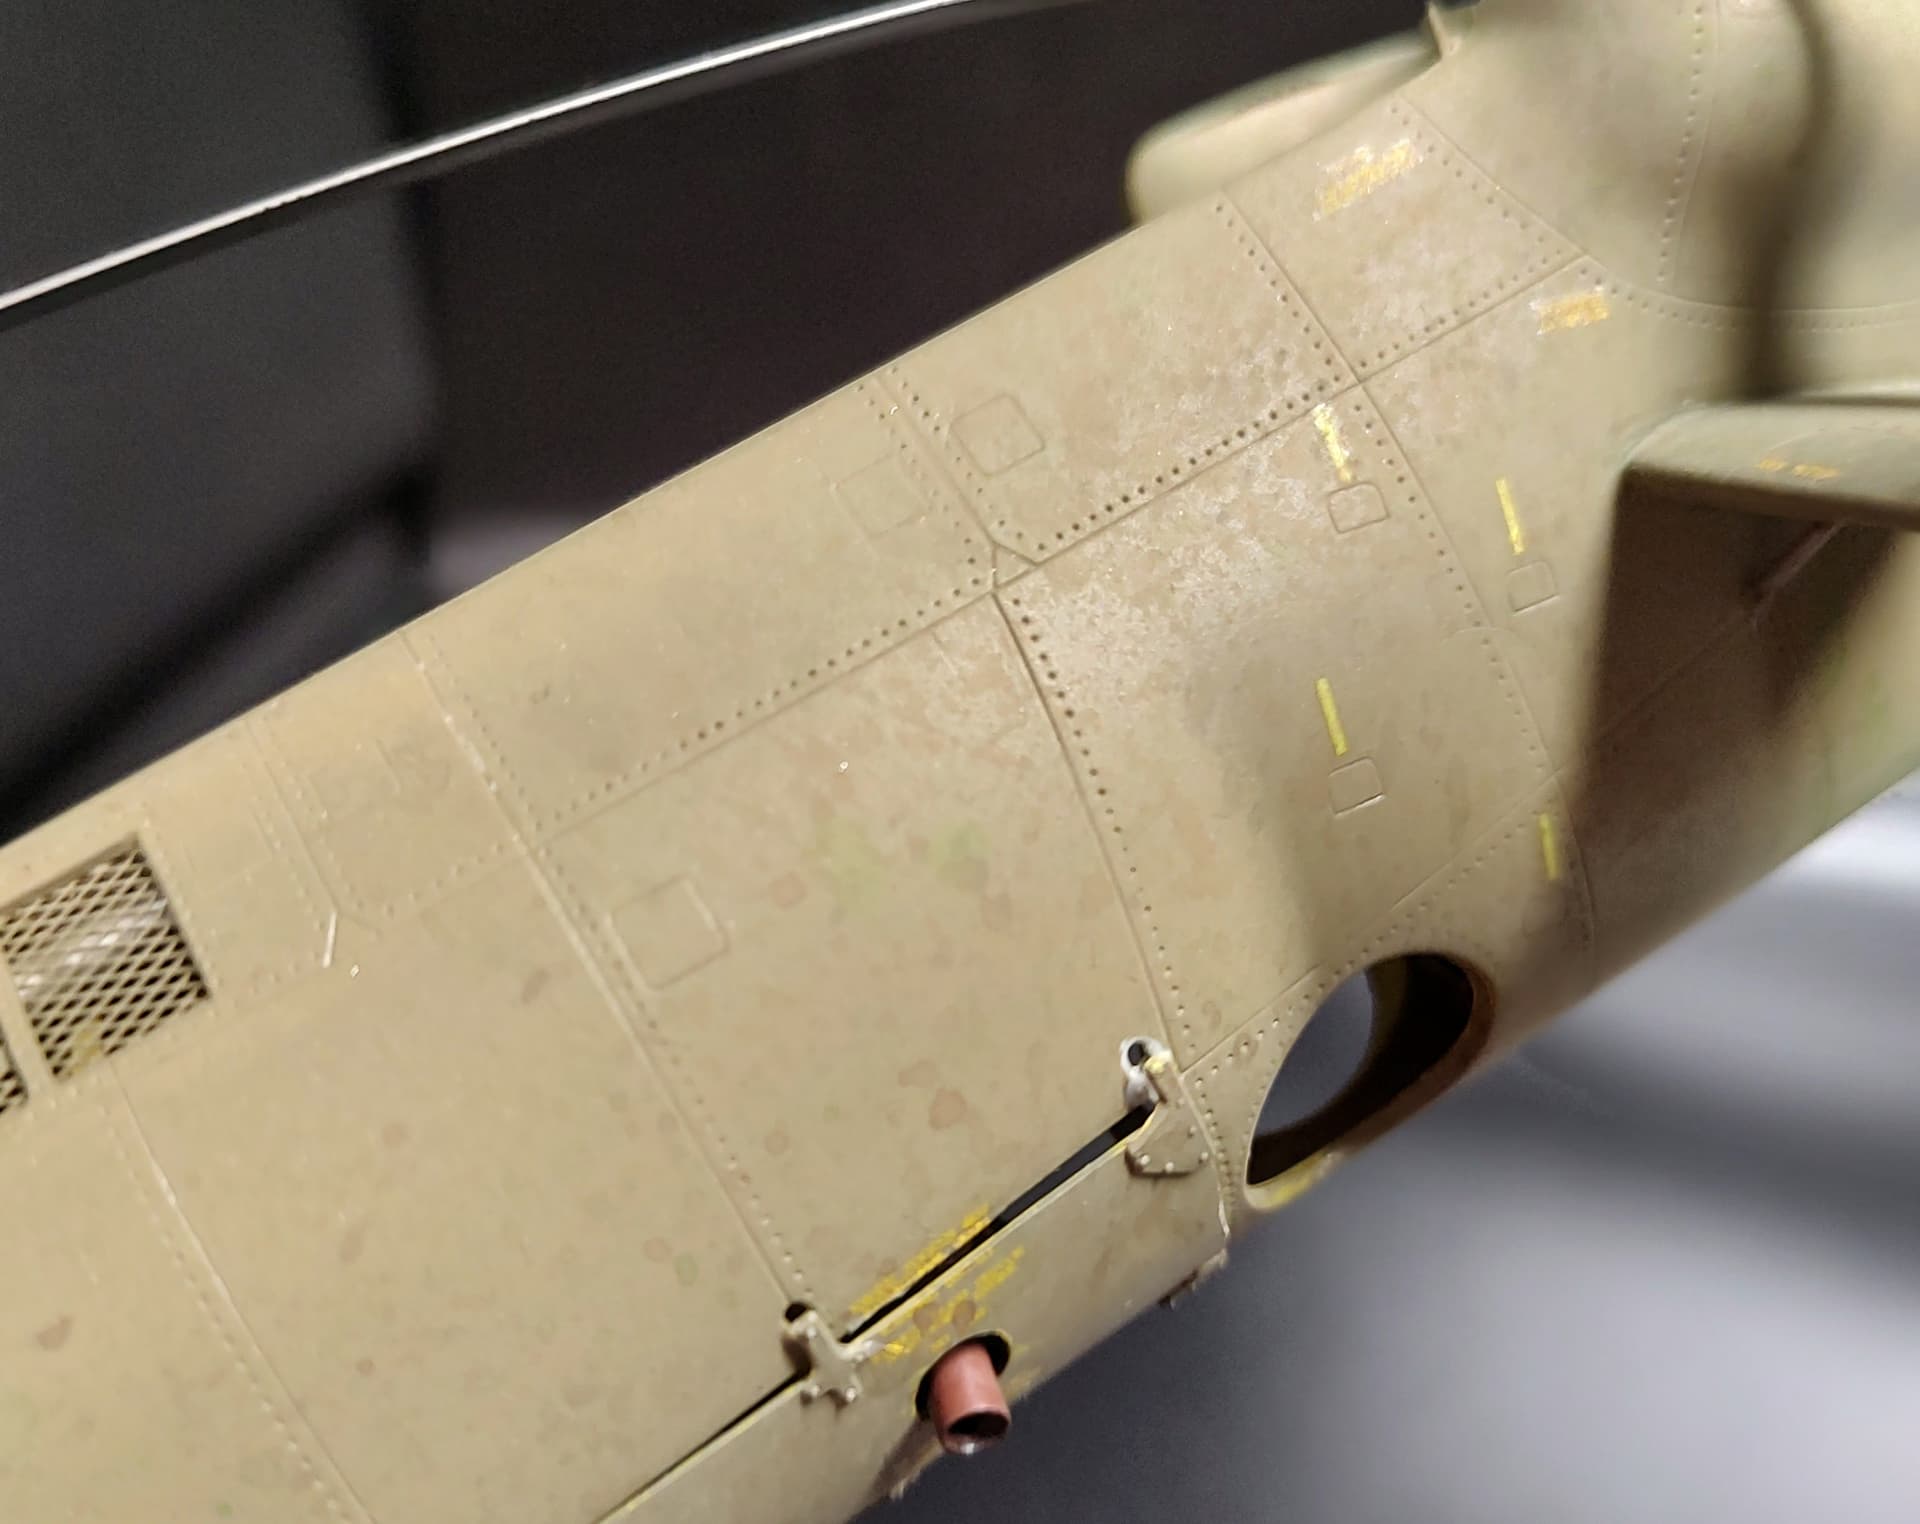
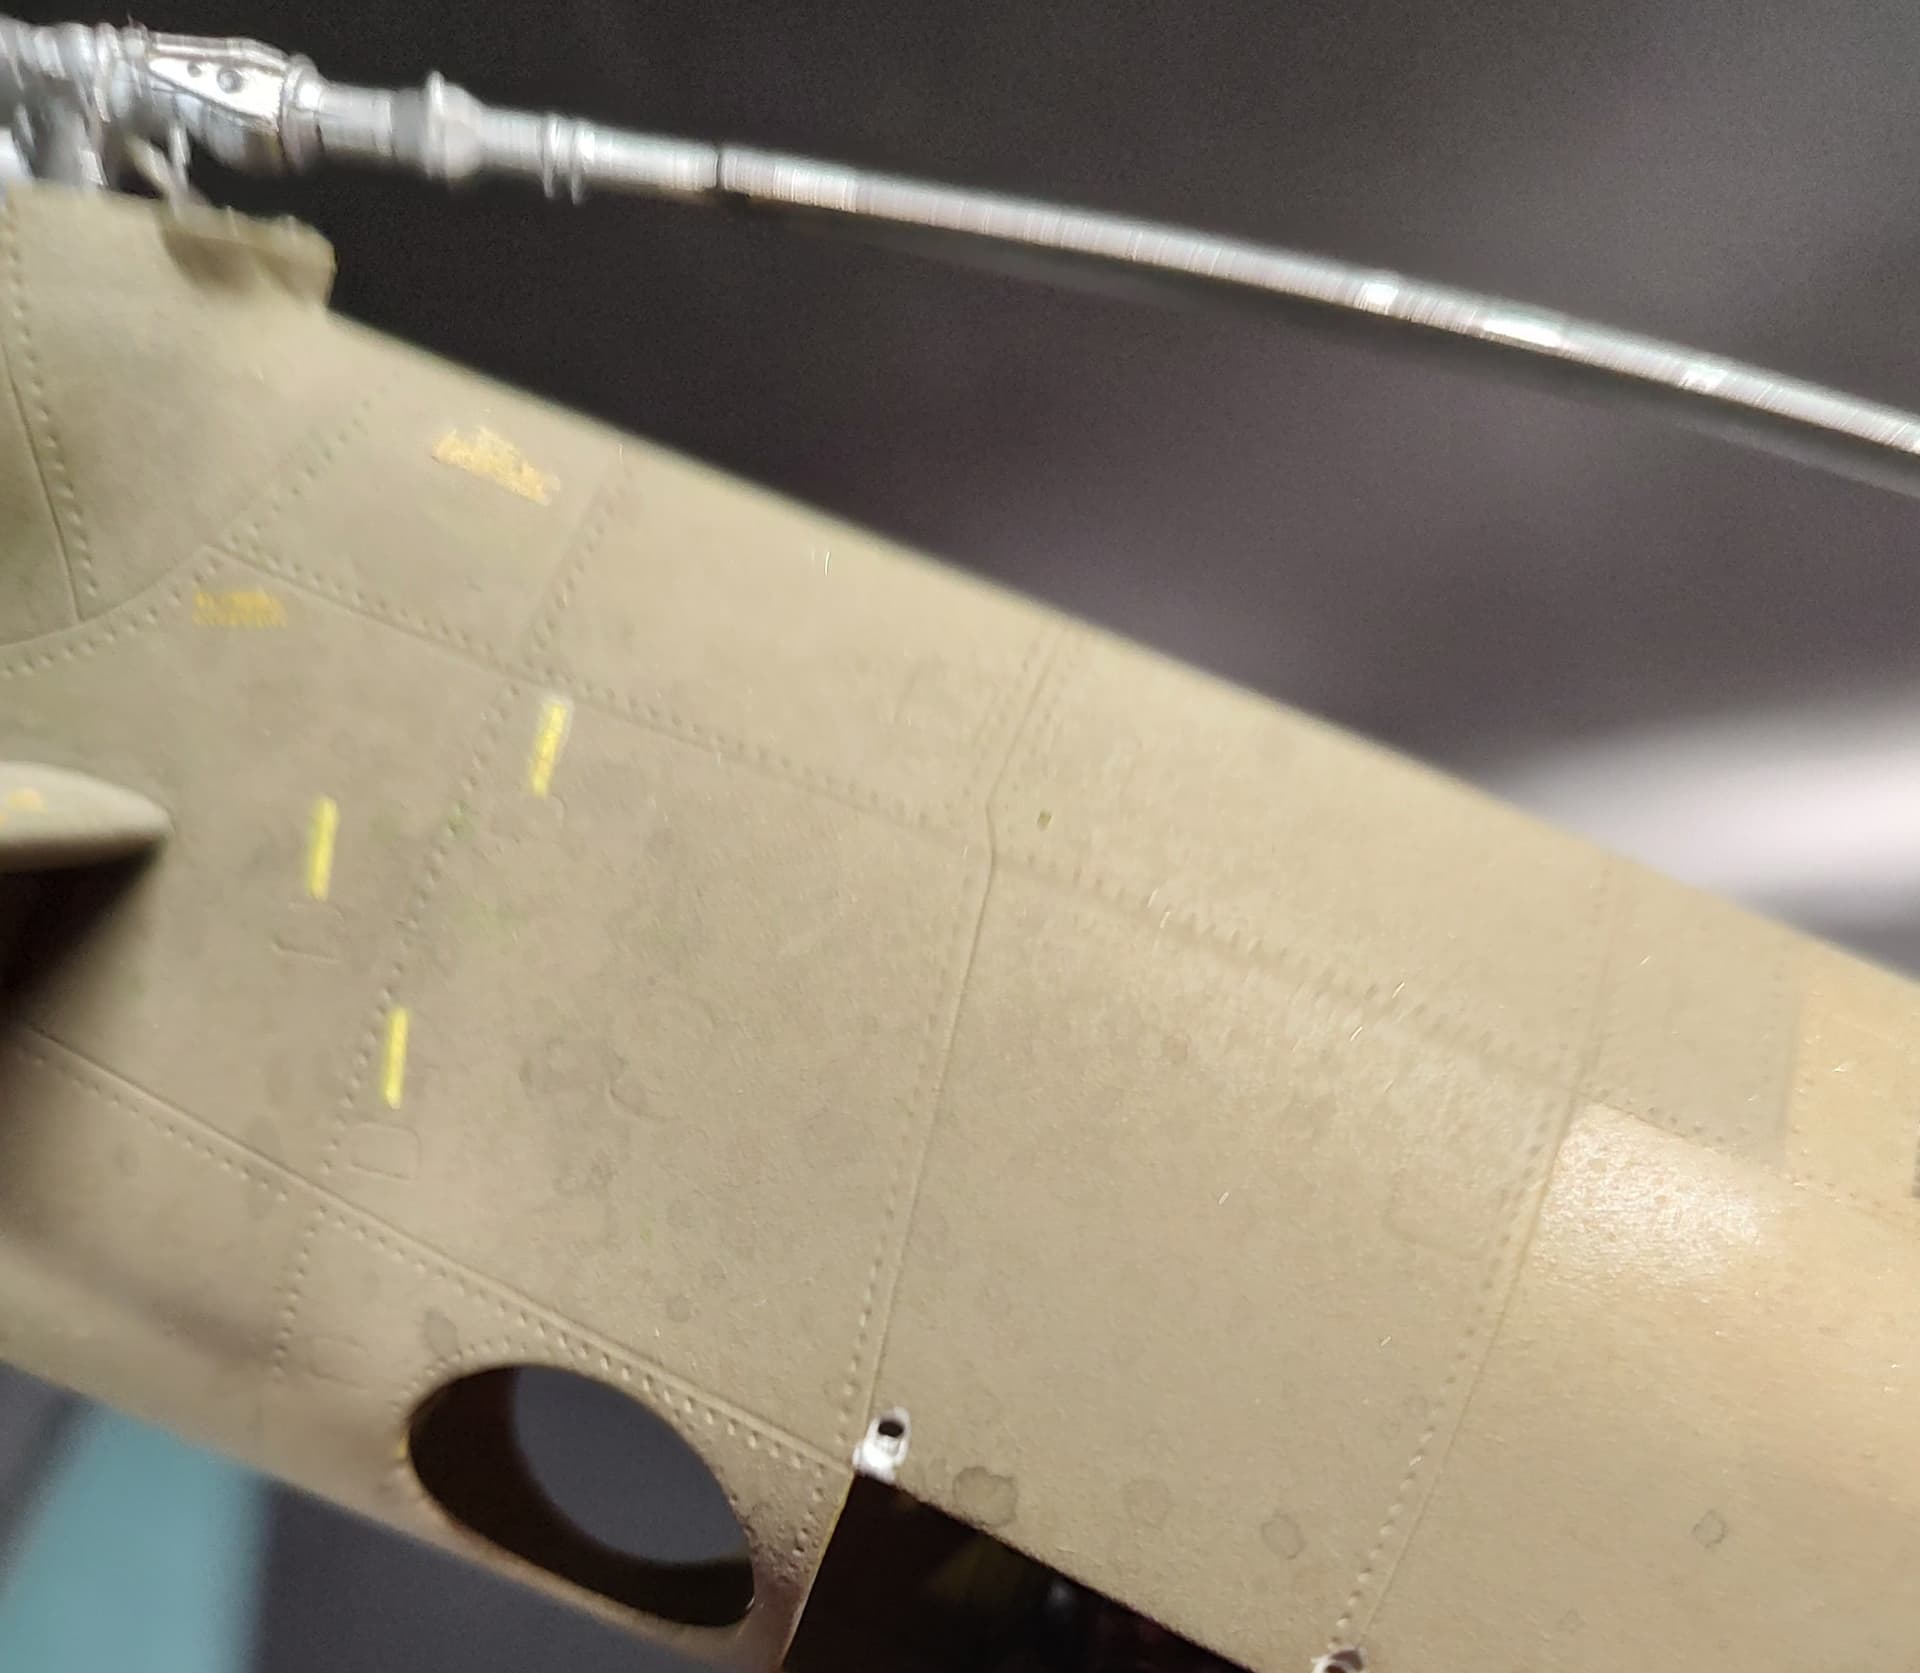
Finally, here is the H-21 I think I mentioned. You can see the subtle variations in the base olive drab.


That airframe has five or six or seven applications on it. If you’re interested, I’ll show you how I weathered a tank car and a derelict steam locomotive using the technique.

4 Likes

Paul, I highly recommend Nick Millman’s indepth analysis on the early zeros:

Painting Early Zeros

Mitsubishi and Nakajima painted their cockpits a different green. If I recall, the Nakajima green is a greener more bamboo color. I have to look at my references I also recall that Nakajima painted the wheel wells aotoke while Mitsubishi painted them the external airframe color. The landing gear struts were black. I think a glossy black. And the cowl was slightly different as well. Mitsubishi’s had a very deep indigo hue to it while Nakajima’s was just a black.

1 Like

@panzerman1 nice job on the mountain gun!

Got the wings on the B6N done. This took longer than expected. The top wings were pretty good, but there was a slight but noticeable trench between the wing halves on the underside. I had to fill this trench with superglue and then carefully sand it back so the wings were smooth but kept their shape. It was successful but took a while! Just need to rescribe the panel lines and add a few pieces like the horizontal stabs. Should start painting this one and the Hayate on Sunday


6 Likes

Didn’t get as far as I wanted today. Decided to order a better Scriber form sprue bros as I was using a hardware store p-cutter and it just wasn’t doing the job. While I wait for it to arrive I got the Kasei painted on the Jill and did some finishing touches on both the Jill and Hayate, running some mr surfacer along the wing and stabilizer seams, cleaning them up, drilling out new locating holes for the flaps in the Jill as the kit ones were far too large


My goal is to have both ready for paint by Thursday so I can finish both this weekend

5 Likes