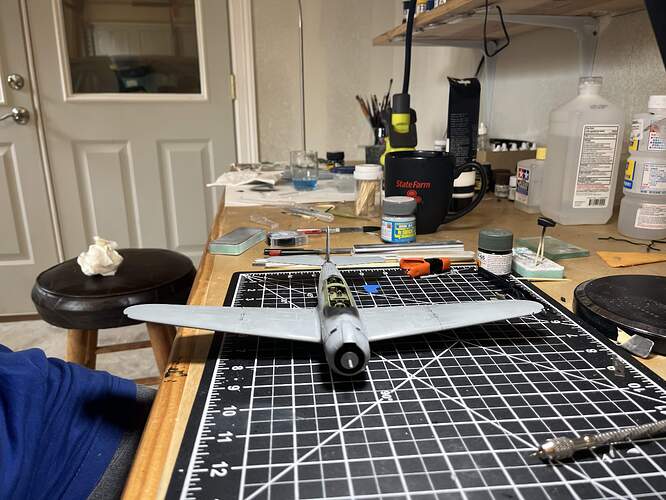
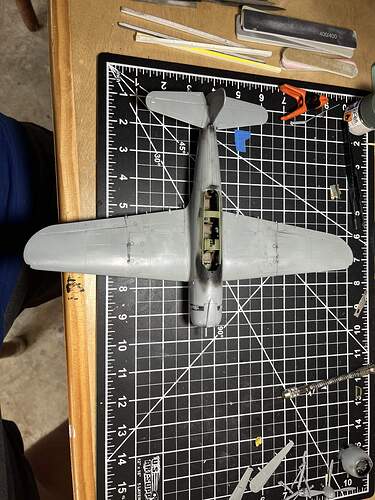
Anyone have a spare Ki-84 canopy? I cracked the frame near where it attaches to the cockpit on mine. It is salvageable but I would rather start with a fresh one
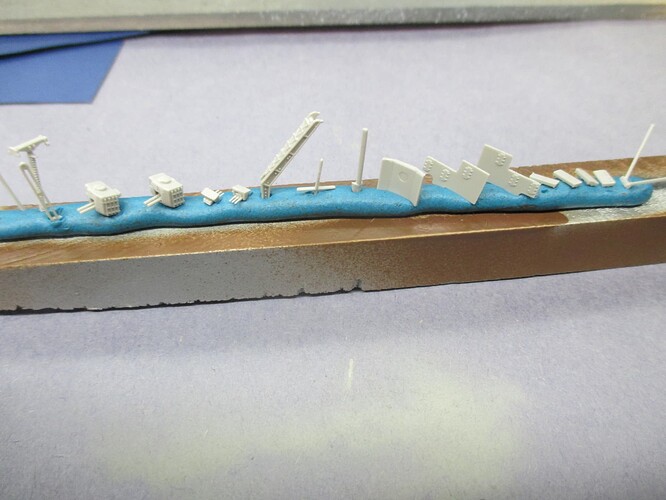
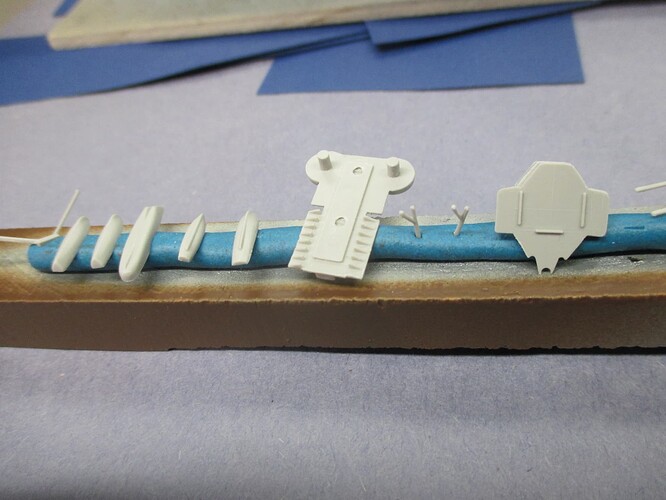
Flash cleaned off the parts and they’re ready to paint
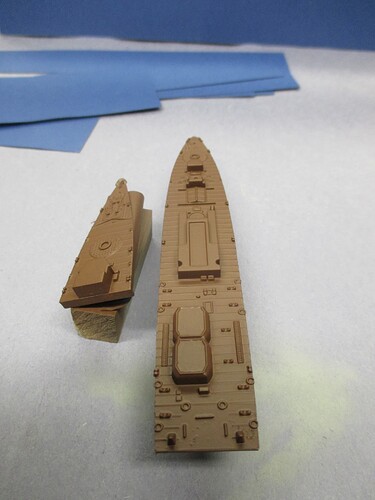
The decks painted tamiya’s linolium brown and ready for the looooong process of masking them of so I can paint the superstructures.
Great job. I can almost hear the engine cranking over.
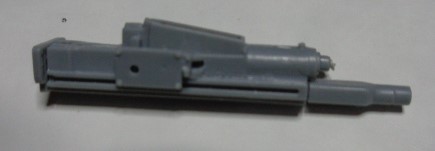
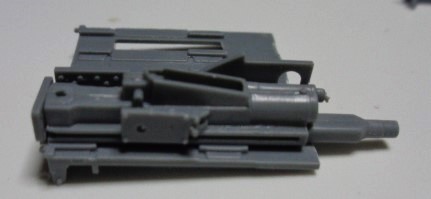
I put this plate on the receiver. I tried to put the other recuperator tube on but this part looks like it goes on first. You can see the square hole for the recuperator just to the right of the plate. The hole for the plate seemed a bit small but I squished it in with the help of the liquid glue. The recuperator will be added on later.
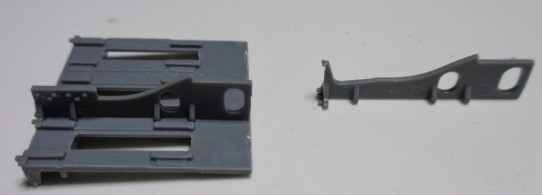
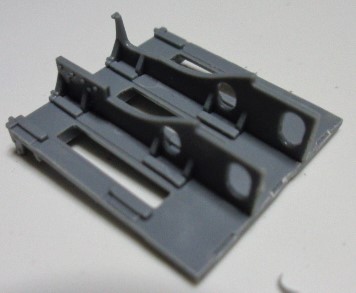
I decided to skip ahead a bit and build the gun platorm. It consists of the floor and two bulkheads.
Hasegawa, 1/48 right? I’ve got one and I’ll look for it but we’re in the process of moving in a lot of stuff’s backed away and in storage. I’ll let you know if I find it here this weekend.
Yup! 1/48 hasegawa. If you can find it I’ll take it! Just let me know what you want for it!
Jill is ready for paint! Got the cowl glued in, rescribed the wing seams, and cleaned up the wing root seams.
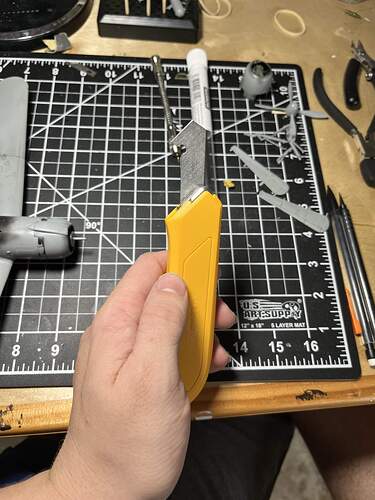
I used to use a hardware P-cutter to scribe
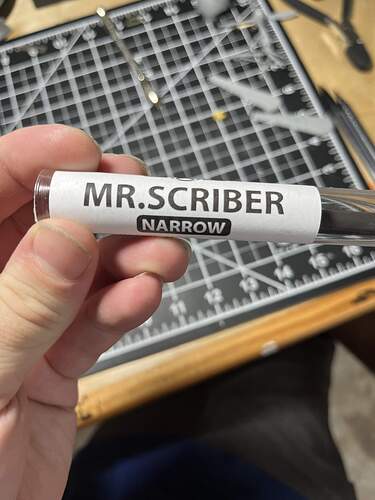
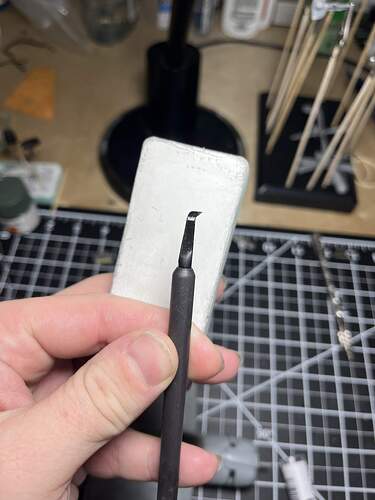
This thing was clumsy, often resulting in wavy lines and hard to use. I recently ordered a Mr cutter barrow from sprue brothers and I couldn’t be happier
Cuts straight, and cuts nice narrow panel lines even through super glue!
![]()
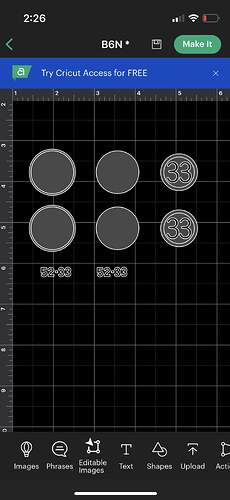
I ordered a squadron canopy for the Jill, which should arrive Wednesday, in the mean time I’ll paint the main markings which I have stenciled up on my cricut
The Ki-84 is more or less ready for paint too, just need to sort out the canopy. I think I fixed the crack with super glue, thankfully it was in the frame and not the glas. But I keep getting dust in when I future dip it
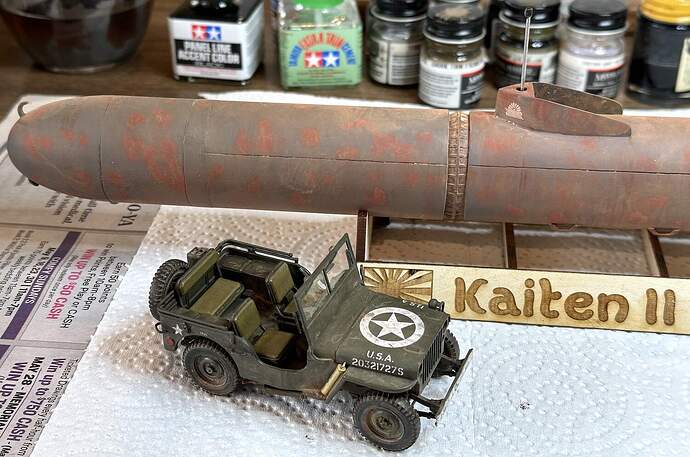
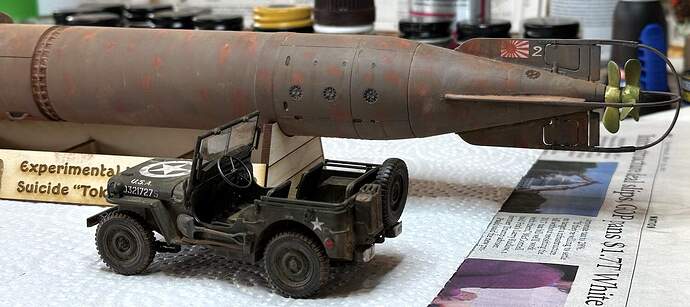
Going by eyewitness accounts both Japanese and American the Kaiten in service were described as a rusty red and by one account, splotchy with rust. With no photographic evidence its hard to know how far to go with this. This model is of the Kaiten II, an experimental vessel that was built, tested, rebuilt several times and then abandoned in a storage area near the sea. It would have started painted black but that would have rapidly oxidized, faded and failed leaving the steel exposed and rusty. it would have had numerous bumps, scratches, marks from being worked on by its service personnel. My aim here was to model this Kaiten as it might have been found by occupying forces. The technical officers would likely have arrived at the base in a Jeep and seen this thing sitting unloved someplace in a corner of the yard. I have included some shots of the Kaiten II with a Jeep built a few years ago for the Jeep campaign. They are both 1/35 scale with will help give you a sense of scale.
Paul
I’m going to call this model done and it is now in the display case. If I learn some more about using pigments & fixer and can improve it at some future date it might get some additional work.
Here are a couple of more shots with natural lighting that hide my flaws and show the Kaiten II off better.
So - that’s it for this campaign. I hope we have another one in the future as there are plenty of attractive Japanese subjects in the closet ready to be built.
Paul
I really like the look of that Kaiten II Paul. Very nice indeed. I may just need to see if I can find a slot in the stash for one. ![]()
Mike
i know one color was tamiya kaki drab, the other was a gunze paint. i will try to remember to check to make sure when i get some bench time. i had a main sewer line break in my house and been dealing with that so have not been able to do any modeling.
Joe
Lovely build Paul. It was great to see something rare actually built, and built well.
Wow, that came out awesome, Paul. Looked a little wild with all the rush spots earlier, but now it is perfect!
I might have missed it in your posts, but where did you get the display base for it?
Thanks folks, I’m happy to hear that my modest efforts were successful. I’m still new at using these new tools like pigments and I try to puzzle things out as I go along.
I made the base out of 3/8" maple ends and 1/8" basewood sides. I drew them up in Illustrator and cut them on a laser.
Paul
Something I may have forgotten to mention during the Mikr-Mir Kaiten II build was that I could find very little reference material on it. The online photos found are not consistent with each other or with the model. This thing could have had three bolt together sections rather than the model’s two if one photo is to be believed.
I’m even more suspicious of the decals. From what I had read in the two Kaiten books, the heraldic crest painted on the conning tower was only done on operational craft just before they were loaded on the mother sub prior to a mission. The battle flag on the top vertical fin is even more suspect. The kit designers could well have better reference materials than I could dig up & I hope they did.
I put the decals on as they could be correct and add visual interest.
Paul
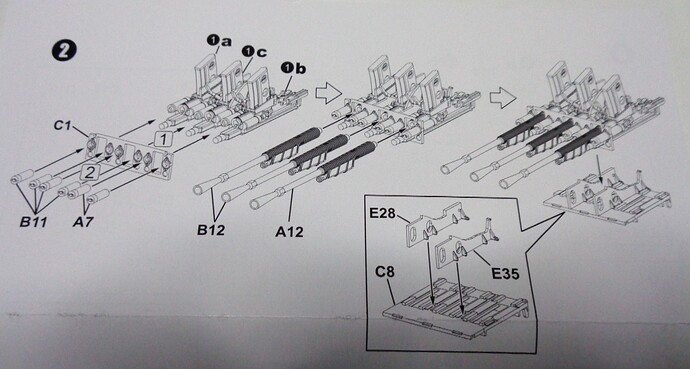
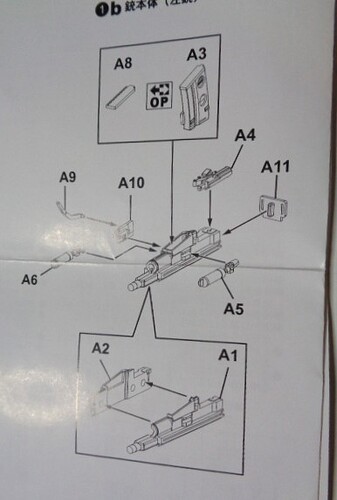
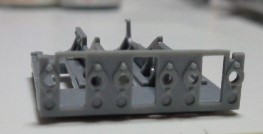
I will be deviating from the instructions here. They have you build the backs of the guns and add them to the front plate of the gun platform (part C1), then add the recuperator caps and the barrels. After that, you add them to the gun platform. I feel there is a lot to line up this way, so I will add the front plate to the gun platform, then dry-fit each gun receiver to the gun platform as I make them to make sure everything is aligned. Once I’m sure they all are aligned, I’ll glue the receivers to the platform. I’ll probably add the recuperator caps and barrels after all the receivers are glued in place.
Great work being done fellow modelers. Got caught up on all the recent posts. Comments are below.
JPTRR/ Thanks for the nice comment. Revell, the king of reboxed manufacturers, copied the old Matchbox set for their kit. Some of Mars kits are the same…copied. But they do original sculpts too. A mixed bag if you ask me. I’m looking forward to your use of IJN and IJA aviation figures. Have fun.
Mead93/ Sorry, I can’t help with a replacement canopy. Have you tried Falcon vacuform canopies? They make a wide range of shear vacuform canopies for kits. Good luck!!! Hope the paintwork goes well on the Jill.
steviecee/ Making good progress on your ship model.
Gary_Kato/ Good work. That kit has amazing detail.
hudson29/Love the weathering on the Kaiten. Very realistic.
Good luck everyone on your projects. I get great inspiration seeing everyone’s builds.
Bill
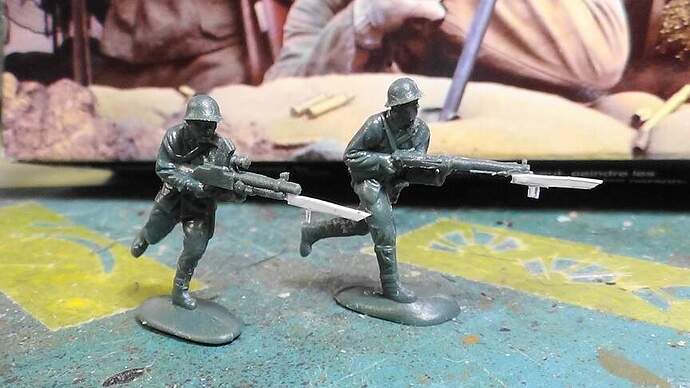
Update time on my Banzai Charge project.
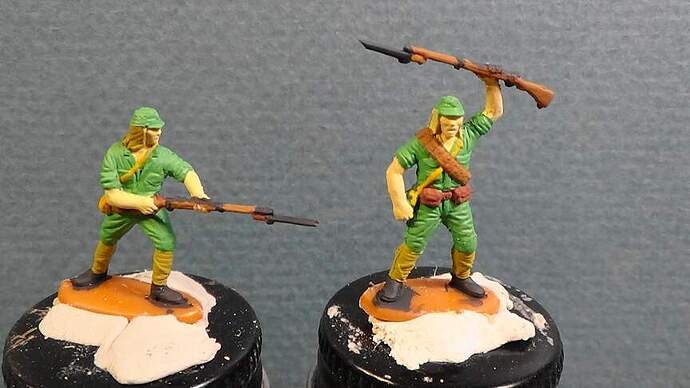
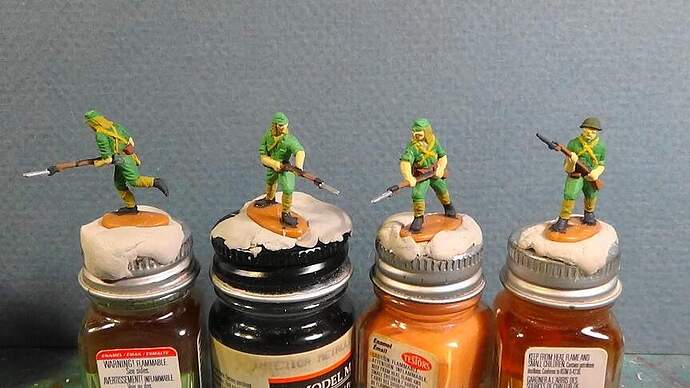
Base coat painting started. Vallejo acrylics used.
Did some batch painting. Used enamel silver on the bayonets.
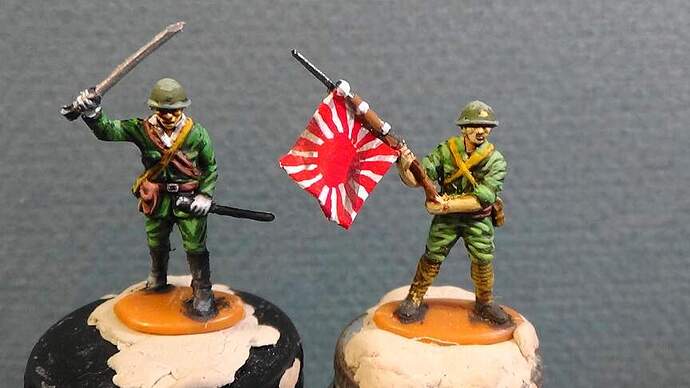
Finished these two after shading and highlighting.
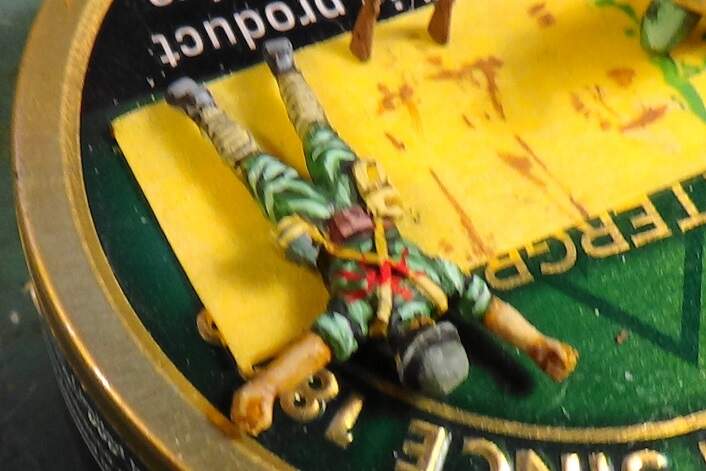
Finished up one of the casualties.
Added two more figures to the charge. A second Mars kit was used.
Next update I will have all the figures painted and the Chi-Ha tank will be started.
Thanks for viewing.
Bill
the colors i used for the frank. it was a 50-50 mix of tamiya xf51 and gunze #60 IJA green but i added a few more drops of the green. hope that helps.
Joe
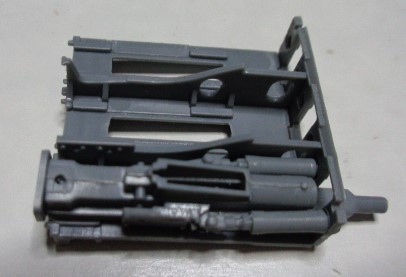
Glued the starboard recuperator to the gun and then test fit into the gun platform. I wanted to make sure both recuperators fit into their respective holes.
I’m glad I did this as it allowed me to see how other parts of the gun fit to the gun platform. For example, a rib on part A4 aligns the gun to the gun platform by mating with part E28.
This will be helpful when I build the other two guns.
Good thing I didn’t glue the gun onto the platform. It’s the port gun, not the starboard. Sprue A has the parts for Gun B; Sprue B has the parts for Guns A and C.
Need to work on getting the recuperator caps (parts A7) to fit. But I also need to paint the gun receiver Semi-Gloss Black and the recuperators Grey (IJN Sasebo Grey in my case).
