Exactly my point!
While looking for this I found an old Military Modeller with an article on British LVT conversions and 1/35 plans for the roof mounted Polsten gun. Now, the LVT and gun I have. For some bizarre reason it was included in the old Monogram M-42 Duster, of which I have the Matchbox rebox. I just needed the details to make the mount. Another project for the list.
Same here… with about a decades worth of Military Modellings. But that was out of economic necessity, unfortunately.
Nevertheless!
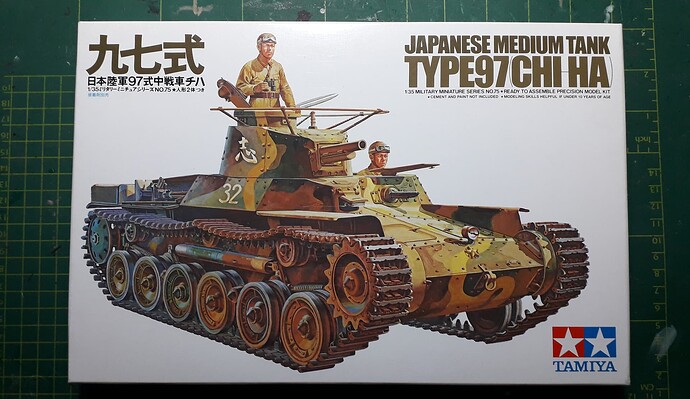
I have finally started work on my Type 97 last night!
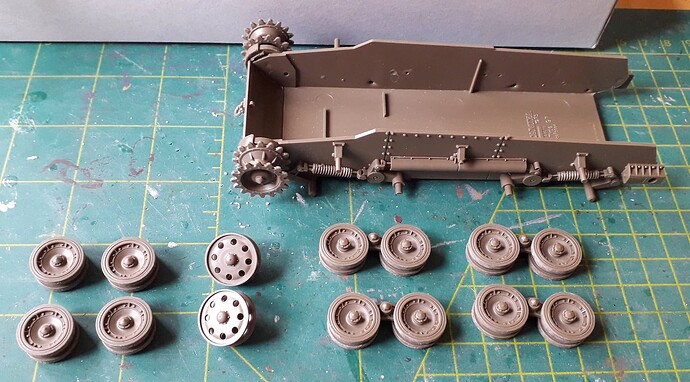
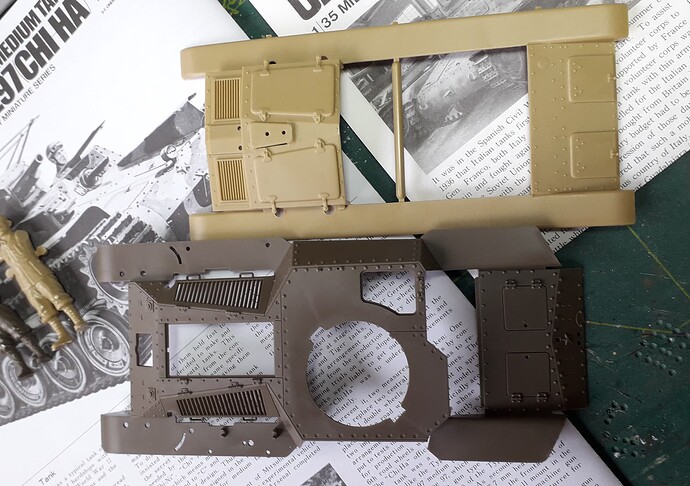
The results so far:
Fit was exactly that which I have come to expect from Tamiya. However the wheels were misaligned, so a bunch of sanding was required.
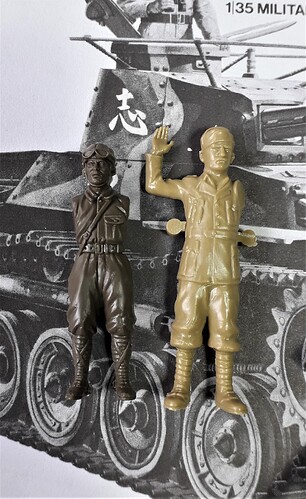
But compared to the 1974 vintage M13/40 I am simultaniously doing for the Summer Nostalgia-campaign the castings and detail are way better.
The Japanese tankcommander looks like one, whereas the Italian counterpart has strong resemblances to what I imagine a garden gnome corpse would looks like.
The type 97 is a nice kit. I build some years back and it goes together well. Plus there is the chance to work on the unique Japanese camouflage.
Indeed. Which I intend to paint by hand. I saw a Youtube clip, where the narrator used Tamiya paint & retarder to very good effect.
See my How To Paint An IJA Tank for a SBS tutorial on easy airbrushing of Japanese camo.
Ron, you plan to use Tamiya paints for brush painting? Or are you talking airbrush? My experience is that Tamiya paints work great with airbrush, but horrible with brush, but maybe Tamiya paints can be used for brush painting with retarder?
Thanks for the link. You make it look sooo easy. I might try it on an a stalled camo armor build. ![]()
The video was about using Tamiya paint for brushpainting. With the retarder.
it so hard to tell looking at a color on a computer screen but to me it looks close. maybe needs a little more on the amber side. i am no expert by any means on this. there is a site that i used to belong to called Japaneseaircraft or jaircraft.com or something likr that, ithad a lot of experts that researched this color and even posted photos of actual metal fragments of the aircraft shot down on Dec 7th. i know they referred to the color as amiero. i bought a bottle of AK’ real color lacquer because eduard recommended it in their zero kit and any other brand paint i used i didn’t think matched. i am yet to use the paint but in the jar it looks good.
Joe
i agree. tamiya paints are not the best for brush. once they dry even a little i end up pushing the paint off or around where i want to cover.
Joe
Thanks Joe.
I’ve got a bottle on my watch list, so I might pick one up as I do have the Airfix Zero in Pearl Harbour markings to do. I did a little test earlier of the Vallejo Ash Grey with a spot of White-Grey added and I do think it came out looking a little more in scale. So I might try that. This Val’s very much a guinea pig.
I was always hopeful that Airfix would retool it following the new Zero and Kate, but it wasn’t to be.
Hi Everyone,
I’m loving all the builds that are happening with this campaign! Great work all around.
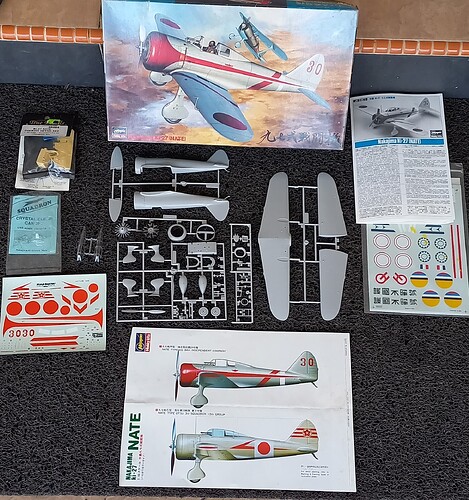
Despite the Betty, and two Zero’s, the calling continues with me. I’ve opted to let this string of builds go a little back to include some spatted geared birds. A few years back we had a series of campaigns to recognize the anniversary of WWII, with each theater of the war being represented. I did the Mania Ki-27 of the 77th Sentai that was involved with the intial invasion of Malaya, in the CBI theater. Sadly, when I moved, the model remained. Since I live in Malaysia, I try to gear builds in that direction, which are a good teaching of history tool for the nieces. Anyway, I have several of the Ki-27 kits in the stash, both the orginal Mania and the later Hasegawa releases, as well as True Details and various PE sets.
So, to replace the build left behind, I’m opting to do the Hasegawa release with the TD cockpit, and Falcon clear-vax canopy.
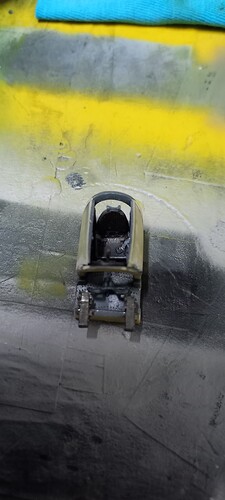
After washing the resin, and cutting things off the casting blocks, not much, I gave the interior a grey-blue basecoat. IJA specifications were to have the interiors painted in a color close to haze blue, and I’ve found that the bluish grey from Mr. Color represents this fine for my tastes. Next I picked out some details with black, a light silver drybrushing, and gave the seatback cushion a coat of red-brown to mimic leather. Once completed there’s not much to see, so I really didn’t spend too much time on it. Truth be told, the resin cockpit is overkill compared to what is OOB. Once assembled and closed up you don’t see much outside of the seat and some of the instrument panel.
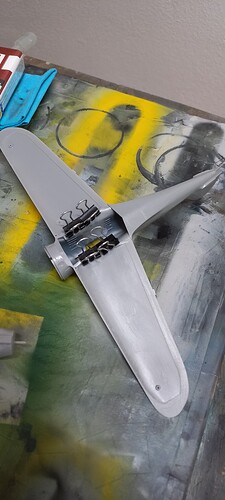
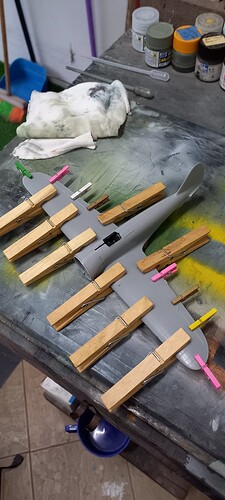
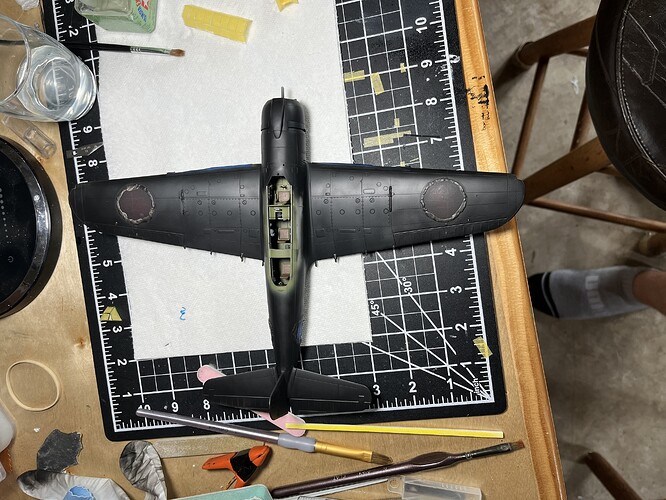
One nice thing about this kit is one can close the fuselage halves, clean them, and then attach the upper wings to assure a flawless fit.
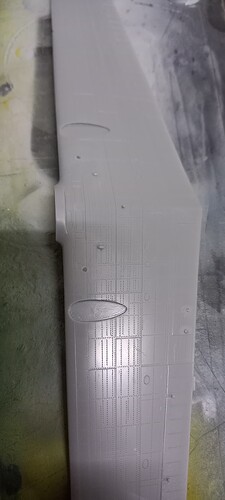
The kit features optional “drop” tanks that were actually ferry tanks, along with a wing mounted camera for training. Since this was to be an operational Ki-27b I filled the premade holes with some stretched sprue, cutting them off and sanding everything smooth.
With the main work cleaned up, inserting the cockpit is easy, and the bottom wings can be attached.
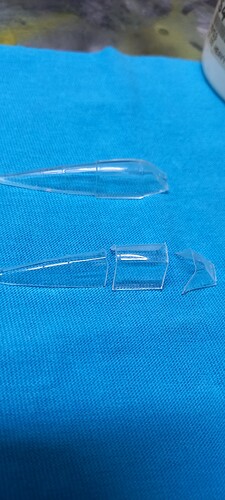
If this kit has a failing, it would be the canopy. While accurately molded, it is overly thick, and molded as a single piece. Old school remedies for an open cockpit would be to cut it apart, thin the inside edges, polish and move on. This works fairly well if one is modeling the early variant as many pilots simply removed the sliding section of the canopy from their aircraft. For the later “b” variant this becomes a difficult exercise. Enter Falcon Clear-Vax canopies! Falcon has been around for a very long time and offers many vac-u-formed canopies that are scale thin and crystal clear. The downside is modelers tend to shy away from these as they are somewhat difficult to work with as preparing them for attachment is challenging. While I’ve read a great deal on how to get them ready, I’ve come up with a method that works for me, and over the years have only messed up one canopy, my third, due to a minor distraction at a key point of cutting it free. I’m planning to do a “How to” on the site, as I’ll be able to photo the process I use. It works for me, and I’ve shared it, and it seems to work for others as well.
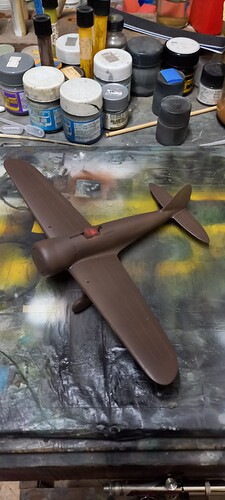
I drilled a hole in the windscreen to accomidate the telescopic gunsight, masked the canopy, and glued the windscreen and rear to the airframe. The sliding portion will go along for the paint ride. That done, it was time to prime the bird. I chose to use Mr. Surfacer 1500 Mahagany as the brown is closer to the planes original primer than black, and I happened to have a bit more in the inventory! This was sprayed and a final inspection was made prior to beginning the painting process.
I’ll be posting the painting process soon, this one will have a good portion of the markings painted on, and give me an opportunity for improvement! Till then be safe and have fun!
Time to catch up with everyone’s projects.
Gary_Kato / I’m really impressed with the level of detail in your AA gun kit. Good work on it.
SGTJKJ / Thanks for the compliment. Having a blast working on it.
phantom_phanatic / Cool looking model. Good work on it.
Mead93 / The canopy looks fantastic…crystal clear.
Everyone / Fascinating discussion on matching authentic colors to model builds. Ash Grey is my favorite.
RonW / Great kit for the campaign. Interesting comparison of the tank commander figures.
john41492 / The Nate is a great kit for the campaign. I like early war aircraft…stylish.
Good luck everyone on your projects.
Bill
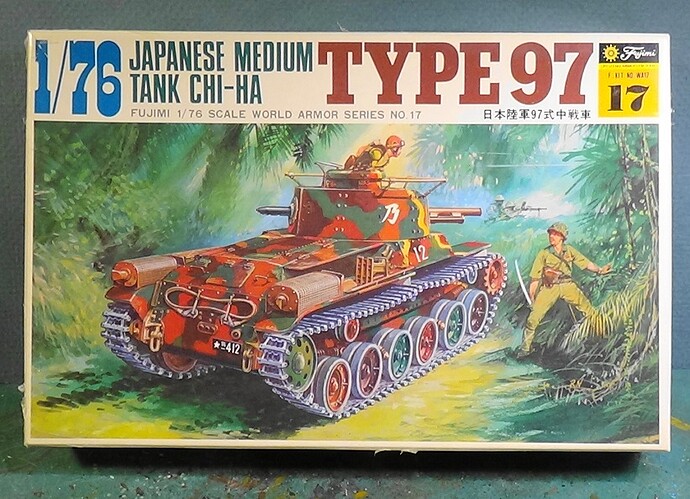
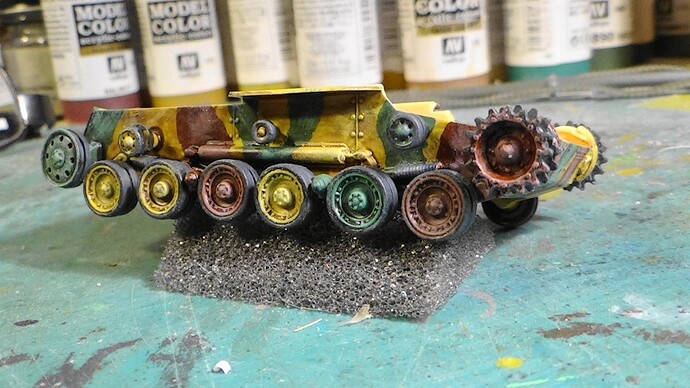
Update on my Banzai Charge build. The Fujimi 1/76 Chi-Ha is being worked on now.
Great kit from the 1970s.
Went with a build and paint method of assembly.
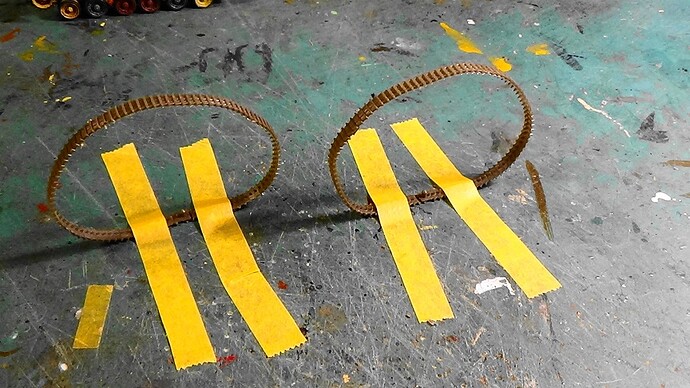
The old melt the pin track mating.
Tracks are on. Will CA glue the tracks down on the return rollers.
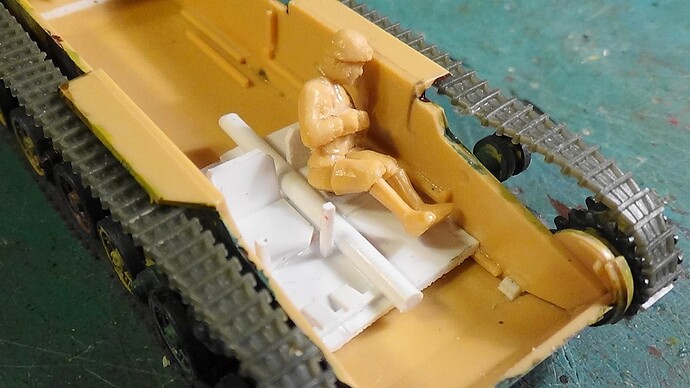
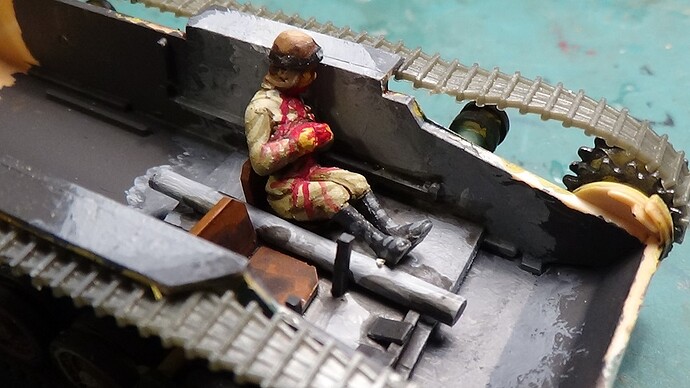
Made some thru the hatch interior details. Also converted the kit figure.
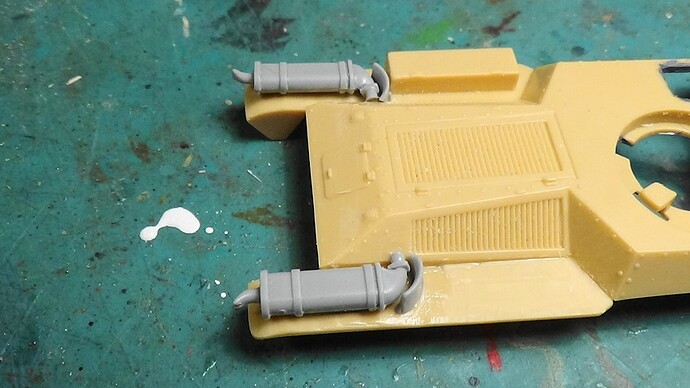
Replaced the poorly molded exhausts with spares from a Dragon kit.
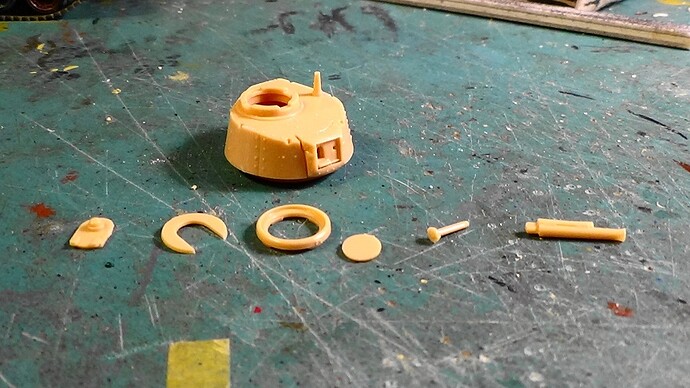
Building up the turret. Love the crazy “Moon” commander’s hatch.
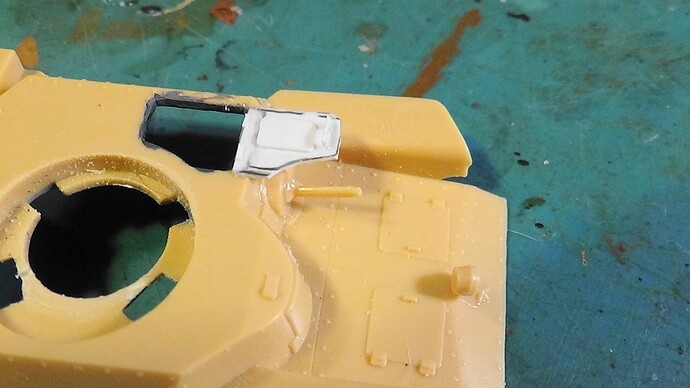
Cut out the hull hatch and made a new cover.
Interior and casualty painted up.
That’s all for now. Thanks for viewing. Happy modeling.
Bill
Added more pieces to the port and center guns. Once it all dries, they get a coat of Semi-Gloss Black.
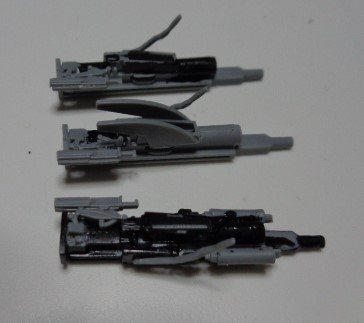
Gary, really happy you’re tackling this thing before I even take the shrink wrap off of mine. Greatly enjoying your work.
@panzerman1, your figures are an inspiration. Looking forward to your Chi-ha, too. That driver looks like he had a really bad day; maybe it’s just a slight scratch on his forehead, those really bleed like crazy?
An aside, that box art is fun to look at. Don’t get me wrong, I prefer the realistic graphics of Fine Model, Volstad, Wanatabe, etc, but those vivid colors have a charm of their own. It’s like one of the first Hasegawa reboxes of the Mania Ki-49 with a wild green sky - definitely catches the eye.
looking forward to your “how to” on the vacform canopies. it will be a big help, please let me know when you post it. build looks great, never thought to use that primer.
Joe.
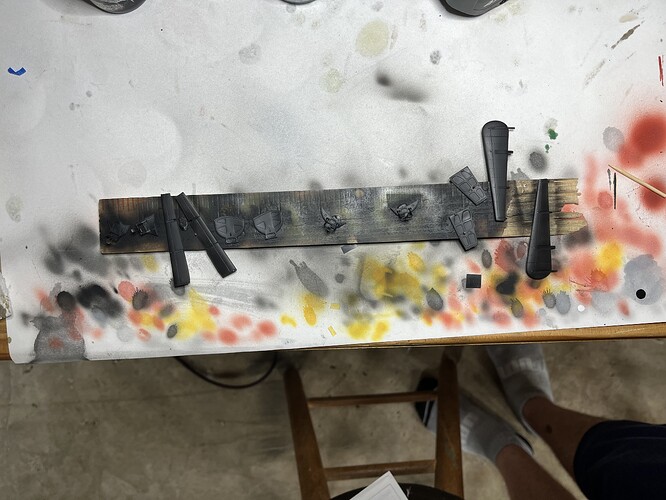
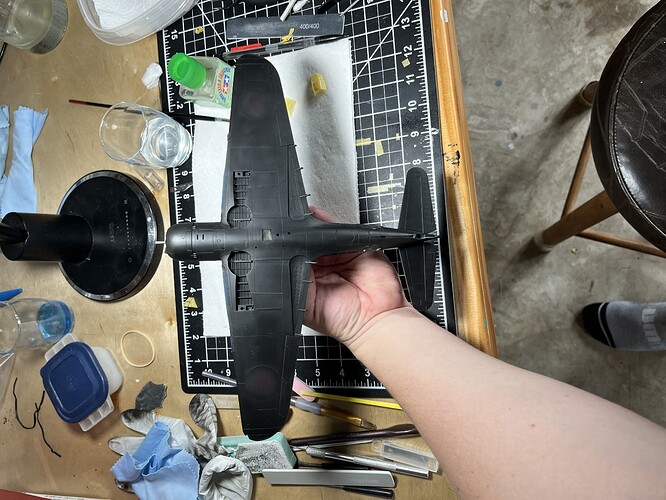
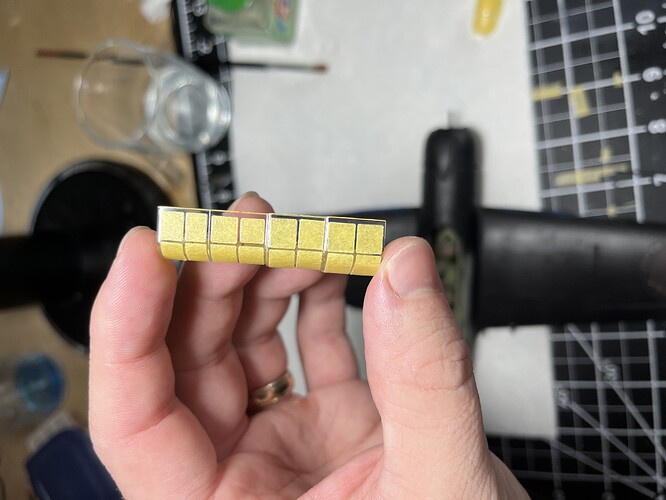
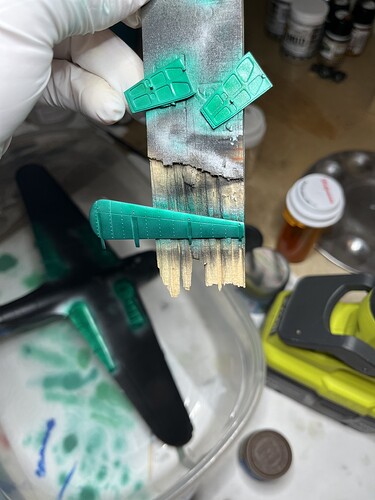
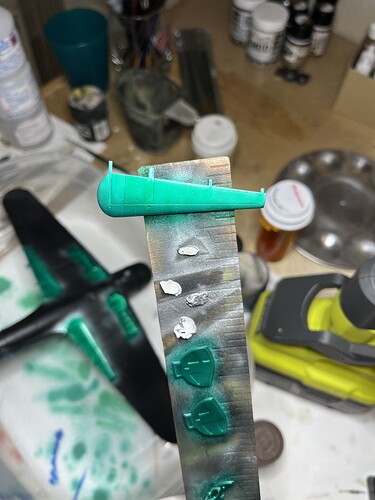
Been a while since I’ve updated. I had a bout with Covid so no bench time for me for a week. Then was waiting on the dead design masks. Man these things rock. Exact right size and easy medium to apply. Primed all of the Jill bits and the Ki-84 bits that will be metallic
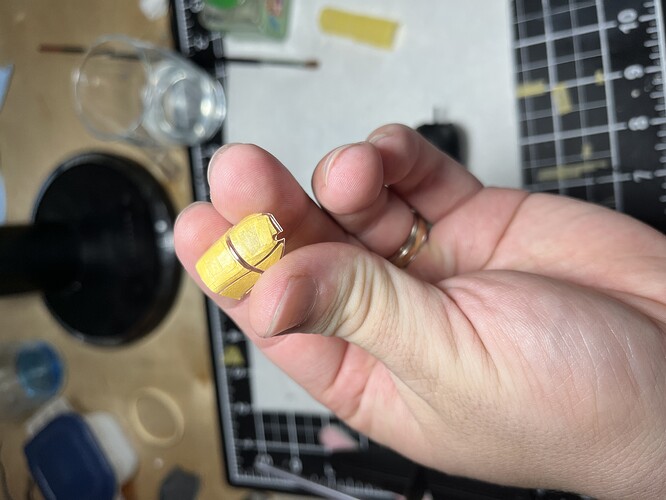
Also masked the Jill canopy
Next up will be attaching the canopy and painting its interior color. Then I’ll paint the metallic bits, and the Jill bits with aotake. Then a thorough airbrush clean and base paint. Hope to have the Jill done this week and the Ki-84 in a week or so
Got the aotake down on the Jill, it’s tough to photograph as it is quite glossy. I plan to hit it with a wash and then a bit of dull cote to tone down the gloss look once it fully cures. It is taking a while due to being glossy. Still a bit tacky 12 hours later. I am pretty happy with it
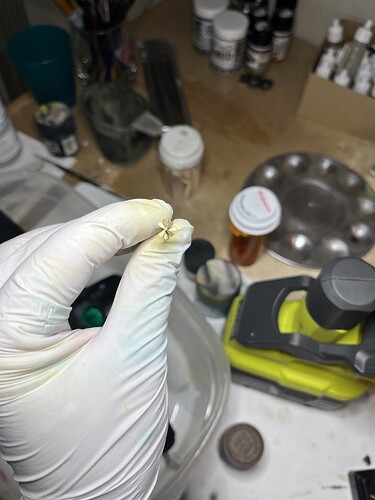
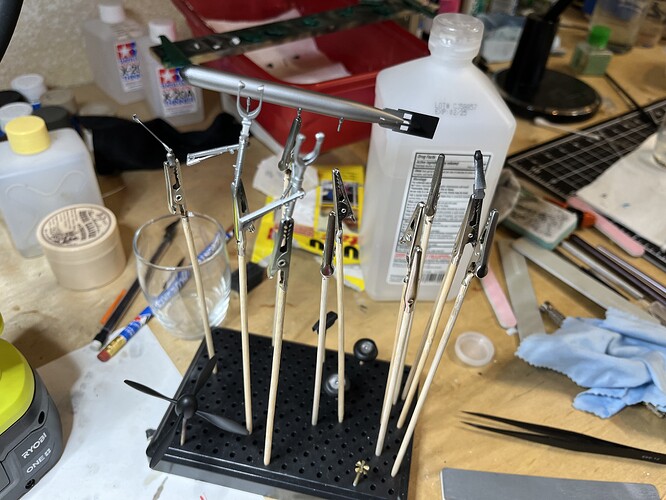
Also painted all the metallic bits and bobs so I could clean my airbrush throughly. Landing gear components were painted with Alclad aluminum, the torpedo body with alclad duraluminum and the propellor with tamiya gold leaf and a touch of copper
While the aotake cures I may start on spraying the markings on the Ki-84. Should have both base coated by the end of the week and then it’s just a matter of some weathering
Nice progress!
