There were many, many cases of the number being on the bin.
David
There were many, many cases of the number being on the bin.
David
Thank you David. Good to know for future projects but might have to omit it on this one. While I was putting one on the turret side, it folded in on itself about 3 times and it was impossible to salvage.
I will check my spare decals but not hopeful I have the matching numbers in that style …
That is a wonderful camo job you’re doing. And the level of detail is awesome!!!
the only minor minor thing: I would ditch the lock on the loader’s hatch He wouldn’t be able to button up in combat with the lock on the latch.
Cheers Joe… I actually did think about that as I glued it down, and I only did it as it was a spare padlock…
And I then just got plain lazy and forgot about it lol… I might just remove it though as it is a good point ![]()
Johnny, thanks for all the images and patience answering all the questions and sharing tips on your outstanding Tiger ! Looking forward to the final product.
Are you going to build a diorama around it ? Hope so!
Thanks again !
No probs Tom. Glad you liked them.
I won’t be doing a specific Dio for this one. I actually have a generic one I use for scene shots, but I might give it a spring clean, revamp it and use it for this one then build a very simple newer generic one.
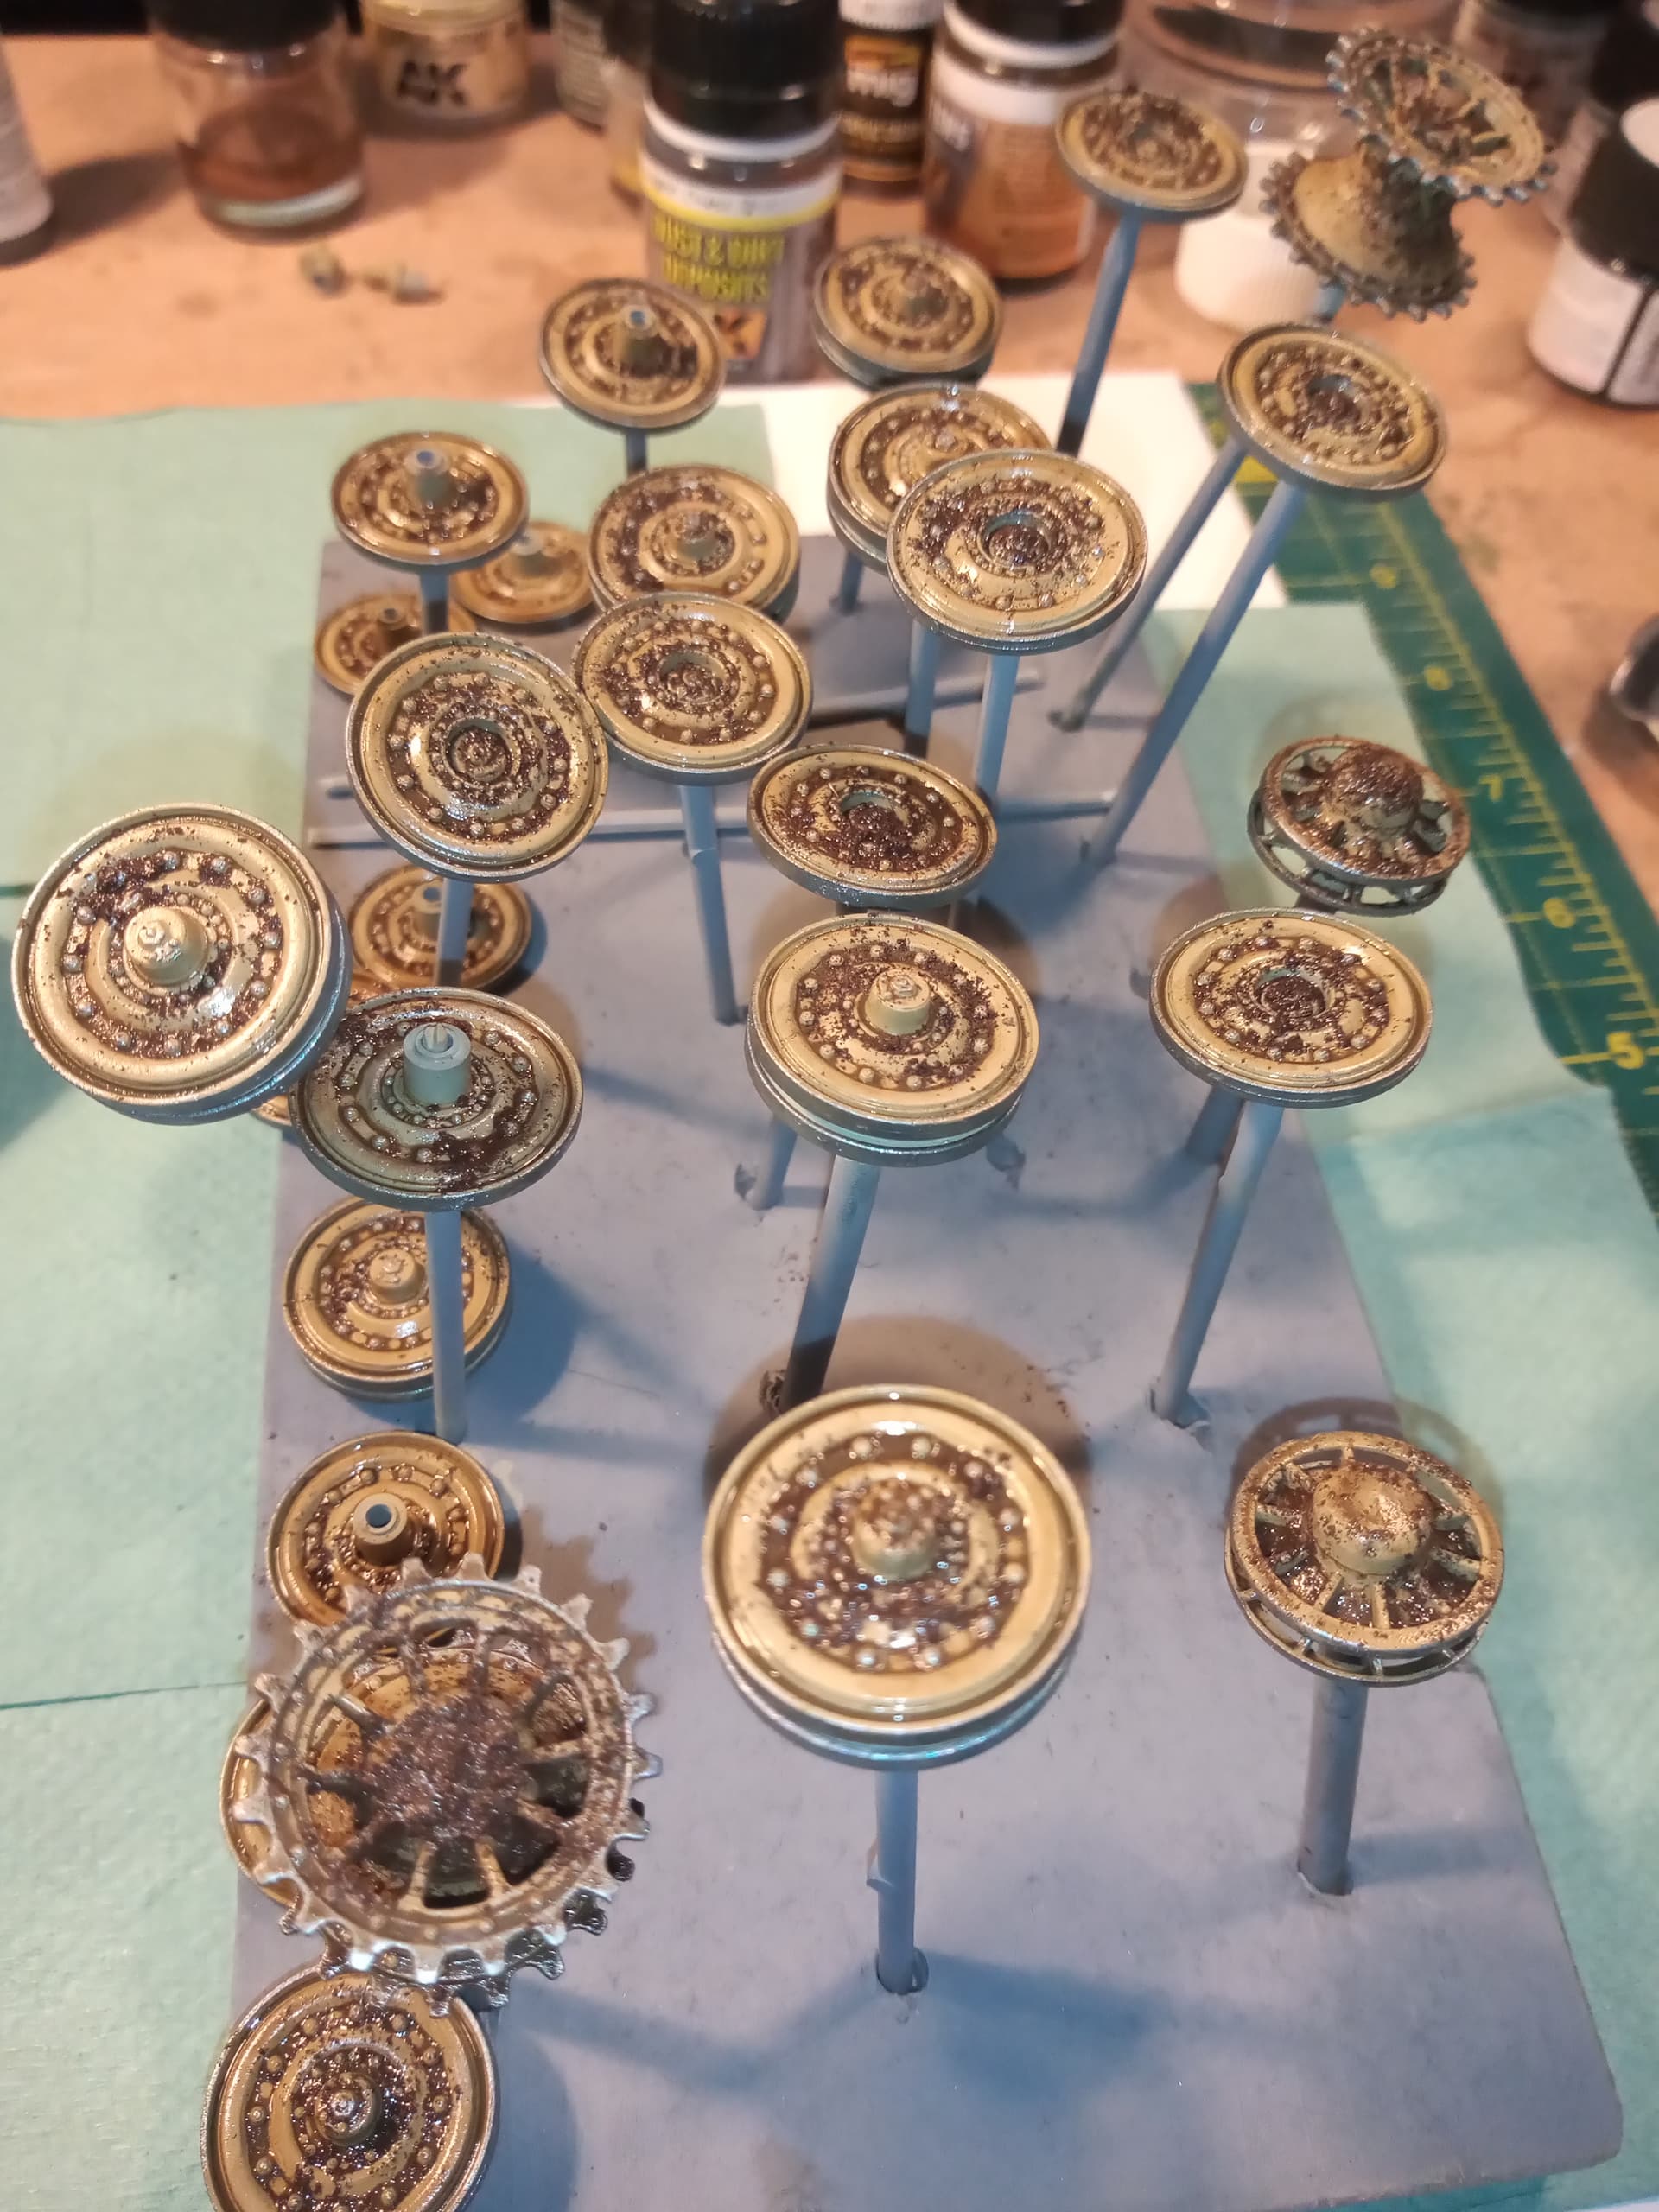
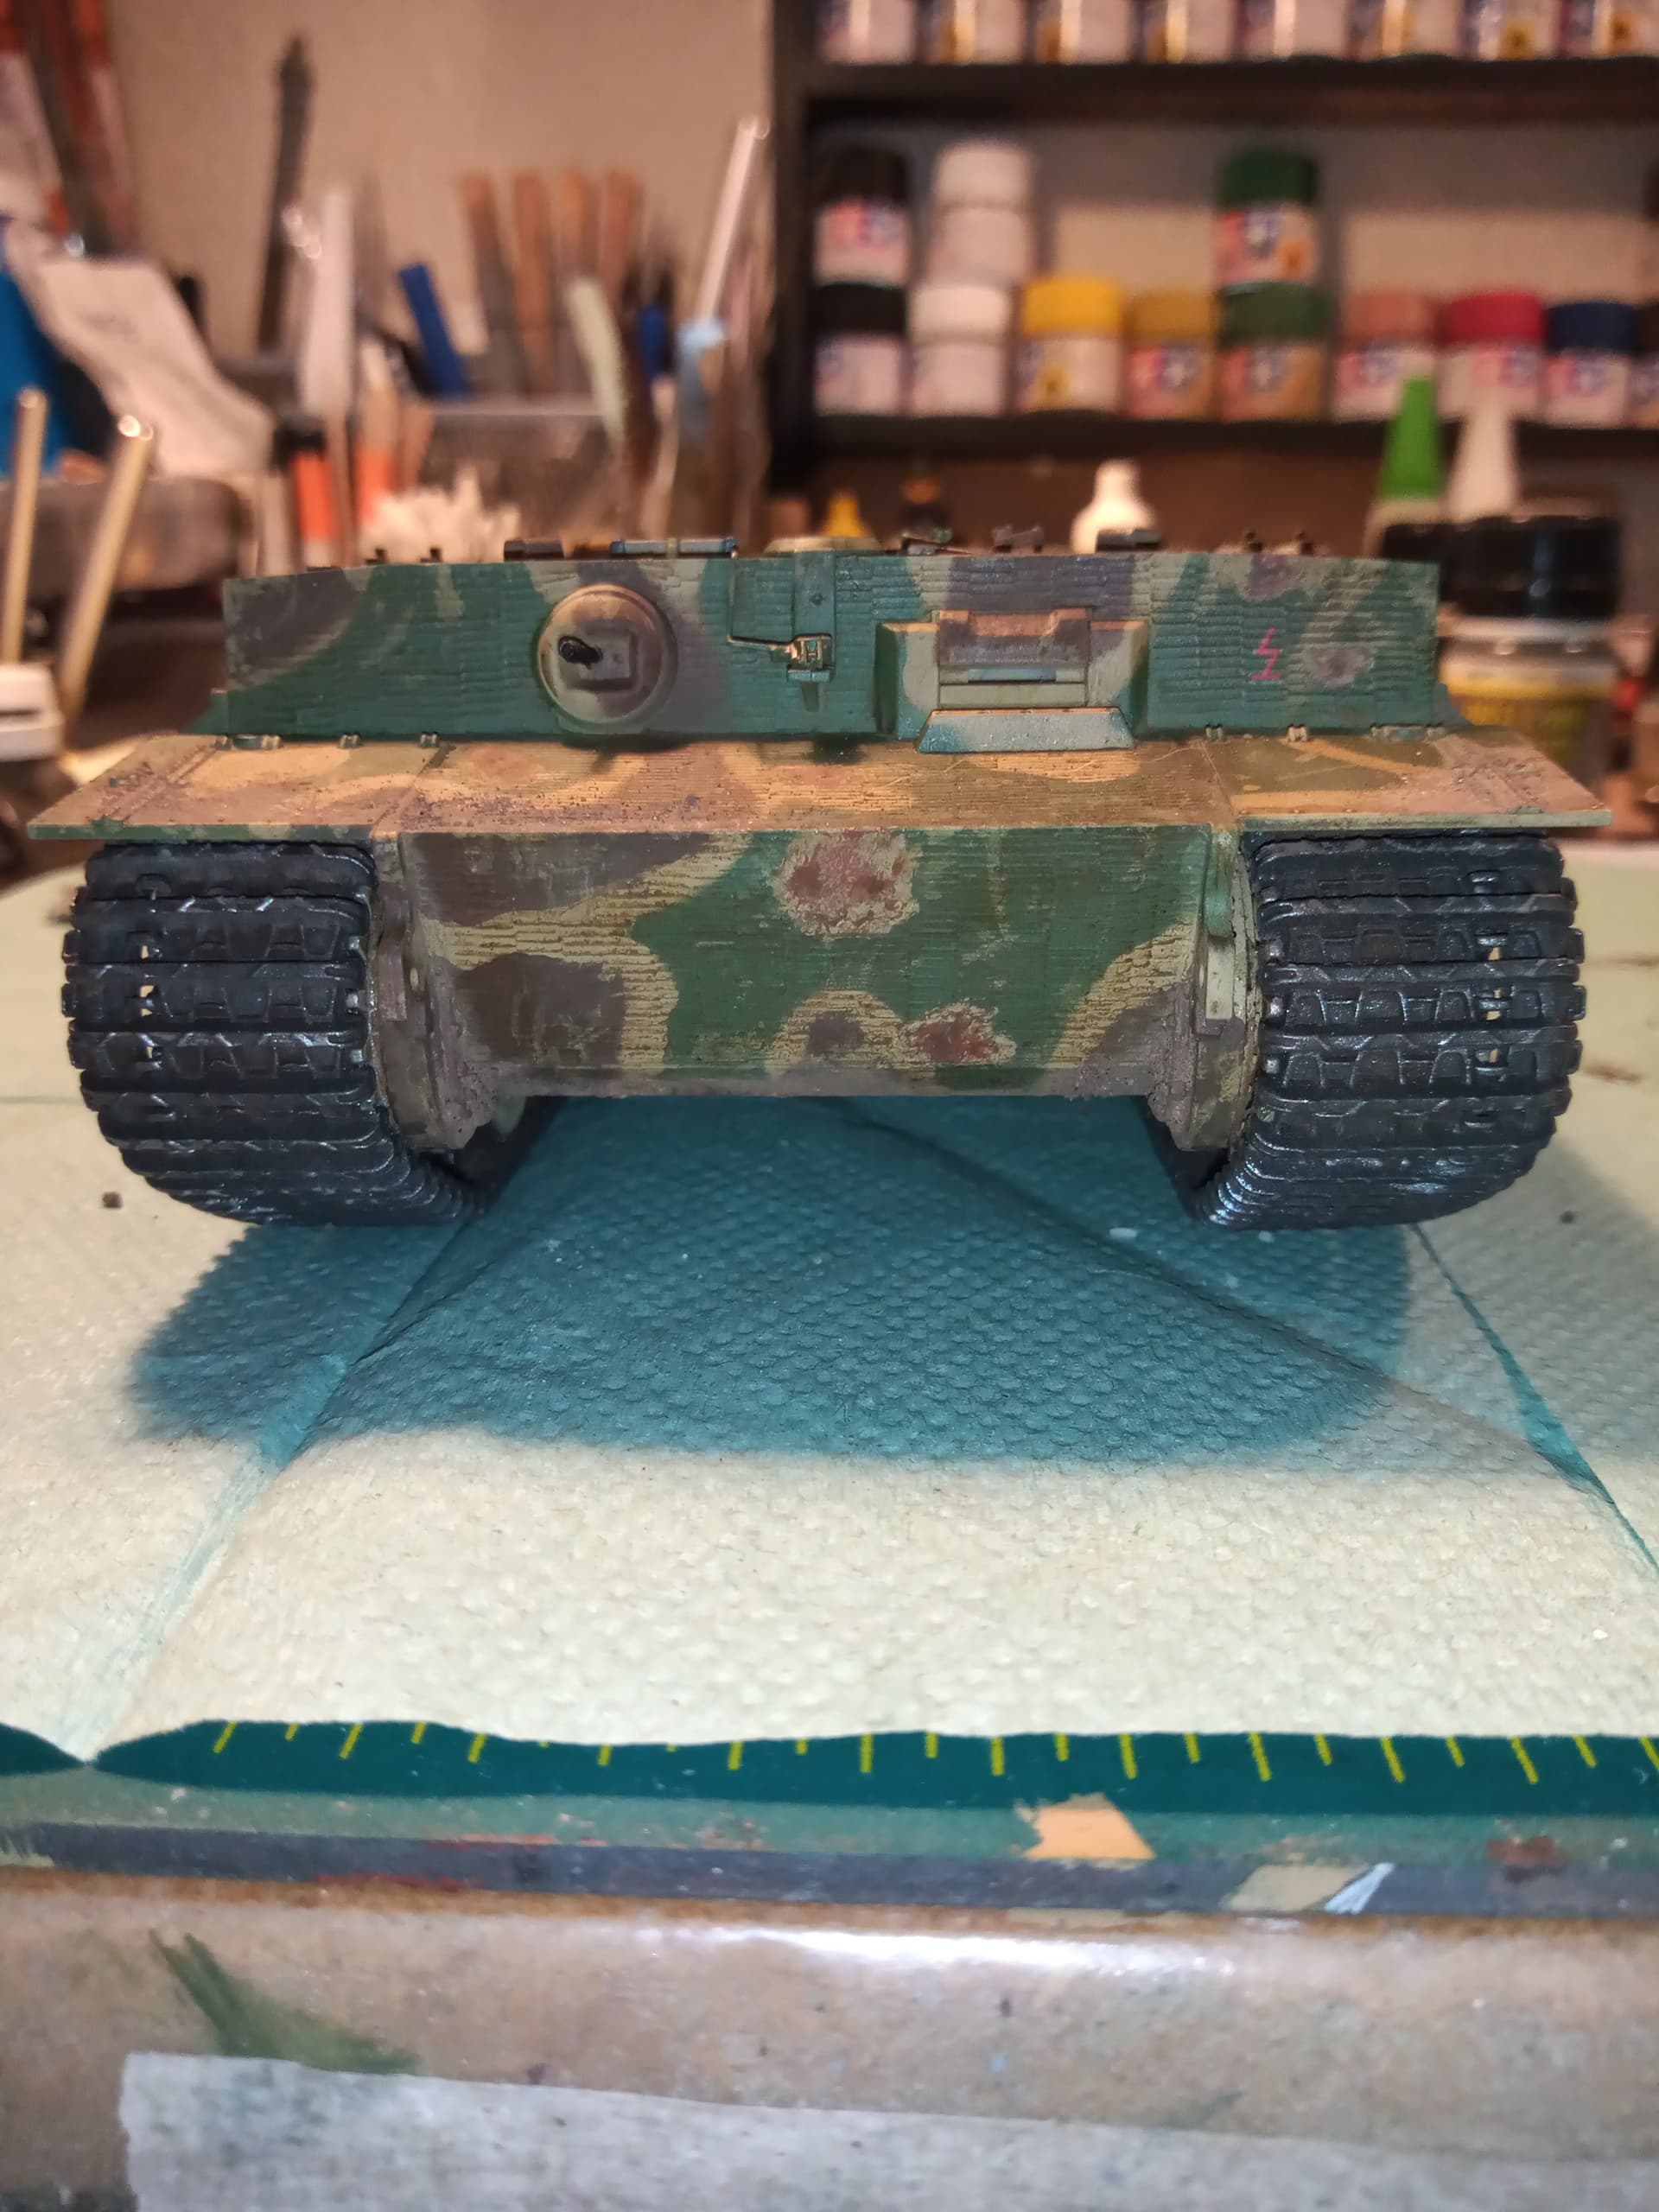
Started to add the dirt and crap on the lower hull and wheels.
Also, just got this delivered…
Will only be using the 2 turret crew for this one ![]()
Lower hull sides with a mix of MIG European earth, dark mud and Russian soil pigments
Have also glued the axle arms into set positions. Will test fit the wheels and idlers and track tomorrow.
Wheels are on and everything is sitting level.
Going dry fit the track, then see if that needs any work.
Will have a look at the 2 Hobbyboss figures later that I’m going to use and how they look.
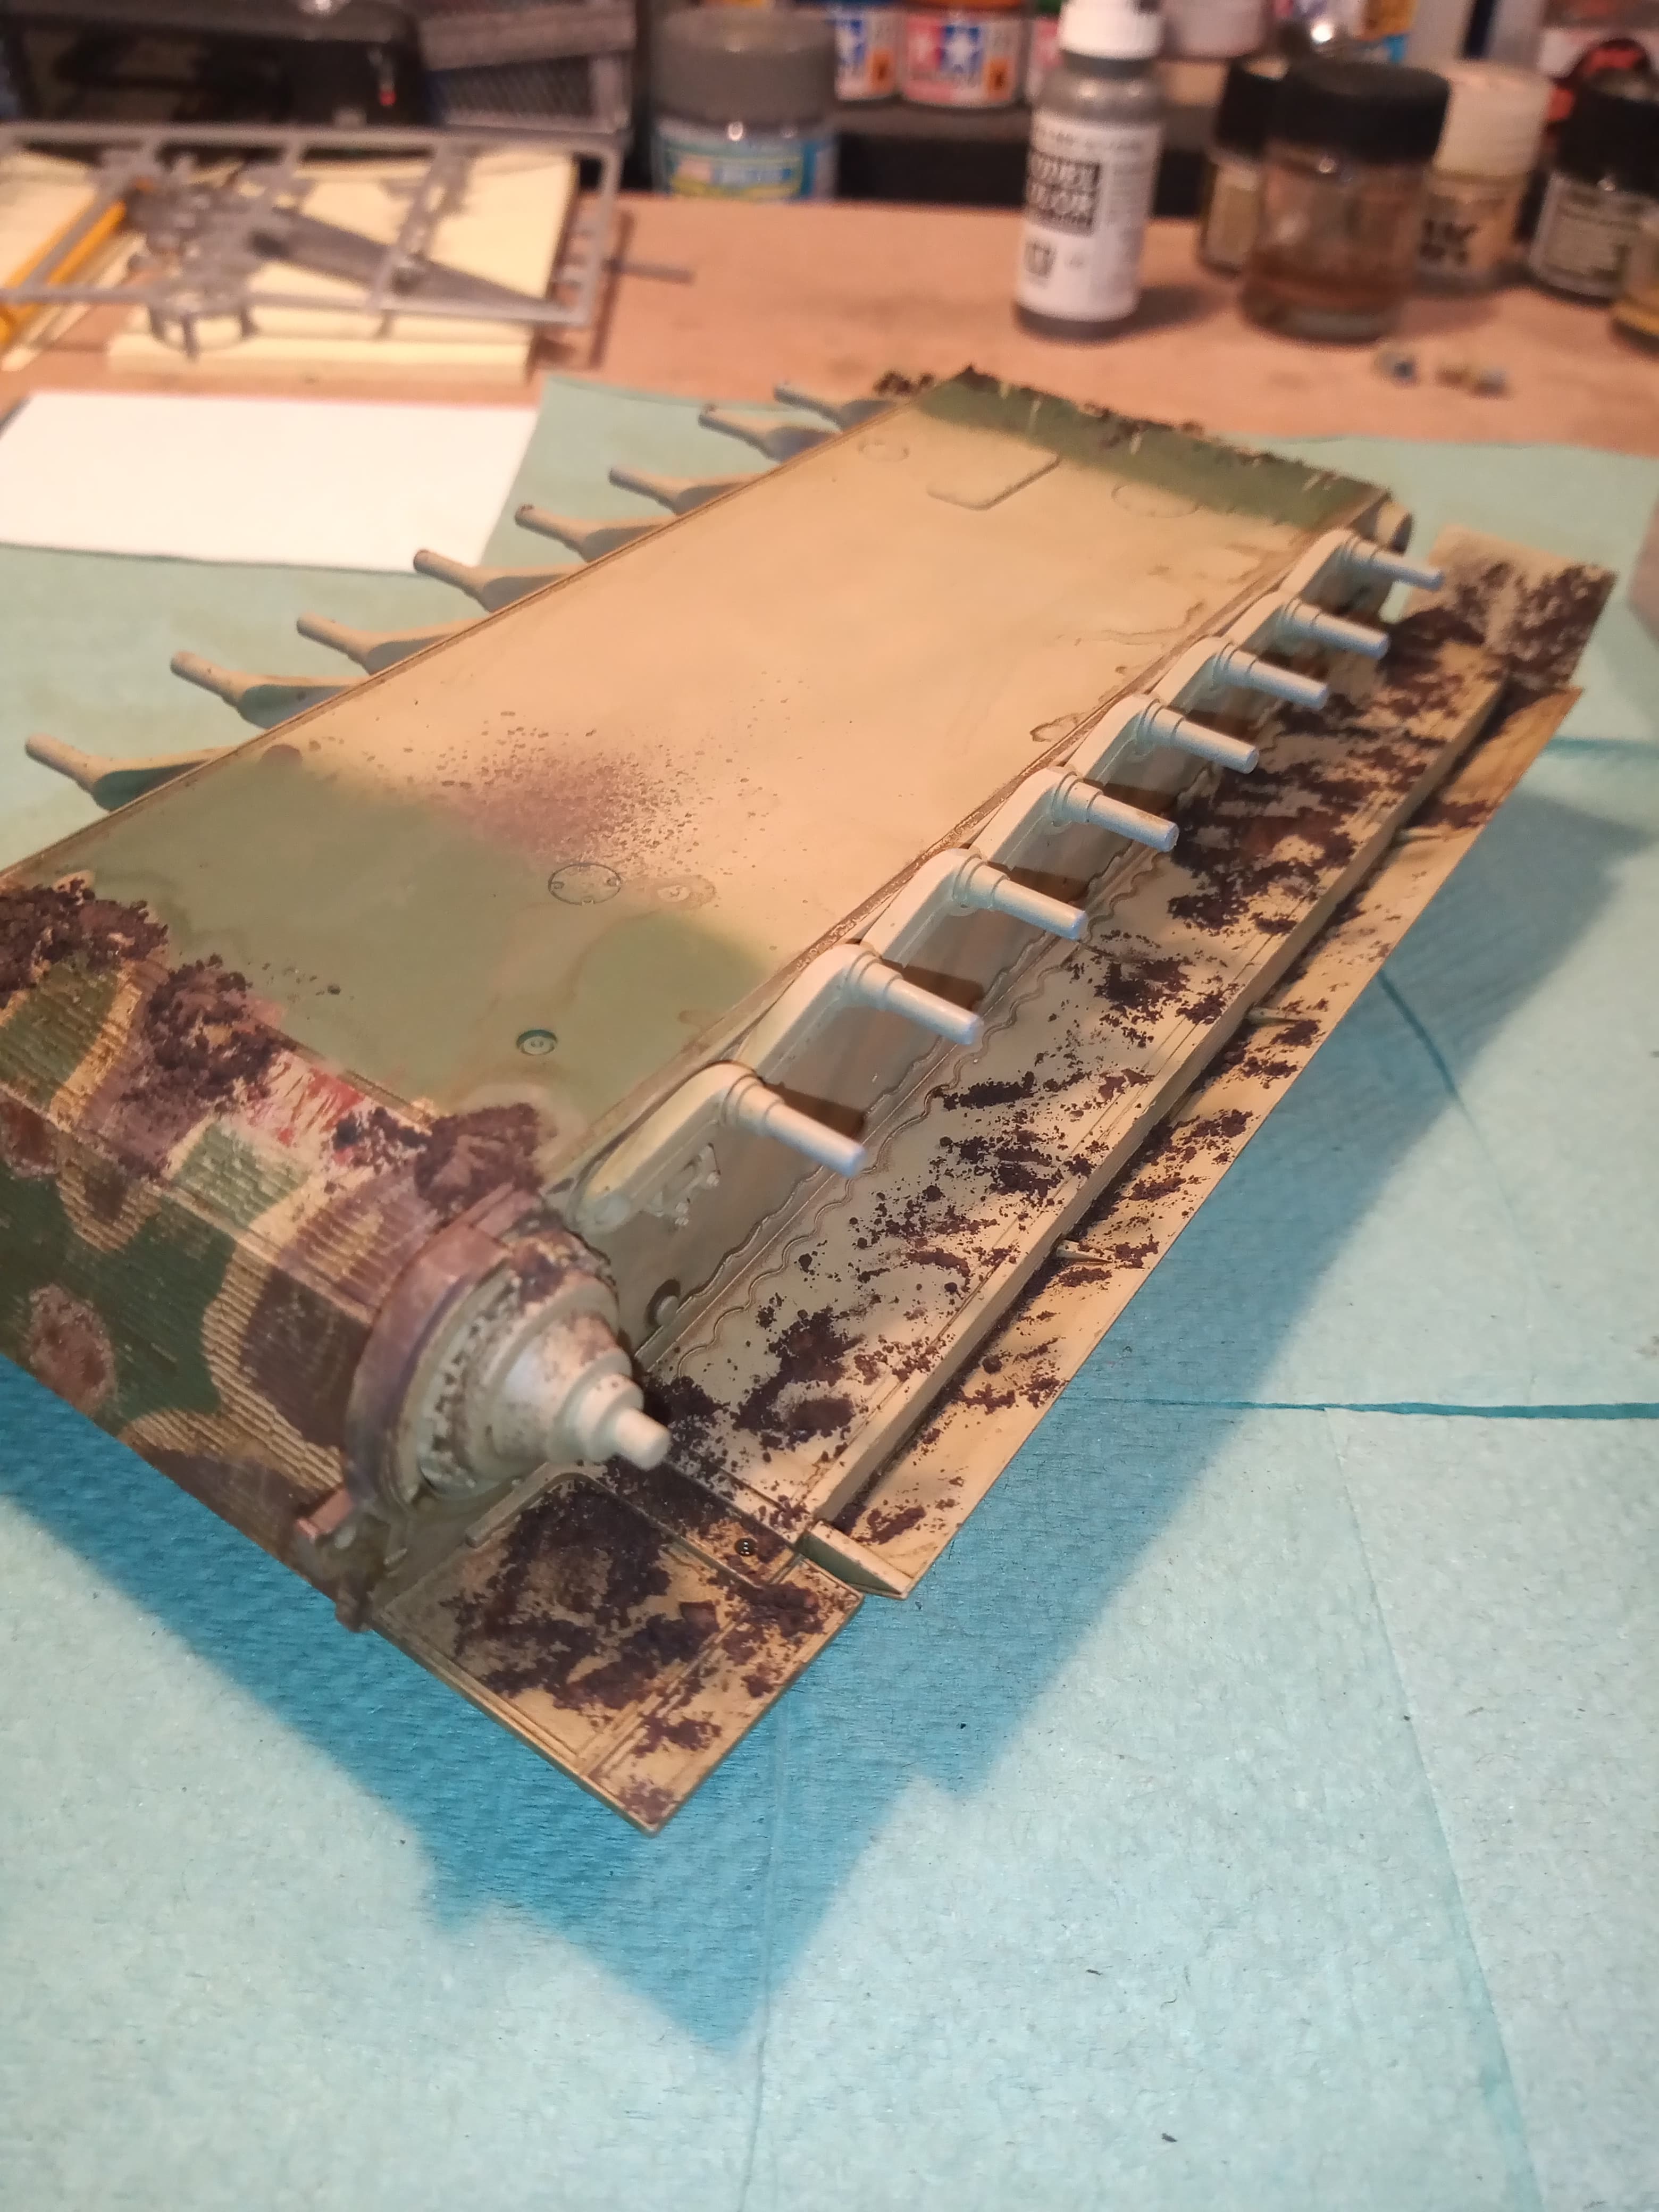
Wasn’t really an easy way to dry fit the tracks so I just went for it. Didn’t glue them together, instead I threaded them over the sprocket end first and glued those firm. Carried on with that method and did the bottom run first, going back to about the 5th road wheel.
Left that for the glue to take hold then started on the top run working back from the sprocket, getting a decent look of lift from the 2nd road wheel to top of sprocket then just worked back doing each track to wheel individually until I got to the idler
From there, I secured the track around a quarter of the idler then I was able to test fit the track for length…
Worked out the track was a bit long, so cut away a link from both open ends and secured the track to the remaining wheels and idlers section…
Will do the LH track tomorrow and some images.
And that, my boys, is how you mount a track without winding up with a total sh*t show on your hands!
It did work out surprisingly well… If I had glued them together first it would of developed into a real s#*t show, followed by a complete FUBAR scenario ![]() .
.
… It was pretty close to impossible to get the tracks on over the sides on the sprockets if they had been glued prior …
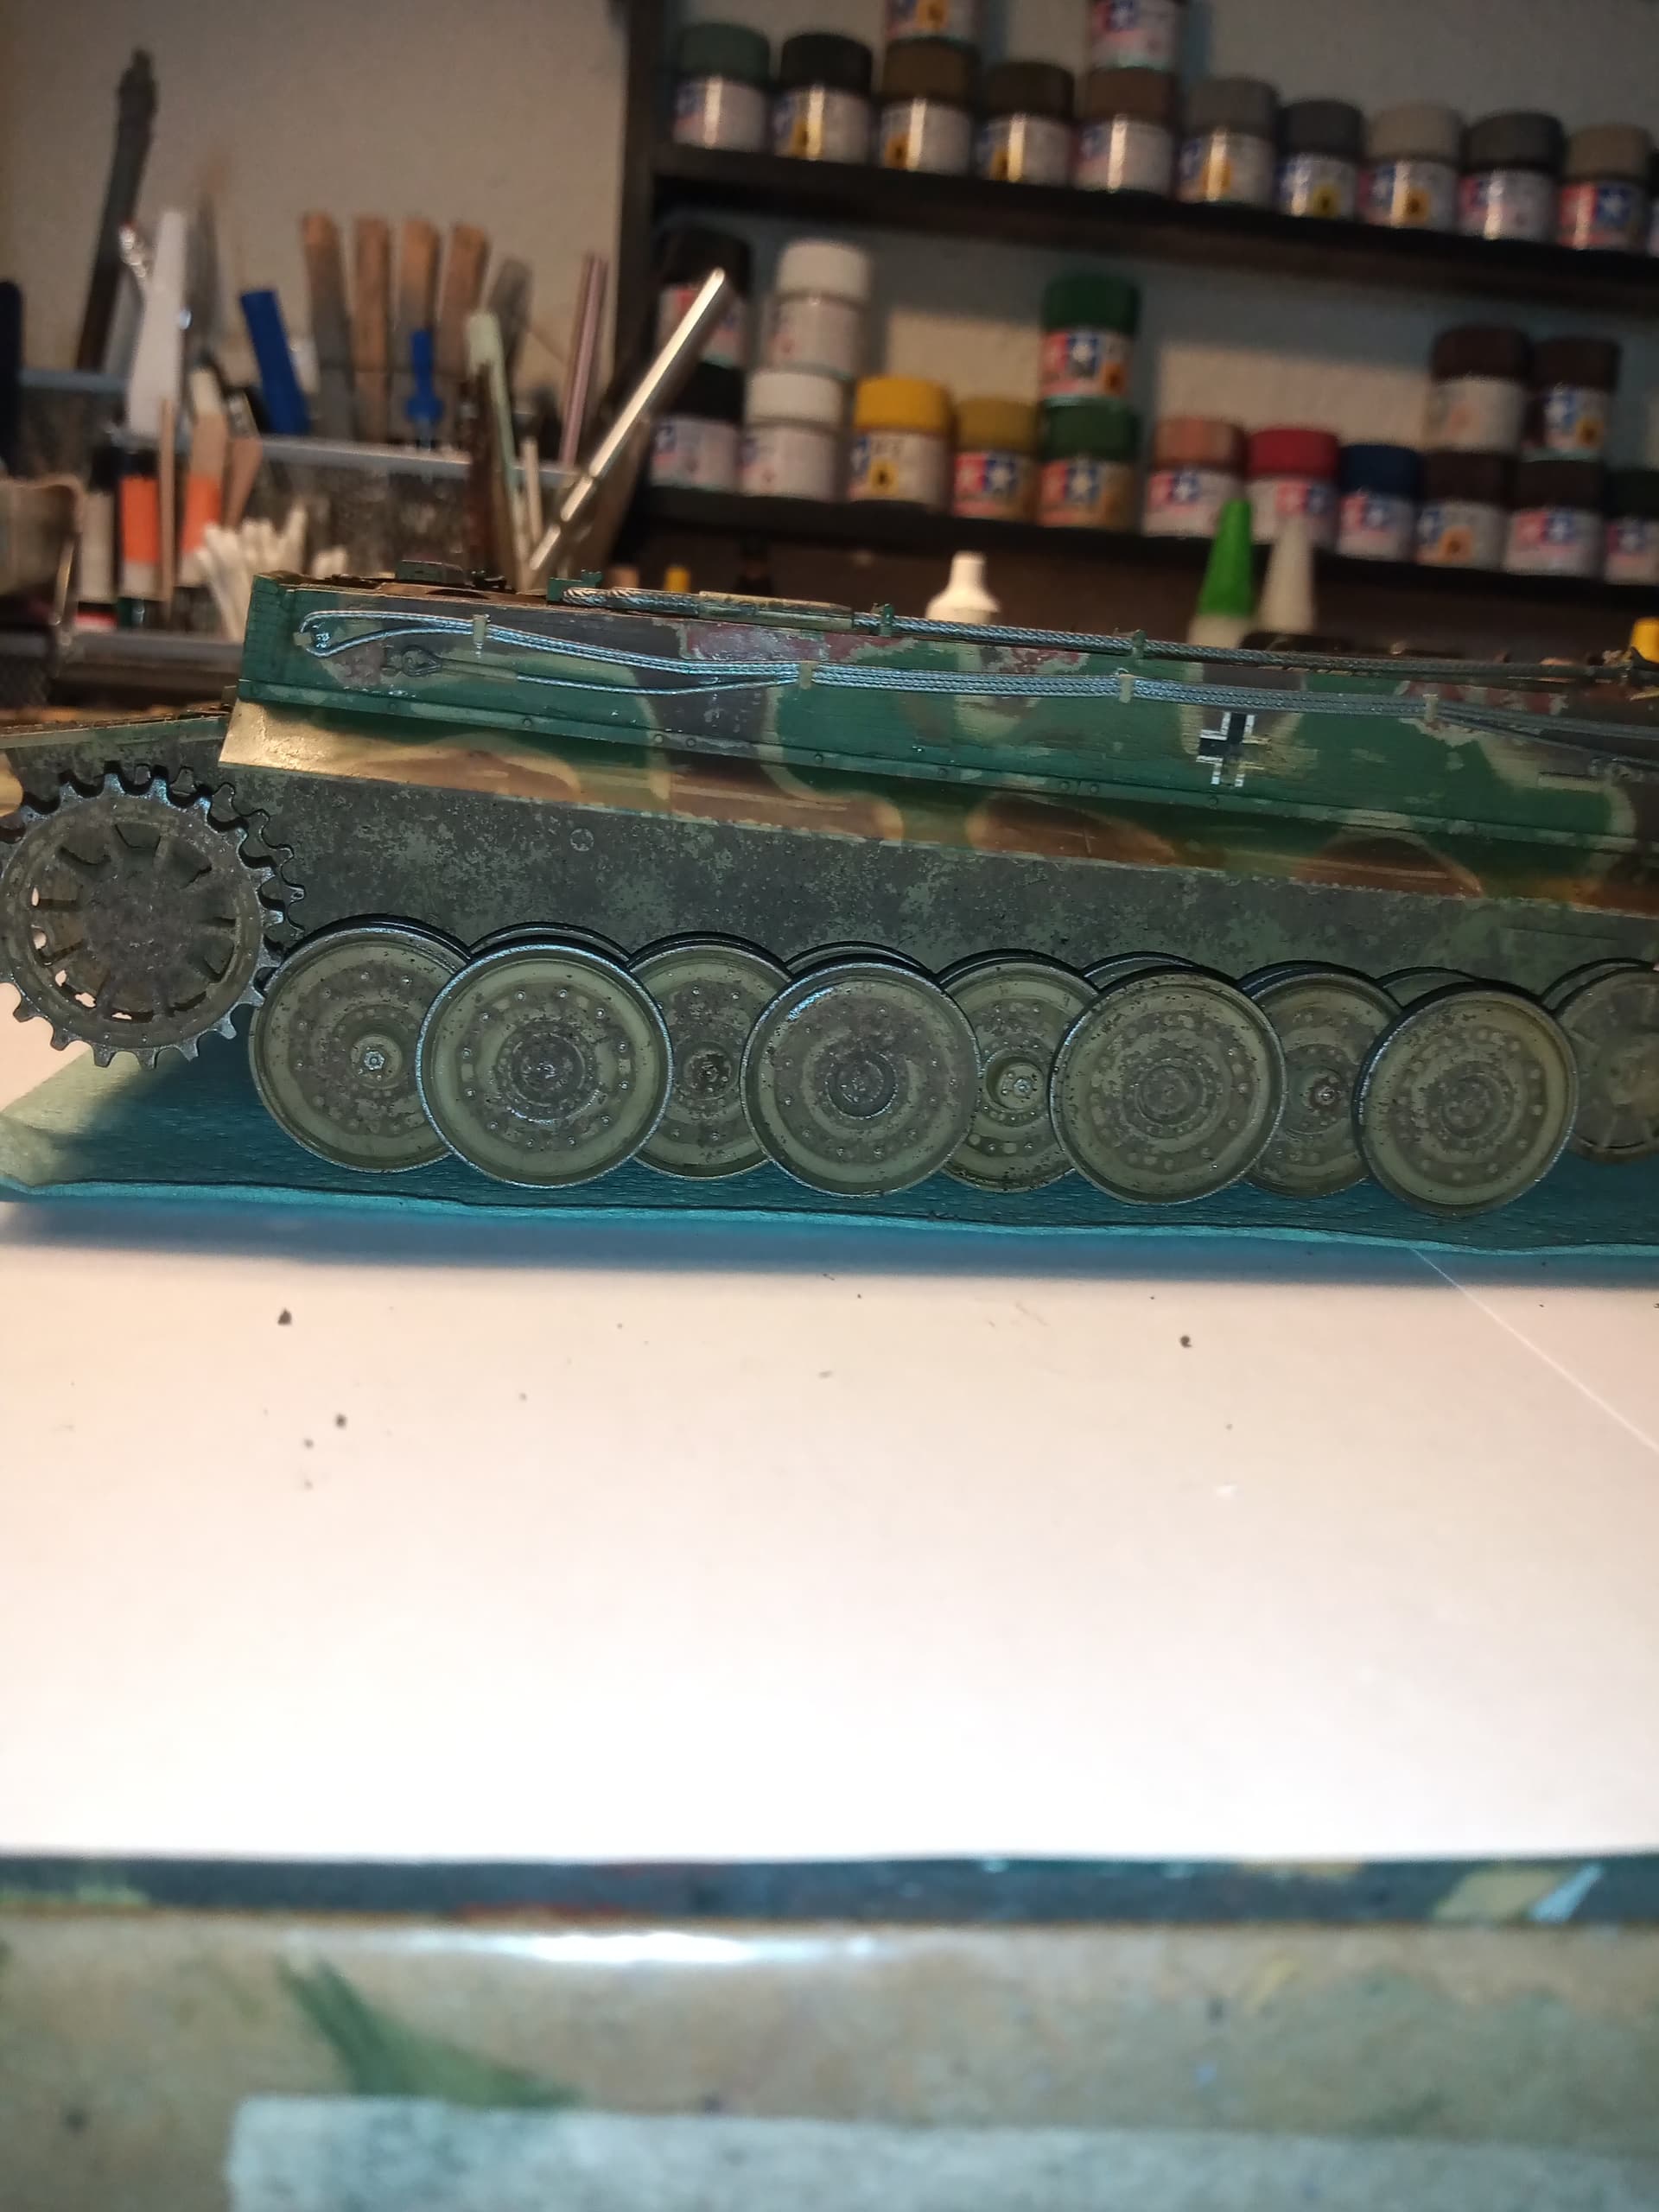
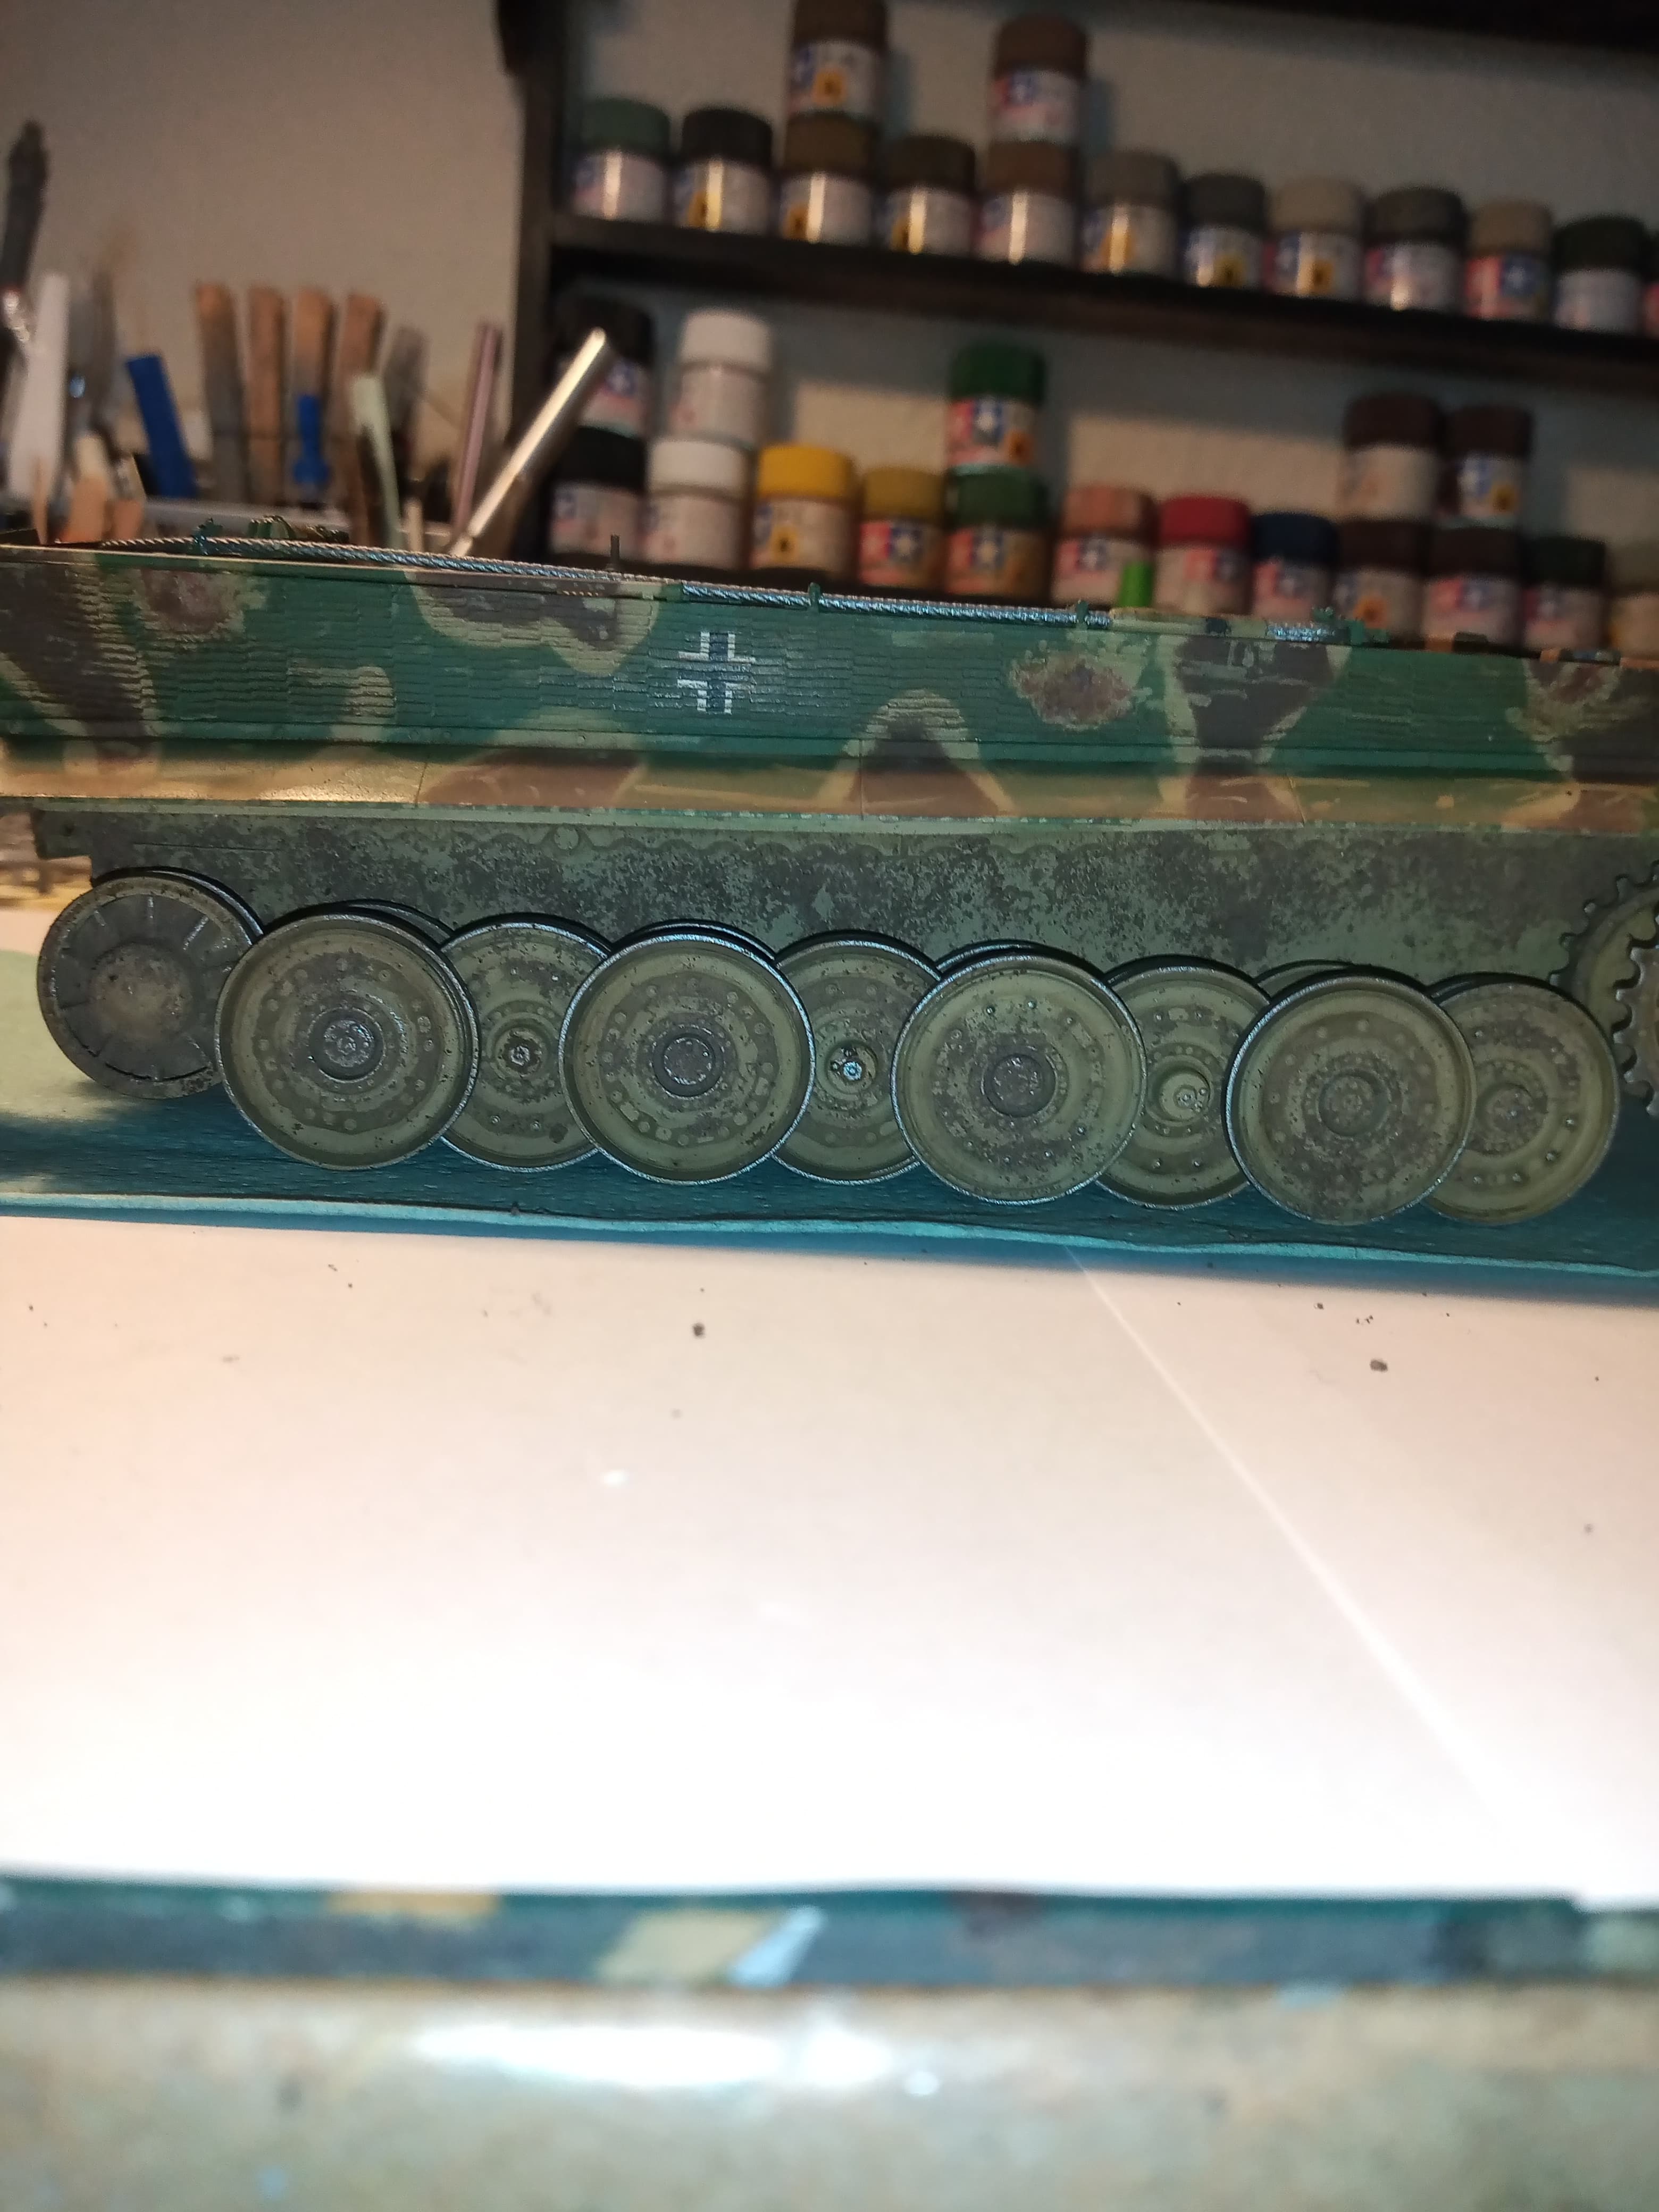
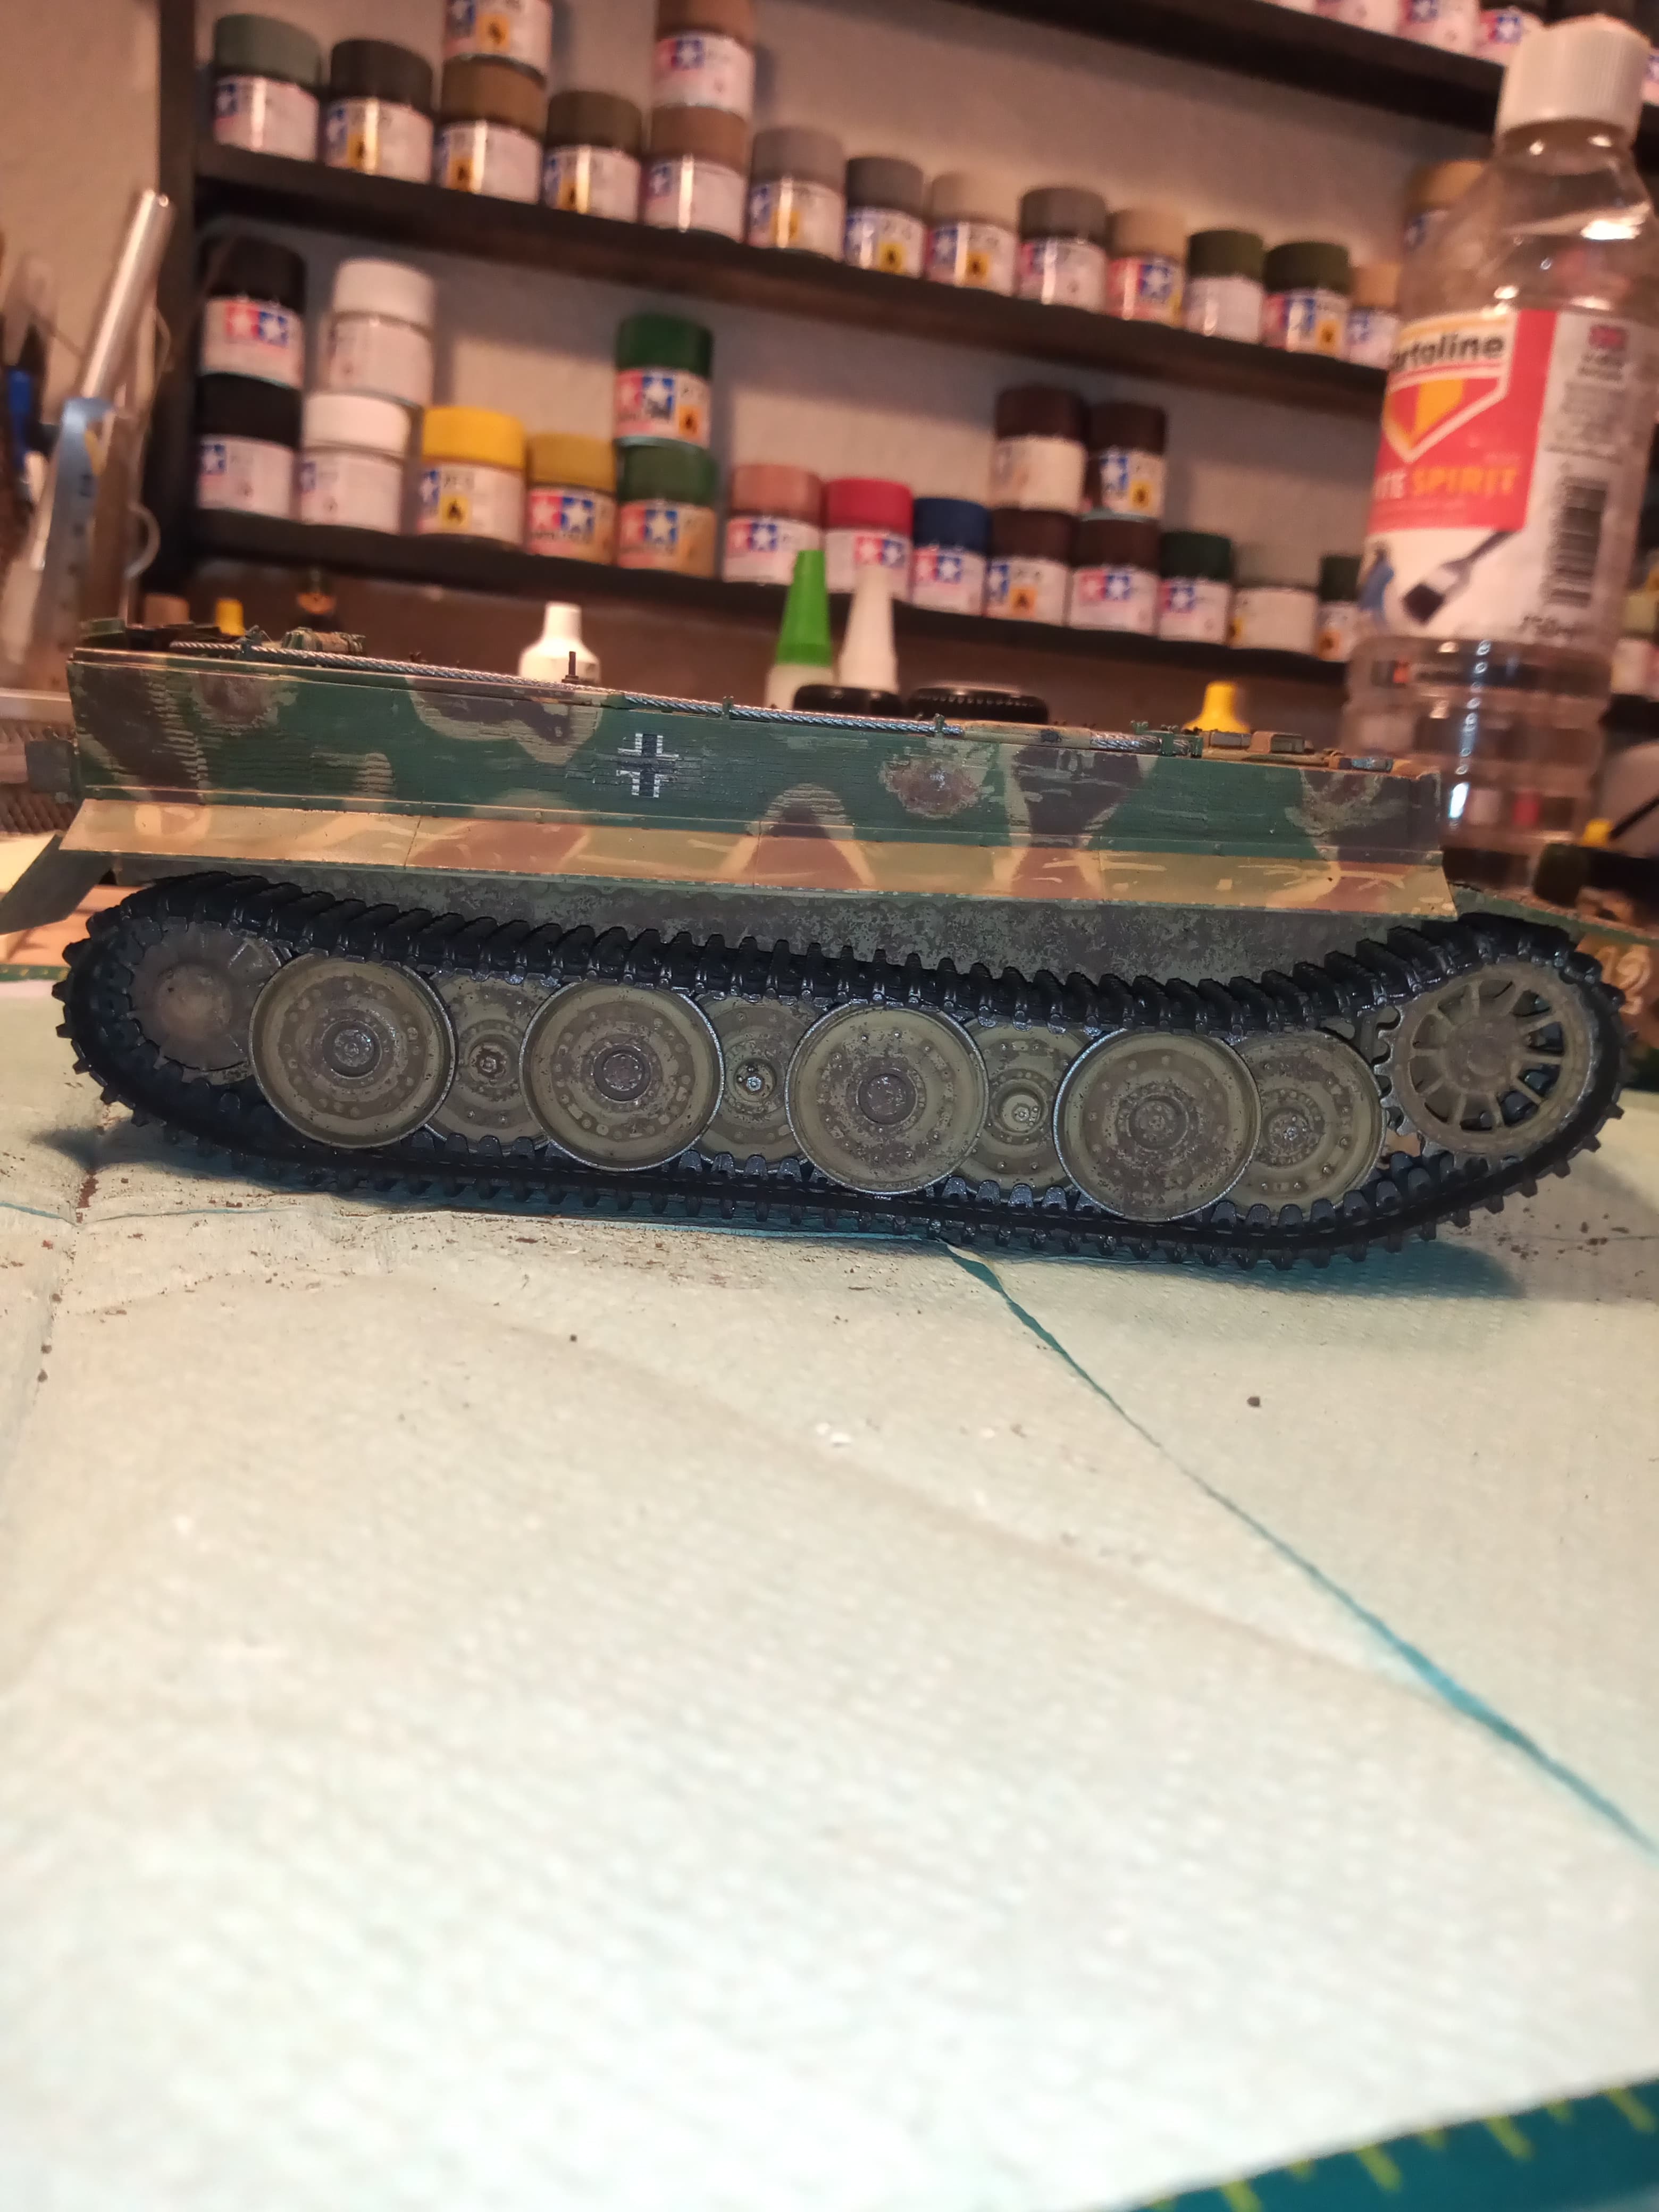
This is how they turned out.
Need to add some dirt and dust wash to them now and some earth pigment
However, it was all plane sailing…
During the process, I broke off 1 engine deck handle, 3 recovery rope clamps and an exhaust stack cover … All sorted now though ![]()
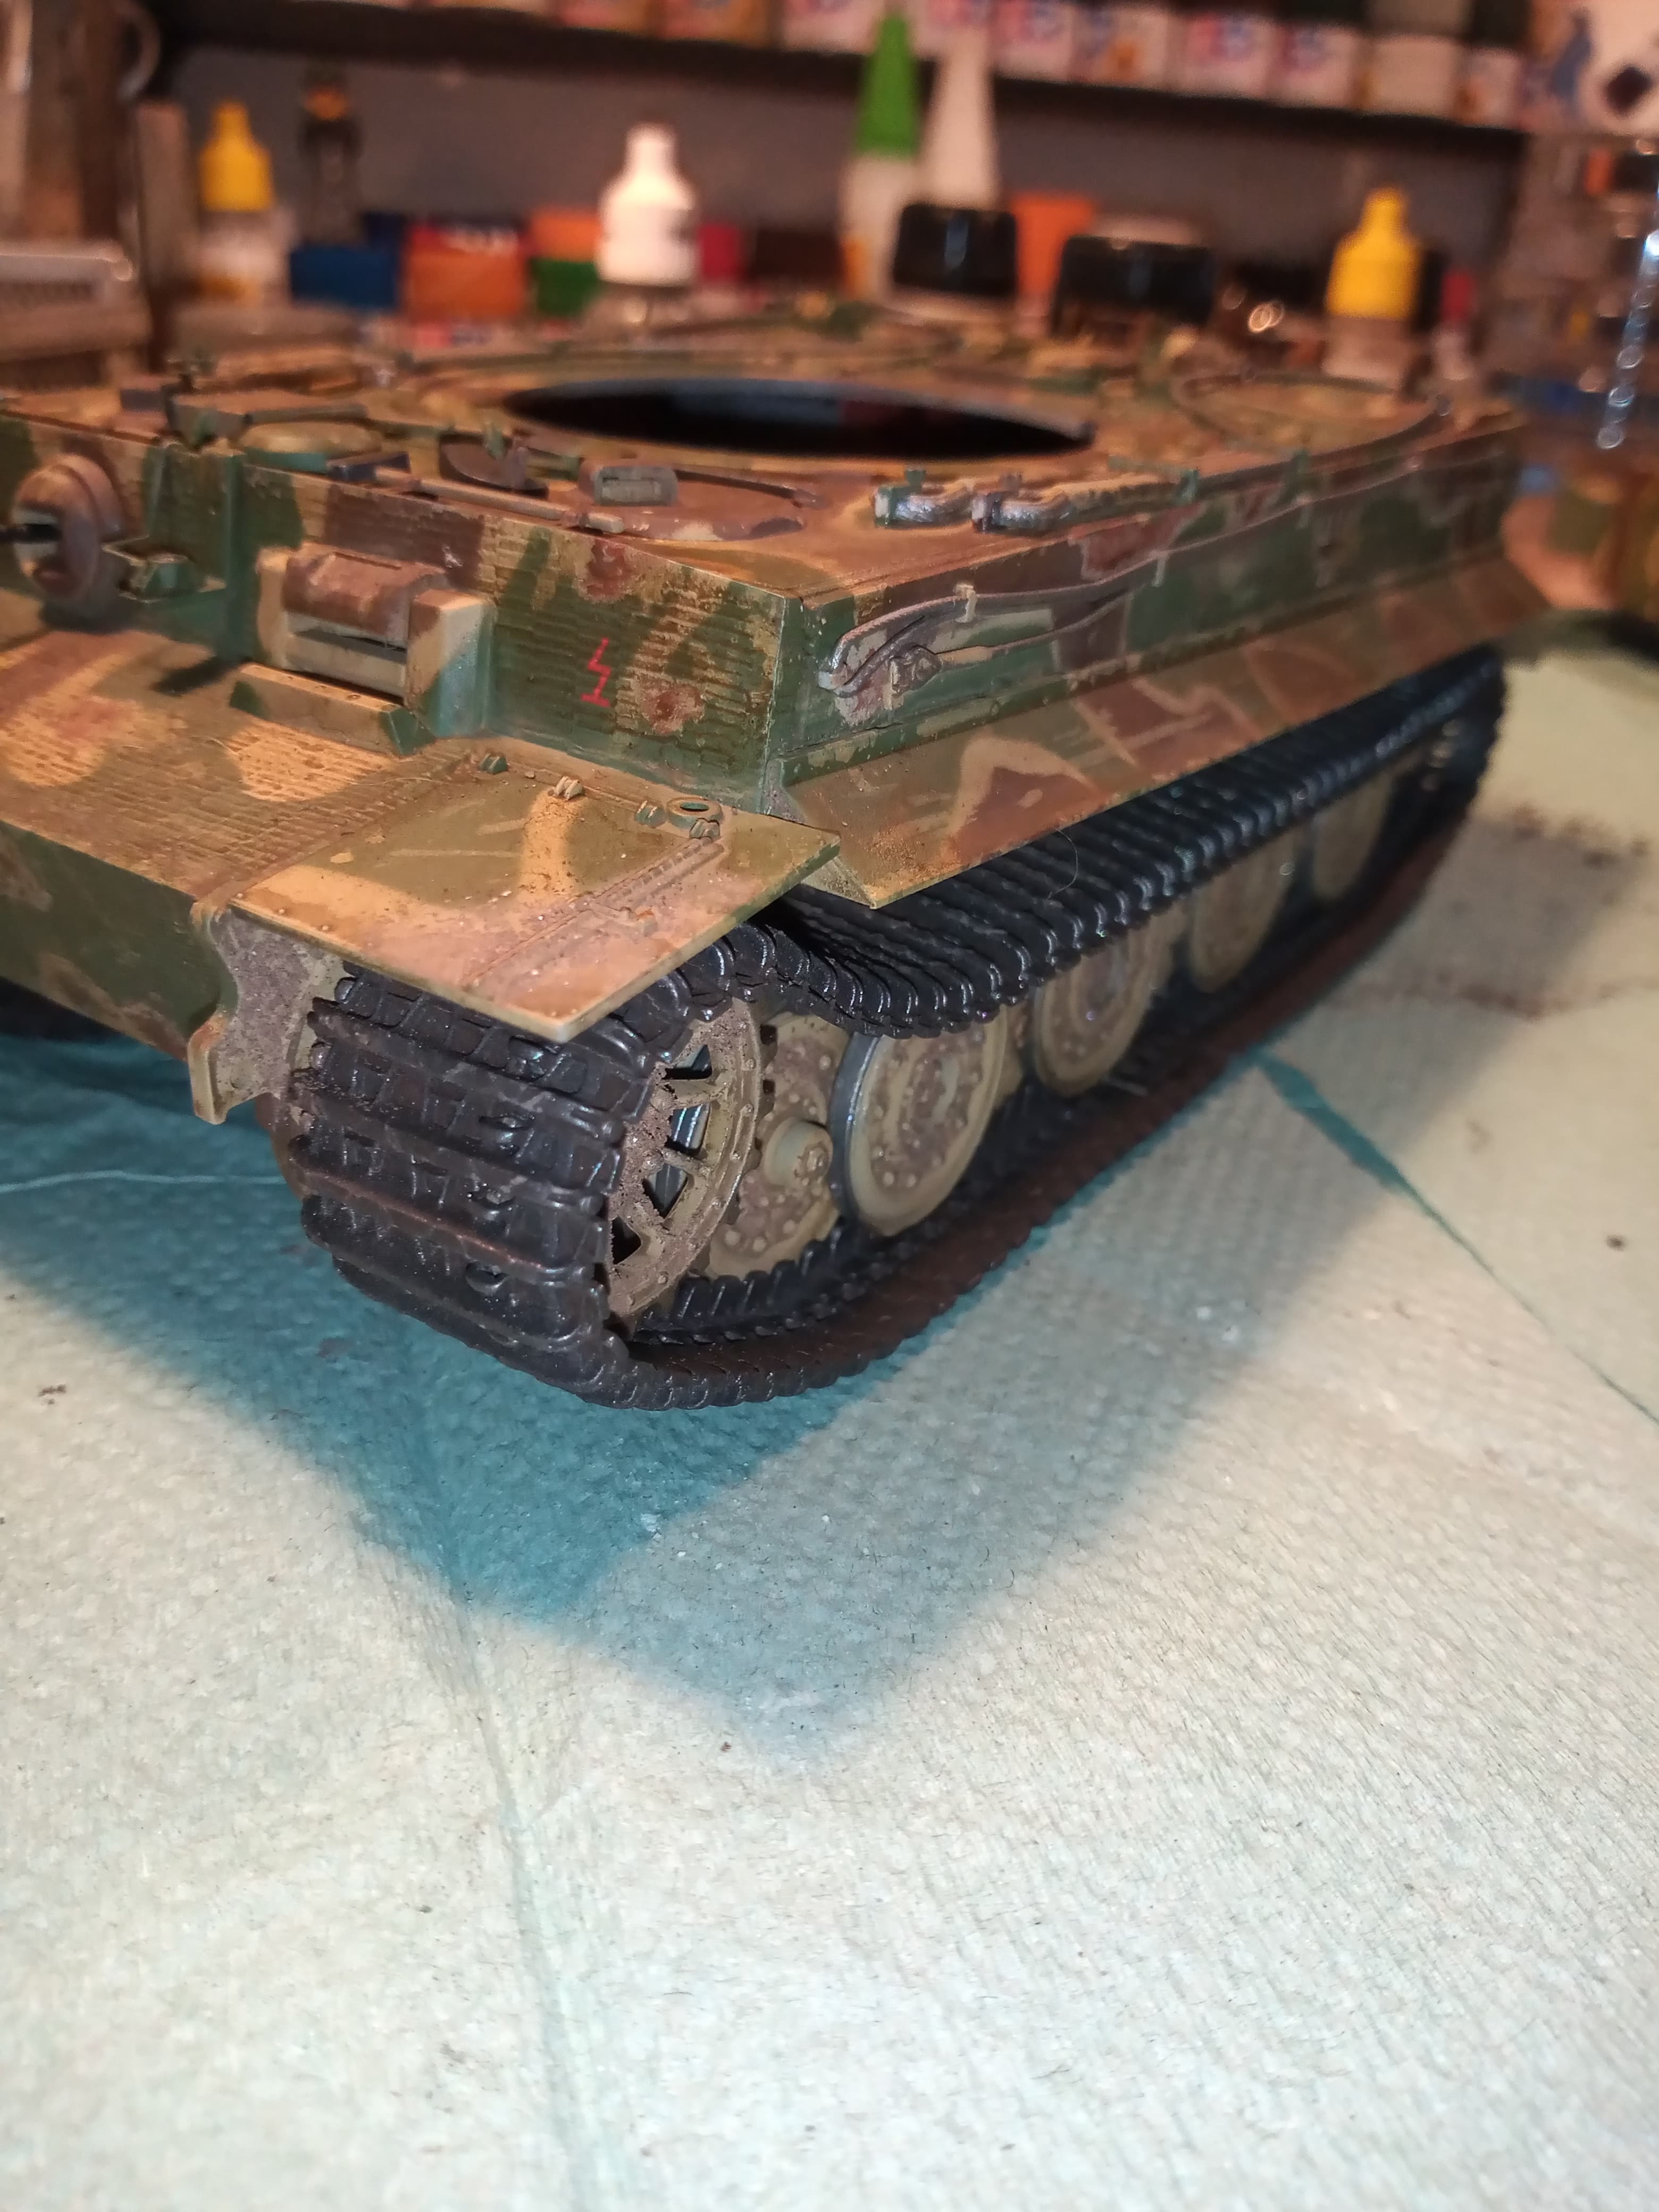
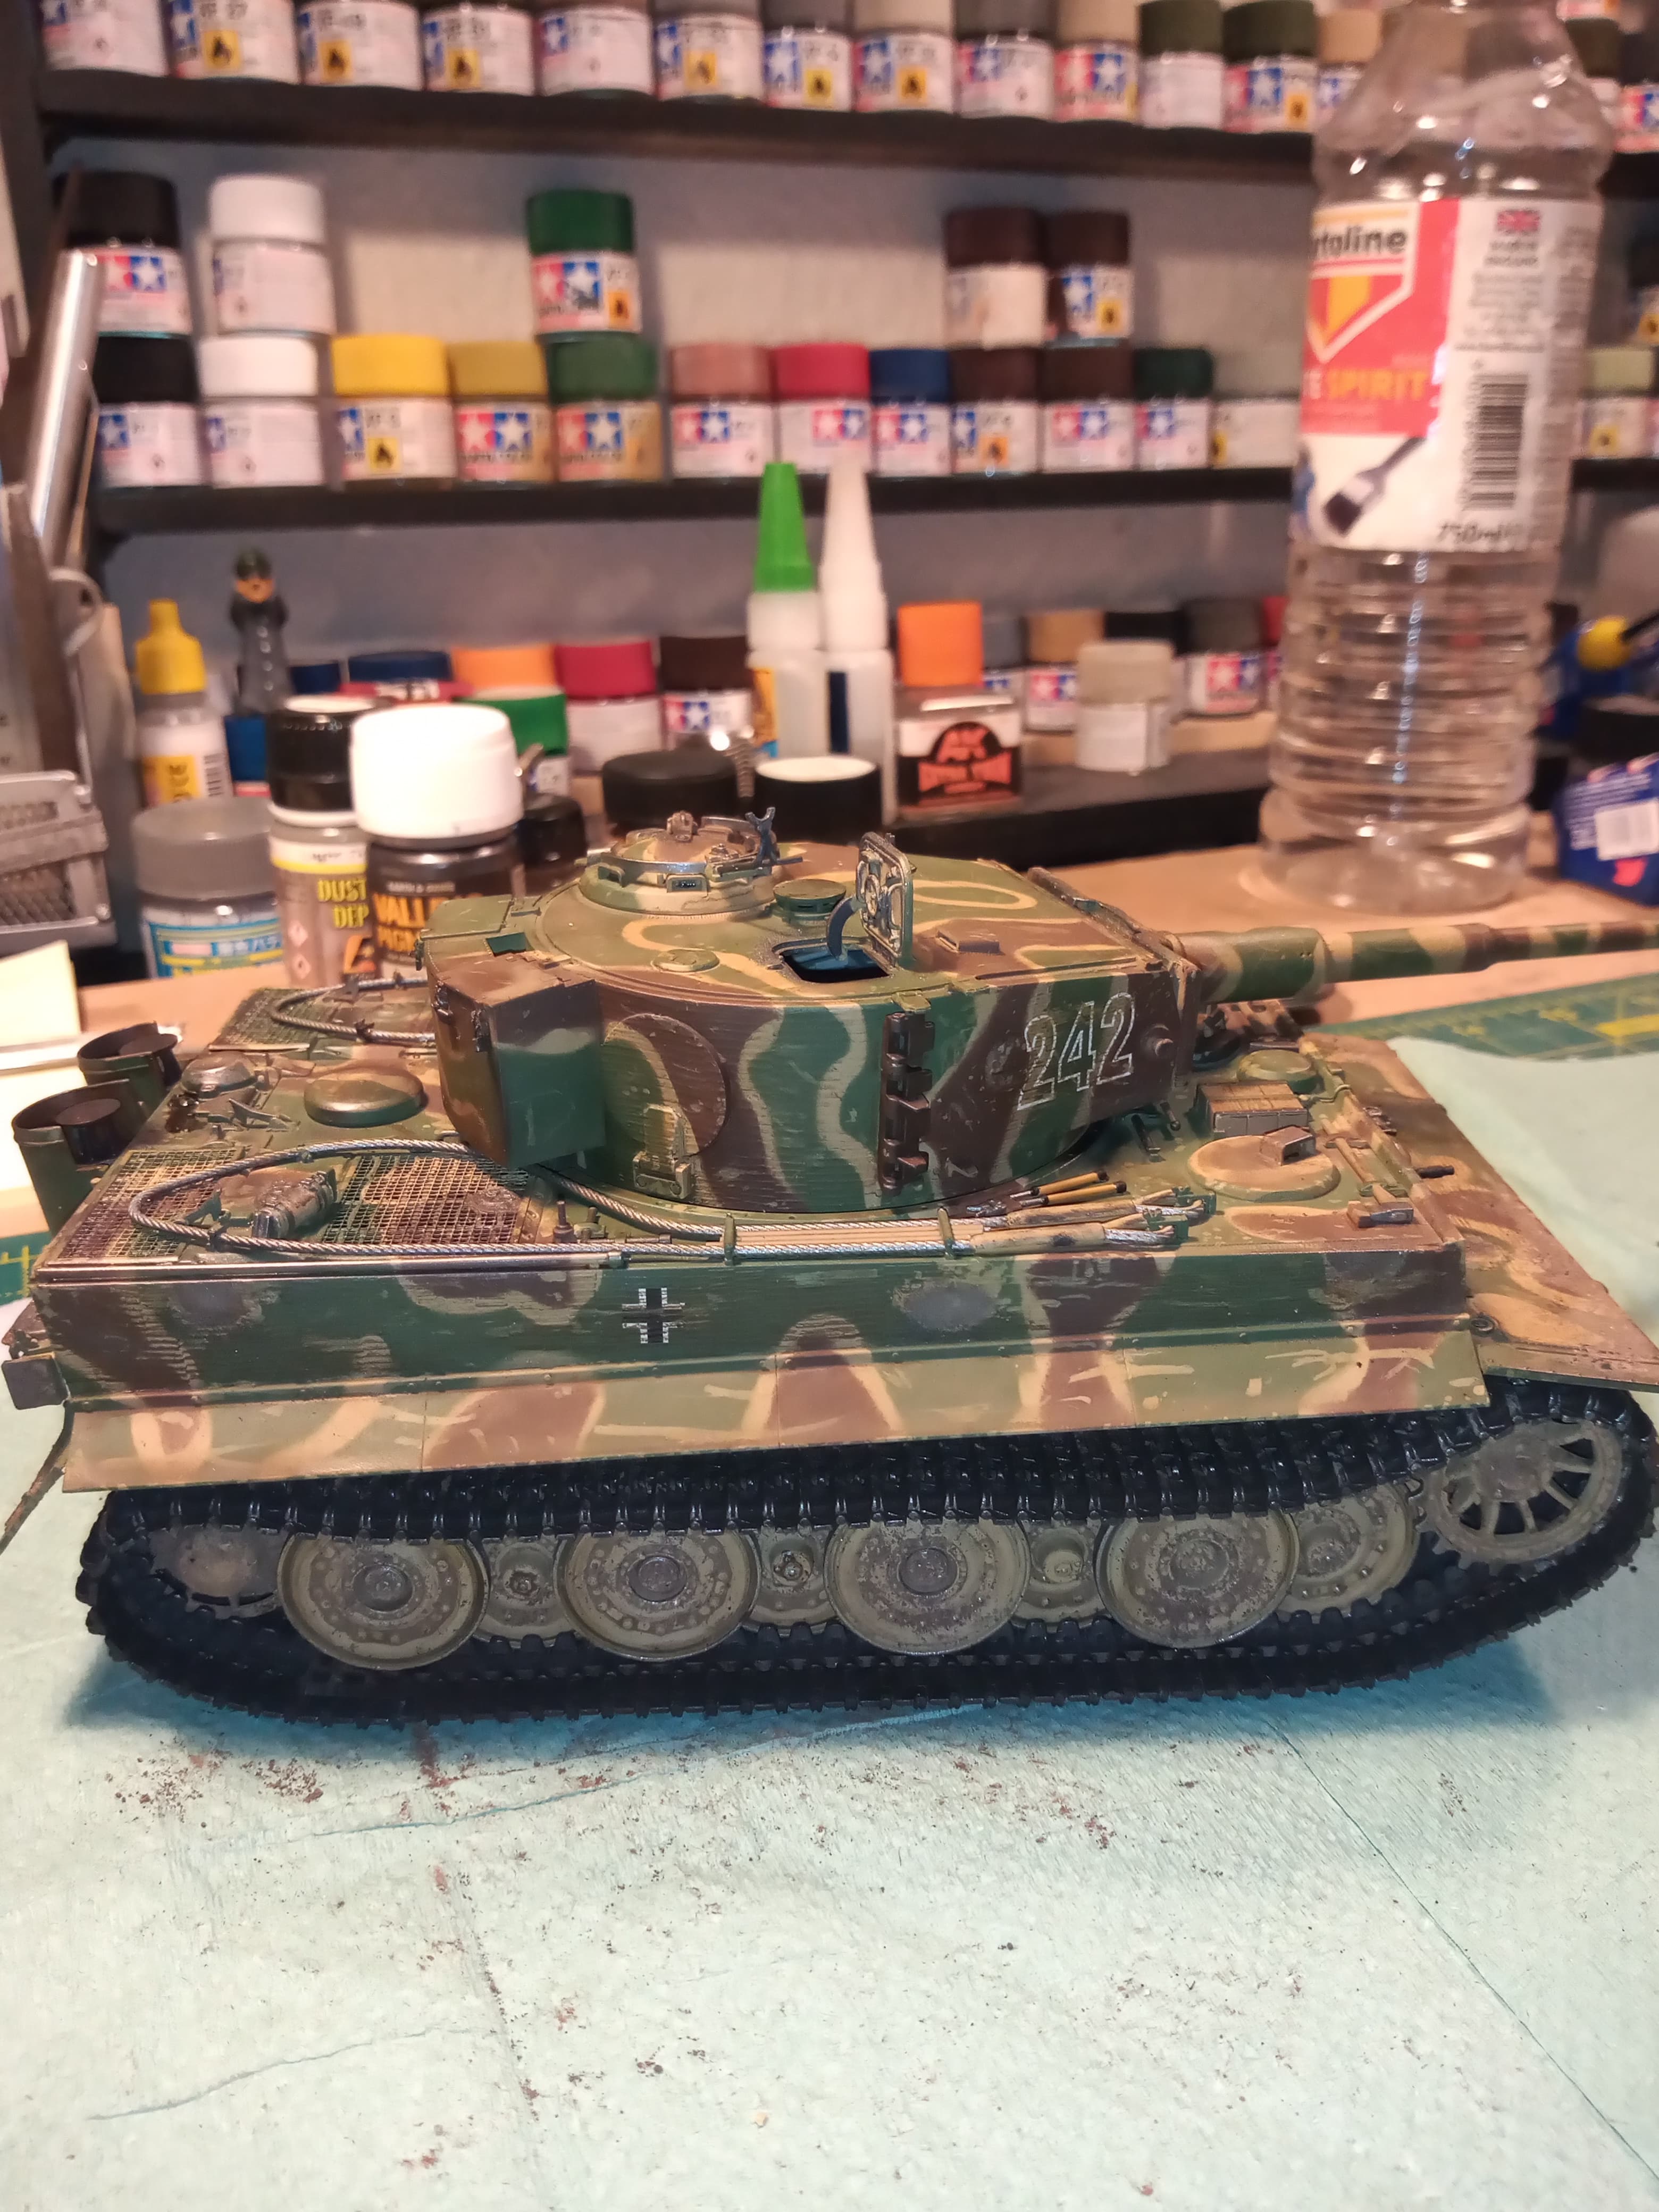
Almost at the finish line
Some touch painting and some detail stuff to do/ or I missed ![]()
Still got to add the AK dirt and dust and then dry brush some light earth pigment over it
Nice job with the DS tracks,they look very convincing.
Thanks Anthony… I do like putting in the effort without tracks as I believe you can always make them work with some time put onto them
Nice work mate, especially on the tracks. I have this kit too & have been curious how to get the track such that it sits down naturally on the top run after the sprocket.
Cheers Shaun @Chauvel , I was going to glue the track together and push over the sprocket initially, thankfully I tried a test fit like I said and found that was going to be a non starter so went with the method I mentioned above.
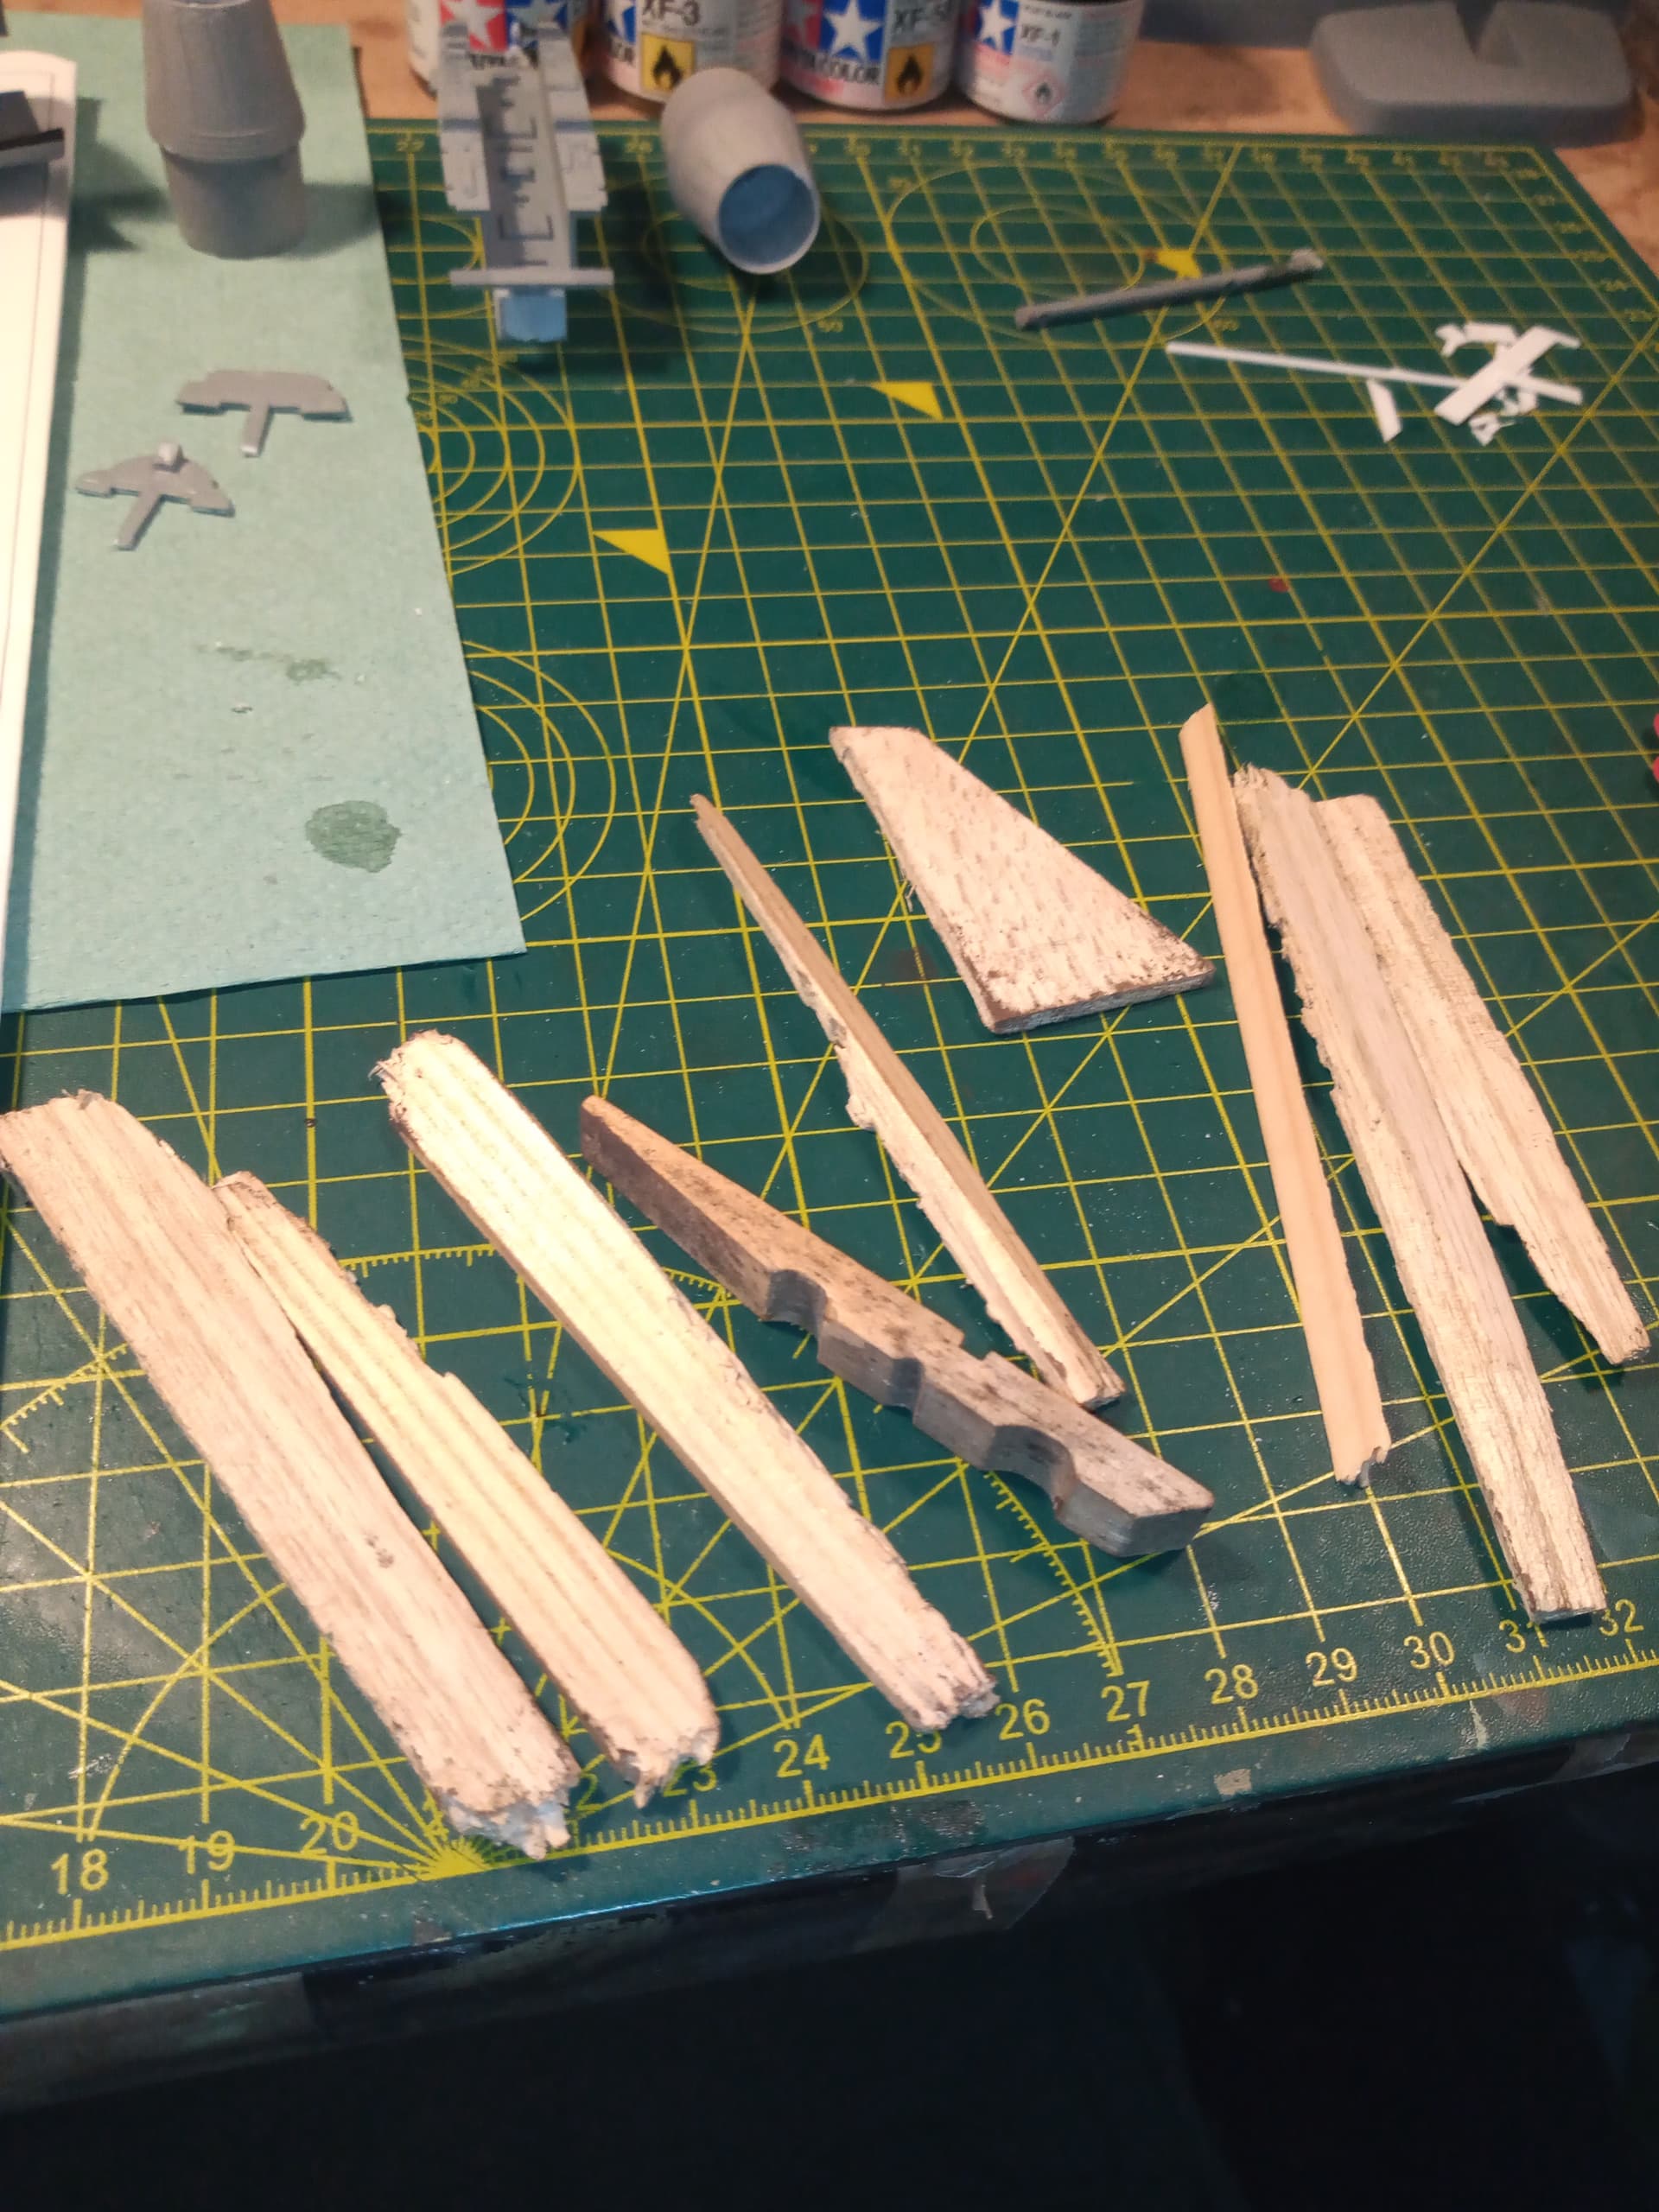
To get the tracks to sit on the top run. After I glued around the sprocket ring, I softly sanded back the top of each road wheel station, then used superglue and normal glues alternatively, then got the track down and held it in place with these
Nothing fancy, just random cut bits of wood tapered slightly (all uneven) and these are placed on top of the wheel up against the underside of the sponson and strategically in a few other places like idler and back curve of the sprocket.
I just had to be careful of the side skirts as they are quite fragile and wouldn’t take much to knock them off if to much pressure goes against them.
Another way to hold tracks down and preserve a curve is to use a long strip of cardboard. Keep one section for fitting onto the track face, then bend the cardboard at the end over on itself to form triangles. Same for the other end. Push the triangles backward so the peaks are under the fender and the troughs are pressing down on the flat section on the tracks. Tape the loose end in place so the triangle section stays in place.
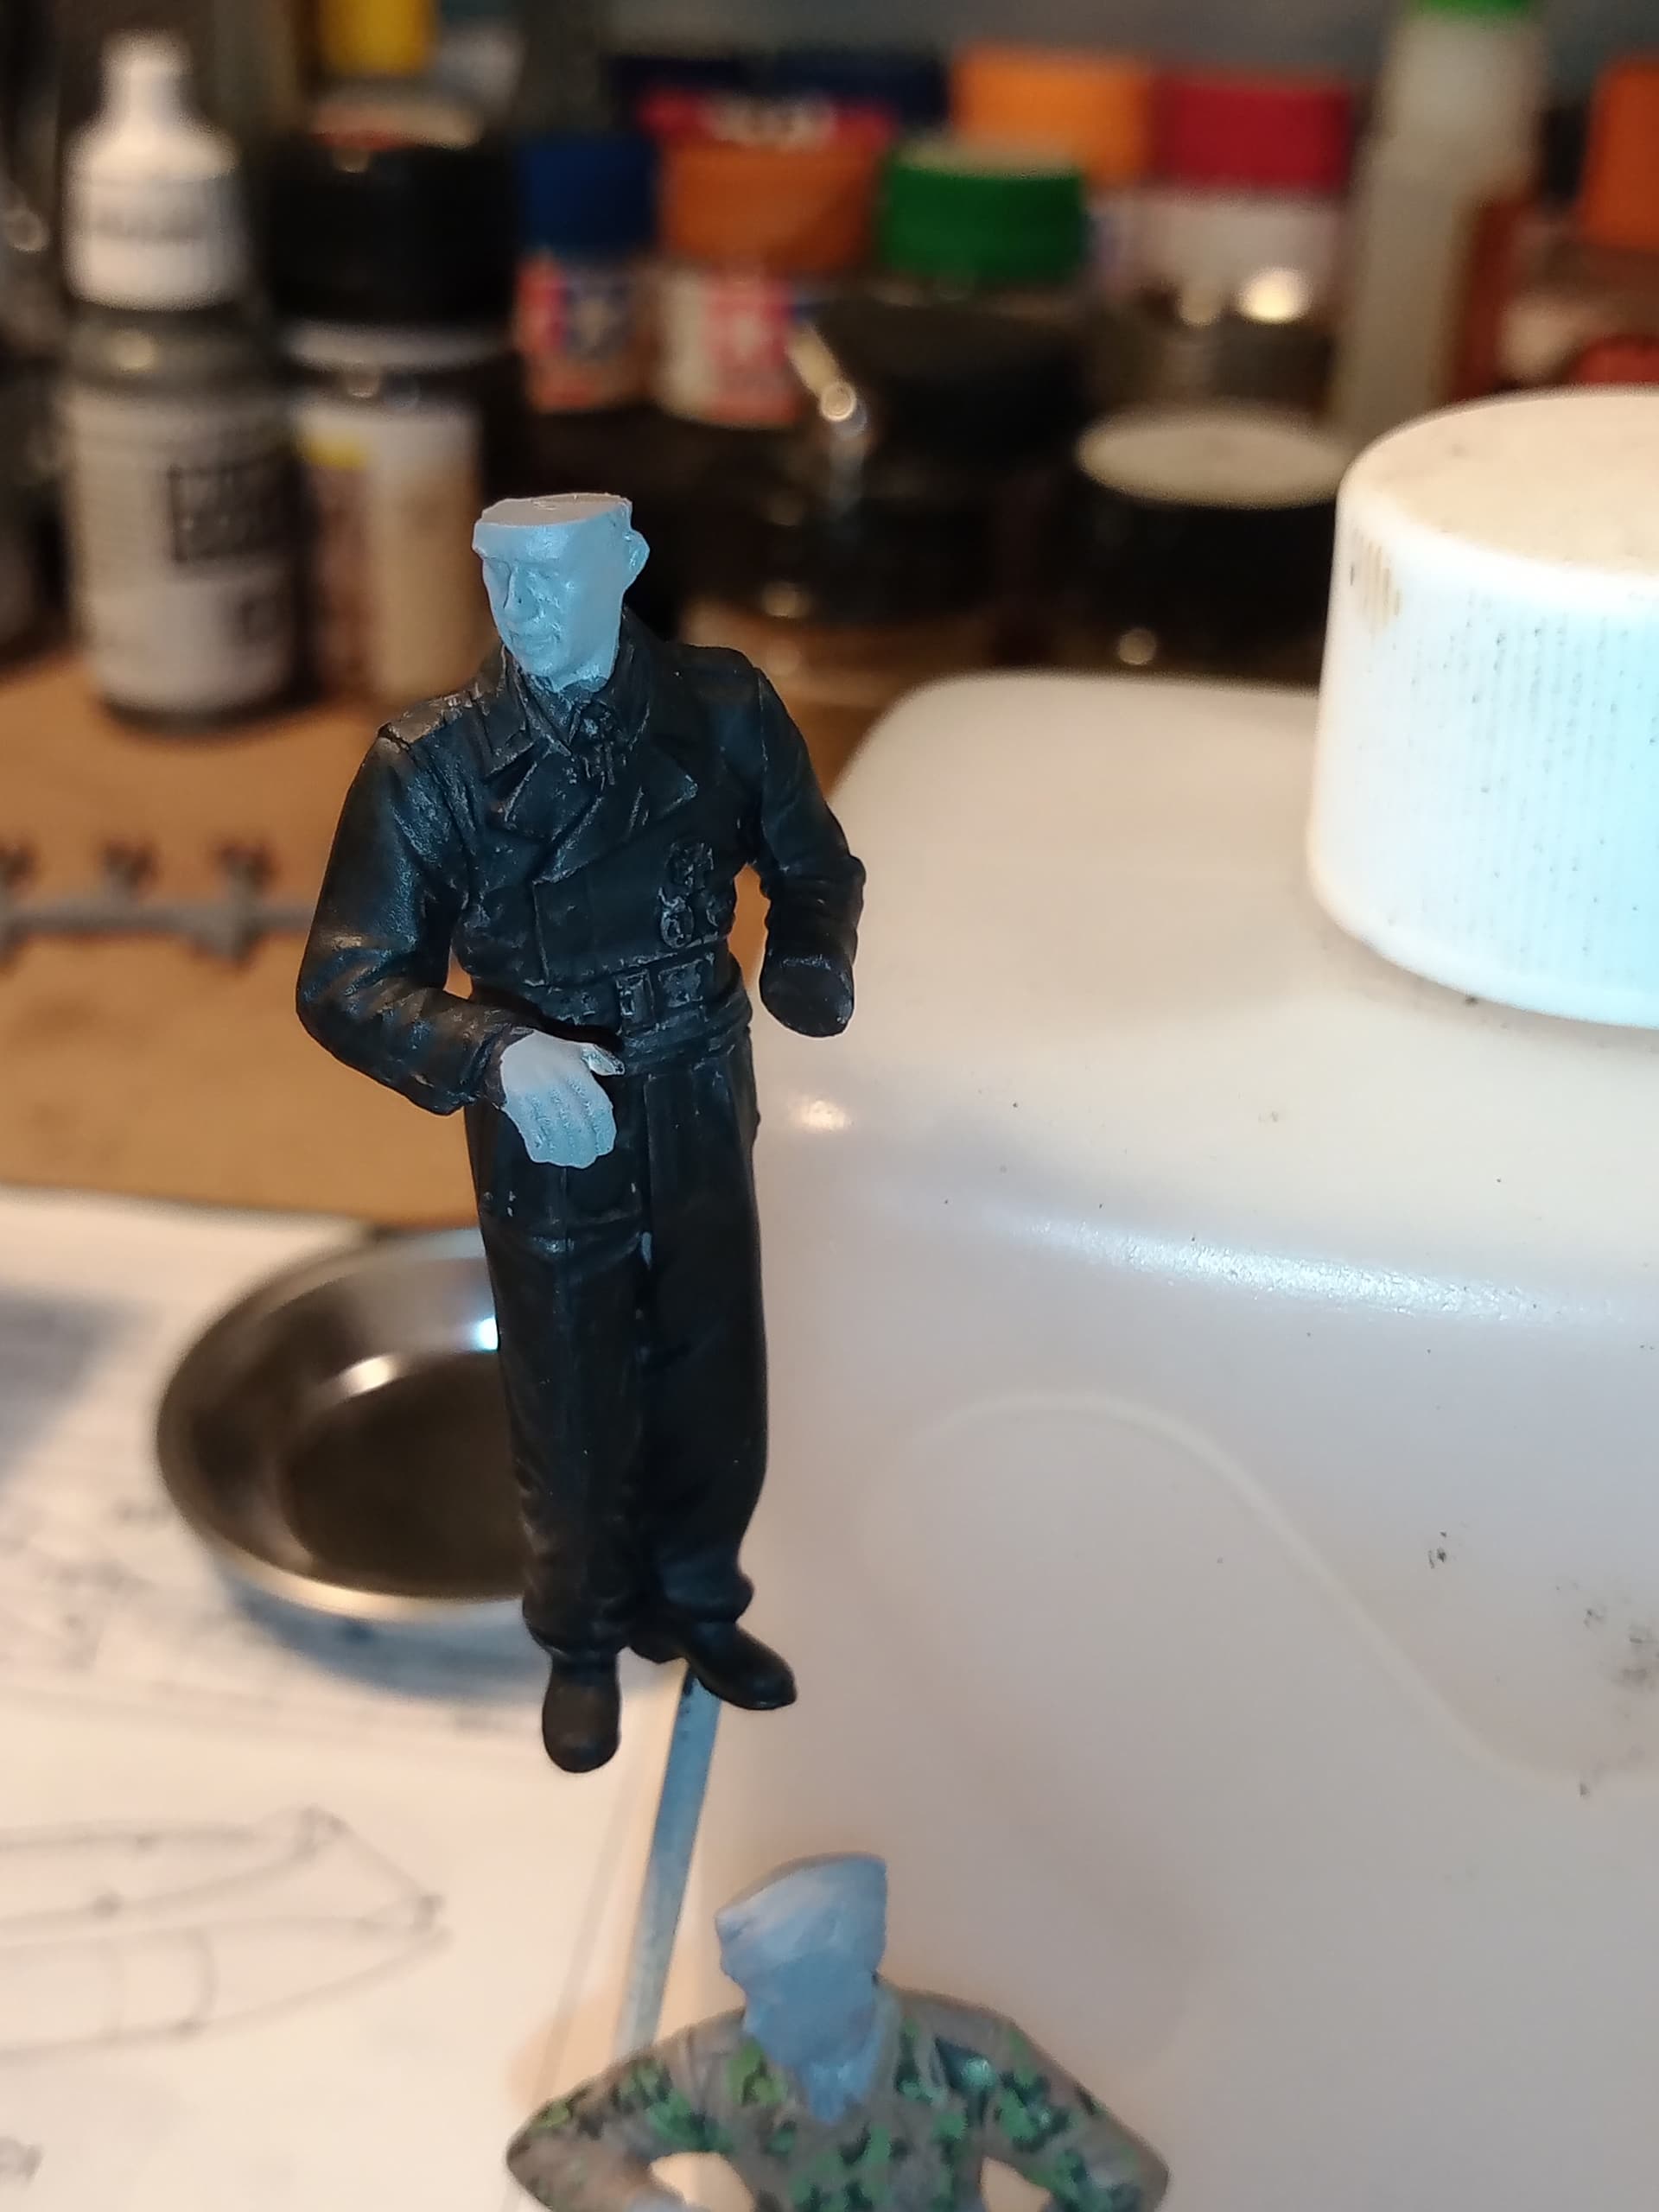
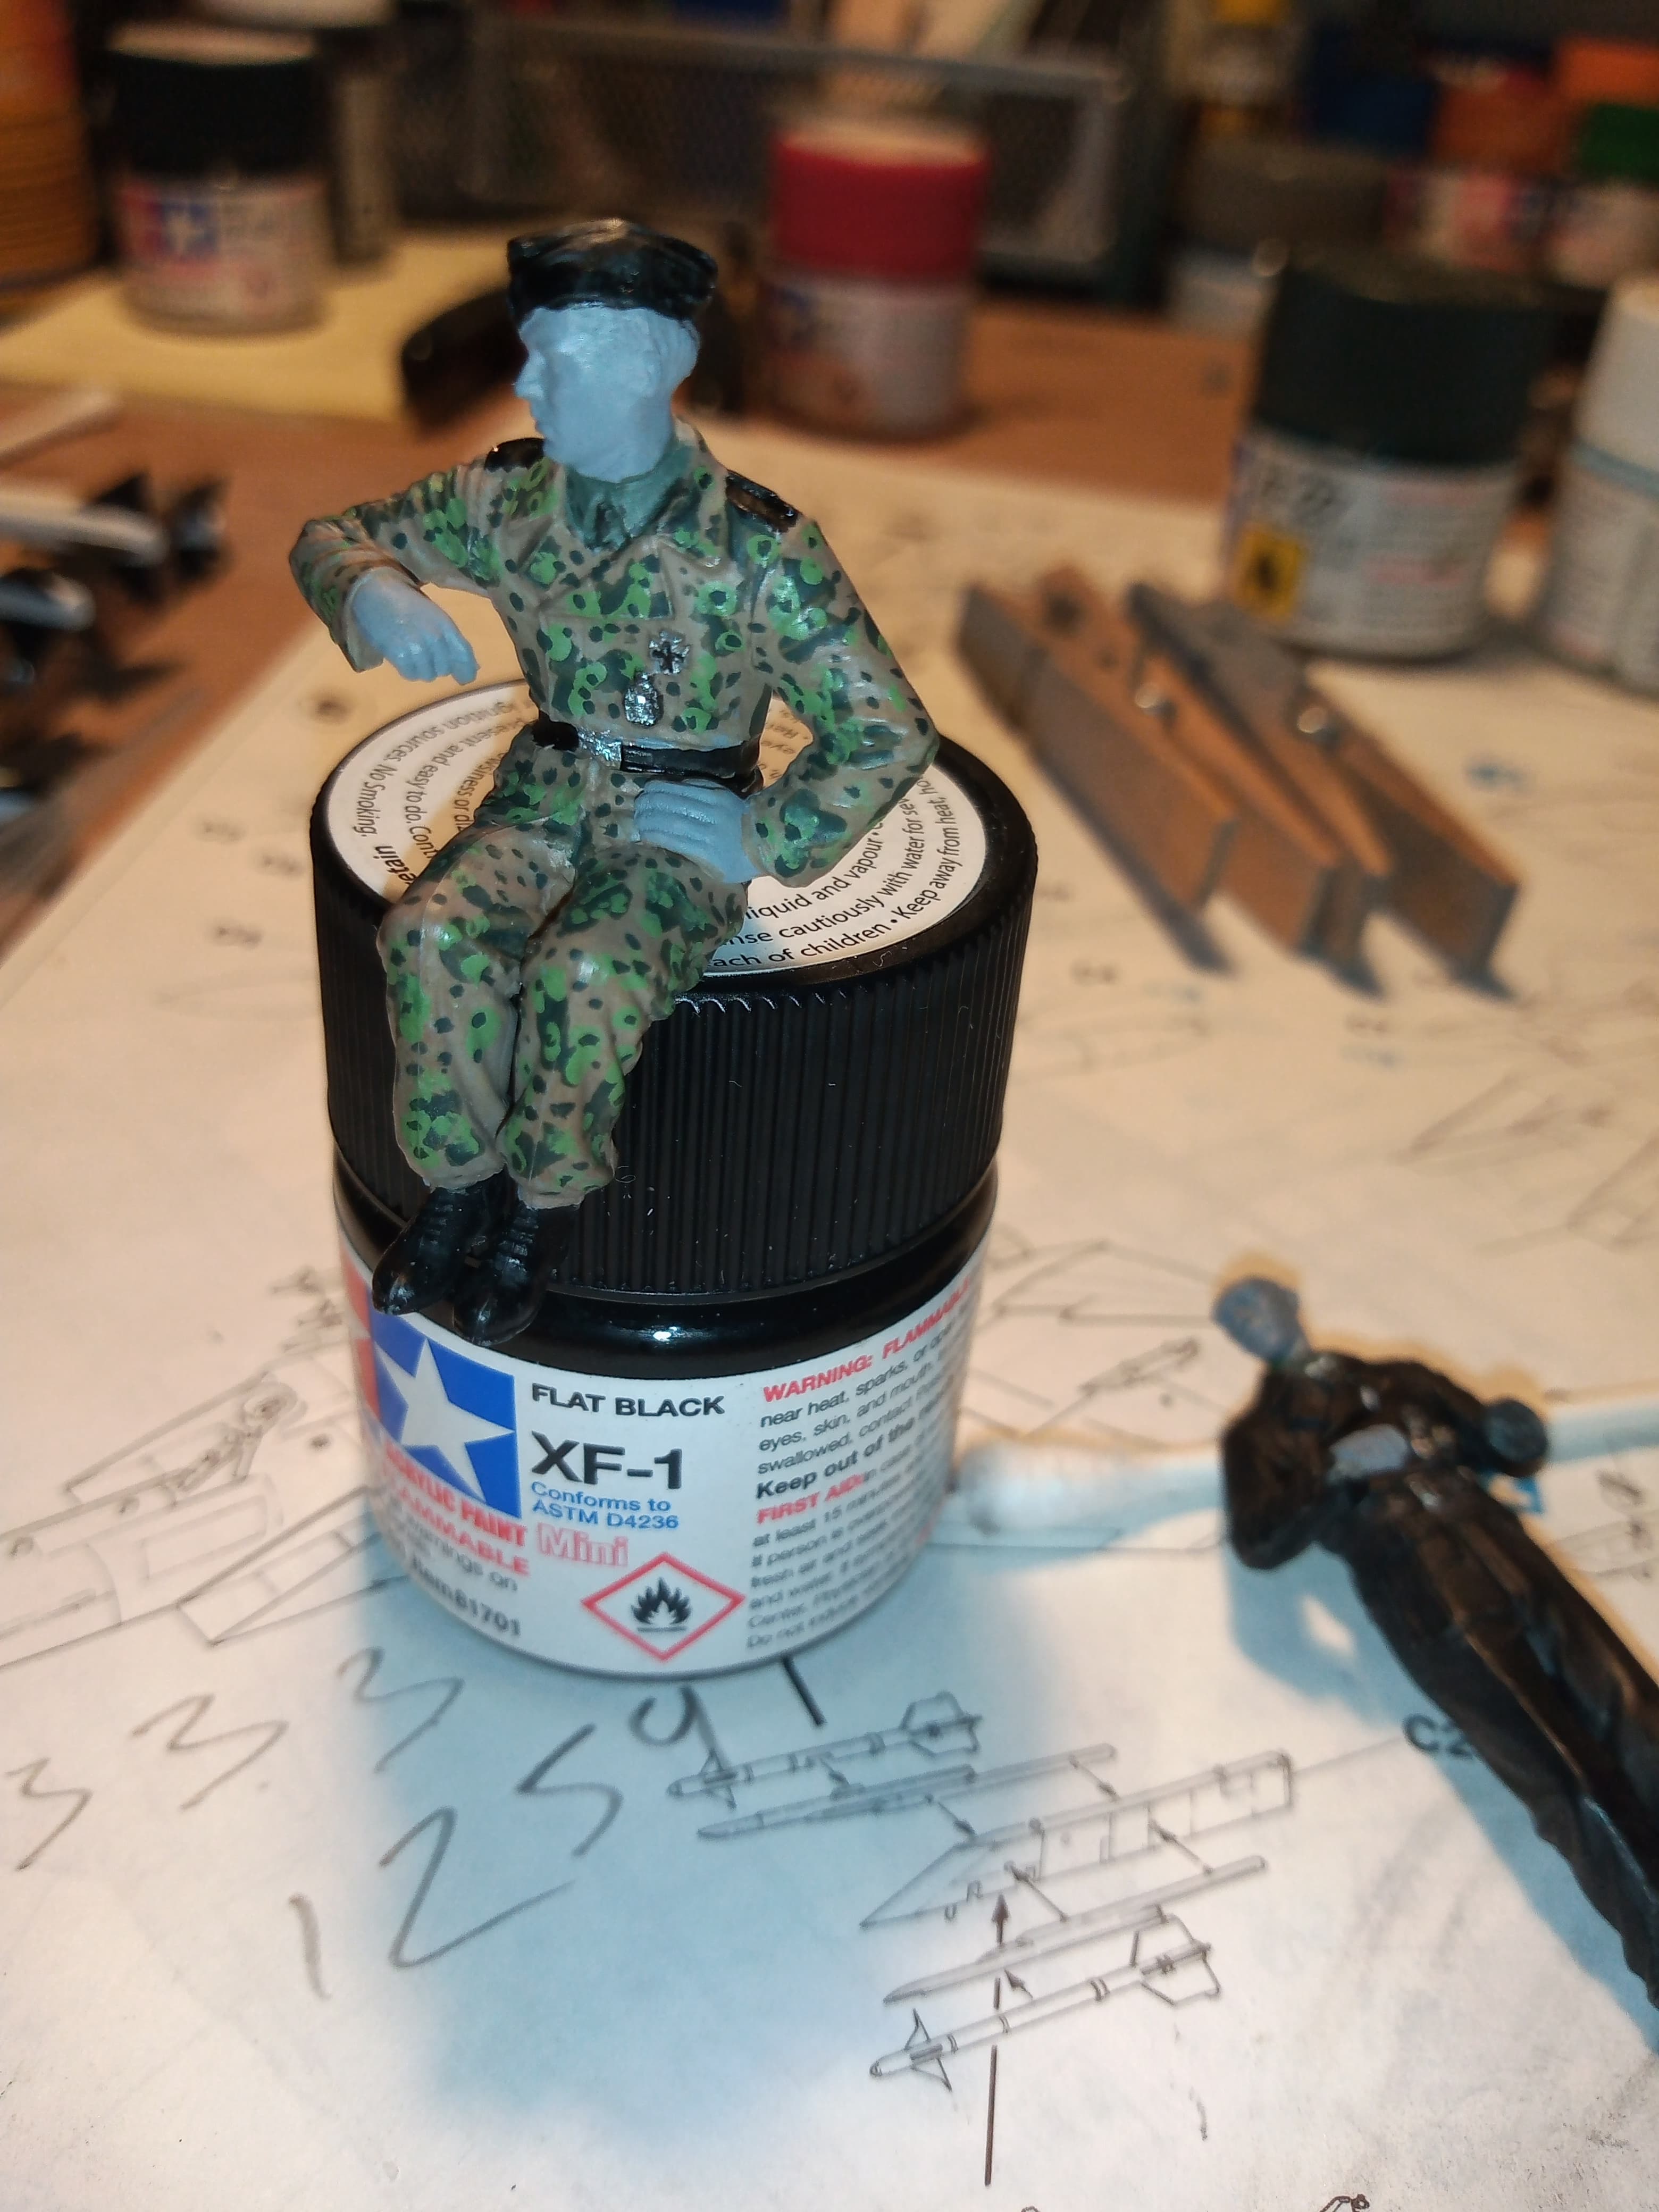
Gone but not forgotten… Started on the 2 crew figures from the hobby boss set.
Started on the commander, fairly easy as it’s Matt black mostly…
He is nicely detailed with various medals and awards.
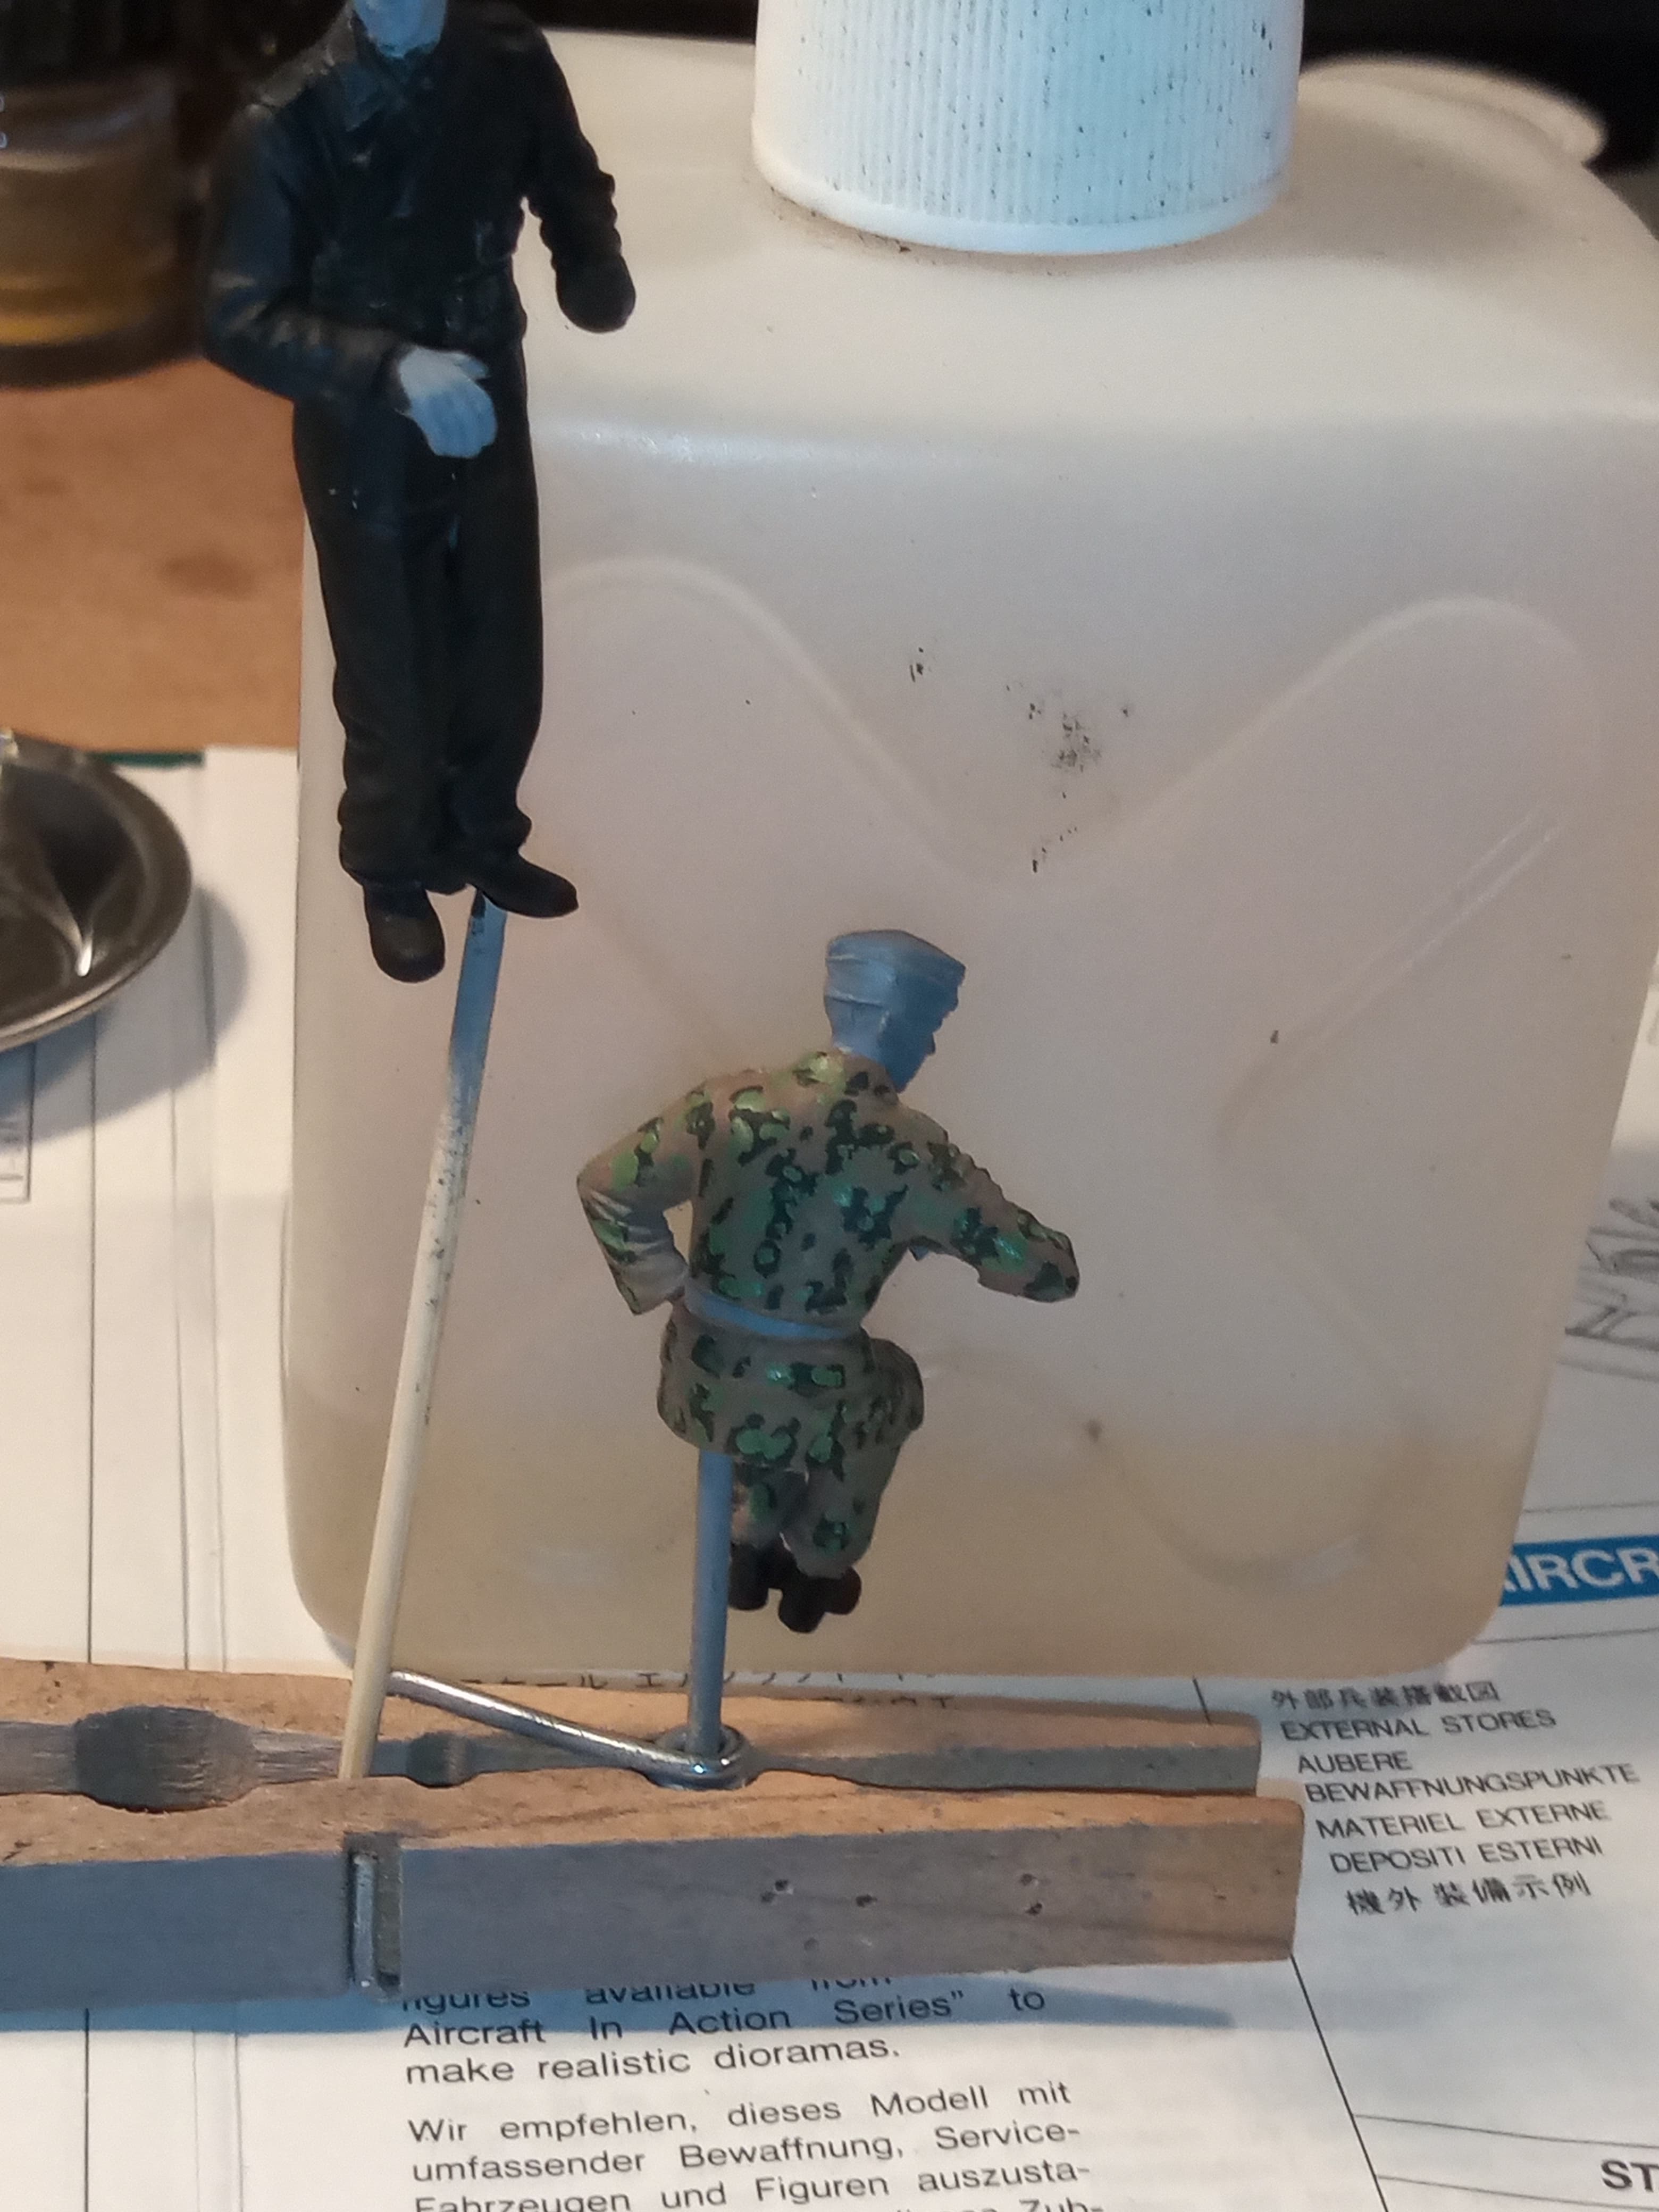
The other one has the cam scheme.
Need to go back over it with fine random black green spots on the more open brown areas and overlapping on the light green… That was 40/60 mix of xf5 and xf2.
Then the dreaded skin tones ![]()
![]()
![]()
Looking good!!
Just a bit of a crew update…
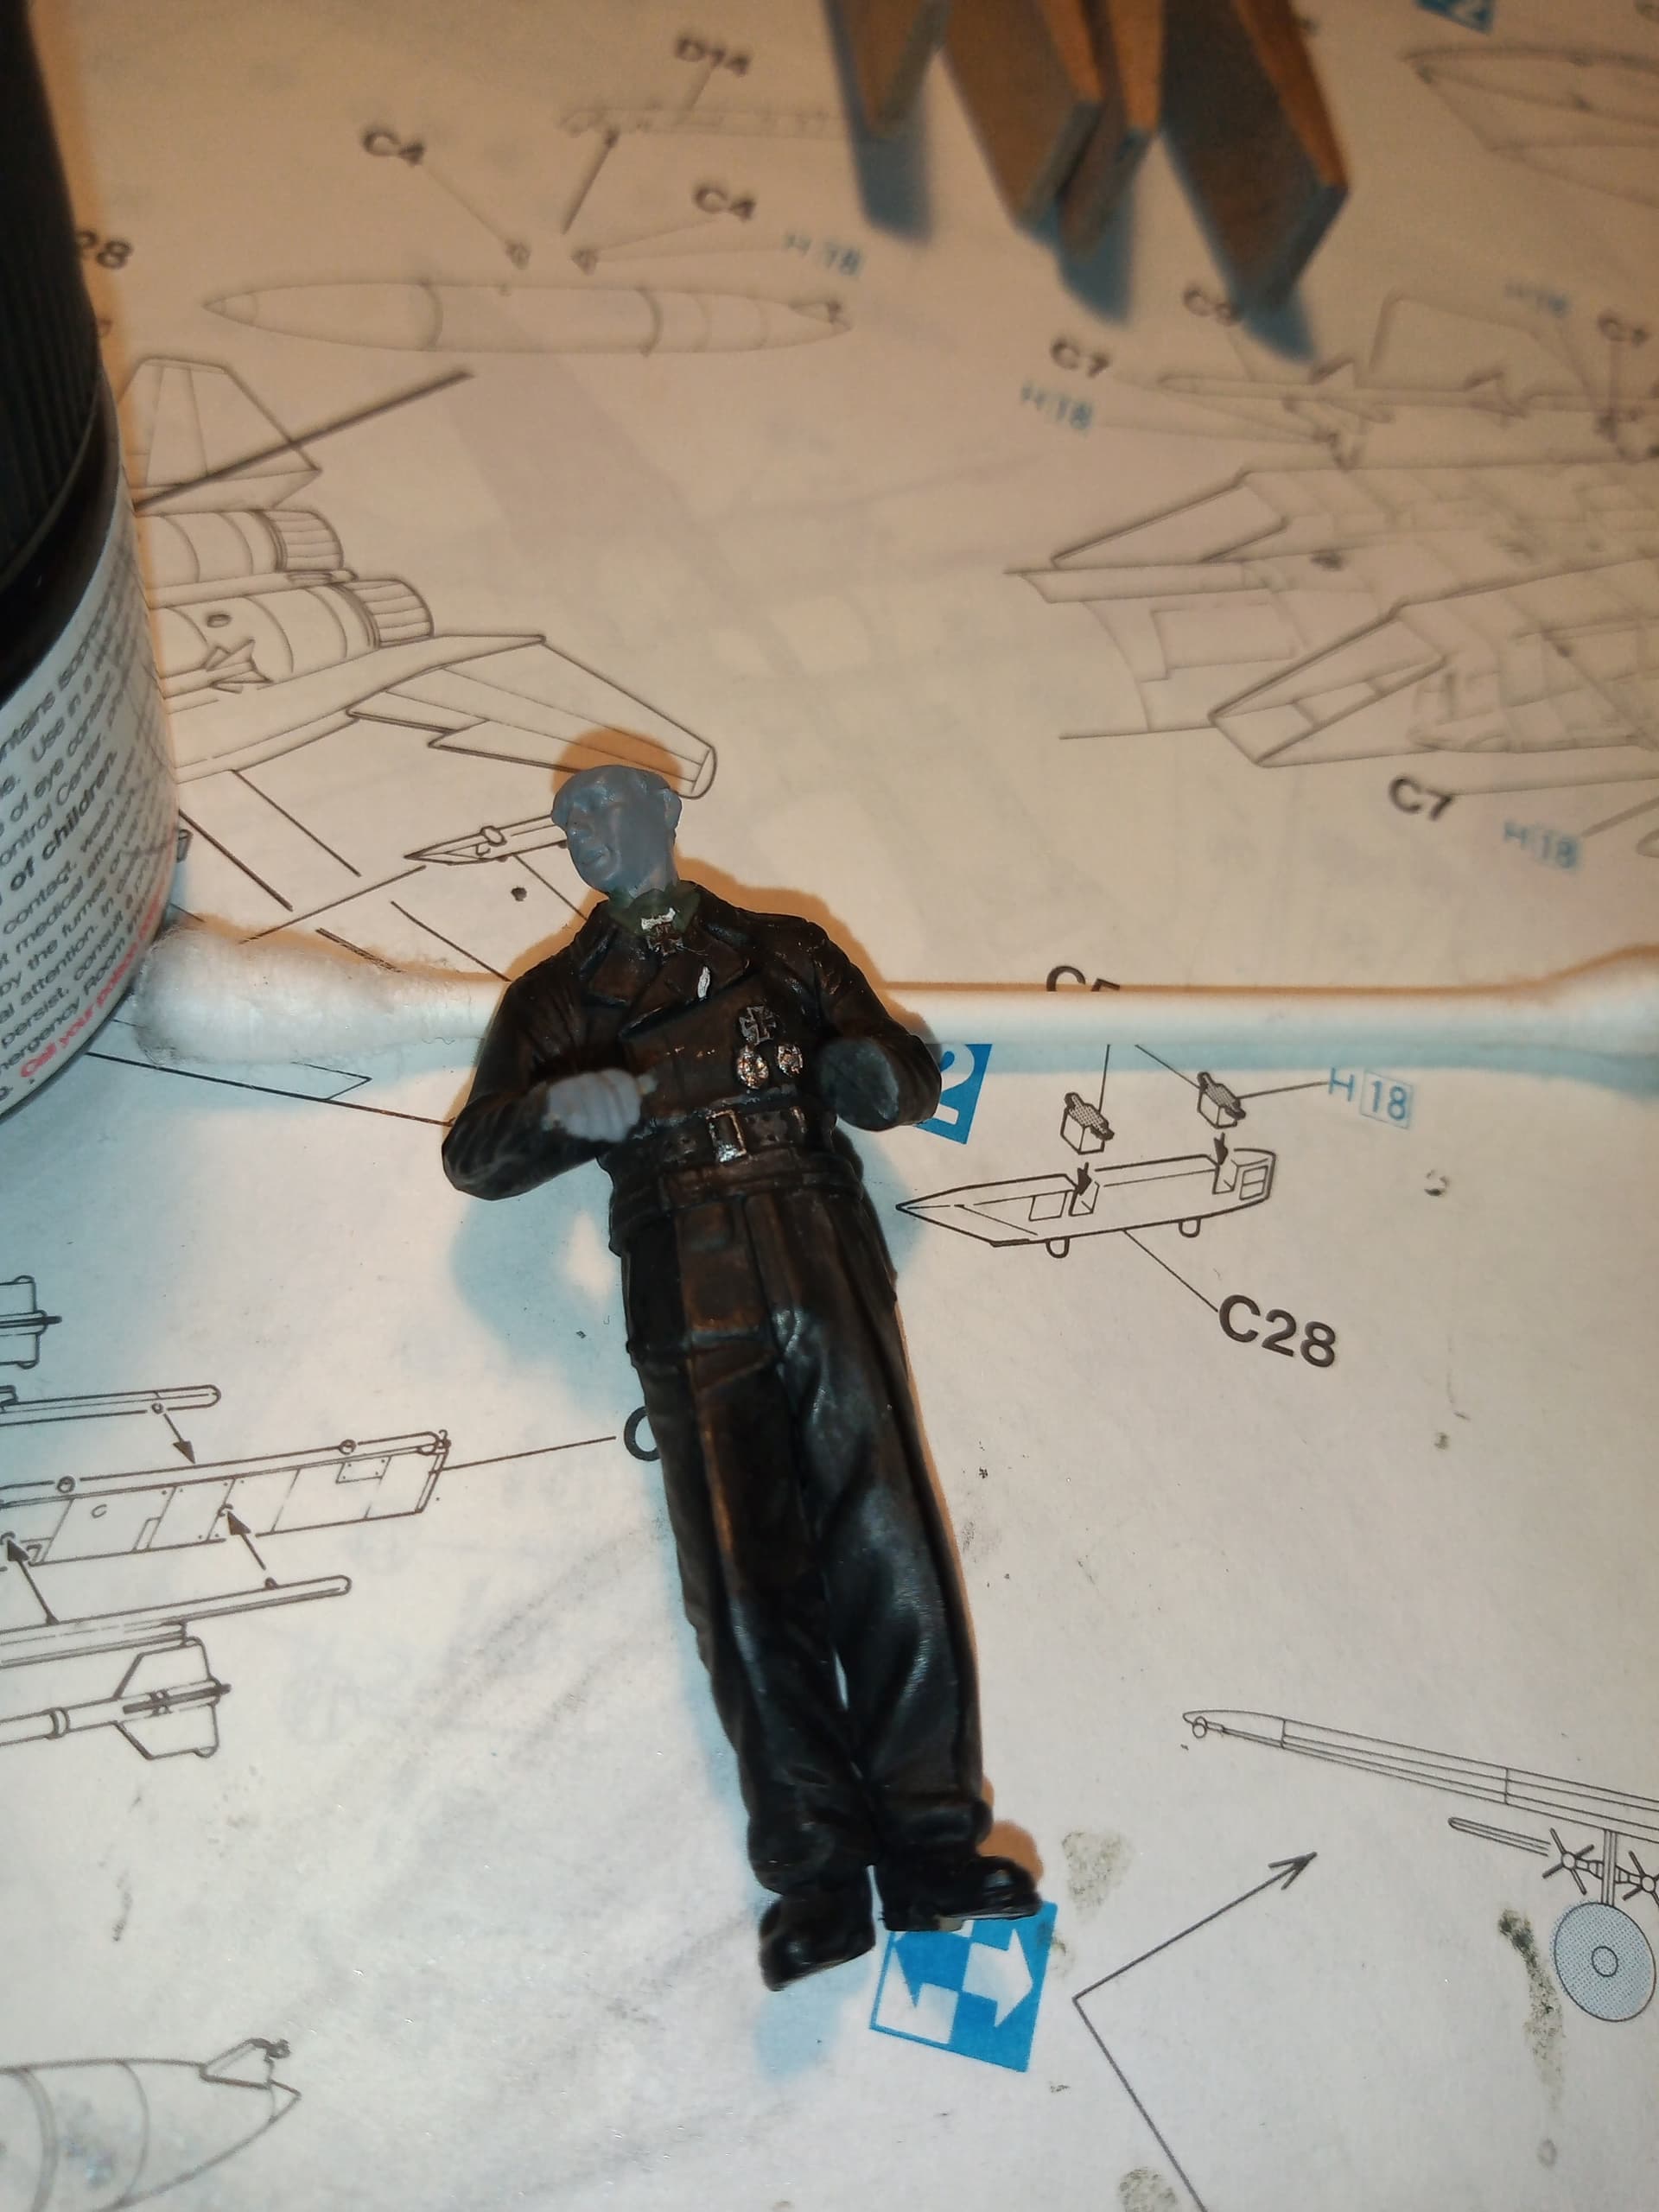
The commander…tried to detail the medals and ribbons, still a bit of work to do with those. Also have the Archer collar and sleeve tabs to go on.
The other turret guy on show is in the cam scheme.
I am fairly happy with how he looks… Will start on a bit more detailing on both