My latest build is the ancient Leopard from Italeri (No 374) advertised as a 1A2, but it is in fact a 1A1. I started the build ages ago (sadly a recurring theme) then abandoned it but have recently dusted it off and set to. It’s not that bad a kit although I was horrified by my inattention to detail back when I started it at least a decade ago: poor fit and glue seams everywhere. That said, the kit was a little deficient in that an episcope was missing and sink marks and knock-out pins abounded. I replaced the engine cover with an excellent etch set from Perfect Scale Modellbau which was a vast improvement over the kit’s mesh. I also added chains to the smoke dischargers -always a must I feel on Bundeswehr models, and obtained a set of plugs for the mantlet cover from Leopard Workshop, and very good they are too although a bit of a test for the eyesight!
The kit tow ropes were not very good at all and I ordered some from Karaya; sadly, excellent though the cables were I could not get them to seat in the resin ends, they just would not engage. In desperation I utilised an ancient Verlinden accessory, which sadly, was a sort of thin nylon string, but at least it fitted the ends. However, the end results still look a little weedy to my mind and I may try and beef them up a tad by thickening them with PVA glue.
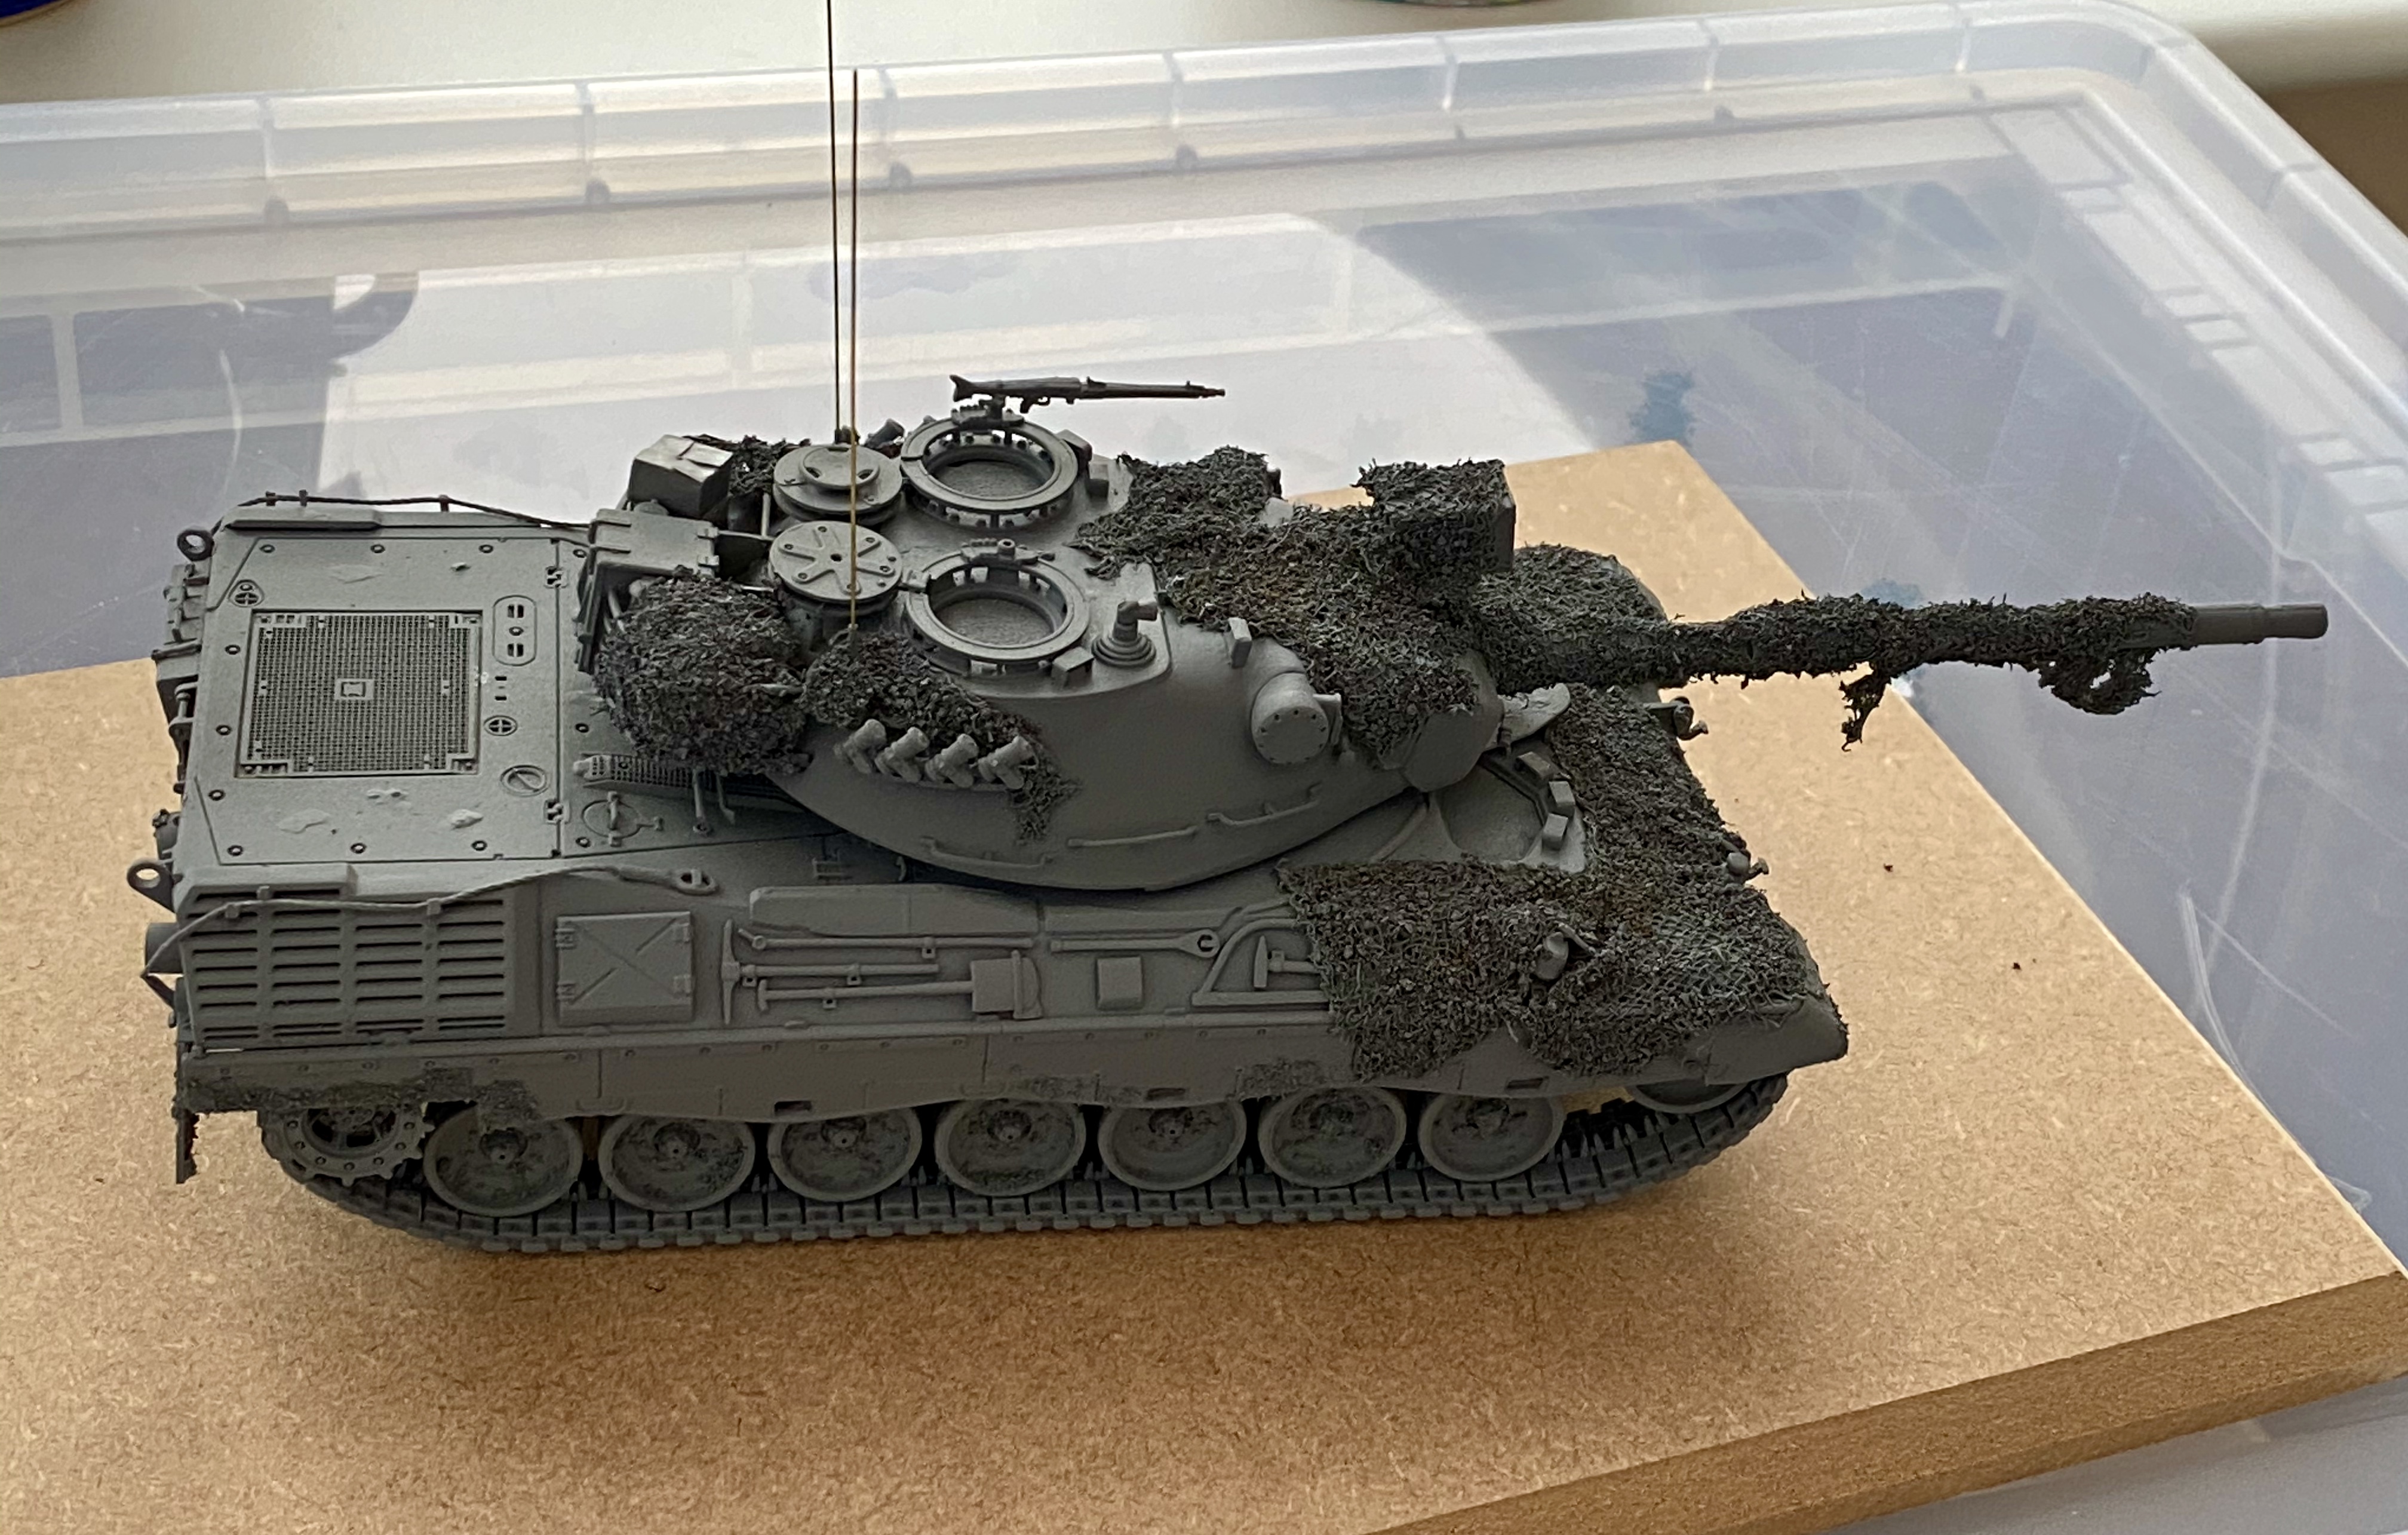
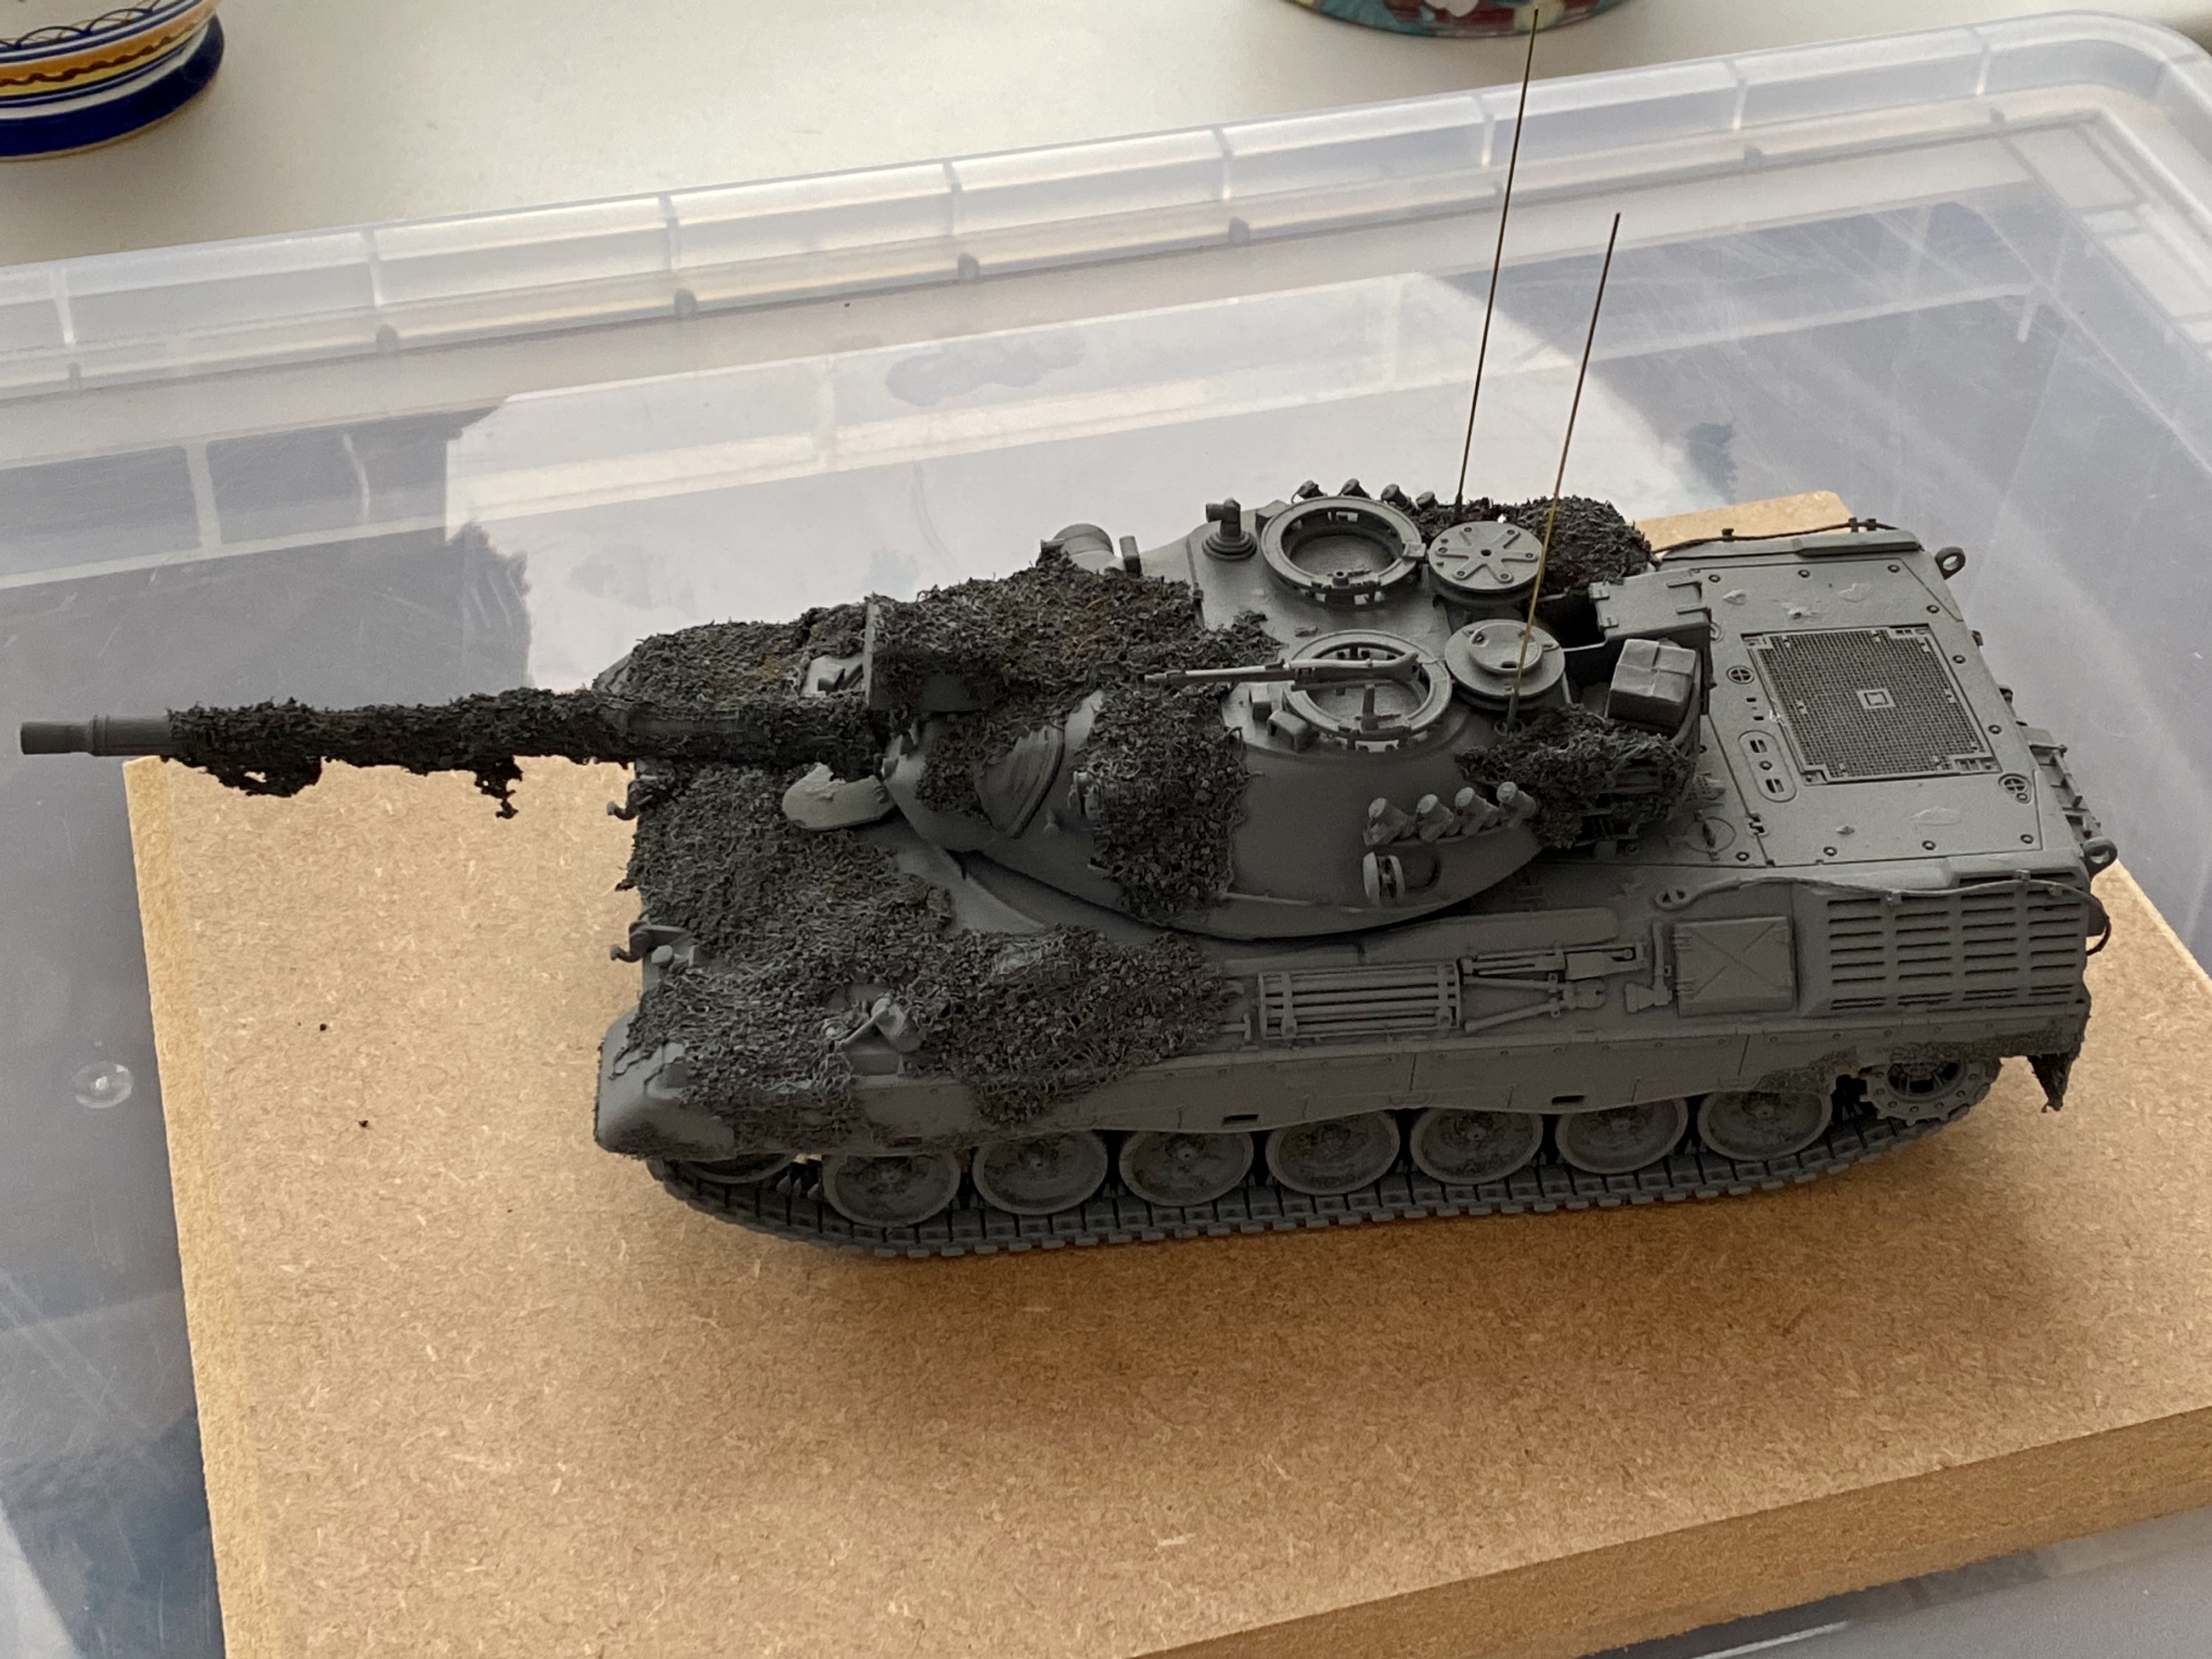
I modelled the ammunition hatch open as I hope to depict this with an ammo replen in progress. I generally like my models to look as though they’re engaged tactically so I tend to add camouflage nets and sometimes foliage; I just think they look a little more aggressive and “busier” when thus adorned. To effect this I used my normal method of gauze bandage, diluted PVA glue and used tea leaves (fresh, not from bags).
I’ve described this in an earlier post but it might be useful to repeat here: first cut pieces of gauze into roughly 2 inch squares (any larger and they become difficult to handle). Dilute some PVA glue into a saucer or similar shallow receptacle - if a bowl it all becomes difficult. Using tweezers - x2 - immerse the gauze into the glue mixture and slowly withdraw; this can be tricky as the bandage will sort of go “slurp” (metaphorically!) and soak up the liquid - which after all - is what it’s designed to do. However, gently withdraw from the saucer across a piece of paper towel using the tweezers to tease it all out into its original shape, or the nearest you can manage. You can always rearrange it once on the model. Apply to the model. Repeat as necessary until you’ve covered the model for the effect you desire.
Let the model dry; make your self a cup of tea using fresh leaves and spread out the used leaves on a paper towel on a plate or similar (they will need to thoroughly dry out). Apply a slightly less diluted PVA mixture to the gauze on the model; depending on the effect you’re after leave some of the netting visible eg for my Leopard, to be shown as the early/mid 70s, the scrim panels were just sparse enough to reveal the netting beneath; you’ll need to check your references for this. Let dry again.
Go over the tea leaves with a further mixture of glue, about as diluted as the first application; the leaves will soak it all up but this helps to seal them as it were.
At this stage I apply primer; this is normally followed by the base coat and then I pick out the details on the model including the netting and scrim, again, check your references for colours etc. Some leaves may still be dislodged and you may also require more than one coat, as despite the PVA “sealing” they still seem to soak up paint, however, you may have to experiment a bit.
This may be old hat to some, and I know that some modellers have other methods.
Anyway, here’s my Leopard:
Brian
 This Leo has the right look and I am looking forward to seeing it when you finish.