Takom do two Zeppelin kits, a “P” Class and a lengthened derivative, the “Q” class (several surviving "P"s were lengthened to “Q” class standards). The kits are 1:350th scale so the "Q"s are about half-a-meter long and priced accordingly. The "P"s and "Q"s were ordered by the German Navy and were used for reconnaissance in conjunction with surface units as well as for bombing missions. Mark 1 Models also do "P"s and "Q"s in the more manageable 1:720 scale. In that scale Revell tweaked their “Hindenburg” to actually kit “Graf Zeppelin II”; from what little I’ve been able to see online they have actually incorporated the differences between the two so if you can find one it’s eligible for the Group Build OOB.
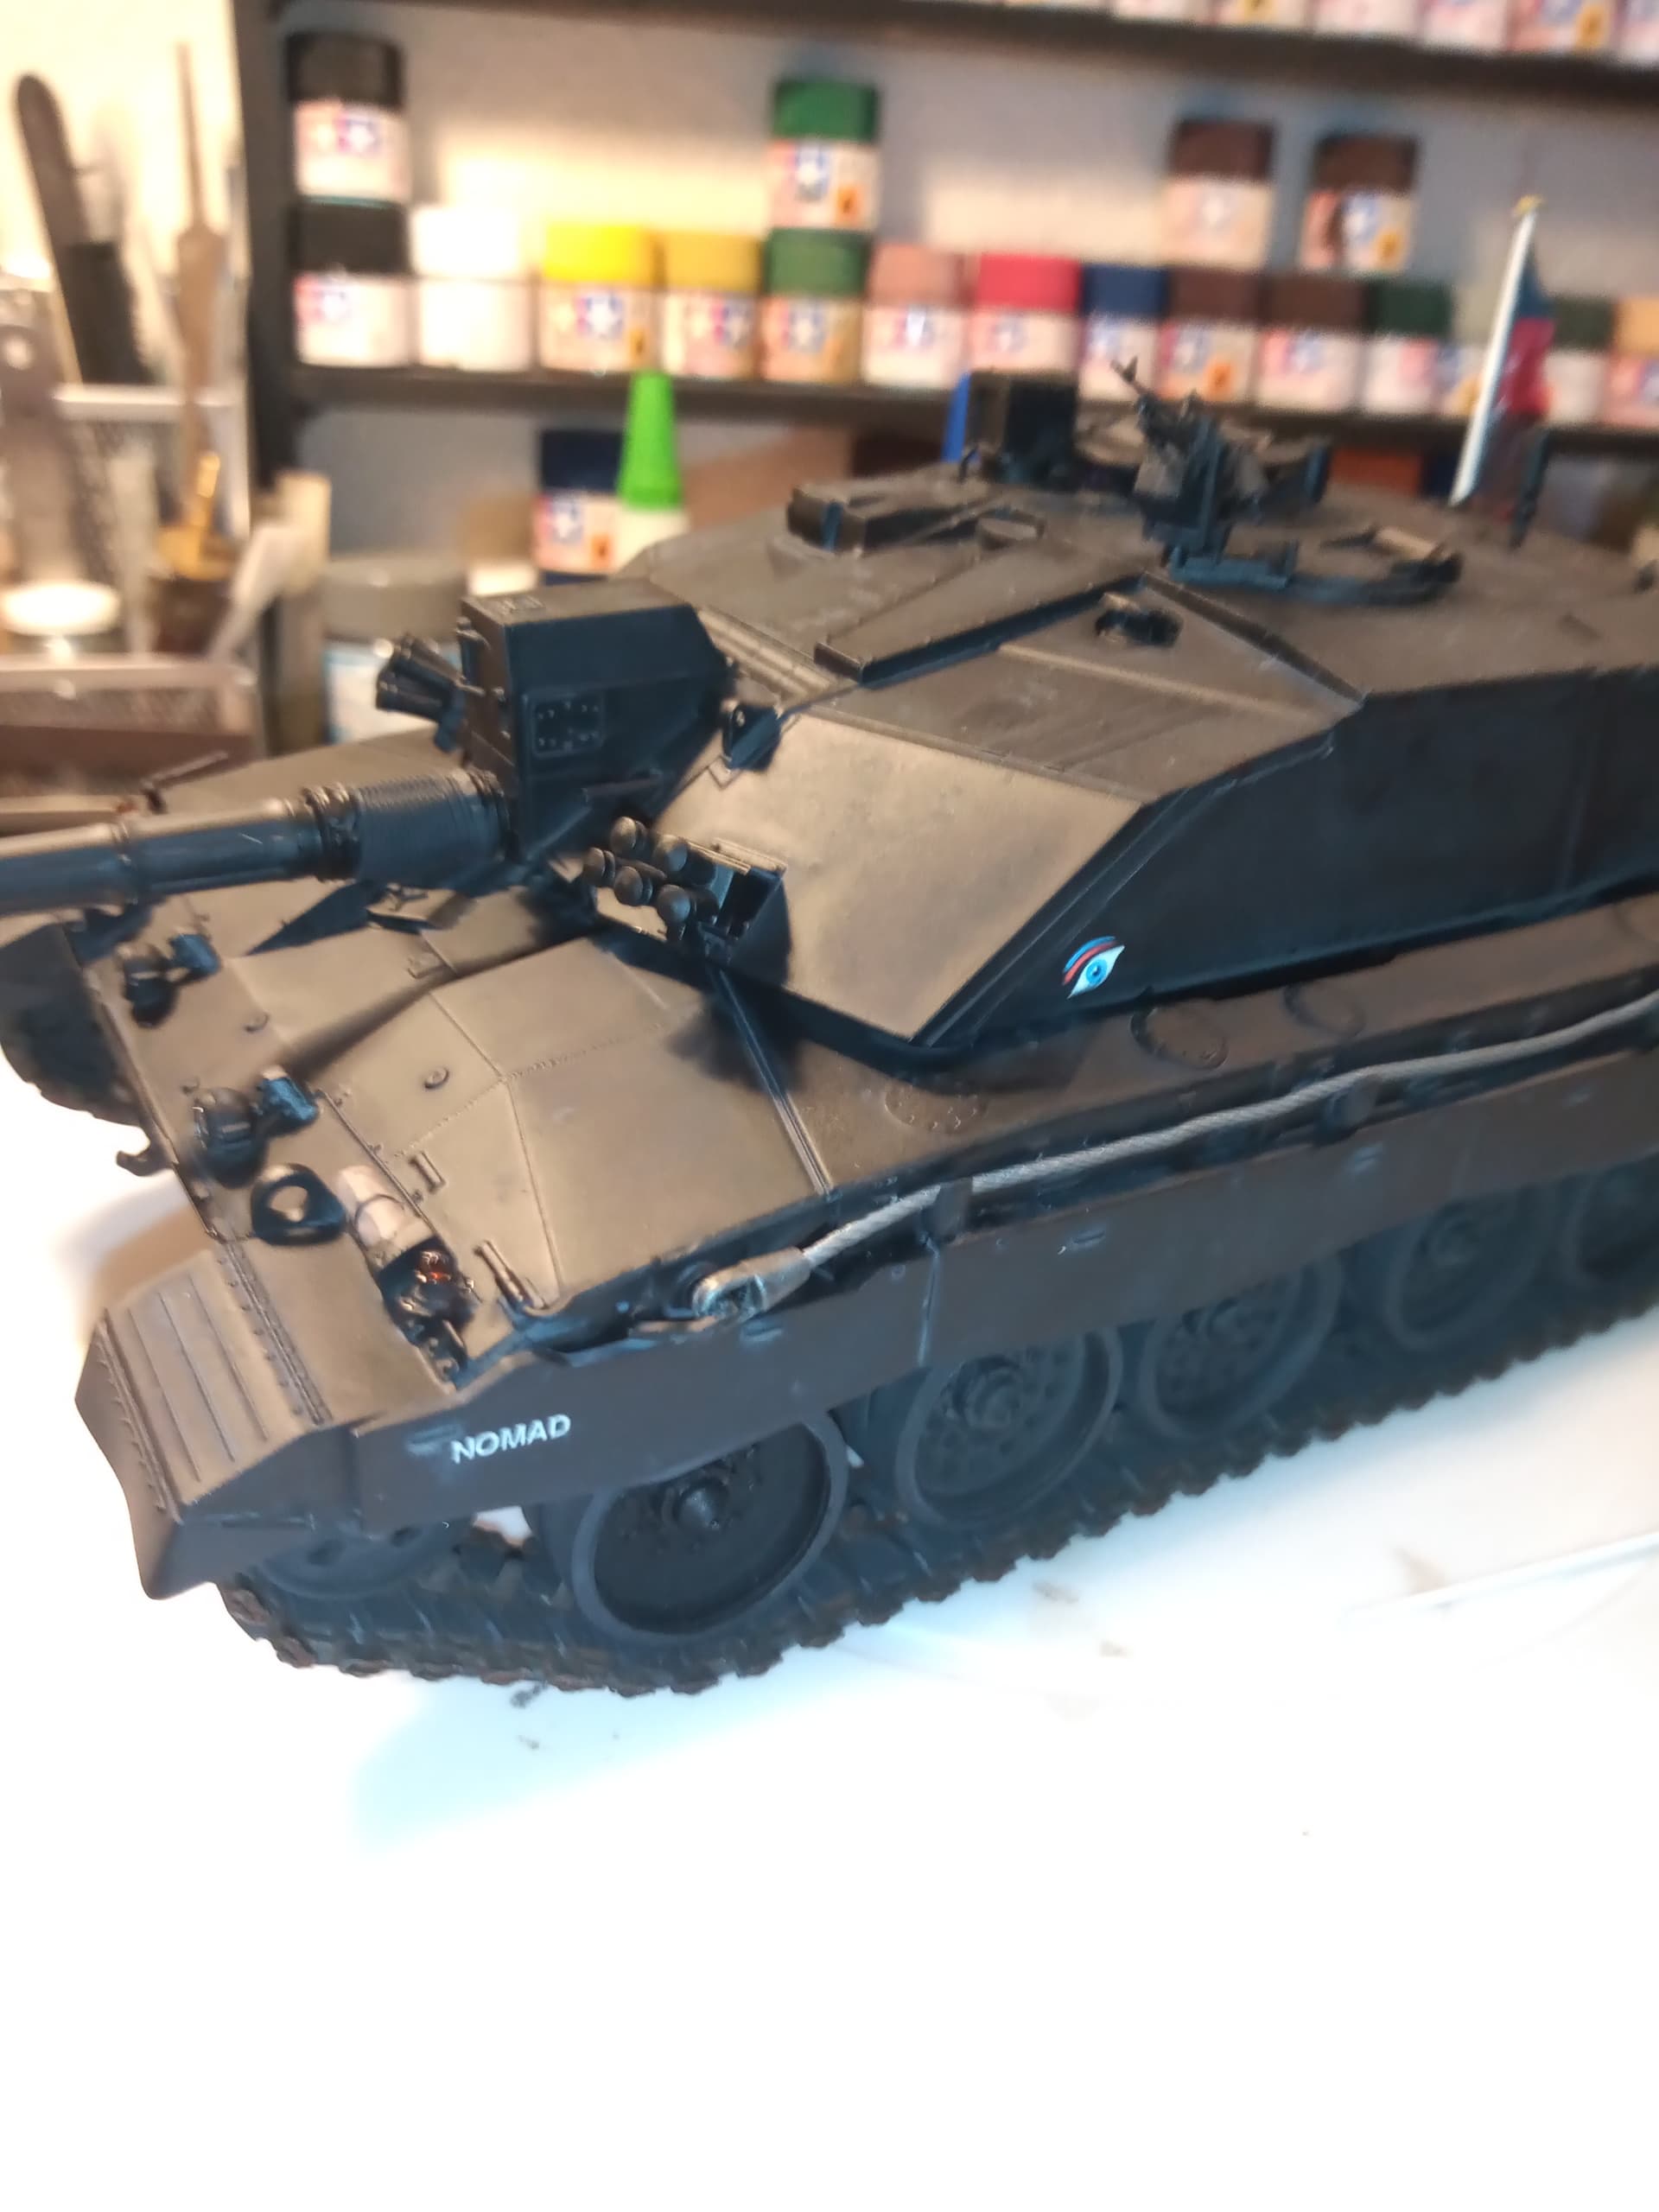
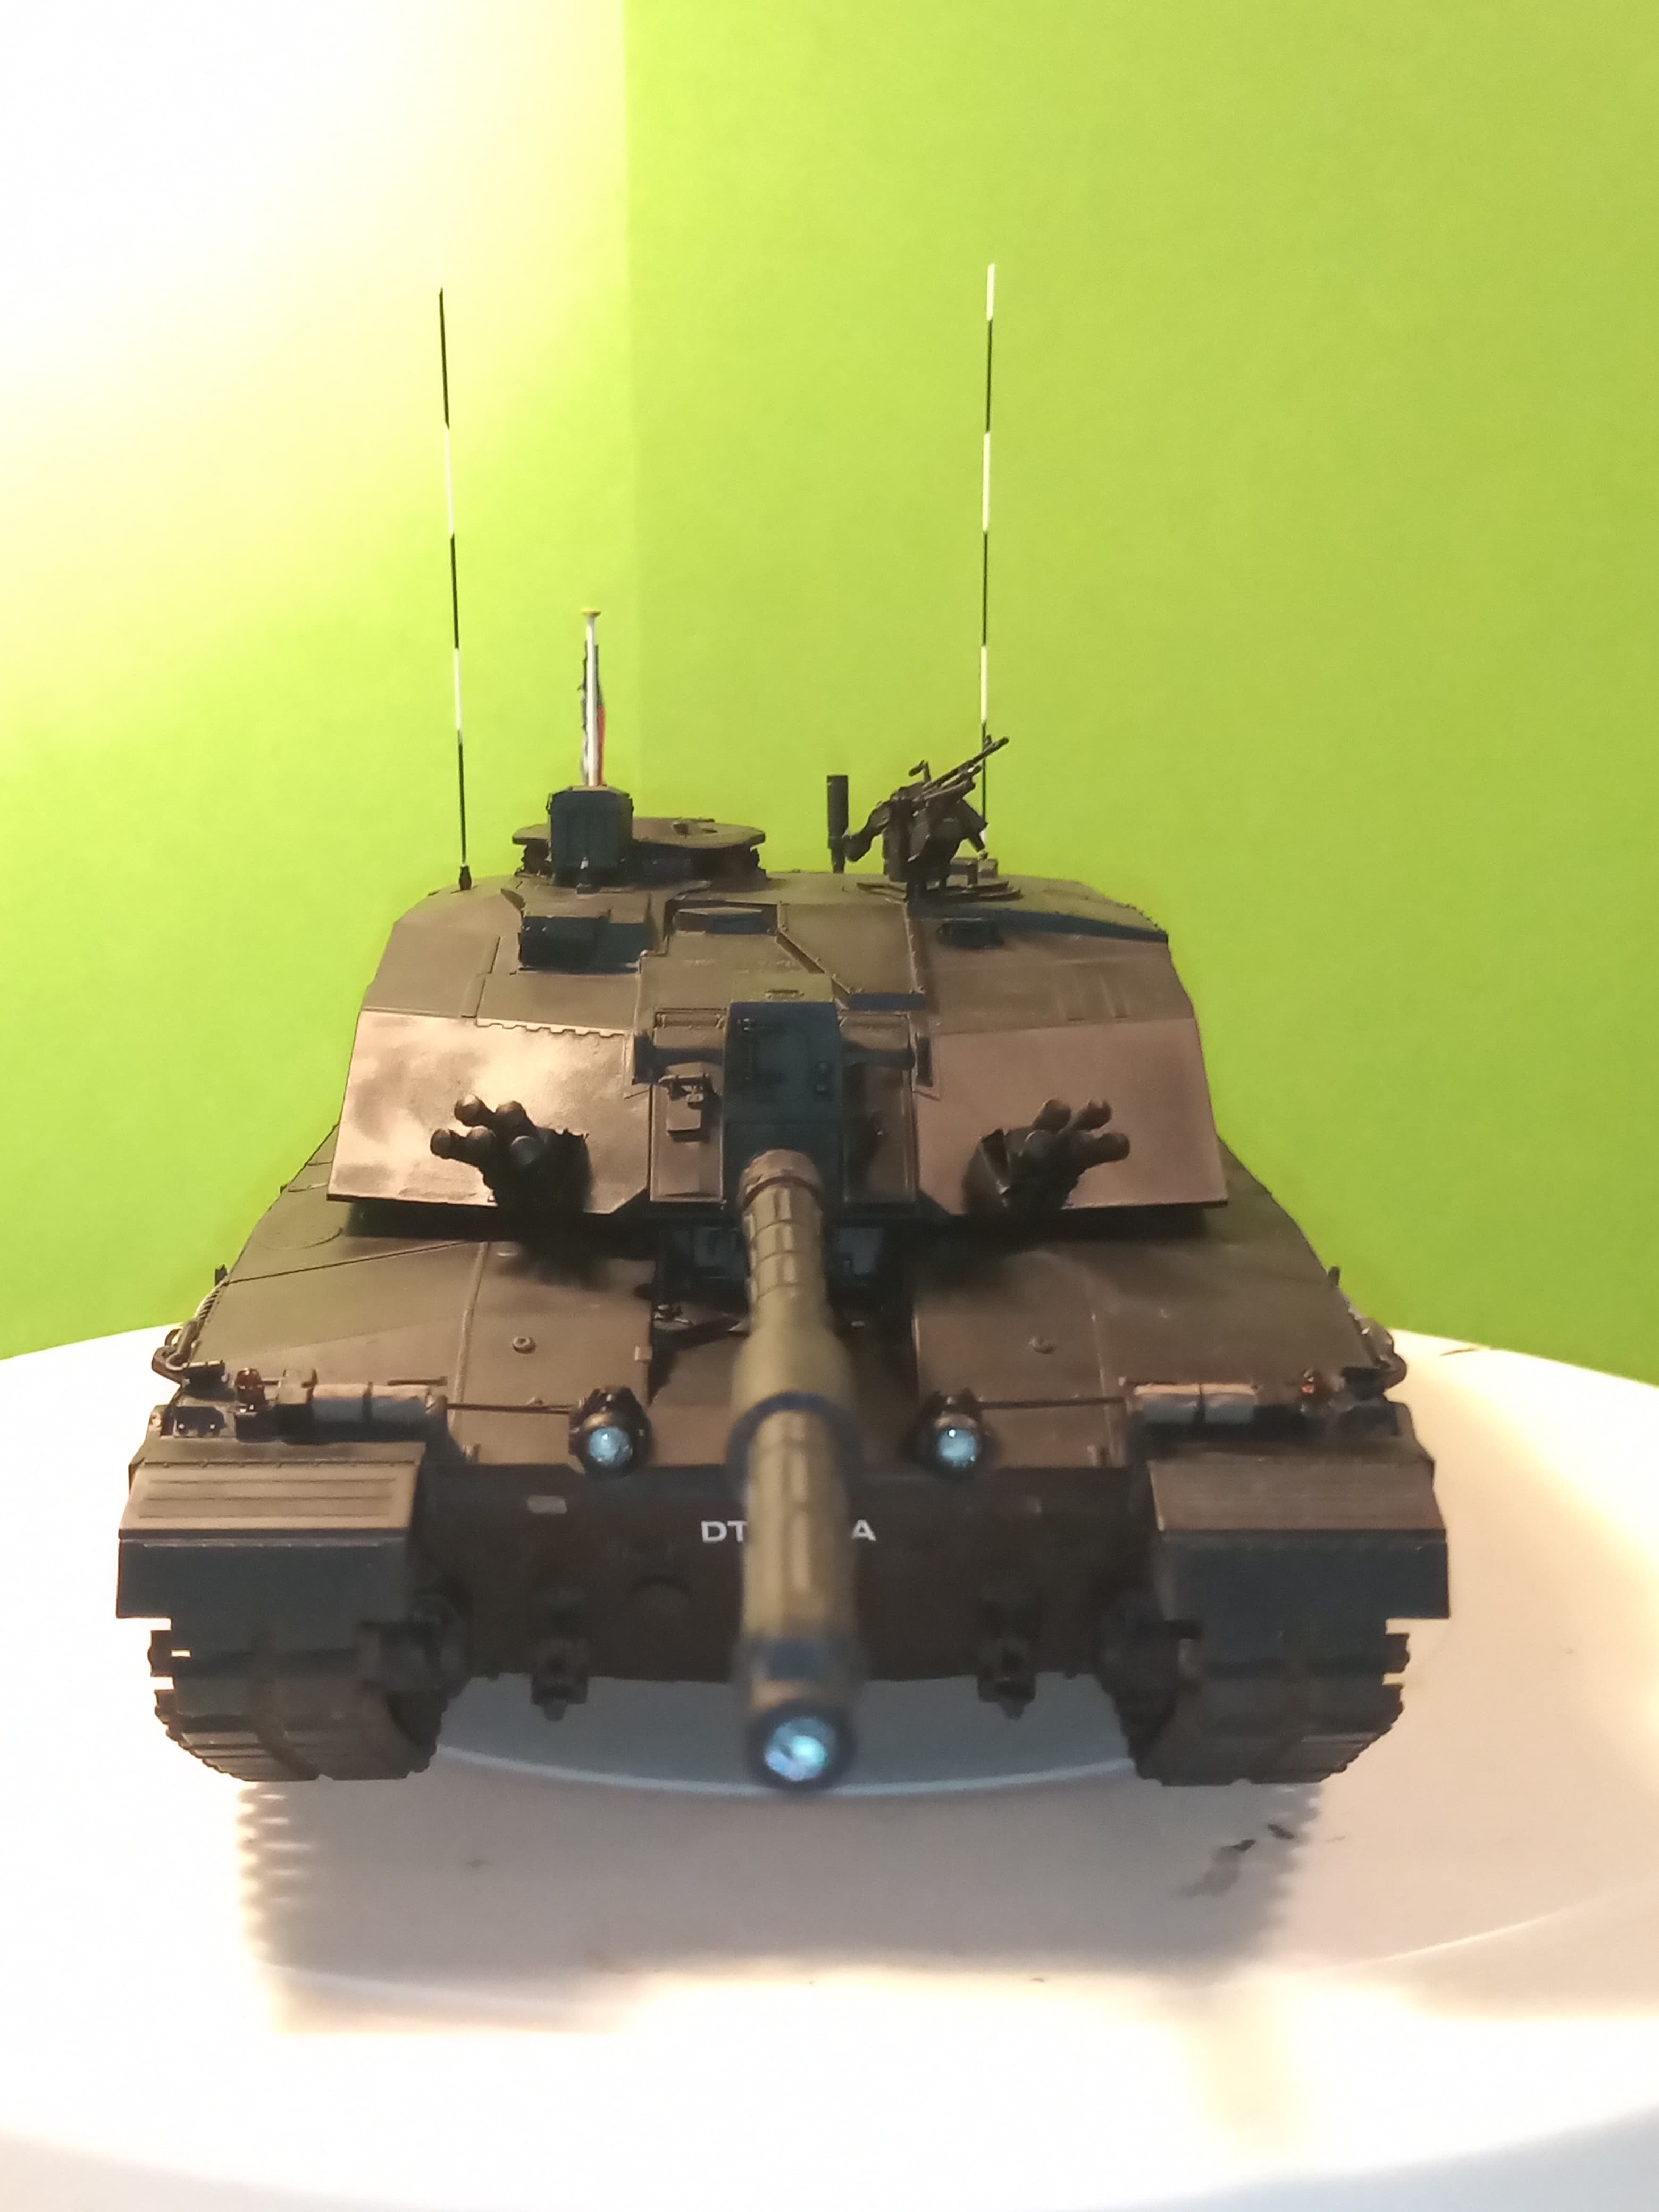
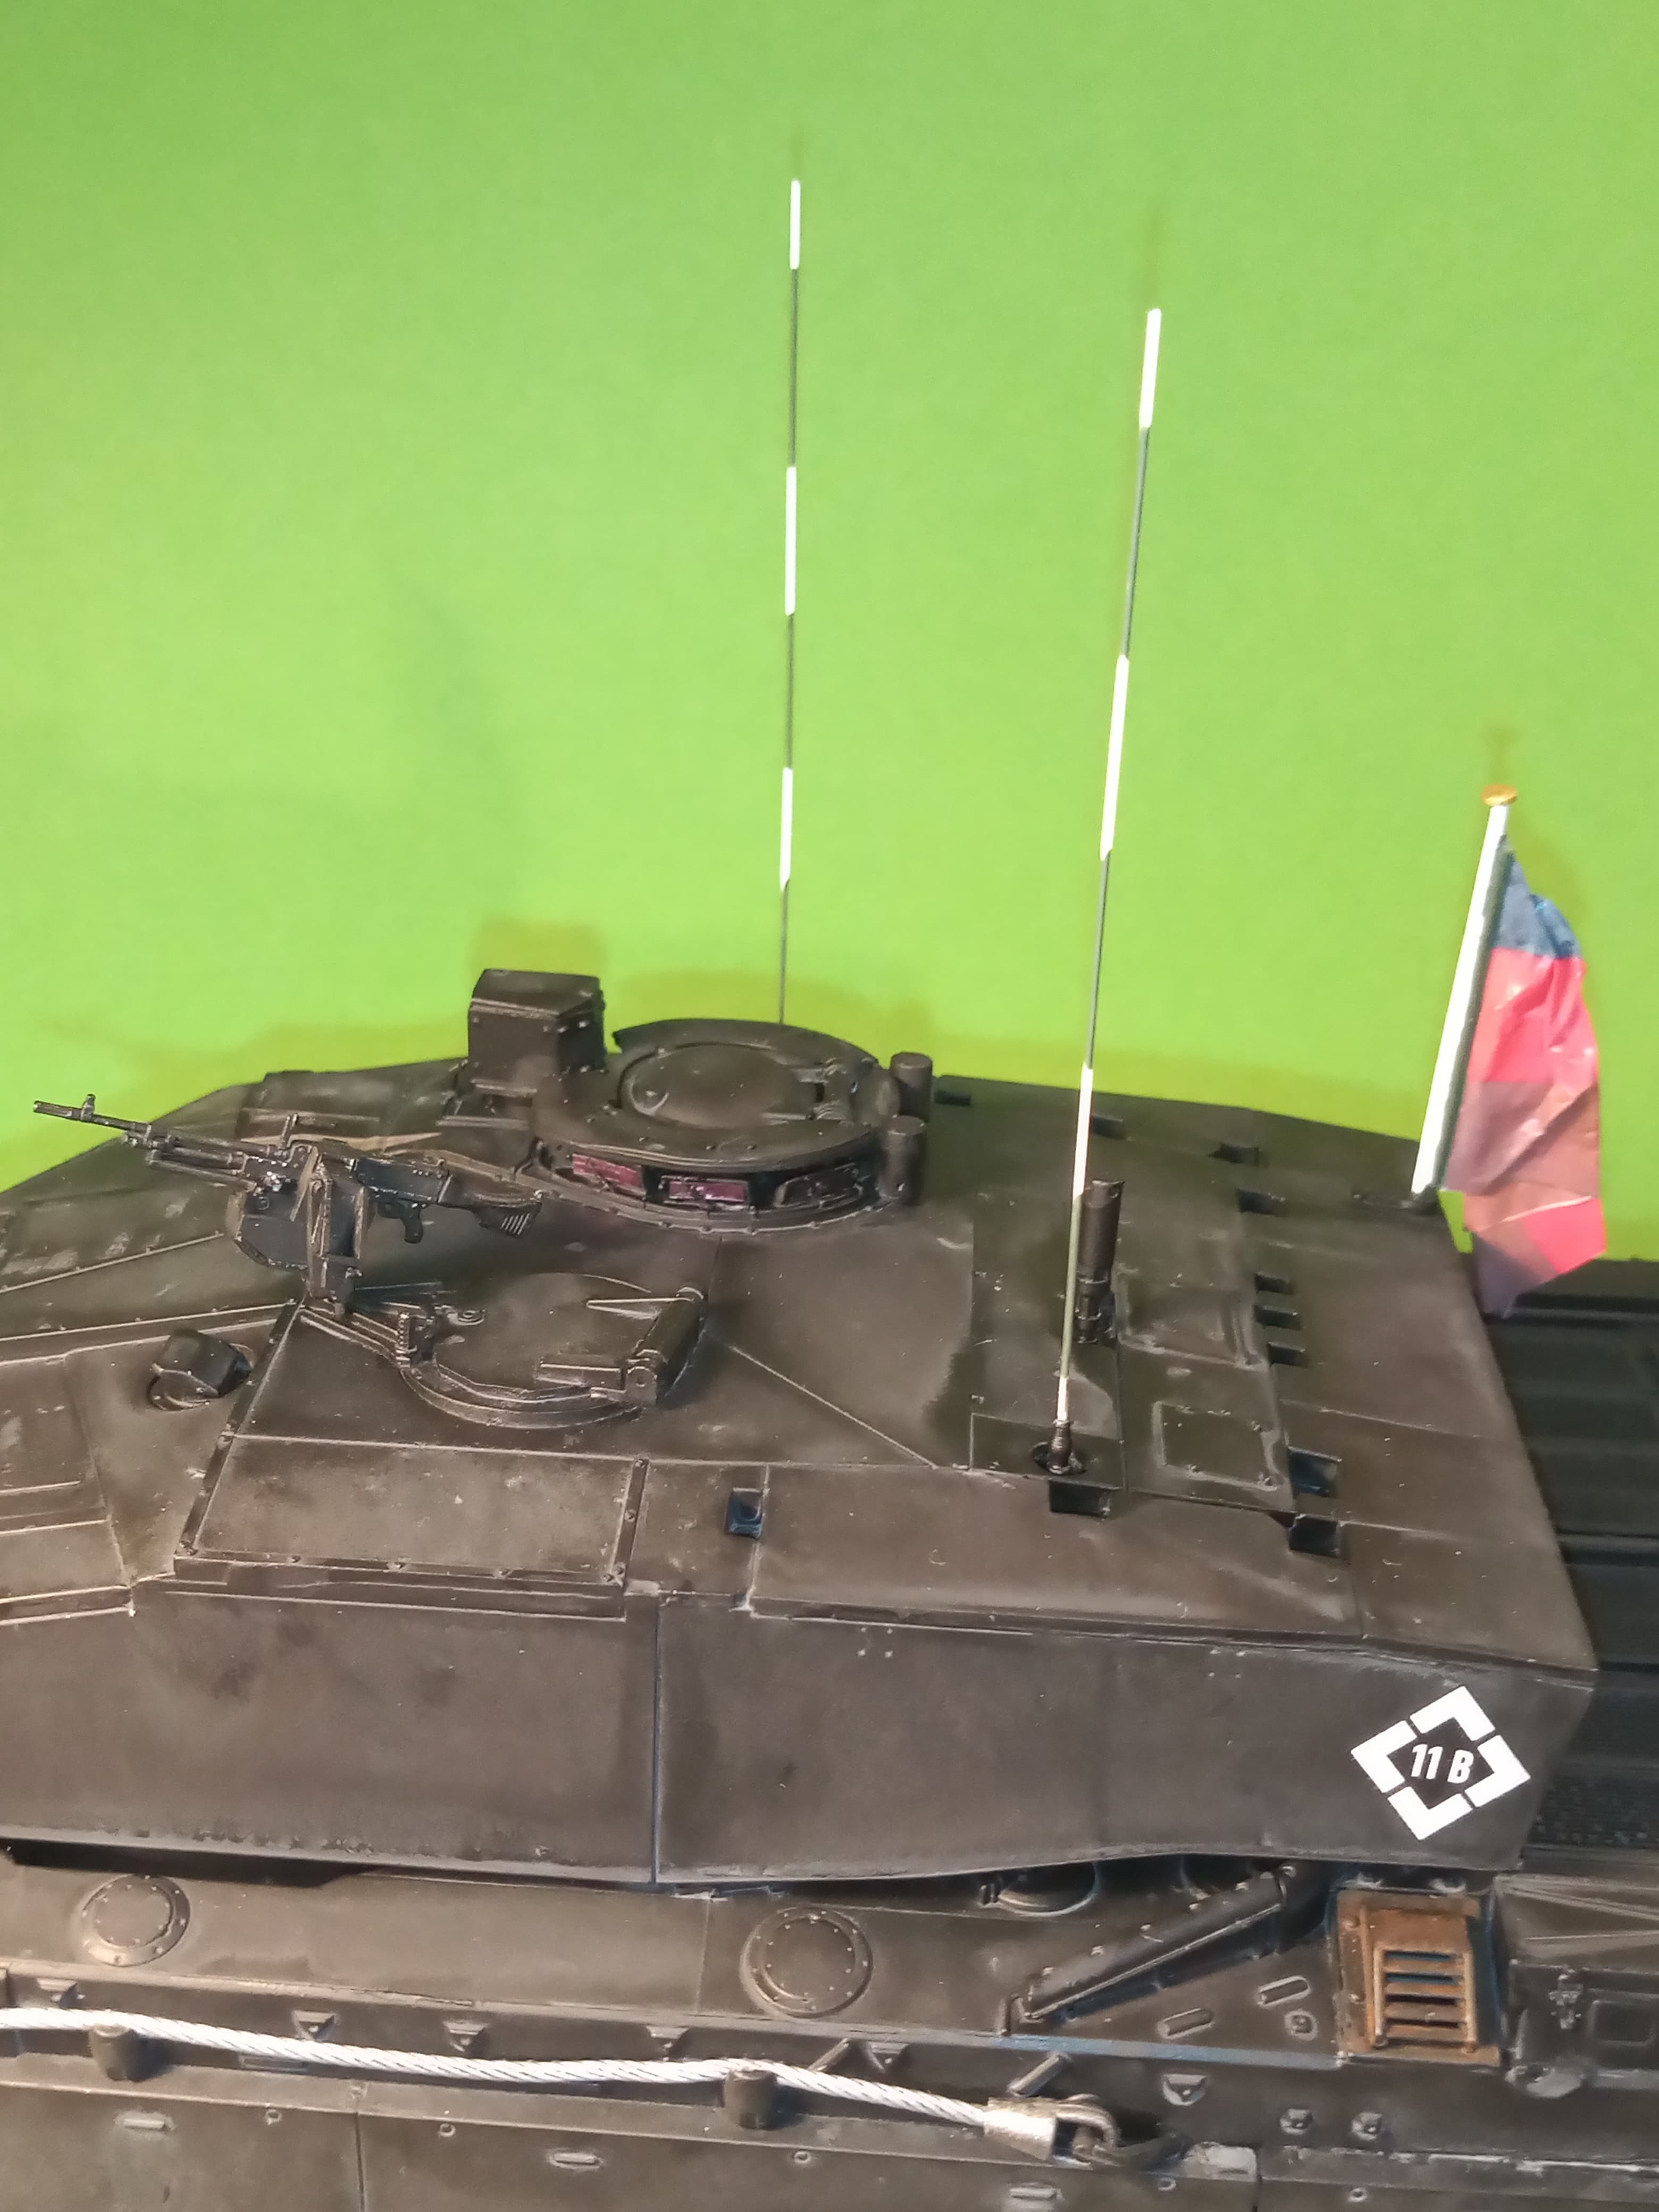
Slight change of plan. I am no longer going to apply the AK panel liner for black camo. I have looked at the very limited number of ref pics (4) and there is no visible sign of stand out panel lines on Nomad. So, I’m in the process of adding the 2 antennas and that’s it. Once they are set I will do the final images and then some on the base area.
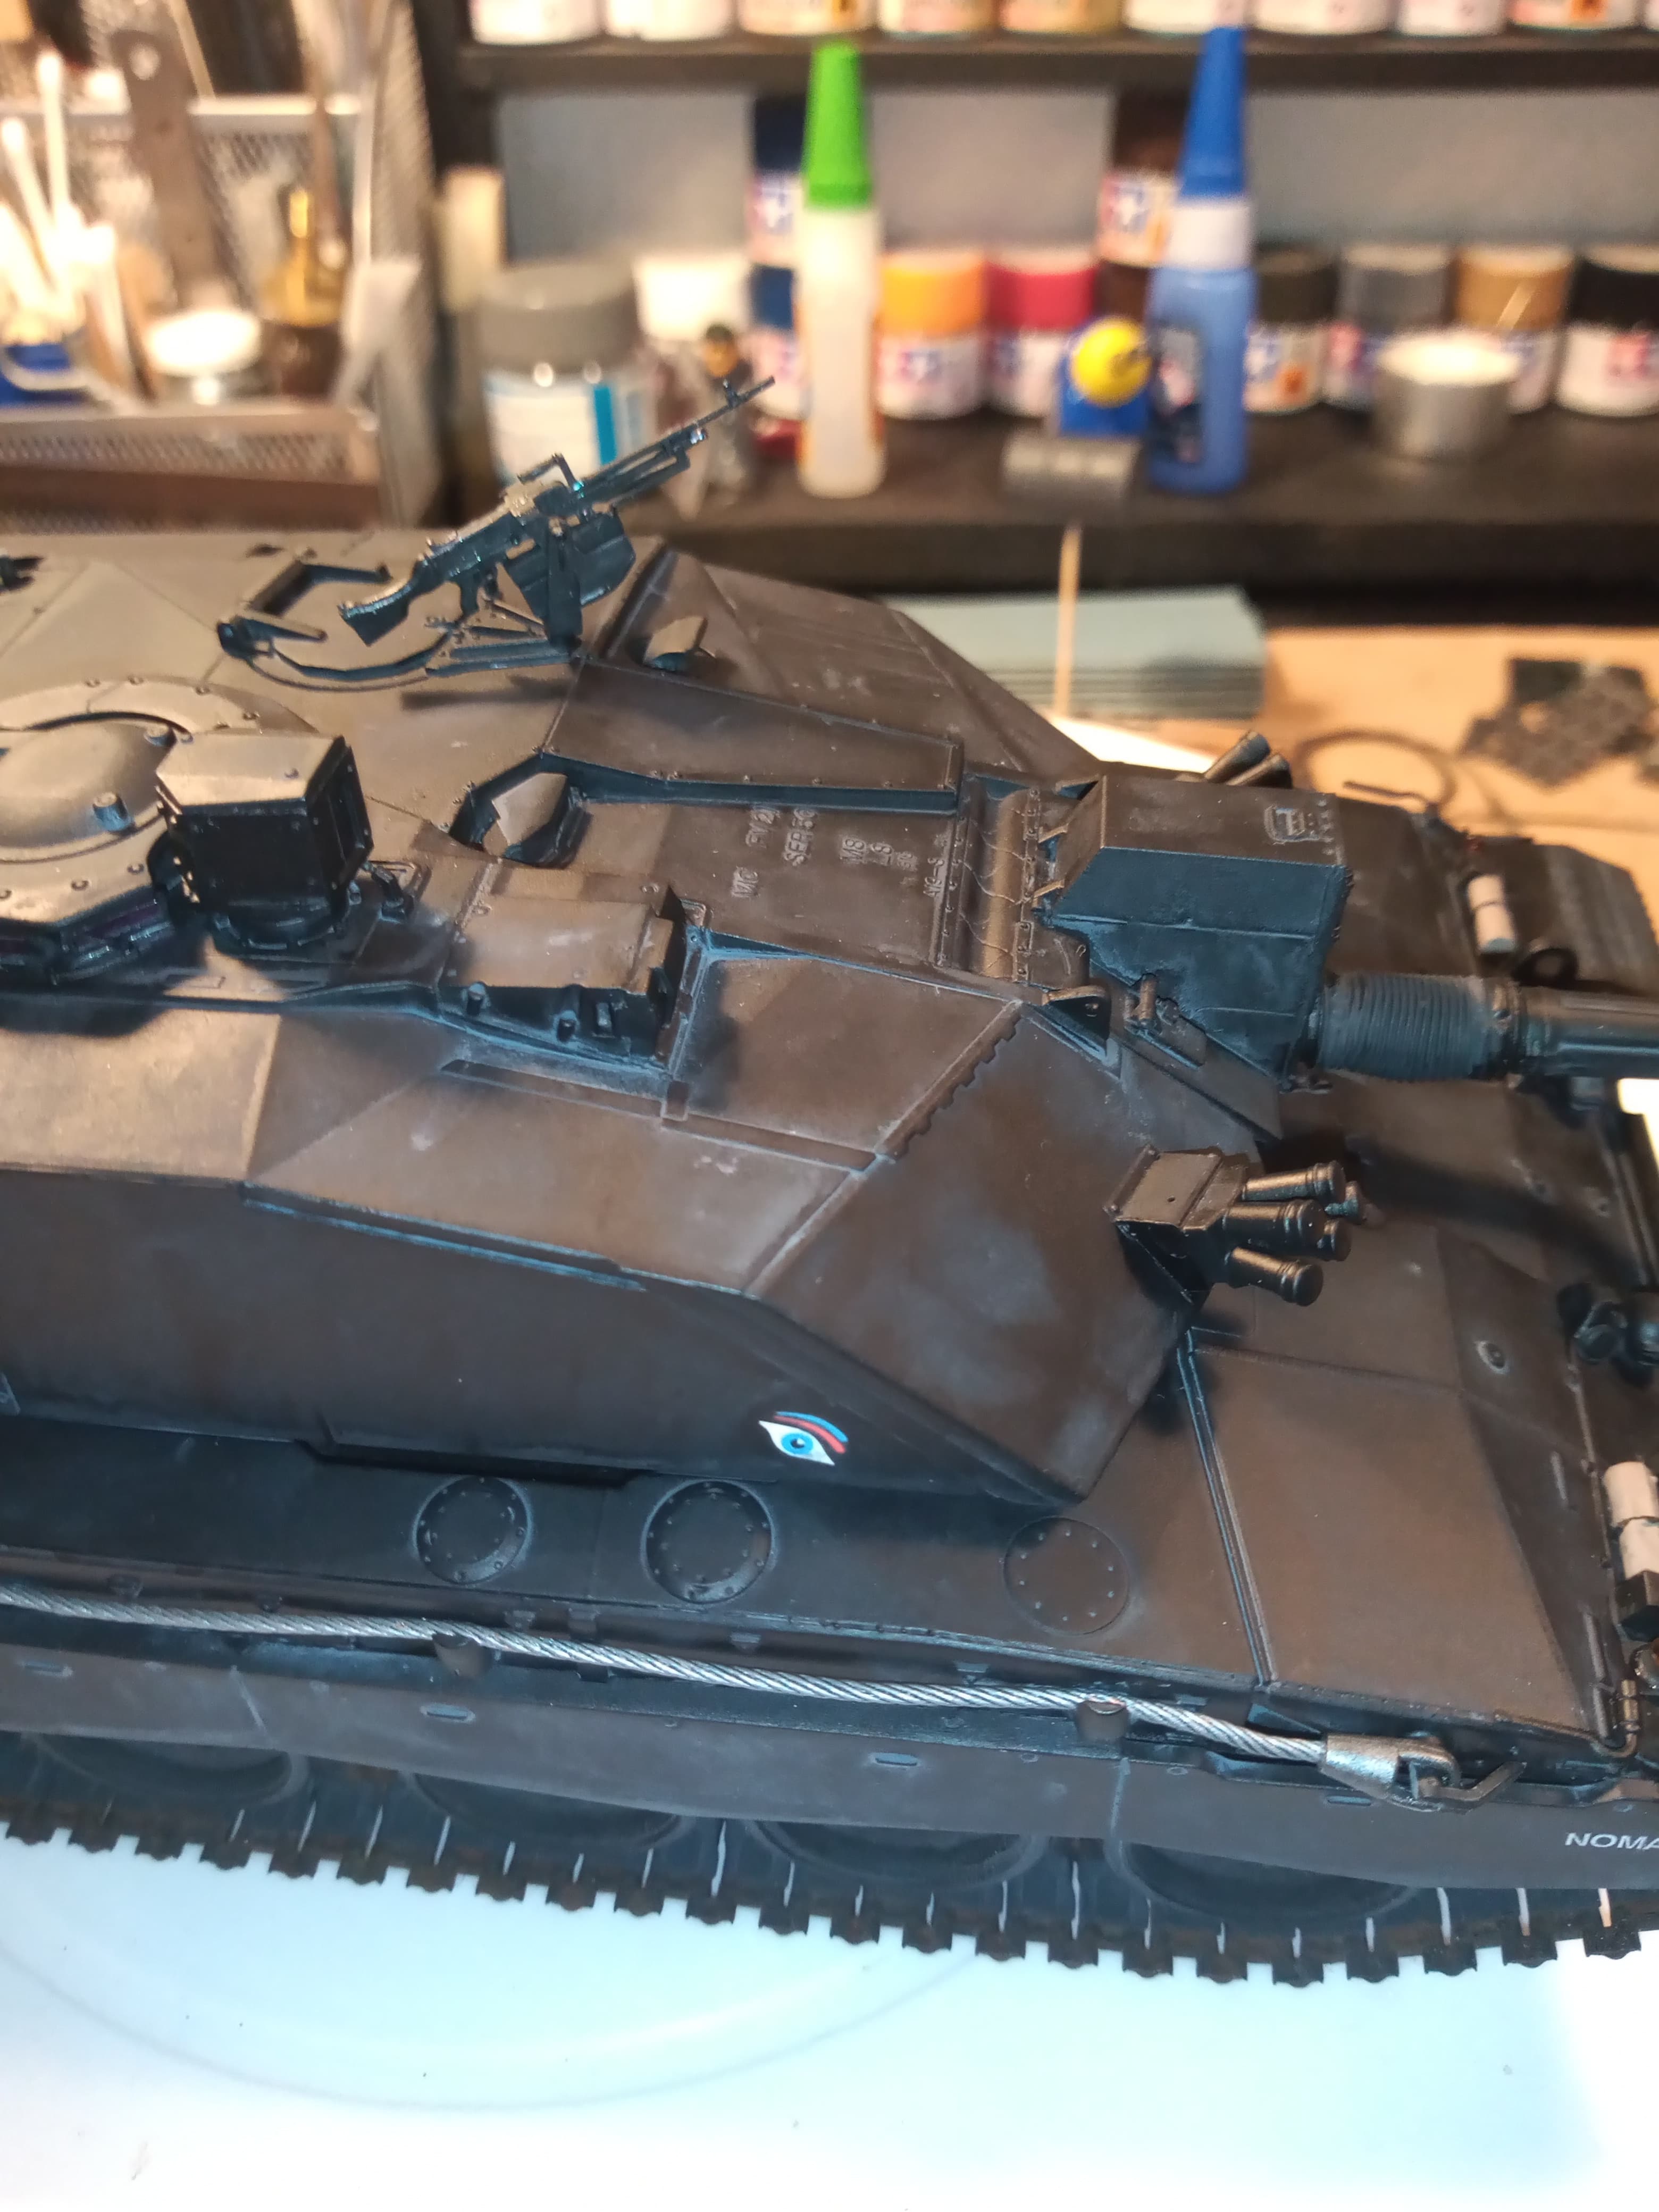
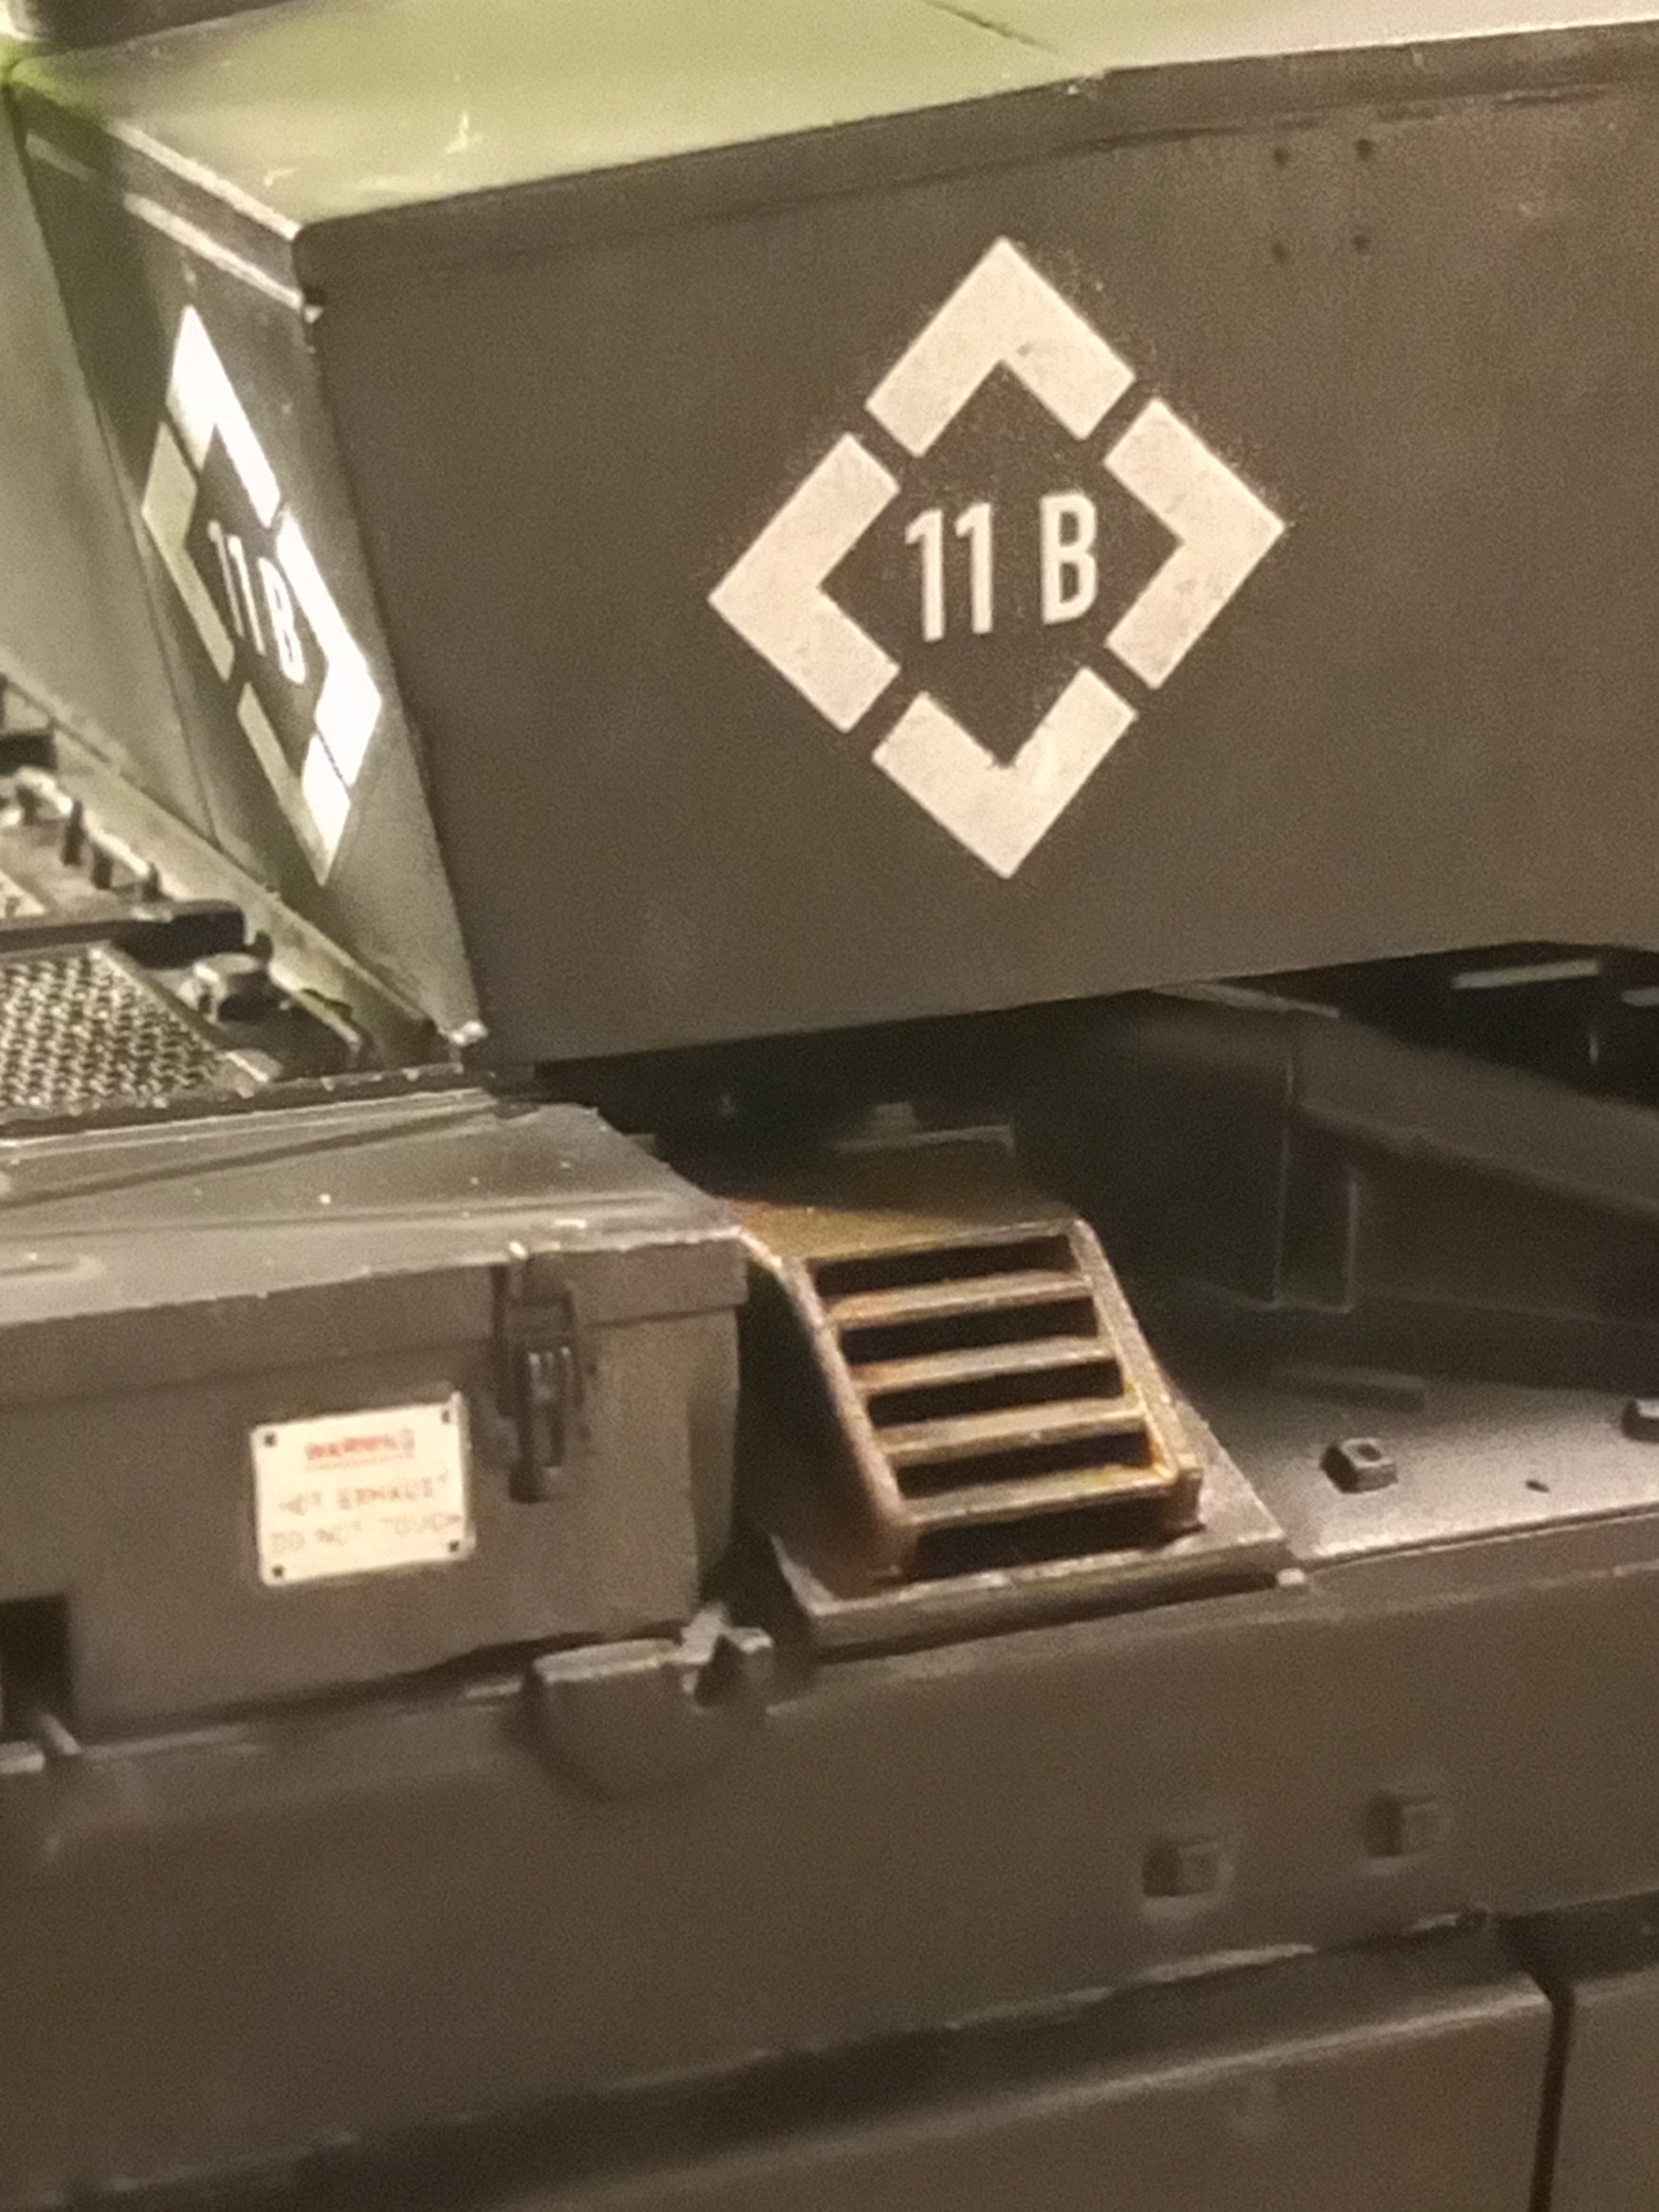
Also, could not be happier with the AK neutral grey wash. It has done its job and left me with exactly the finish I wanted.
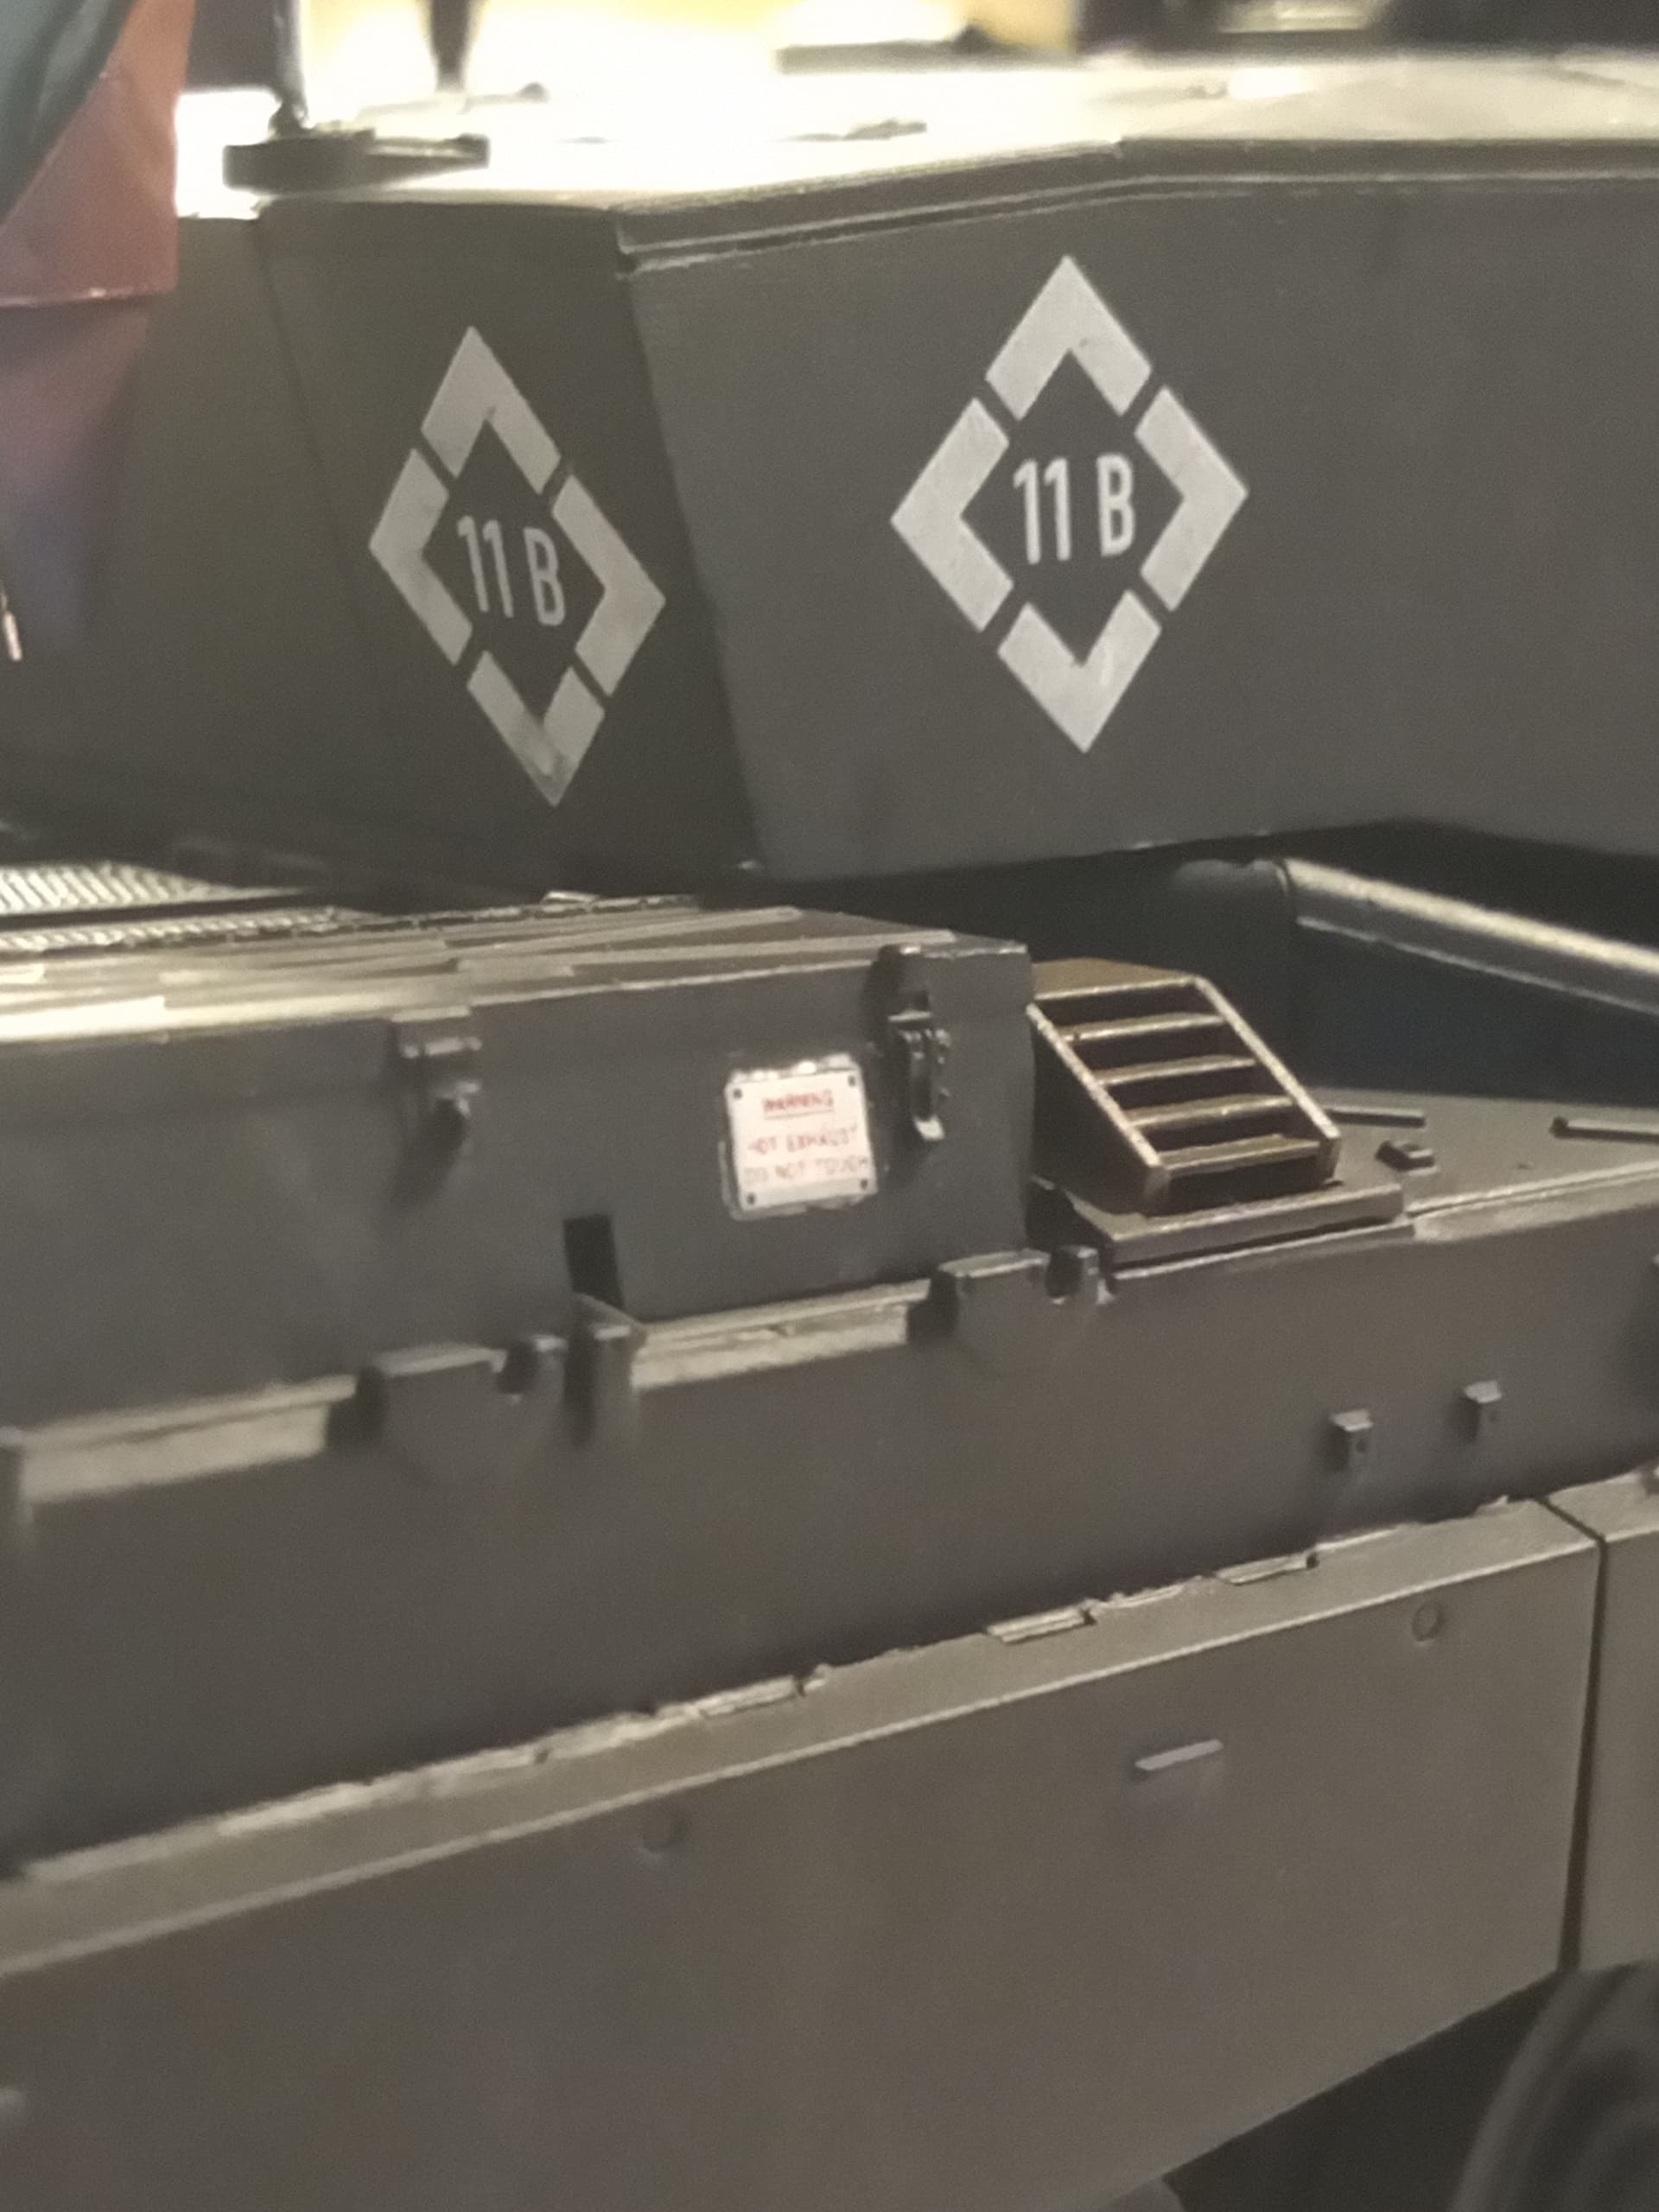
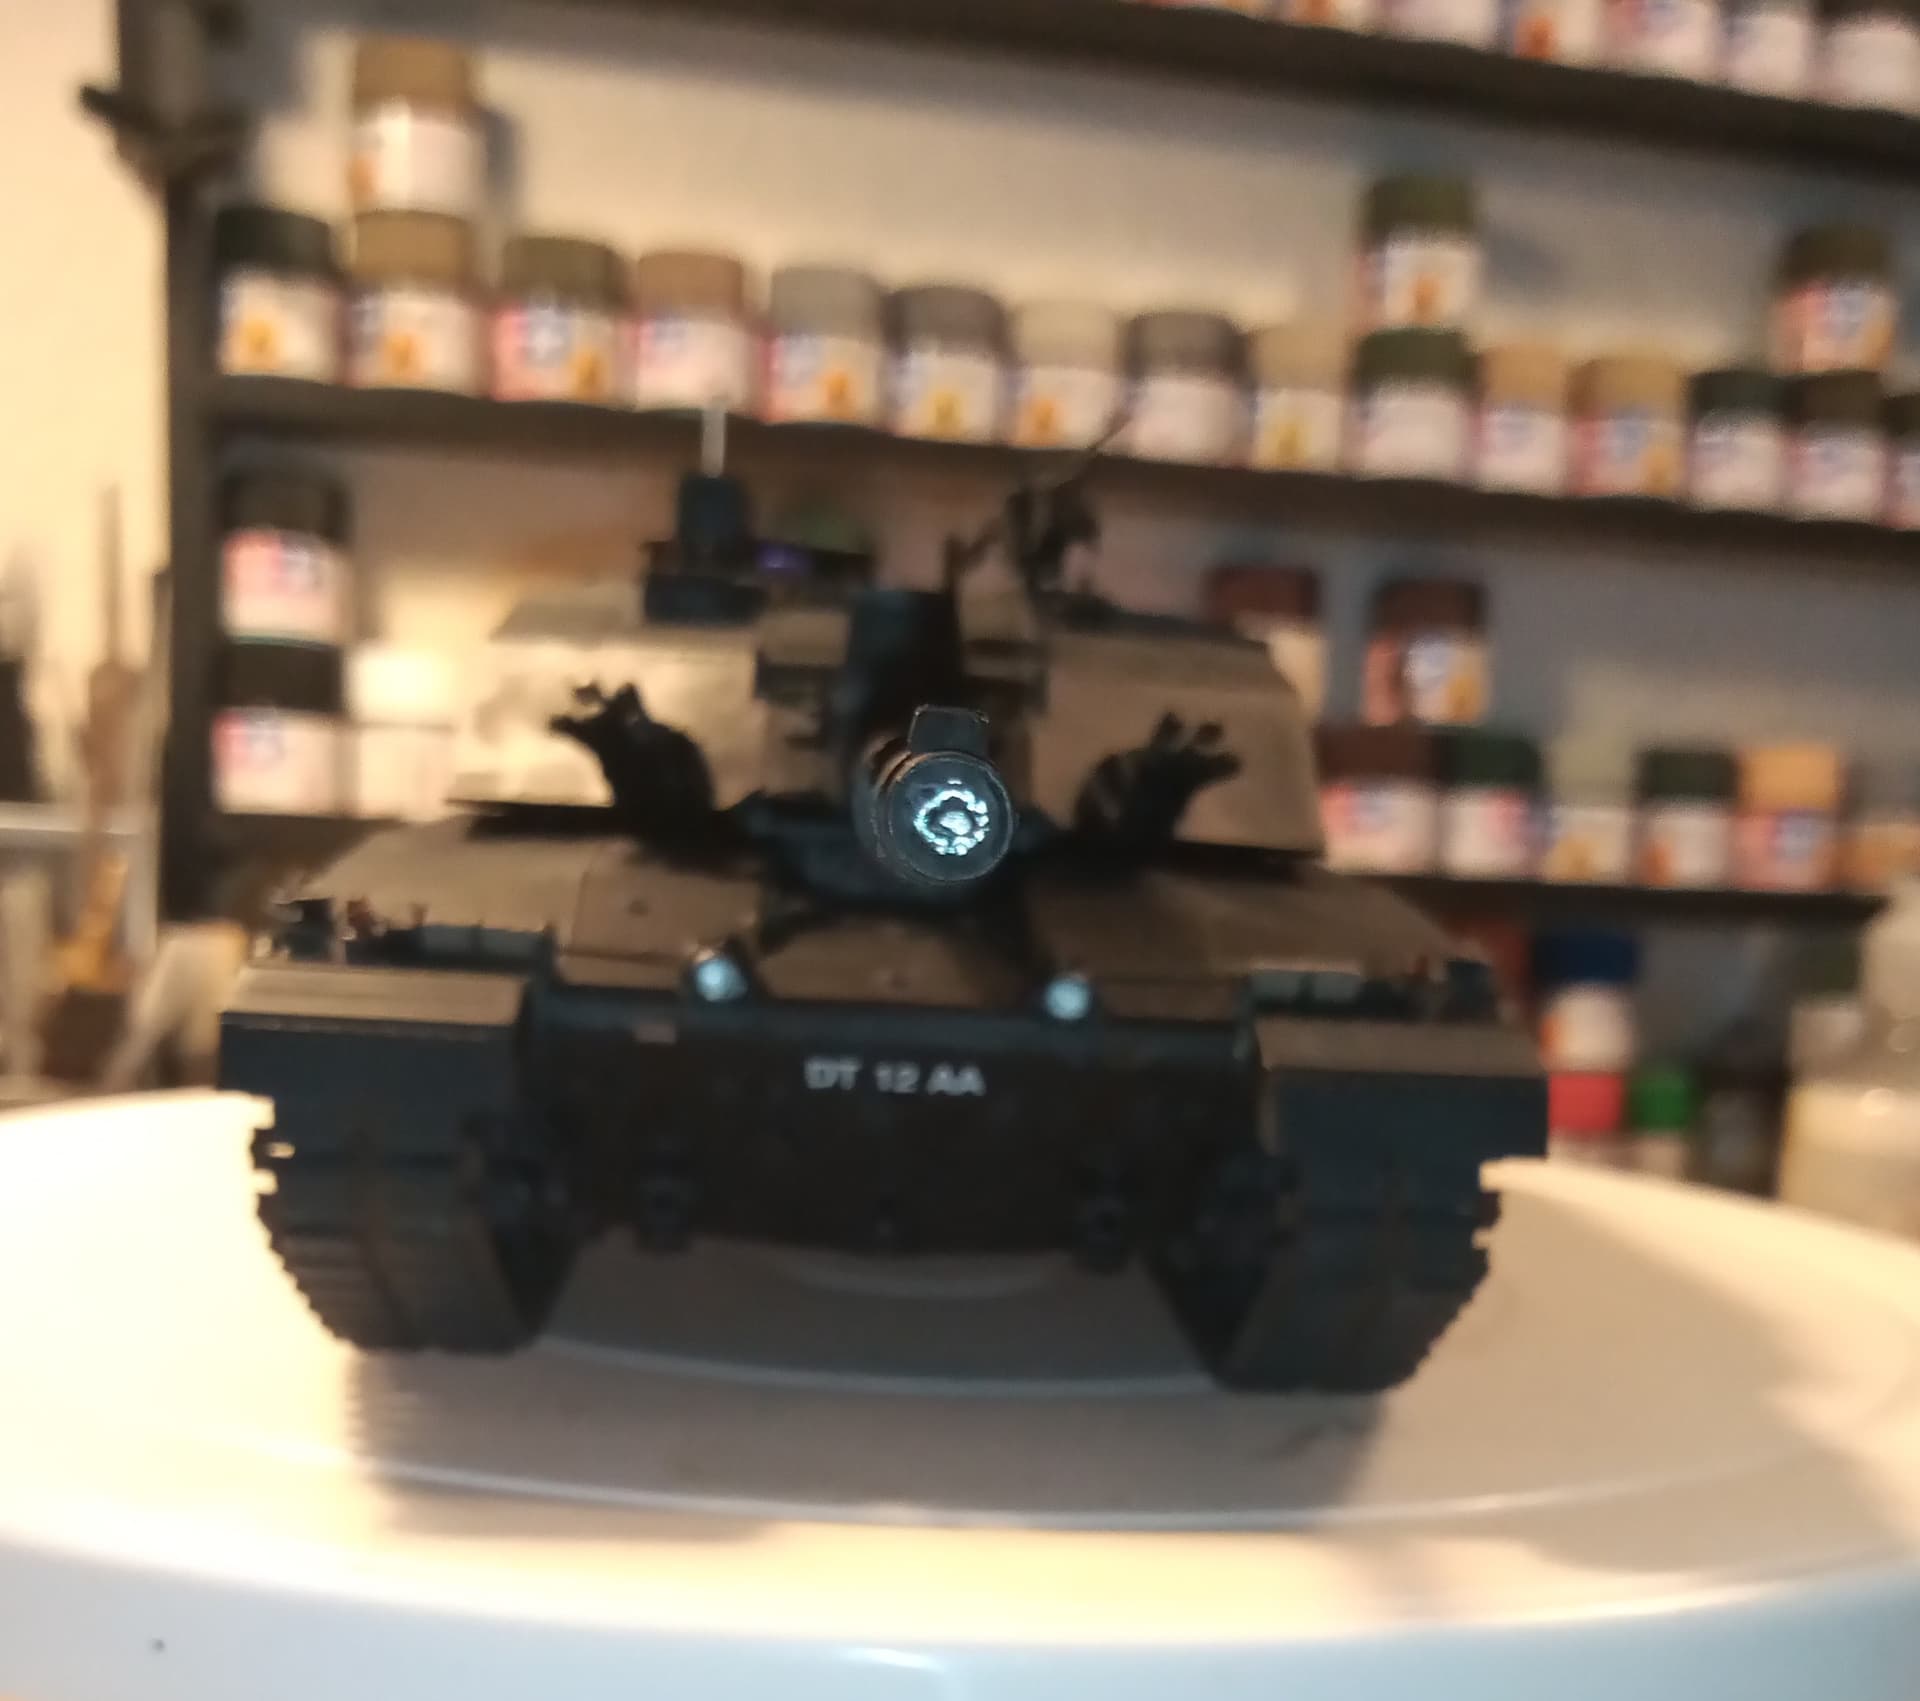
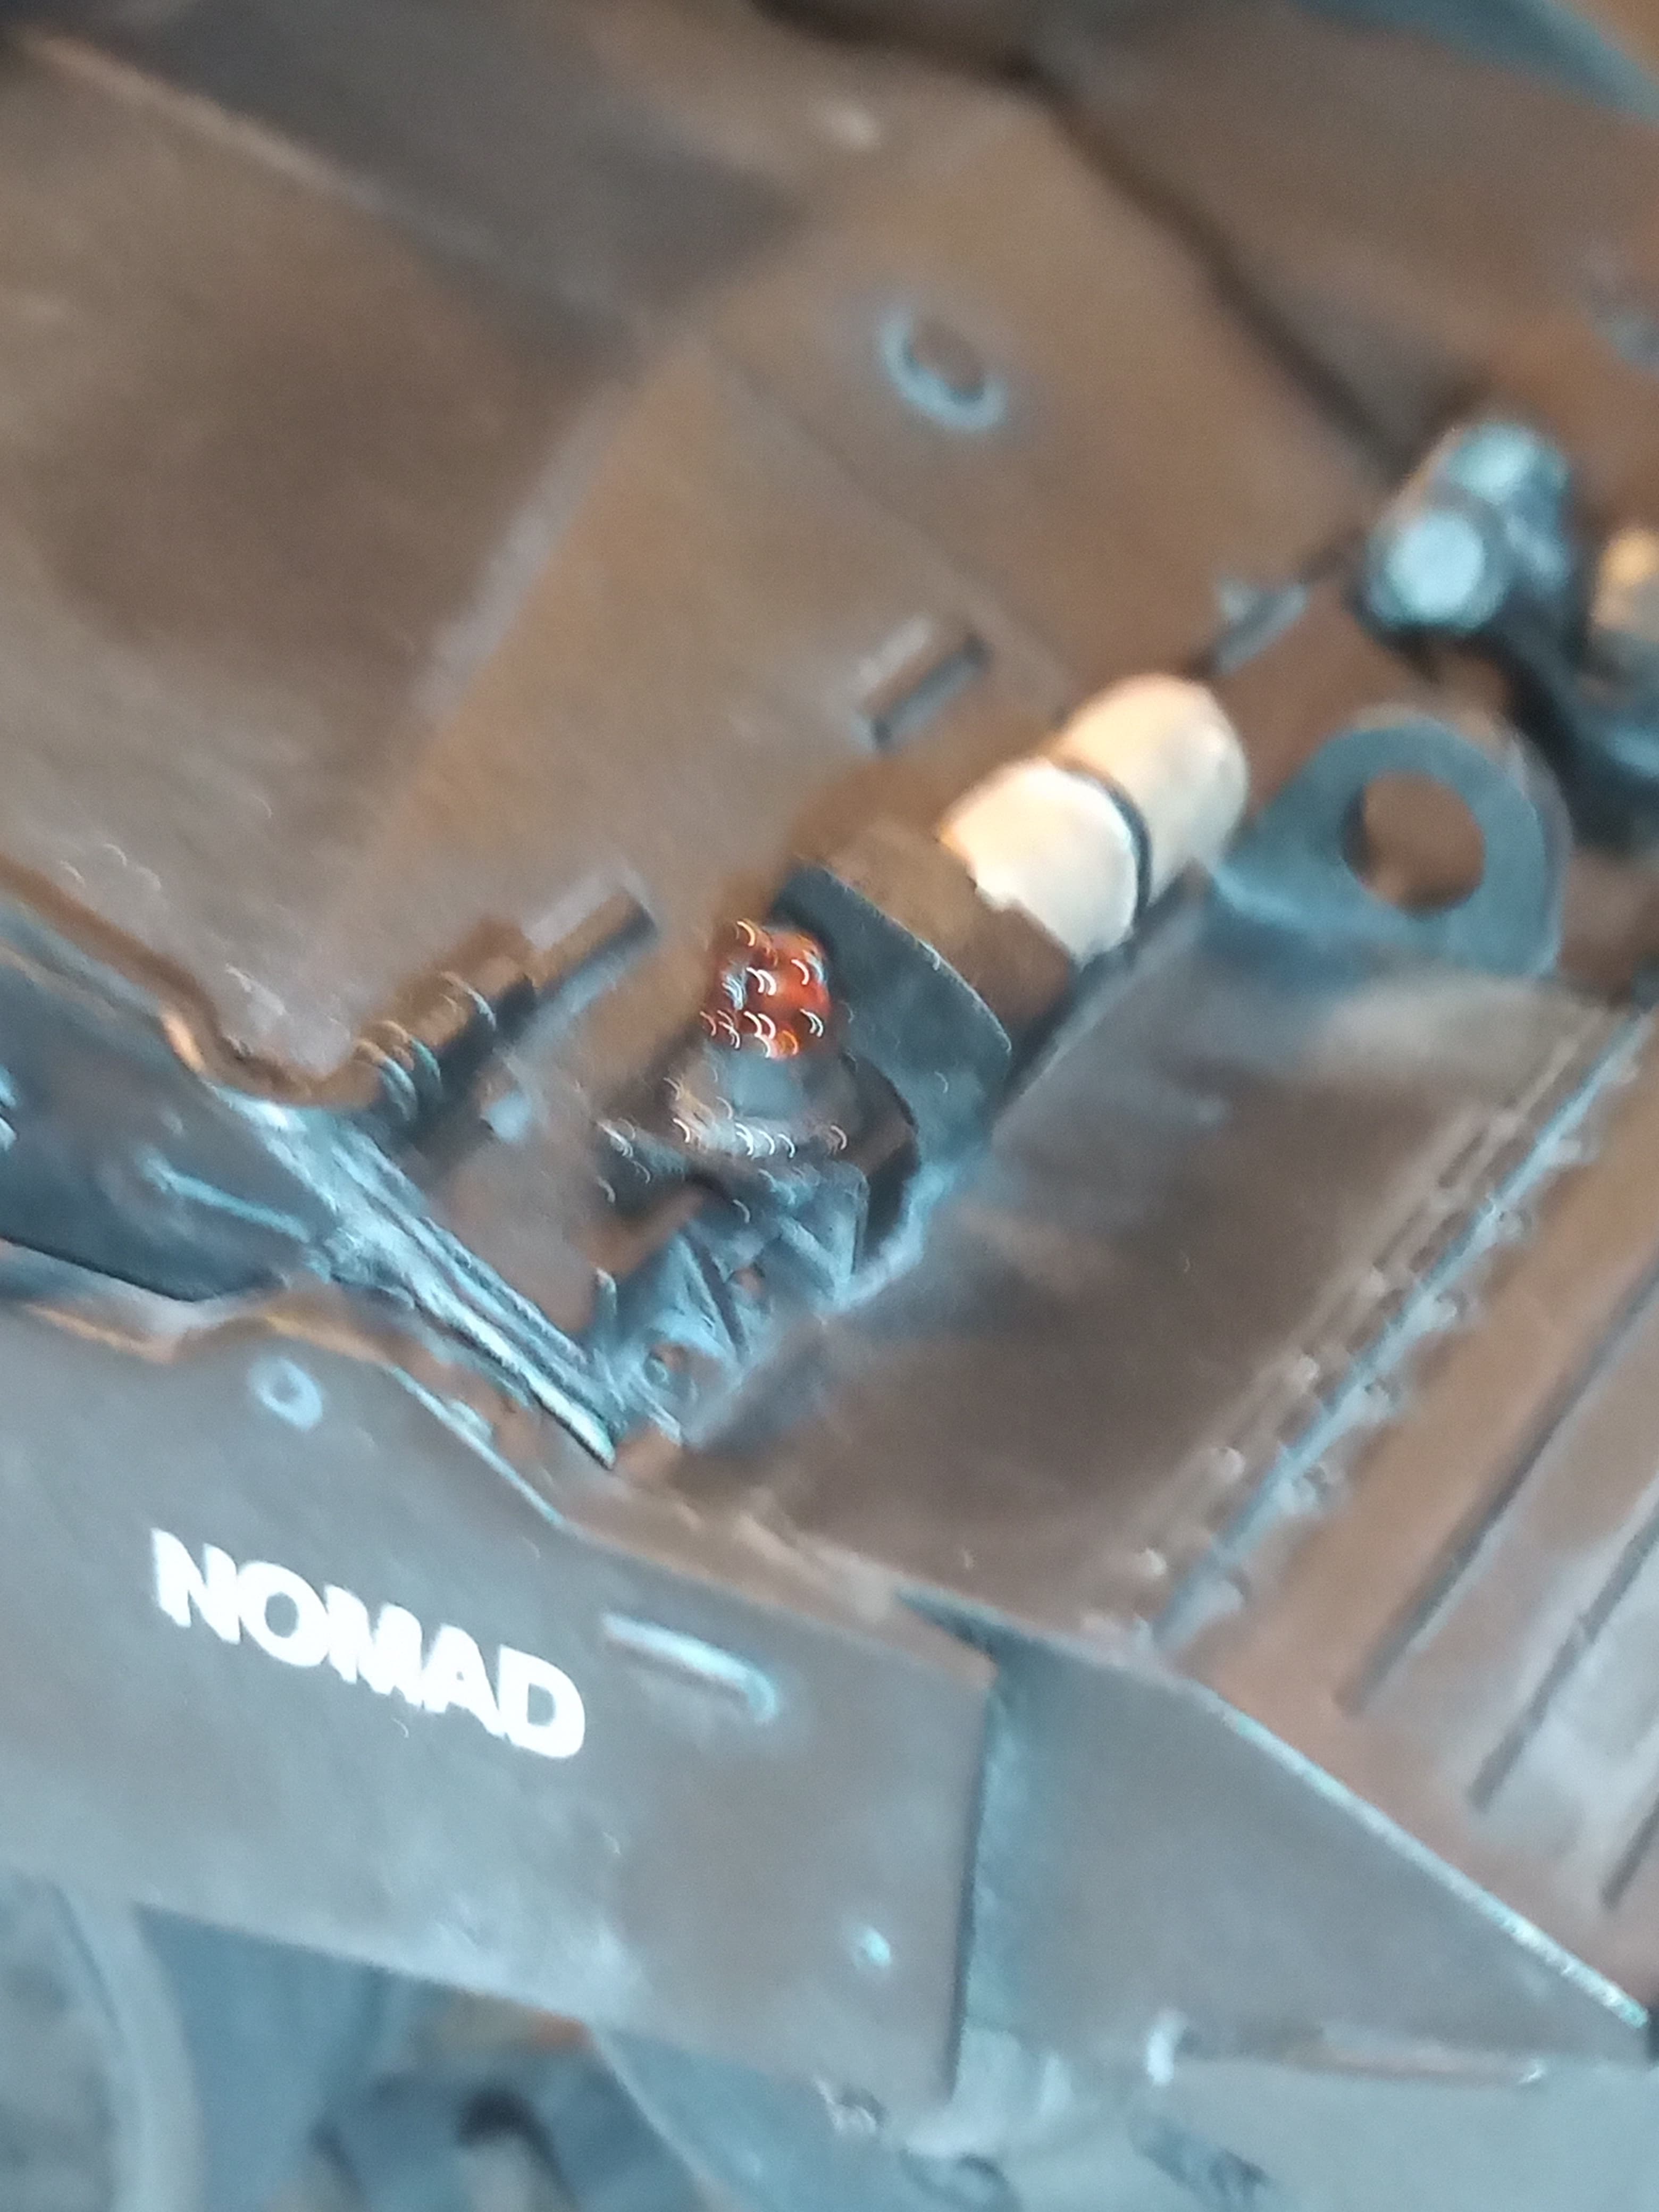
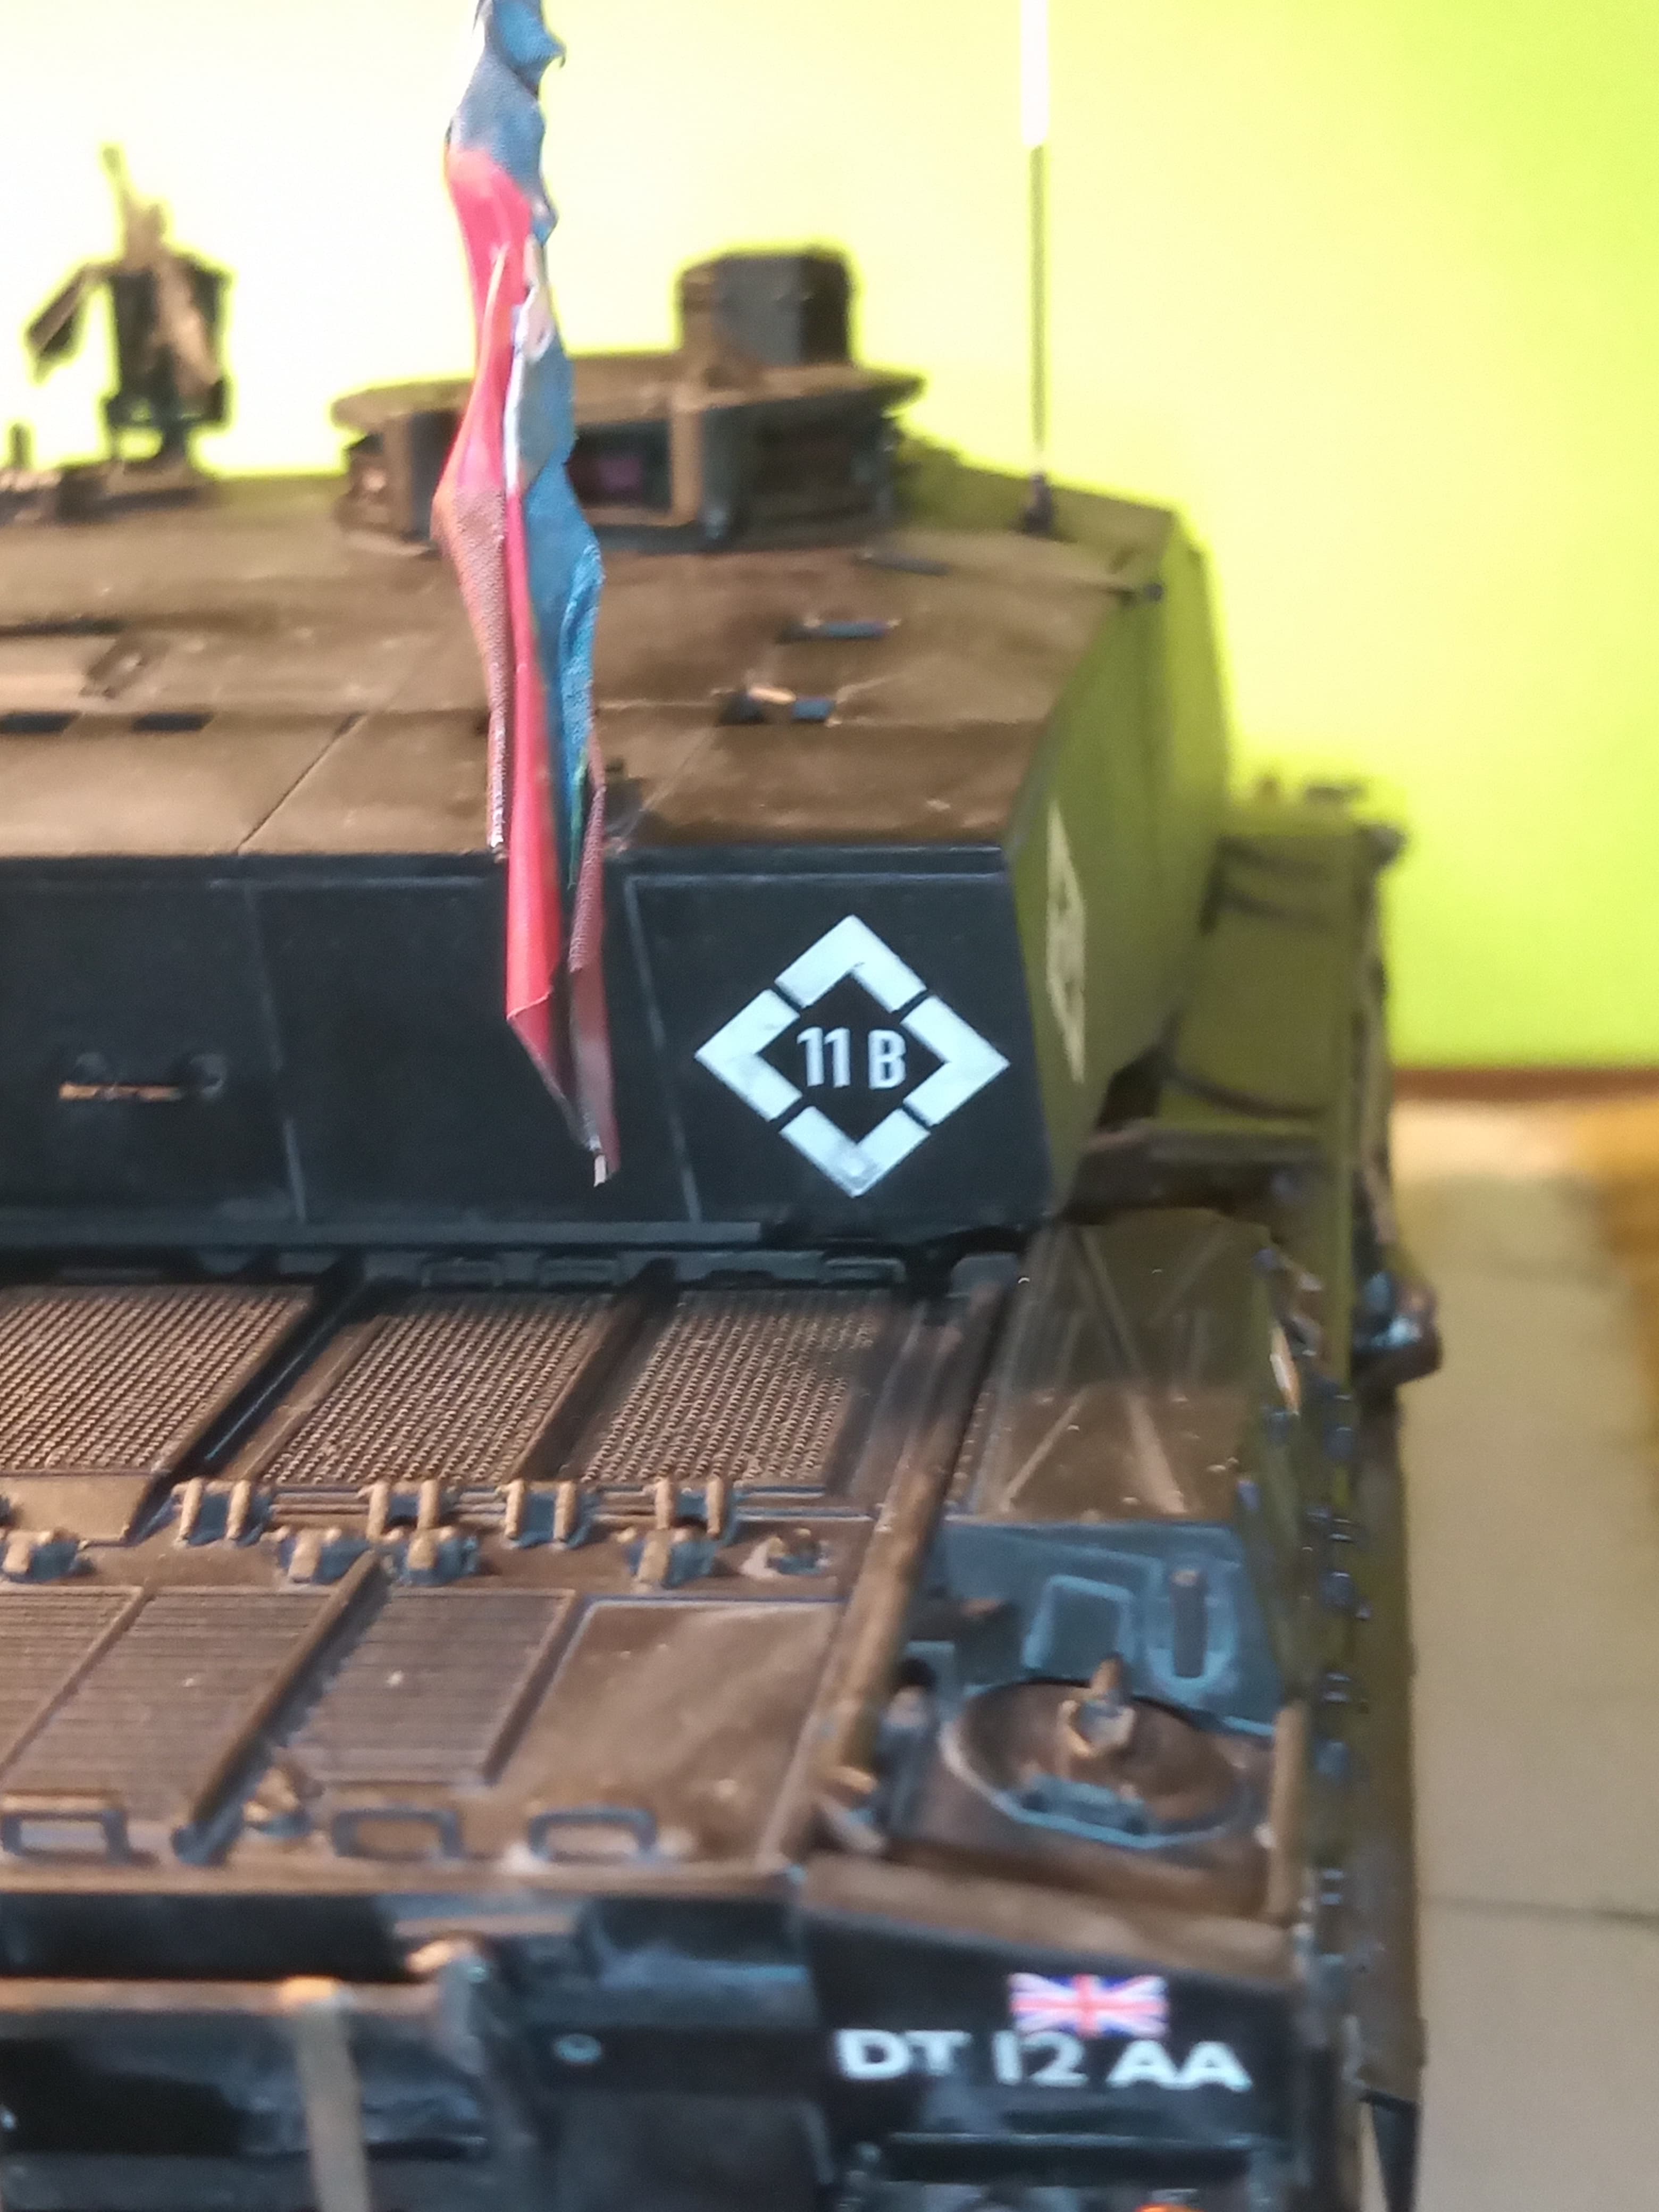
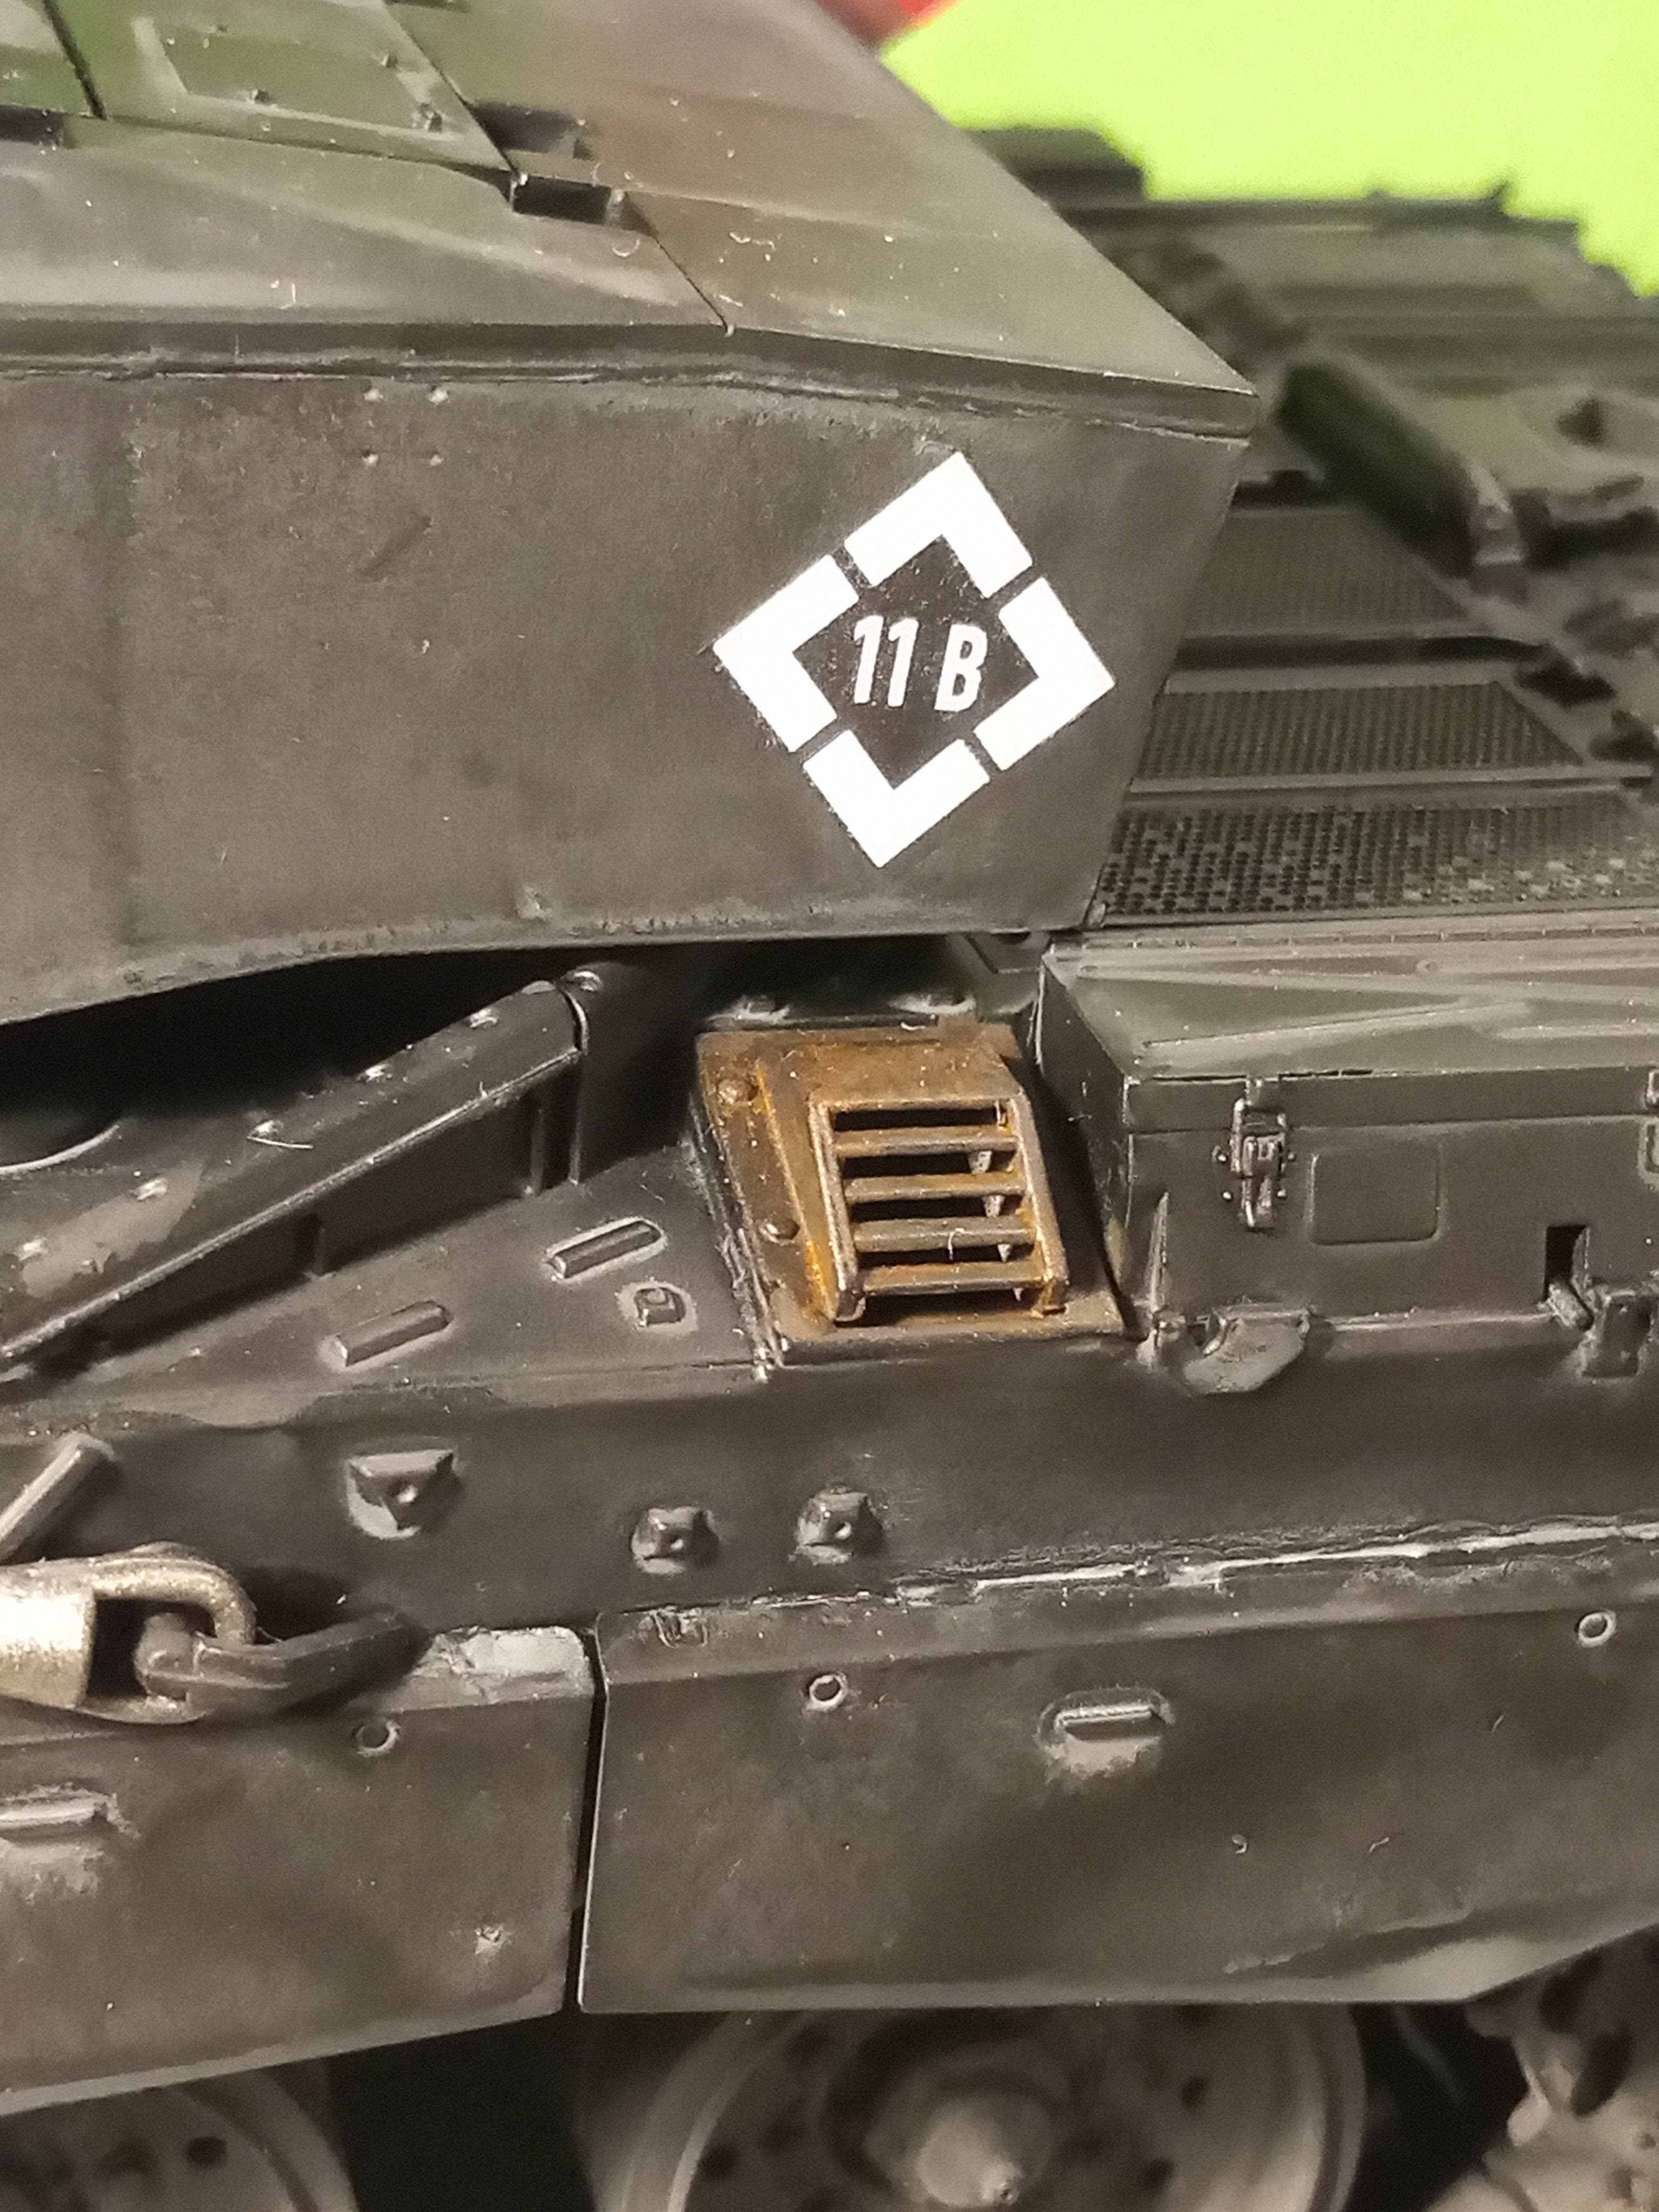
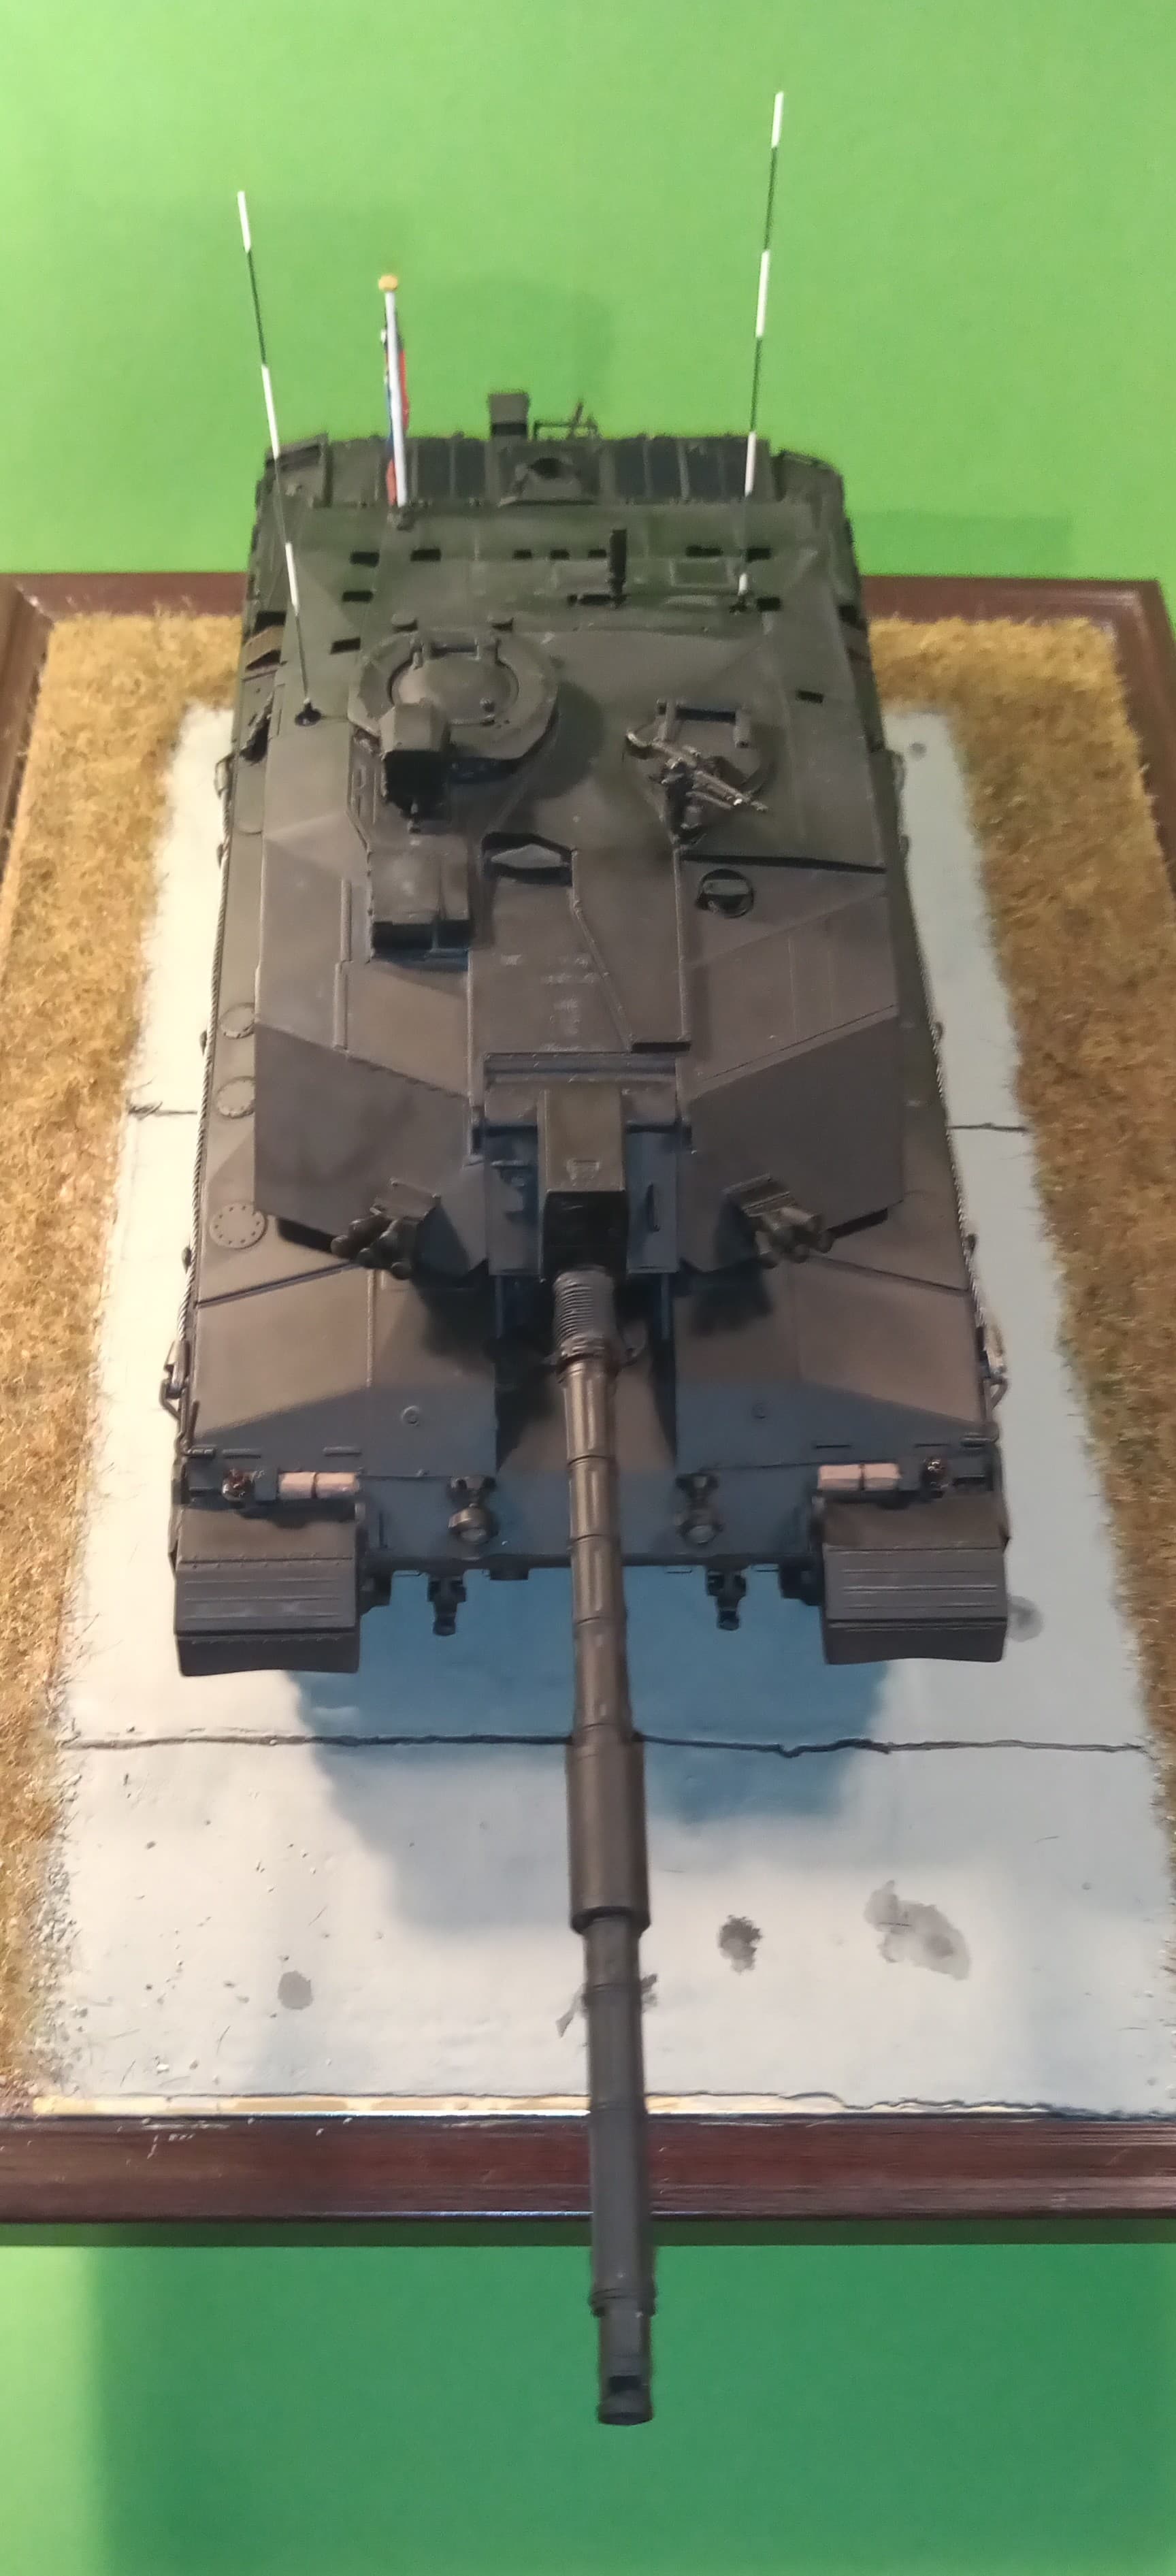
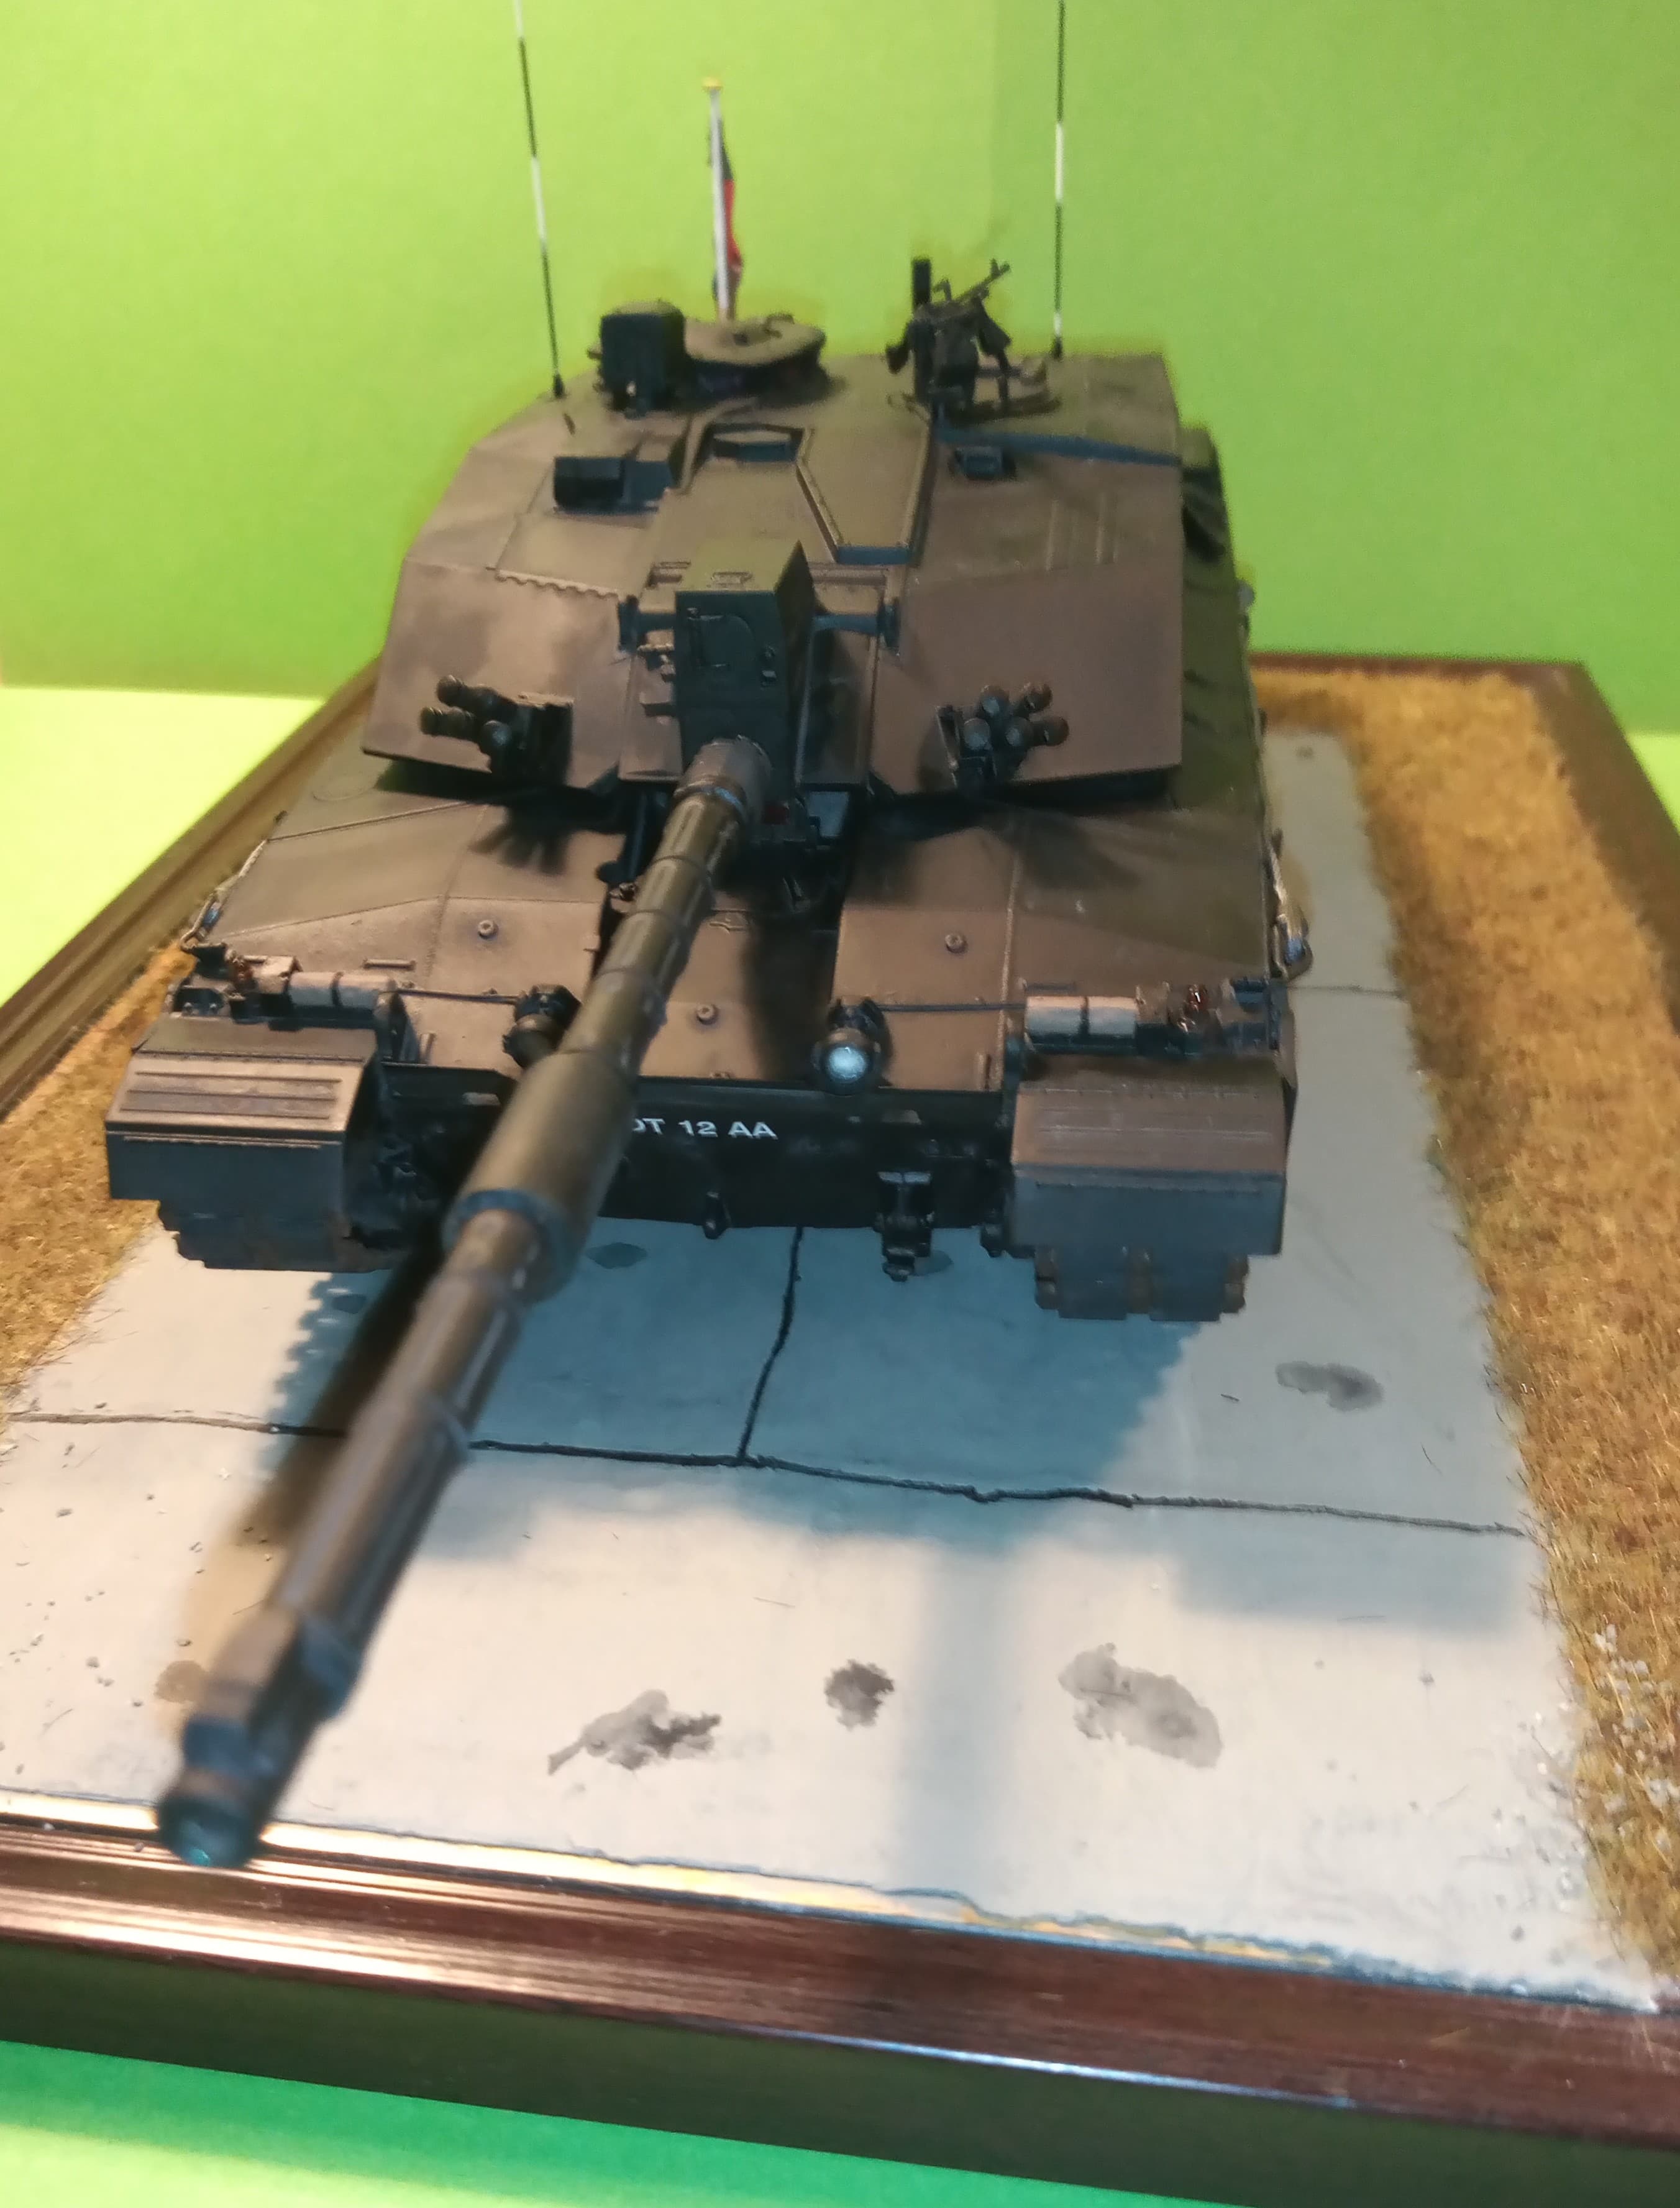
Nomad, 11B is complete.
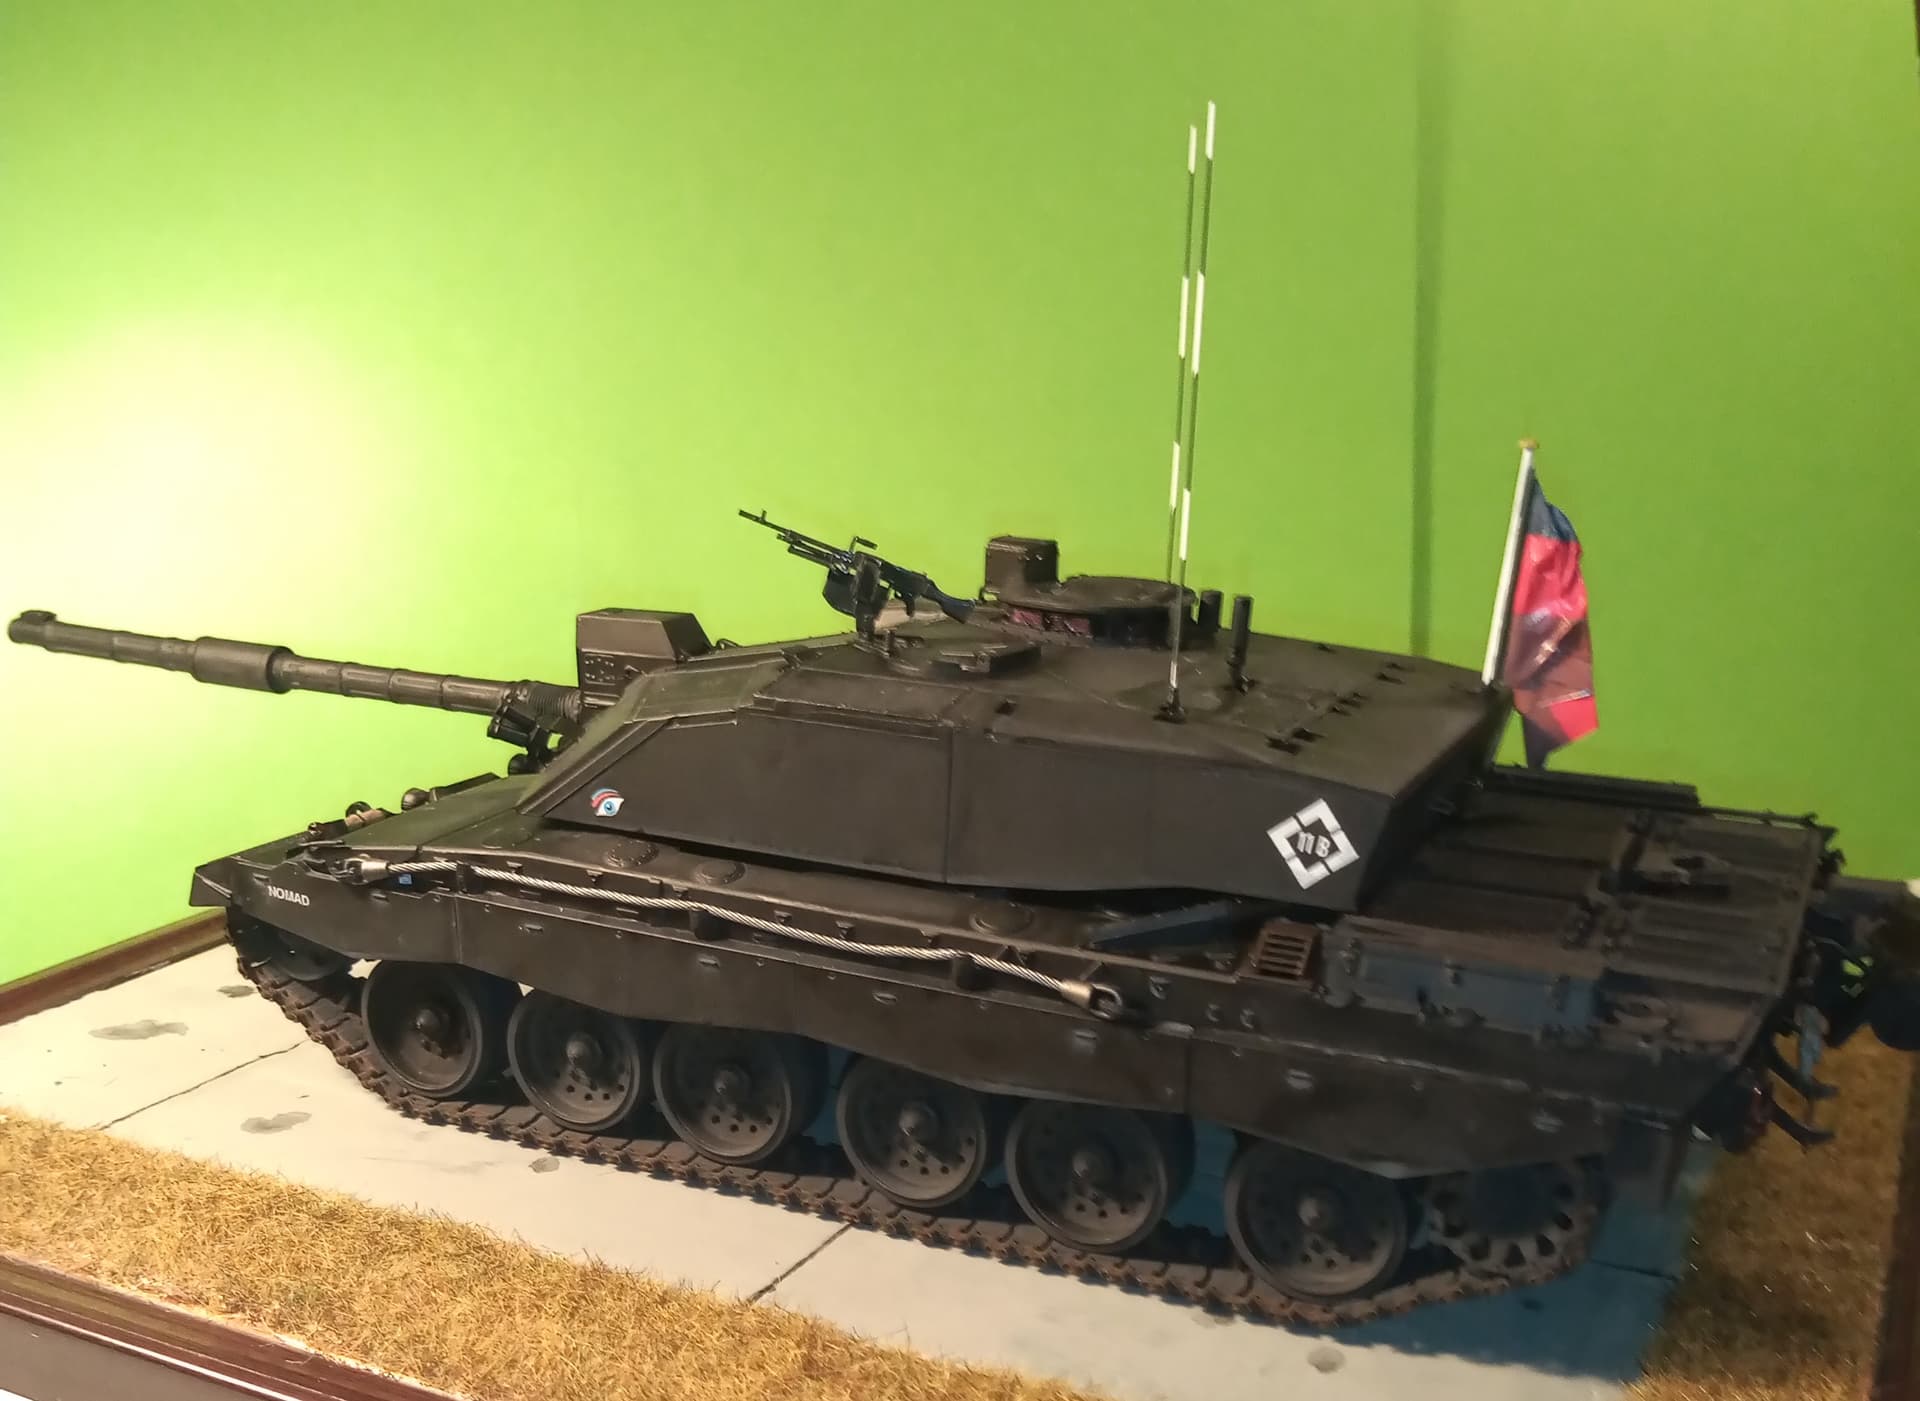
This C/S is the, or would be the Commanding Officers tank and his main Command and control means during exercise or a real time war footing from where he would command his Regiment.
In this configuration, it represents the tank that was centre stage in the RTR amalgamation parade in 2014.
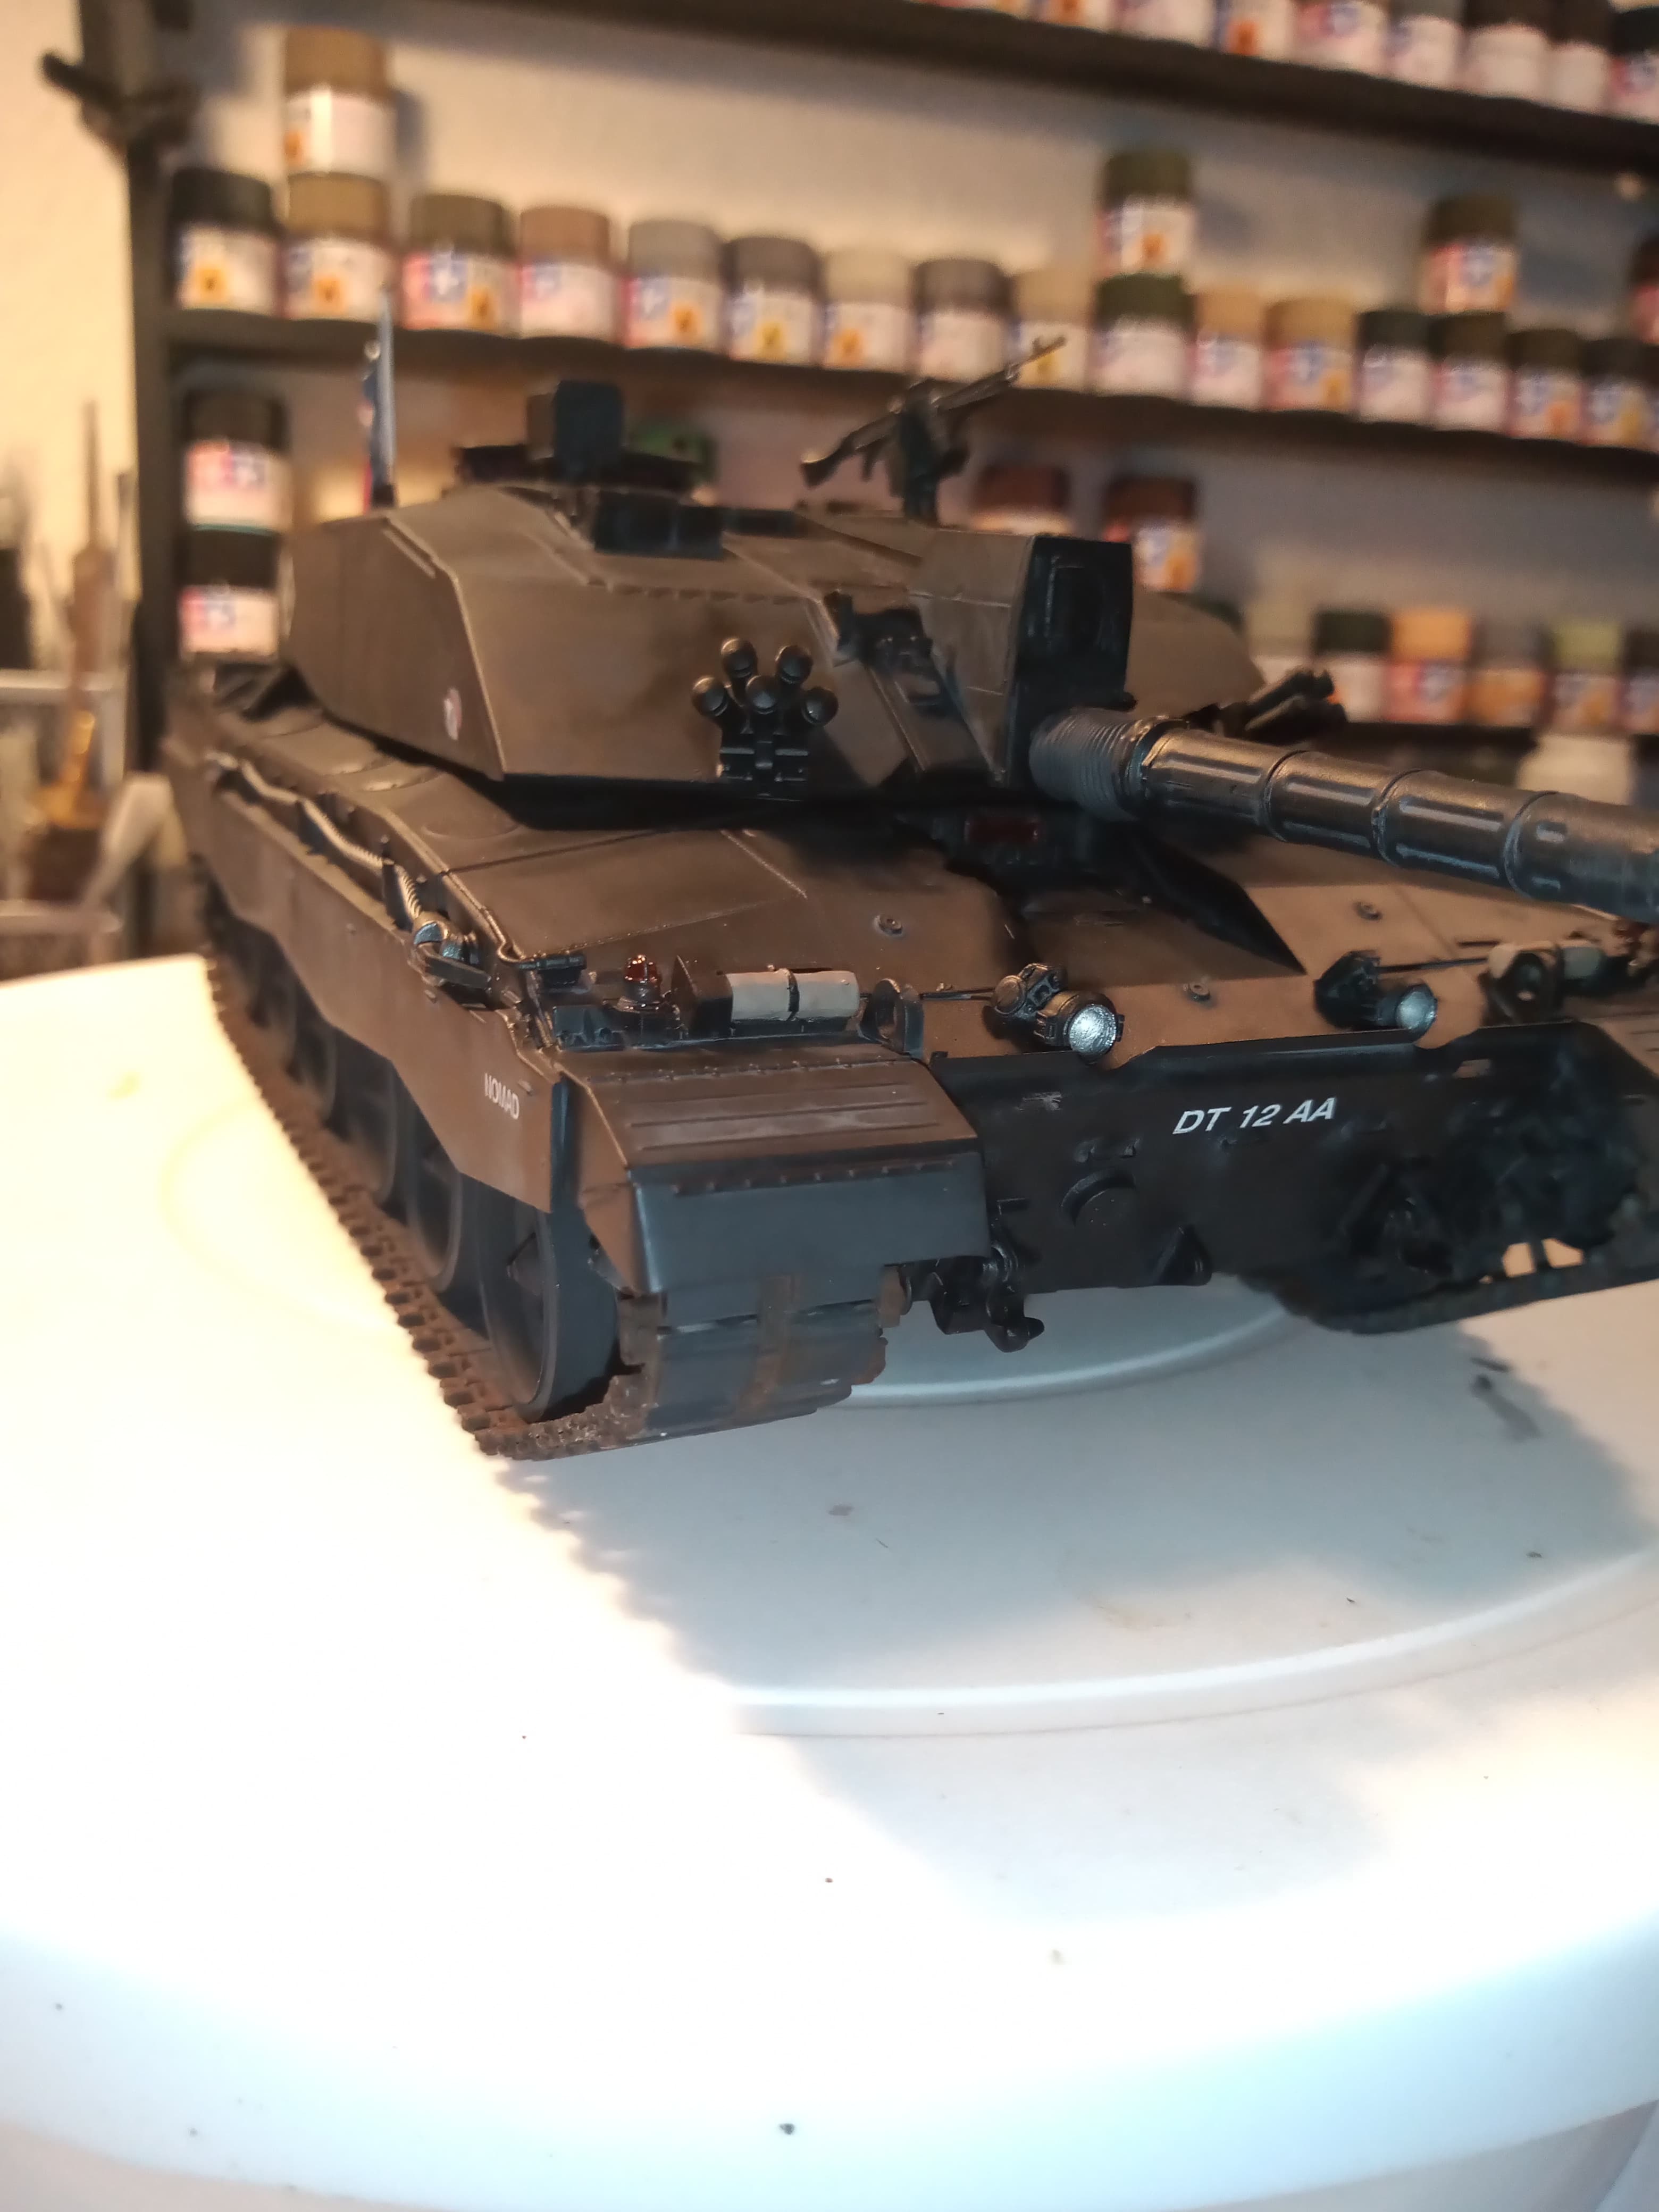
The kit was the RFM Cr2 offering and it went together like a dream. Was really impressed with the tracks and how they went together and remained workable.
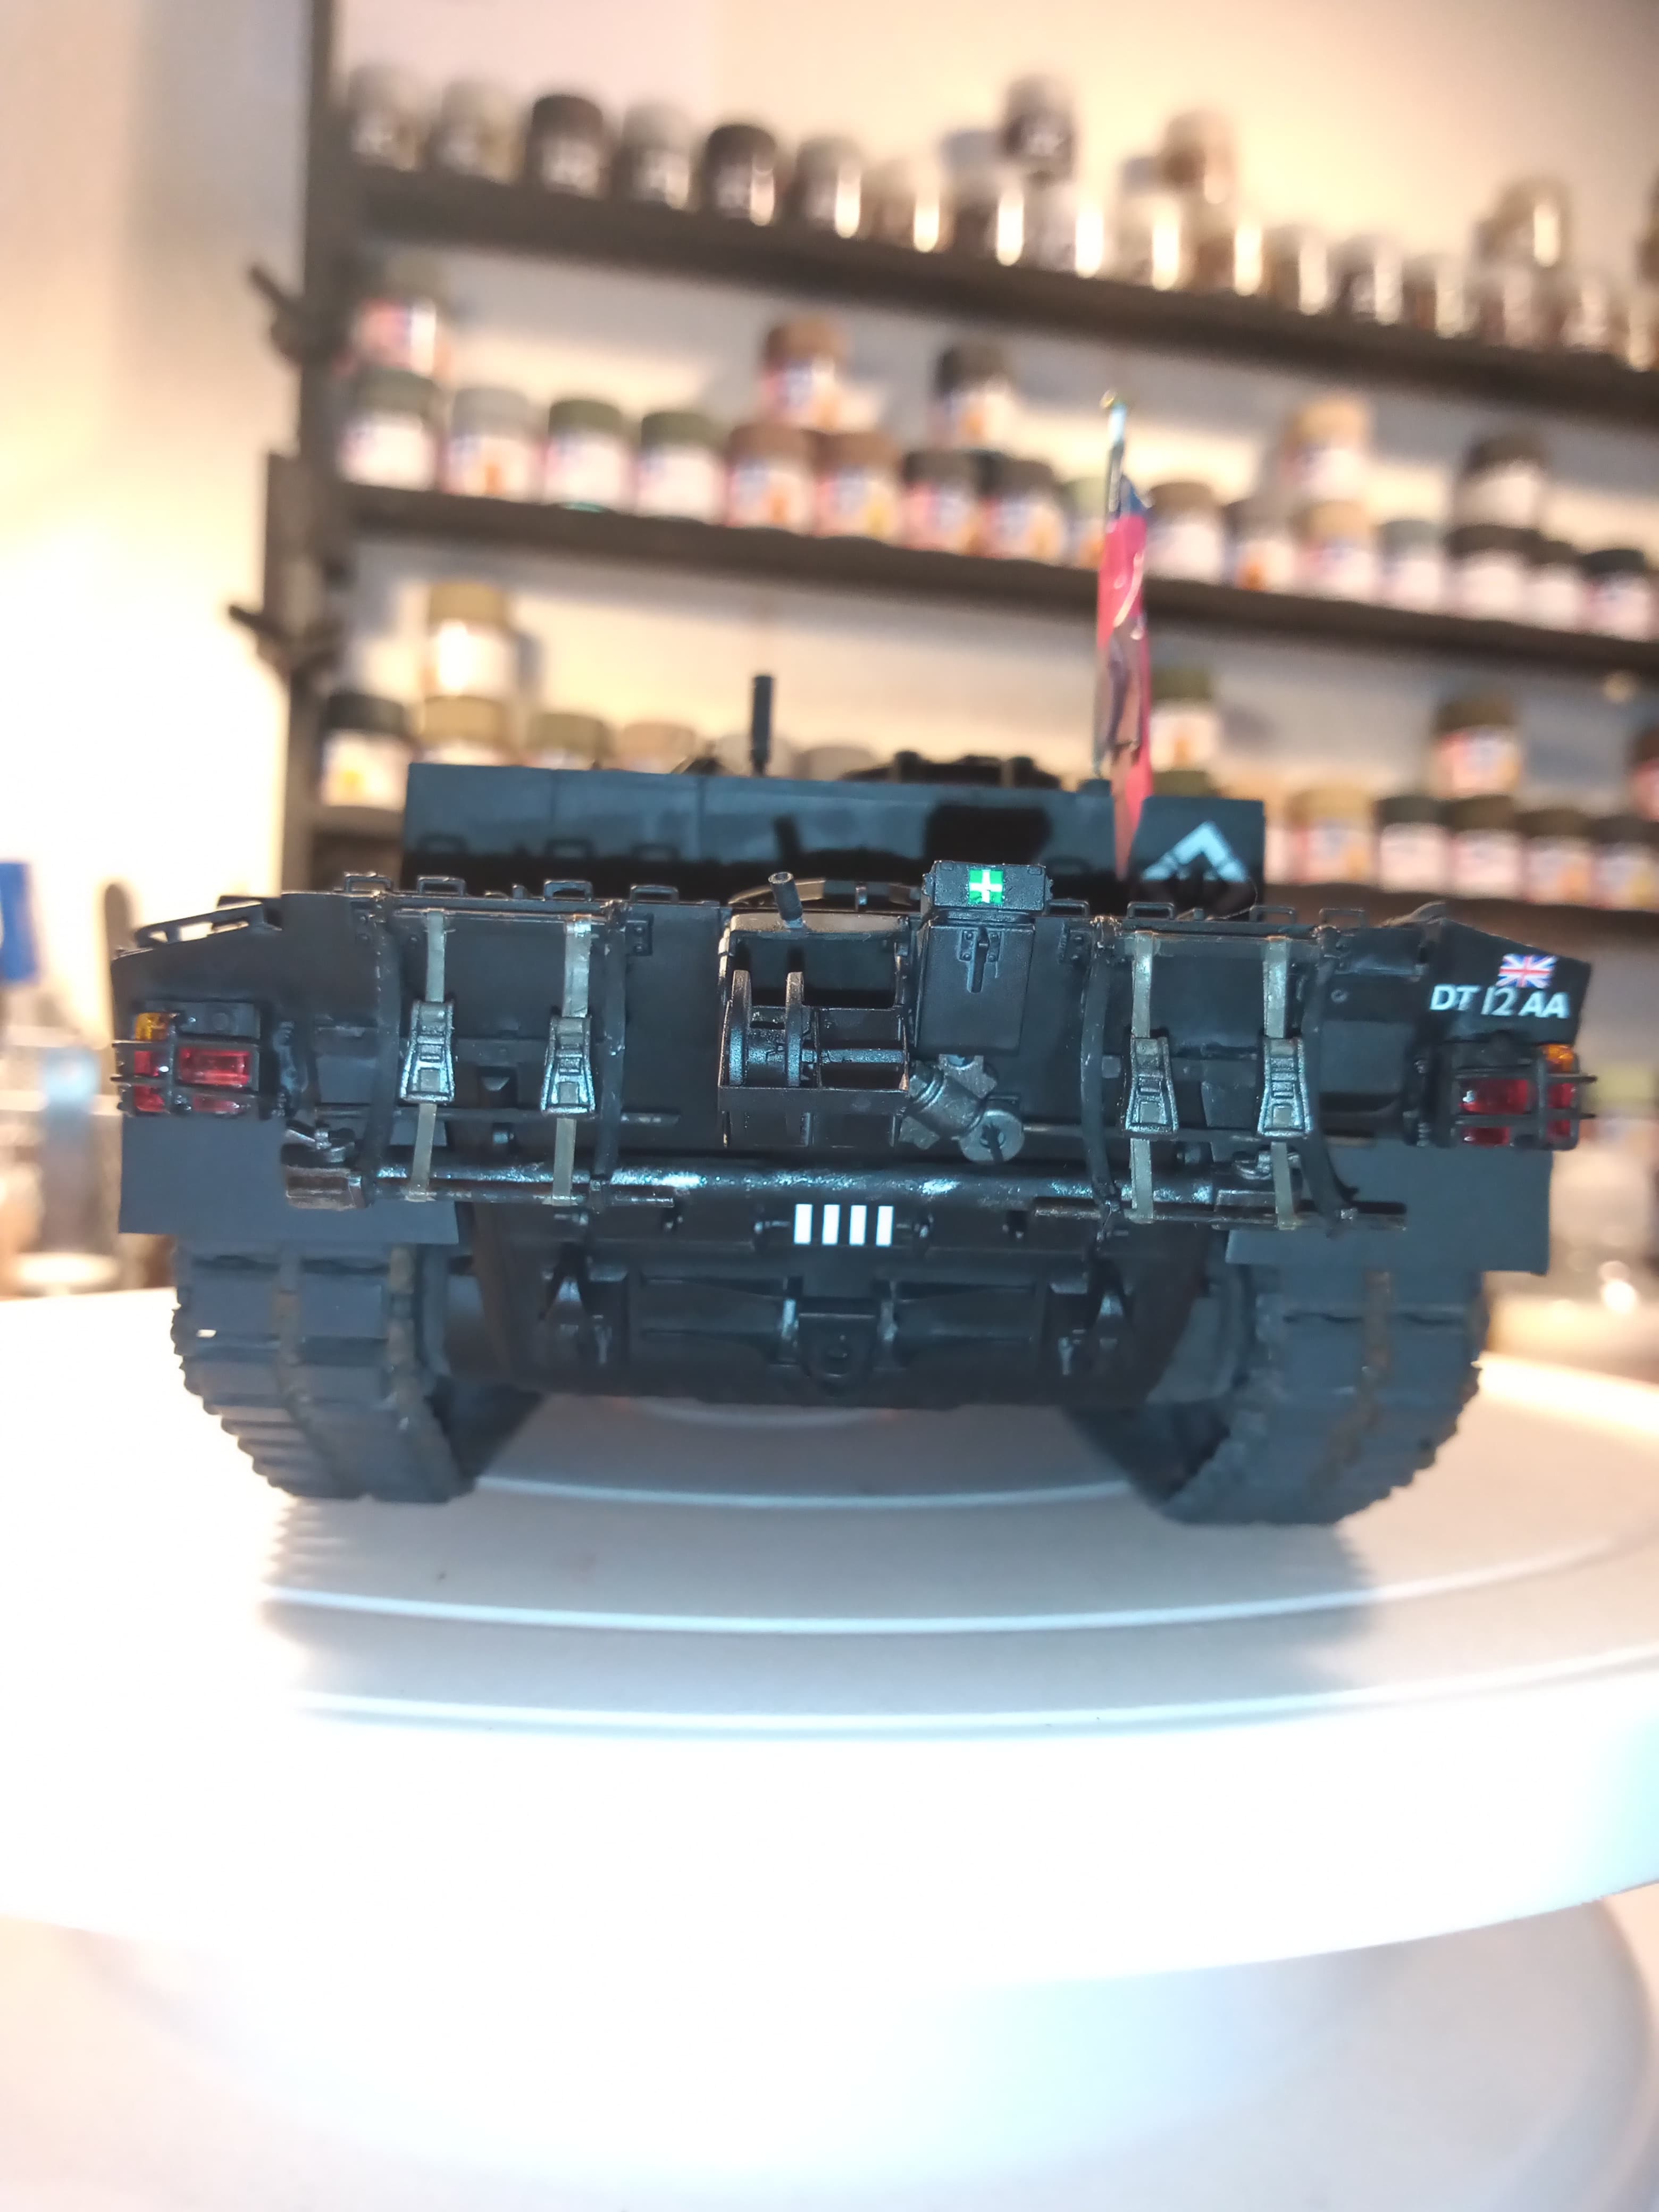
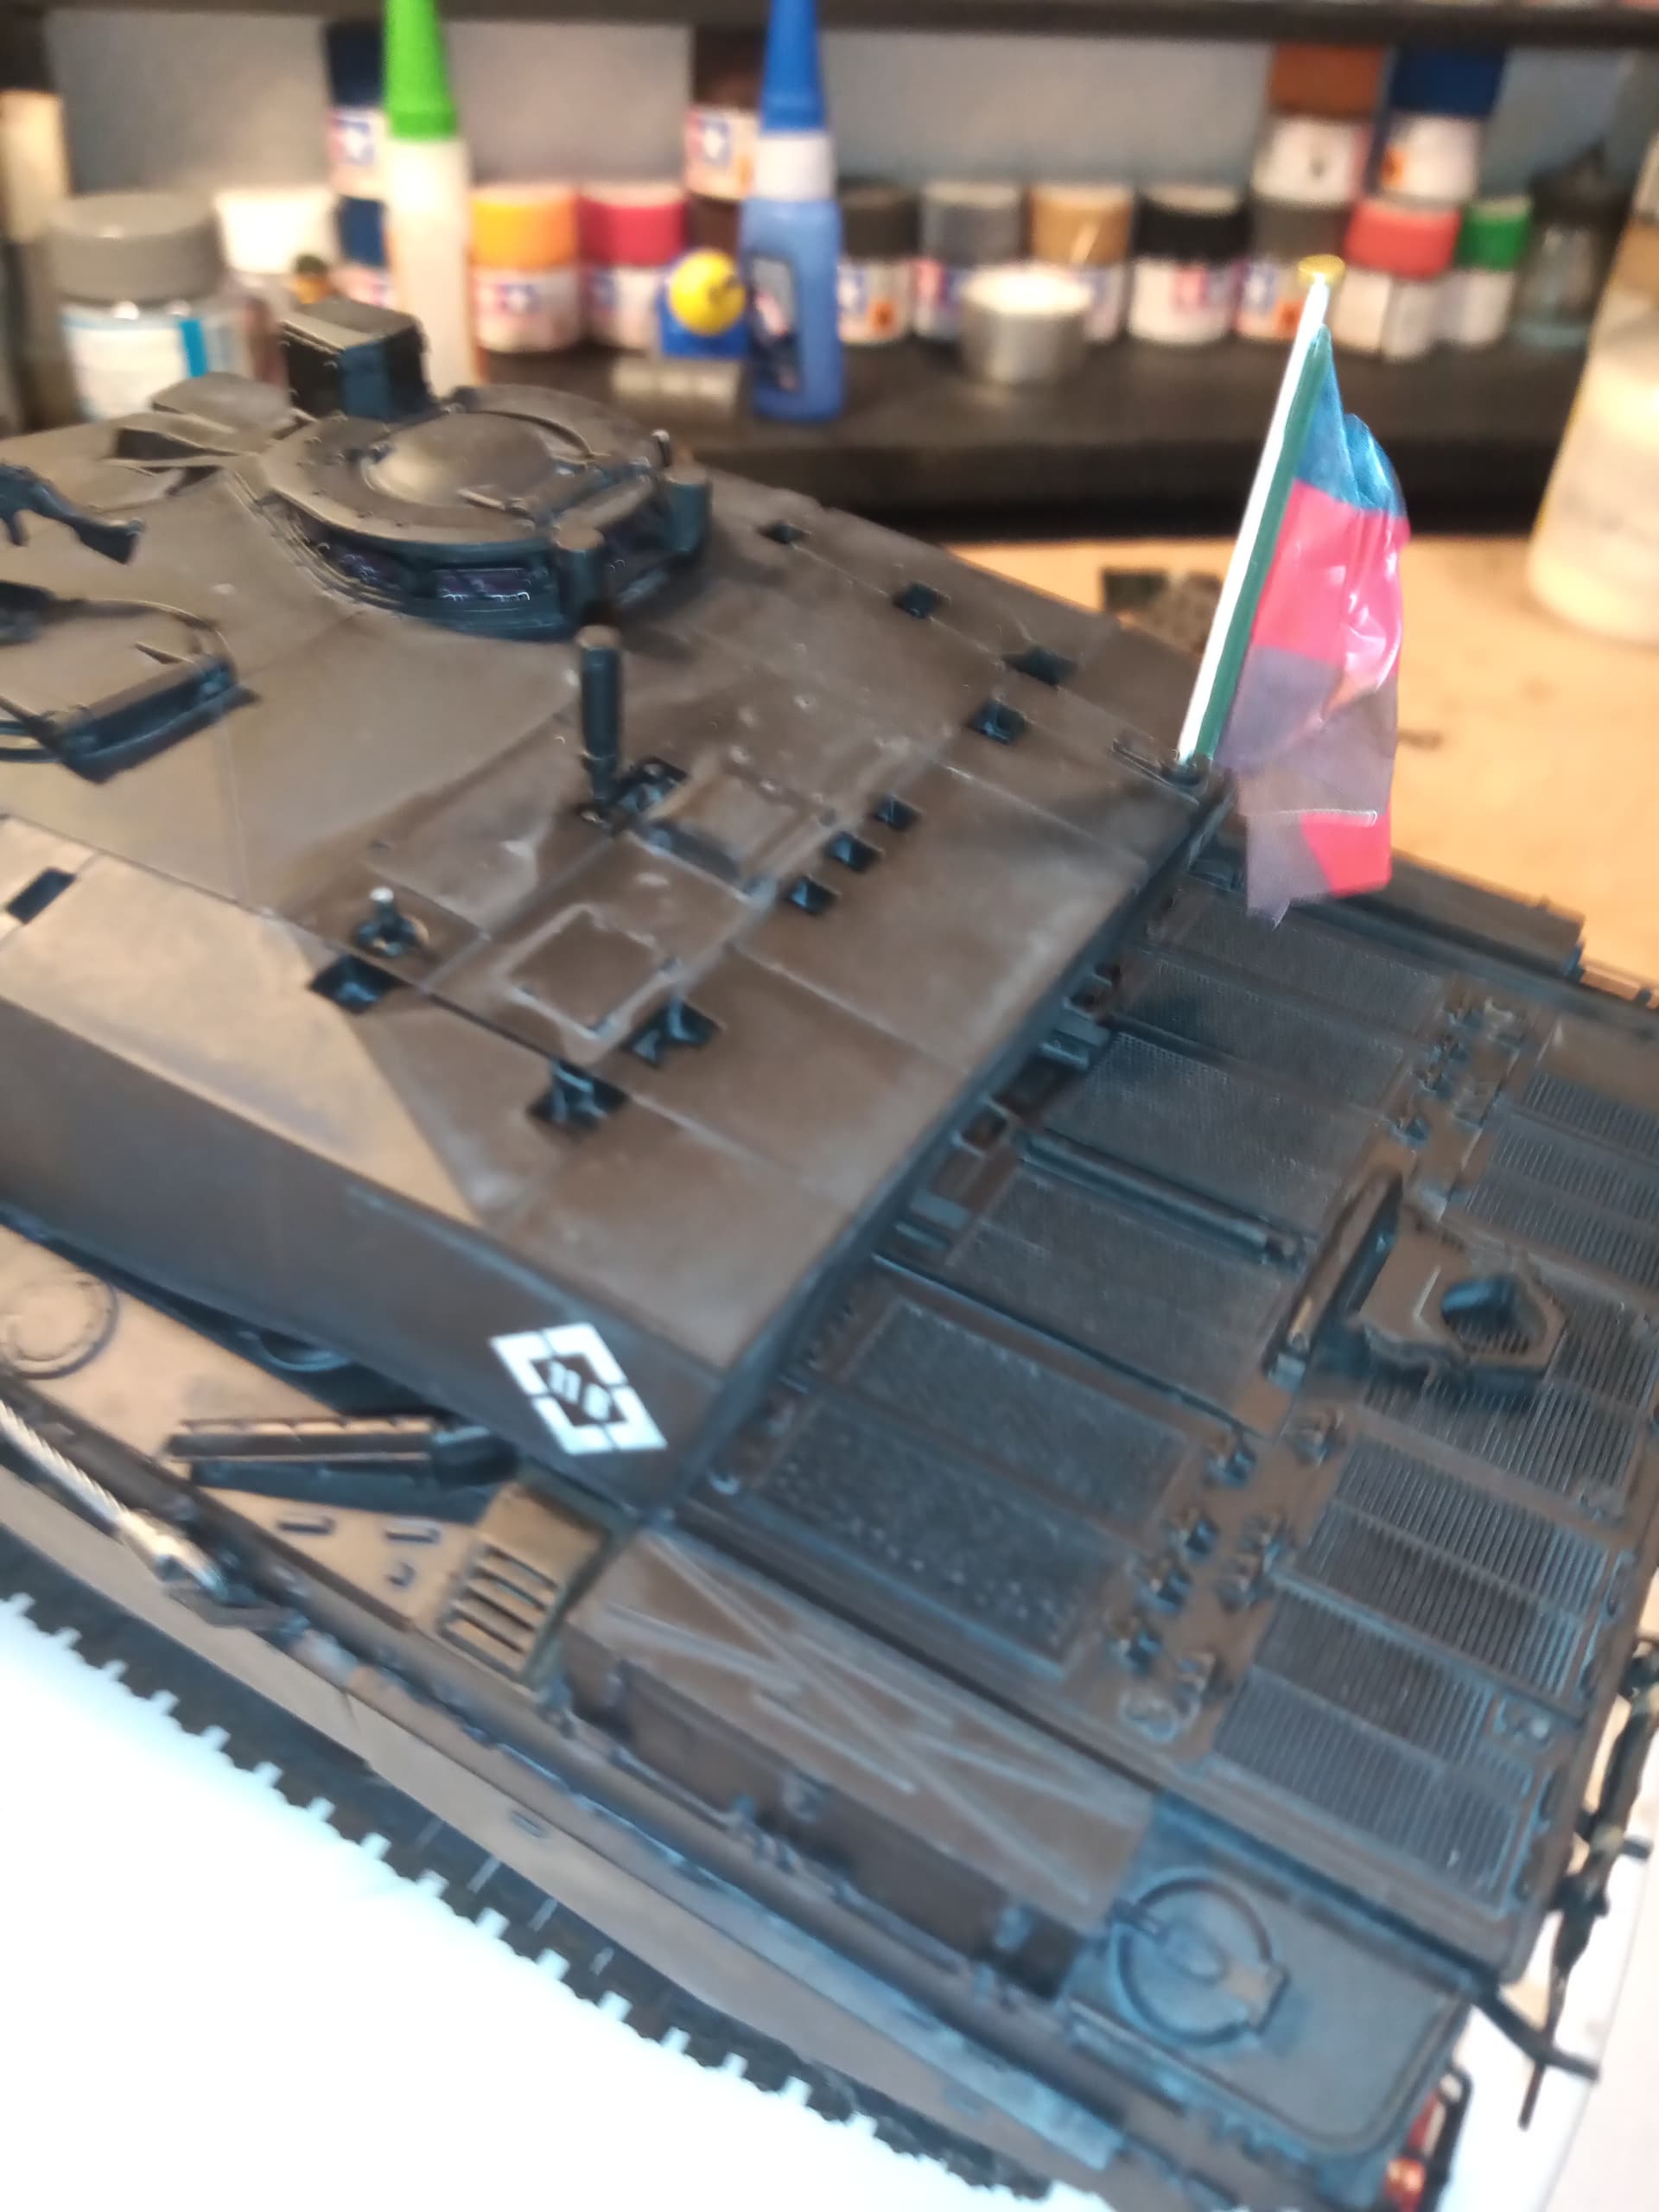
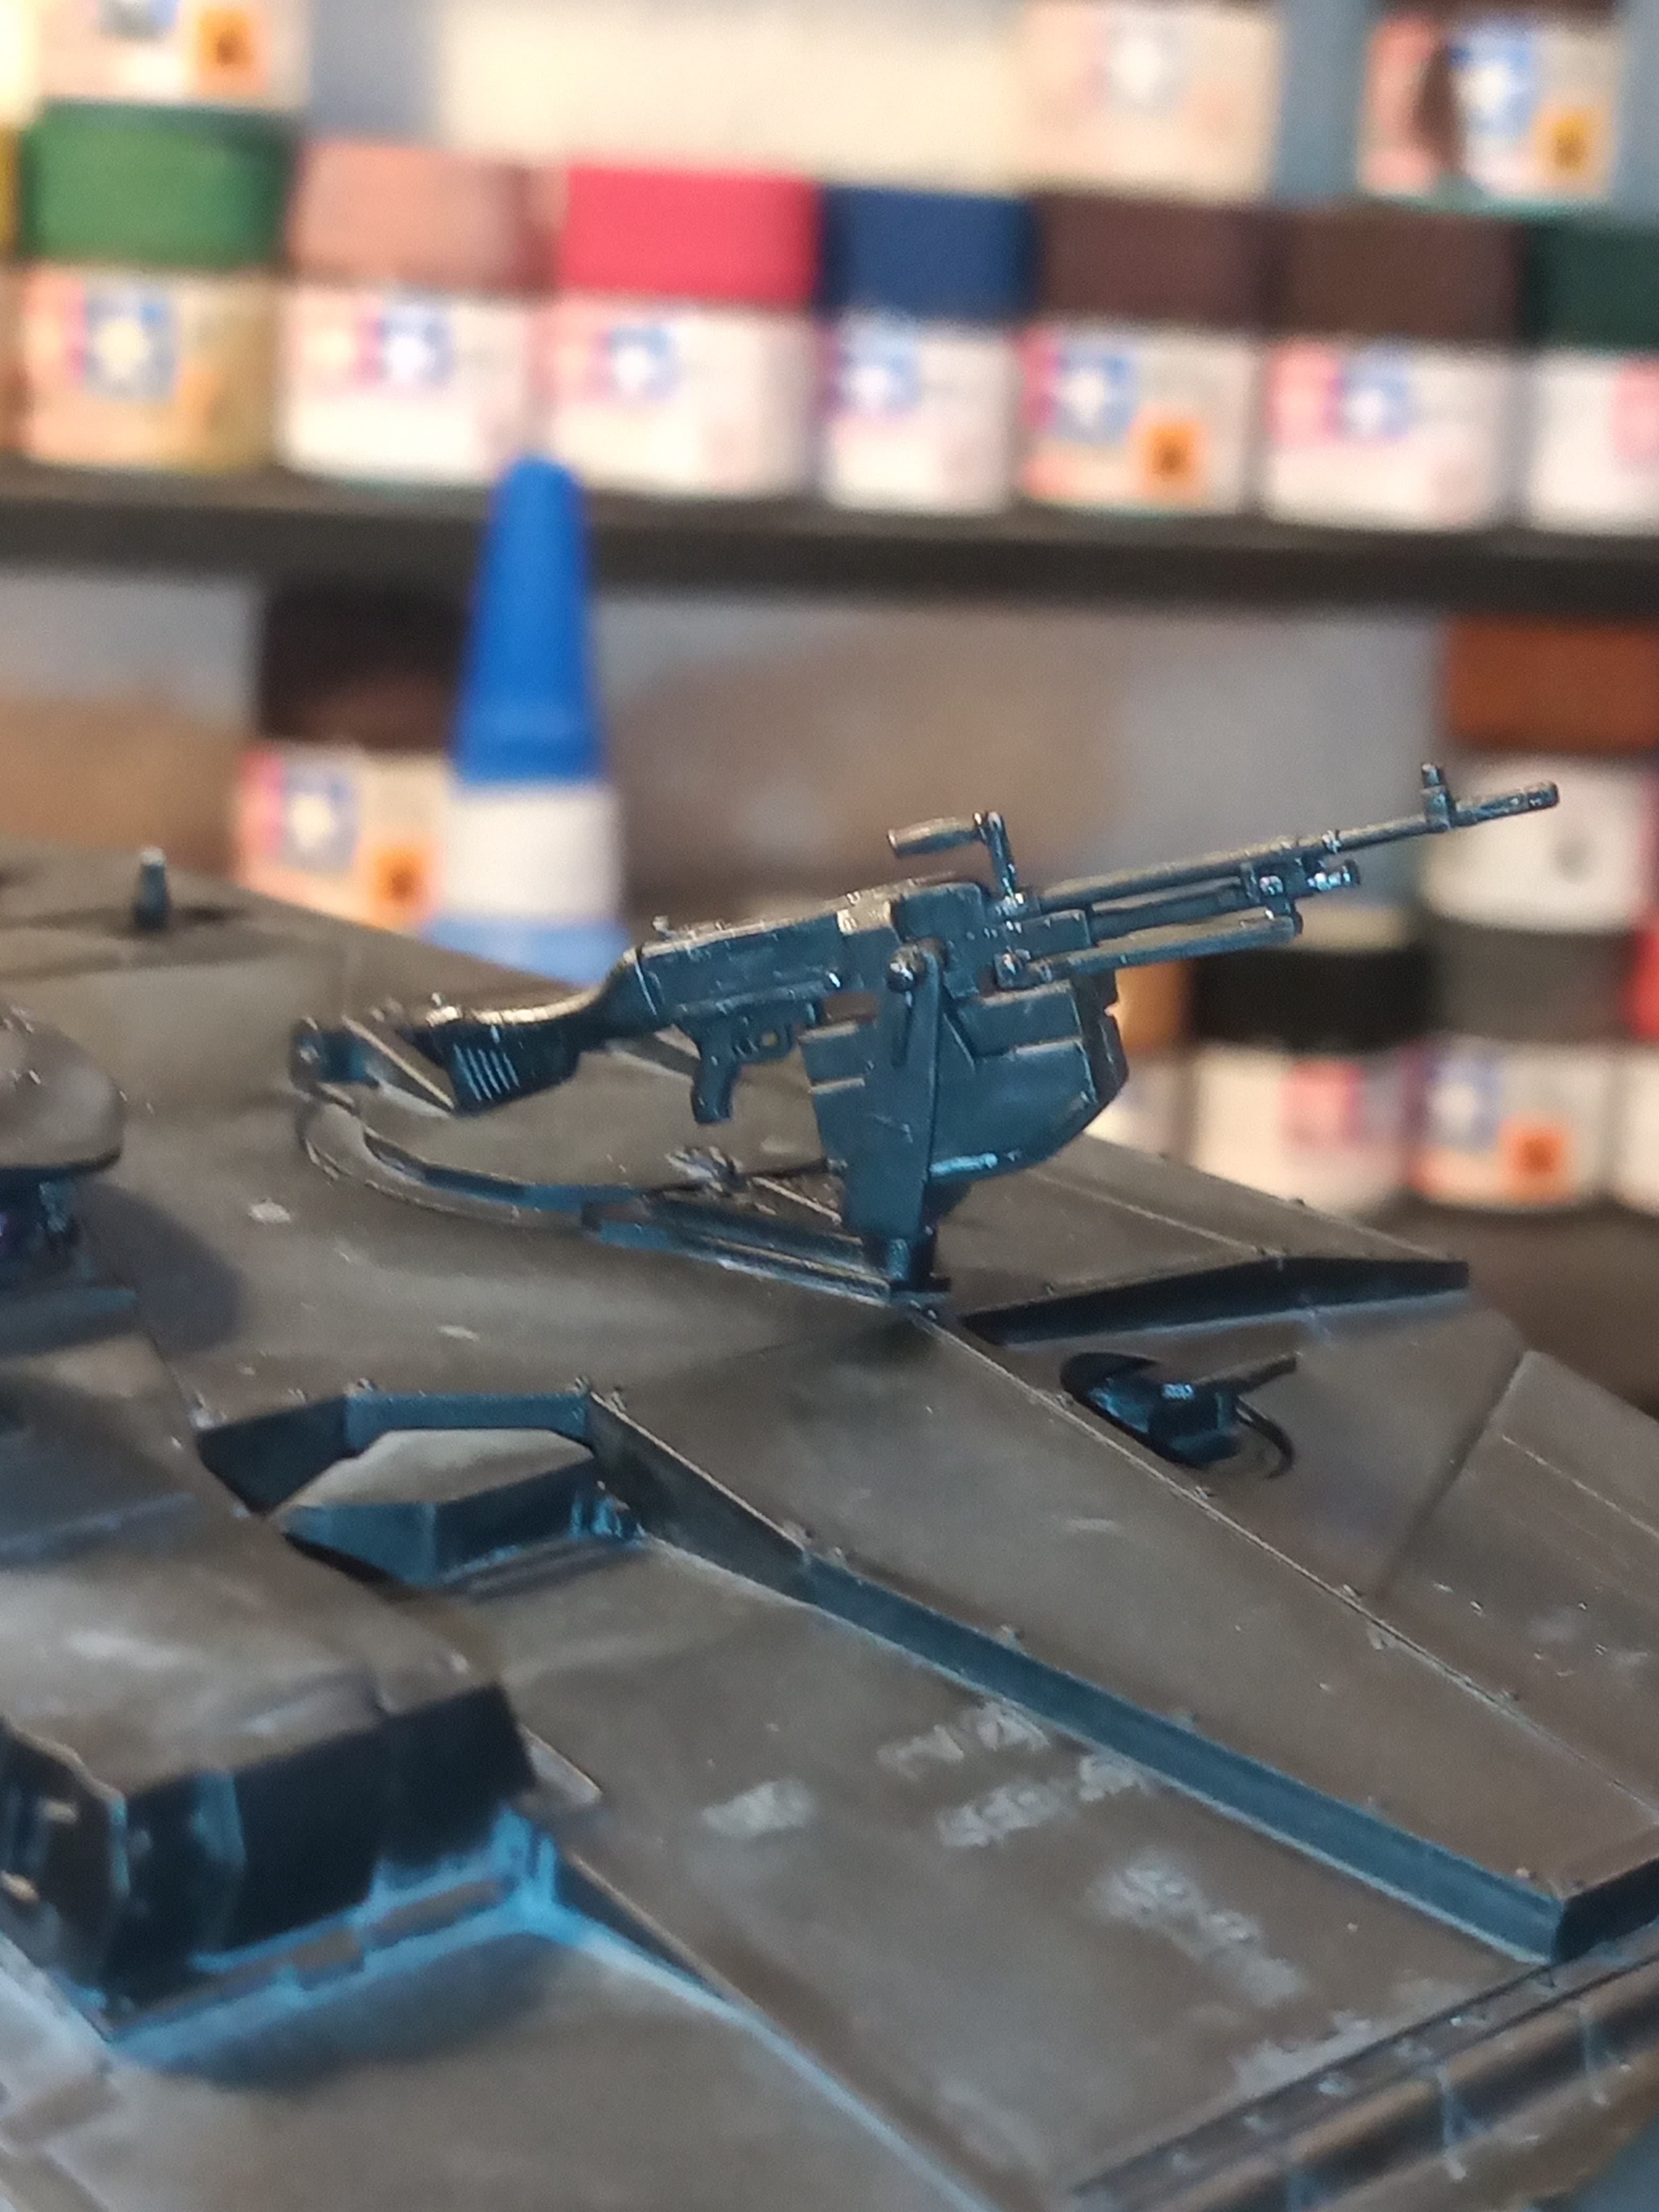
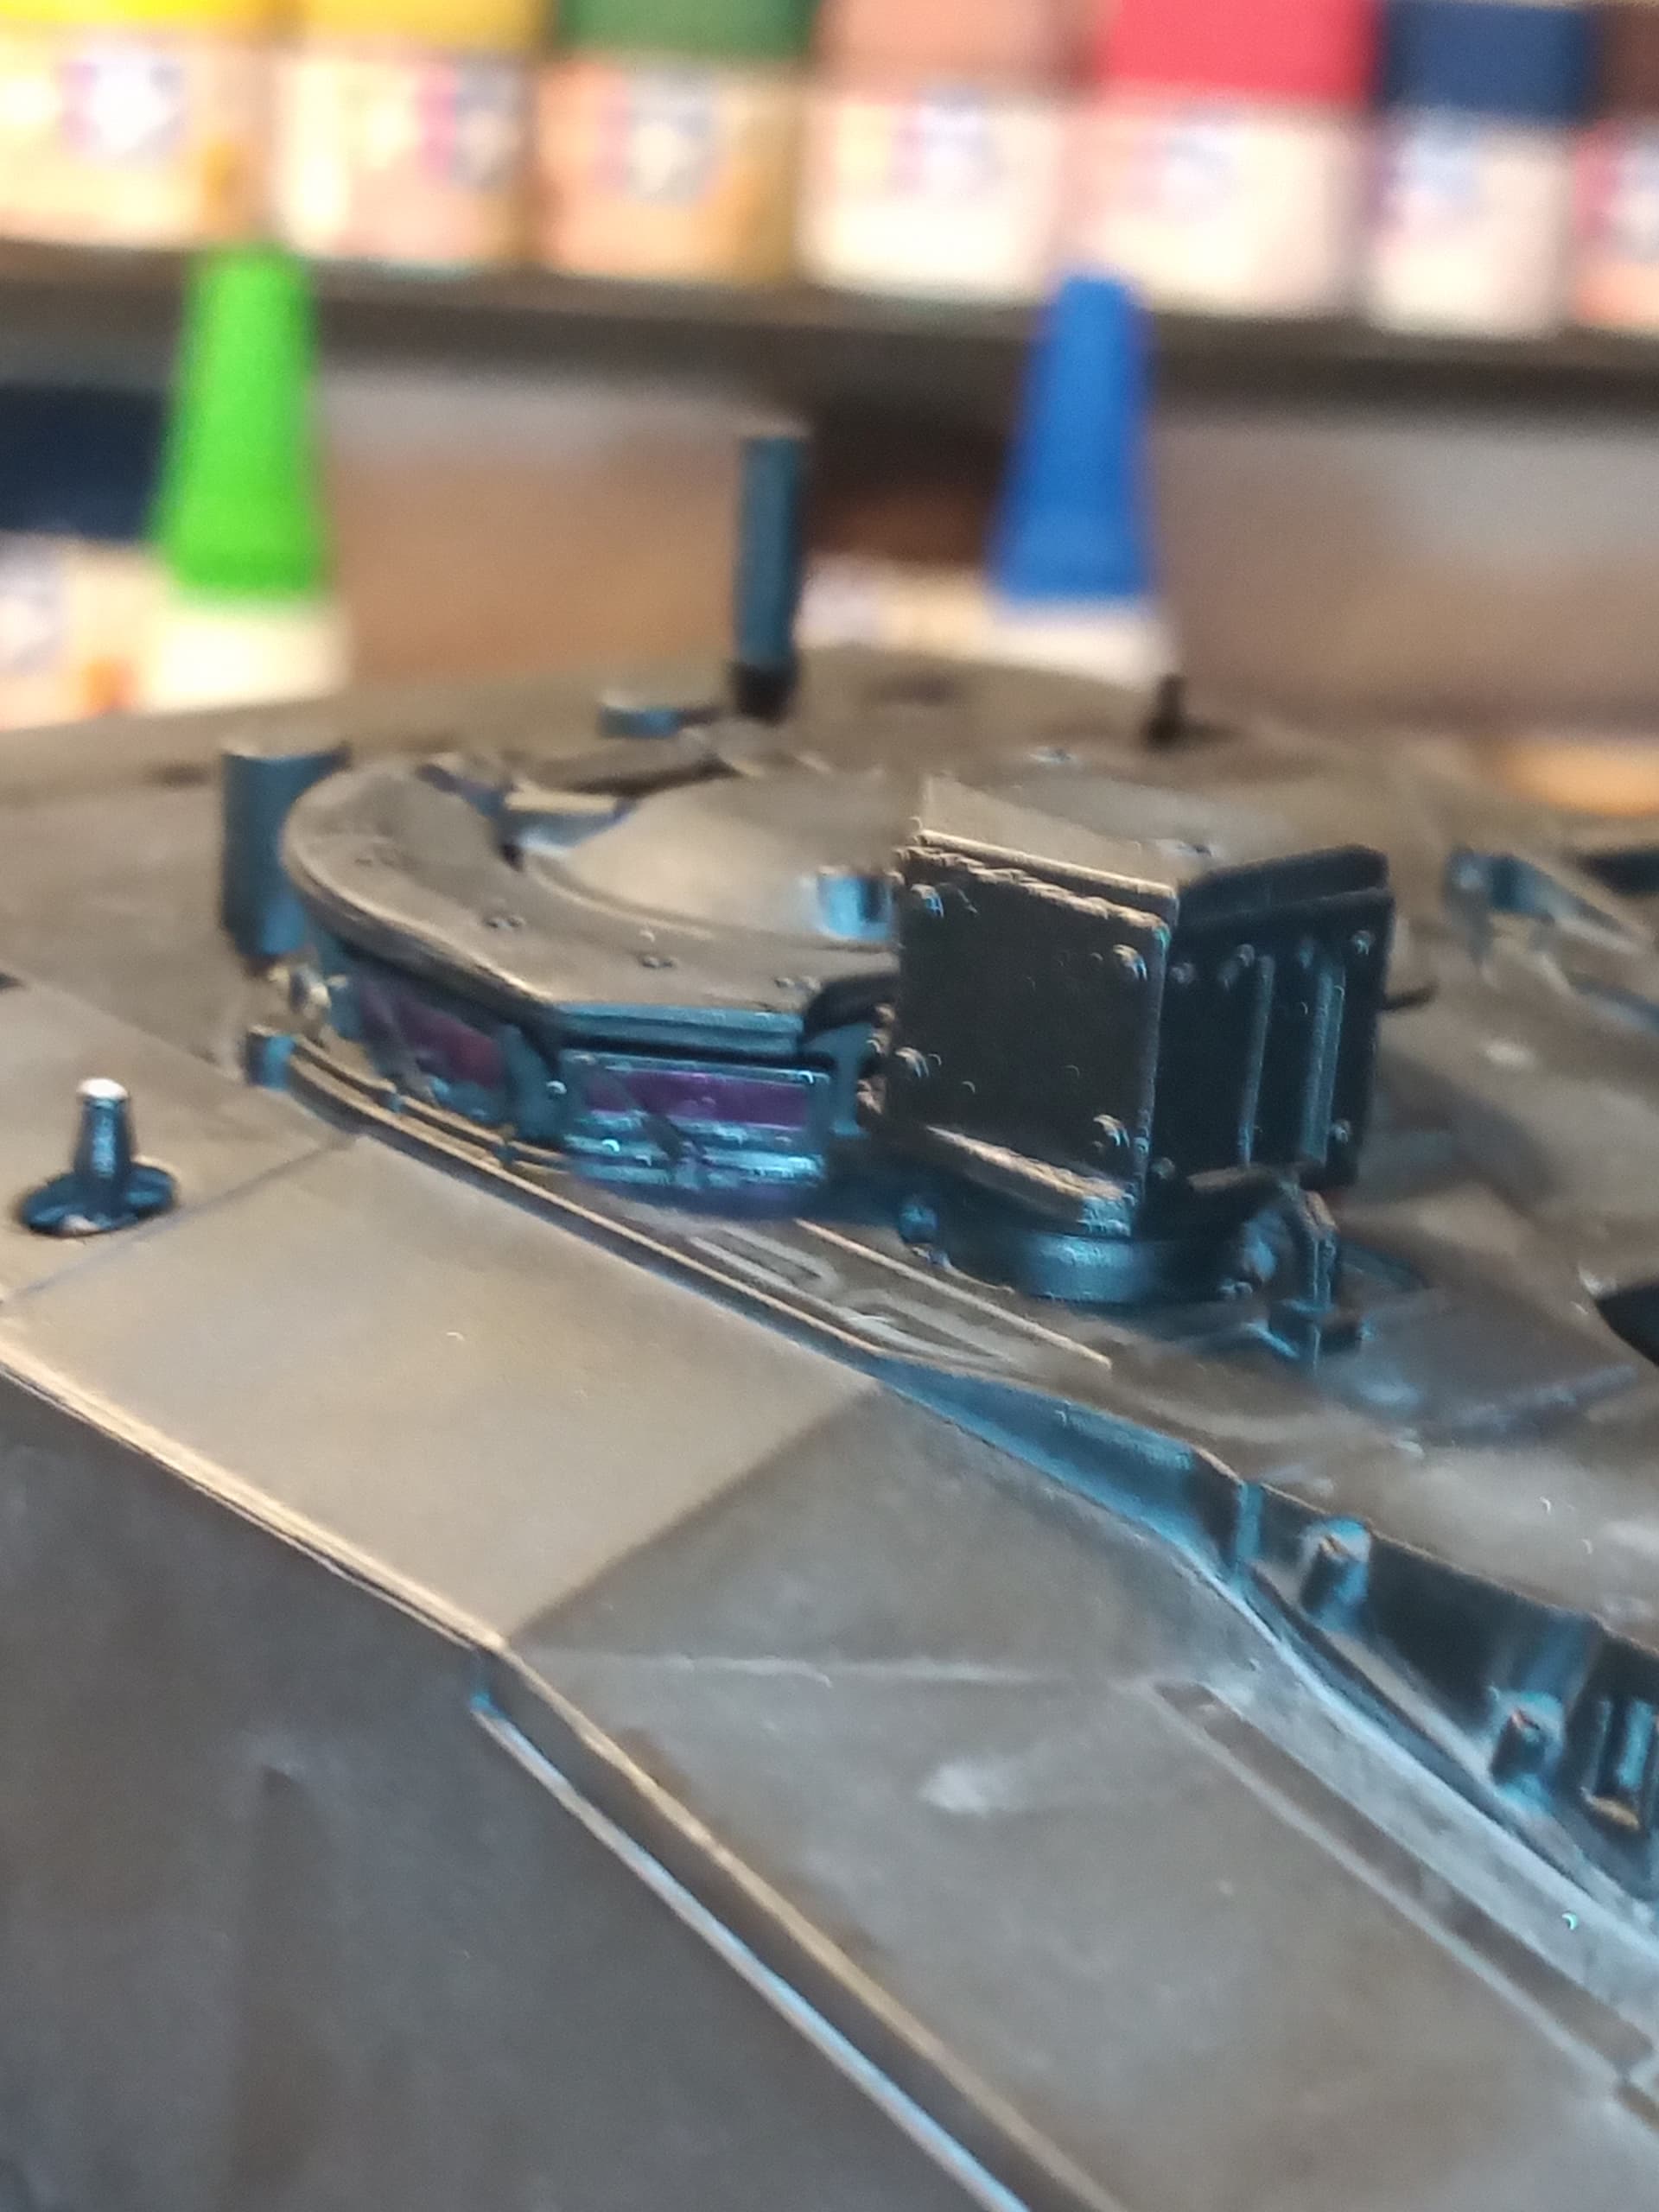
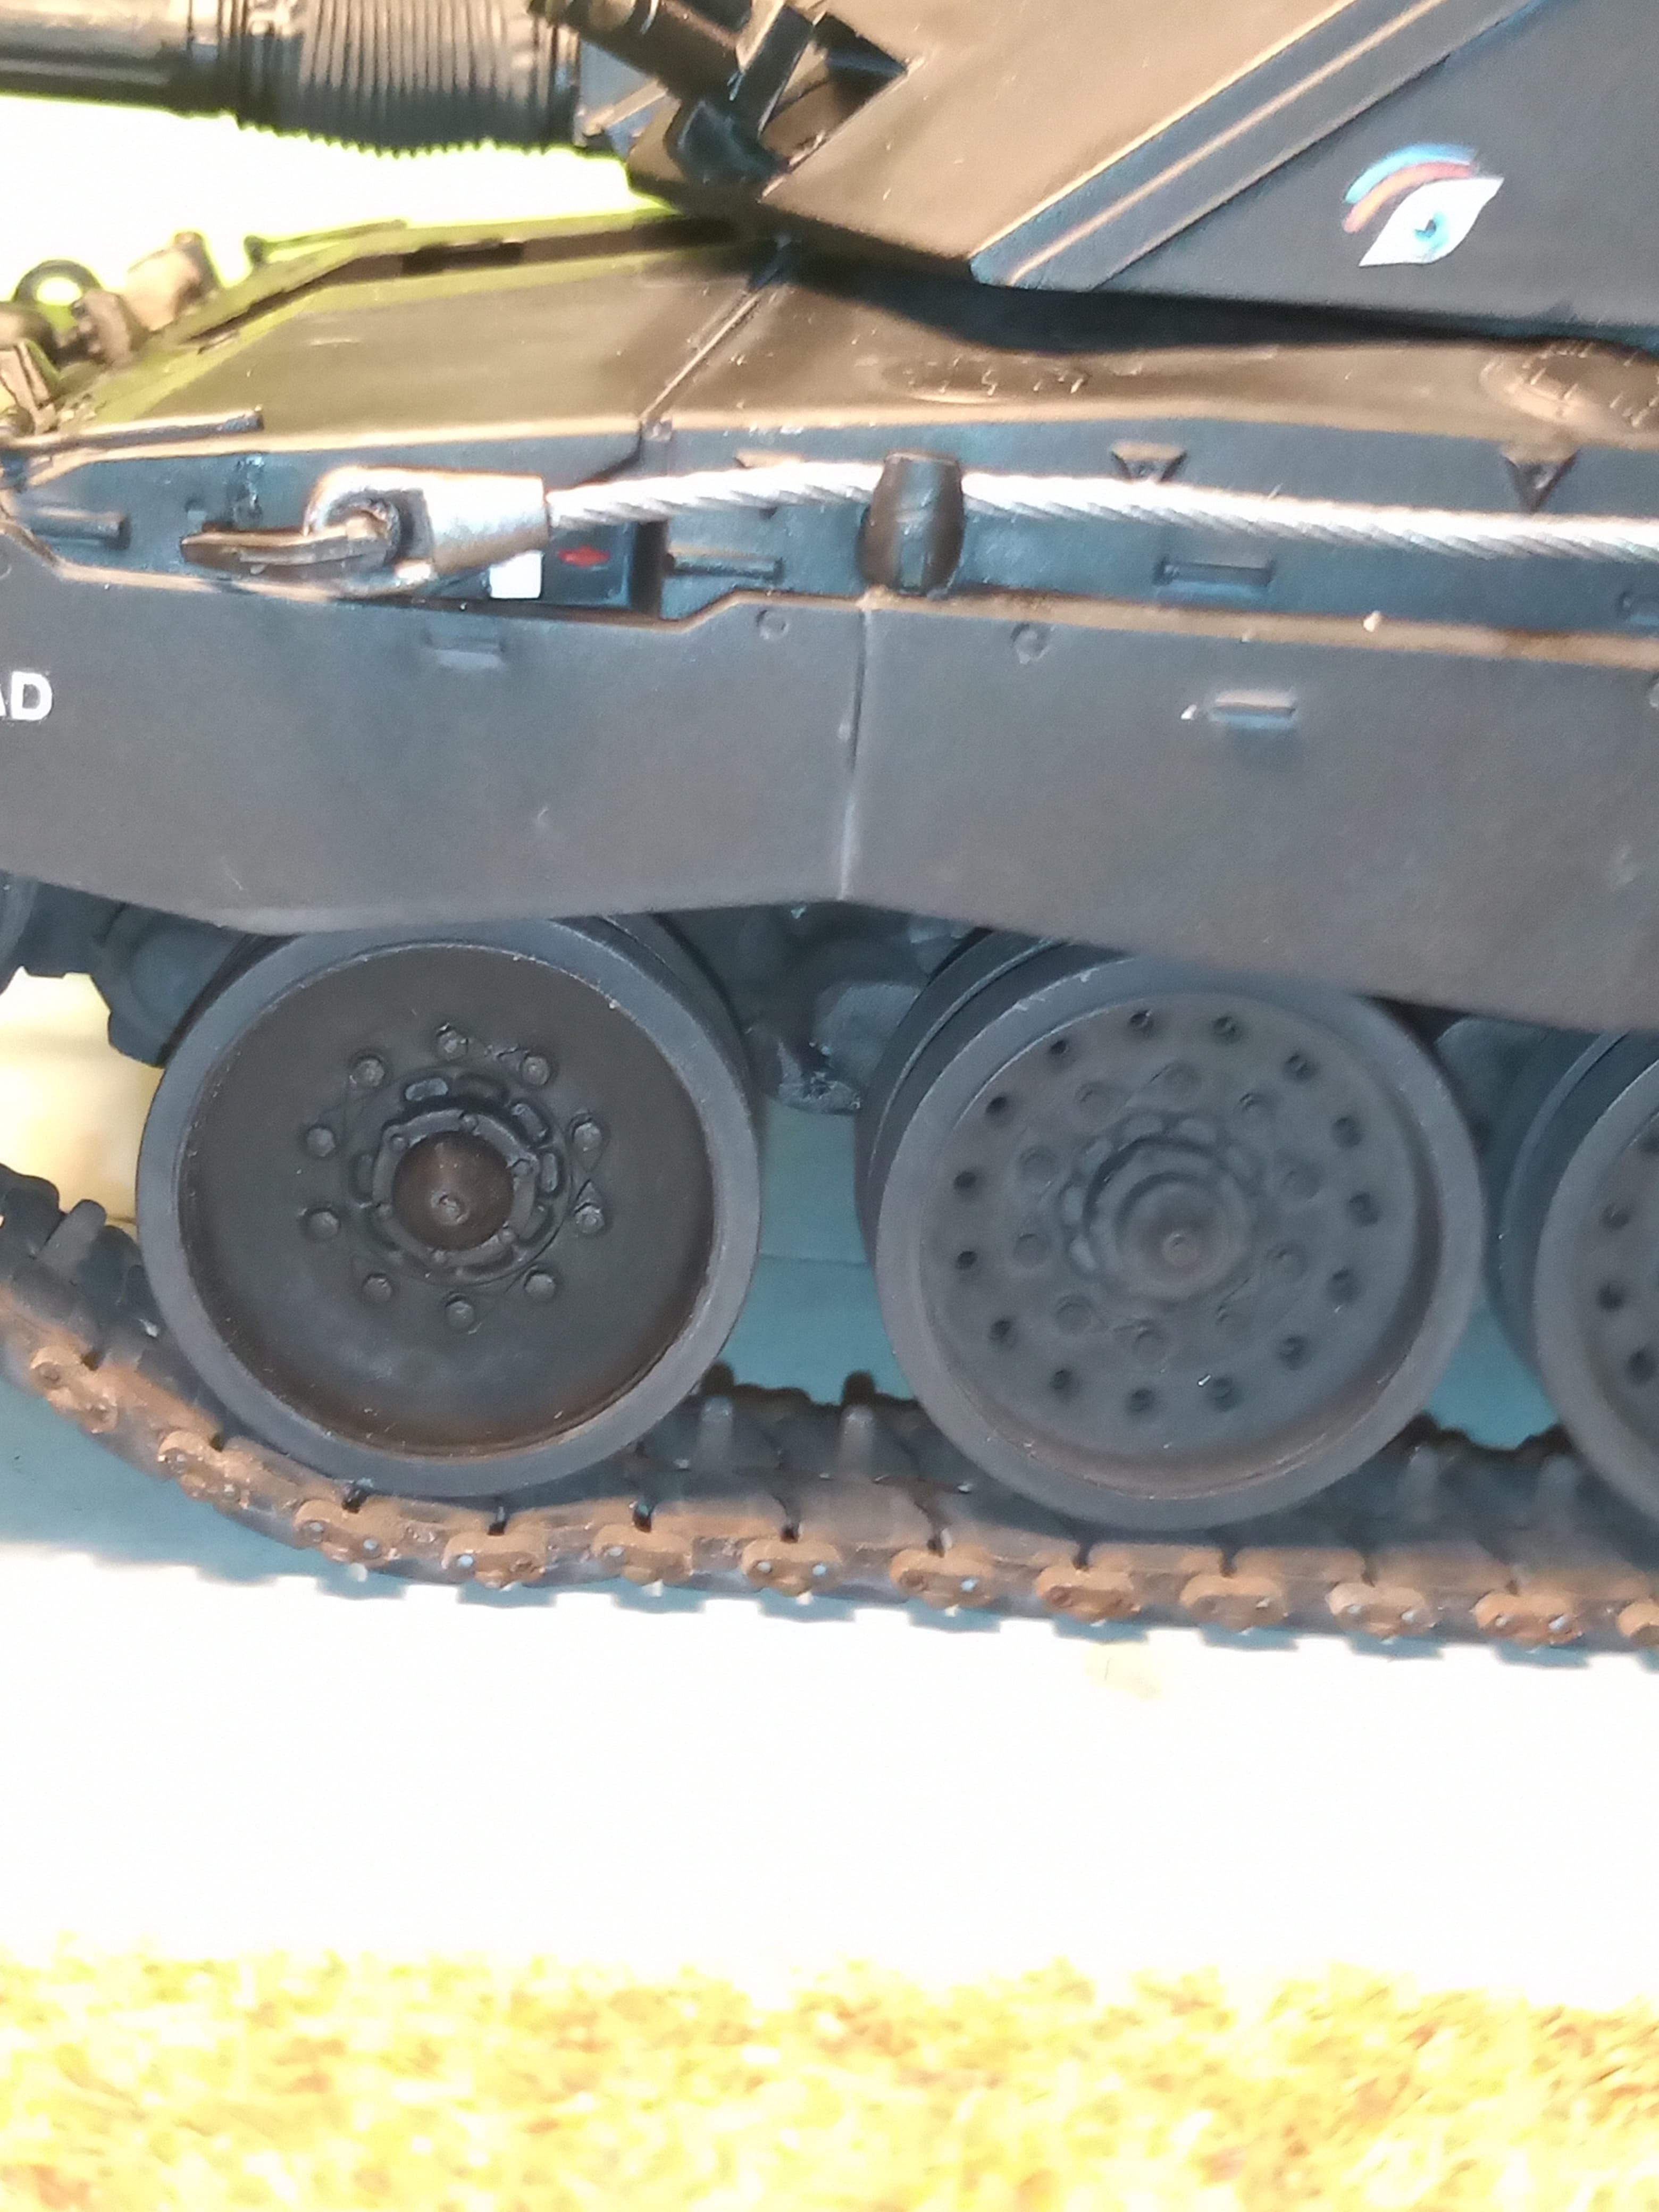
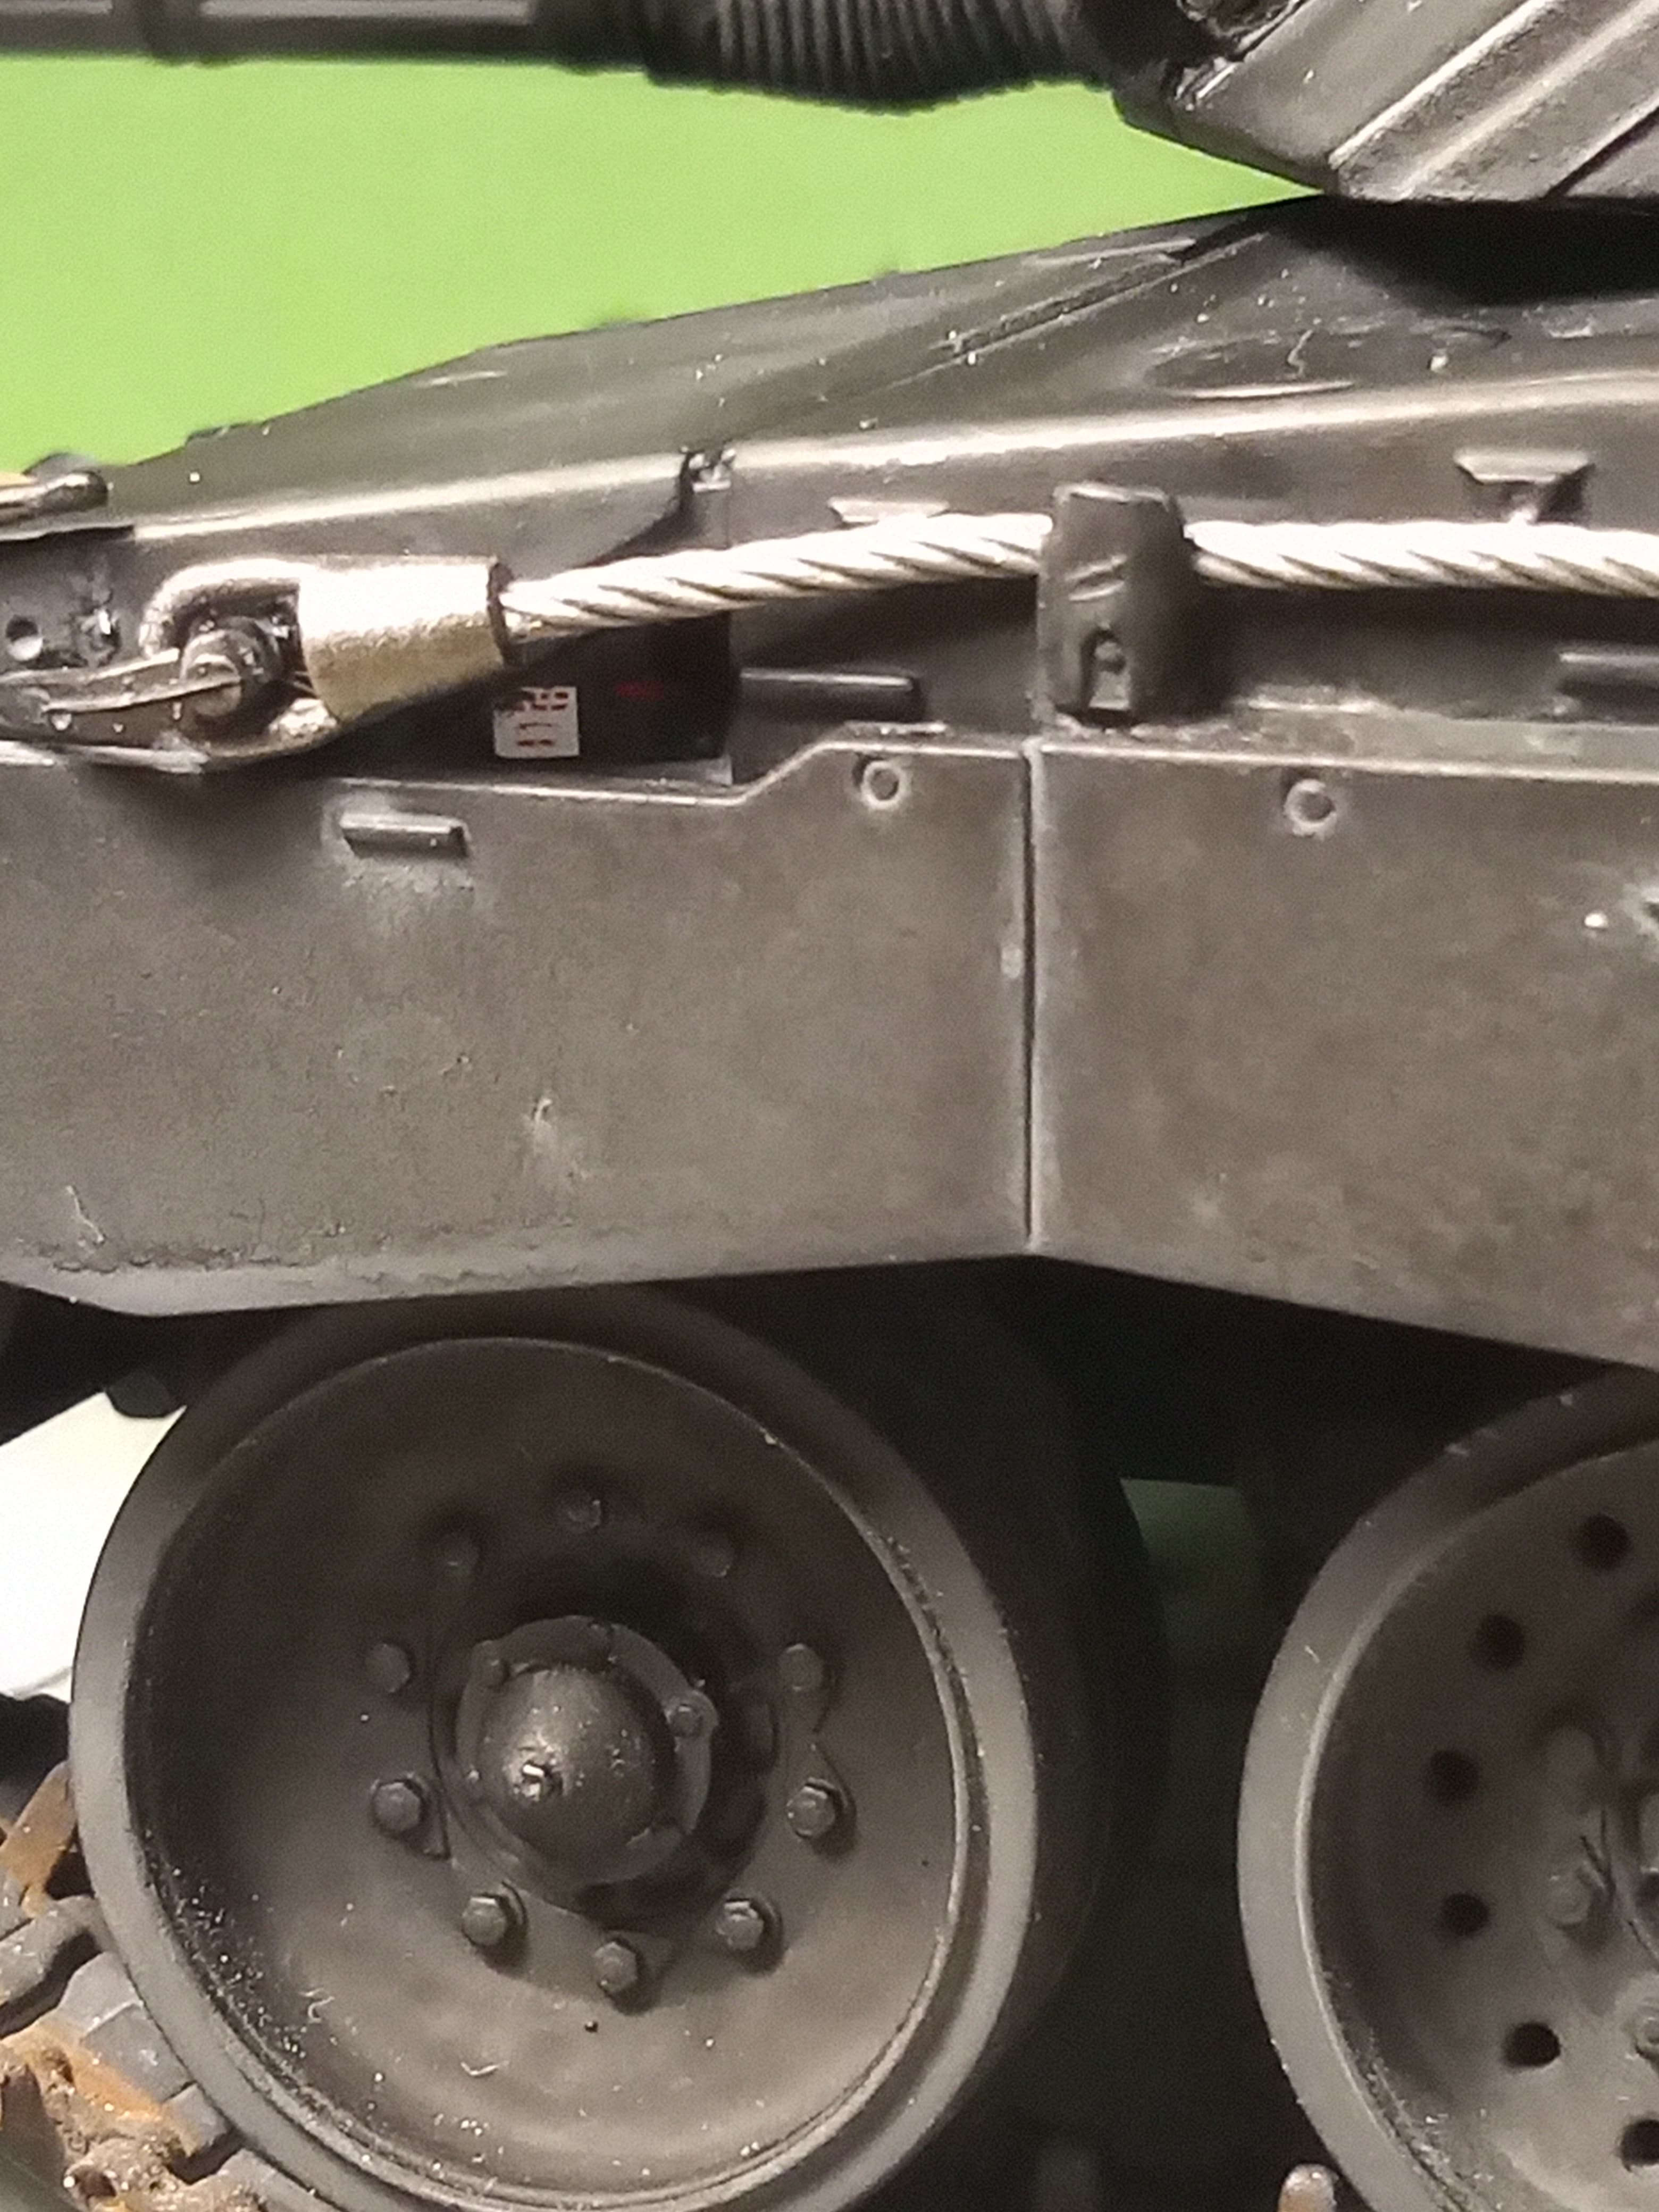
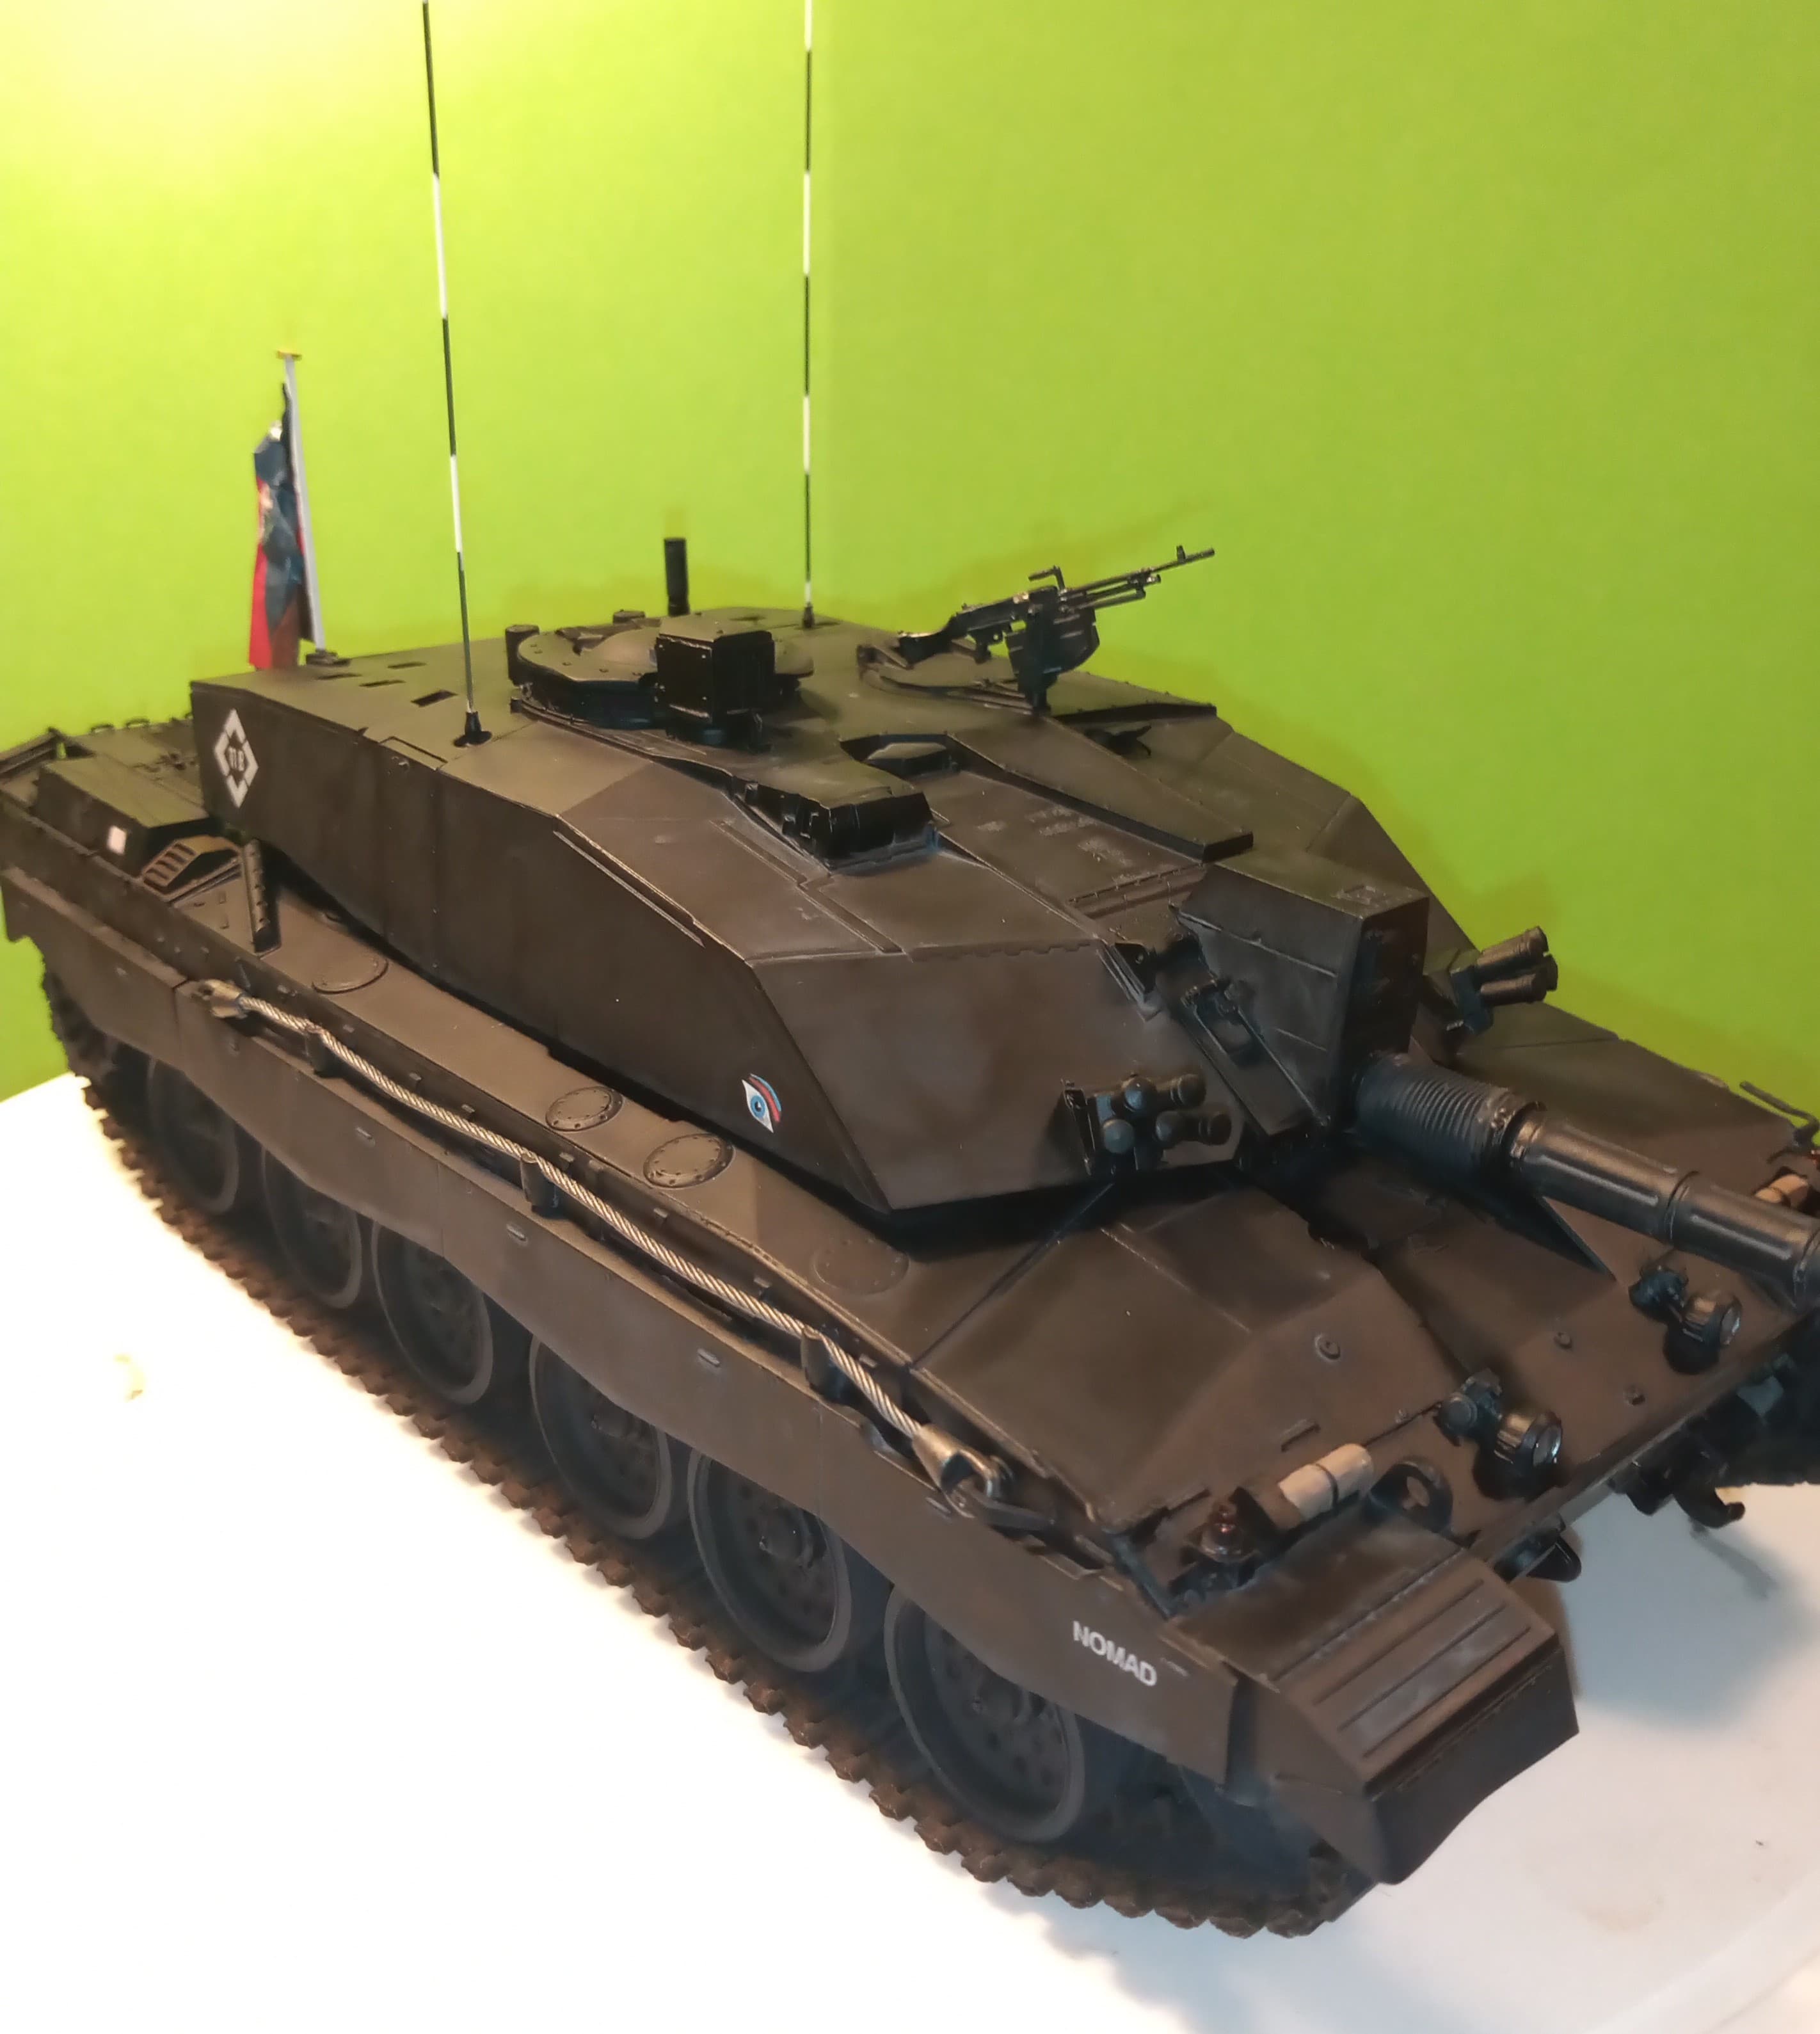
The kit is OOB apart from antennas, custom decals made for Nomad which I got from @AKirchhoff and who should take credit for the whole idea in fairness. I also printed the RTR Regimental flag, converted the fuel drum holders to be empty and customised the front LH wheel to show the old solid dish type and added some coloured candy wrapper for all the vision blocks and the scratch built ammo tin mount, and the muzzle cap with RTR capbadge.
For the tracks I used a base coat of Tamiya dark iron, them thinned Matt black, then MIG Track wash and highlighted with MIG 0034 track rust.
Overall finish was achieved with AK neutral grey wash.
Pictures are on no particular order but will add comments if anything needs it.
Thanks to everyone for the support and advice and encouragement during the build, it’s always appreciated and thanks to Don @Canmedic for organising the campaign…
Looking forward to sitting back now and watching the other builds
Thanks Ryan and Frank. Yeah, I know what you mean about the carry handle. Although you can fire it in the vertical (from the hip in full cowboy mode lol), they were taught be fired with it flipped over. I was considering snipping it and gluing it over, but its so delicate it would never retain any strength once it was re-glued. I totally binned the idea once I broke the barrel by the gas plug … that took ages to get back on straight …
Absolutely outstanding John, out-freakin-standing! This tank just exudes “high class” all the way. If James Bond dressed in a tuxedo were a tank, this would be it! It’s just perfect everywhere you look. Black-on-black is SO hard to pull off and you’ve done it brilliantly. The grey wash gives it perfect detail shading. Your restrained but specific use of color is so very well done. All the small details stand out against the black base. The whole model is perfectly executed. Great build and excellent finish - very impressive!
Thanks Matt - that is some serious high praise and much appreciated buddy. I was worried about the black but that AK grey wash just nailed it and I really couldnt of asked for a better result. This one is now my fav build and finish after my Striker.
2 things I have noticed - the antennas look thick. They are actually ok, I think the white segments are causing some form of optical illusion that makes the whole length look larger than they actually are. 2nd one is I forgot to do the tell tale locating rod and ball on the mount above the rear jerry can holder. Will do that later when I get home as it is on the real wagon.