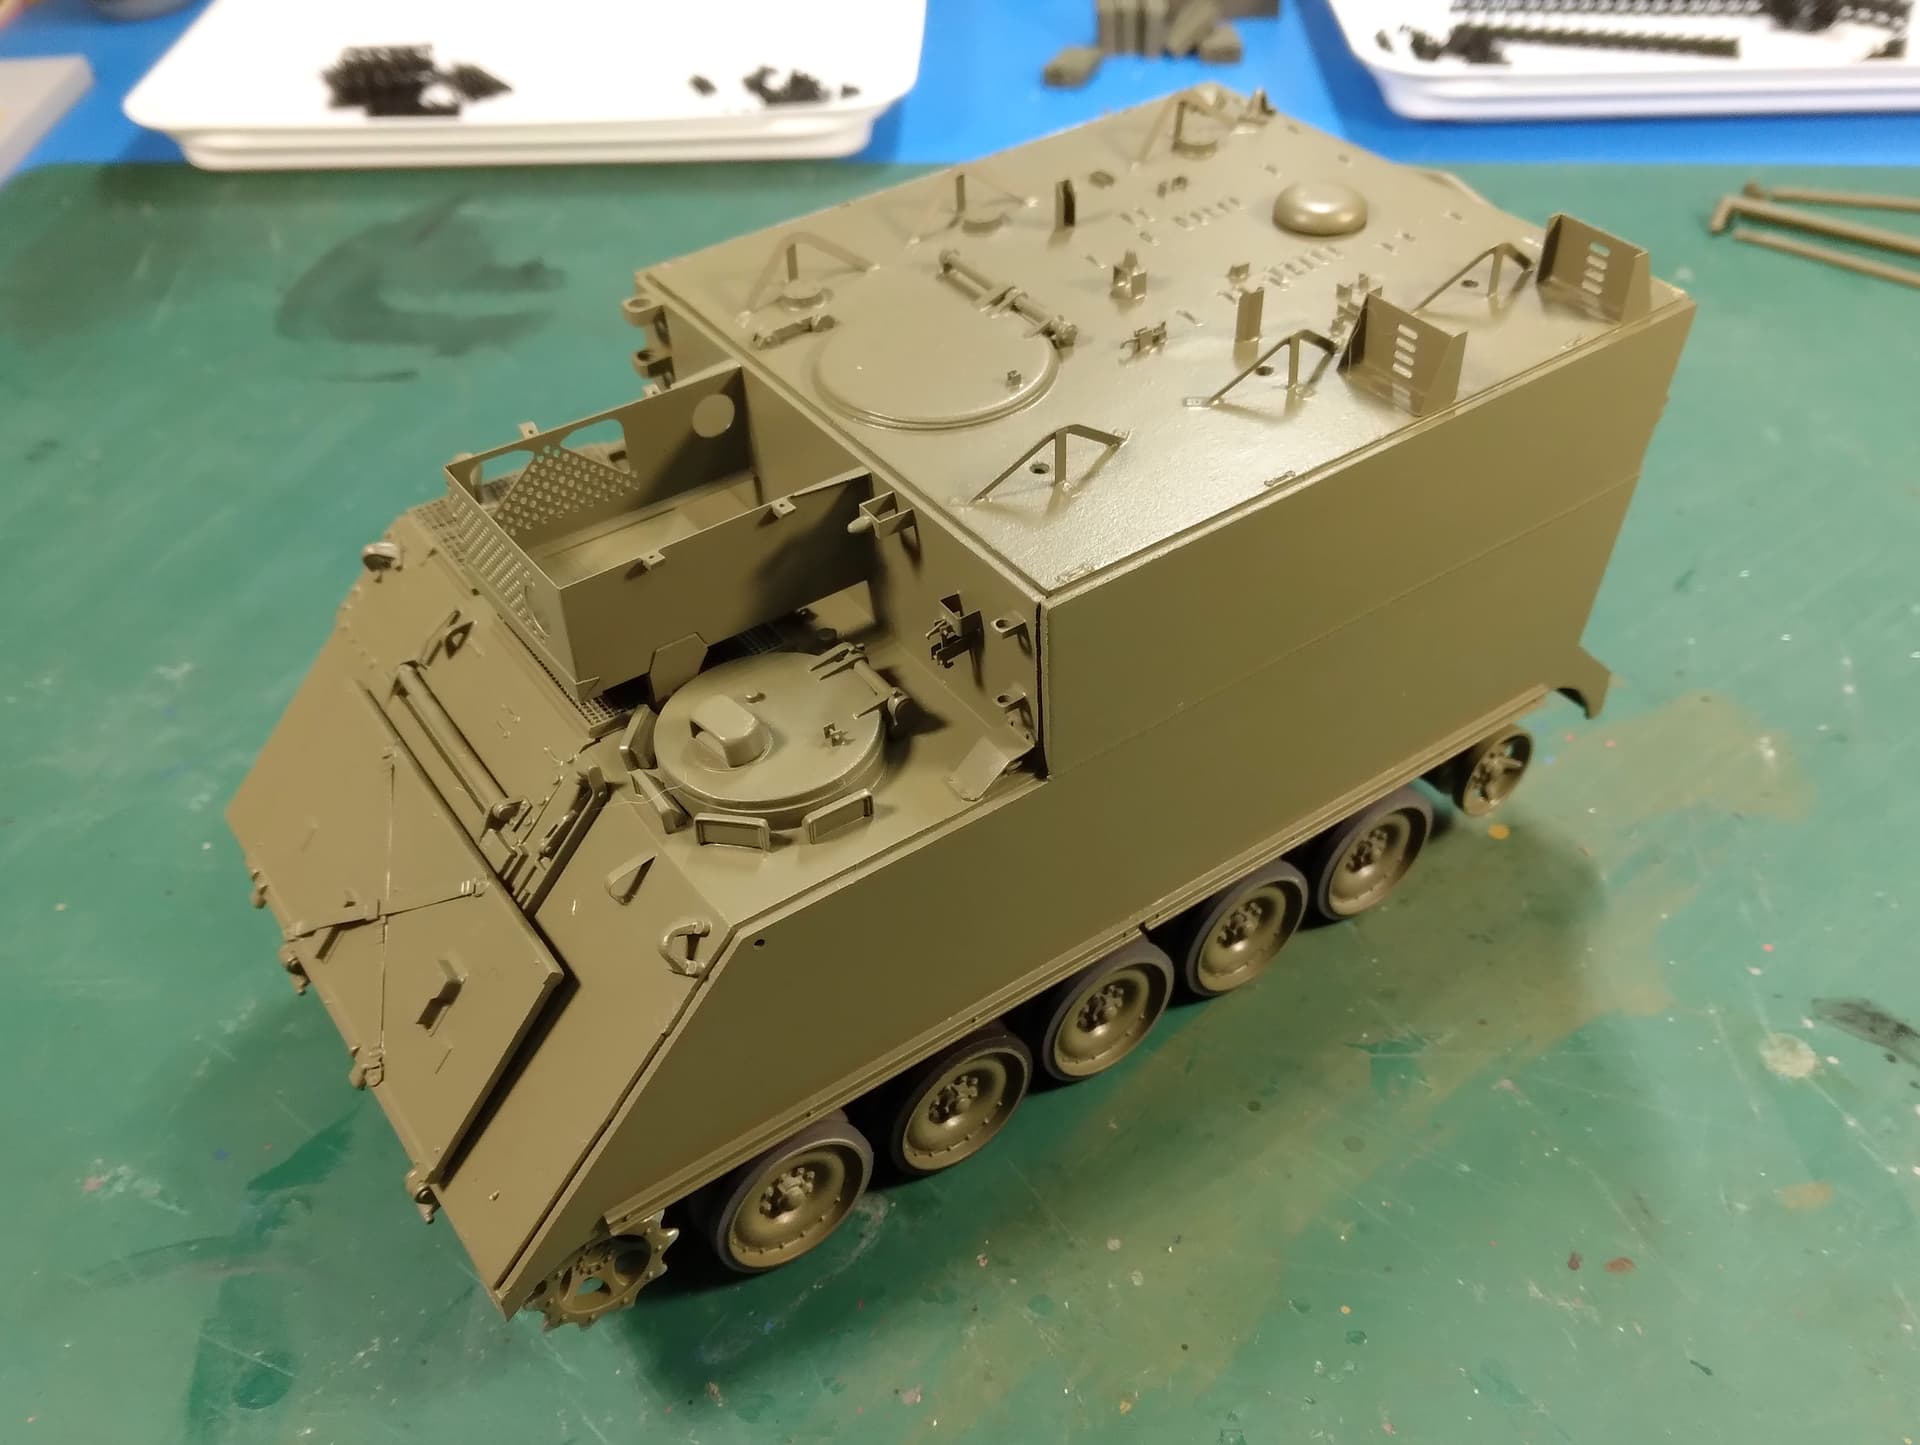
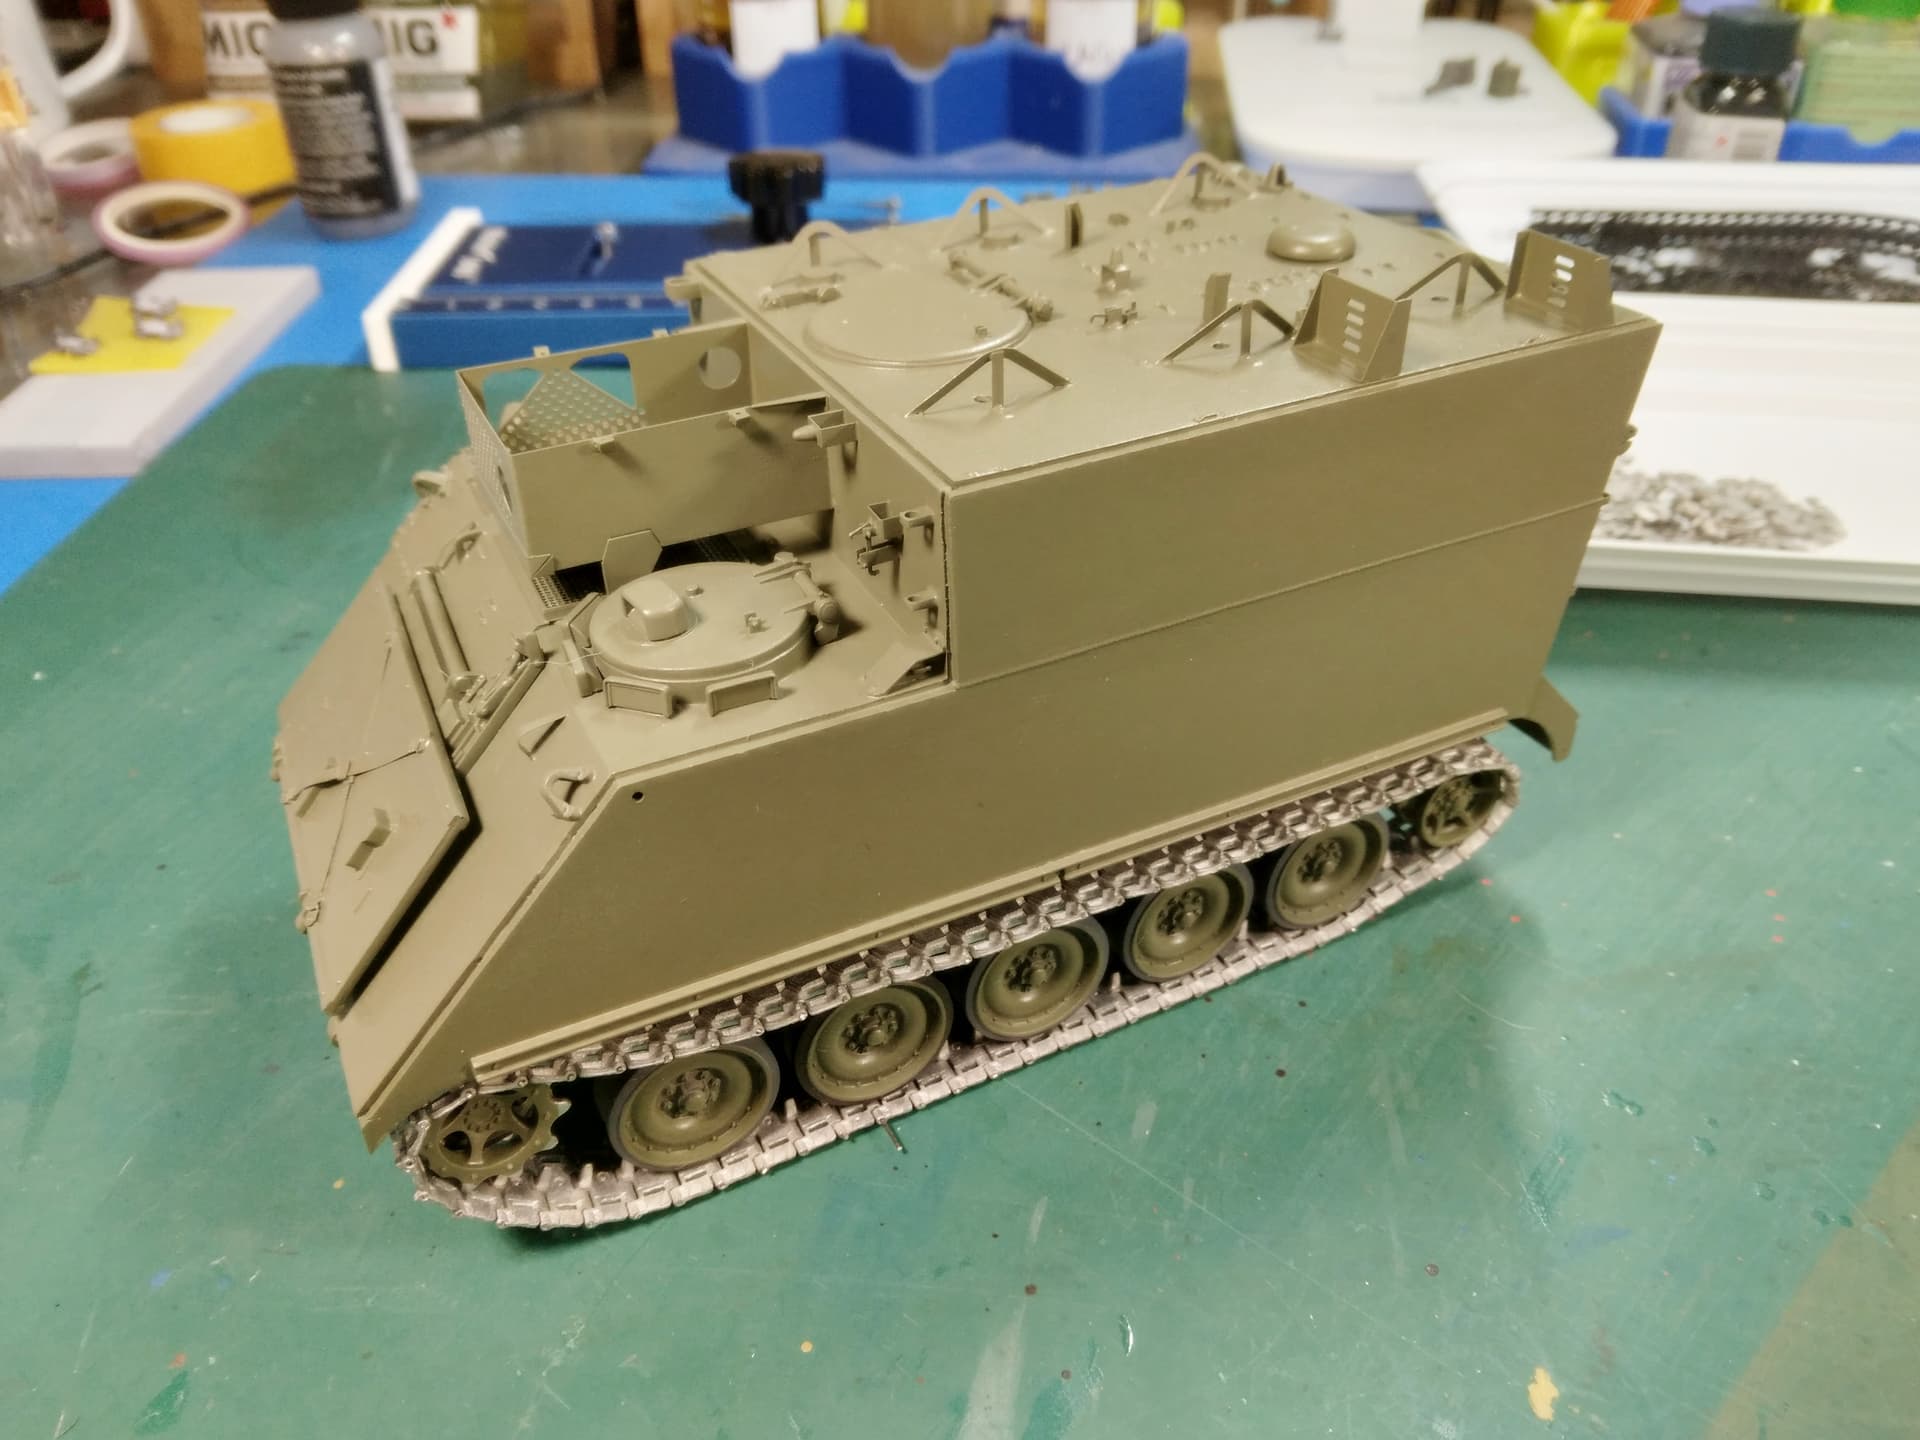
A BIG Heads Up. This kit has very fine tolerances for fit. The side panels, front and rear hull panels and upper panels need to be just right. I’d suggest you have it all cleaned and ready to go, and taped together so you can finesse them into place before adding any glue. A smidgen out will mean a gap. This is what I did and I’m glad I test fitted the bejezzus out of everything first and took the approach. As it was, I had to run some extra thin along one panel to edge it a touch one way. I guarantee you fit parts and leave them, when you go to add the next you will be swearing.
Add the styrene blocks inside the upper hull like I did to make sure the casemate fits on top correctly. Again a hair out and you will regret it. Don’t bother with the interior… the kit lacks anything remotely command like (radios, etc).
Add the vertical panels in front of the chassis rails (behind the springs in the pic) BEFORE AFV Club tells you - before you add the suspension to the chassis frame. Otherwise you will be trying to finangle them in at an angle, and getting it in place will be a bear… leave the spring assemblies loose so you can remove them, and also leave the swing arms loose so you move them. In fact, dont glue any of this until the road wheels are attached, that way you can raise/lower them to get all 8 wheels touching the ground. Then set them up (the steering arms are not all moveable )
In the past I have said “Its not an AFV Club kit if it does not have sink marks”. Well, meet the first kit from AFV Club I have built that doesn’t (touch wood)… but it does have some flash.
I’m following this build, as I love the looks of this armoured car, I’m doing only 1/72 scale and have the Dragon in 1/72 scale of this.
At 1/72 scale it’s another set of troubles in fitting and piecing together a kit, than in 1/35, but there are similarities like flash, sink marks and crappy plastic
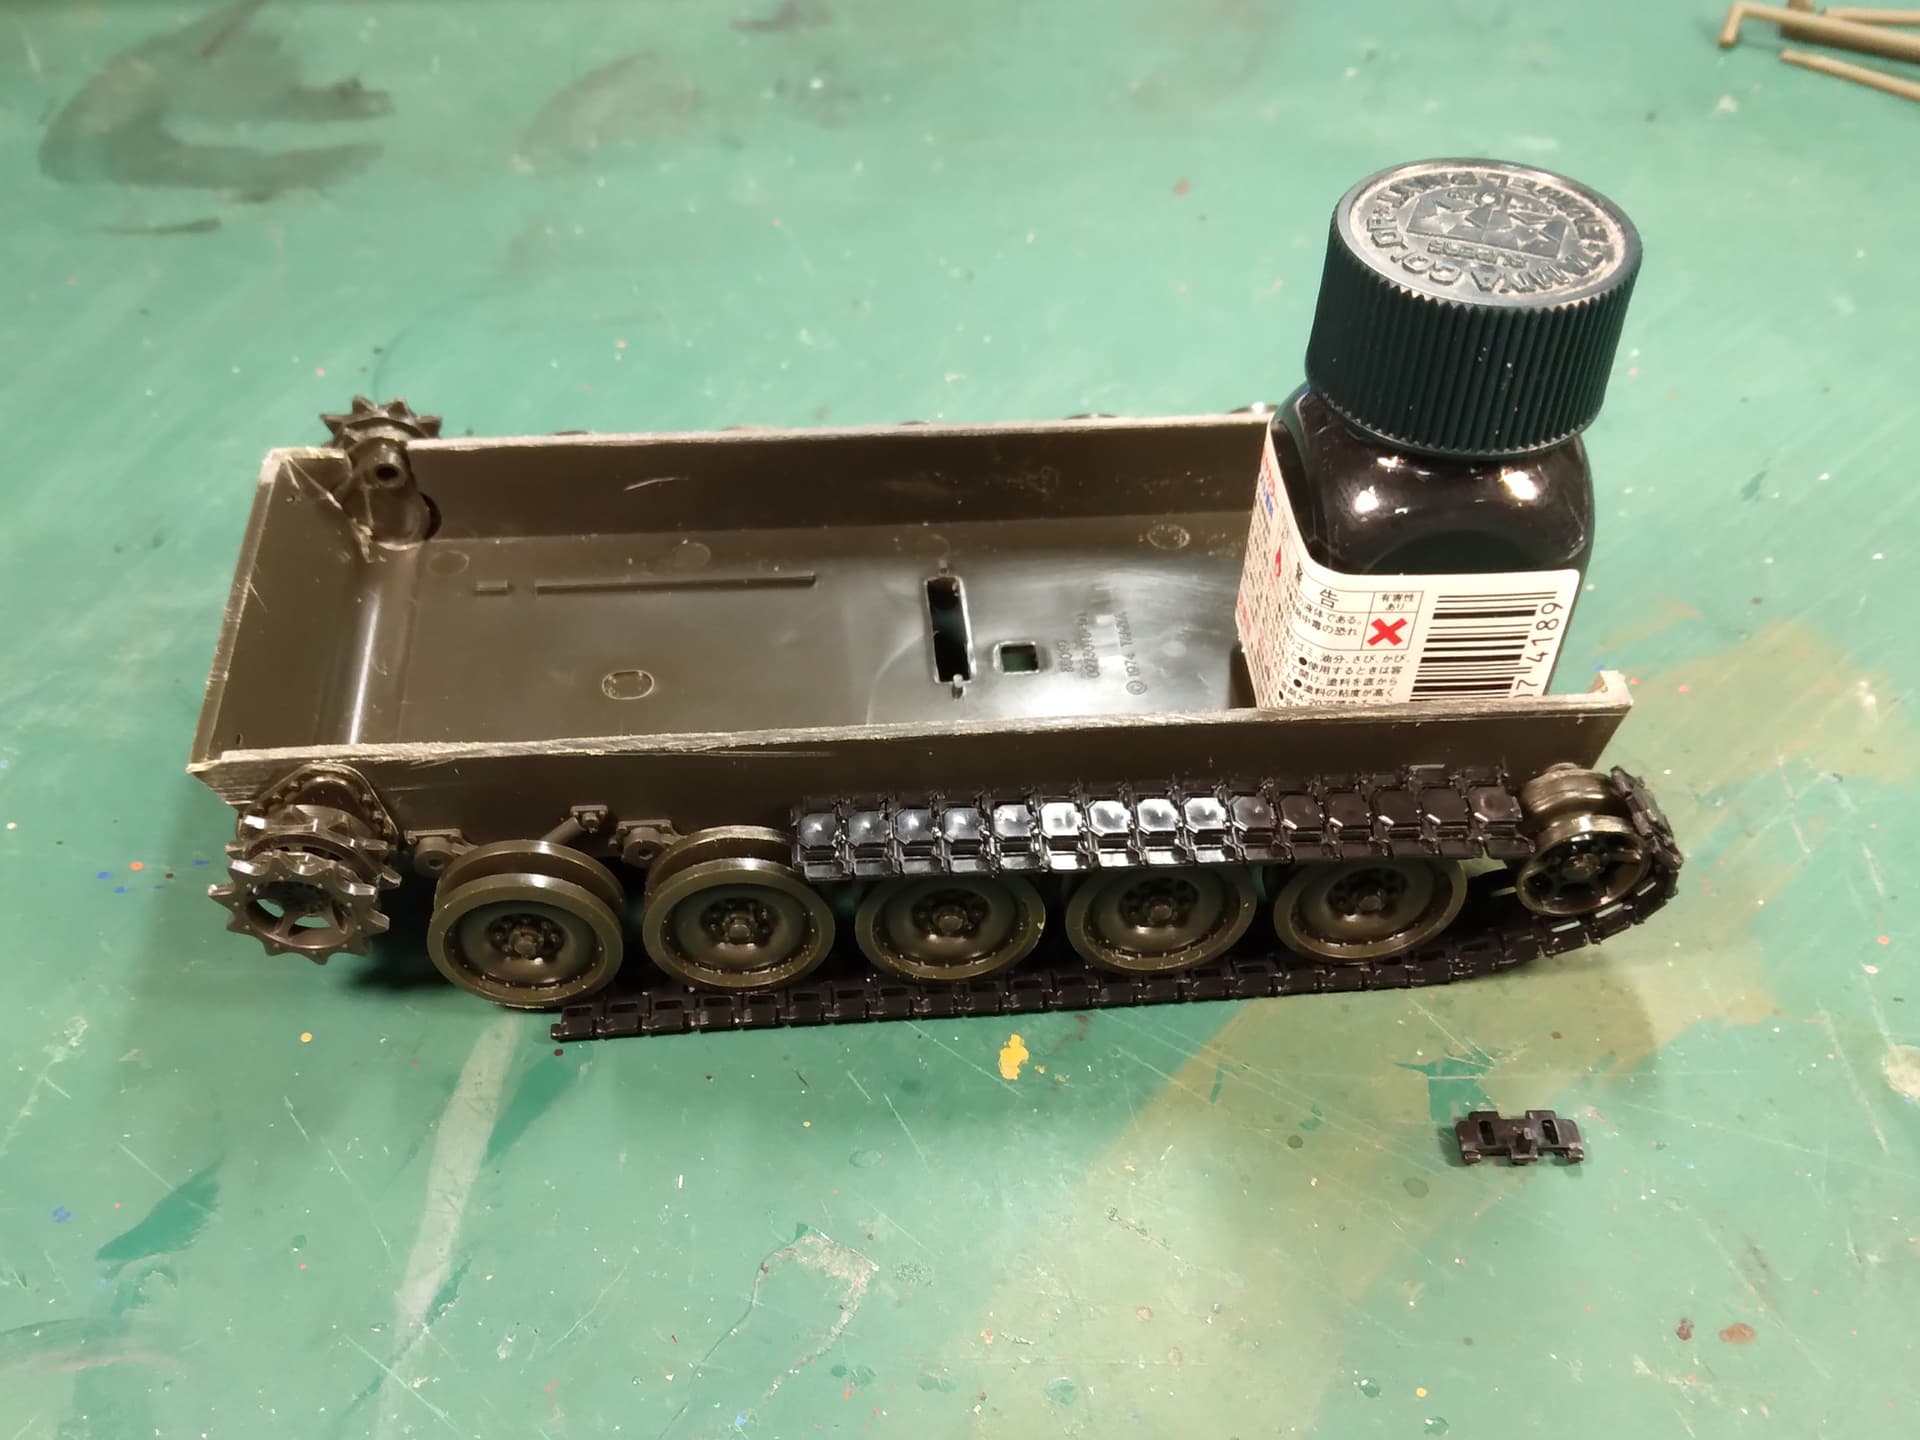
At some point in time I got way ahead of myself in the build. Trying to “lay” the AFV Club non-workable tracks down correctly with a BUILT model is not a good way to do them. I really, really should have done the tracks before anything else was built. Sadly, I should have know this. It’s probably why I’m not a big fan of building tracked vehicles anymore. Mind you, I DO love the looks of tanks, especially WWII and post-war armor.
Anyhow, back on topic. Many moons ago I ordered a Tamiya M577 from (IIRC) China. Nice price, et al, but it arrived wrapped in paper and rather crushed. The lower hull was squished sideways with no chance to straighten it out to be buildable (seller refunded). I have a habit, as many do, of keeping left overs in a “sprue box.” I am glad I did because now I have an M577/M113 track jig.
Basically I just cut the top of the hull off leaving only the lower part and added the road wheels/idlers/sprockets.
Side note: I have a Tamiya Vietnam Era M113 with all the bells and whistles. I “stole” the nylon inserts for the road wheels to use on this jig. No big deal right? I have a set of Panzer Art road wheels. Yeah, big deal: the PA road wheels, when assembled, have an entirely too narrow gap for the track’s guide horns. Ugh, useless. I only used two small dots of glue on the jig’s road wheels in hopes that, unless I find a suitable replacement, I can use them on M113 down the road. Life’s full of modeling oopsies, ain’t it?
And, well…I managed to get totally fed up with the AFV Club non-workable tracks. Went into another kit of mine and pulled a different, workable, set of AFV Club tracks. They’re basically the same; glue is required!!
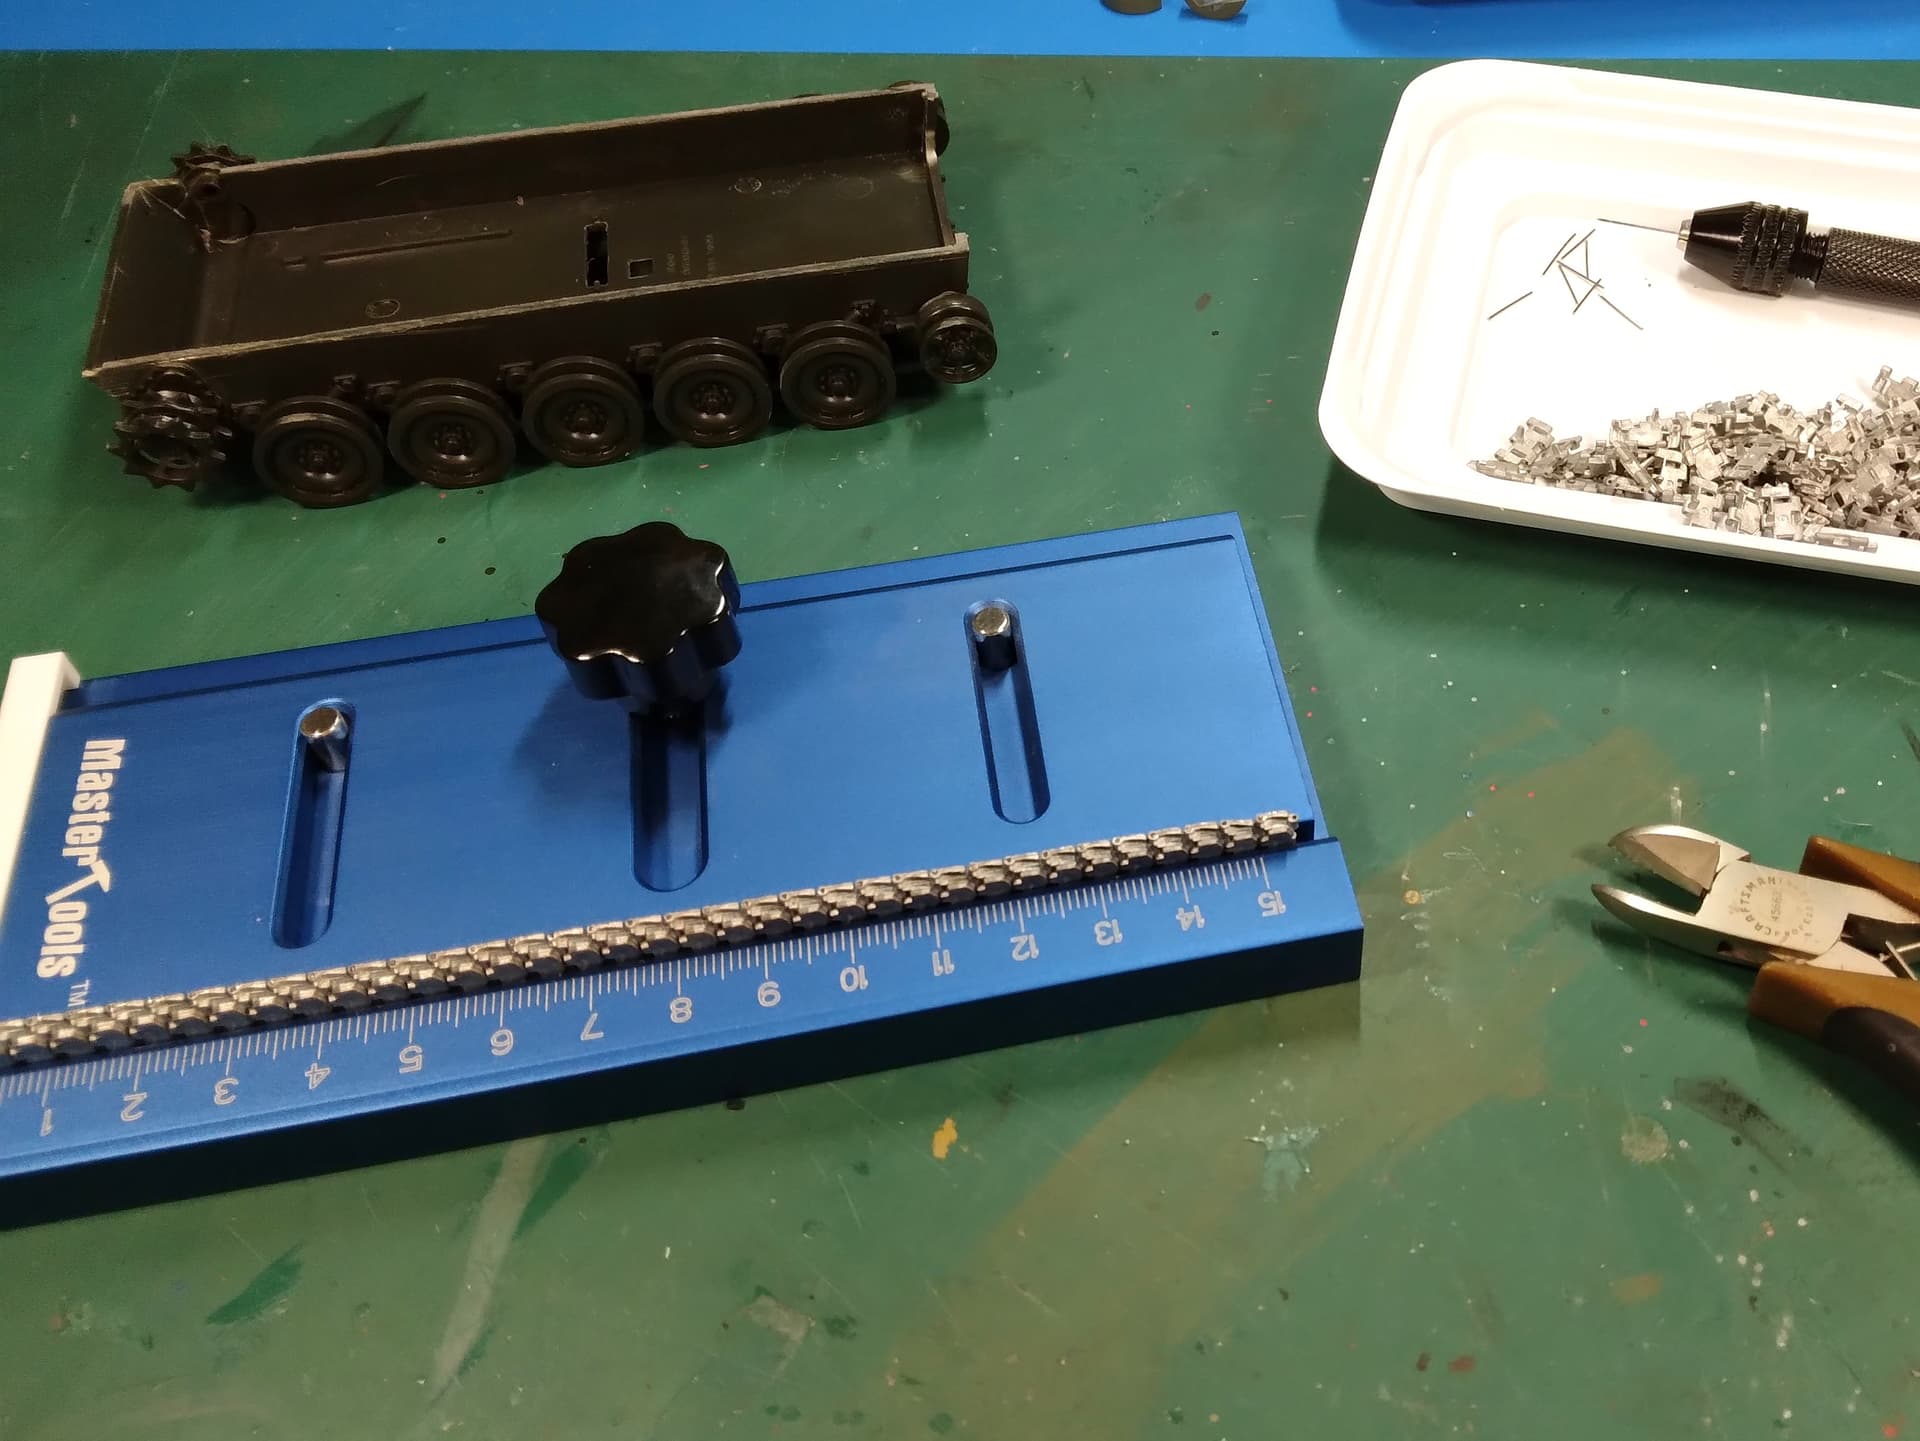
Lo and behold, I had an set of R Model metal tracks that didn’t have a kit “assigned,” so I decided to try those. Now we’re cookin’!
Second run is half built. I’m thinking I’ll give Blacken It (or something just like it a try) a shot on a short run of spares to see how that works. If not, I have AK’s tracks primer that worked quite nicely on a set of Tamiya rubber-band tracks from a Pz. II.
Once the tracks are completed, it’ll be time for a gloss coat and dirtying this thing up some.
Mike
P.S. The grease fitting to adjust the track tension is way too small for my grease gun, so…they may sit a little “flat.”
Mike. If you an find a business that supplies to lead light hobbyists, they would sell a blackening agent (Black Patina) a lot cheaper for more than Blacken it. They use it to blacken solder. Works the same way - dip, wait, remove, rinse in water, dry…
Avoid Mig’s Burnishing Fluid. It works but not as well as others and you need to do several washes to get the same depth of black, so costly per use.
Mike, hit pay dirt the first time. Google Jax Black. It’s the best patina fluid in existence and the stained glass guys have been hiding it from us for years. About 1/4 the price of the other stuff. I bought a gallon bottle of it!
Thanks Gents! I will take a look at/for the Black Patina and Jax Black.
A fellow modeler several years ago gave me a partial bottle of what he used. There’s still some in there and I have a bottle of “I forgot the name of it.” Like I say, I’ll try them on a short run of extra links.
I use a product called Novacan Black Patina. It is used by folks who do stained glass windows to patina the solder used between the glass pieces. Works great for metal tracks.
(yep, the set of tracks in the forefront ARE on backwards)
I did “blacken” a small run of four tracks with an unknown (received from friend) blackener and they’re so-so. I’ll do another small run using the brand Blacken It tomorrow and see how those look.
I have really been enjoying the multitude of good builds in this campaign! As a wingy thing modeler, I’m always surprised at the vast amounts and diversity that comes from the wheeled and tracked side of the fence. Great job to all of you!
When I initially decided to join, I figured I’d go with the U-2S in my preferred scale of 1/48. Having been quite busy on the modeling front it occurred to me that I was quickly running out of horizontal shelf space. That, and a combination of getting a little over my skis on building and the curves that life tosses at one, I decided that it was time to reign some stuff in, and clear a little fog. So, I cleared the ongoing projects and went through the stash looking for something that would be a nice palette cleanser in the hopes to refocus.
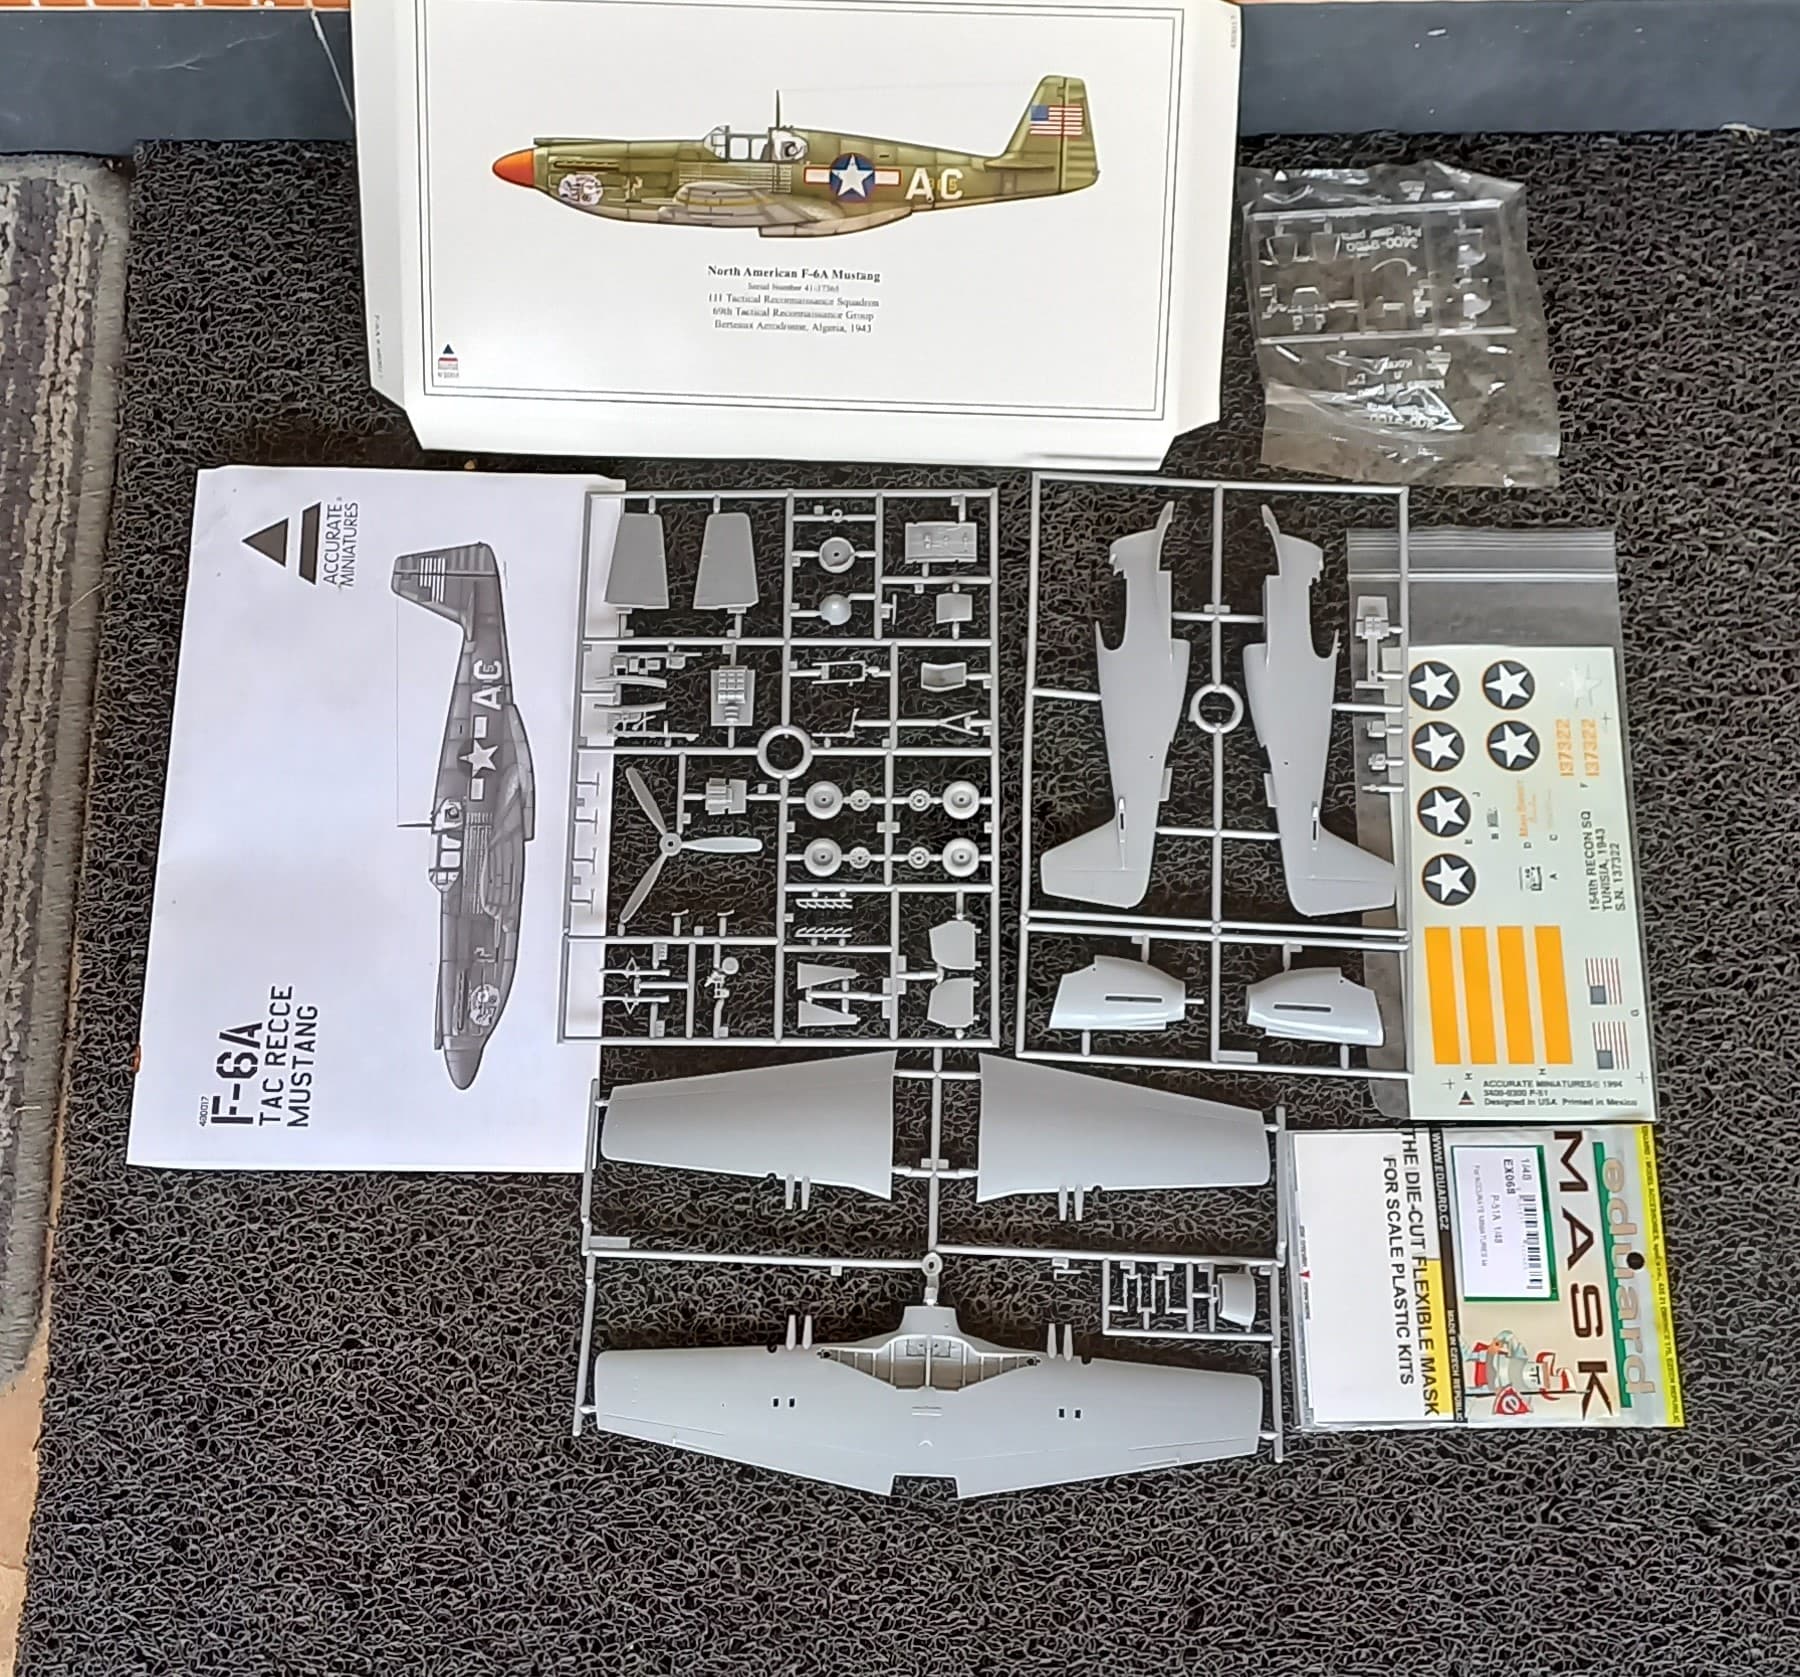
I re-discovered Accurate Minitures F-6A, that I picked up for a song when a seller who’d aquired their warehouse was having basically a fire sale on the unboxed remains of kits that were left over from their chapter 11 issues. Sometimes I impress myself! The kit, a set of masks, and scrounged instructions all for less than 12 USD eight years ago. Yay team.
So, my entry for this campaign will be the F-6A that flew in Tunisia in 1943. I’ll add some history later, but as cleanser build nothing special, out of the box using some good old basic modeling skills!
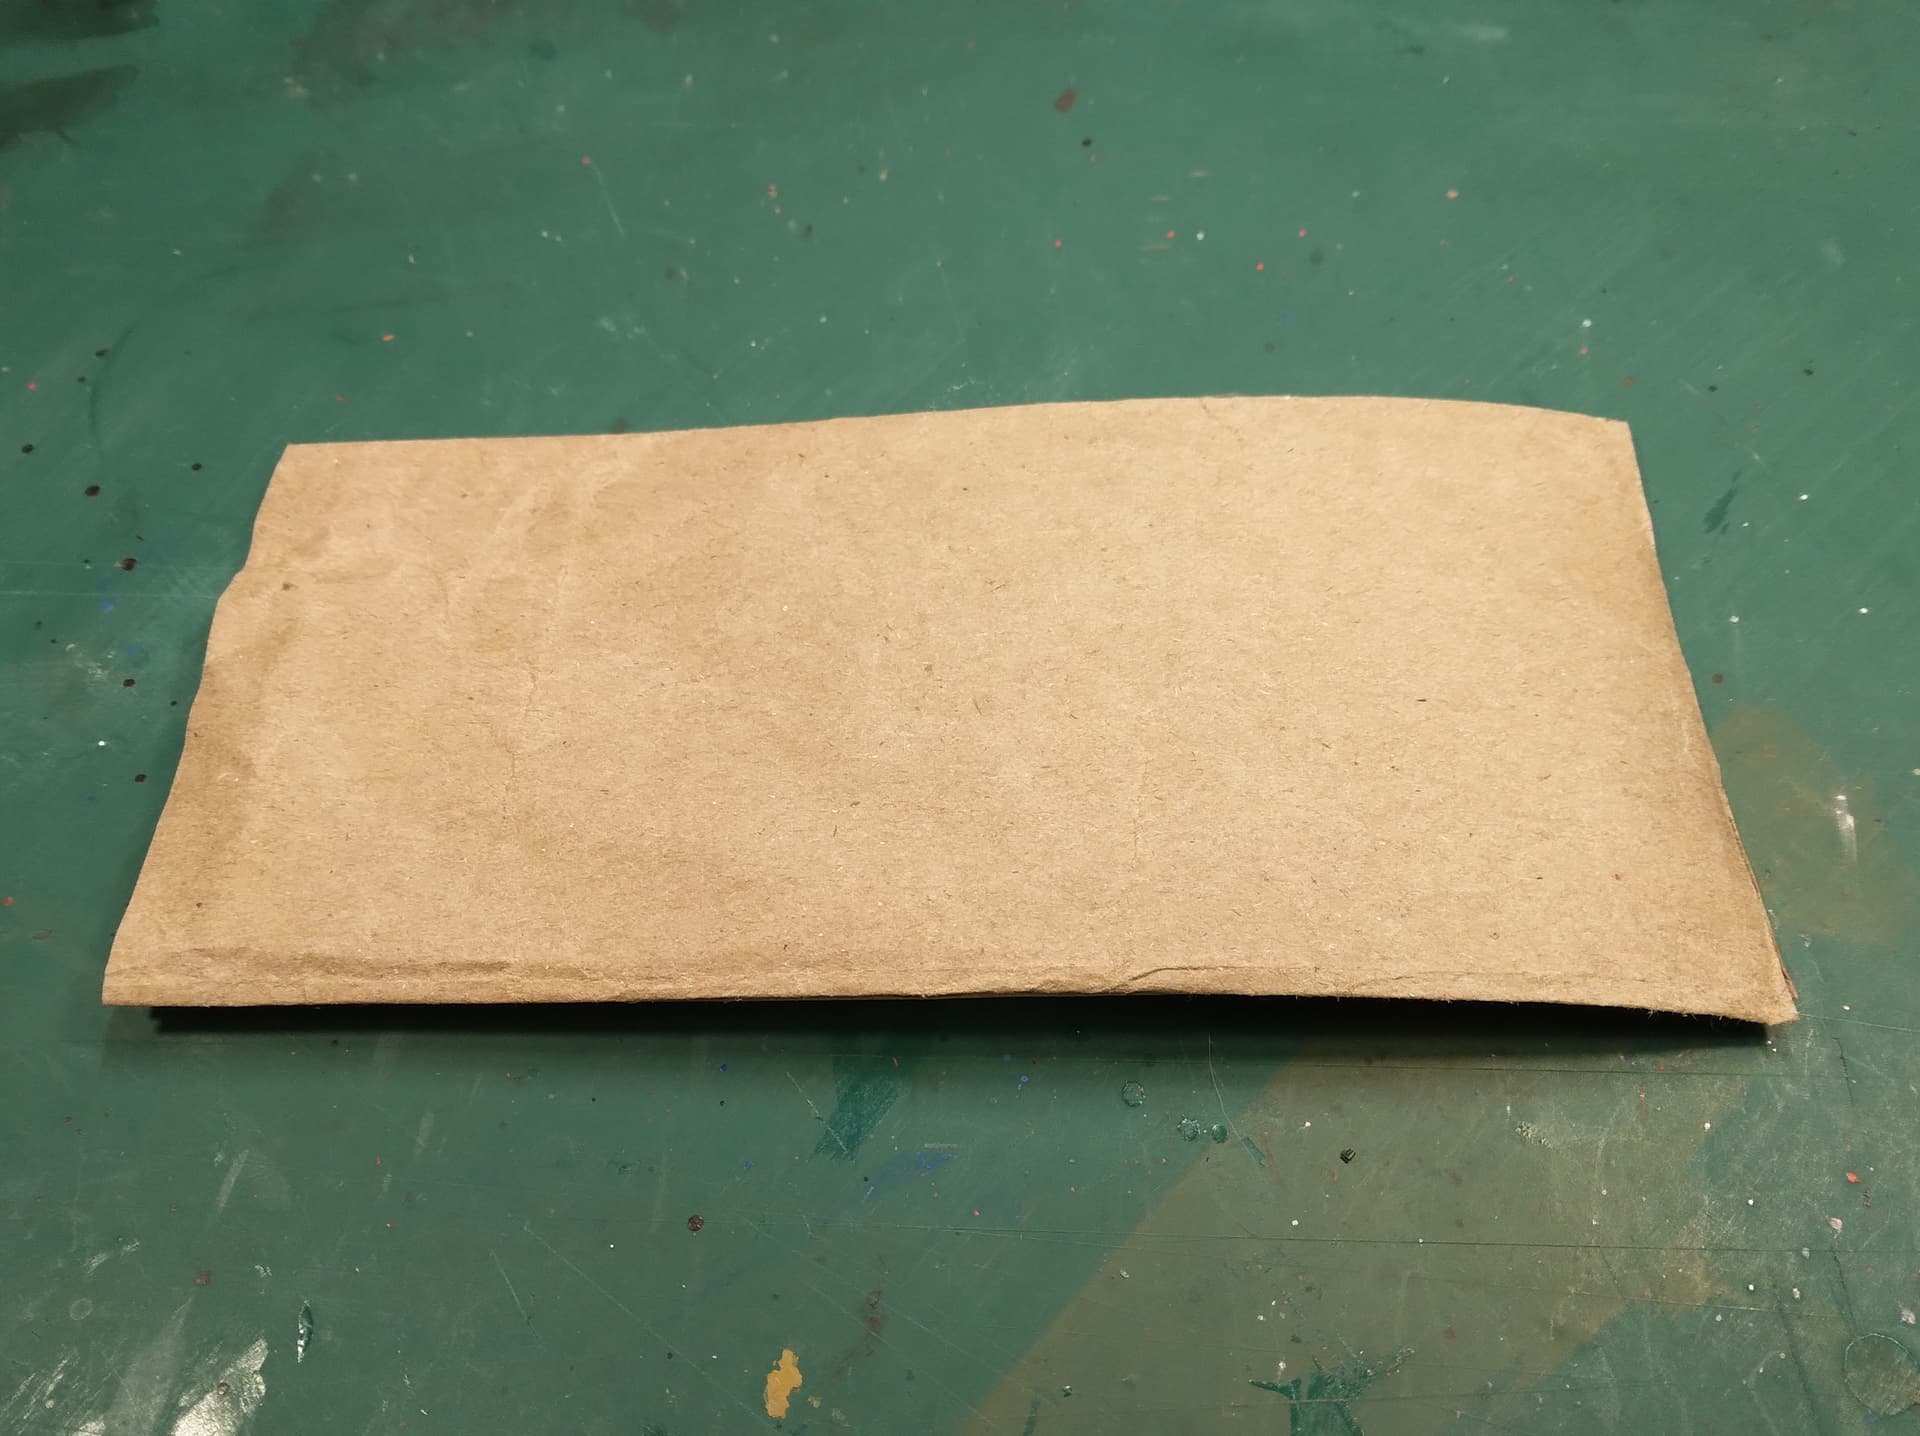
The beginning of my first try to make the rolled up “hooch.” Folded brown paper bag. I’m thinking with primer (Stynylrez) and one or two coats of Khaki/Khaki Green(?) the texture will tame enough.
If the bag does not work for you, try gift wrapping tissue. It is not the same as facial tissue, so not soft and easily pulled apart. Some come with a coating on one side to give it strength which is smooth and great for te outside of your rolled tarp. Once rolled a dip in PVA and water mix will allow some settling on the kit. If you first place cling film (food wrap) on the kit and then the rolled tarp on that after dipping, it will conform and dry to shape, but not stick to the model. The cling film peels off later. so you can paint it then put it back on the model afterwards.