…and here is at last my own entry for this campaign, after all these nice and interesting vehicles
I think it fits into this theme quite well.
Cheers
Peter
…and here is at last my own entry for this campaign, after all these nice and interesting vehicles
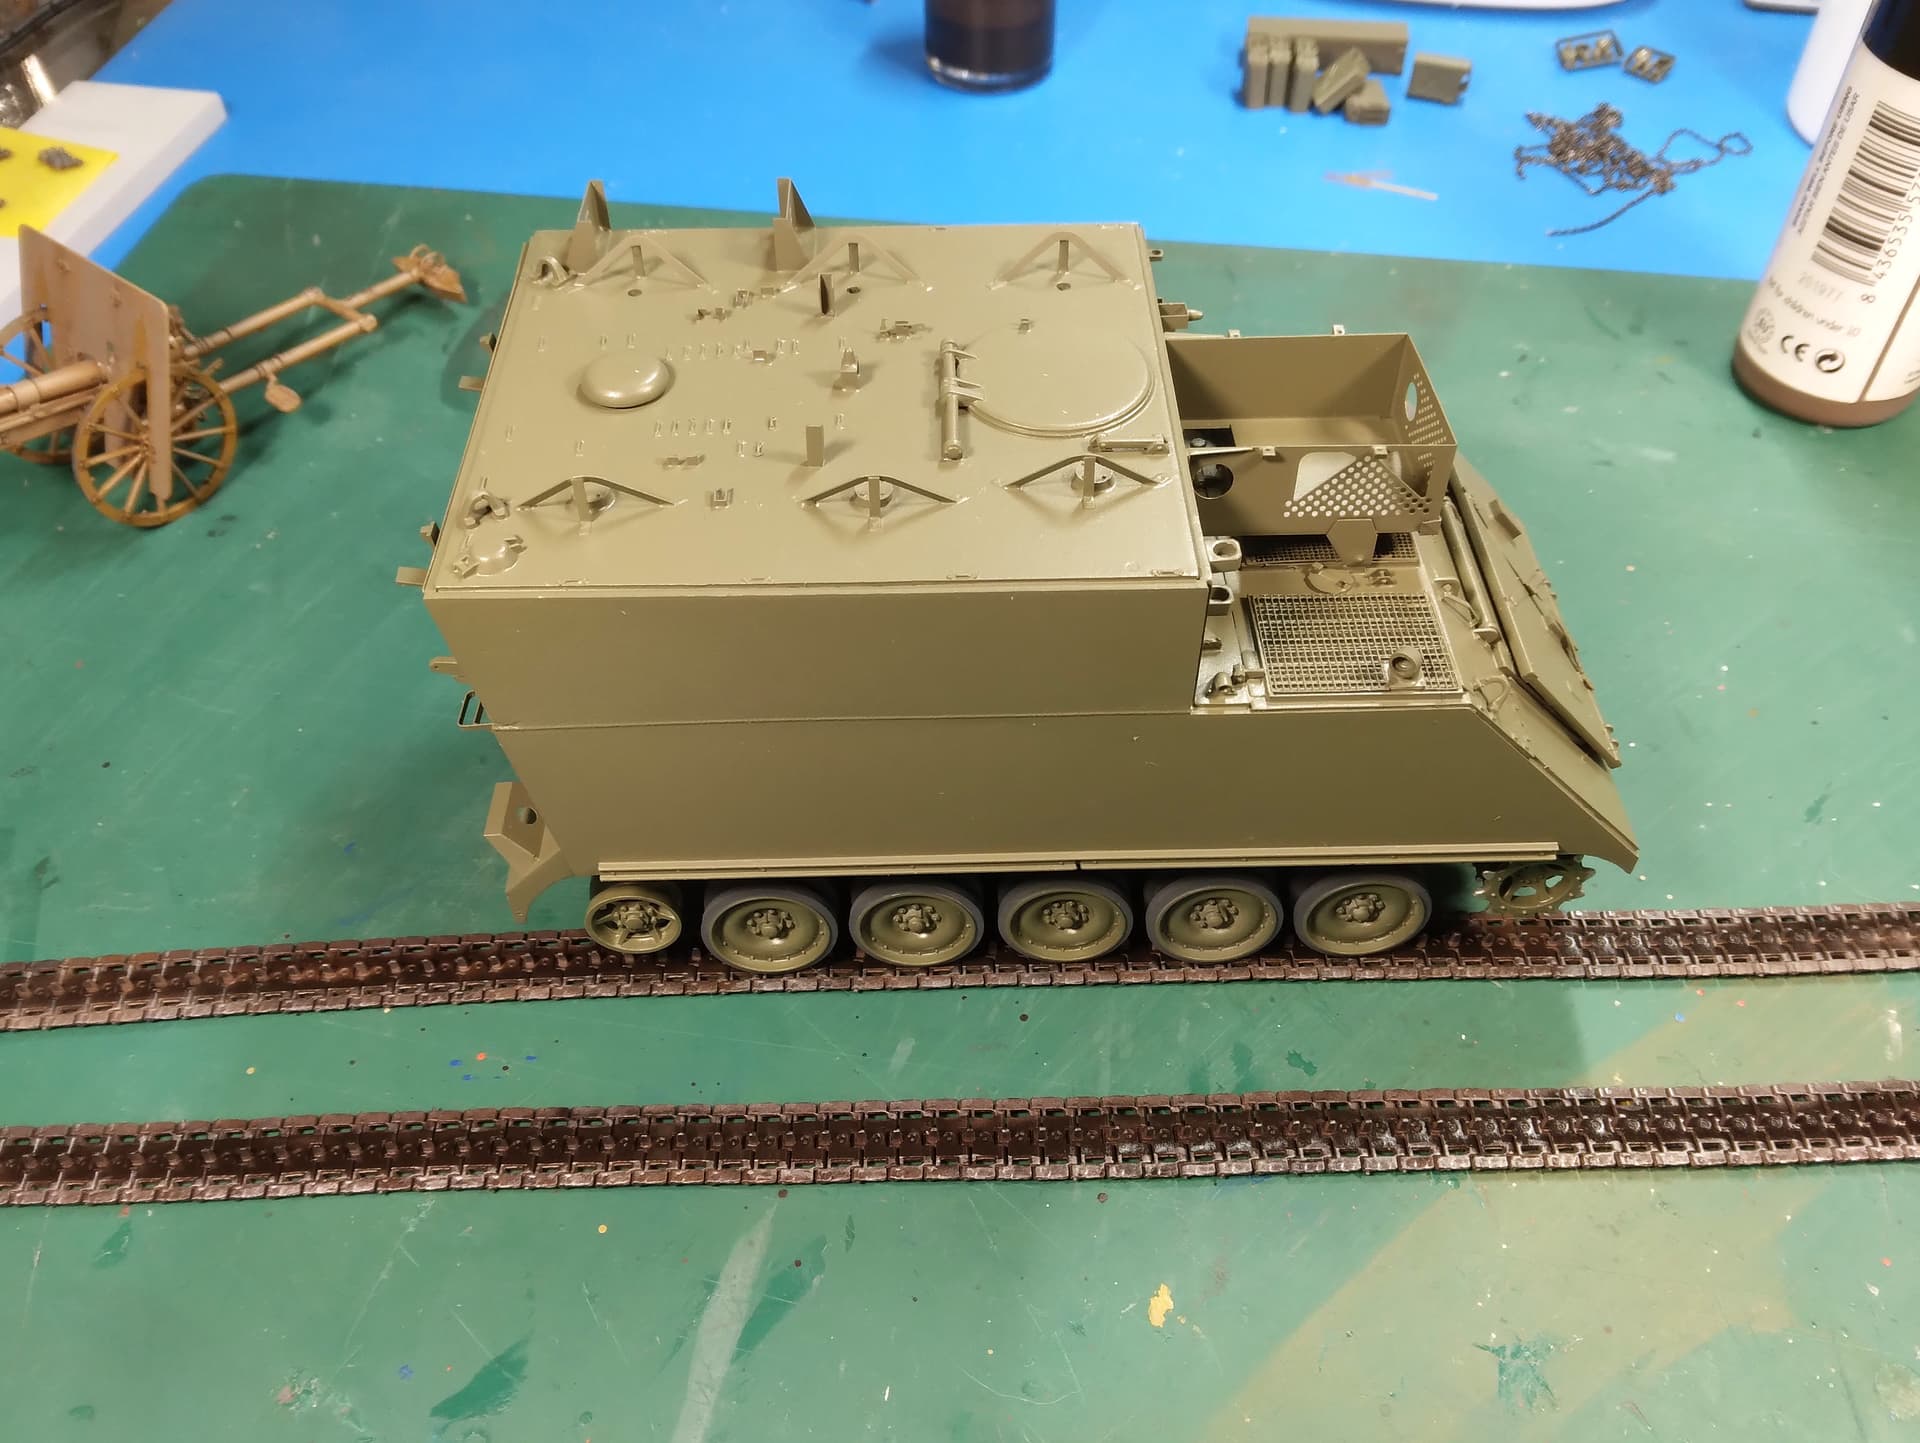
Need to do the bottom (track pad) side still. Flat coat and then some pigments.
Mike
Did some touch-up paint on the tracks for my M577, gave them a light wash (pad side now finished). Contemplated redoing the scratch “hootch” as I’m not happy with the first one. Realized I needed some more pigments/filters/weathering effects, so I ordered a few along with some more “modern” 1/35 padlocks (from MIRYOKU.CZ).
Other than that, not much happened today.
Mike
That’s still great progress Mike, this project is coming along beautifully. You’re getting everything right and doing a spectacular job at it. Excellent detail!
Quick post as I’m building an AMT/Ertl '36 Ford for someone and I’m kind of bouncing between them.
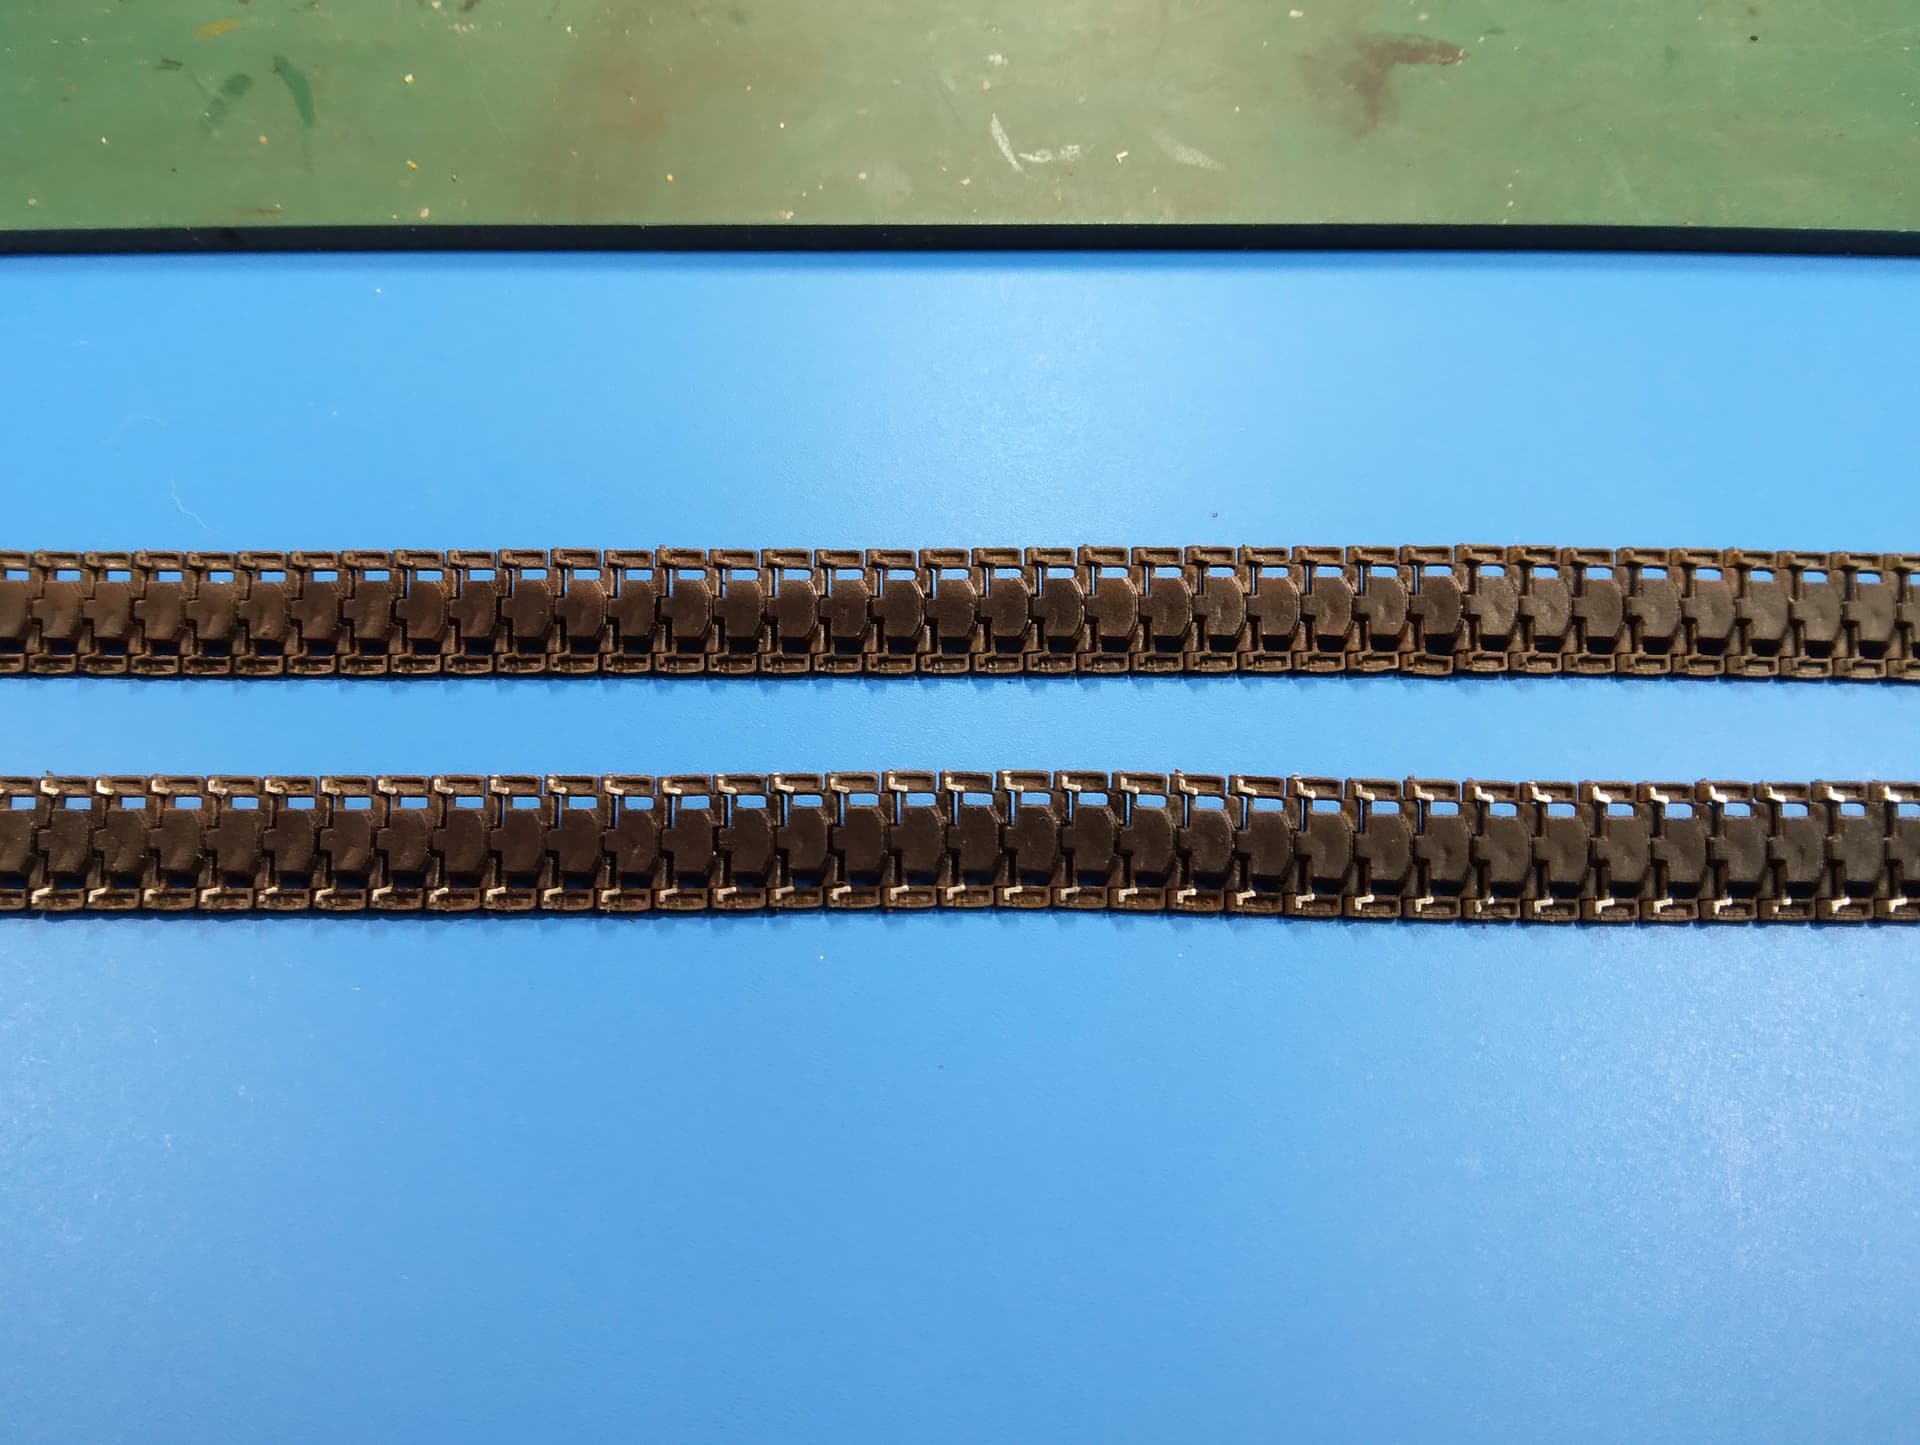
Top track a “Before” and bottom track an “After.” Yeah, no more AFV Club (supposedly workable) tracks for me! They’ll get “dusted” some before they go on.
Mike
Okay, construction complete on the SdKfz 263. Put the mockers on myself with my earlier comment AFV Club and sink marks. Not a sink mark issue, a join issue. AFV Club moulded a weld bead on the upper casemate part. In real life the weld bead is ground down and not visible. No biggie I thought, just trim it off… then I found out that the whole upper casemate is wider than the hull in the middle sections. So some sanding down, then out with the putty and a few days of careful sanding and re-puttying later:
Many photos show the aerial mast covered with a canvas cover. I’m planning on using the aerial on another build, so instead of using the kit mast bottom and losing the detailed part I need for the other build, I scratch built one for this kit. Milliput used to make the canvas cover.
Width indicator poles are super fine and very easy to knock off… and lose (hence the missing pole here.)
I just wonder how my future build in 1:72 scale Dragon kit of this vehicle, will fare😒
Howdy,
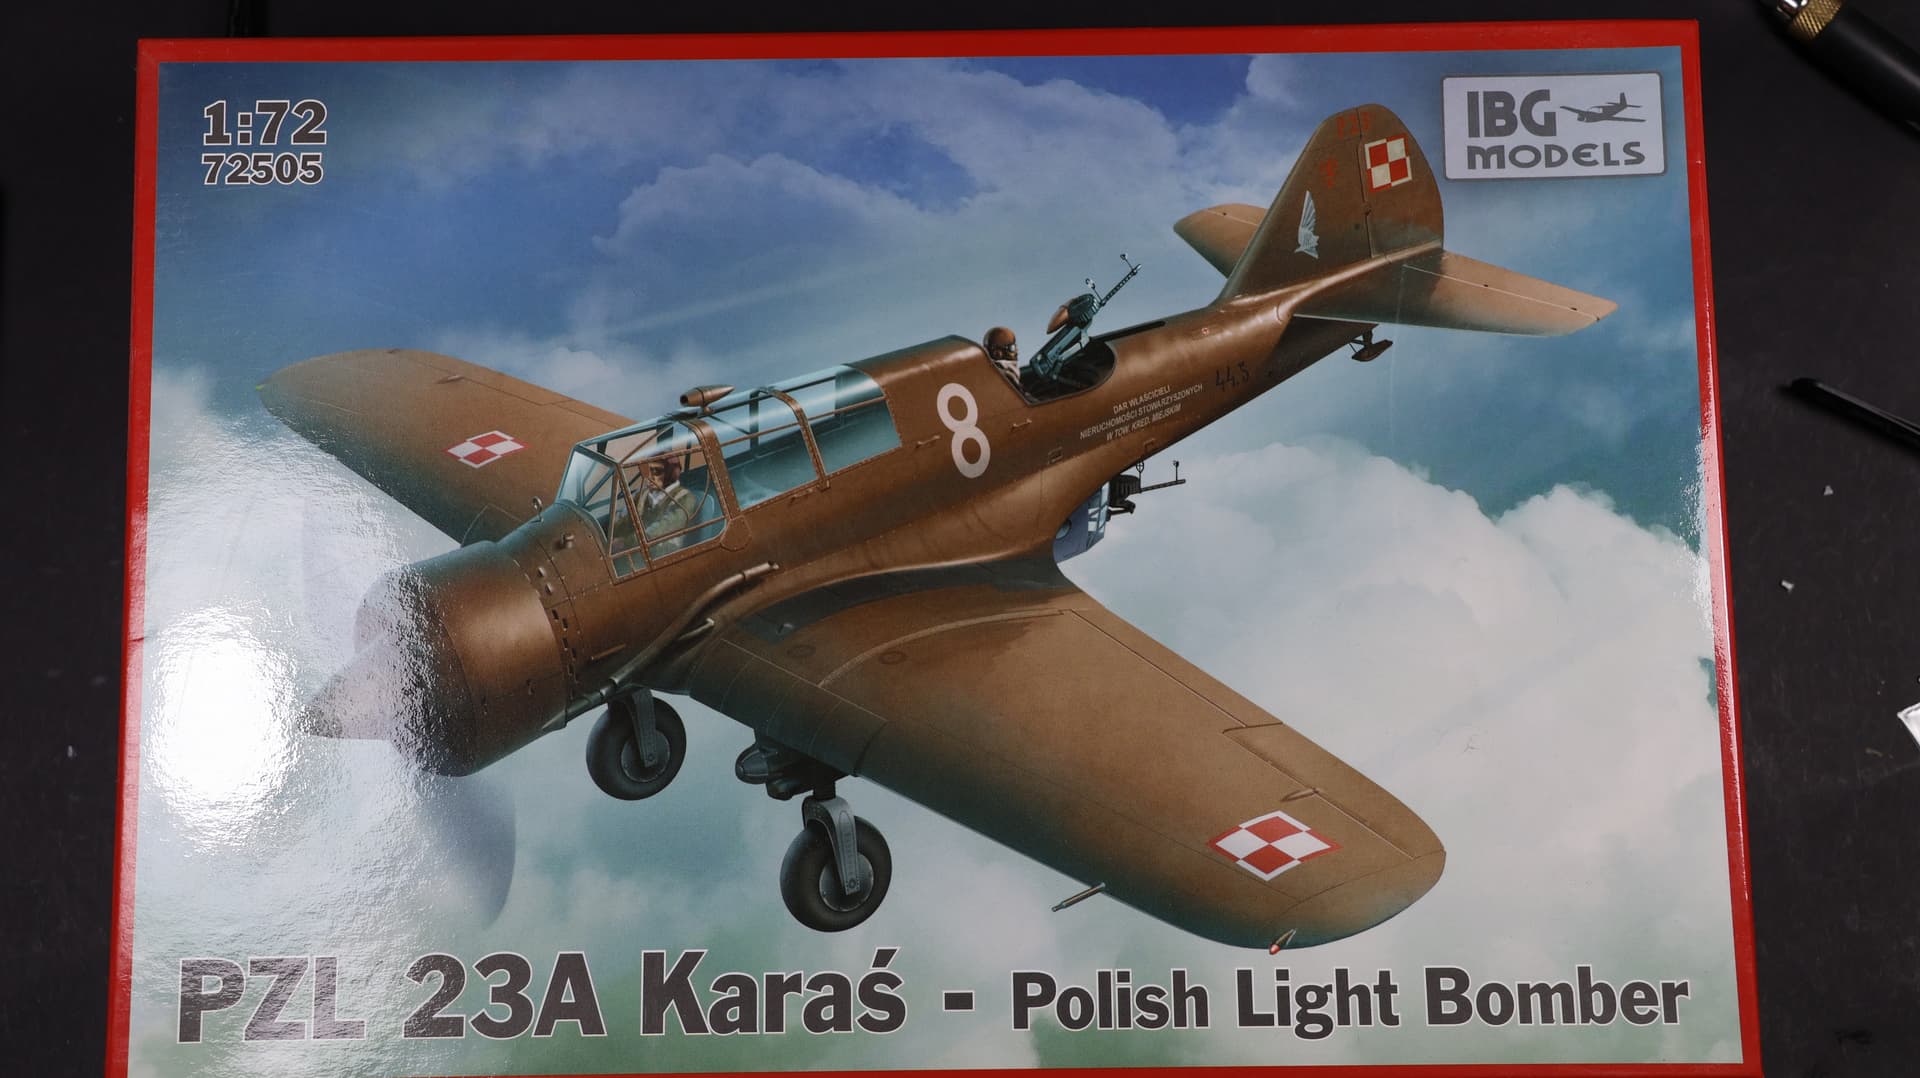
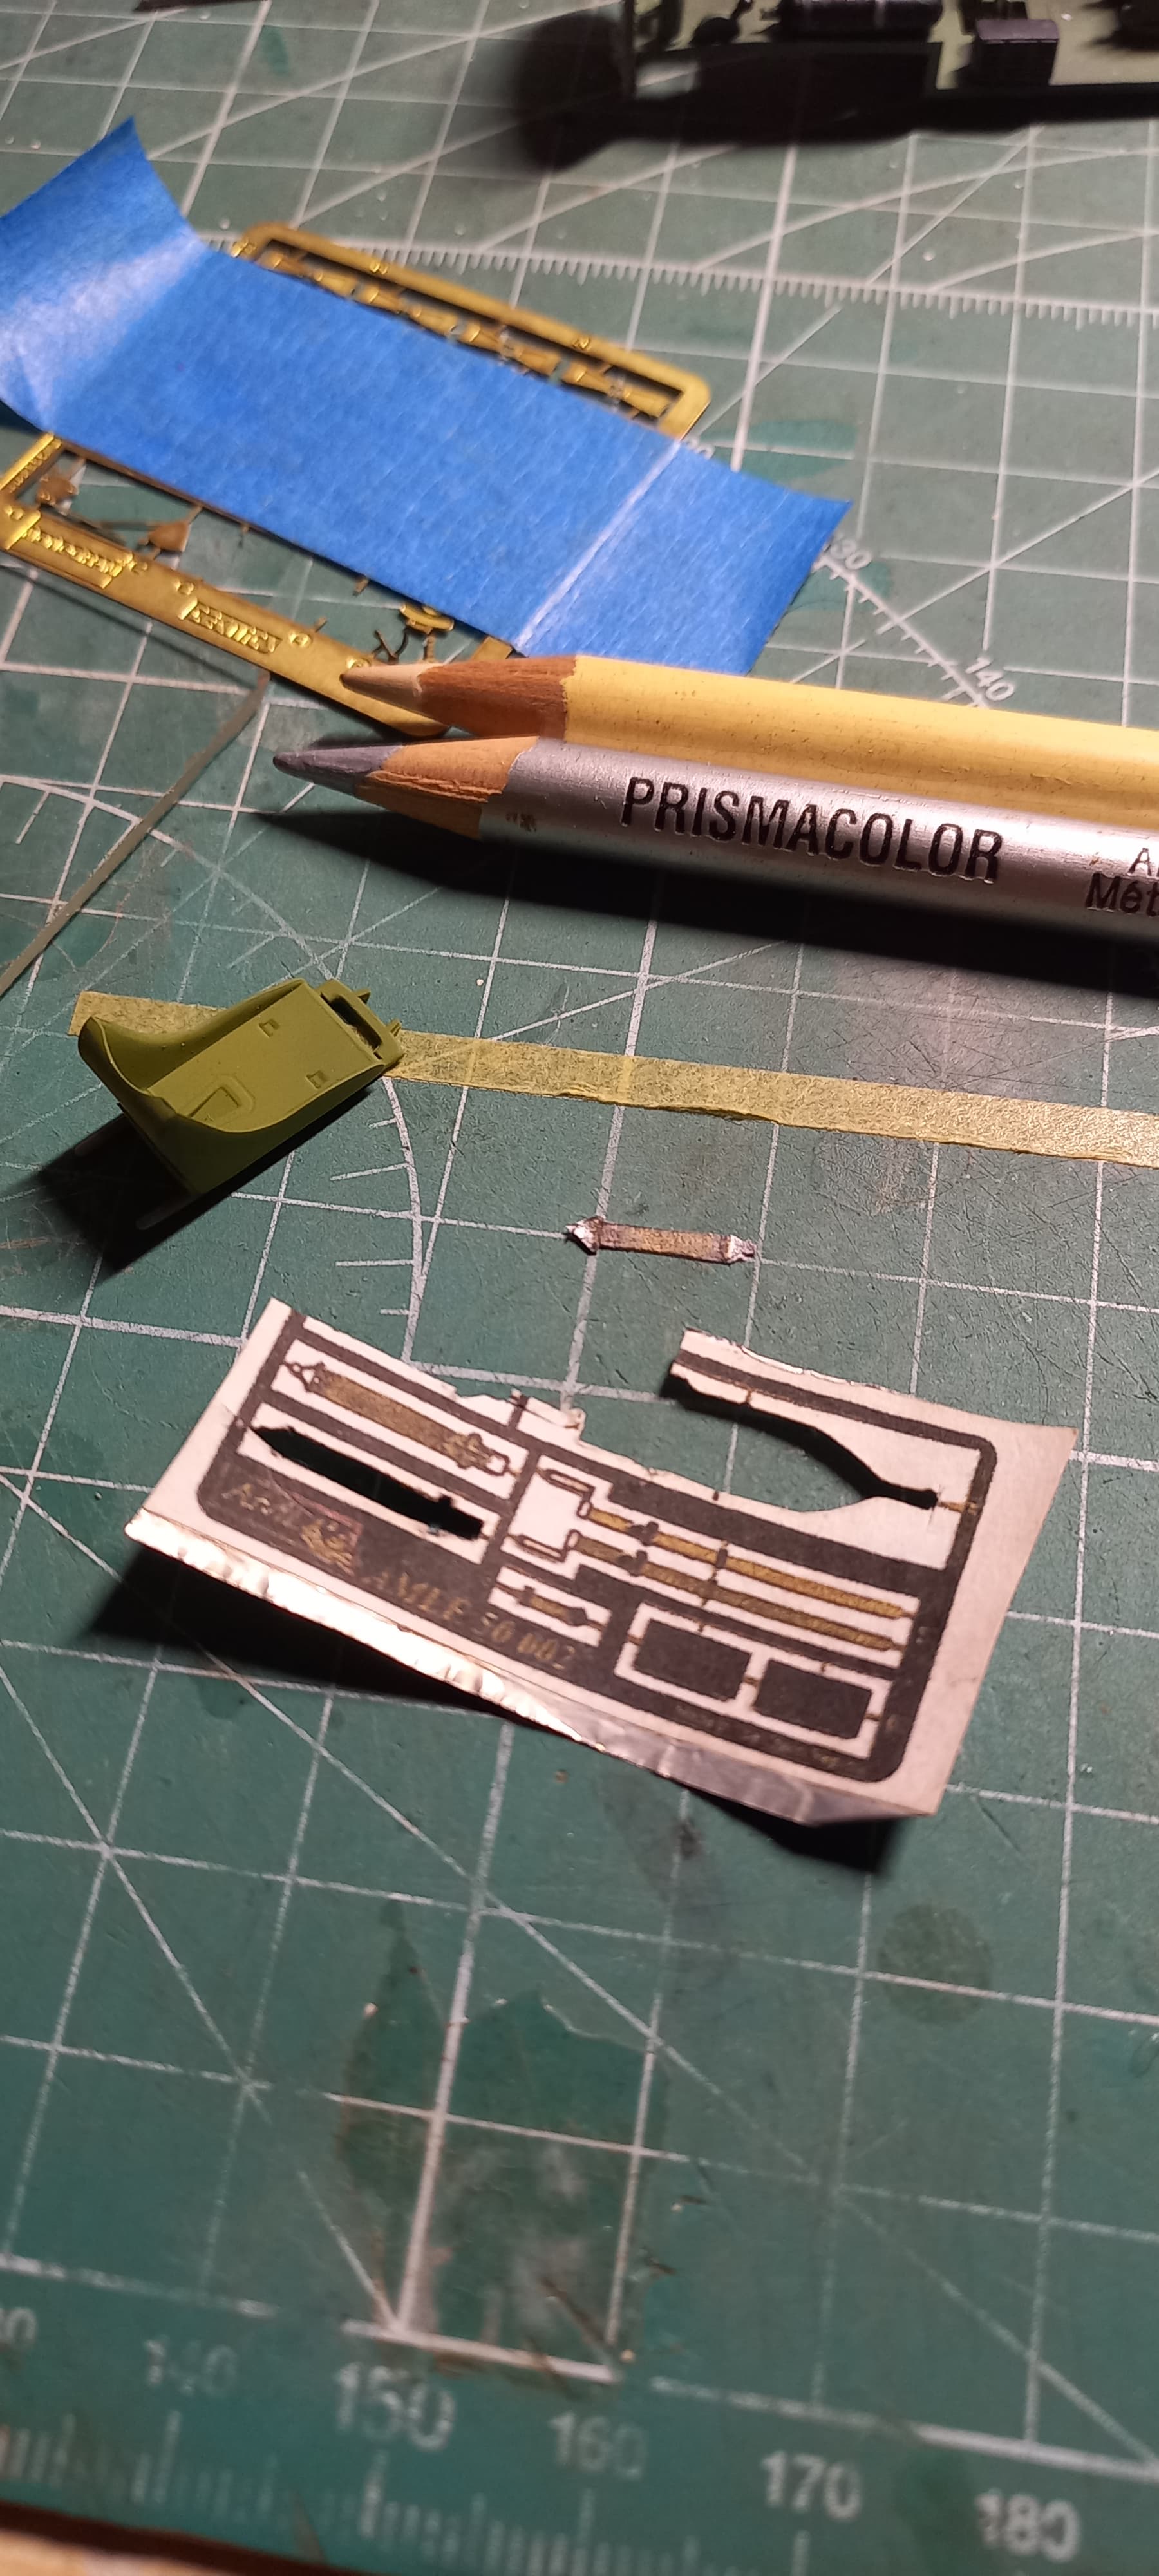
It’s quilte late to join, but seems like I need pressure to stop procrastinating on the bench. My intention for this campaign is to build Polish recconnaisance - light bomber PZL 23A Karaś (eng. crucian (fish)). Model is from IBG Models in 1/72nd scale + small addons like PE seatbelts and panel from Yahu Models.
Here are shots of kit ready to start in unspoiled condition:
PZL 23 in many versions (incl PZL 43 version built for but never delivered to Bulgaria) was used during defensive campaign in Sept’39 by Polish Air Forces and later by Romanian AF during invasion of USSR. PZL23 carried fixed recce camera vertically mounted in the hull and could carry up to 700kg of bombs, however plane was generally quite challenging to pilots and with full load it had a very small climb rate. Slow speed was also a factor of heavy losses to enemy AA fire.
Notable uses as recce planes:
2.09.1939 - PZL 23(B) version bombed factory in German city of Ohlau (today Oława in Poland) - this was the first bombing of German territory during WWII
4.09.1939 - planes from 51st line (recce) squadron discovered German units regrouping in East Prussia to attack positions held by Polish SGO “Narew” unit (independent operational group (?) )
12.09.1939 - flight of PZL 23s from 41st line(recce) squadron spotted German units preparing to cut units of Armies “Poznan” & “Pomorze” from city of Warsaw.
Hi Everyone,
Great work going on here! Radek, you have reminded me that I have no Polish aircraft in my stash, and that there may not be anytime soon, which is a little sad, as a goal for me is to have production birds from all the participants during World War II. I might have to remedy that!
Since my last post. I’ve been focused on the P-51A. Accurate Miniatures (AM) released this kit in 1994, and as such it was to be part of the Mustang kit line-up, allowing AM to do the A and the B/C variants without too much extra mold making. Another installed feature was that the cockpit for any of these variants would have the canopy in the closed position if one were building out of the box.
Since I decided to do this build essentially out of the box, and as a modeling palate cleanser, I would focus on some basic skills to better hone them for upcoming builds. Given the nice molding of the insturment panel, the skill to brush up on would be dry brushing. Since my move, enamels are hard to come by and I’ve moved away from trying to drybrush lacquers. So, this build is a great opportunity.
I gave the instrument panel a coat of diluted Mr. Surfacer 1500 black (1:4 dil’n with ML Thinner). Once dry I used an extremely dilute solution of white and dotted the instruments. Then using a toothpick, picked out the buttons that would be red.
This was followed up with some MC218 metal silver (I chose this as it is a buffable lacquer), and highlighted the bezels, placards and other raised areas. Then I dotted the instruments with some Future neat and let it all dry. Overall, I like it, with only one instrument getting a little too much white. I wasn’t too worried as when complete it looks realistic and it will become increasingly difficult to see much detail once the windscreen and canopy are attached (note, the brown color on the left side of the panel seems to be light reflecting).
My next foray into dry brushing will include some paint retarder as lacquer paints dry too fast for this techniqe to adaquately work in a reasonable timeframe for me.
Some time back I purchased a PE set of early seat belts, and being frugal I made a photocopy and using white glue, glued the copy onto some aluminum foil and saved for such an occasion as this! I’m pretty sure this technique is best suited for closed up cockpits, as the seatbelts aren’t the best unless one wishes to spend a lot more time on them.
The belts were cut out, and using some colored pencils gave them a bit more life. These were attached to the seat via white glue and set aside.
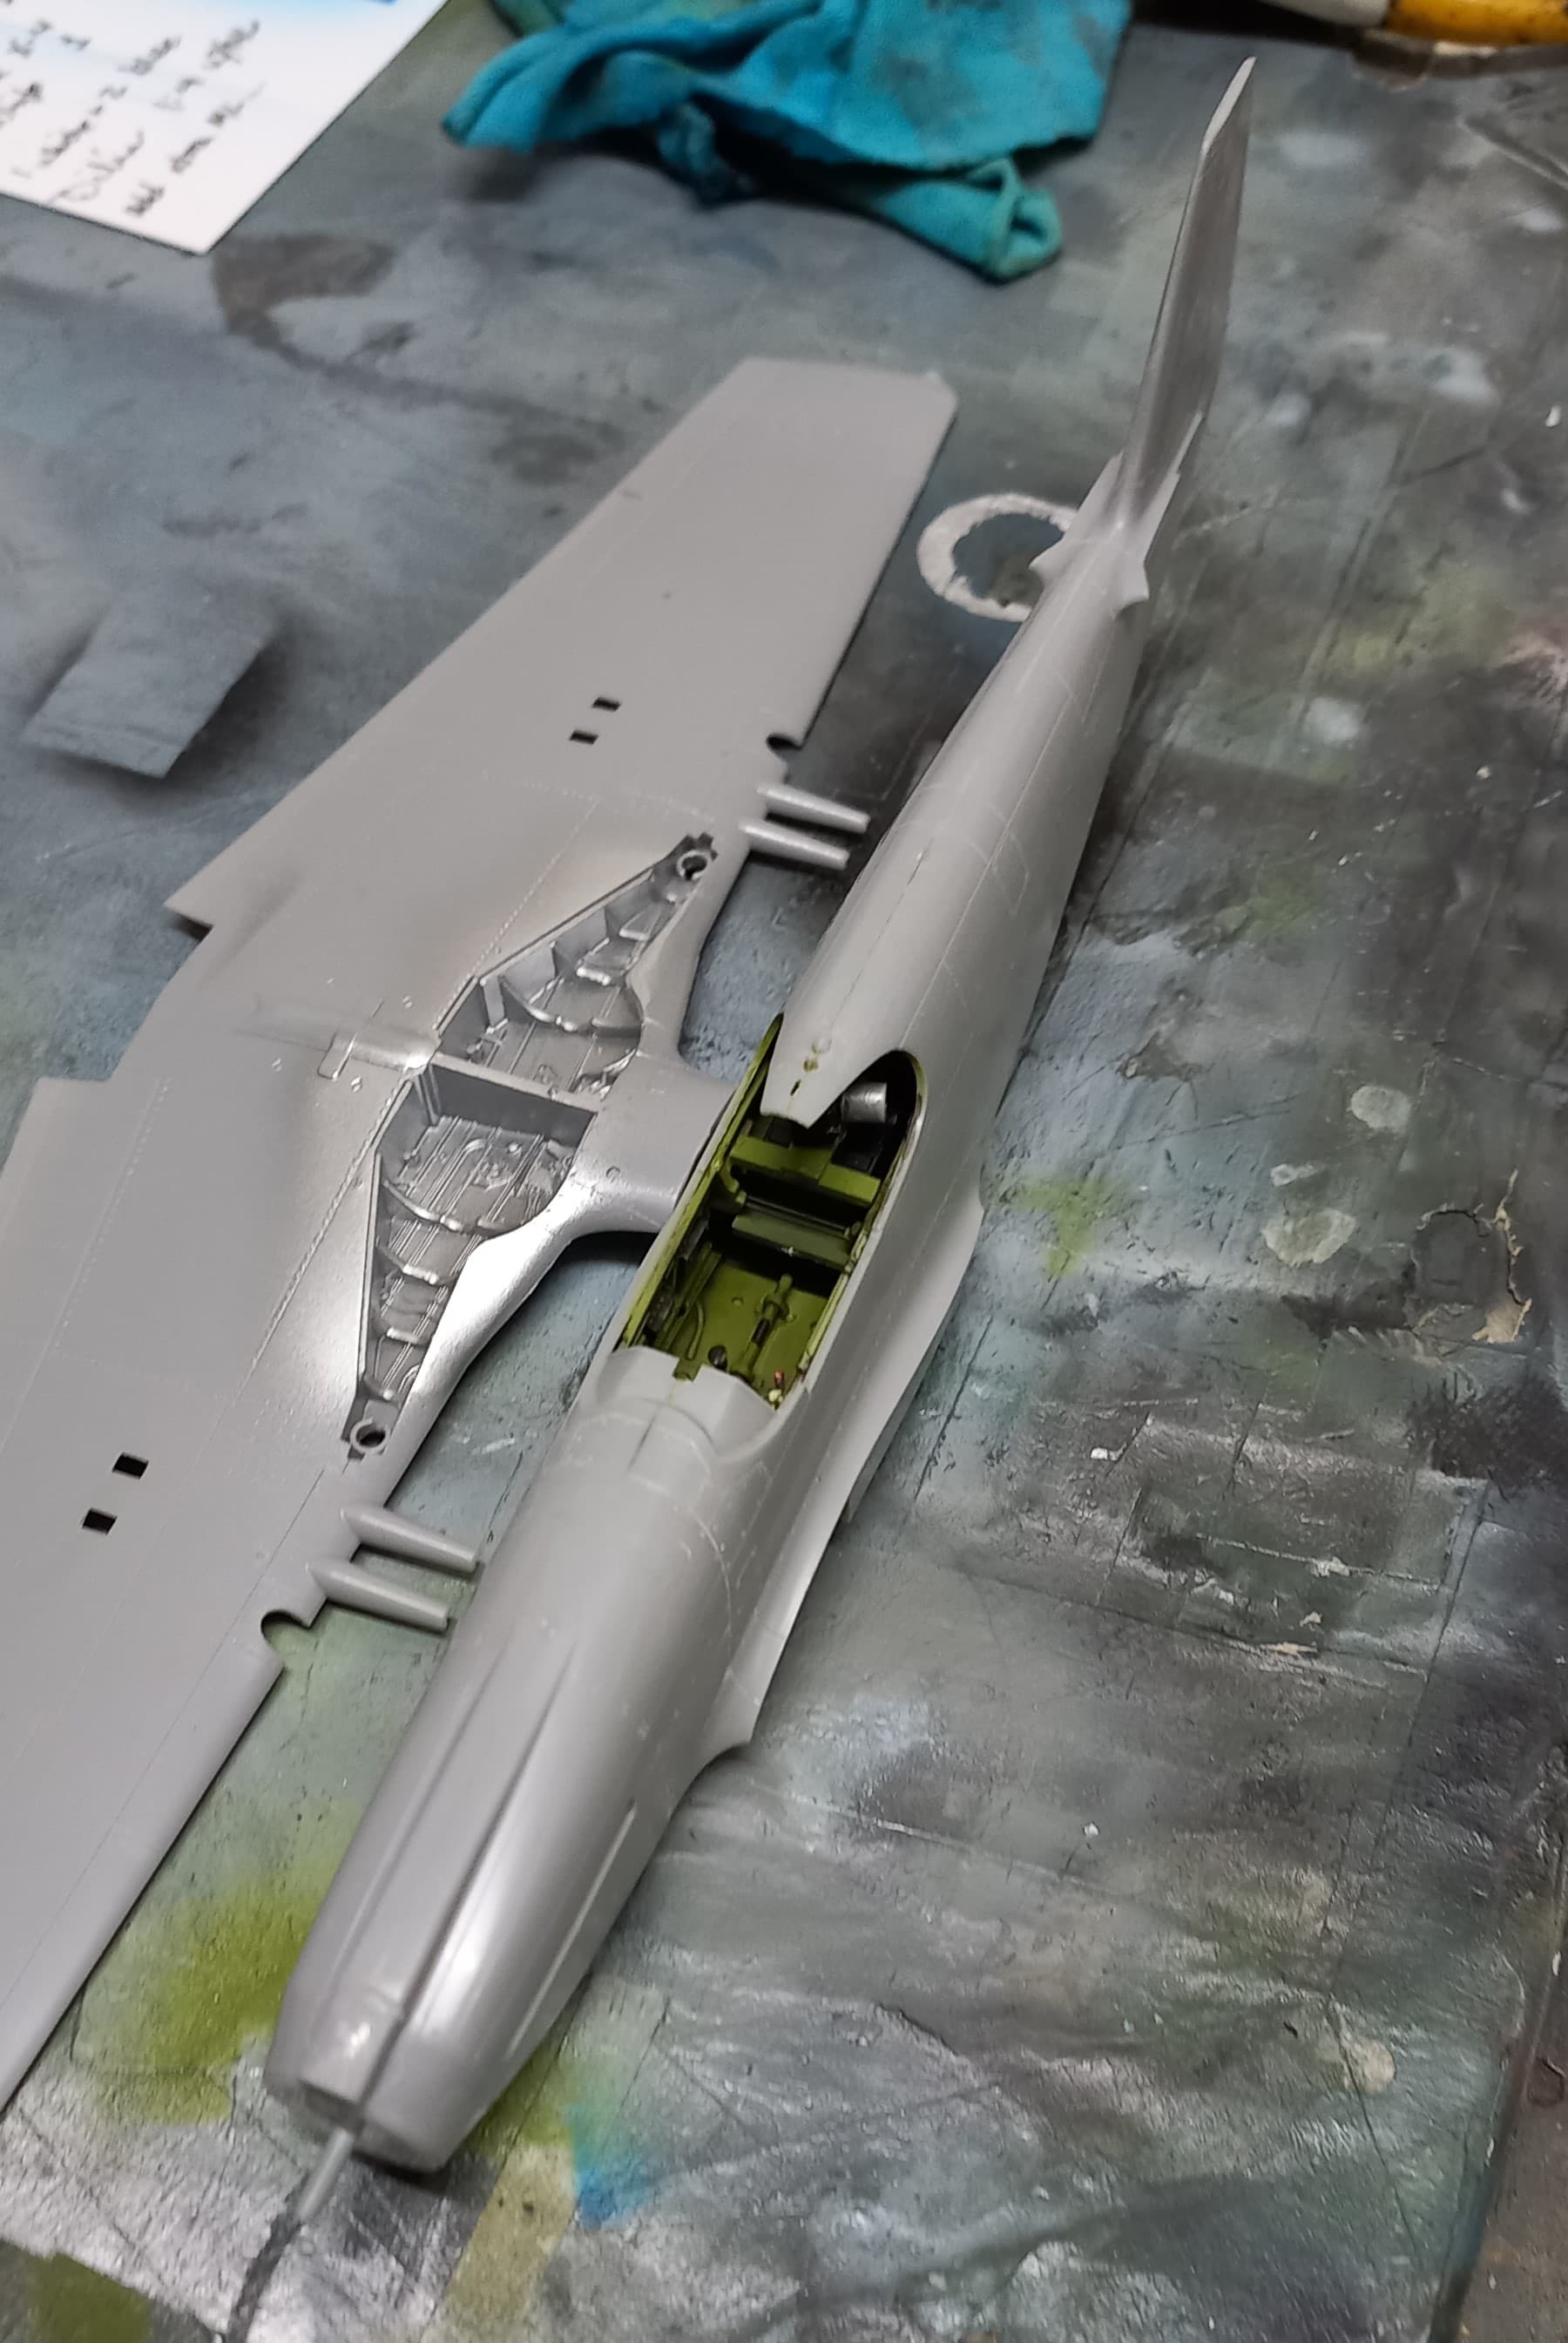
Next up were the interior parts that AM had planned for the recon version of the P-51A. This includes a nifty little camera and positioning shelf. This positioning would lead to all photos taken being from the port rear side of the plane. AM’s desire to get more from their molds meant that the fuselage would be done in four parts as opposed to two, allowing for the Allison engine air scoop duct to be molded into the fuselage making for a much easier way to display this. The instructions would have the modeler attach the front of the fuselage later in the build. My experience with this type of building leads to poor fit of the forward fuselage, therefore, I assembled and glued the fuselage halves together as two prior to installing the cockpit components. While the cockpit parts fit great, they are fiddly. This results in frequent test fitting and holding the fuselage halves together to assure proper alignment of the cockpit parts. The cockpit parts were attached to the starboard side, dry brushed with silver, and given a wash of burnt umber.
Satisfied with the fit, I closed up the fuselage and attached the forward most portion of the air scoop duct. Fit here was exceptionally good.
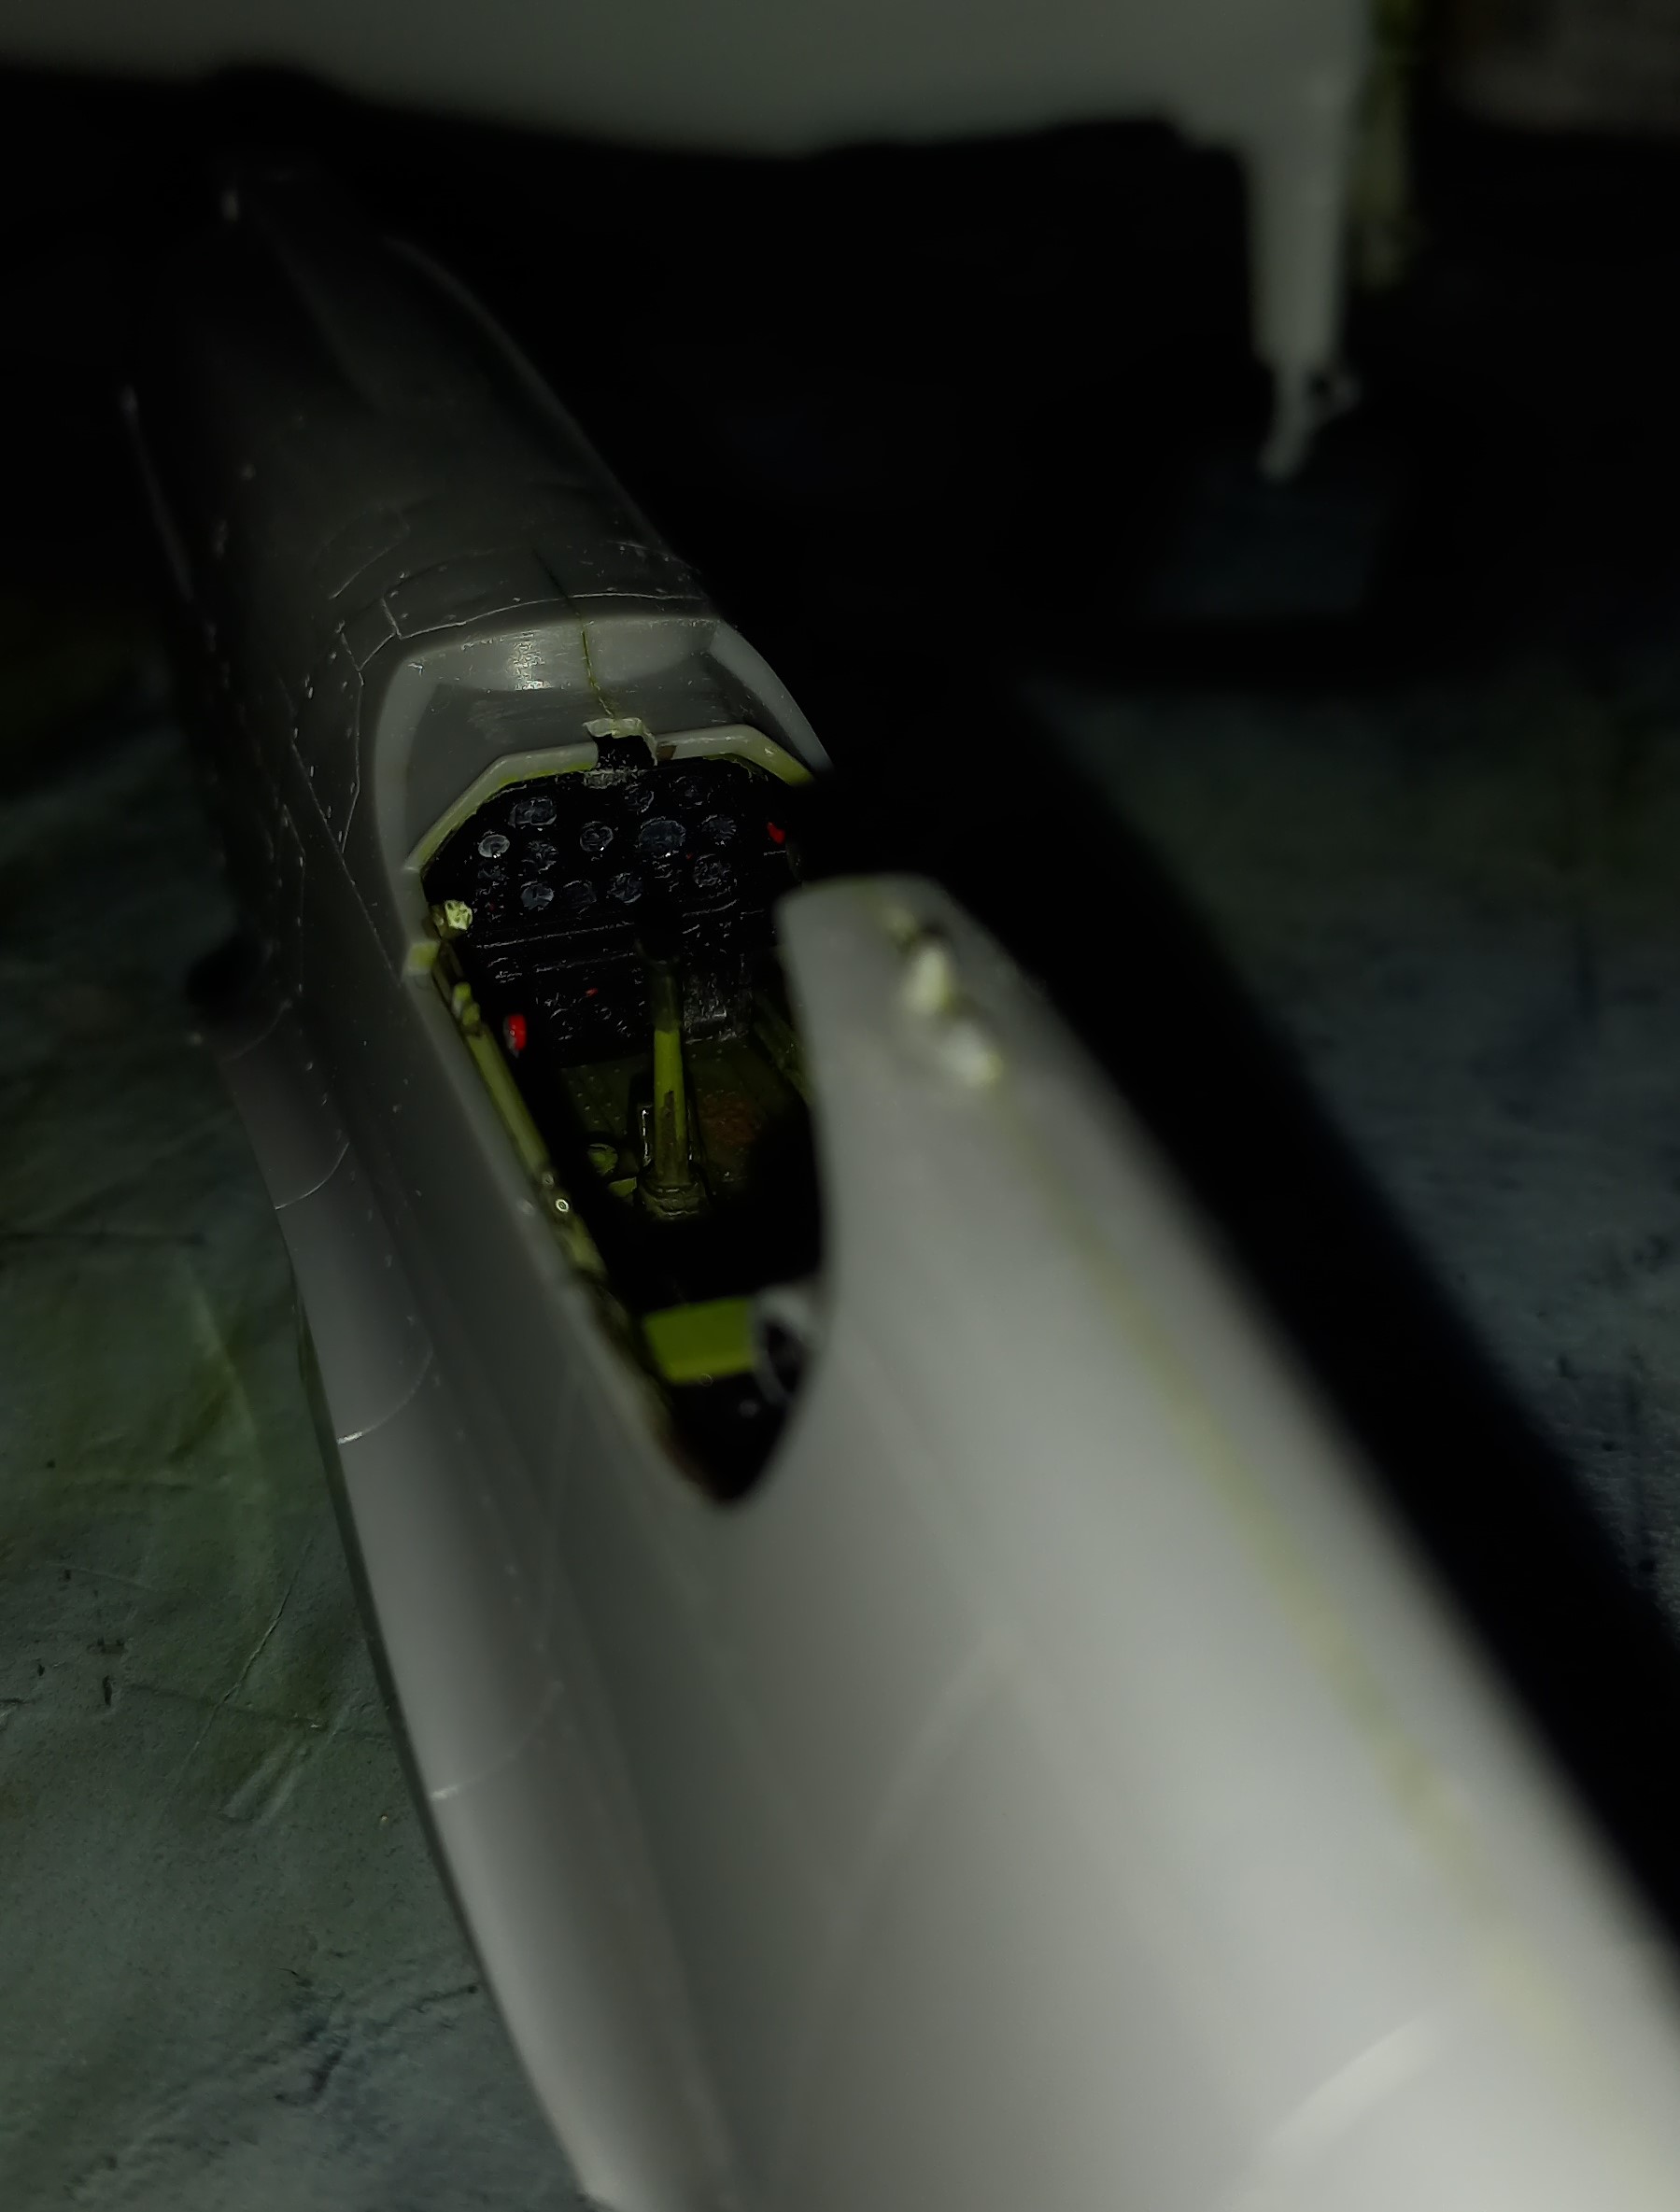
I took a photo of the instrument panel once things were closed, while a poor photo due to light, it does show the difficulty of seeing the panel once all is closed up.
Seams were delt with, and there’s not too much, using superglue. The canopy was masked. I chose to use the Eduard mask set made for this kit, however, Eduard chose not to provide masks for the windscreen that has the little side window. While it appears that this window would be used for minimizing the condensation buildup inside the windscreen, I’m leaning toward a small vent window to let the smoke out of the cockpit during long patrols where the pilot could have a Camel and not worry overly about catching on fire! This was masked as well, and the glass was attached to the fuselage. The fit here is fair, and was made as tight as possible using white glue. This was allowed to dry and the interior green painted over to expose the glazing seams. These seams will be filled with subsequent layers of white glue until all smoothed out.
Next up will be completing the airframe! Till then be safe and have fun!
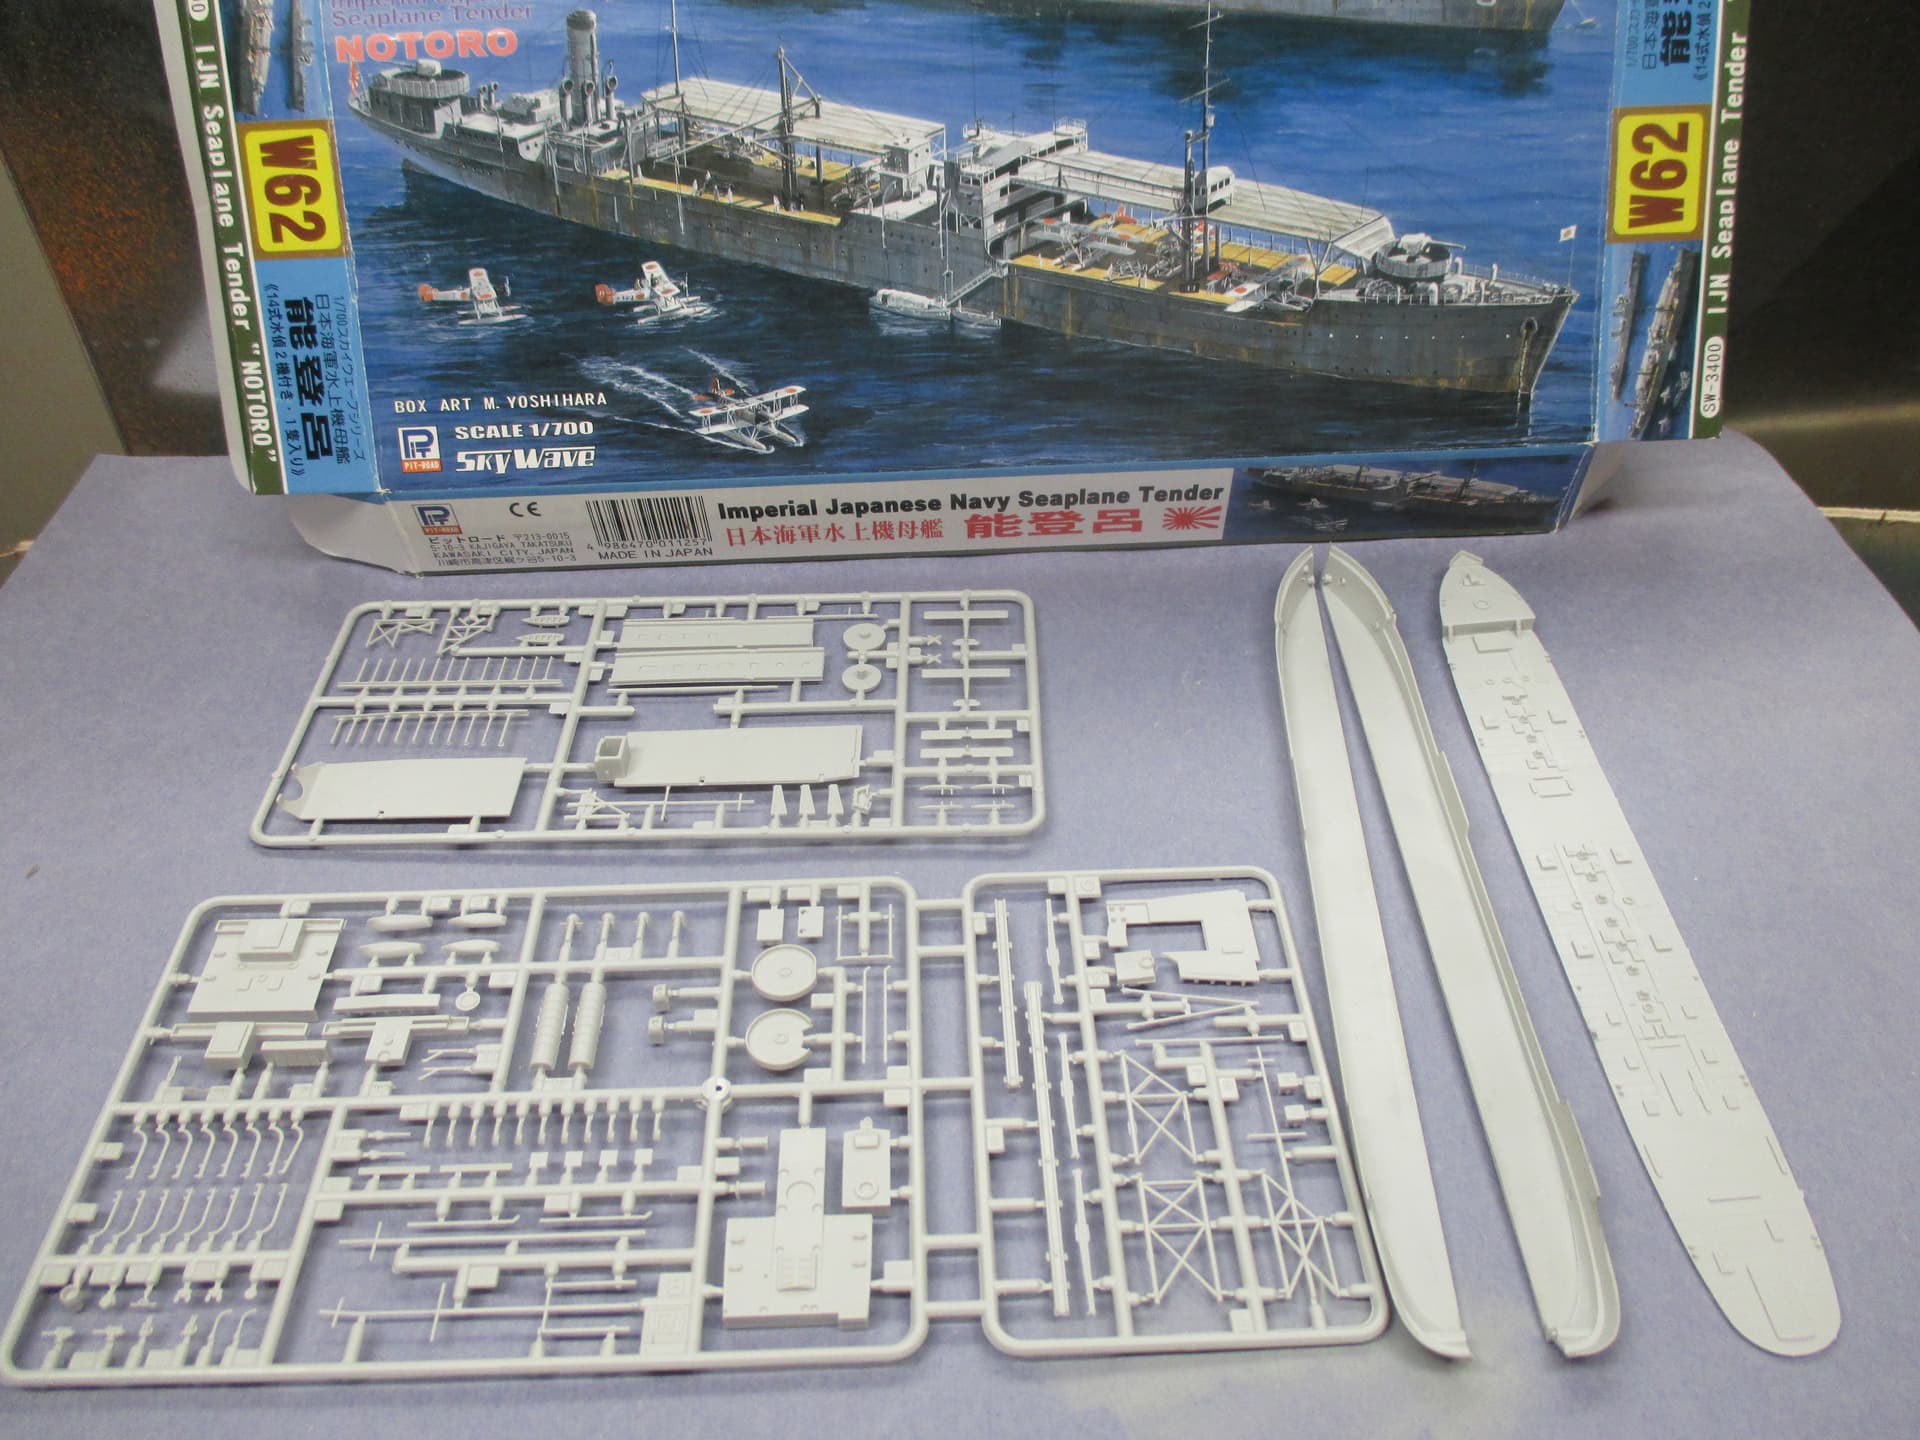
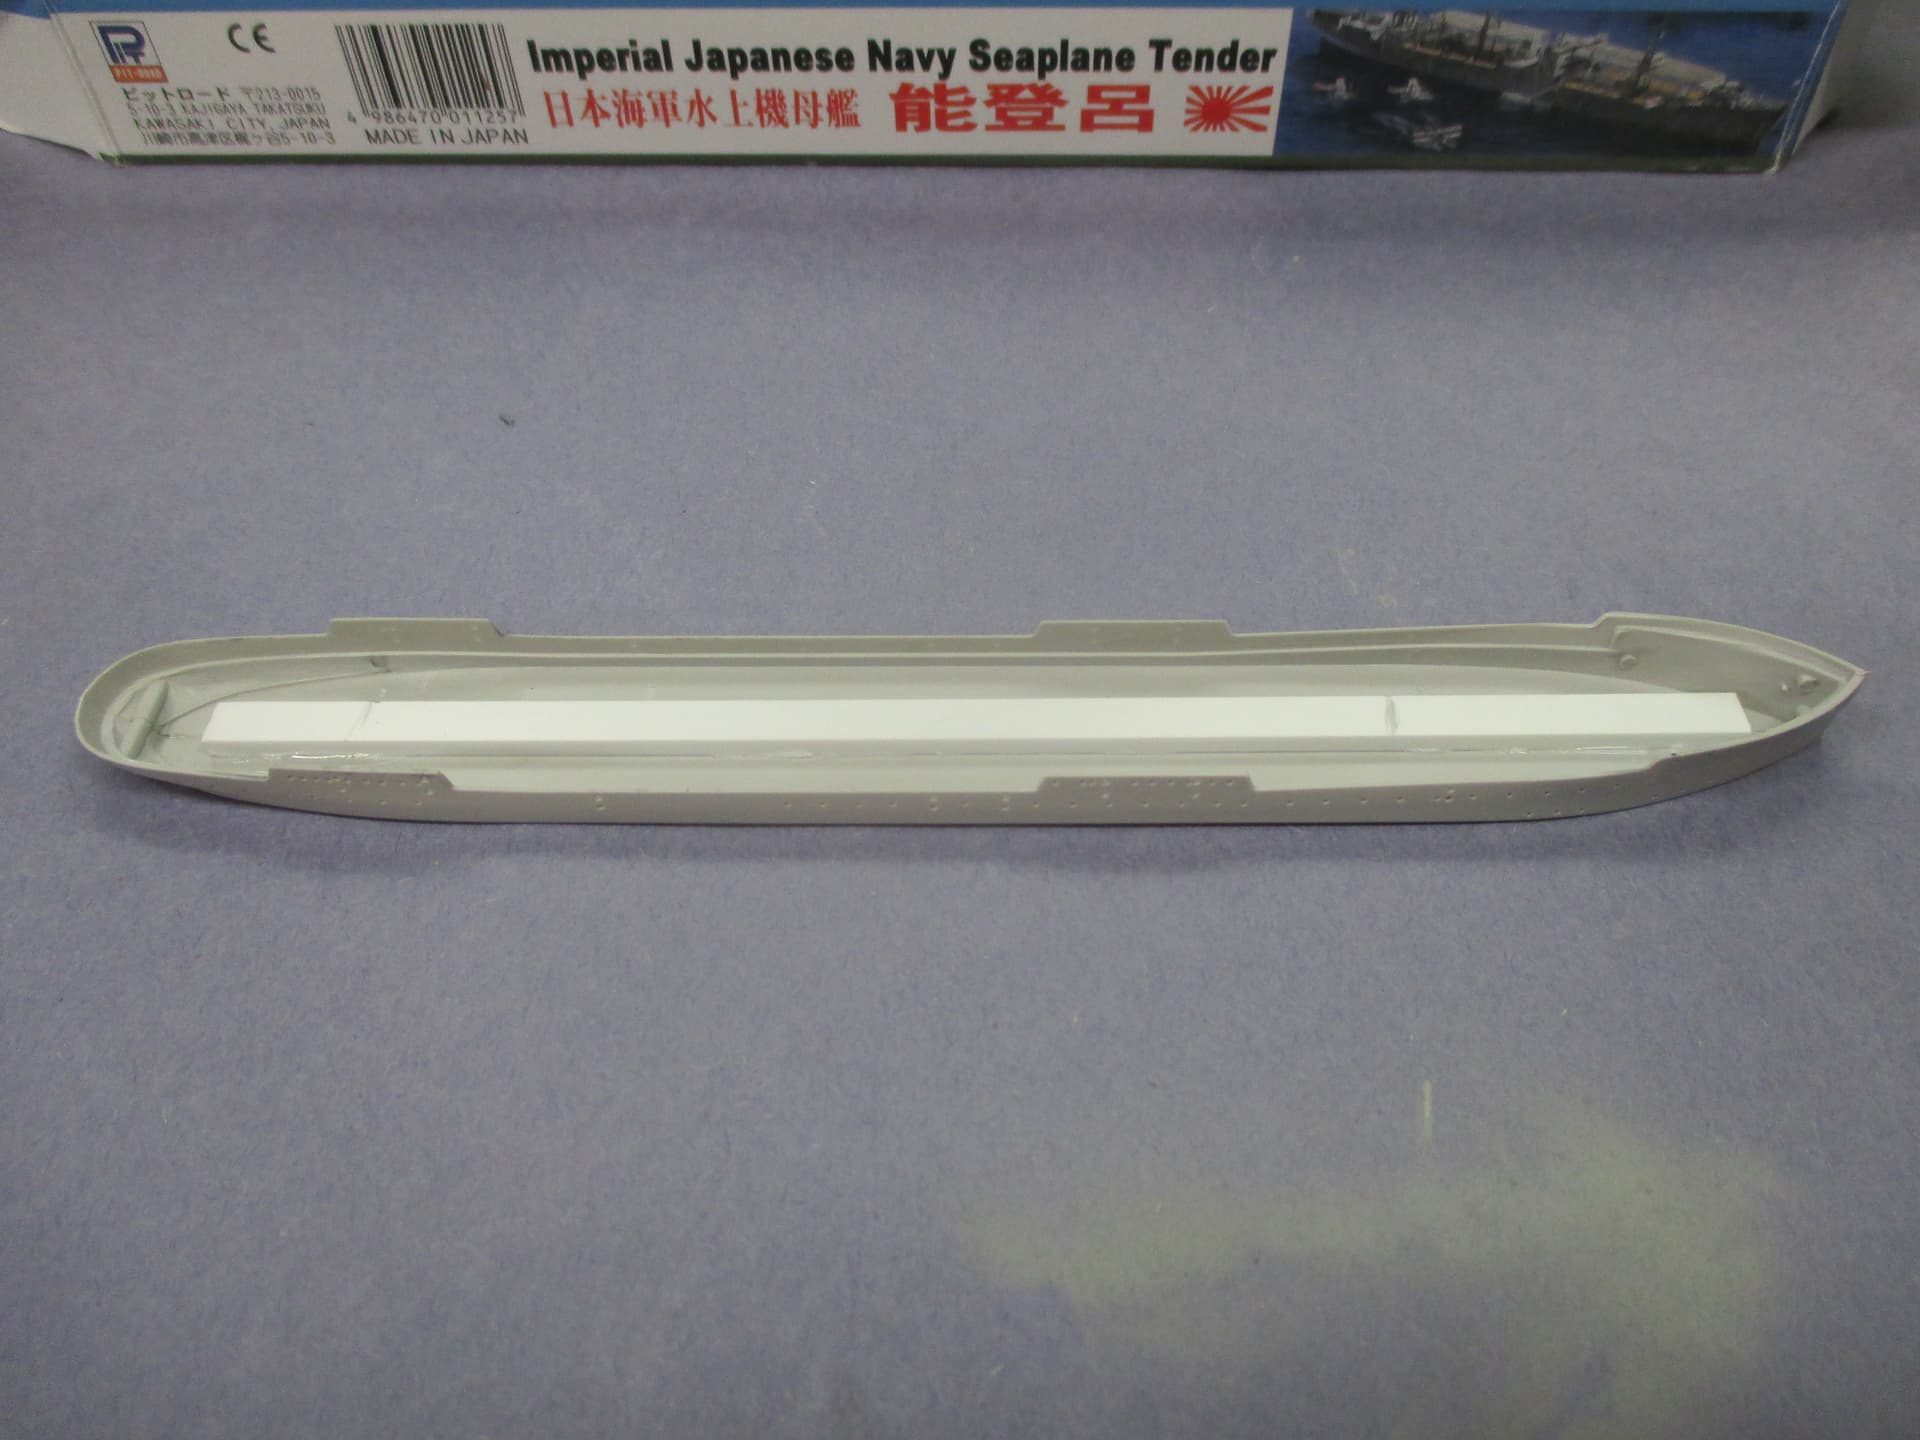
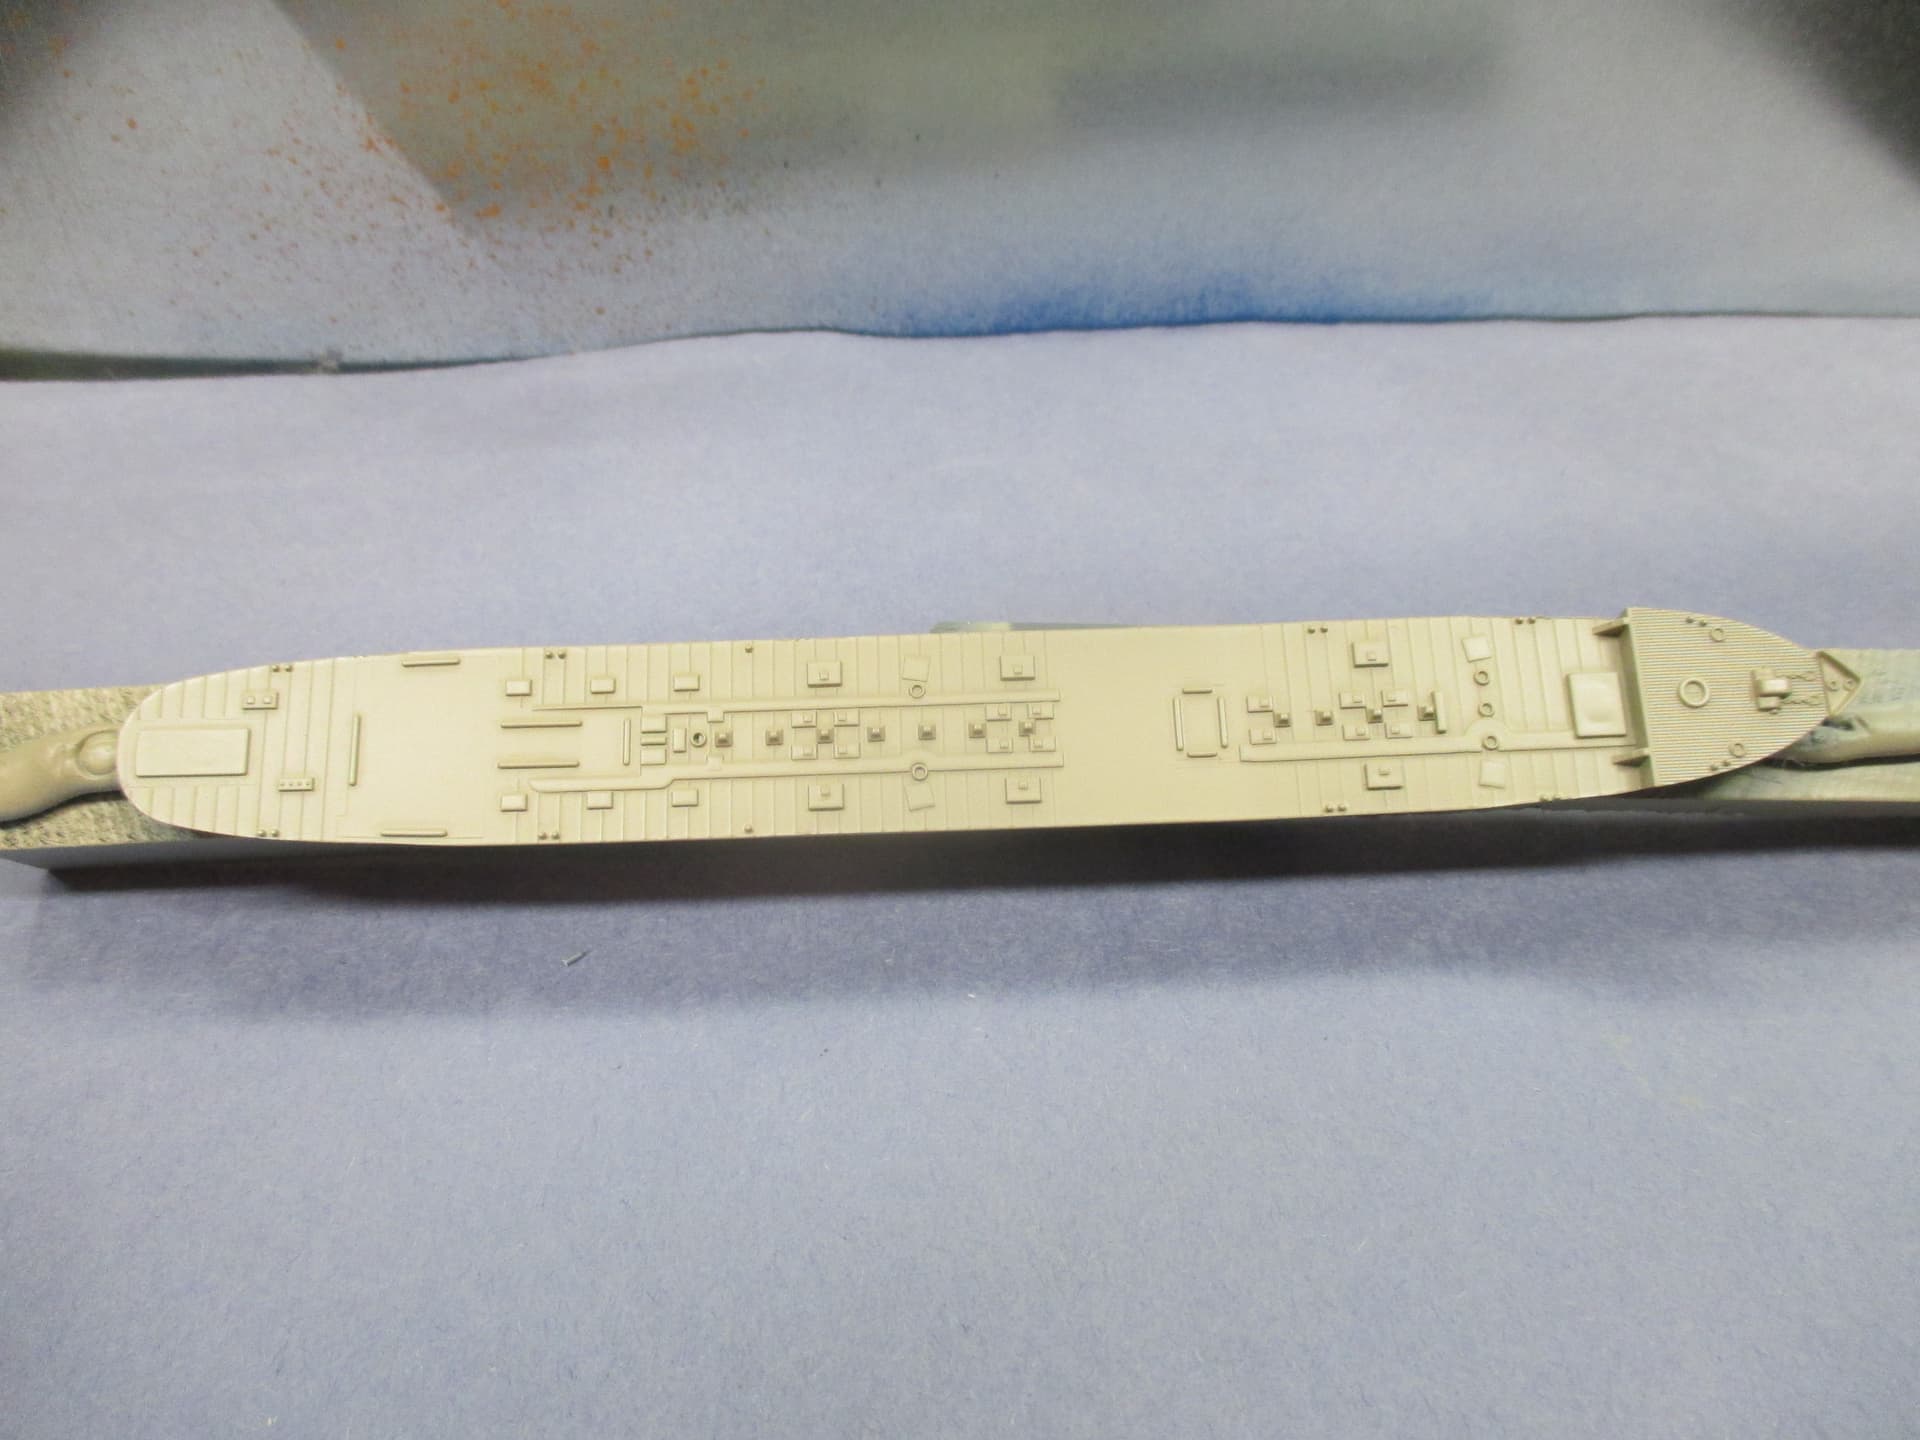
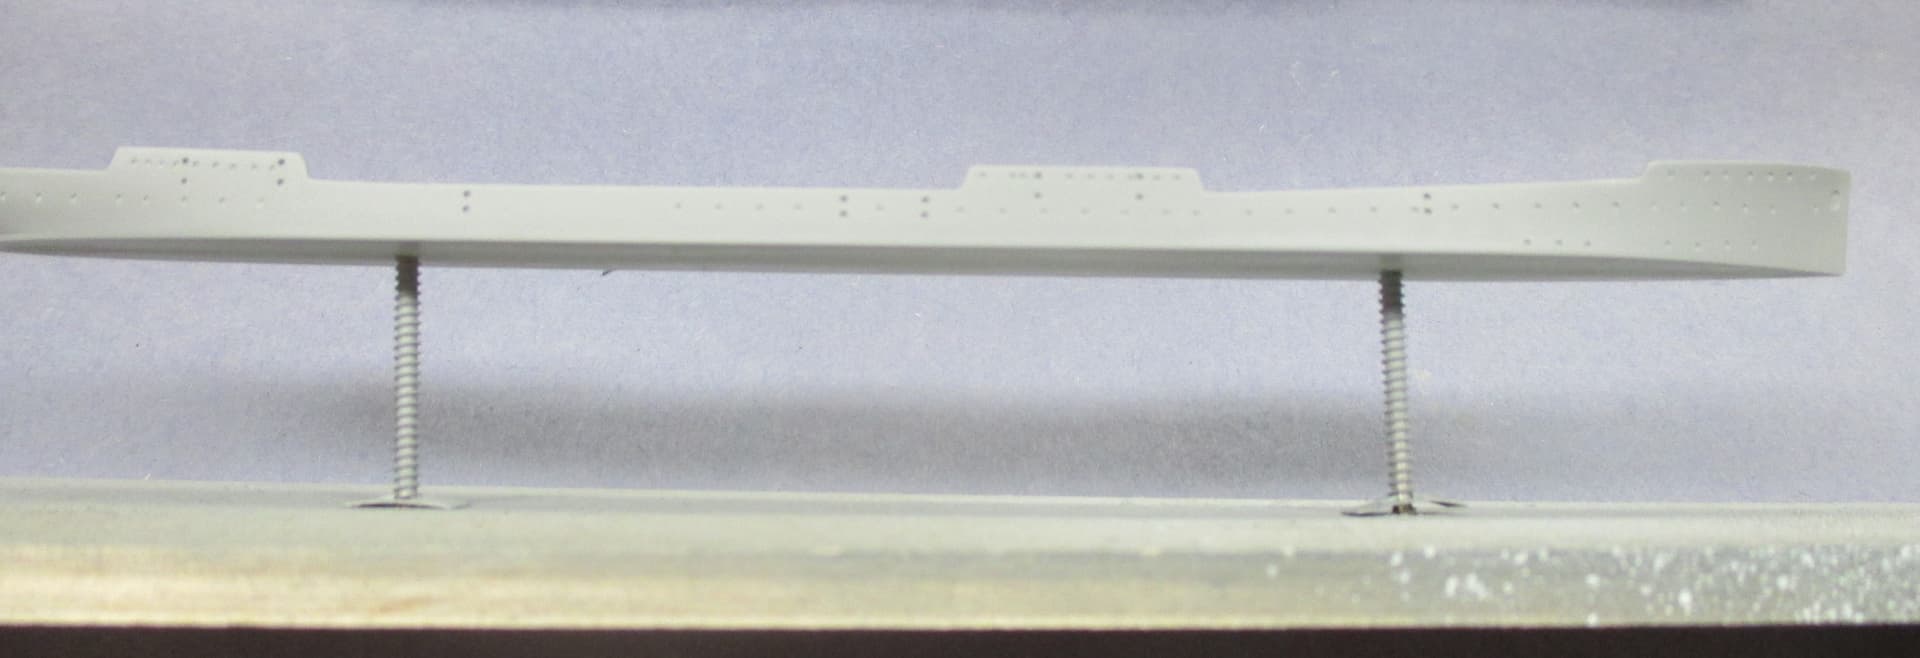
I am going to build the IJN Notoro for this campaign
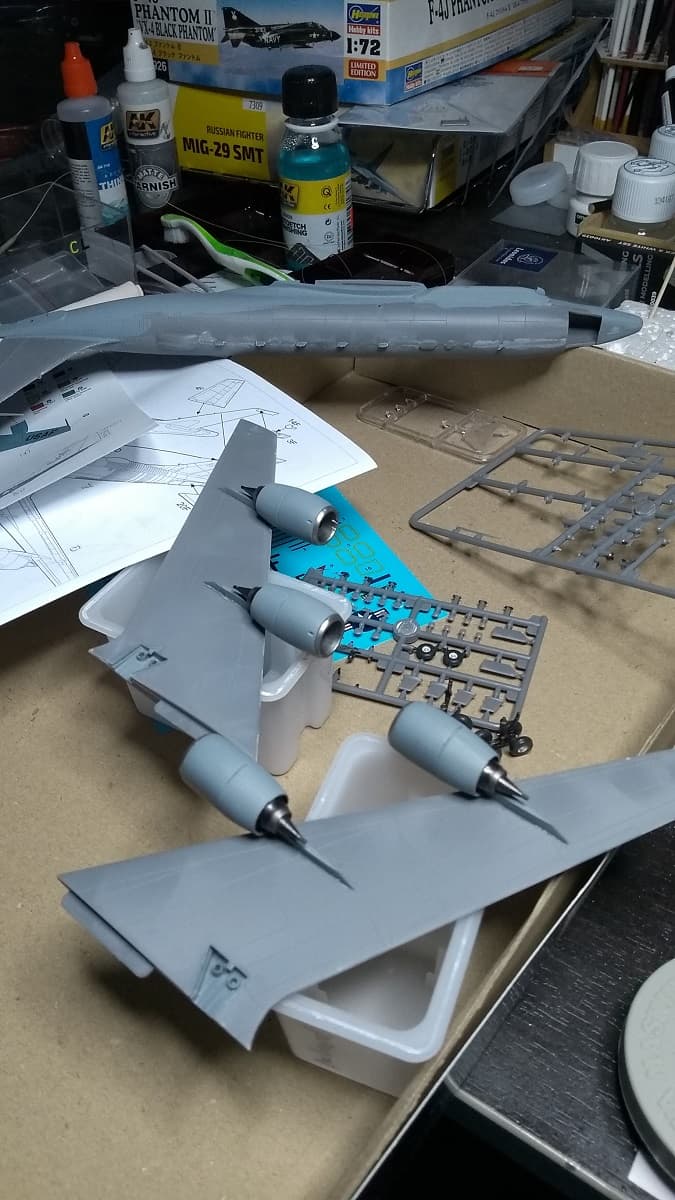
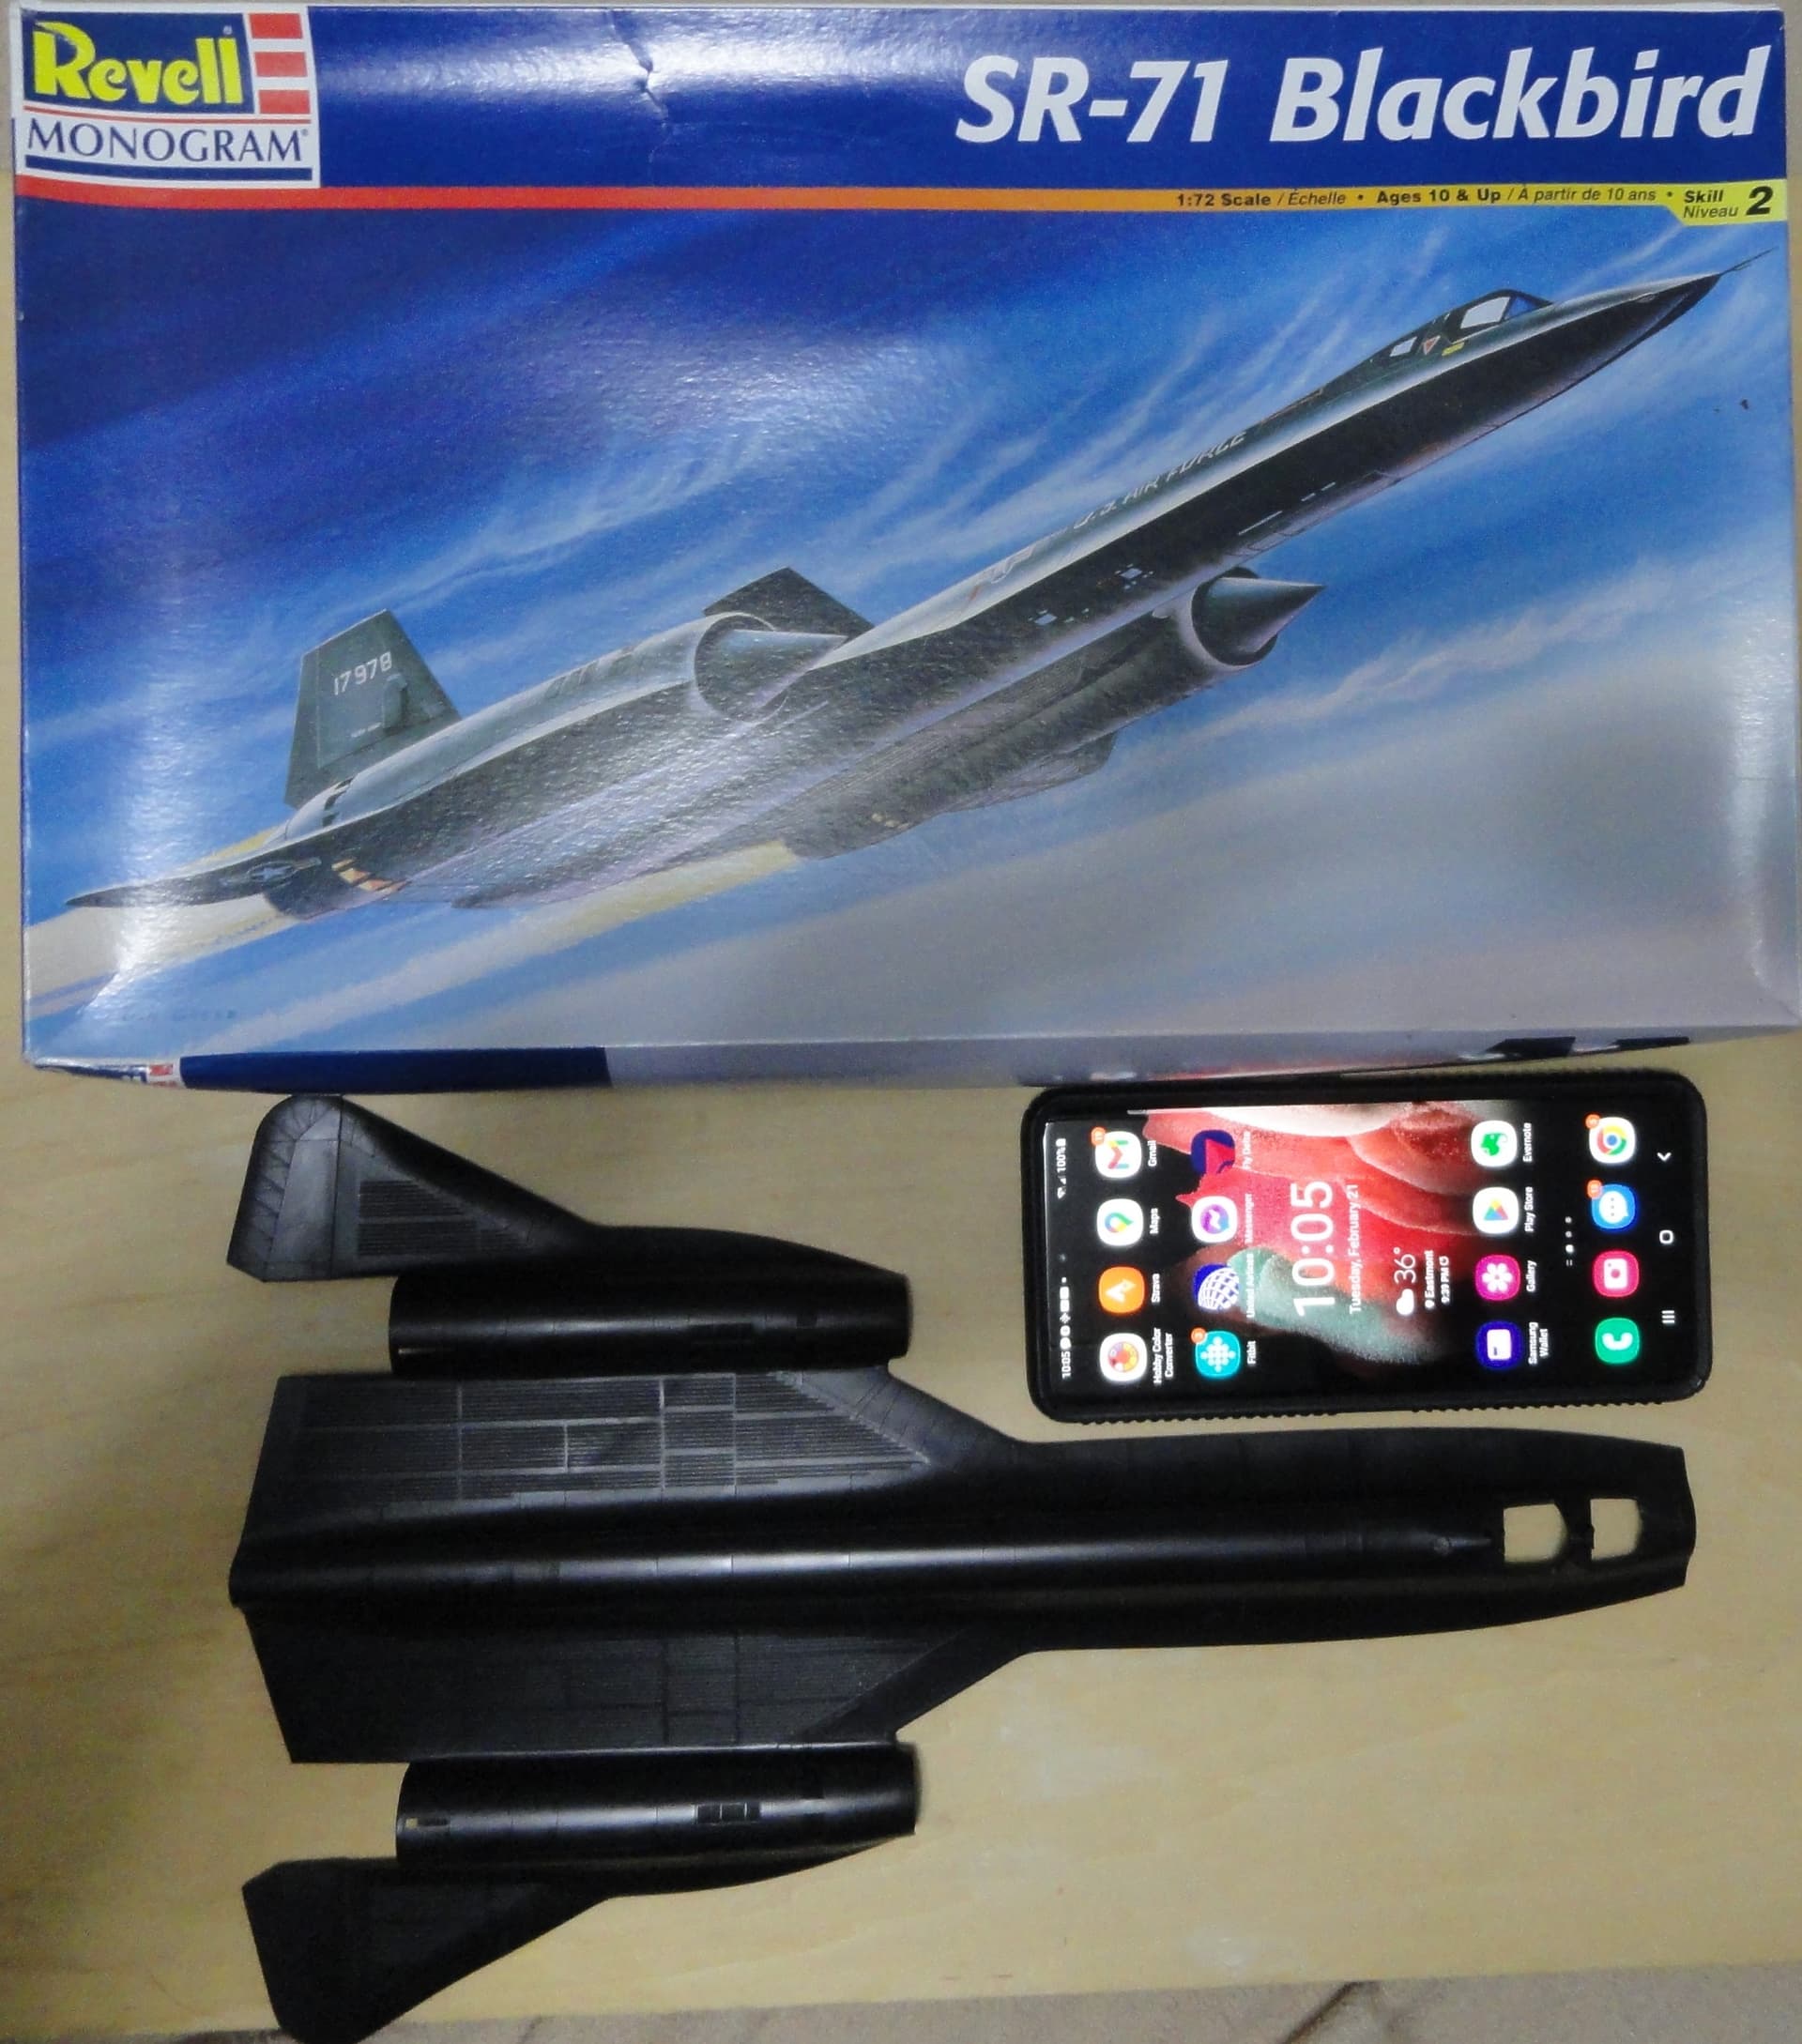
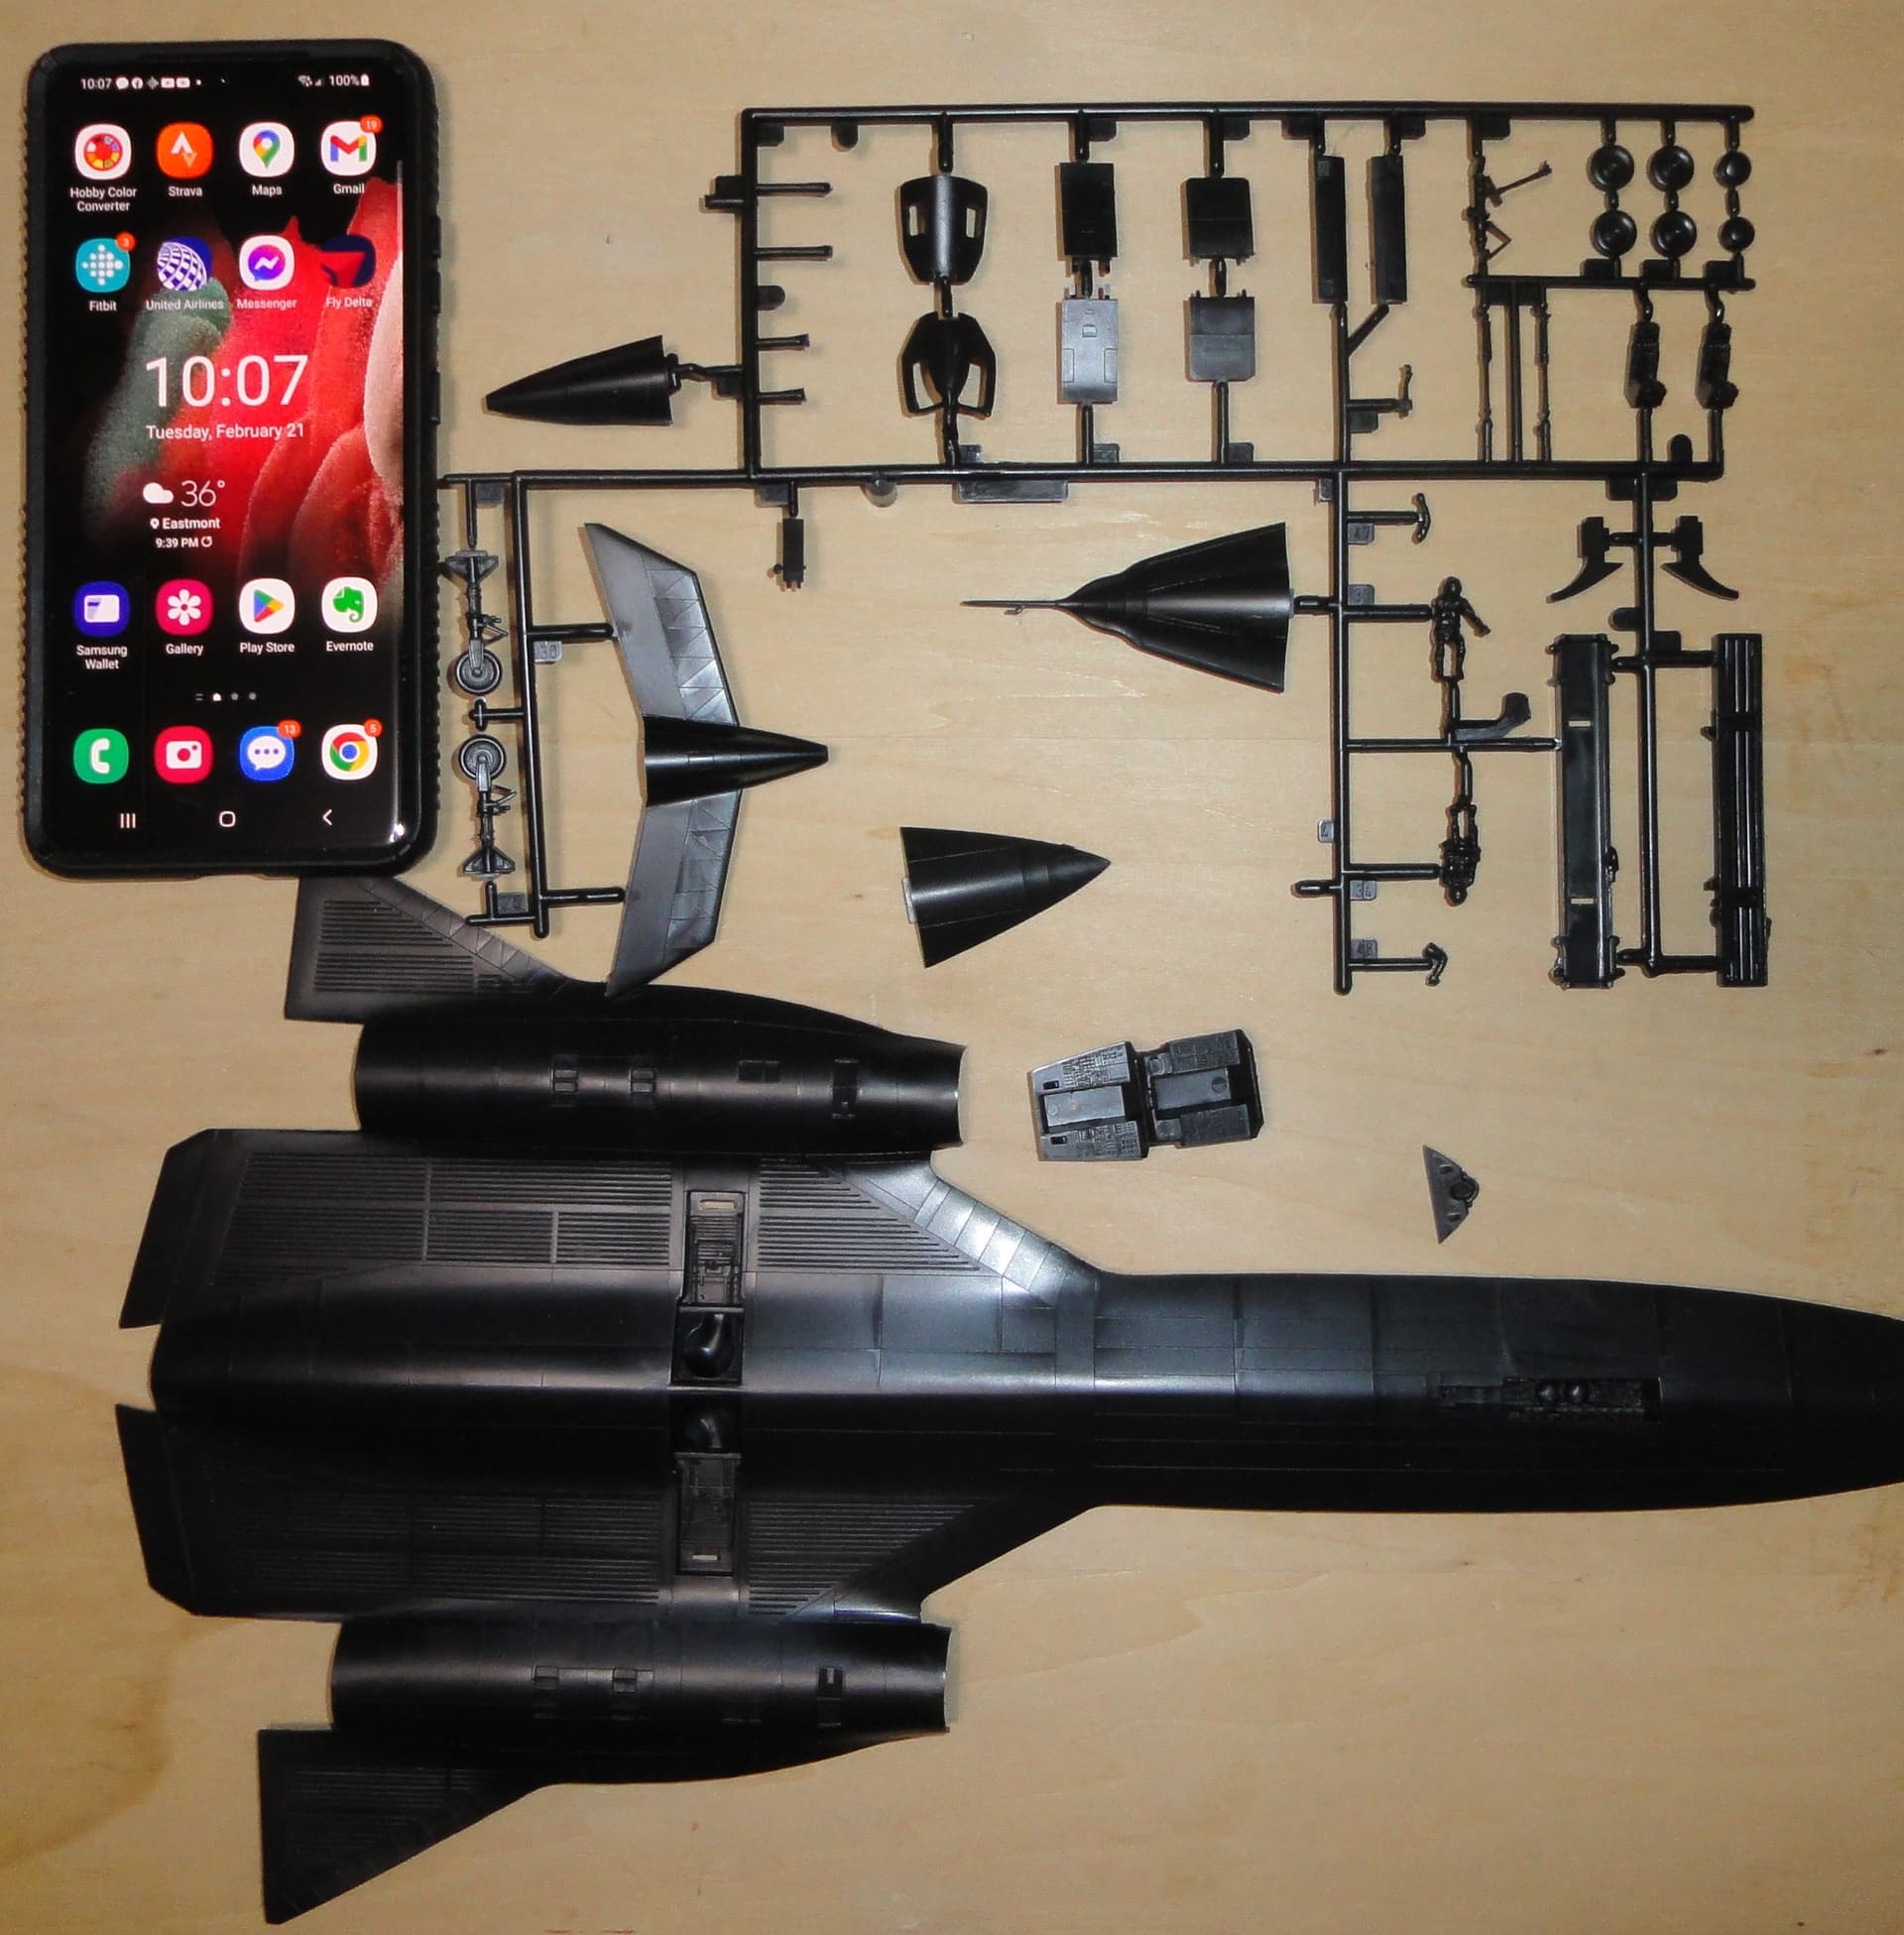
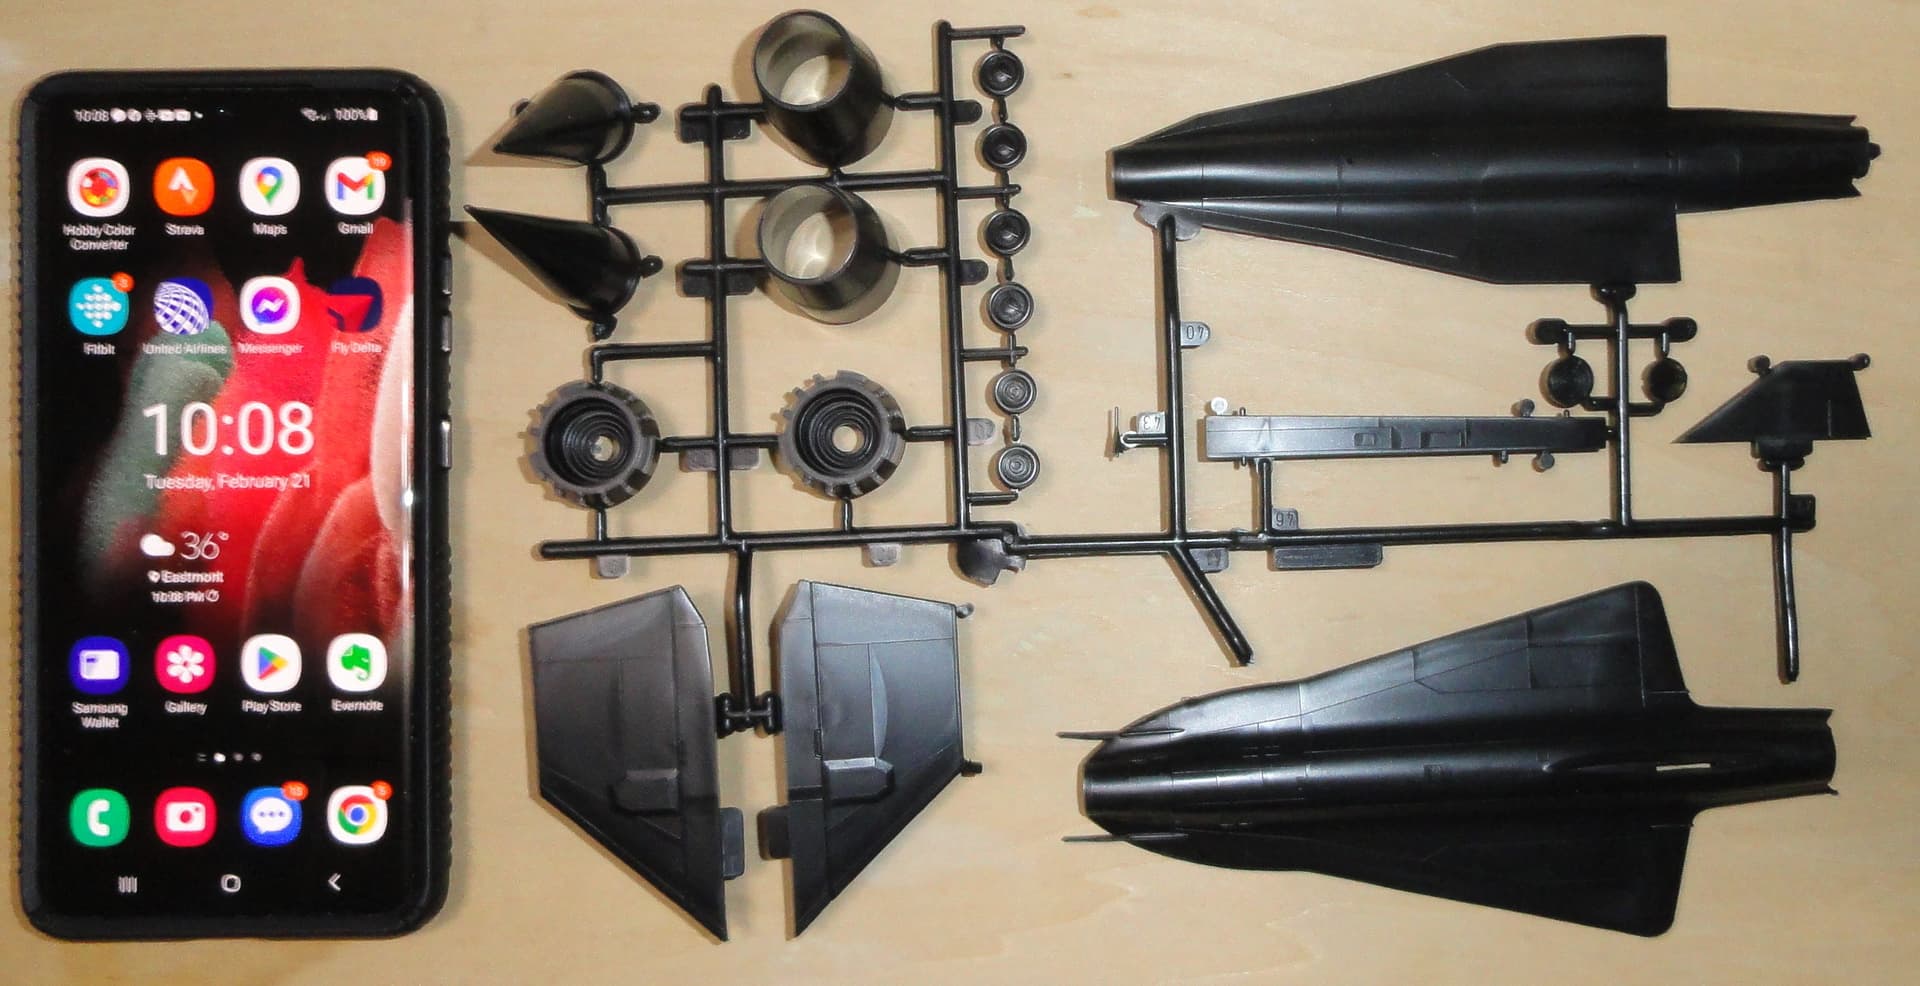
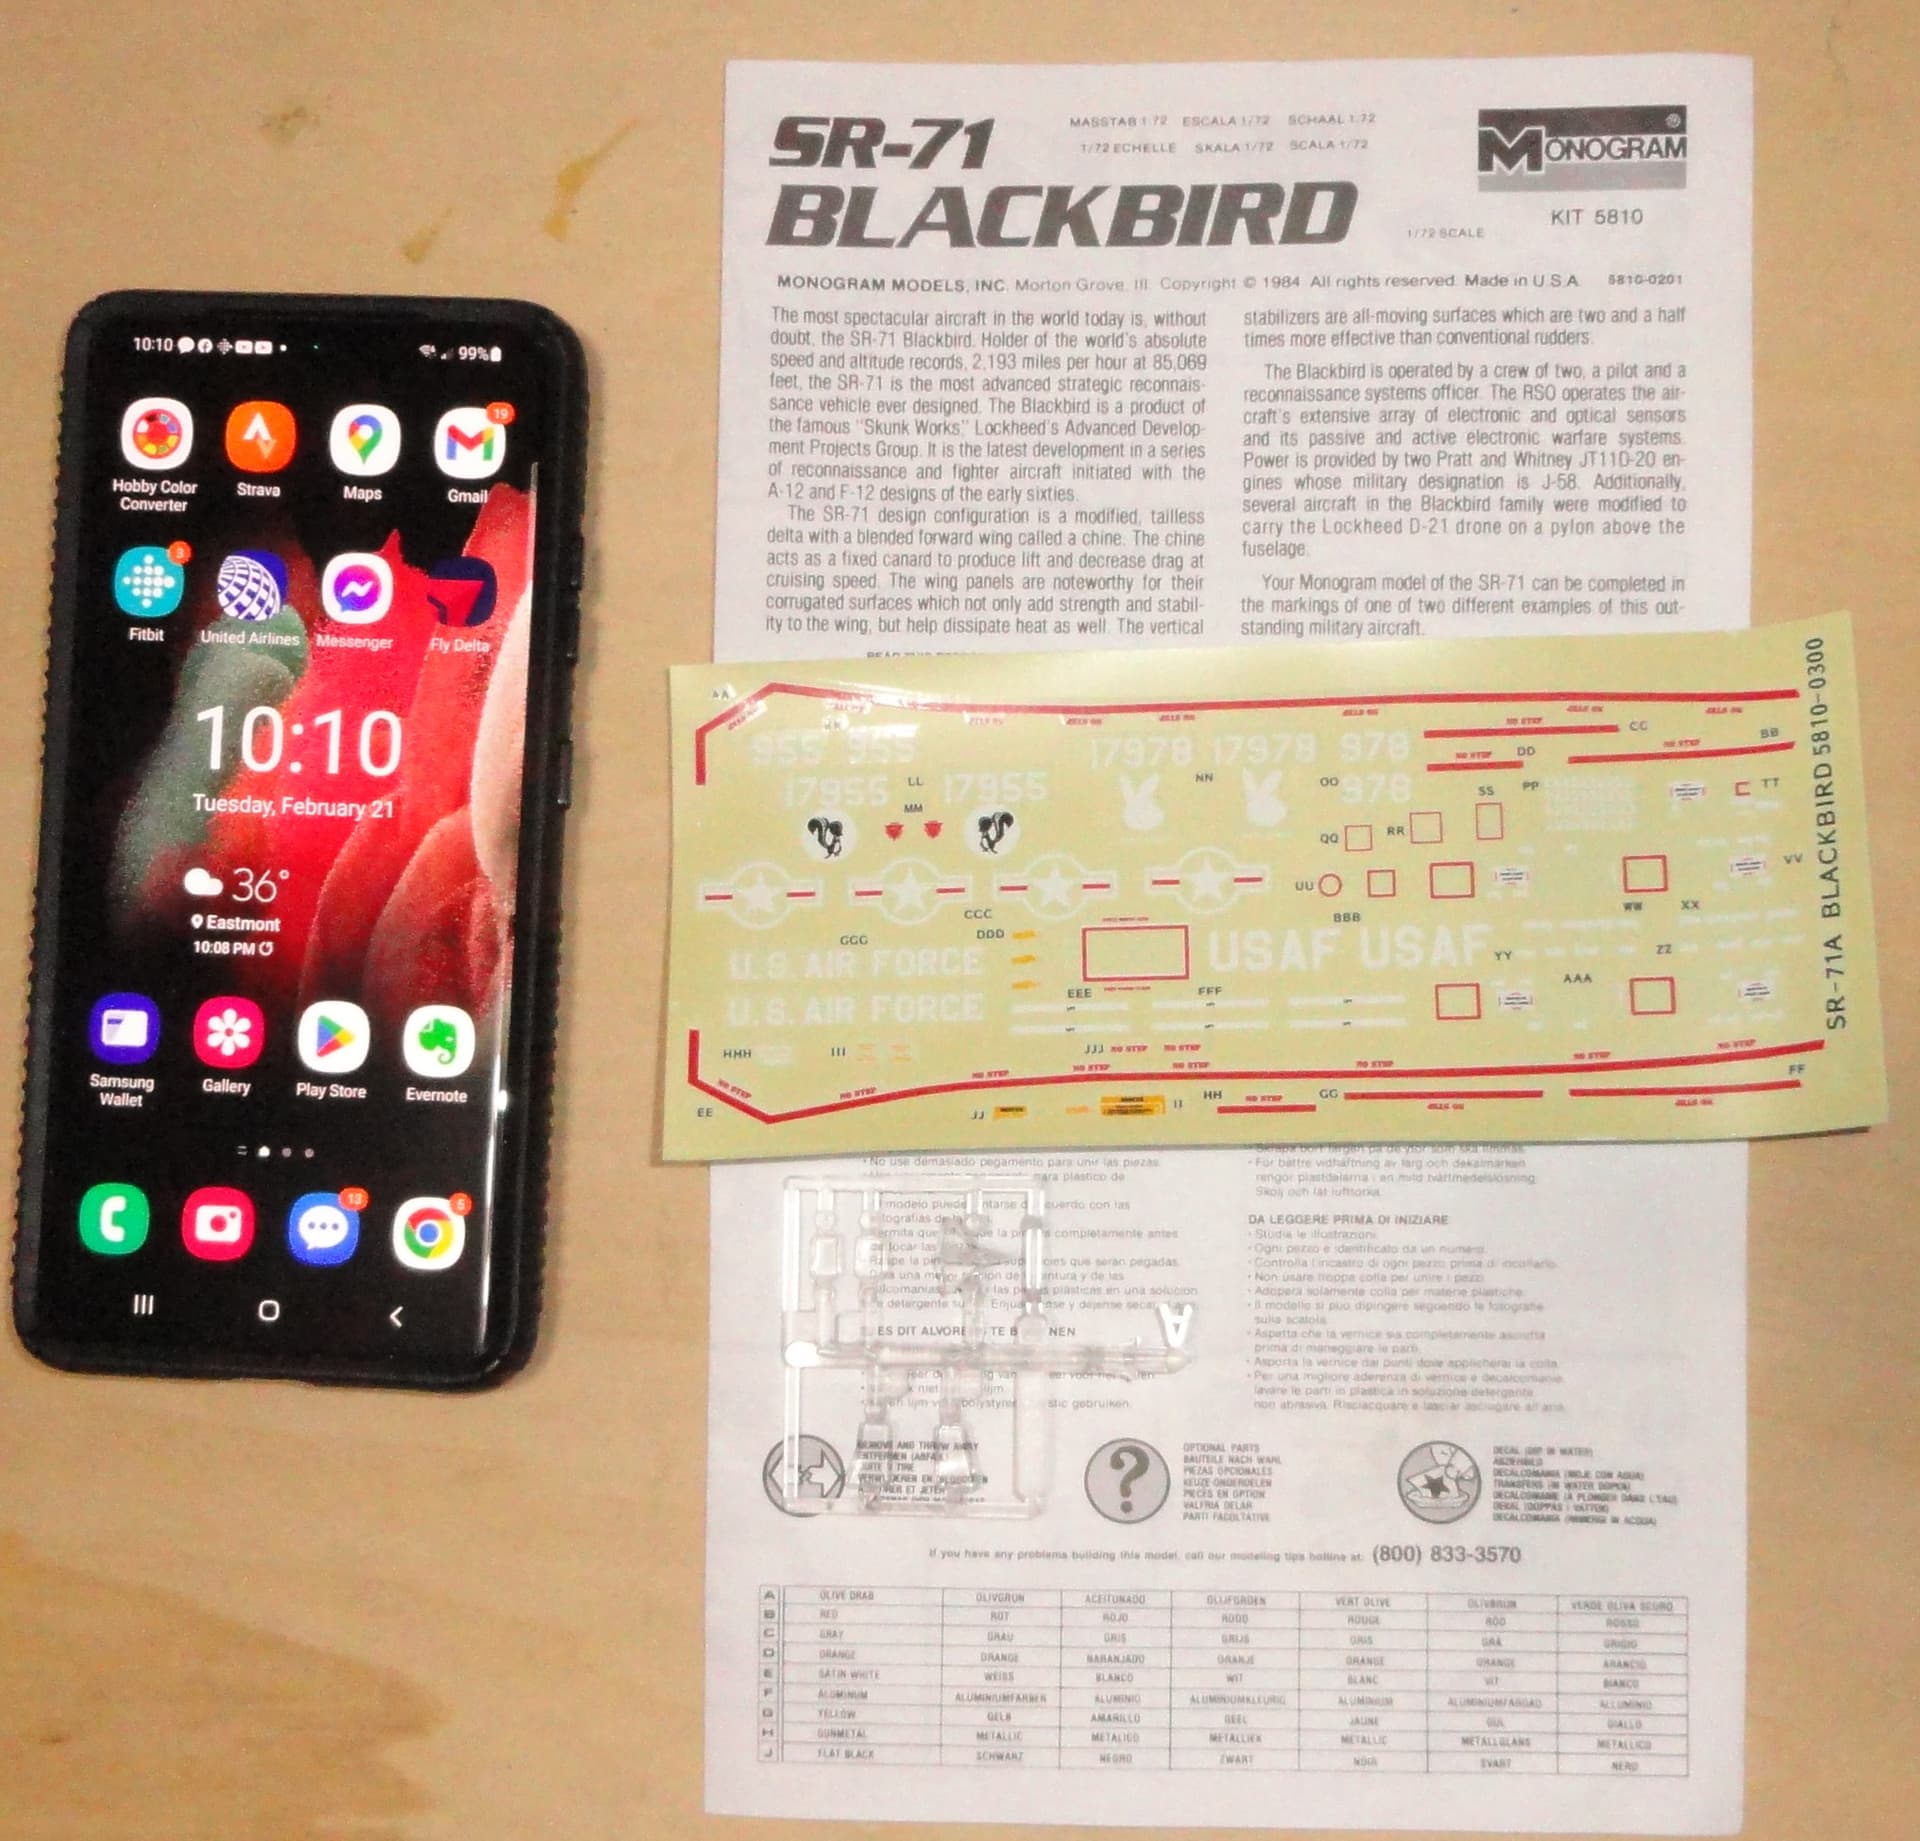
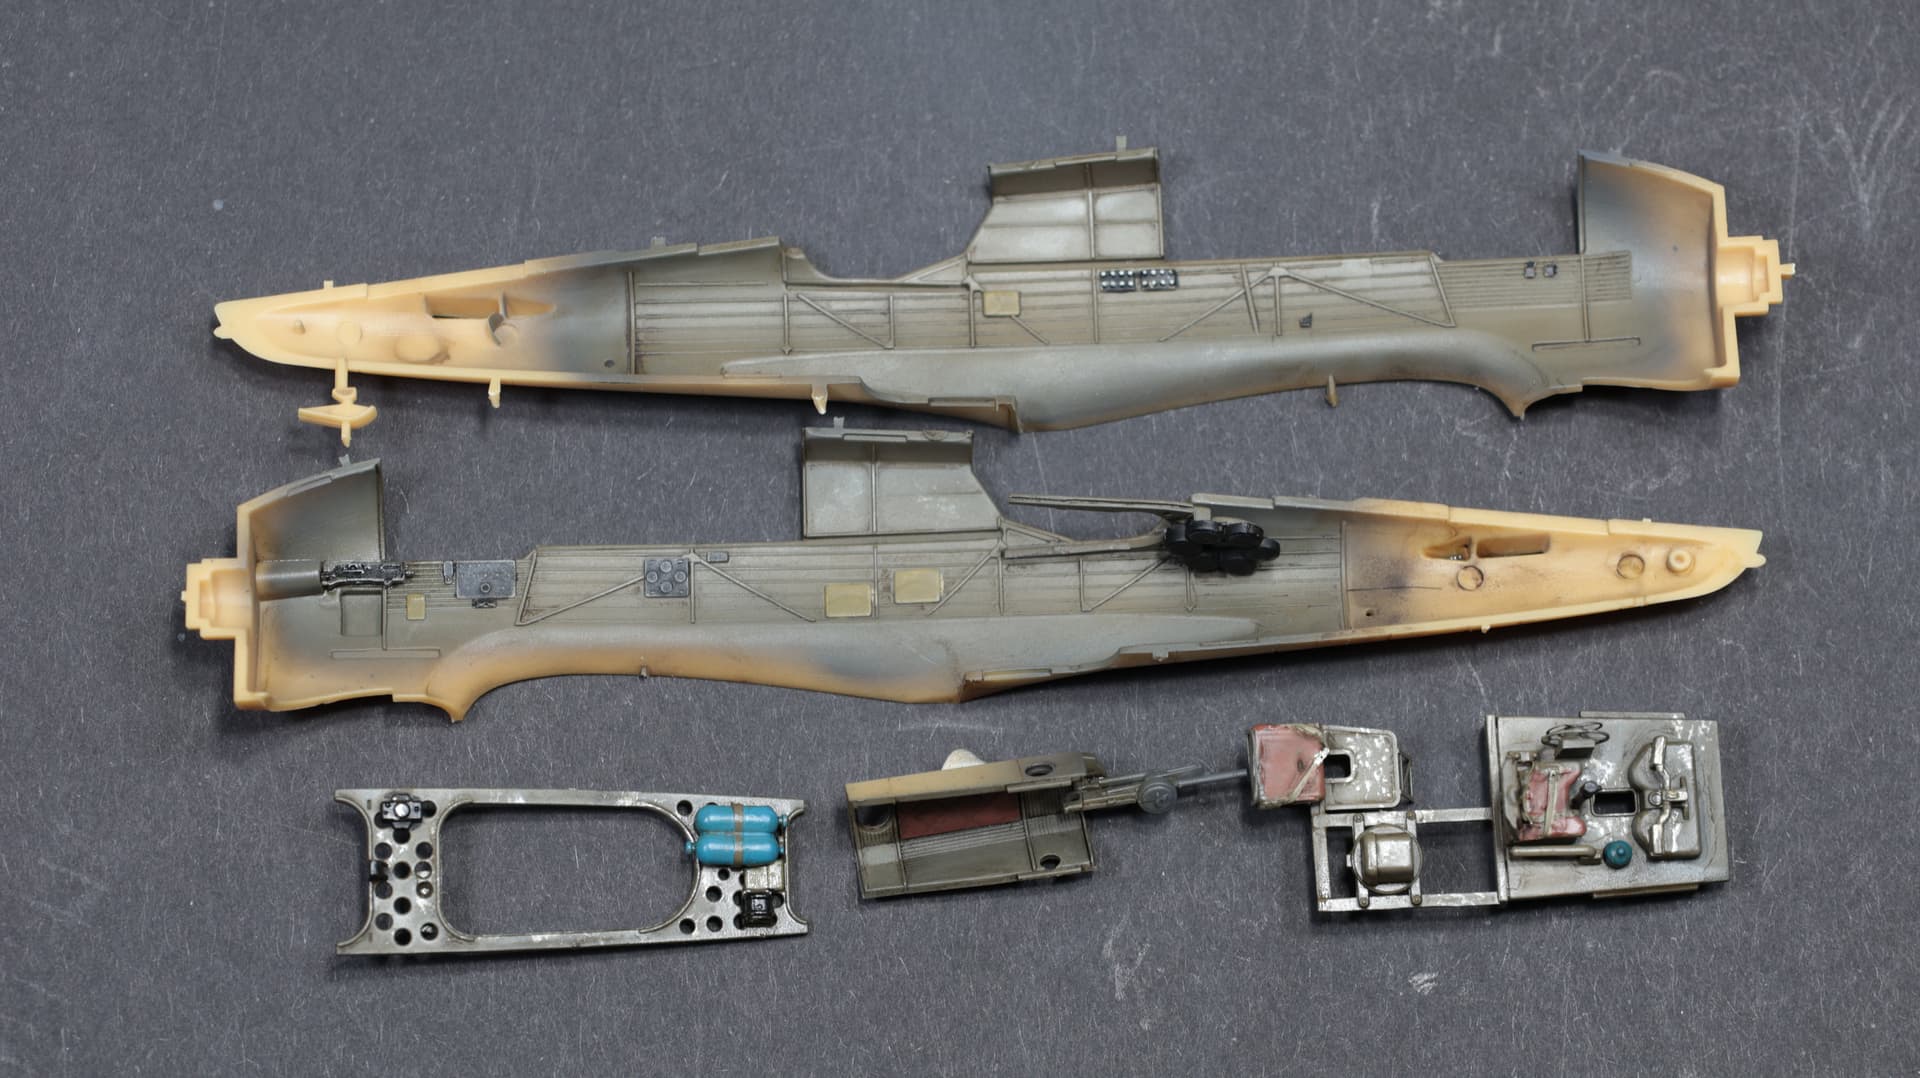
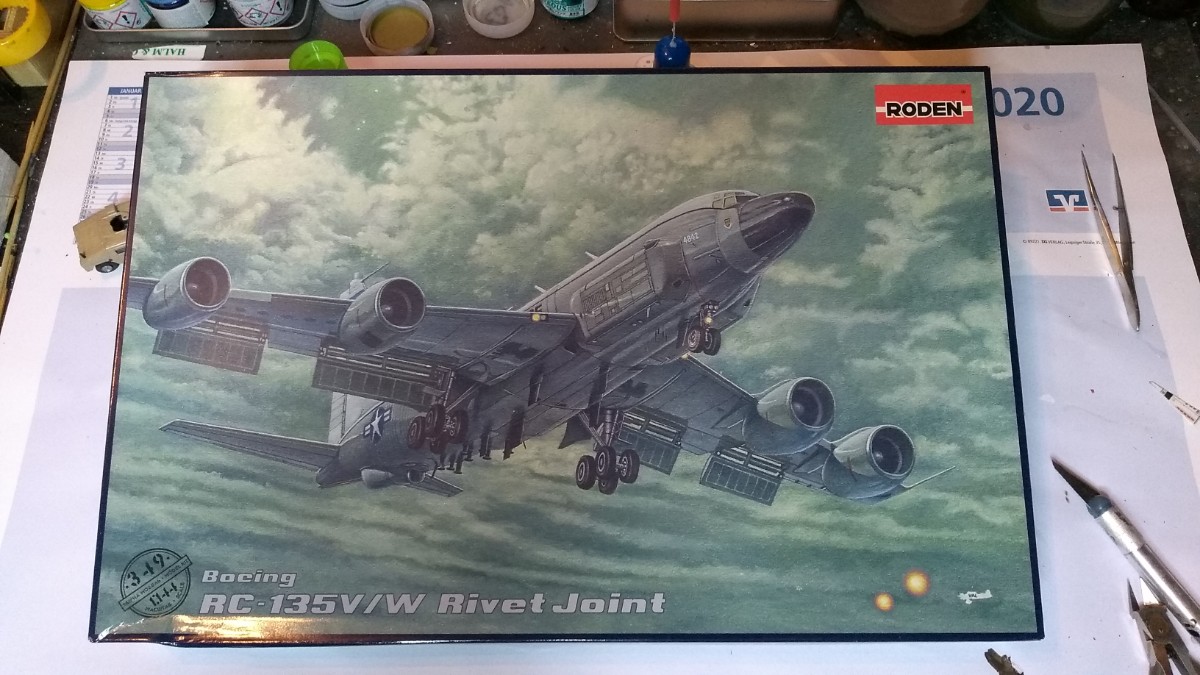
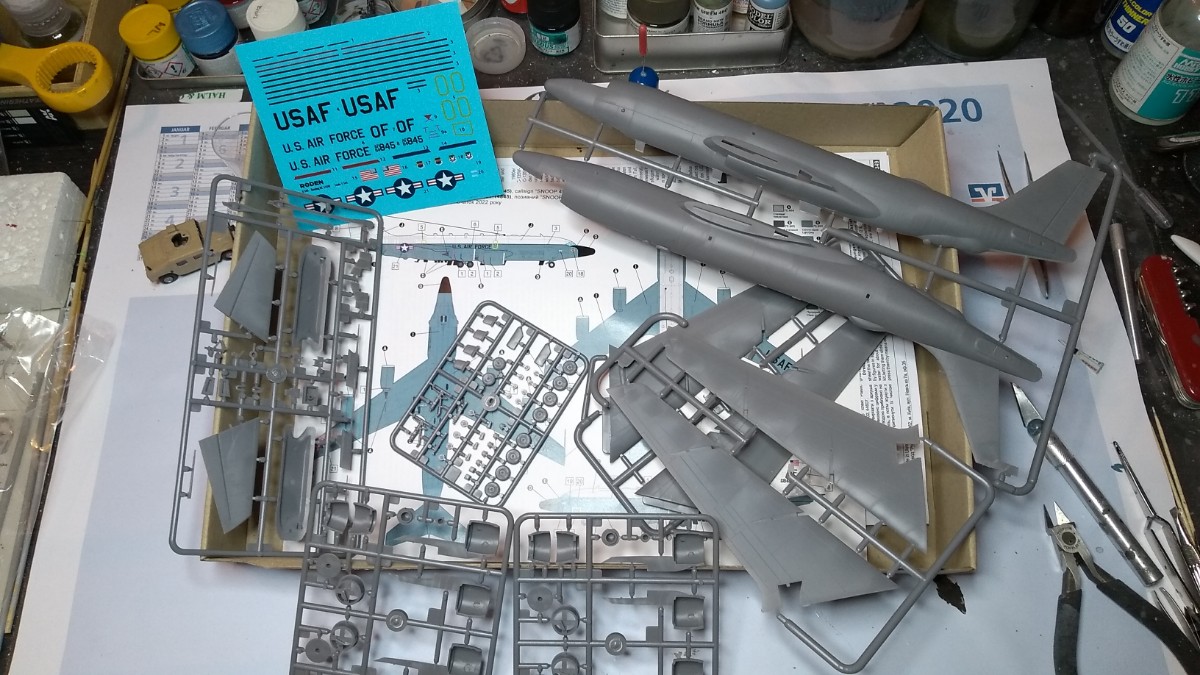
Late to the party, but this shouldn’t be too complicated. Monogram / Revell 1/72 SR-71A.
The sharp eyed might well note that I’ve already managed to feed the instrument panel to the carpet monster. ![]()
Weird combo, it’s certainly an SR-71 in the plastic, but the box art is for a YF-12 / M-21 with the D-21 drone. I’ve got a second example in the stash, I might actually try to make an M-21 out of that. ![]()
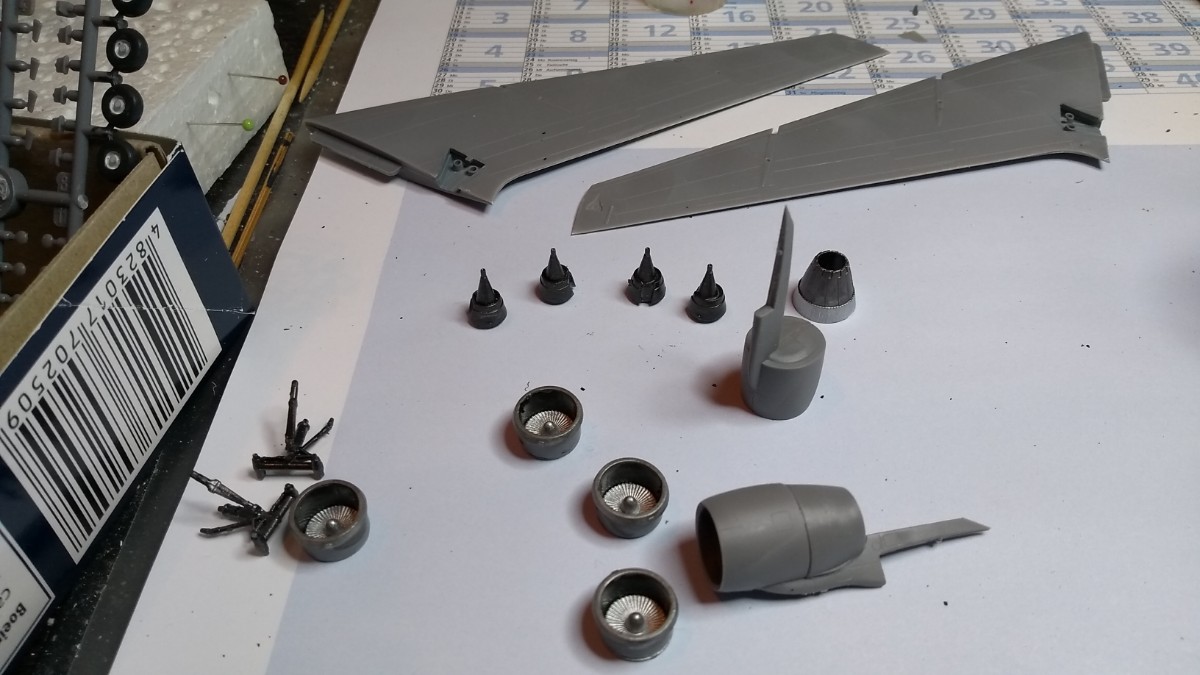
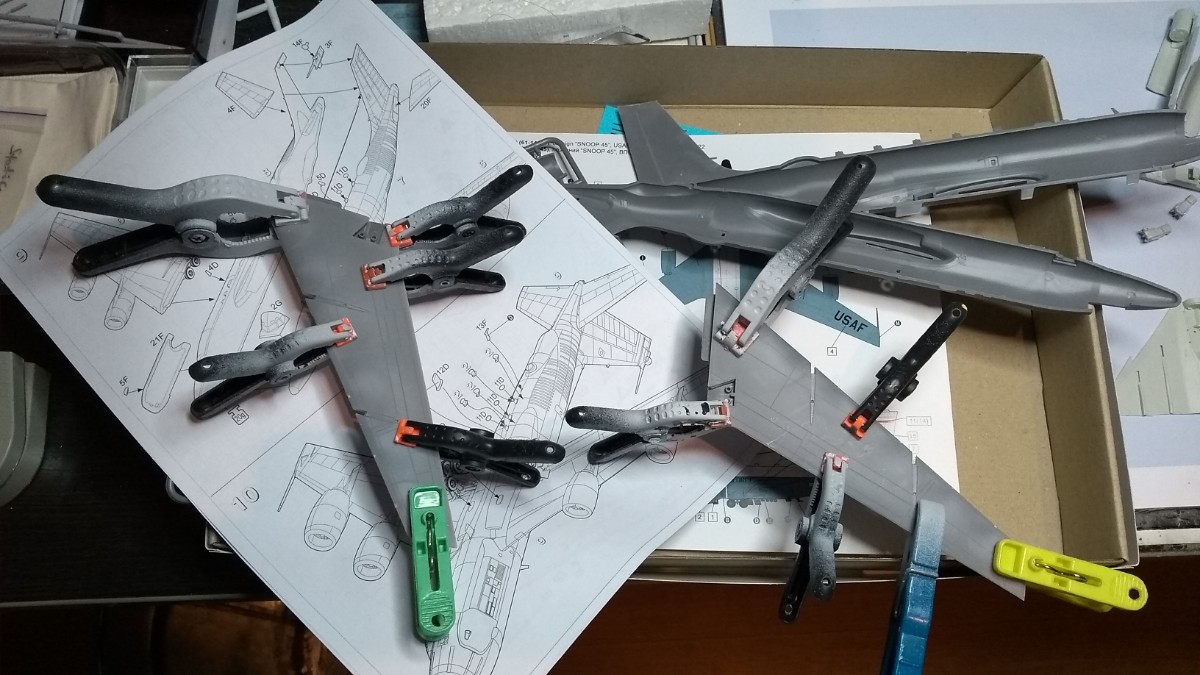
Nice finish on the engine detailing Peter.
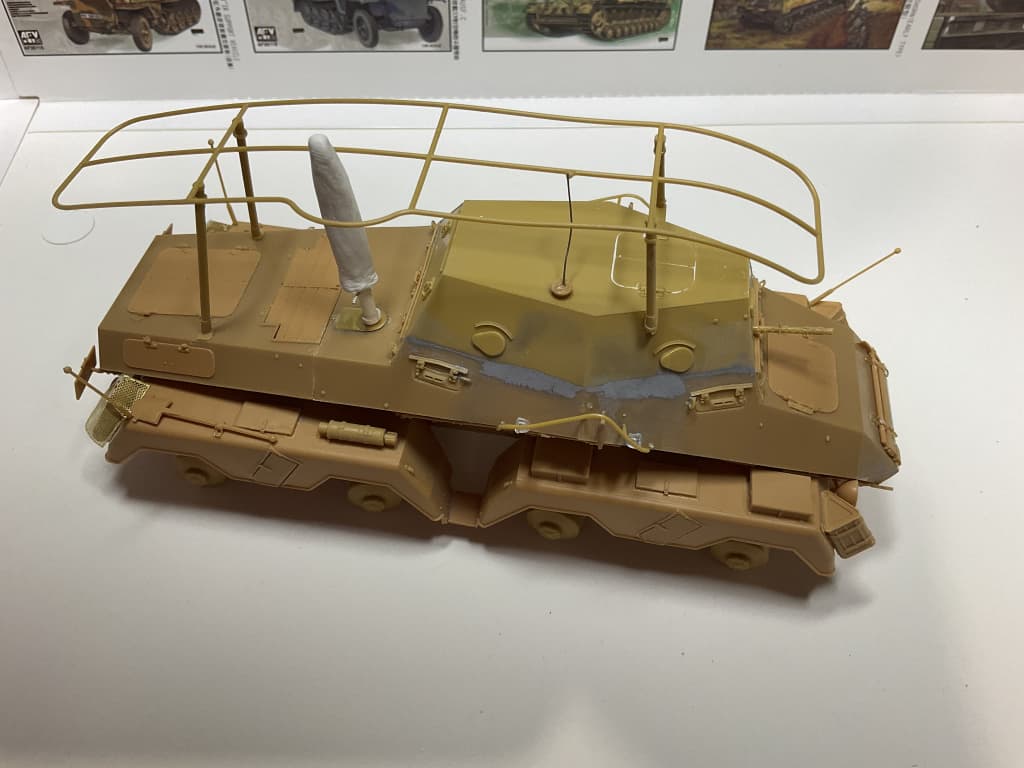
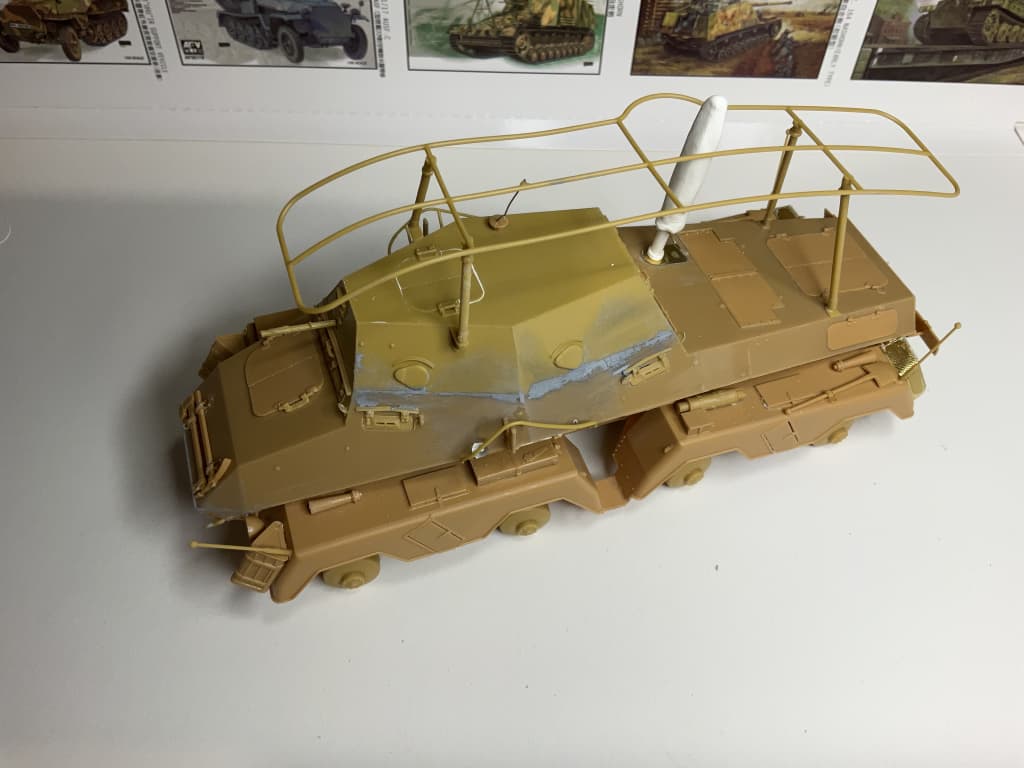
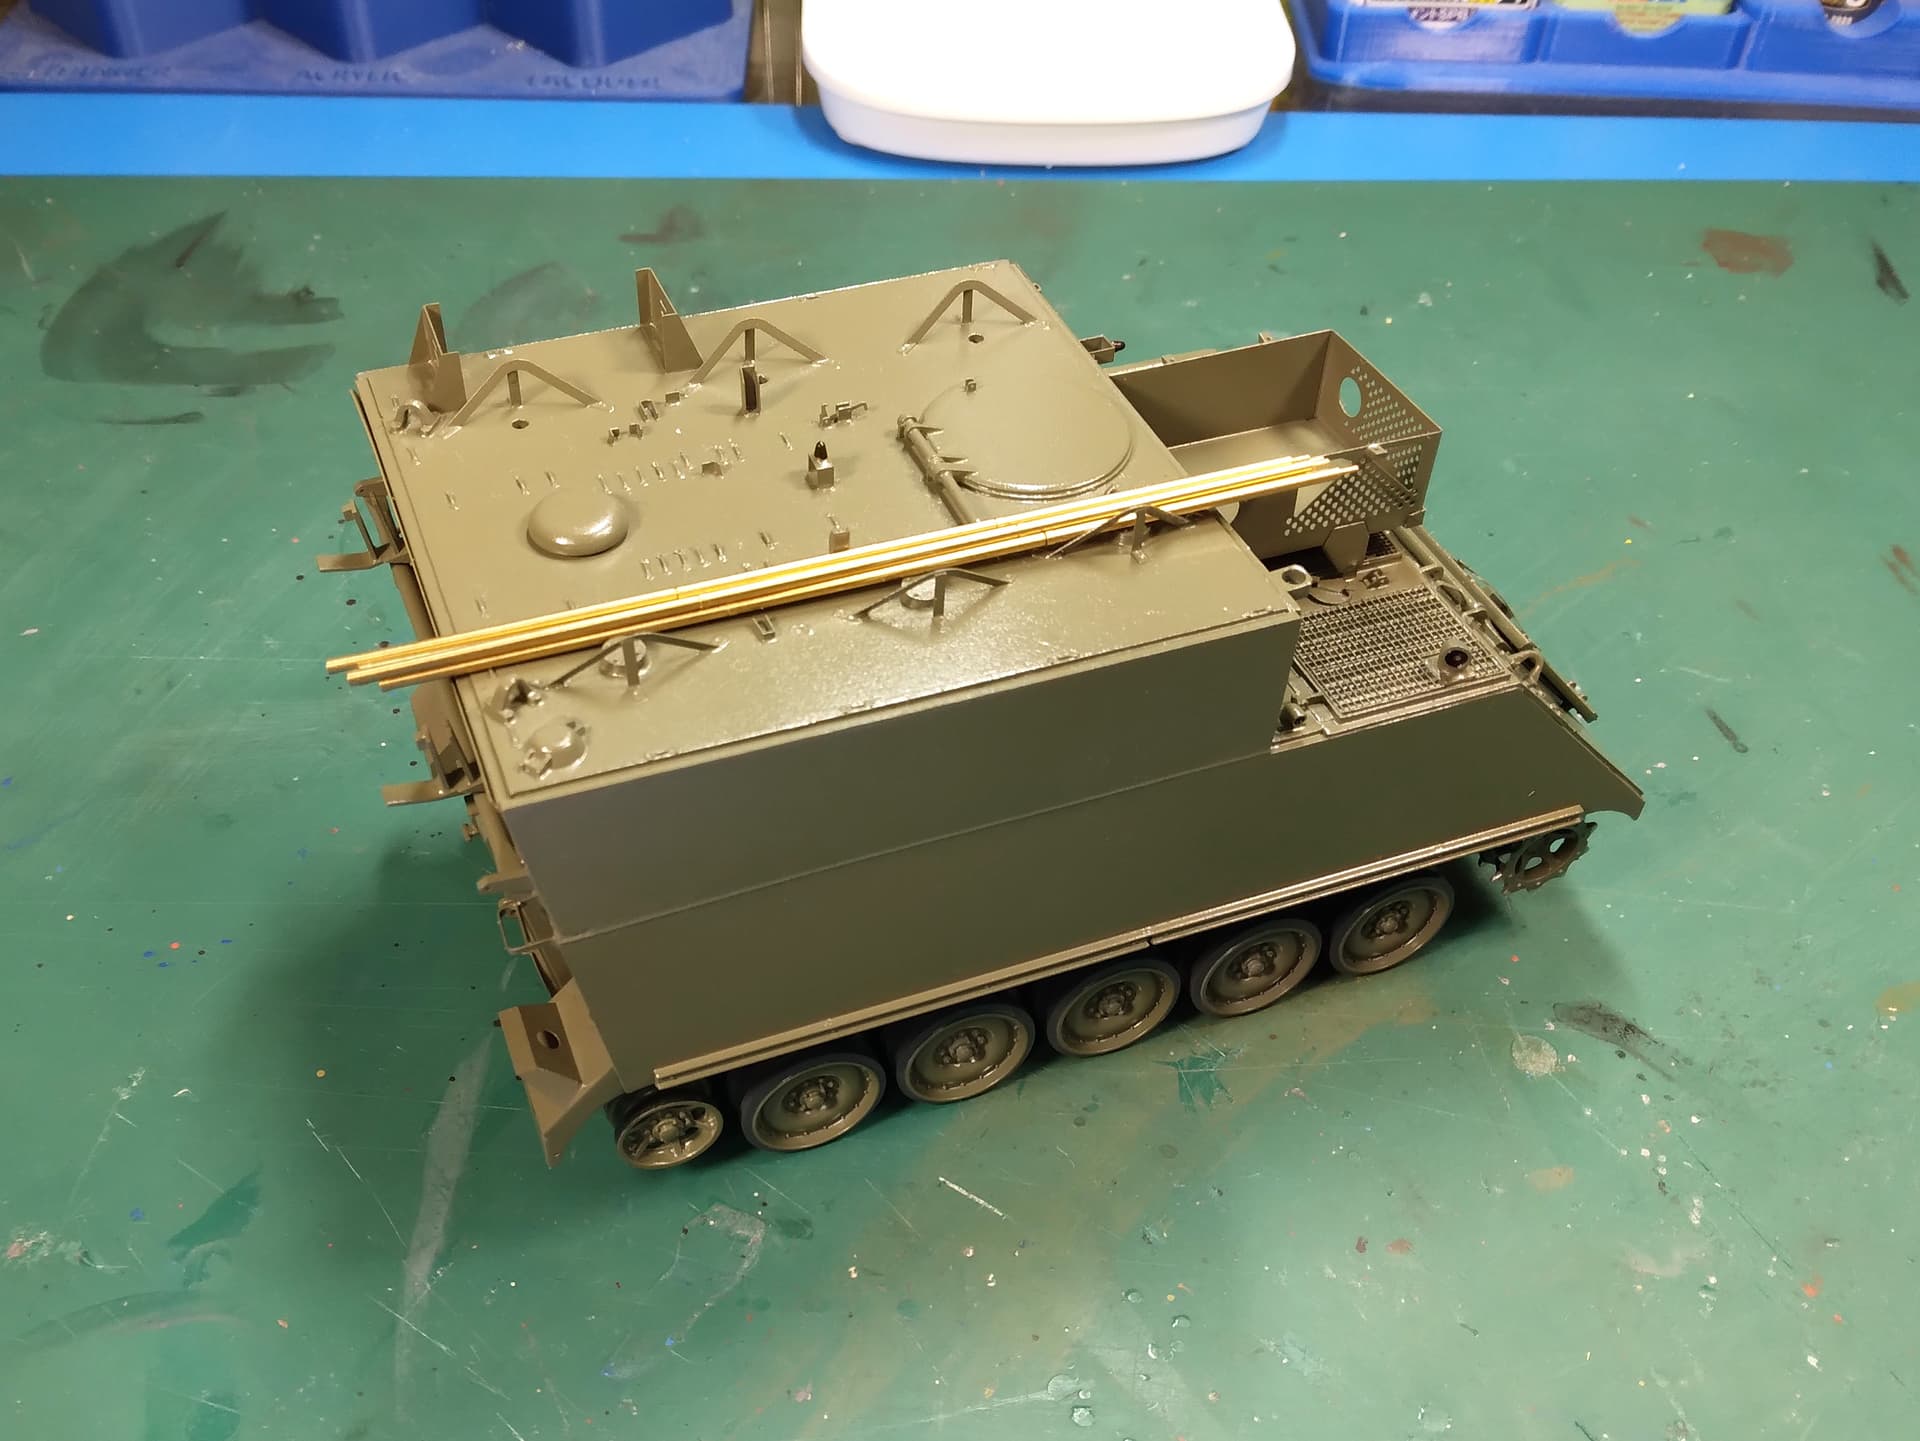
Gloss coat on in prep for some oils. A the “raw” camo poles.
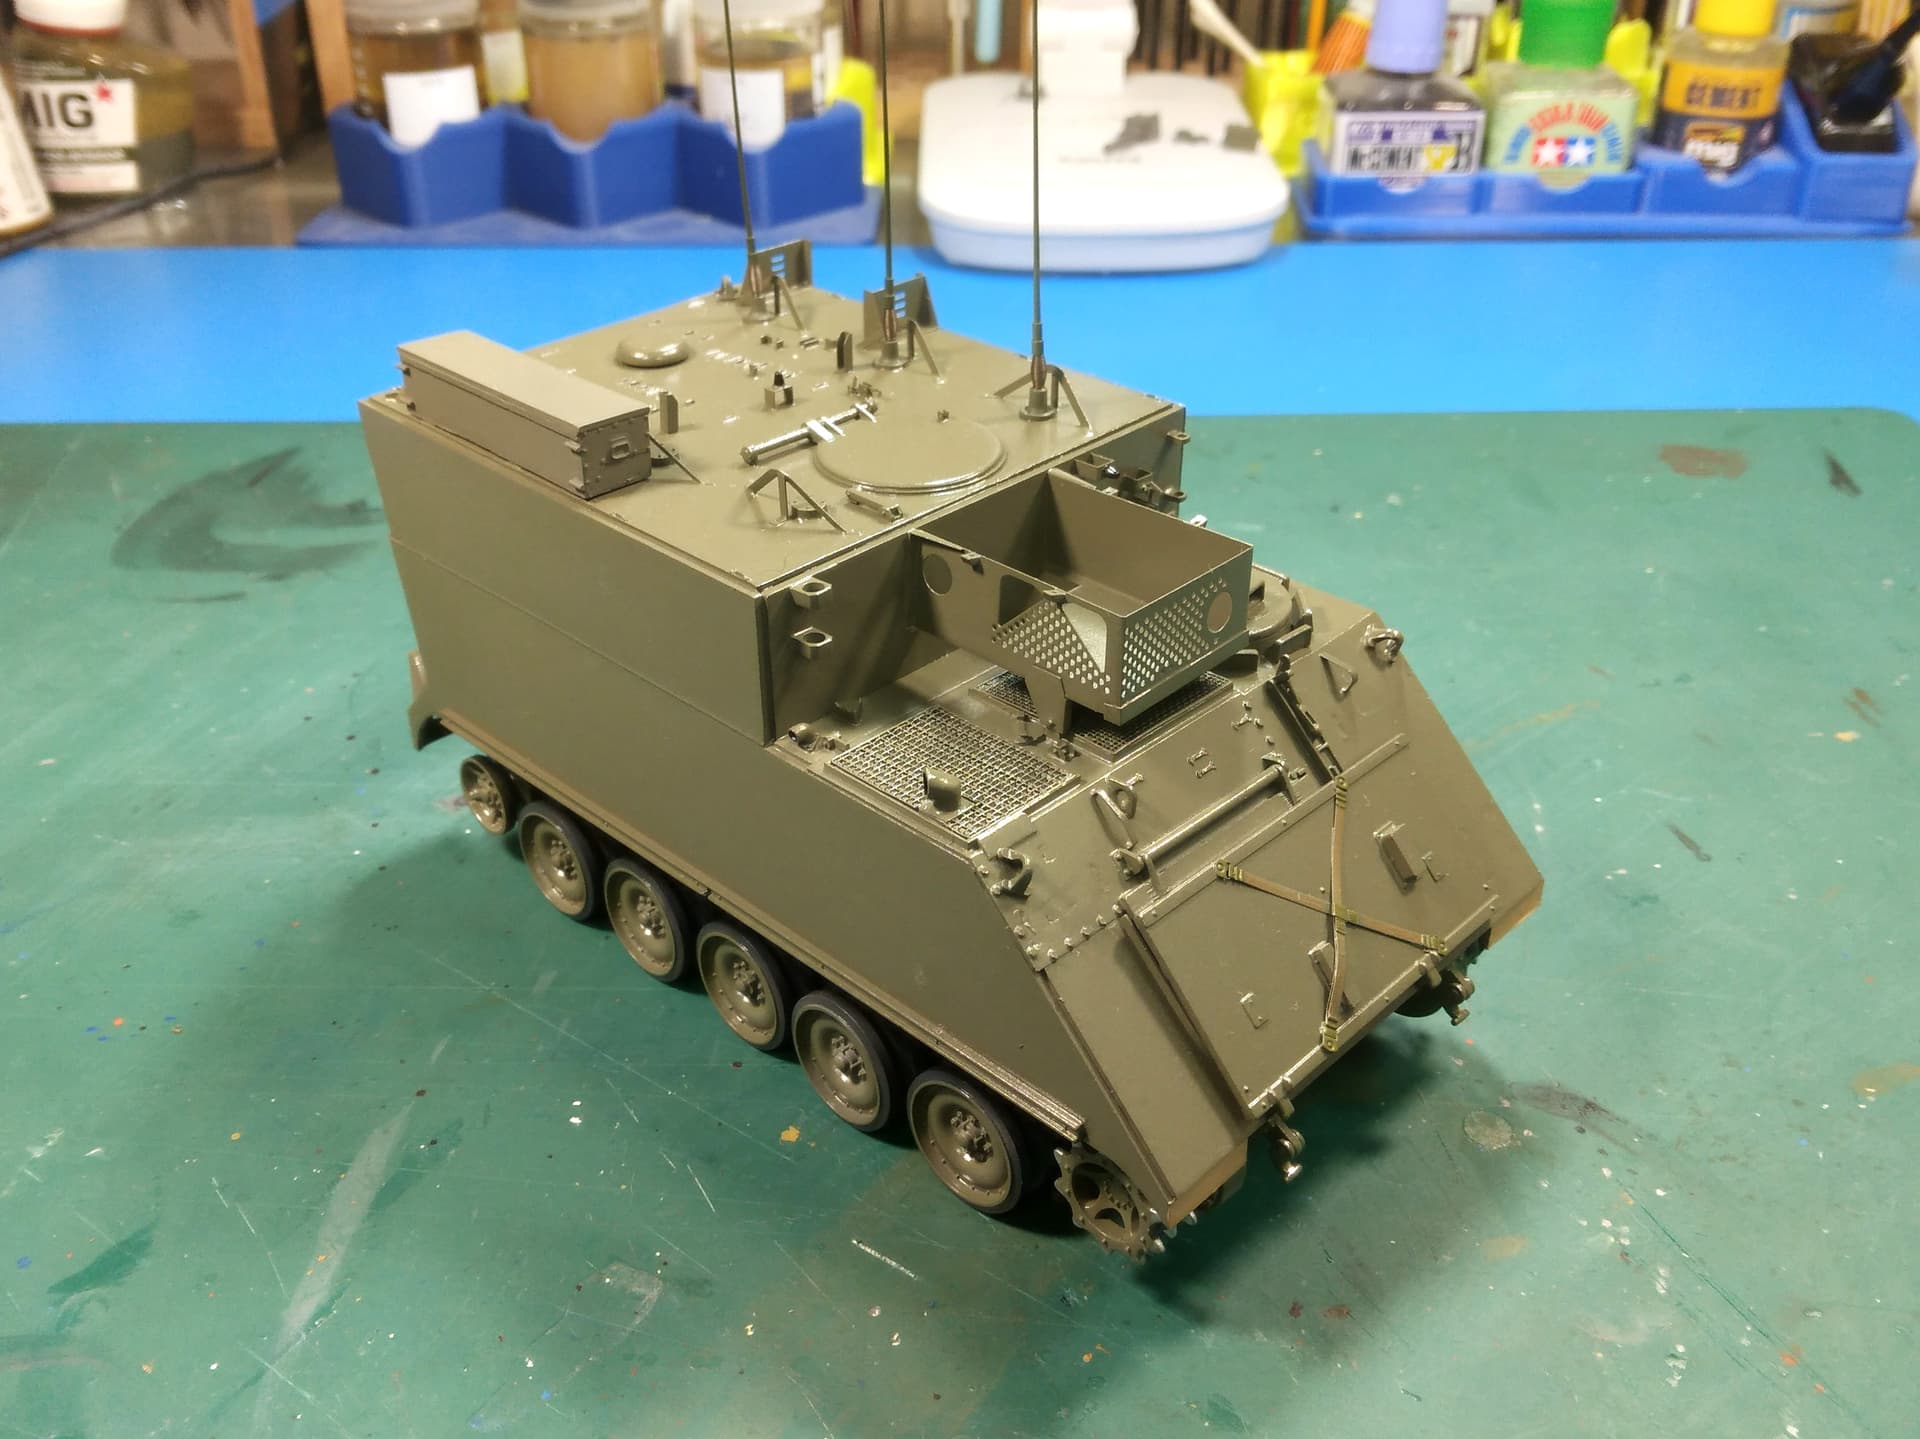
Antennas mounted and the “sand color” for the bumper numbers painted (Hmmm, I wonder if I can remember the bumper numbers from 40+ years ago?? ![]() )
)
I’m pretty sure the Legend set came with a small sheet of lead for straps…now if I could only find it…
Mike
The M577 is coming along great. Looking really good.
Mike this build is just getting better and better.
Thank you Heavy Arty and SSGToms.
I think my biggest concern is going to be the 4-deuce. If I build it to Tamiya’s directions, the upper frame is going to be waaaay too tall for what an actual 4-deuce looks like. On the other hand, if I modify it so the frame looks correct, it’ll sit way too low in it’s housing. I thought about modifying and just shimming it so it sat rather level with the housing. Kind of a quandary here.
I have some Milliput on the way (what I had has gone stiff and unmixable) so I’ll give that a shot when it’s time to do the hooch. I also have some modern padlocks coming. I’ll use those (and some really fine chain) to secure the fuel cans in bracket. Lead foil and some buckles will secure the spade box and also the camo poles.
I still need to add the lights (those were left off so the gloss and flat coats don’t mess with the SKP lights), rear tail lights, spare tracks, and tow cable. Other than that, assembly is done (I think). Big thing right now is to dirty it up some - not four weeks in Grafenwoehr-dirty, but more like a couple days at Campo Pond (little training area in Hanau, Germany).
Mike
Hey John,
fortunately you can find some models of Polish pre-war,era and in really decent quality, like:
PZL P.11 fighter in 1/72, 1/48 from Arma Hobby or 1/72, 1/32 from IBG models ( I think there was also one in 1/48 from Mirage)
PZL.23(+variants) in 1/72 scale from IBG and older 1/48 from Mirage
PZL 37 bomber in 1/72 from IBG and also 1/48 from Mirage.
Arma Hobby and IBG are quite good and enjoyable, but as one may expect - they are closer to shortruns rather than almighty Tamiya quality.
Mirage models were the only ones available for a very long time - old moulds, required lots of attention.
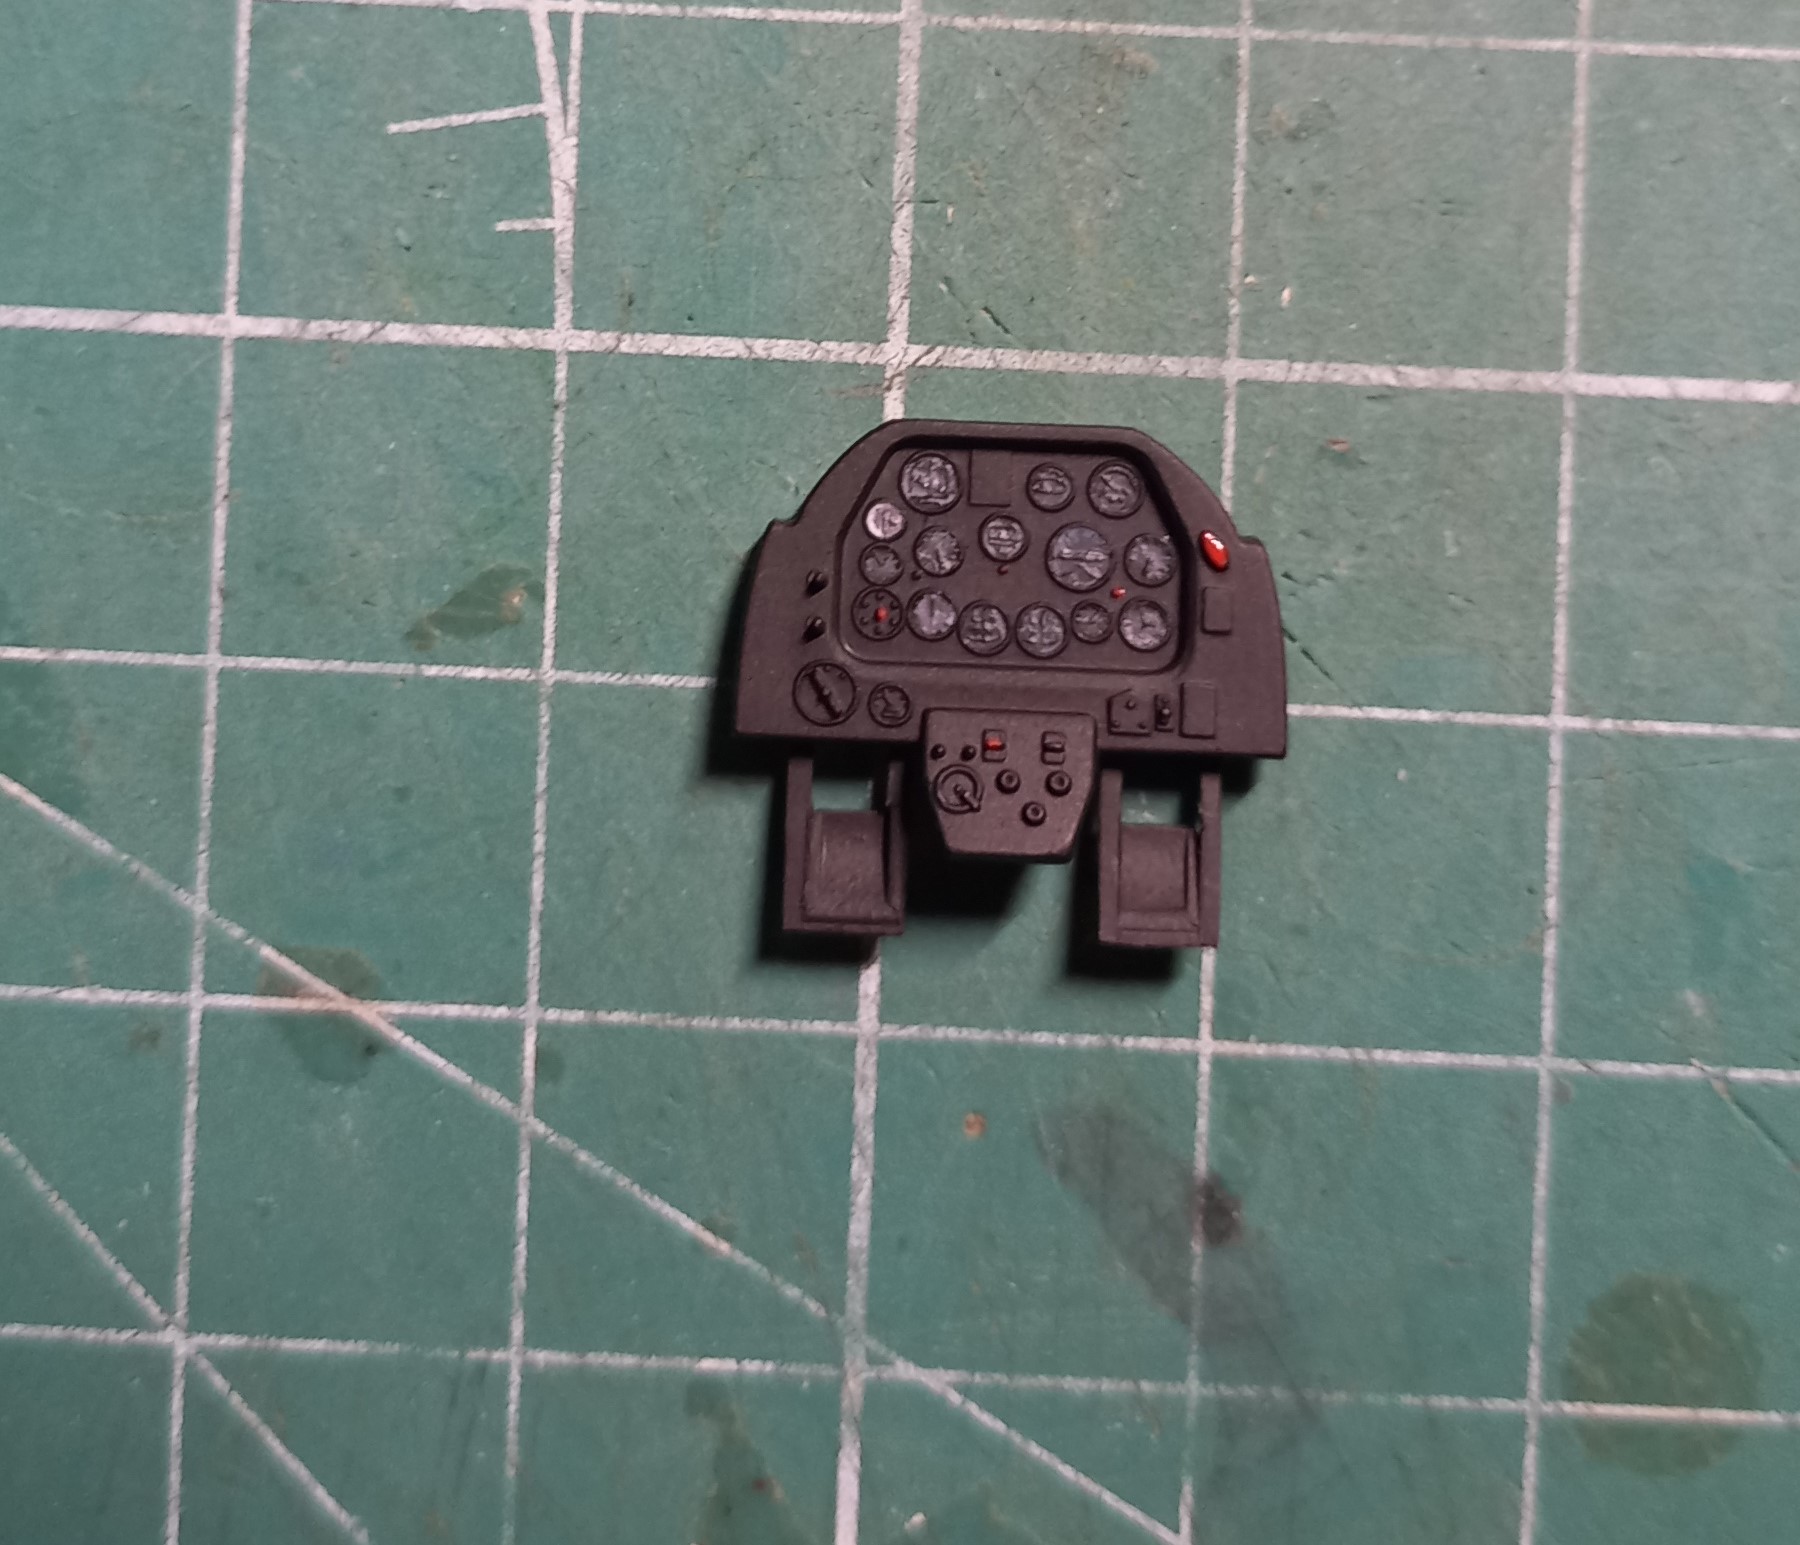
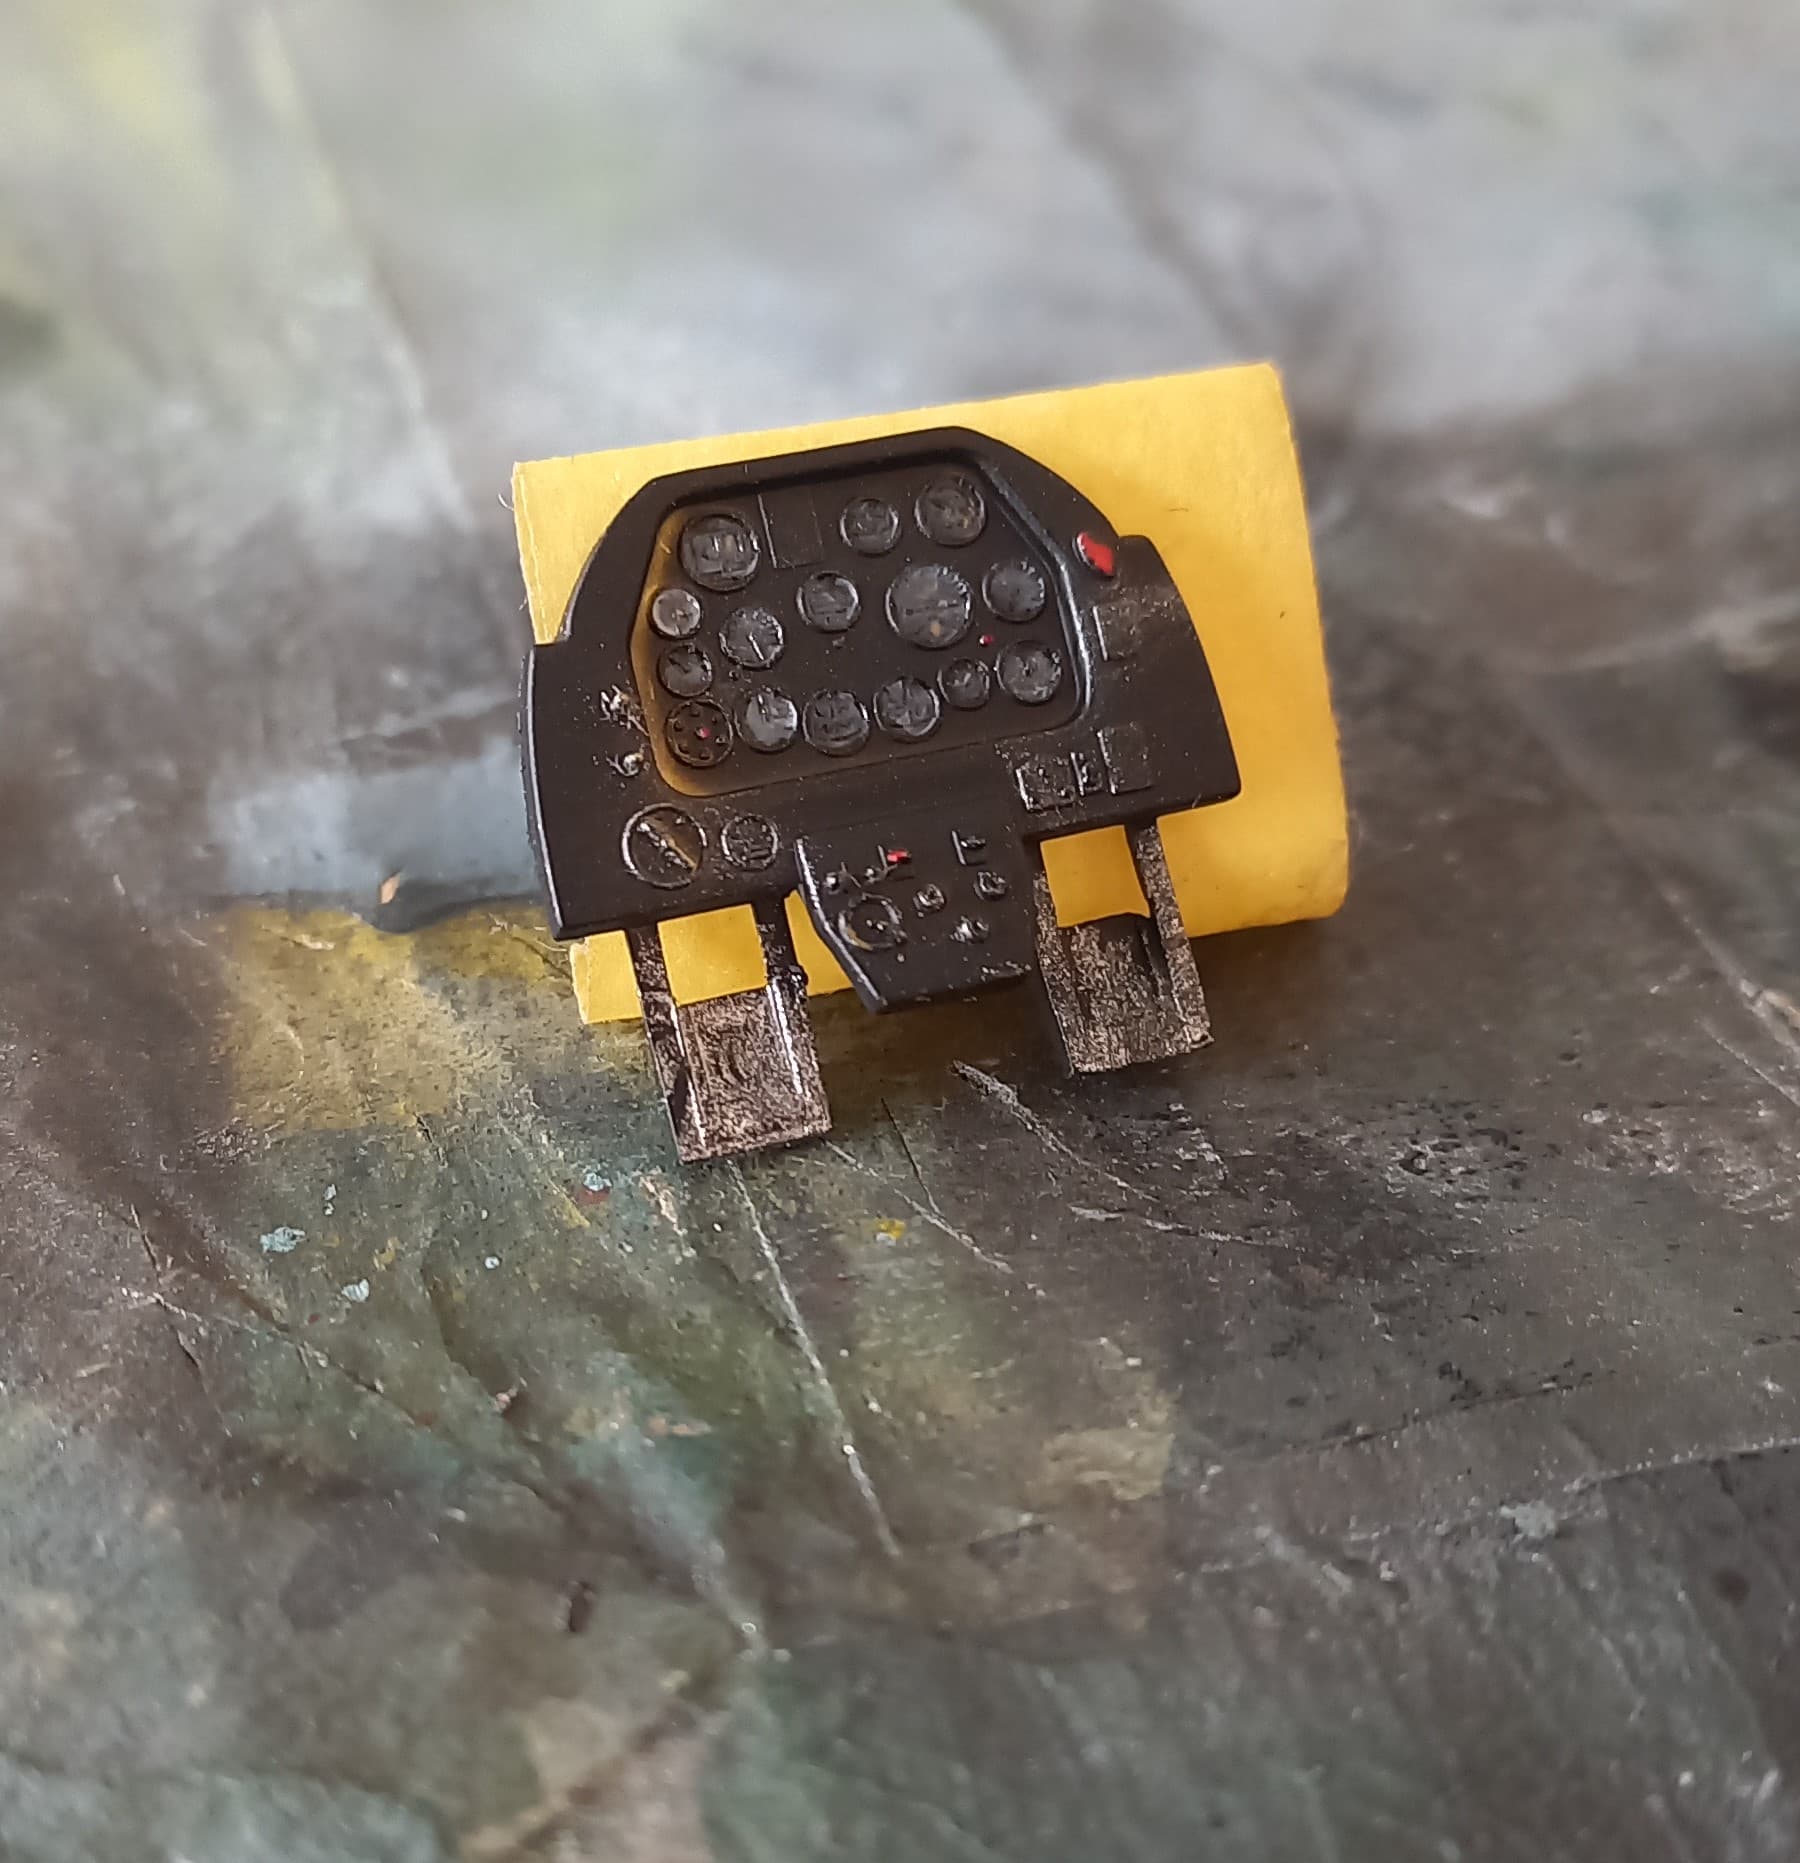
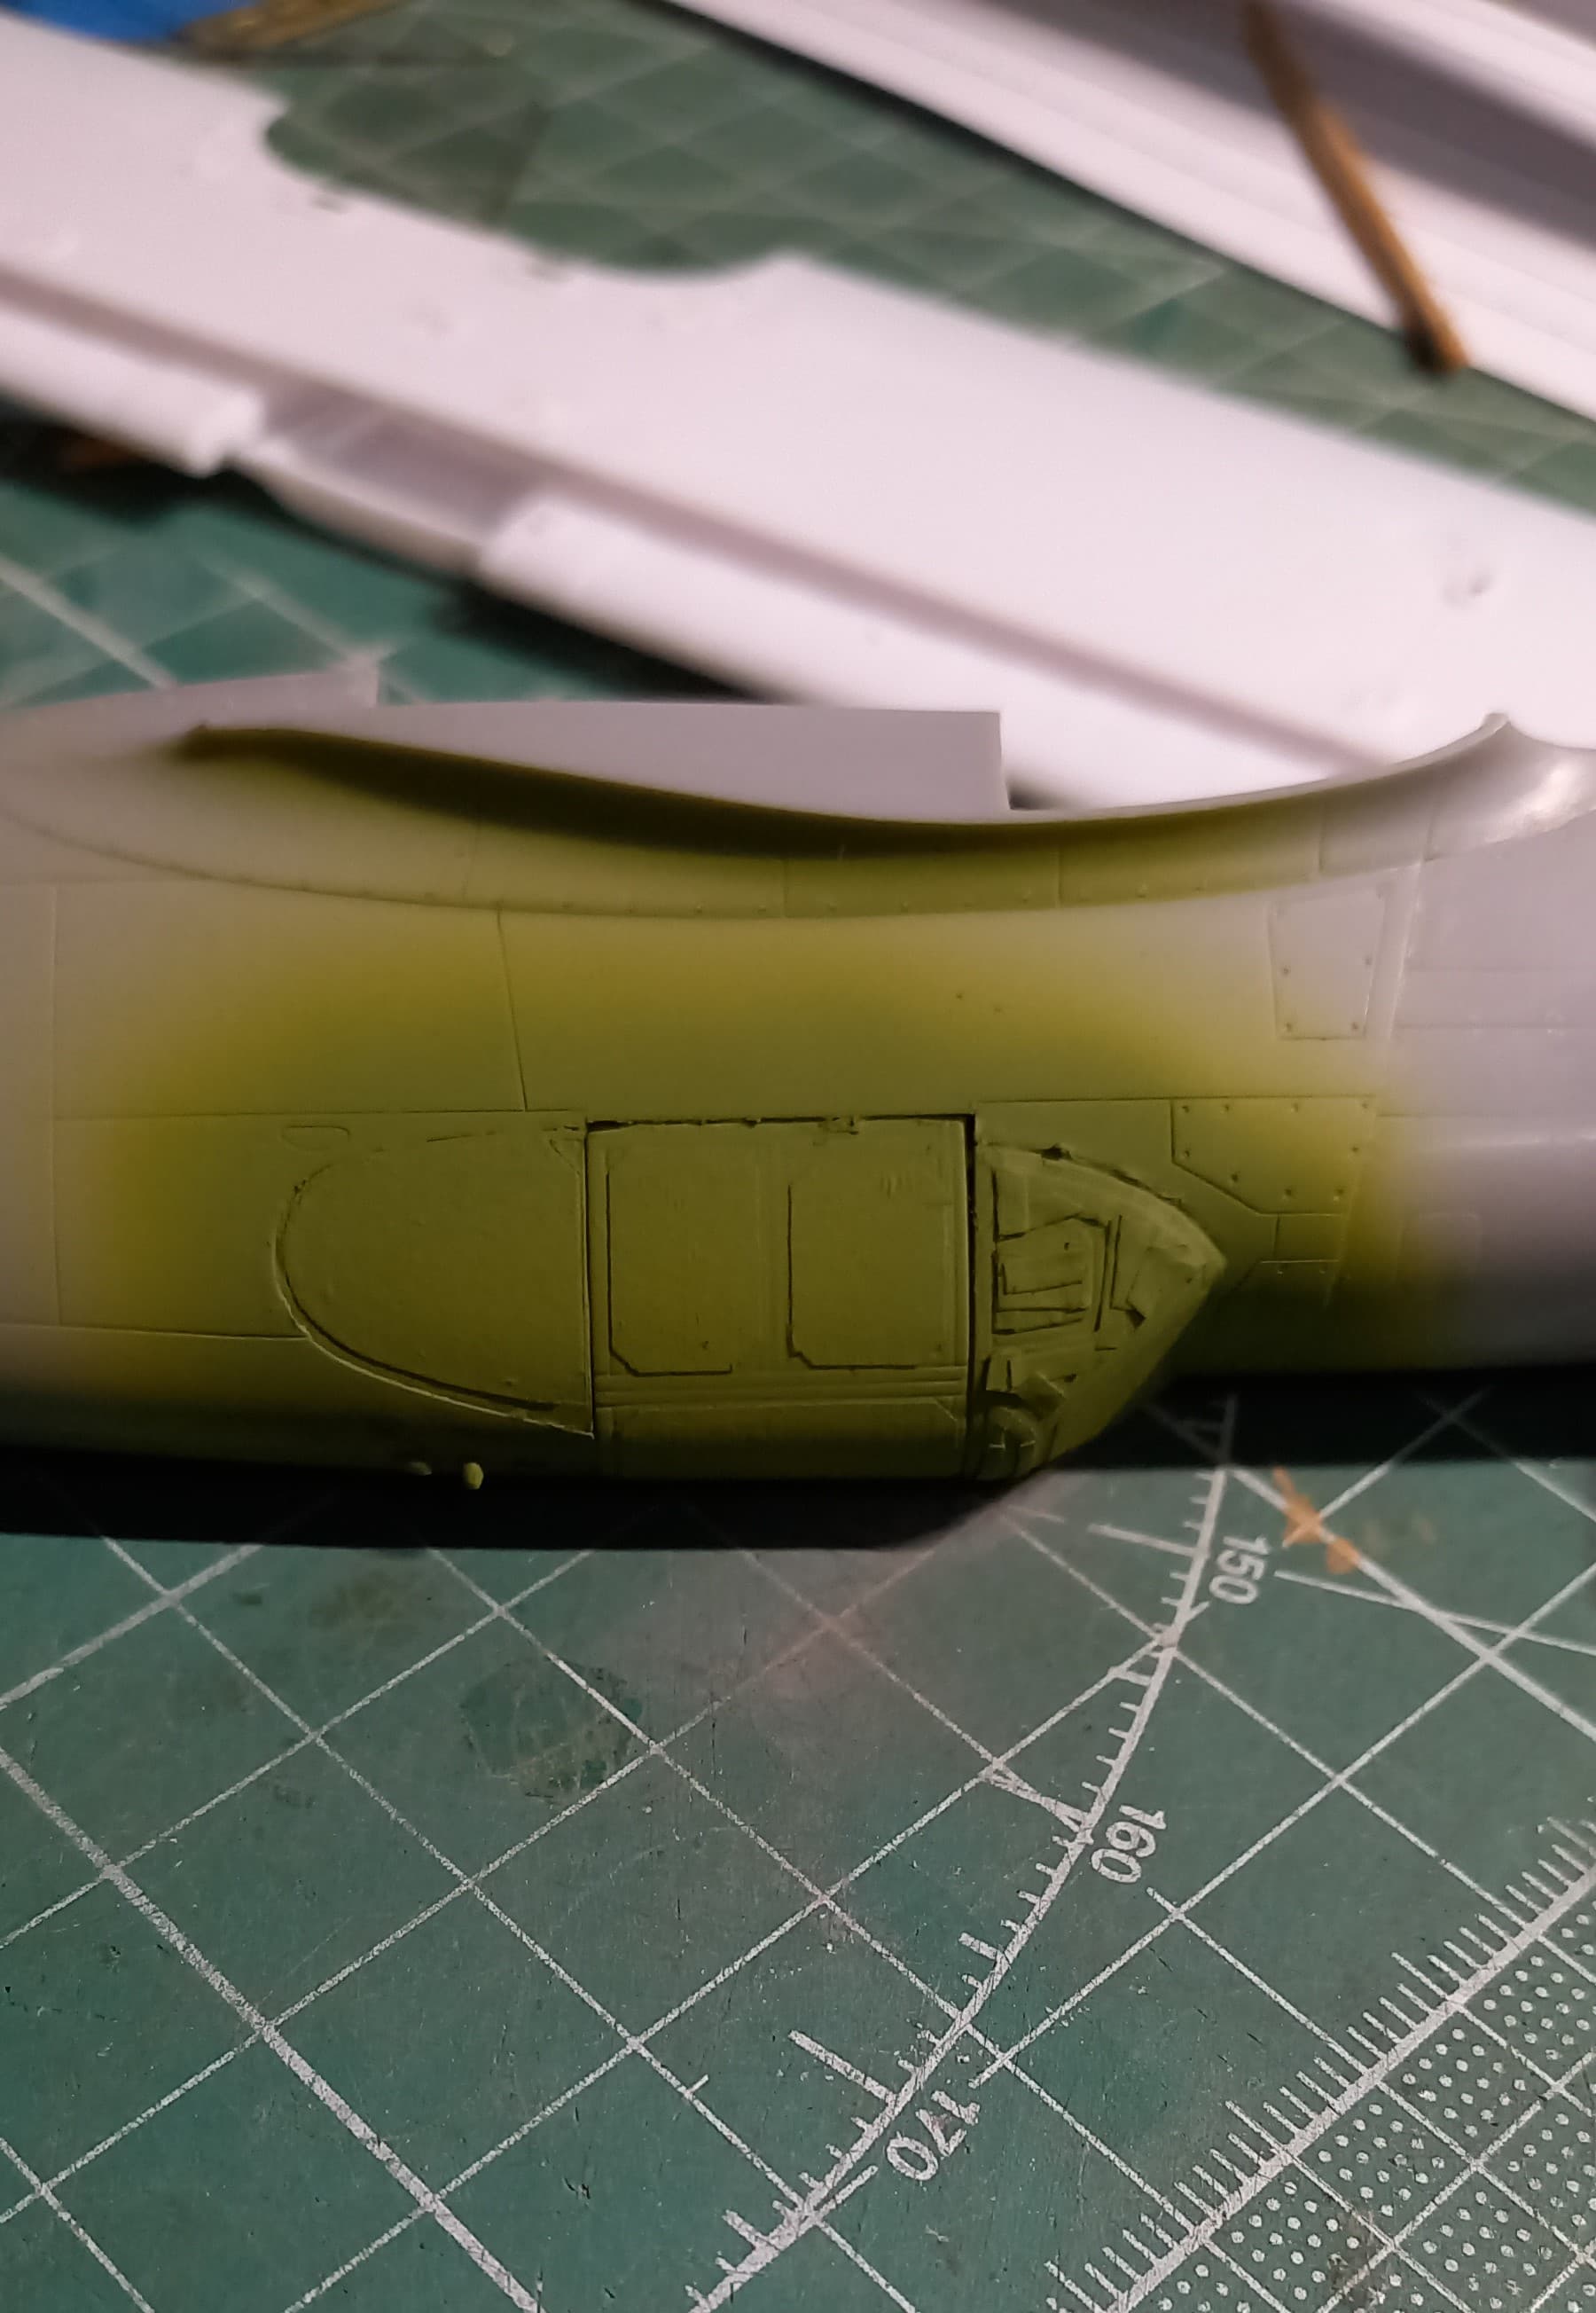
Buut… let’s get back to subject ![]() . I couldn’t find too many reliable references as of how interior of Karas looked like in colour, so I improvised a little. I took mostly others model kits as references and here it is, painted interiors with some details, weathered only with light drybrushing with silver paint and homemade wash made of Vandyke brown (Maimeri Classico) + Industrial earth (Abteilung). Nothing fancy tho:
. I couldn’t find too many reliable references as of how interior of Karas looked like in colour, so I improvised a little. I took mostly others model kits as references and here it is, painted interiors with some details, weathered only with light drybrushing with silver paint and homemade wash made of Vandyke brown (Maimeri Classico) + Industrial earth (Abteilung). Nothing fancy tho:
I’ll let oil to dry for some time and it’s time to close the hull ![]()