Lockheed 100

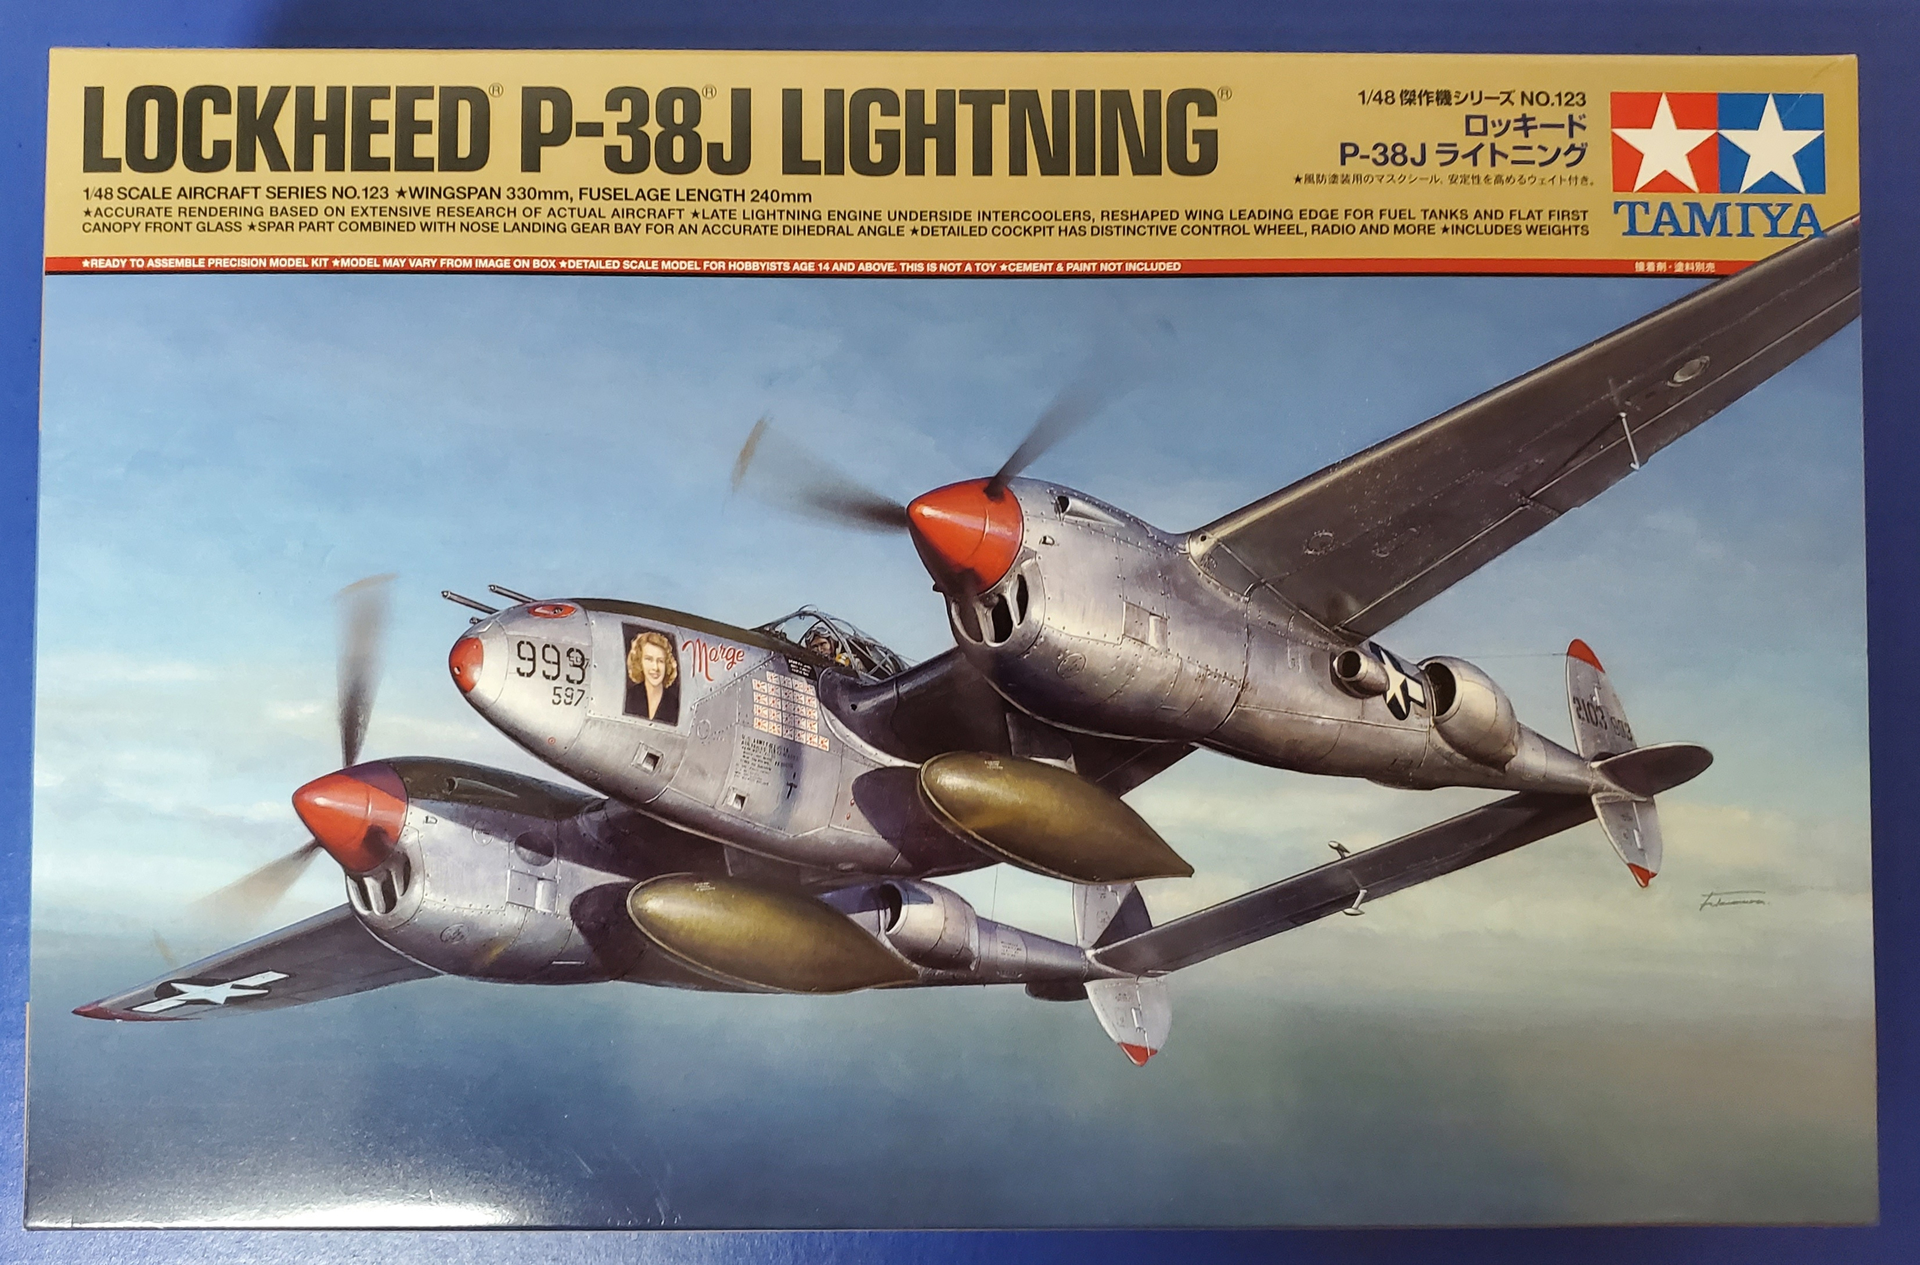
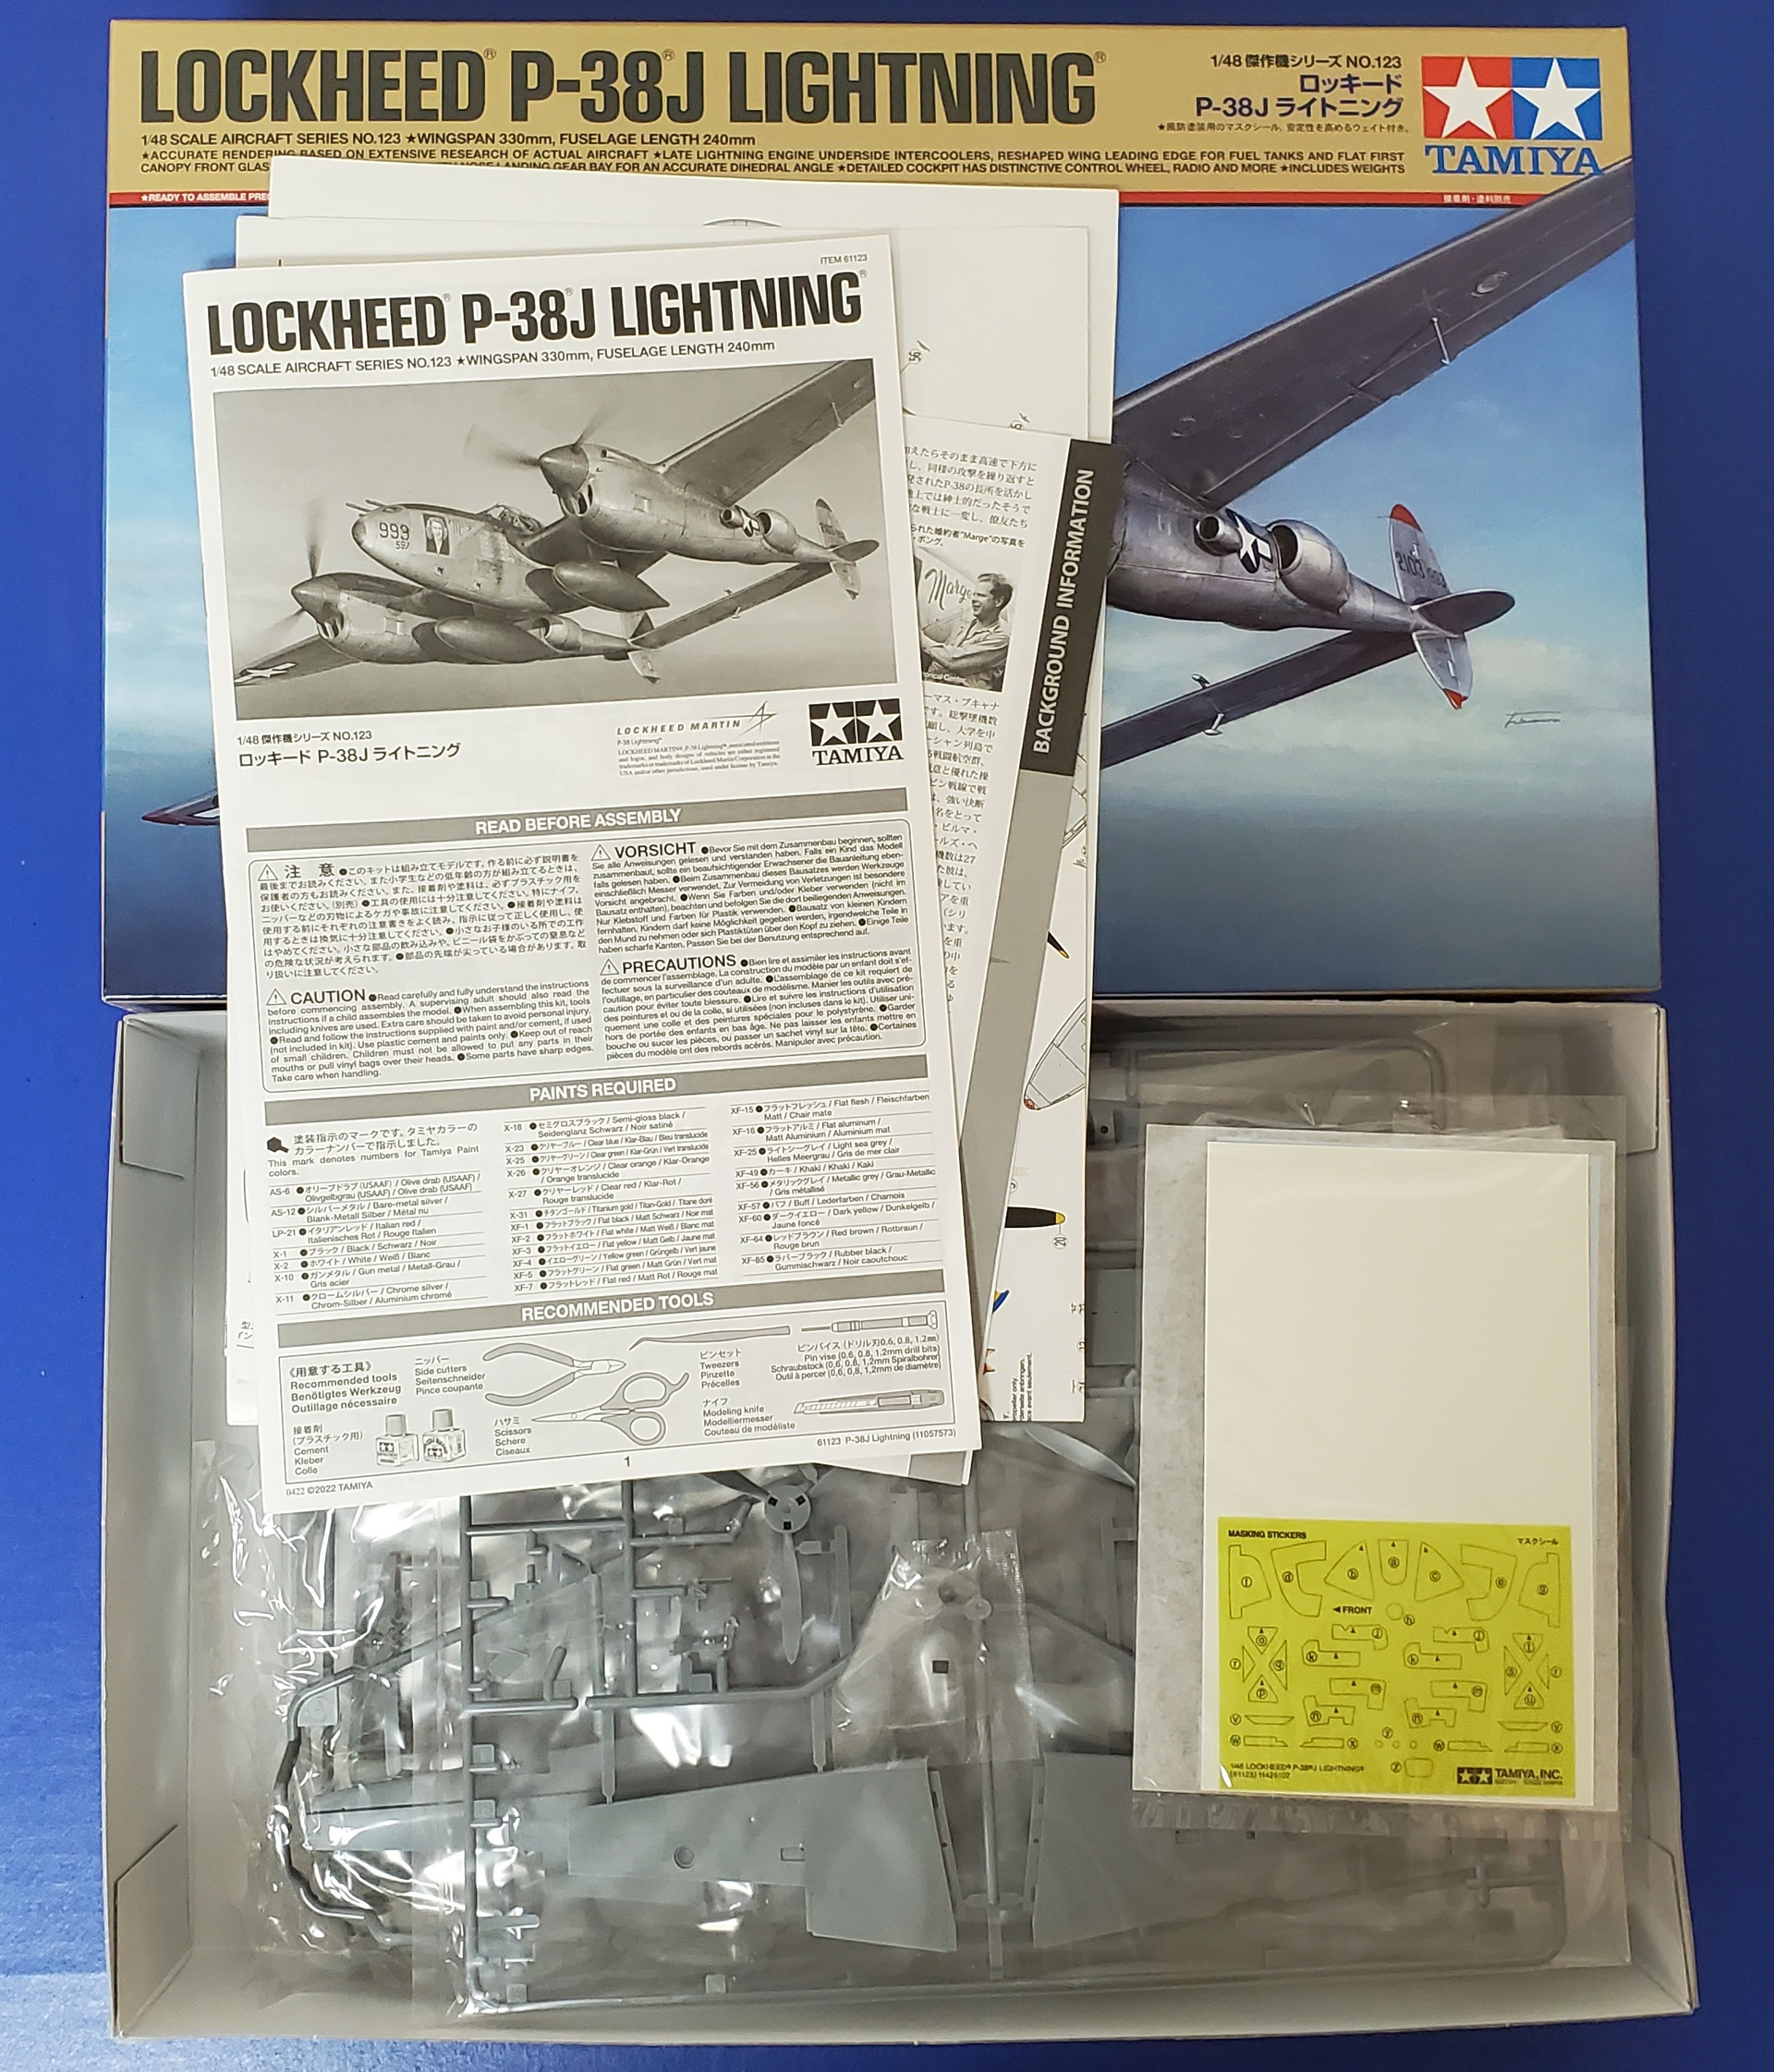
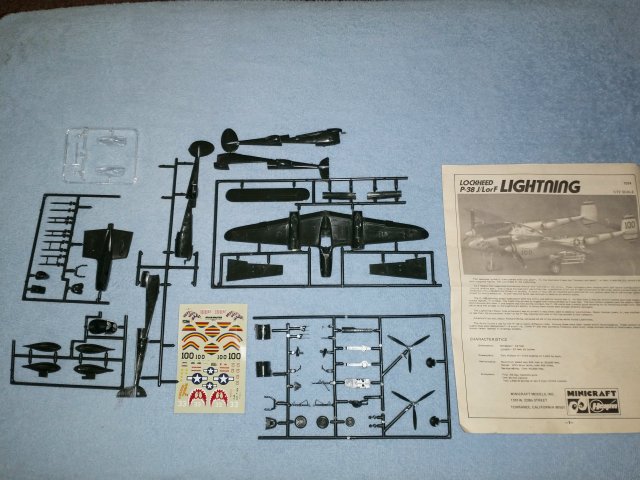
All right everyone, I’ve lurked around this one long enough, and the lack of any P-38s simply cannot be left un-addressed. So, despite the fact that I need to start something new like a hole in the head, here I go:

Just to be different (not) I’m planning to do Marge right out of the box, with the possible exception of some PE seatbelts. I also have the somewhat elderly Cutting Edge/Pyn-Up decal sheet for that and may use those, we’ll see.

Michael :israel: :face_with_tongue:

6 Likes

Awesome. I’ve built the Tamiya -38f and will probably do the Tamiya -38g for this one. Looking forward to seeing your -38j. I had hoped to find a Tamiya f-117 but those are made of unobtainium so another P-38 it will be.

It’s great to see a couple of T-Birds & a grubby F-104 in the planning stages, all worthy Lockheeds. THe P-38 will be most welcomed too. I’m looking forward to seeing these projects being built.

Paul

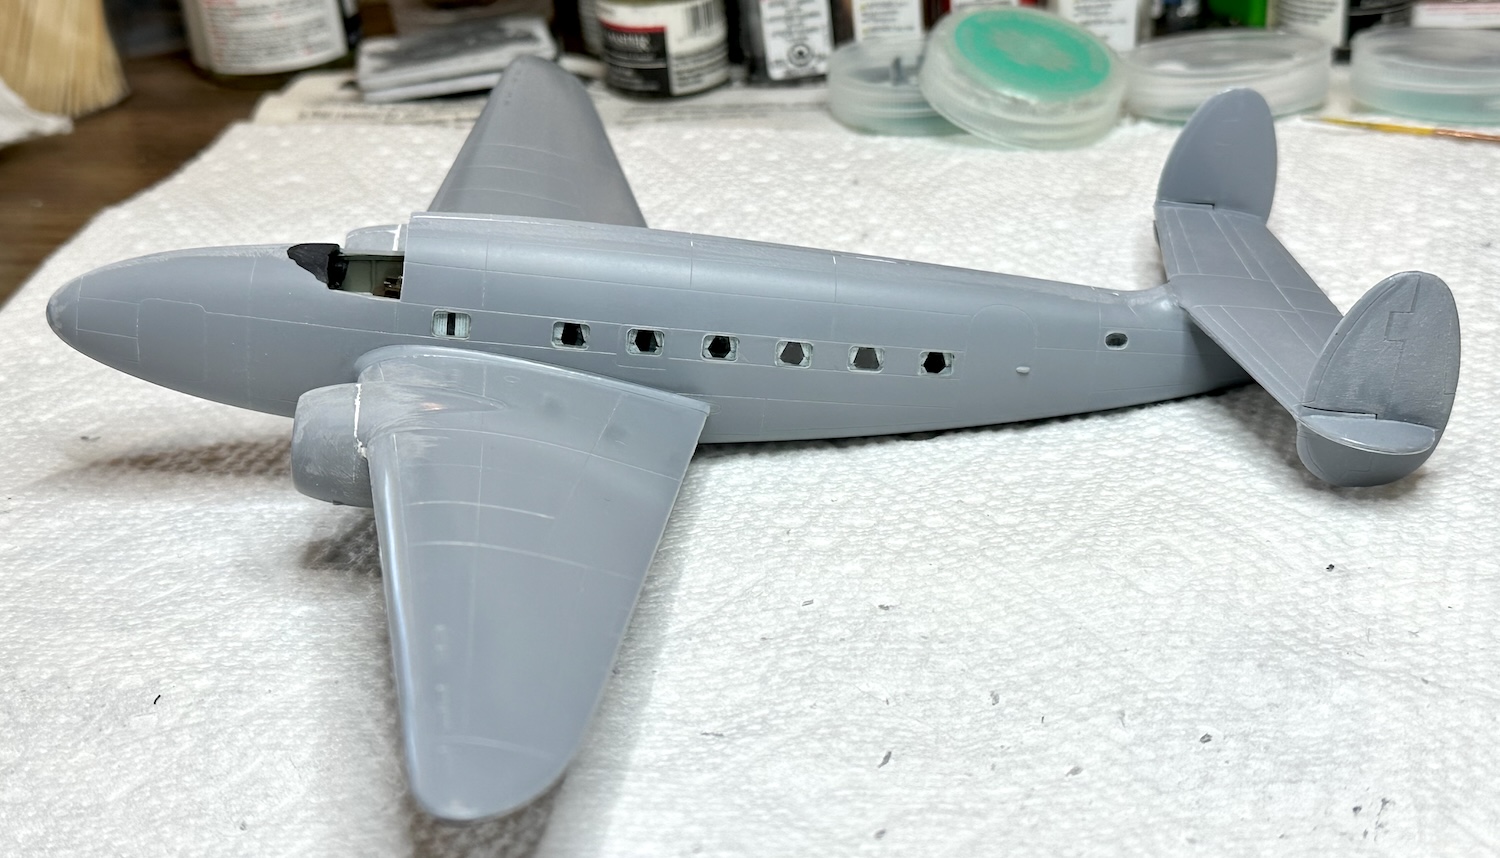
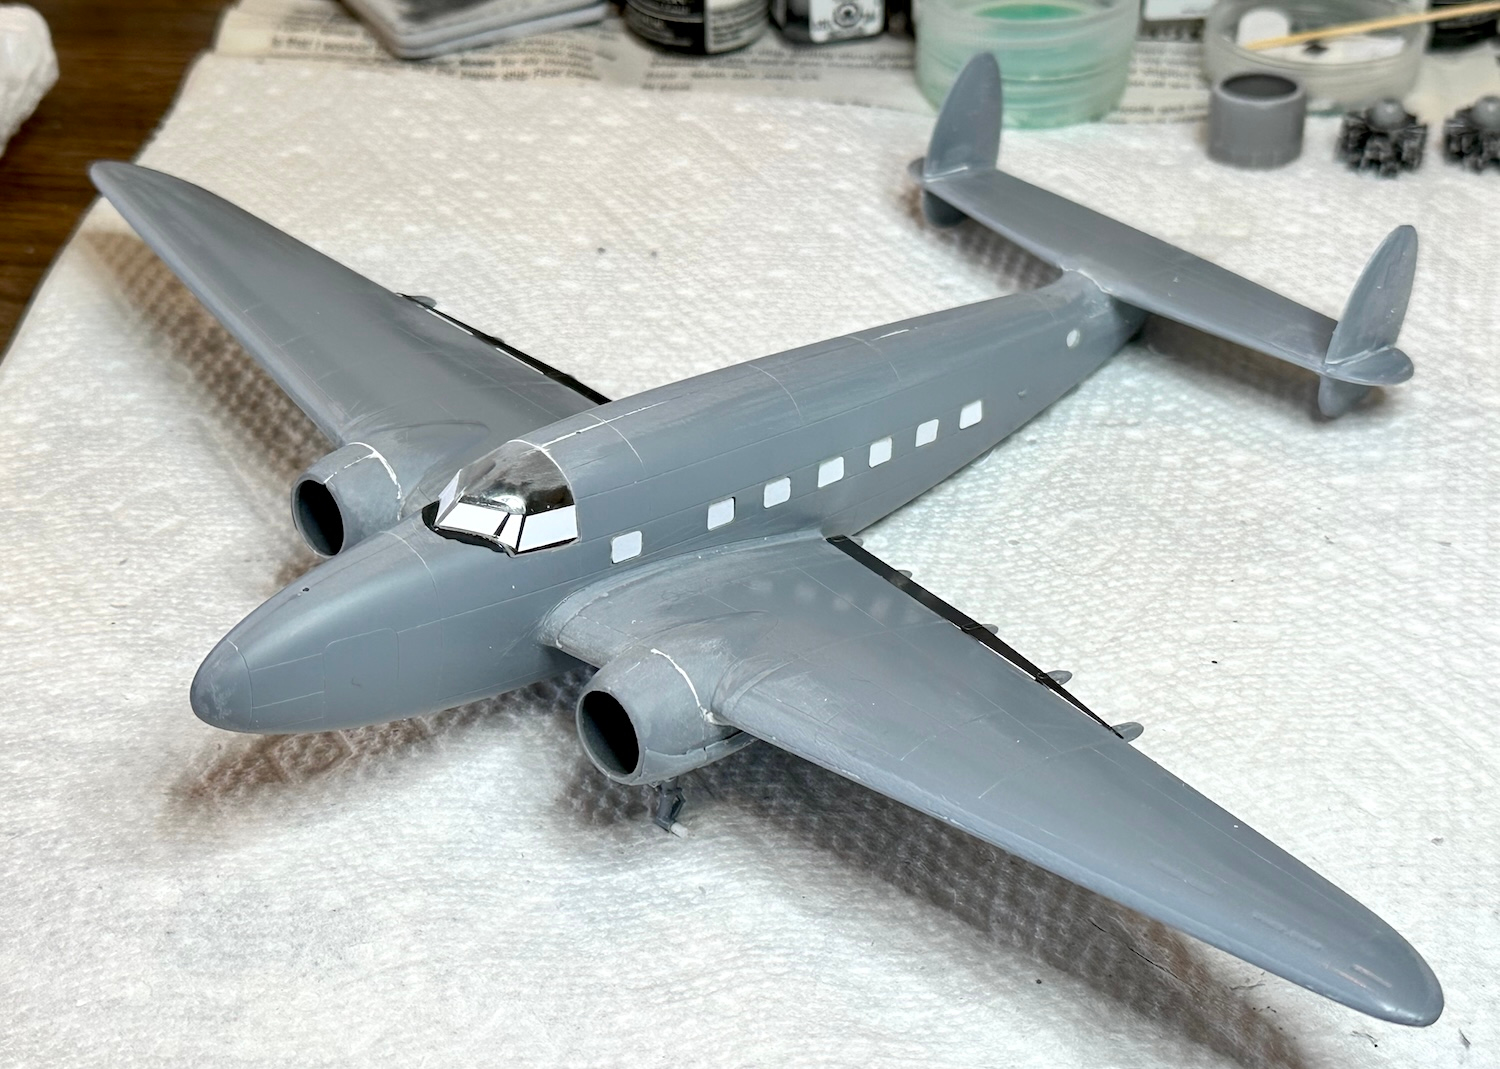
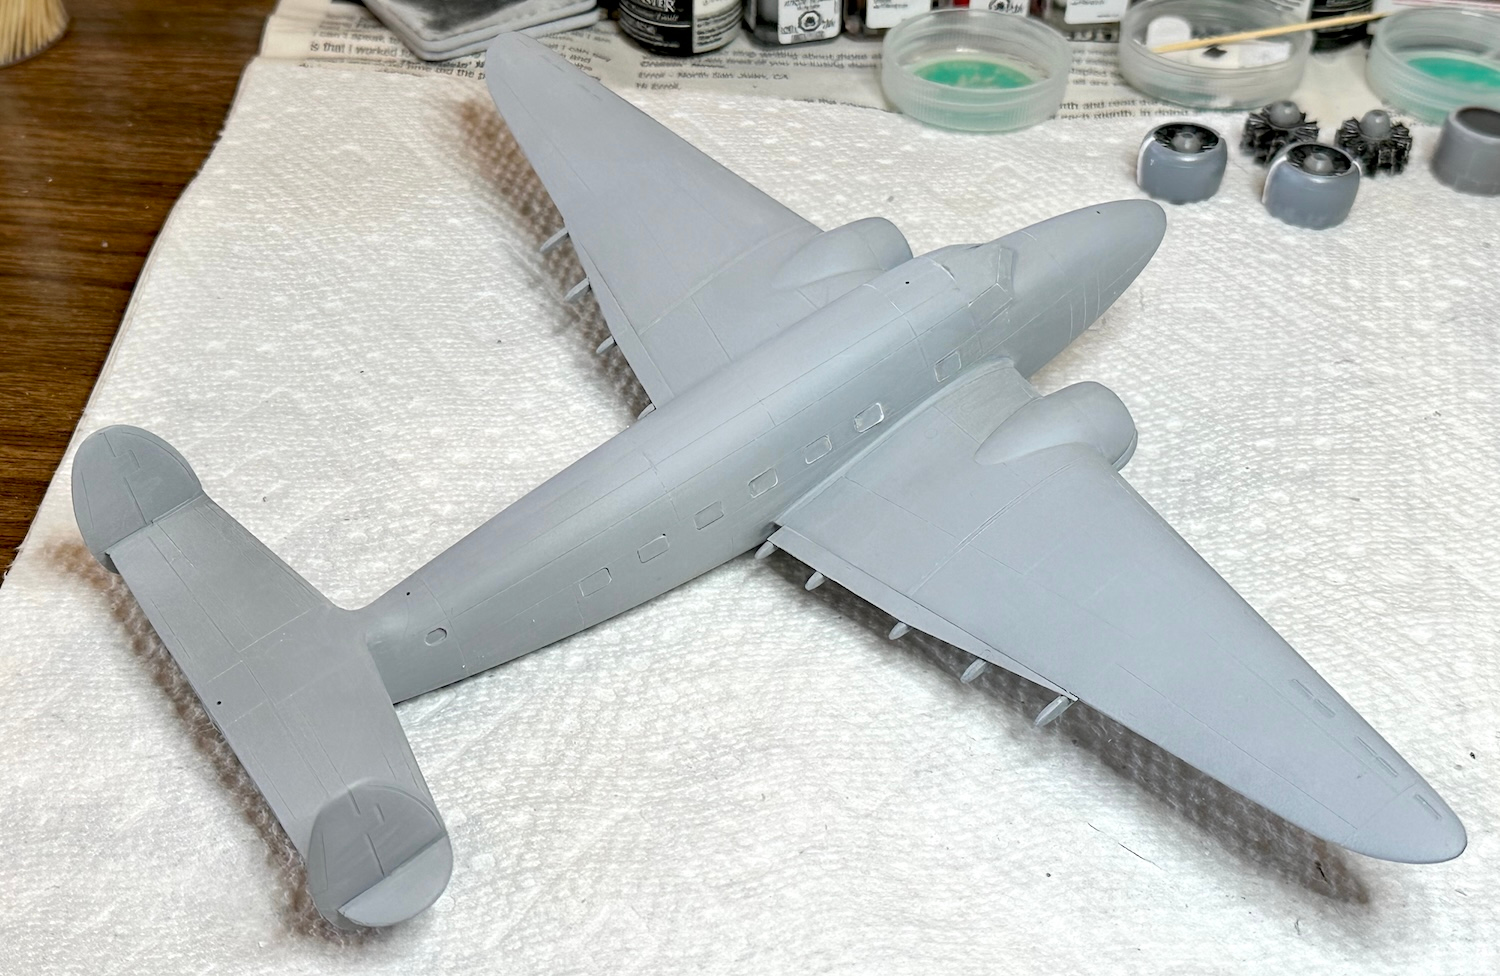
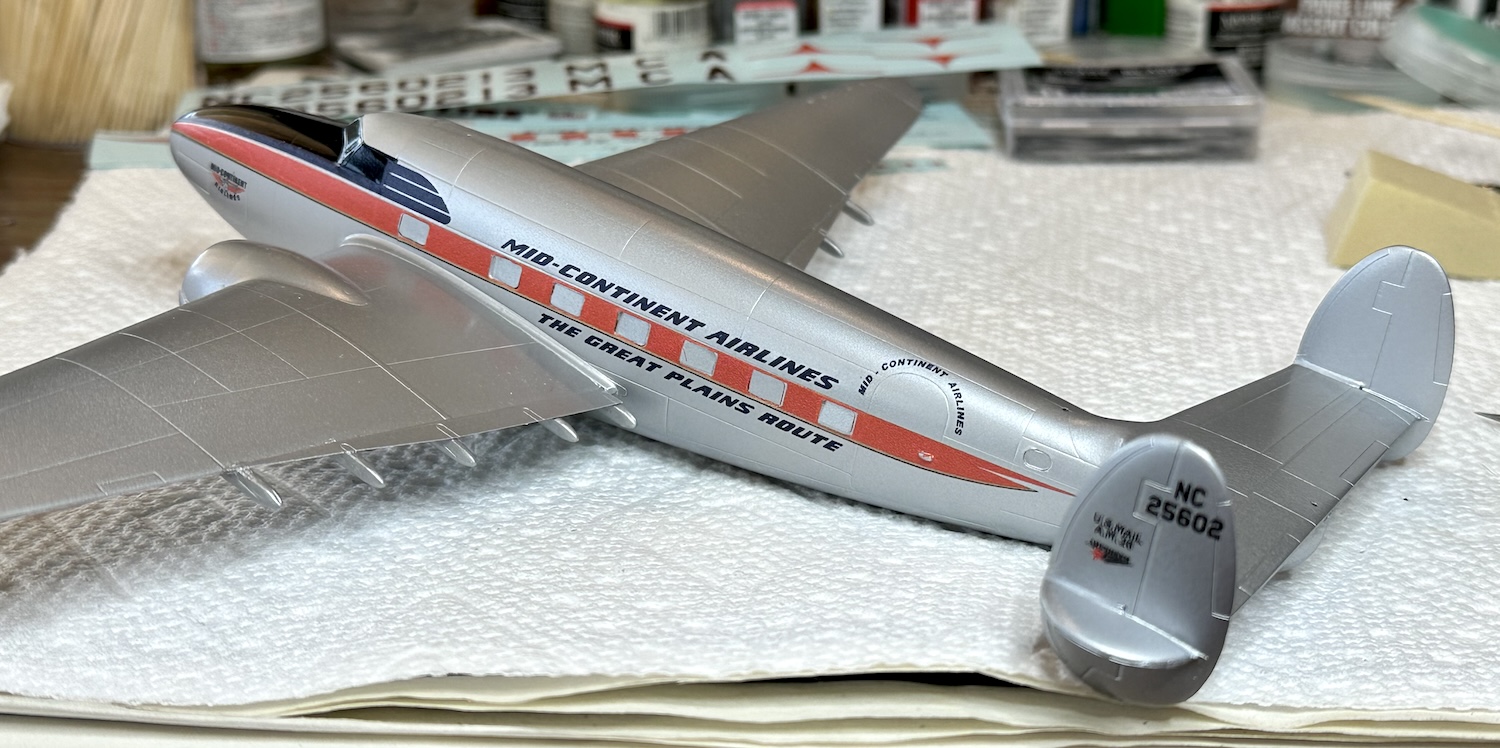
A bit more done on the 1/72 Lockheed L-18 project. The wings were added and I was very glad the time was spent to add the spars. Those wings went on without issues and the assembly felt good & solid. The tail feathers needed some adjusting but did go on well and feel solid. One issue is a large gap on the stabilizer/fuselage joint underneath. I used a but of putty over several sessions to set this right.

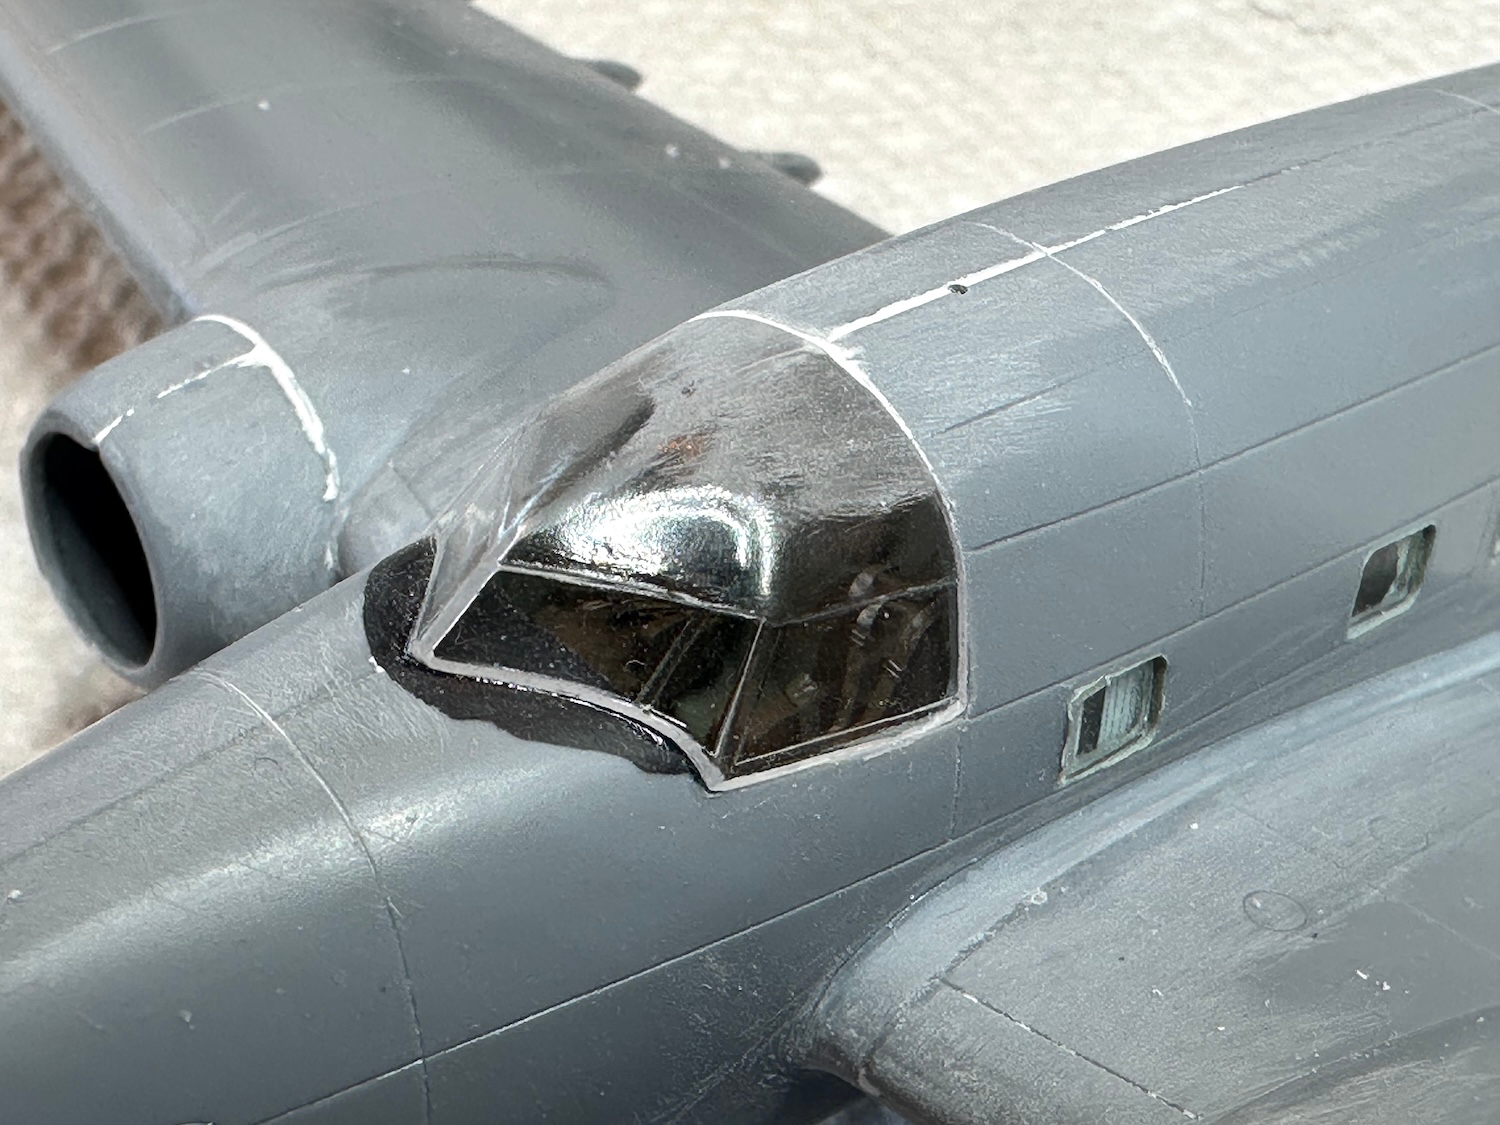
The canopy needed a bit of fitting but was actually a pretty good fit.

The last part that needed to be added was a set of PE (boo!) trailing edge extensions. These were fiddly & hard to keep straight. Not only that but ordinary handling of the model knocked them loose especially at the ends several times. When I do the L-18 for Continental Airlines I will trace them out onto plastic card stock which will make them much stronger.

The Masks were from KV models and were exceptionally nice to work with. Of course, the proof of the mask is revealed when they are removed . . .

Some primer was shot to check seams and see where were were at.

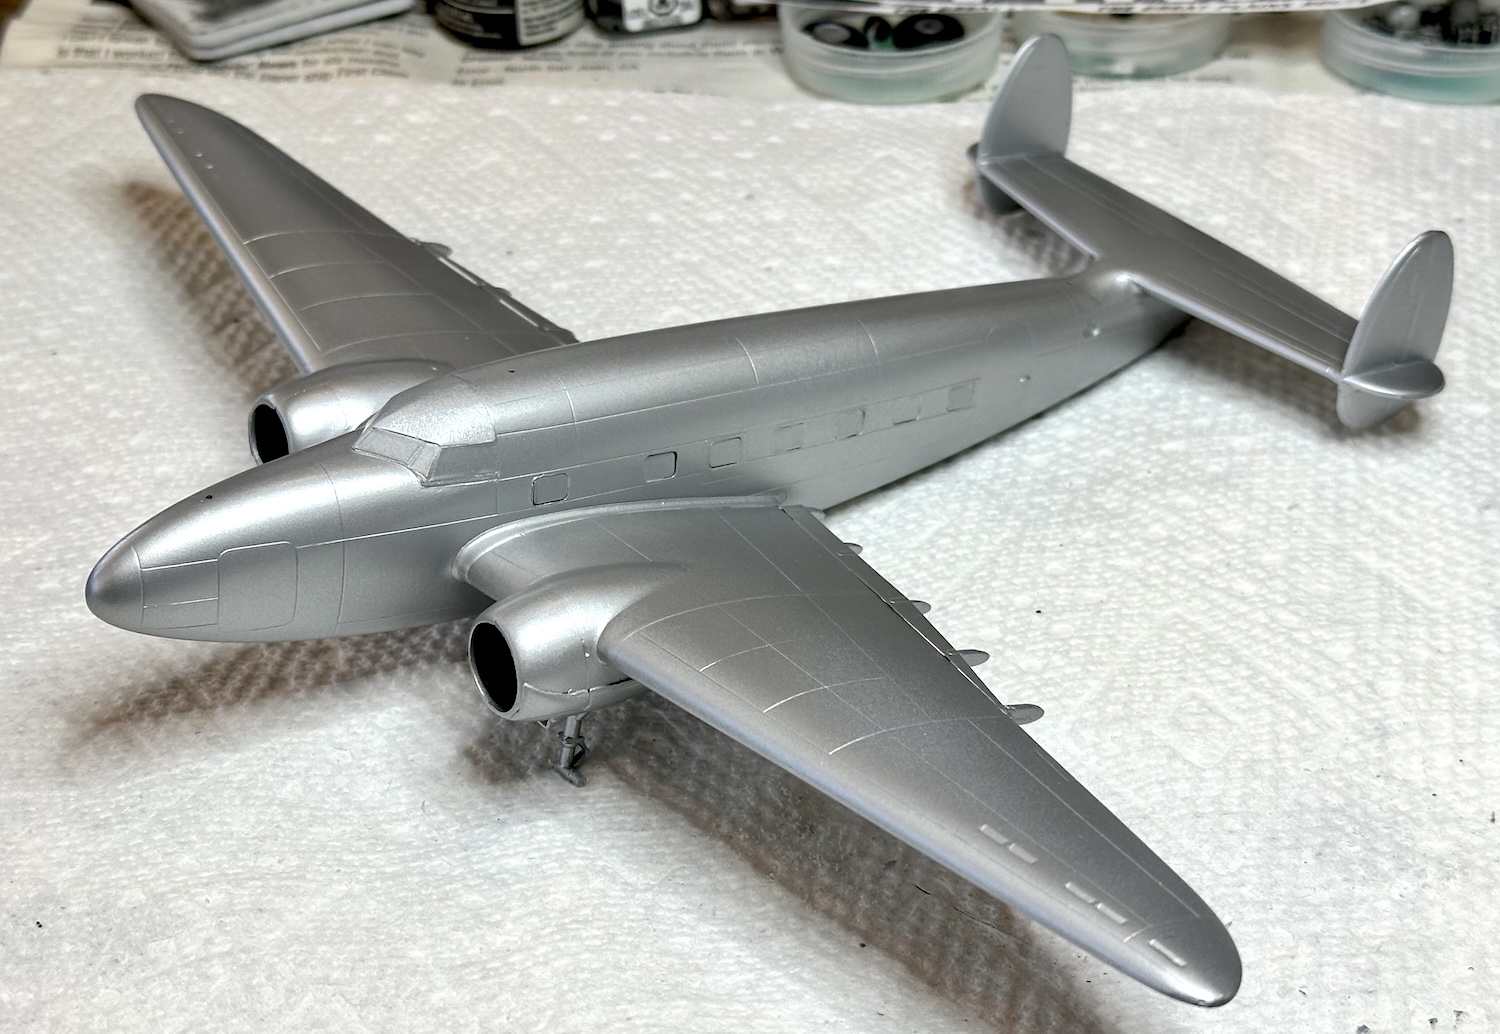
After some addiotional putty & sanding and primer touch up, this Lockheed was shot with Tamiya Bare Metal out of a rattlecan.

Paul

6 Likes

@Michaelsatin What would a Lockheed GB be without a P-38? Nice choice!

@hudson29 That L-18 is coming along nicely.

Gary

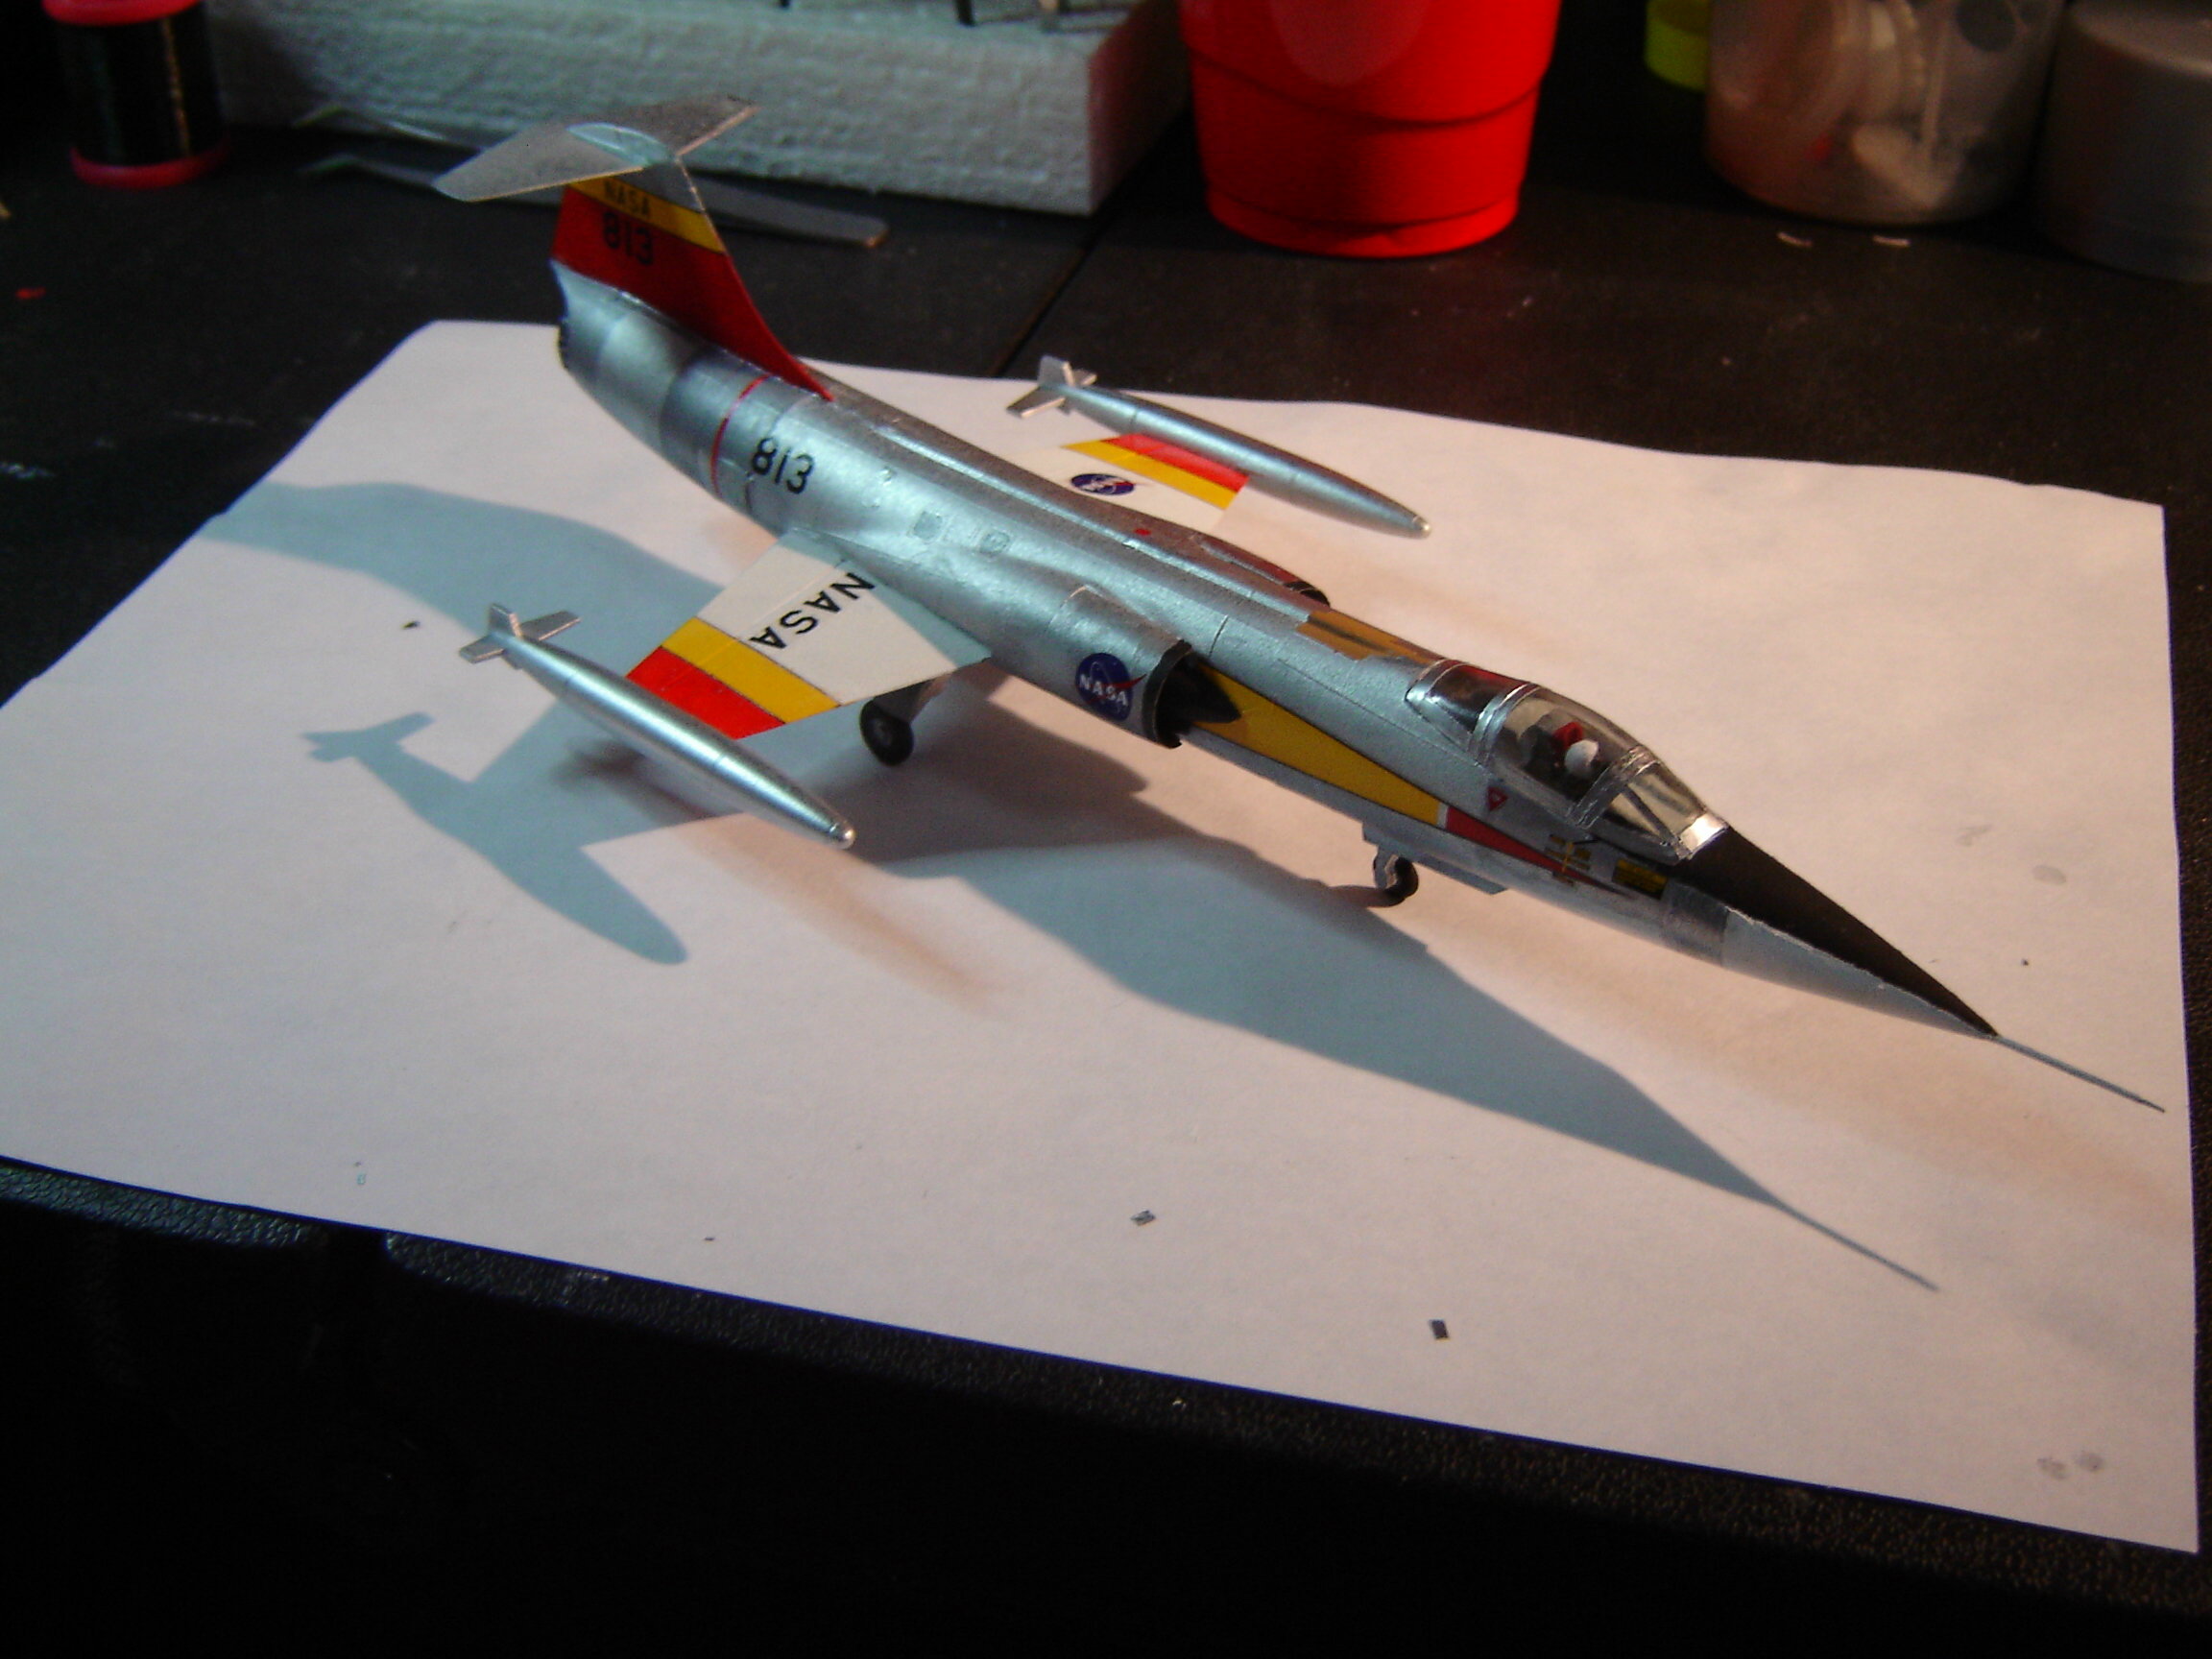
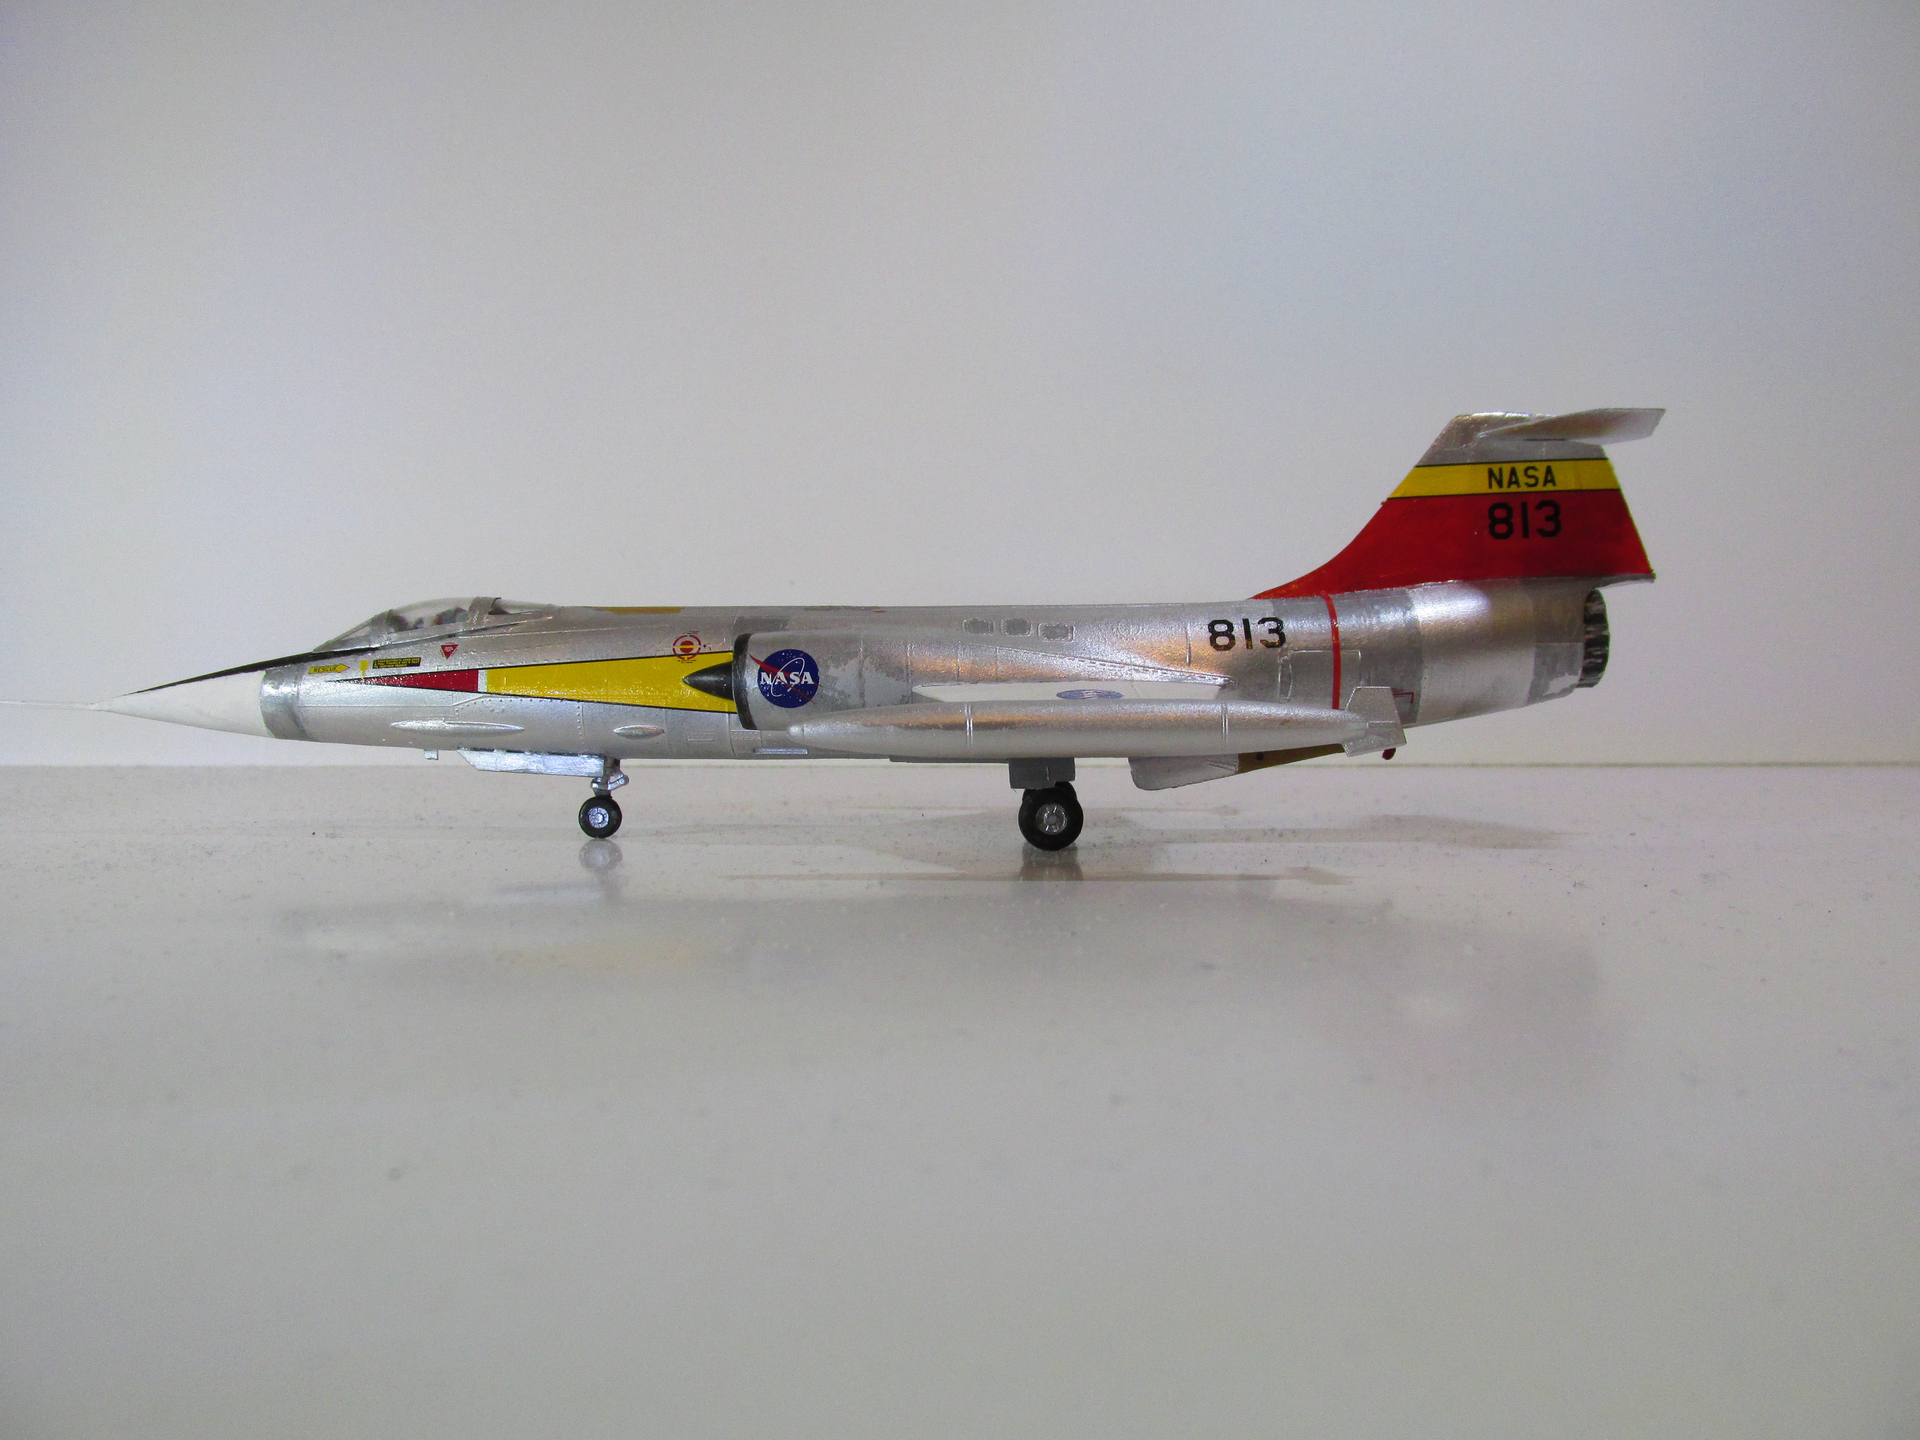
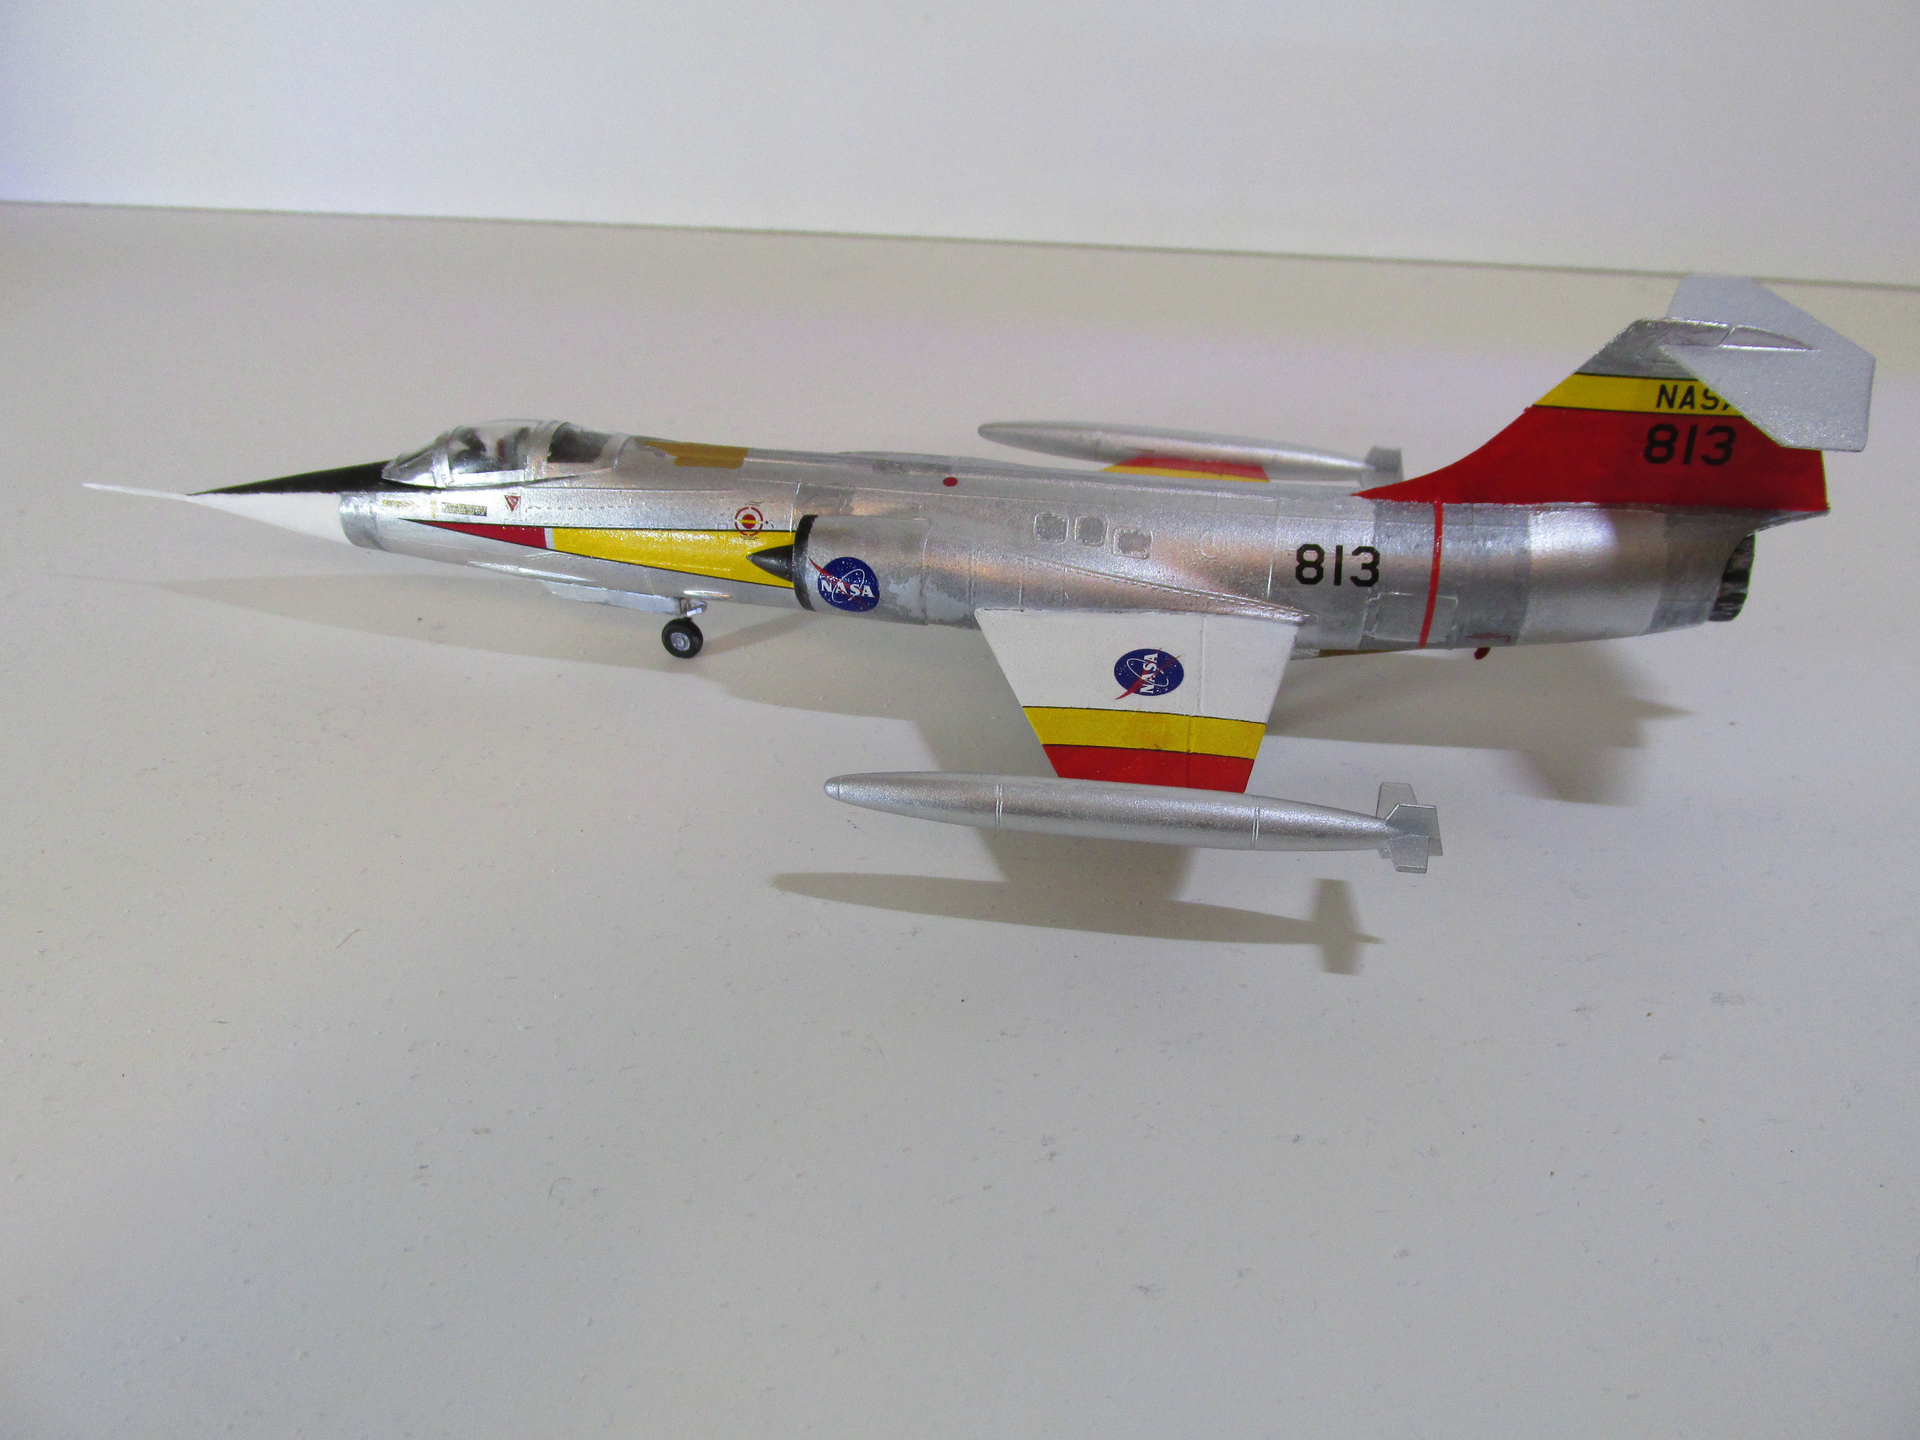
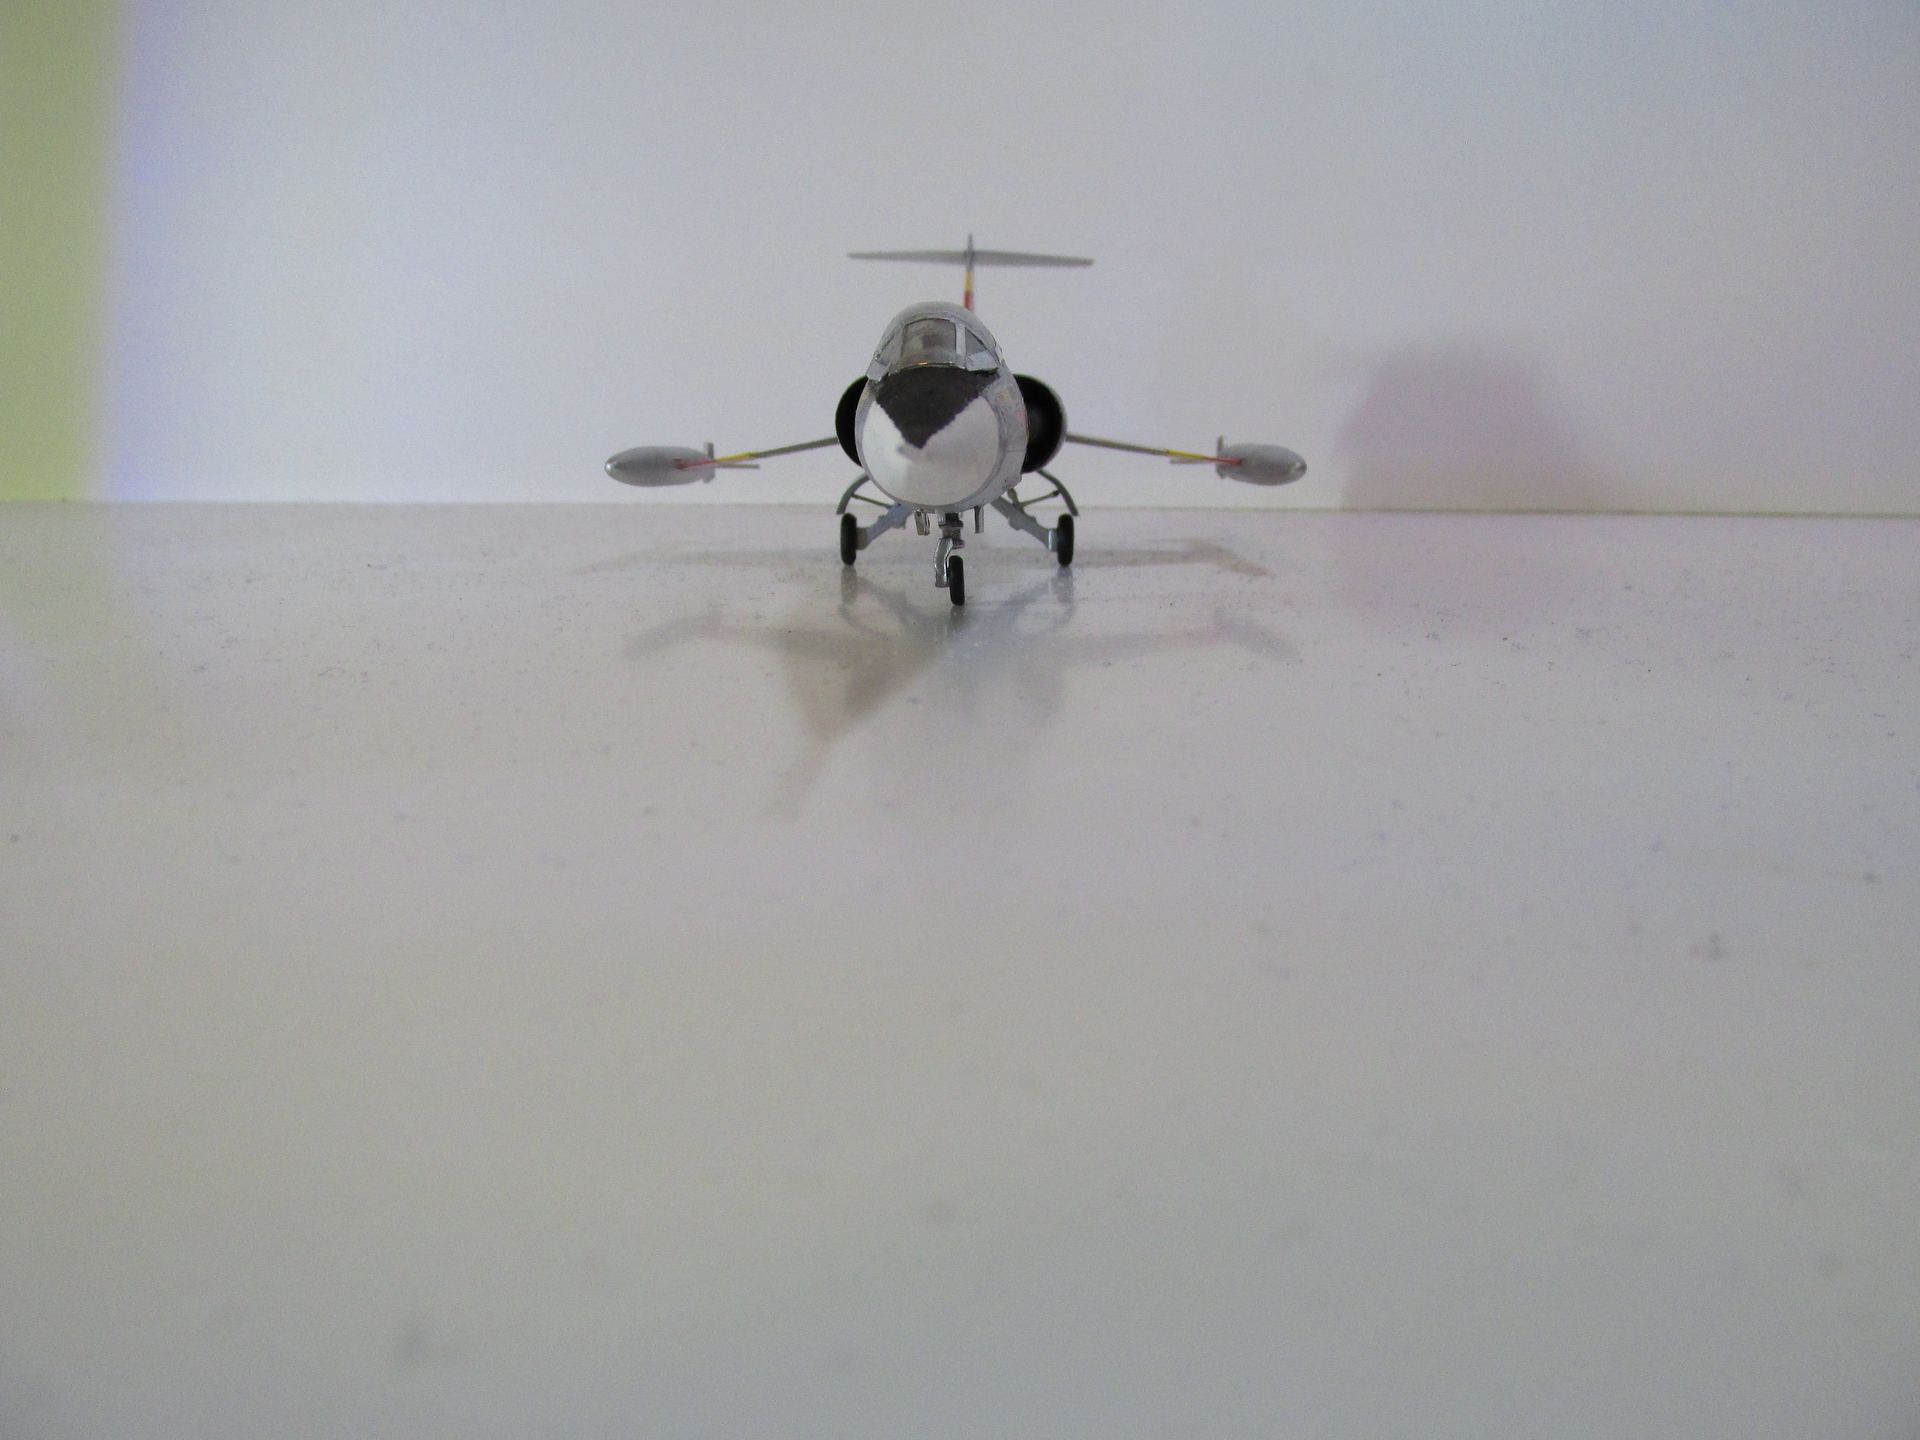
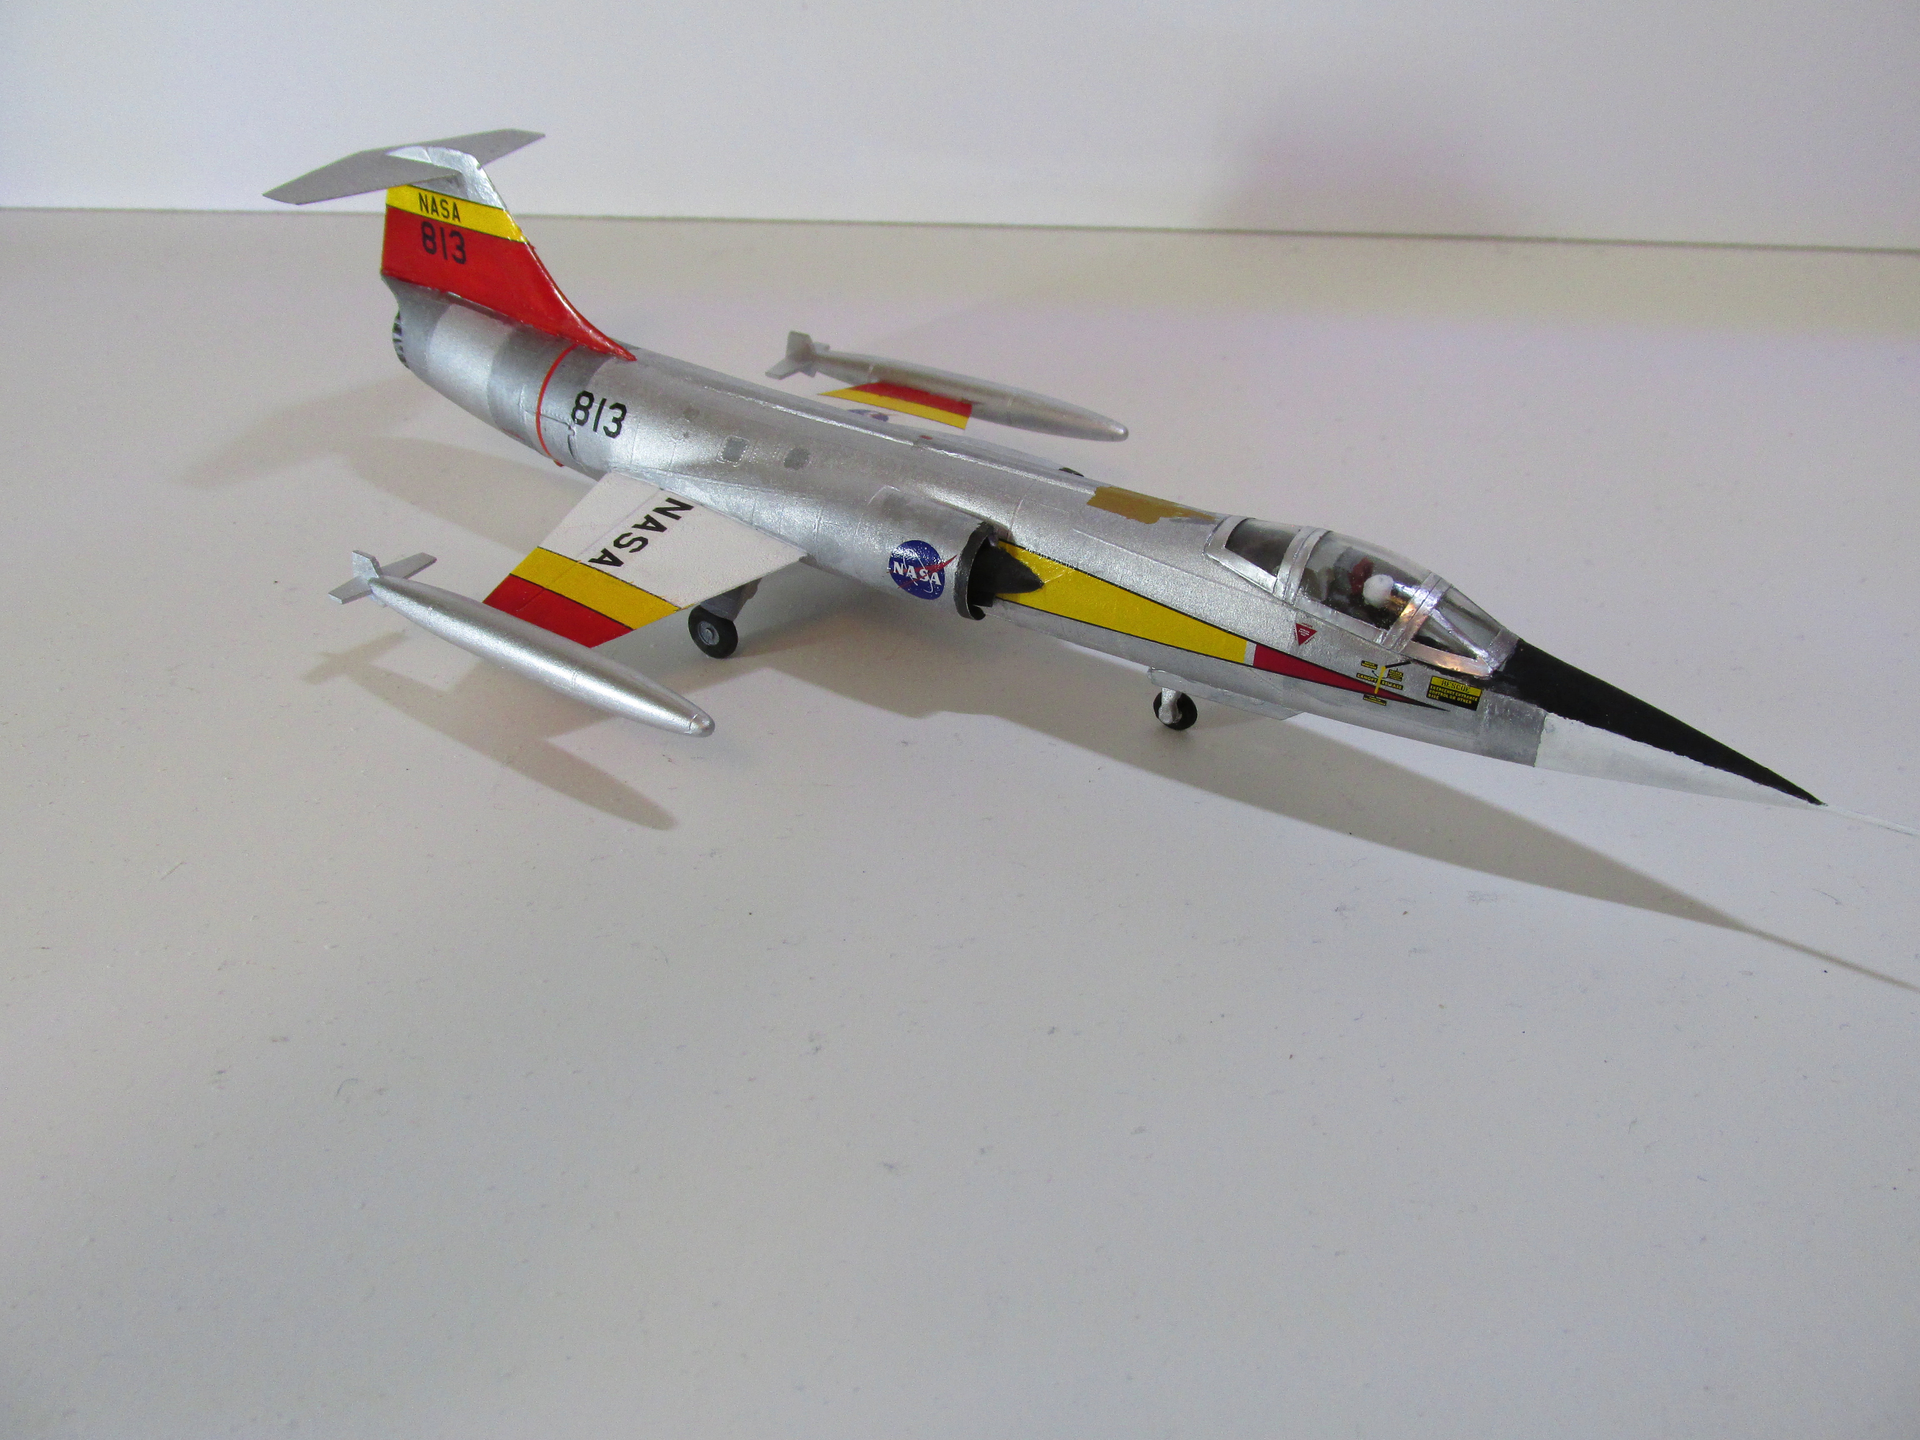
The F-104N is finished, except for some touch-ups around the canopy. I’ll post some better photos tomorrow.

Thanks!

Gary

5 Likes

A very colorful F-104, you made it look good.

Paul

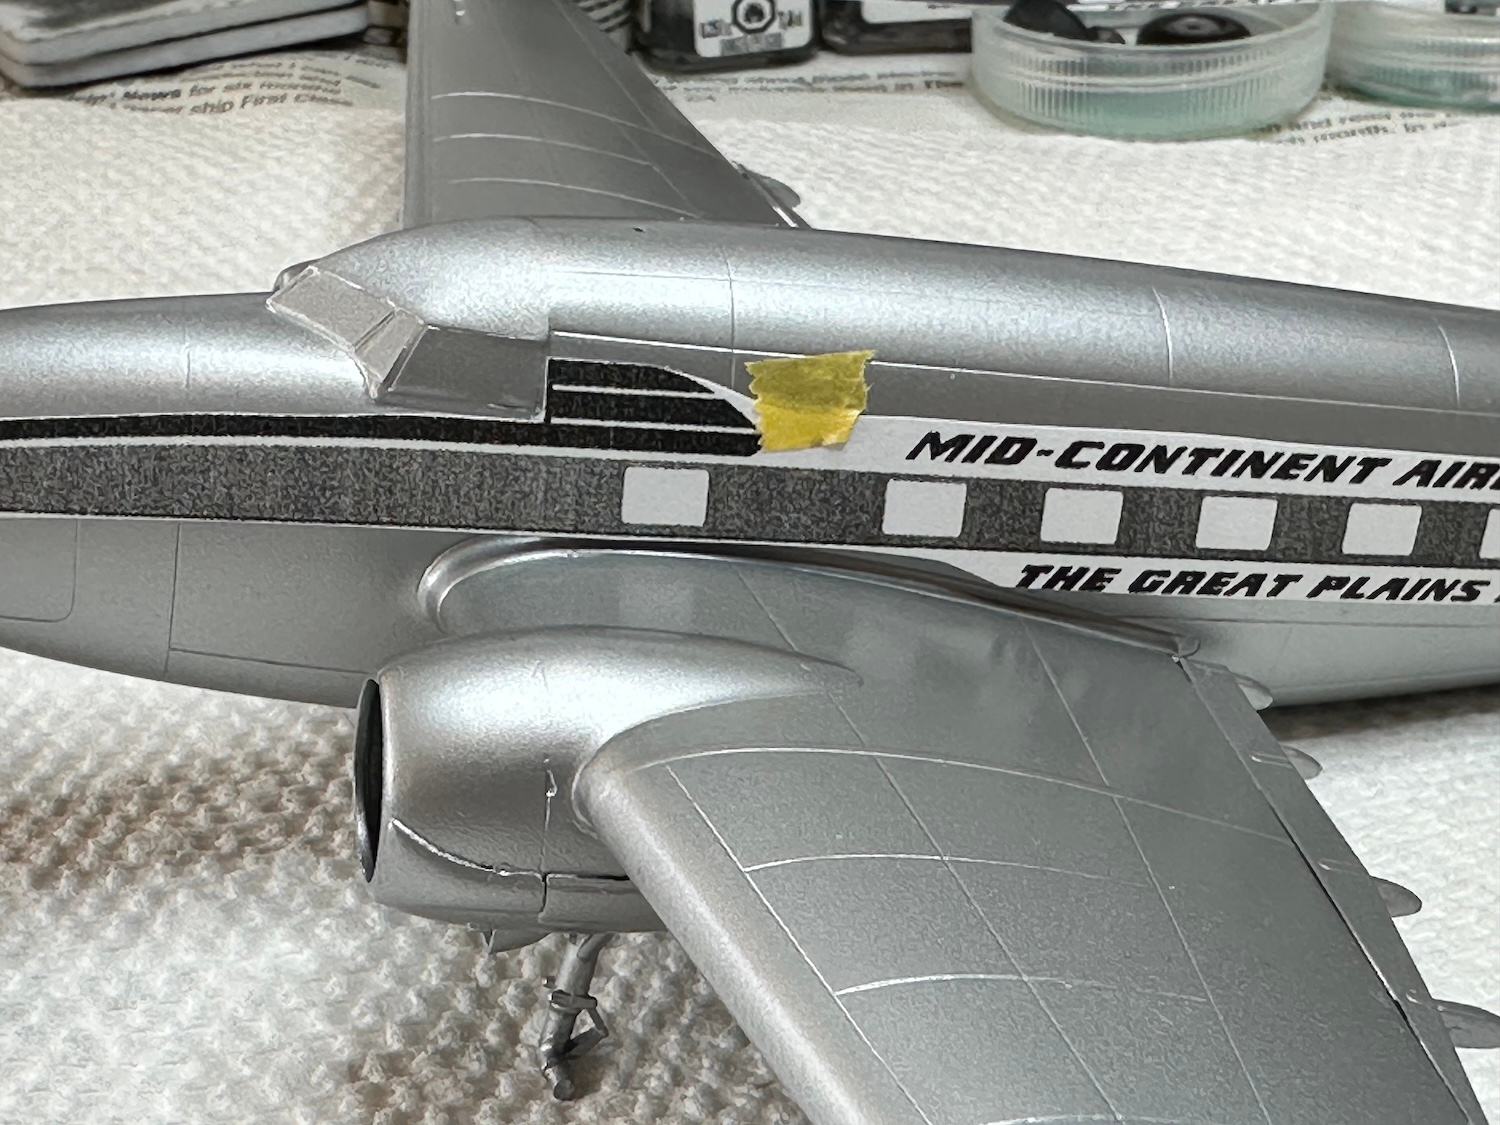
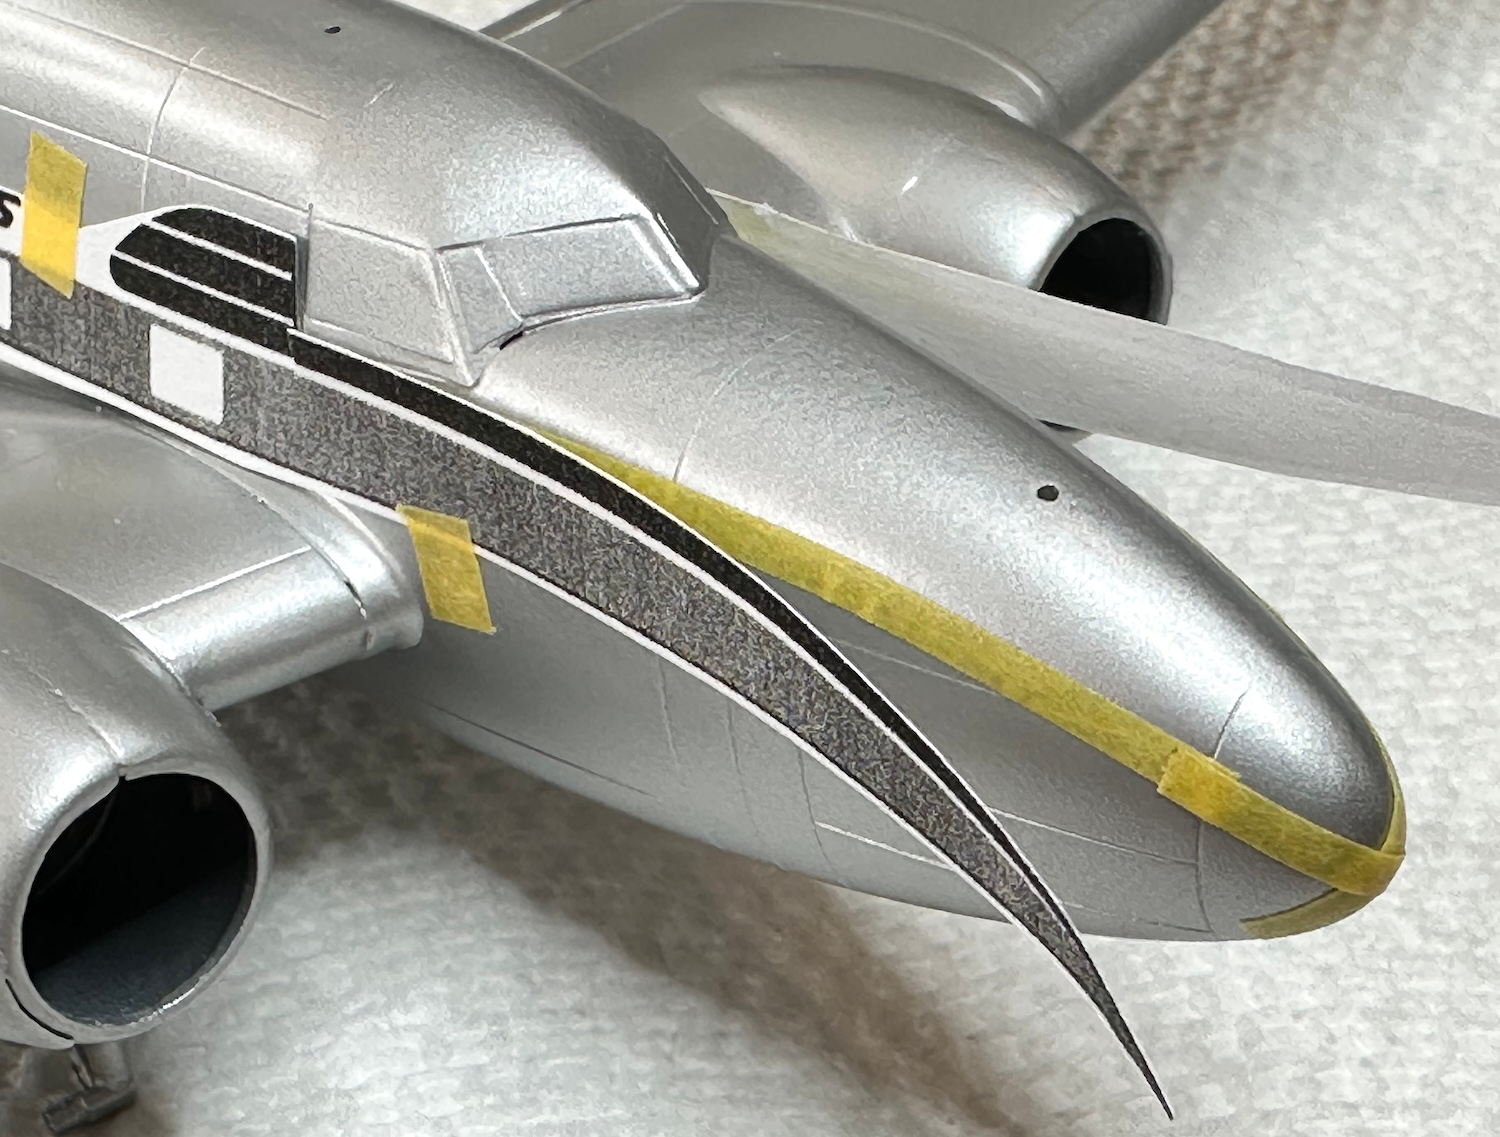
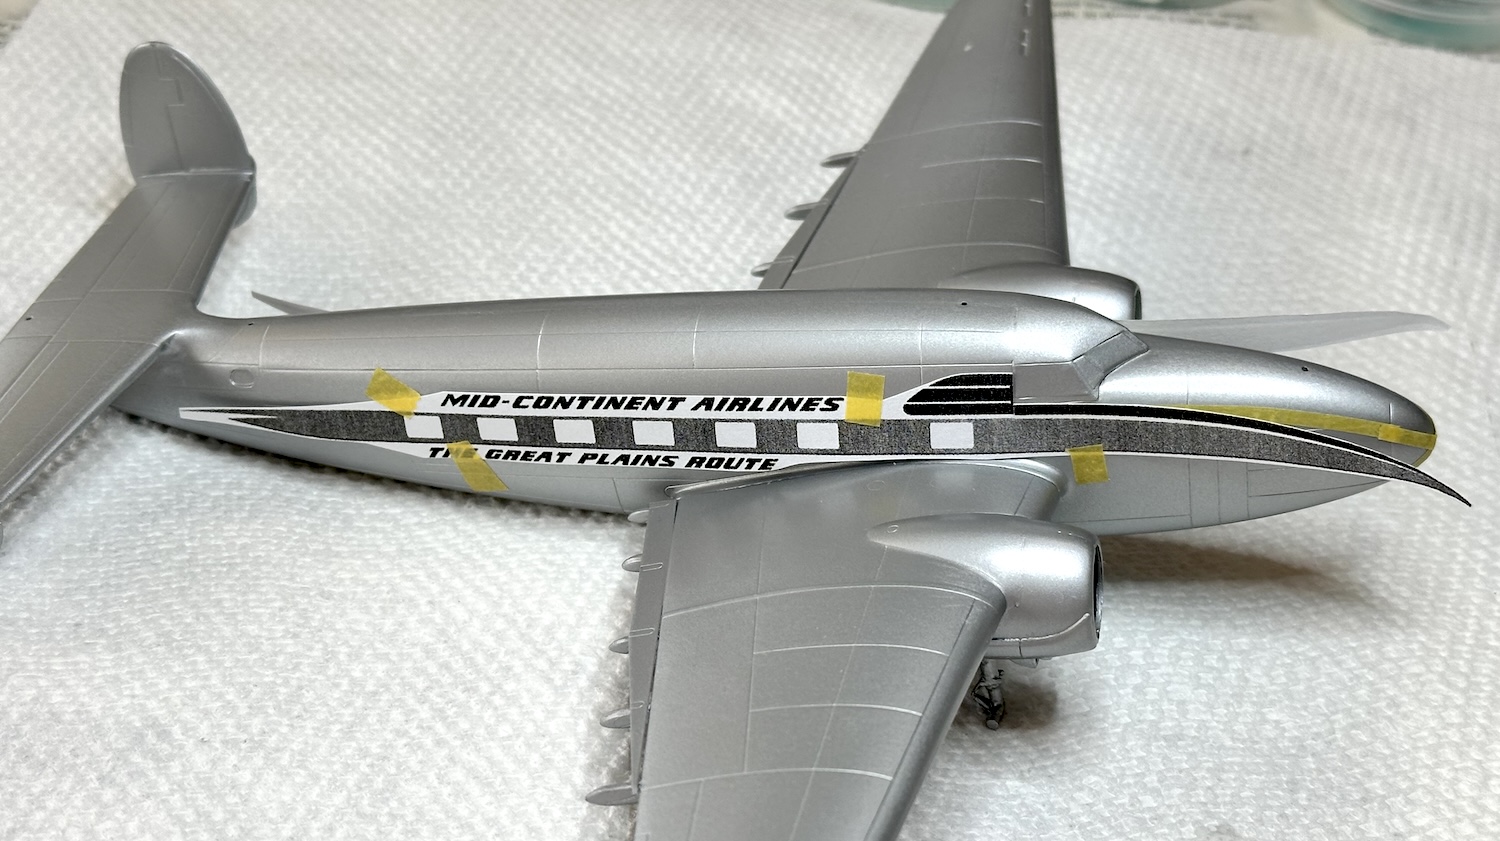
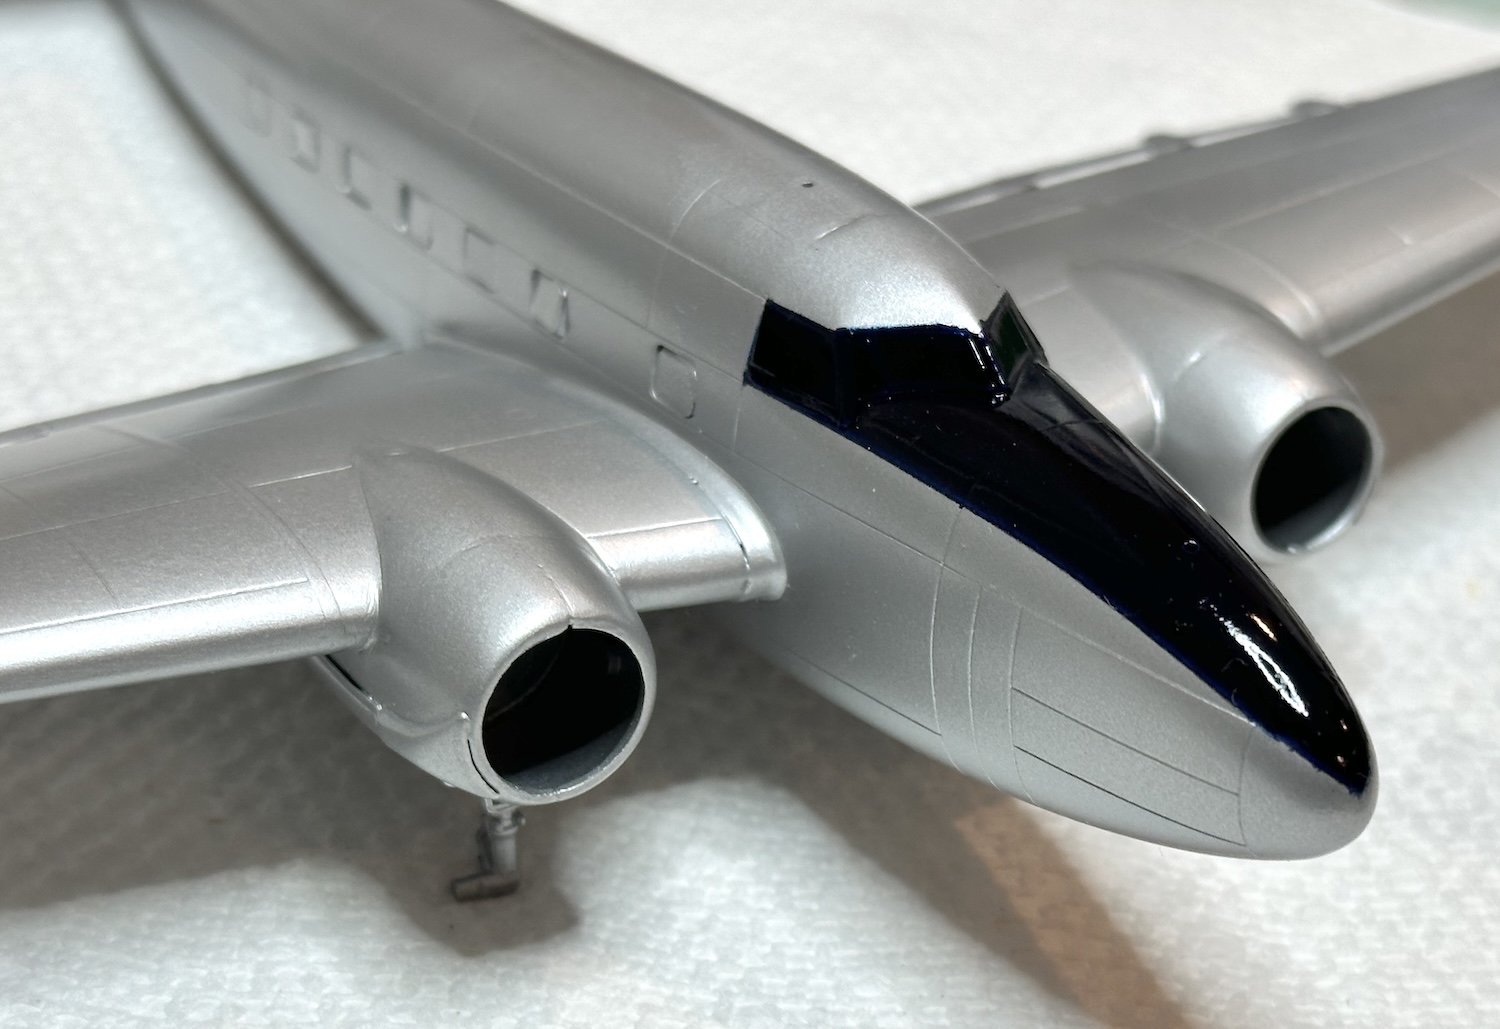
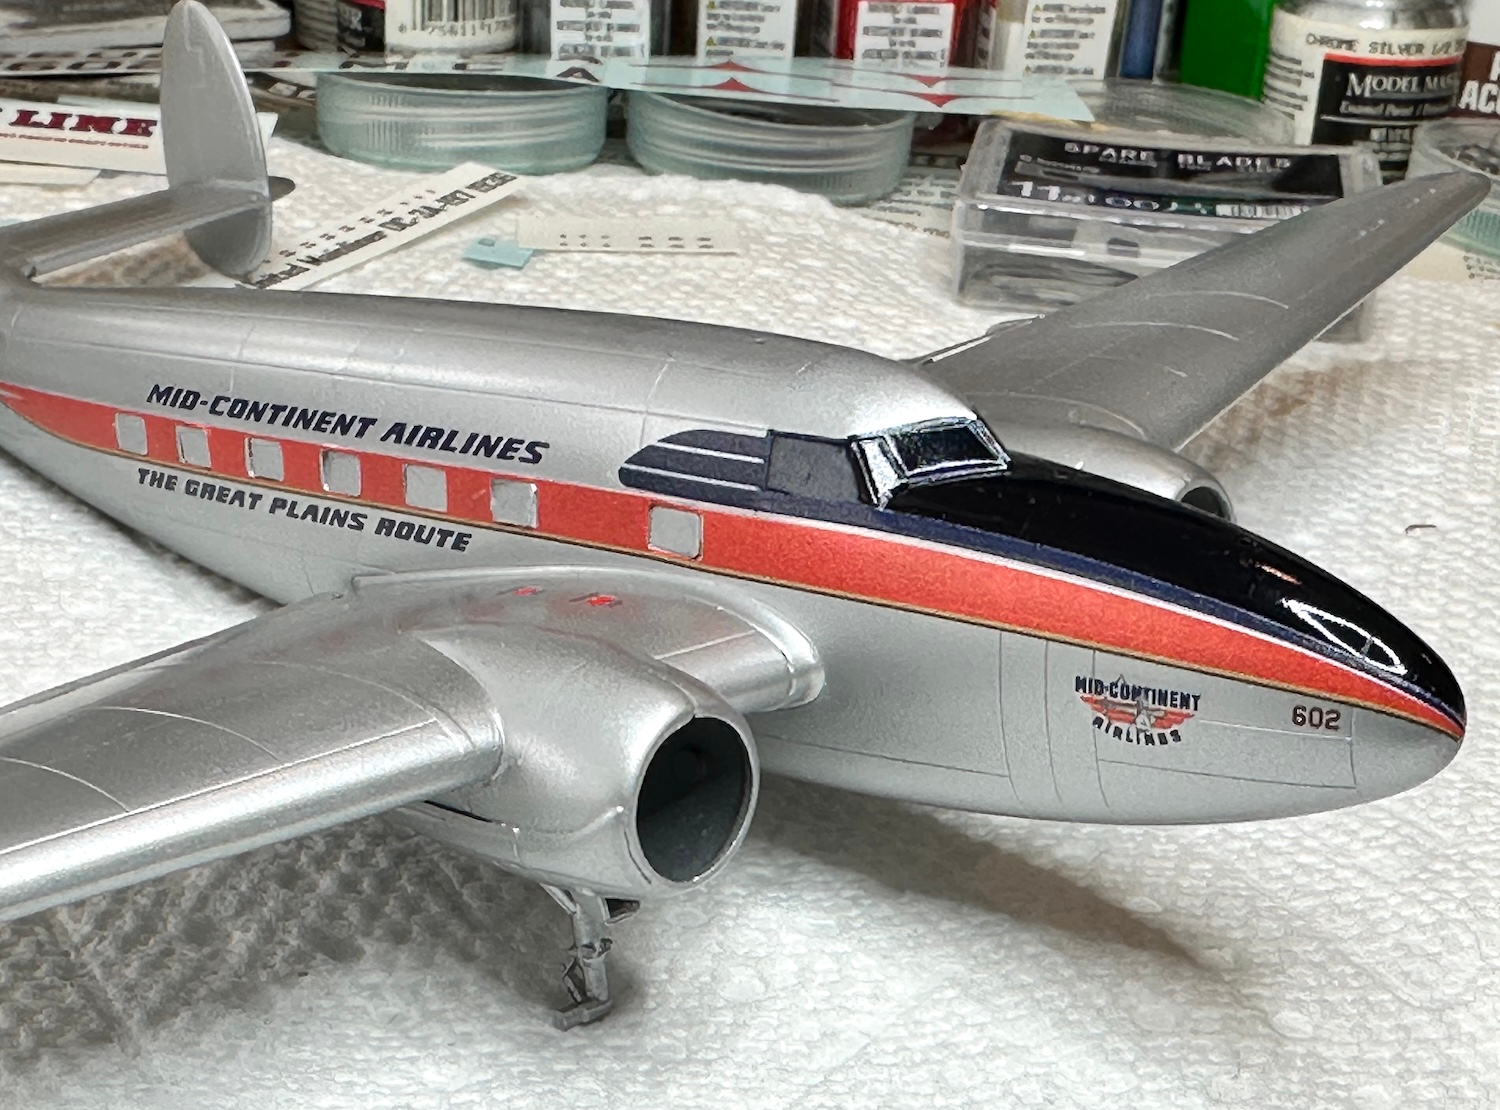
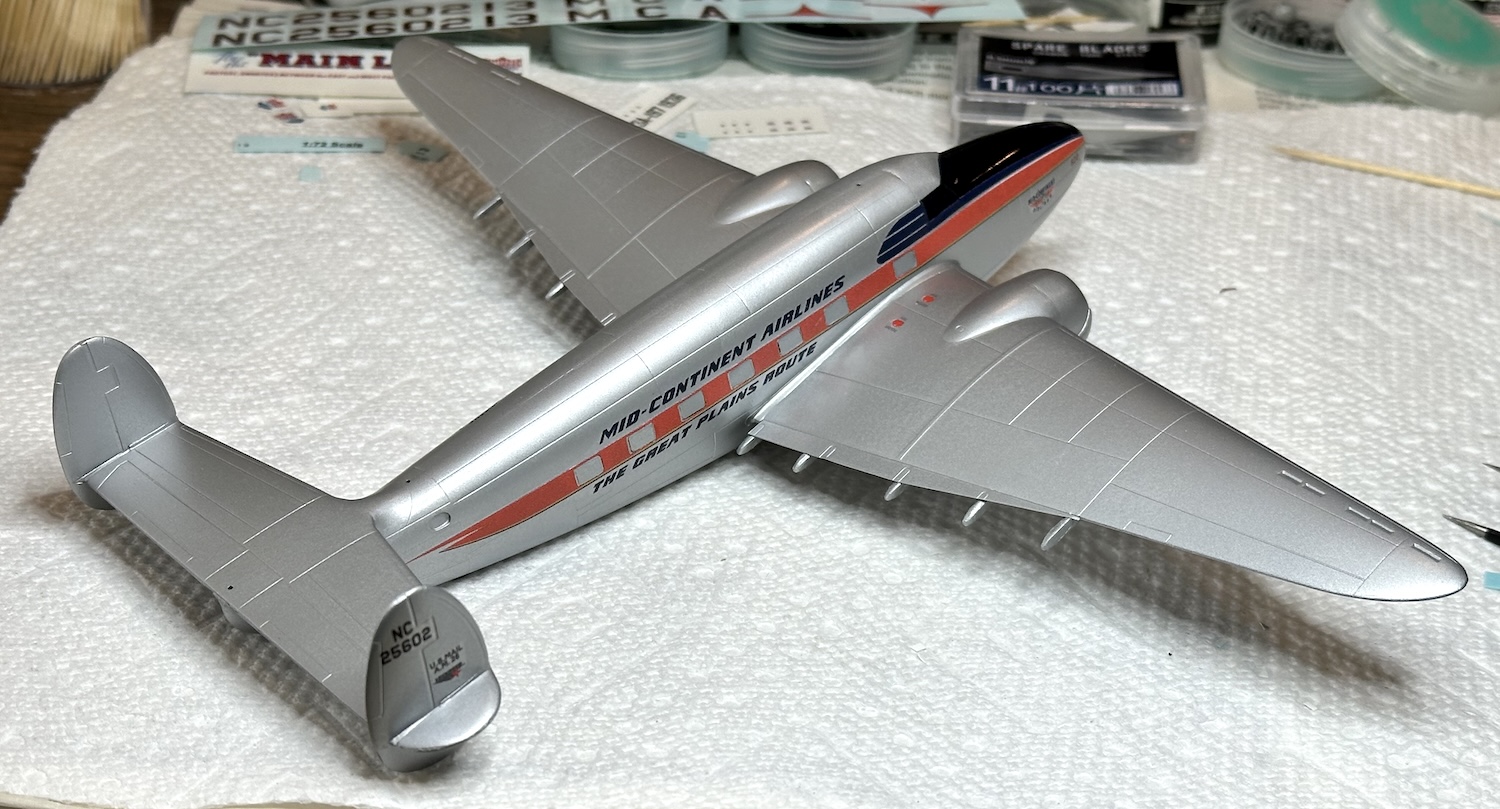
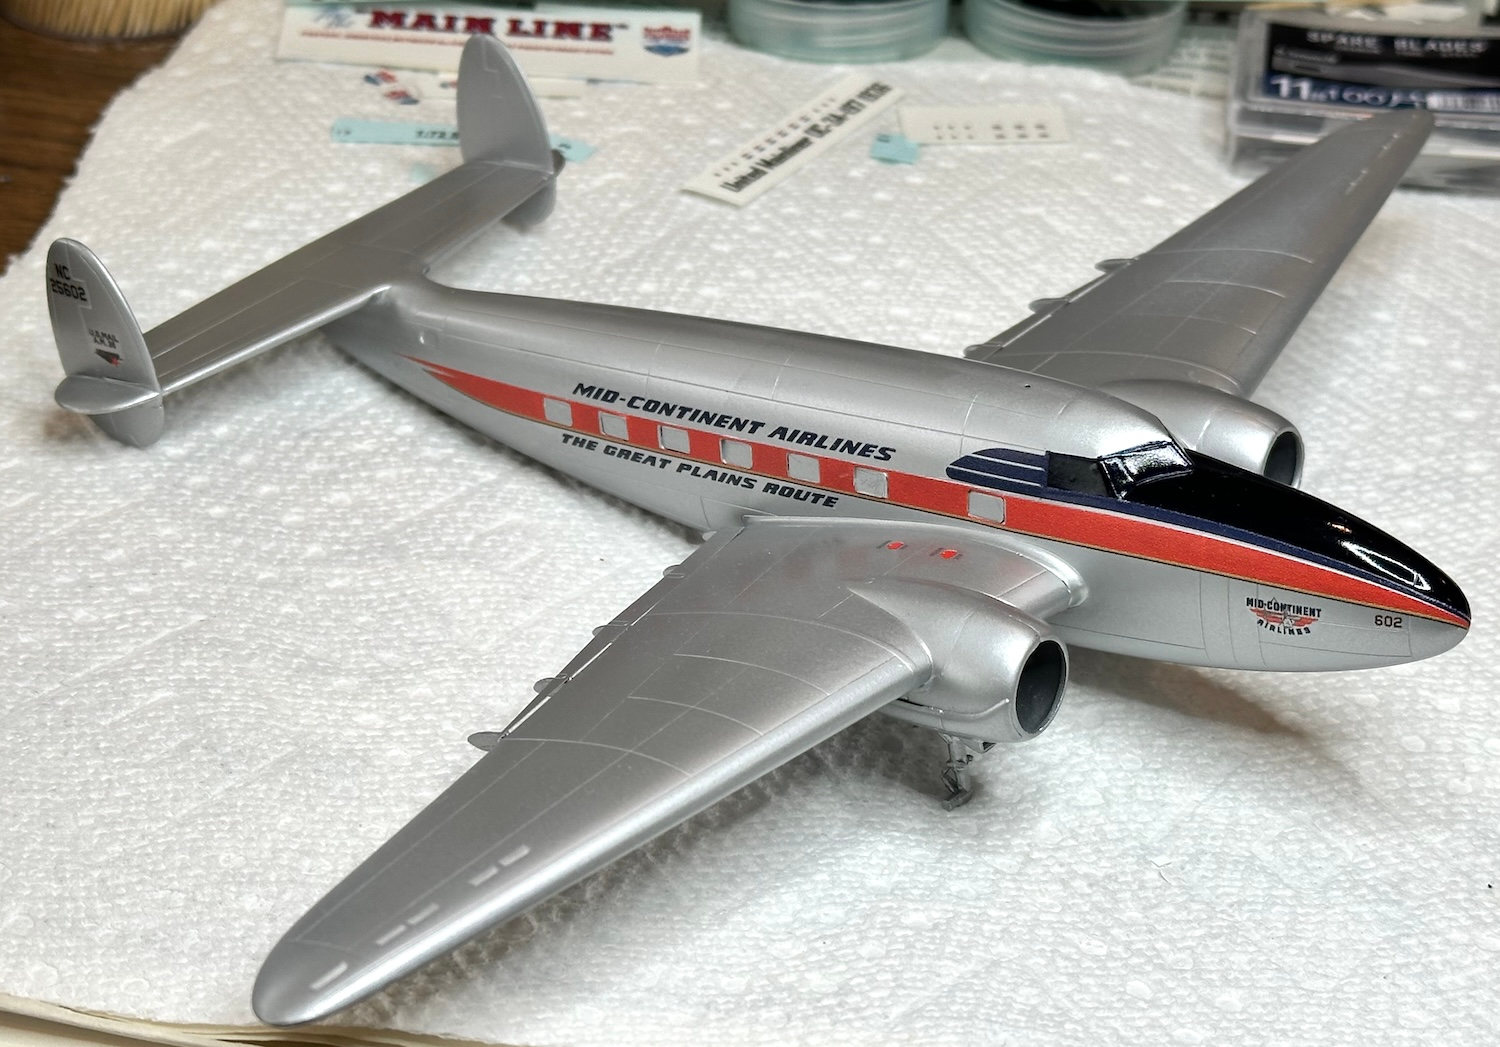
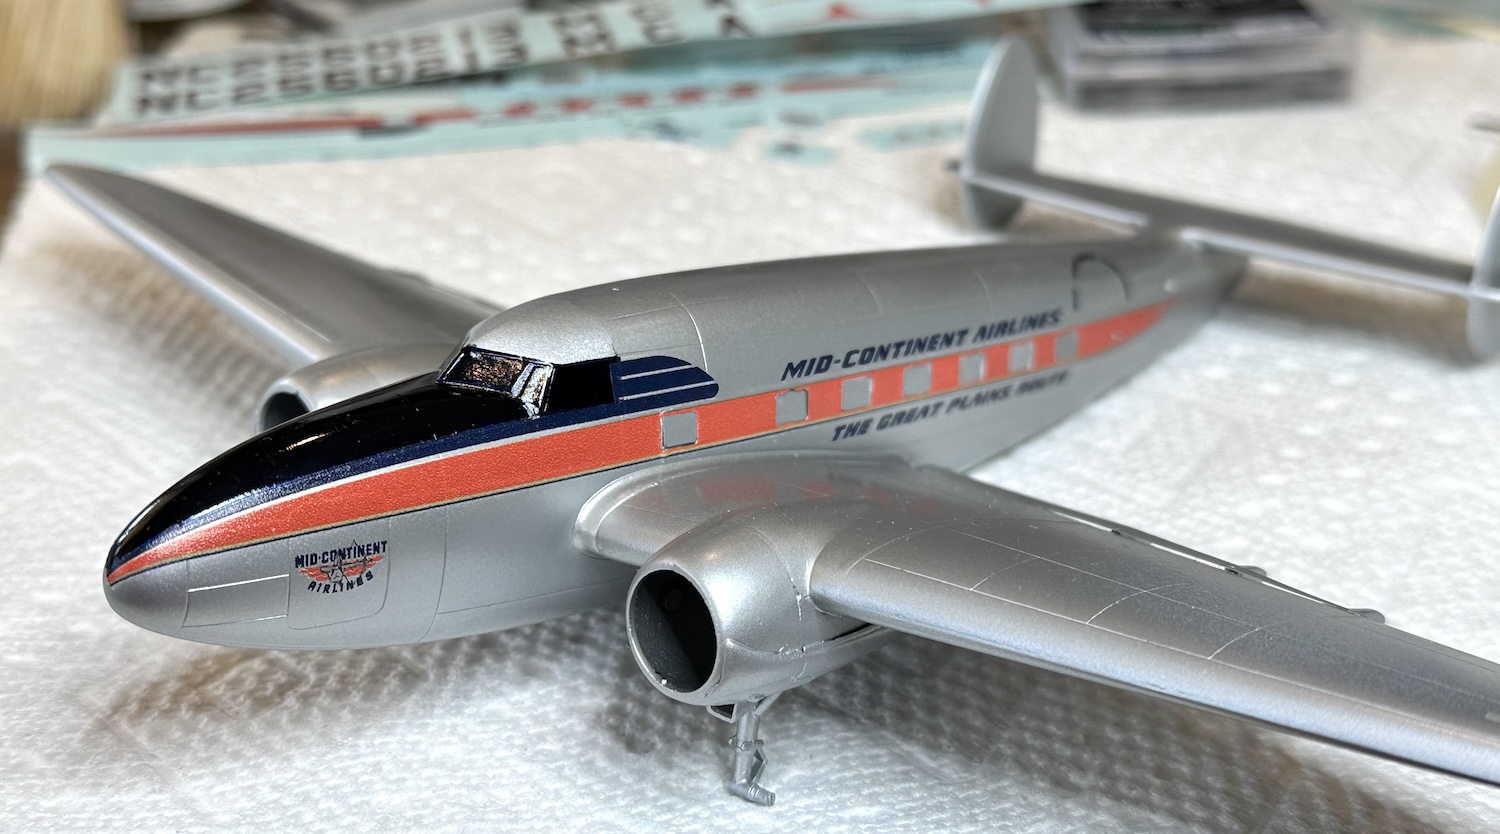
Work on the 1/72 Lockheed L-18 converted from the C-60 kit has progressed some since the last post. The Draw decals set had some instructions for painting a nose panel & the windshield frames a Tamiya rattlecan (TS 55?) Dark Blue. The trick was to photocopy the decal sheet, cut out the side stripes and use them as a template to determine the masked border of that blue panel.

This seemed very fiddly to me with much room for error given my modest abilities. Just the same, it had to be done to finish the model so I charged ahead determined to have a crack at it. Here are the templates applied to the model:

The back portion of the paper templates was taped into place to keep the location constant, the front was left loose so the 2mm Tamiya tape could be applied:

I spent a lot of time doing this as I was very unsure of my ground but after several tries found a position for the tape that seemed to offer a good chance of integrating the painted panel with the decals.

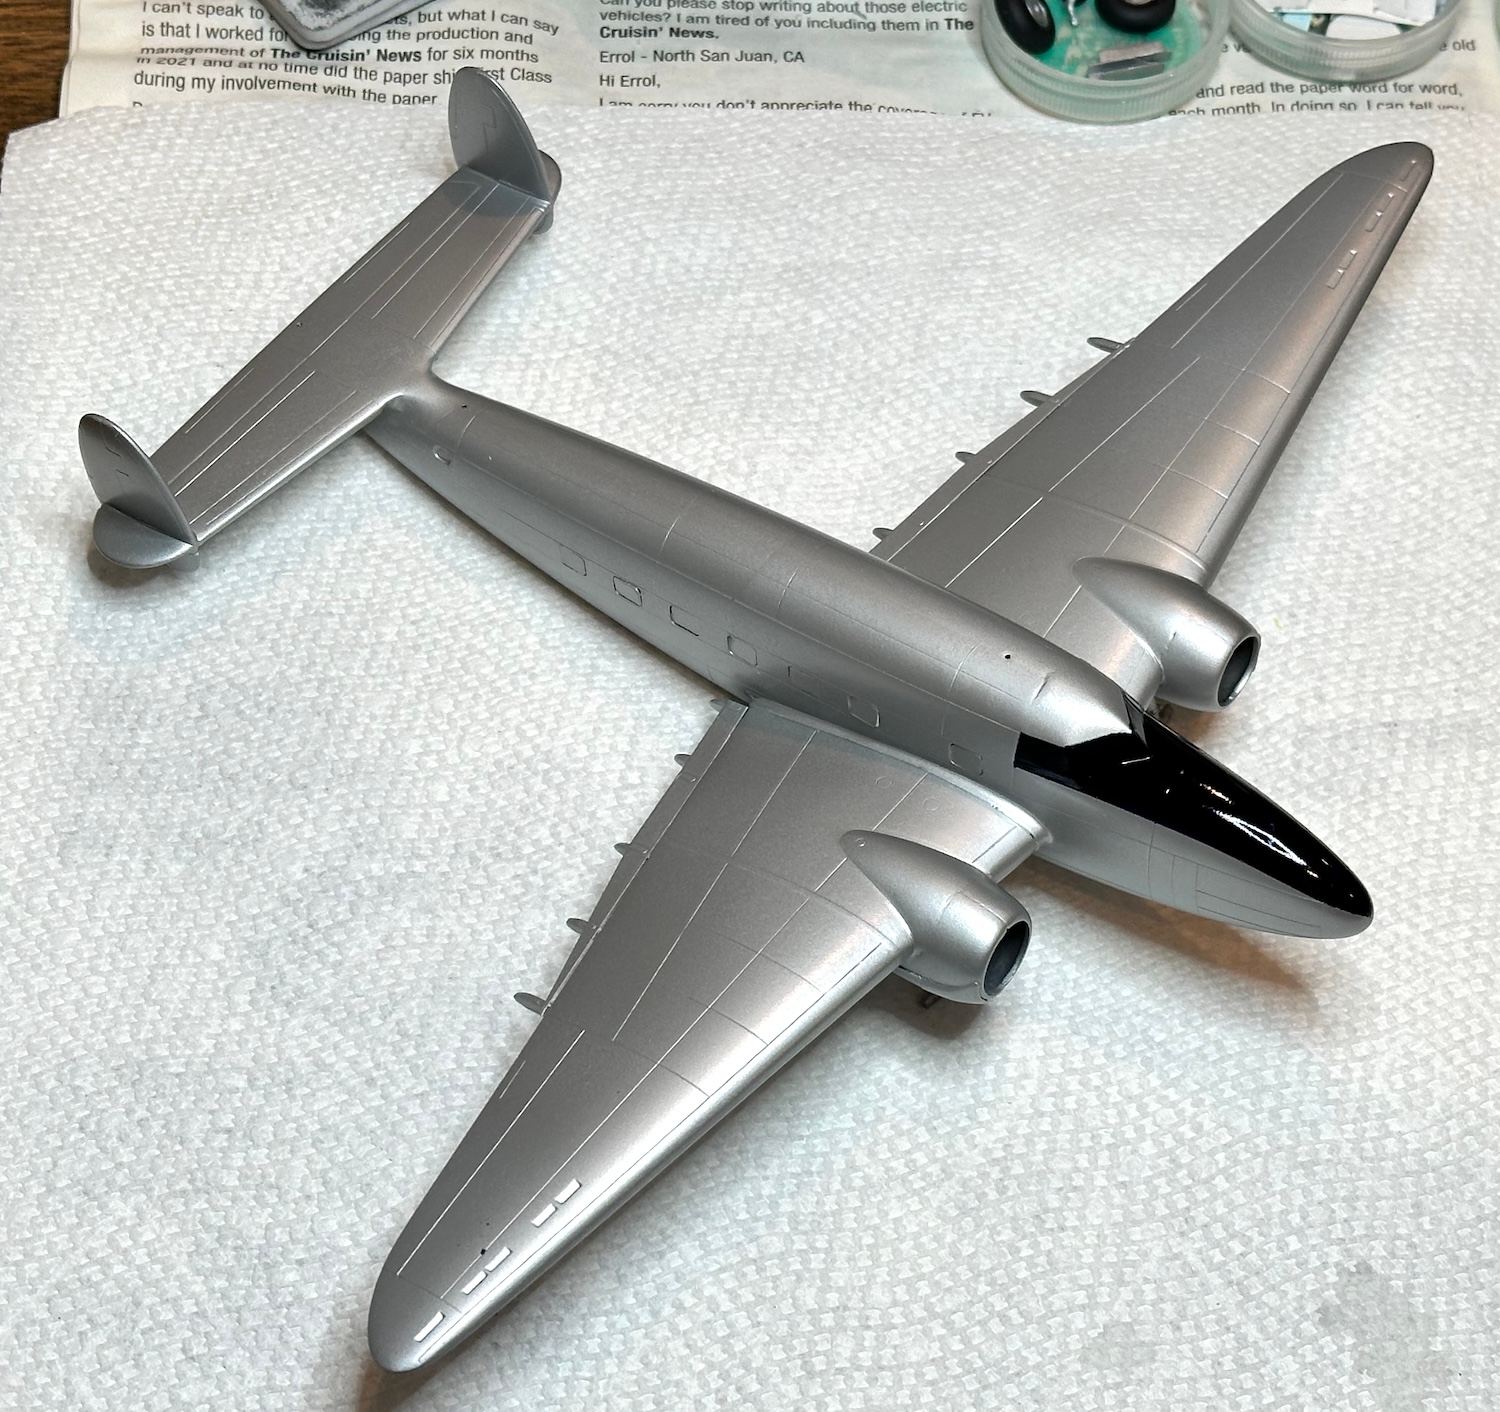
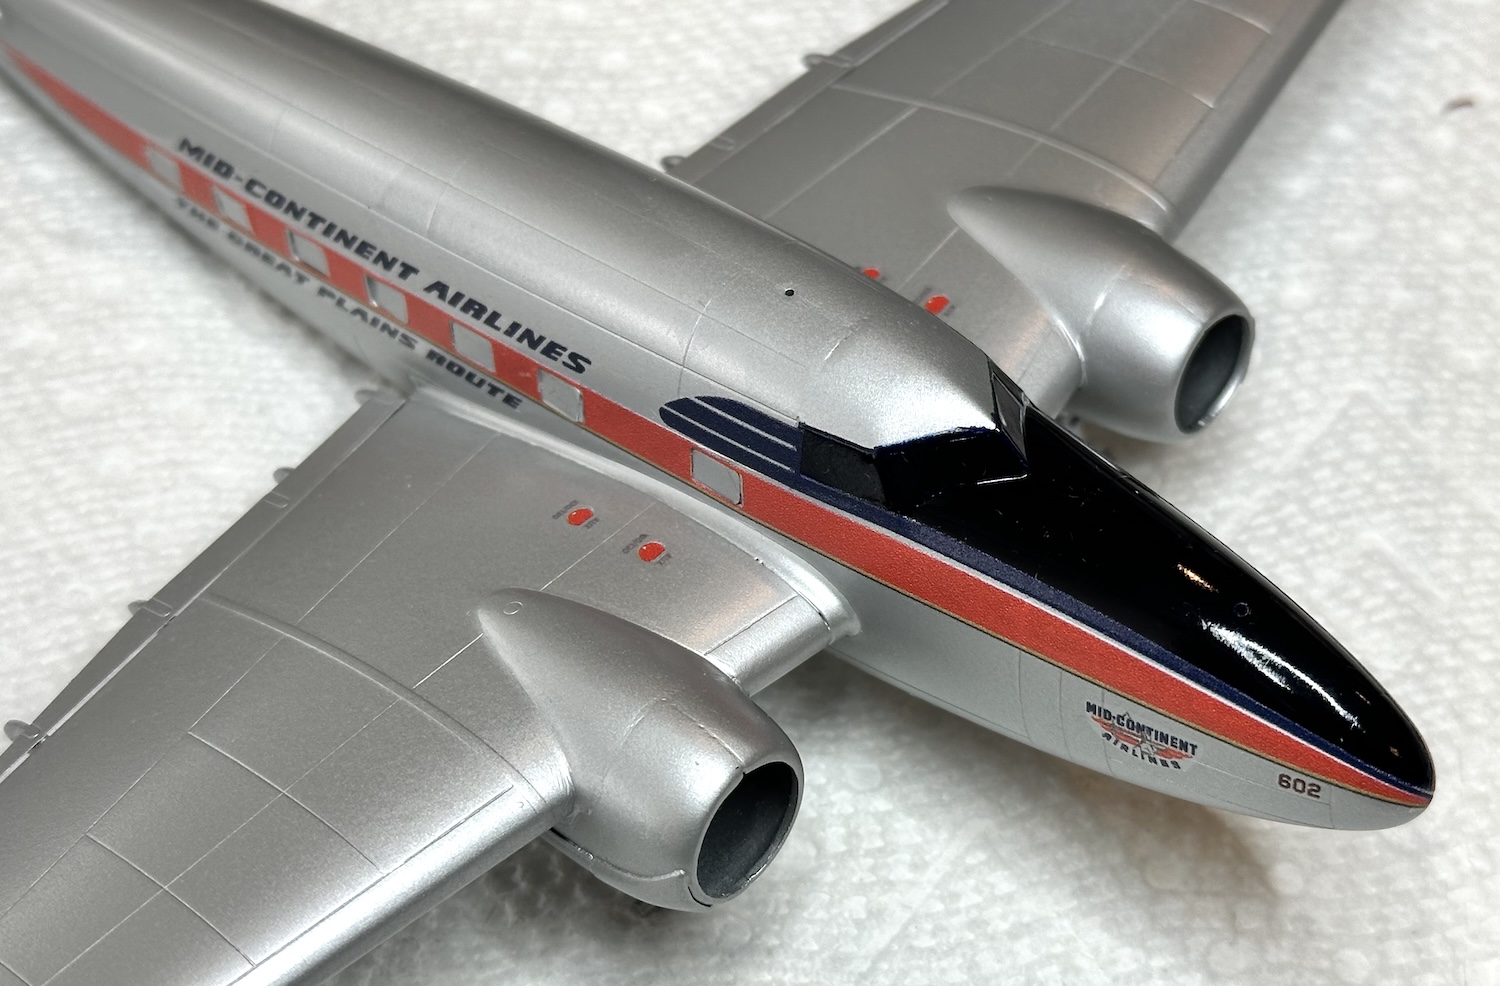
After completing the masking of the rest of the model, the dark blue was shot. As seems normal with these projects, hours of prep & masking work led to just a few seconds with the spray can. The paint came out wonderfully and two coats in fairly quick session were all that was needed. Here are the results:

It looks black in the pics but it is a dark blue which I hope will match the decal color. The decaling can start now and that promises to be tricky as well. The Draw decals are thin and beautifully printed but can fold and be fragile.

The decals are a continuous film type which means they will cover the cabin window masks. I spoke with Greg Drawbaugh who owns Draw decals by email to see if he had any pointers on how to handle this. His suggestion was to trim the clear section of the decals off with a sharp #11 blade. Gulp! I was hoping for a trick that would not tax my skills so much. We shall see how that comes out . . .

Paul
4 Likes

Good job on the masking. I hope the decals match the nose color!

Gary

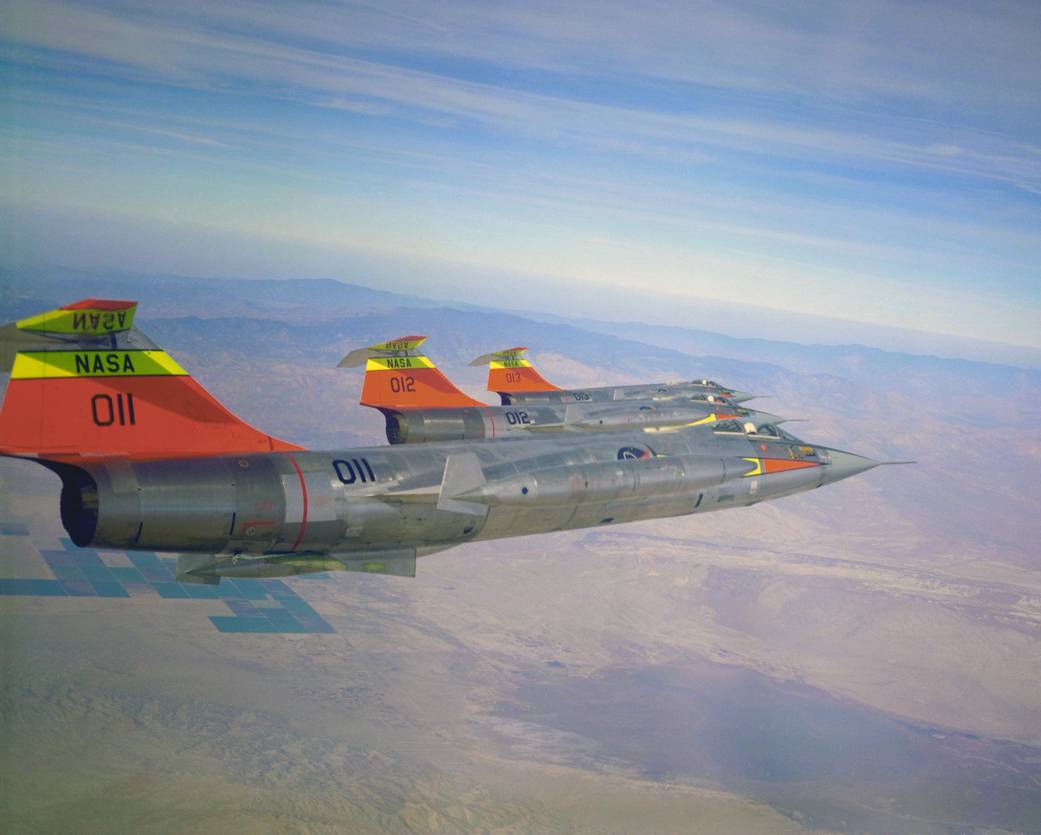
Over the decades, NASA’s Armstrong Flight Research Center in Edwards, California, has used a variety of chase and support aircraft, including F-104s. The agency acquired its first, a preproduction YF-104 (55-2961), in August 1956, then kept adding the type to its mission support aircraft. NASA acquired three F-104s from Lockheed, straight off the assembly line. Over time the AFRC operated 11 F-104s, and continued to operate the type for the next 38 years. Tail number (TN) 826 flew the last of these missions on Jan. 31, 1994. By then, its fleet had completed more than 18,000 flights performing basic research, chase, X-15 approach and landing simulator, and aerodynamic testbed.

011, 012, 013 were changed in 1965 to 811, 812, and 813. In June, 1966, 813 was lost when it was involved in a midair collision with the second North American XB-70A Valkyrie during a General Electric-sponsored publicity photo flight. The pilot of the F-104N, Joseph A. Walker, was killed. The XB-70A pilot, Alvin S White, ejected with injuries, but his copilot, Maj Carl S Cross, went down with the Valkyrie and was killed.

My rendition of 813 is not very accurate, partially due to decals. They don’t seem to match up very well with pictures of the real thing. Plus my own mistakes as I get older makes the model not so great. Be that as it may, it’s finished and I can move on to my next not so great project.

Thanks for looking, and thanks to @phil2015 for running this GB!

Gary

6 Likes

Great build, Gary. Super background info - very interesting!

These NASA/NACA and USAF flight test 104s are some of my all time favorite aircraft. You did a great job on yours!