This is still very much on my list - just not any time soon.

2 Likes
After the summer break i finally started my build.
the office, painted in AK real color, waiting for the quinta decals side console and paint detailling

wheel bay painted in AK extreme metat polished aluminium
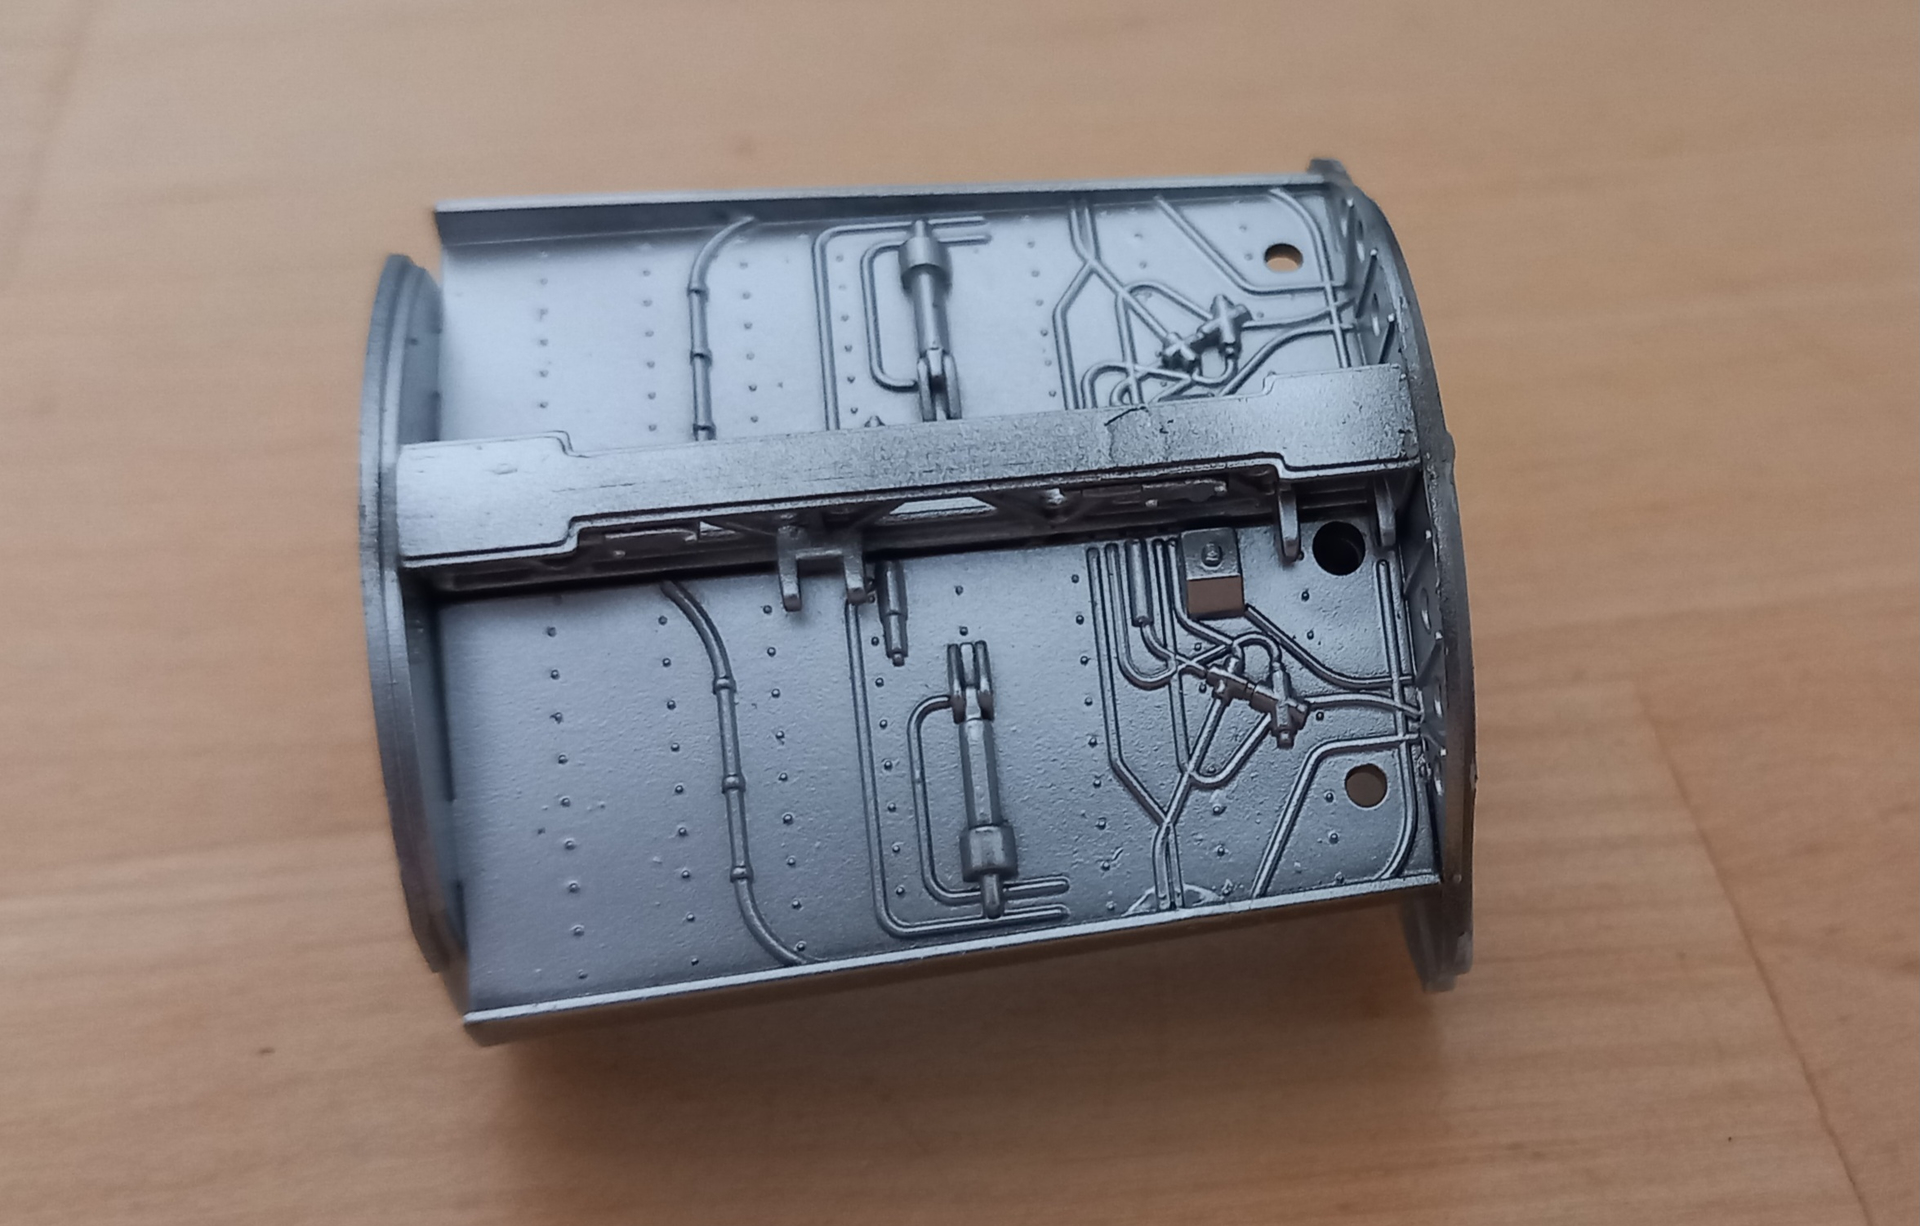
exhaust from eduard

3 Likes
NIce start on your F-104!
Gary
After rearranging my work room, I’ve begun decaling the P-38J. Still a lot of work to do, but at least some progress is being made.
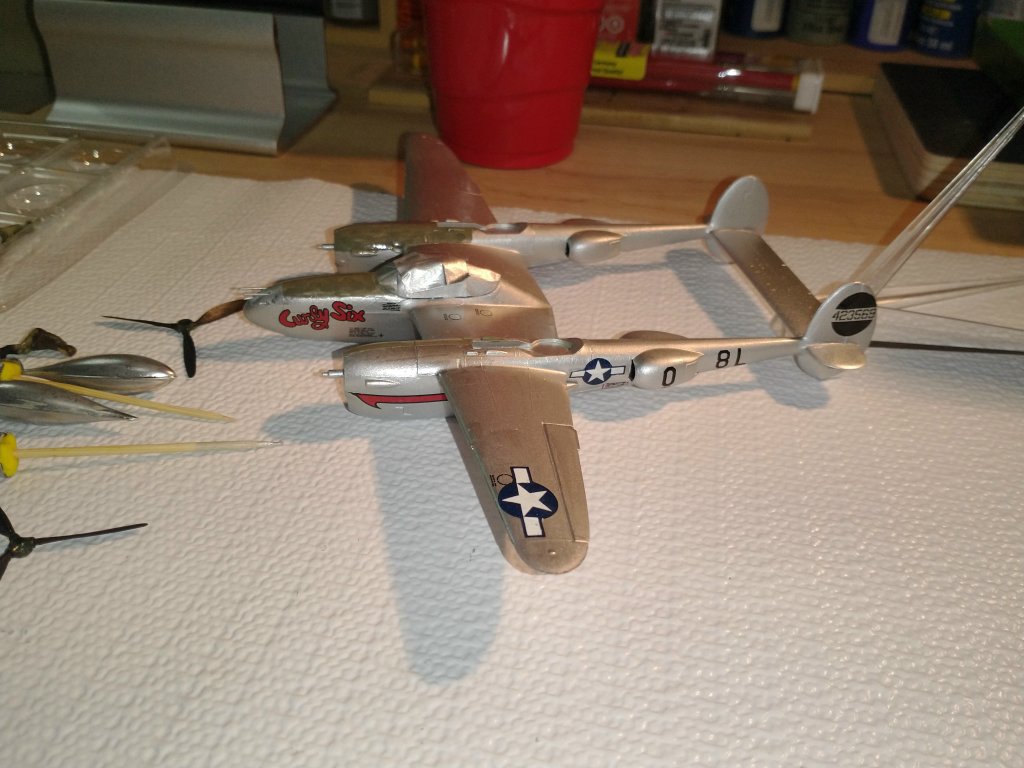
I hope to finish her by the end of the month.
Gary
3 Likes
Like I said earlier, I will be using the same kit as Gonzalo_Cordero, but I will be using decals to make it a Dutch version.
And I have started..


5 Likes
It’s great to see another T-Bird under construction. Who is the maker of the kit? The logo didn’t look like one I have seen before.
I have made a lot of progress on the 1937 Northwest Airlines L-14 Super Electra. As you may remember, this is a conversion from the MPM 1/72 Hudson kit. The kit makers made this easier by including a civilian turtle deck where the Military turret is on the Hudson. Also, they thoughtfully provided a very nice civvie nose. The nose need modding and the flight deck was pure single pilot Hudson which need a complete replacement.
Lockheed used three or four different noses. Northwest, who was the launch customer for the Super Electra chose a clear perspex nose to house the DF loop. TWA research had determined that DF loops were subject to error when left exposed to weather. Lockheed solved the issue by housing the loop under glass in the nose. TWA and others reduced the size of the loop and housed it in a teardrop shaped housing, initially clear but quickly becoming a black plastic. That is the one we are familiar with from WW2 & beyond.
Recreating that DF loop & mount required several bits of plastic card, a short length of plastic rod and a metal ring sold in jewelry supplies. The build was straightforward but there was a trick is getting the proportions to look right. The clear nose part on the model is necessarily thicker than scale and that makes for conflict with the scale of the loop & mount. I had already deliberately recessed the front bulkhead to give more room without looking too out of scale. The mount was also truncated to get it to fit convincingly under the glass. Many trial fits later, I thought I had worked out a believable compromise.
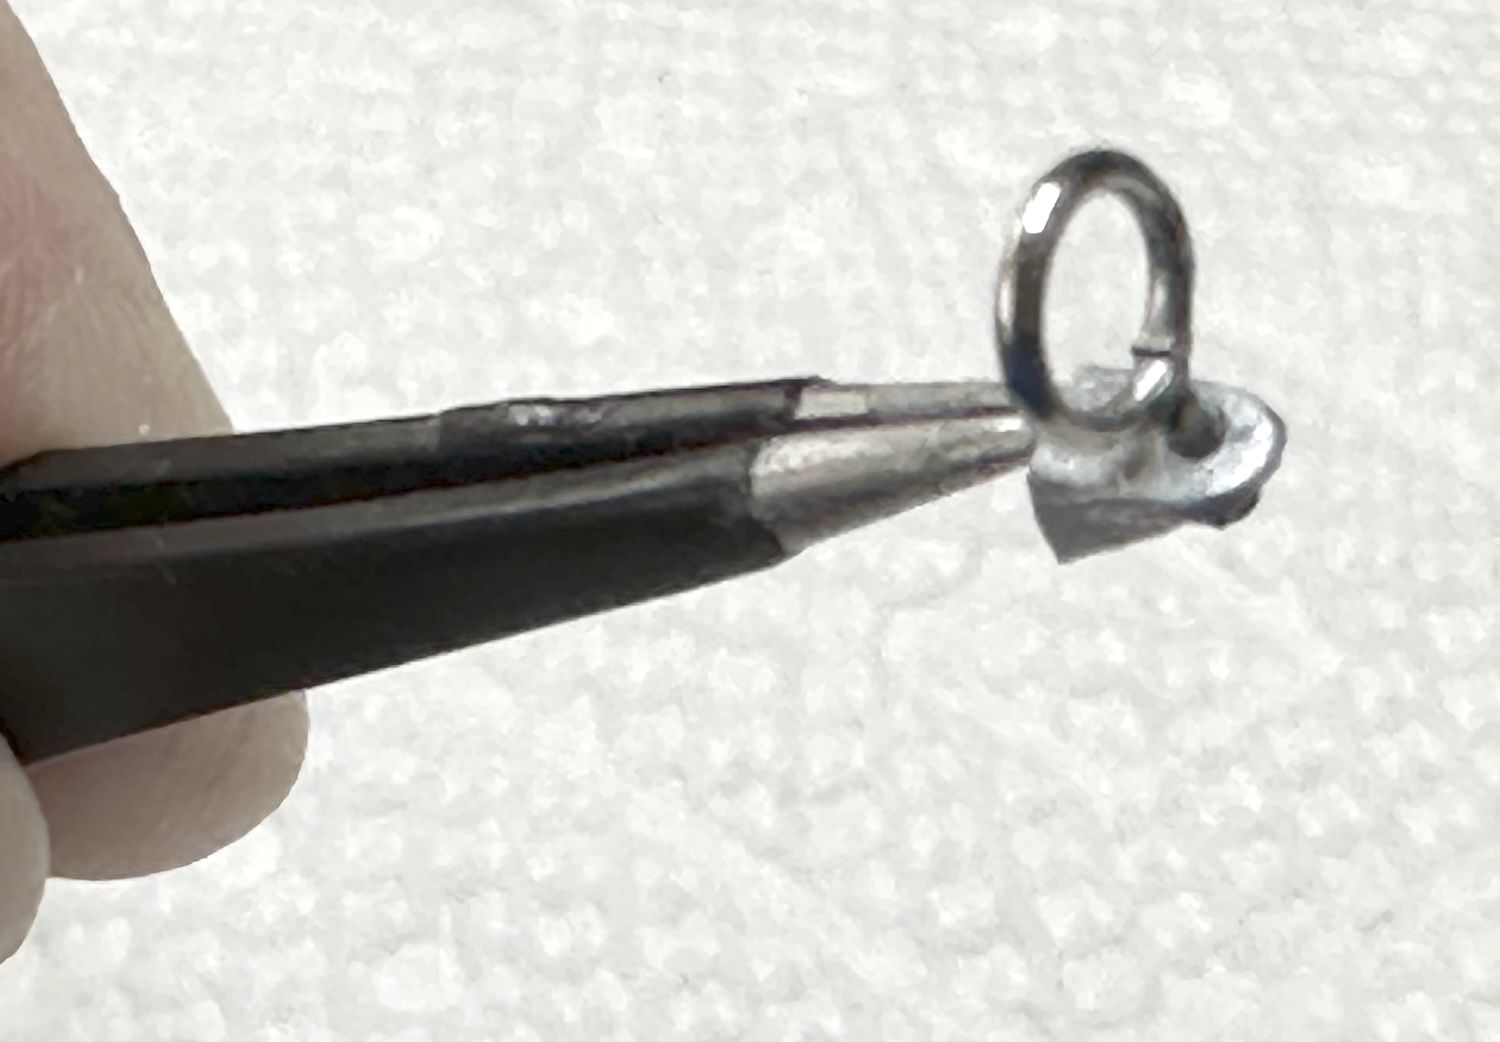
The nose was taped into position to see how it would fit.
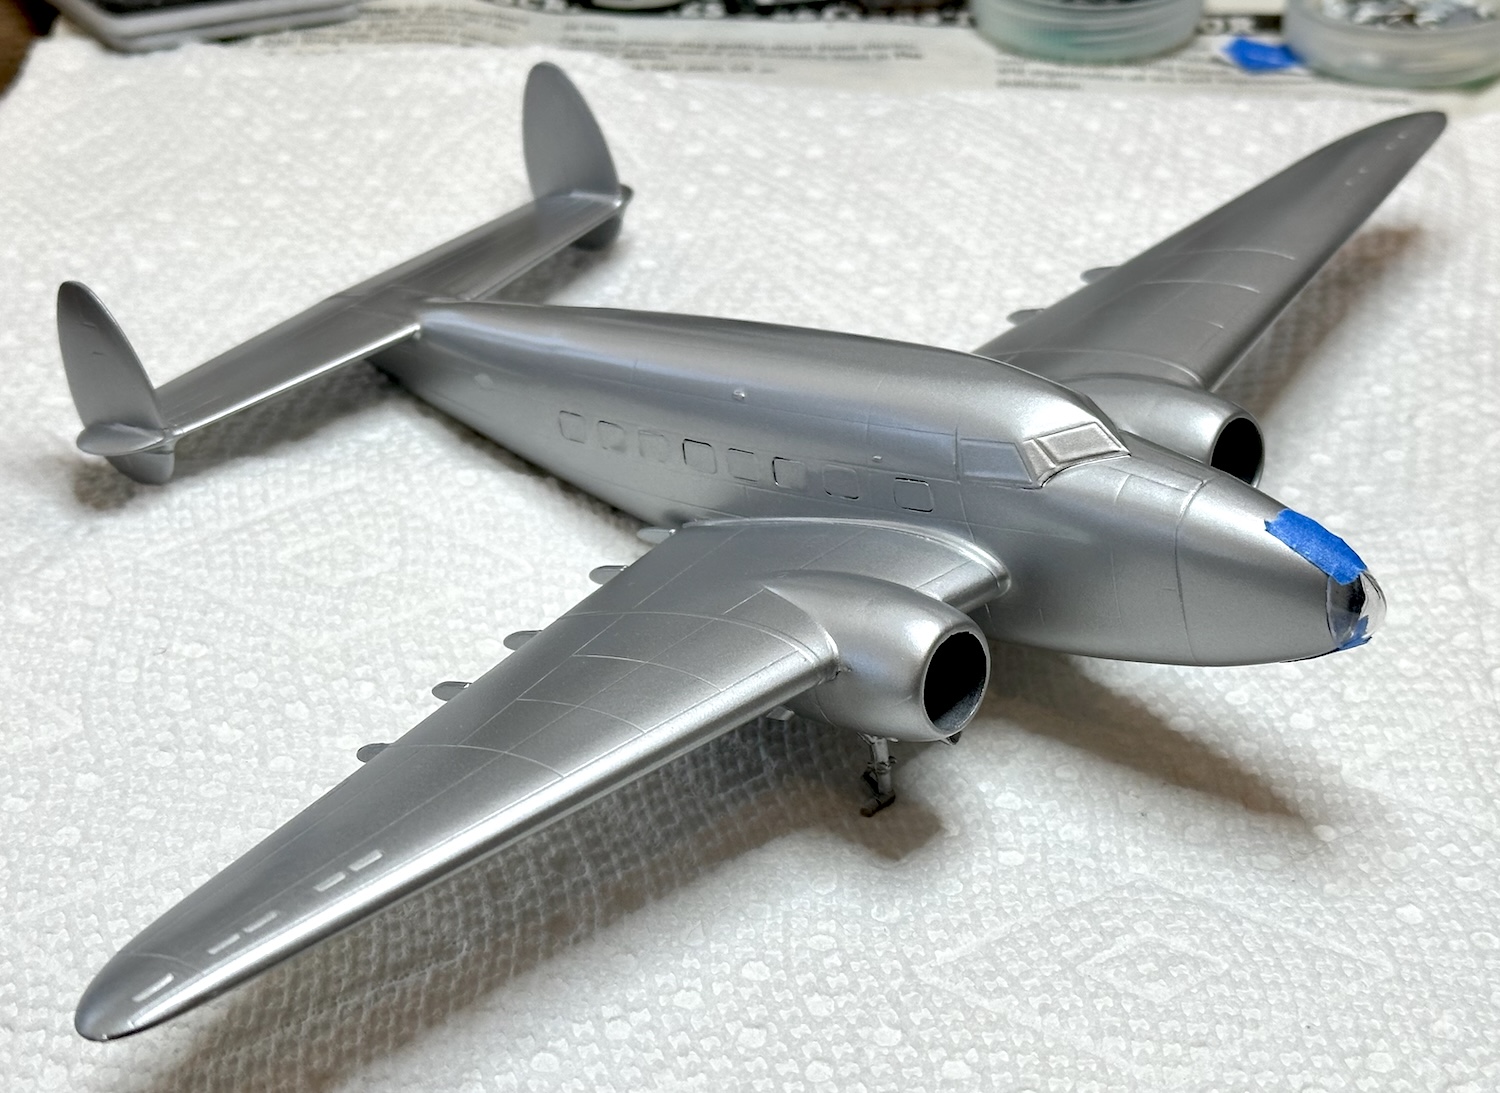

Decals were added once all looked well with the nose.
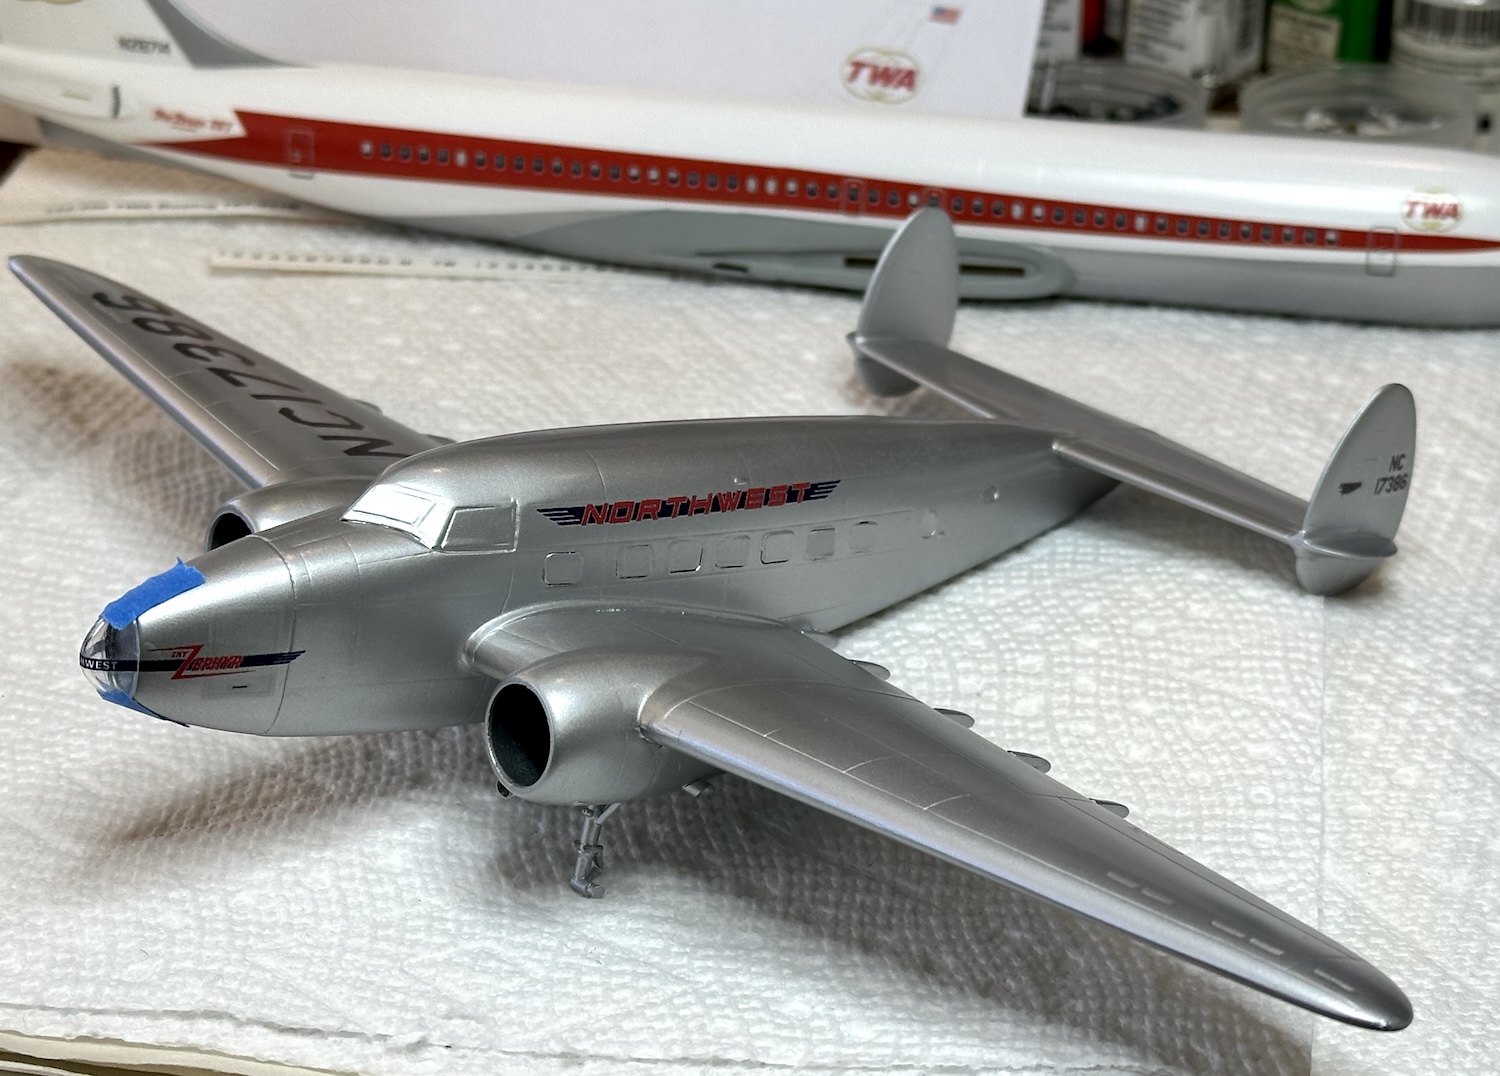


There is a decal over the clear nose which needed sealing but the Tamiya rattlecan clear crazed a sample clear bit so it was sealed separately with a dip in Future. The nose was attached with clear School glue.
The cowlings & engines were next. Like the L-18 kit, the Hudson kit provided no engine mounts! I made them up with a series of 1/8" plastic biscuits 5/8" in diameter.

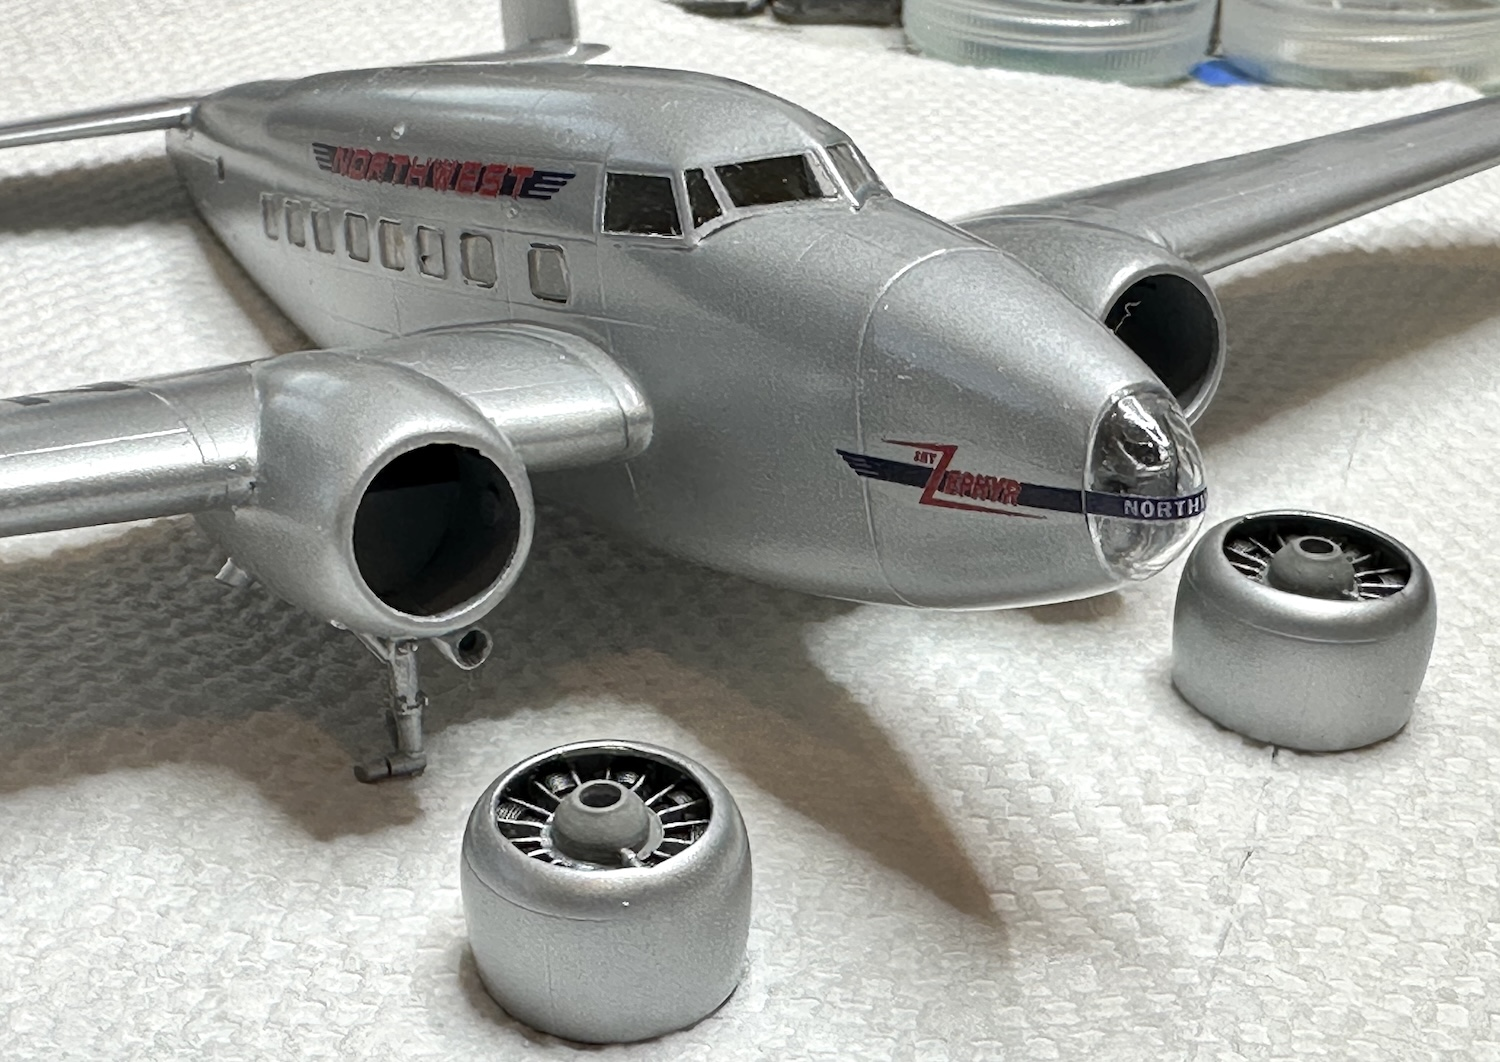


In mounting the loop & mount, the nose bowl shifted the loop which I did not notice at first. Its hard to see in the picture, but the whole mount & loop were askew.

As gently as possible, the nose was removed and the mount was sanded even shorter than before. This time, it was glued separately onto the bulkhead and allowed to dry overnight. Next the loop was reattached with CA glue and left overnight to cure.
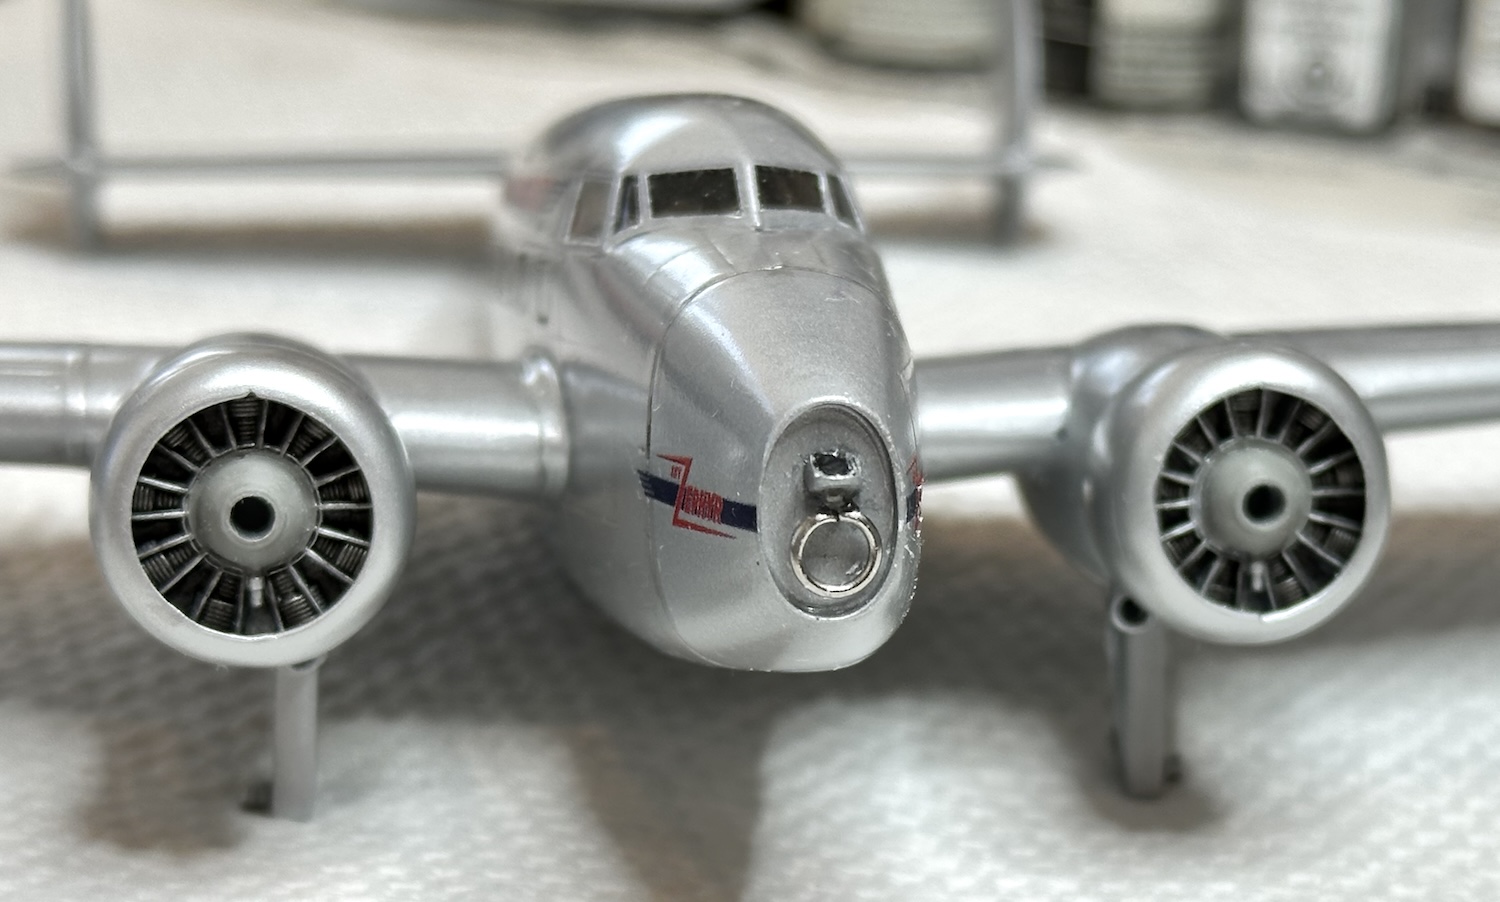
Then the bowl was reattached with more school glue. Somehow, even with all the care given, the loop is still not 100% square! OK, I surrender.
I like to work from photos to guide the build,
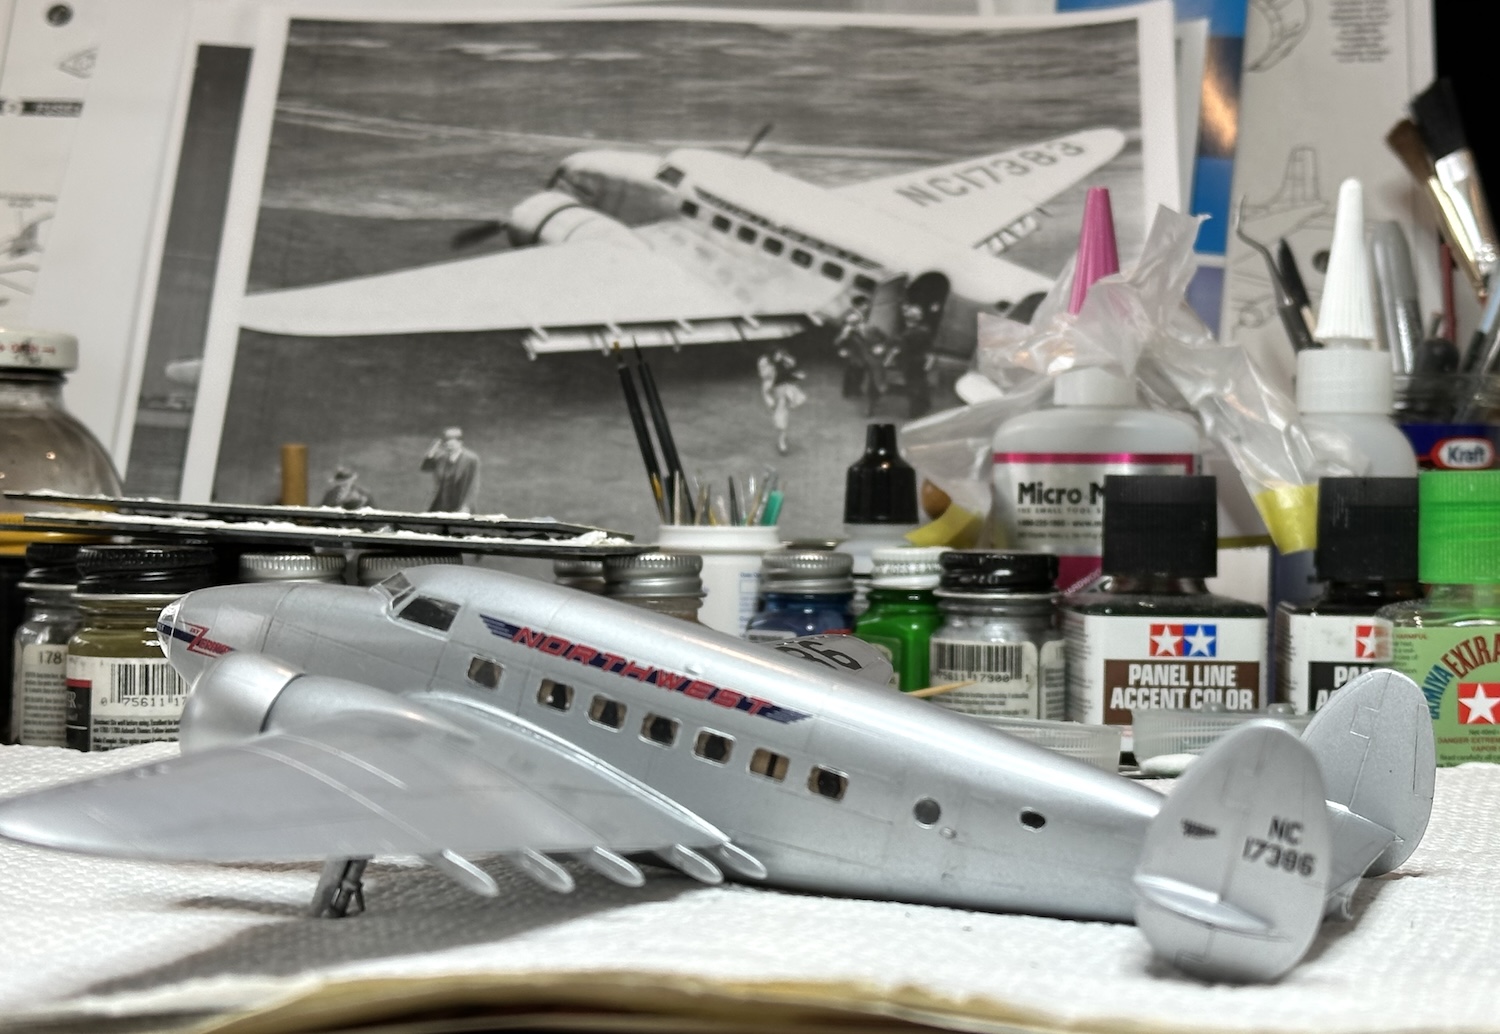

Next was the rigging and wheels.
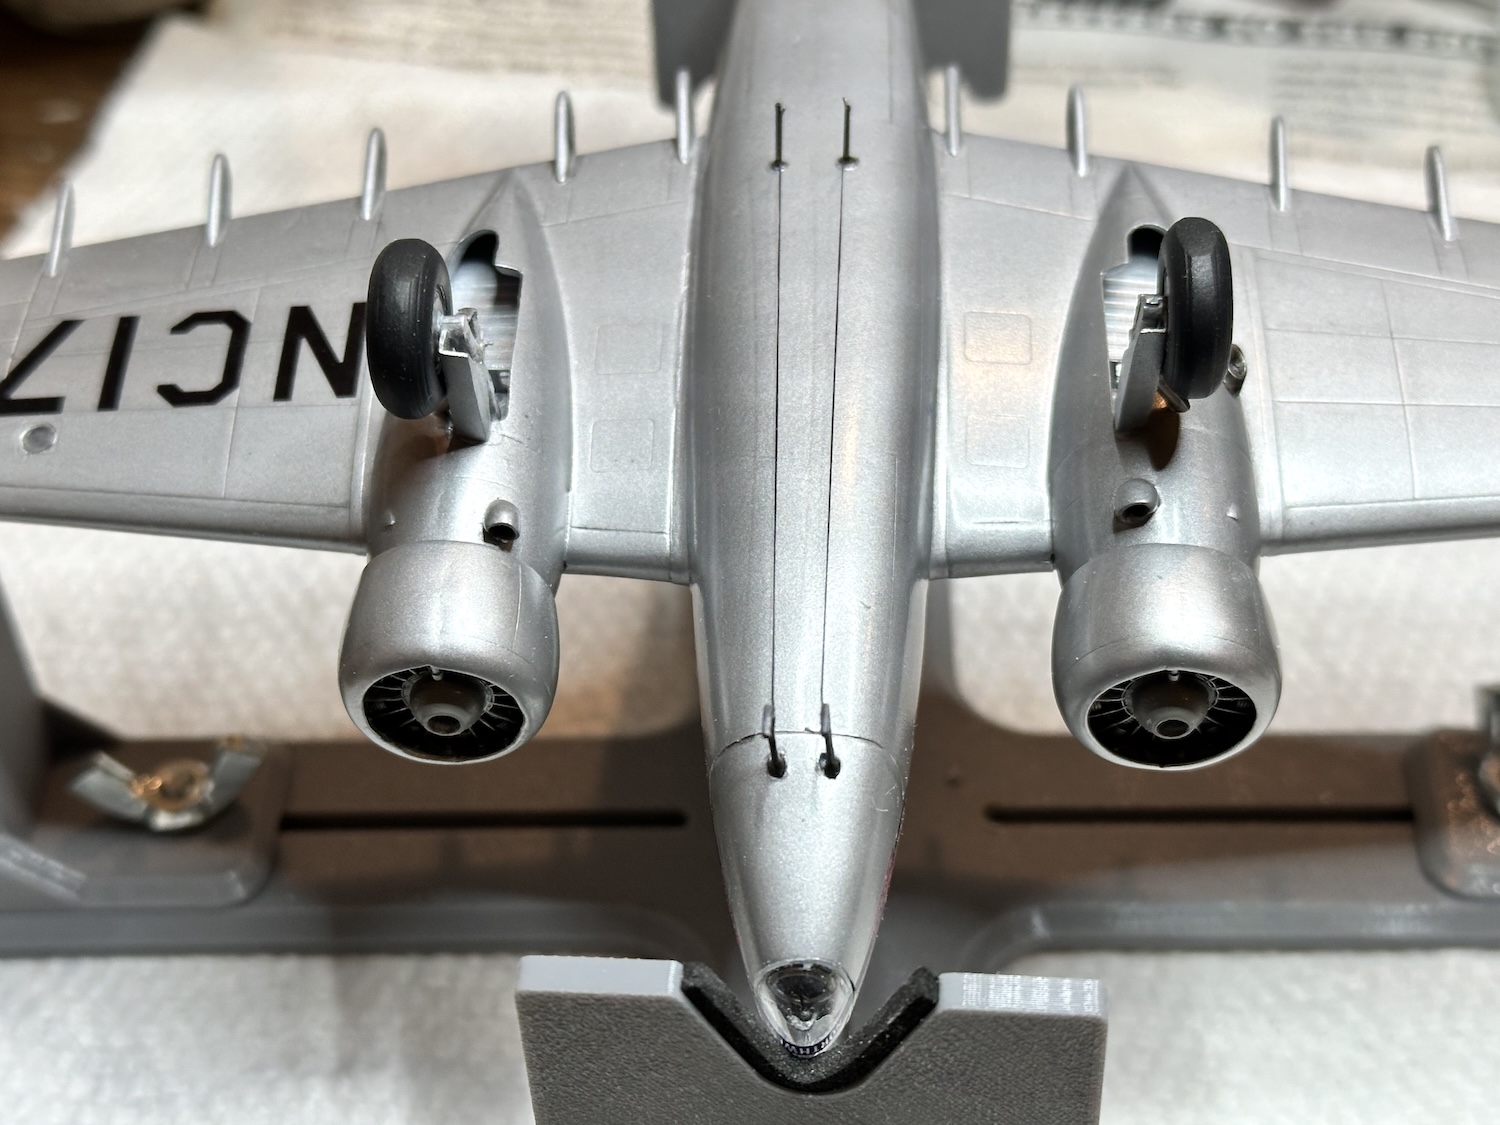
We’re getting close to the end of a very long build with most of the time spent in research. These were rather obscure airliners and after three crashes early on, Northwest returned them to Lockheed as they thought public confidence was shaken. They bought DC-3s and never looked back.
Next will be the finishing touches.
Paul
8 Likes
It’s a kit by Wolfpack design.
Thanks, I’ll look the site over for the good stuff.
Paul
1 Like
Here’s where the P-38 stands right now. It needs some touch-up work on the paint, but decaling is done. Next is work on the canopy, weathering and a few minor bits. She’s 90% done, but the last 10% is the hardest!

Gary
6 Likes
Nice scheme.
1 Like
Some build progress on the P-38M.
Cockpit and most importantly nose weights!

Sub-assemblies done. I was a bit worried about the wing seam.

Turned out to be not that bad after some work.
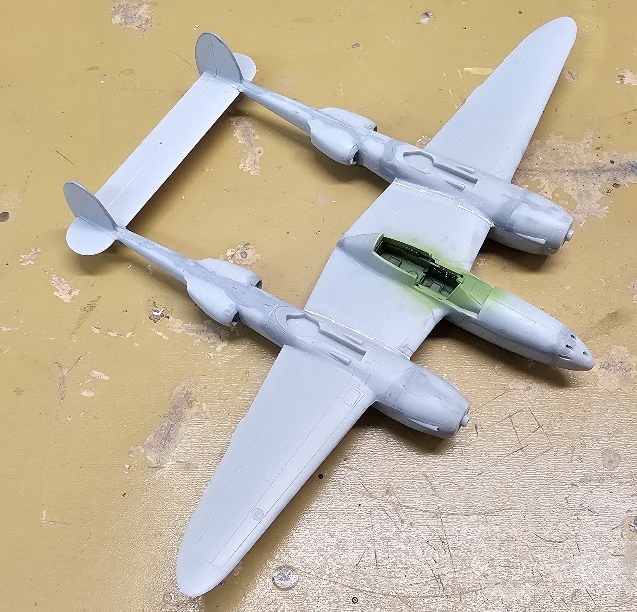
Ready for painting!
7 Likes
Looks good! Interesting way to attach the two pylons.
Gary
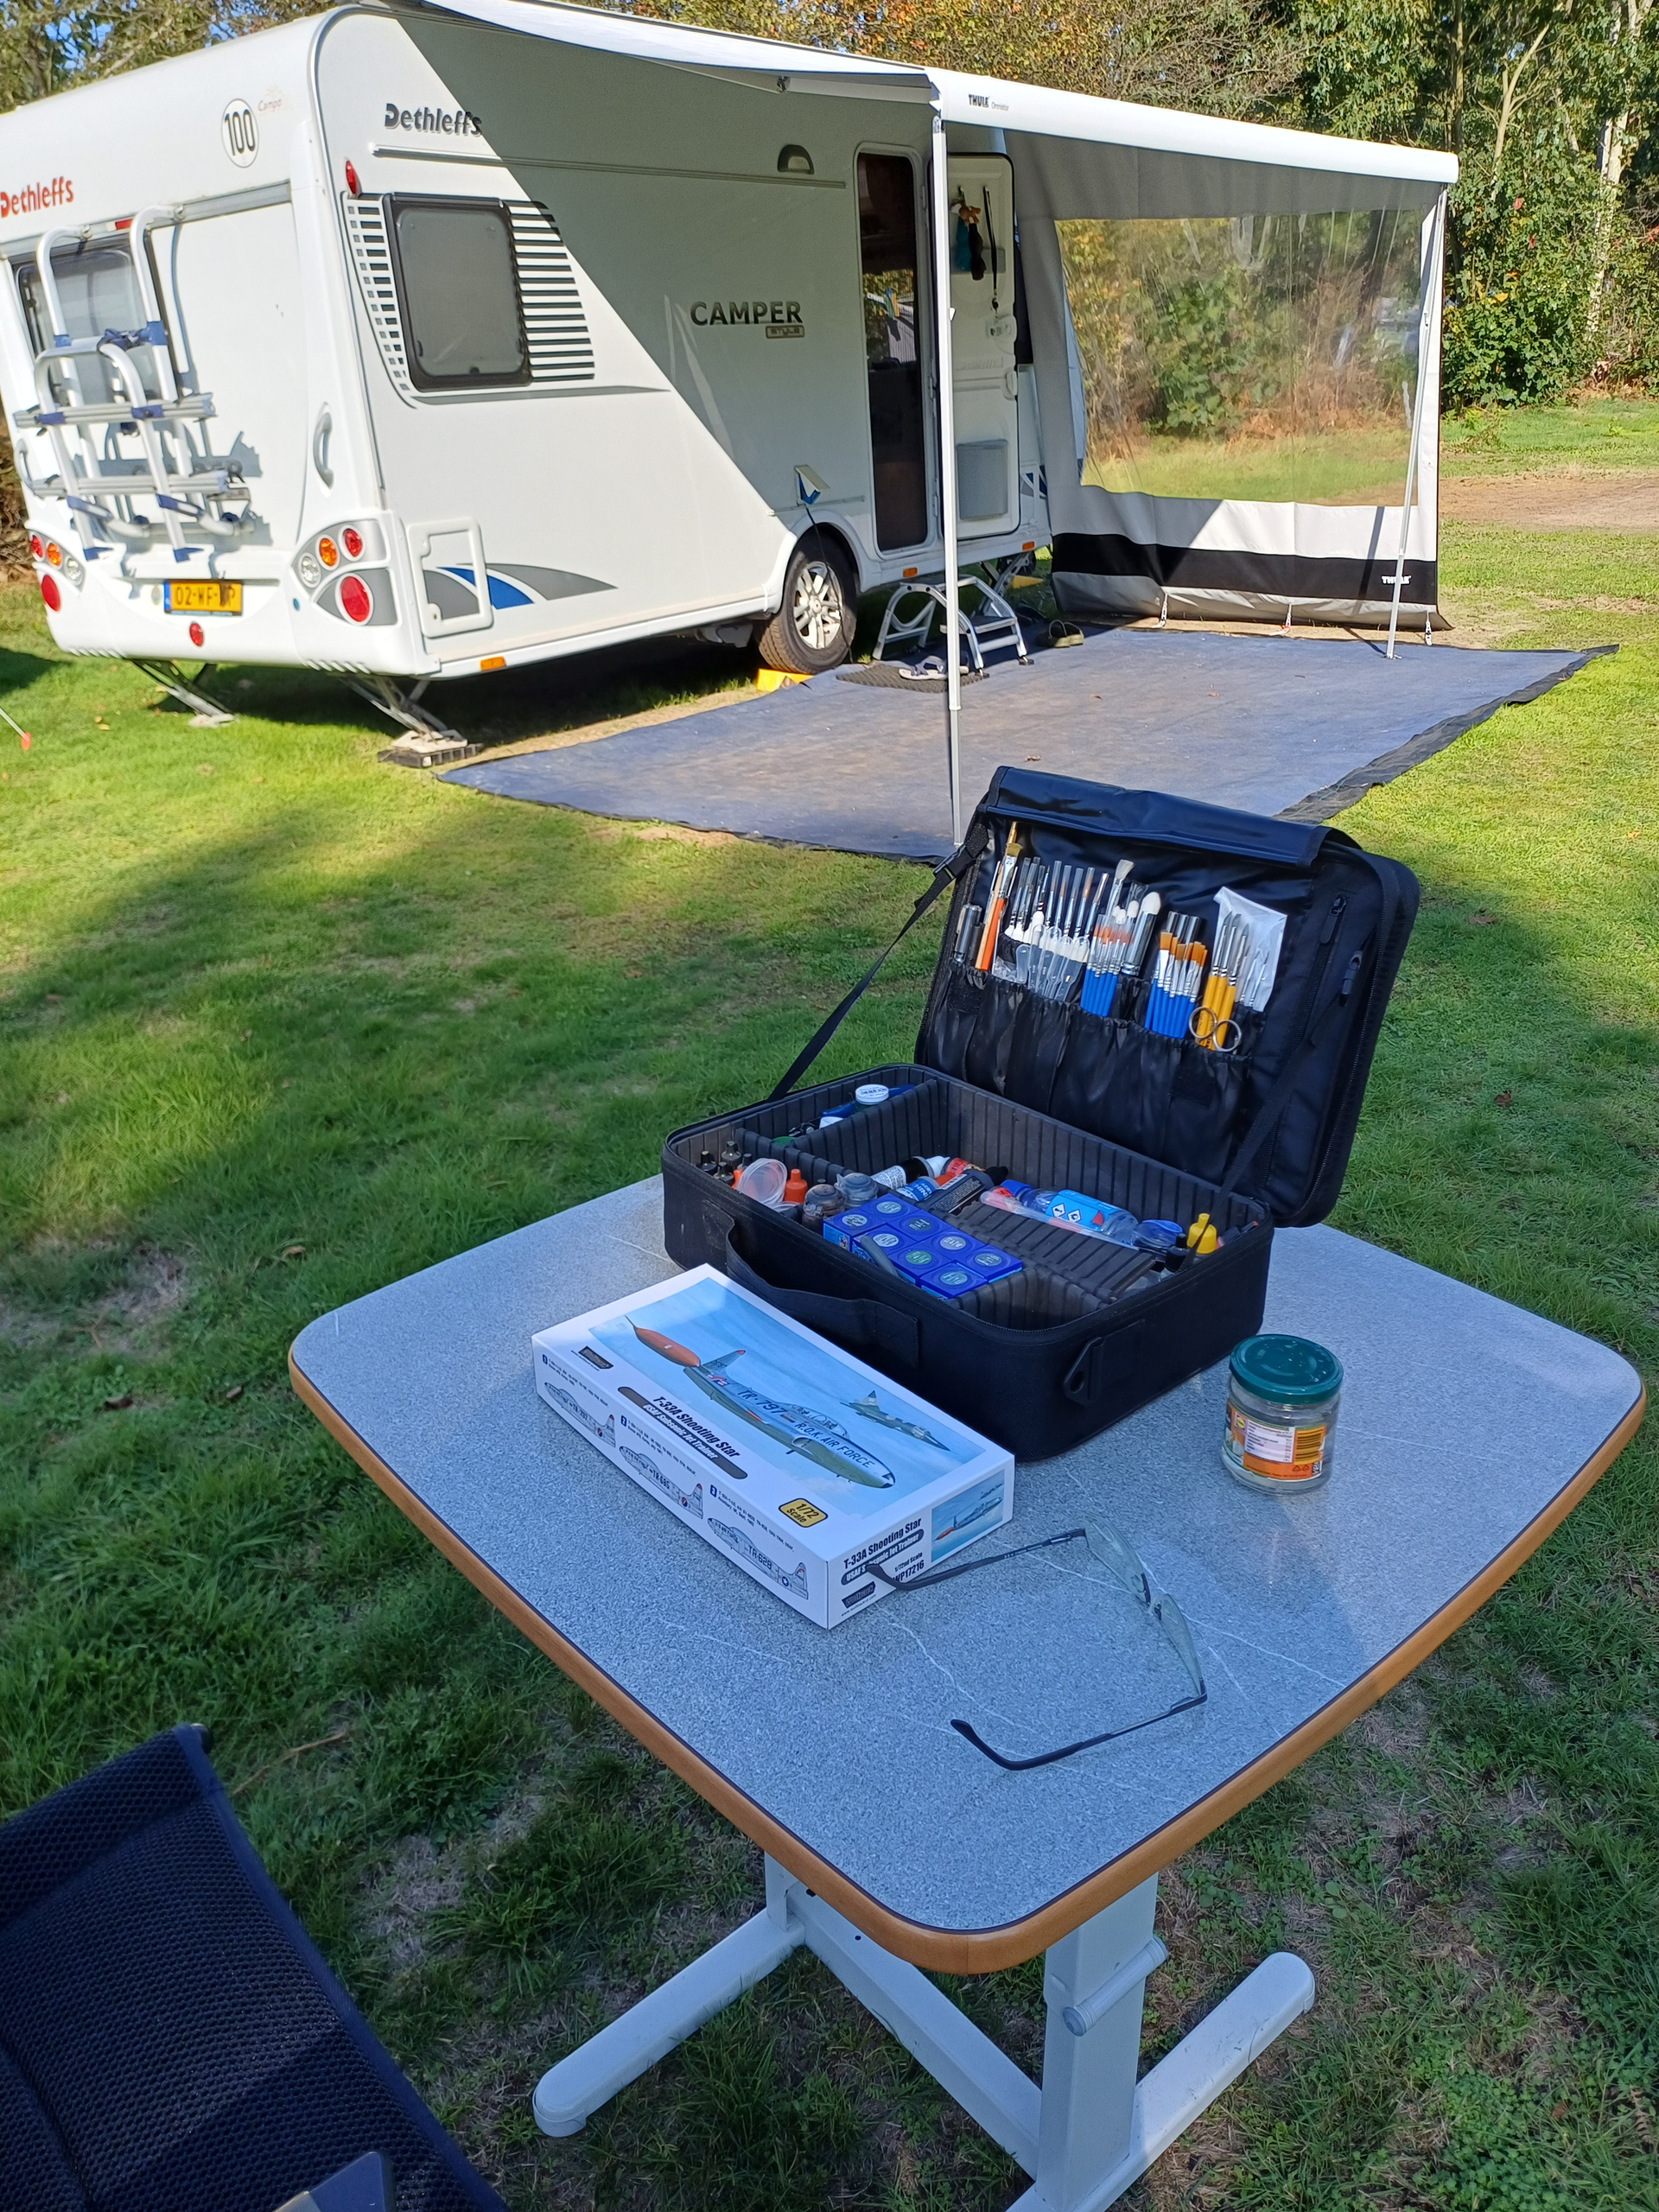

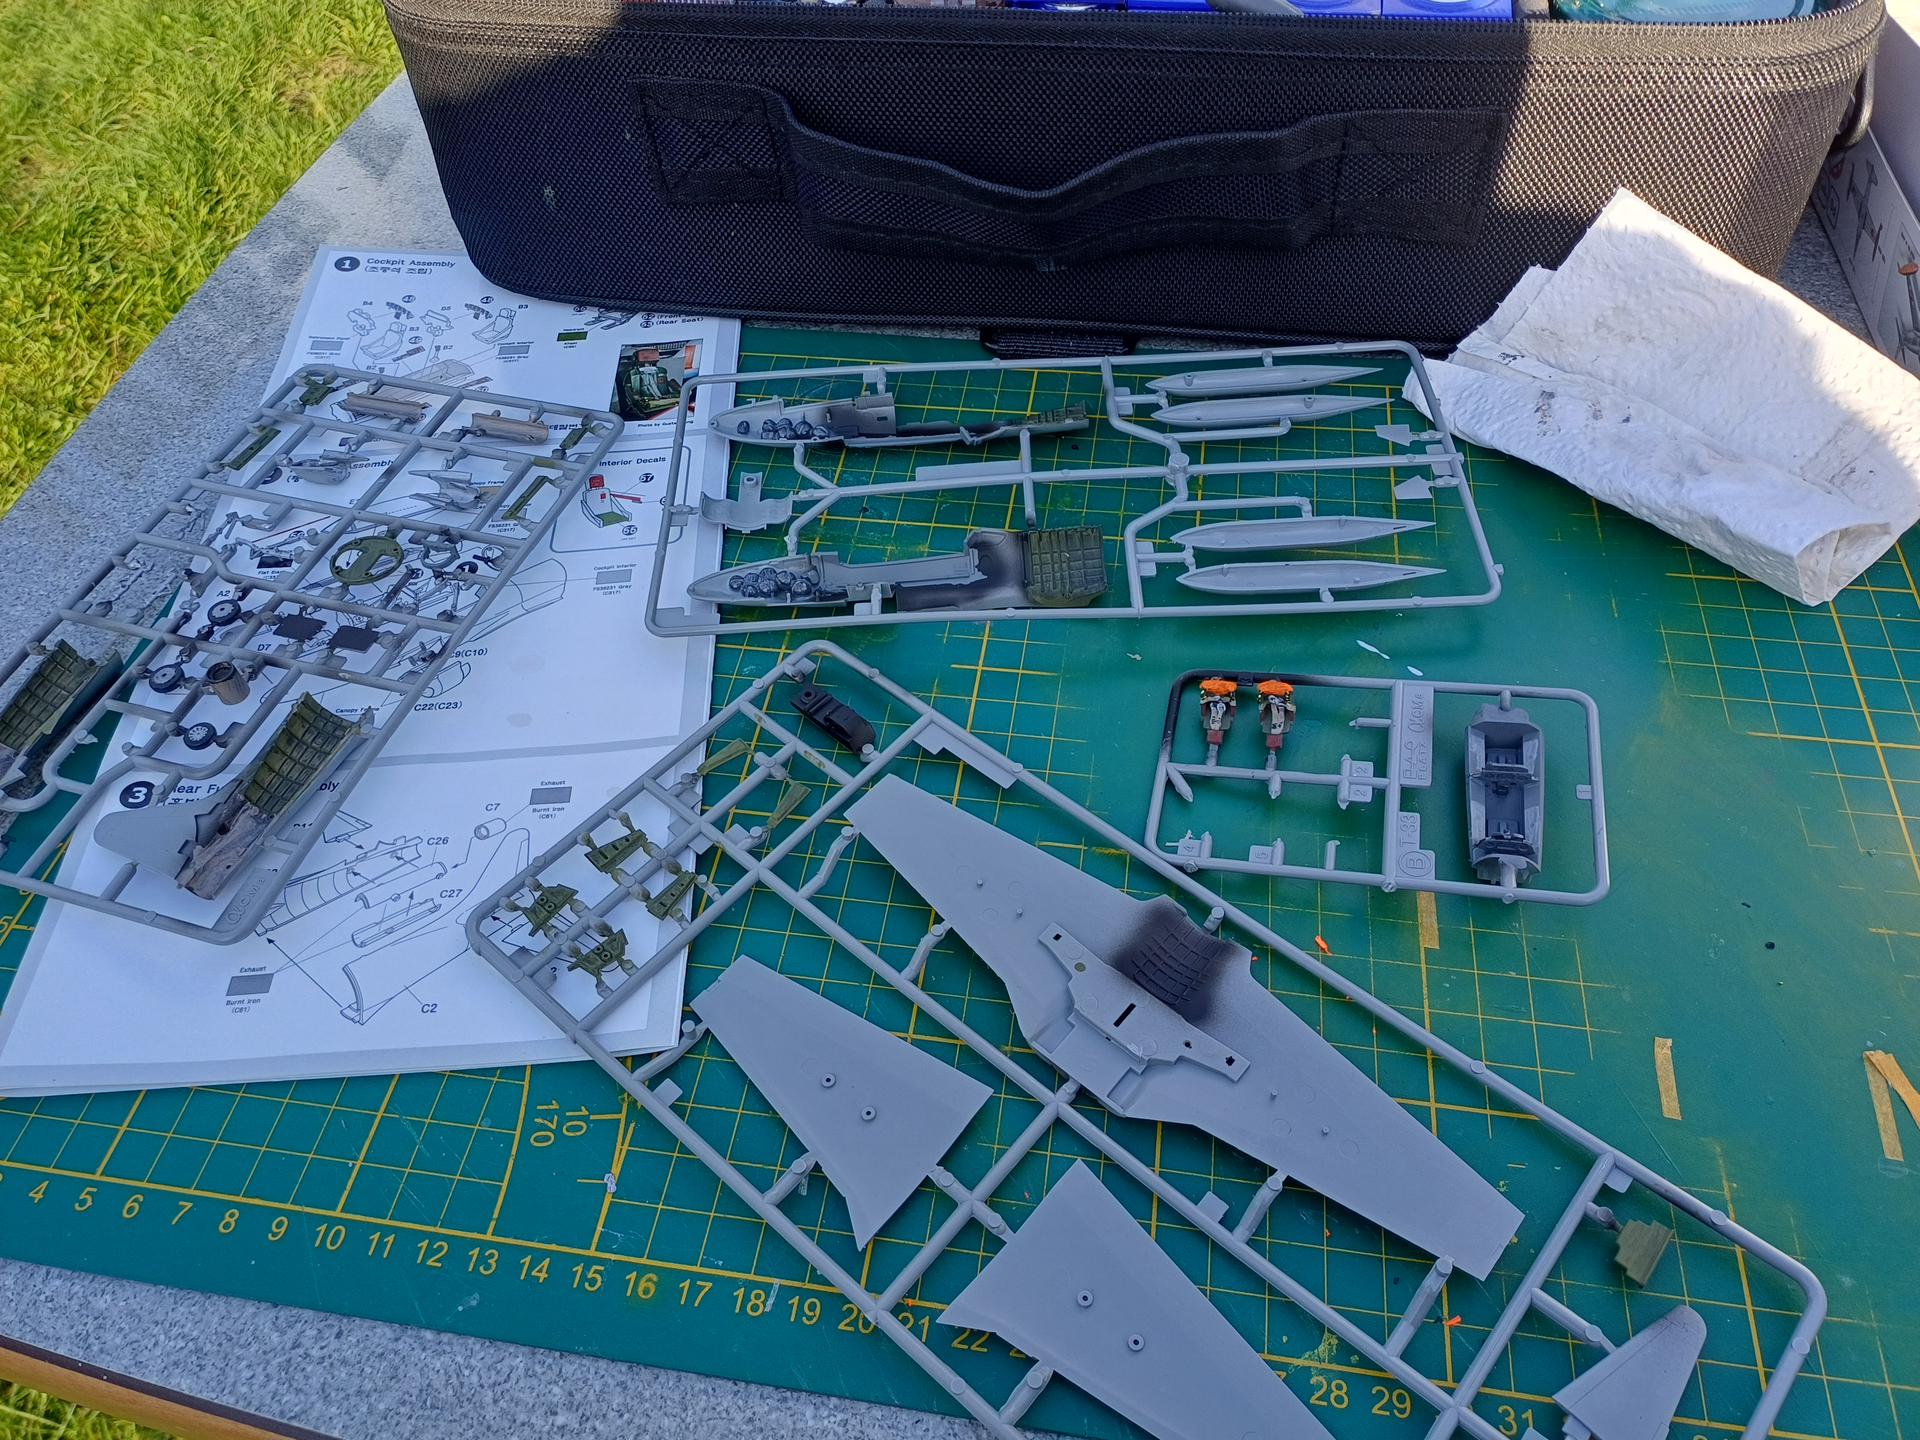
@bwilt Good start on the Dutch P-80!
As for me, I’m finishing up the last bits on the P-38. Should have finished shots tomorrow or the day after.
Gary
1 Like
Thanks!
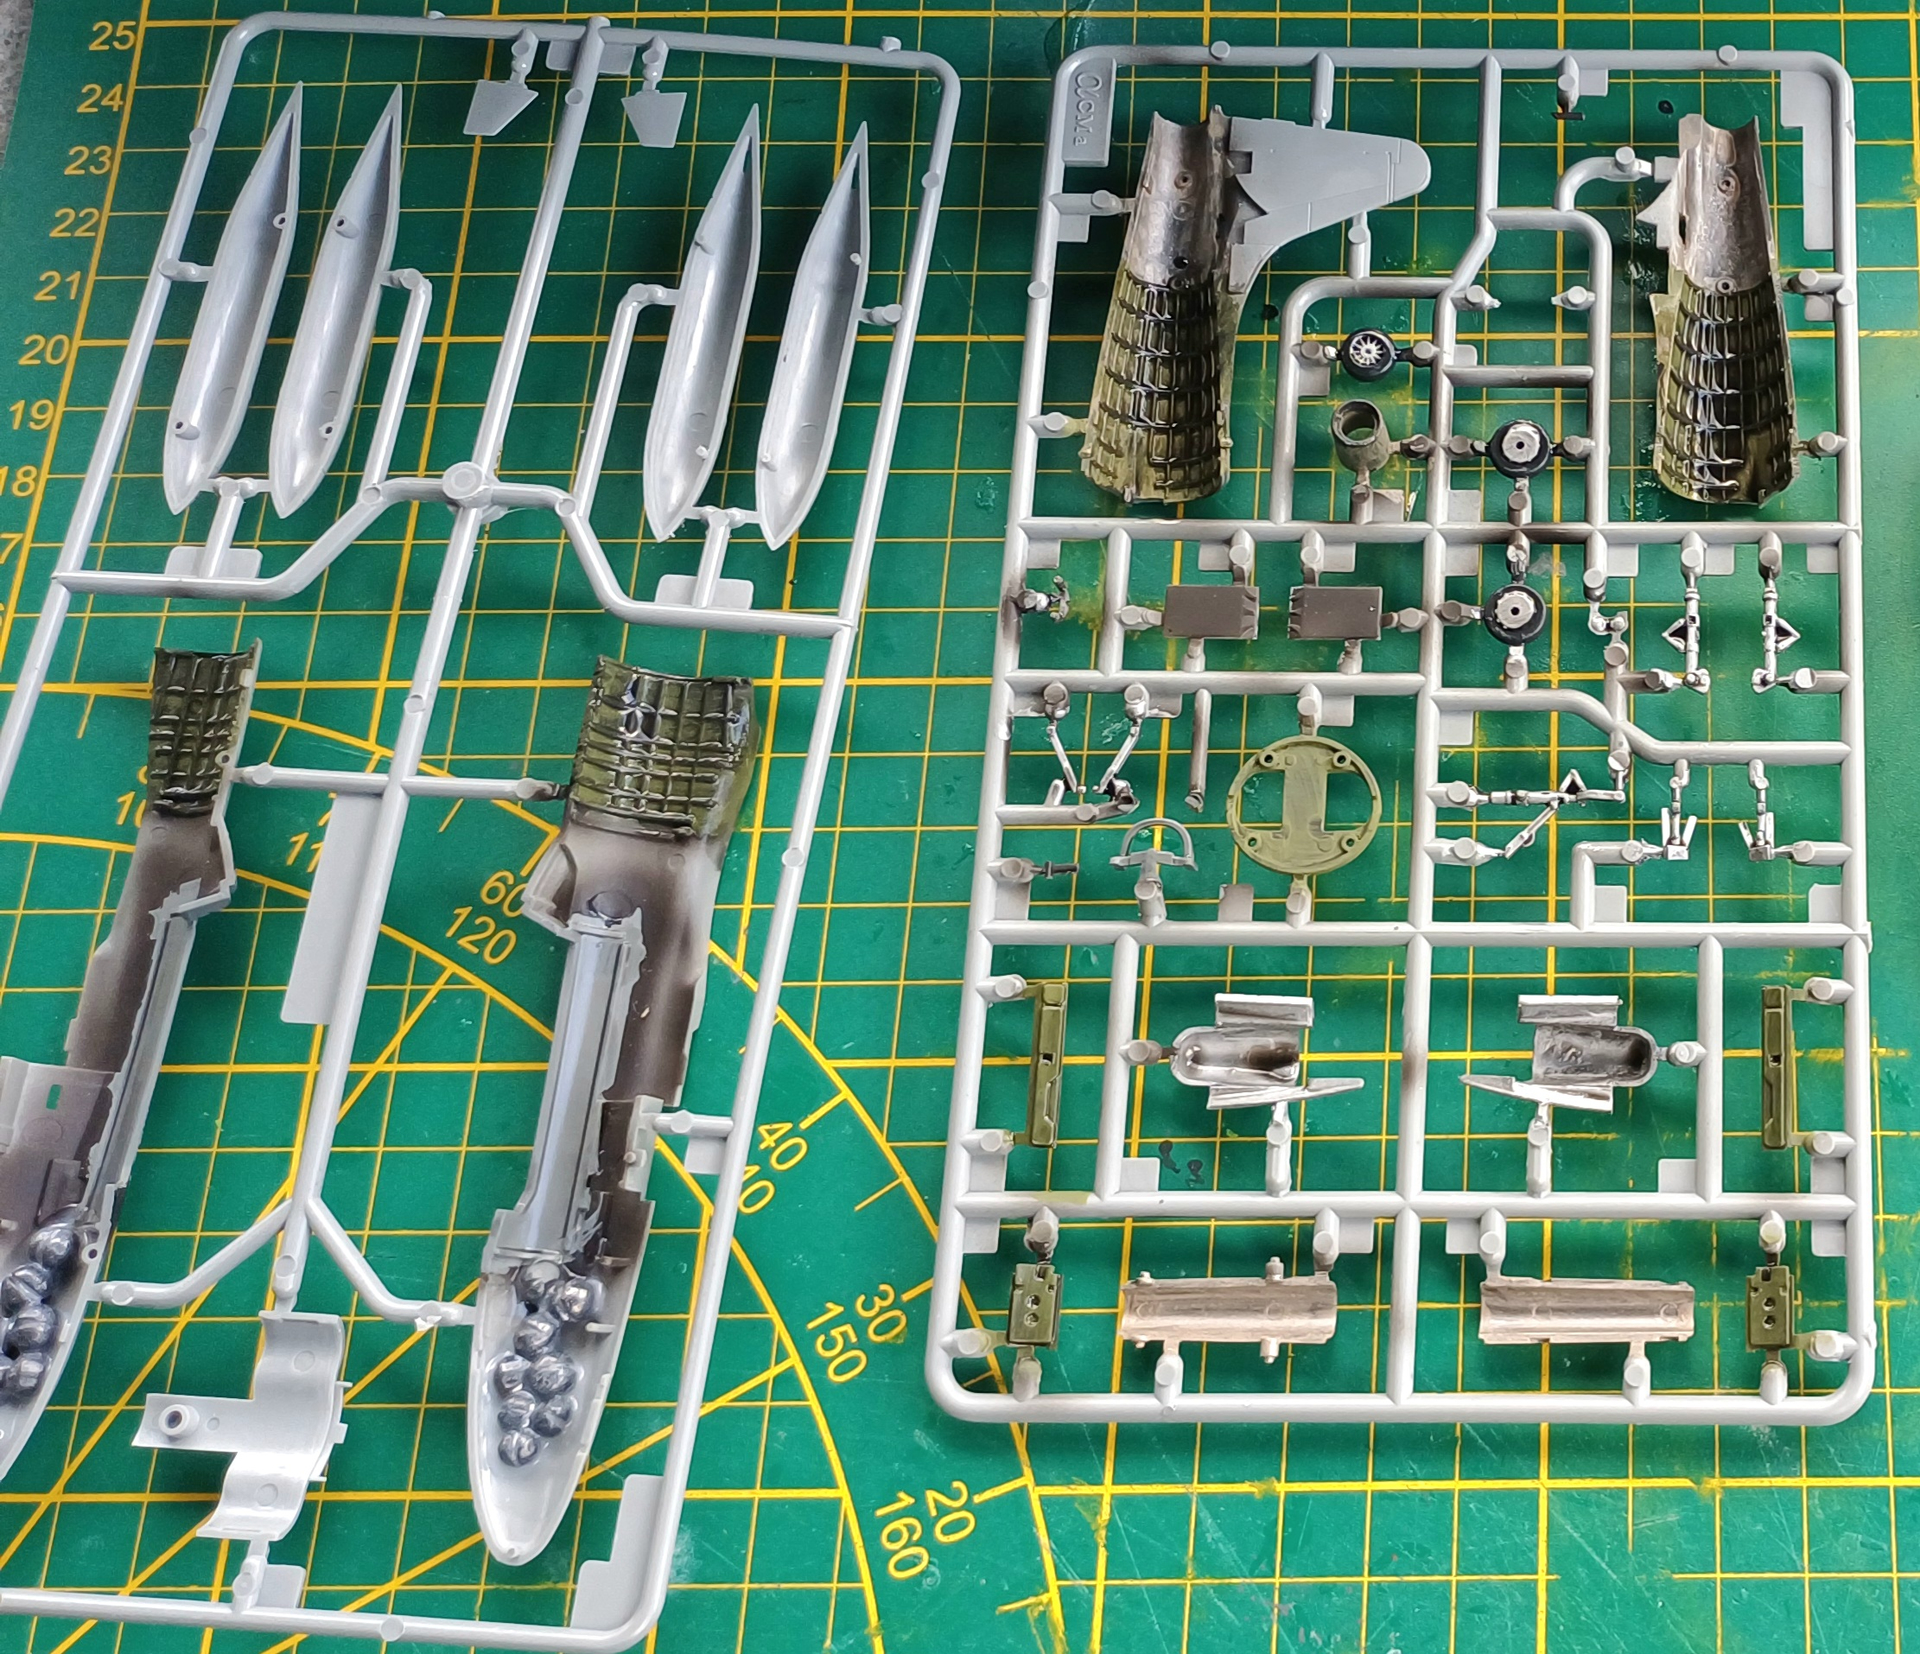
Added some weight to minimize the chance of a tailsitter, somes washes and glued some parts together…


2 Likes
The P-38J is essentially finished. I have a few items to take care of, but she’s complete. I’ll post finished photos as soon as I check on antenna wires.

Gary
2 Likes
The P-38J is done. Supposedly it represents P-38J-10-LO of the 393rd FS, 367th FG out of Ibsley Airdrome, Hants, UK. Most representations of the aircraft present the “Curly Six” letters as yellow, but for some reason the decal is in red. Don’t know, unless they have better information than a black and white photo provides.


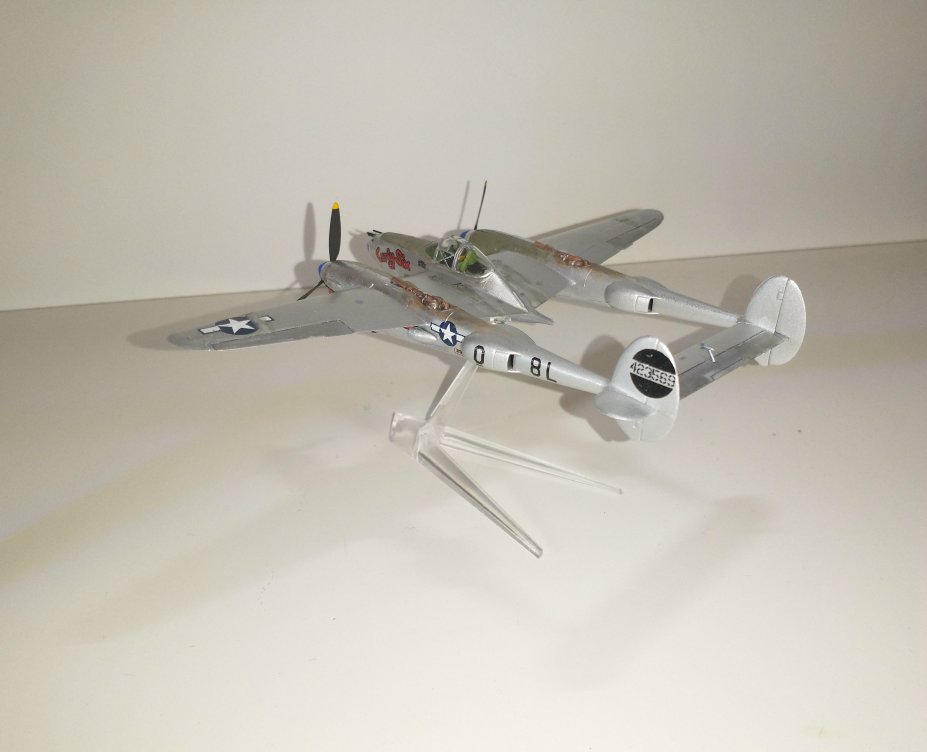
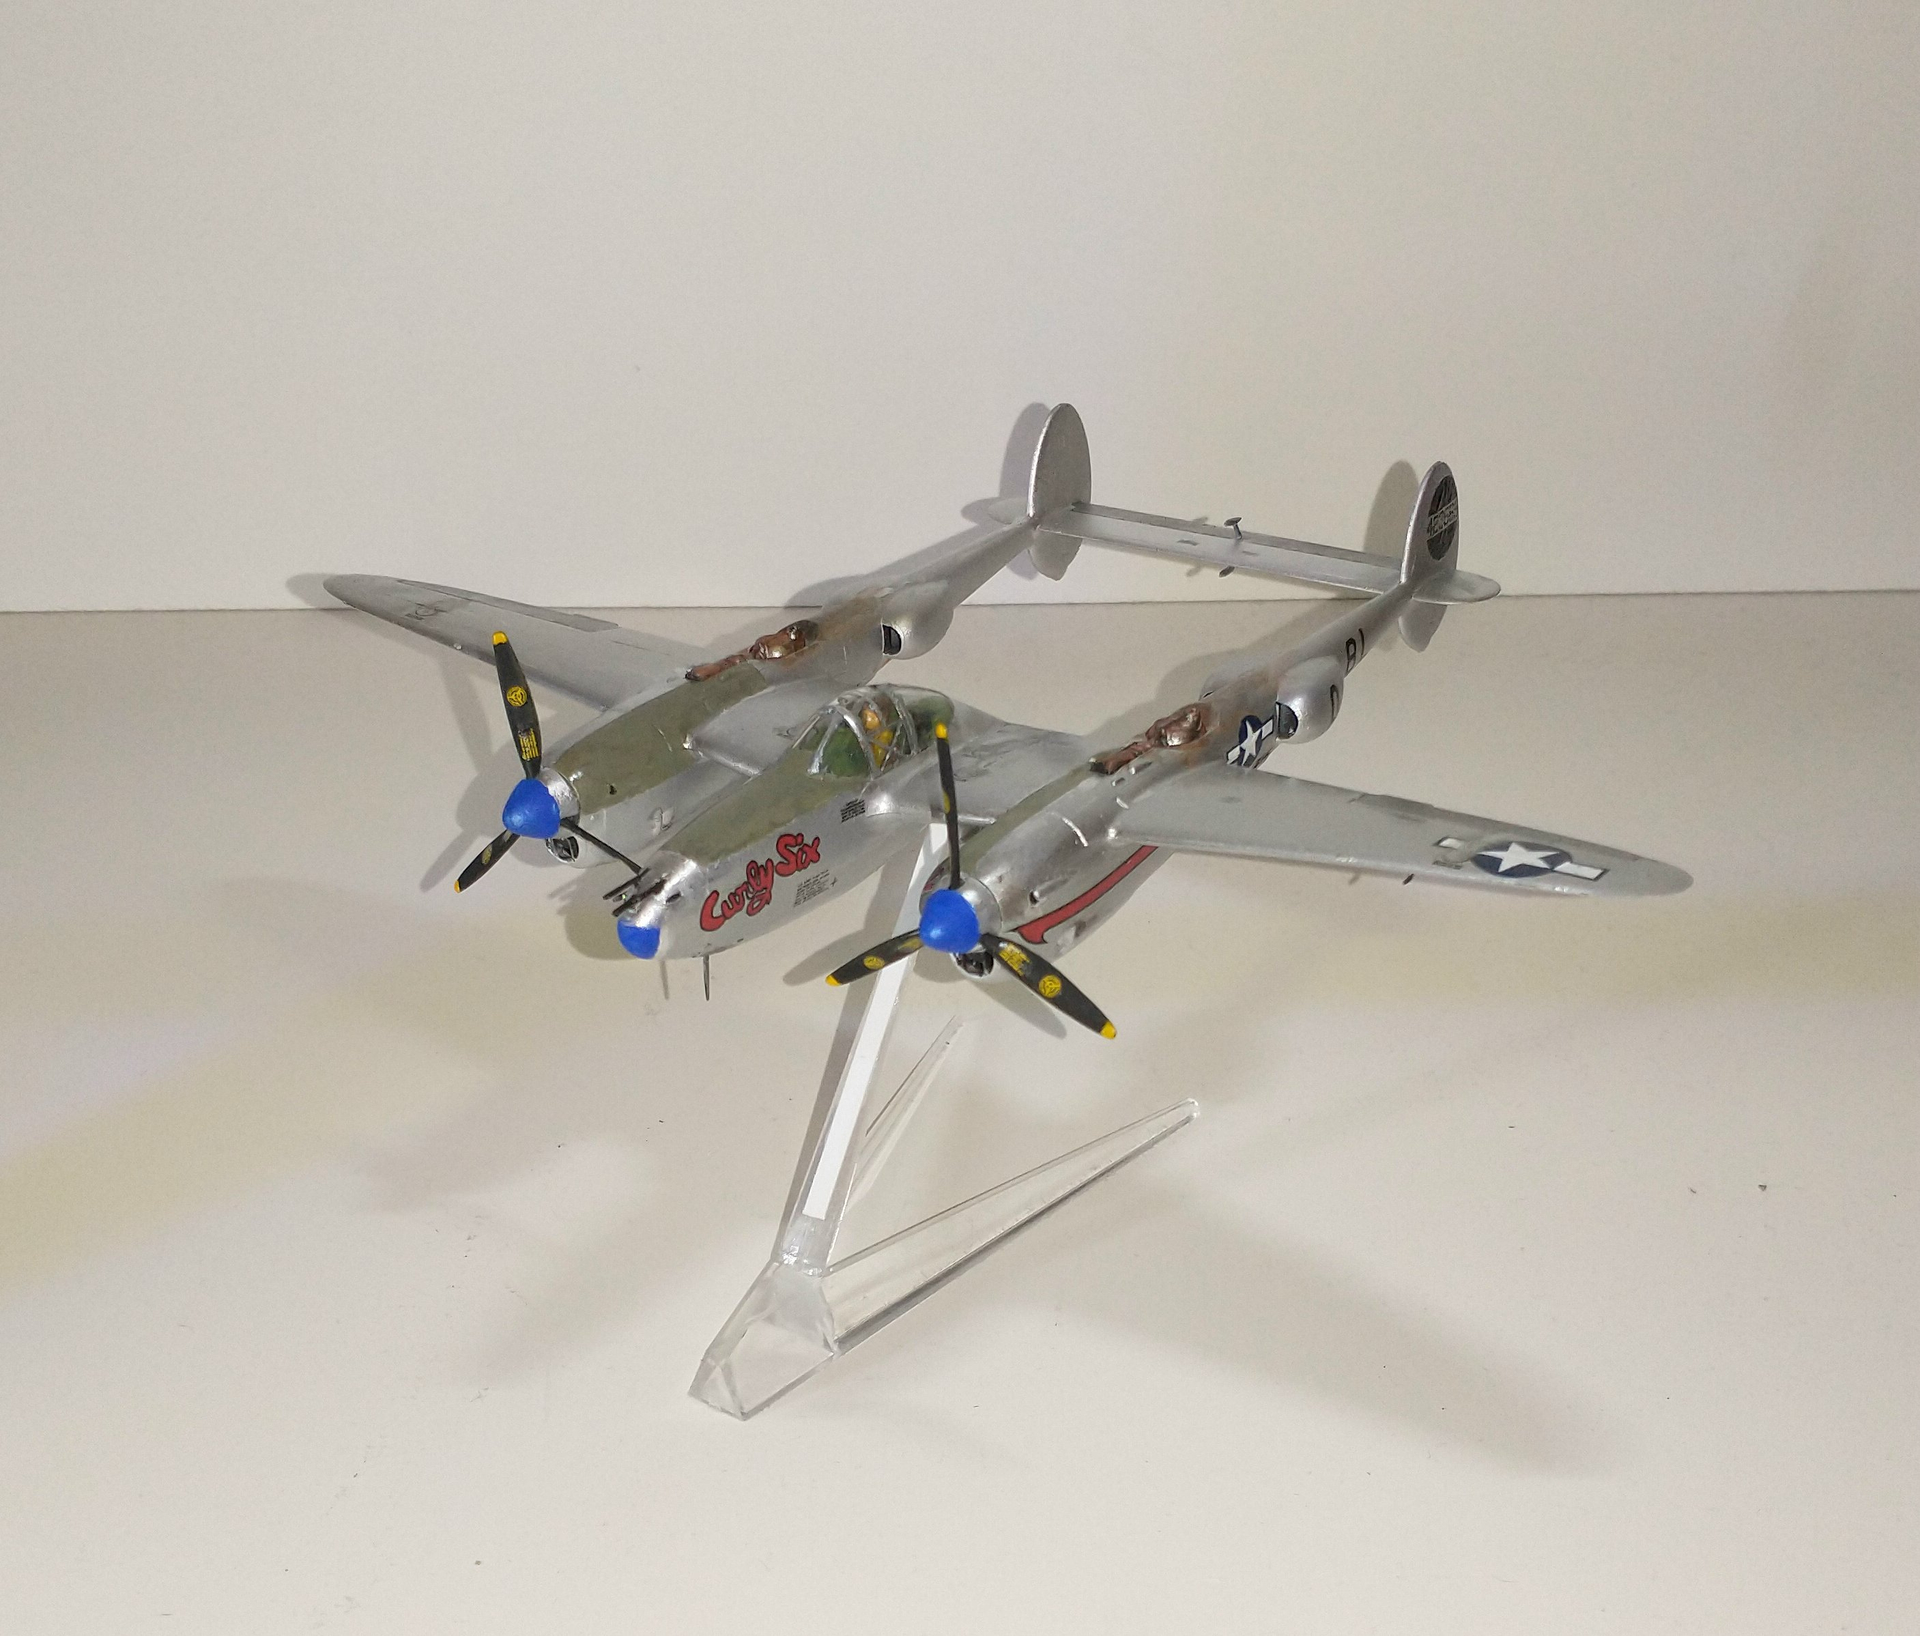

And here’s a photo of the real one.

Thanks for looking!
Gary
2 Likes