Well done! I like the use of the color “black”. 
Gary
Well done! I like the use of the color “black”.
Gary
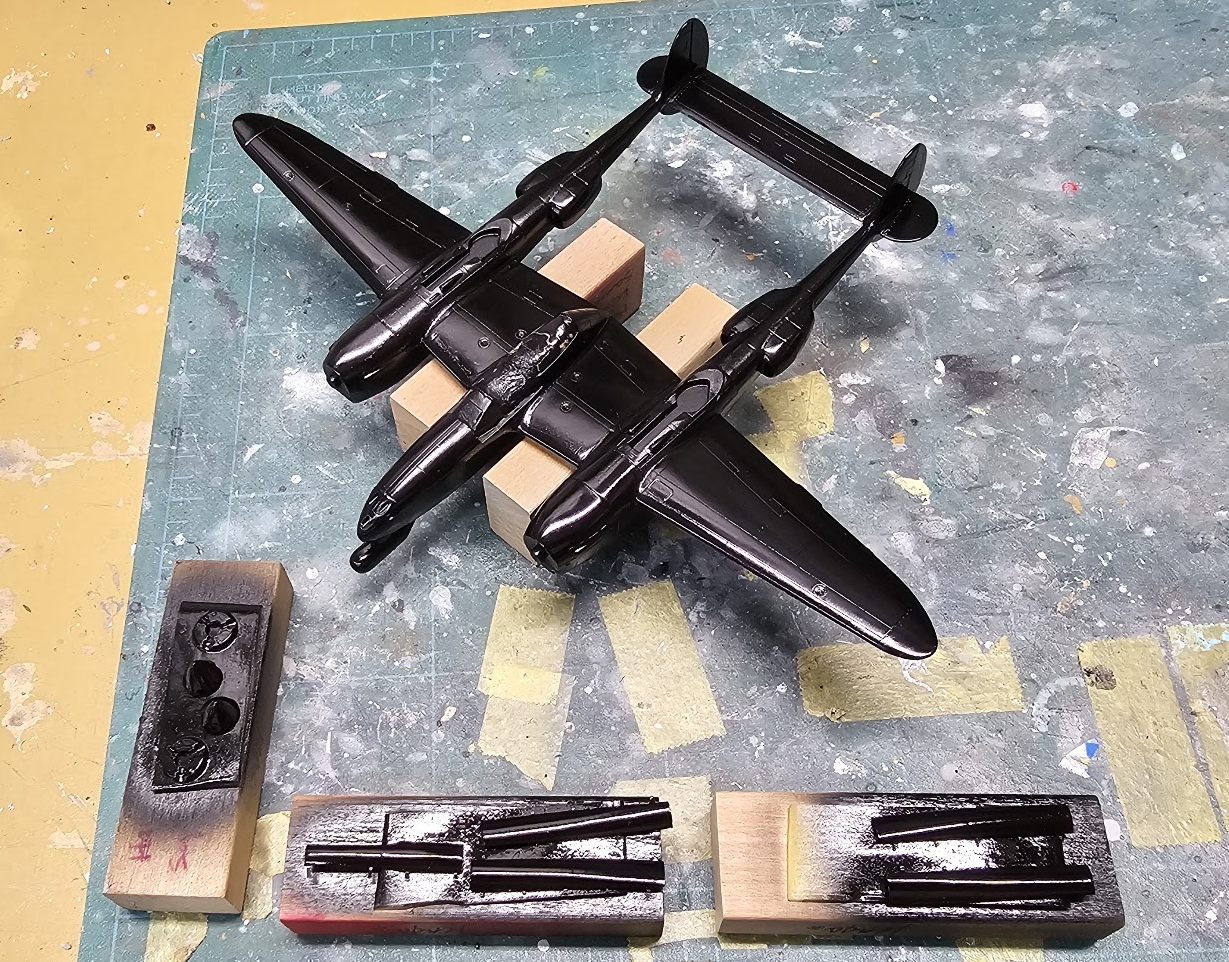
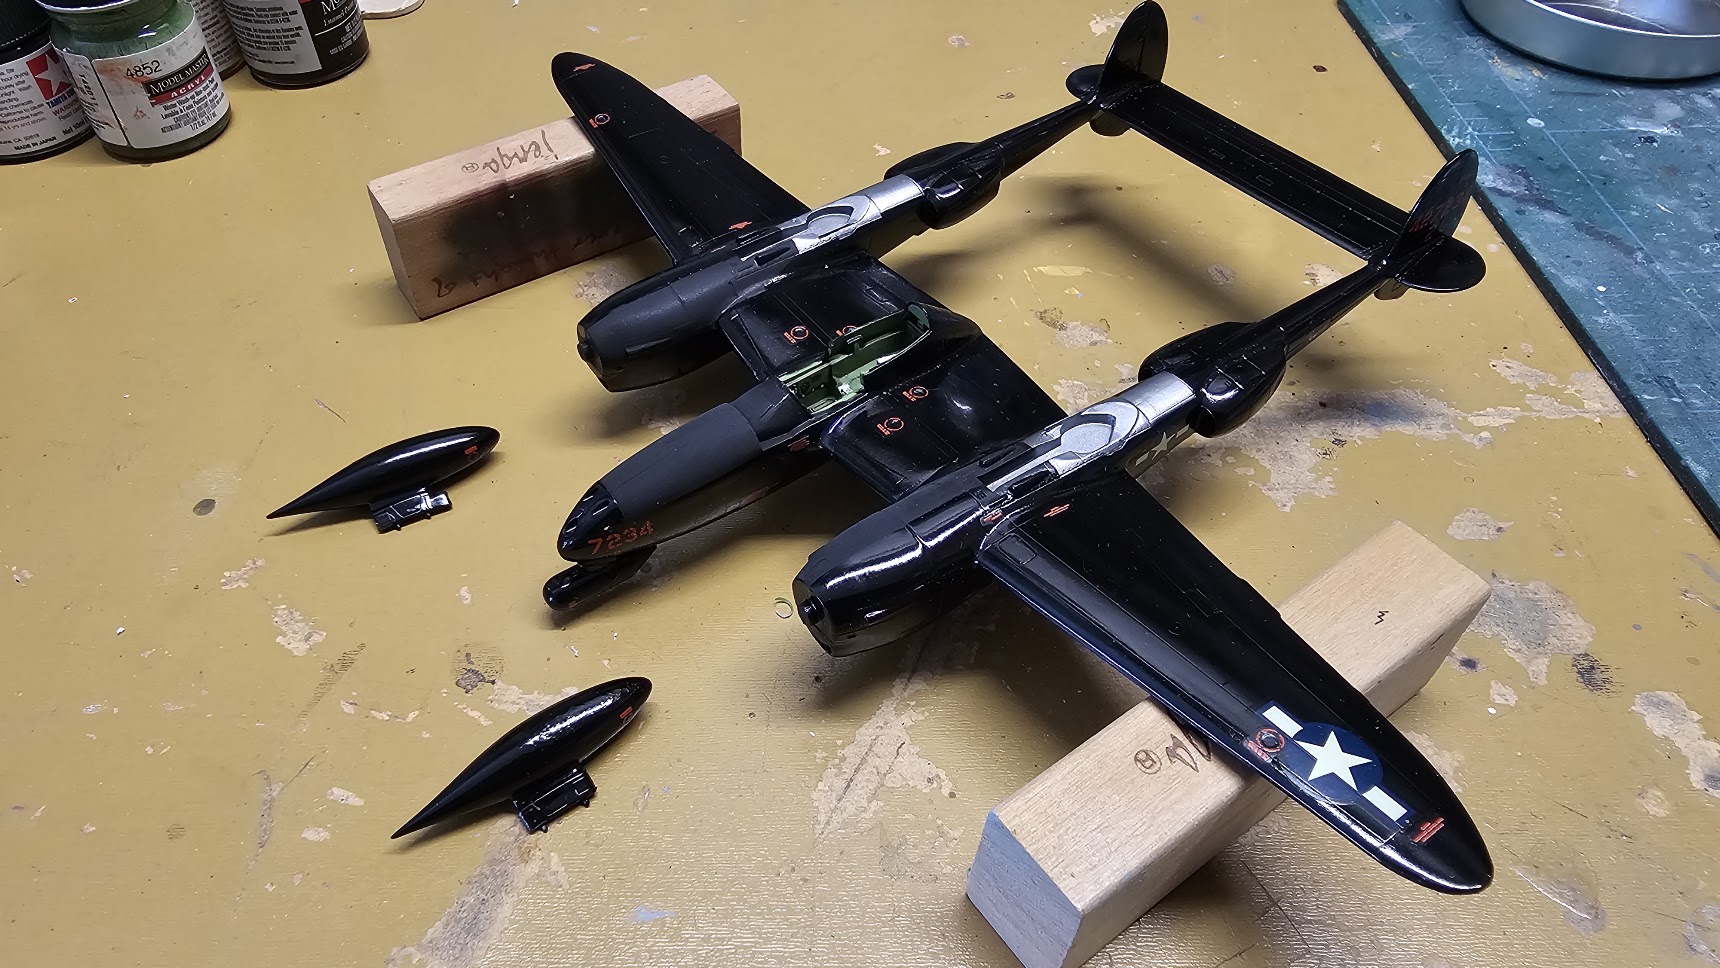
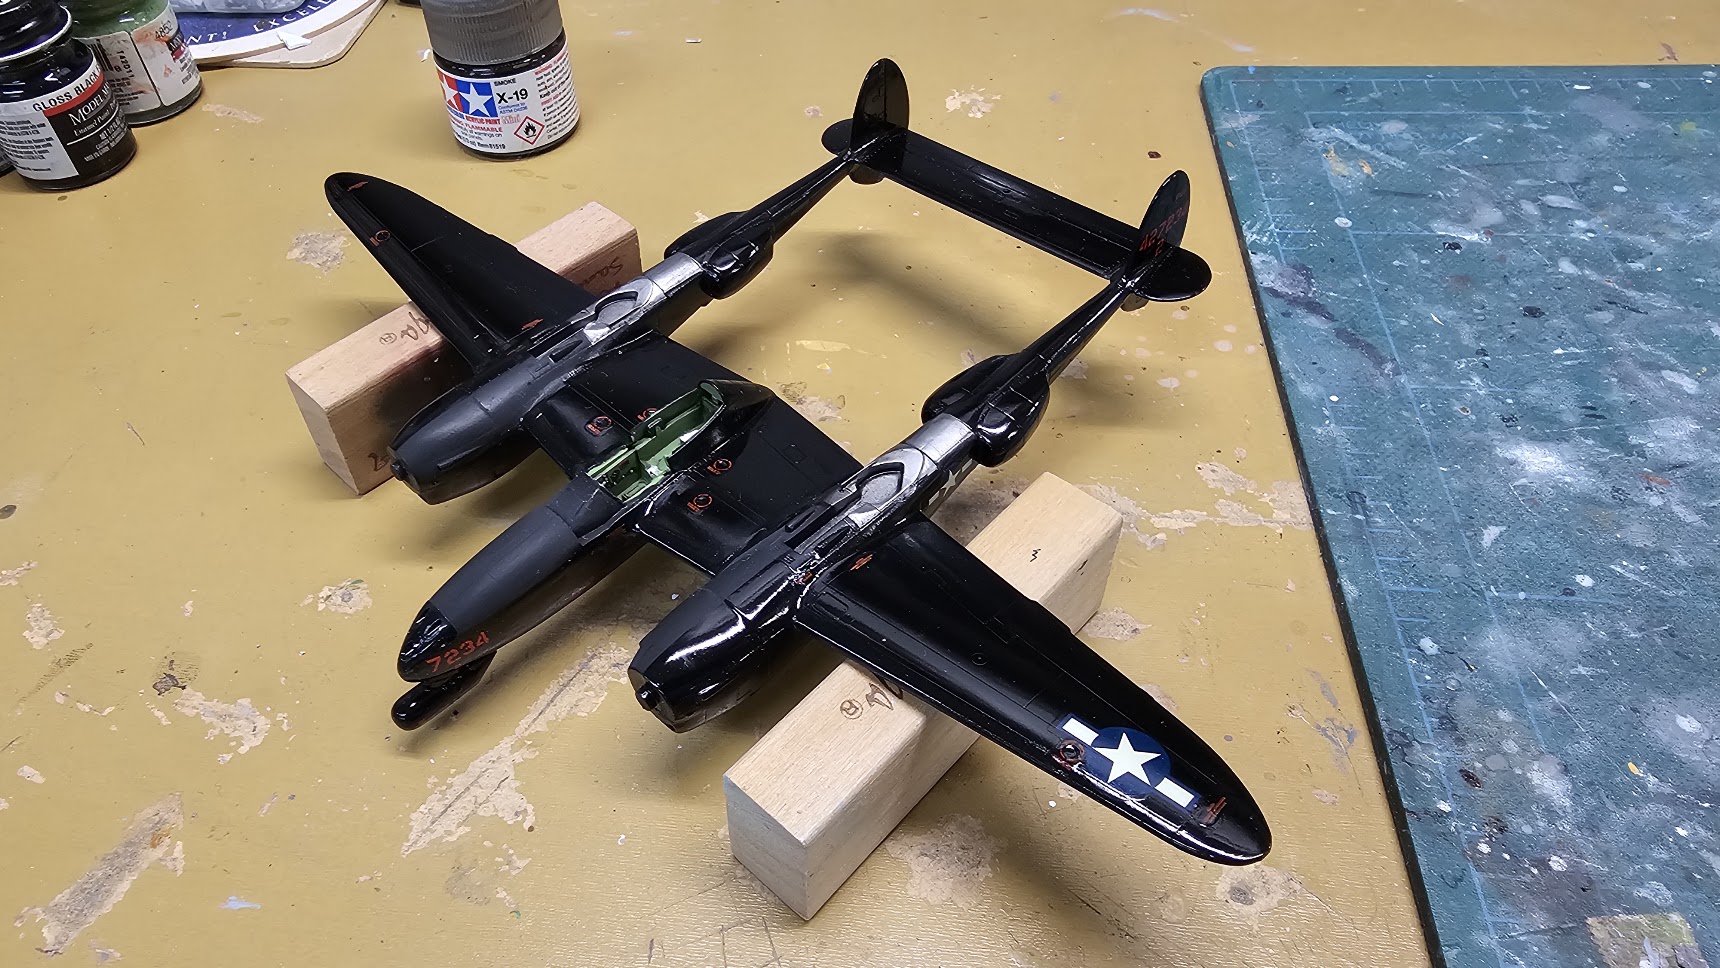
Some more progress on the P-38M.
The gloss black has been challenging. The Dragon model itself had a fairly rough surface. Over that I started with a coat of flat black, then some Tamiya semi-gloss black on top. It had no sheen what-so-ever, probably because the flat black was just too rough. On top of that I applied some old Testors Model Master Gloss Black. That worked pretty well. Then on top of that was many coats of Future Floor polish and some light sanding with a 9000 grit sanding stick, followed by more Future. It’s not looking too bad. I have gone thru the black in some places so it will require some more gloss black to fix that.
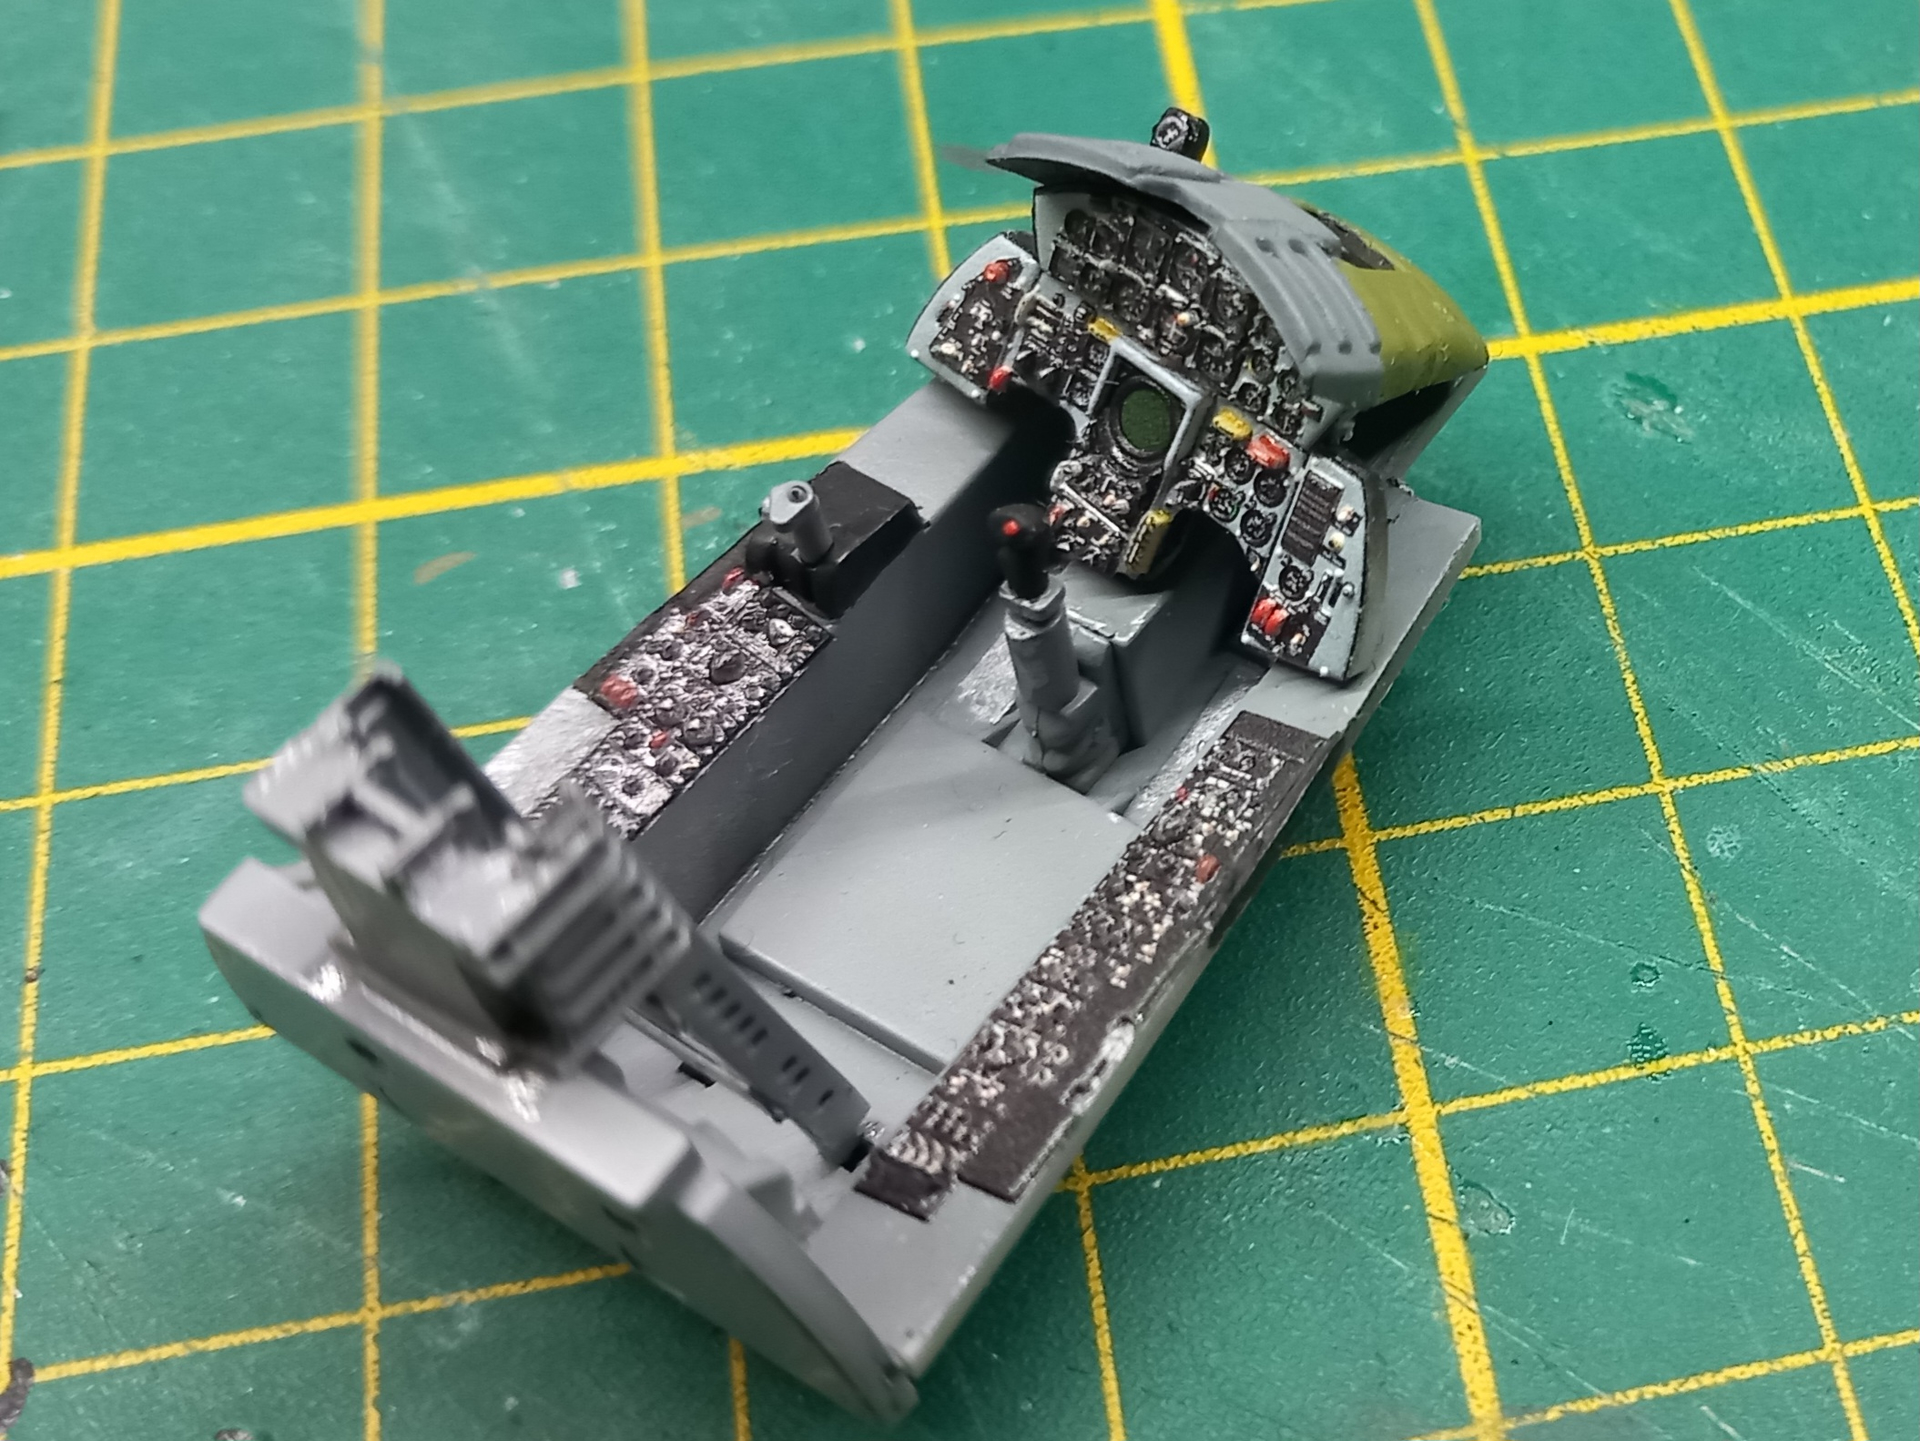
The Cockpit tub is finished
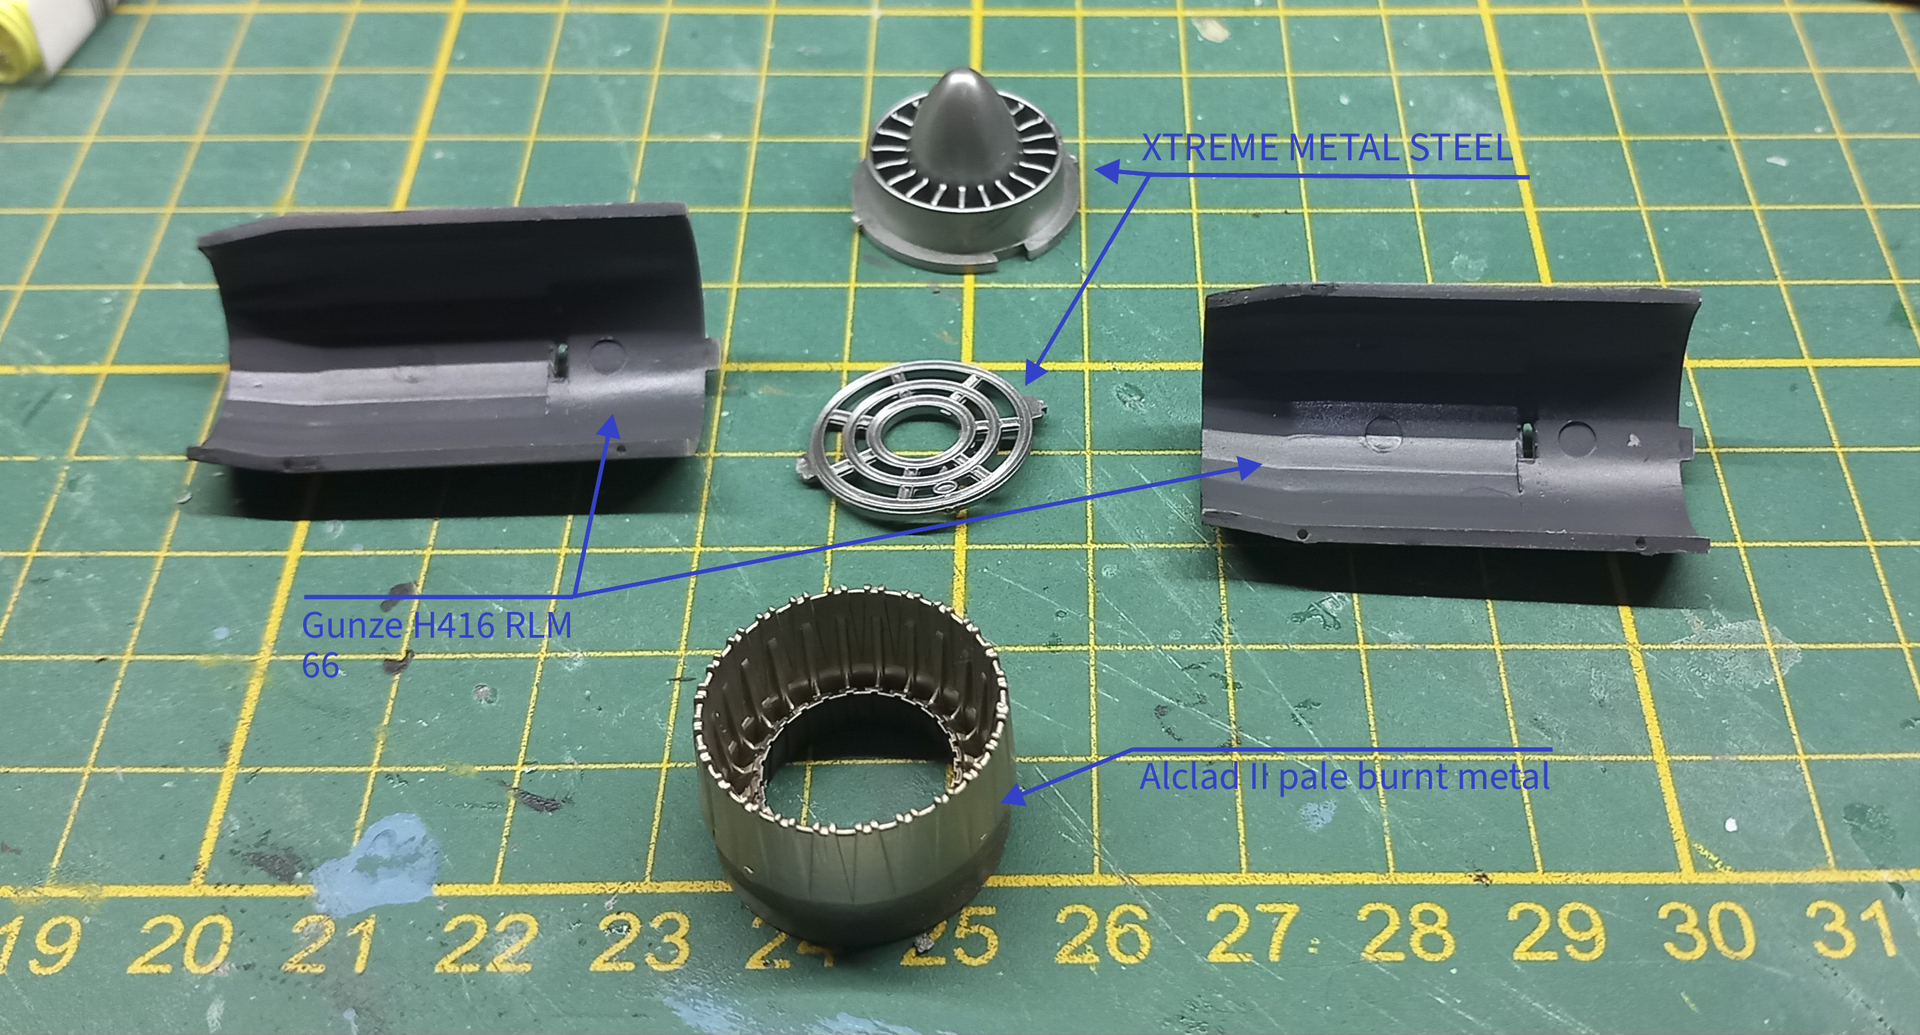
Unfortunately, the Eduard exhaust didn’t fit, so I used the one from the kit.
There is some great work here on these Lockheeds.
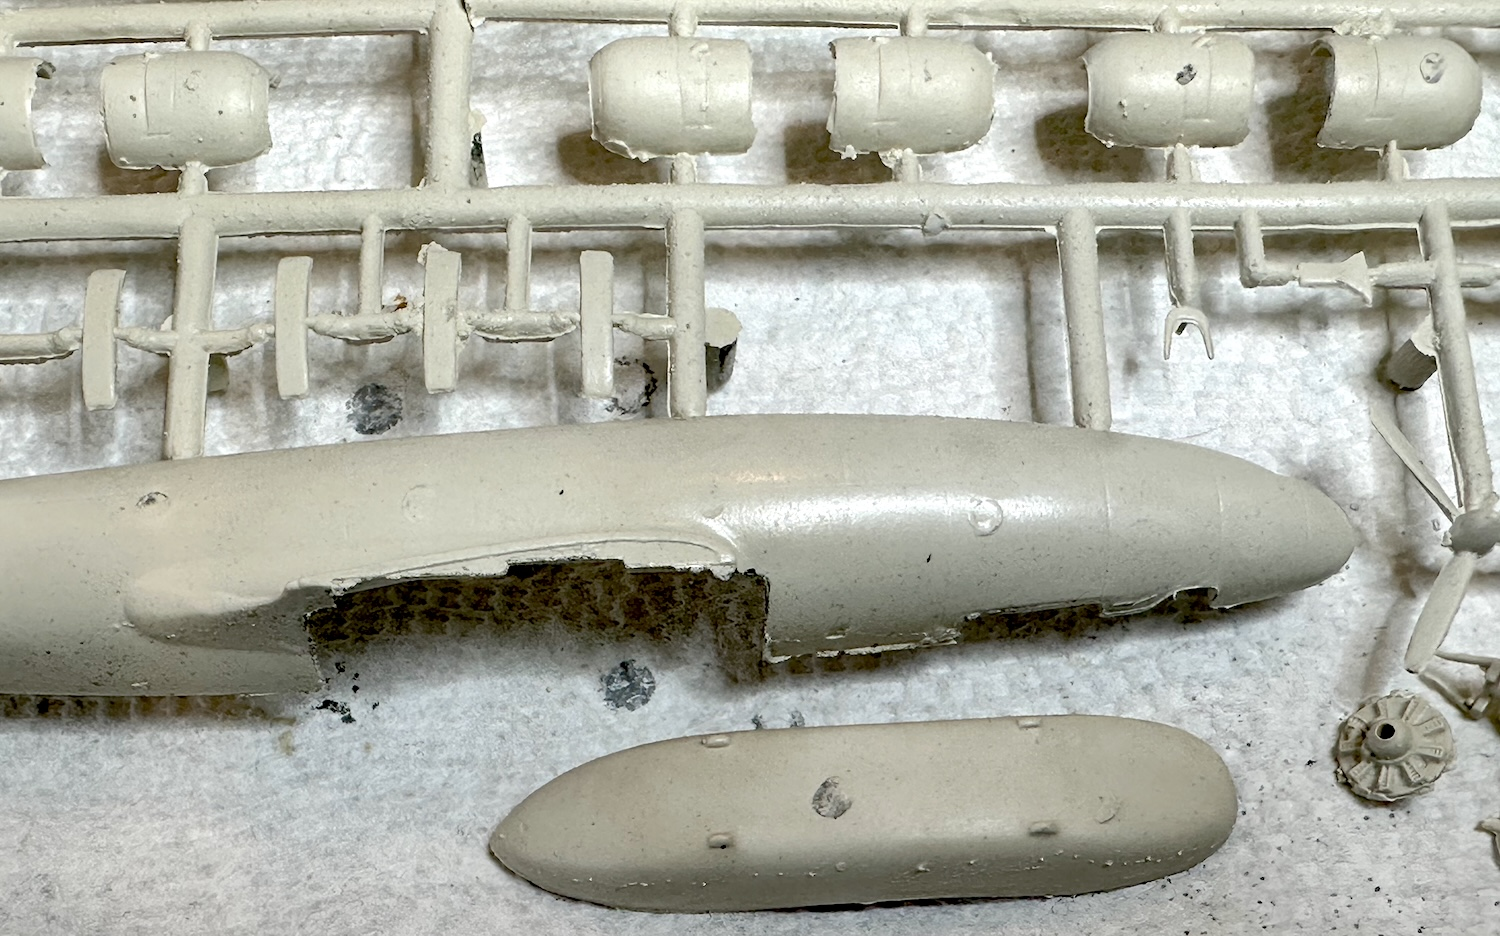
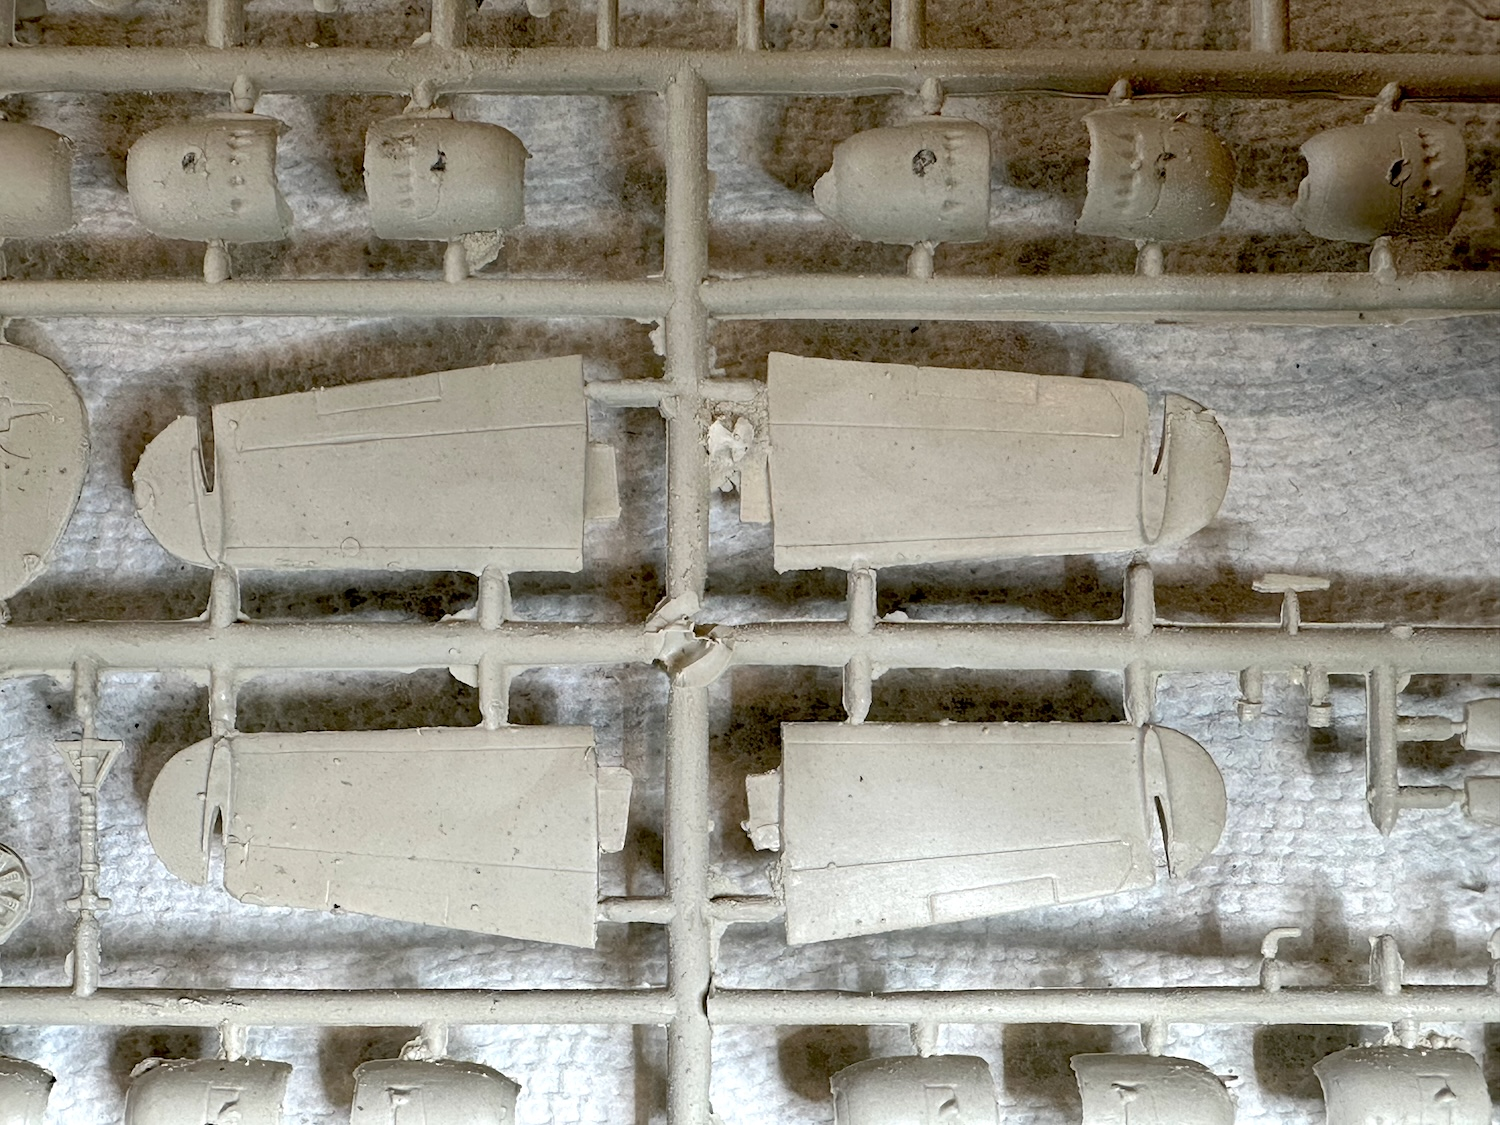
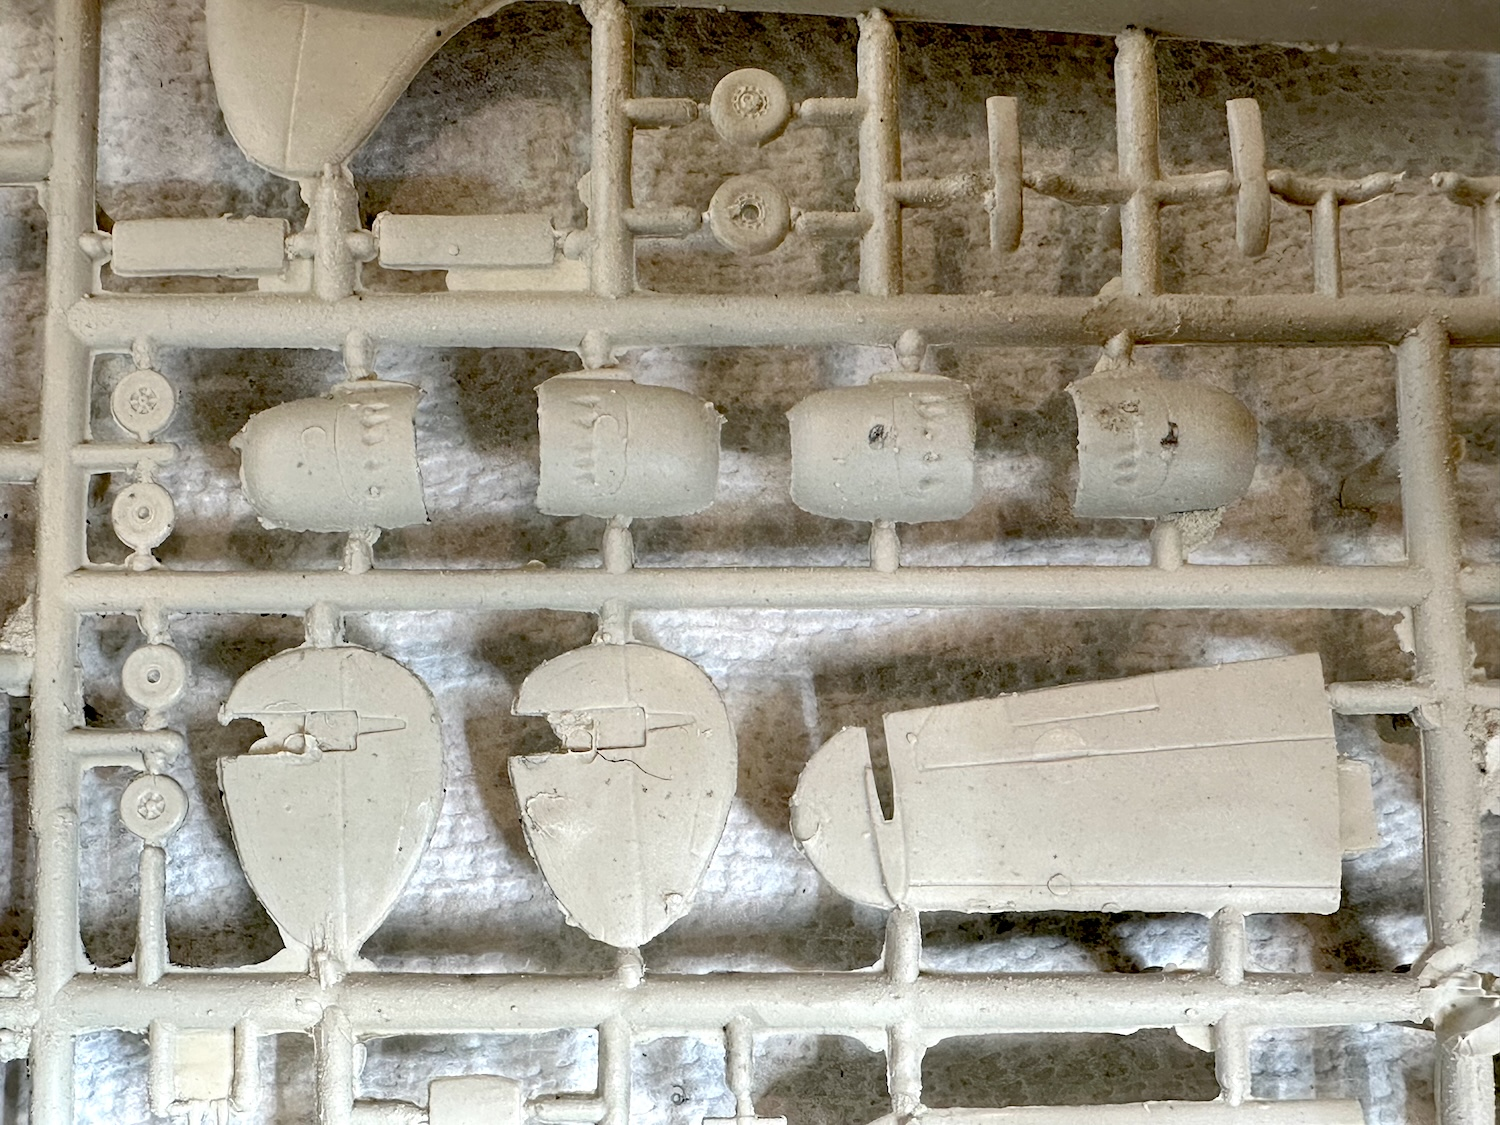
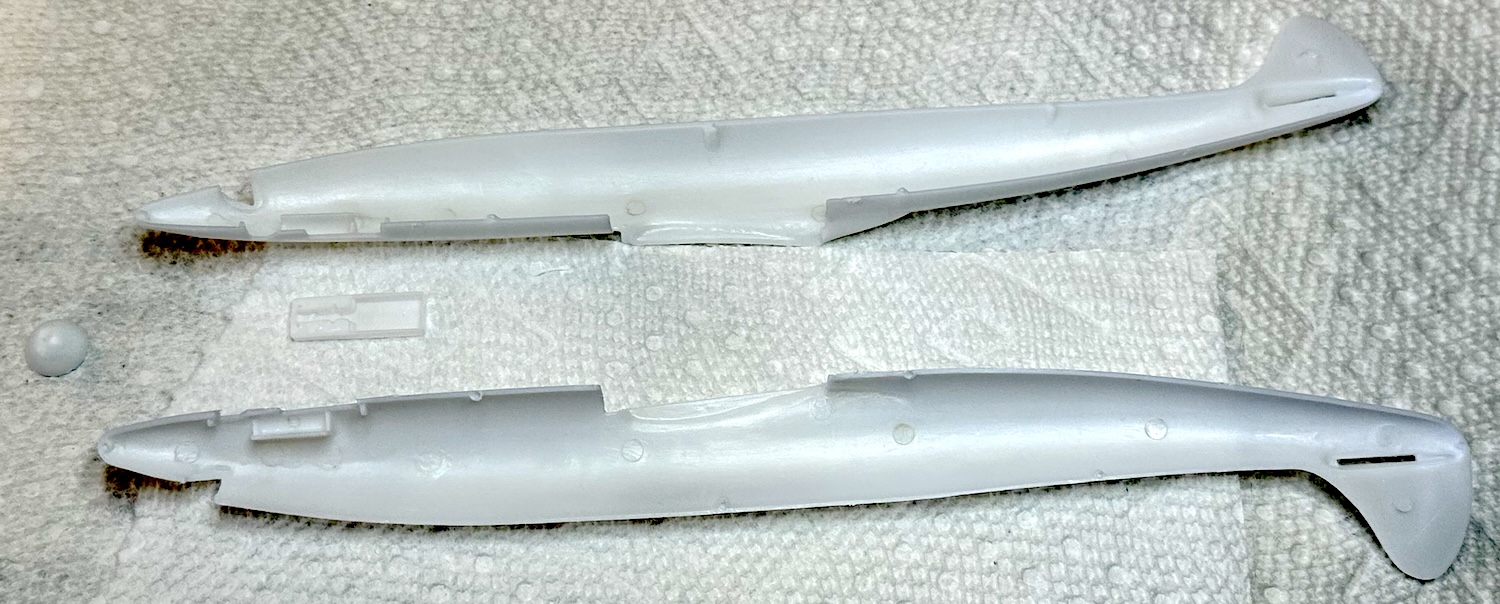
I had one project that I will probably not finish. It is the F-RSIN L-749, probably the worst kit I have ever seen. I thought I could fix all of the issues but after an afternoon trying to clean up & fit just two parts, I gave up in disgust. I put the project away and we will see if I ever tackle it again.
What is worse, I bought TWO of these kits. I have a few other F-RSIN kits and they are all rough, but this is ridiculous!
I wonder if there was a time when the molds were new that the kit might have been more reasonable? These molds were used long past their useful life.
Anyone wanna buy a coupla Connie kits - CHEAP?
Paul
What was Lockheed’s masterpiece? There would be a lot of candidates for that title. From the early wooden airmail & record breakers to the SR-71, Lockheed has excelled. My personal choice is the Constellation & Super Constellation. Back in 1964 when I was a lad of 11 my family had a flight in a TWA L-749. As an aviation mad kid I was over the moon and revelled in each takeoff & landing on the trip from Albany NY to Chicago with several stops. We also got to take legs on a Mohawk Martin 404 & an couple of legs on TWA Convair 880s but that is a story for another time.
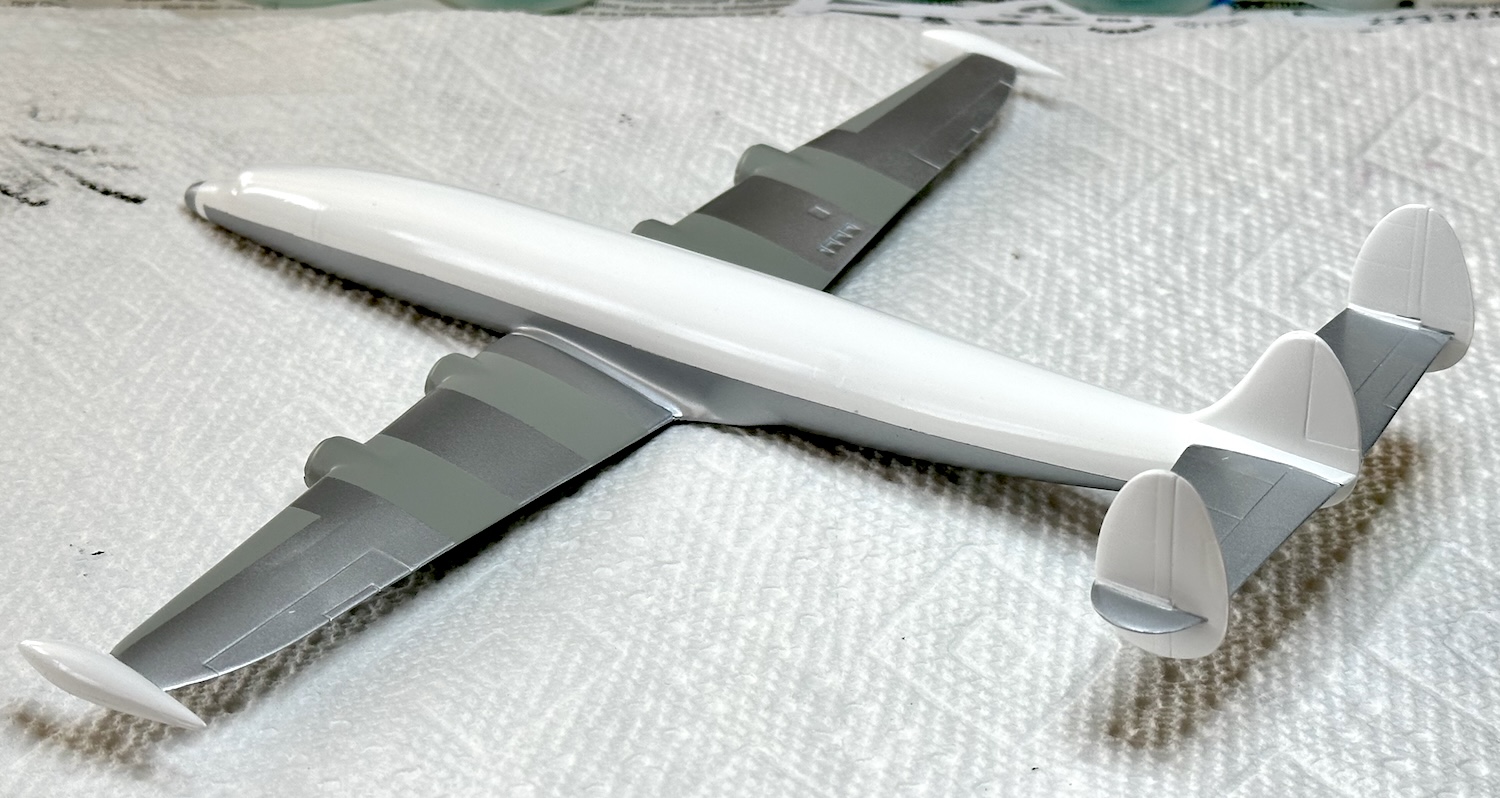
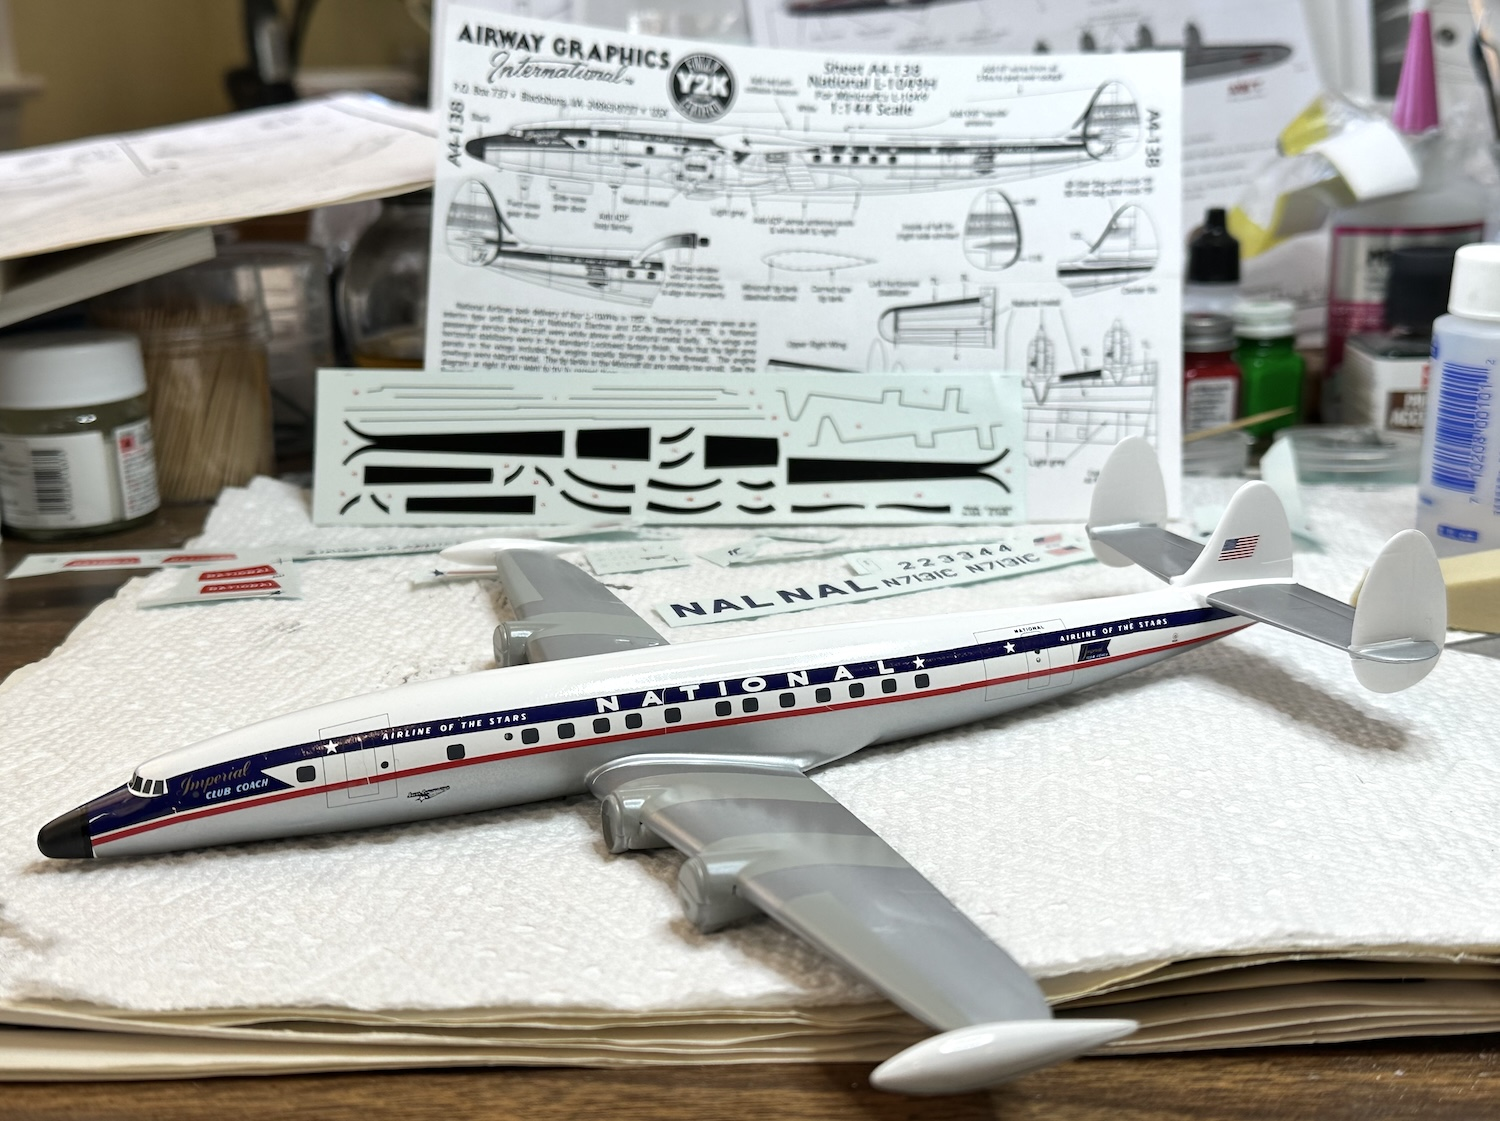
I have a set of Vintage Flyer TWA L-1949 Super G decals and thought I would build the old Minicraft kit with them. After looking the kit over, I could see it has little detail, no panel lines at all on fuselage & wings but they are present on both vertical & horizontal tail feathers - go figure! OK, in this scale that is hardly fatal IF the shapes are right. I thought I had perceived that the nose radar was too sharp for a TWA bird. Lockheed offered the choice of several radars and some installations look to my eyes sharper than others.
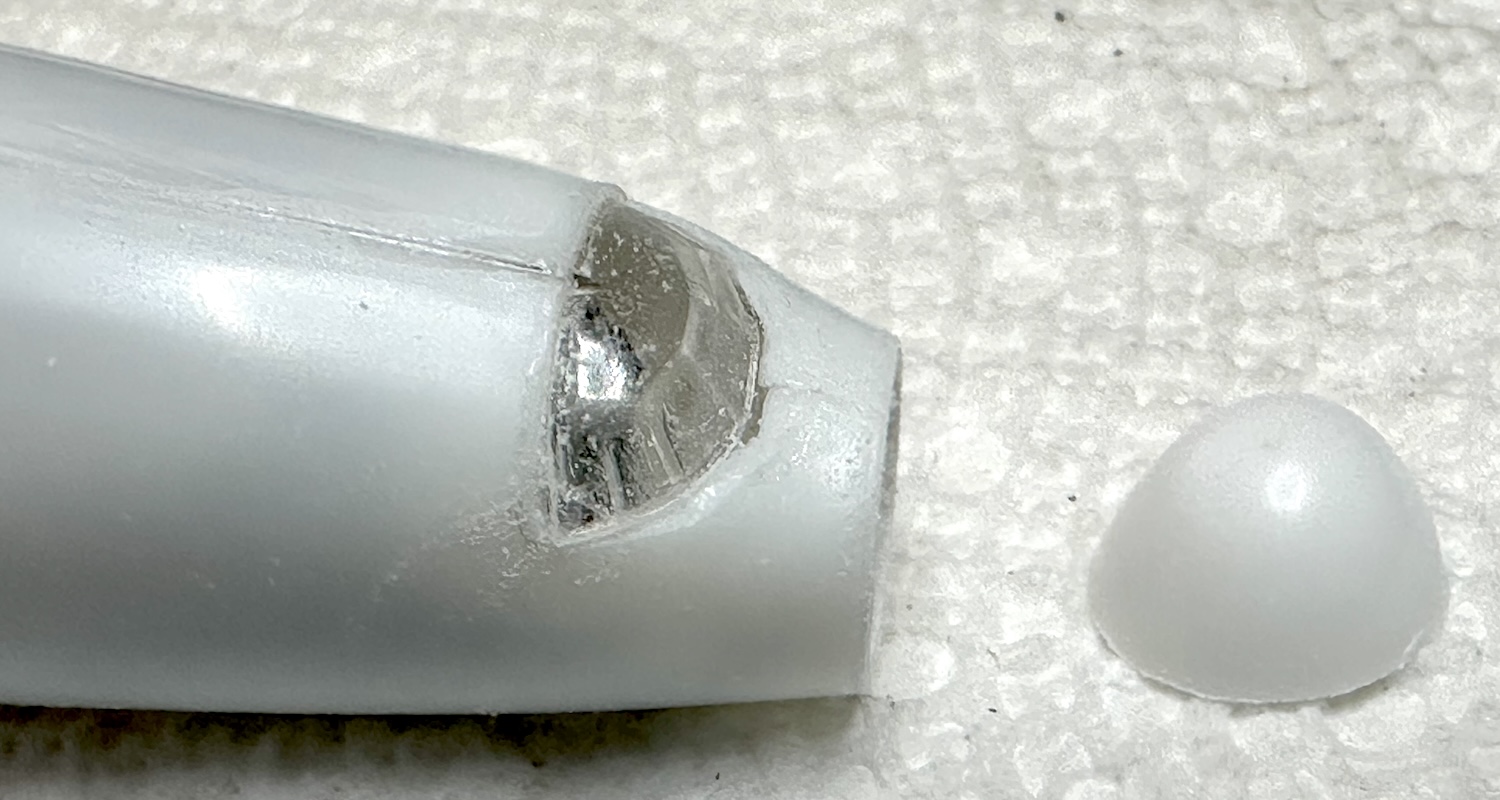
So I amputated the nose and fit the other blunter nose provided in the kit hoping for a better match for TWA. It didn’t work. The new nose was too short for a TWA radar and the wrong shape to make a pre “G” Super Connie. I set the project aside for several weeks not sure if I would take it up again.
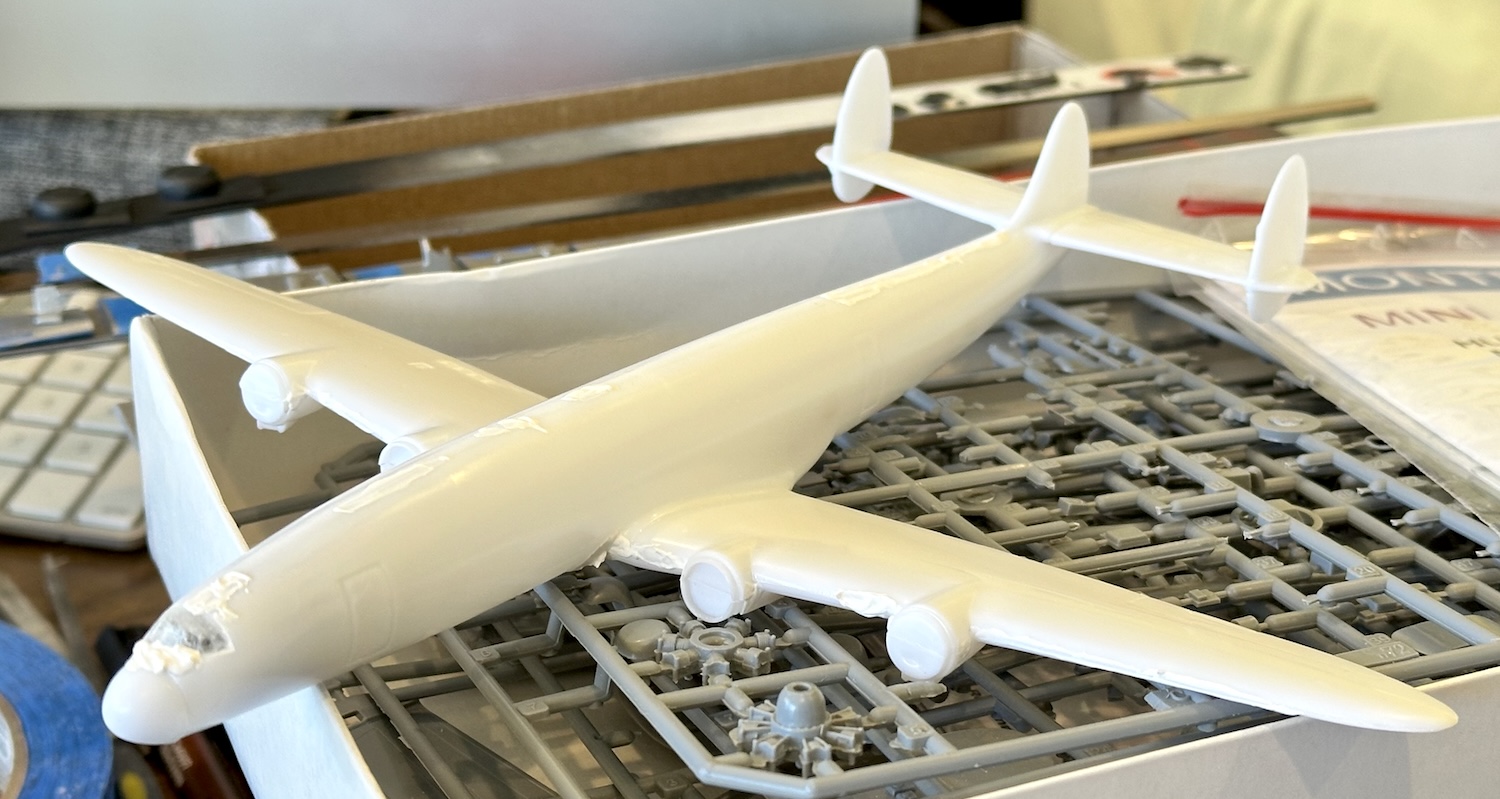
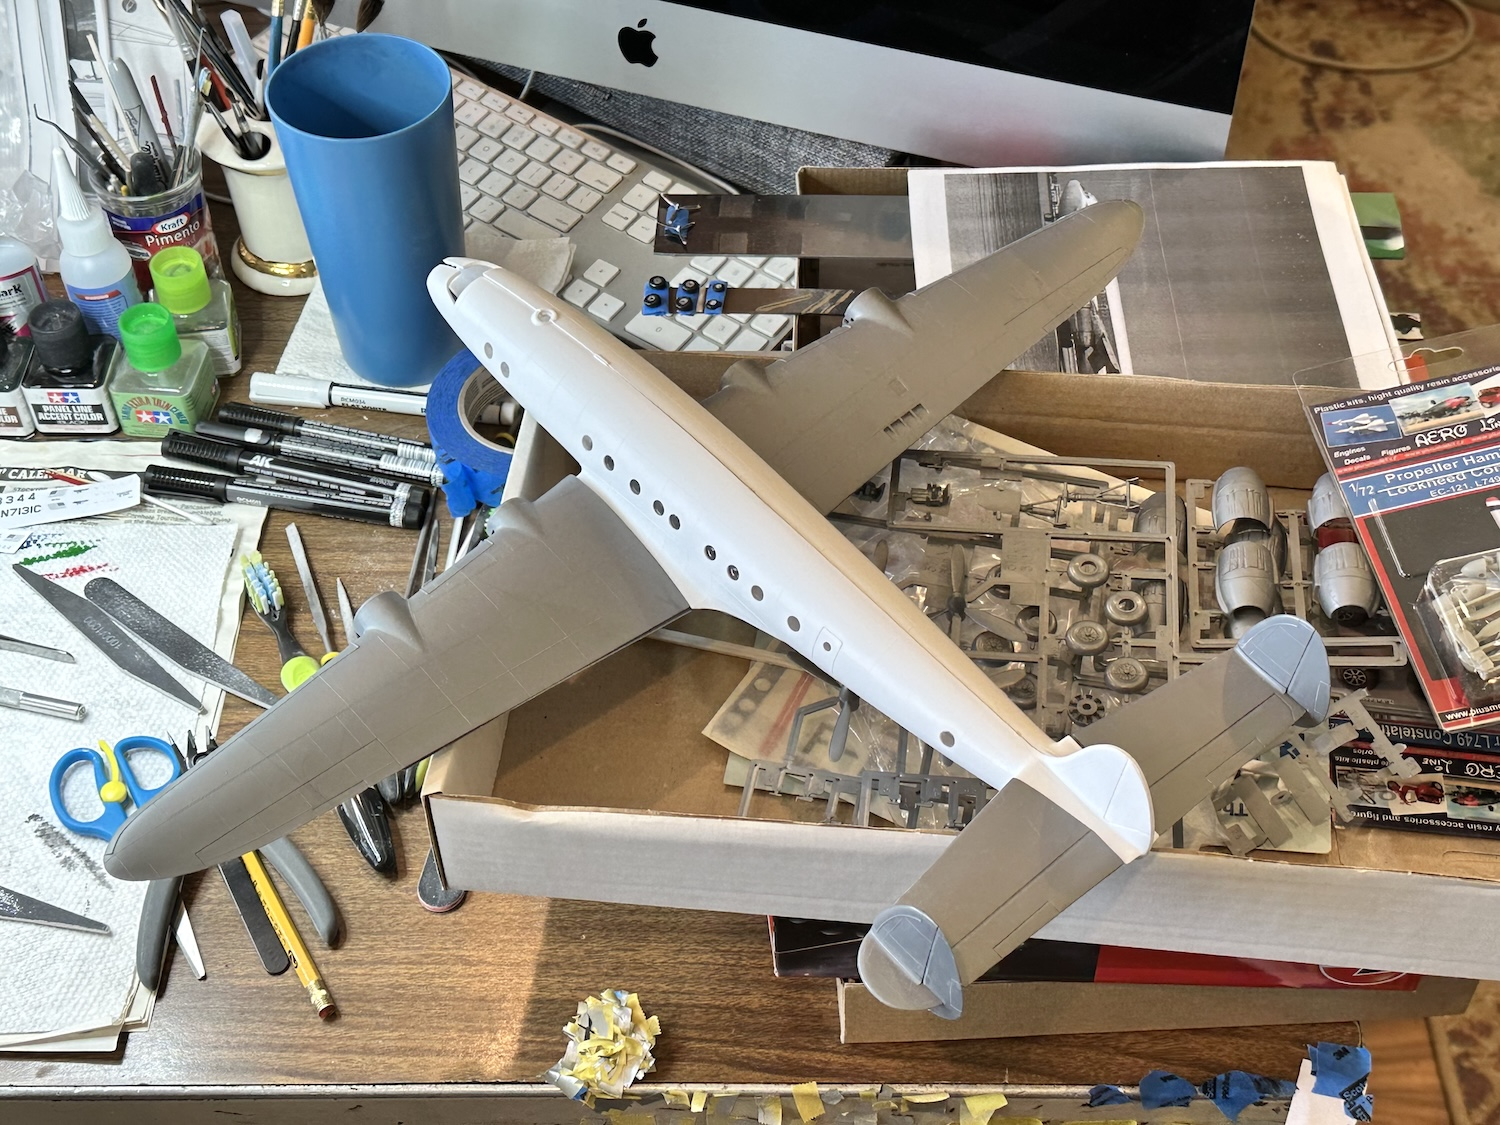
Two things changed my mind. I bought a couple of Revell Super Connie kits which offer both the radar and plain noses so one of those kits donated its radar nose which was grafted onto the Minicraft kit. It still looks too pointy to me but there it is.
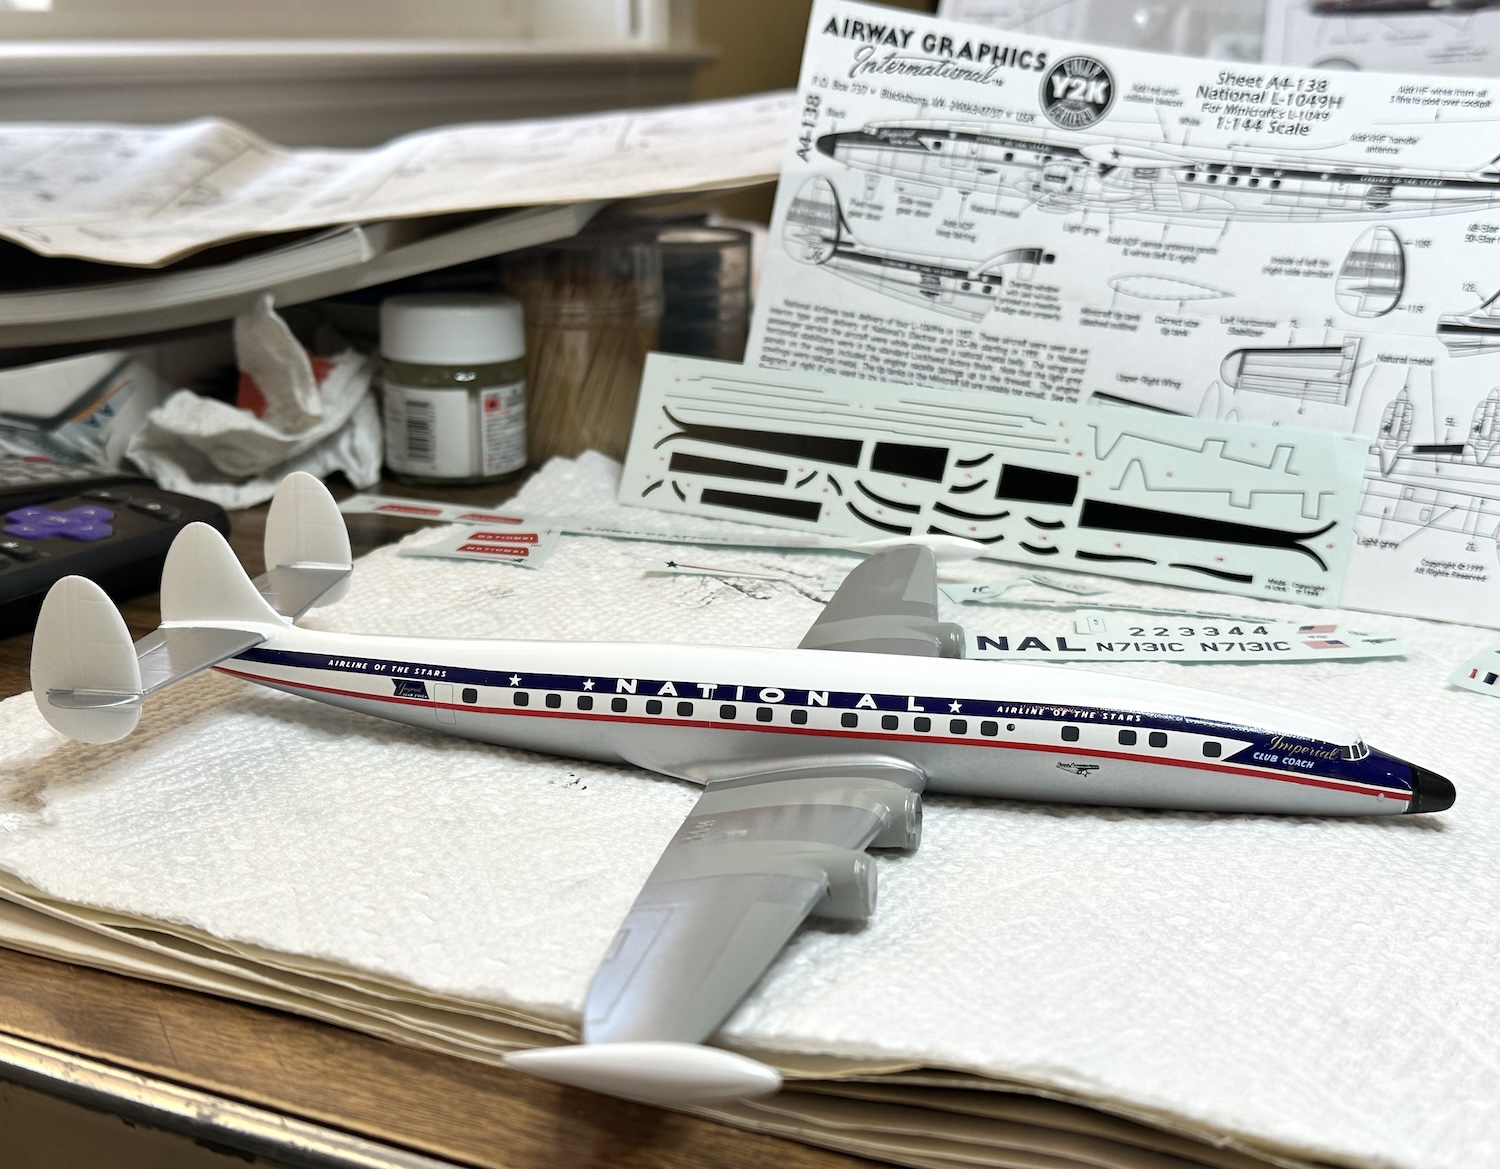
The second thing was a happy find of a set of National Air Lines (yes, two words even in 1957) decals that were very colorful and would make a worthy model of the mess I had made at this point. The two Revell kits will get TWA markings, one a Super G, the other a backdated earlier Super Connie with no tip tanks or radar.
That short nose was misshapen to my eyes, possibly it could have been sanded to a better shape but I had other ideas by then. This model put a dent in my putty supply . . .
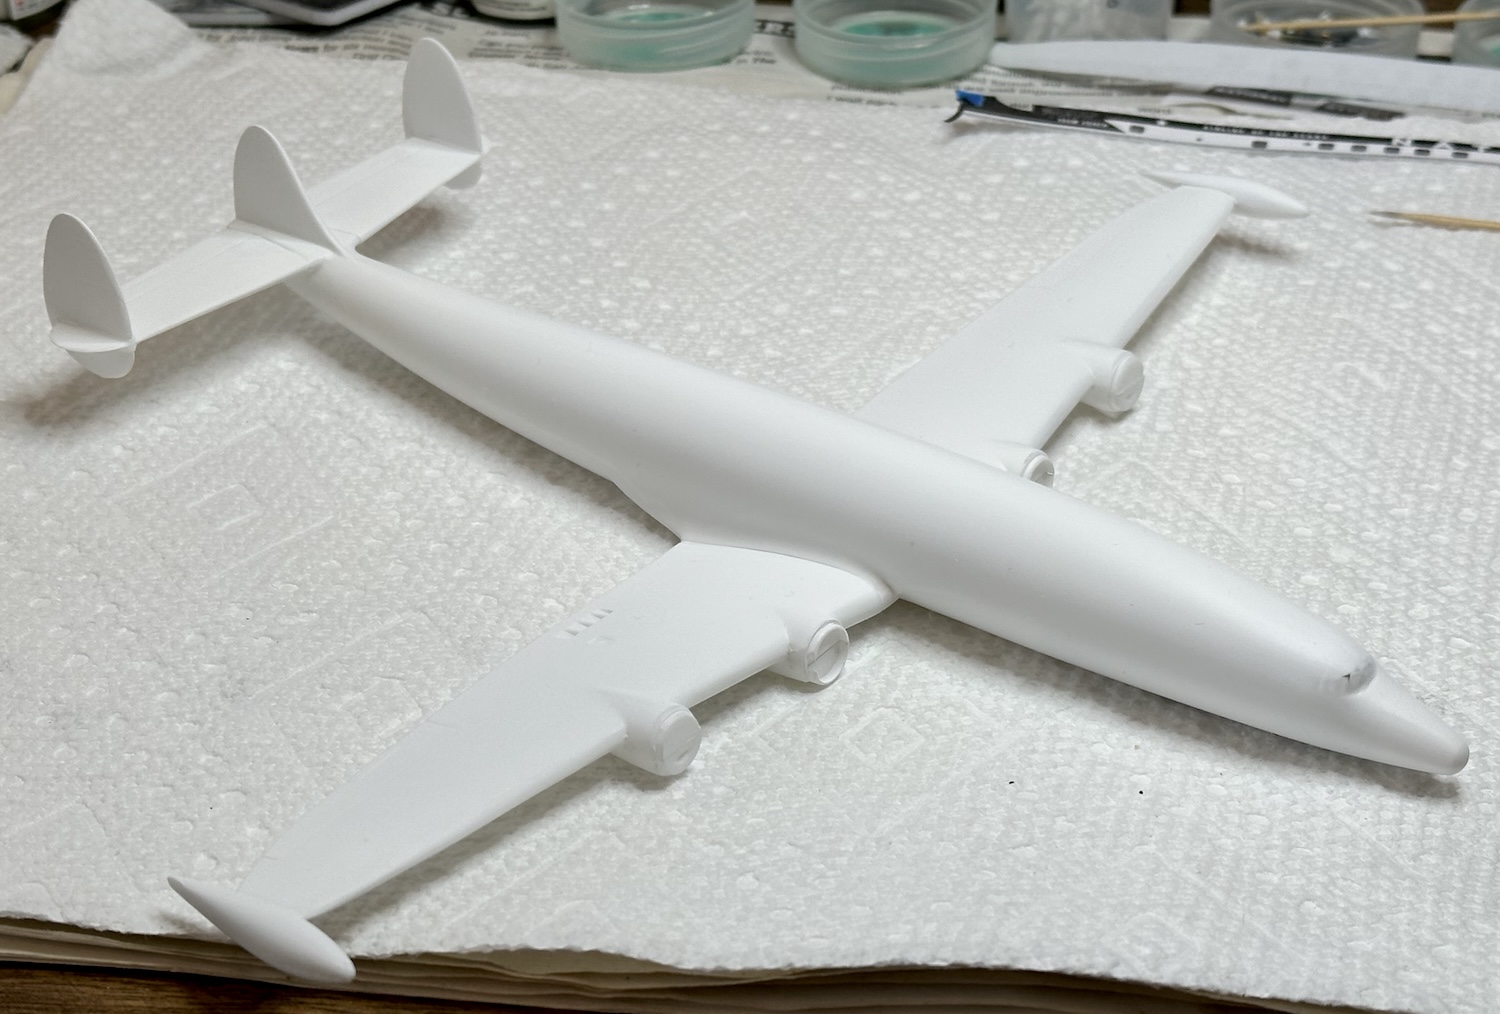
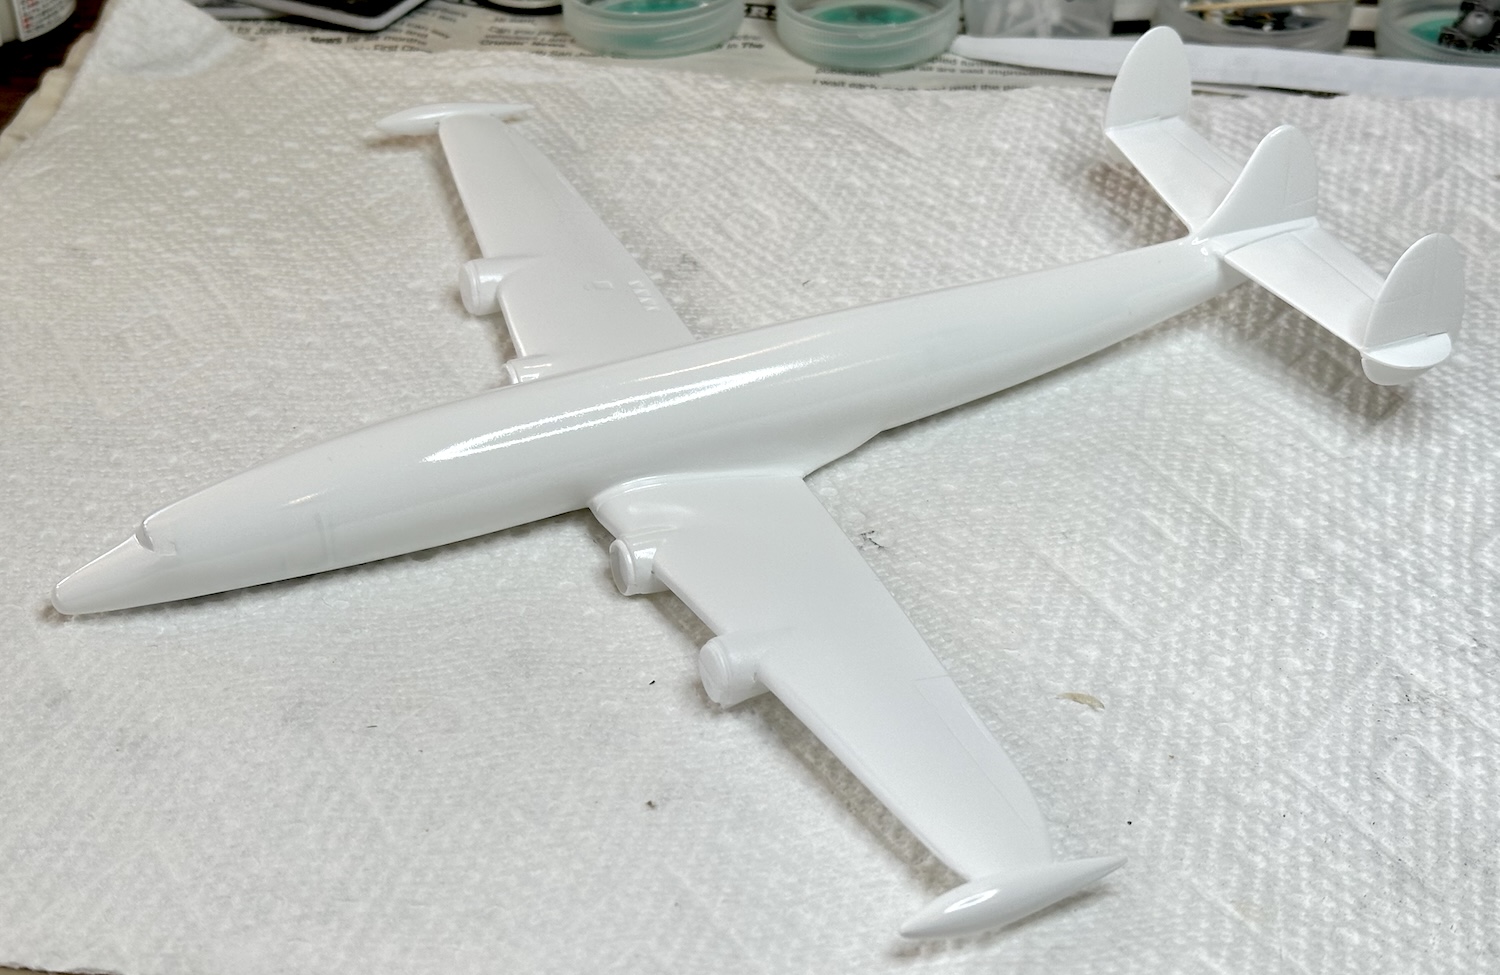
Revell nose on.
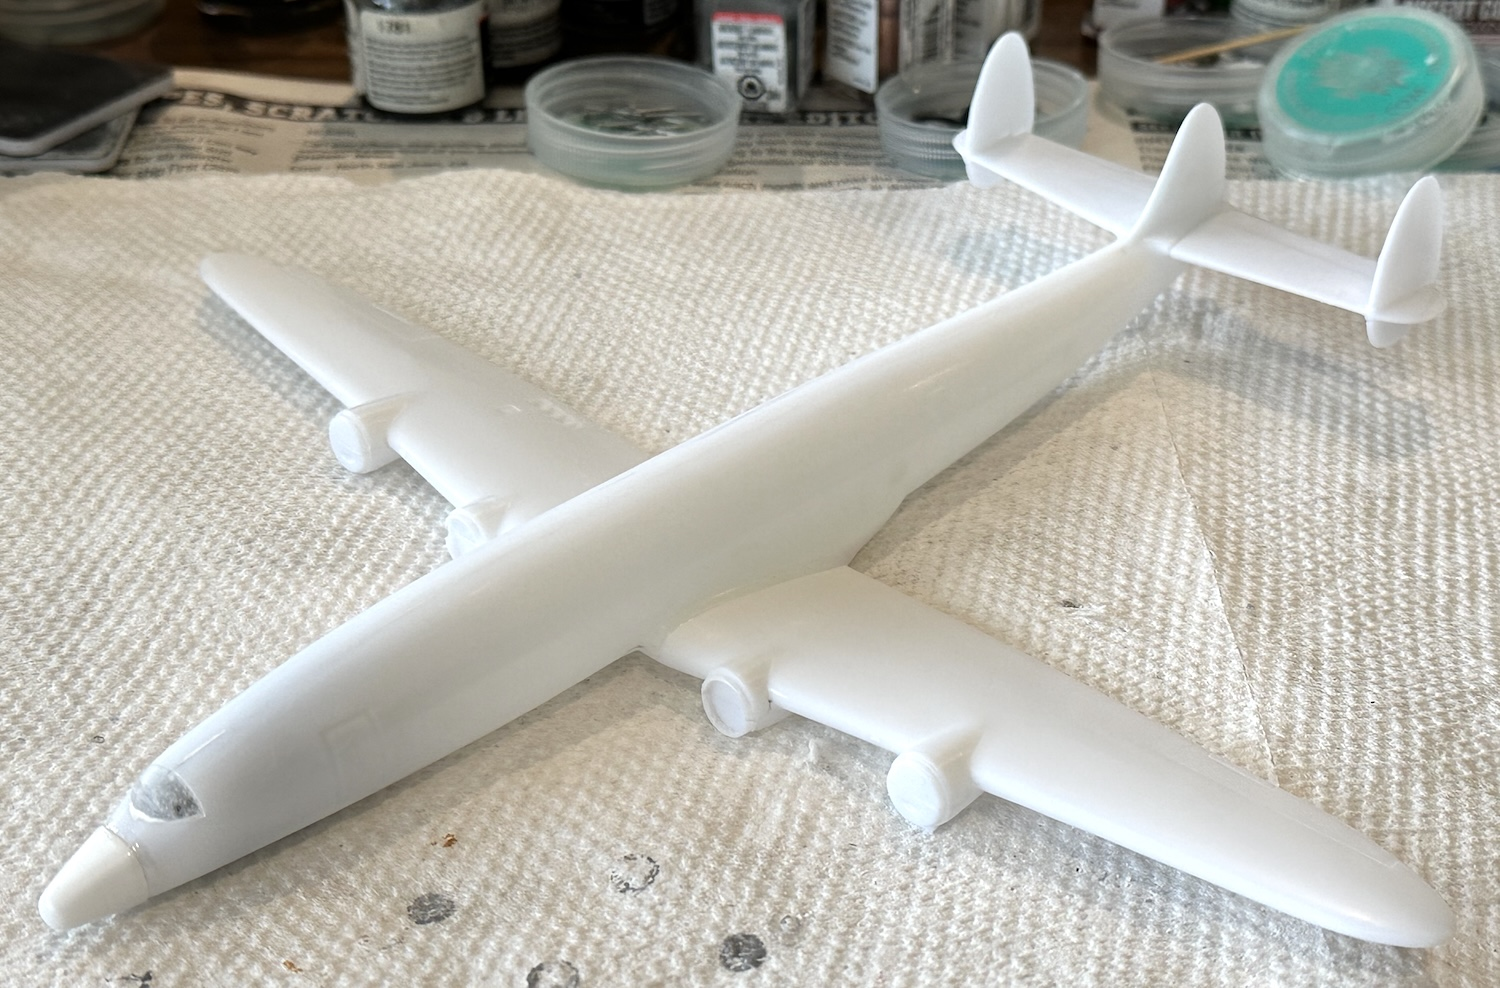
In primer.
Now with a coat of Tamiya’s Pure White.
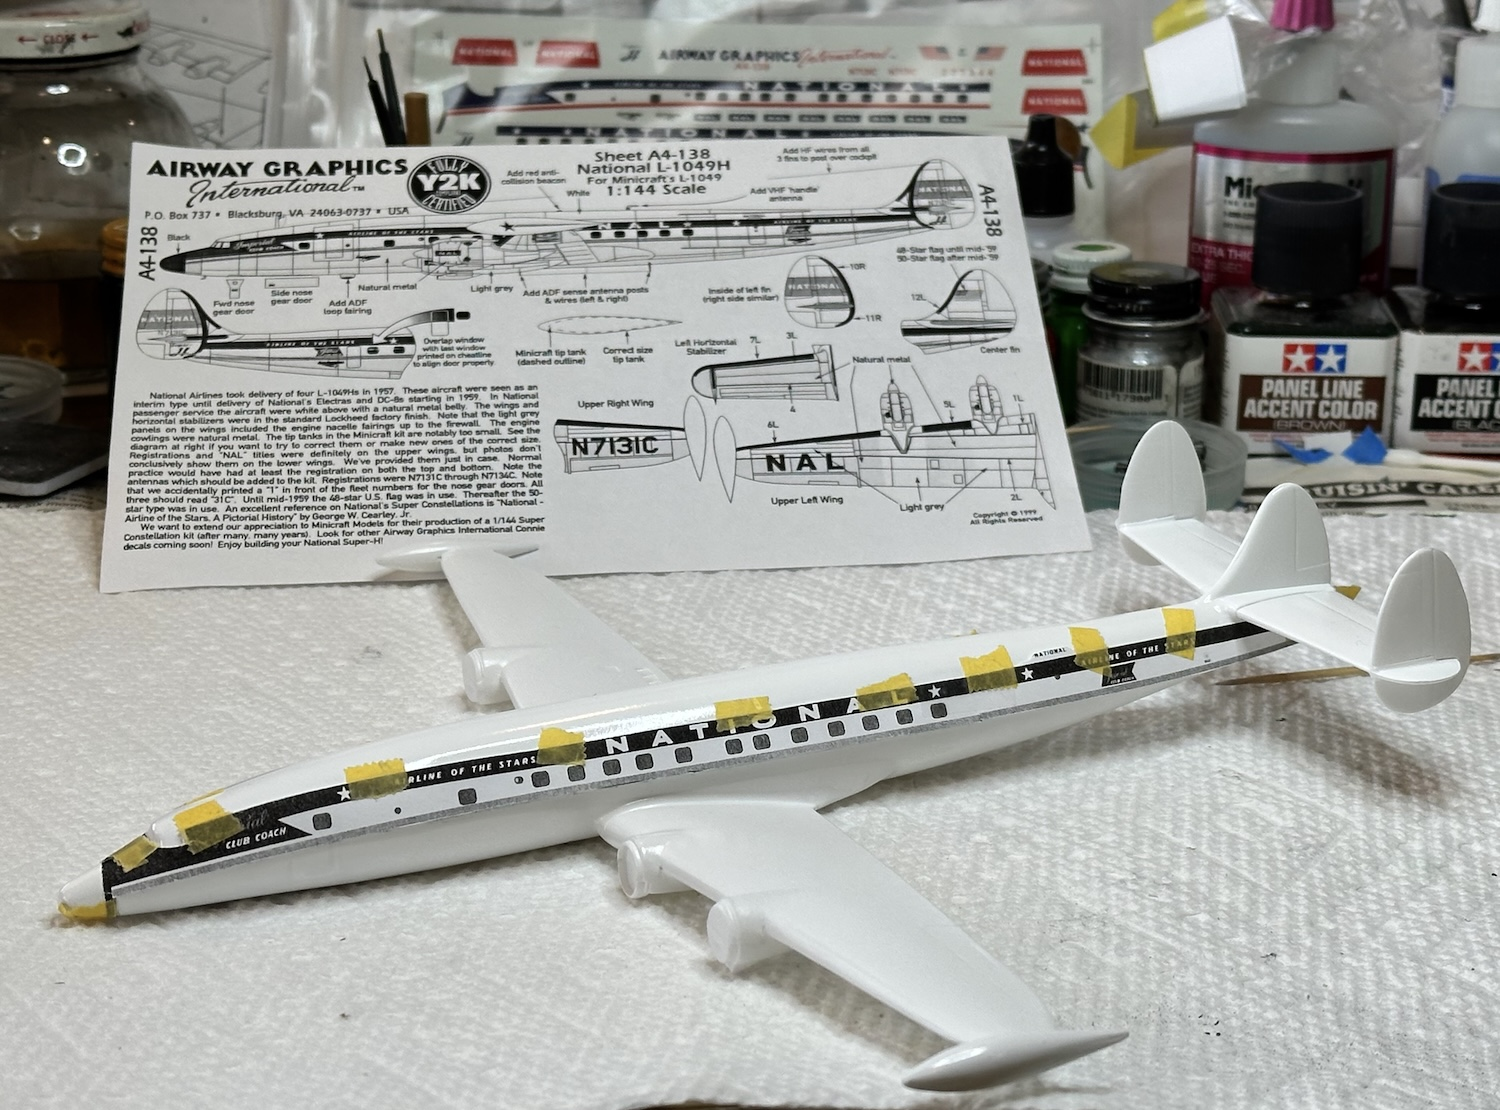
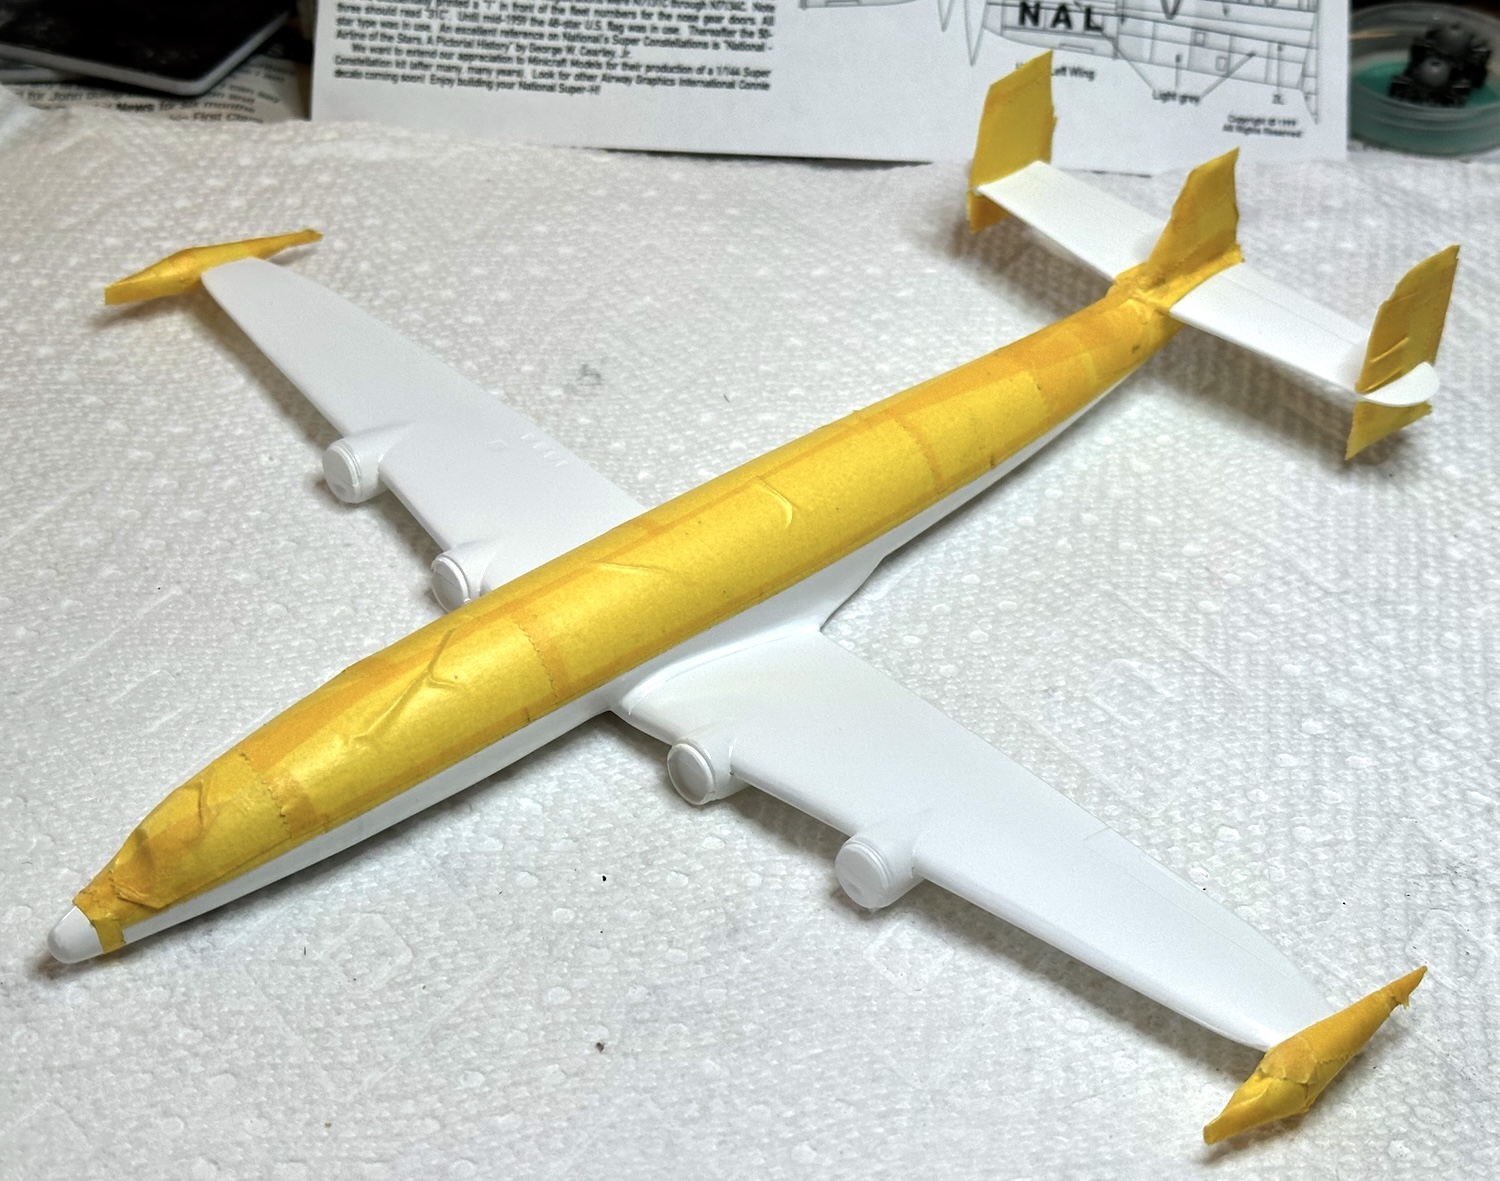
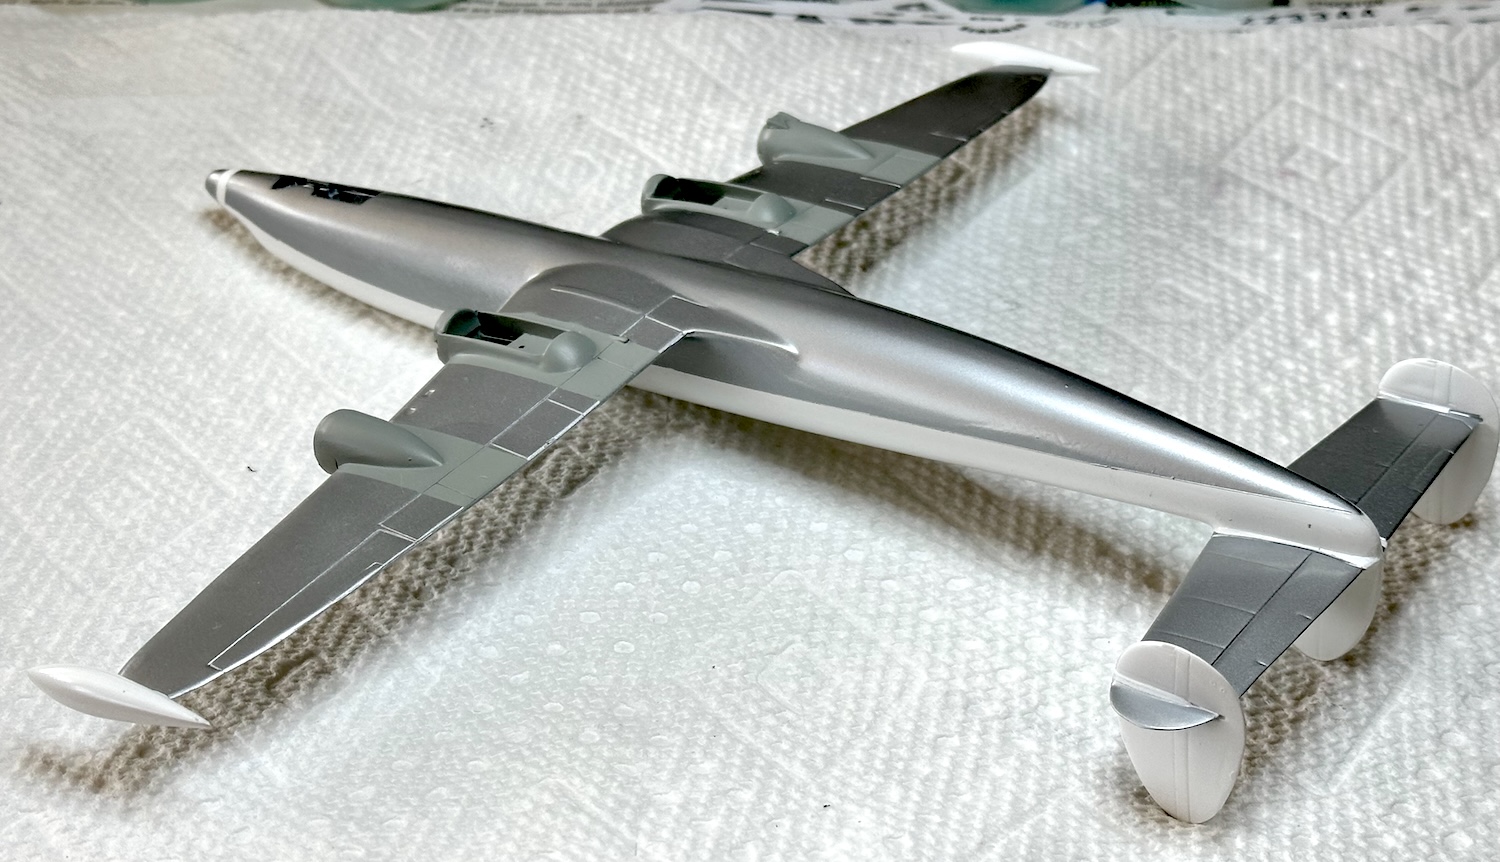
Finding the demarcation between the white top & natural metal lower surfaces has always been difficult for me. I photocopied the decals, cut the side decals out and taped them on. Using a soft pencil I made light trace marks to indicate where the tape would go. Tamiya tape was used to mask off the white portions.
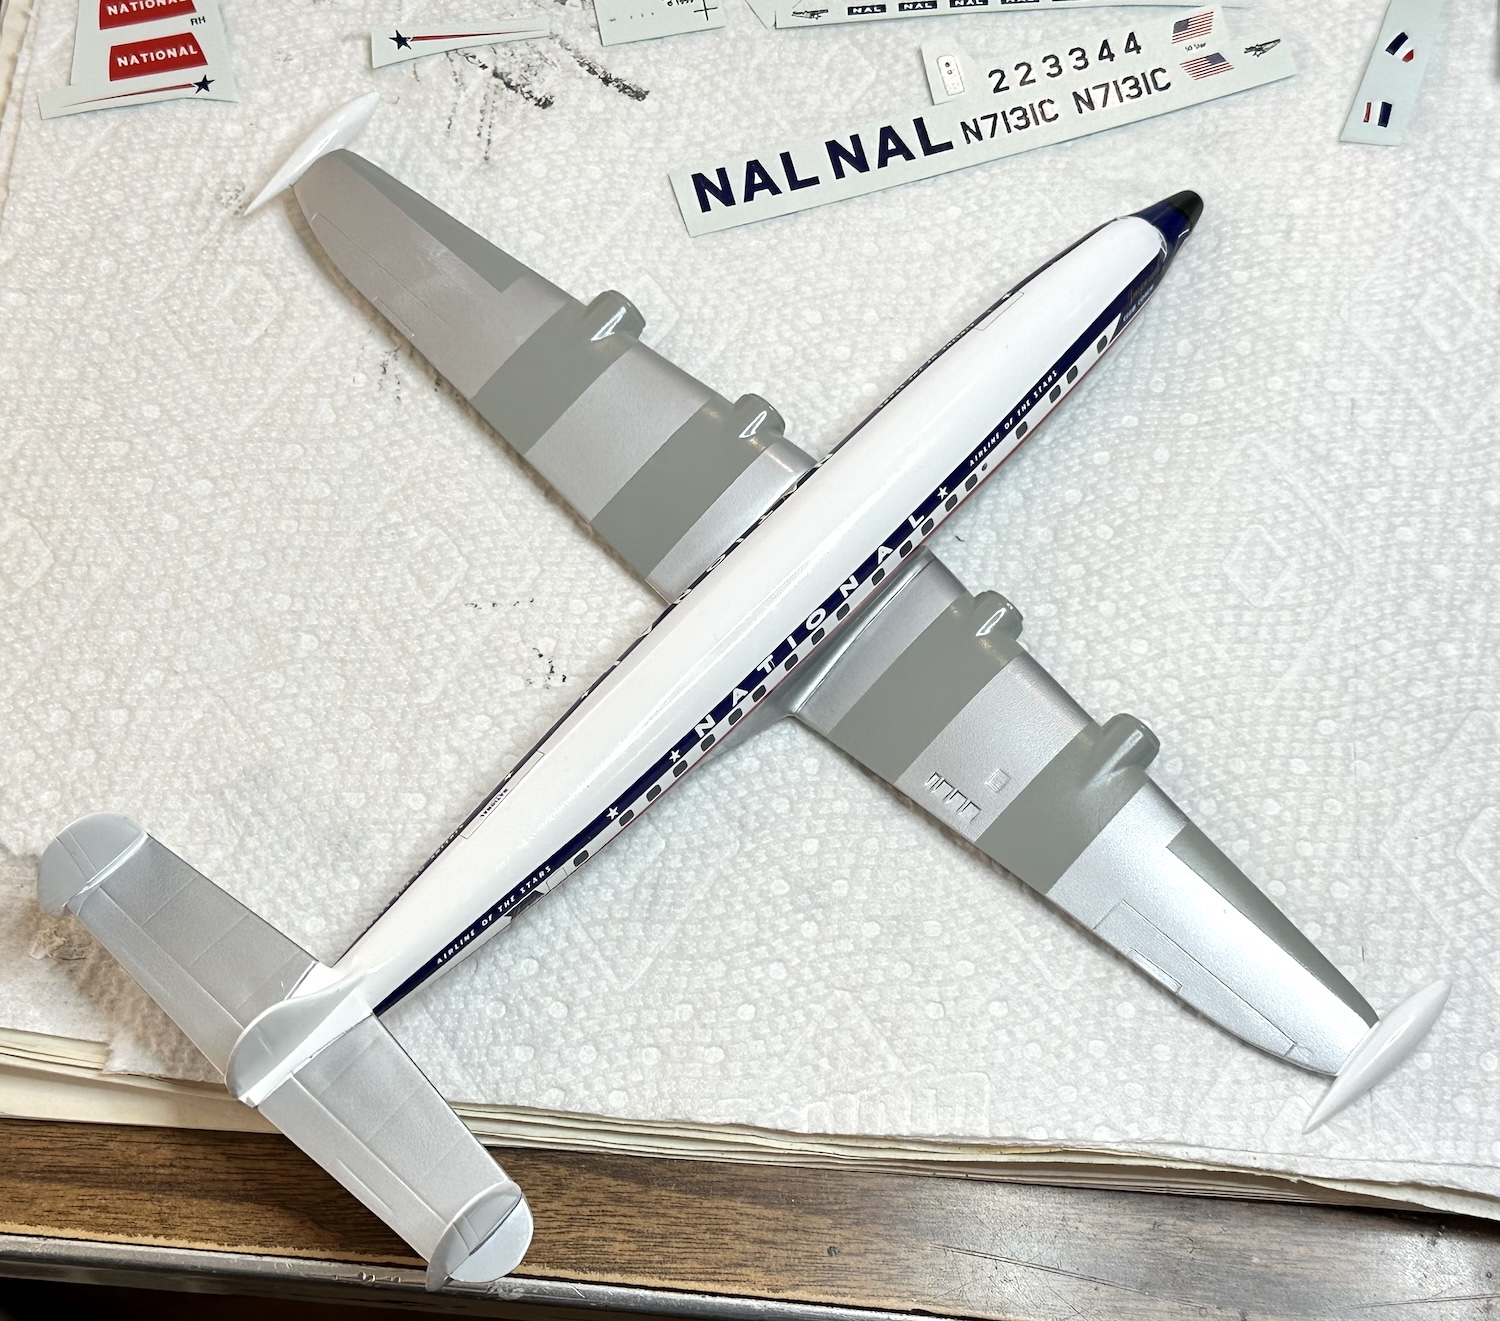
There were some grey areas that Lockheed had painted on to hide the exhaust staining. These were masked and painted.
The decals were old, dated 1999 and fragmented both on the sheet and while trying to work them into position. They took a lot of time but do look spectacular. There will be some touching up needed . . .
Paul
Really nice work on that, Paul. Very impressive.
Thanks for the comments. You may change your mind when you see the latest blunders on the poor National bird . . .
That T-bird is a pip, just a great looking airplane. The T-33 is an example of that rare airplane where the two seat version looks better than the single seater did.
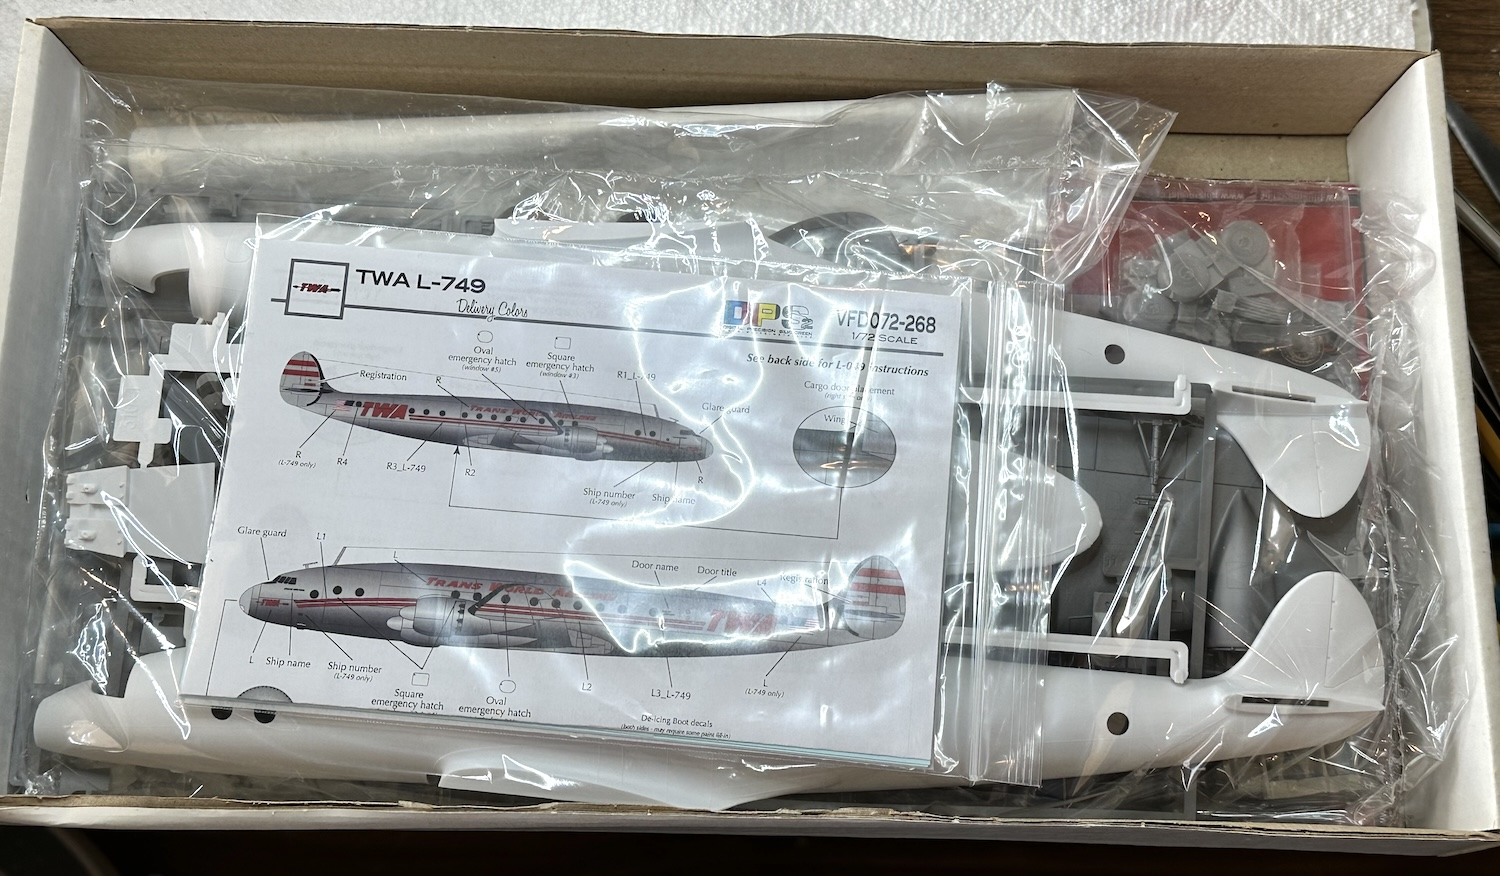
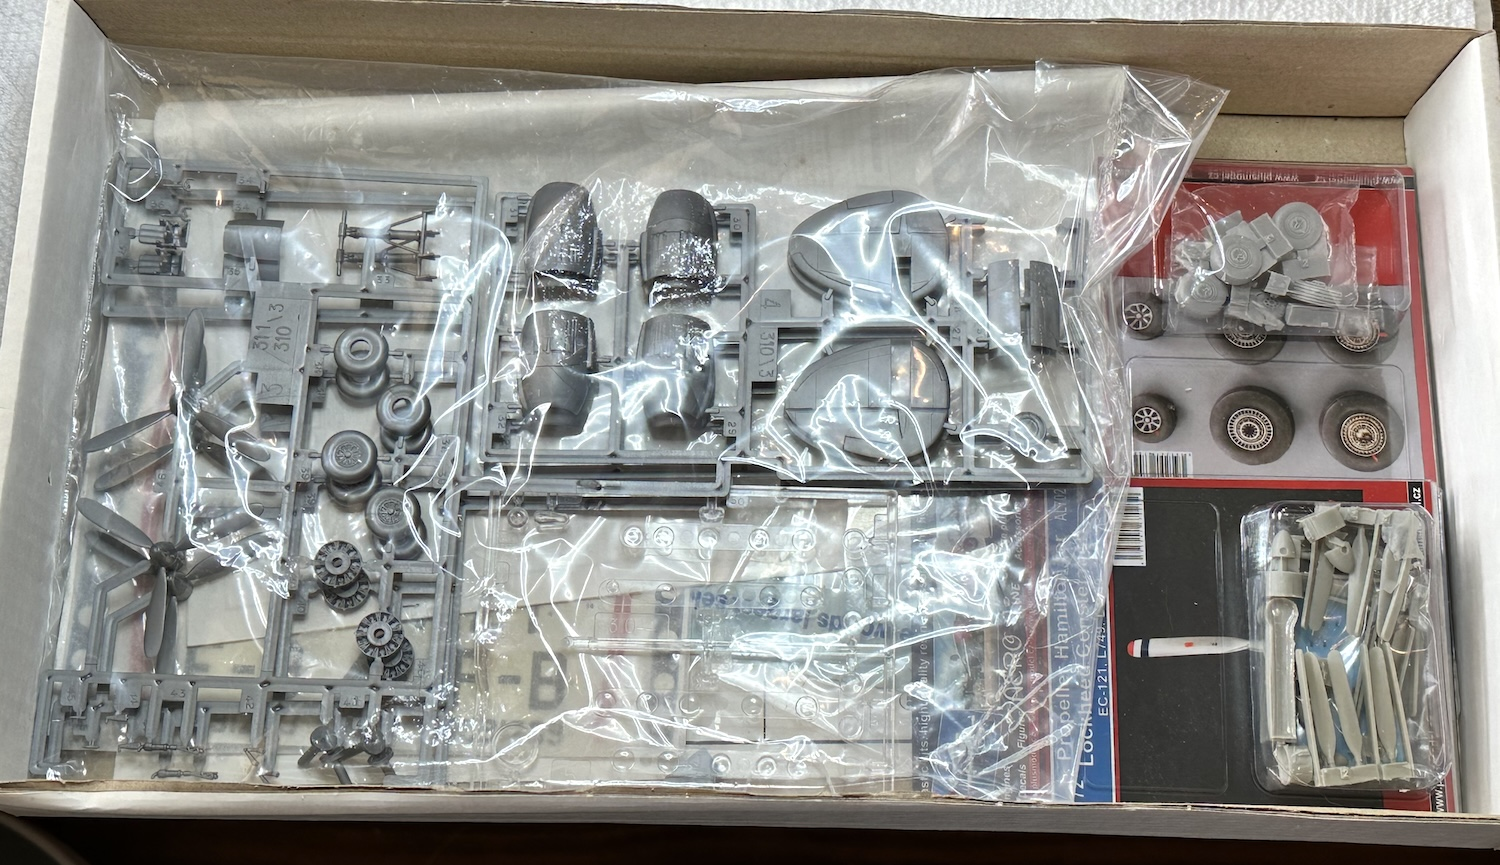
Did I mention I like Connies? While waiting for paint or glue to dry on other projects, I plunged into a project that had long been waiting on the shelf for the right time. I recently found a place that had the Vintage Flyer 1/72 TWA markings for the launch version of the L-749. I have them in 1/144 but that project is stalled indefinitely as indicated earlier.
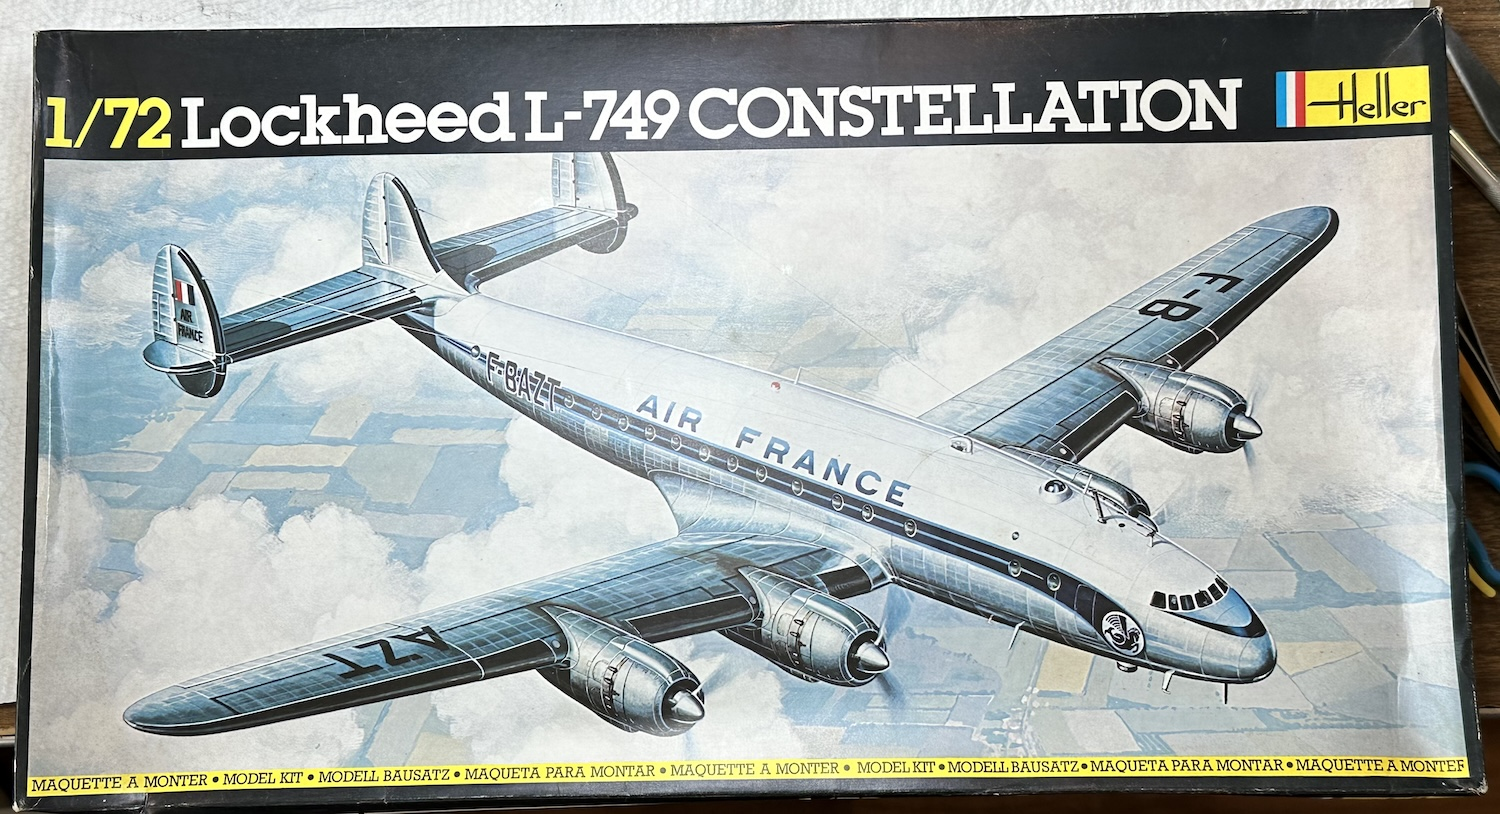
This is a BIG model & I have no idea where it will be displayed but that is no reason not to plunge into the project. I have owned this big Heller Constellation since it came out. Long ago, the modeling community noted that the portholes were oversized. Some intrepid builders filled in the holes and redrilled them in a smaller size, a lot of work.
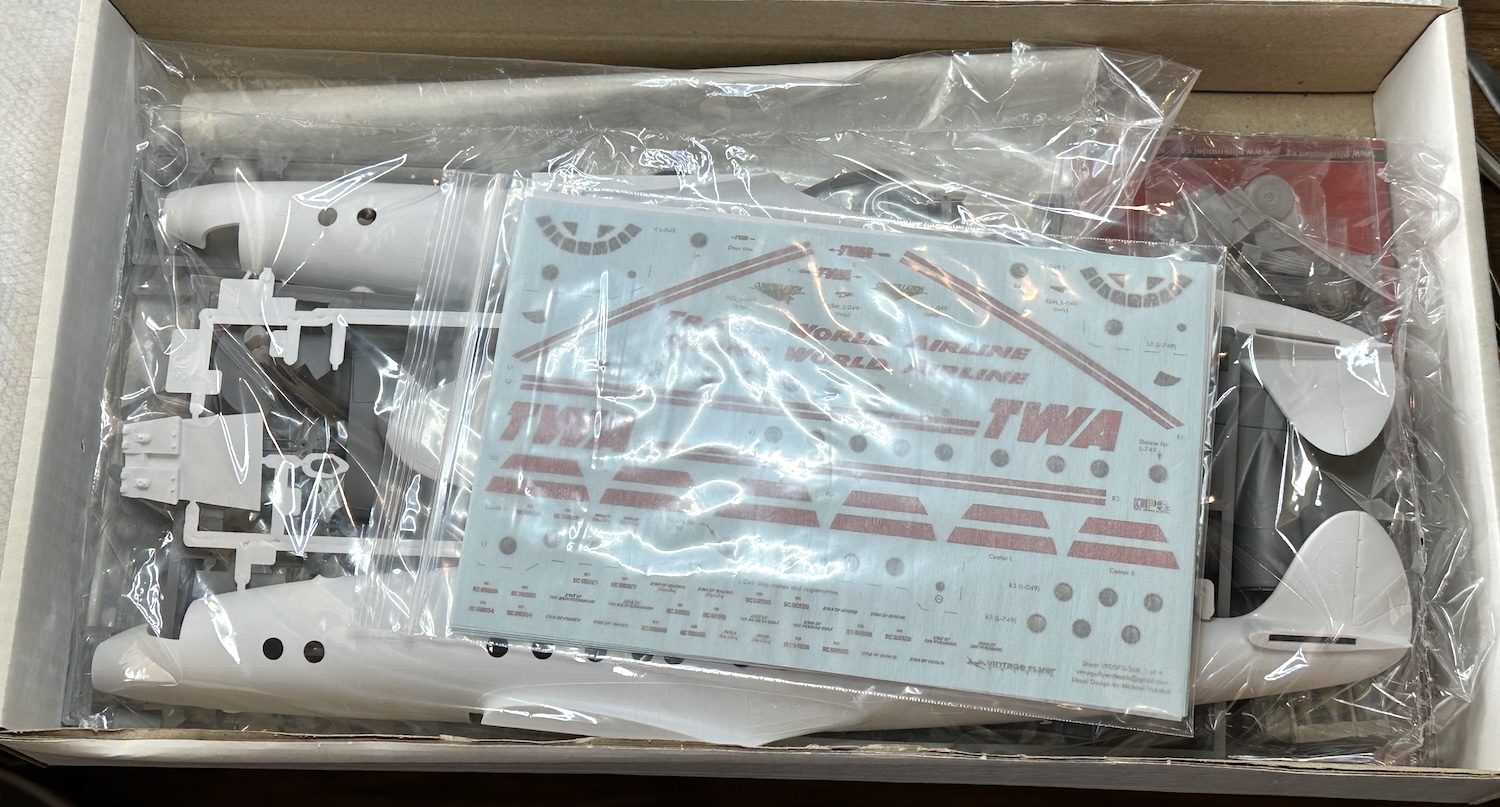
Vintage Flyer solved the issue by supplying porthole decals with appropriate curtains and passengers. They look very convincing even in this big scale. Also on the sheet are cockpit decals with ghosted in pilots. This model will need lots of weight to keep the nose down and the cockpit area can be used for the weight to keep it as far forward as possible.
The kit itself looks pretty nice with no flash or short shots. Detail is basic and the panel lines are raised which means I’ll have to get more practice with the scriber.
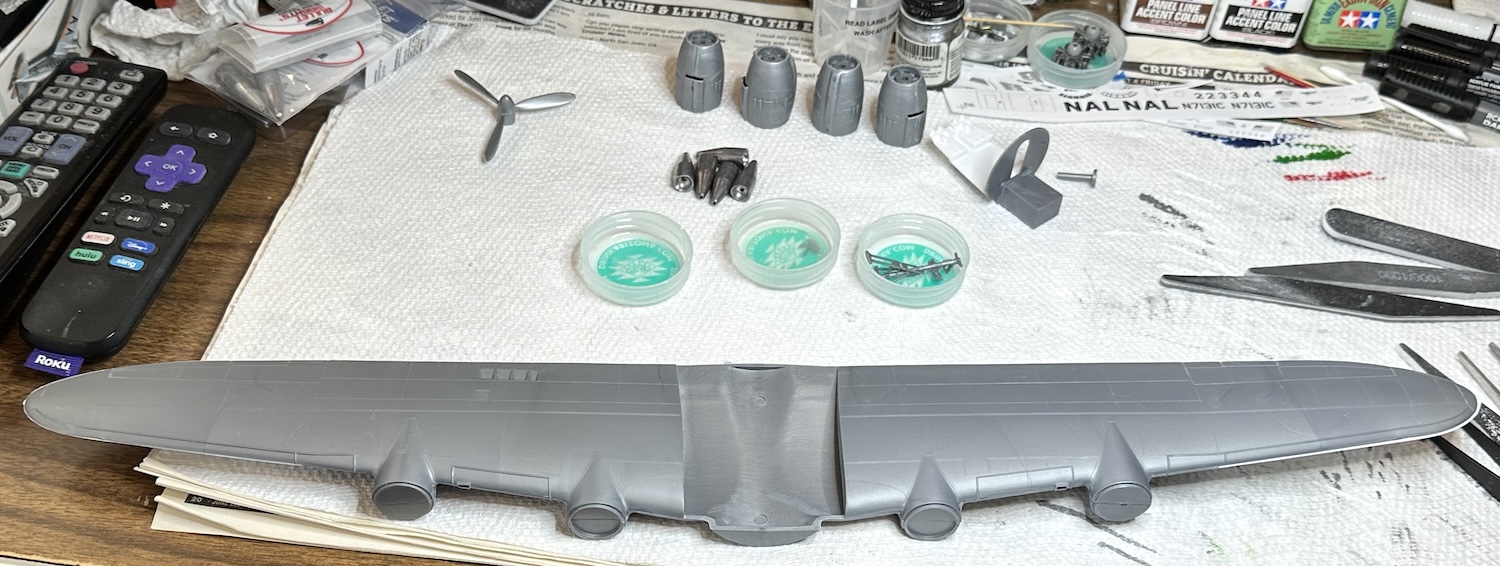
In addition to the decals, aftermarket wheels and propellers were purchased and after seeing how much lead will have to go into the nose, a metal landing gear kit has been ordered.
The last picture was getting ready for that weight & balance check. The five “bullets” are lead fishing weights.
This is gunna be as much fun as the F-RSIN kit was a pain in the ass.
Paul
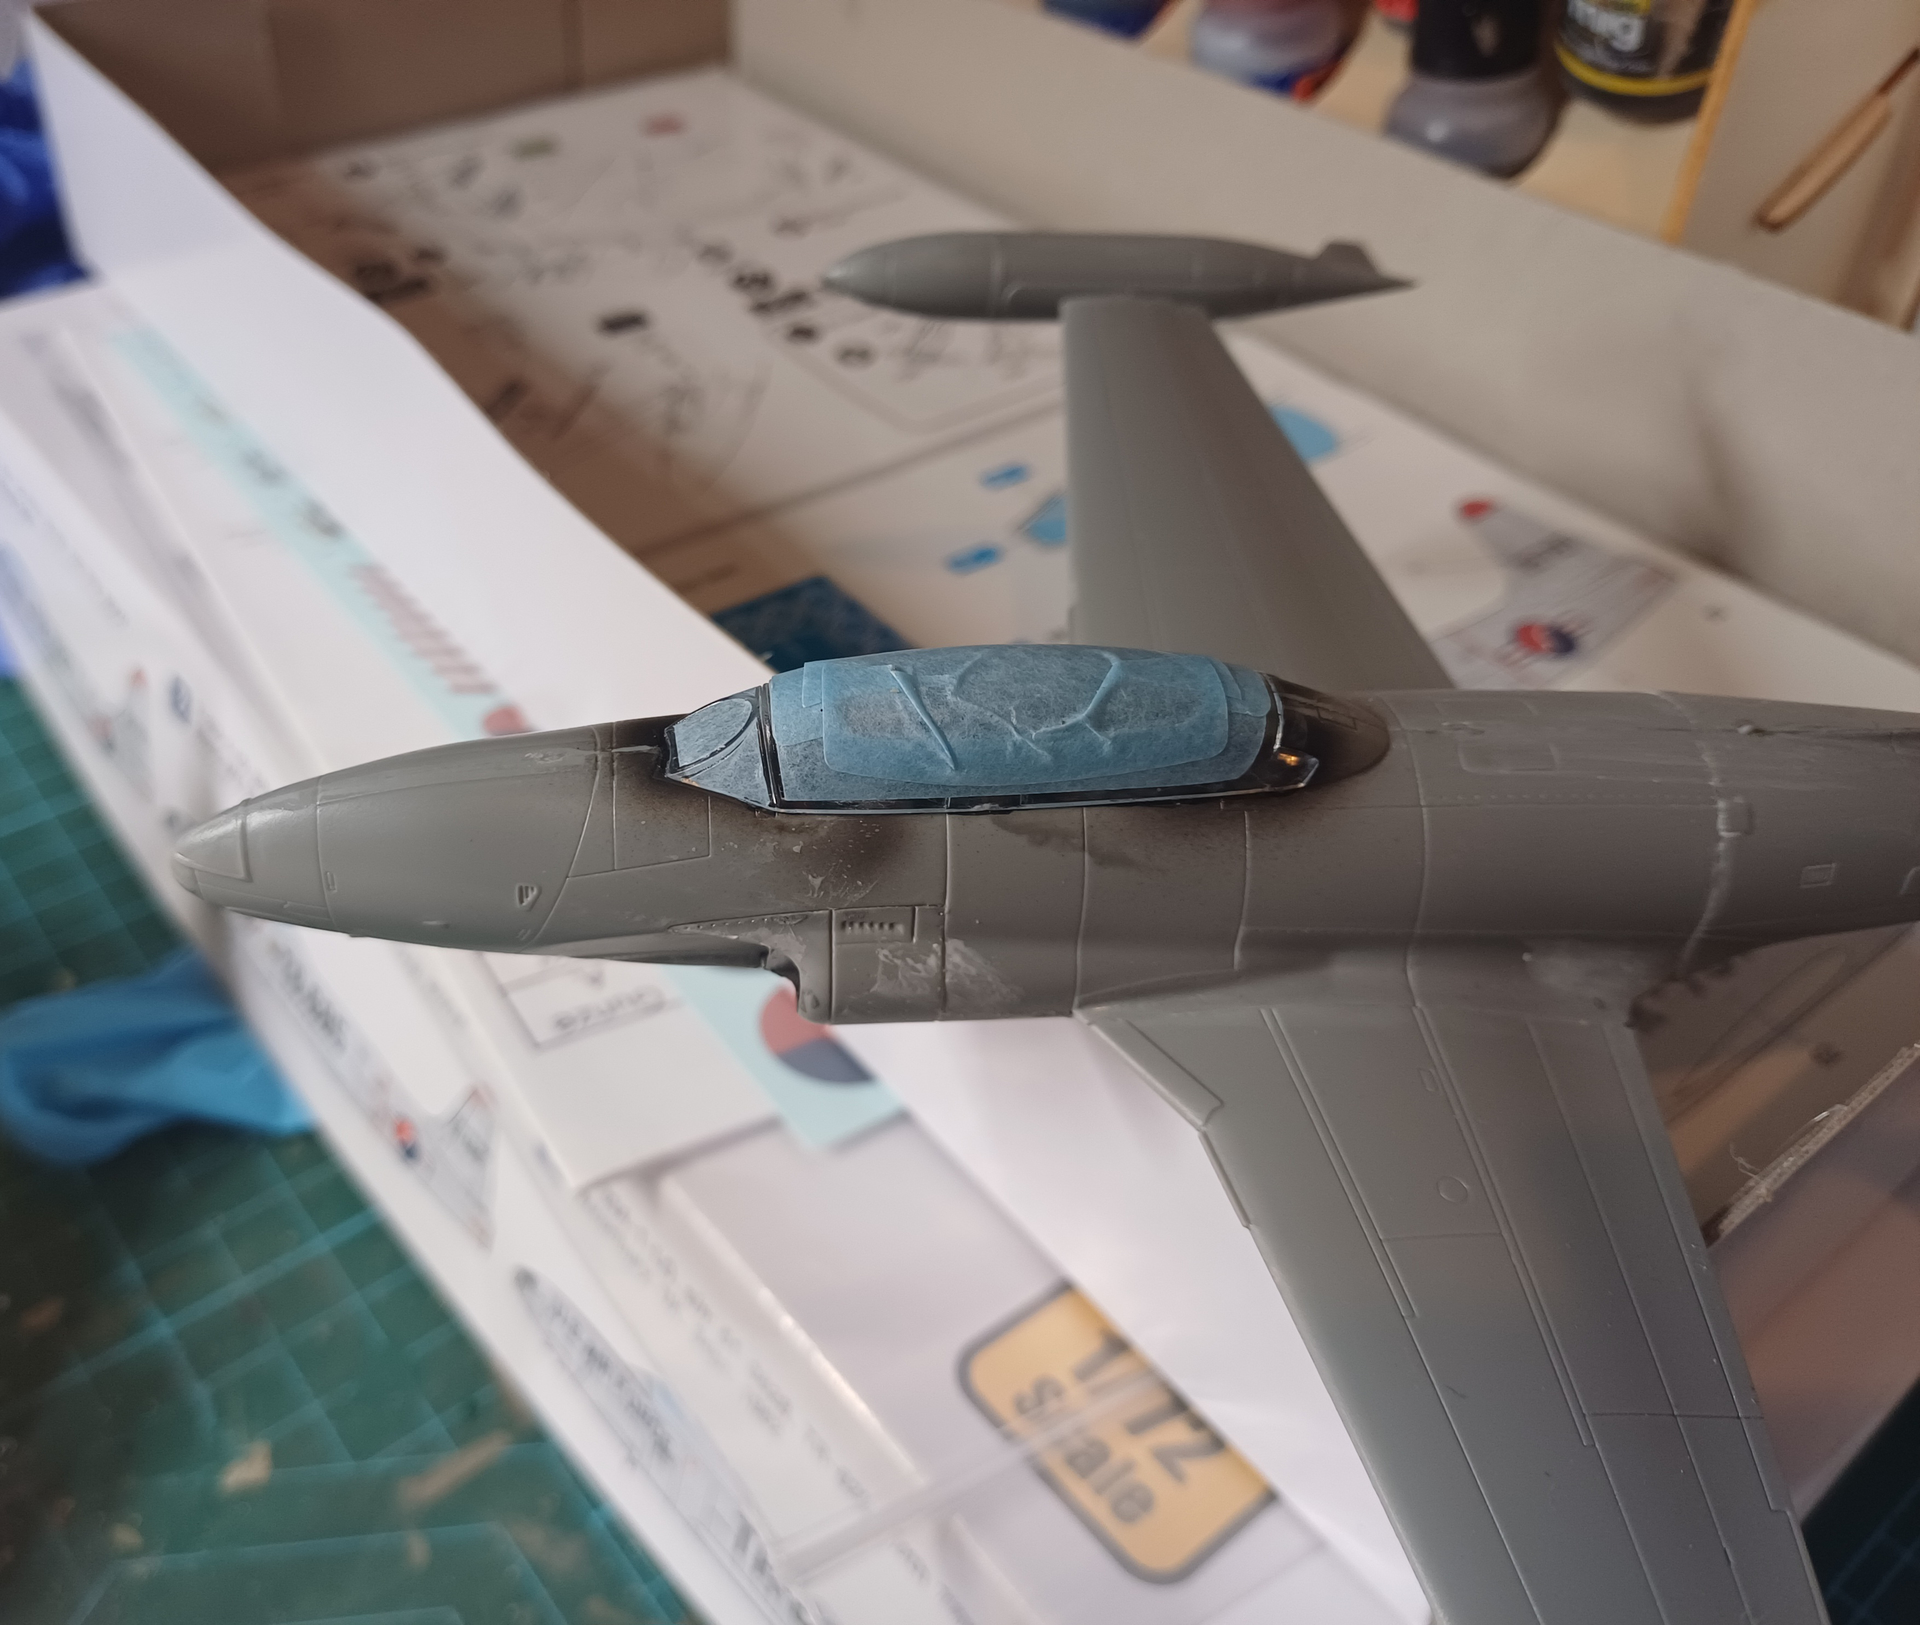
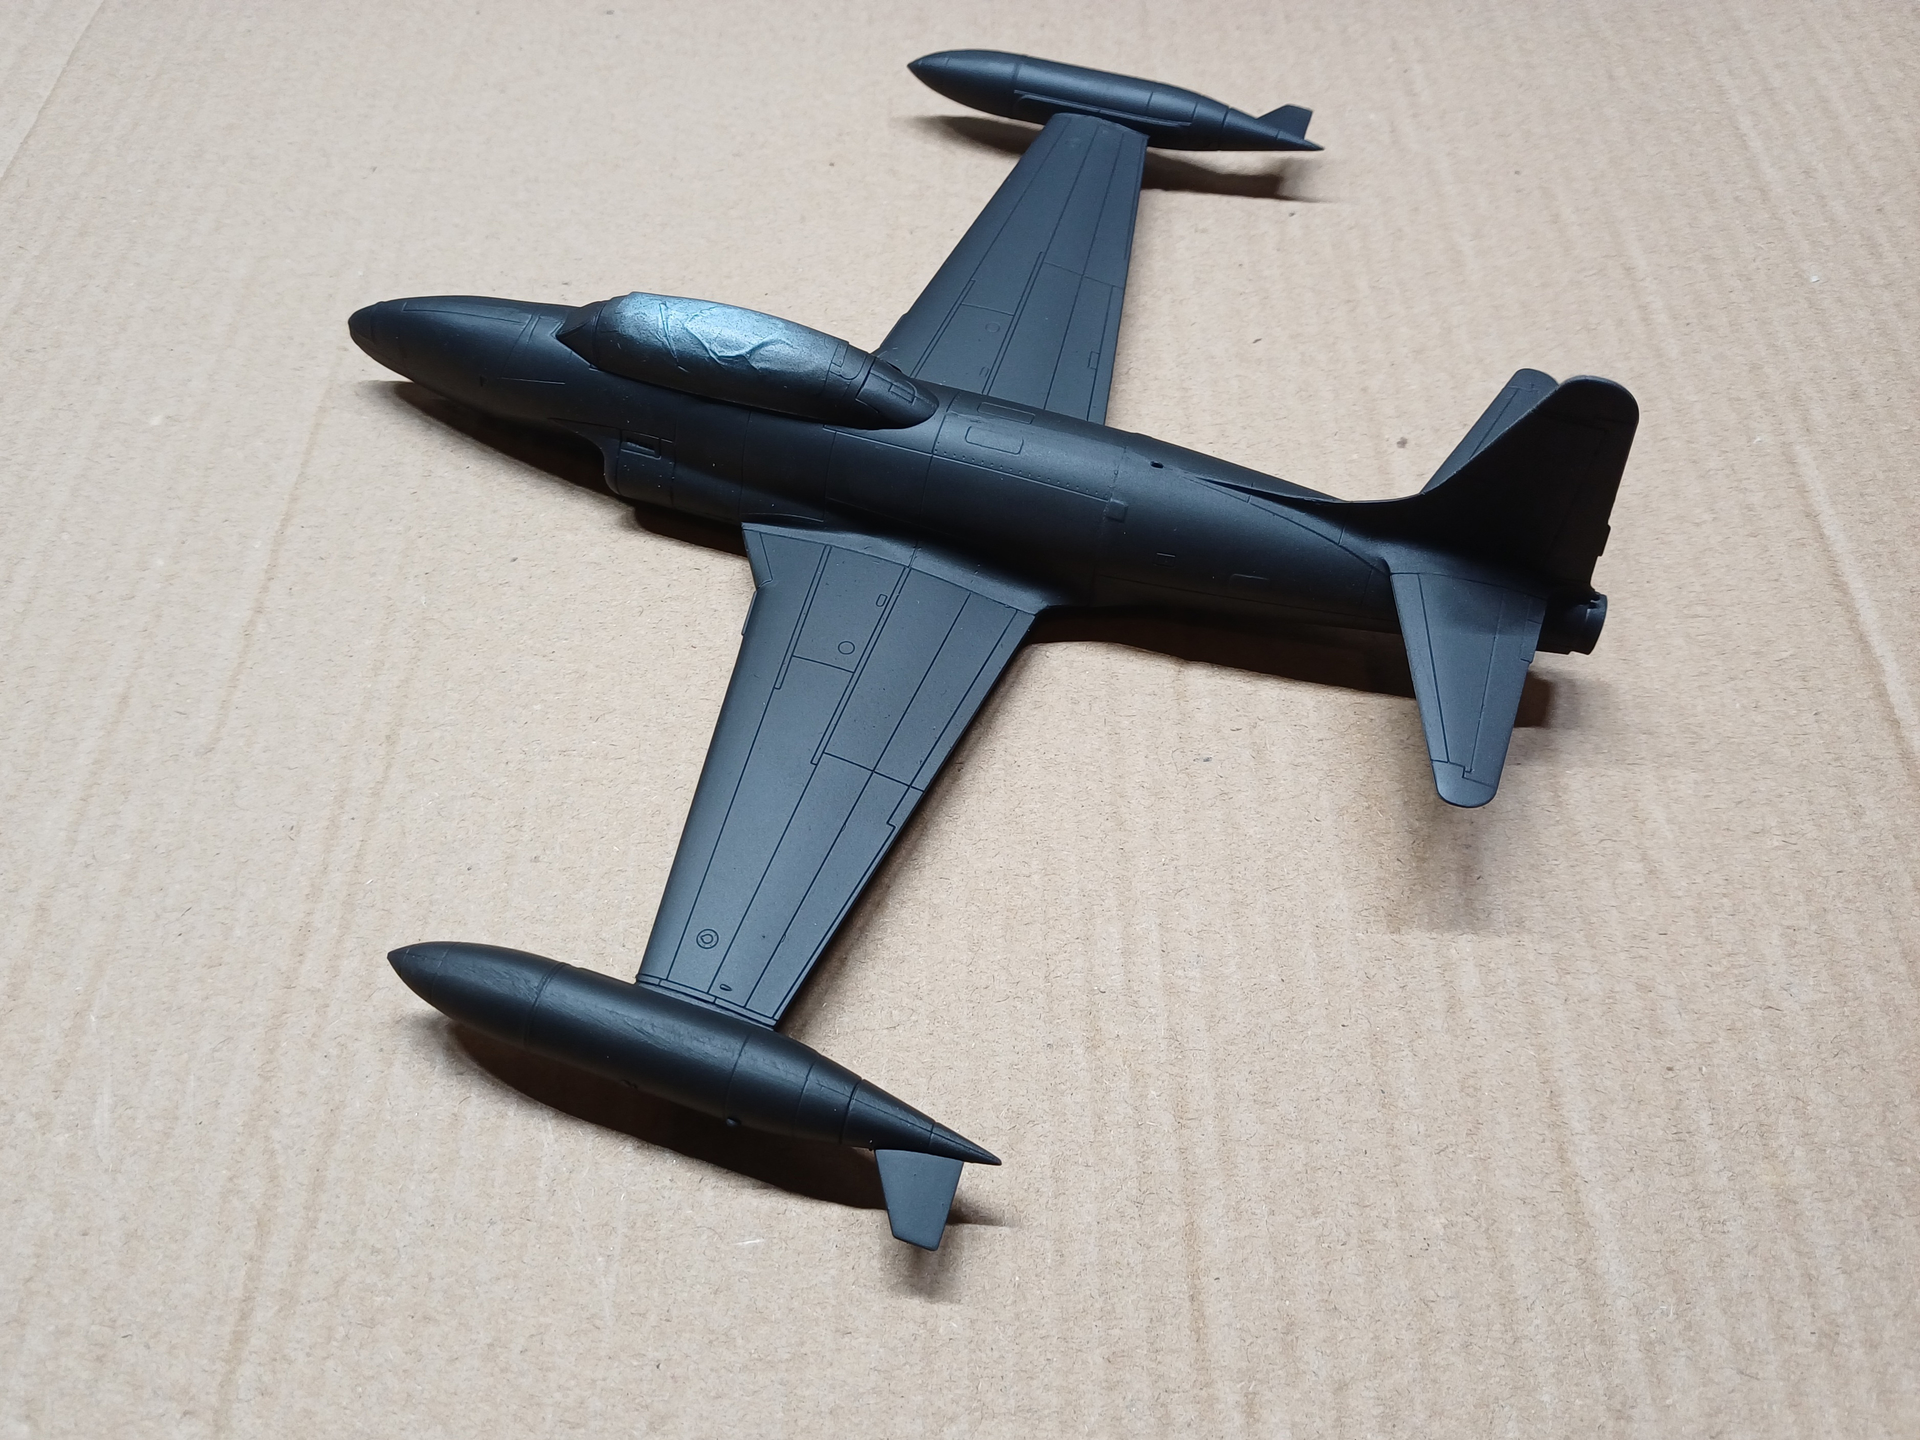
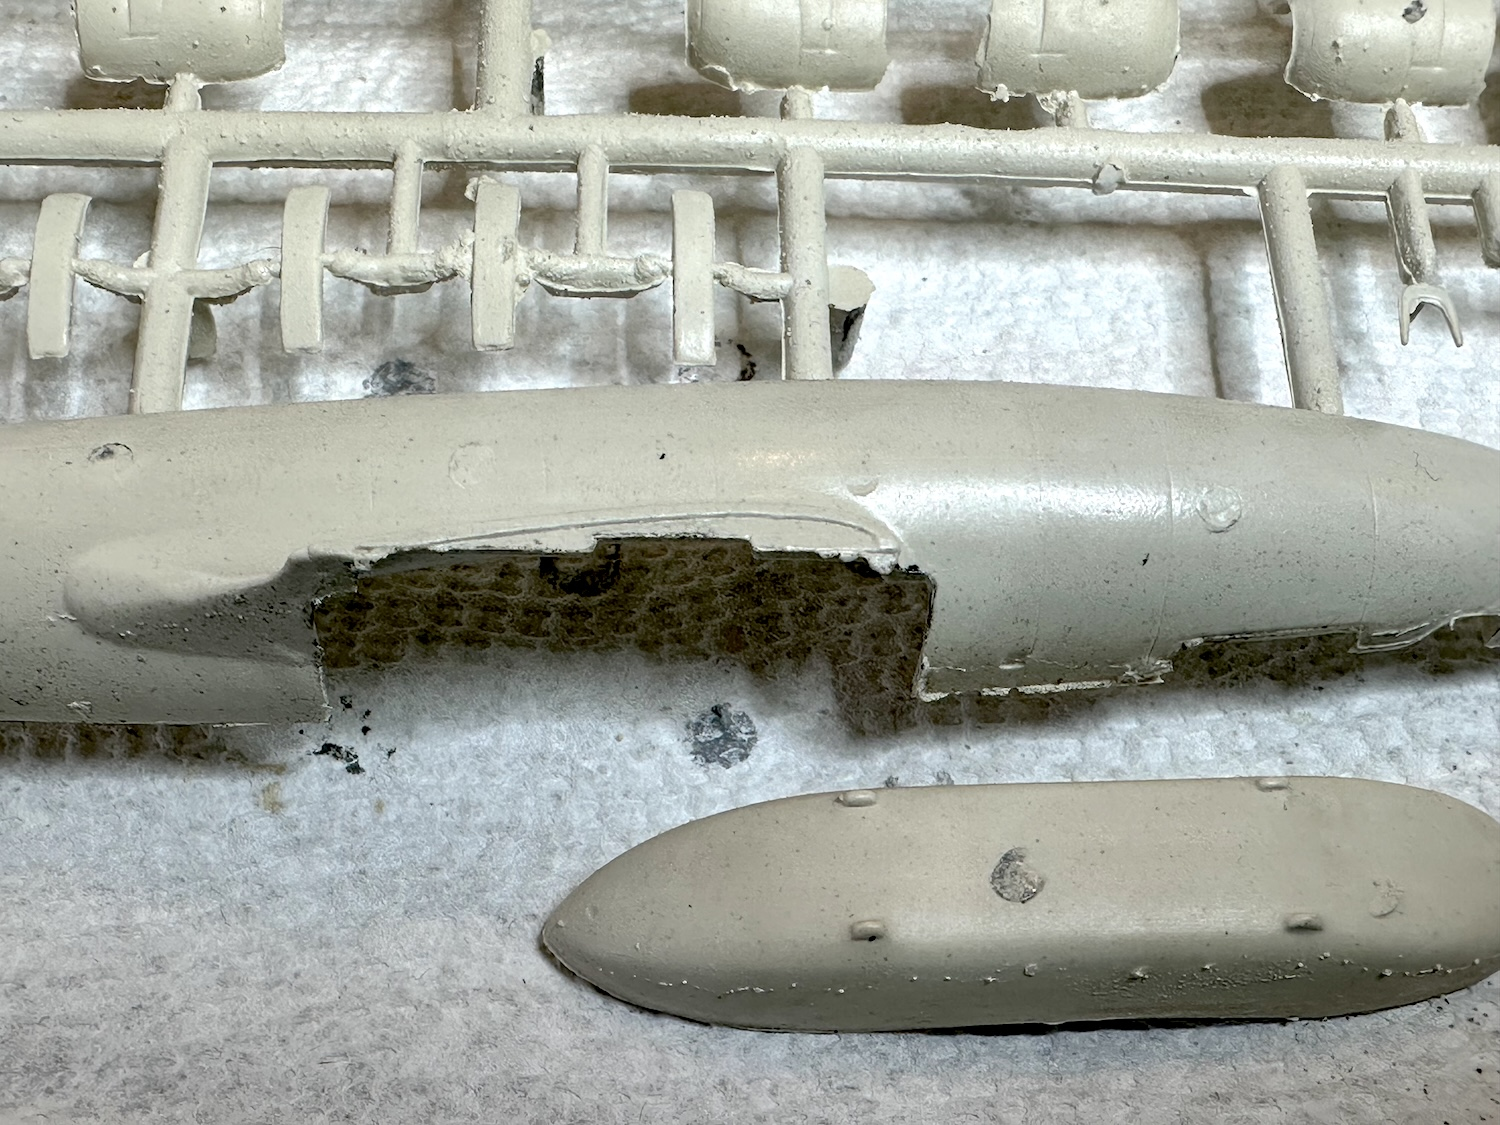
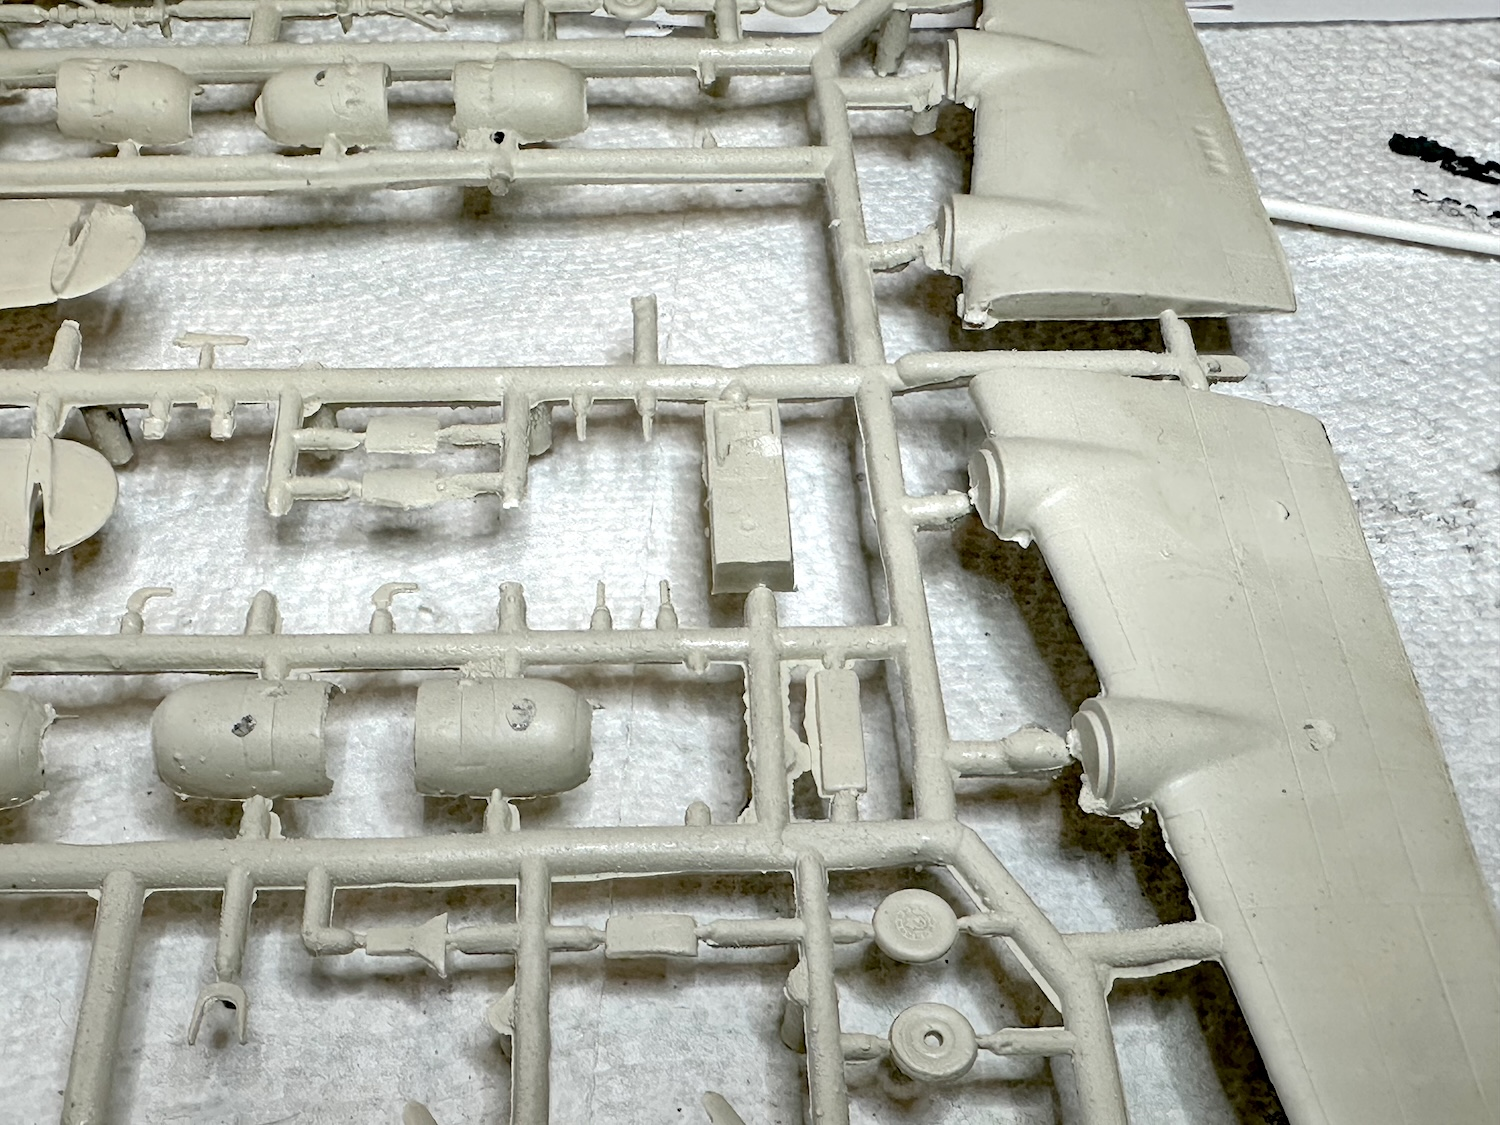
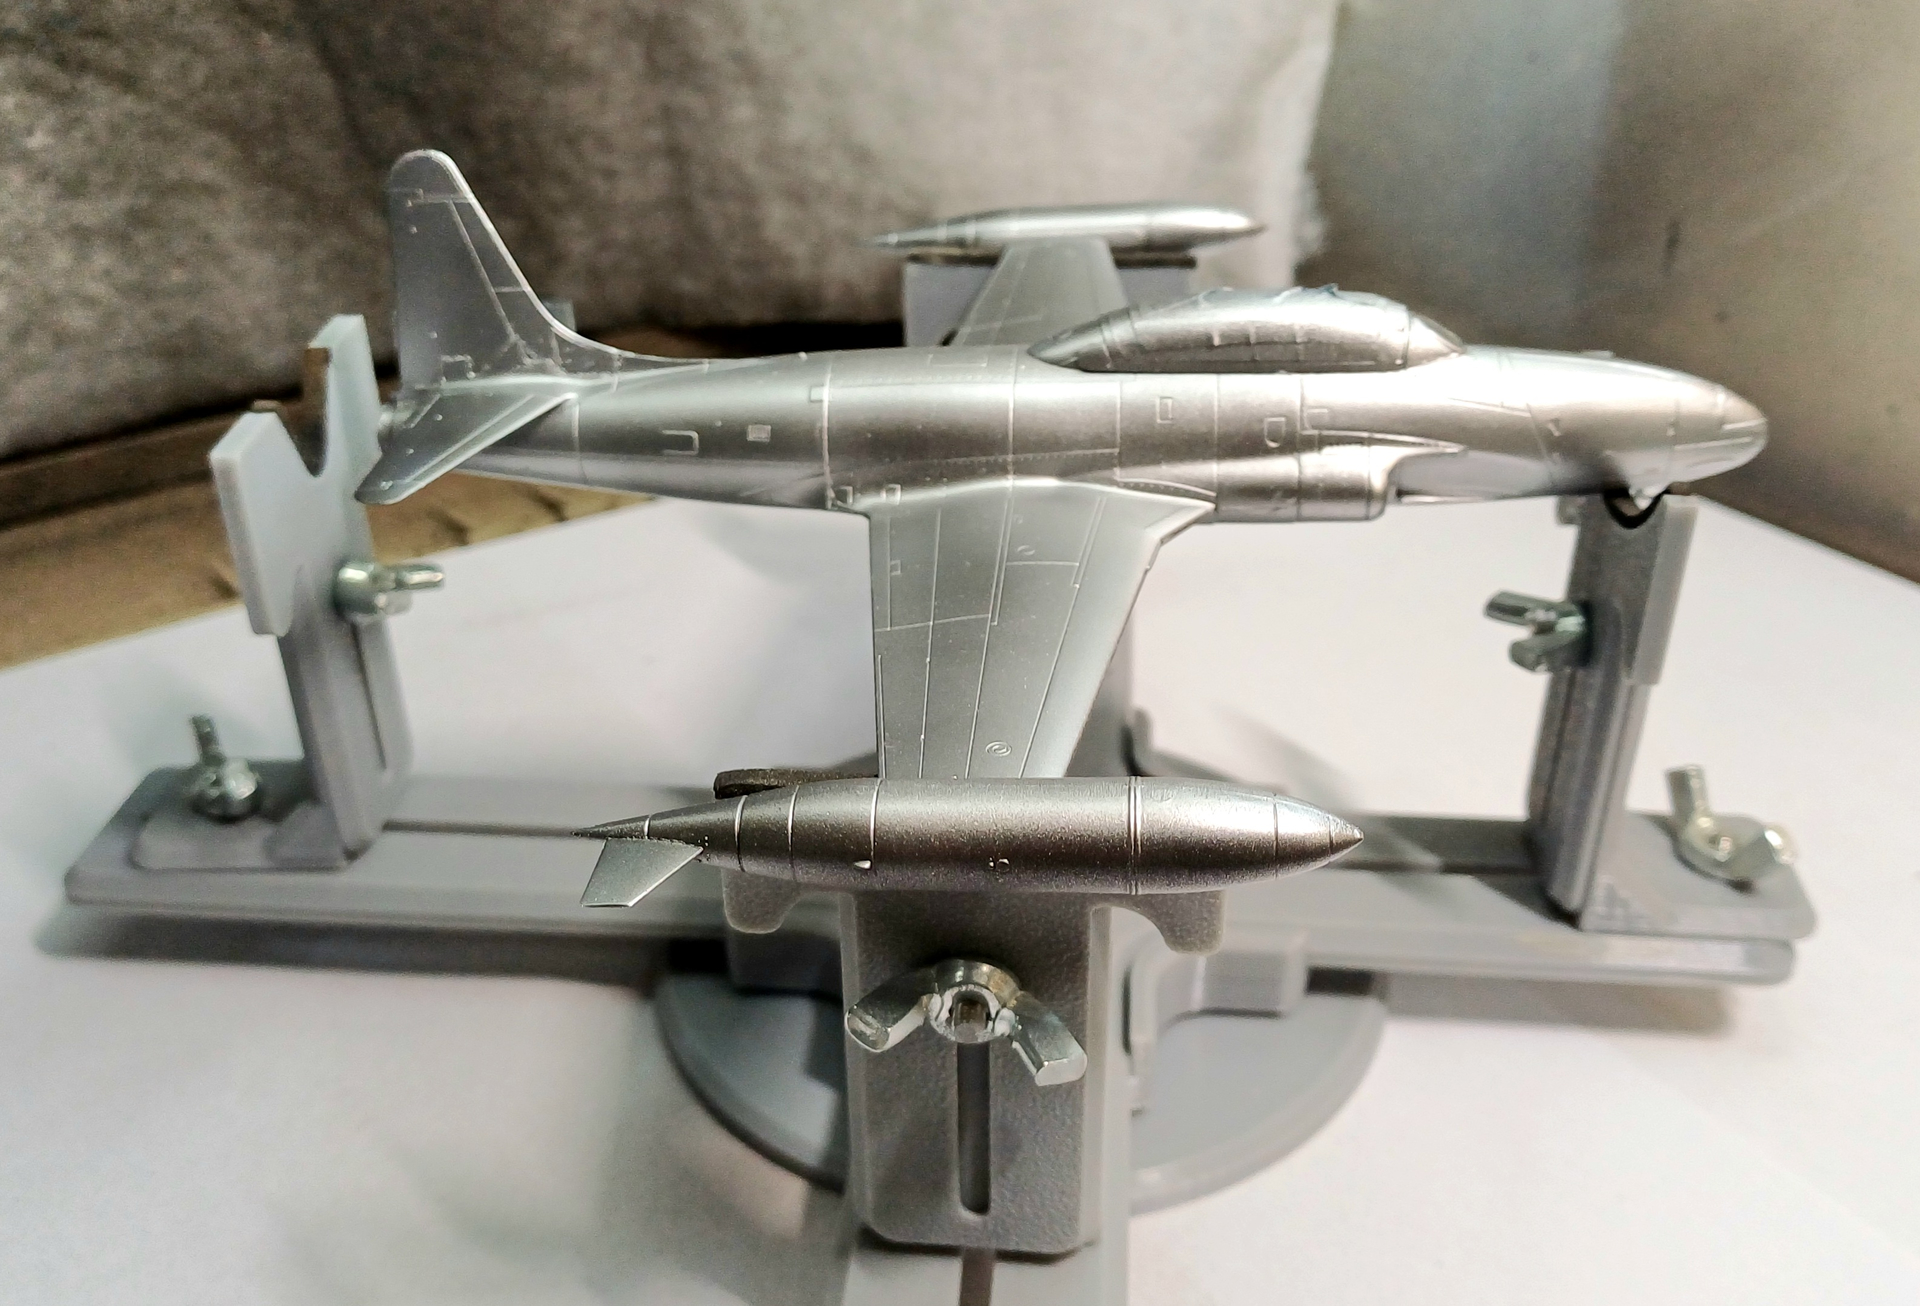
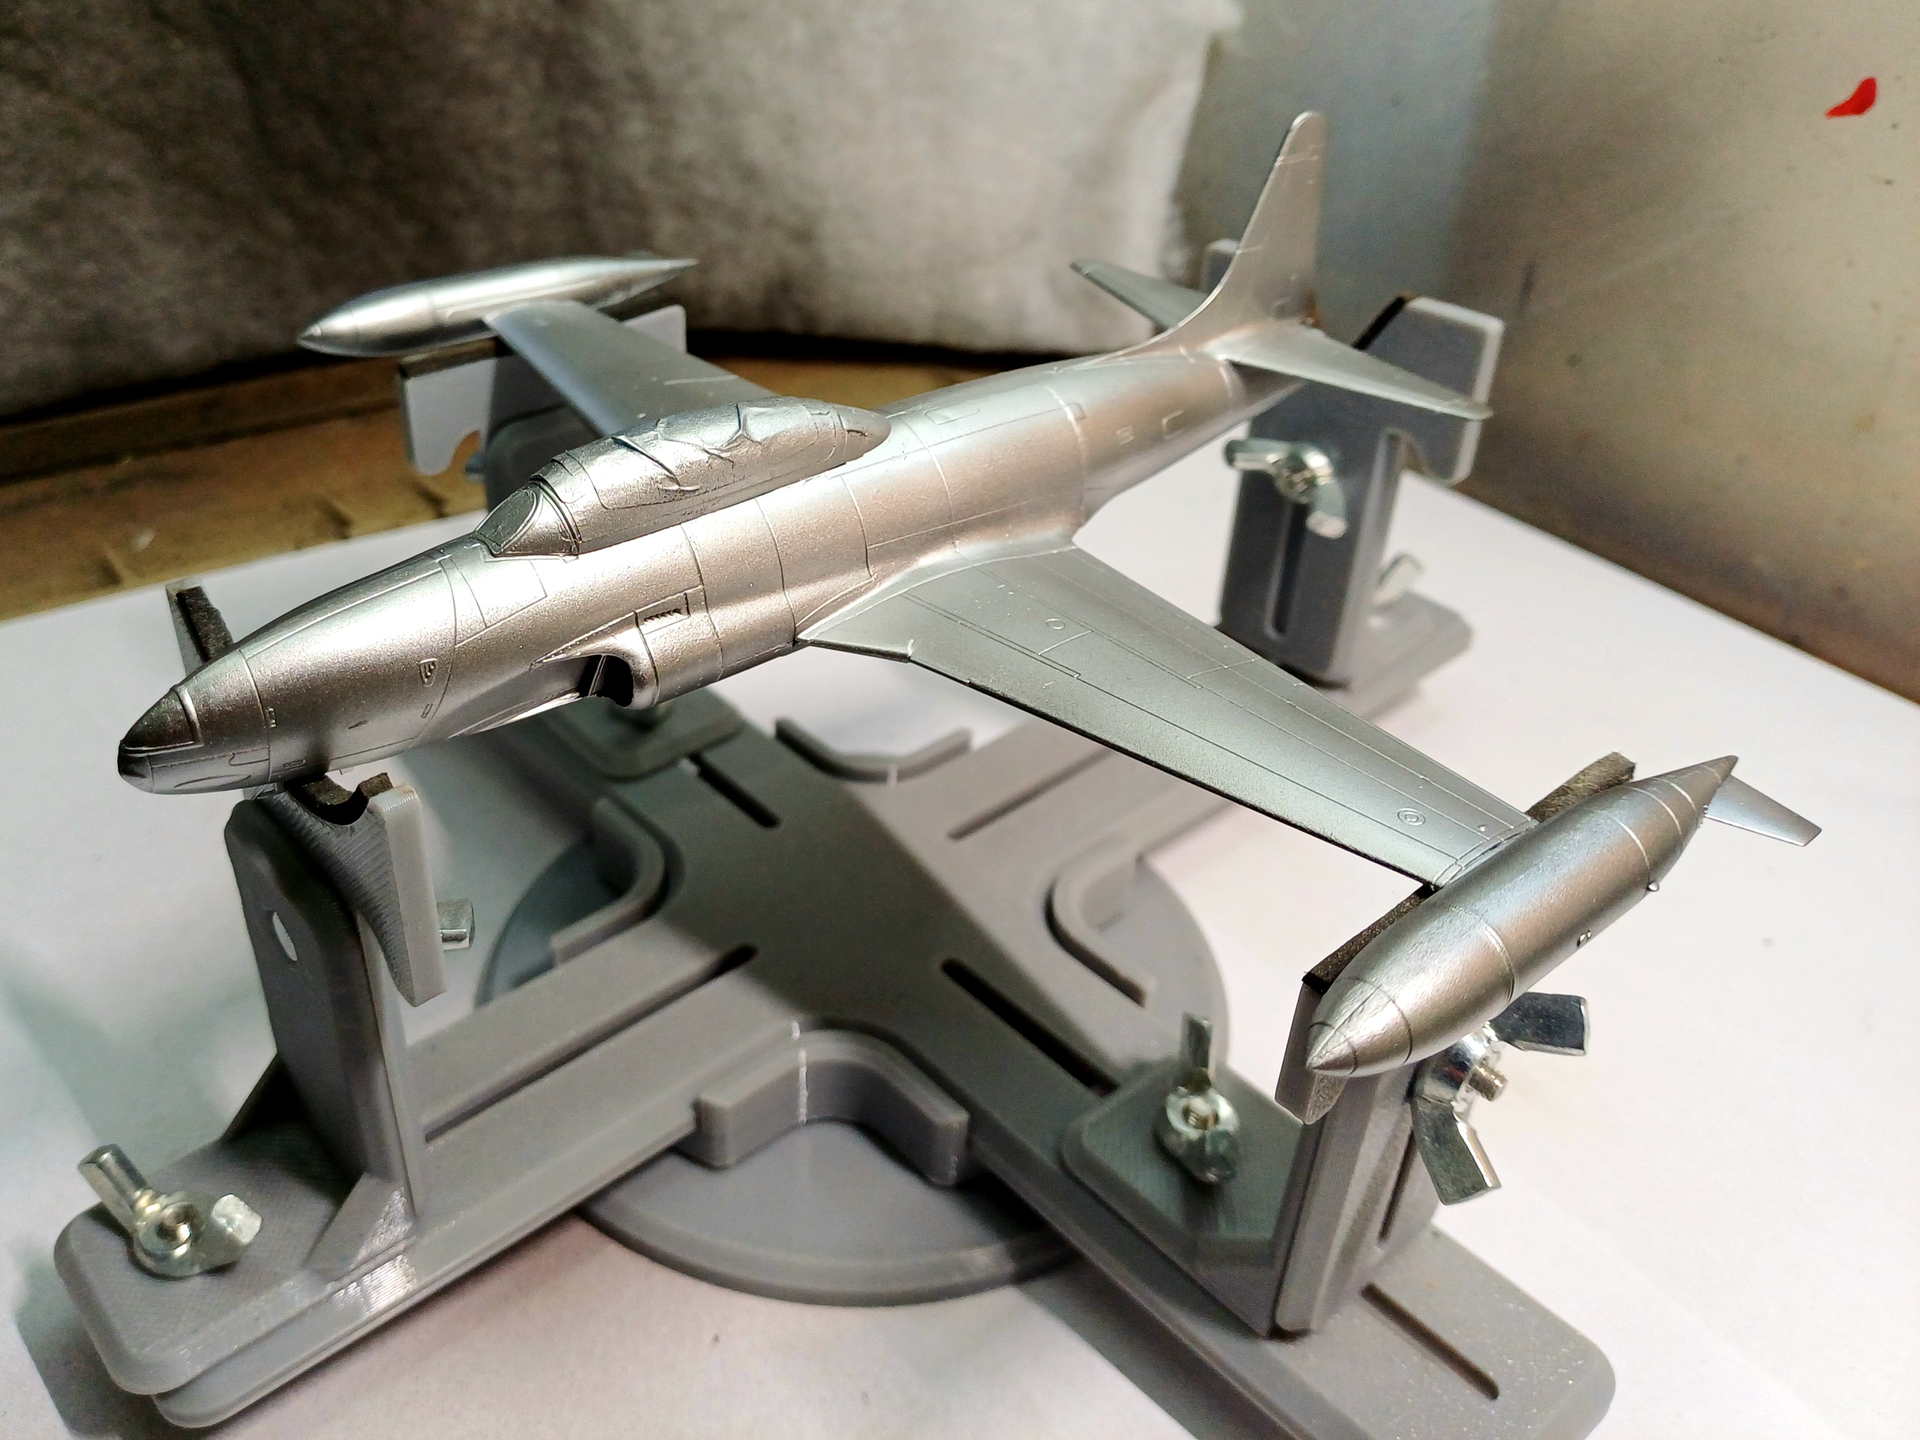
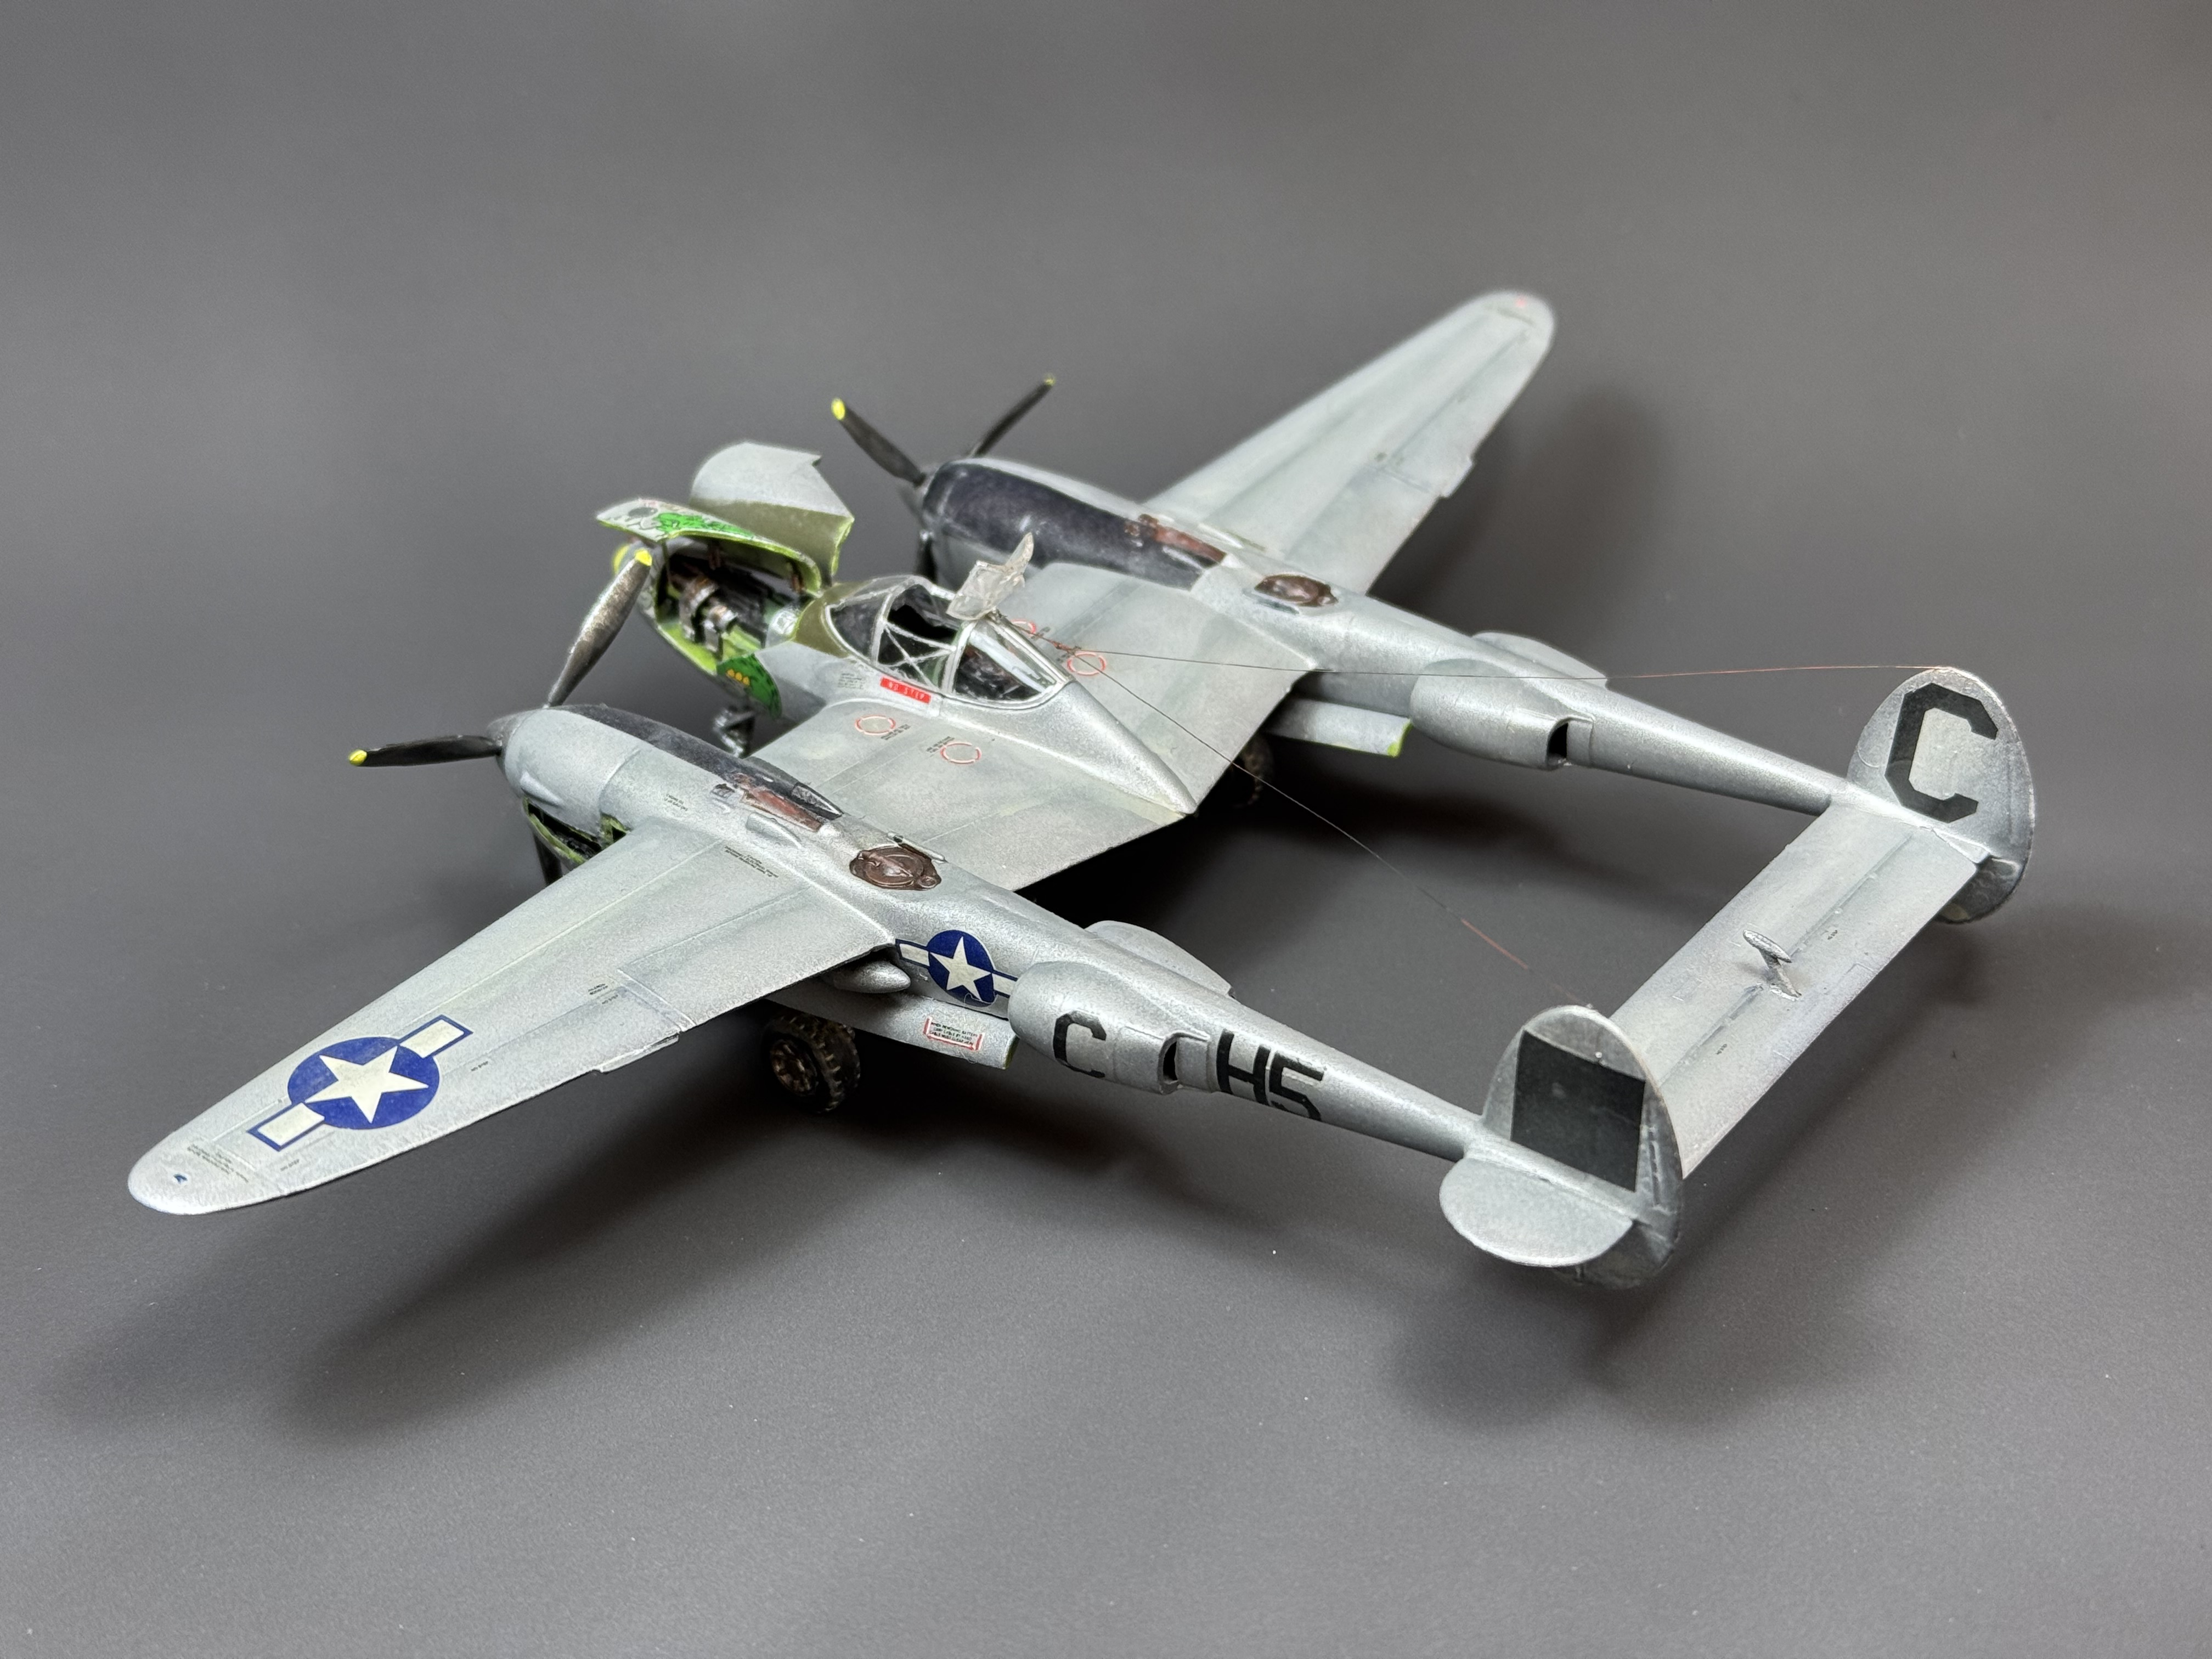
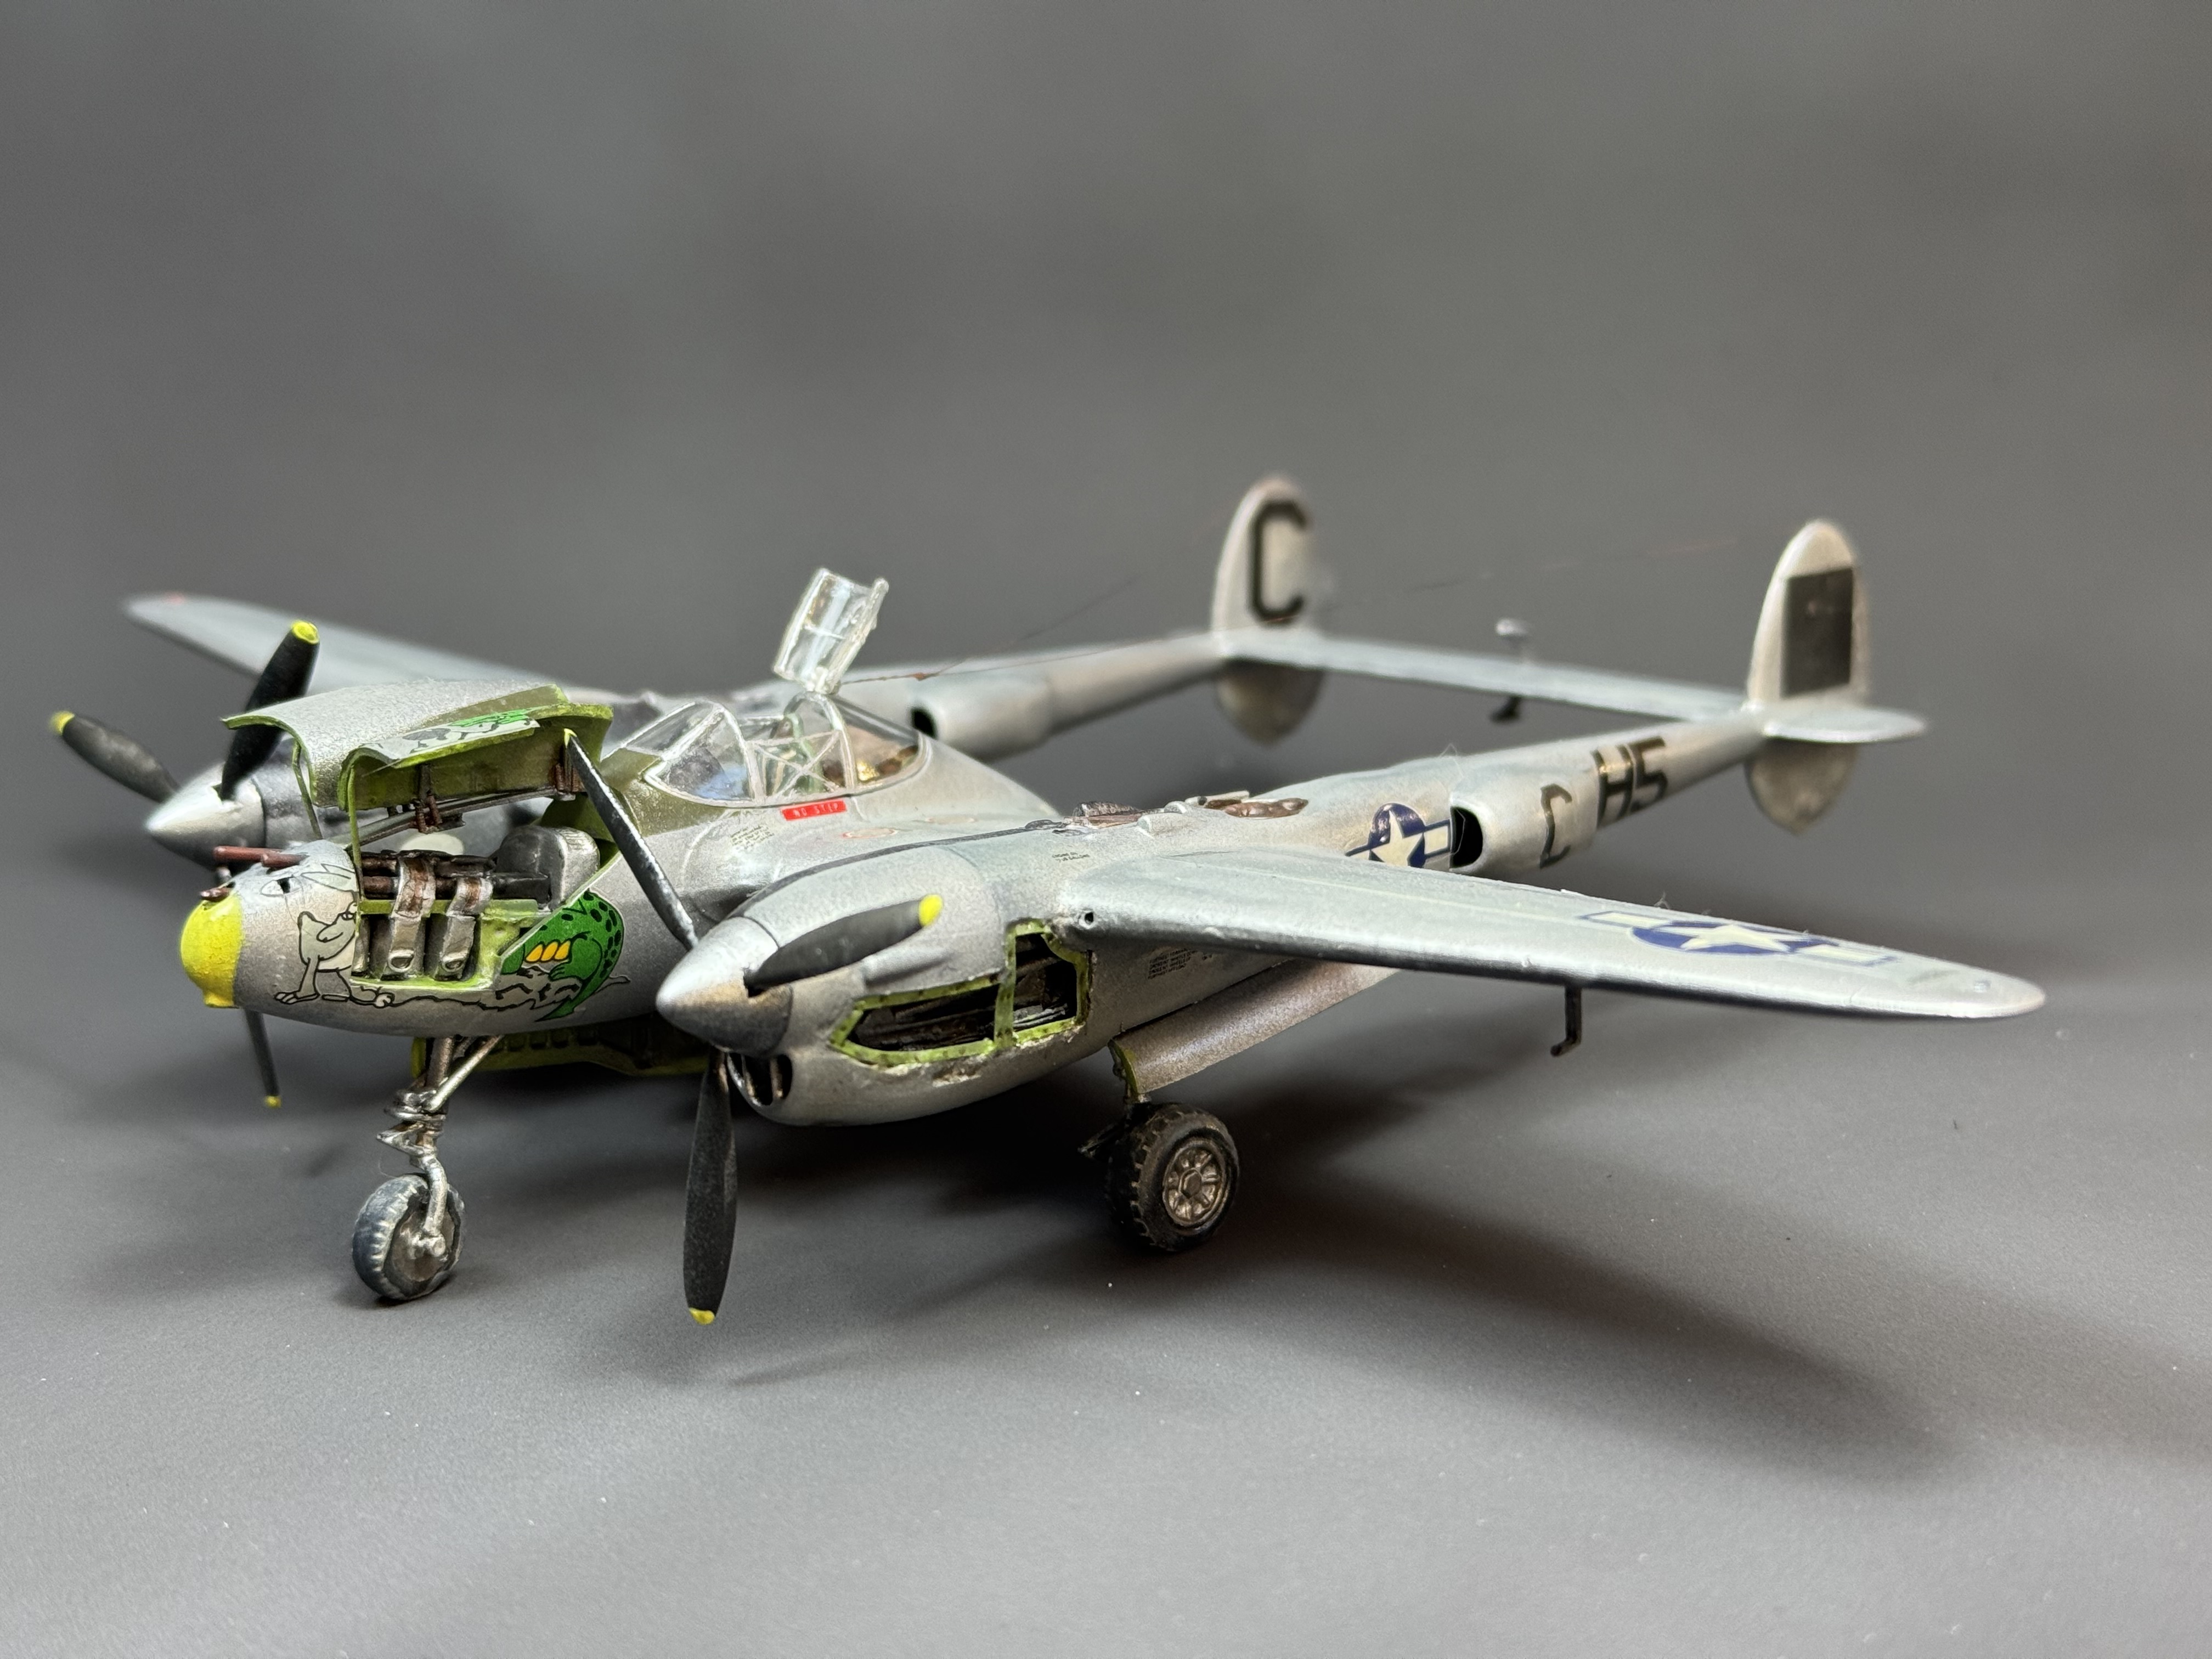
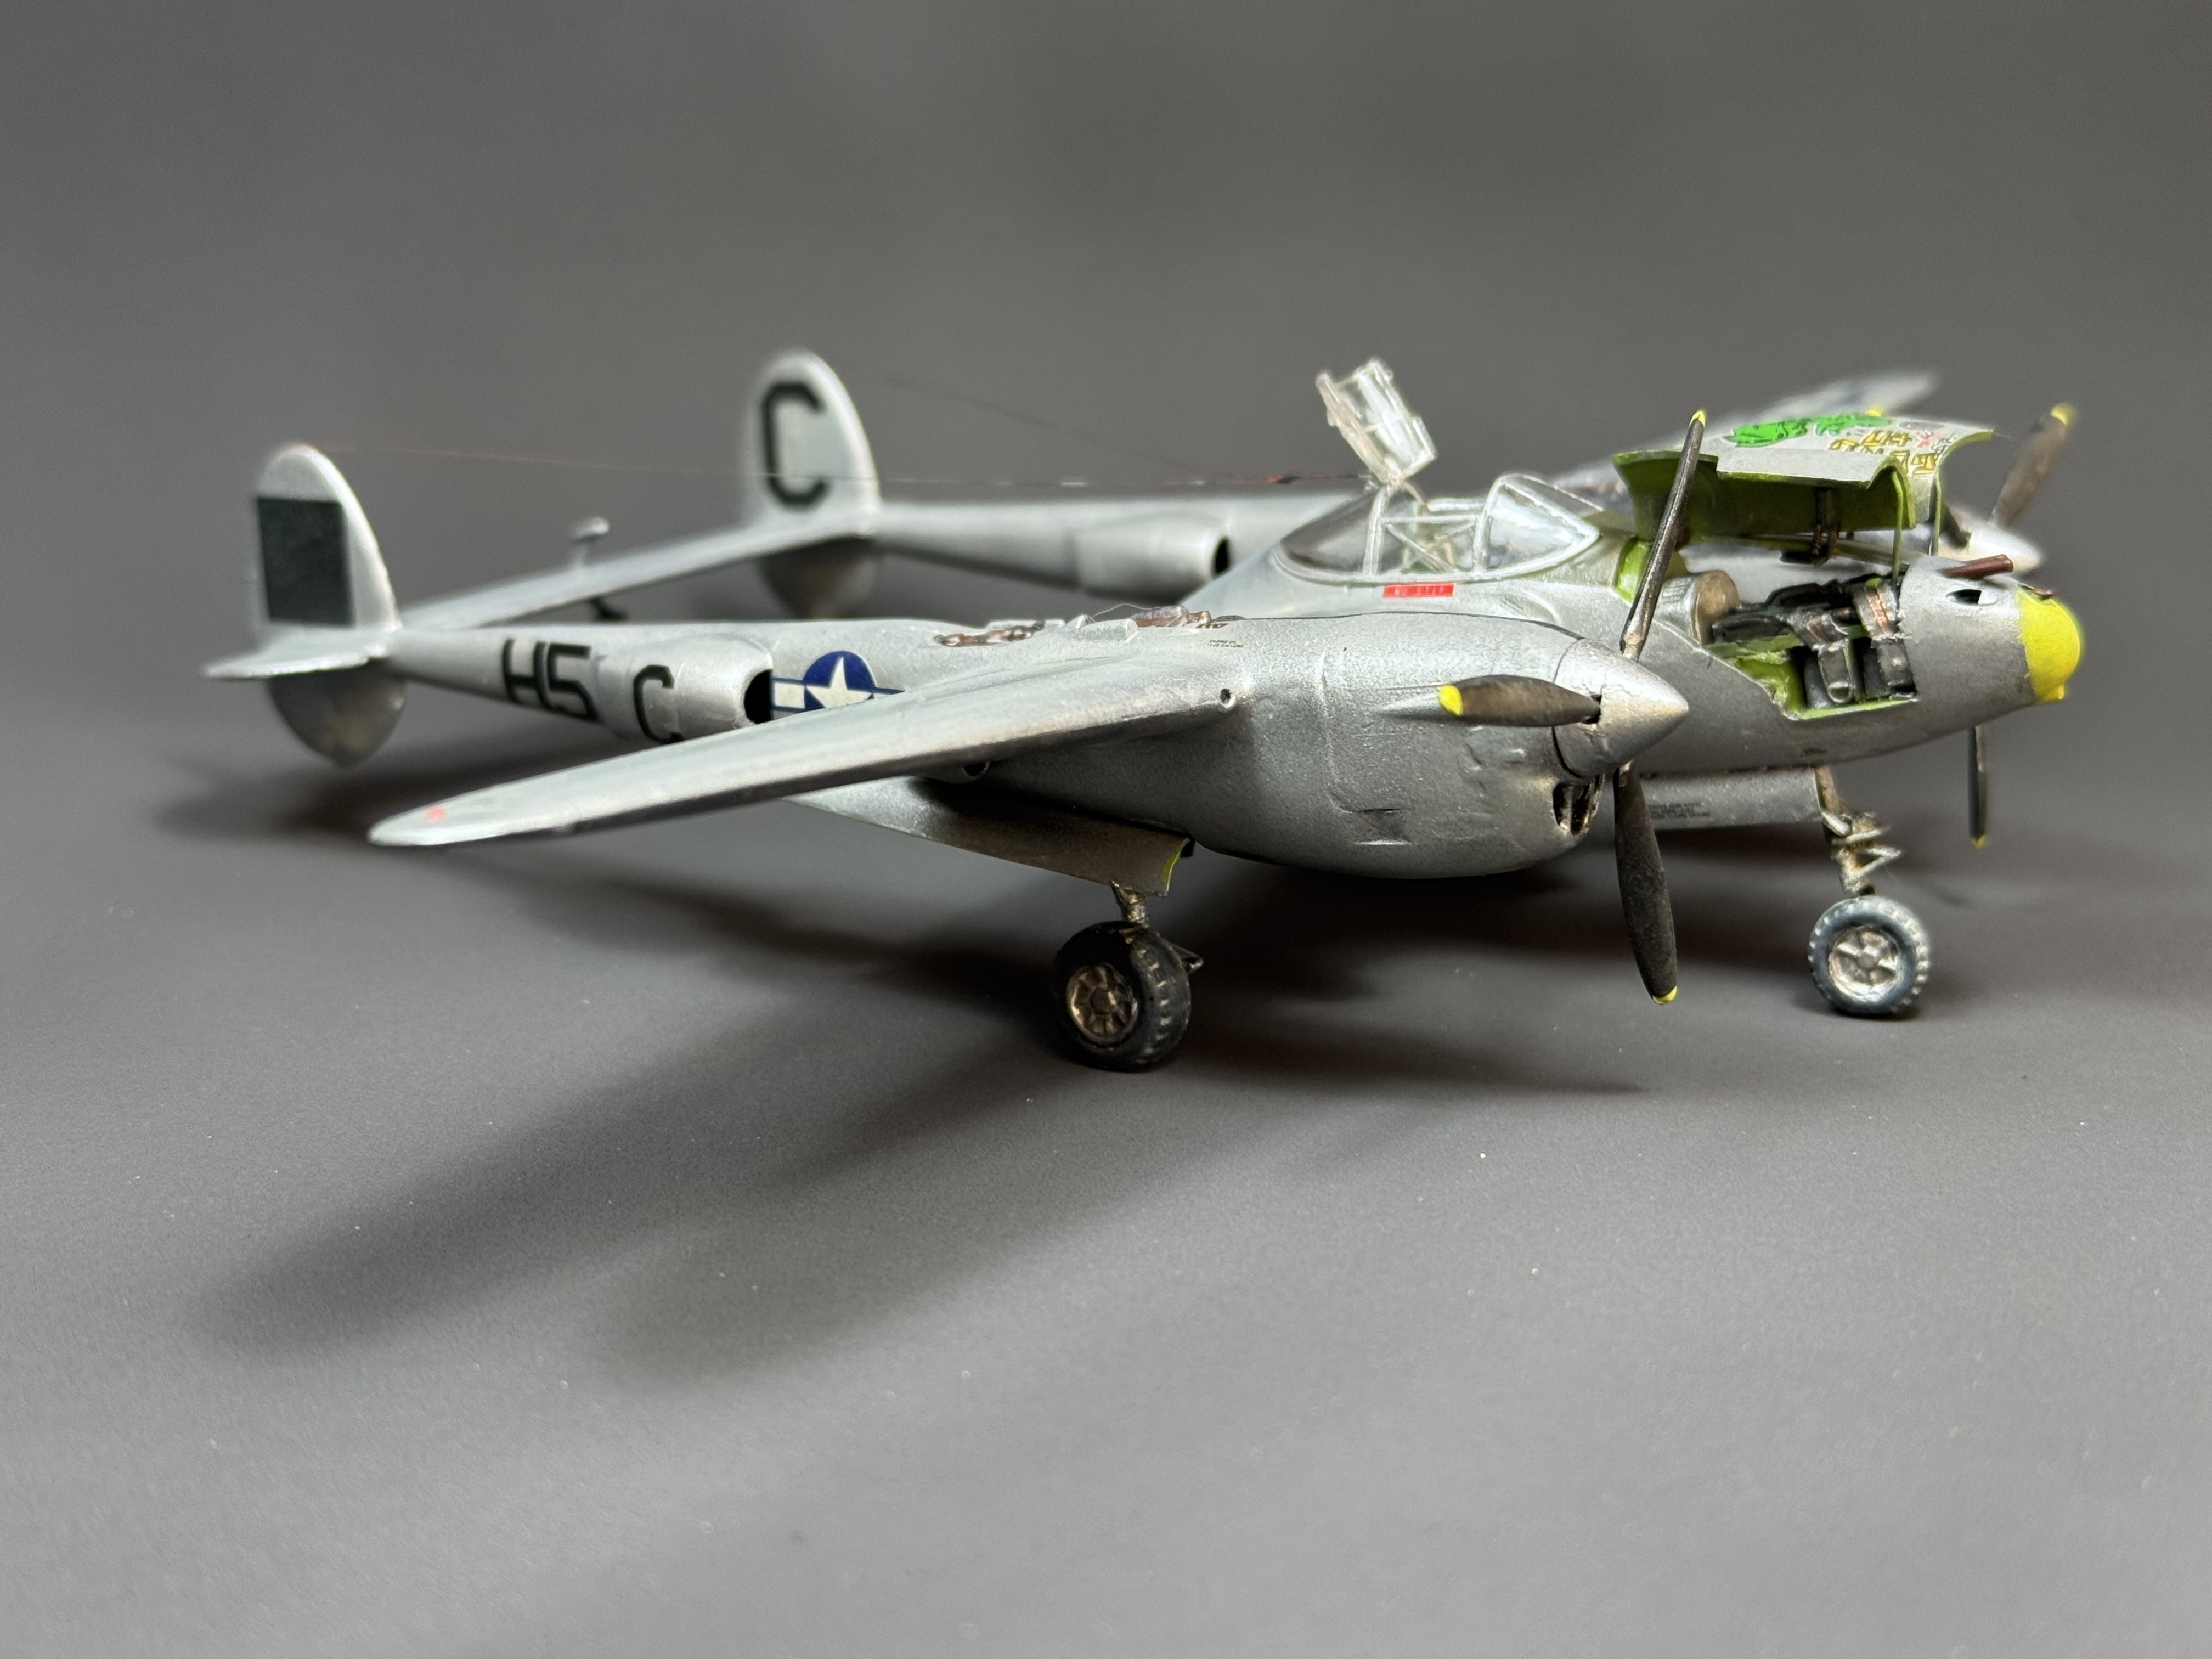
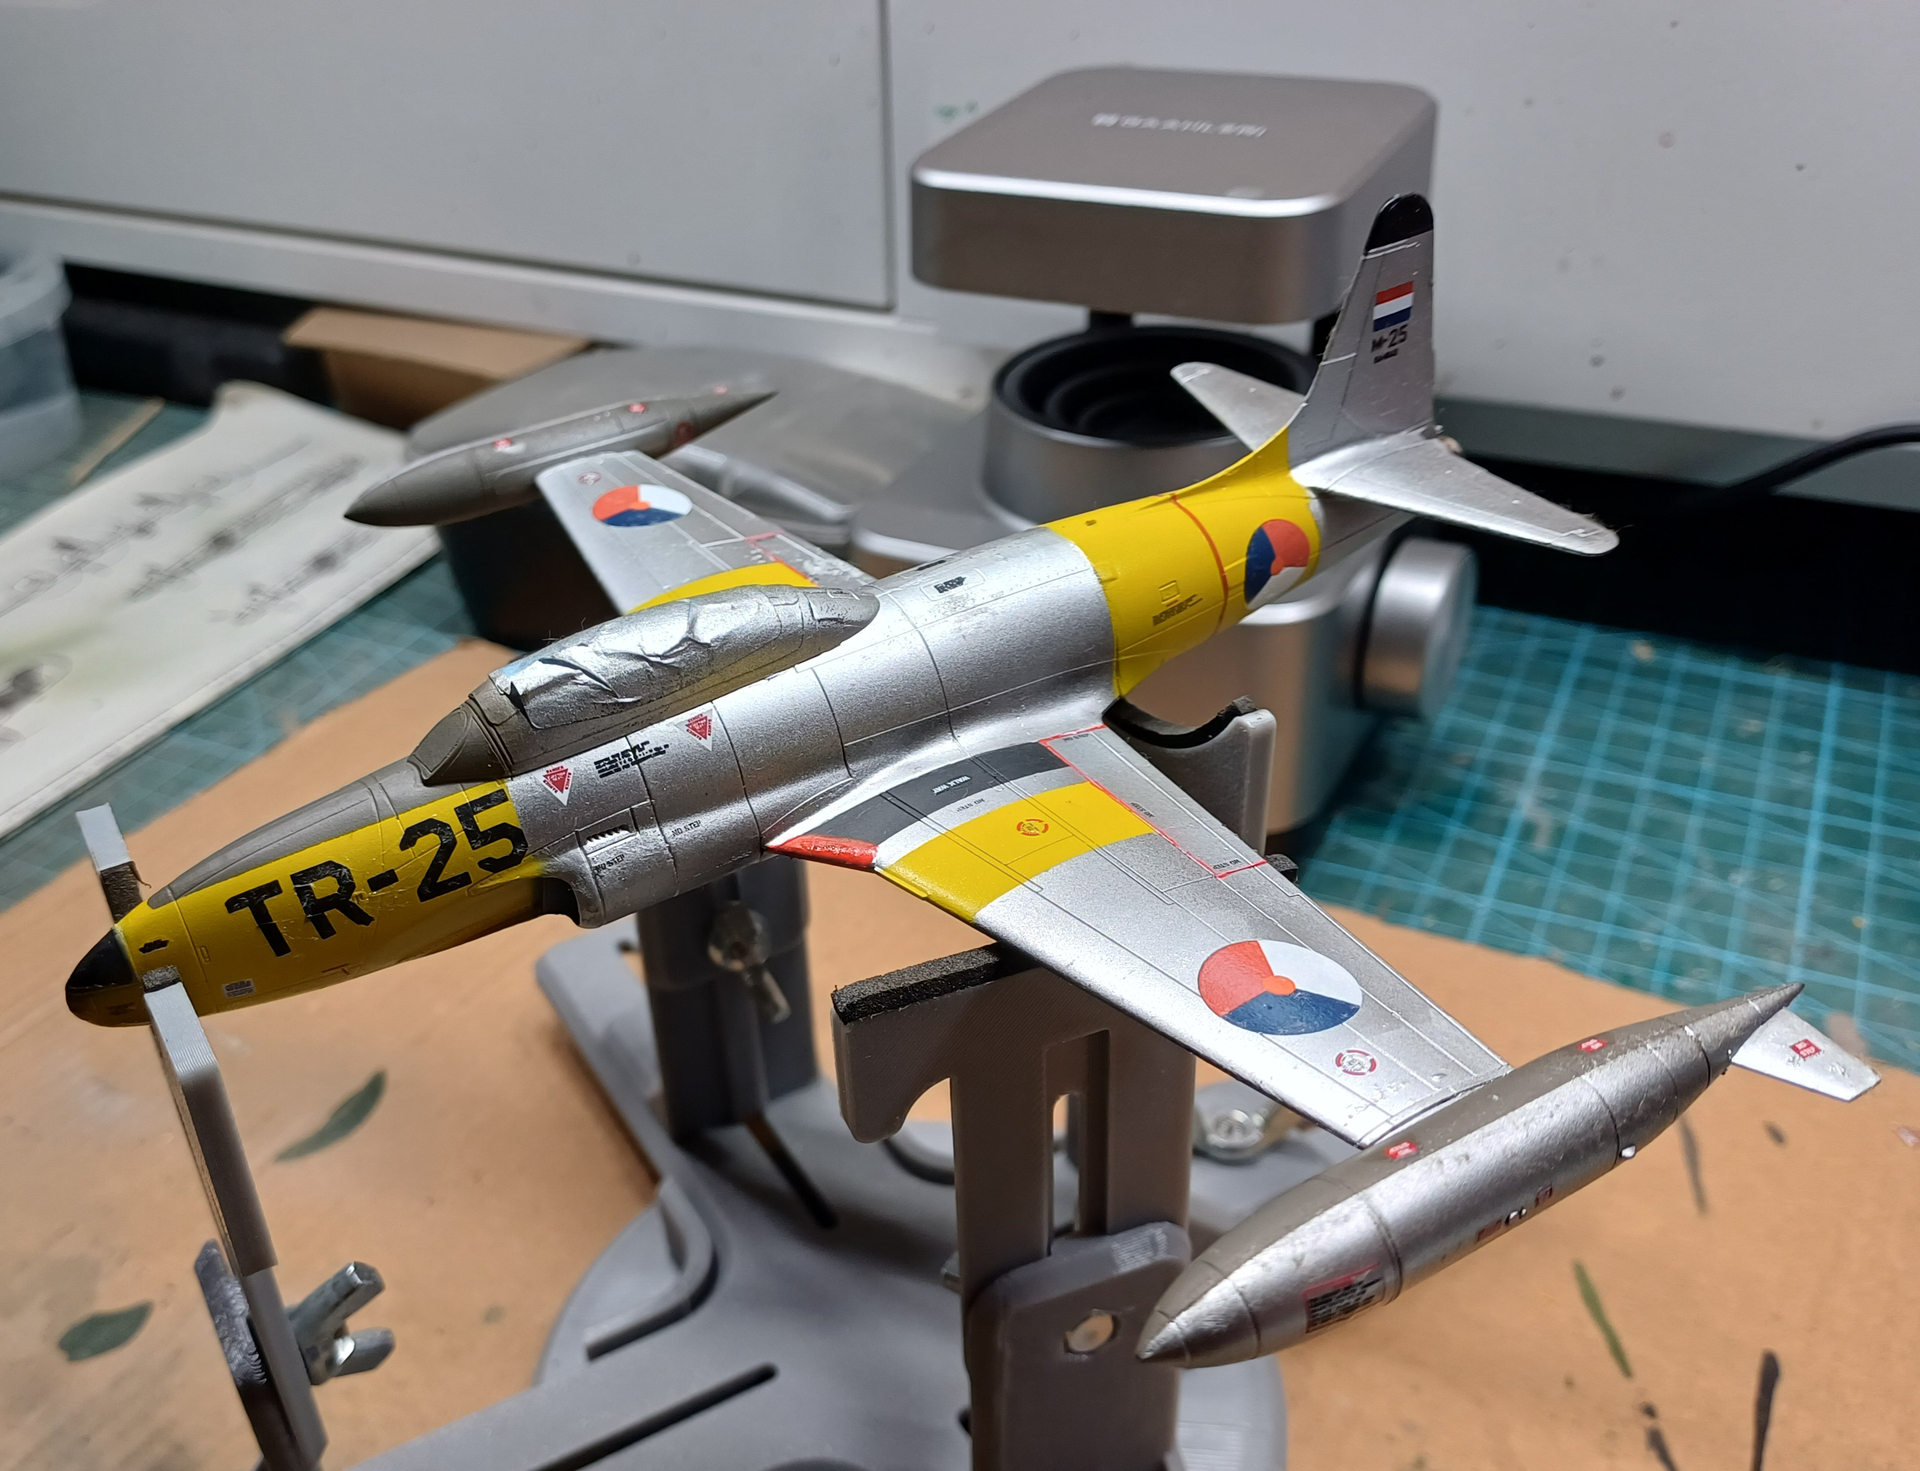
Another Lightning yes, my entre for this campaign
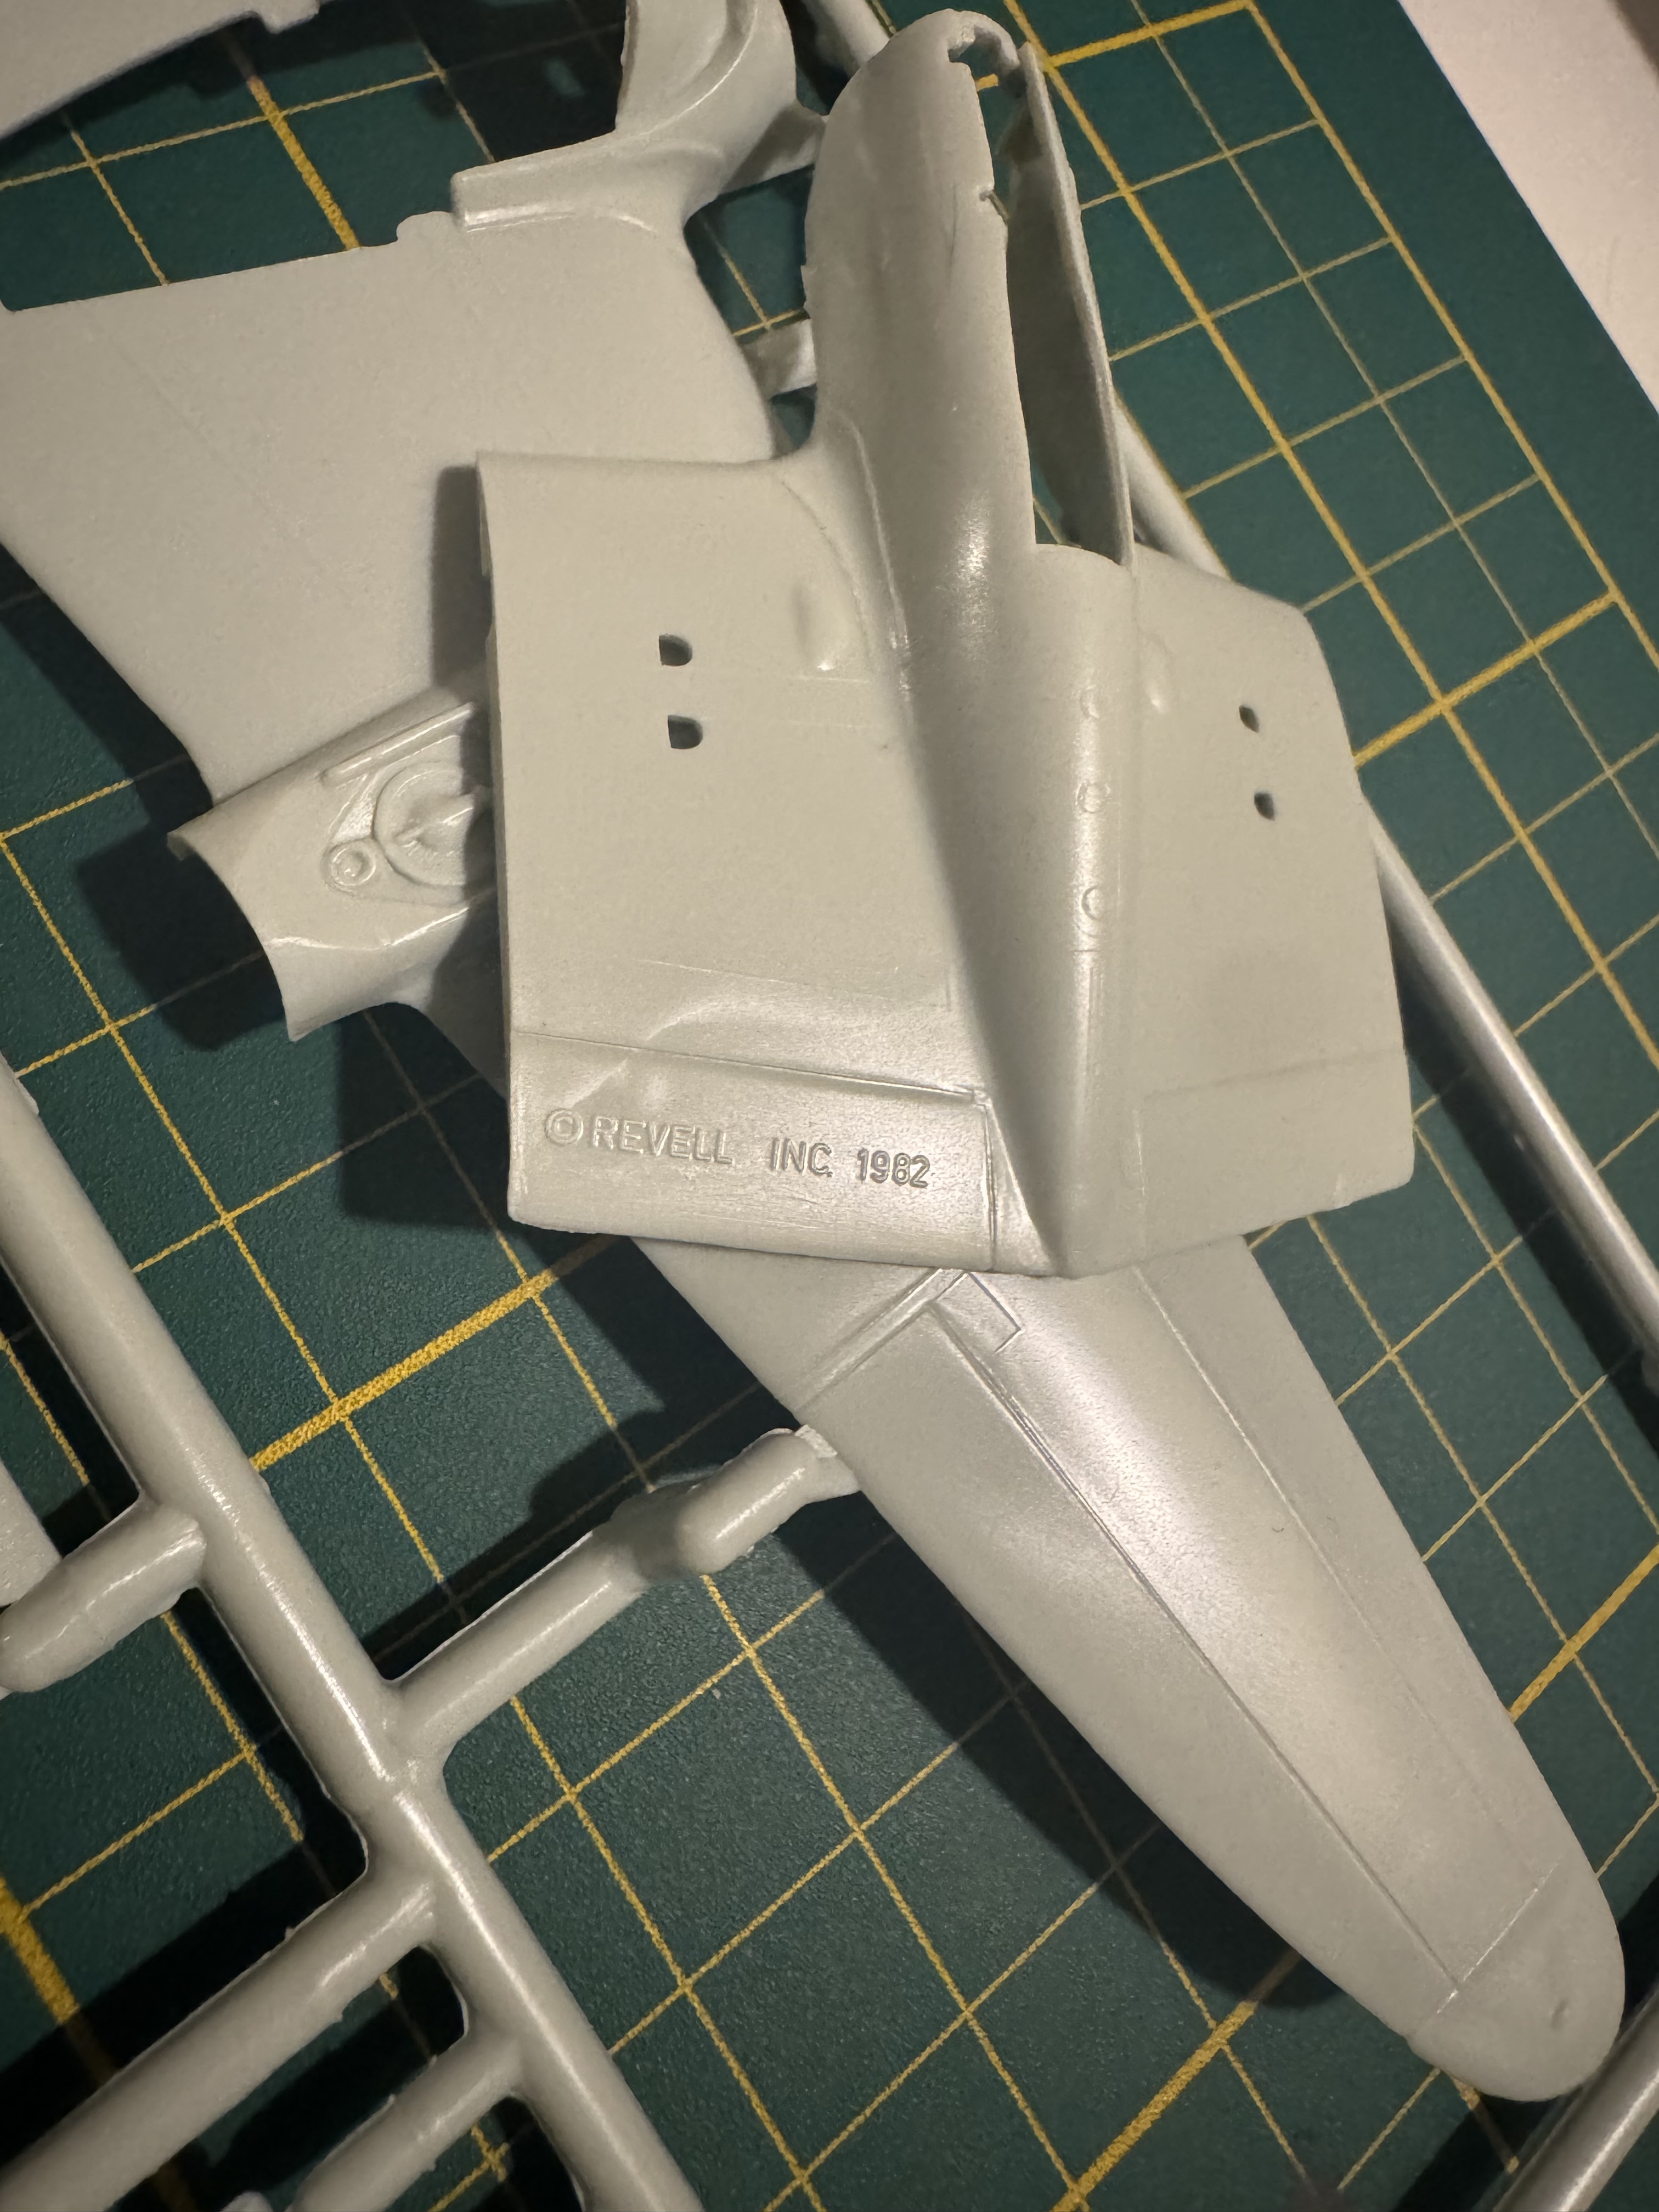
A “Revelling” Revell i must say not a kit i would recommend. Not because the raised panel lines but the poor fit (it needed lots of sanding) and poor details i would go again for something else on the market,.. ok in the early 80’s it might have been good enough
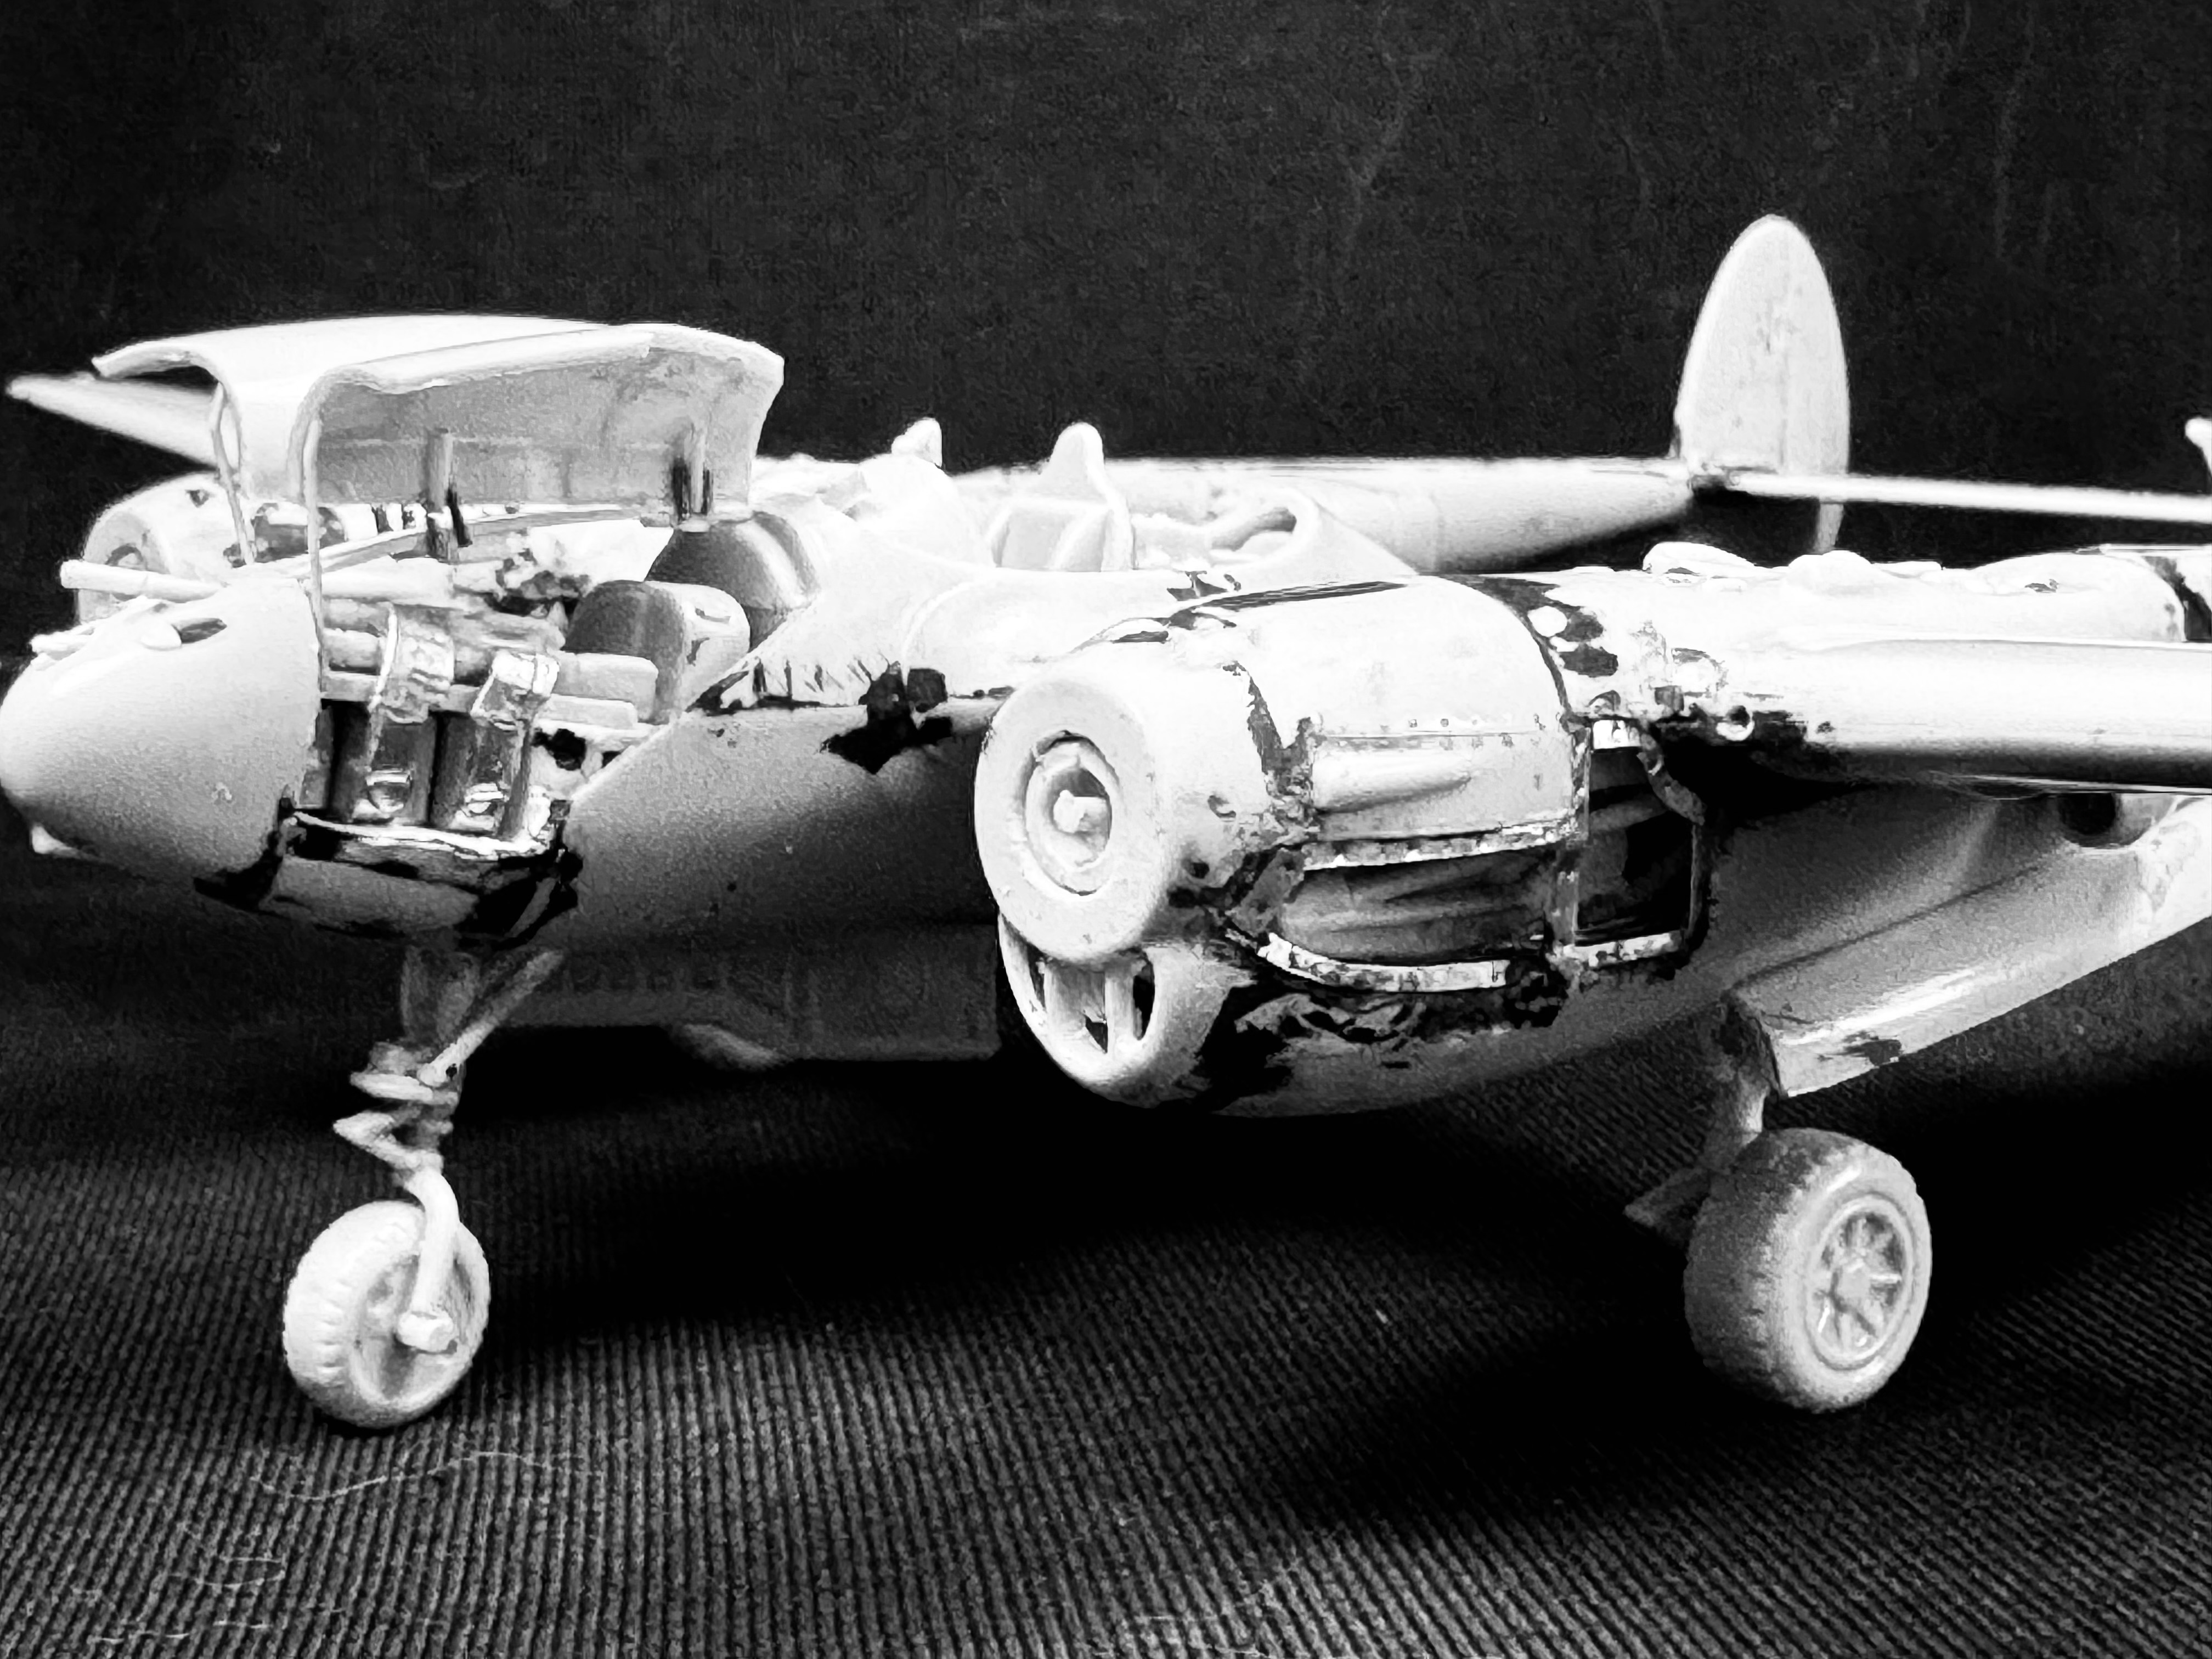
The only positive is that it has engines not sure why as the are covert-up normally in my mind a waist but ok.
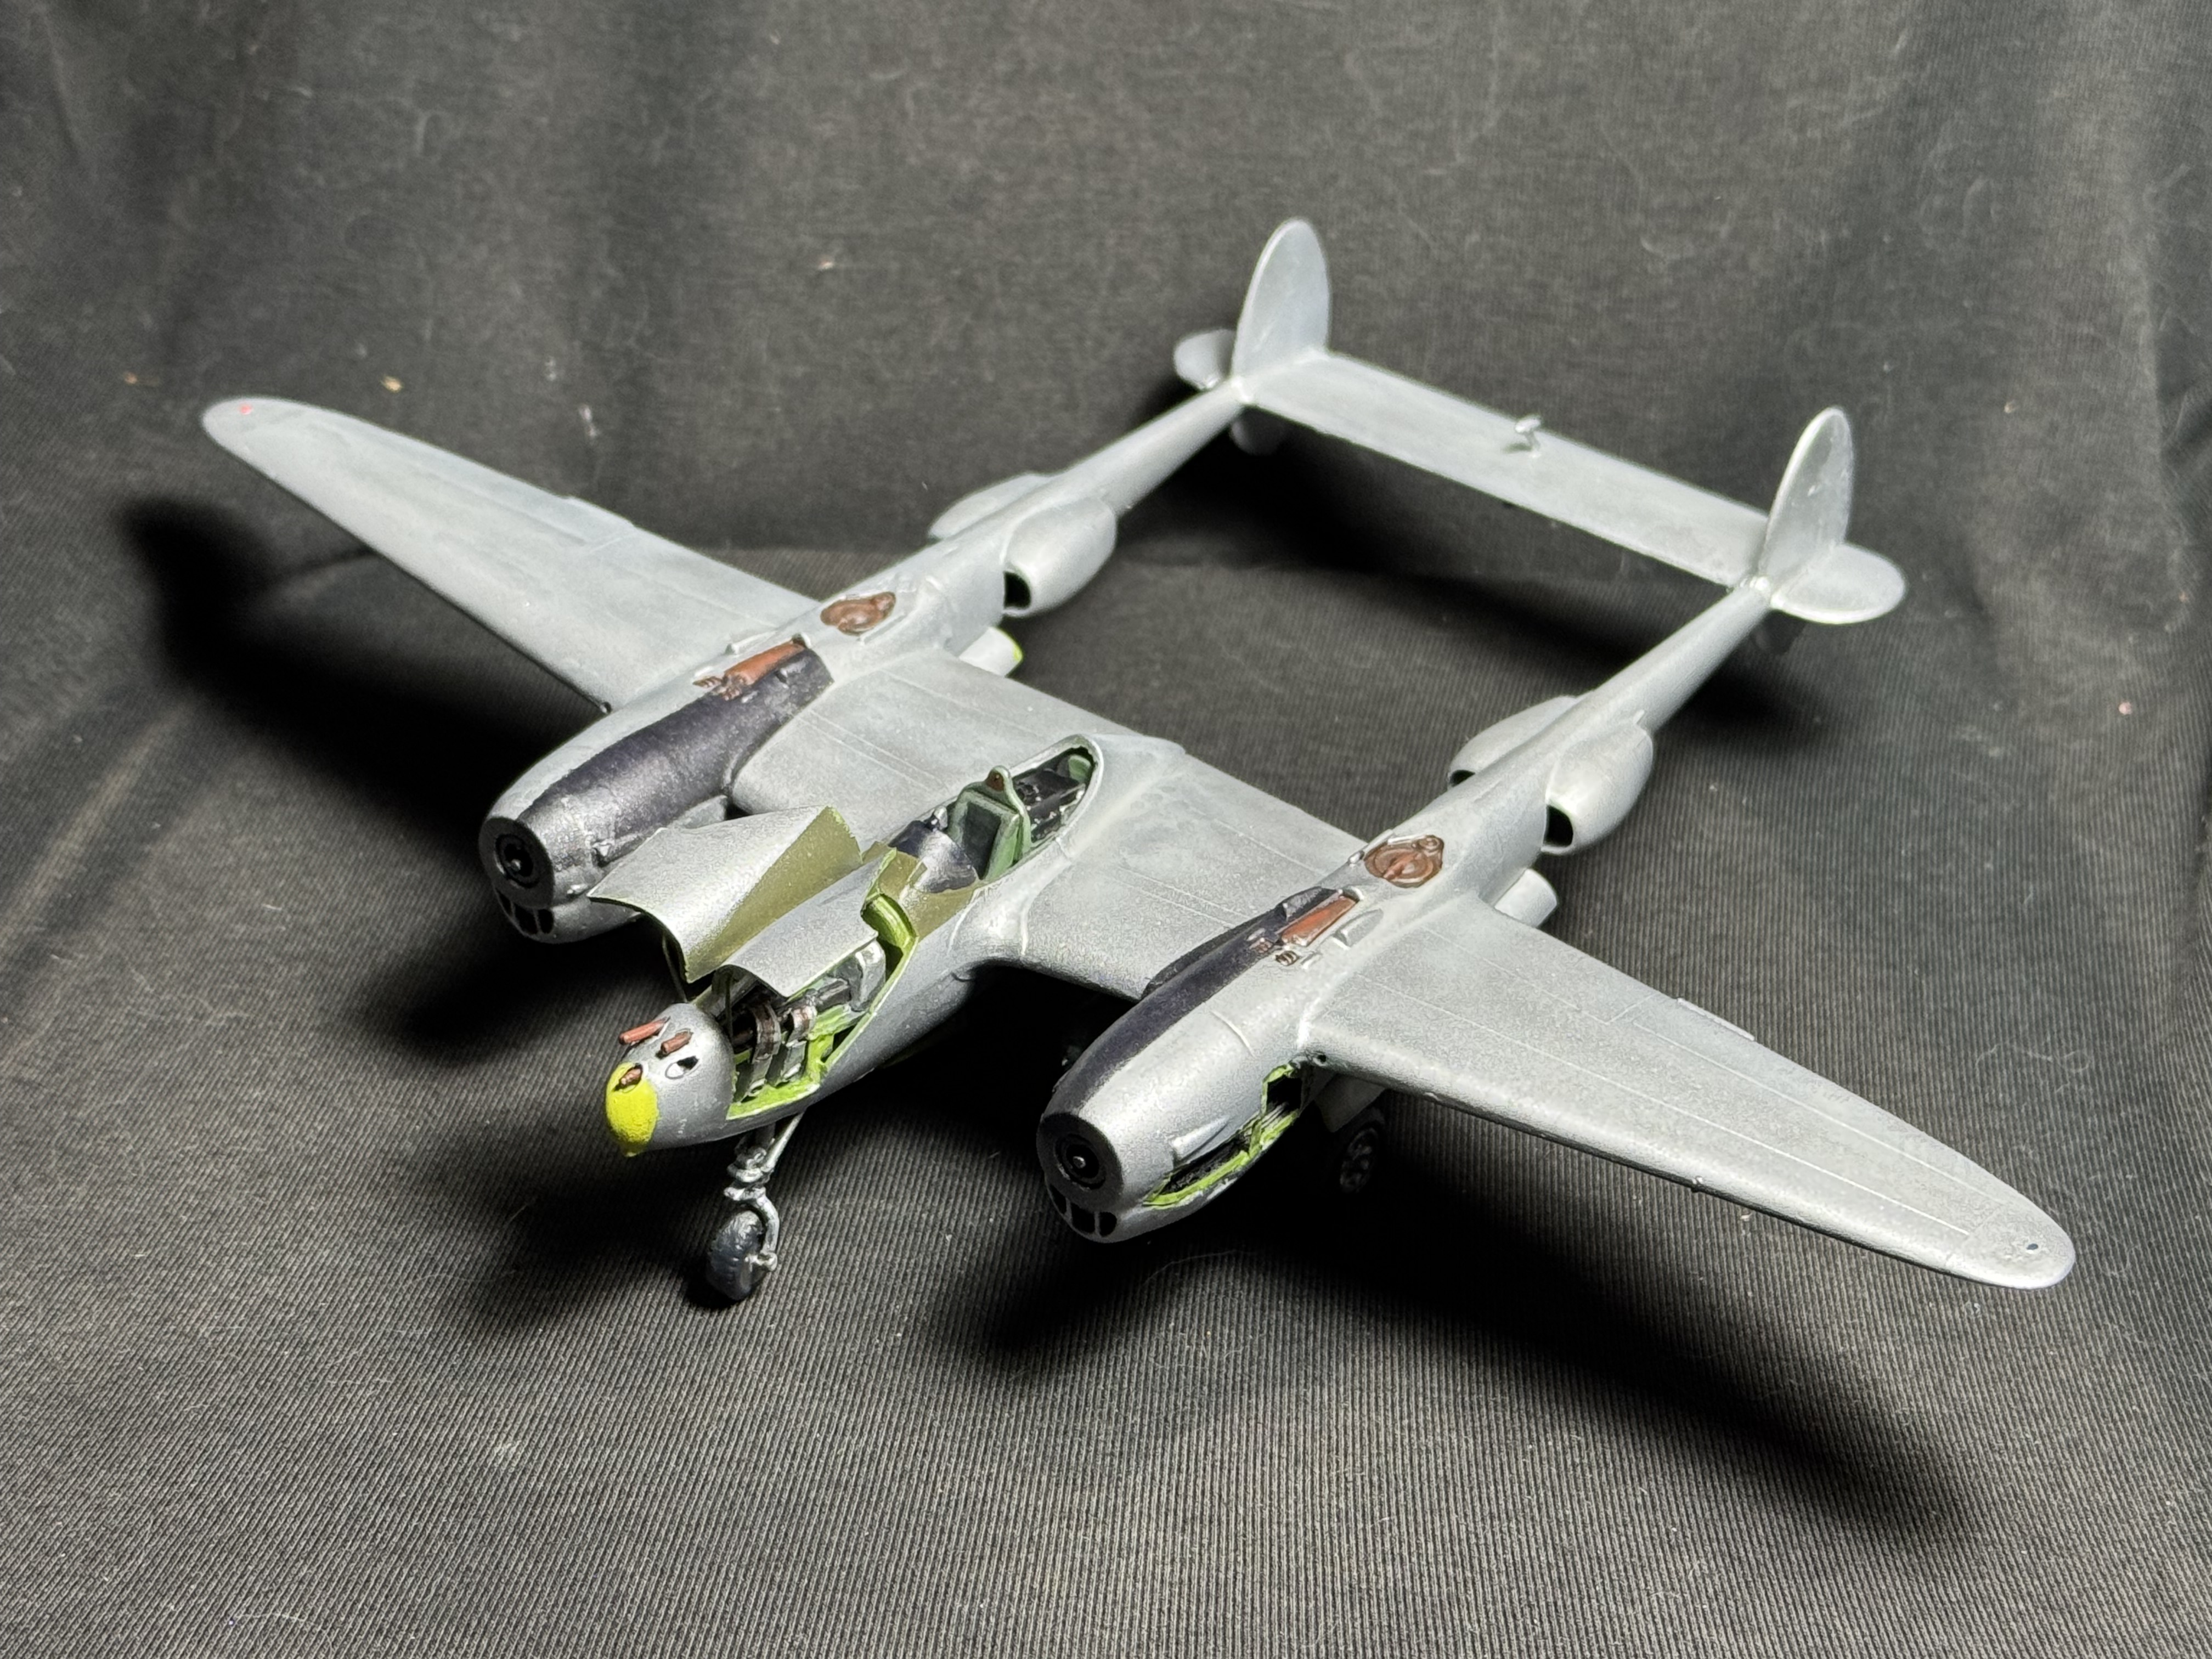
I decided to give one of the engine’s still some opportunity to shine by removing some panels and do some rework on the gunbay.
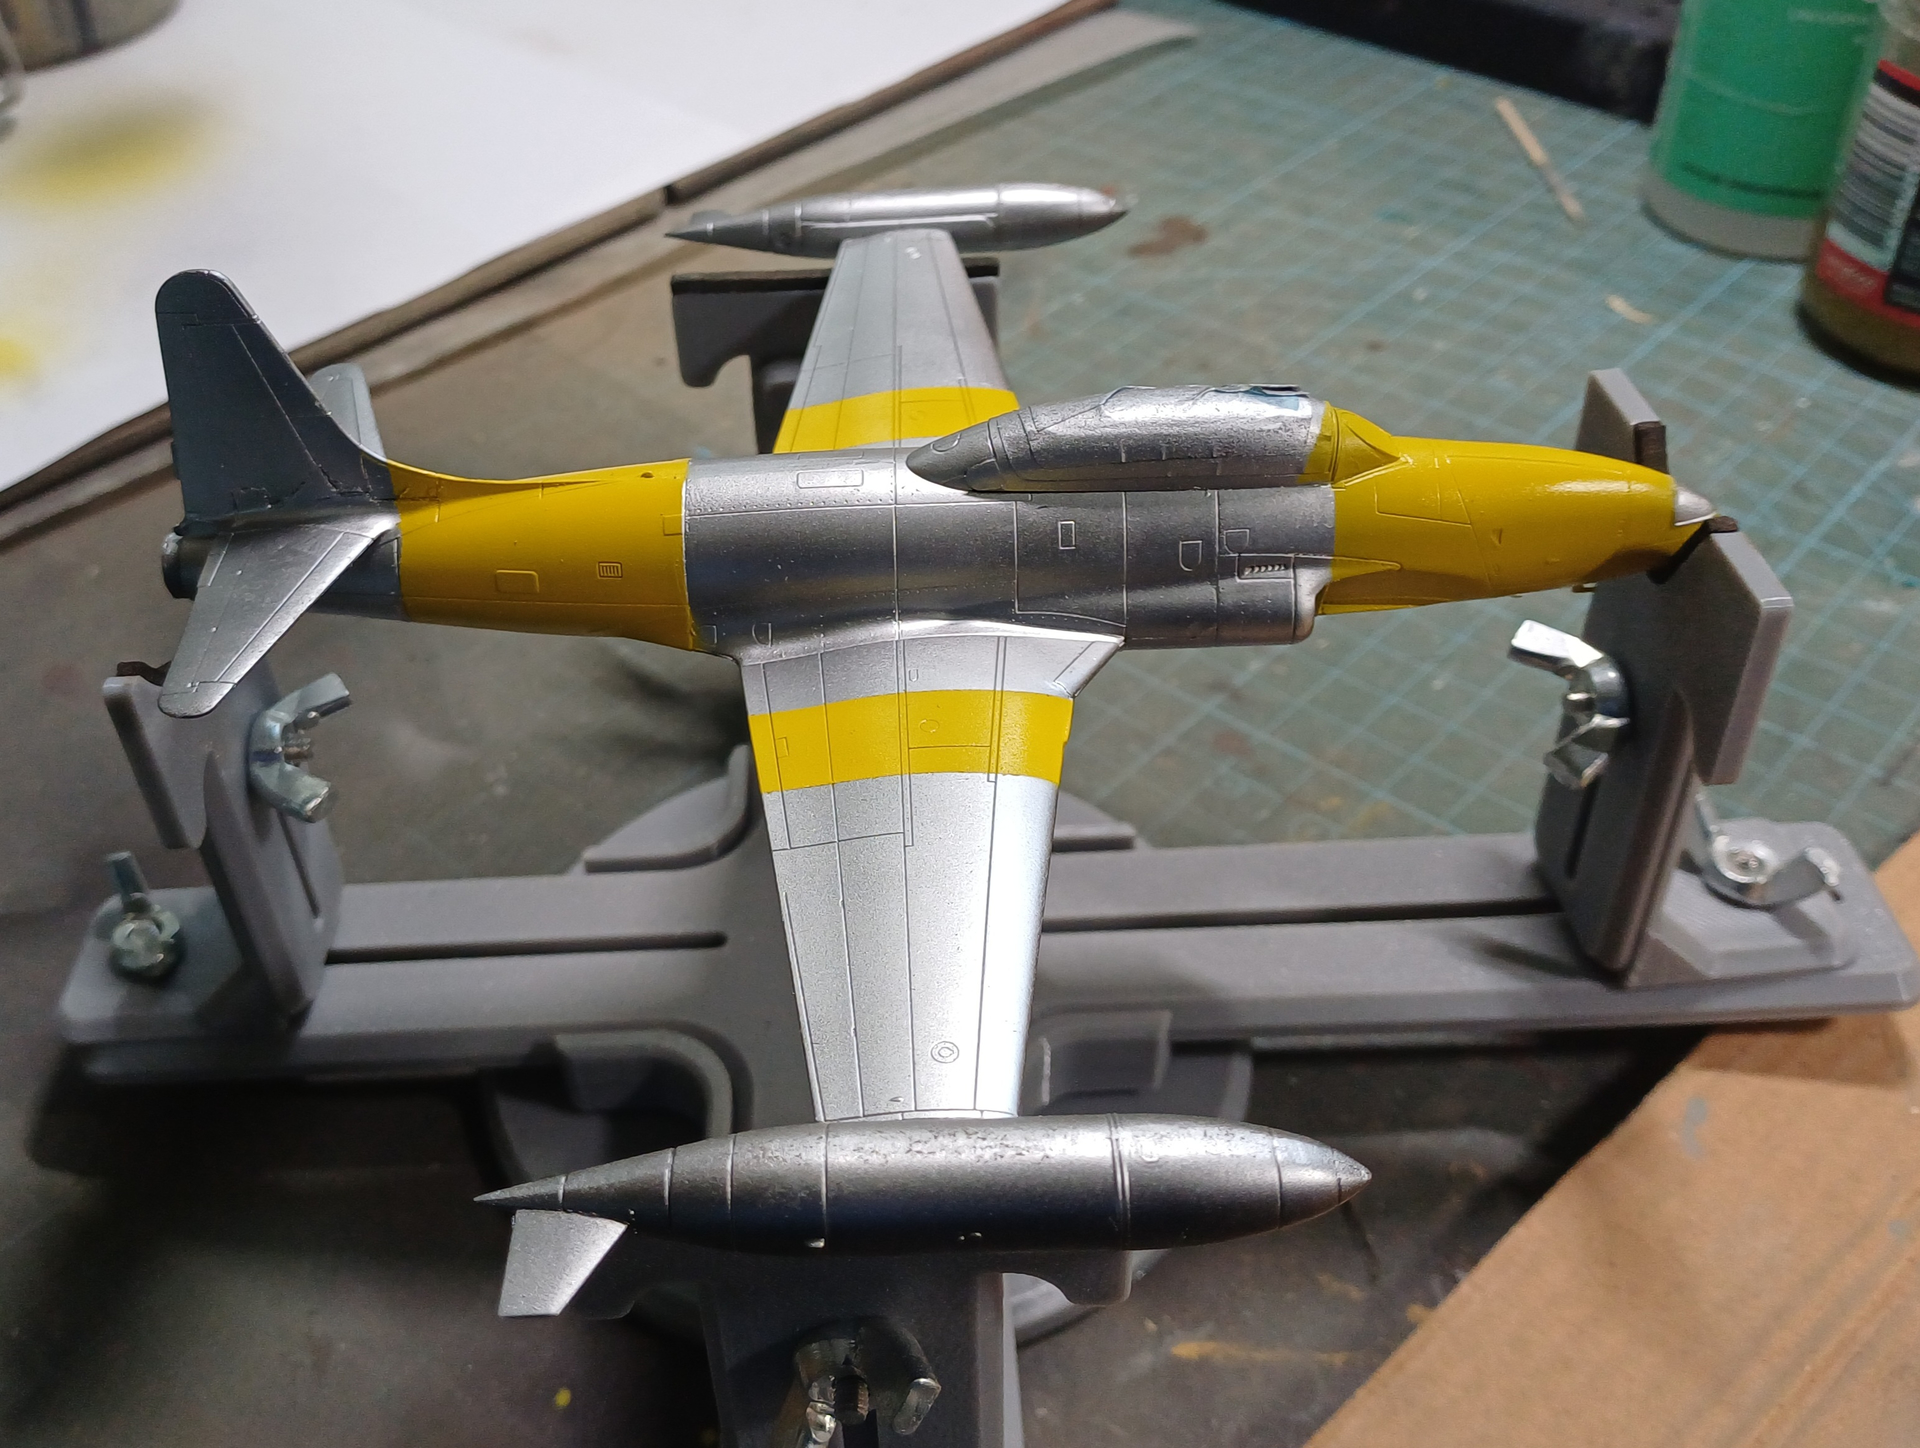
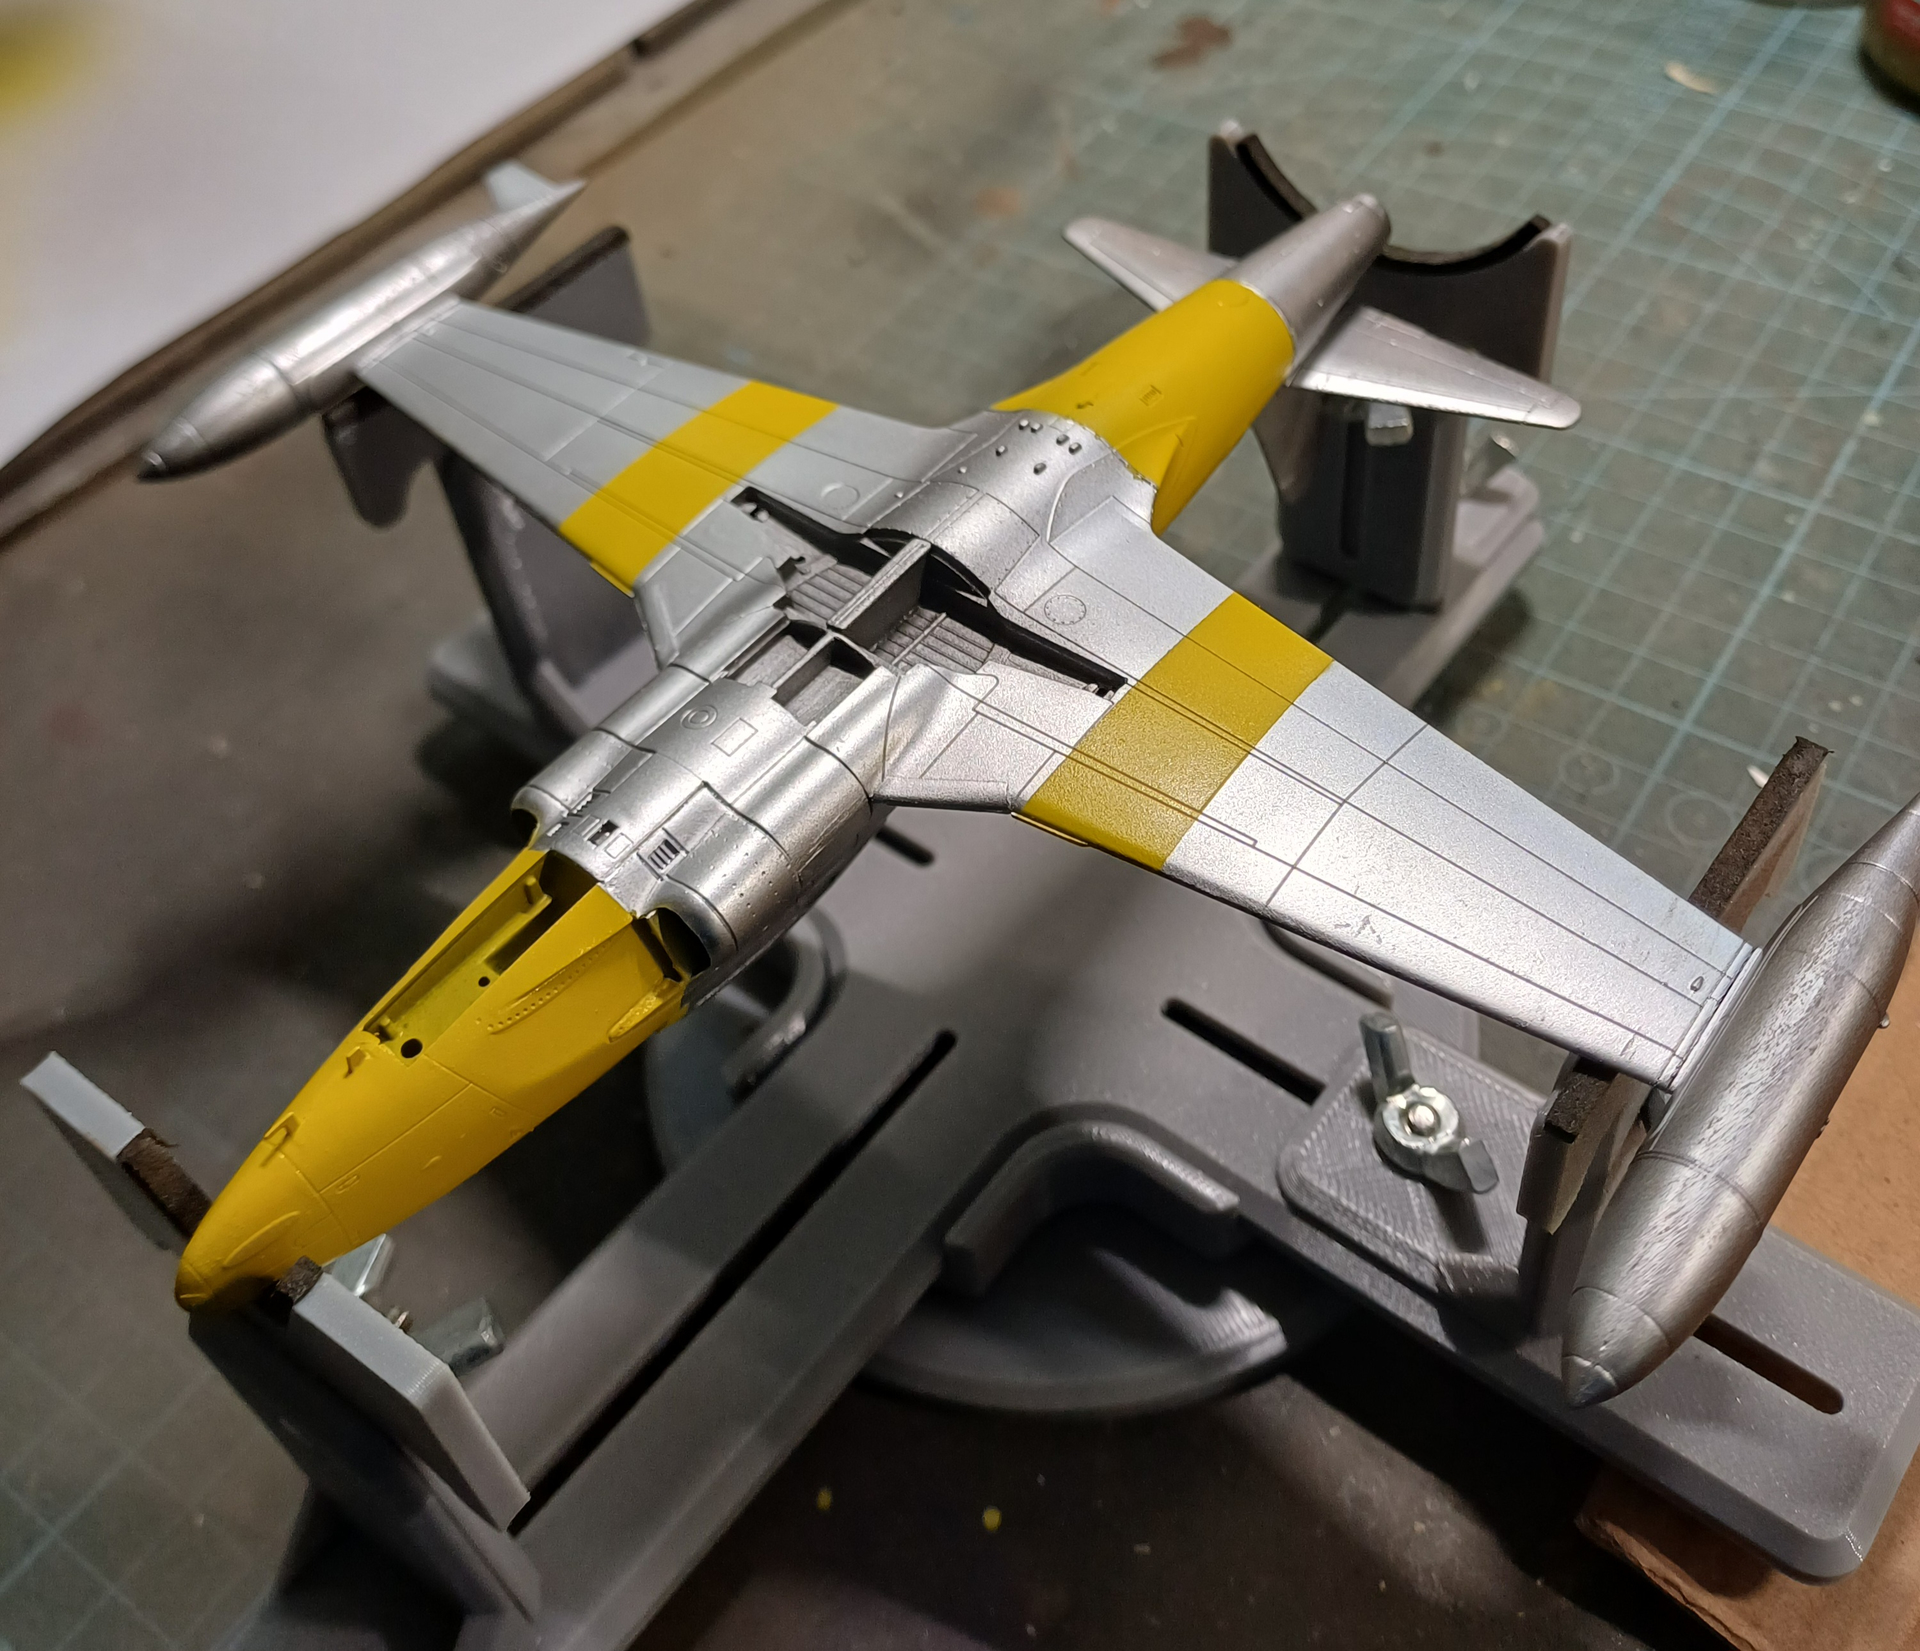
After primer a few coats if silver and aluminium a bit off yellow and black we can go to the brushes.
Then decals, actually these where usable ,.. a little bit shading and I’m done.
It turned out “alright” but I’m happy to place it on the shelf. I could have done much more and better but at some point you need to be realistic and go on with it, it’s never going to be a winner 
Thanks for the campaign
NIce work on the T-33. Did you lay down a coating of white before doing the yellow? It’s well done!
Gary
Thanks!
Not white, I always use Tamiya XF4 as first coat for yellow, in this case two coats of Tamiya X8.
@EHAM0624 : that’s a great looking Lightning, love the open panels !!
What scale was this Lightening? It sure looks rough at the start but progressed into a very nice model, congrads!
Paul
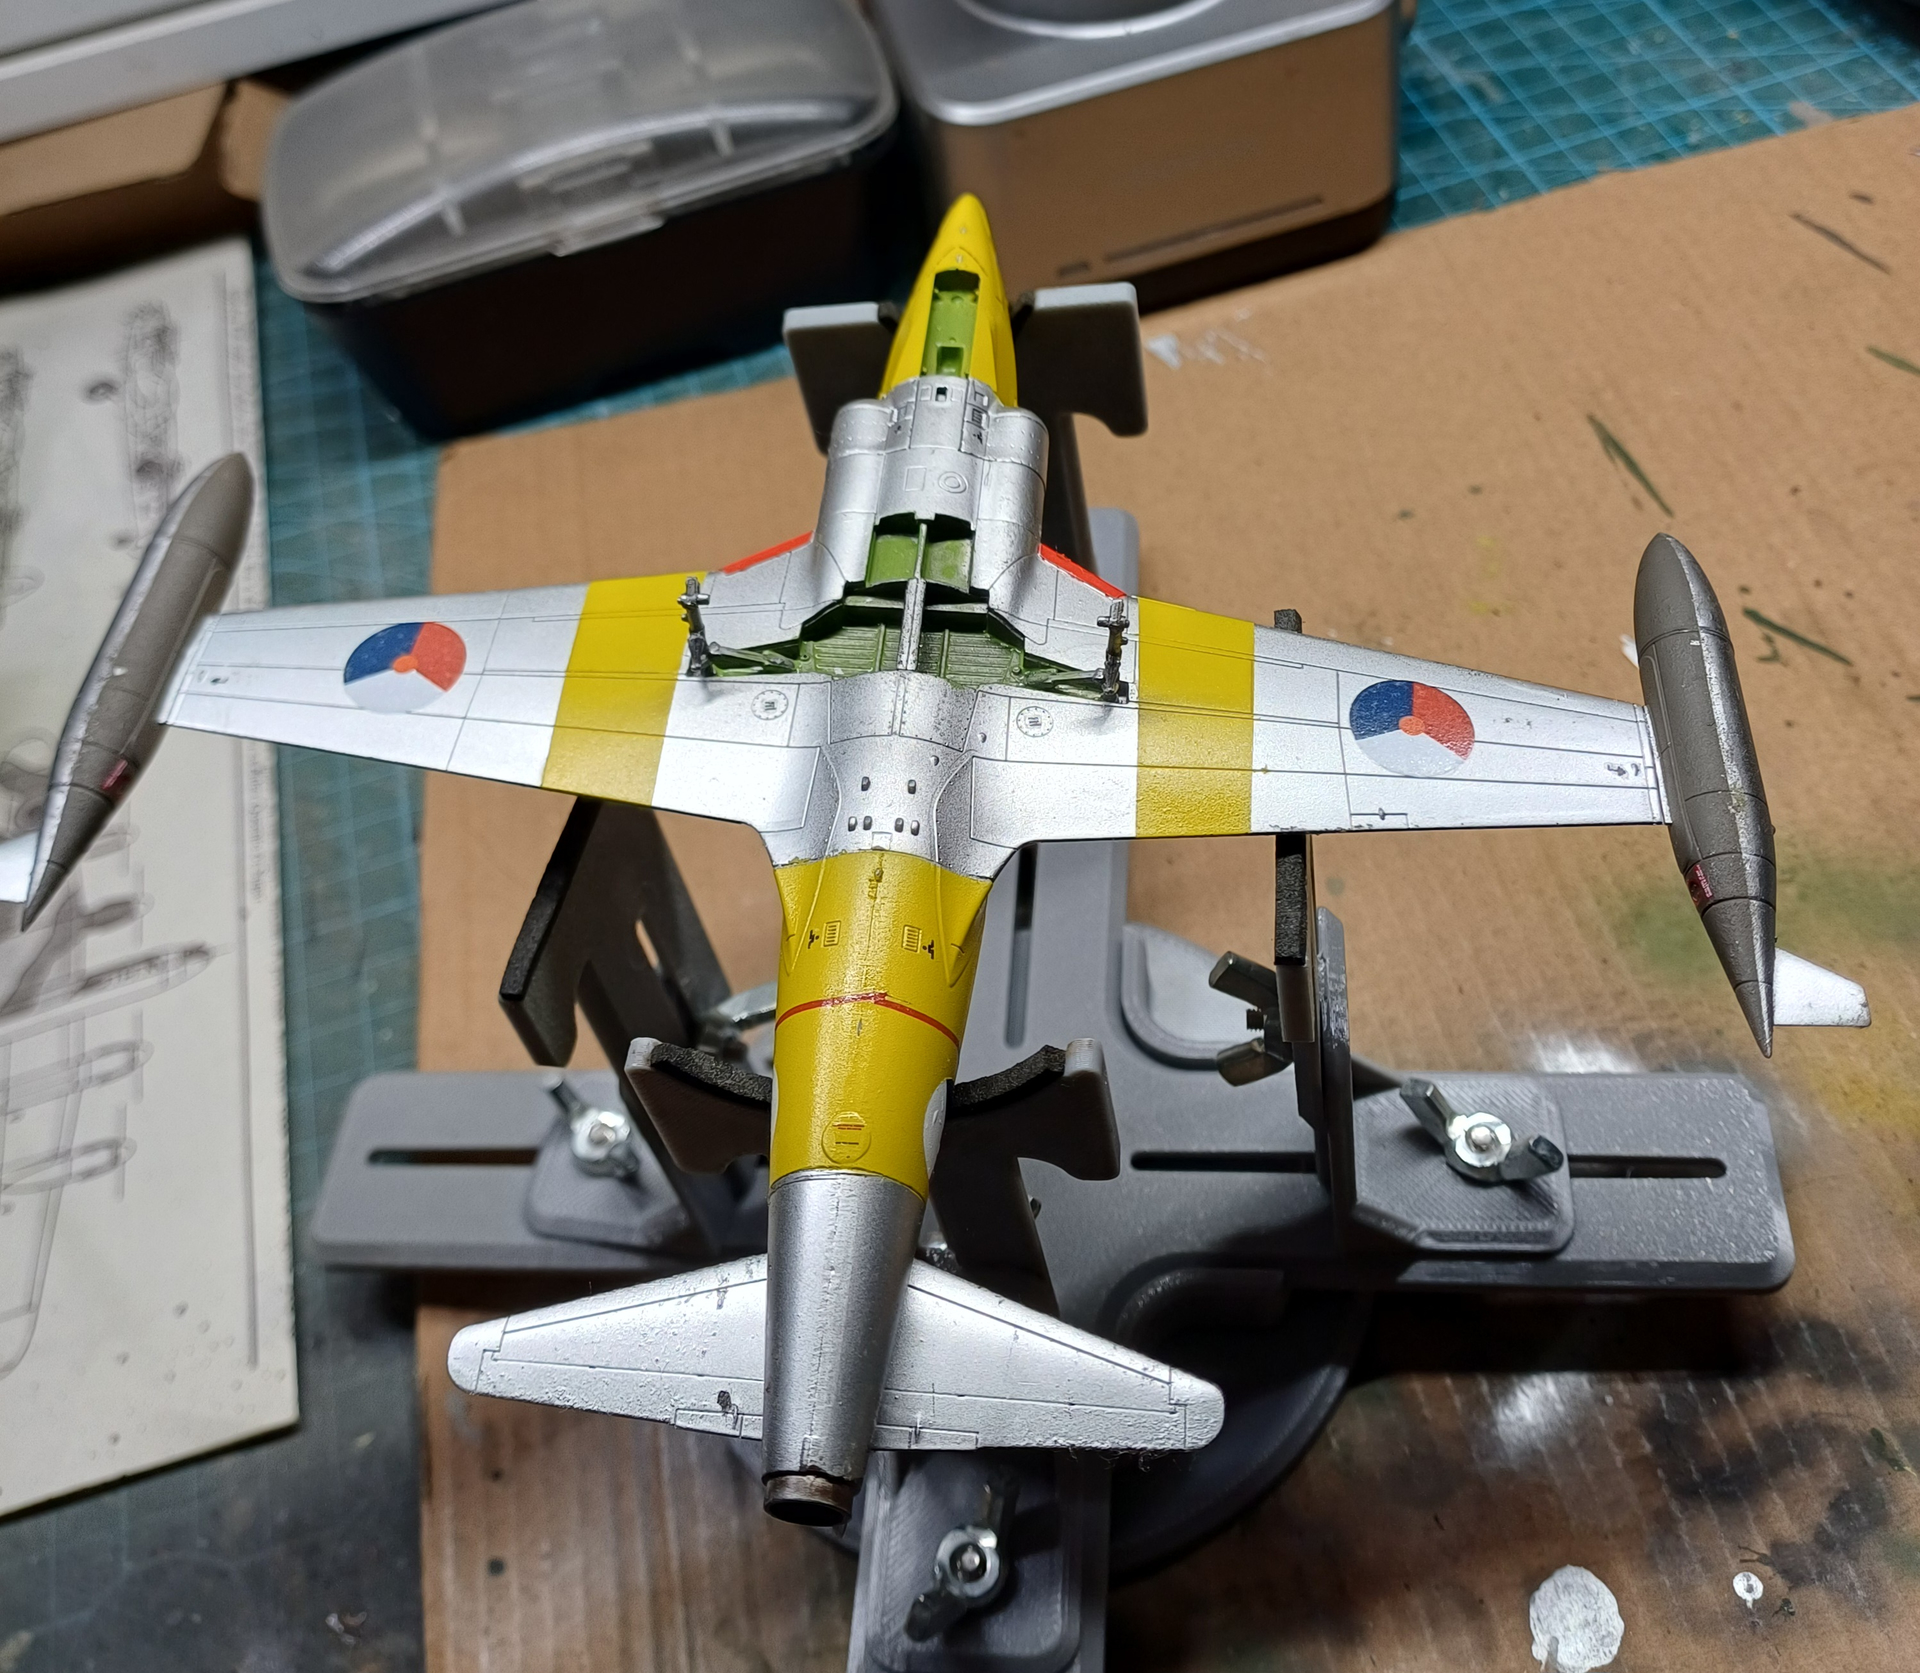
Decals completed!
For being so old they went on with no problems. The white in the insignia is a bit yellowed. The large numbers look good over the black and are in perfect register. For all the stencils they are somewhat out of register, you can see white peeking out. Also, the stencils seem really bright for the scale. To tone it down I added some Tamiya Smoke over the stencils and I feel it has improved the look. You don’t really notice the fact they are not in perfect register now either.
There always gasoline staining around those tank fill openings so some staining is normal. Nice looking Lightning!
Gary
Wow, that’s colorful! Great job on a beautiful airplane.
Paul
Nicely done, Bert! She’s turning out fine.
Gary
Lovely job @bwilt. The yellow came out nicely too. That’s a tough color.
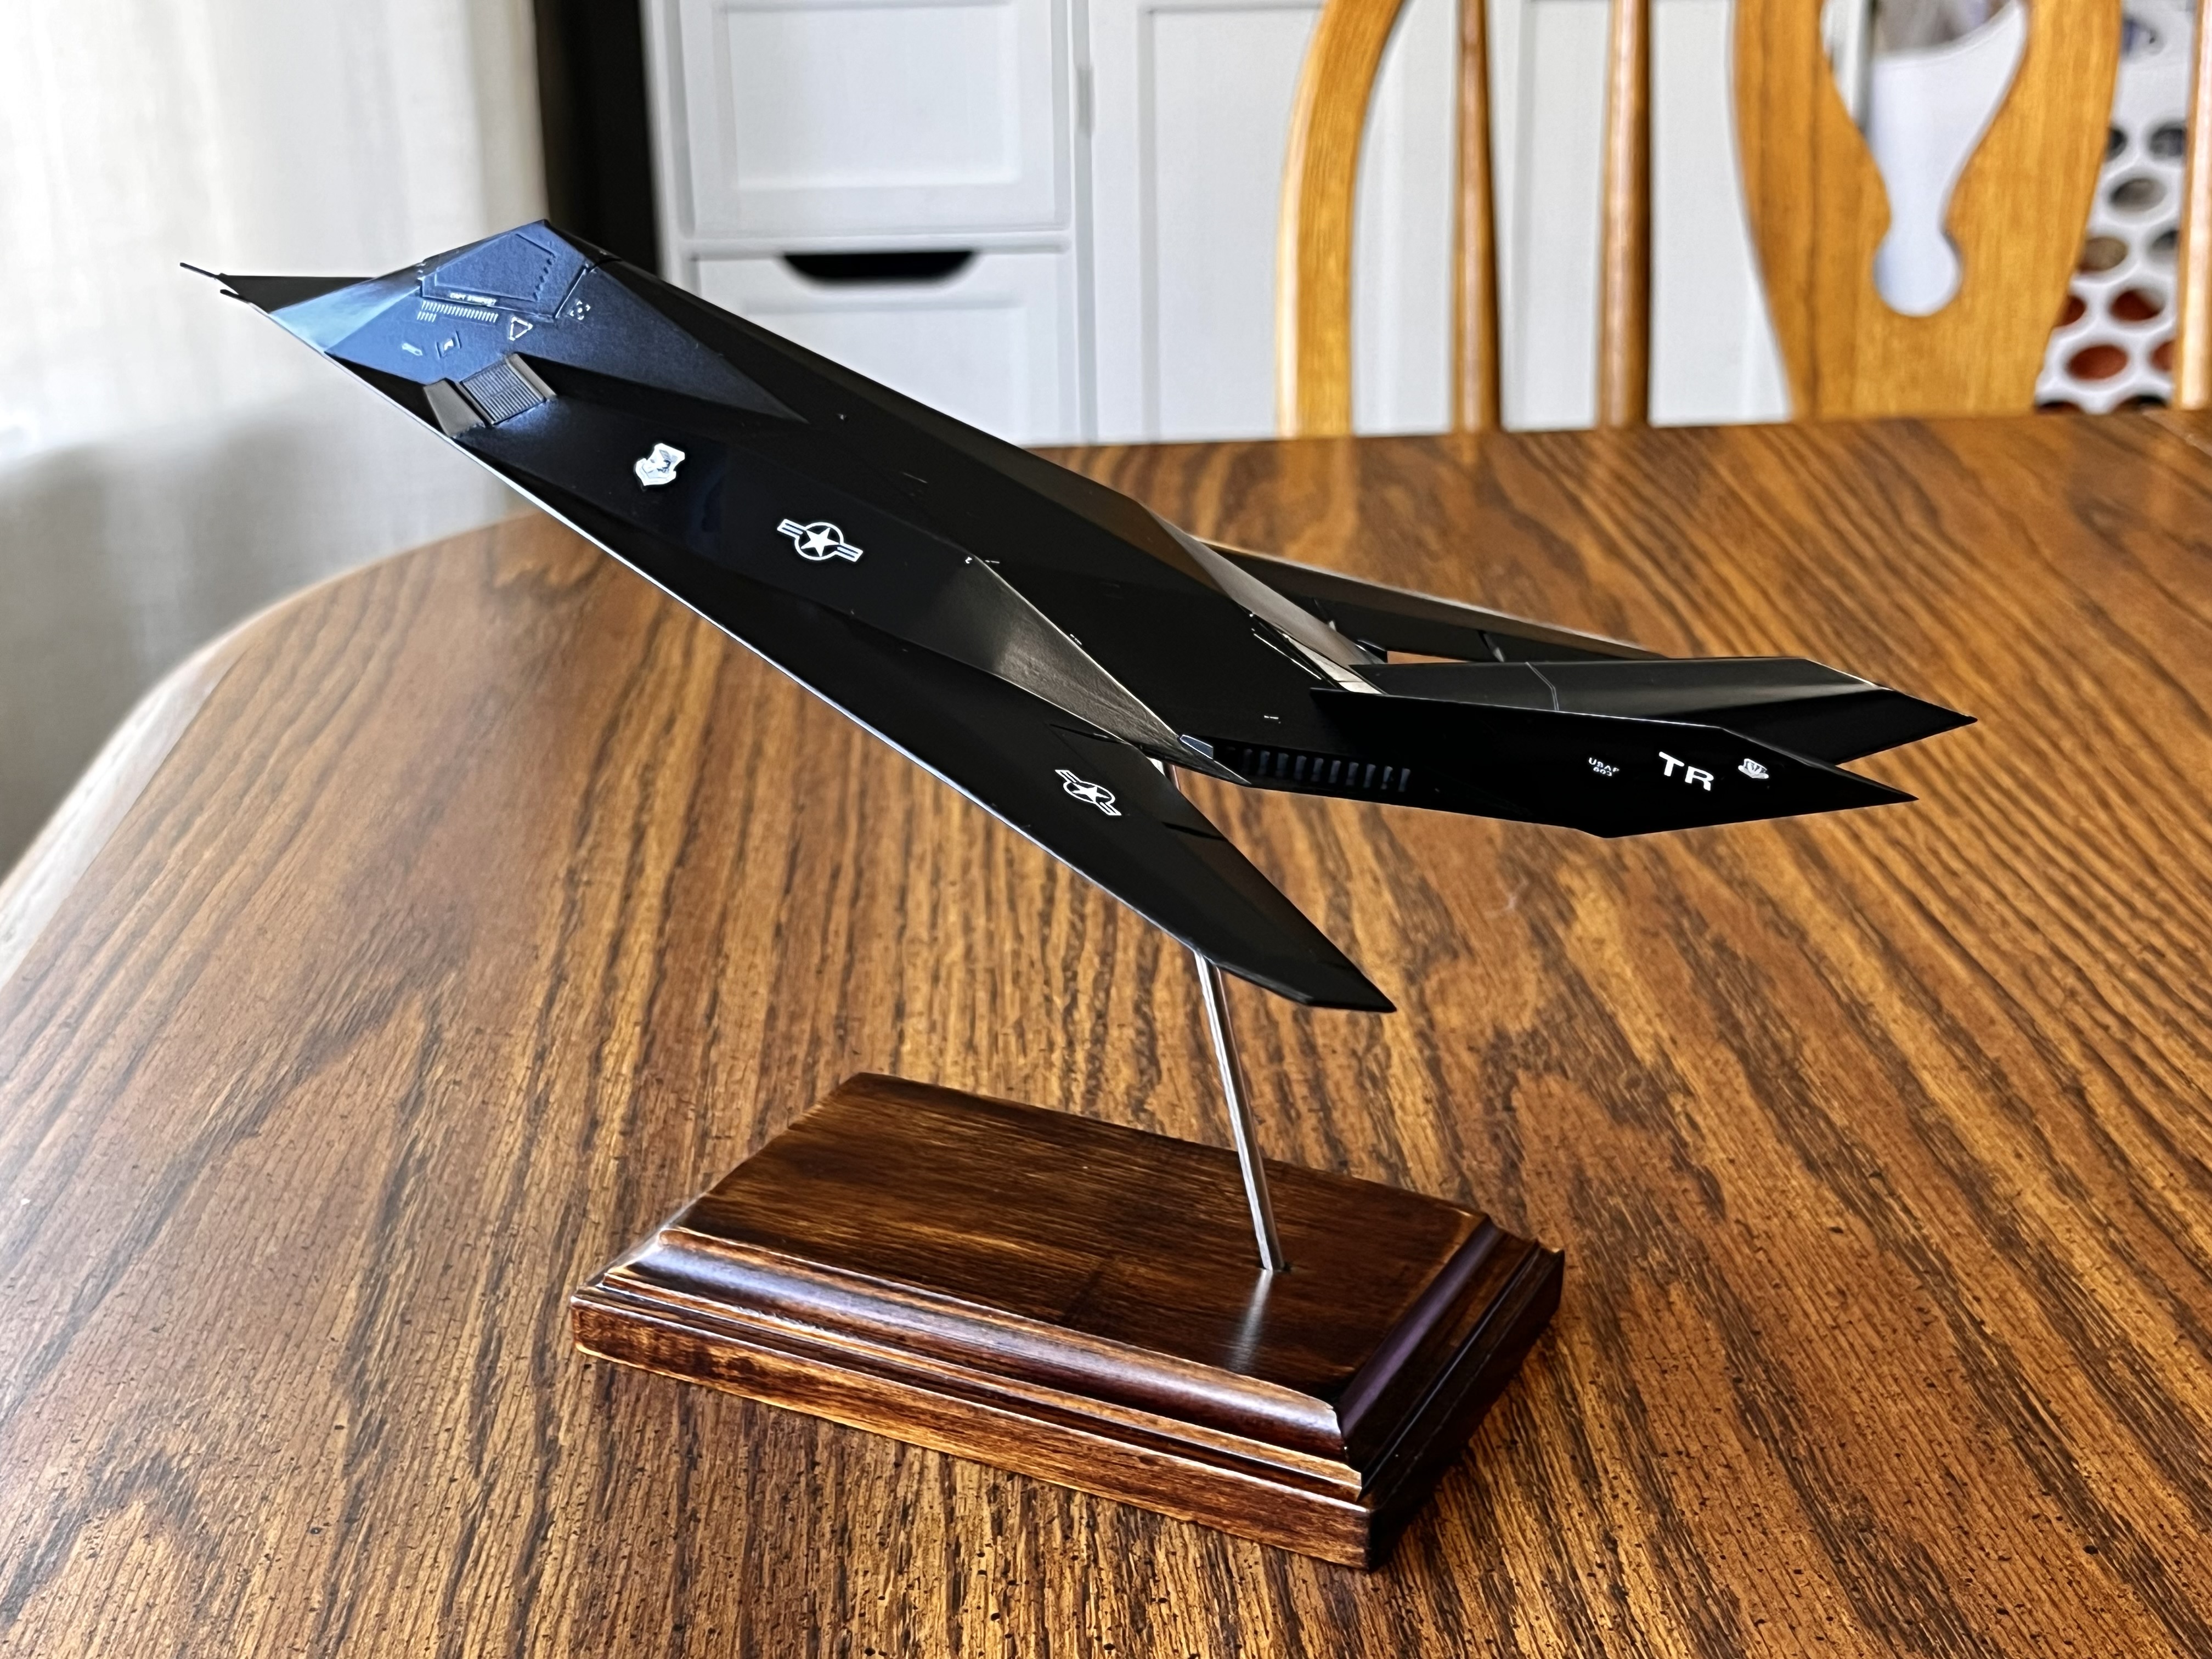
The Nighthawk is at the same stage. First experience with Caracal decals and I’m impressed.
EDIT: to clarify, the kit decals silvered like crazy (partly my fault, partly the terrible decals). Stripped them off, repainted the basecoat, sprayed a gloss, and ordered the Caracal sheet. Much better.