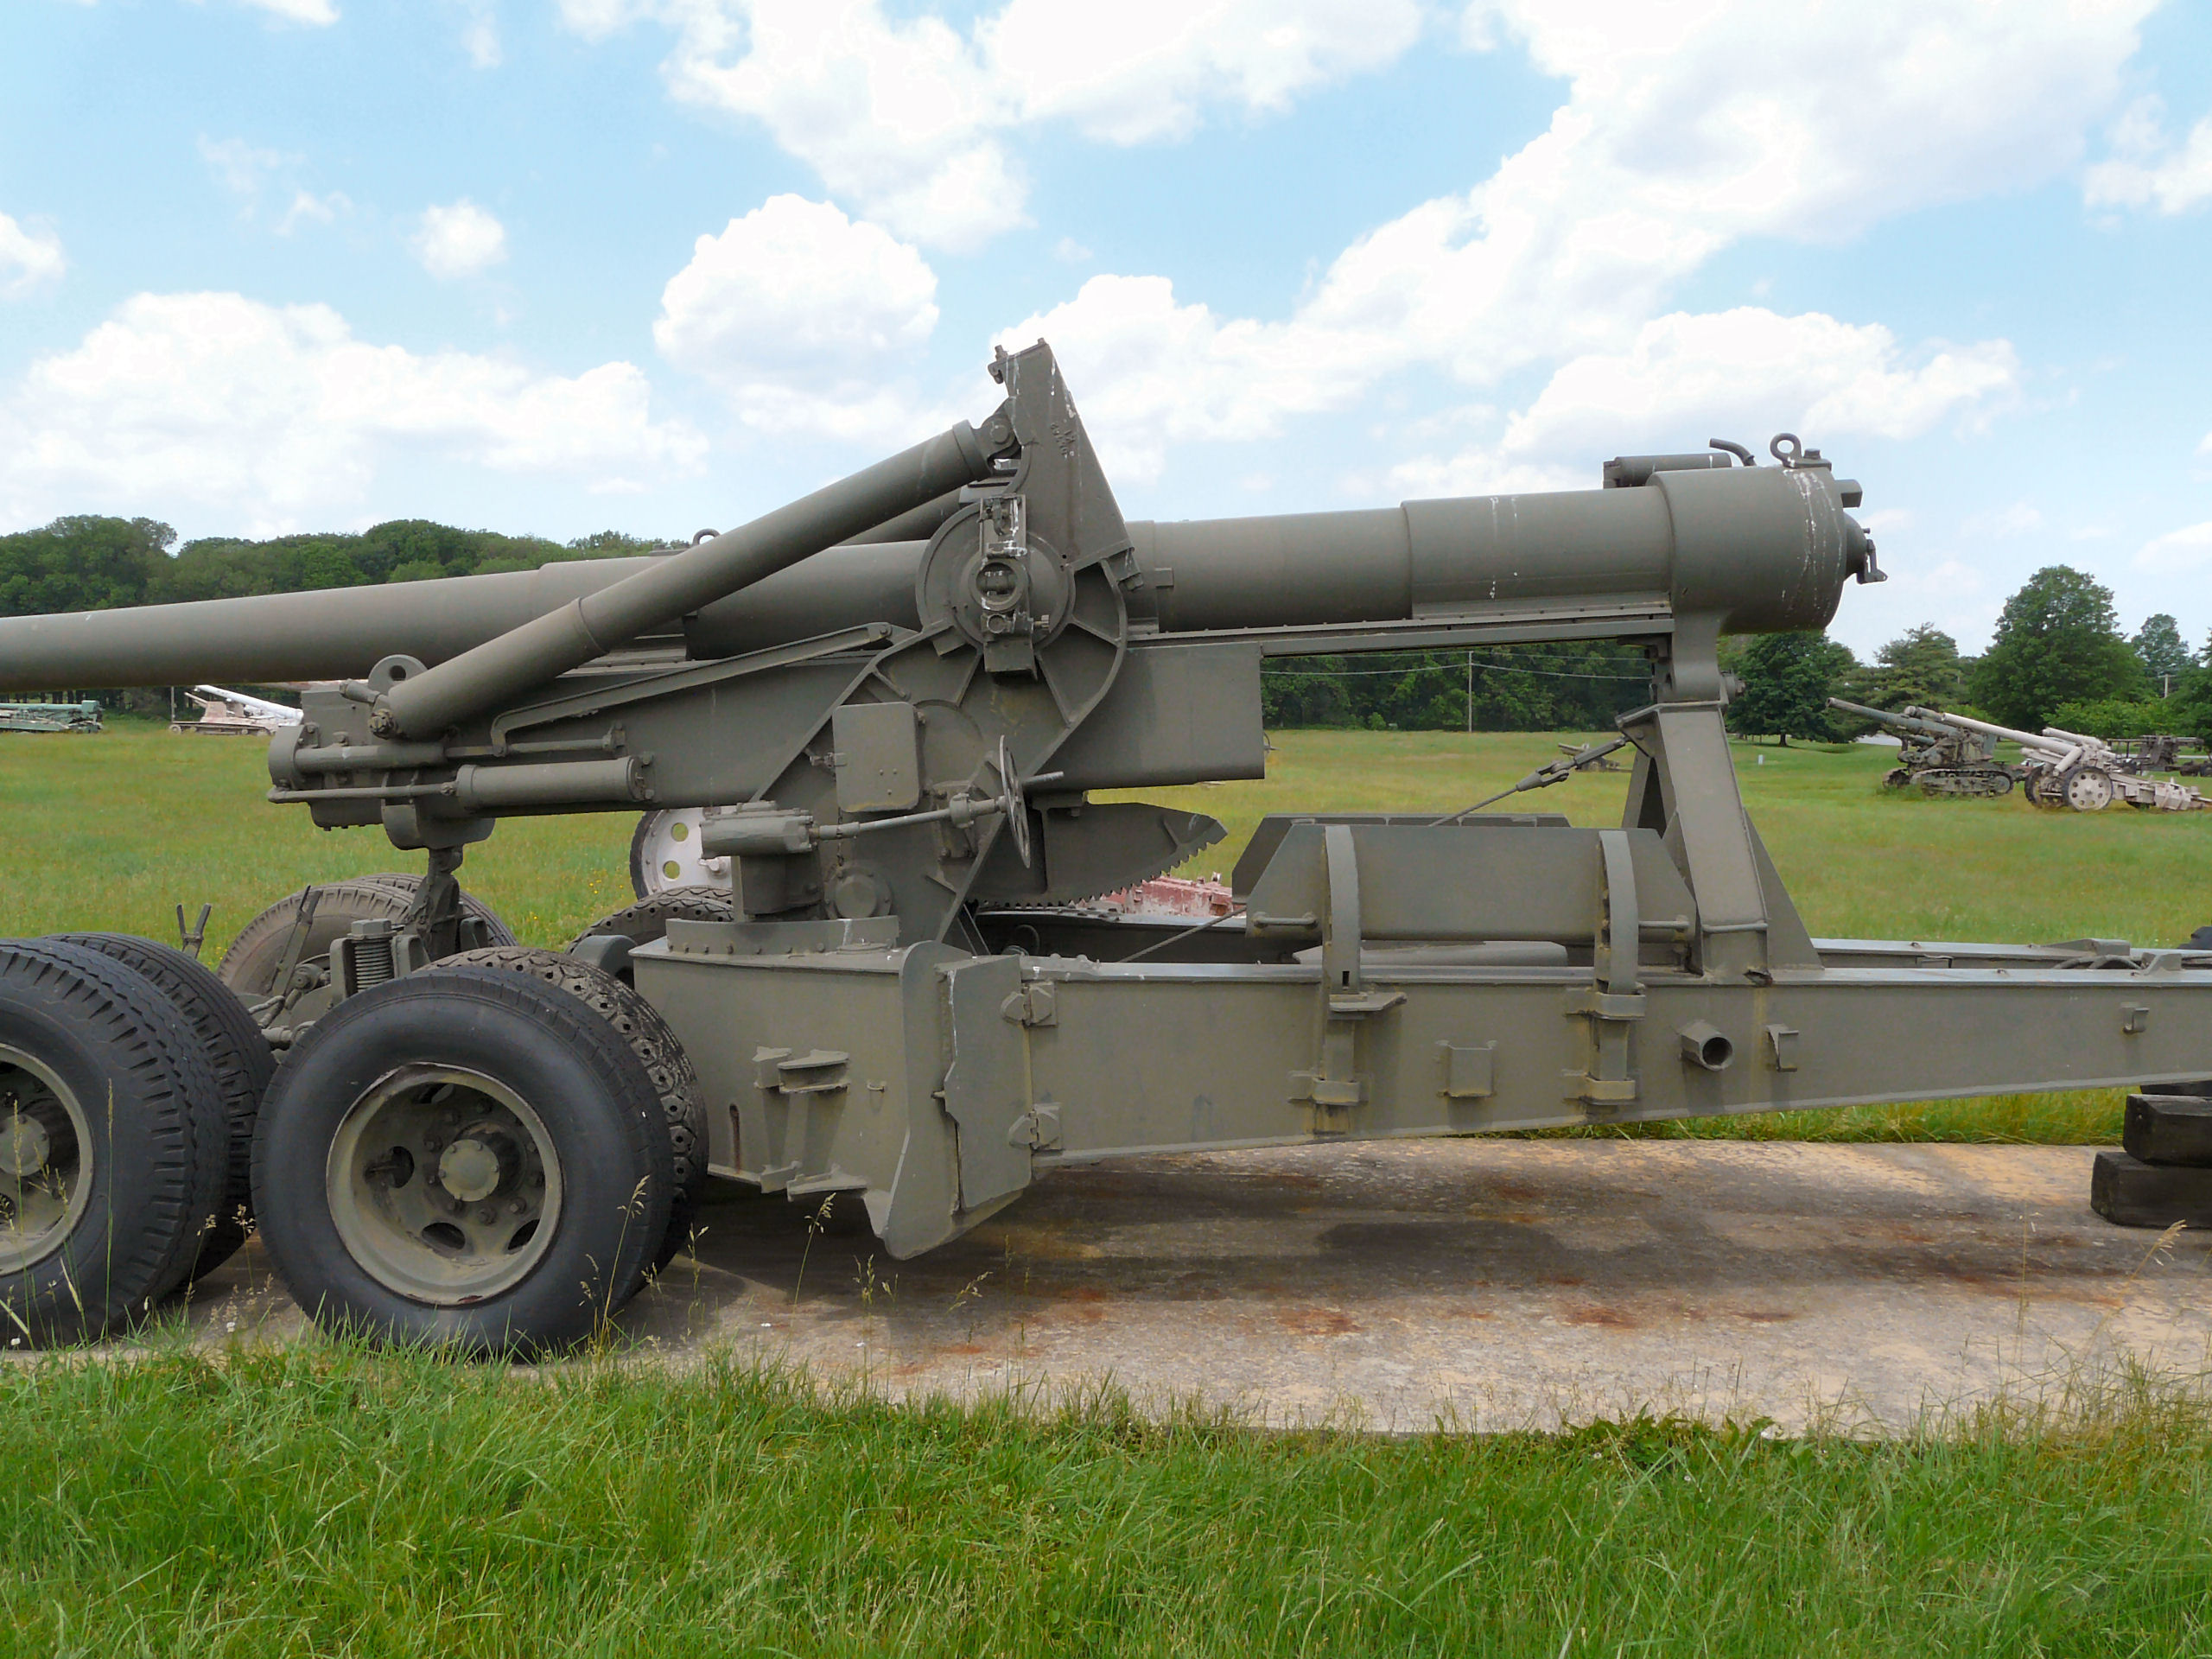
Where are there handles on the traveling lock?
KL
Where are there handles on the traveling lock?
KL
On the sides, where they bend inwards, some 8 inches above the bottom, as can be seen at primeportal/battlefield/towed weapons ‐ sorry, can’t post the pics from my tablet, digital non-native…
Thank you, Robin!
Peter
Ah. AFV Club might not mention them on the M1A1 kit because, like the handles on the front spades, they weren’t added until later in service.
With 70% of the 155mm guns produced in June 1944 or before, they may not have appeared on the gun carriages used in WWII, but the date of introduction in production and date of the Modification Work Order often differed.
For something as long-lived as the 155mm guns and howitzers one must be careful not to assume that a kit difference is an error rather than a matter of trying to capture a snapshot in time.
KL
Sorry for the hiatus - 1:1 life interfered, and after that I needed a vacation. But here goes again:
The breech ring is secured to the Travel Brace by the eccentric on a rod which goes through the hole below the breech ring where the recoil rod sits when the gun is in action. When the eccentric is turned, it arrests the breech, as can be seen in David Lueck’s picture above in post 57. So, the first work order would be to remove the two nuts for recoil and counter recoil rods on the breech and use them to close the corresponding holes in the cradle. I did that after first drilling out their rod representations and then cementing them to plastic rods of suitable diameter that could be mounted with white glue only - be prepared for any change of plans…
The holes this will leave in the breech will automatically be in he right places. However, AFV Club’s 155mm tubes and the rest of the breeches are woefully inaccurate and shouldn’t be used. Tamiya metal gun tube to the rescue - but that needs the Tamiya slide rails and their fixing bands. I was lucky to have come by a Tamiya M40 kit whose vehicle had been misbuilt rather badly by its former youthful owner who then thankfully was scared enough not to continue with the gun parts. That’s why I could make resin copies of the necessary parts, while the kit’s gun tube and slide rails were used to correct my AFV Club M40. The Tamiya breech was’nt needed there because I successfuly corrected the AFV Club part of their M40, as described in my build report (Baubericht - 155 mm M 40 GMC).
A test fit, though, showed that the lower part of the Tamiya breech had a slightly different angle than the AFV Club brace’s trough, so this part had to be cut off both breeches and the AFV one mounted to the Tamiya breech.
The eccentric’s axle was cobbled together from plastic rods of different diameter and punched out slices of sheet. On the brace, the outer molded round slice was removed and replaced by a new one that had the operating handle cemented on plus a hexhead nut and a “ratchet” from sheet.
This much for today. The handles -obligatory for an M59- will be added when everything else is mostly done. Have fun, it’s a hobby!
Peter
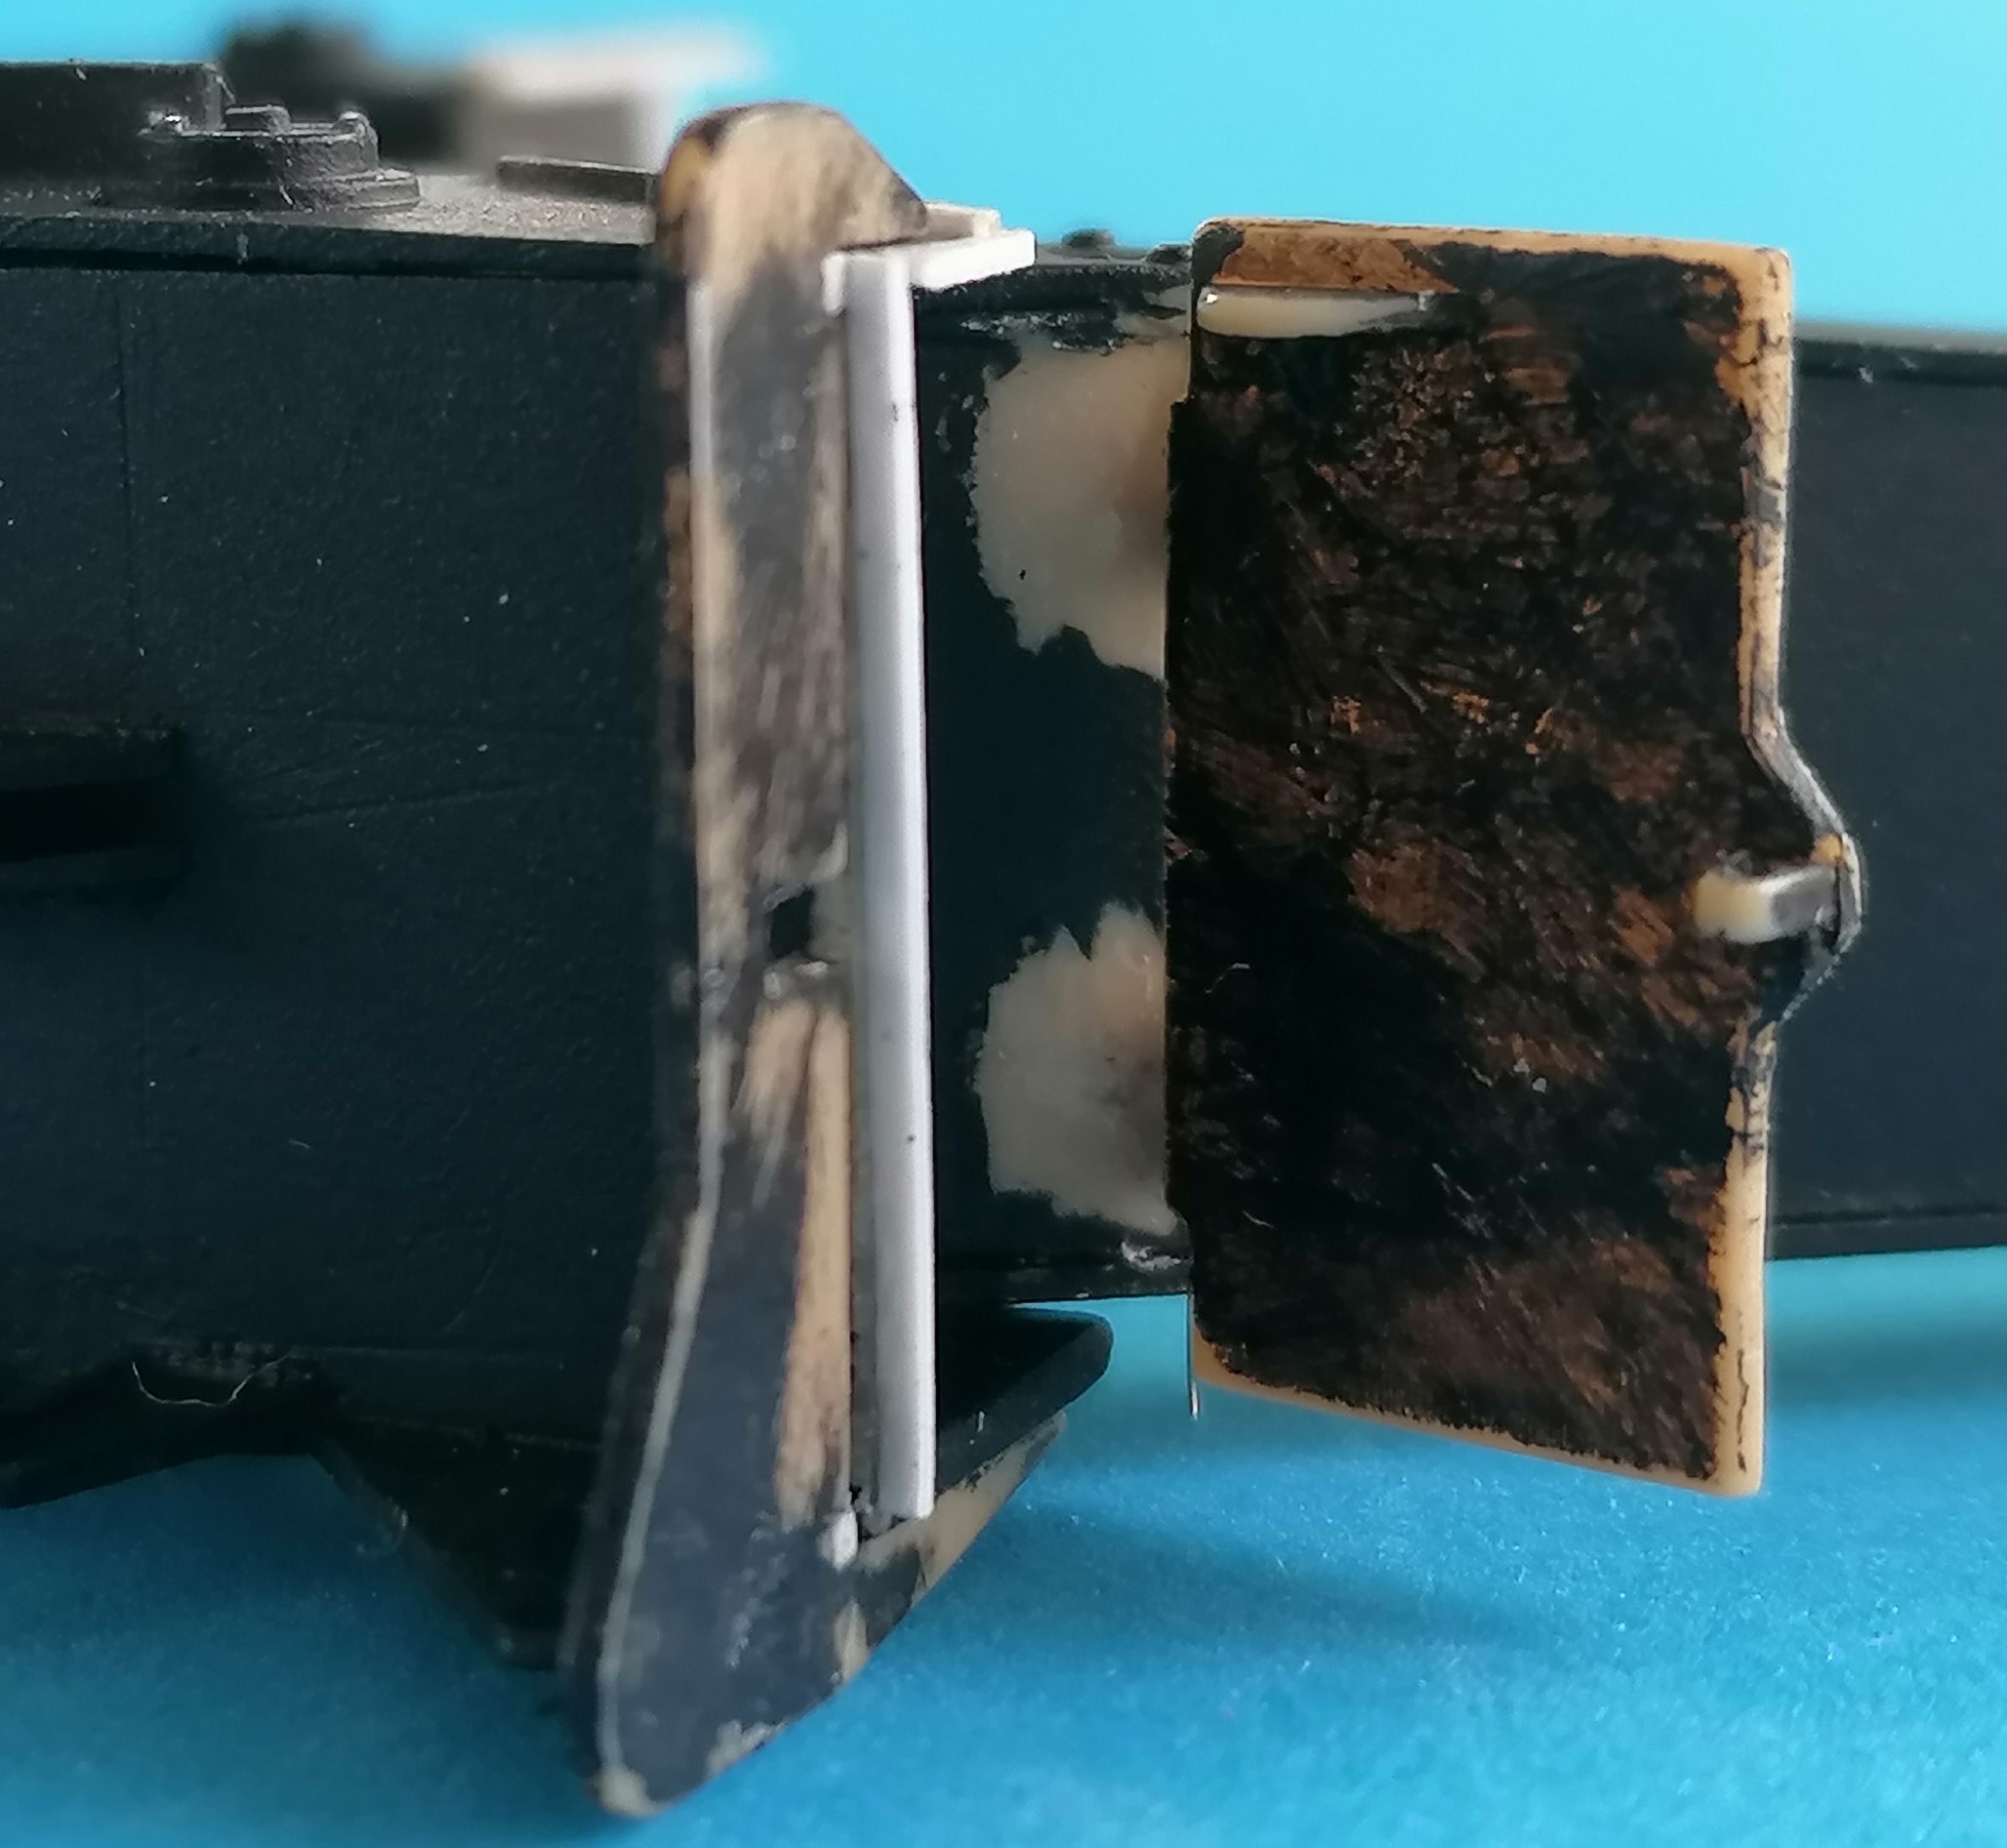
The original 155mm release had an incorrect tube and breech because they apparently assumed that the only difference between the two weapons was the muzzle end of the barrel. I would use the parts out of the newer 155mm release regardless of era. (Is the gray item to the left in the photo from AFV Club?) It would not surprise me if AFV Club “M59” parts did not fit the Tamiya breech because they are most likely 8-inch parts . . .
KL
I have built models of the M40 GMC from the AFV Club and from the Tamiya kit. AFV Club, of course, used their “Long Tom” sprues for the M40, too. As mentioned, I was lucky to get another Tamiya kit of which I used the gun tube to replace AFV Club’s wrong one on their M40. All this required was a little widening of the cradle top to let the Tamiya slide rails fit in.
In the above photo, the cylinder on the left is the Tamiya breech ring, with the perforated thing at its bottom having been cut off the AFV Club breech (cylinder on the right) and glued on; the corresponding Tamiya part lies below the light colored AFV Club breech with the larger diameter on the right. .
For the rest of the gun, I should have all necessary Tamiya parts, so I think I won’t have to resort any more to AFV Club parts - but I’ll keep everybody informed about any progress and problems.
Peter
Mentioning the gun tube in my last post, I tought I had the Tamiya metal tube ready to use with resin copies of the slide rails and connecting bands. Well, I had the copies - but only the rails and the parts of the bands between them were as good as I thought, the upper parts of the bands were of lesser quality. So, I had to fall back on the collection of cheap plastic ball pens all of us have lying around as gifts from campaigning politicians, insurance sales people and the like. Worked surprisingly well!
The Tamiya equilibrators are very nice, with the brass tubes having just the right difference in diameter to the plastic pistons. But there’s a ridge around one of them, and on the prototype, that’s what’s brass in the kit, not the plastic piston. Off they went, and 0.25 x 0.5 mm styrene strip was superglued around the brass tubes.
Did I mention that I’m a very unsystematic builder? The wheeled carriage parts stared at me, and I stared at the Eduard PE set, finding the handbrake ratchets very nice. They were installed on little pieces of stretched sprue, with operating rods of the same material and some more tiny pieces.
After I had finally pulled myself together to prime at least some sub-assemblies with Citadel Chaos Black from the rattle can, that only brought the dreaded ordeal of final painting closer. So what do you do as a certified paintophobe? You desperately search for an excuse to procrastinate - and I found it in the form of the trail “doors”: On a model that will show firing and travel mode, the trails have to fold and these doors must open and close, right?
Stretching Evergreen 2.5mm tubing with a very fine wire inside yielded tubes of 0.5mm diameter that could be cemented to the doors and the rear half of the “hinge mounting plates” on the trails. On the carriage, the bottom of base A30 as well as top plate A31 should extend beyond the side walls, and the braces A19 even have cutouts for that – but these had to be filled, as AFV Club made top and bottom flush with the sides. Photos of the prototype showed that these braces are welded to the openings for the trails and that the weld beads extend on the openings’ top. To copy this, styrene strips of 0.38 x 0.5mm were cemented around and the resulting angle filled with stretched sprue that was softened with liquid cement and structured with a knife blade.
Basically, everything works now, but an exact fit can not be achieved before all parts have been cemented together - and that requires paint on all things that will be out of reach once they’re fixed …
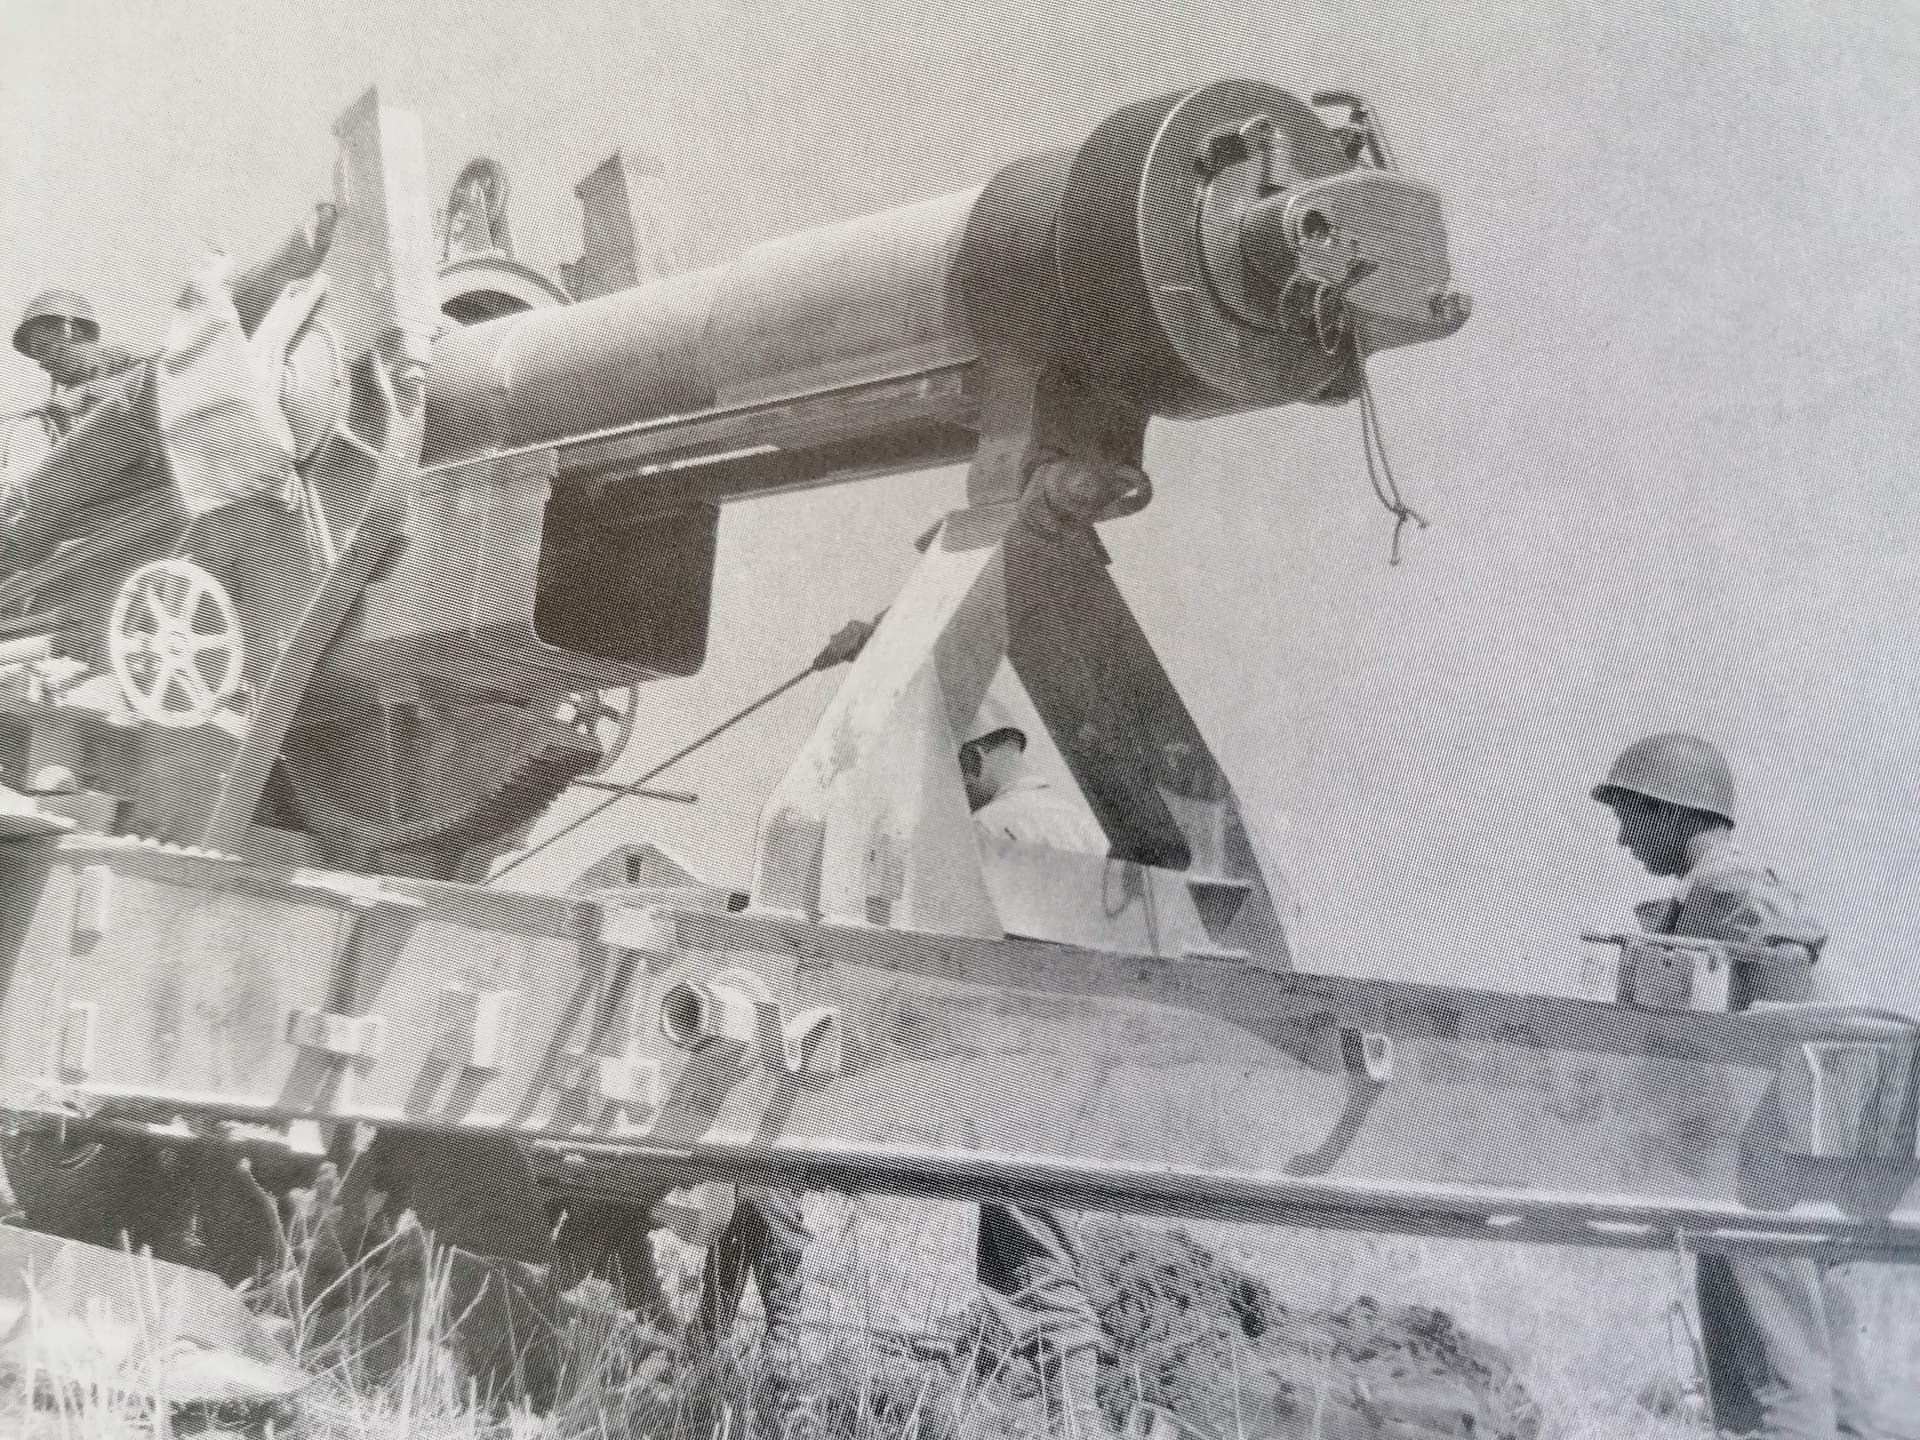
Incessantly striving to increase my knowledge, I stumbled upon this picture on page 48 of Squadron Signal book #12061 “155mm Long Tom Gun in action” by David Doyle:
What do the captions say?
KL
Unfortunately, the captions only describe what the crew members are doing while emplacing the gun in Sicily in august, 1943; the breech isn’t mentioned.
Well, it provides time and place, which is useful. That sent me looking for earlier documentation. From what I can tell that is an M1 gun, one of the 20 manufactured in 1940 and 1941, and one of 5 sent overseas.
KL
Wow! Thank you very much, Kurt, for this highly interesting piece of information - one of twenty samples; amazing, no wonder I had never seen this thing before. But like the girl said, you learn something new every day. Keep researching, everybody, this is an educational hobby, not just gluing and painting in record time!
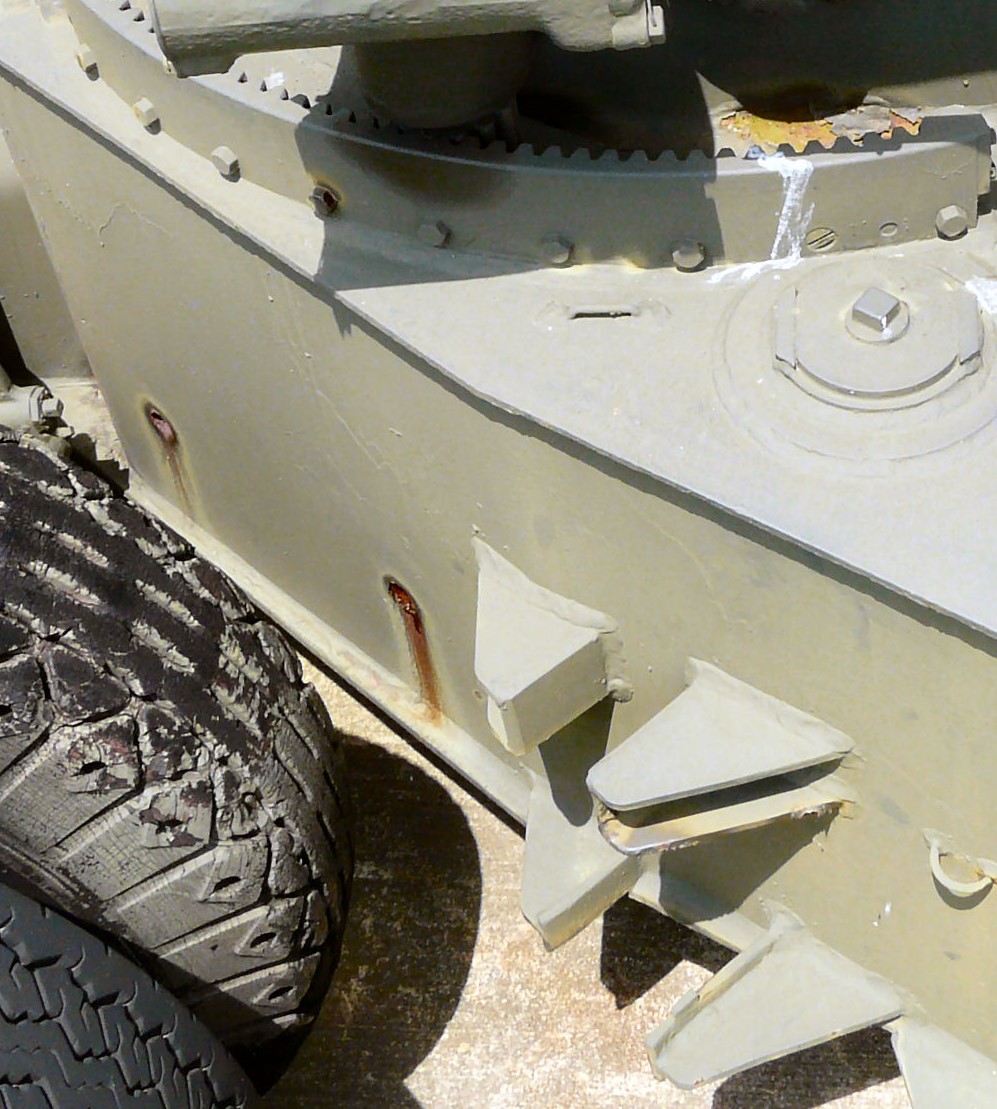
Like I wrote, keep researching: While still trying to find reasons for procrastinating painting, I stumbled across these two “drain holes” (?) in the carriage front.
For a change, here’s something for those who are building AFV Club kit #35295, the Long Tom in WWII version: Part E3, the “Front Retracting Eye”, should not be glued on the gun tube’s center fastening band, as the instructions say, but on the front band’s rear edge! Of course, that goes for the AFV Club M59 kit #3509 as well - but here, you have to bend that part yourself from 0.8mm copper wire. AFV Club’s M40 needs that, too, while Tamiya’s M40 has the eye molded to the front band.
At long last, I’ve started to paint some subassemblies of my Long Tom. Only to find more more things I found worthy of correction: The leaf springs’ ends (two leaves) are held in place by protrusions on the brake drum mountings.
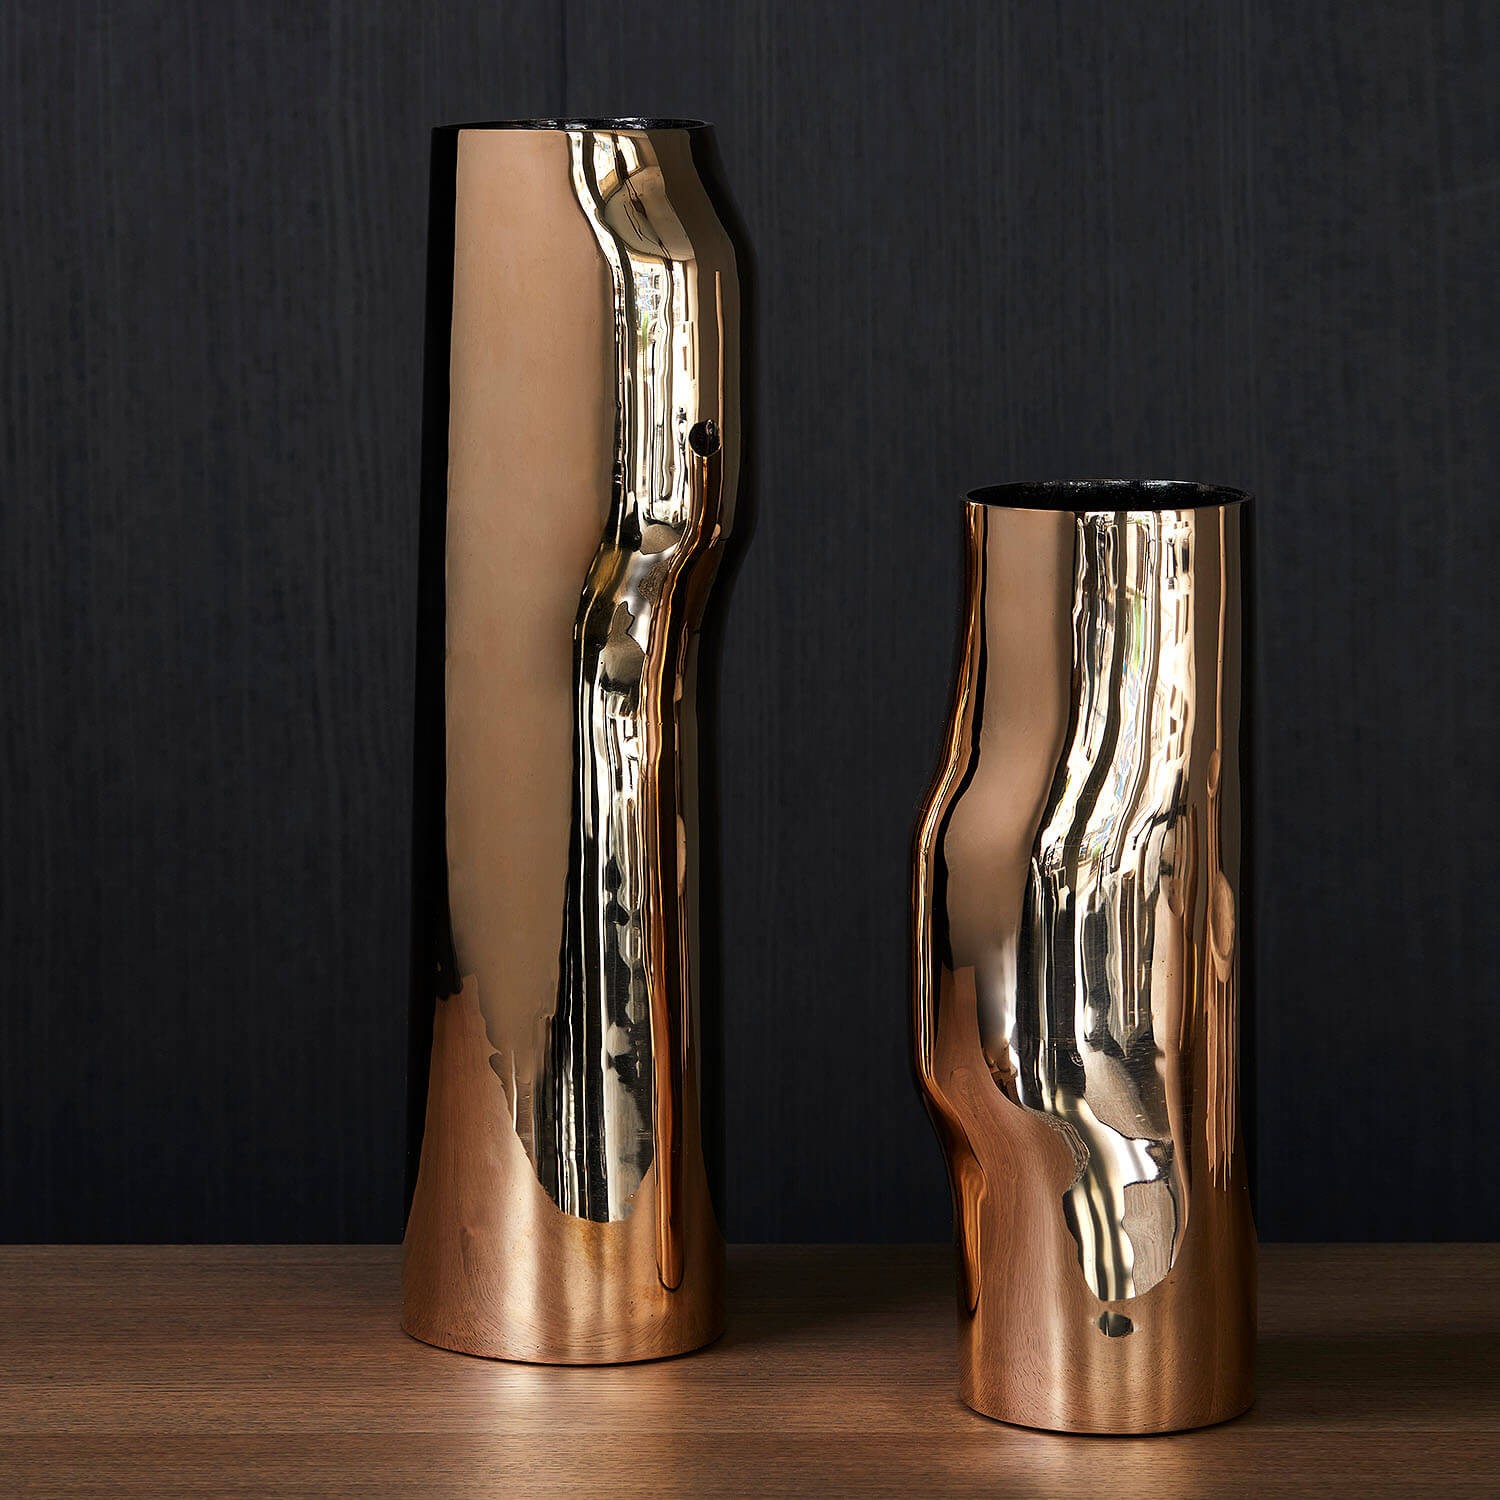
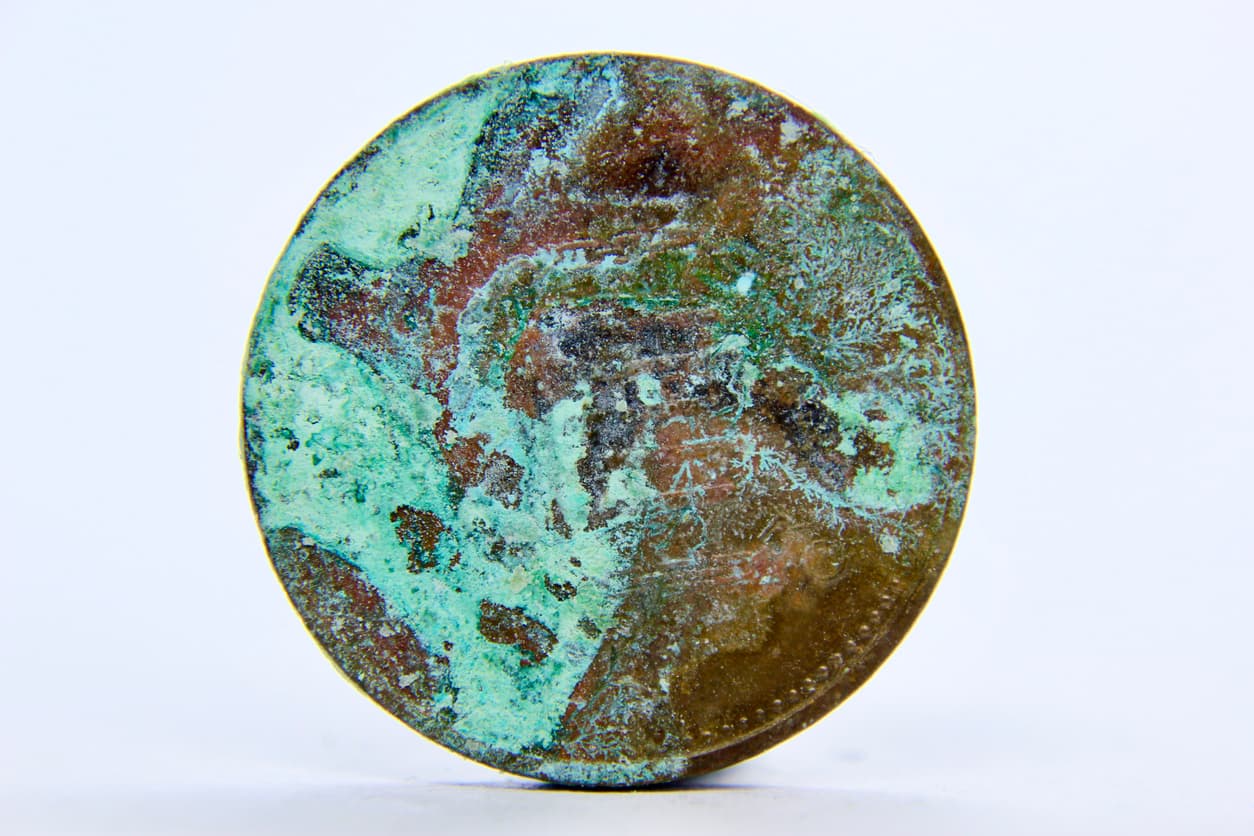
And here’s a color question: I’ve read somewhere that the slide rails on guns like this are made of bronze, and now I wonder if the metallic red tones of Humbrol Metal Cote “Satin Bronze” and of Revell enamel 95 (which seem almost identical) would be the right choice. Museum pieces, unfortunately, are always painted military gray or green all over, so they won’t help. On the other hand, to me, Bronze is the greenish brown of oxidized naked antique statues - but maybe they, too, would turn red if polished as hard as a gun’s slide rails are? Please suggest a color tone that would approach the prototypes.
Polished bronze is almost like gold
Vases:
Polished knobs
Somewhat aged bronze:
Badly corroded:
The slide rails were indeed bronze or brass. The same recoil mechanism was used on the M110/M107/M110A2. Anything that gives you a tarnished brass look is good. Here is a photo of the slides on an M107 that were not painted over. They look just as I remember from my time with M110A2 equipped battalions.


