Haha, good one!
2 Likes
Great start on the colors on those sleepers and steel
1 Like
Thank’s kosprueone!
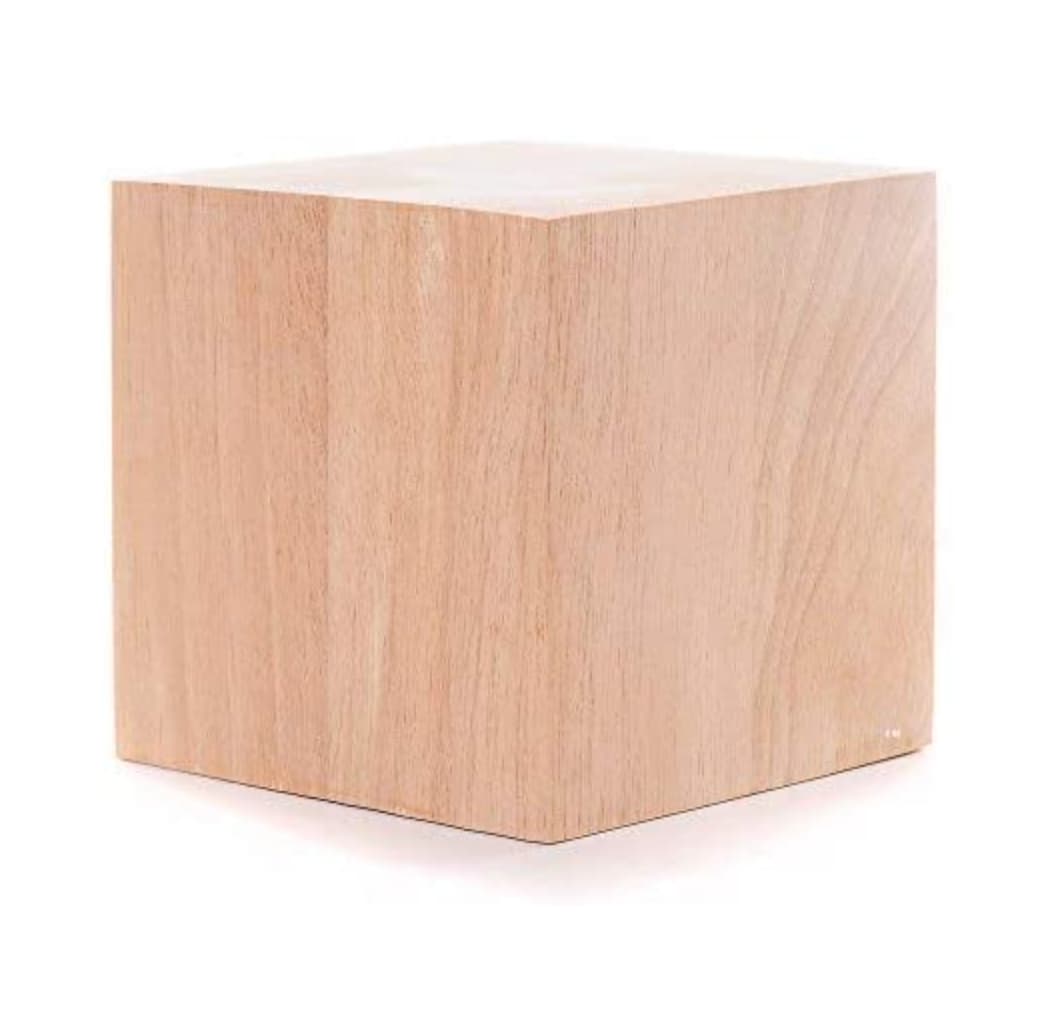
Some great news! This block of wood arrived today… over 2 ½ weeks earlier than expected! ![]()
![]() The block measures in at a 6-inch cube, which as anticipated works out better than my original cardboard box mockup by a half-inch size reduction.
The block measures in at a 6-inch cube, which as anticipated works out better than my original cardboard box mockup by a half-inch size reduction. ![]()
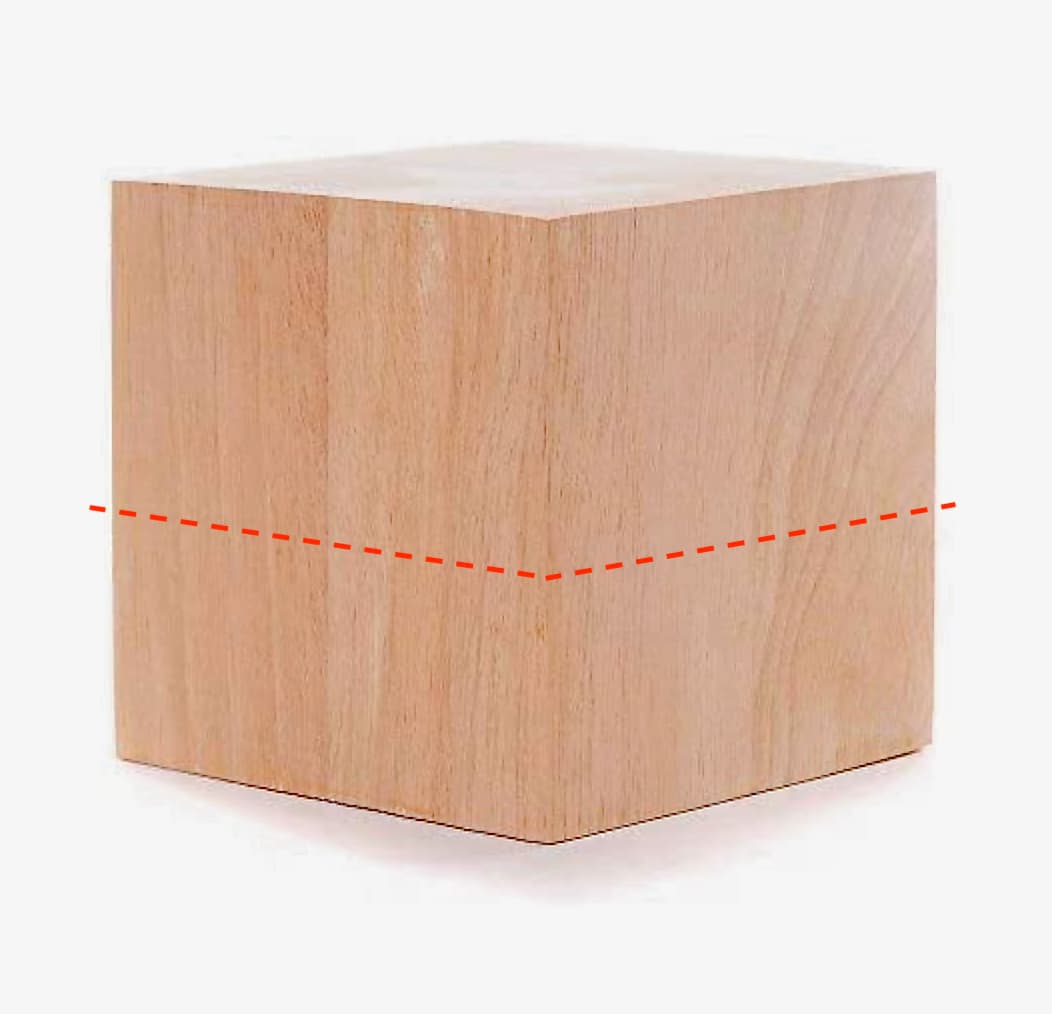
I’m considering cutting approx. 2 cubits off the bottom of the base? ![]()
![]()
2 Likes
I think it will look better but you should make a cardboard mock up first and see if you like the look and not need any adjustments before cutting the wood. 
1 Like
@ Tank_1812, Thank’s for your input… Copy that.
Here’s a quick side-by-side mockup…
.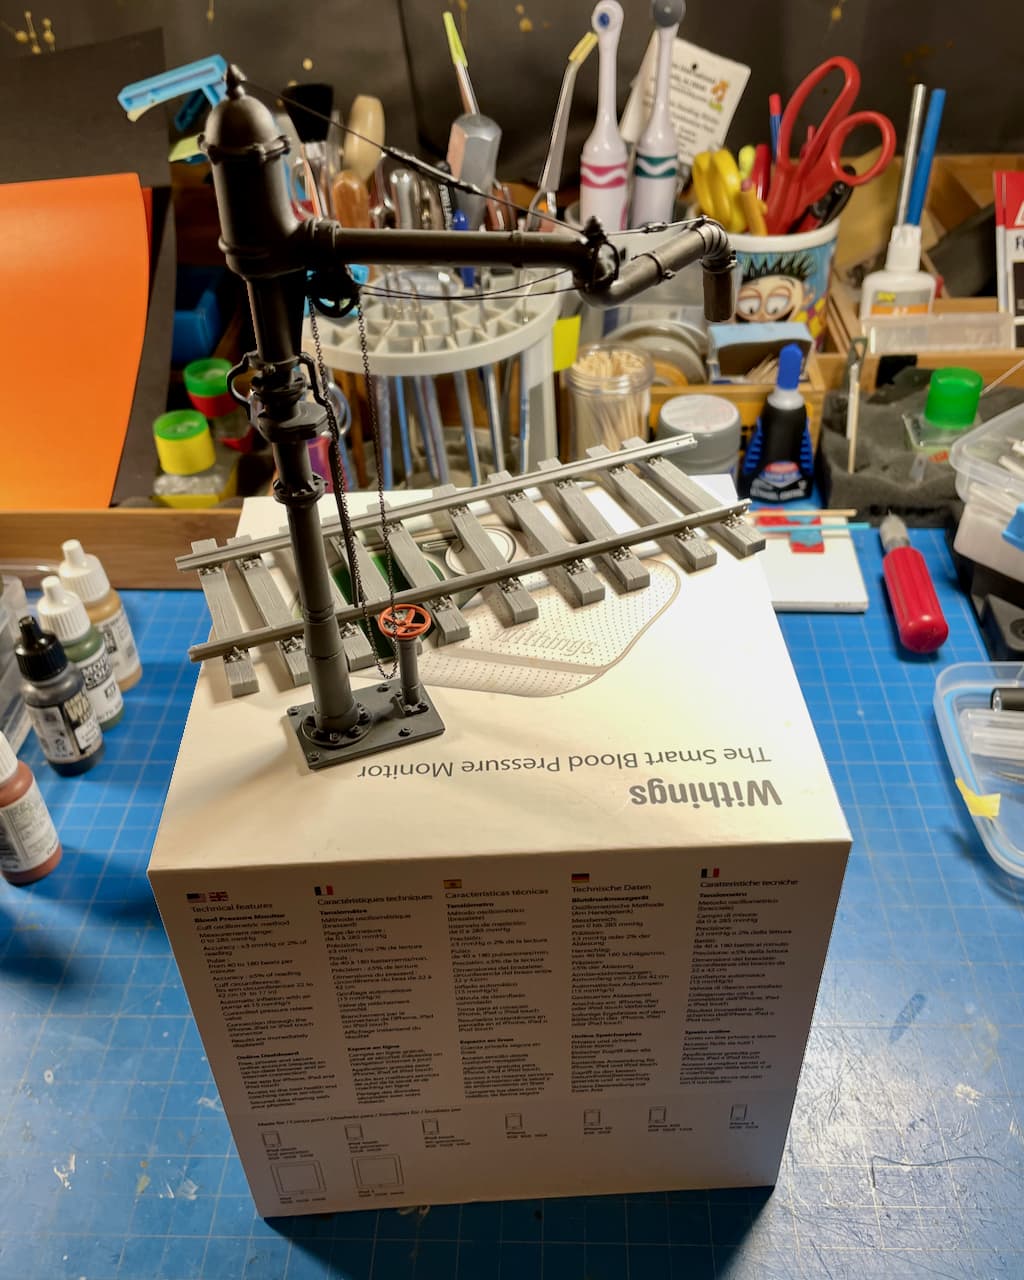
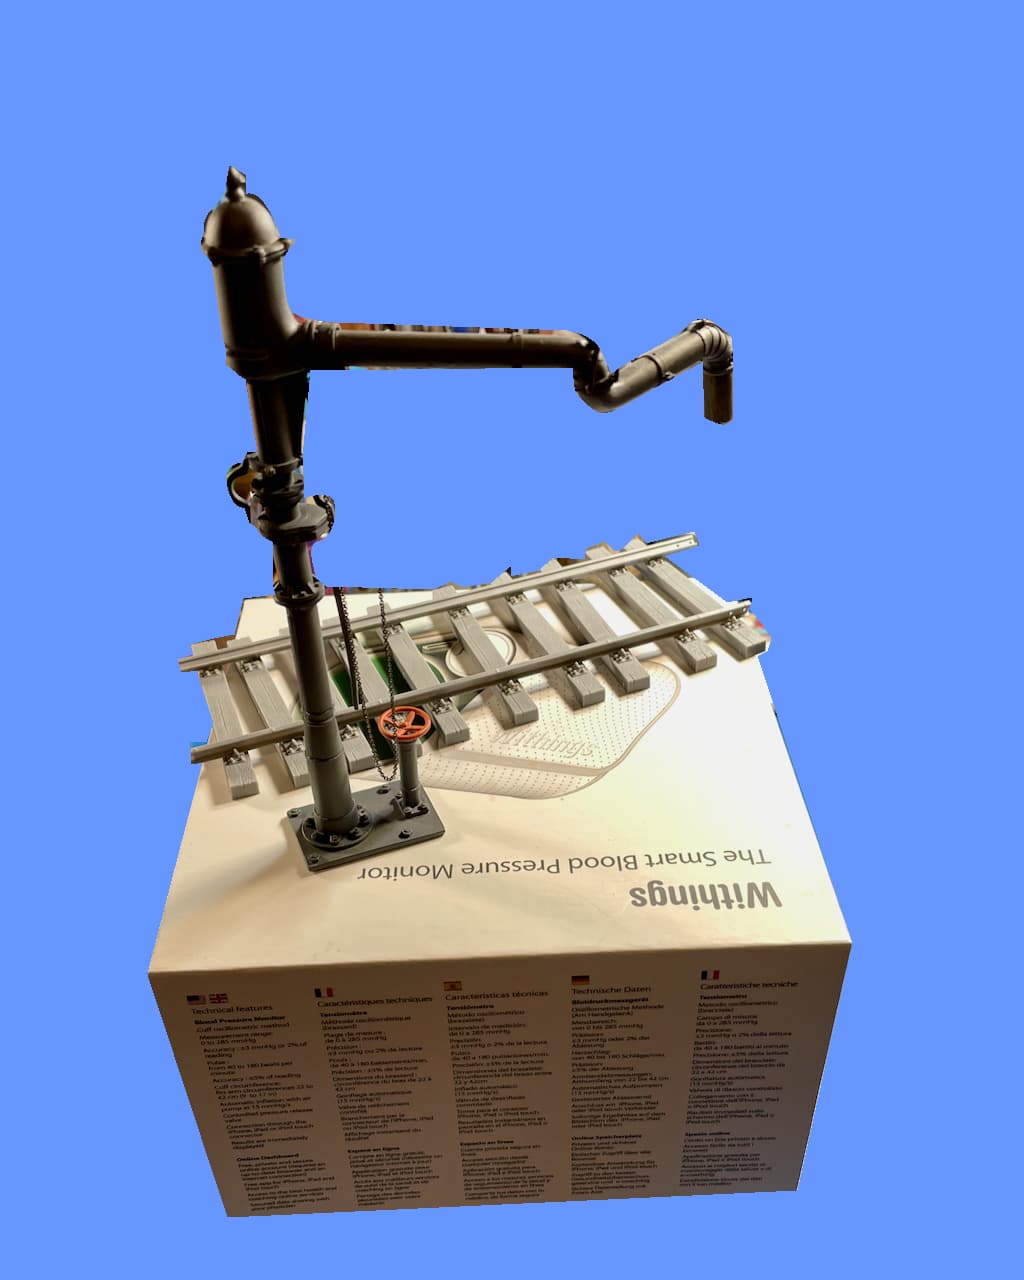
Giving it some thought while I work on other aspects. ![]()
4 Likes
I like them both because they are intensionally taller than a flat plaque or picture frame base. Doing that is a slick artistic technique.
Of these two options tho, I like the shorter block because your diorama story is on the ‘ground’. All three main elements; figures, rail road, water crane are all on the ‘ground’.
If for example, there were to be a figure like a cat or raven or another detail that punctuates the story further that was set on the very top of the crane or near the top. Then I would suggest the taller cube for the base because that would further, dramatically frame that story.
IMO
2 Likes
The photoshop looks good but a 3D object to test might be more helpful to see from different angles. Would another 1/2” either look better etc.
1 Like
@ Kosprueone and Tank_1812, Thank’s guys! That was some really good input. Input is being input into the super computer while in sleep state. 
 🪚
🪚
Think I’ll whip-up a better mockup tomorrow… provided Friederich behaves himself while I divert my attention elsewhere. 
Please stay tuned…
2 Likes
Okay, here you go fella’s. Strait outa’ Colorado ShakyCam Studios. 

Not sure if these four (4) videos are uploading. ‘Refreshing’ your browser may do the trick. If not, I’ll just replace them with still images at a later date. HTH.
Note: Top of blue tape strips indicate height increments.
-
Image 1 (Full 6"x6"x6" cube block)
-
Image 2 (4" tall mark)
-
Image 3 (3" tall mark)
-
Image 4 (2.5" tall mark)
I think I like the 2.5”. I swear I could hear the chains clanking.
2 Likes
Arghhh!!! make it stop they’re all spinning at once!

(PS What Ryan said)
3 Likes
The 6" or the 3"… I guess the 3"
You could’ve at least embedded some audio to your videos ![]()
I listened to calliope during this viewing ![]()

1 Like
@ Tank_1812, Dioramartin, and kosprueone,
Clanking chains, spinning mosquitos and calliope music!  Ha! You think you guys are dizzy?! I nearly puked on the lazy suzan filming those clips!
Well, that narrows it down to 2.5” and 3”… 2.75”! 
Cut once, and to hell with measuring! 🪚
Thank’s again!
—mike
2 Likes
When I wasn’t looking, Friederich ventured into the mud once again!

Image from MasterBox for reference only.


 …
…  and later…
86’d the board shorts for long trousers, belt, buckle, belt loops; modified cap, yada, yada… 
Not my best work, Complete redo of this figure pending. 
 🪚
🪚
4 Likes
![]() oh no….
oh no….
1 Like
Looks great. Now you need a nice diorama to display it, and tell the story of railroads during war.
1 Like
@ Bravo36, Thank you! … My intent is to portray a fictional scenario which takes place post-WWII at a bombed-out railway siding. Said area is occupied by US Infantry and has been converted into a German POW camp. … I apologize, It’s a rather lengthy thread (see above).
Cheers!
—mike
1 Like
![]()
![]()
![]()
2 Likes
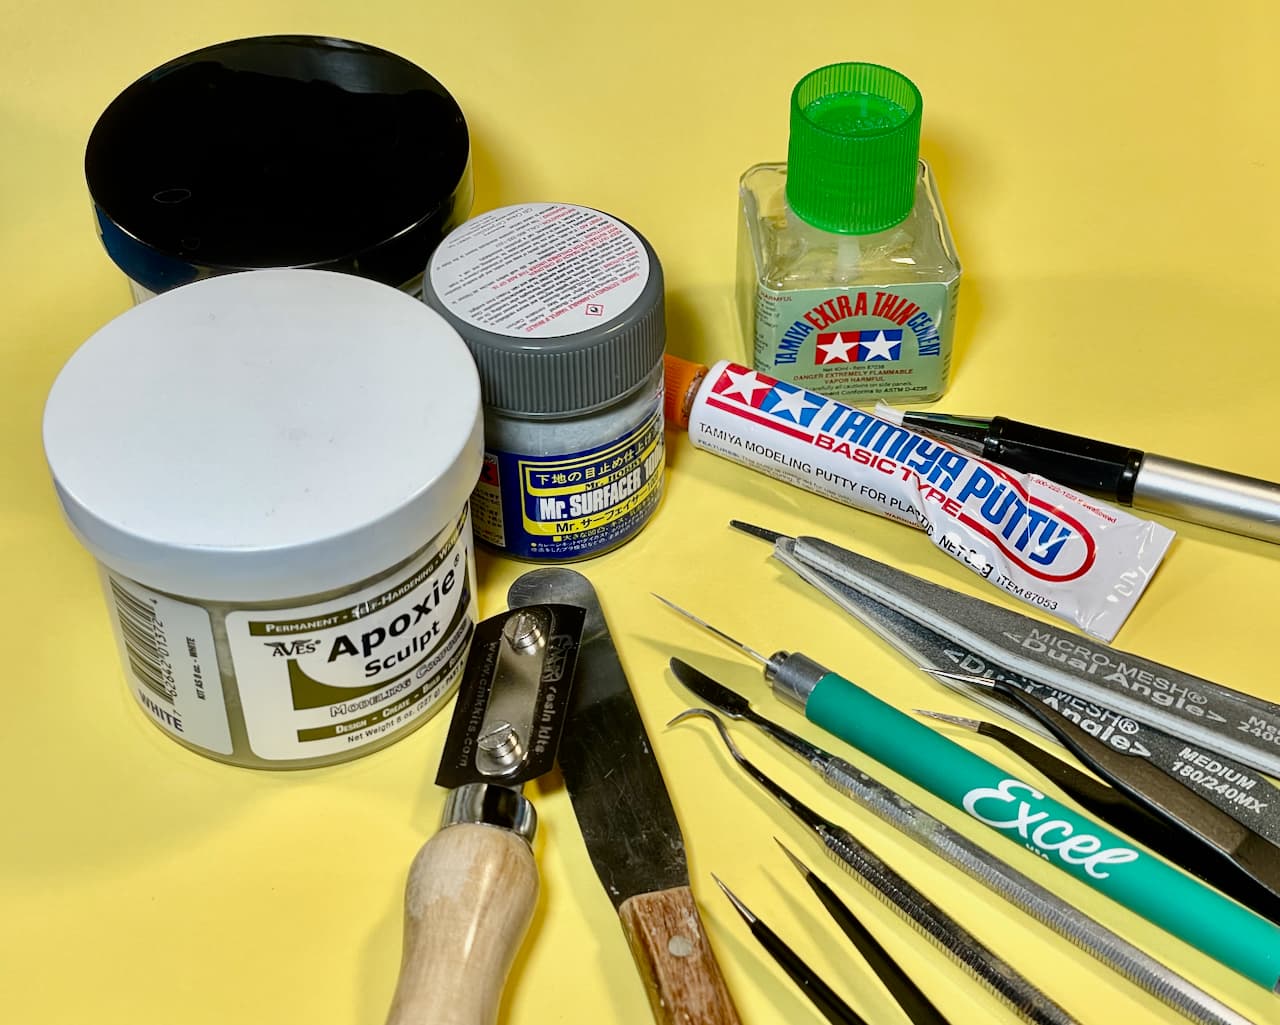
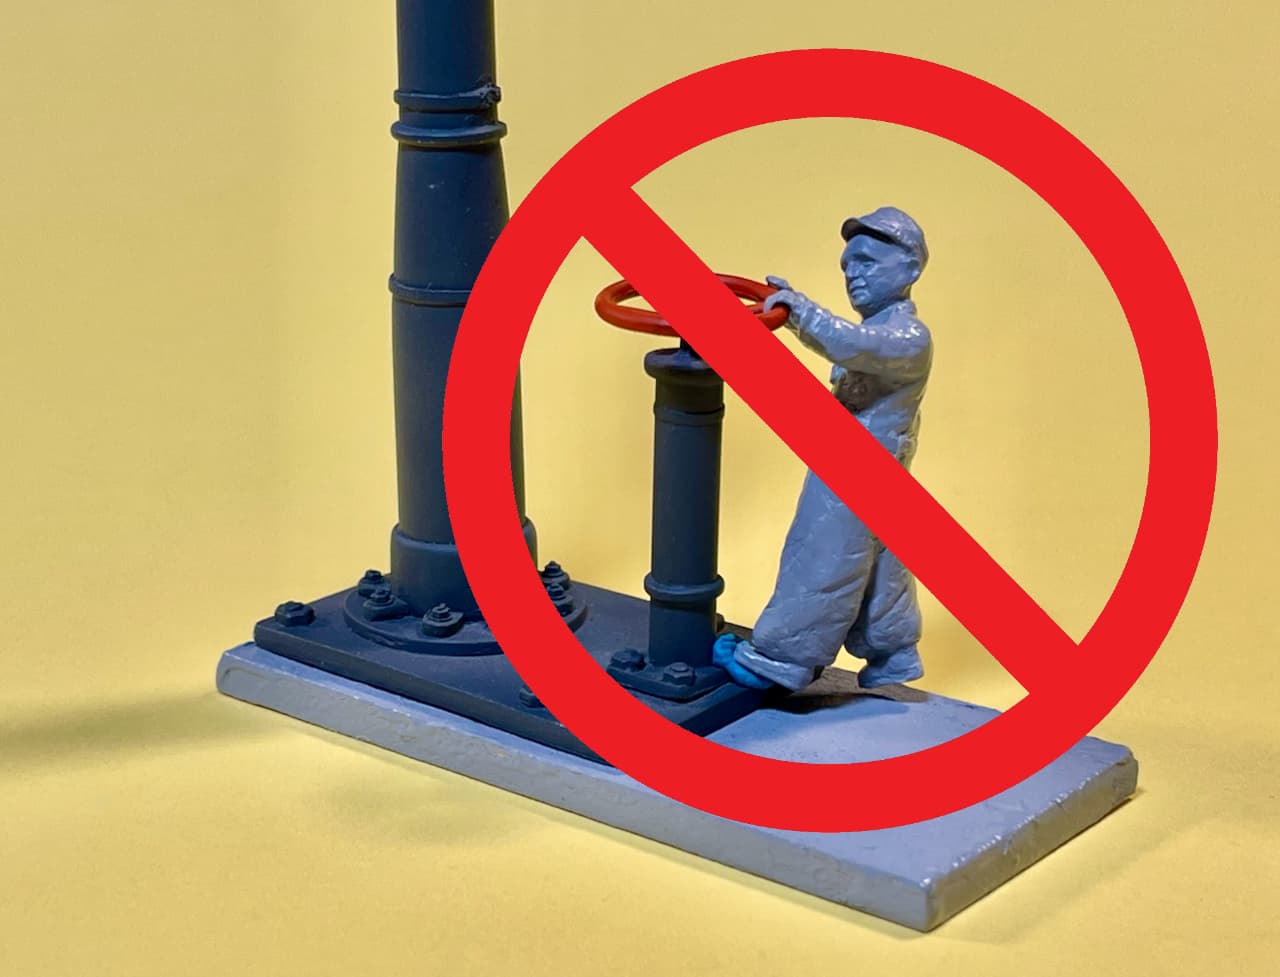
Unfortunately, I had some Apoxie Sculpt drama. The putty mix just wouldn’t harden, even after three days — most likely user error. In addition, I risked restructuring Friederich’s chubby little cheeks in favor of a more starved look and lost his smile in doing so. ![]() With so much carving, sanding, filling, priming, and handling, details wer getting all clogged up. And as usual, the photos revealed everything.
With so much carving, sanding, filling, priming, and handling, details wer getting all clogged up. And as usual, the photos revealed everything. ![]() … DNR.
… DNR.
I’m not out any cash since he was from the spares box — just a lot of wasted time. Fortunately, the aforementioned MasterBox kit was in stock at Scale Hobbyist but who knows for how much longer. So, I loaded one more Item into the cart and pressed “Proceed to Checkout.”… Pushing that button… priceless! ![]() Reviewing my bill… costly!
Reviewing my bill… costly! ![]()
![]()
1 Like