Hey Chris, this is a really nice build you are doing. I think you just inspired me to build one of my Hellcats from the “Stash from hell” as my wife calls it. Will be following this with interest. Keep up the good work!
Phil
Hey Chris, this is a really nice build you are doing. I think you just inspired me to build one of my Hellcats from the “Stash from hell” as my wife calls it. Will be following this with interest. Keep up the good work!
Phil
@gunnerPhil. Thank you for being nice lol.
Build your M18 , I would love to see it . When you start it tag me so I can follow along.
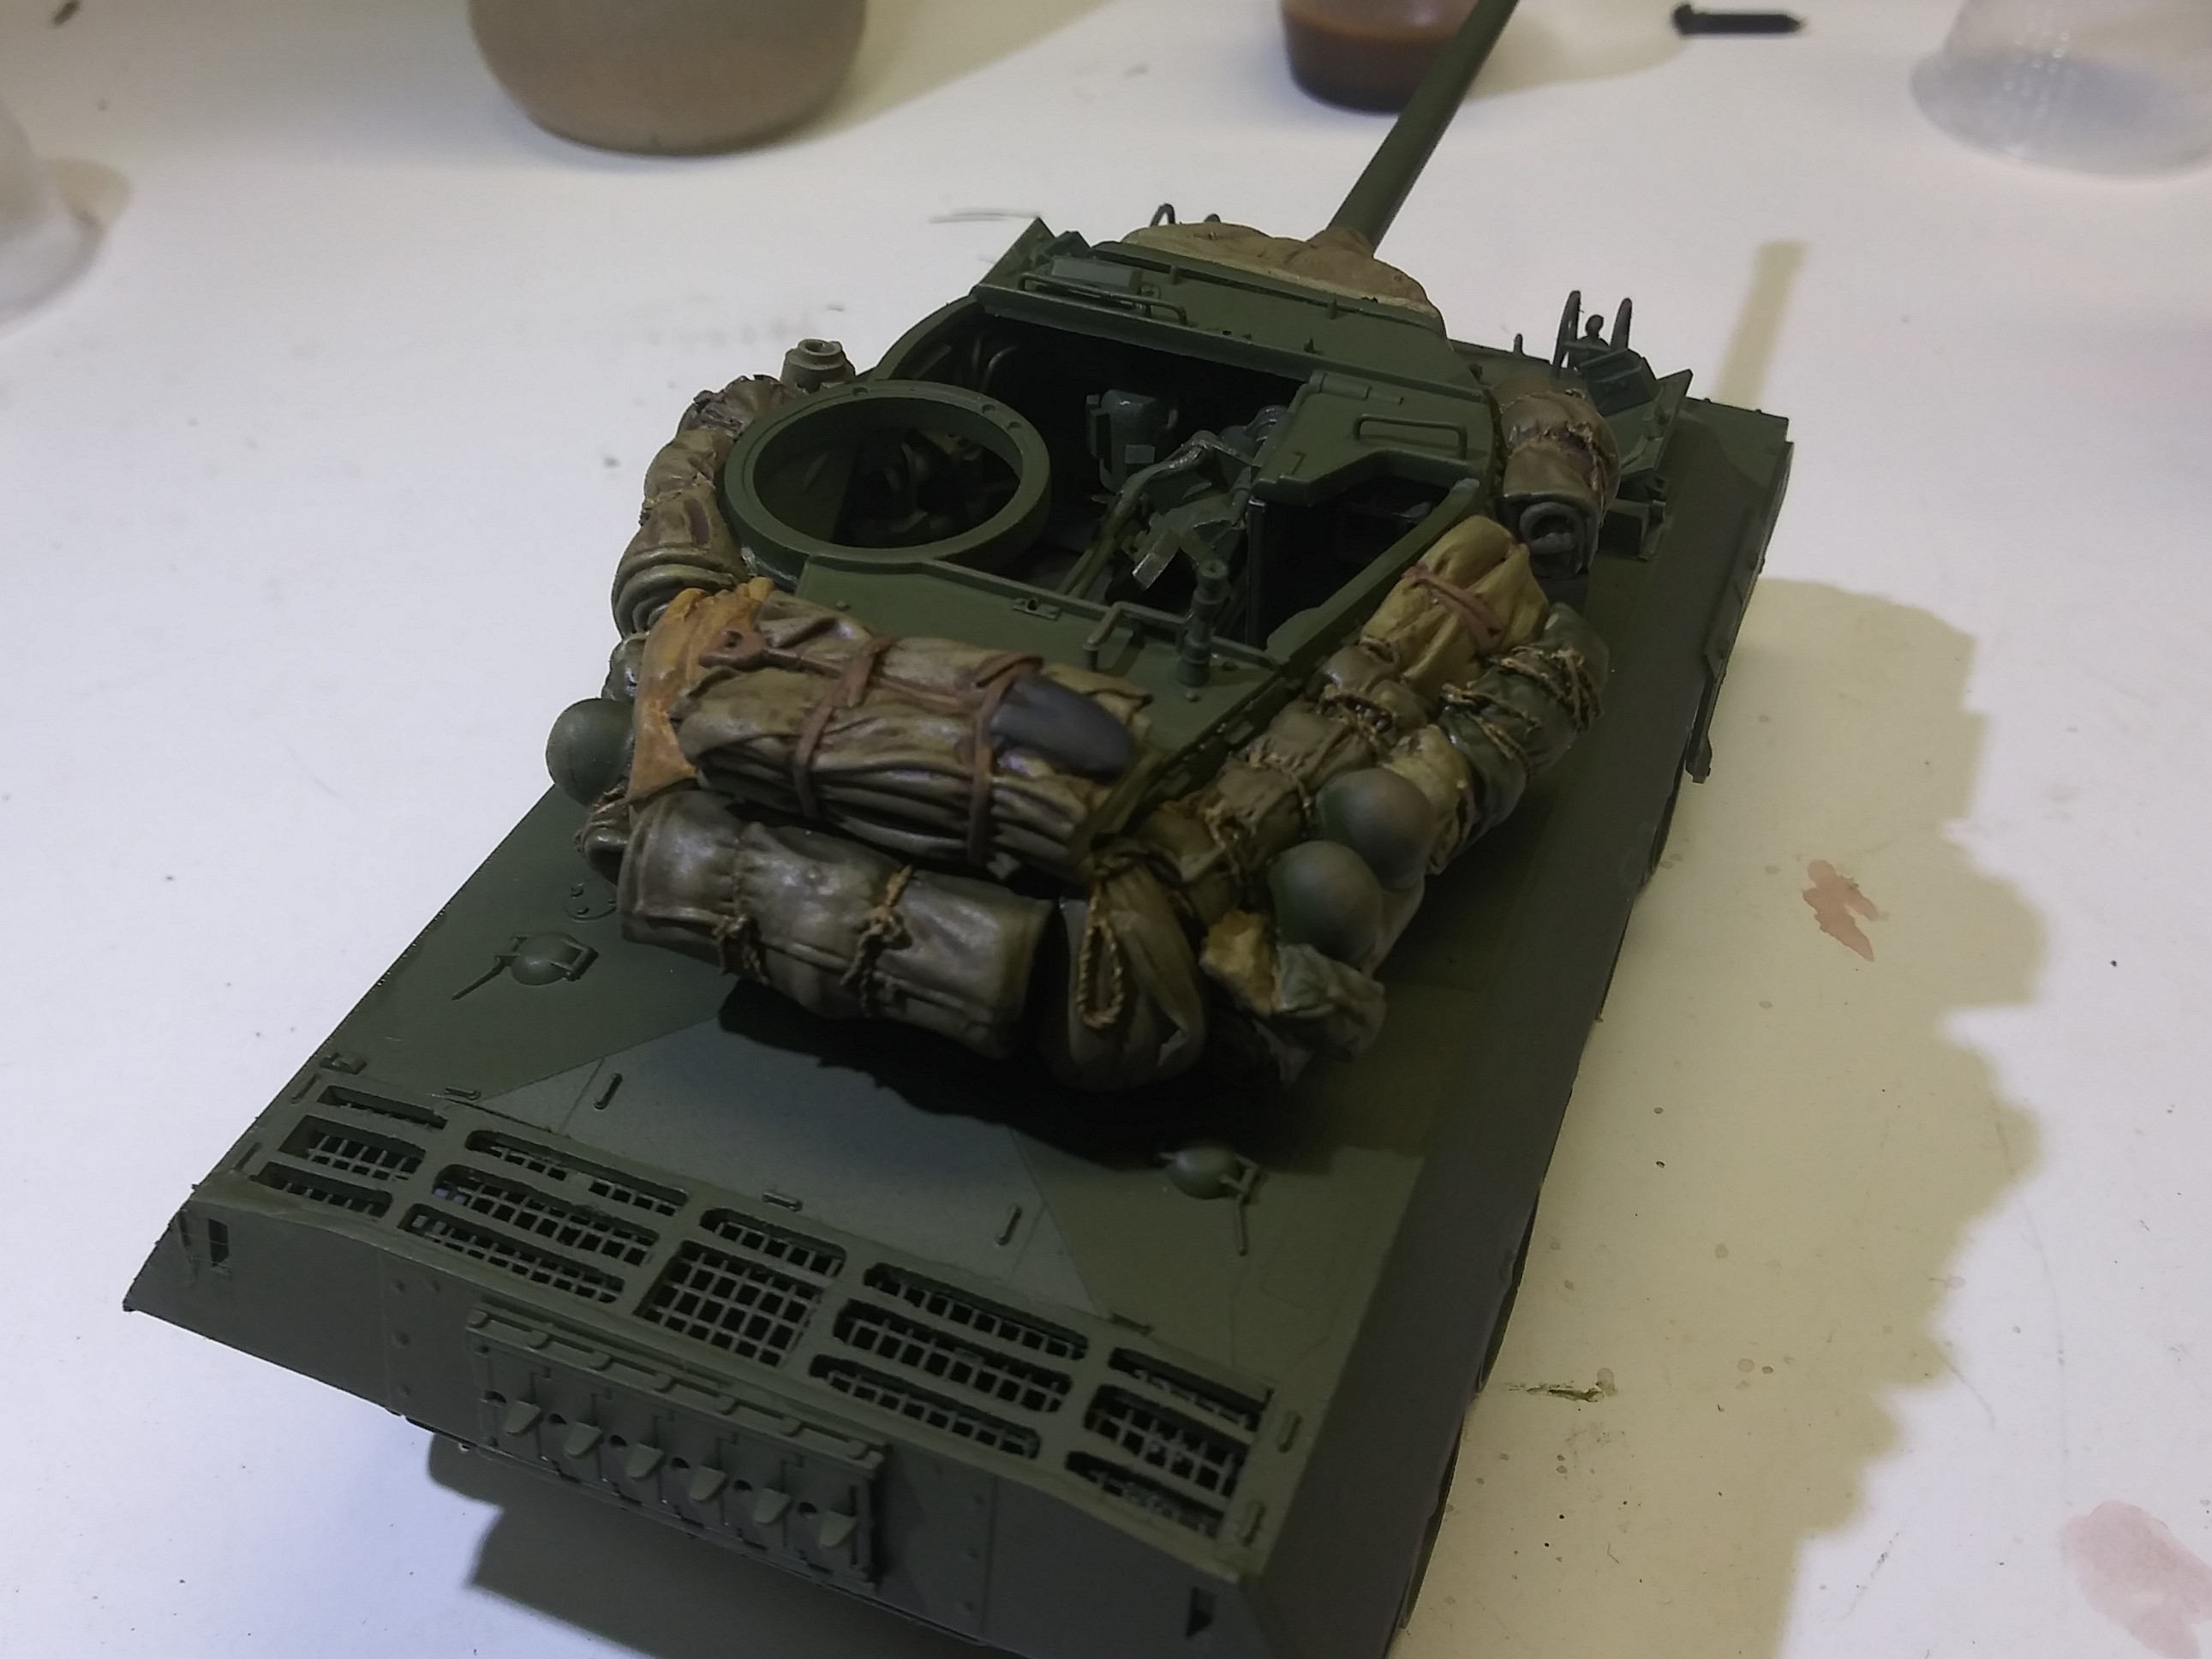
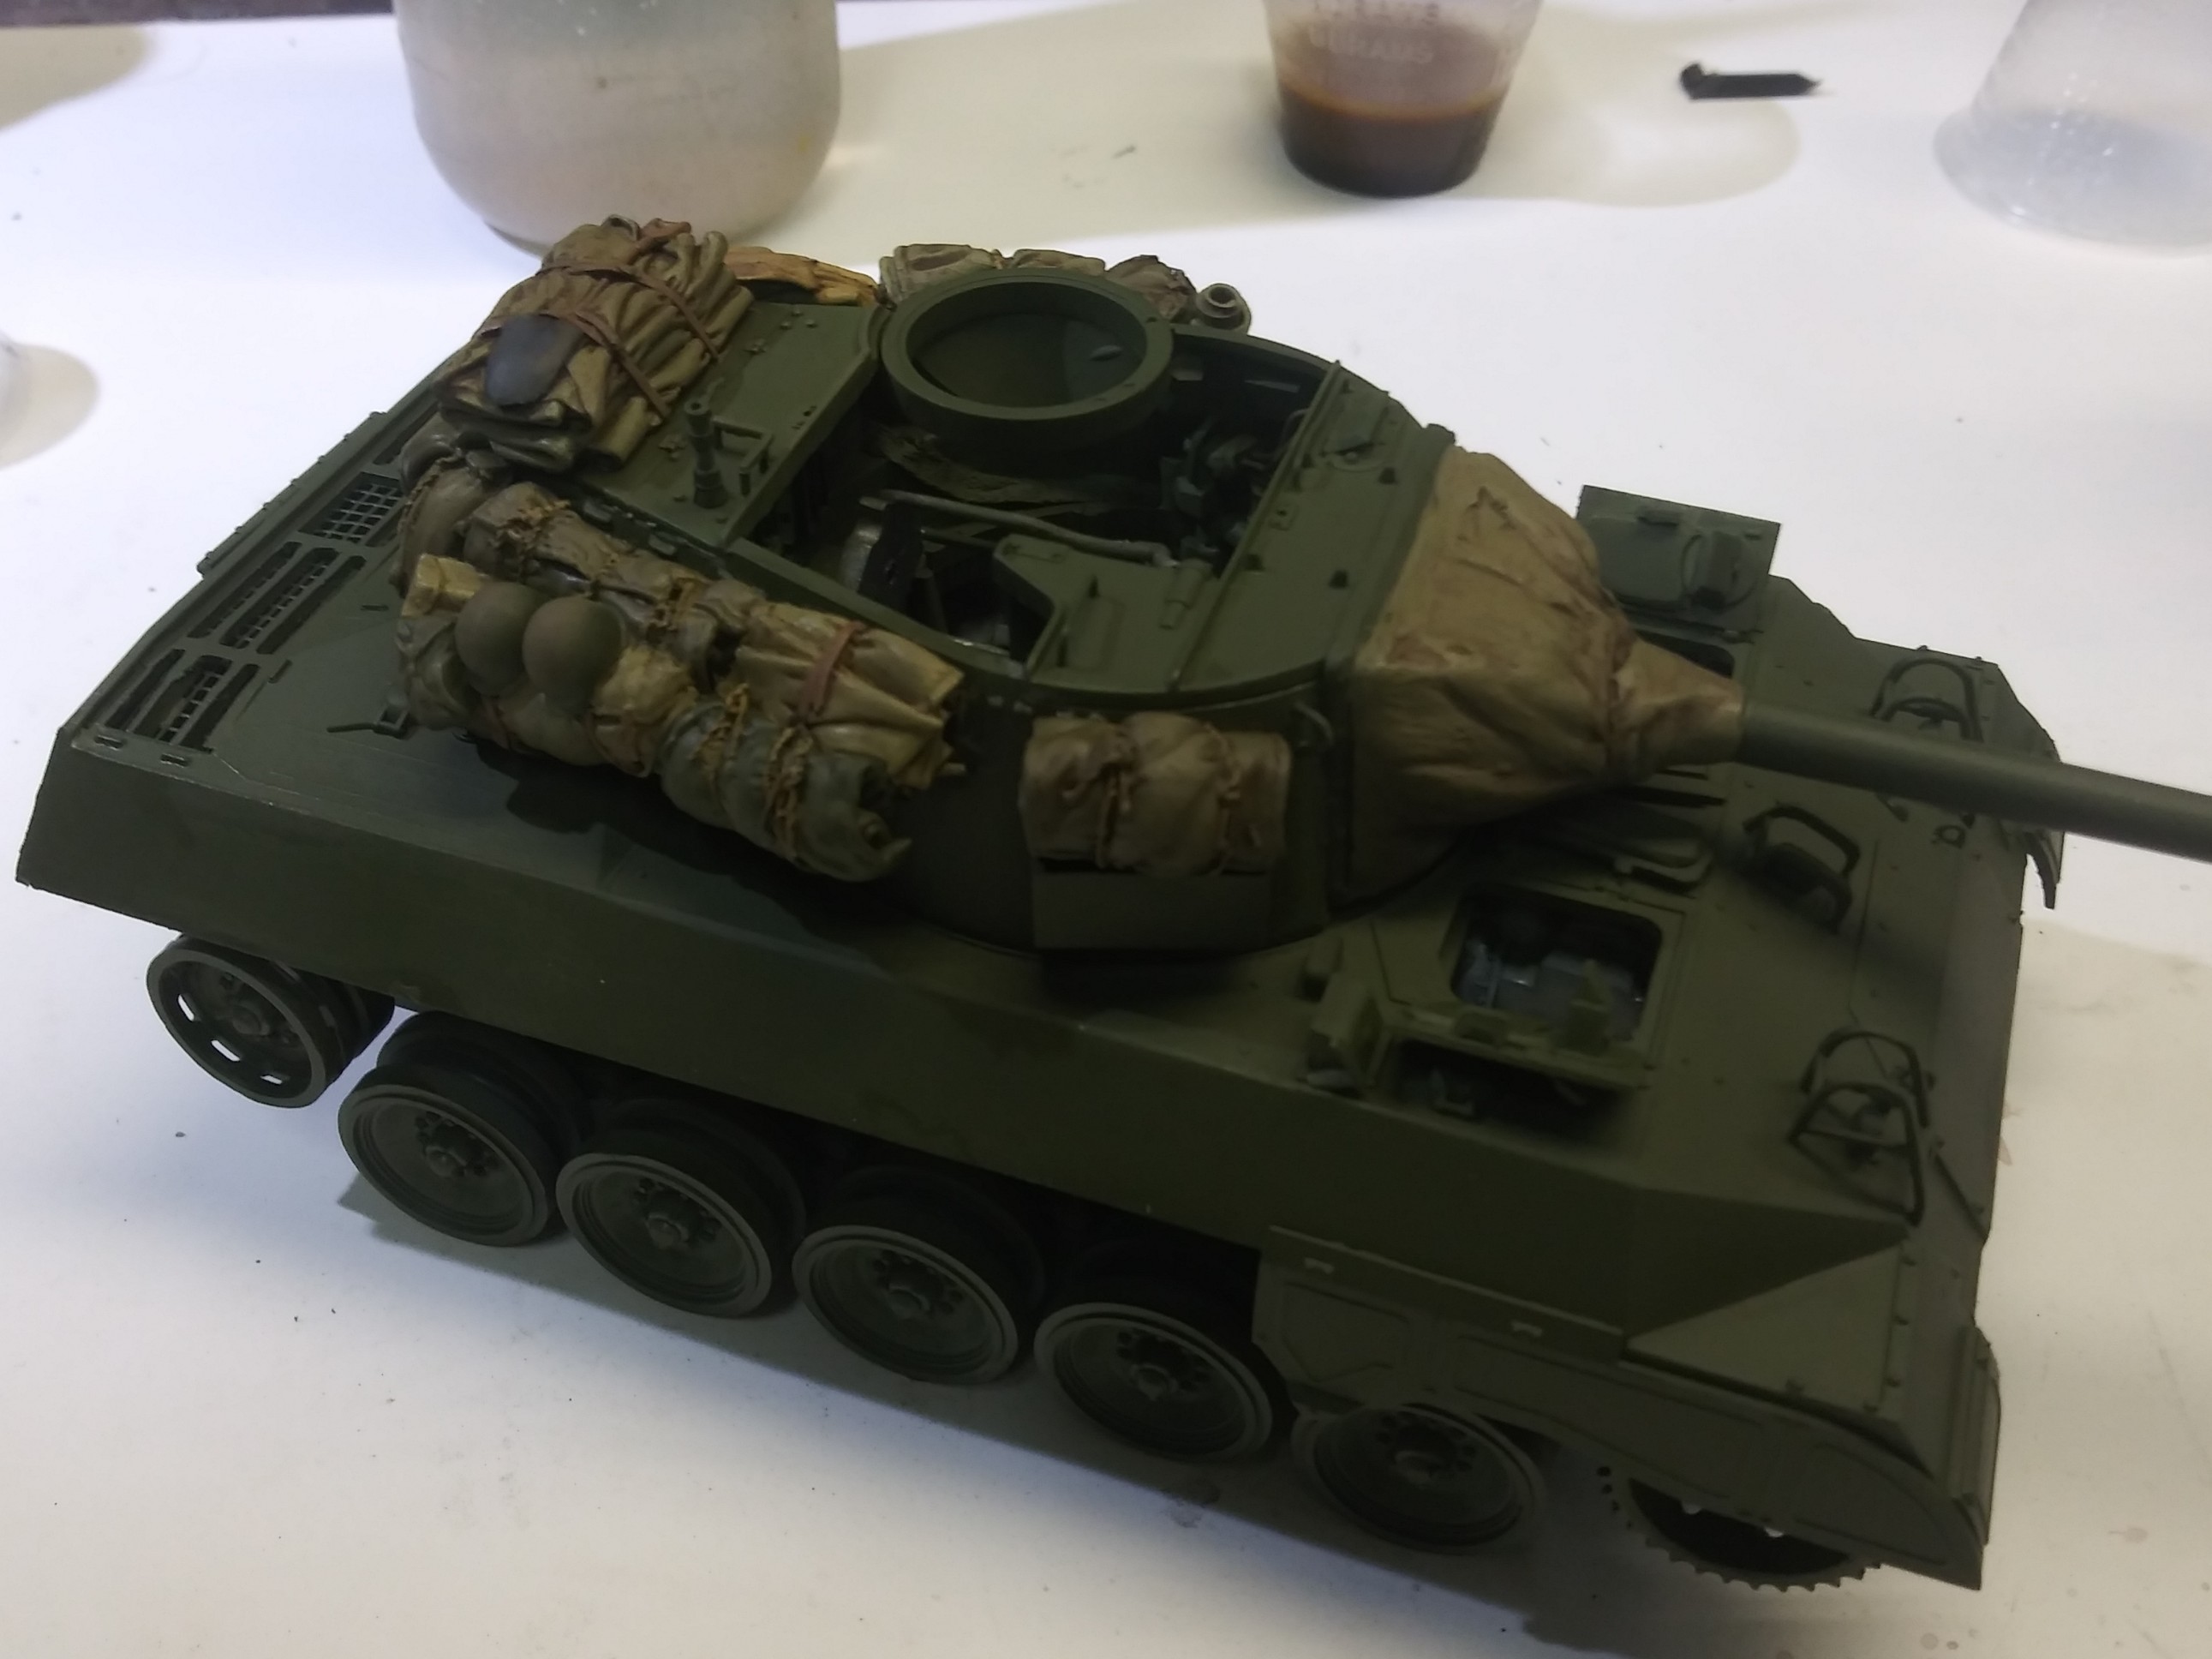
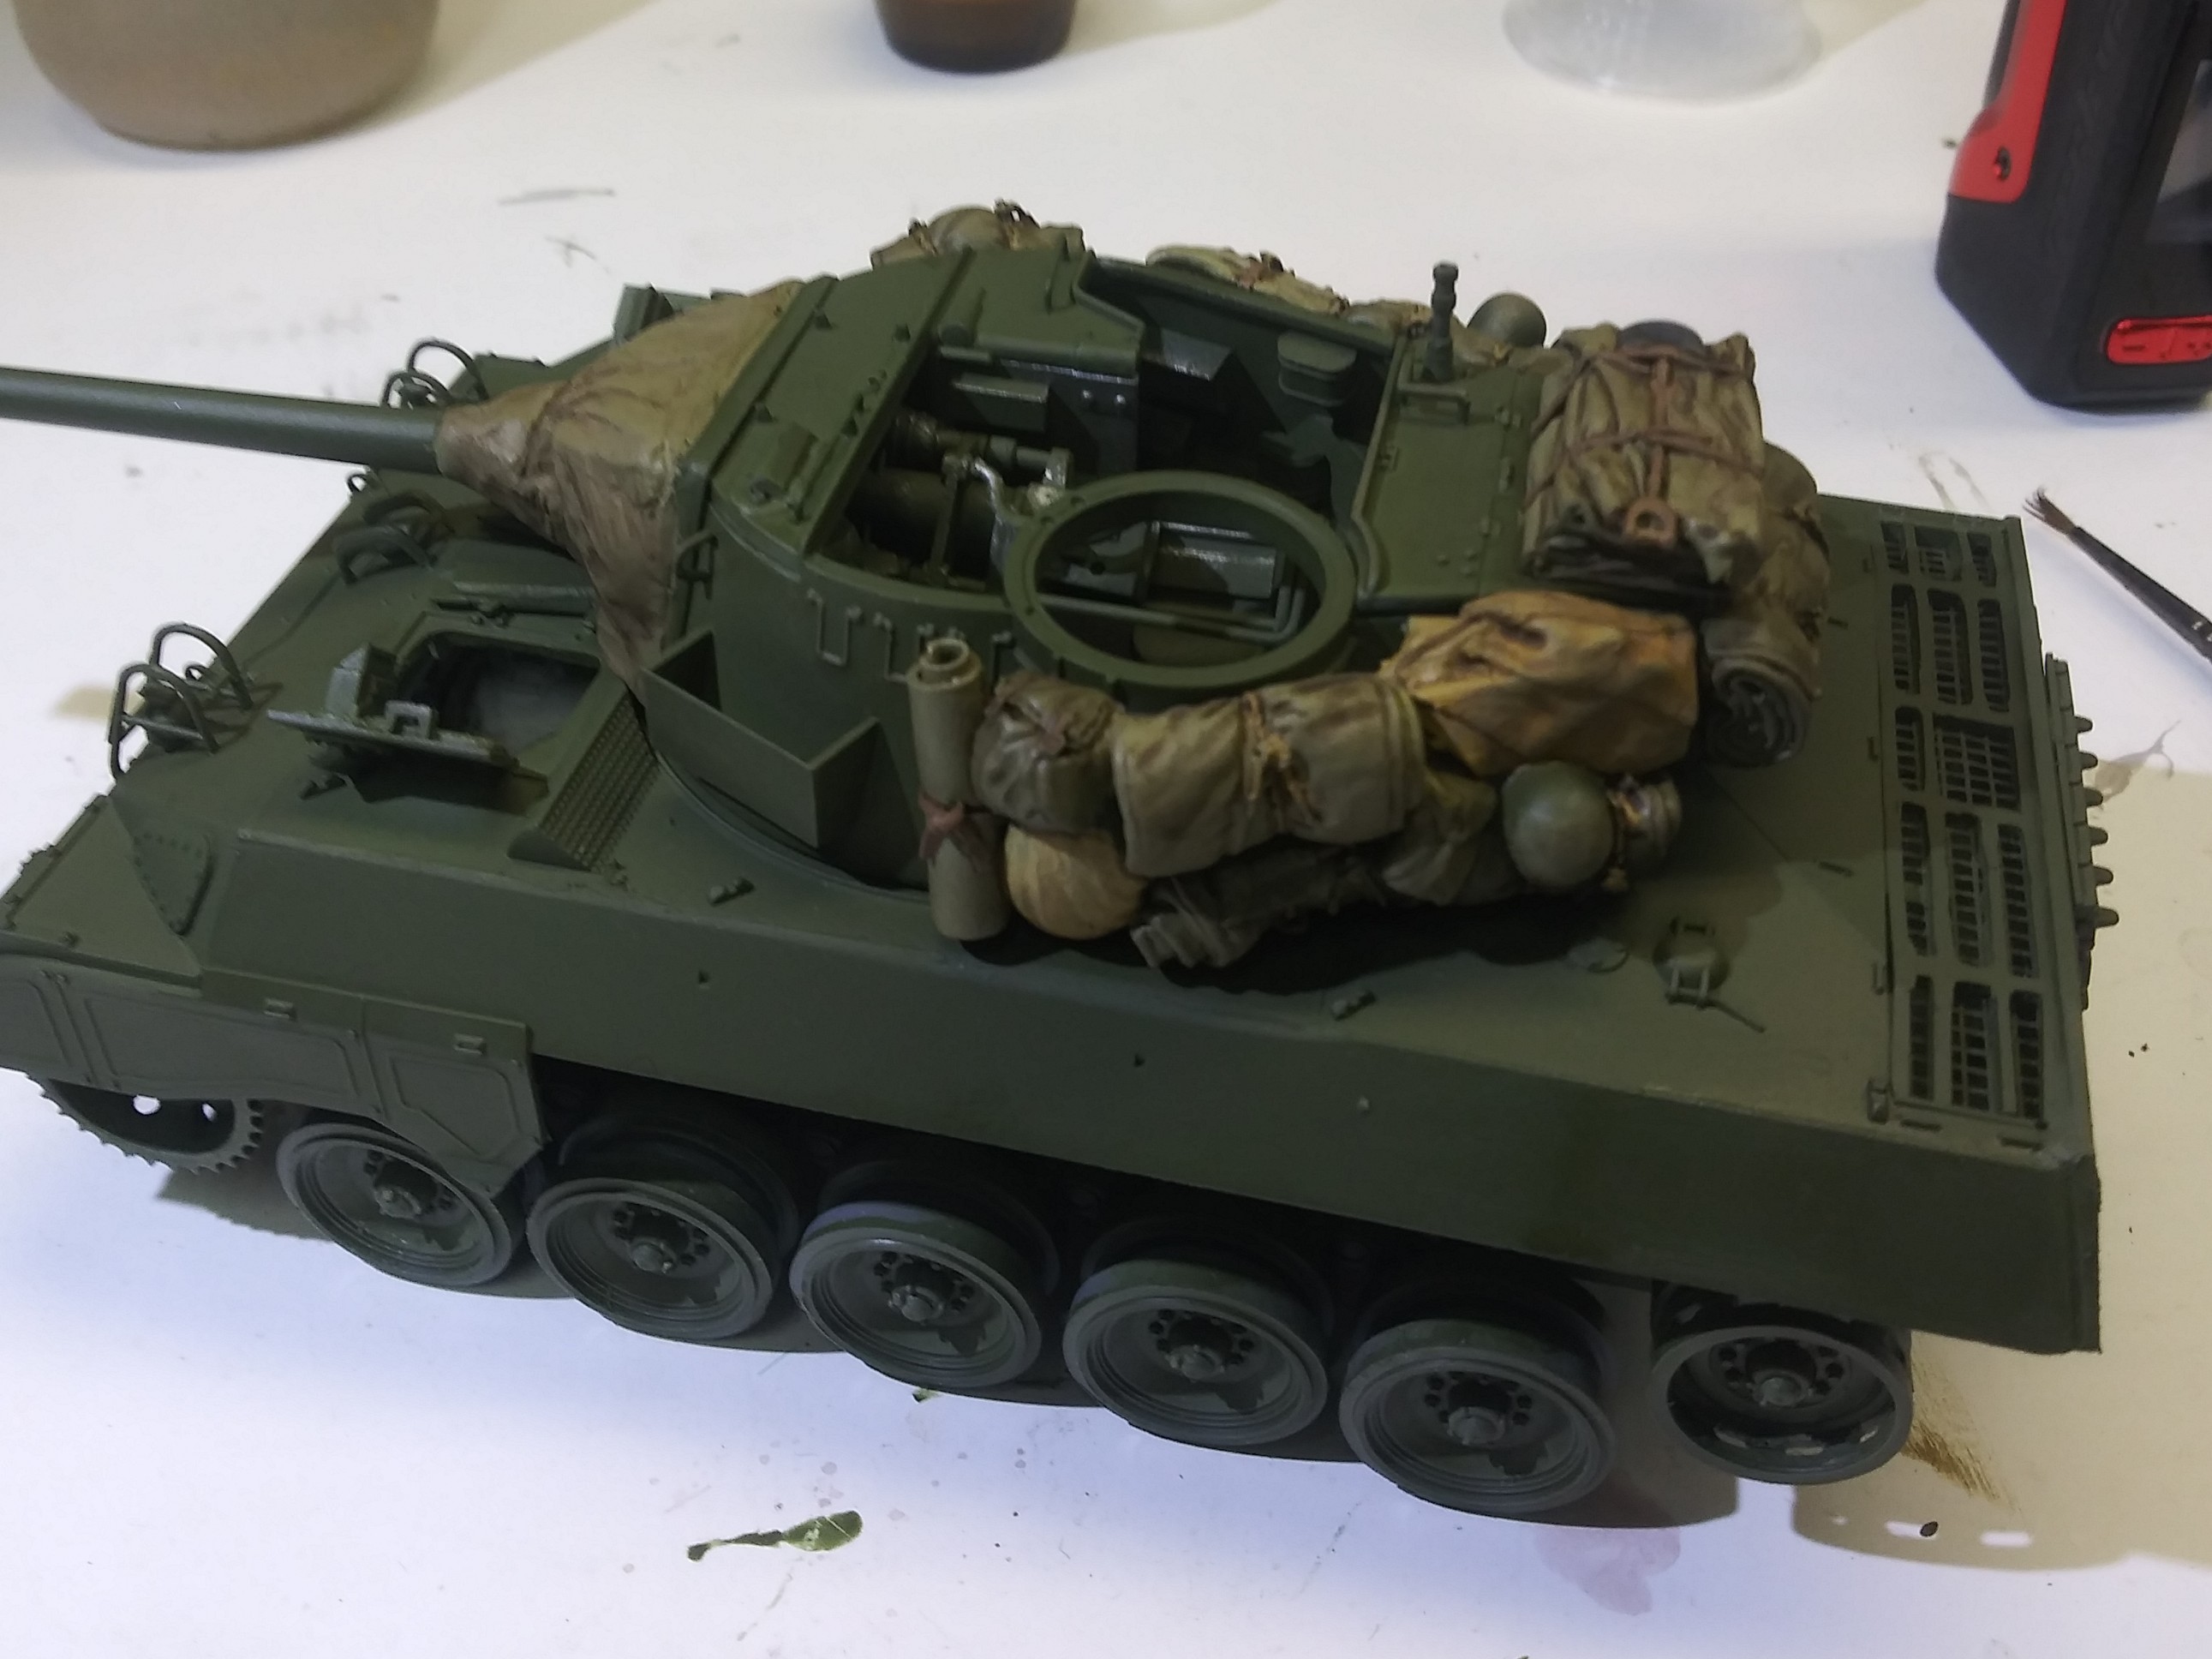
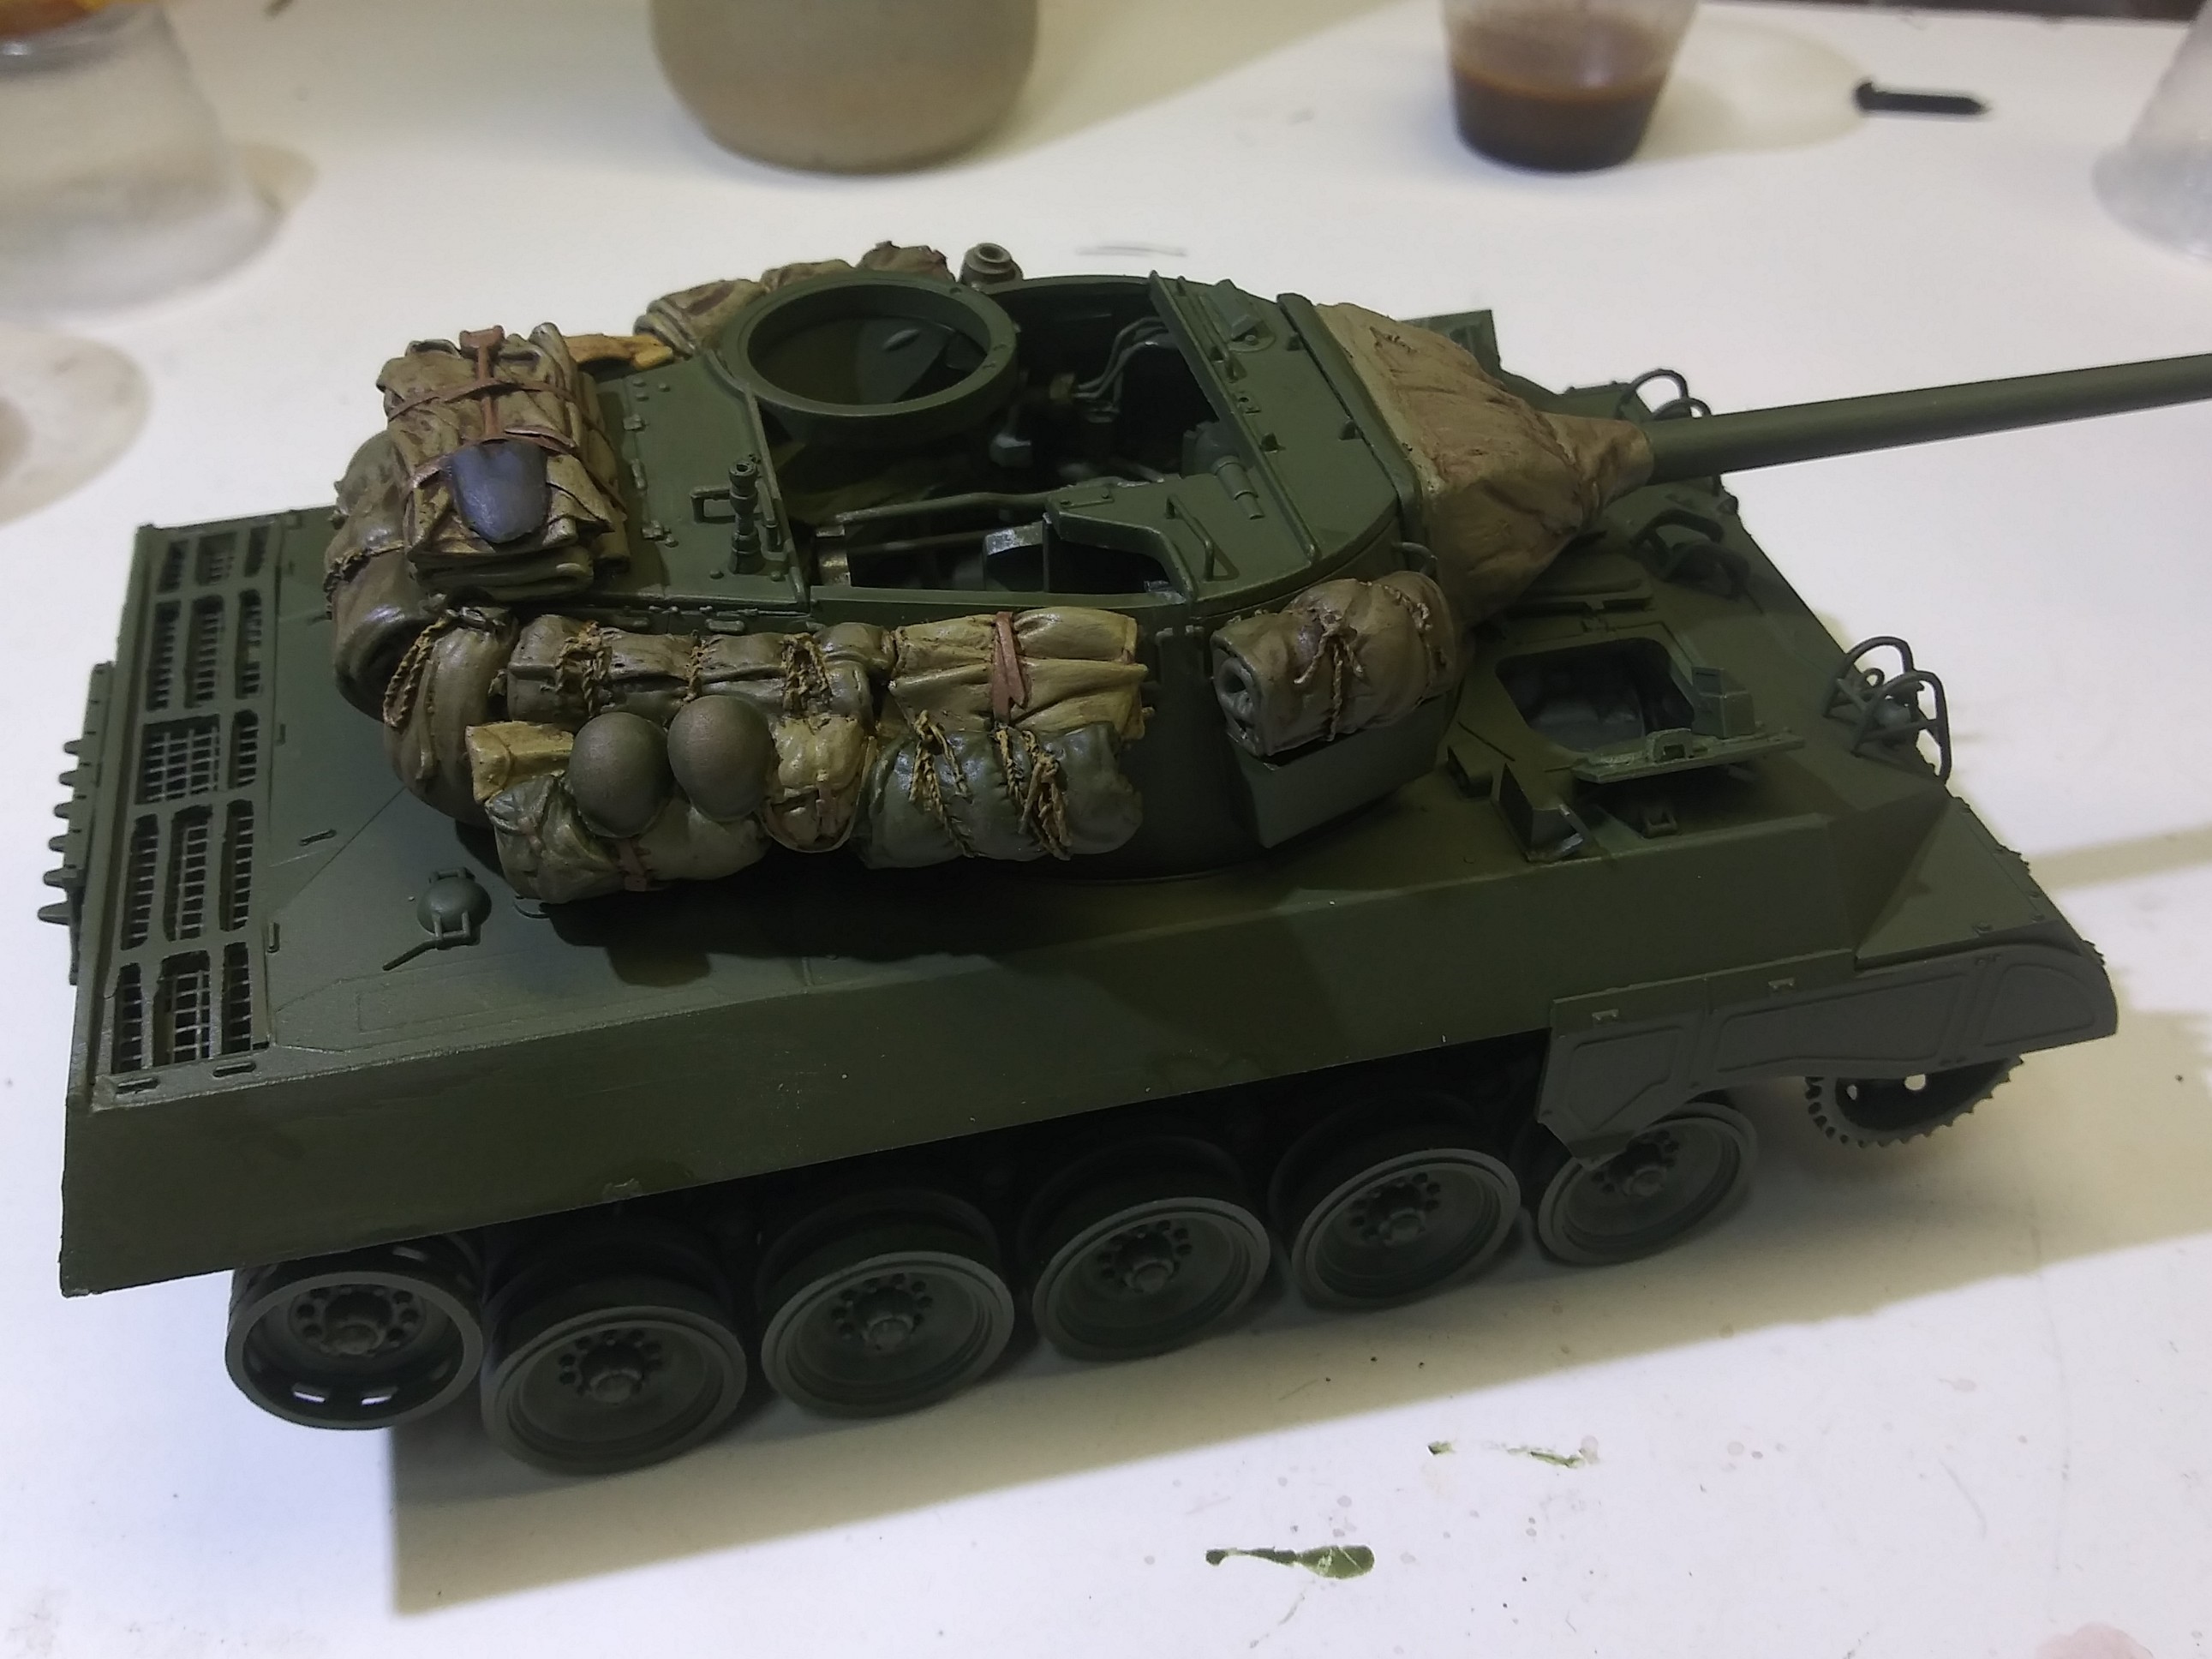
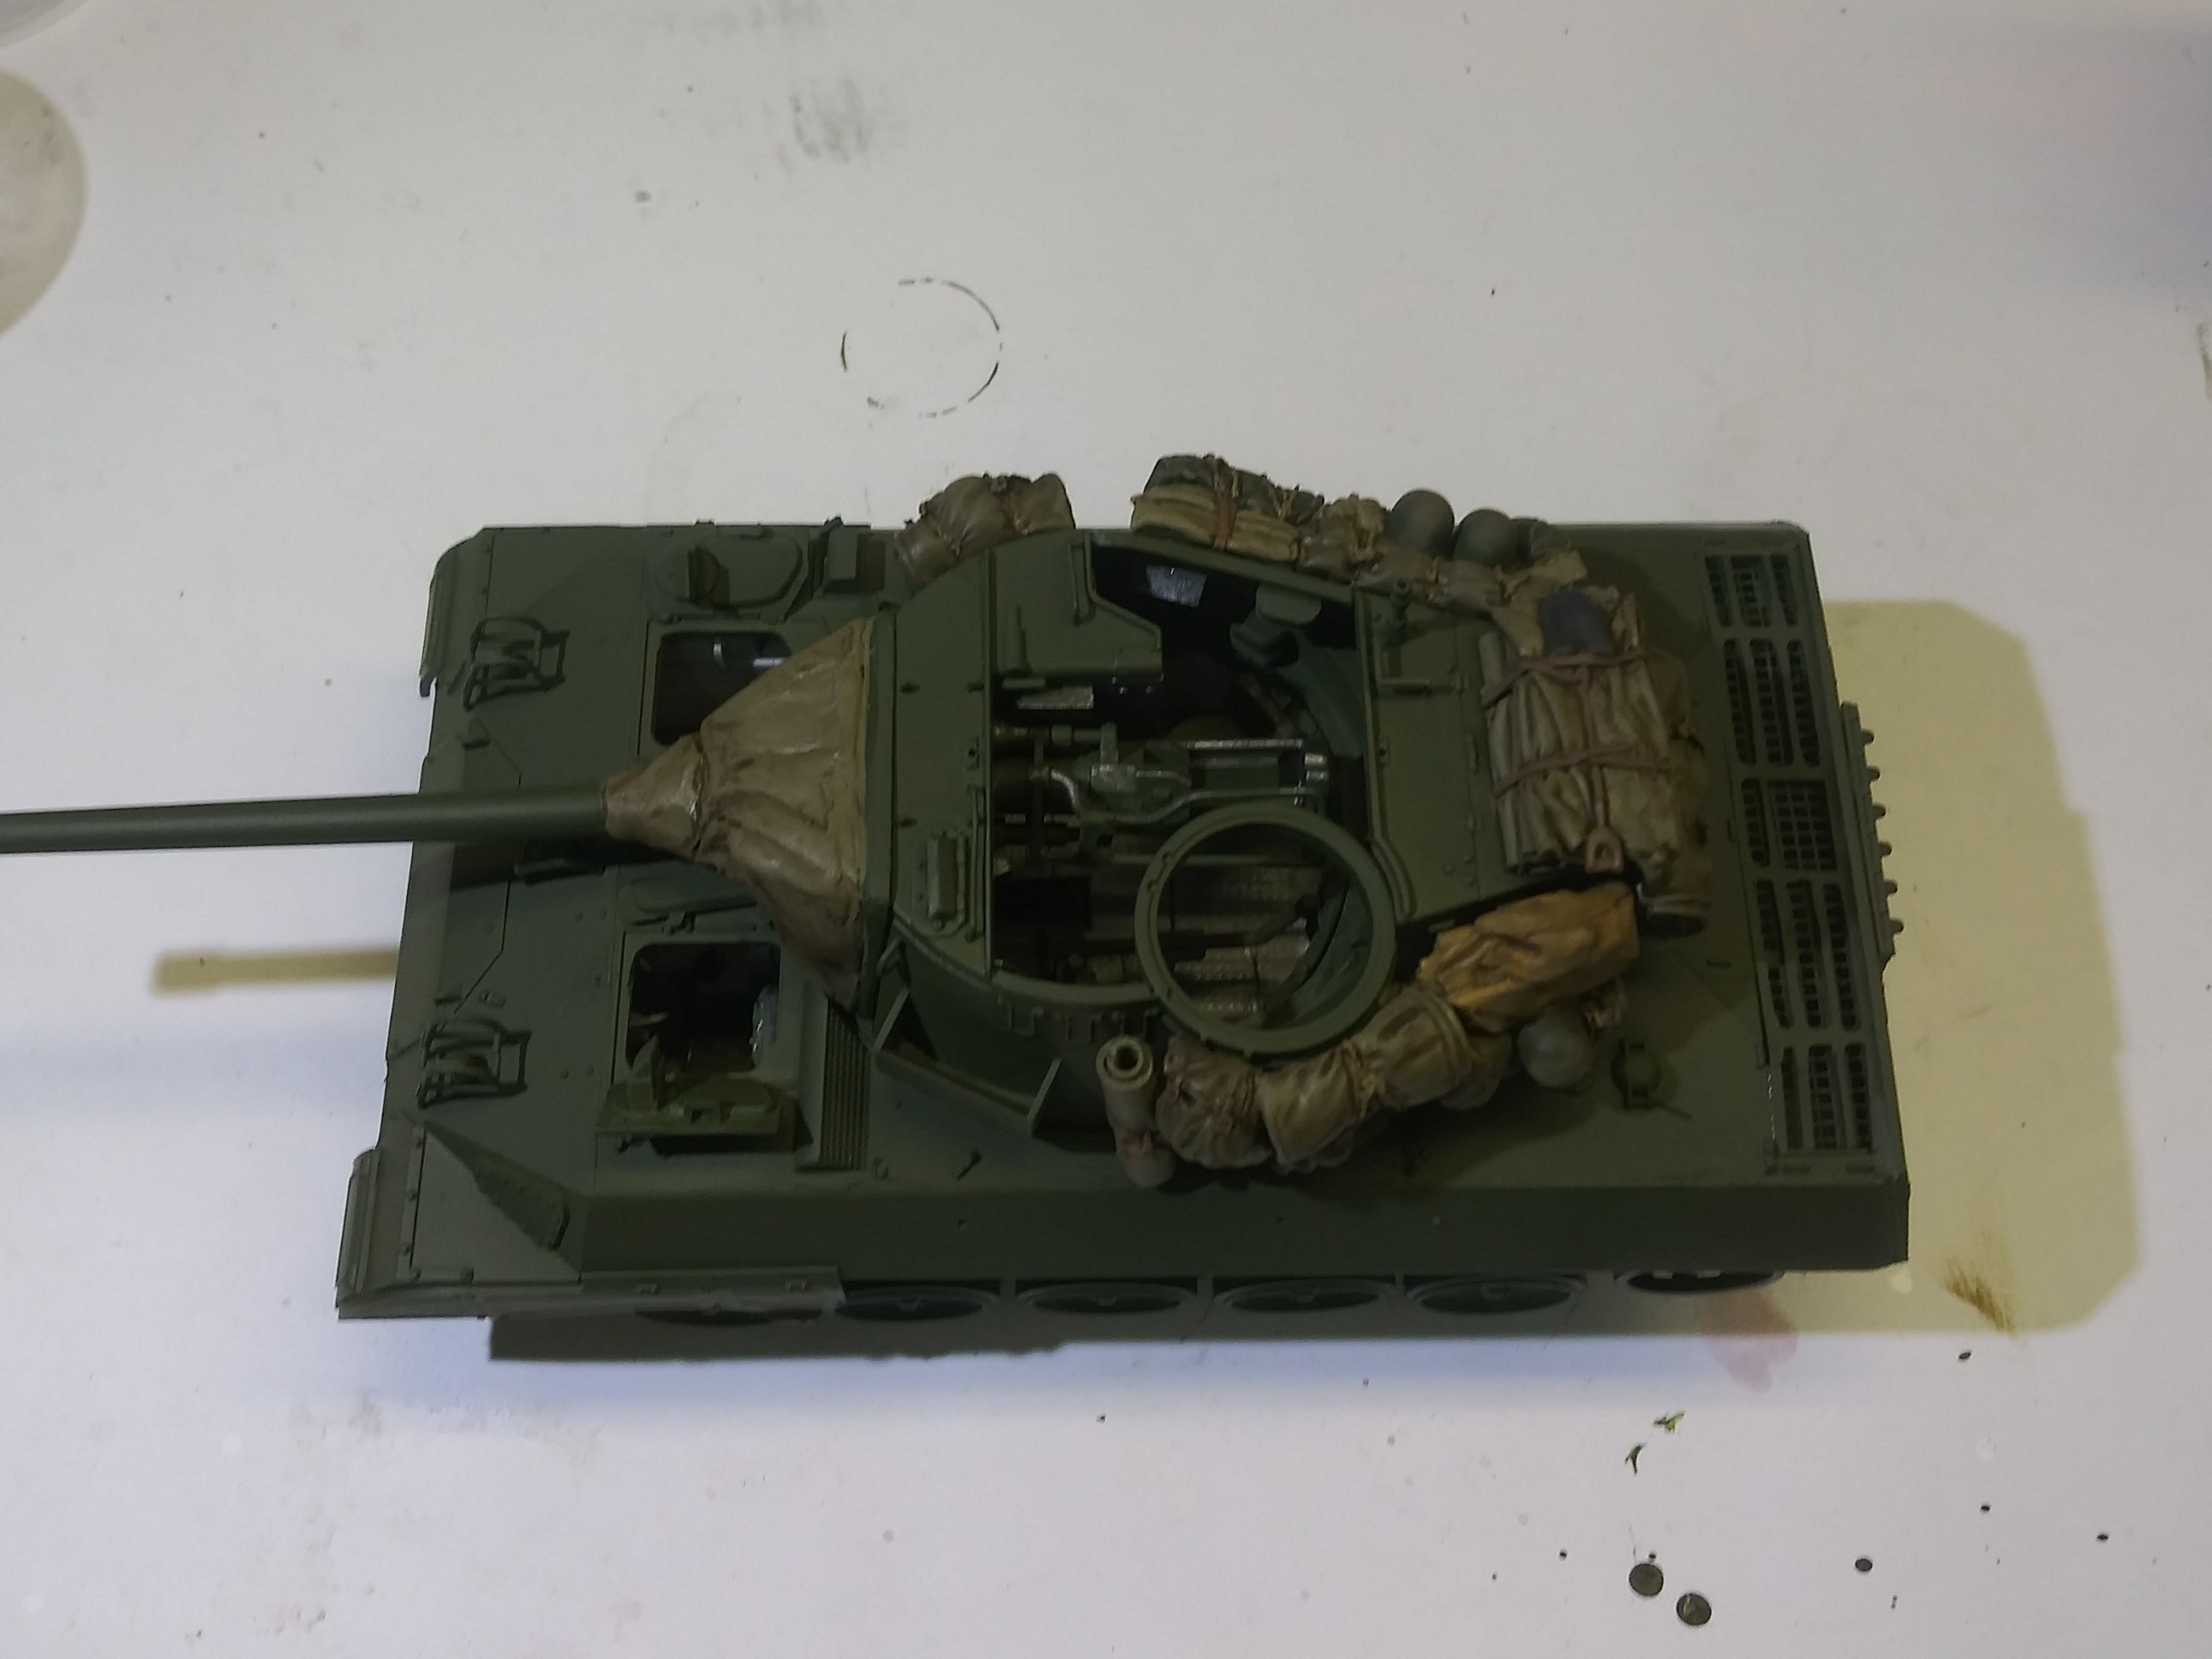
I have been doing everything old school on this build . Stay tuned stowage pics soon
As previously stated everything on thia build is done old school. It is still a valid way of doing things . some people like to use convenience products that are pre made. I prefer to mix my own . That is what makes this a great hobby. We all have our own kung fu.
Looking great!
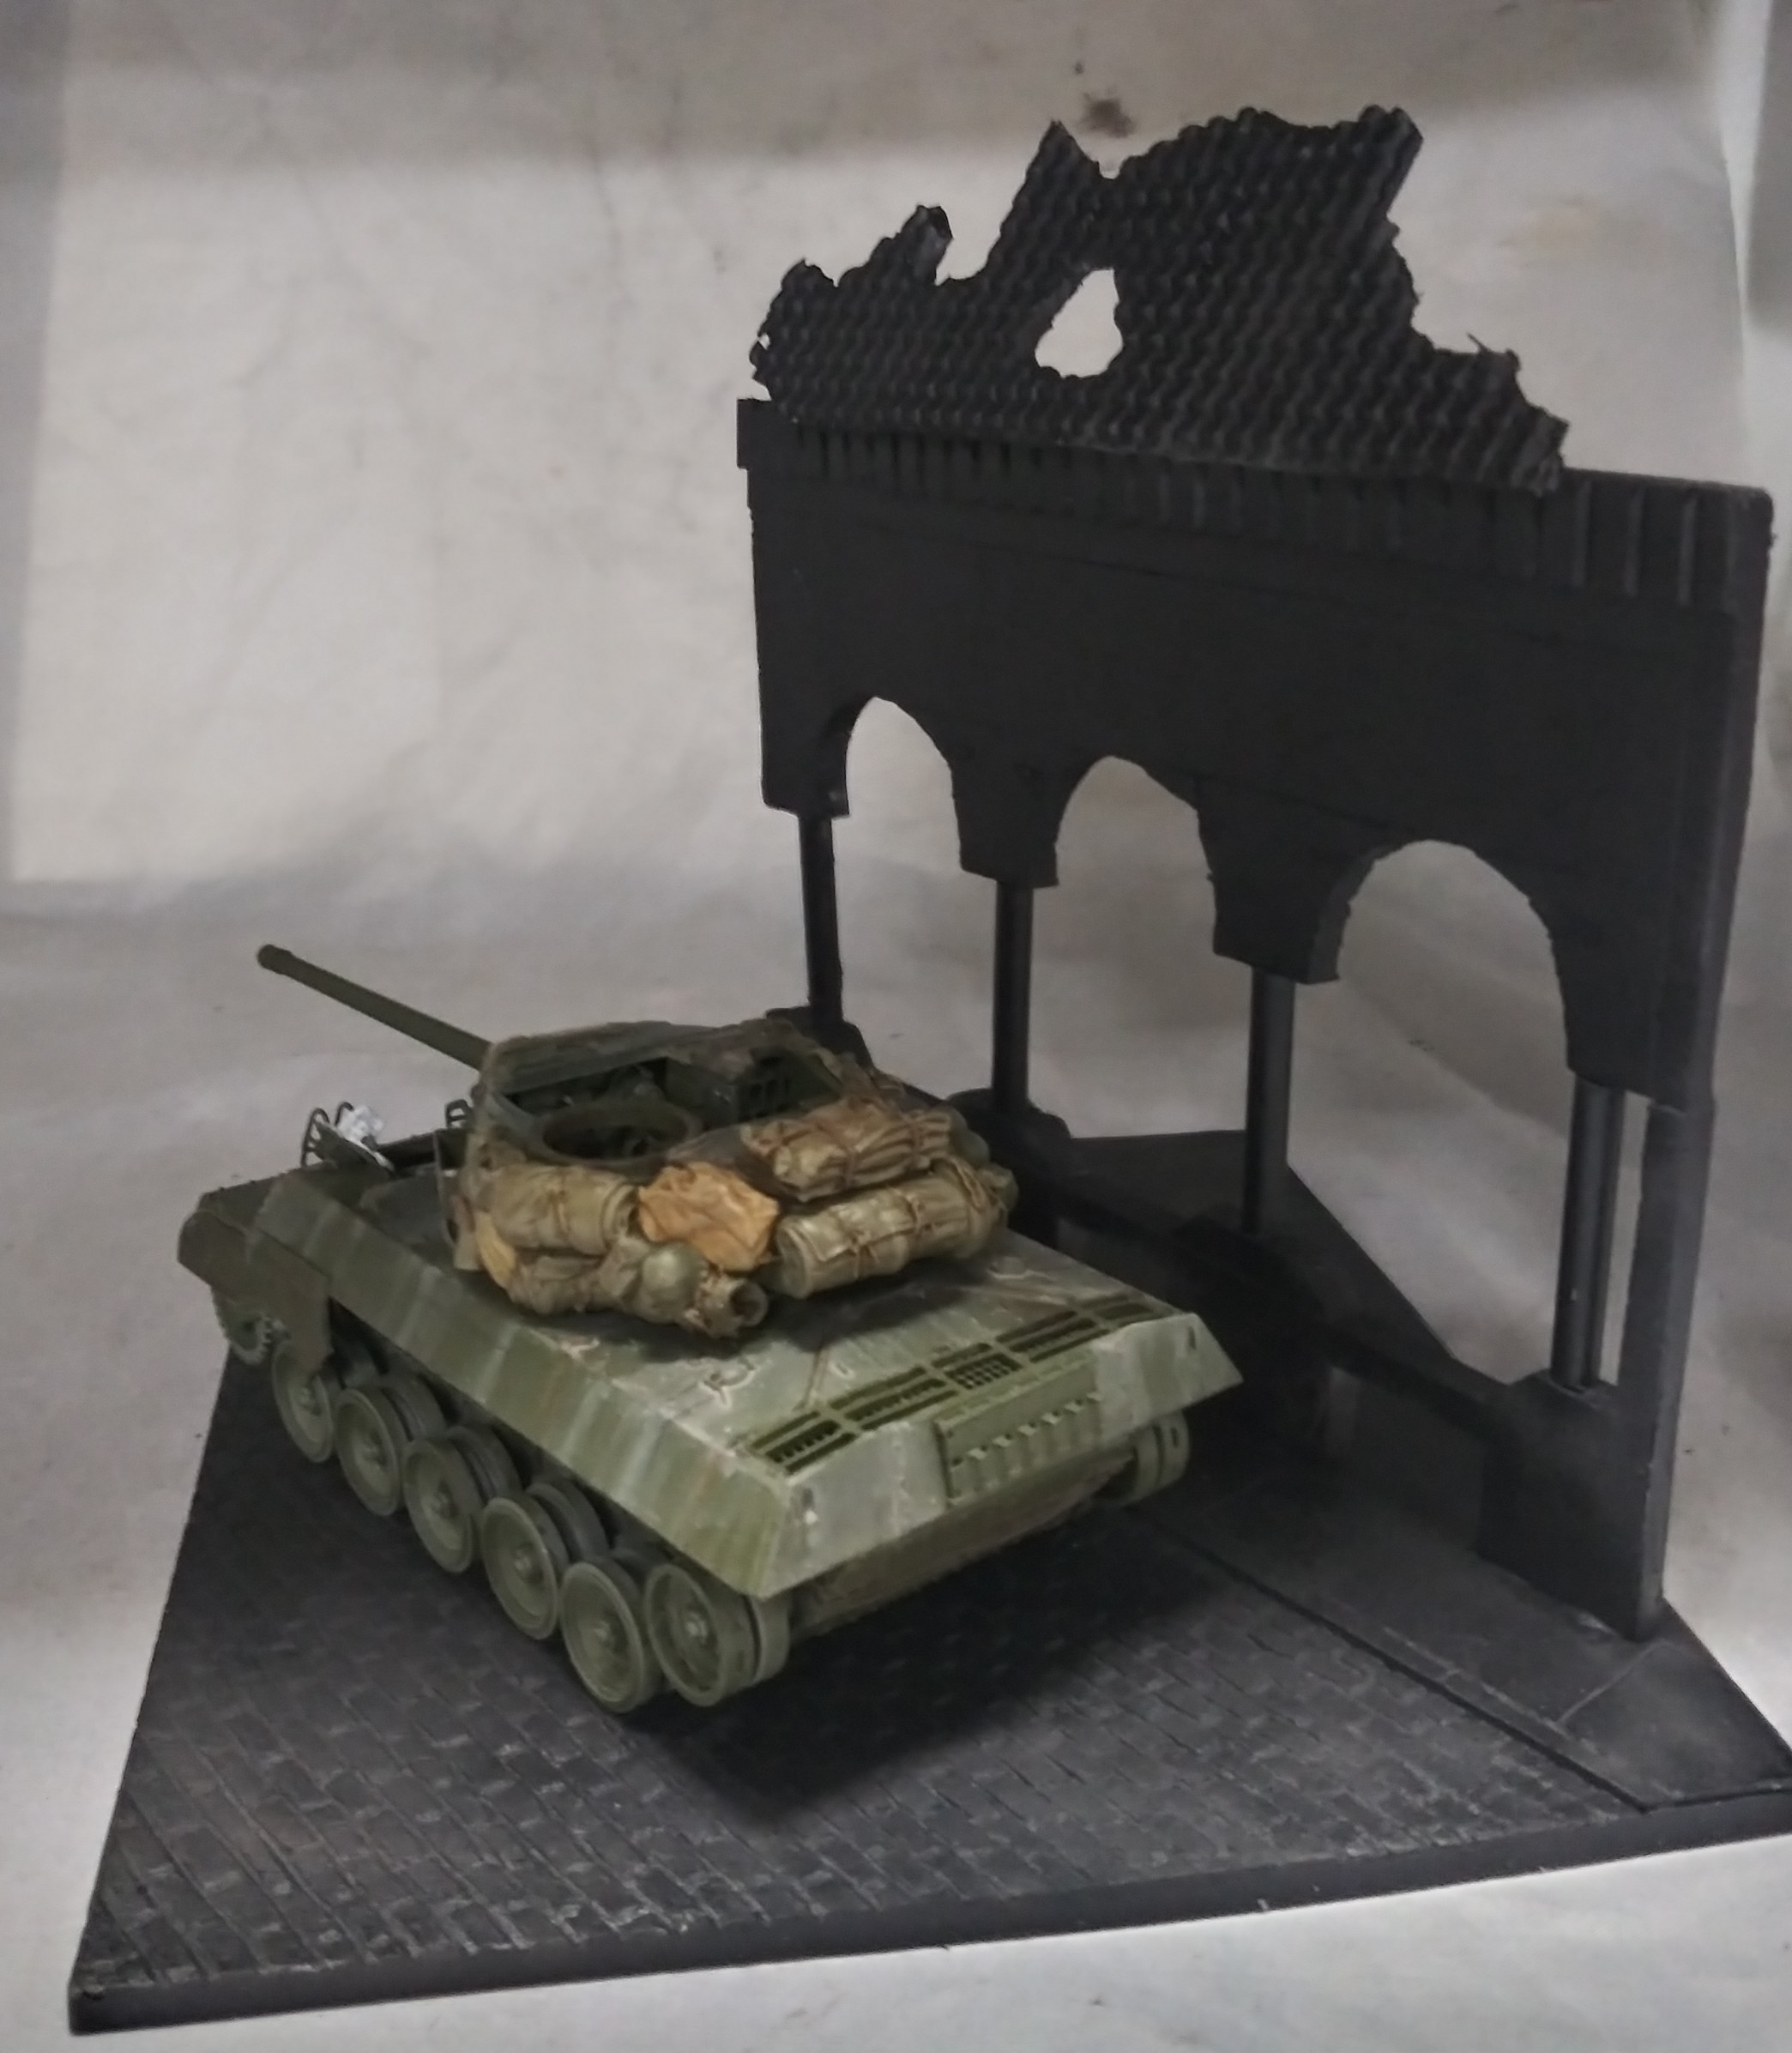
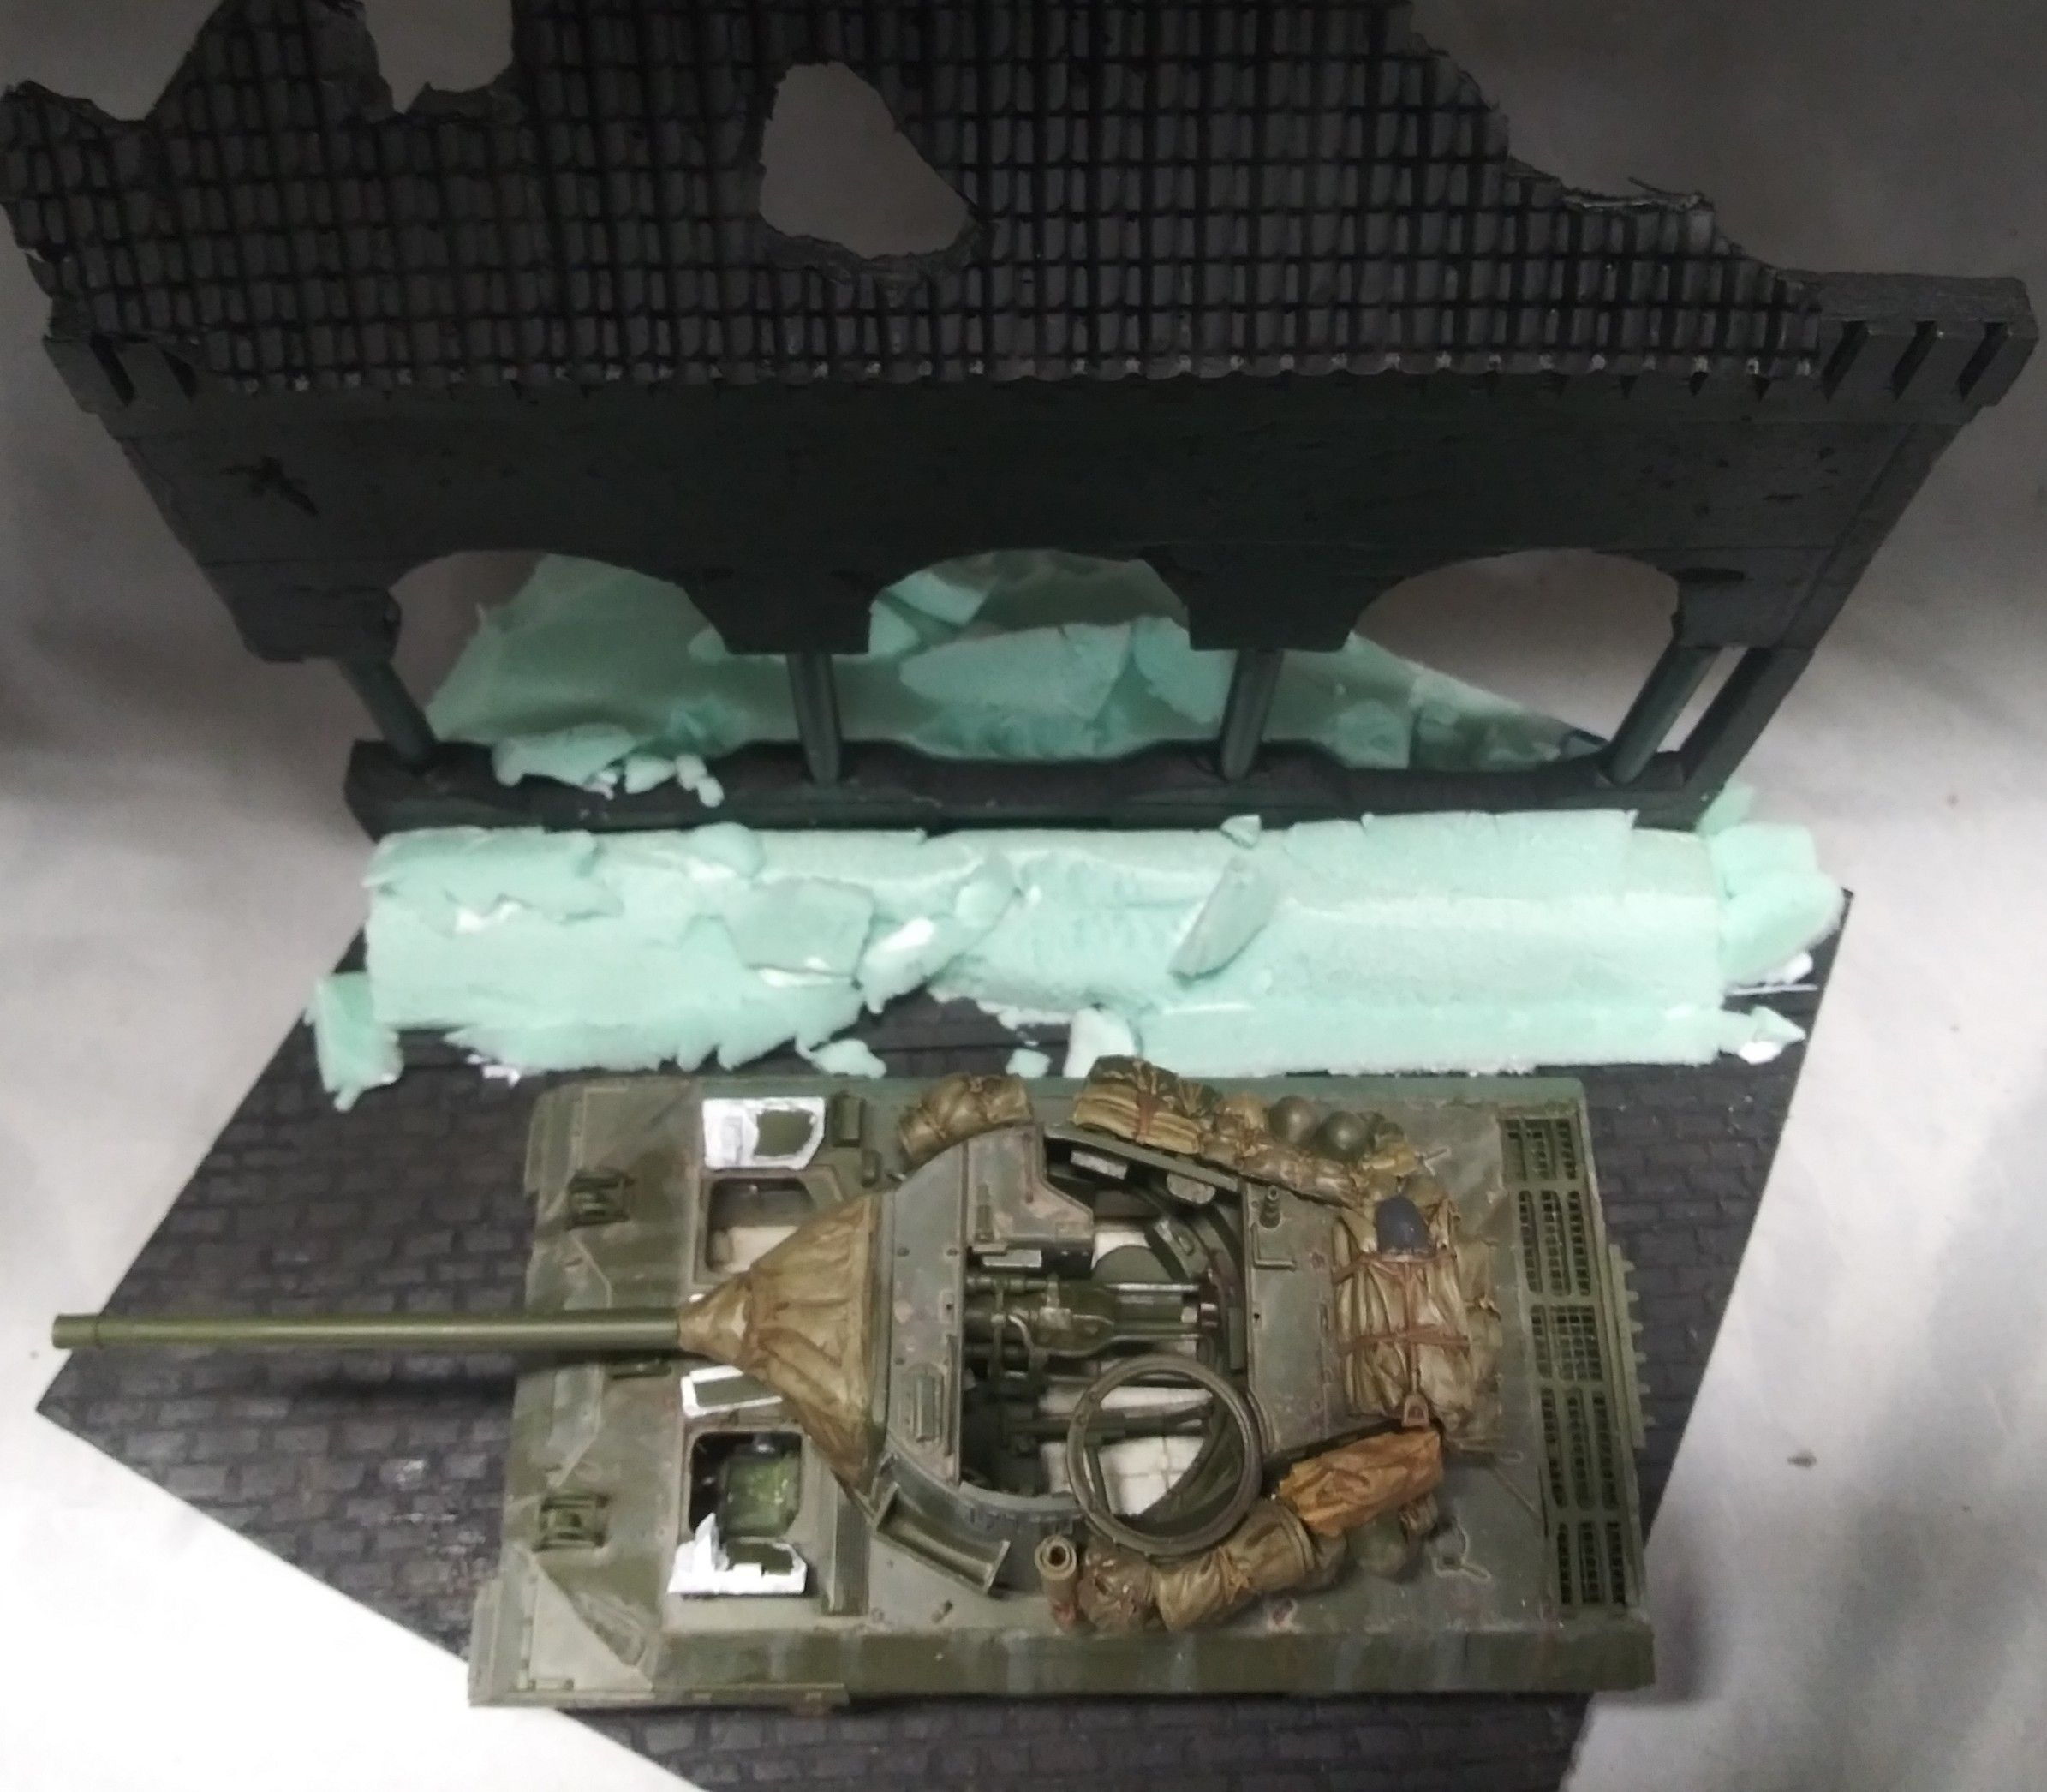
I wasn’t lazy this time and actually put itin the photo booth
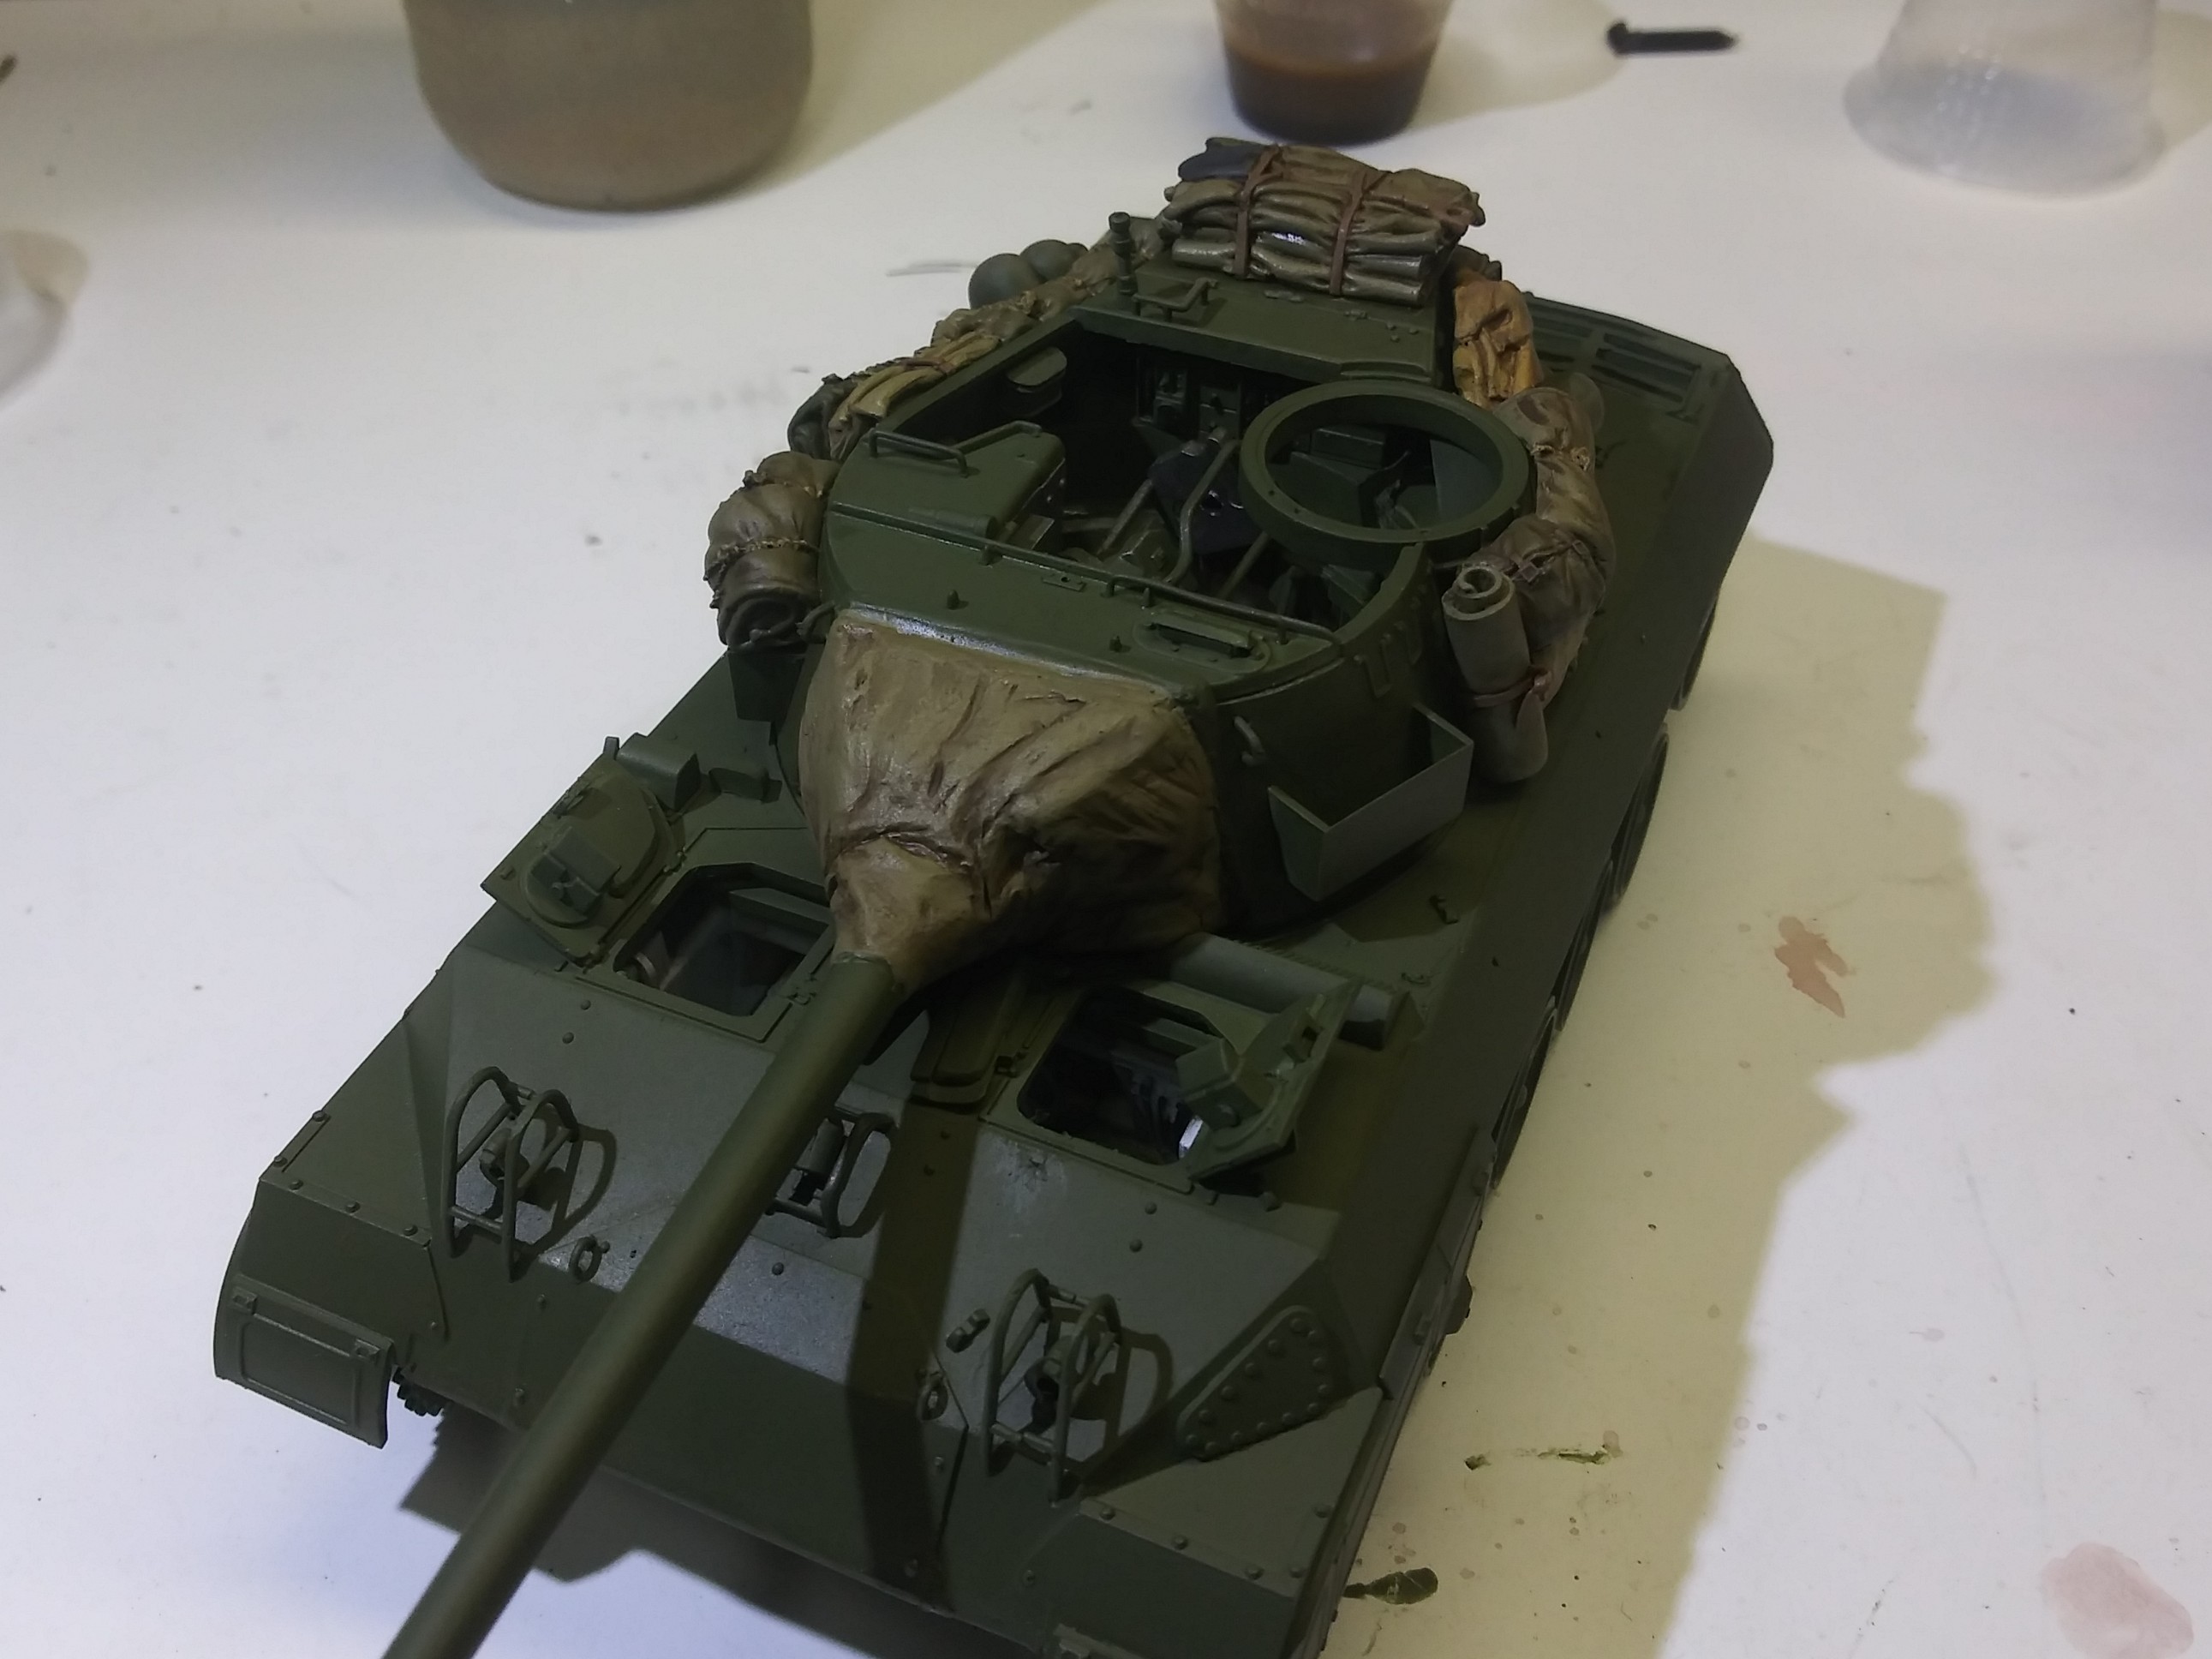
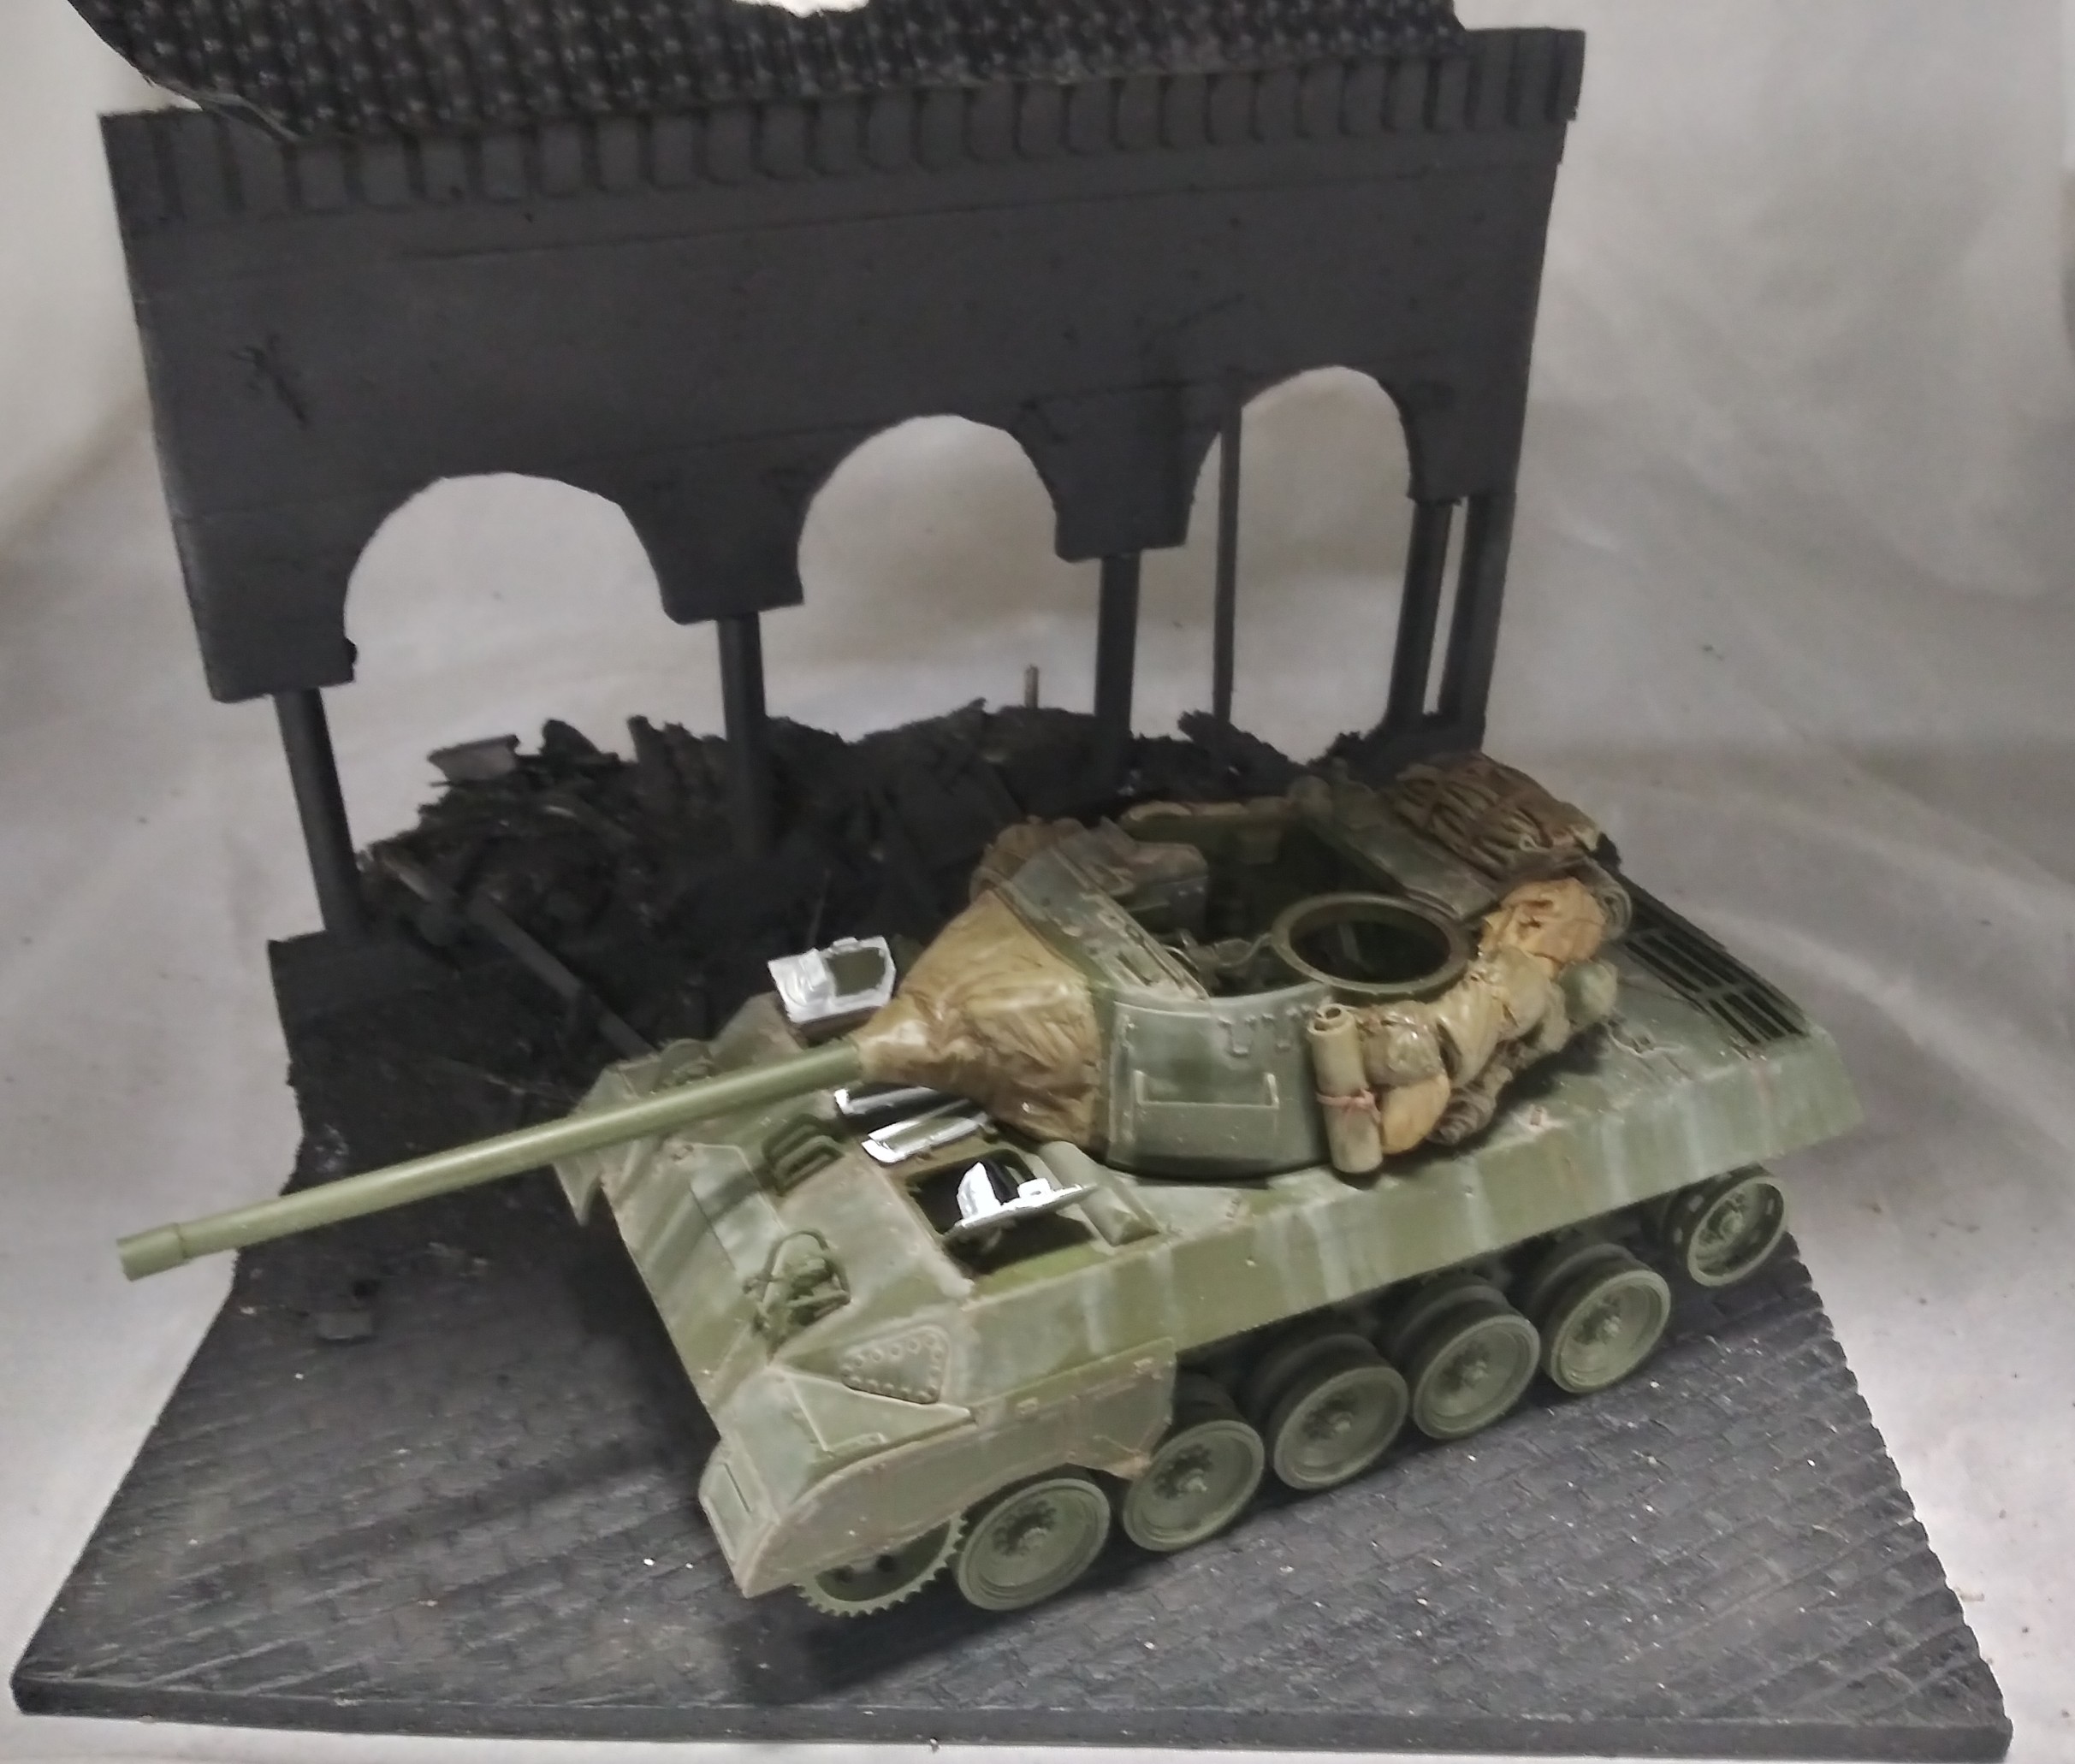
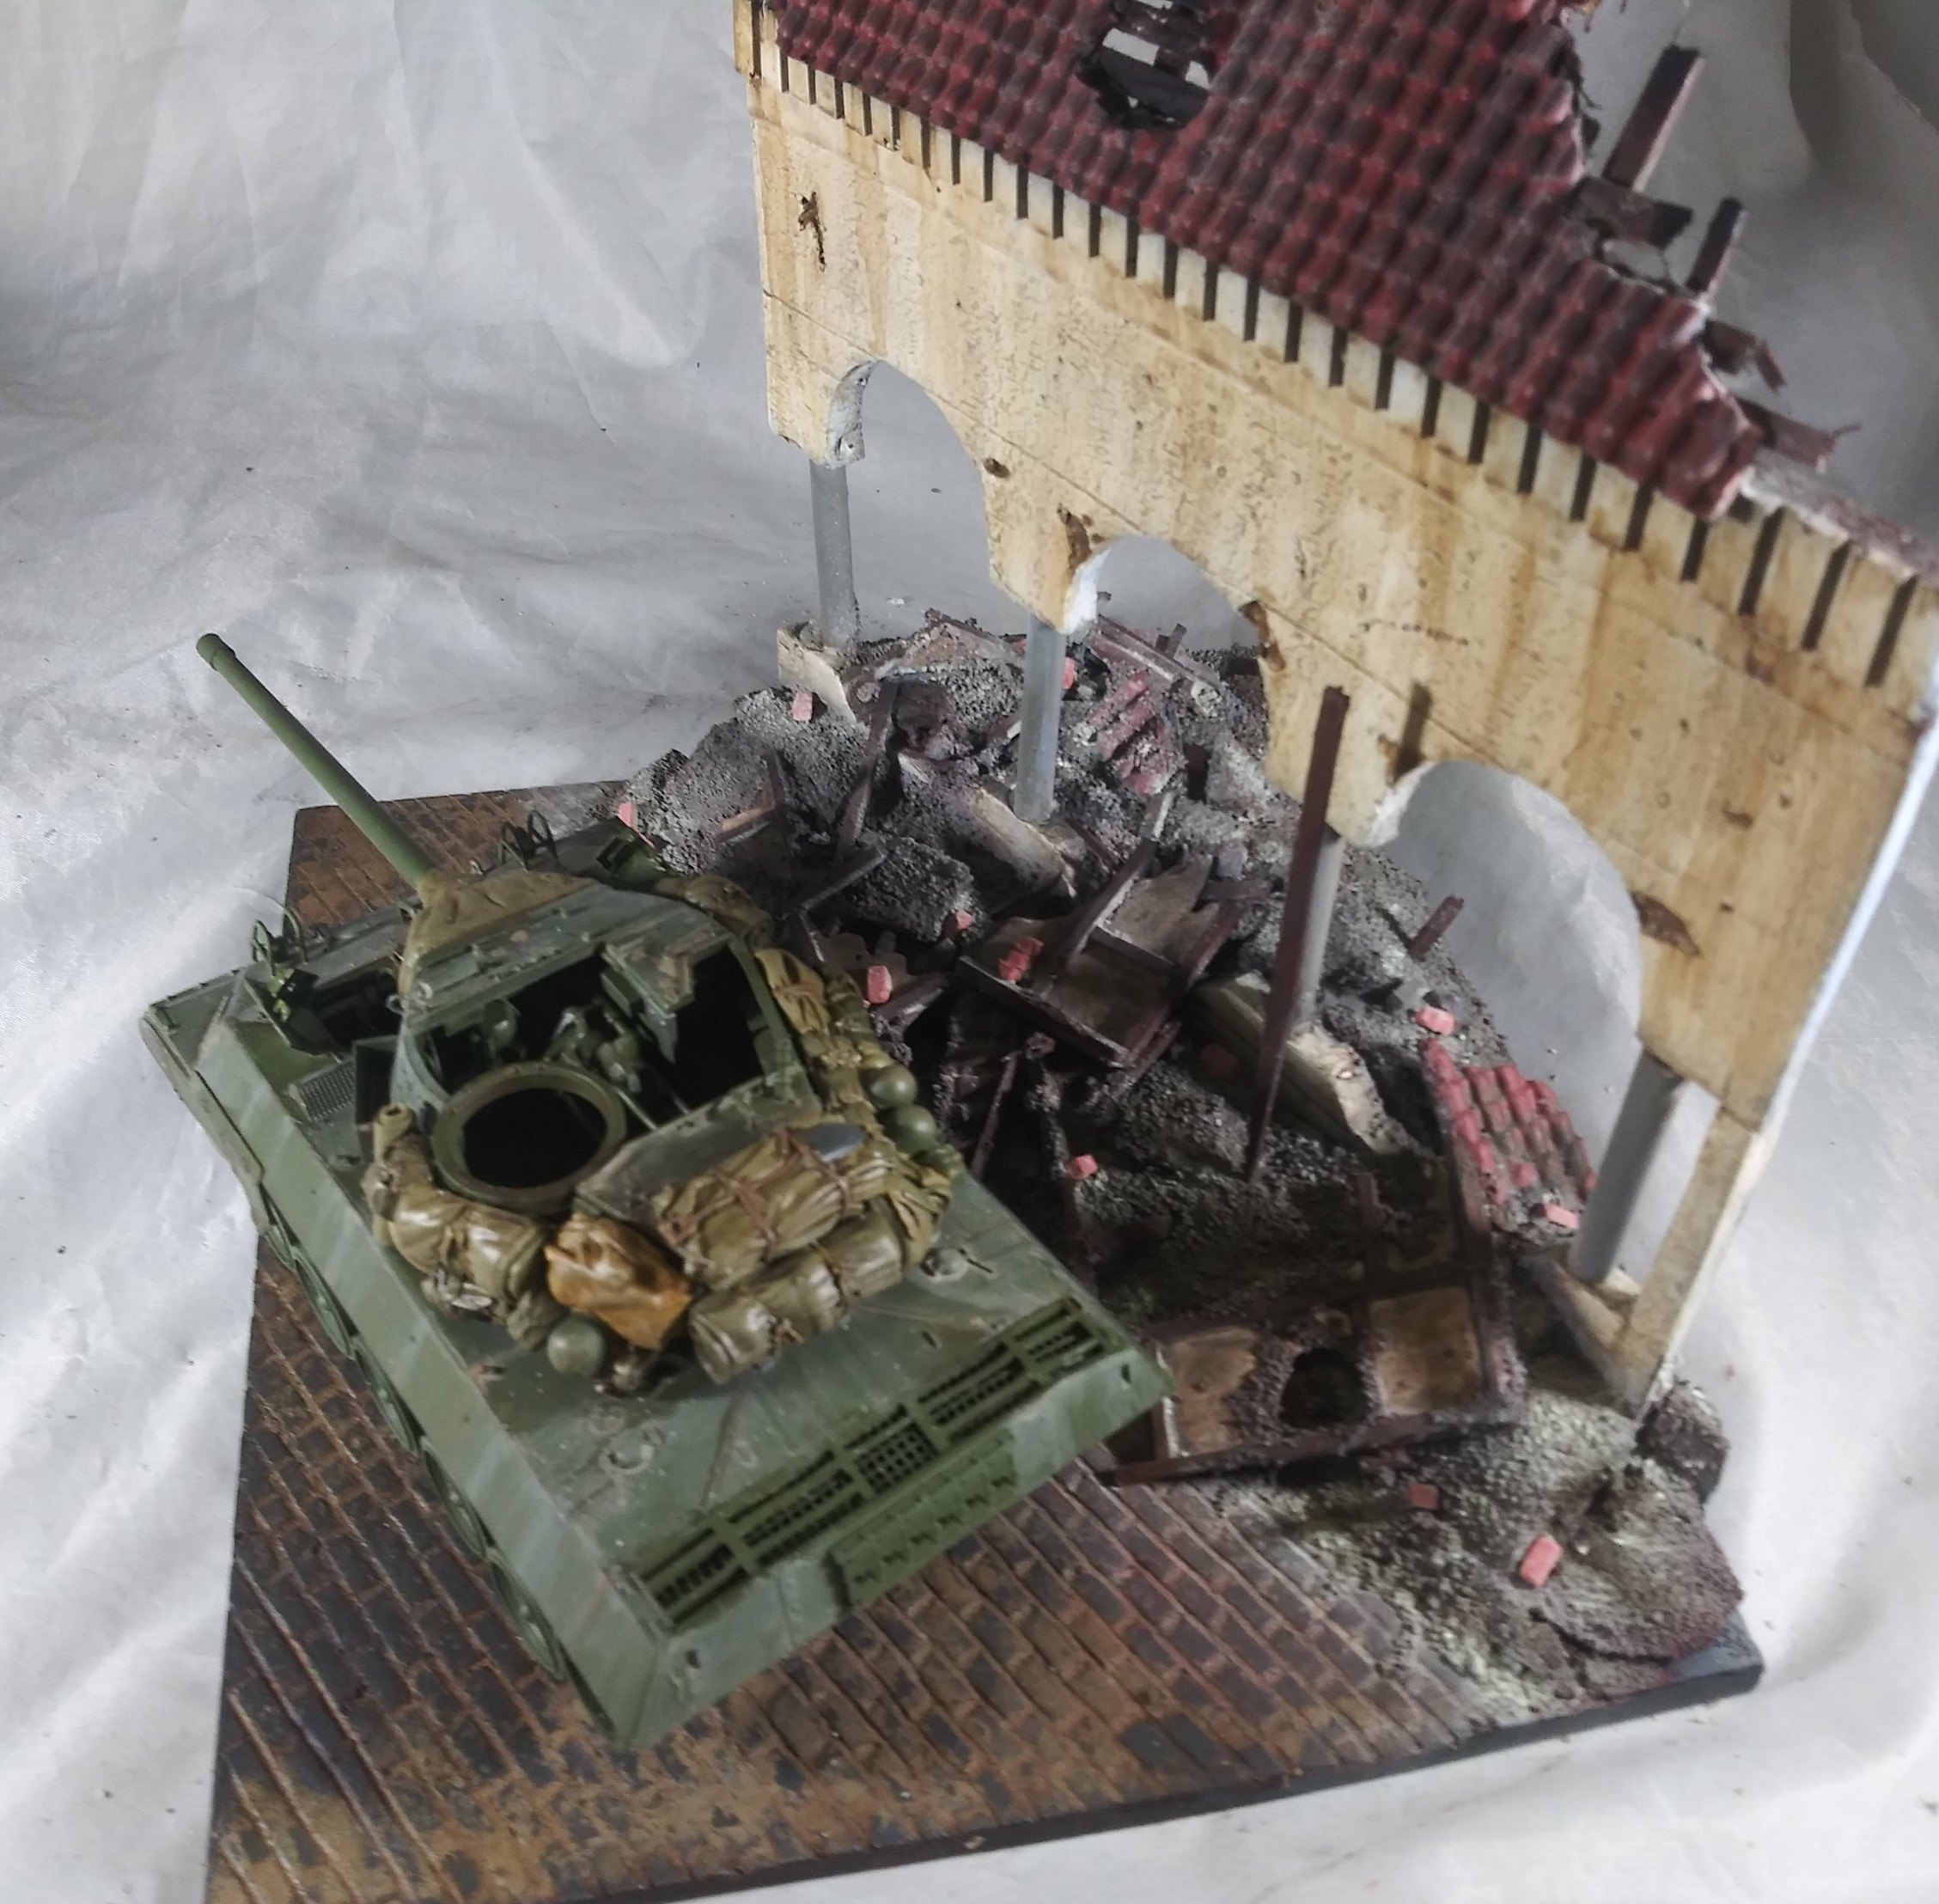
The weathering has been kept light with very little chipping and scratches , concentrating mostly on the dusty streaked look.
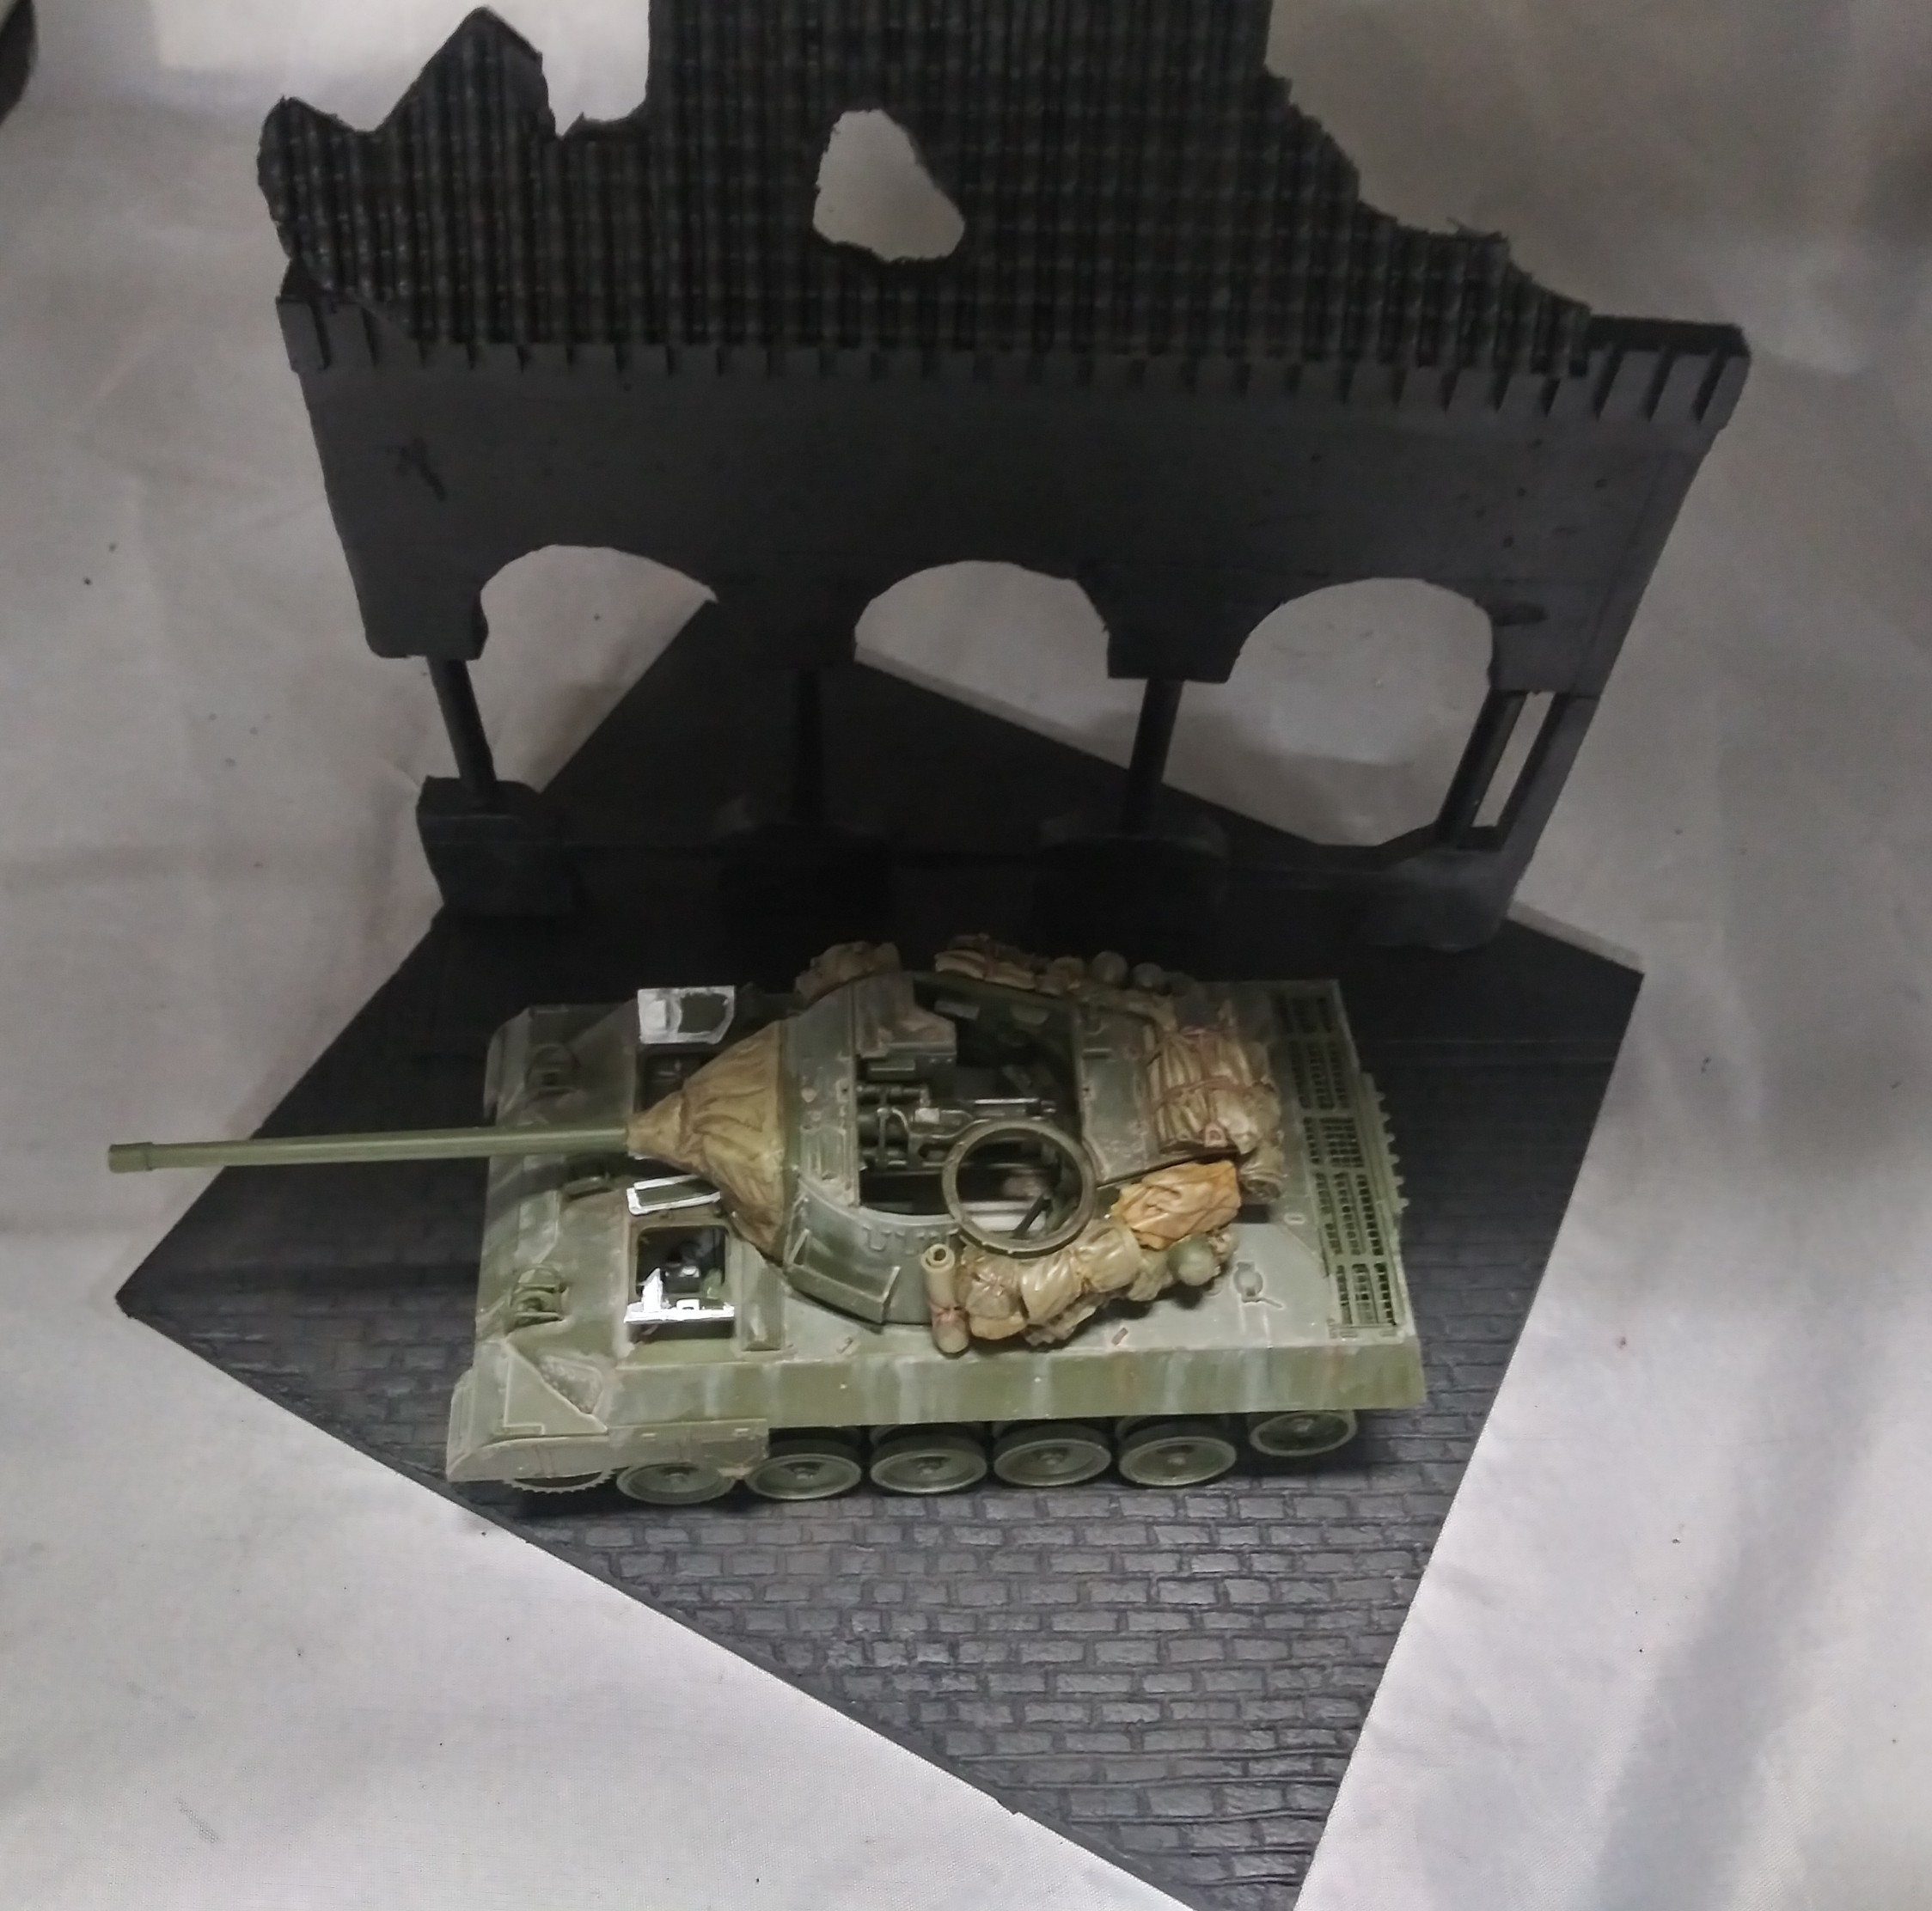
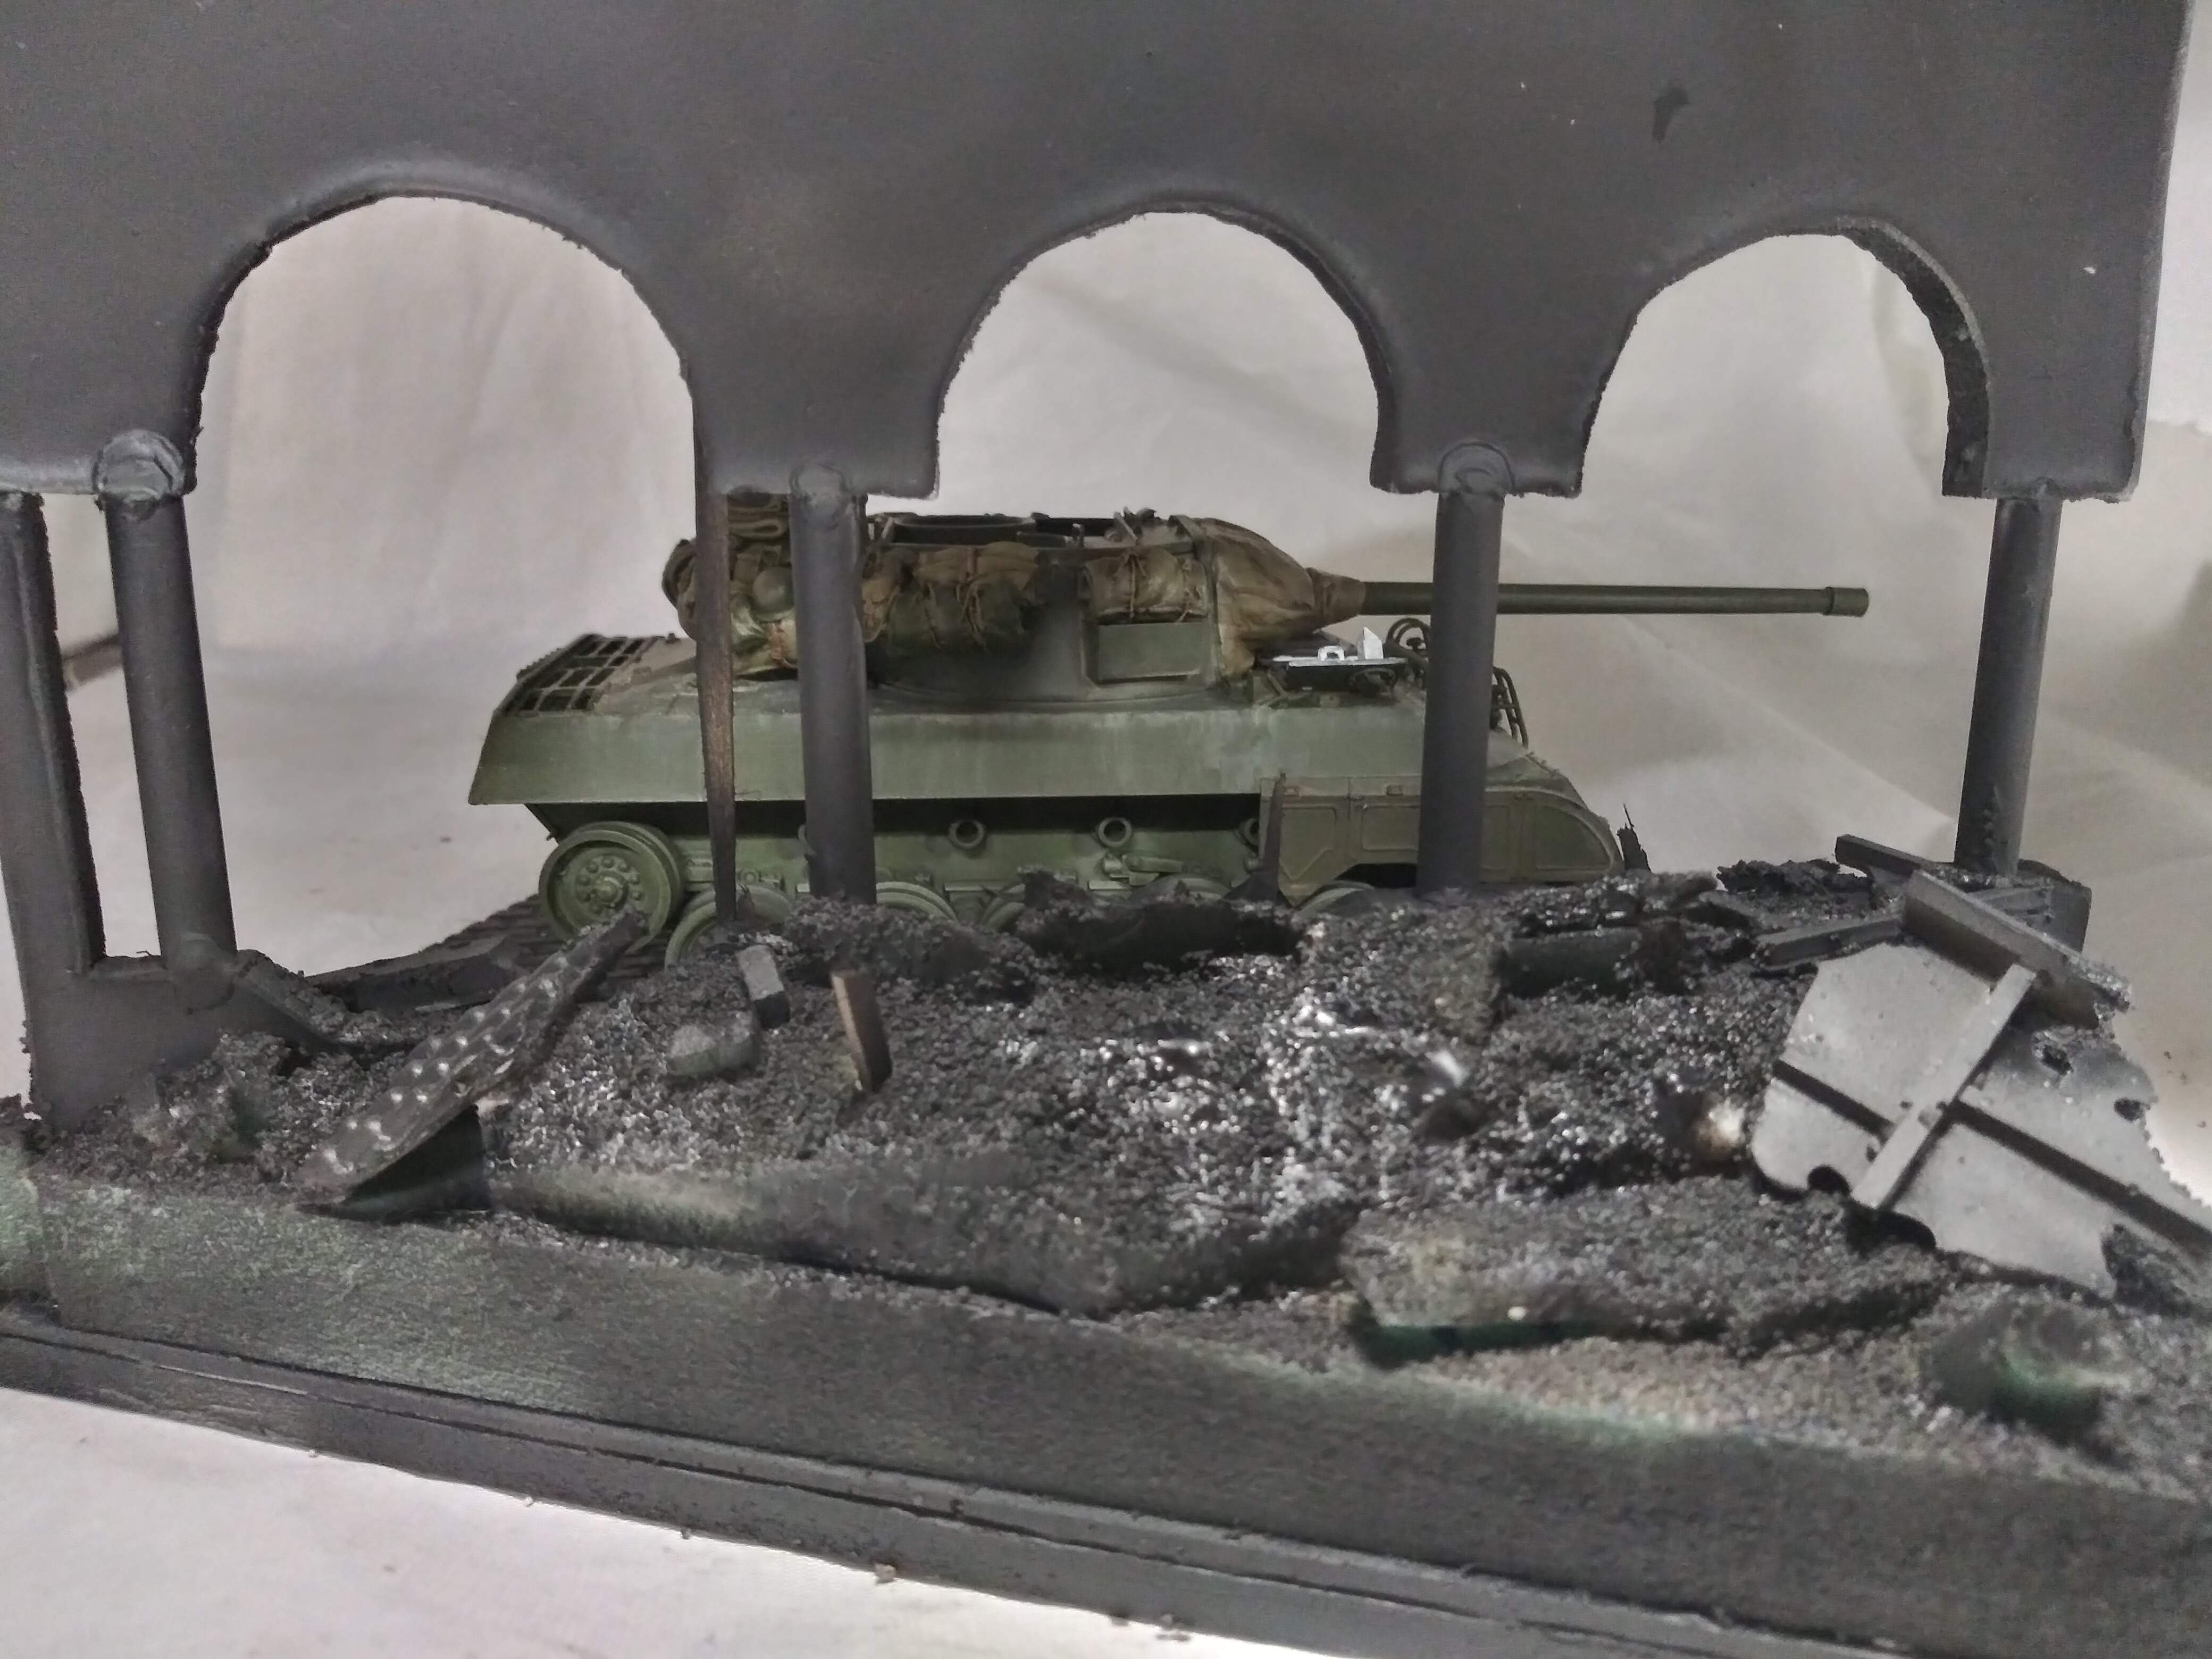
Following my belief that if you put a predator in its natural environment it looks better so here goes with the base.
Since I believe that a vehicle looks better in its natural environment , I am going to show the process I use to take a regular base and apply a little imagination.
So I will do this in multiple posts to help keep it in order and hopefully break it down as a step by step.
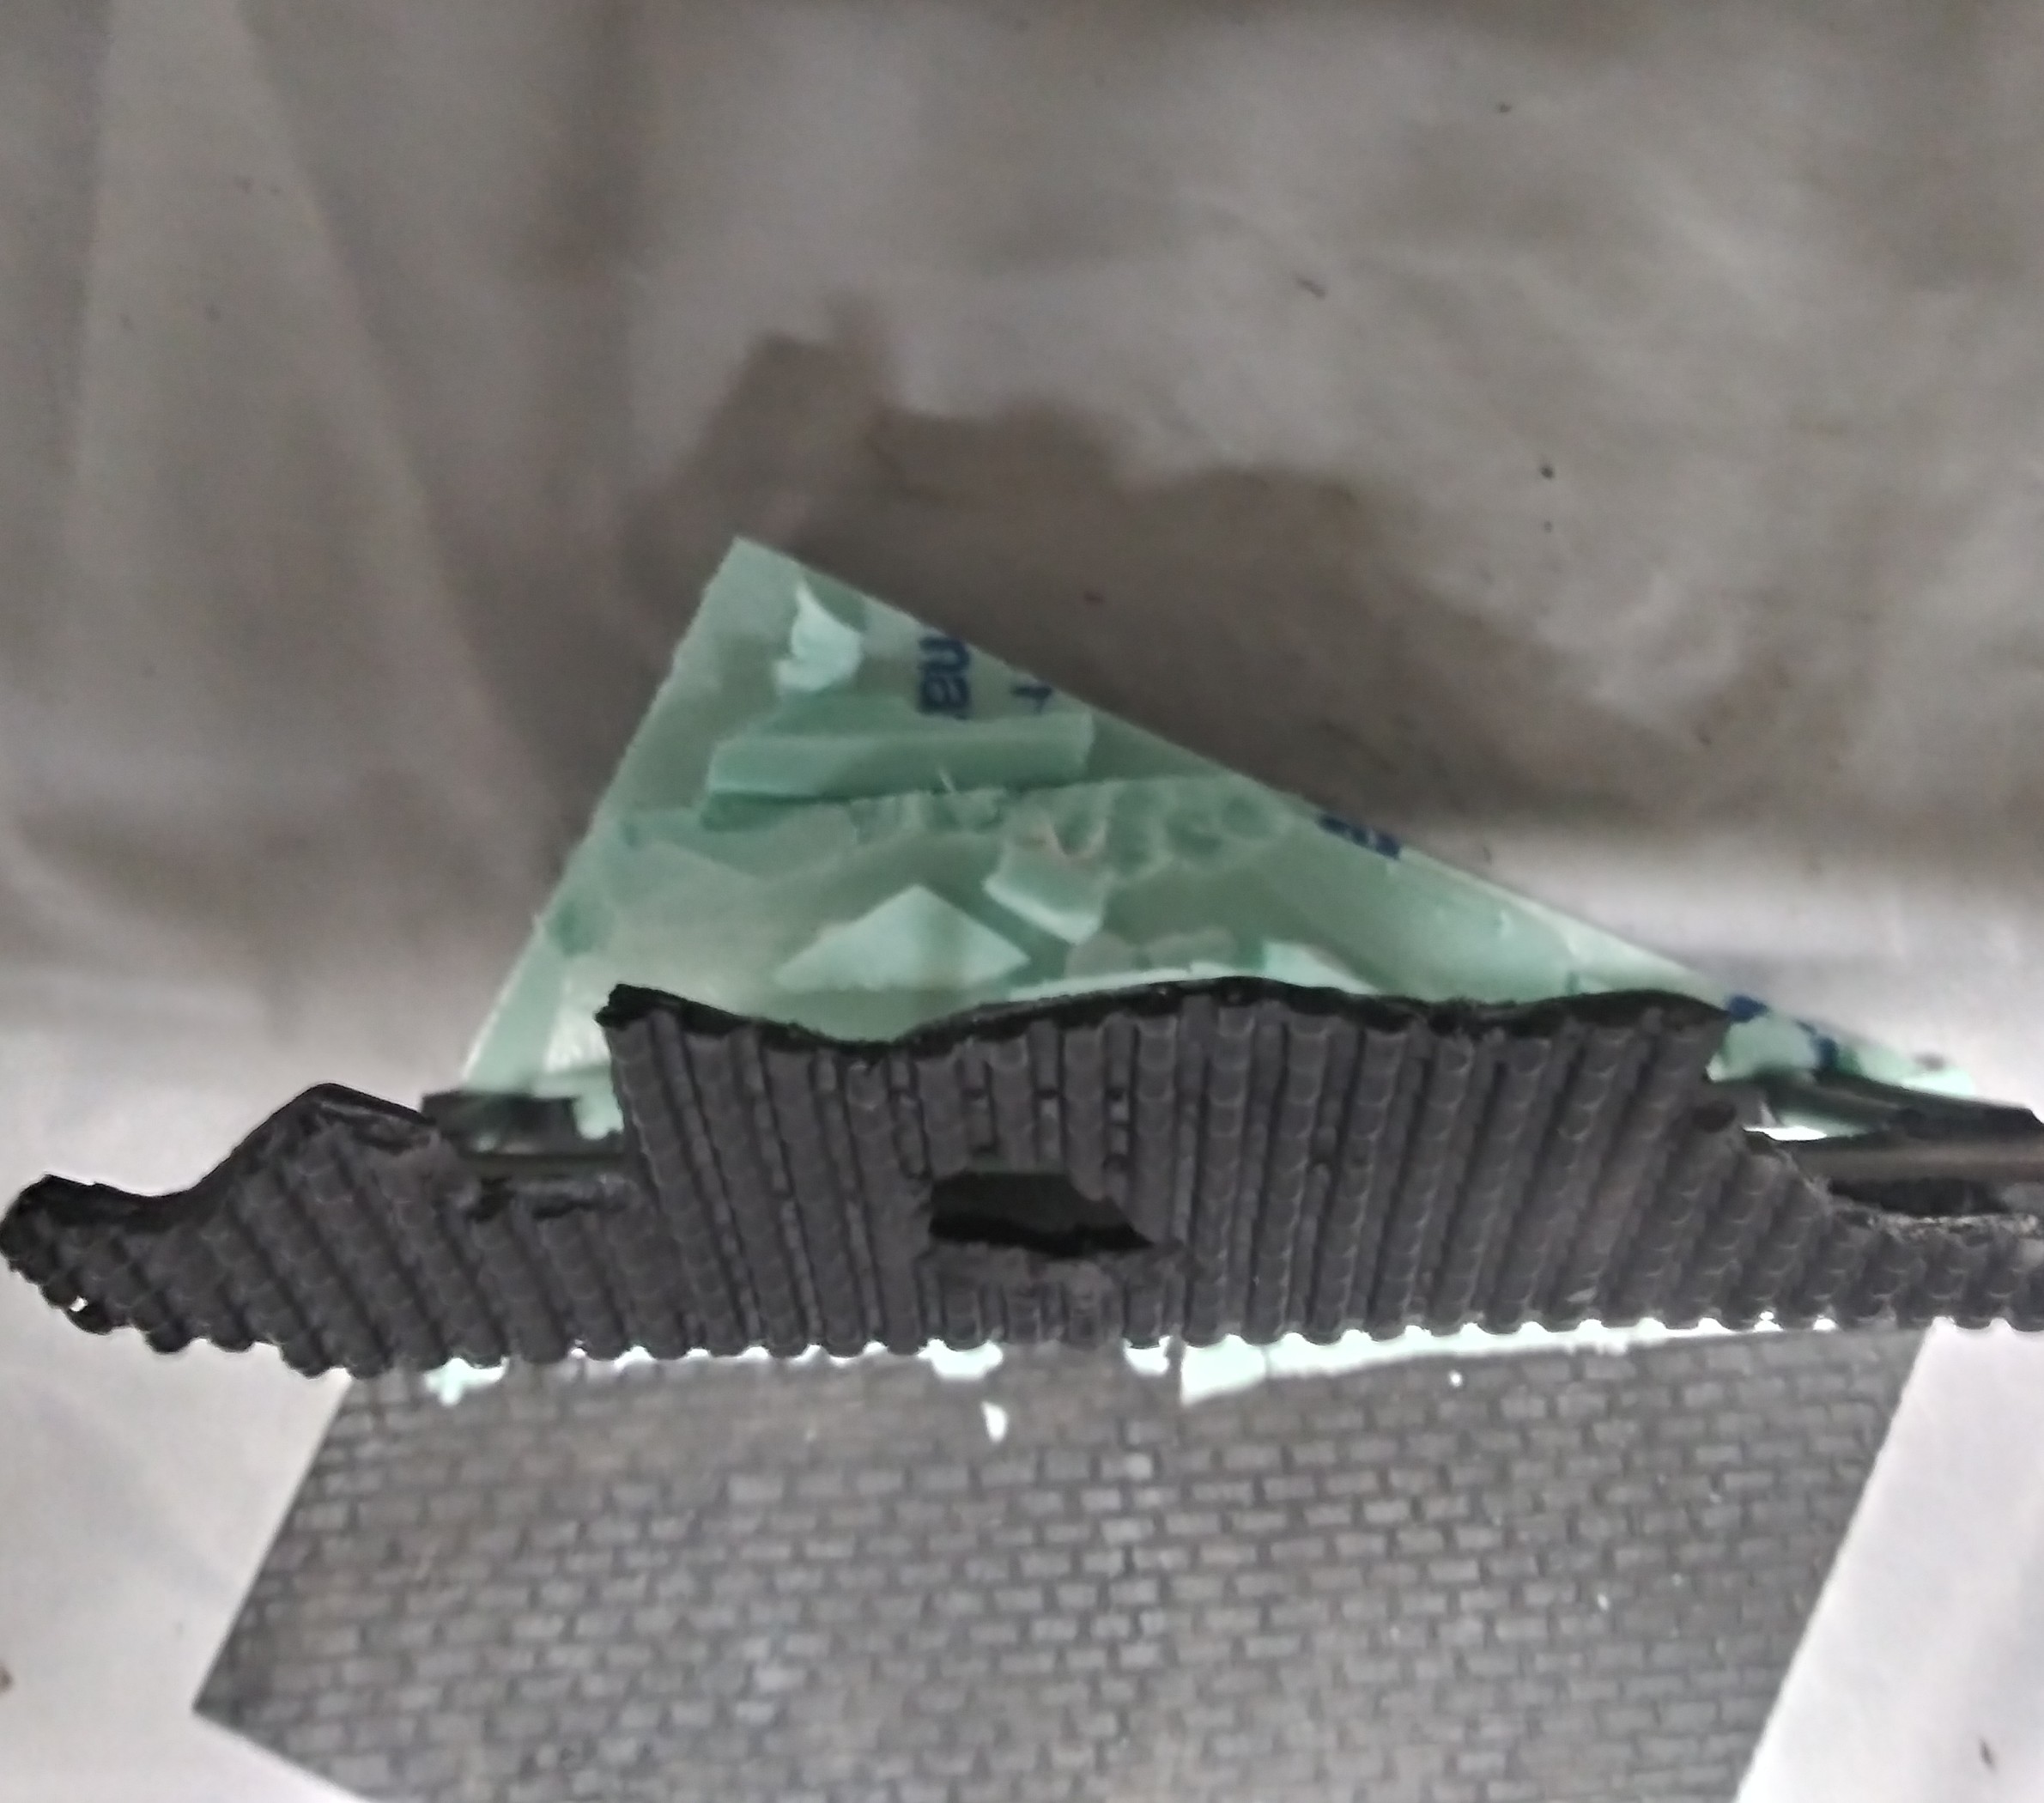
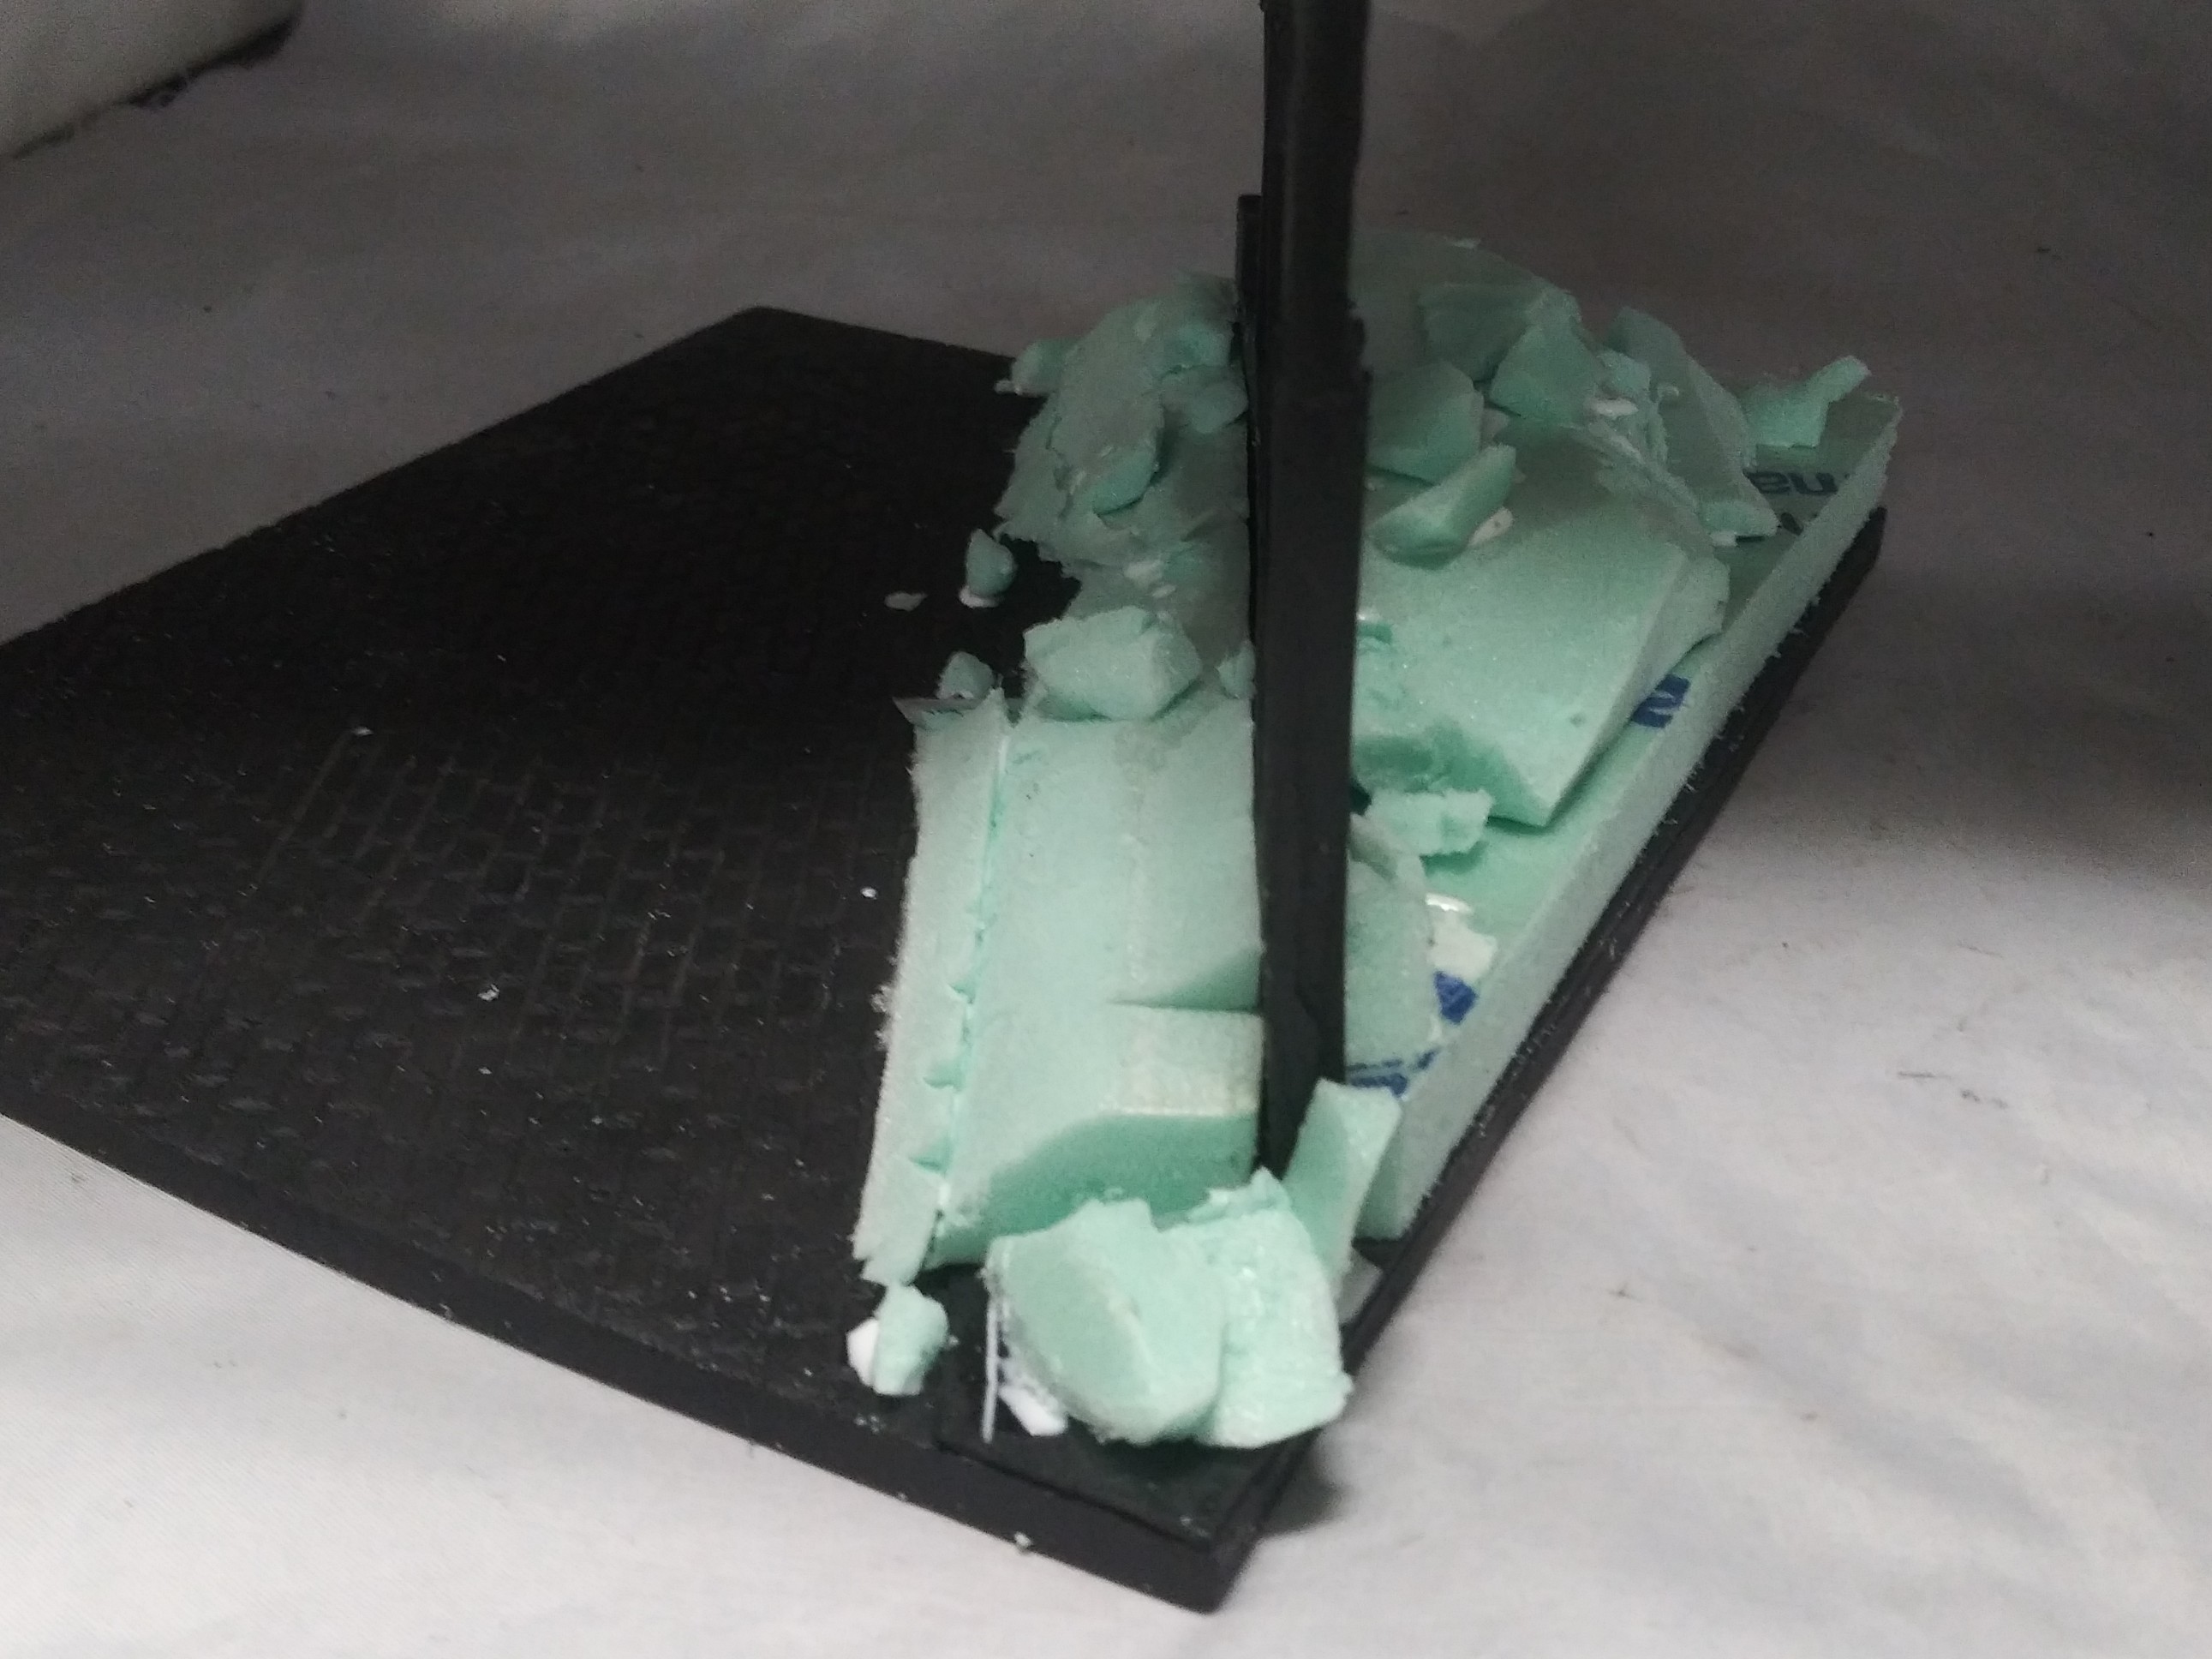
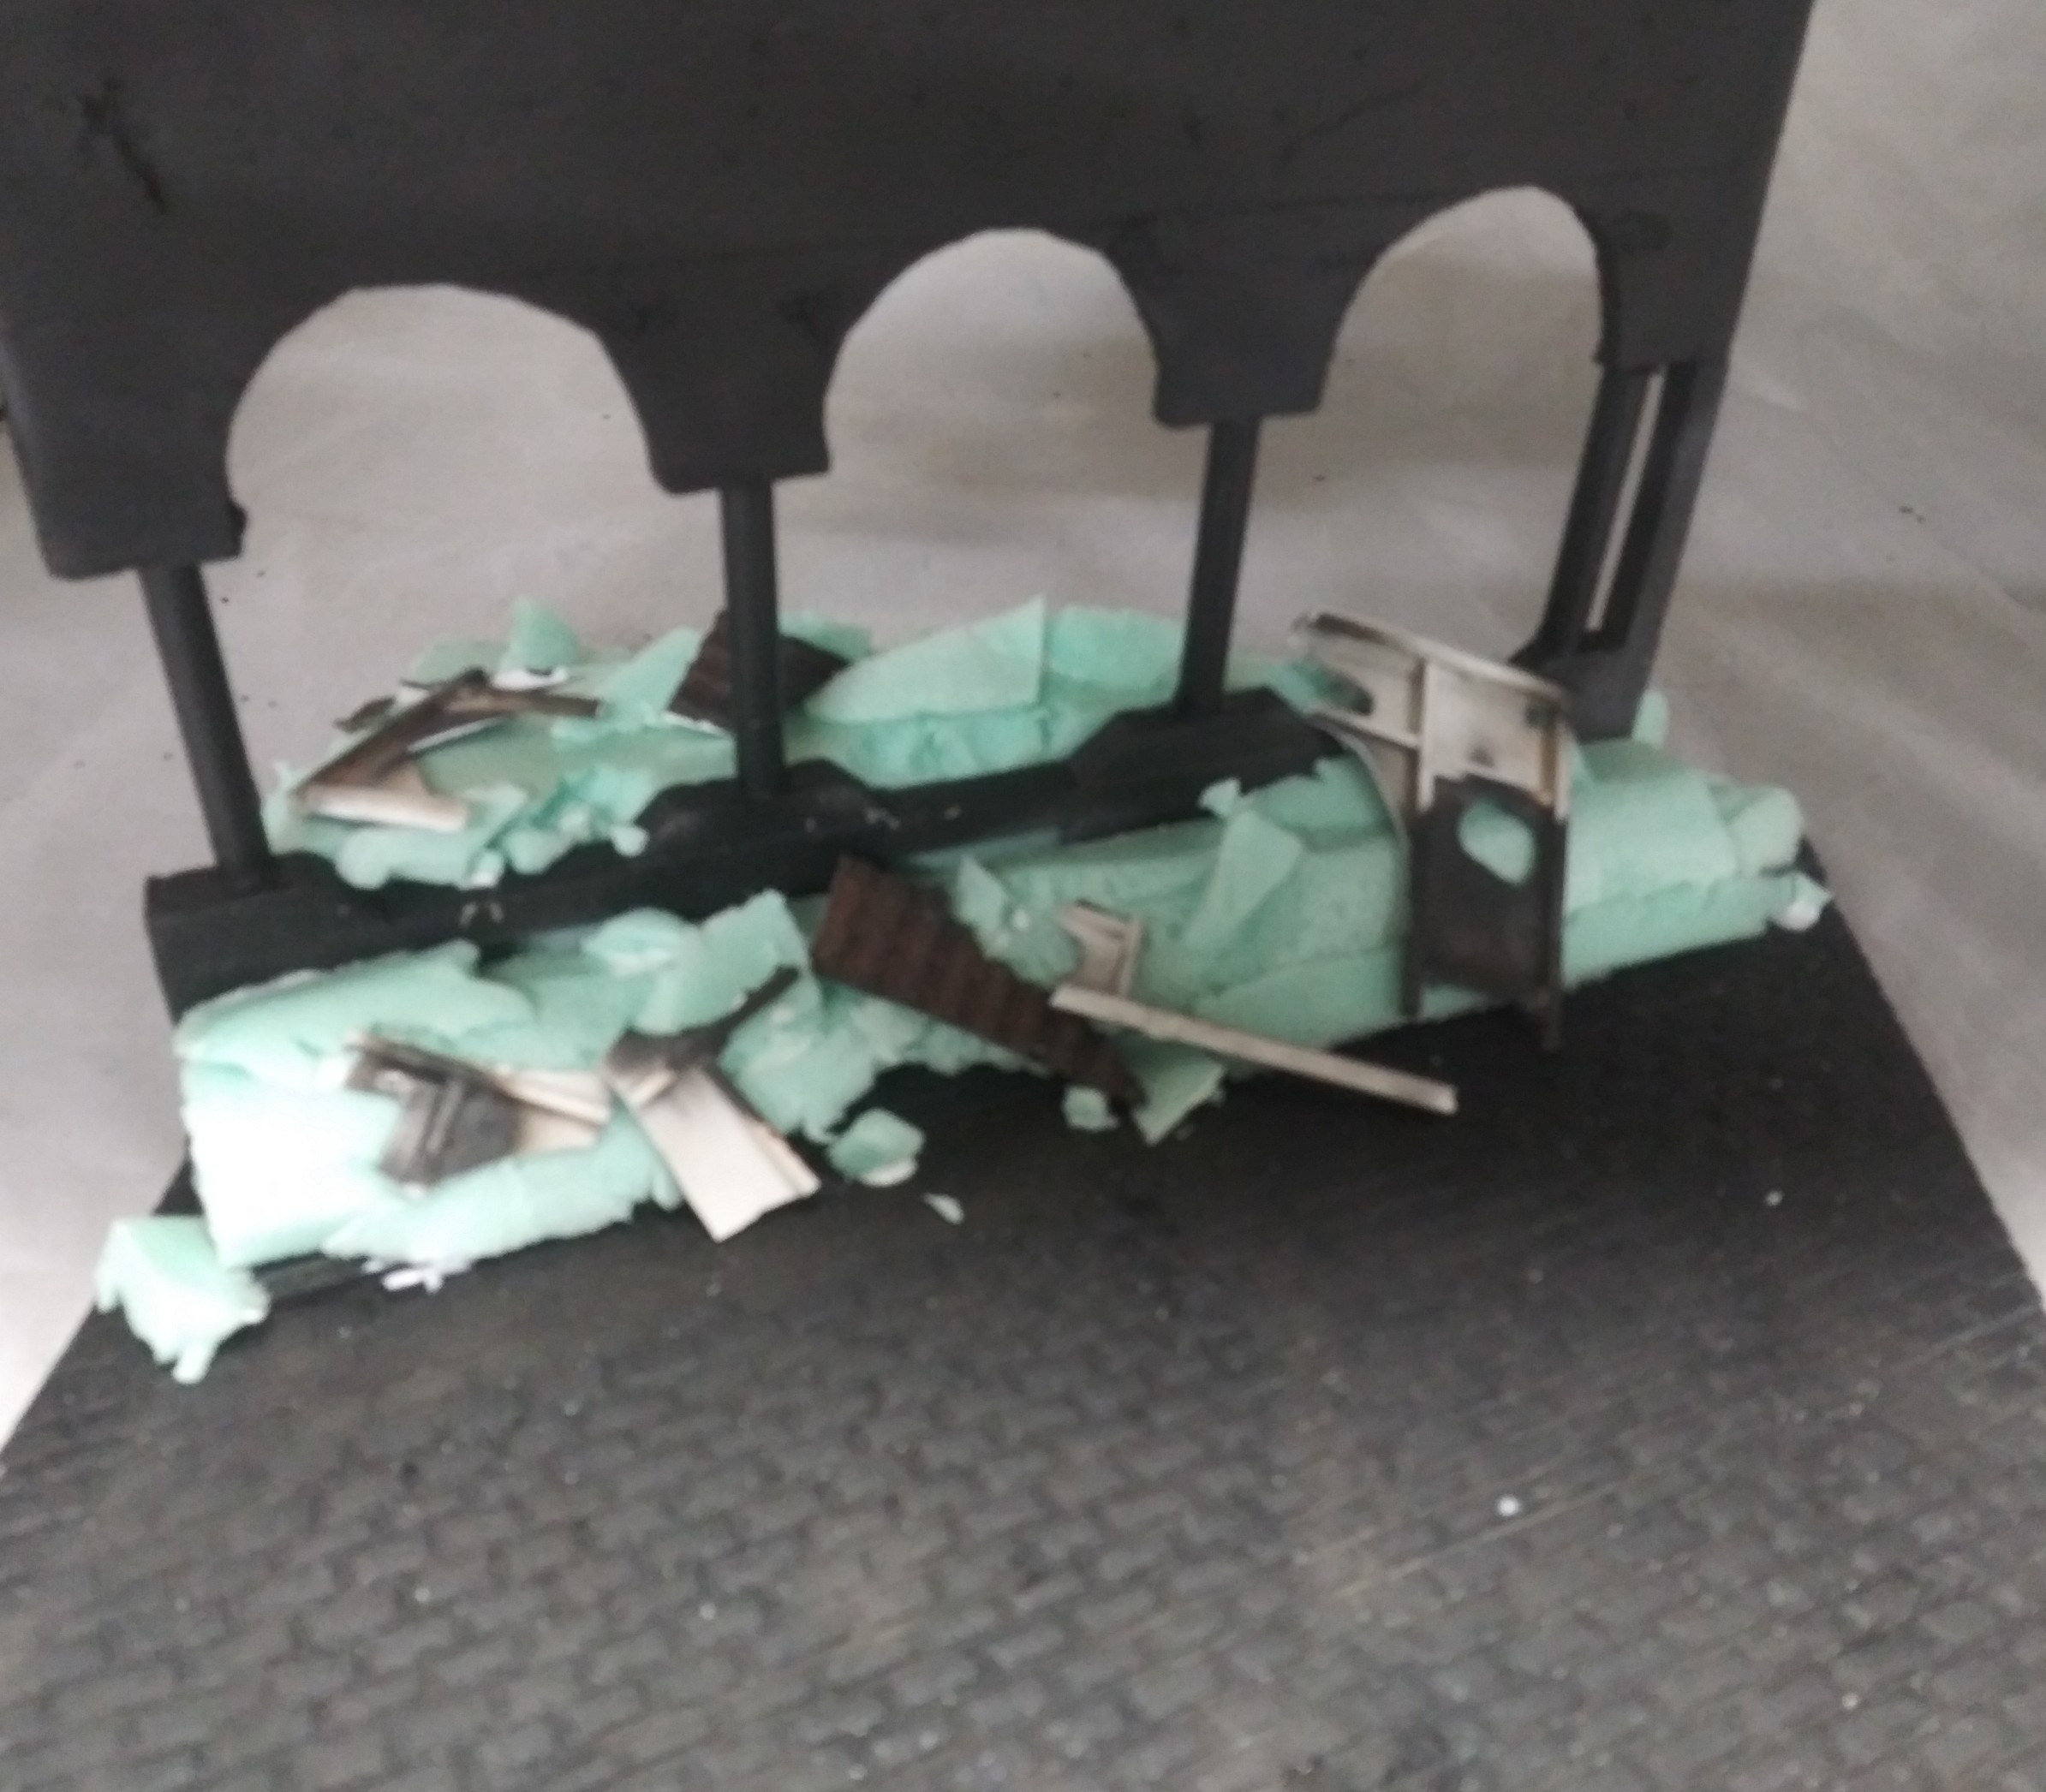
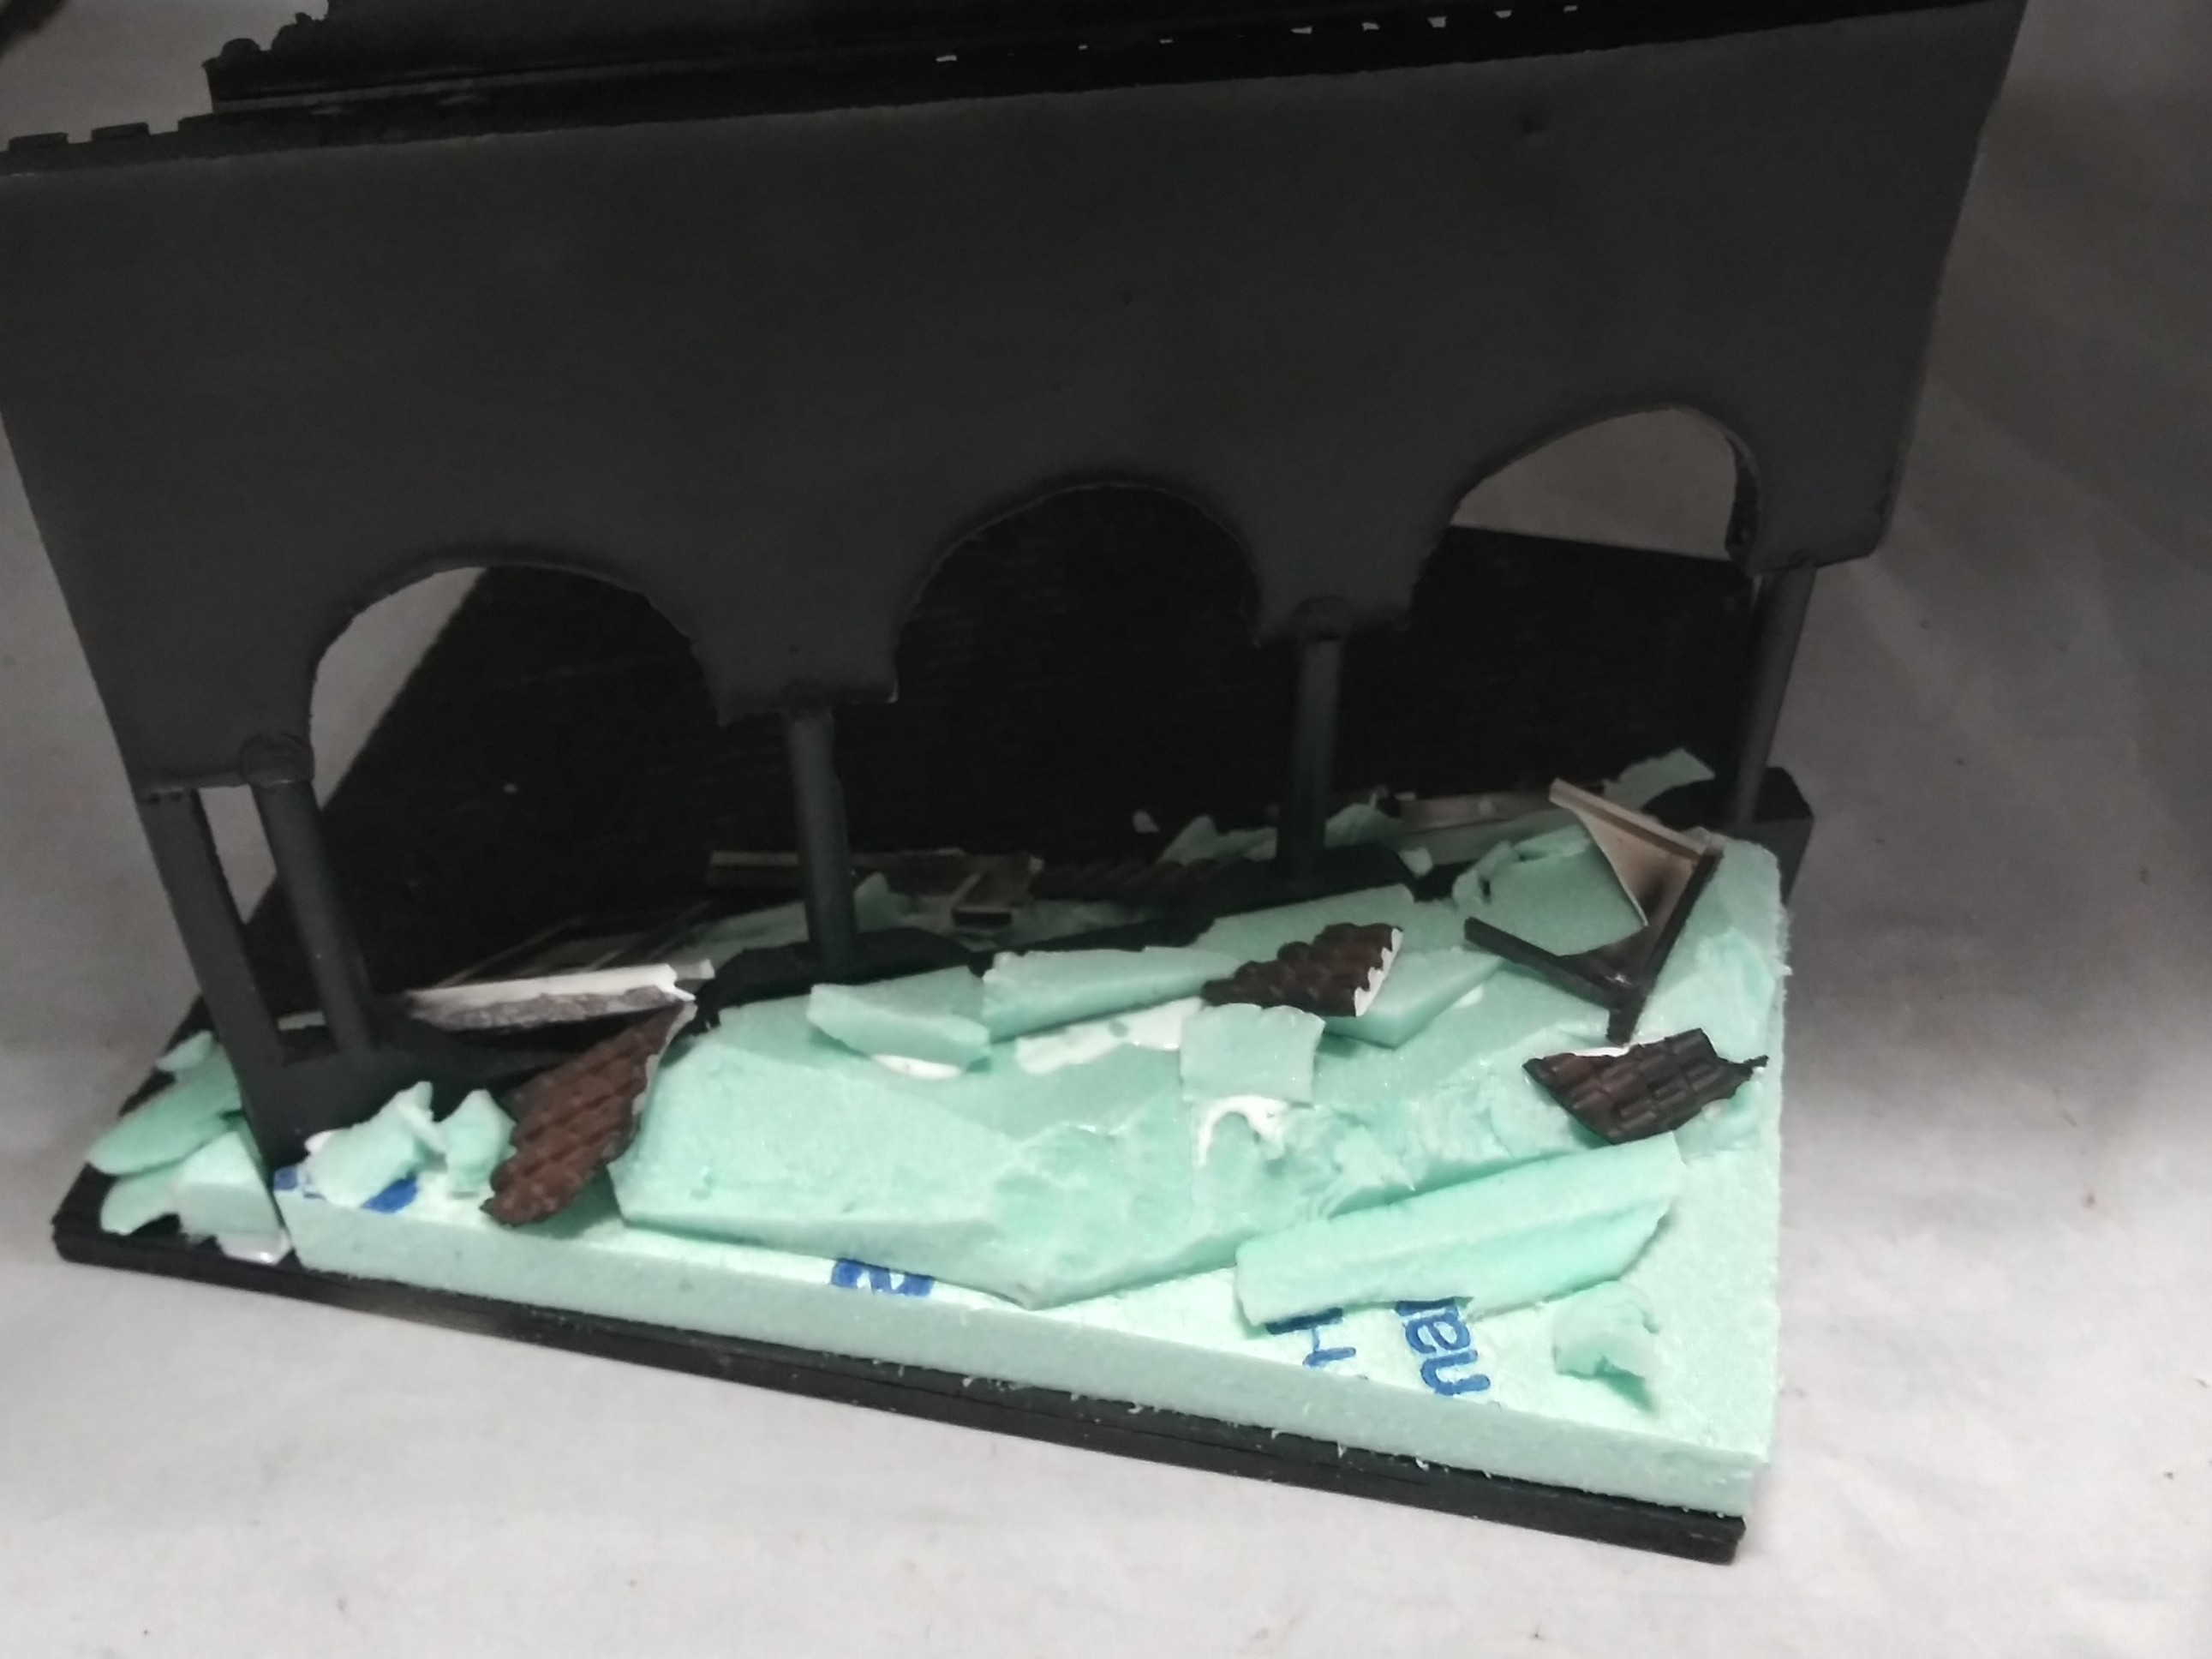
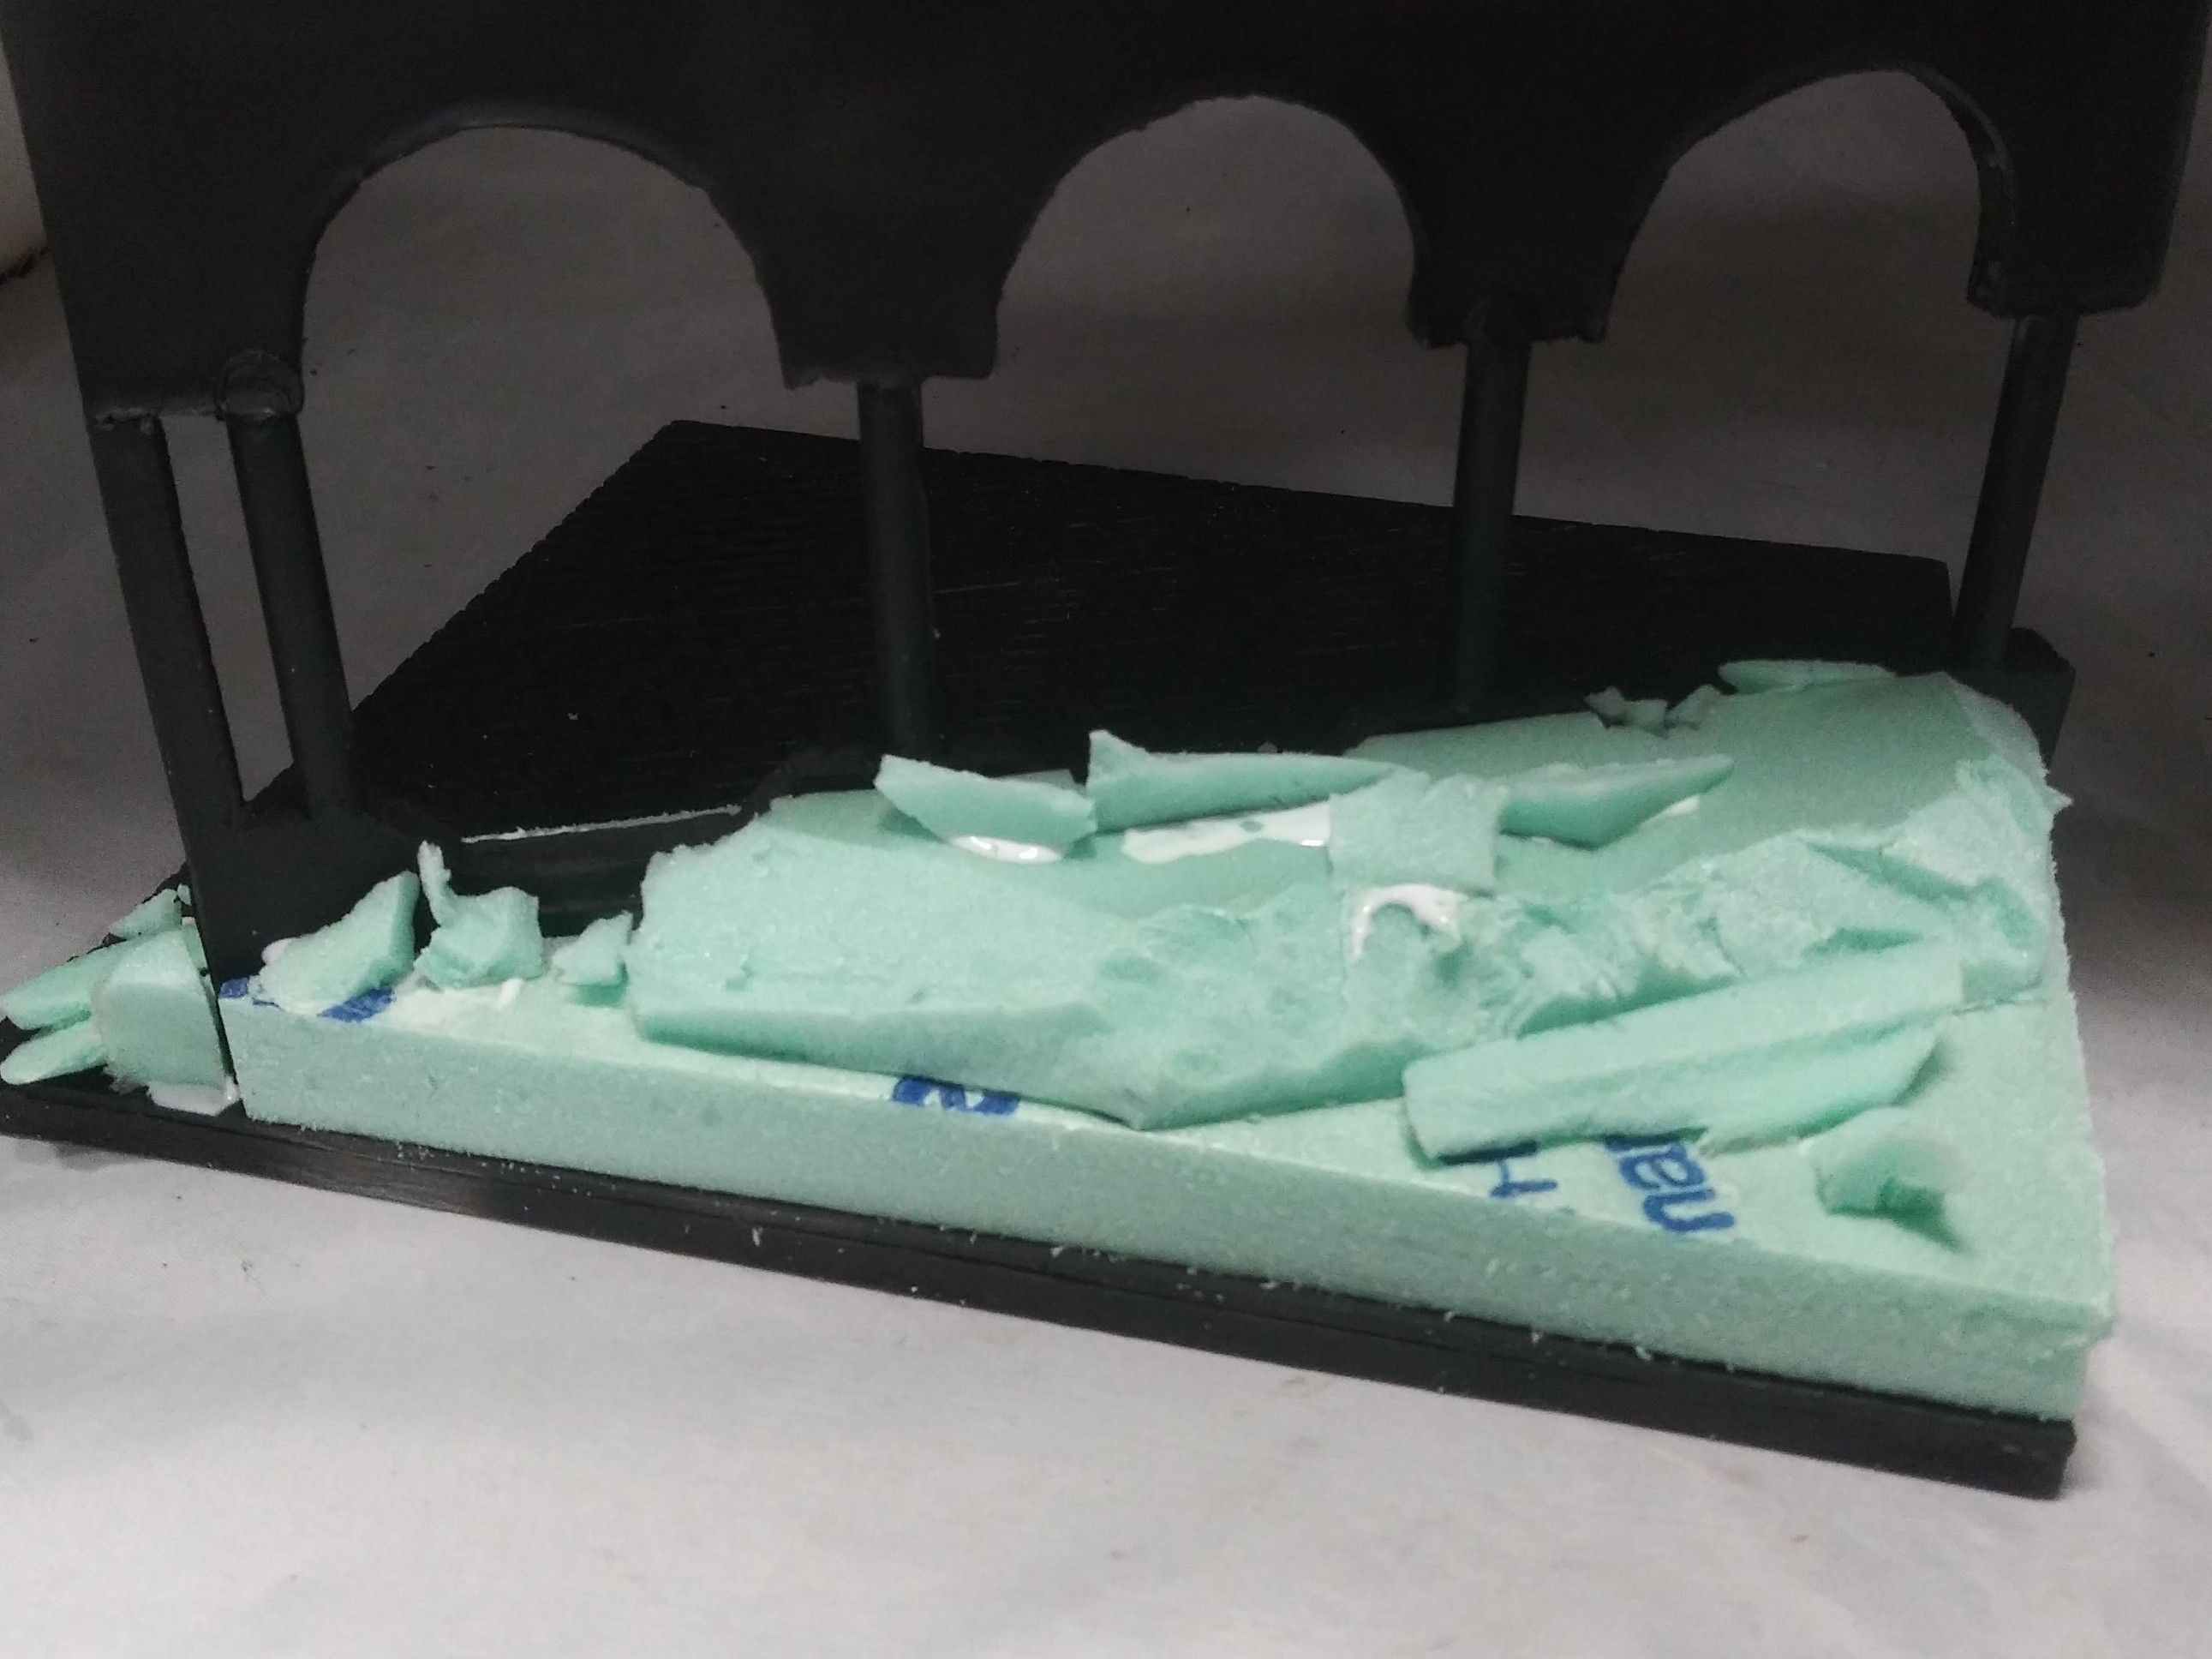
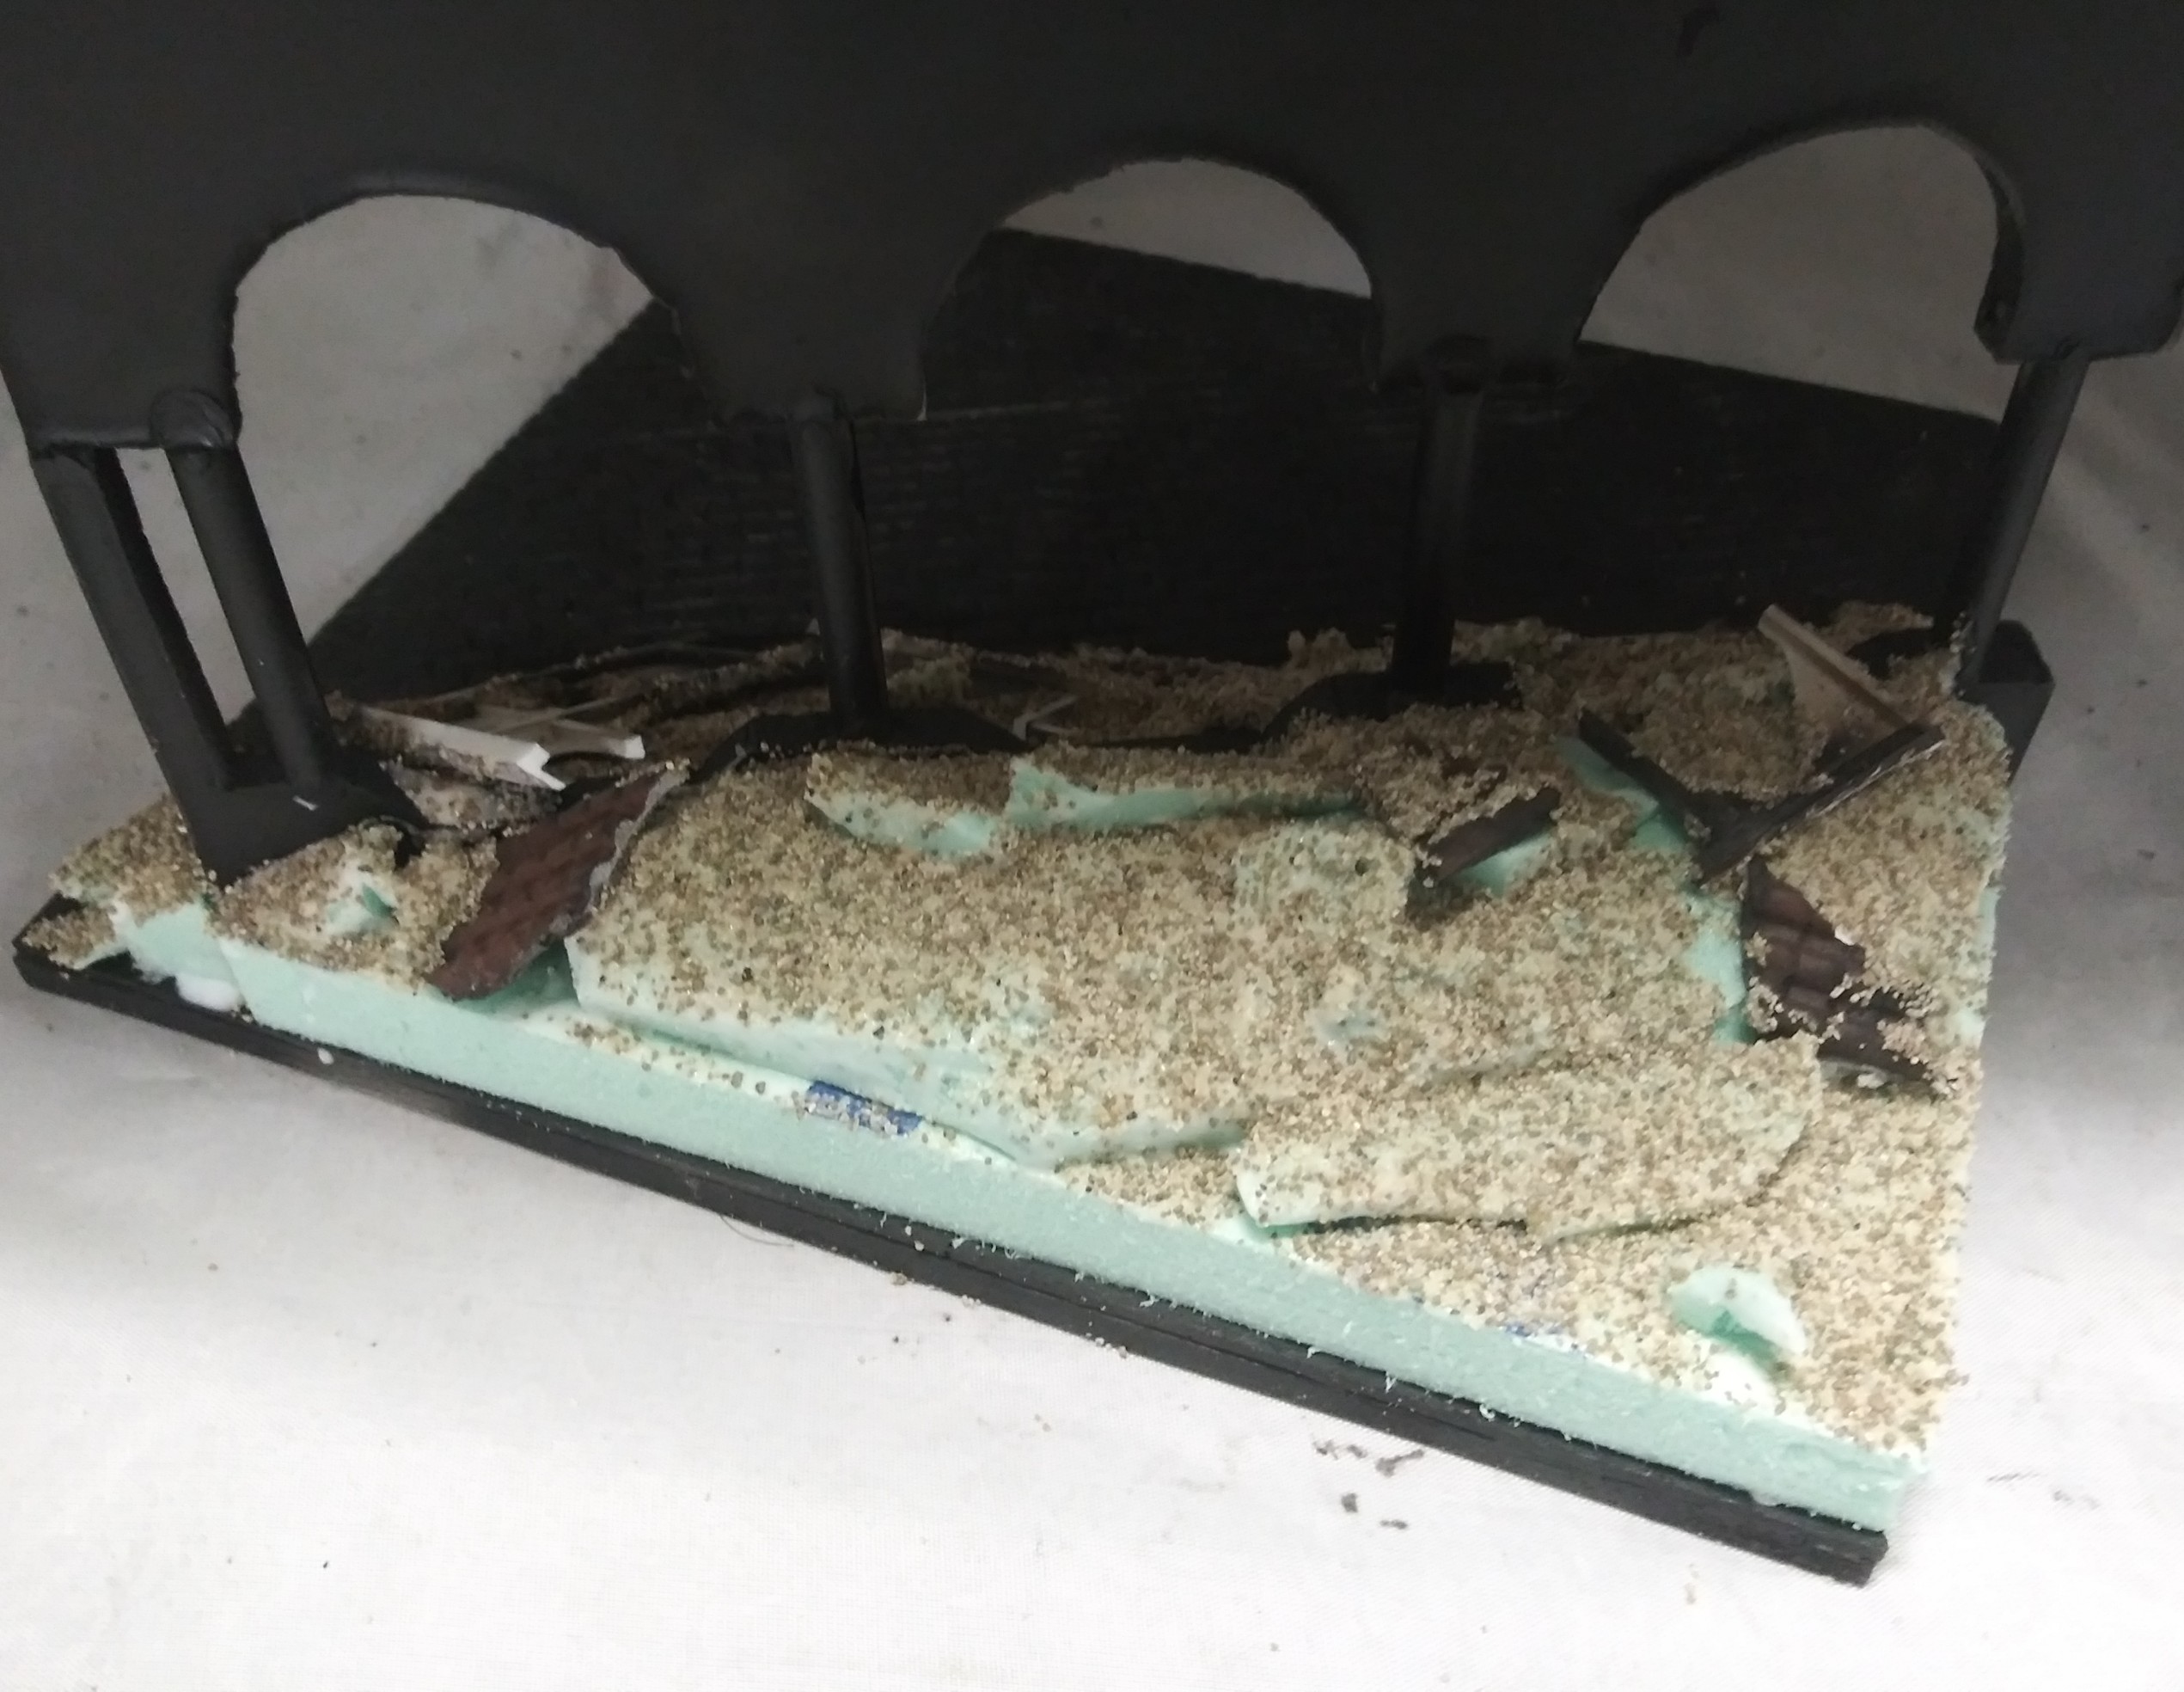
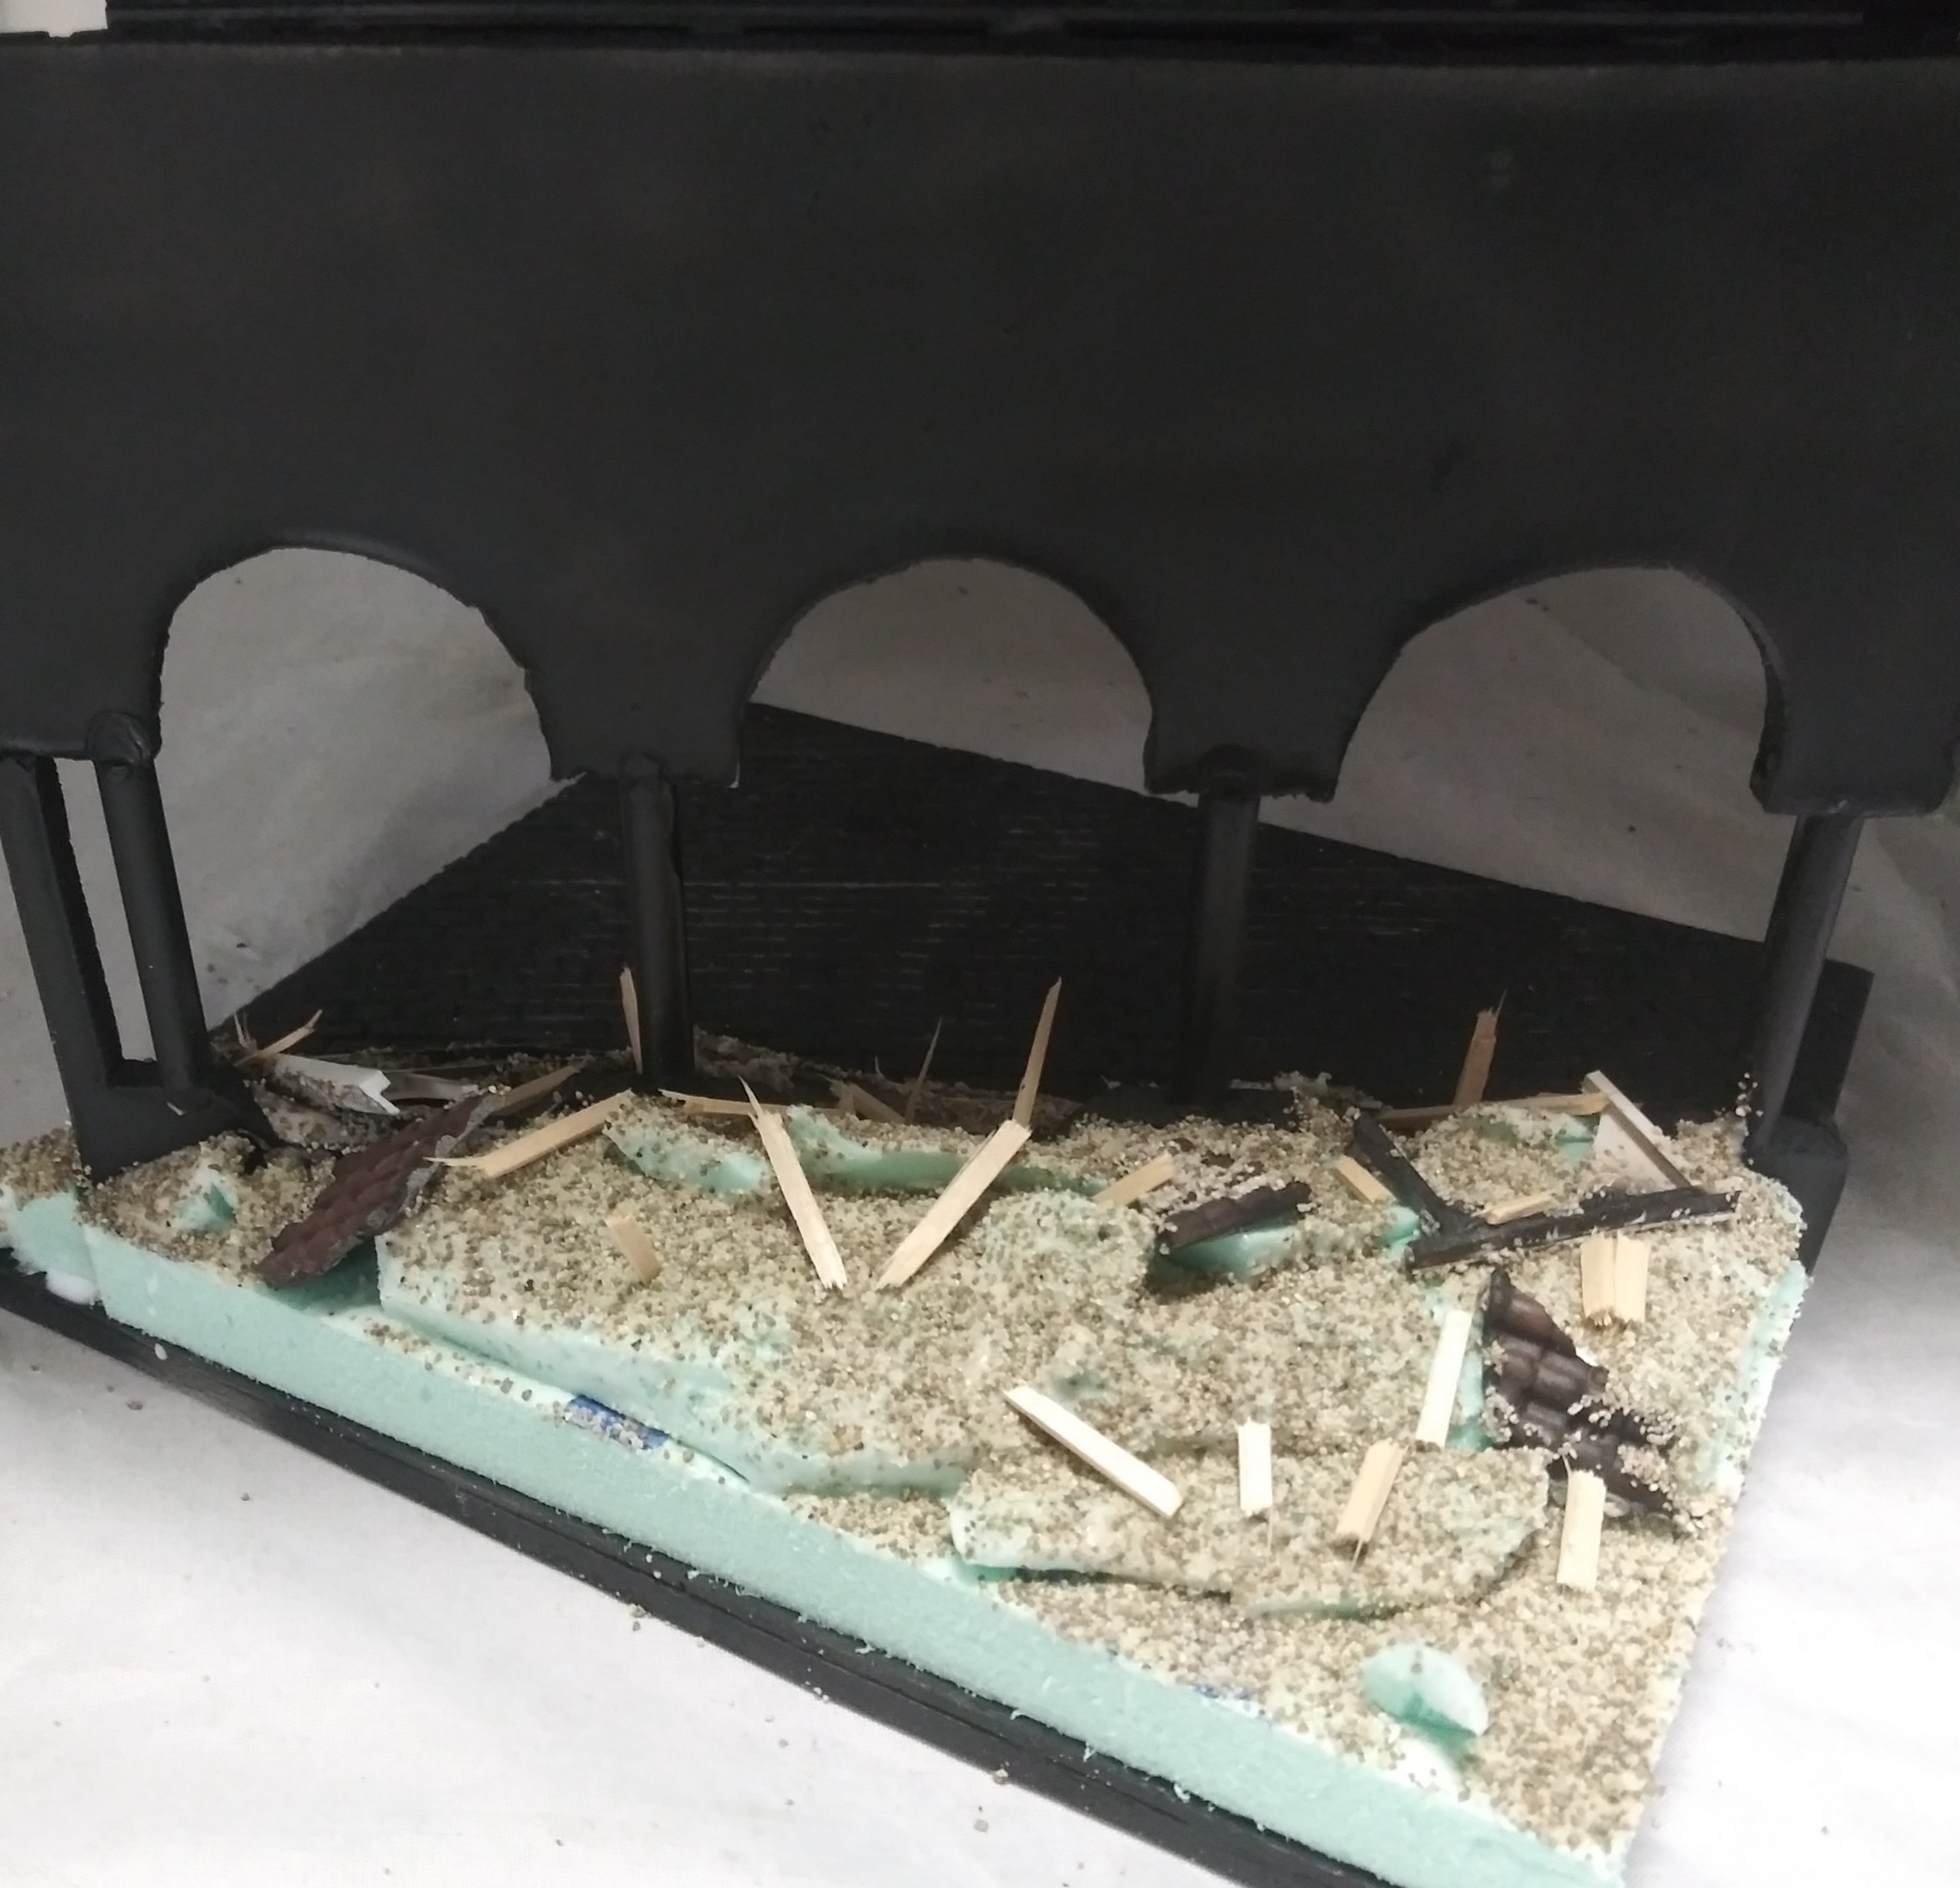
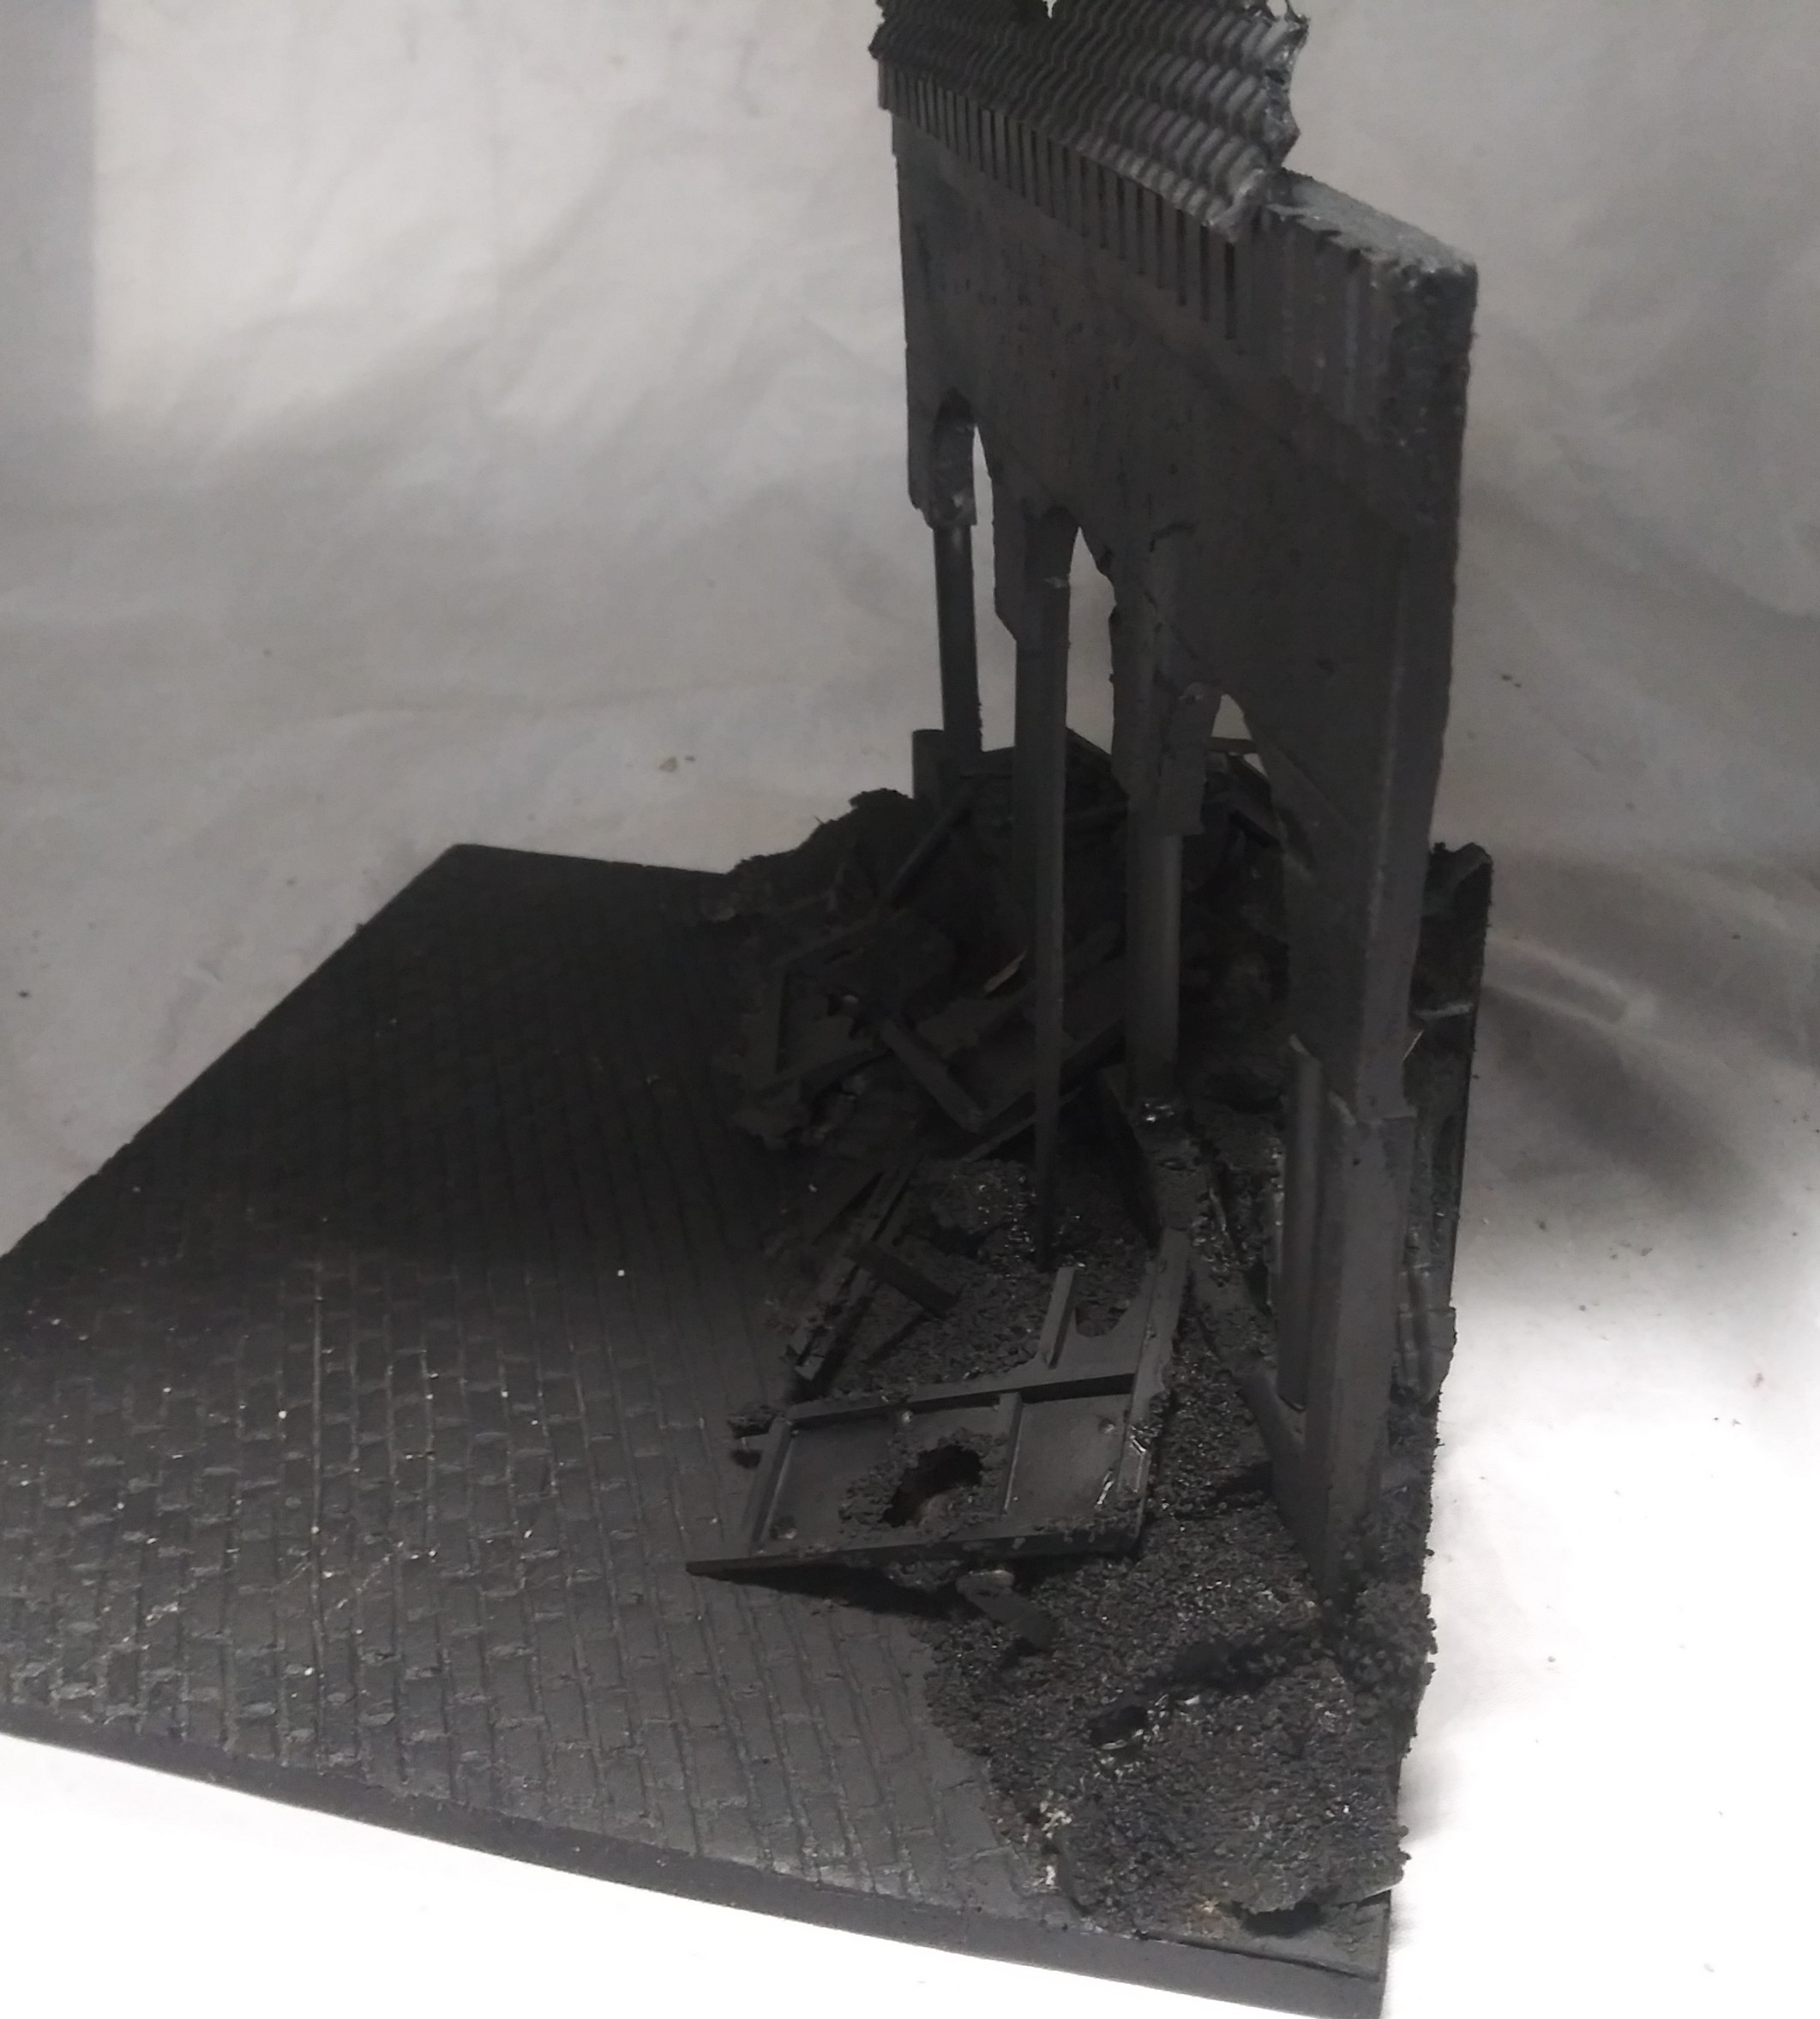
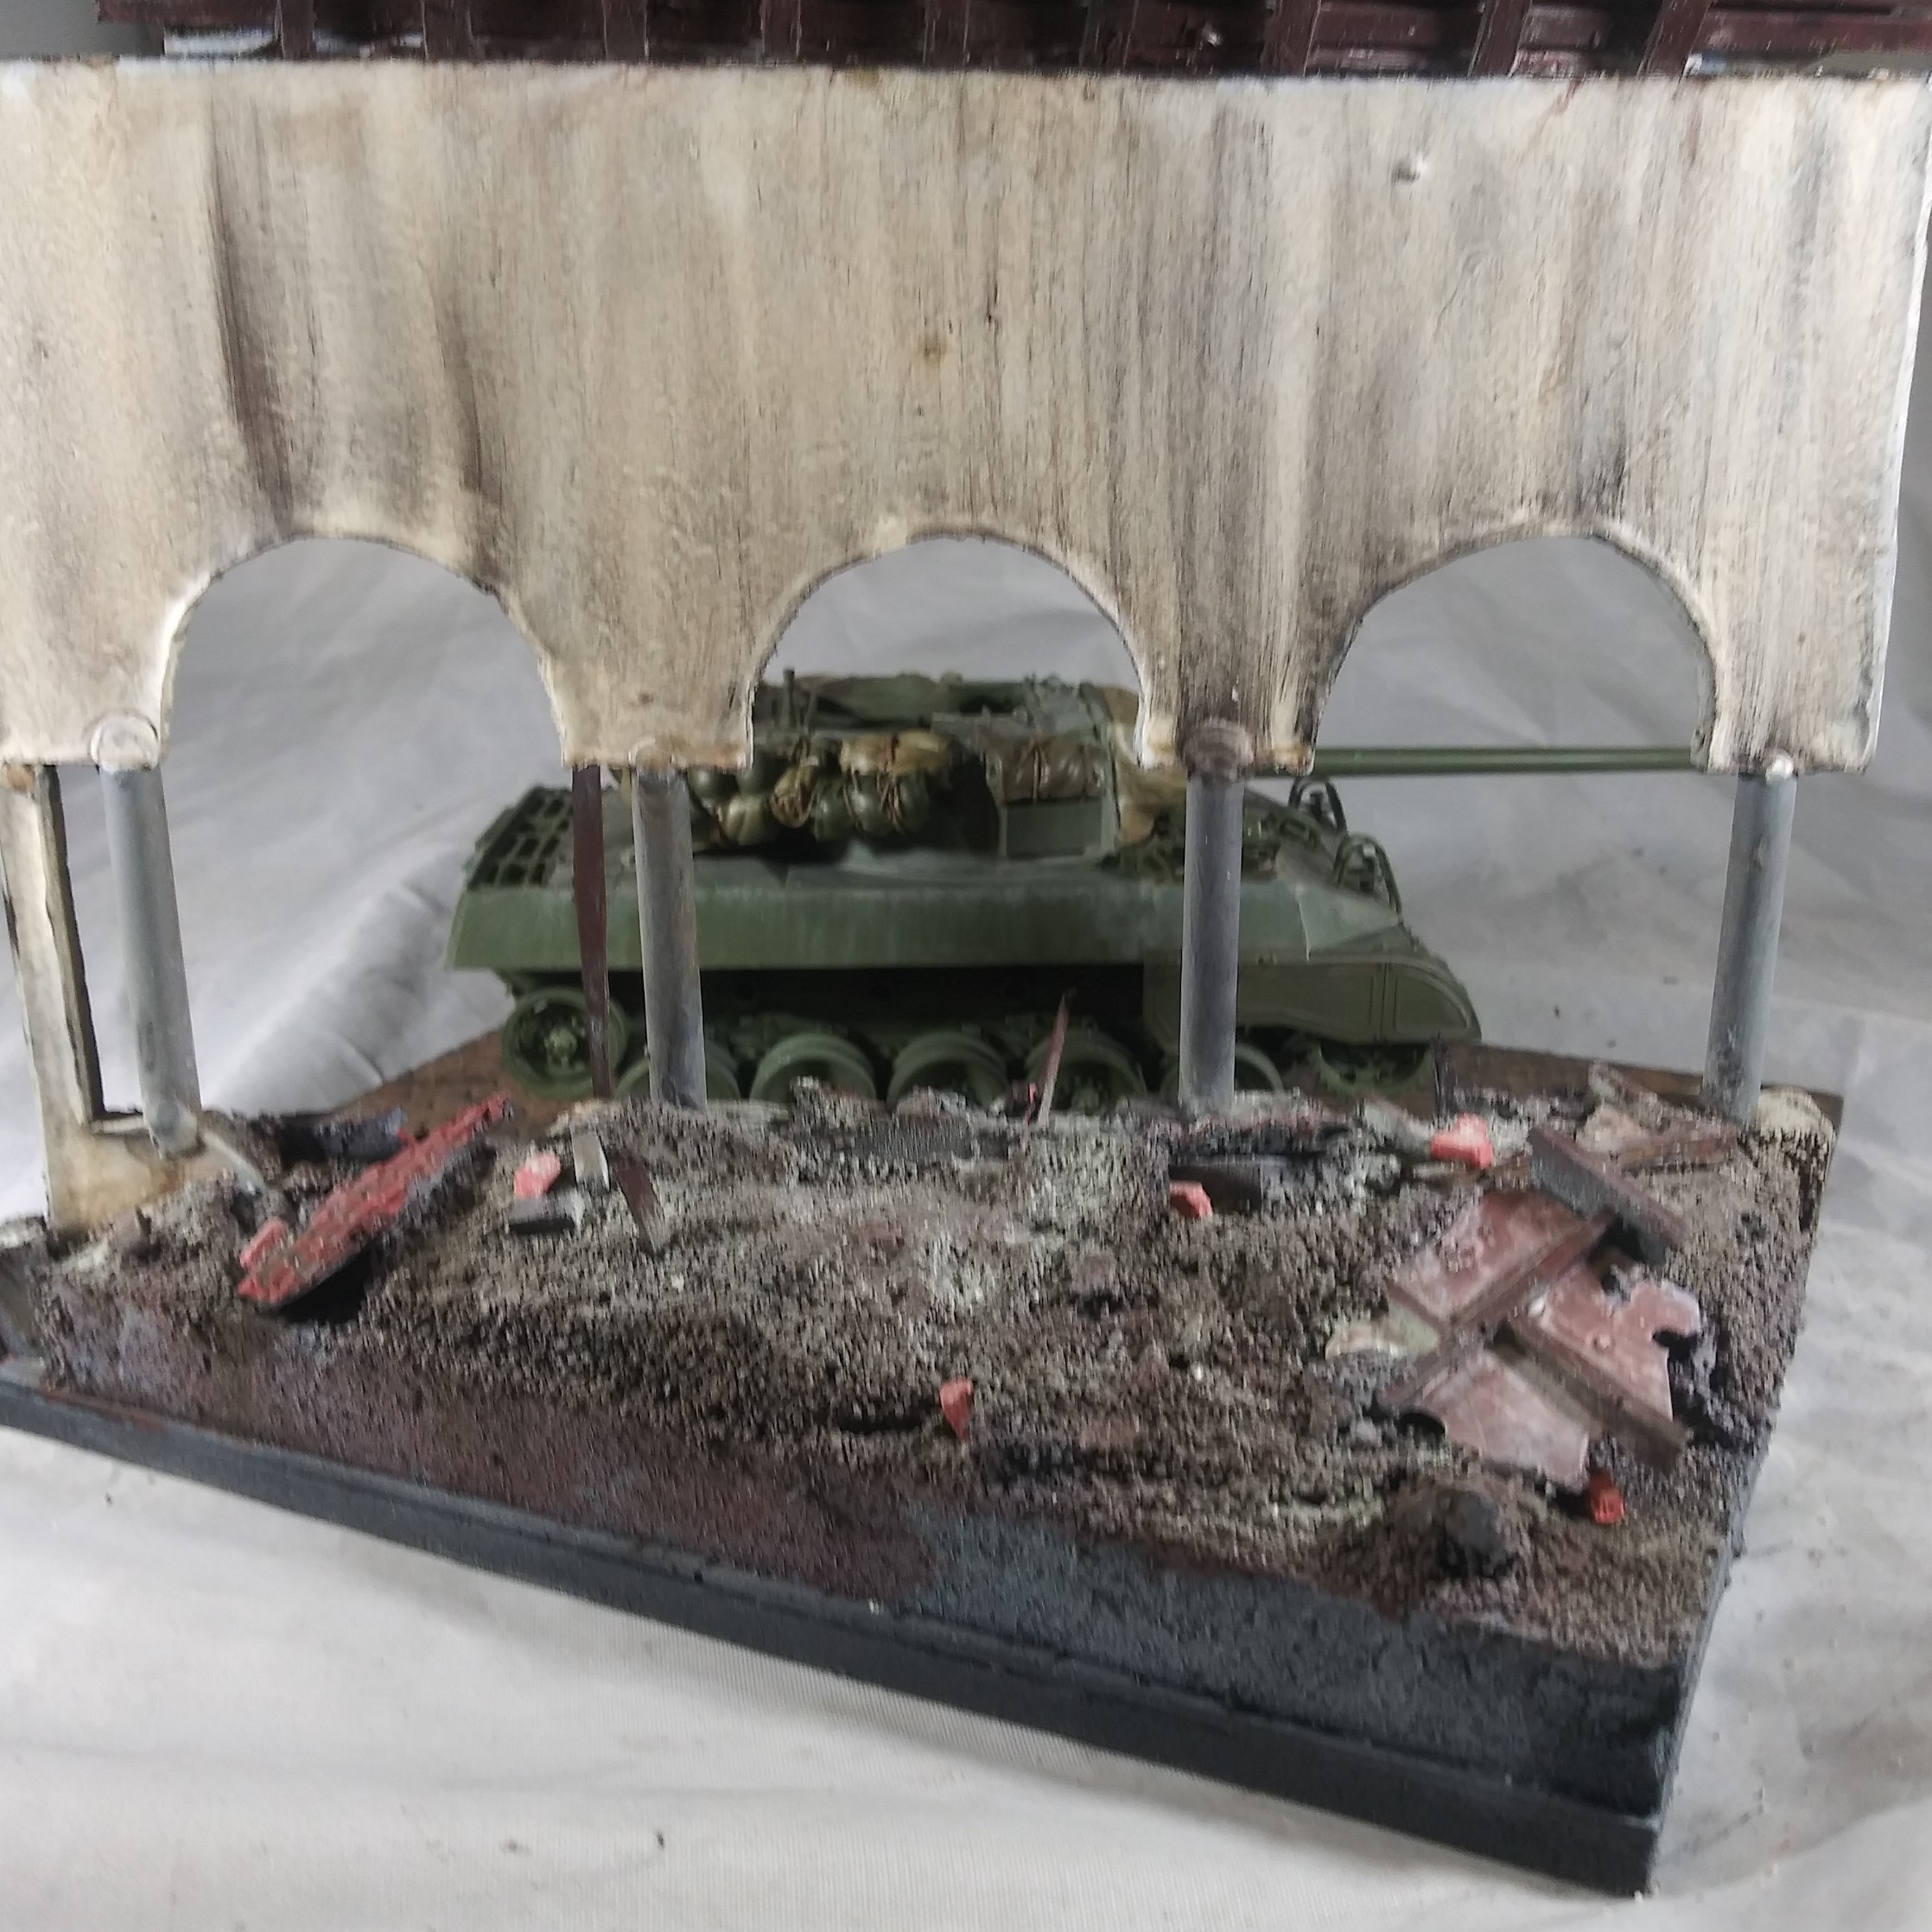
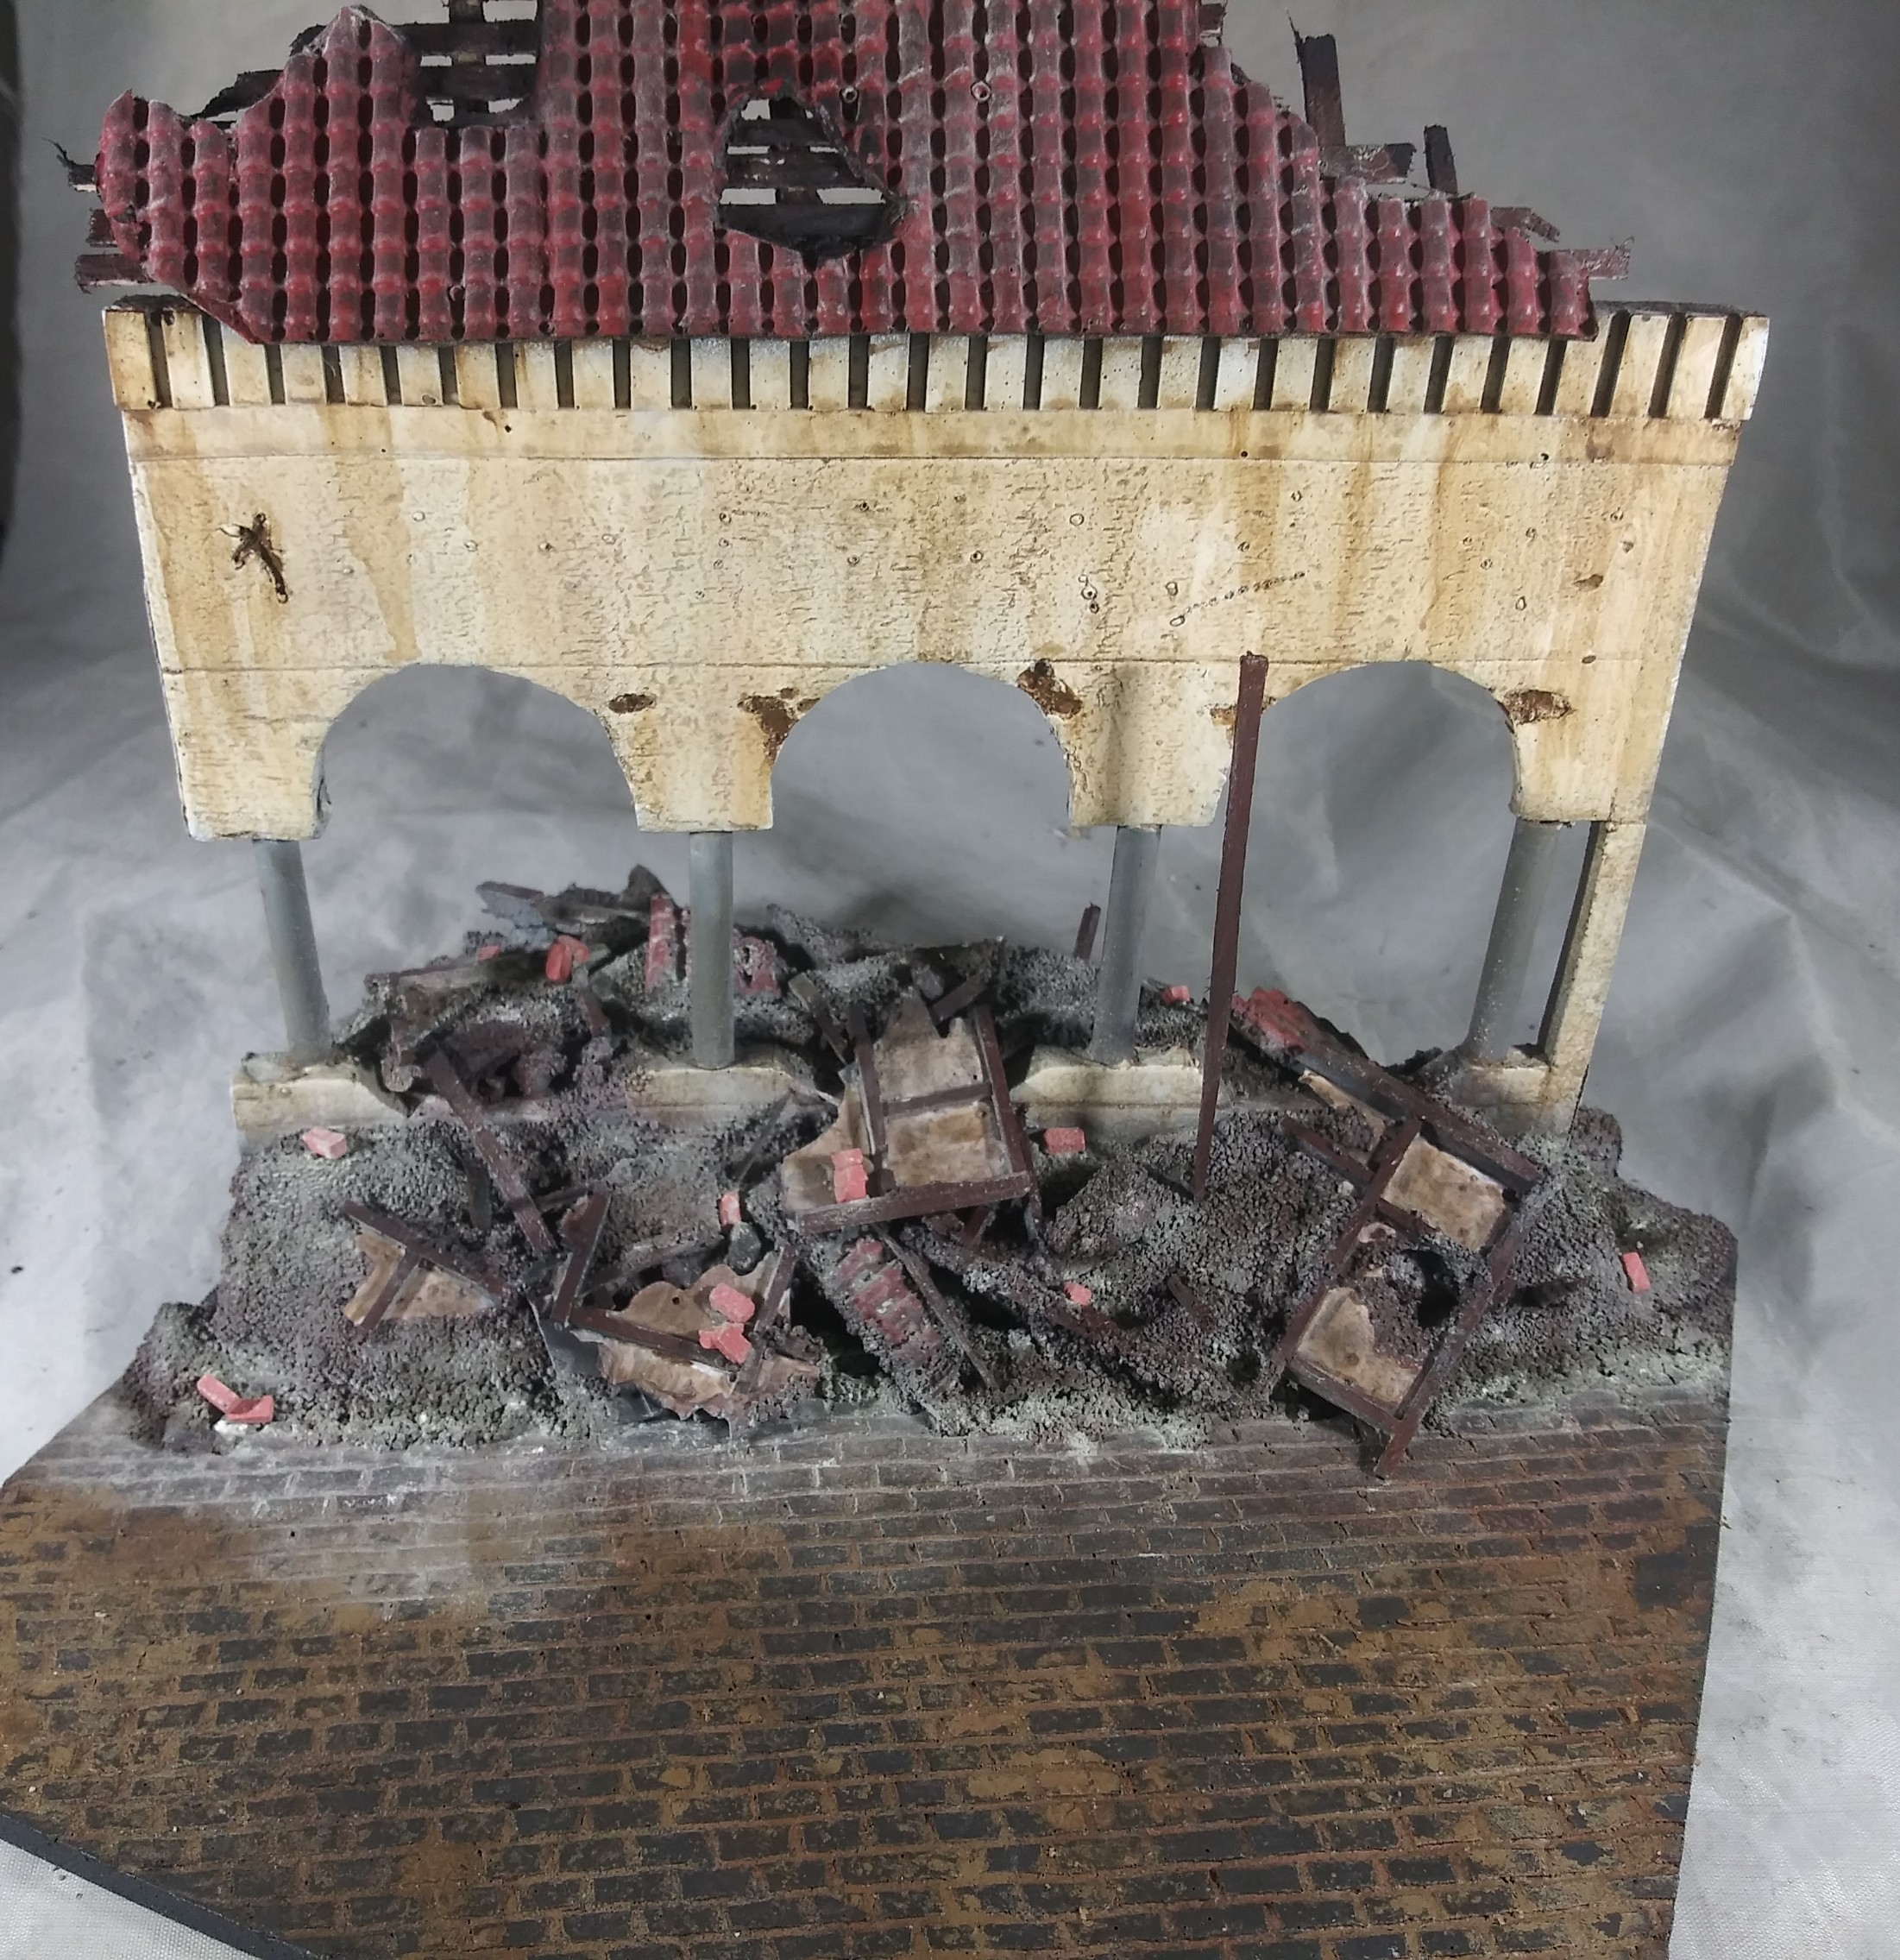
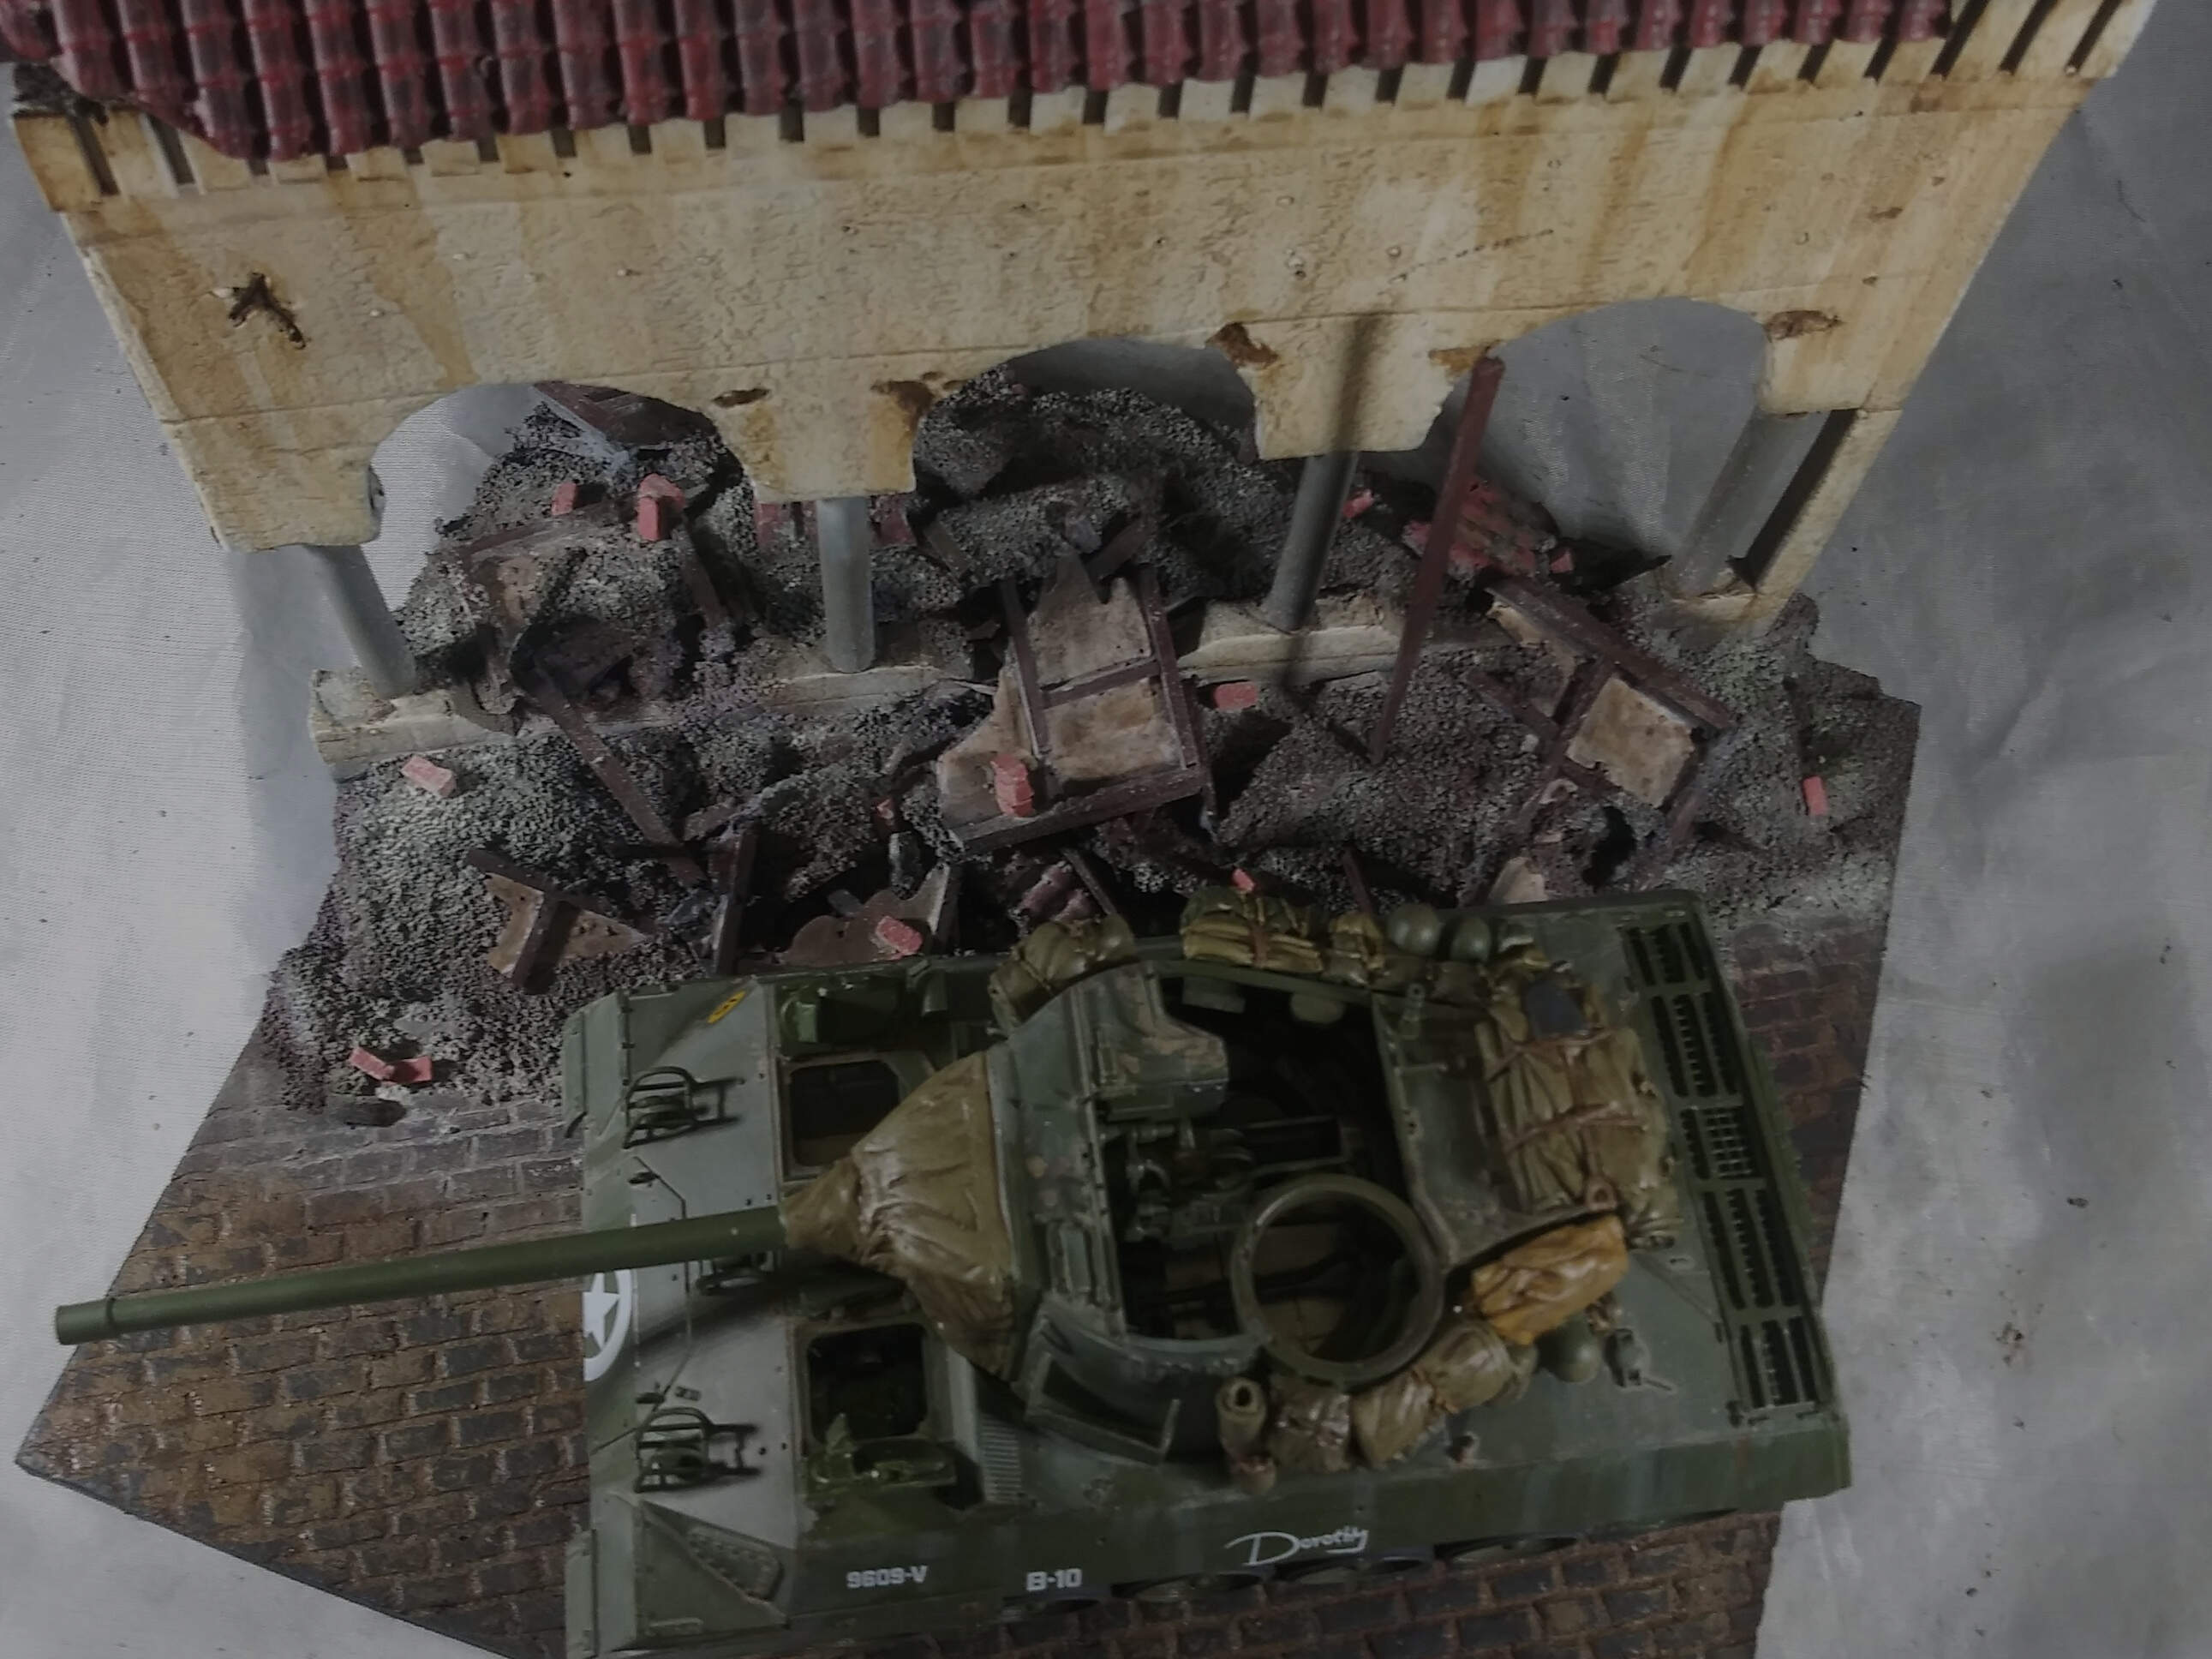
The process begins with adding insulating foam to provide the irregular foundation of the debris.
As can be seen in some of the images the first layer is added , which is building debris . This is just stuff lying around and salvaged from broken builds .
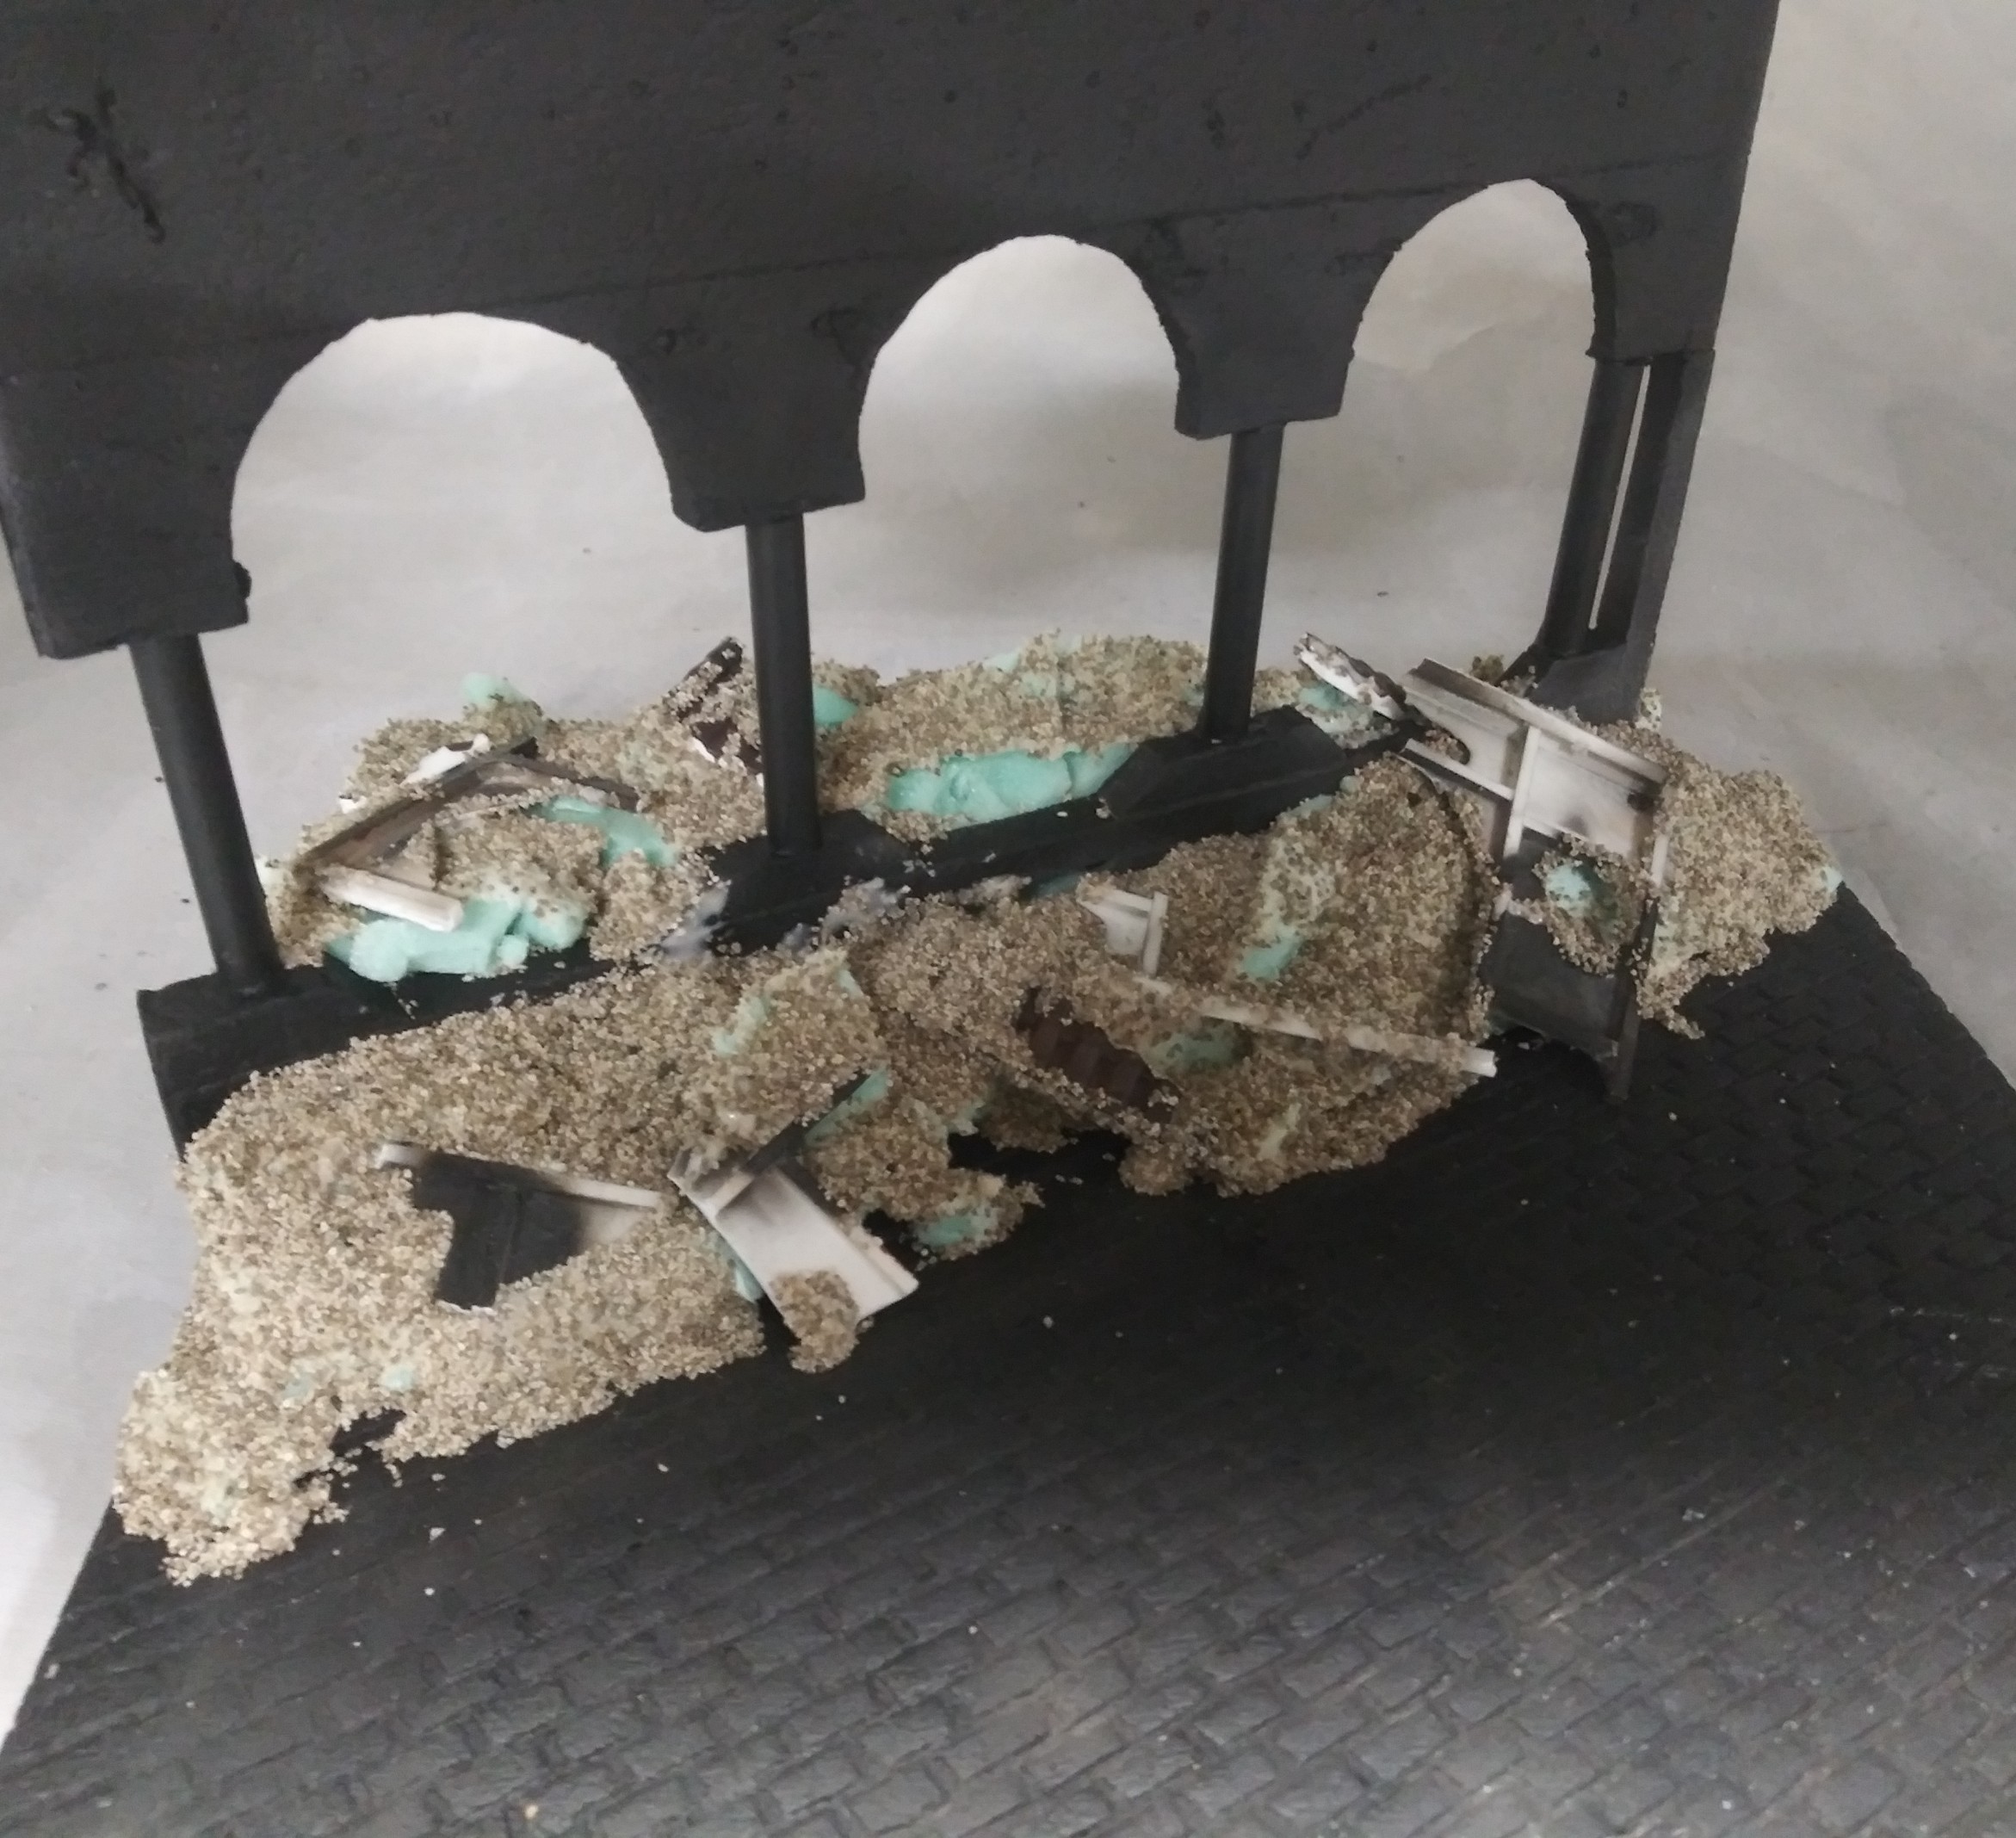
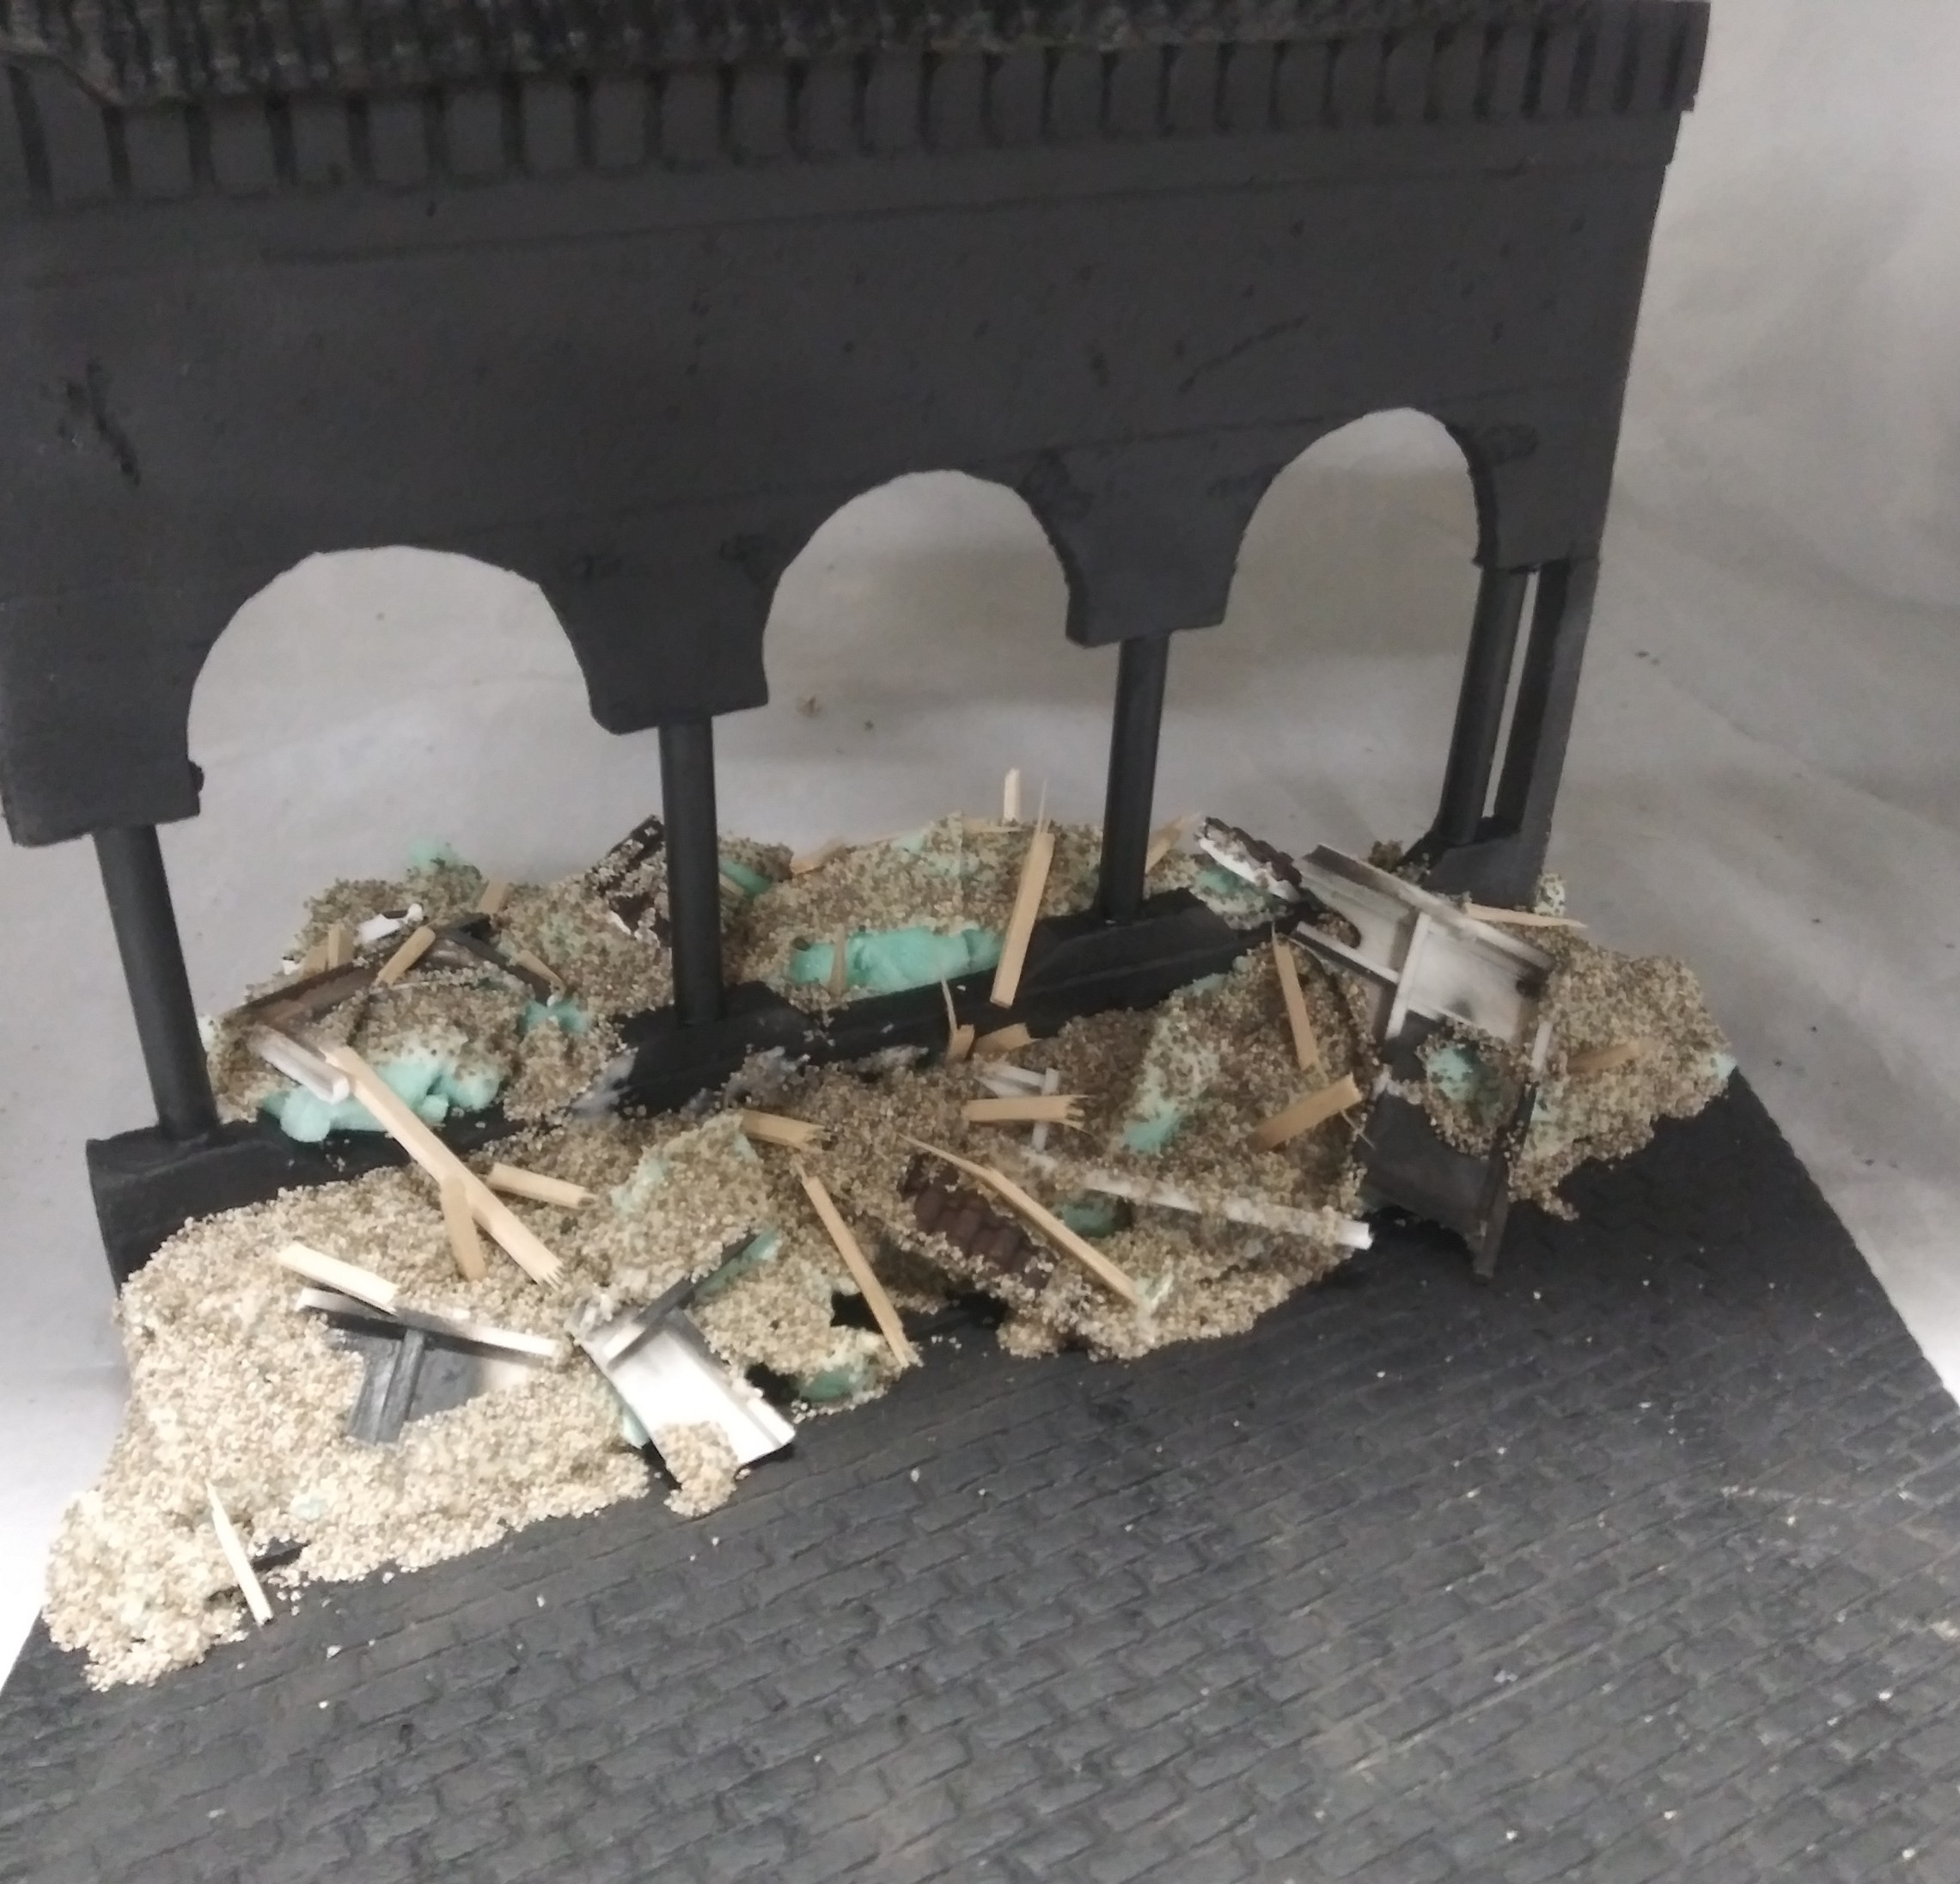
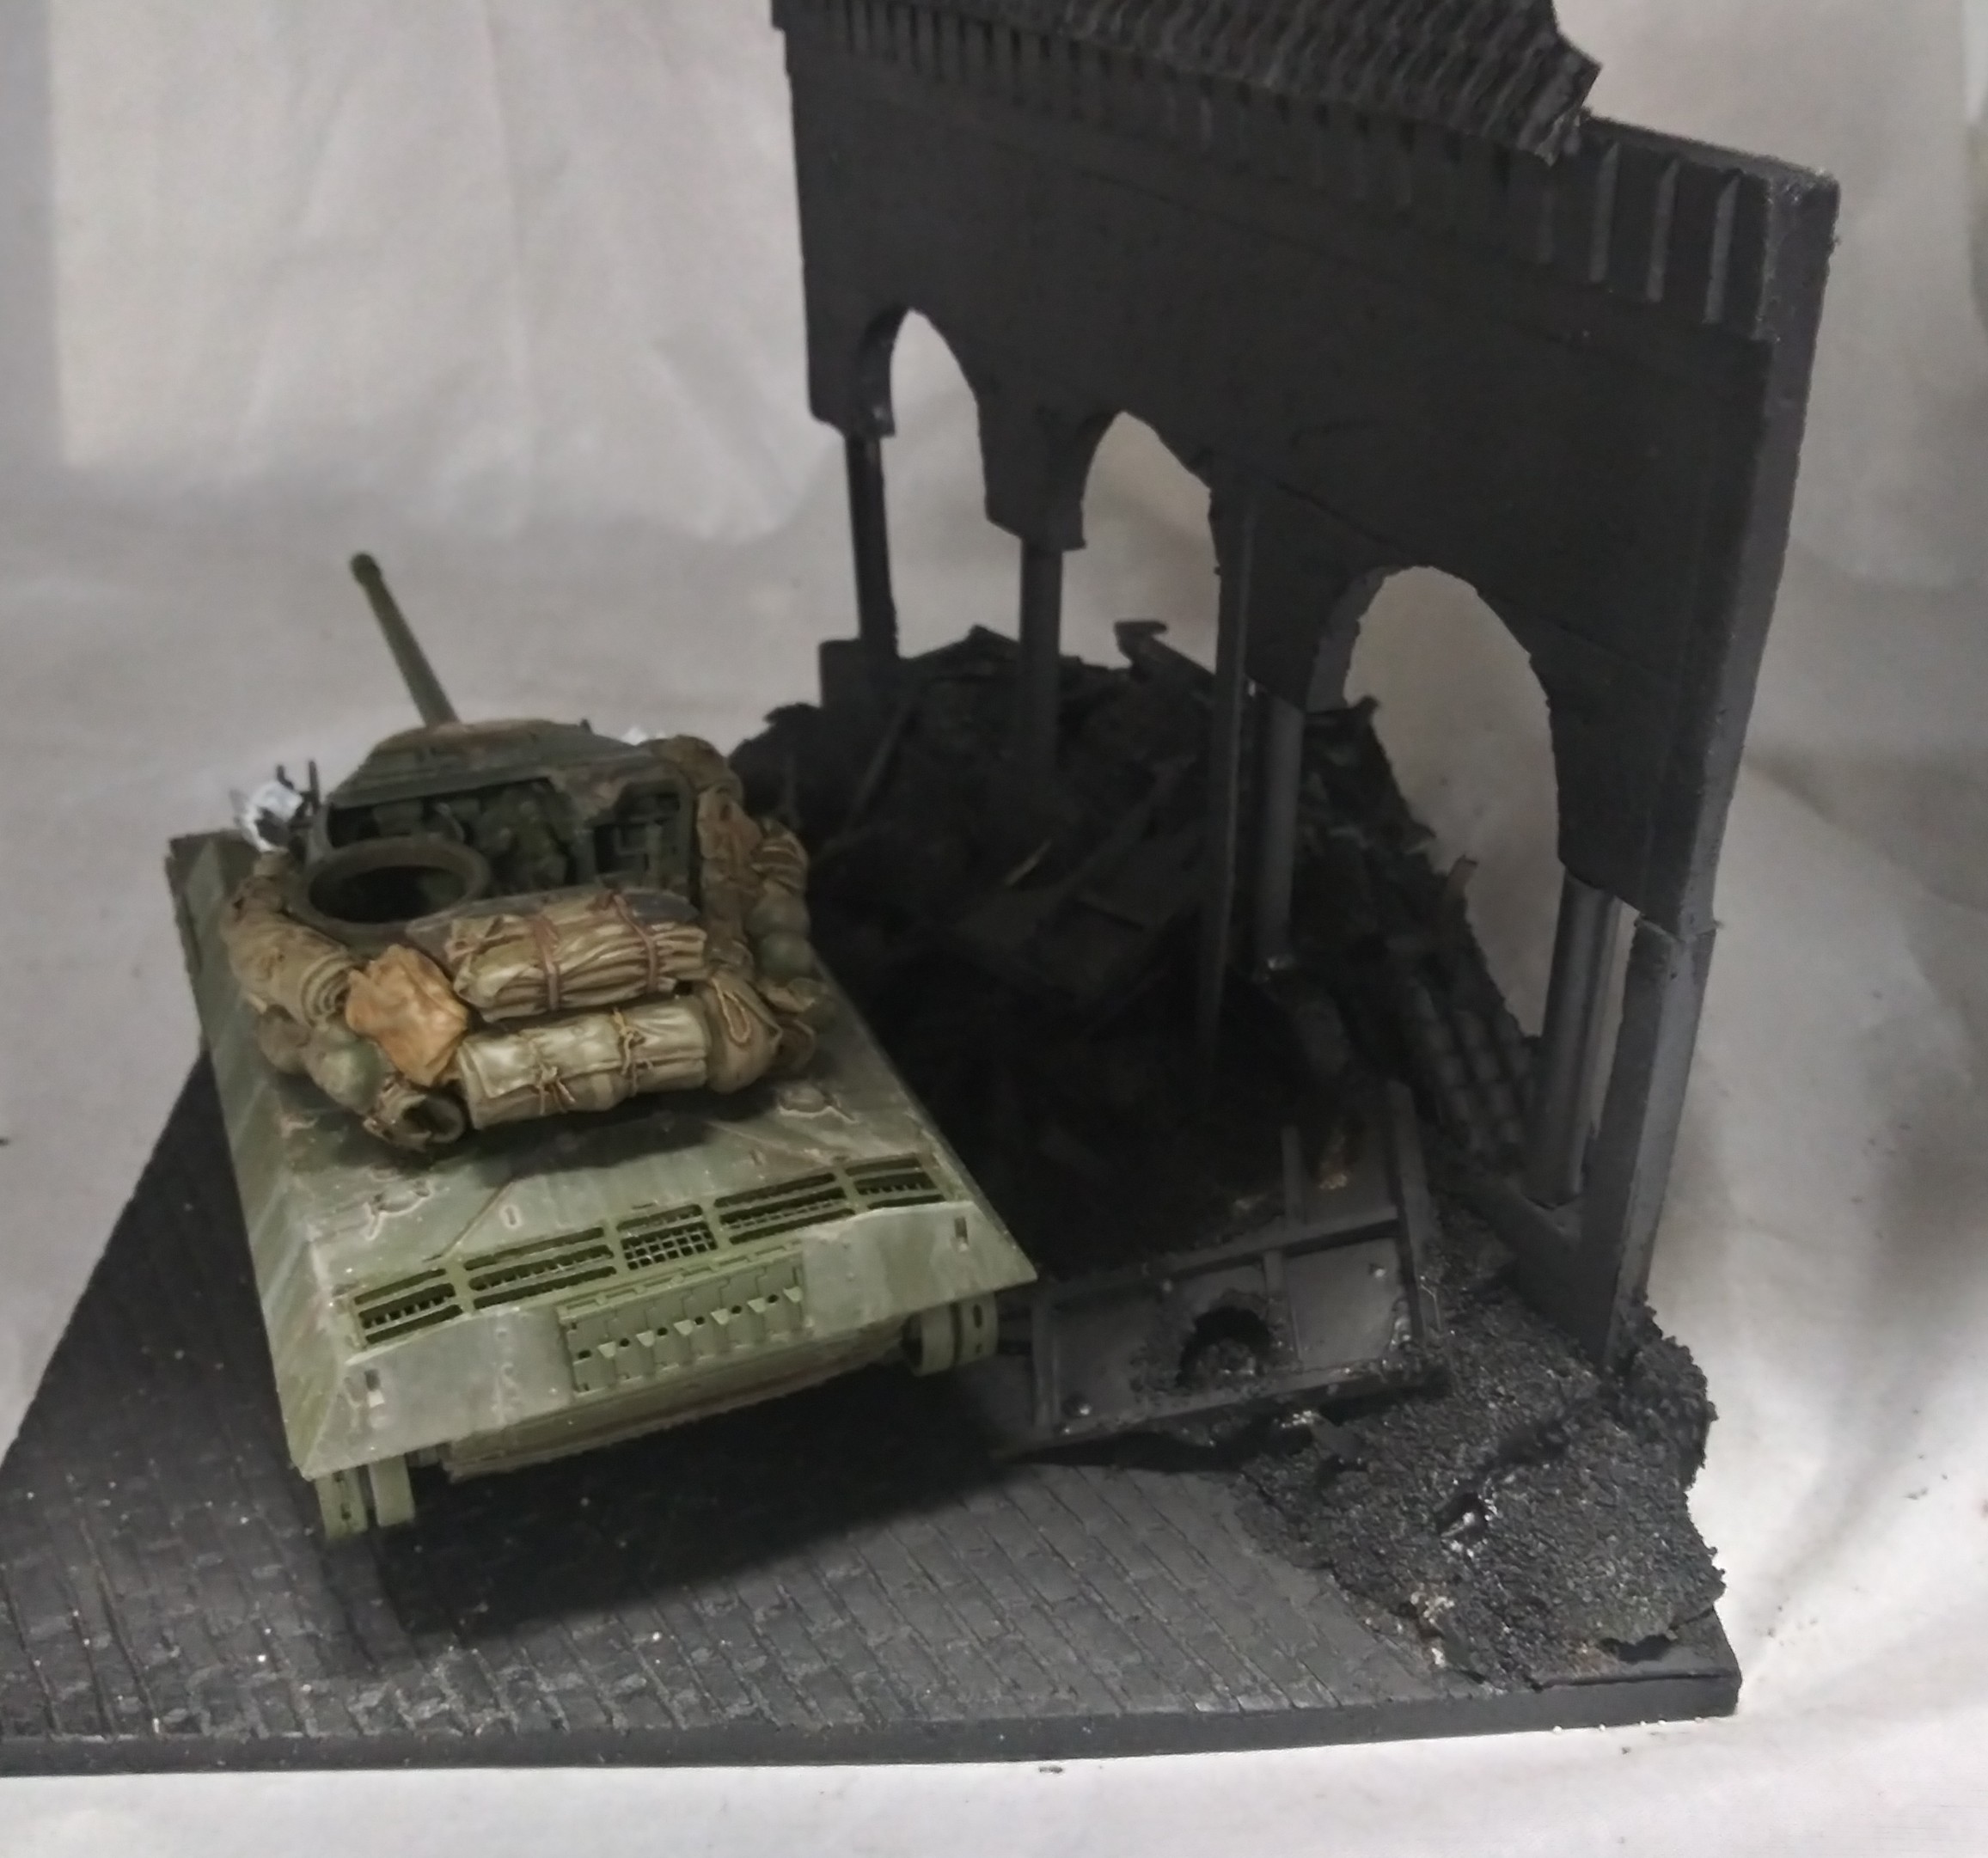
Following the larger pieces of debris , the next step is a light layer of white glue and that is sprinkled on the damp glue in small areas at a time . At this point complete coverage is not the goal .
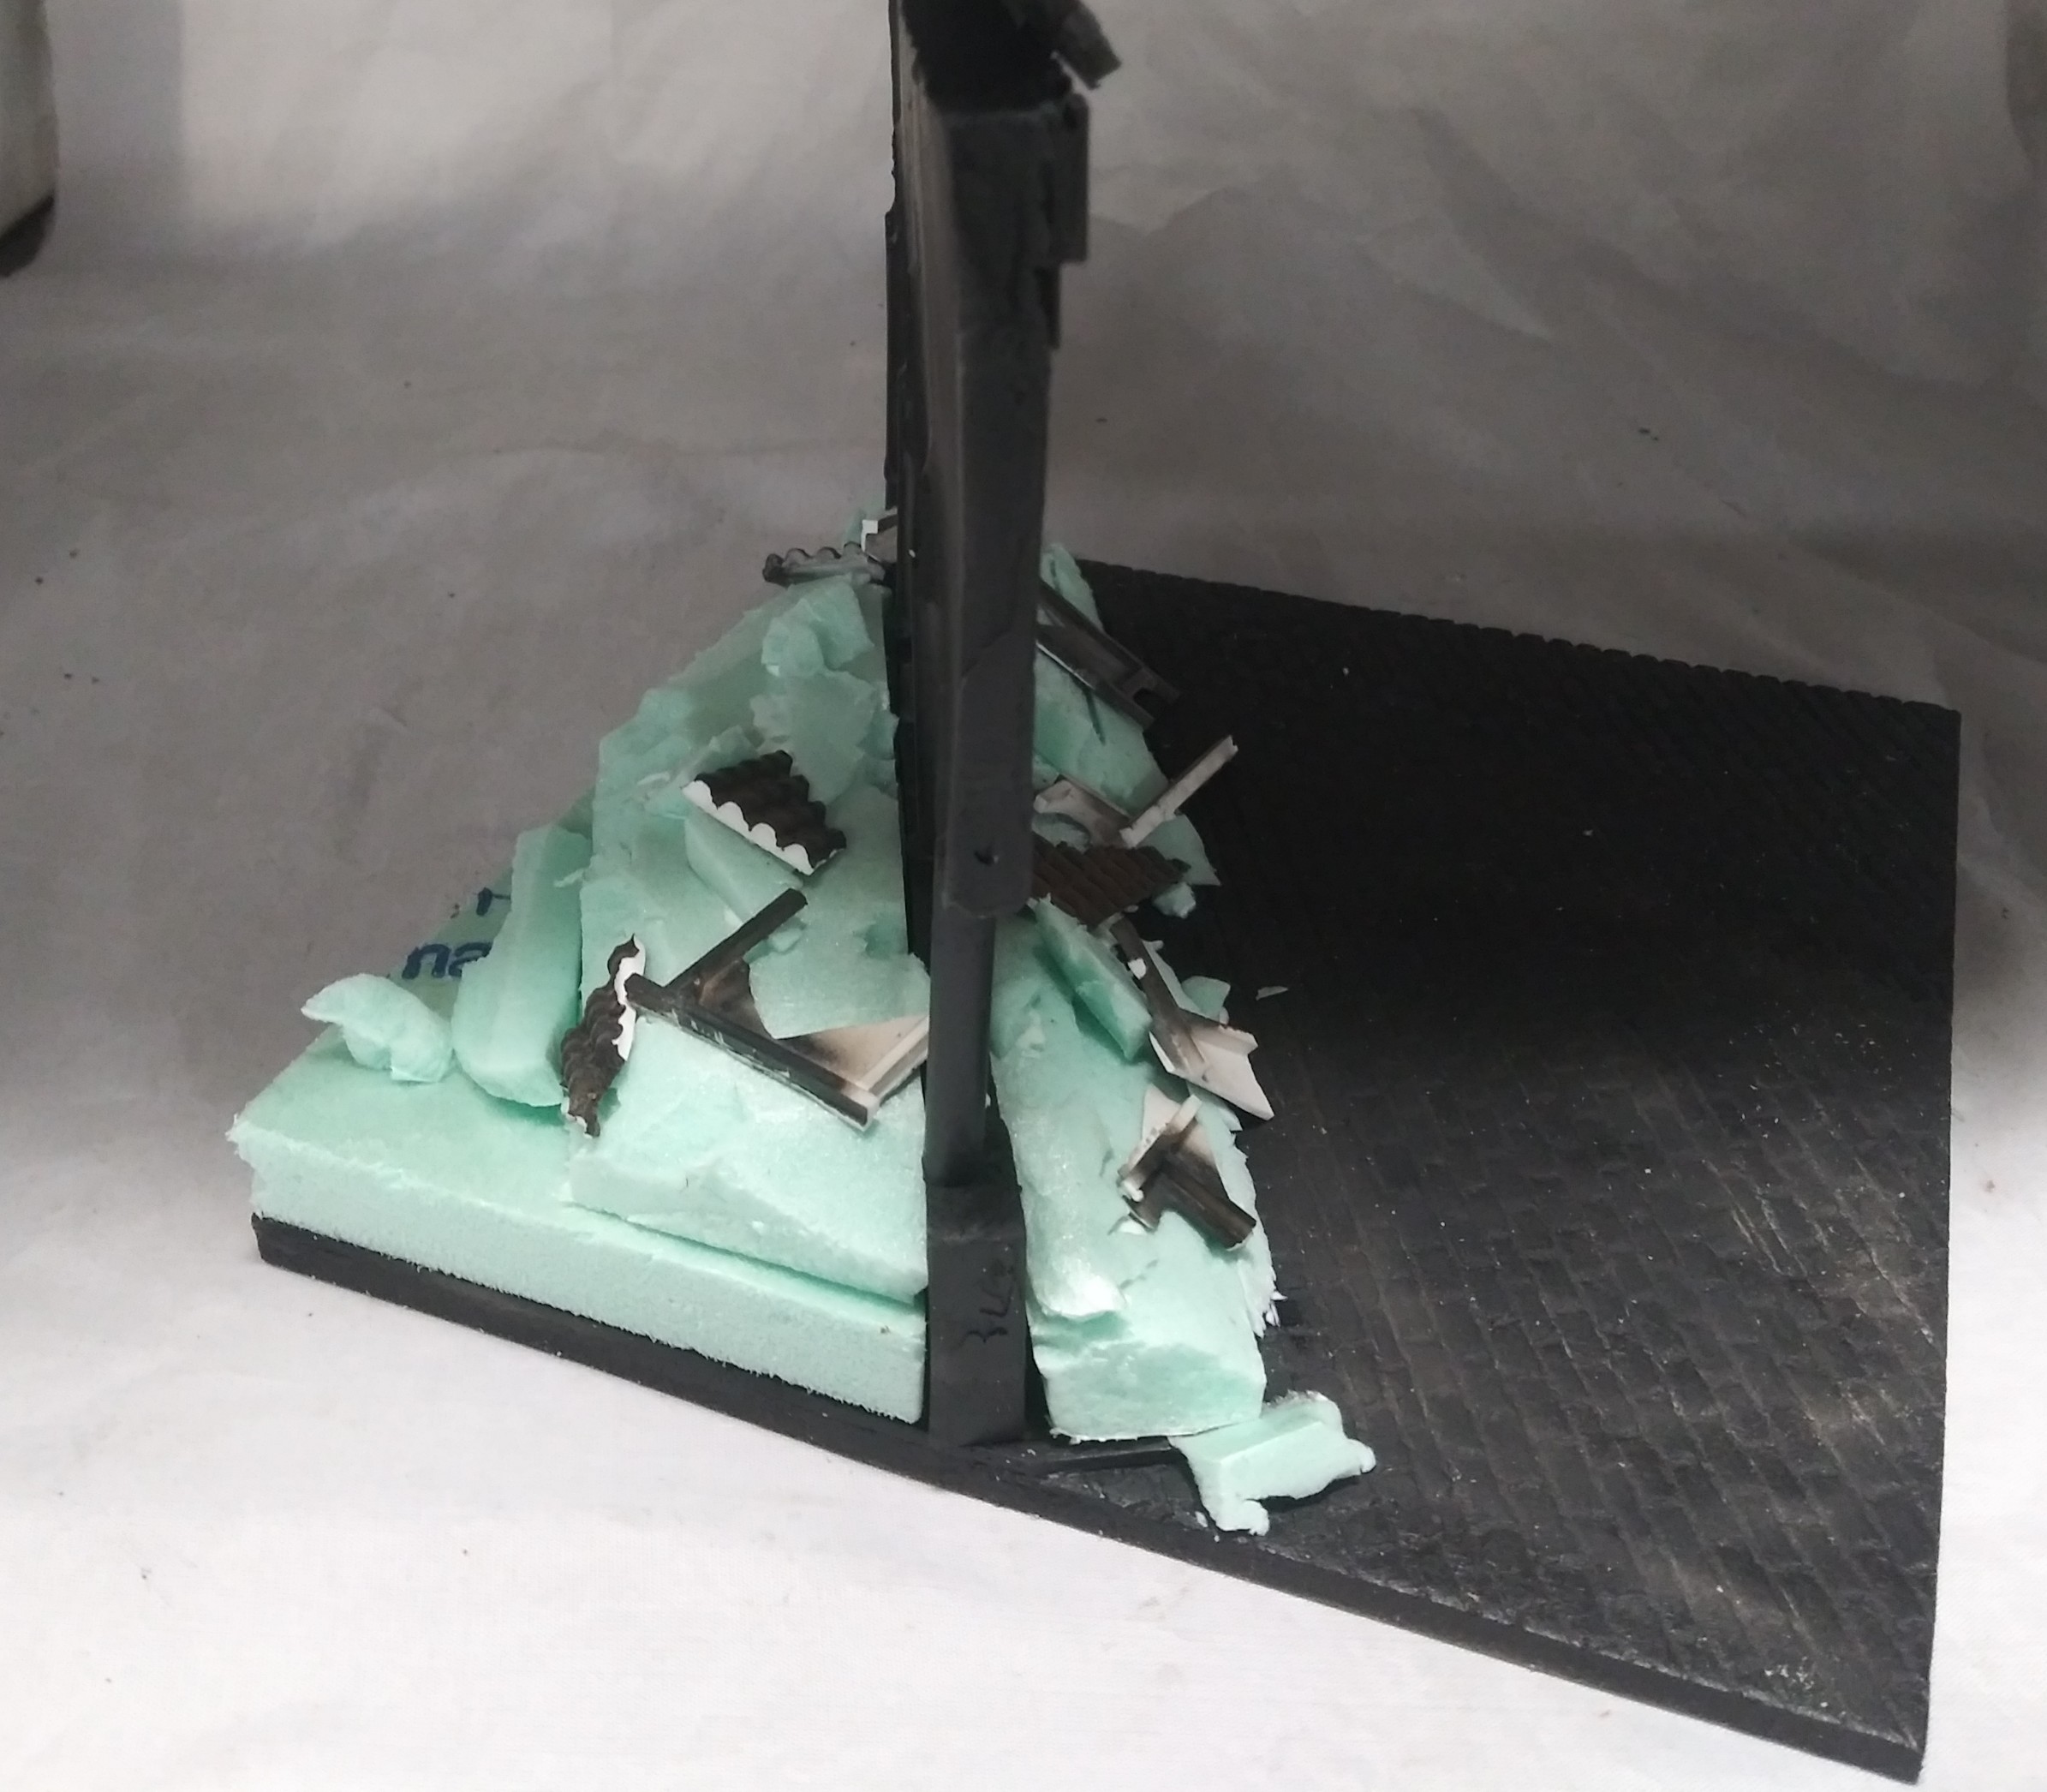
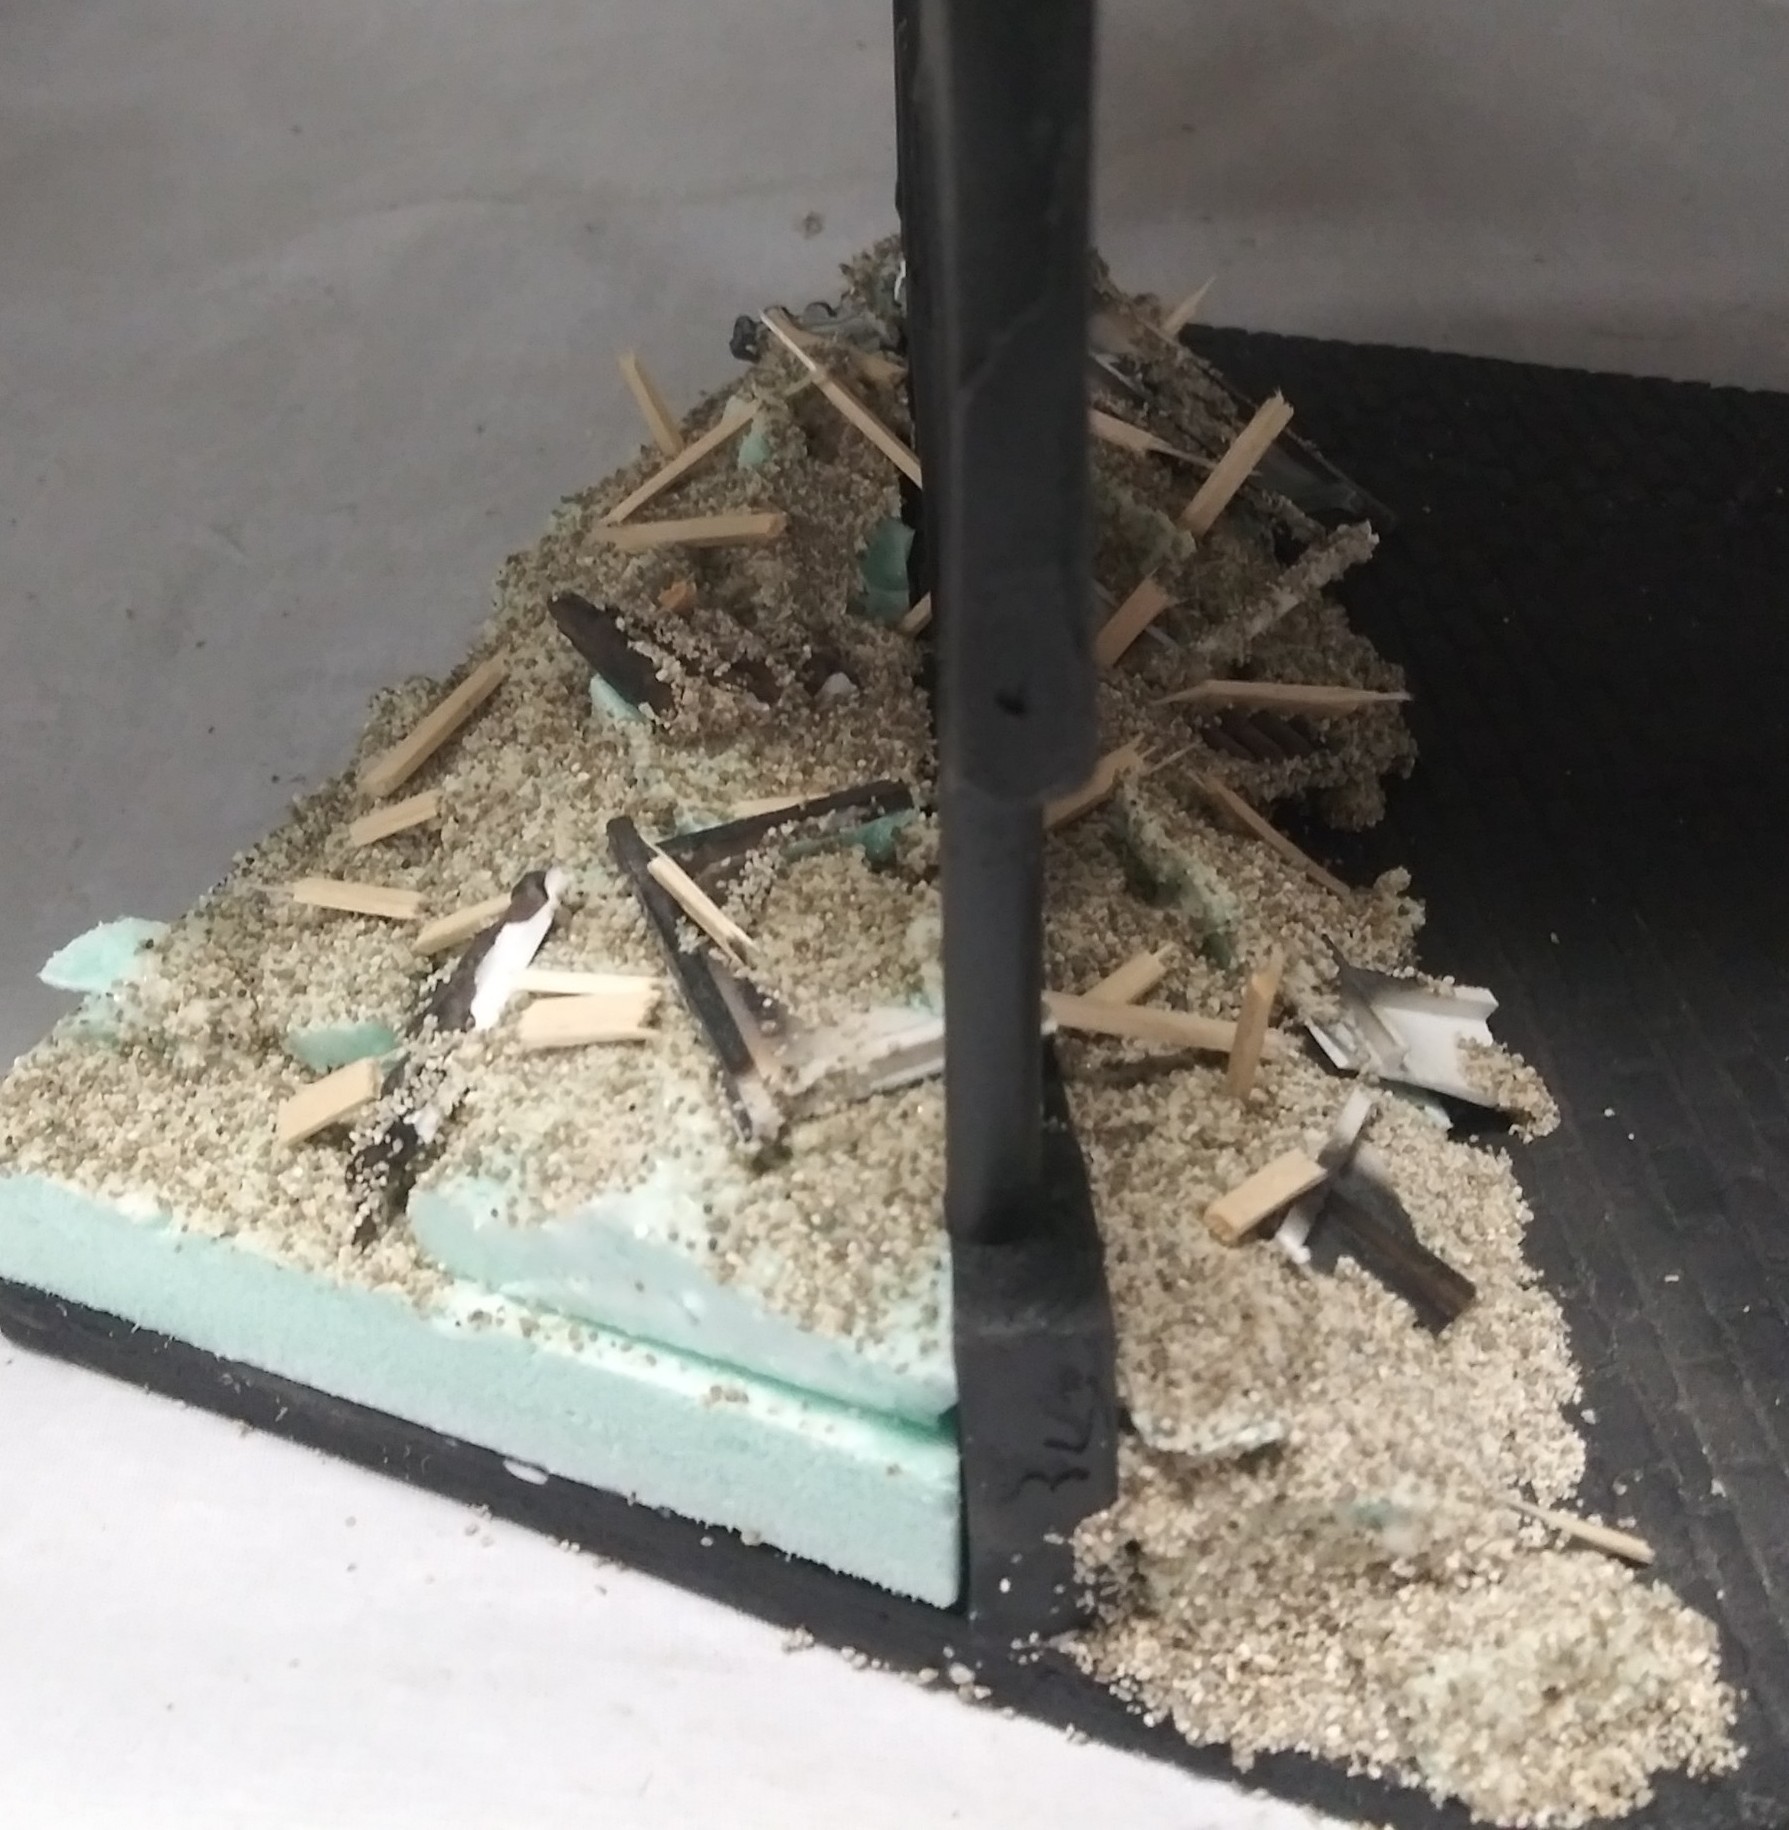
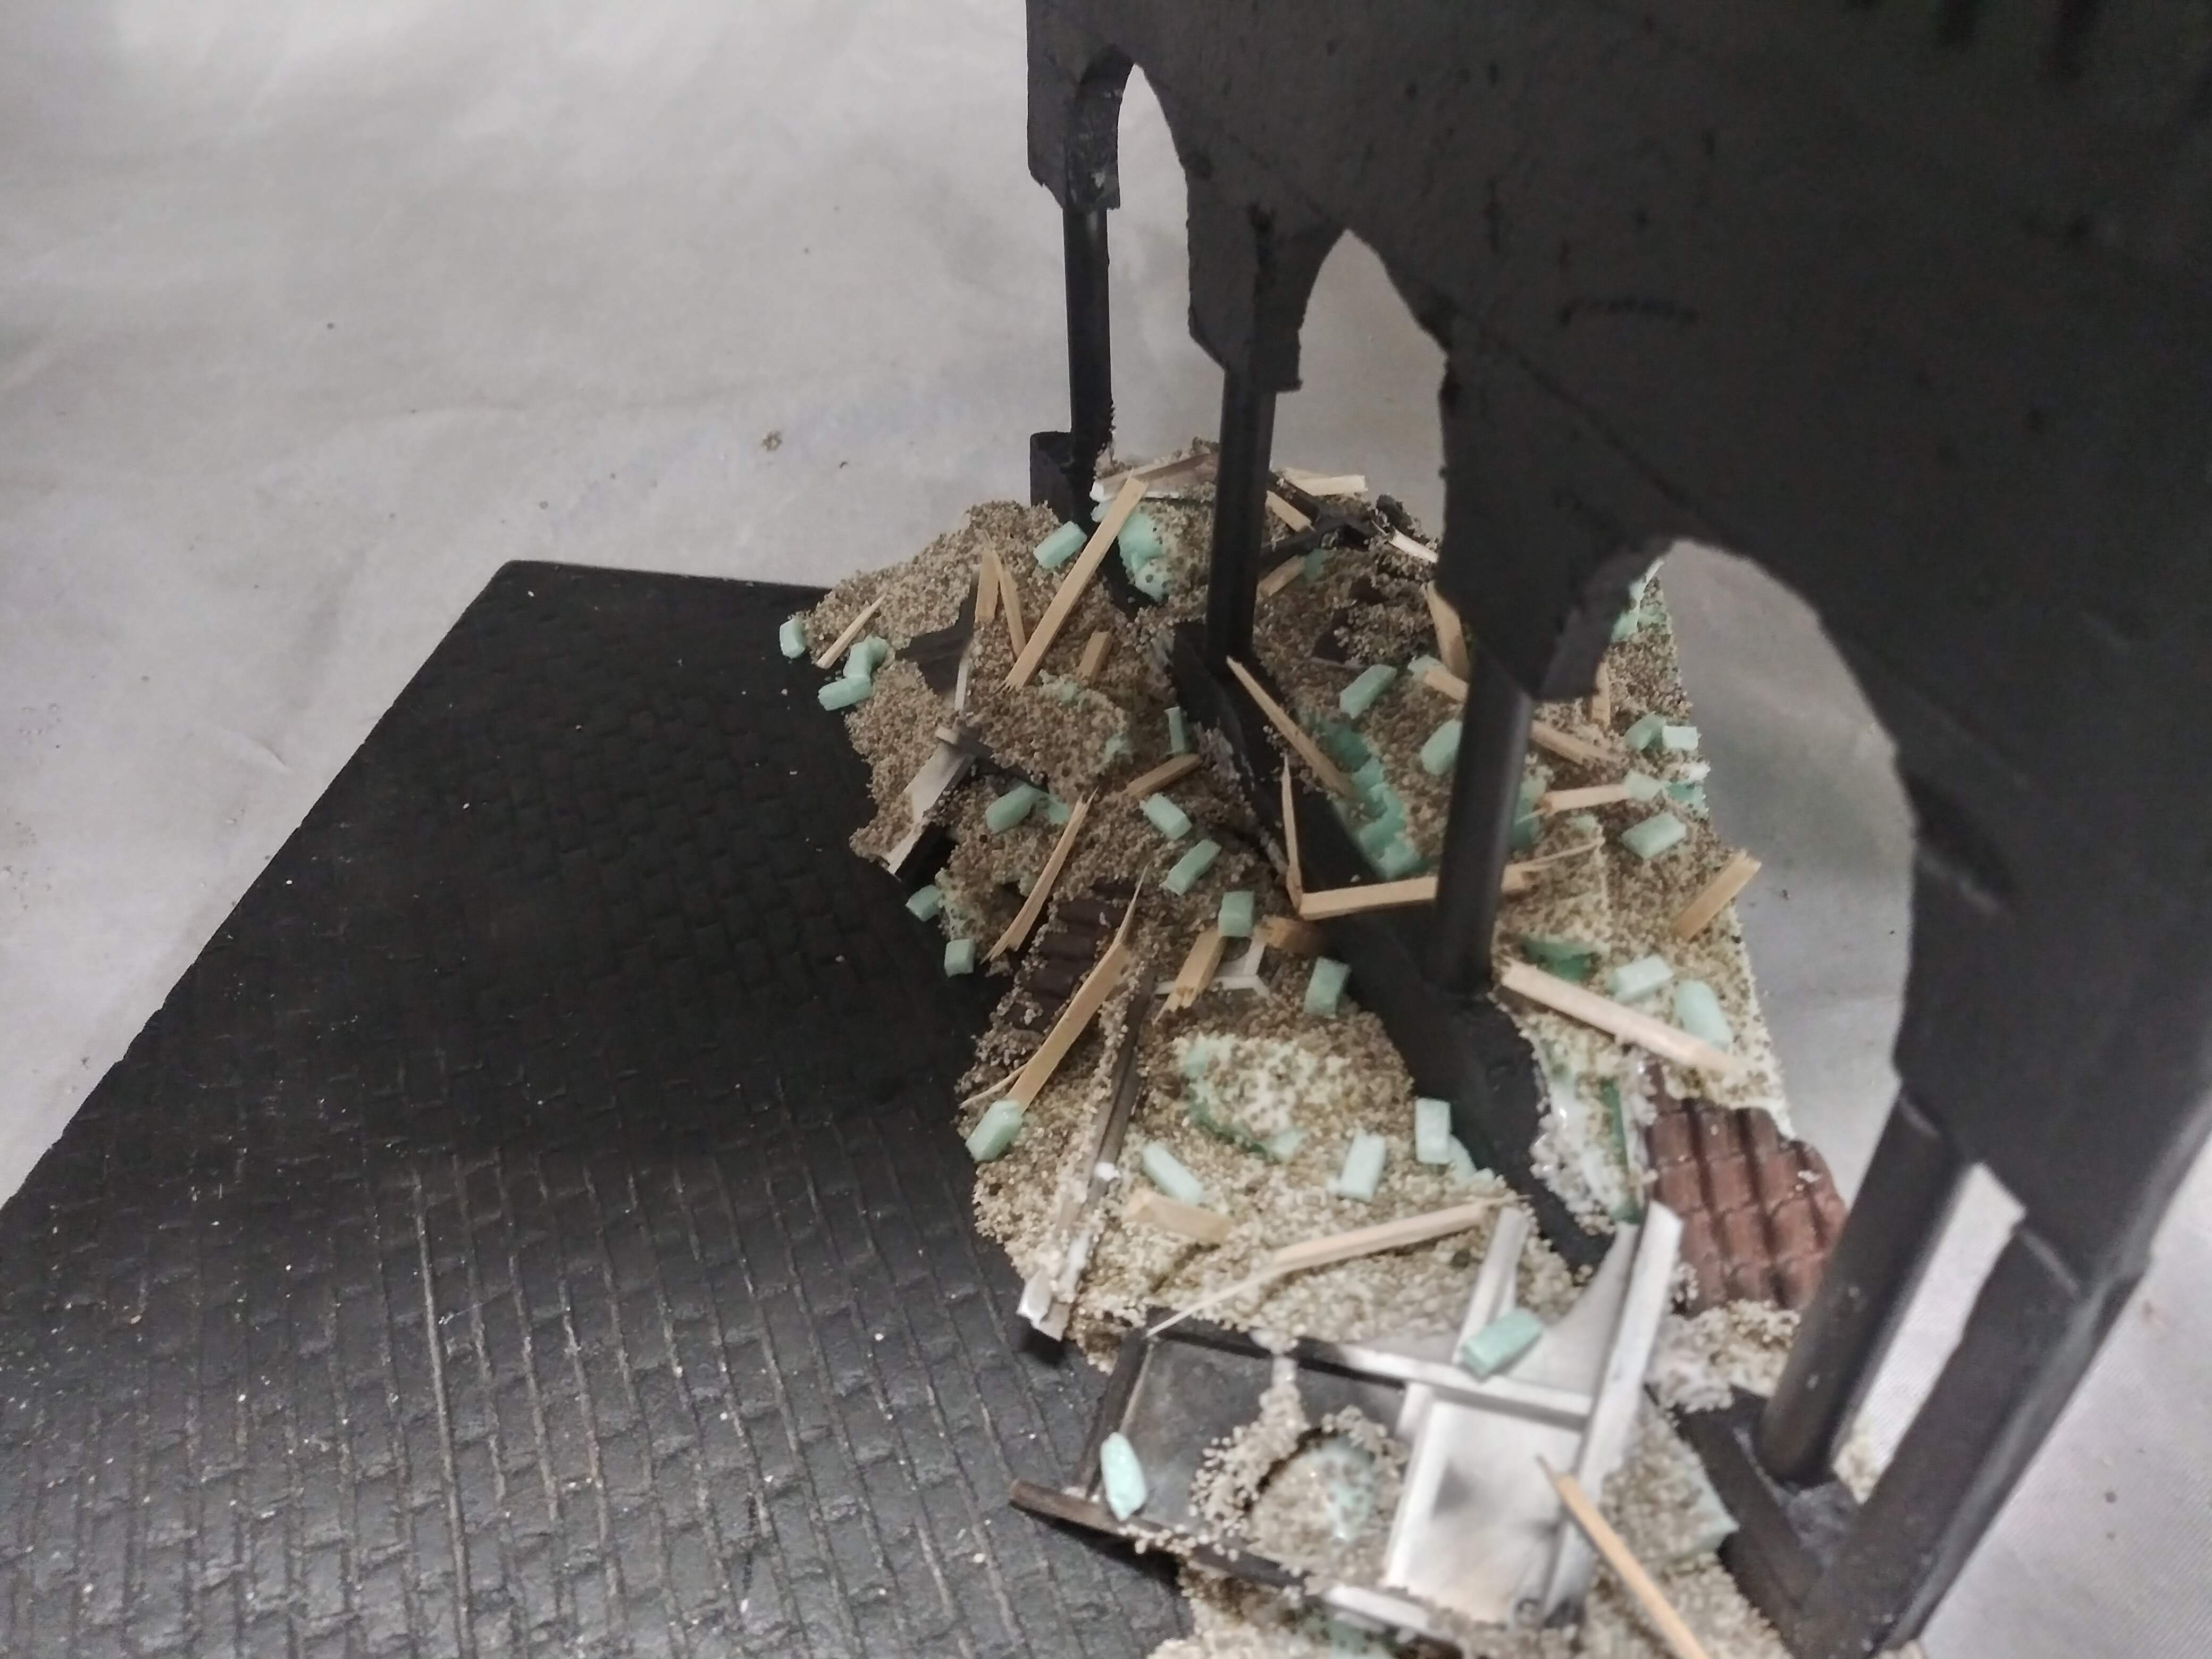
Once the tallus is in place for the smaller crumbled debris . I cut thin random strips of thin balsa and break this into smaller pieces , these can then be added while making sure to keep the placement random.
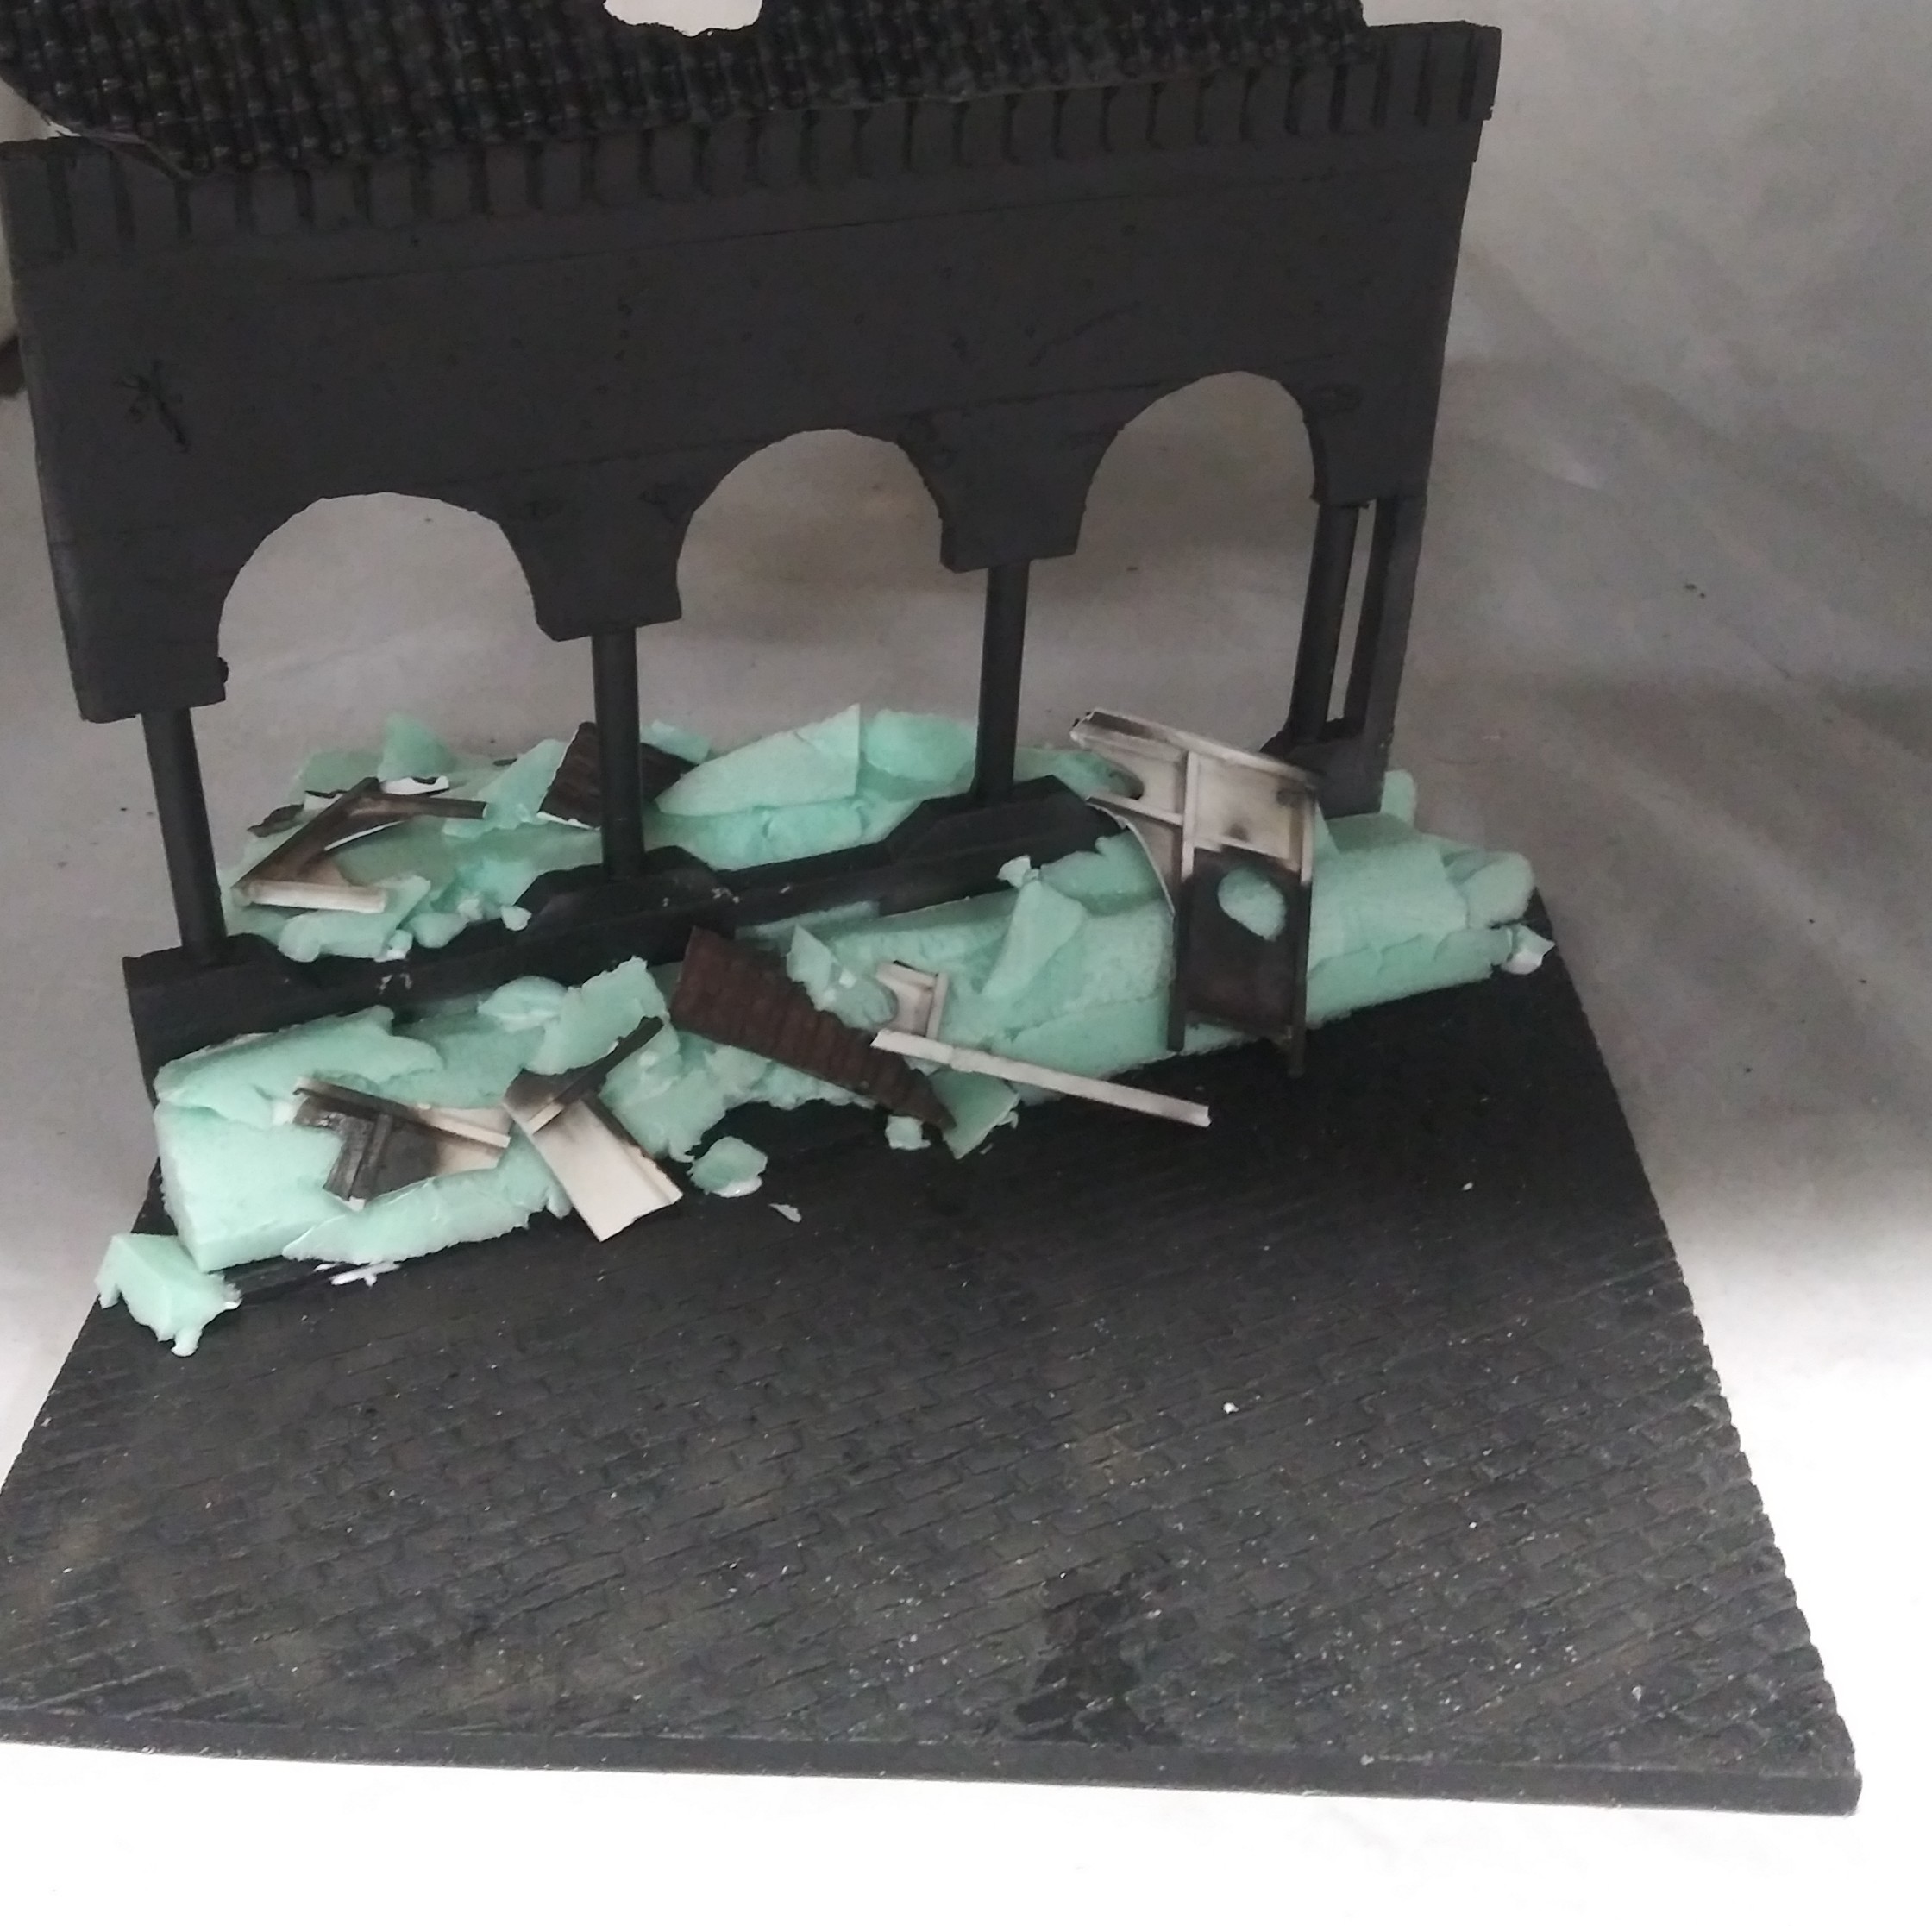
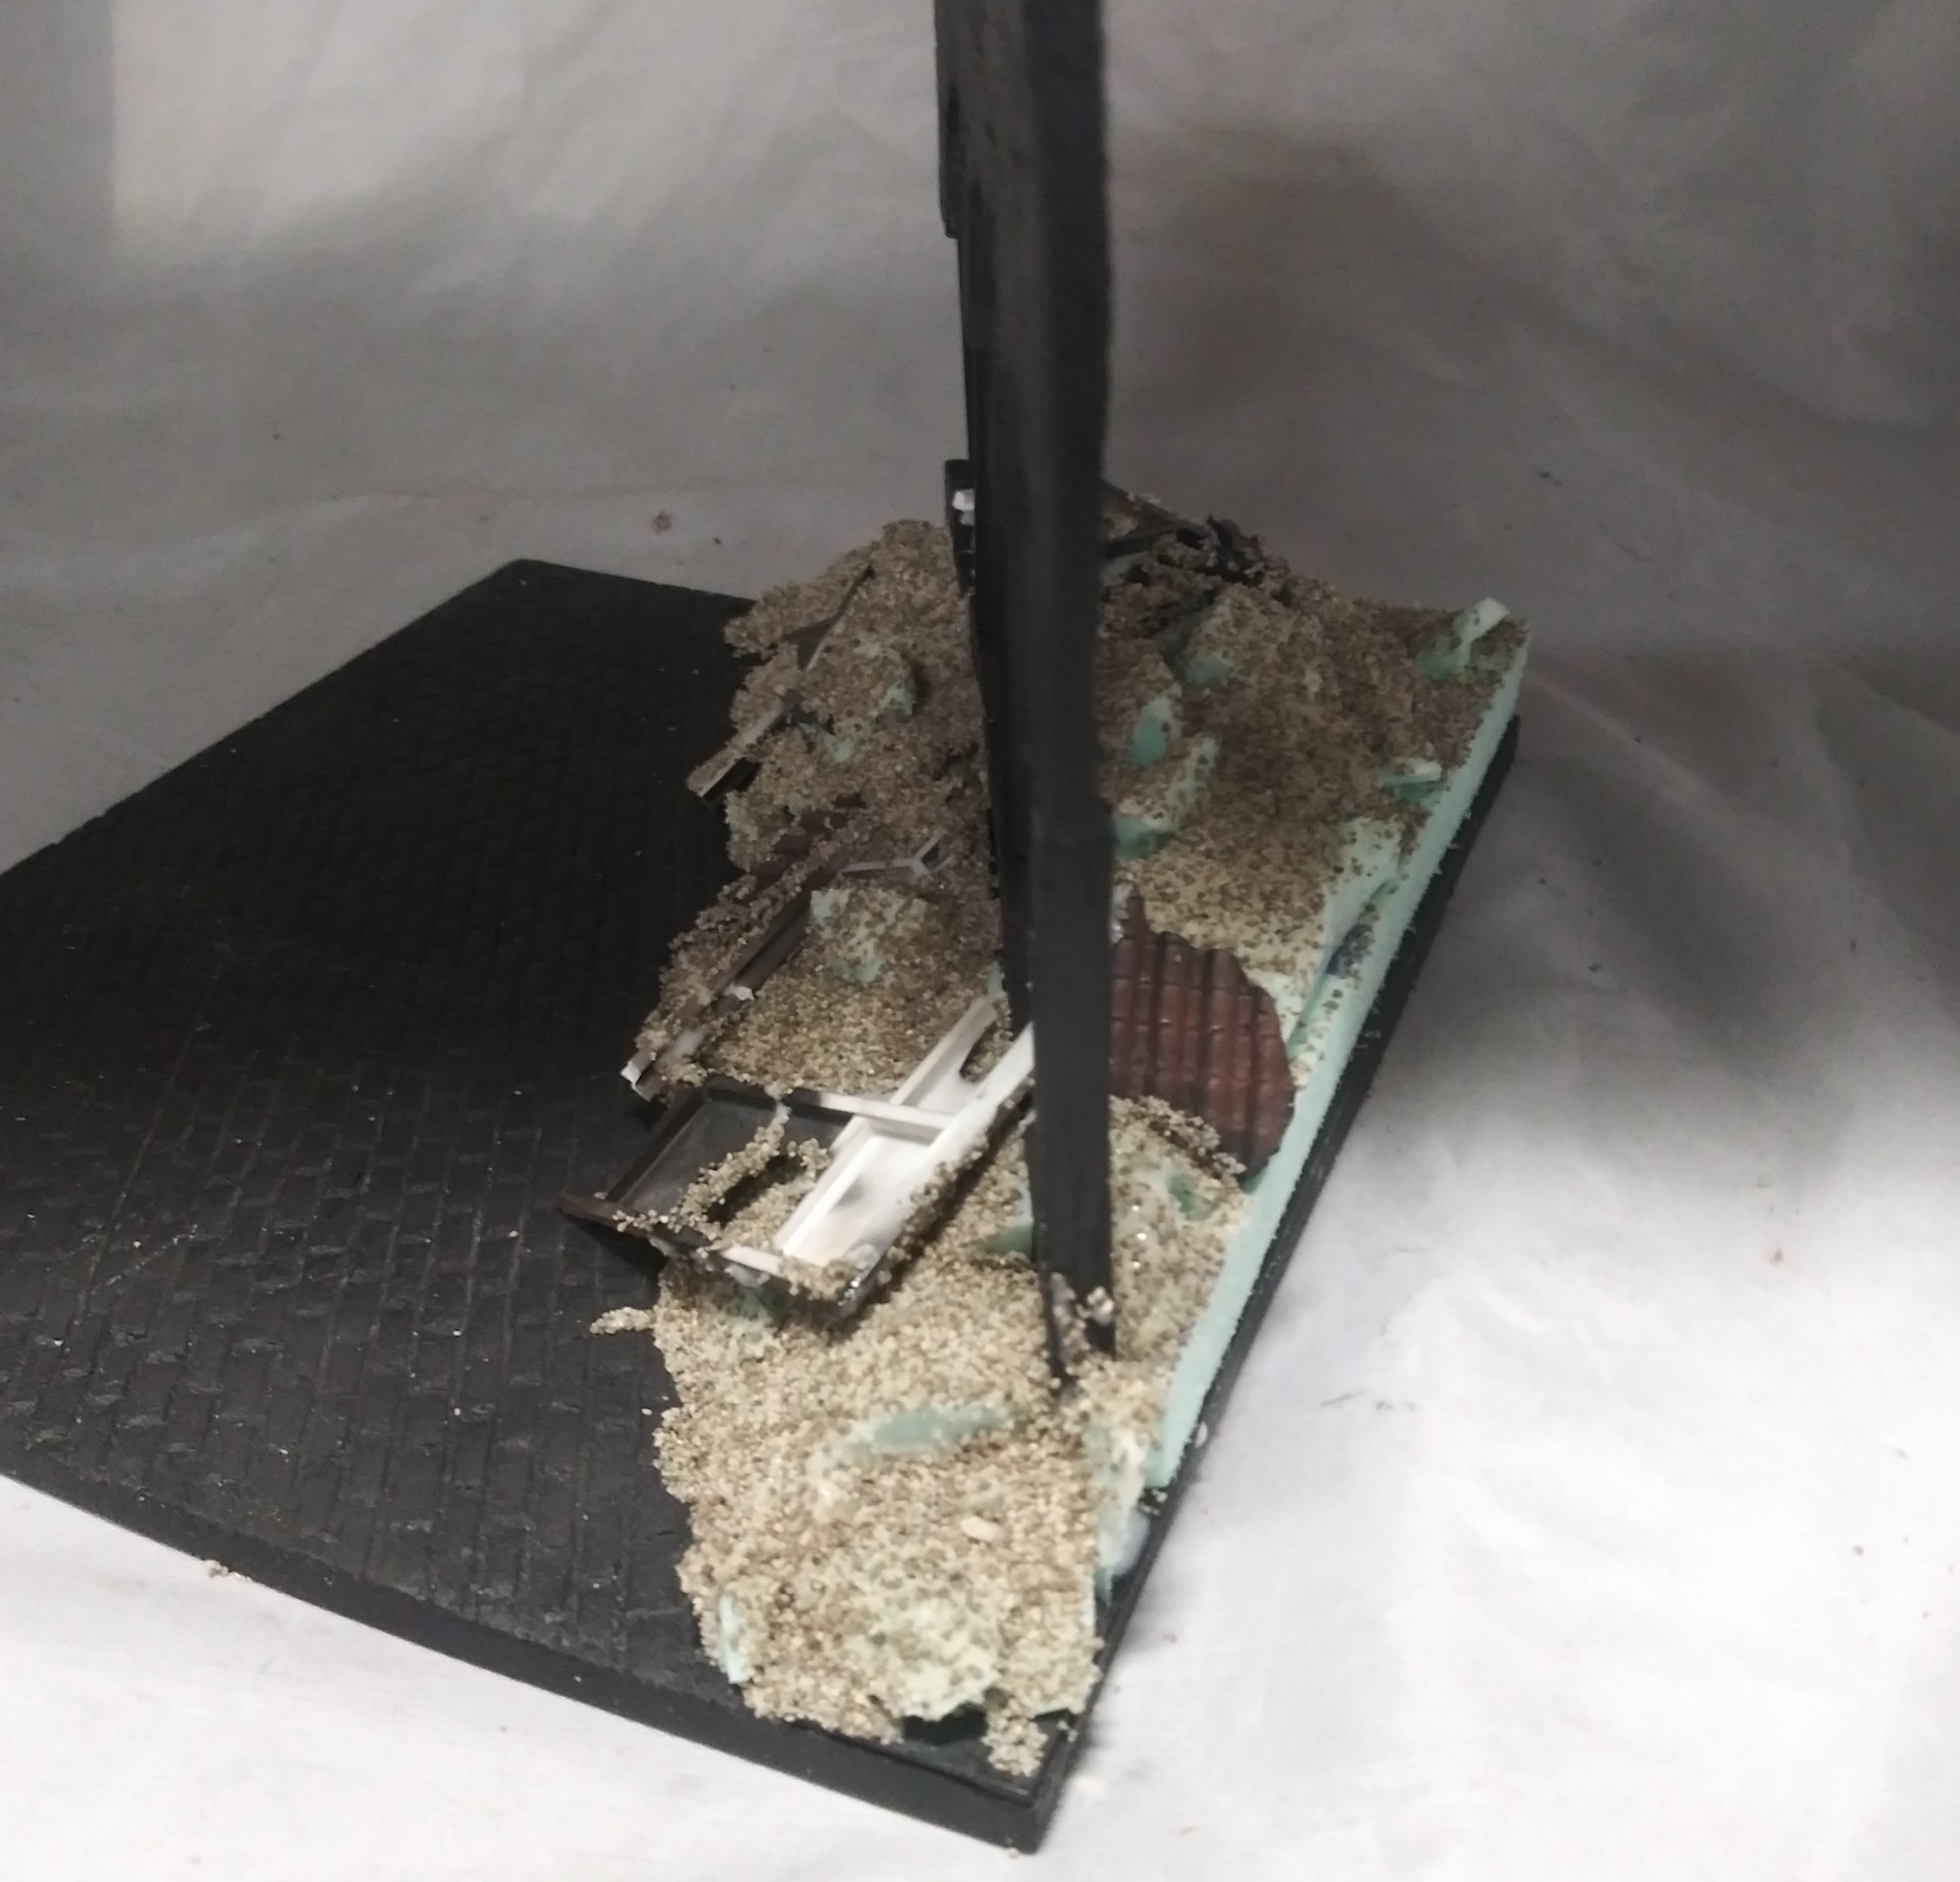
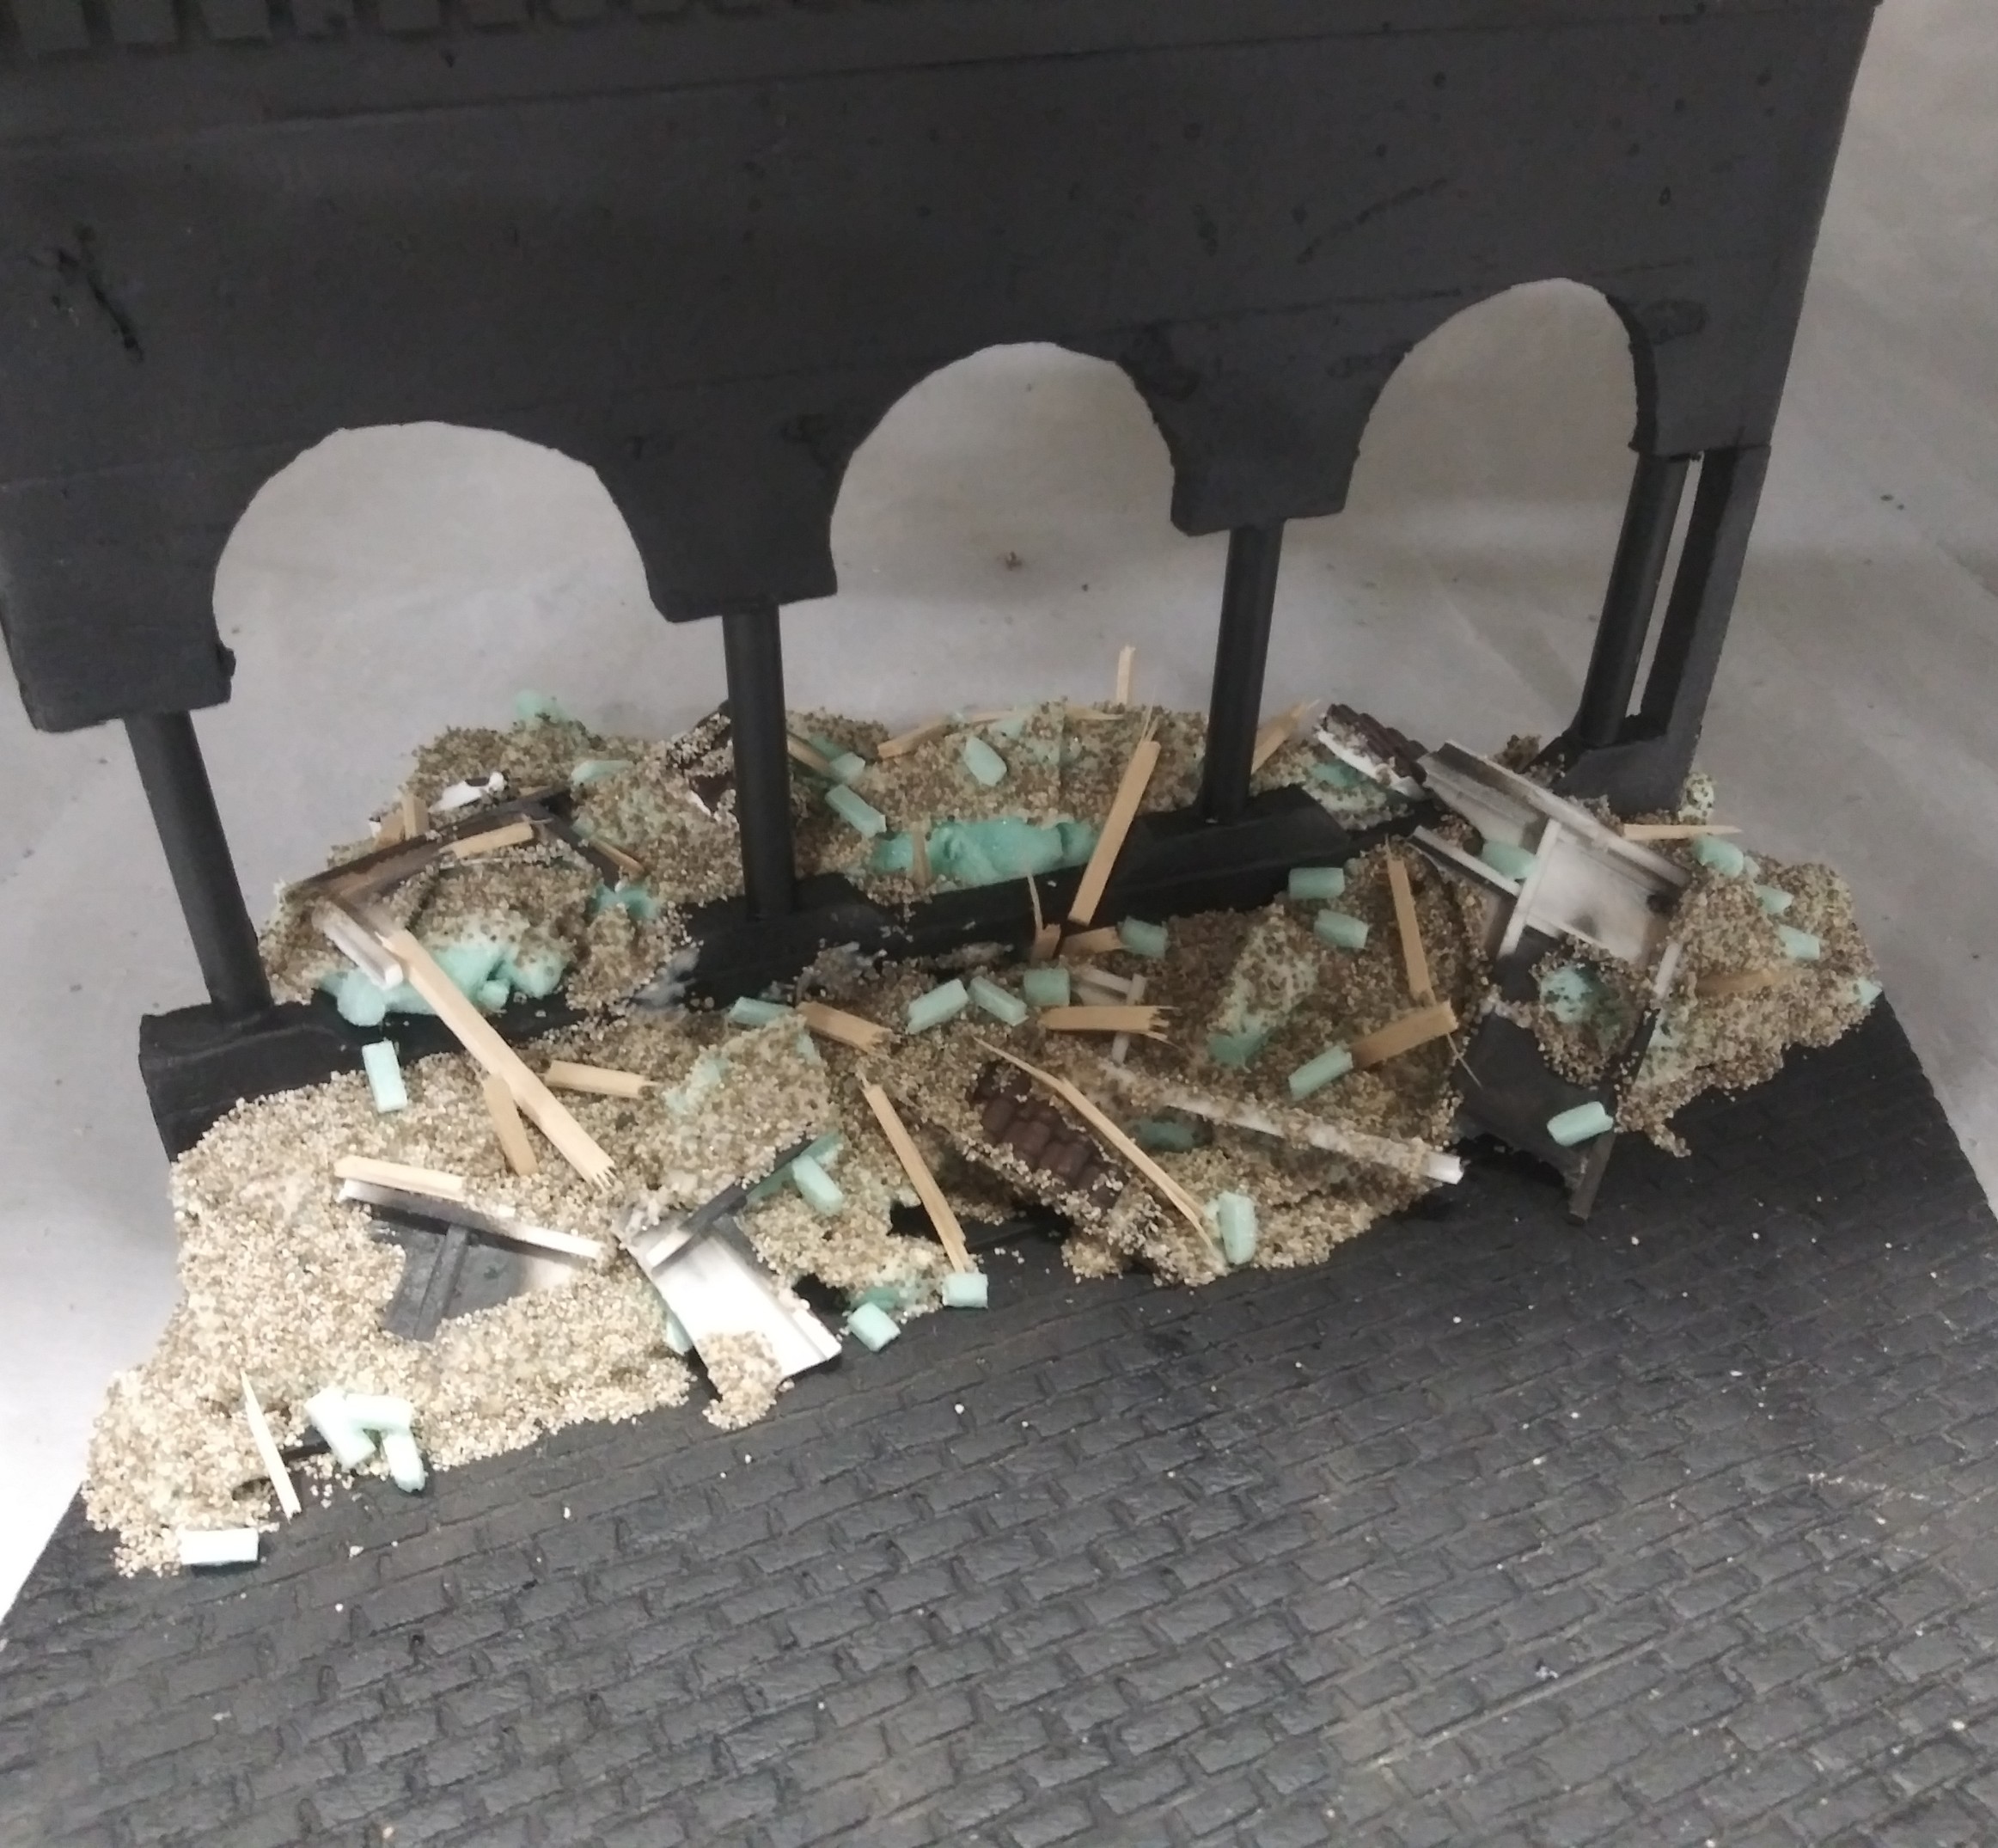
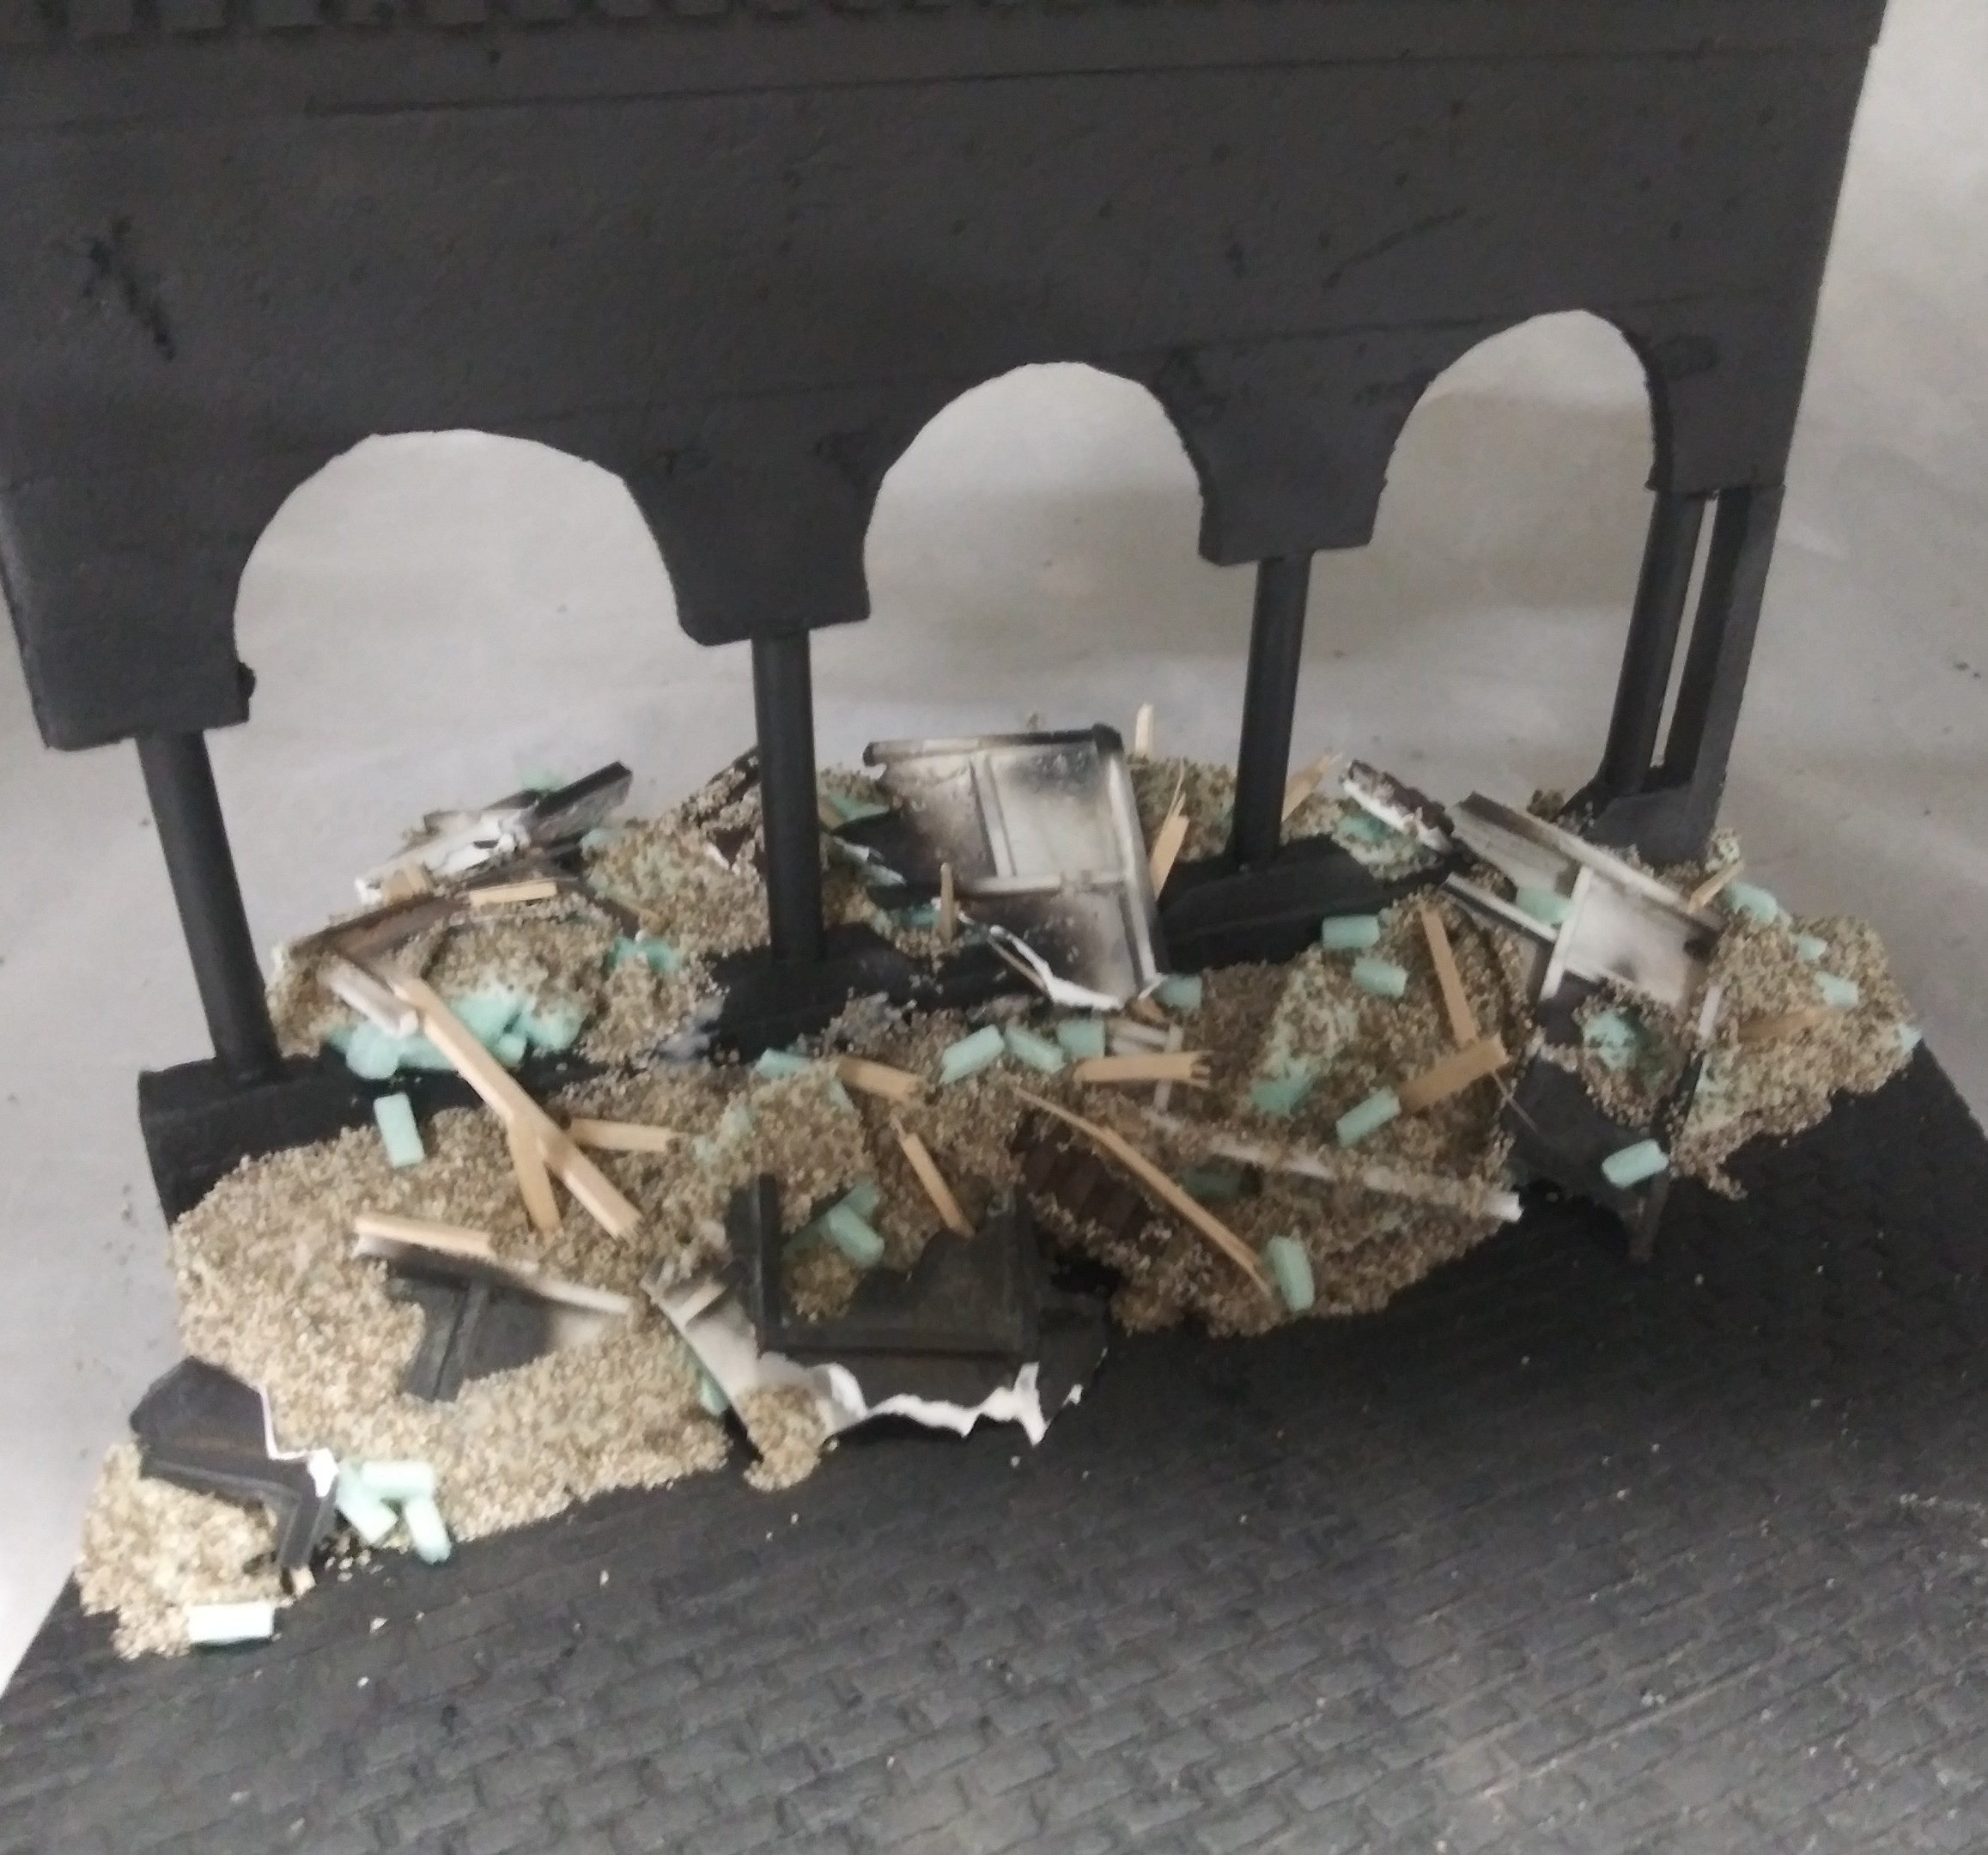
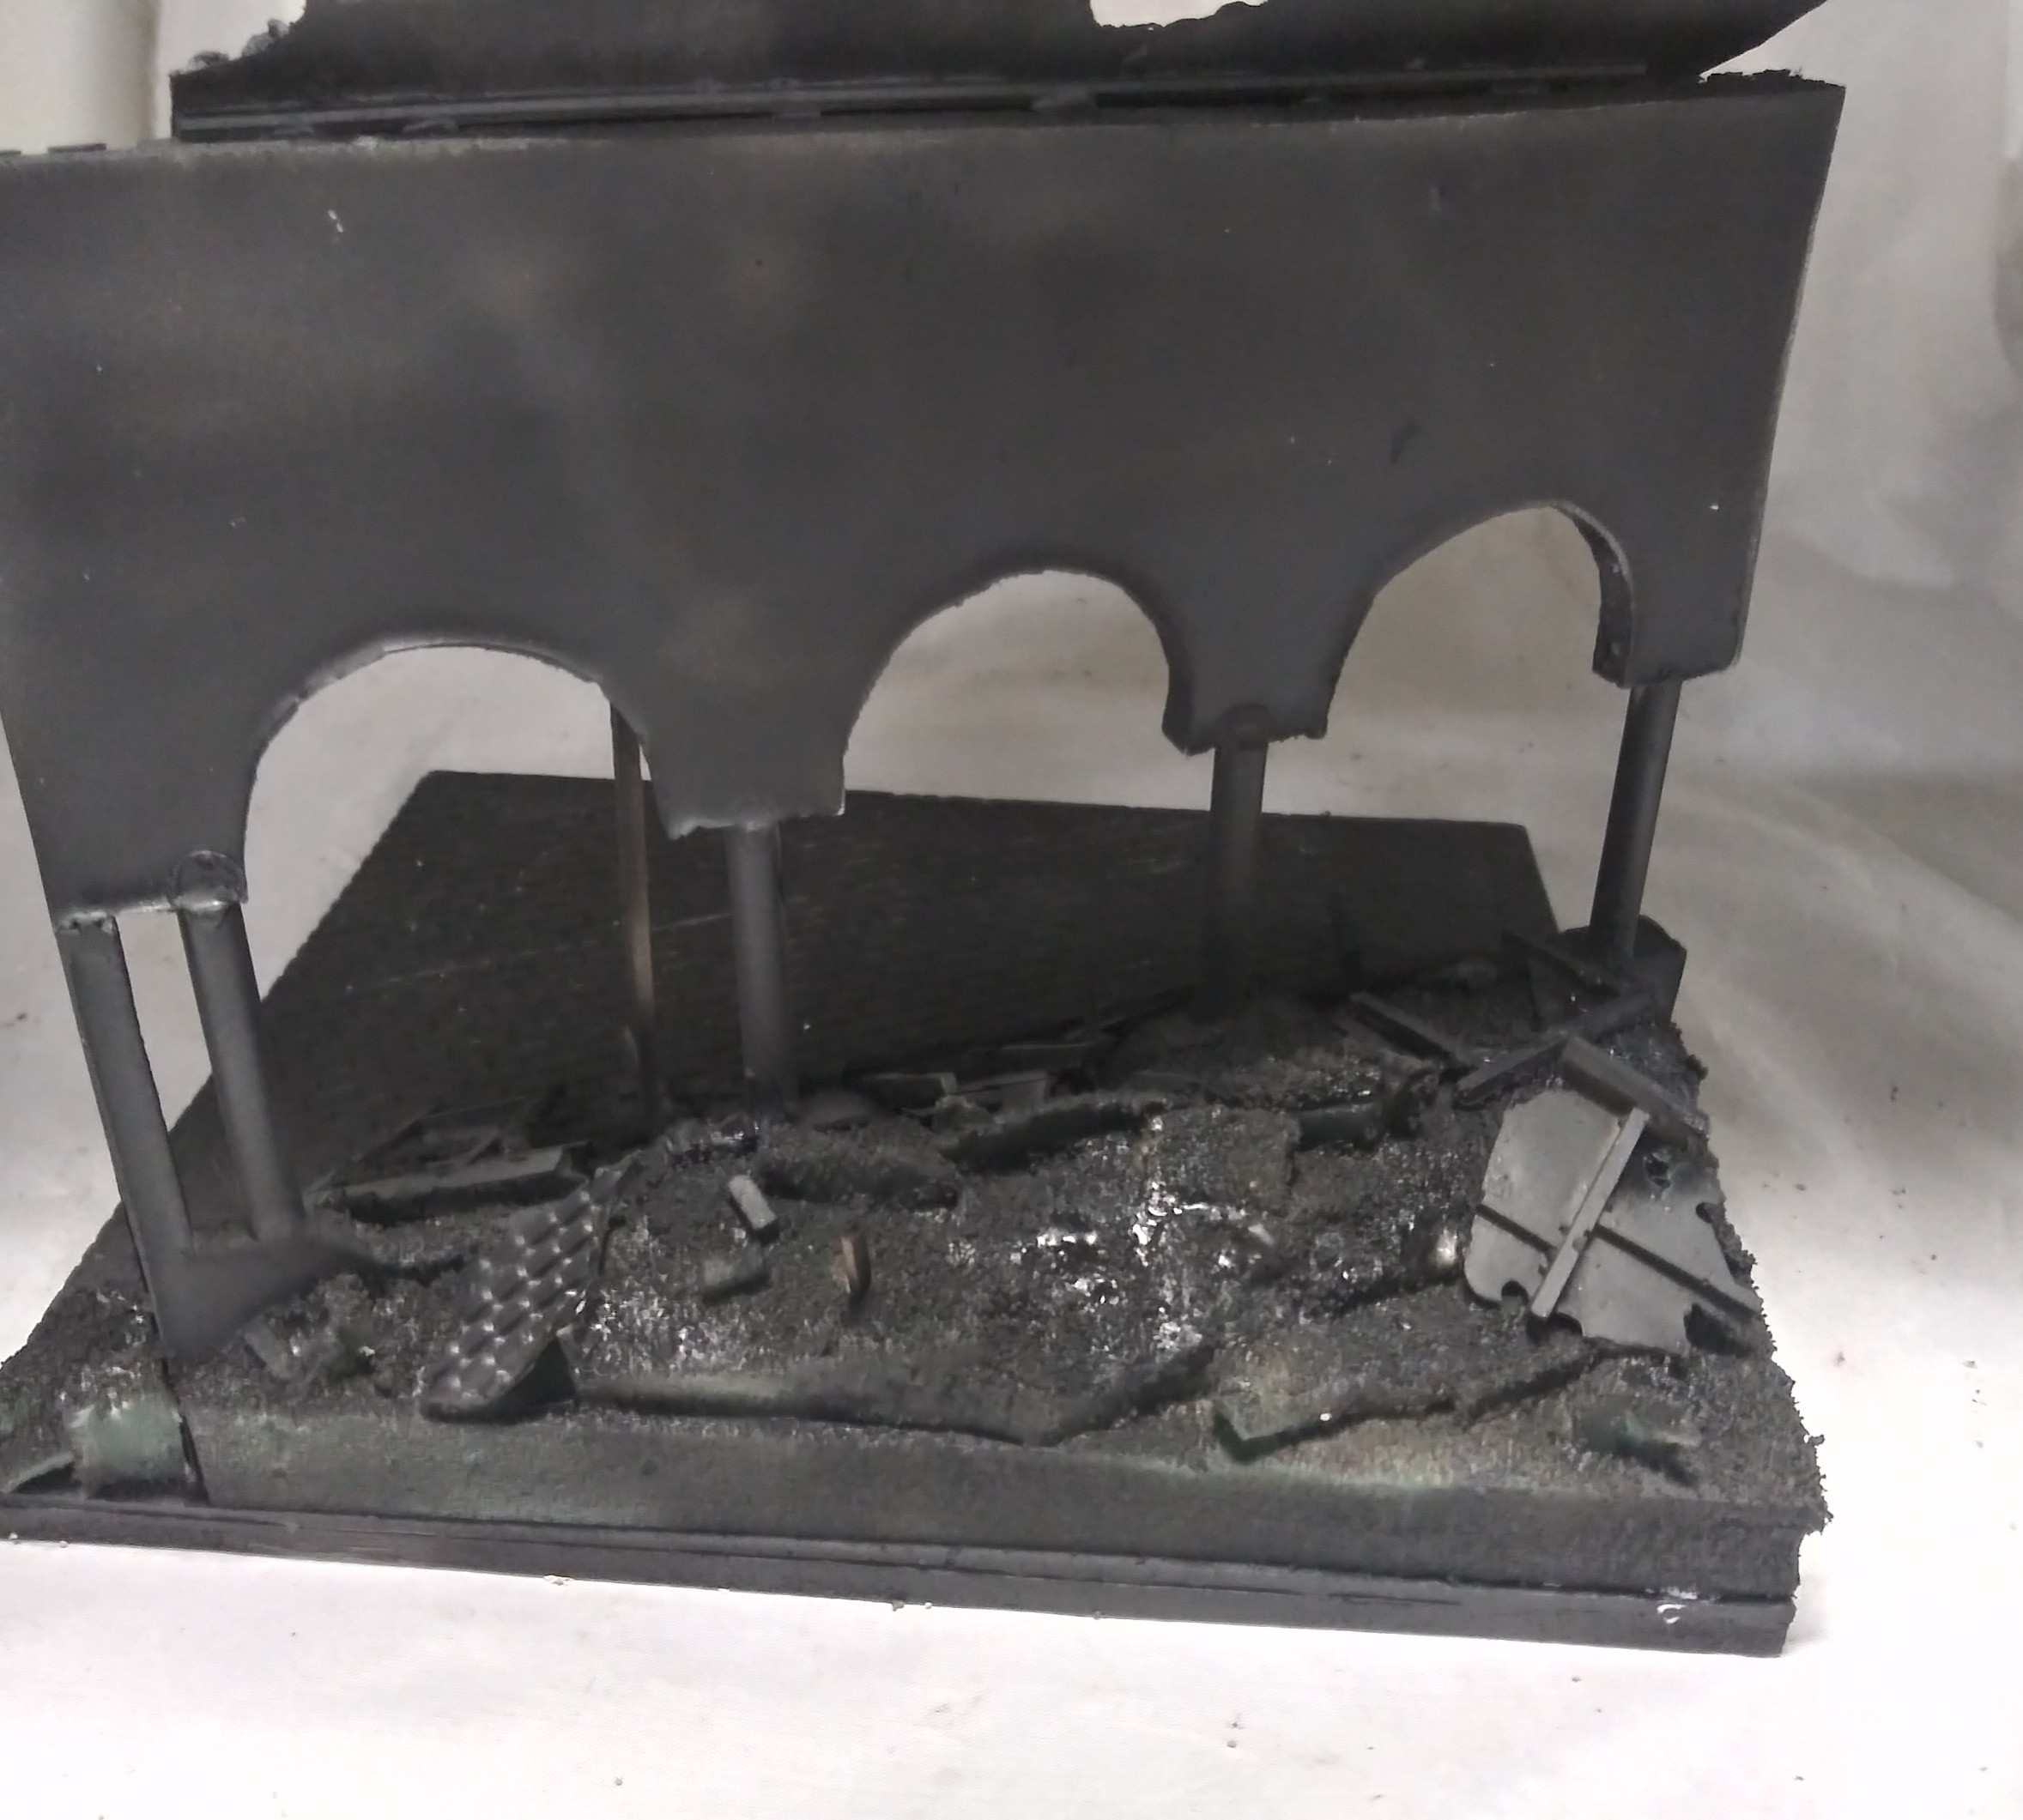
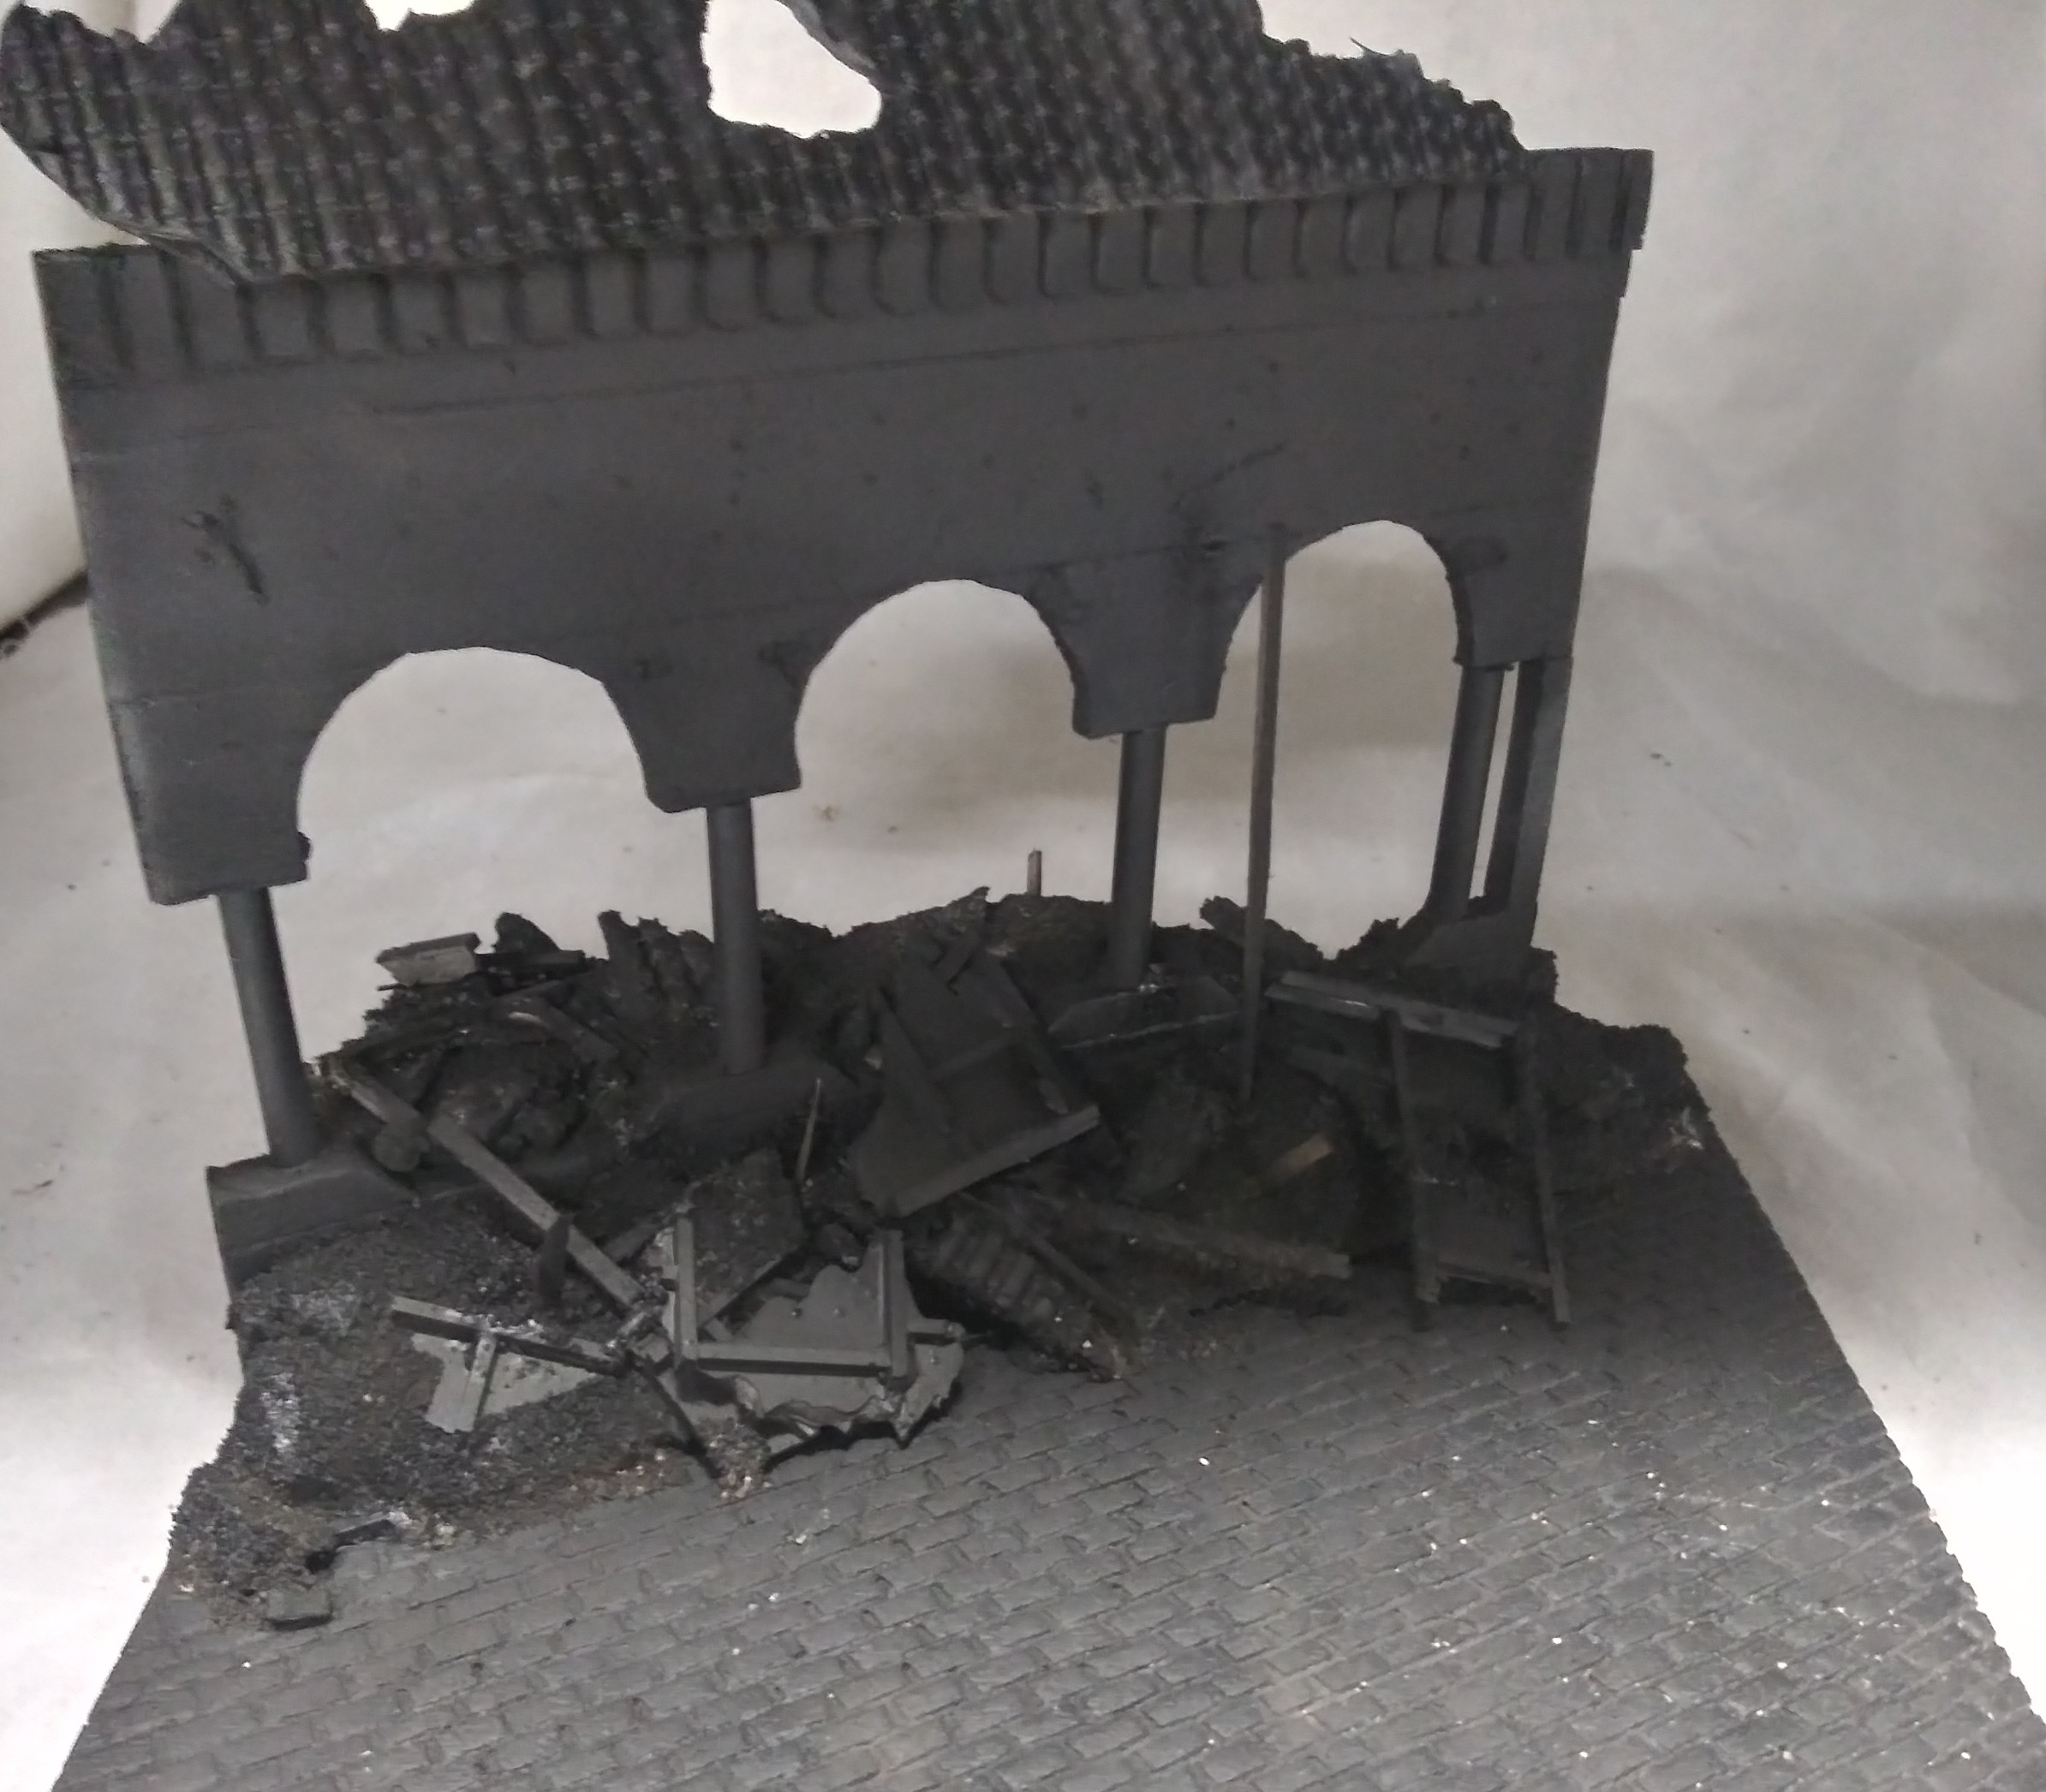
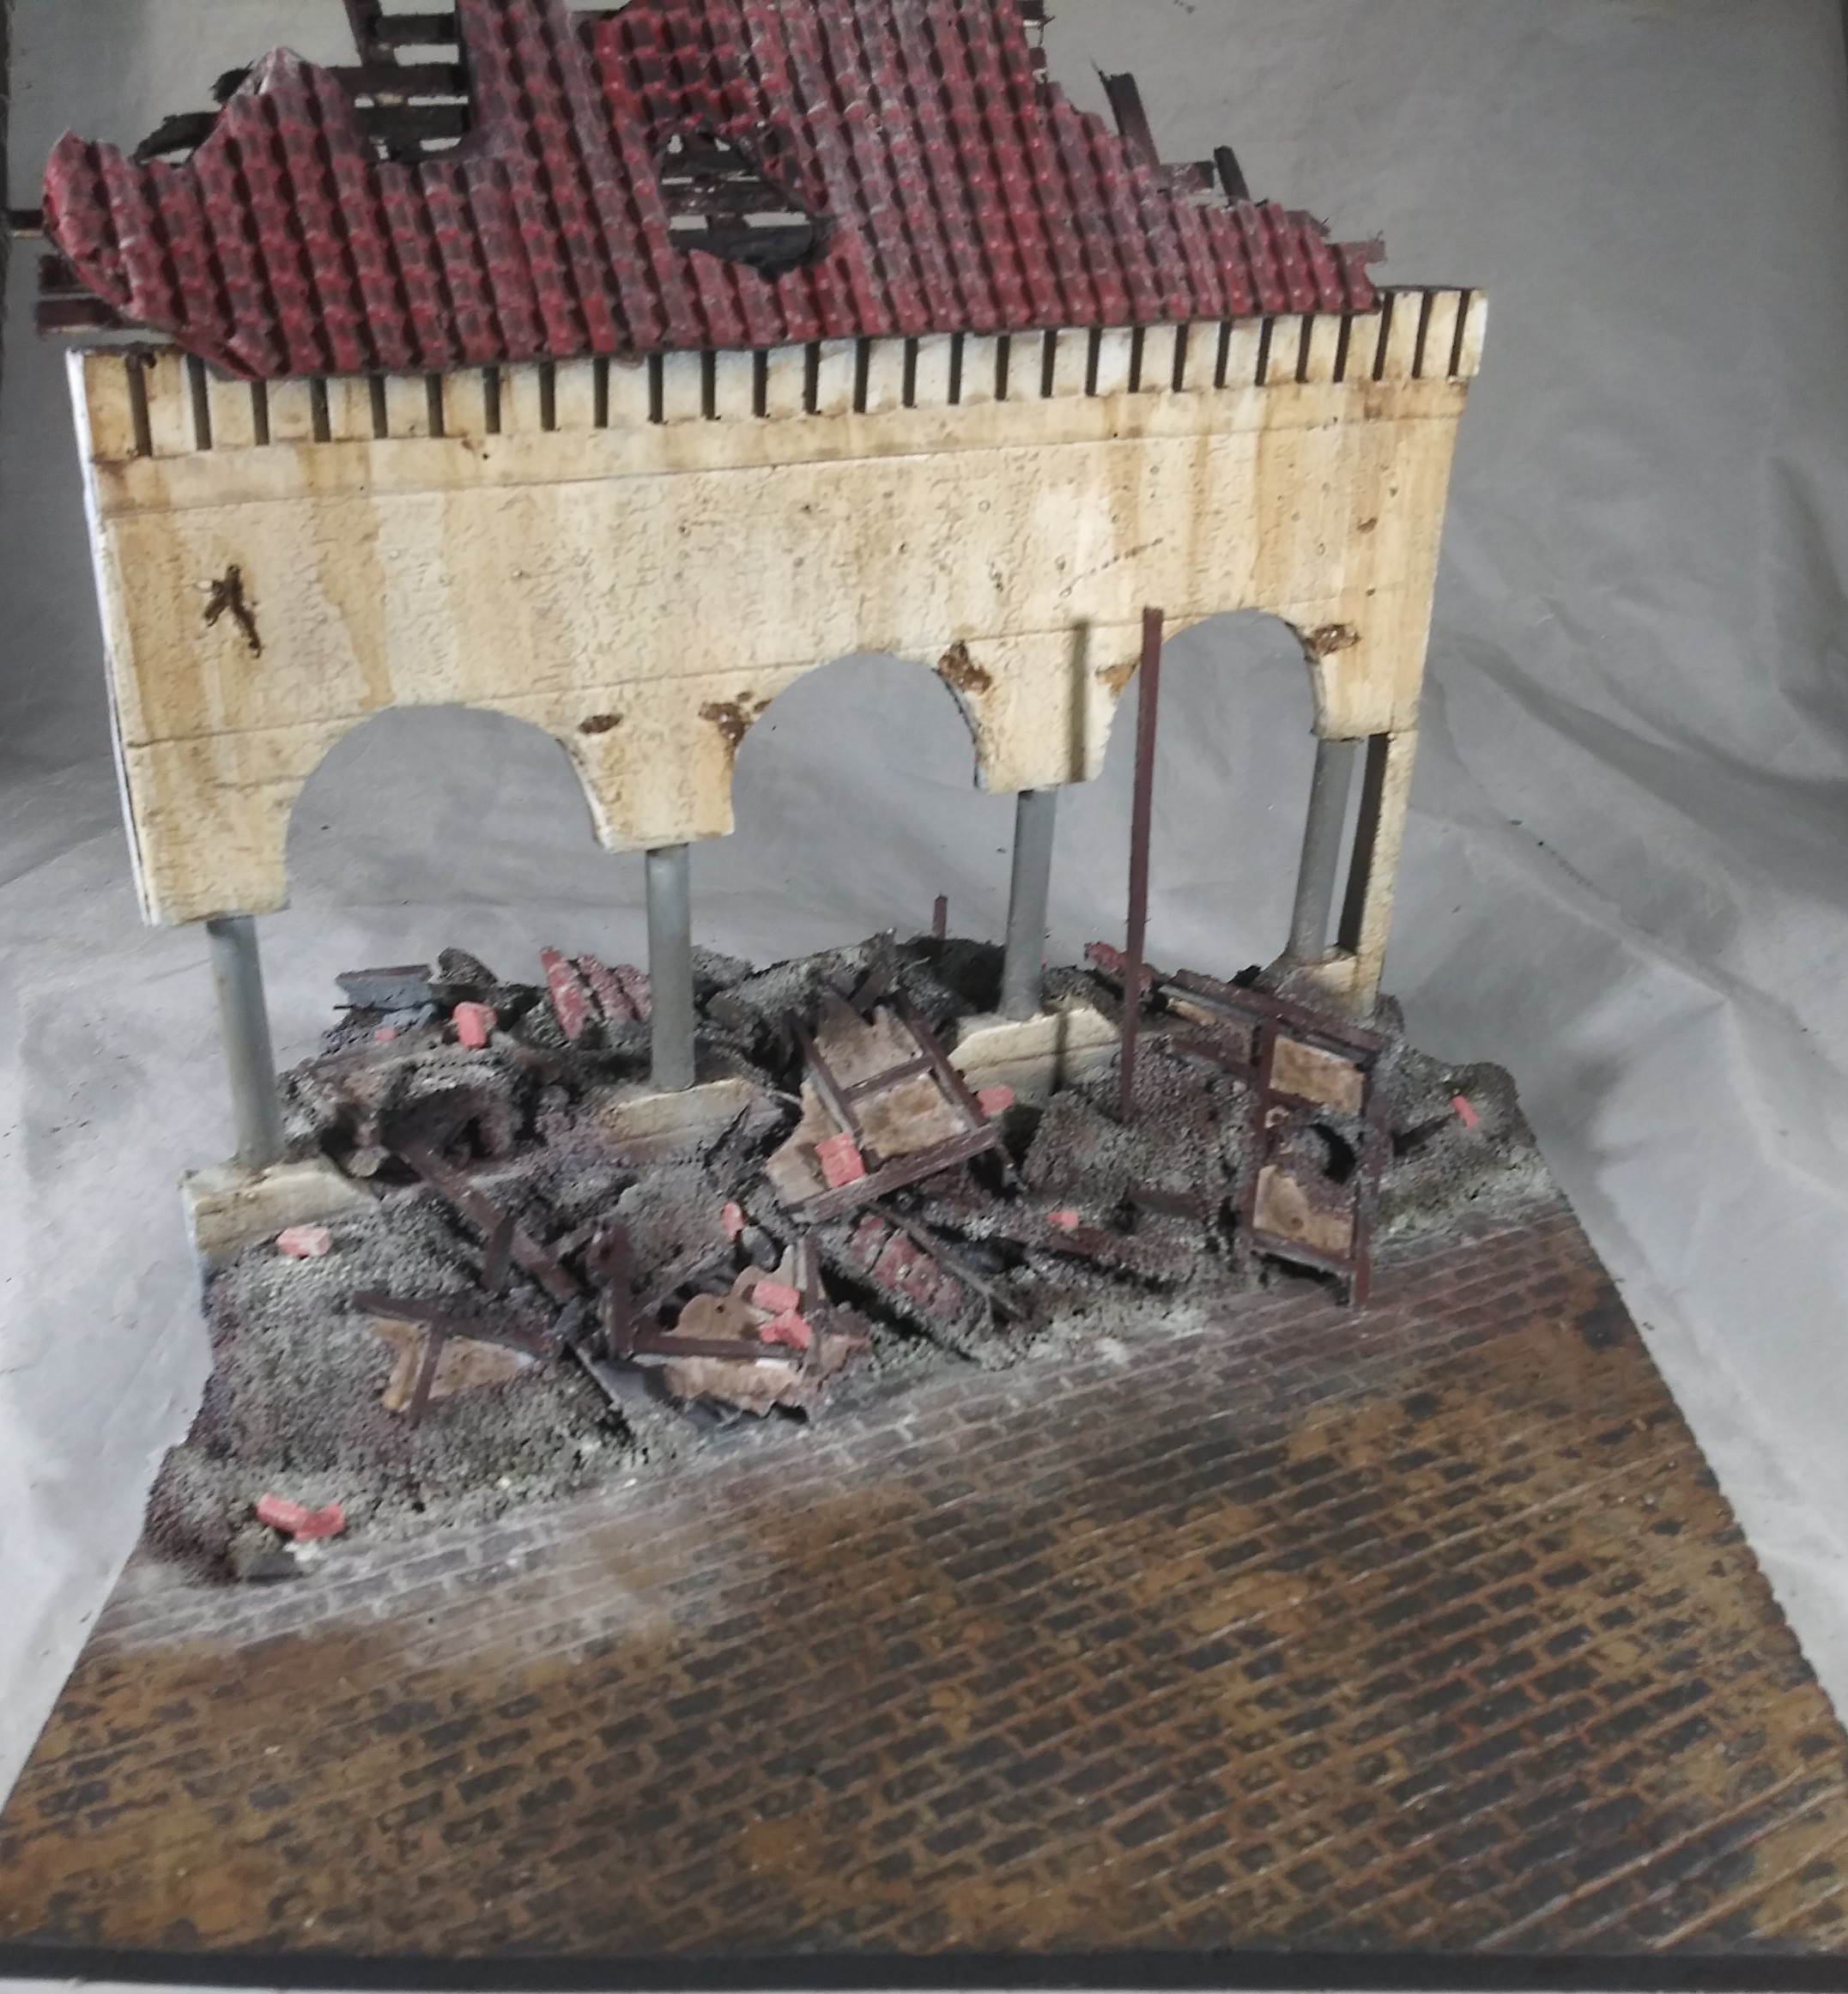
The next two steps are to add bricks cut from thin strips of the foam . Place those randomly. Next another layer of larger debris is added . Once dry it can be primed and then additional debris from any of the steps can be added .
Well after looking at it again . I will be adding more on the backside for sure.
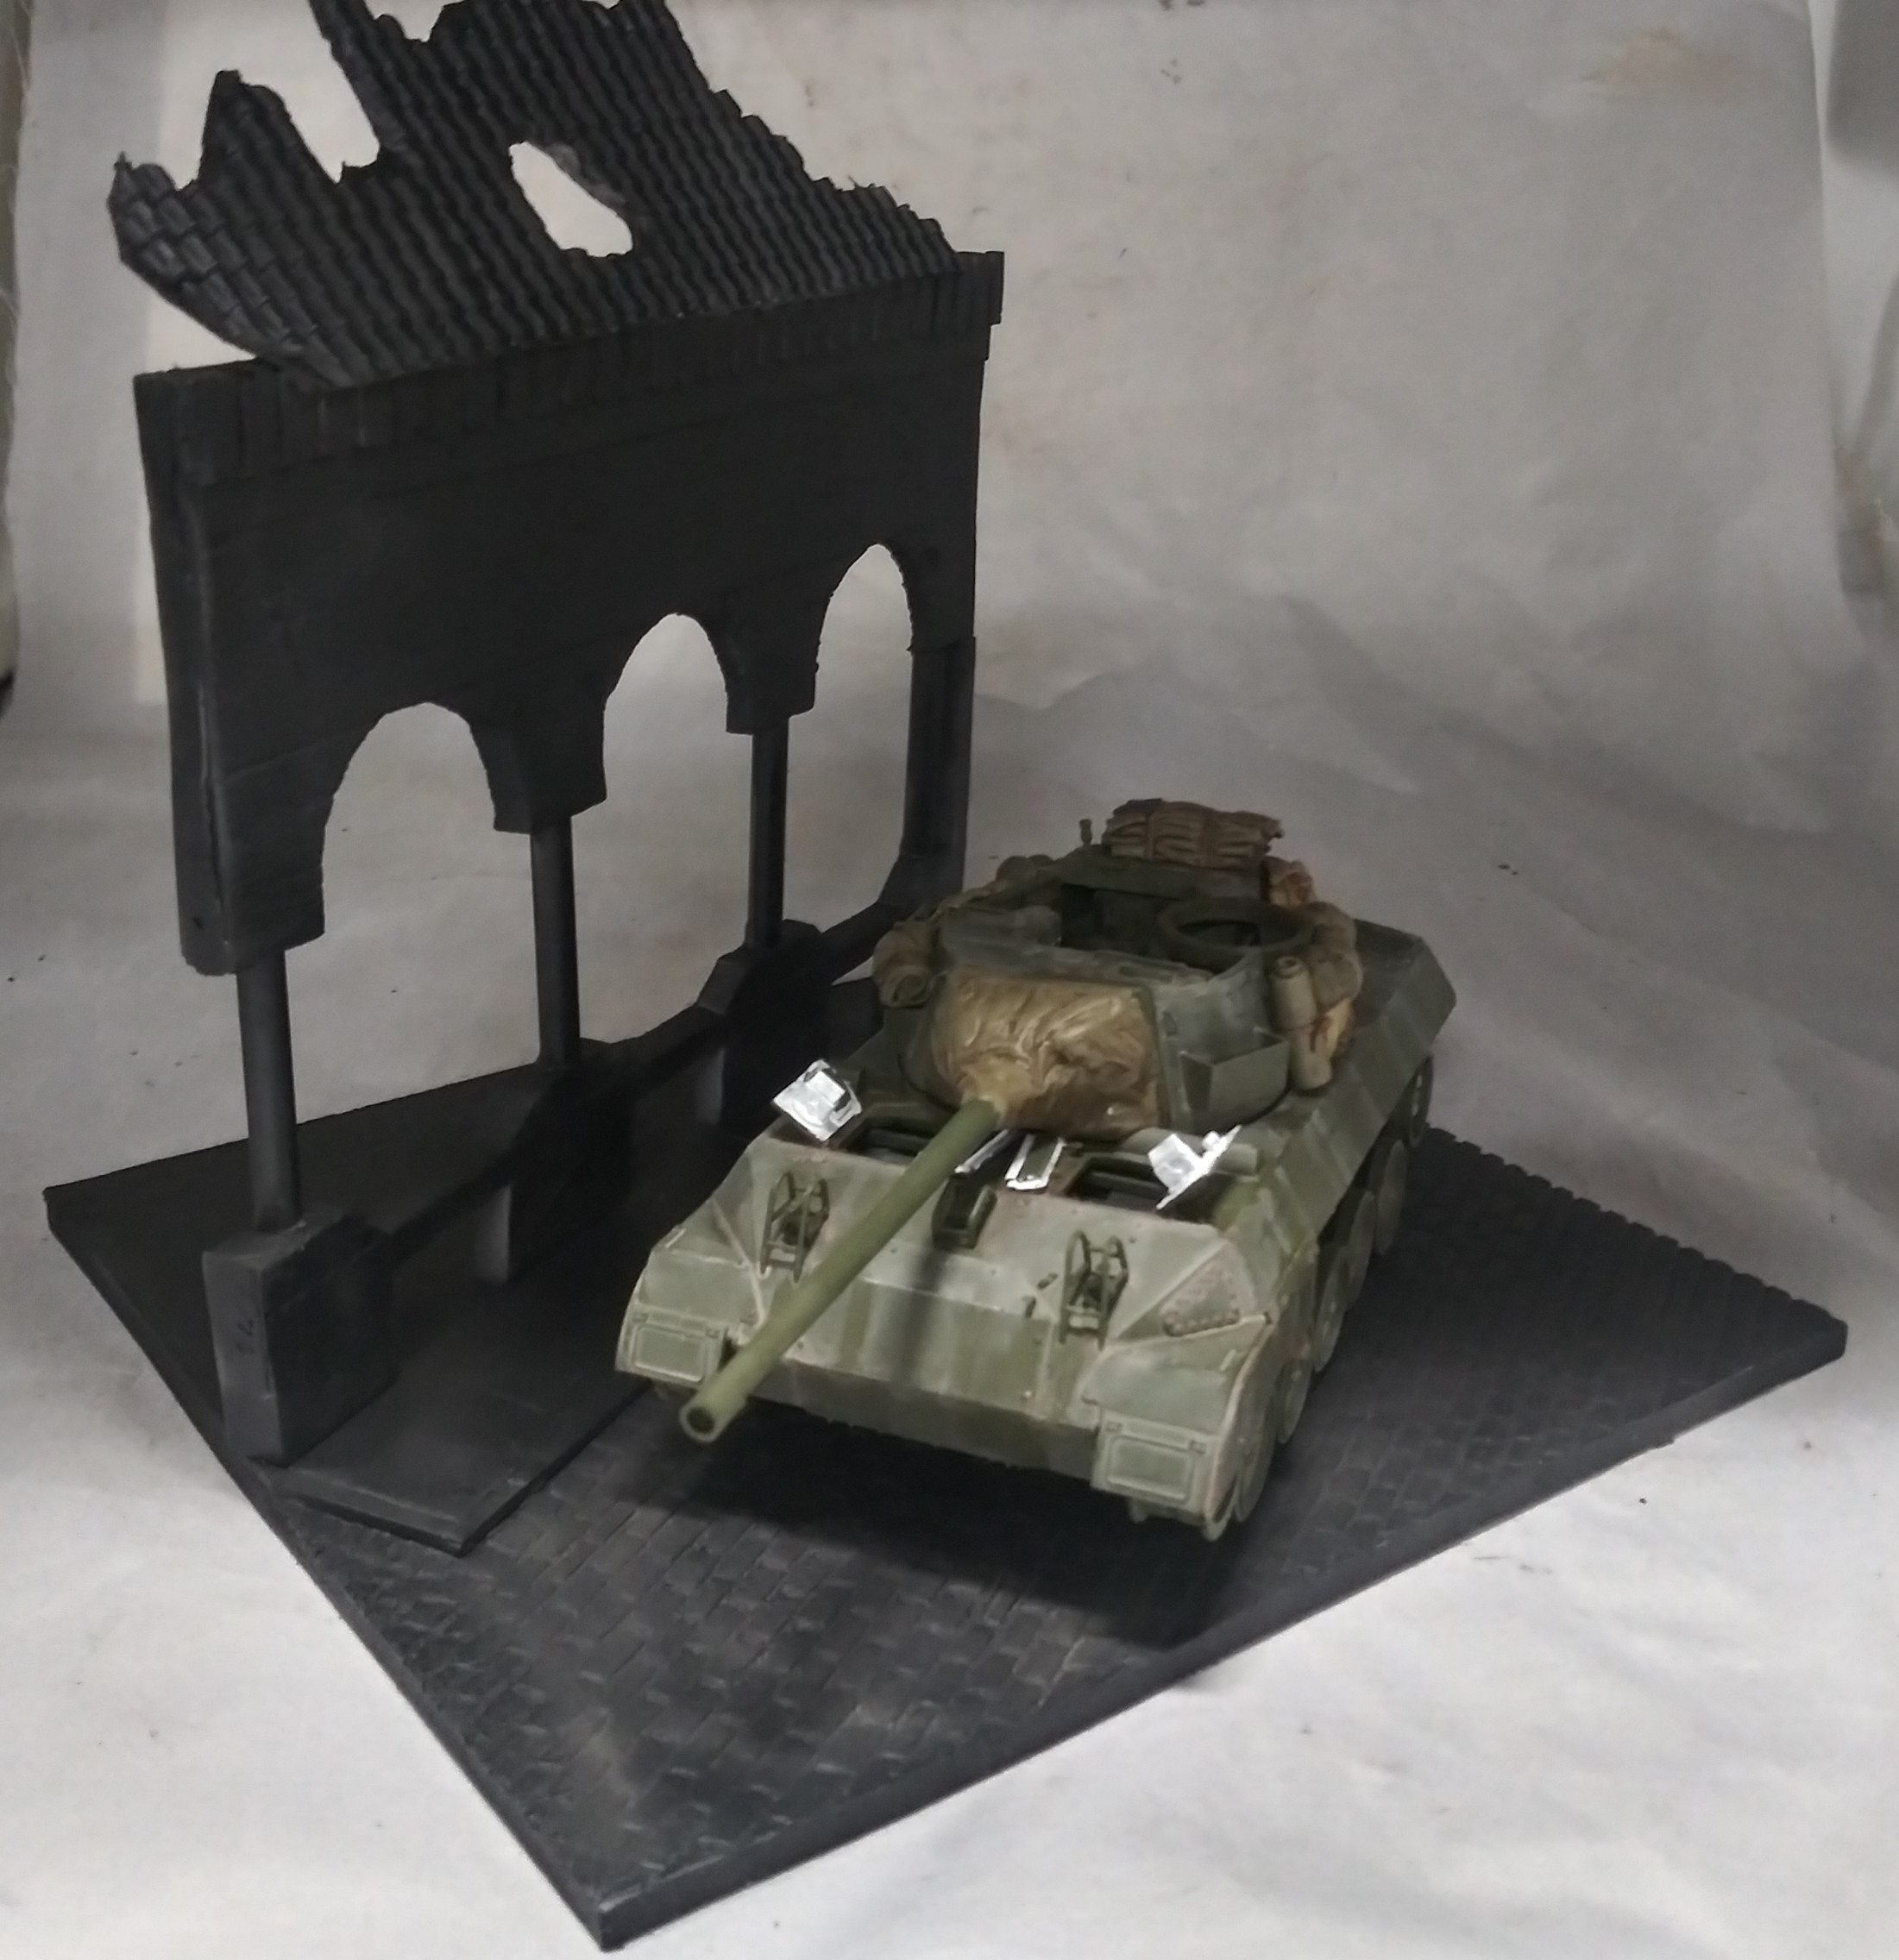
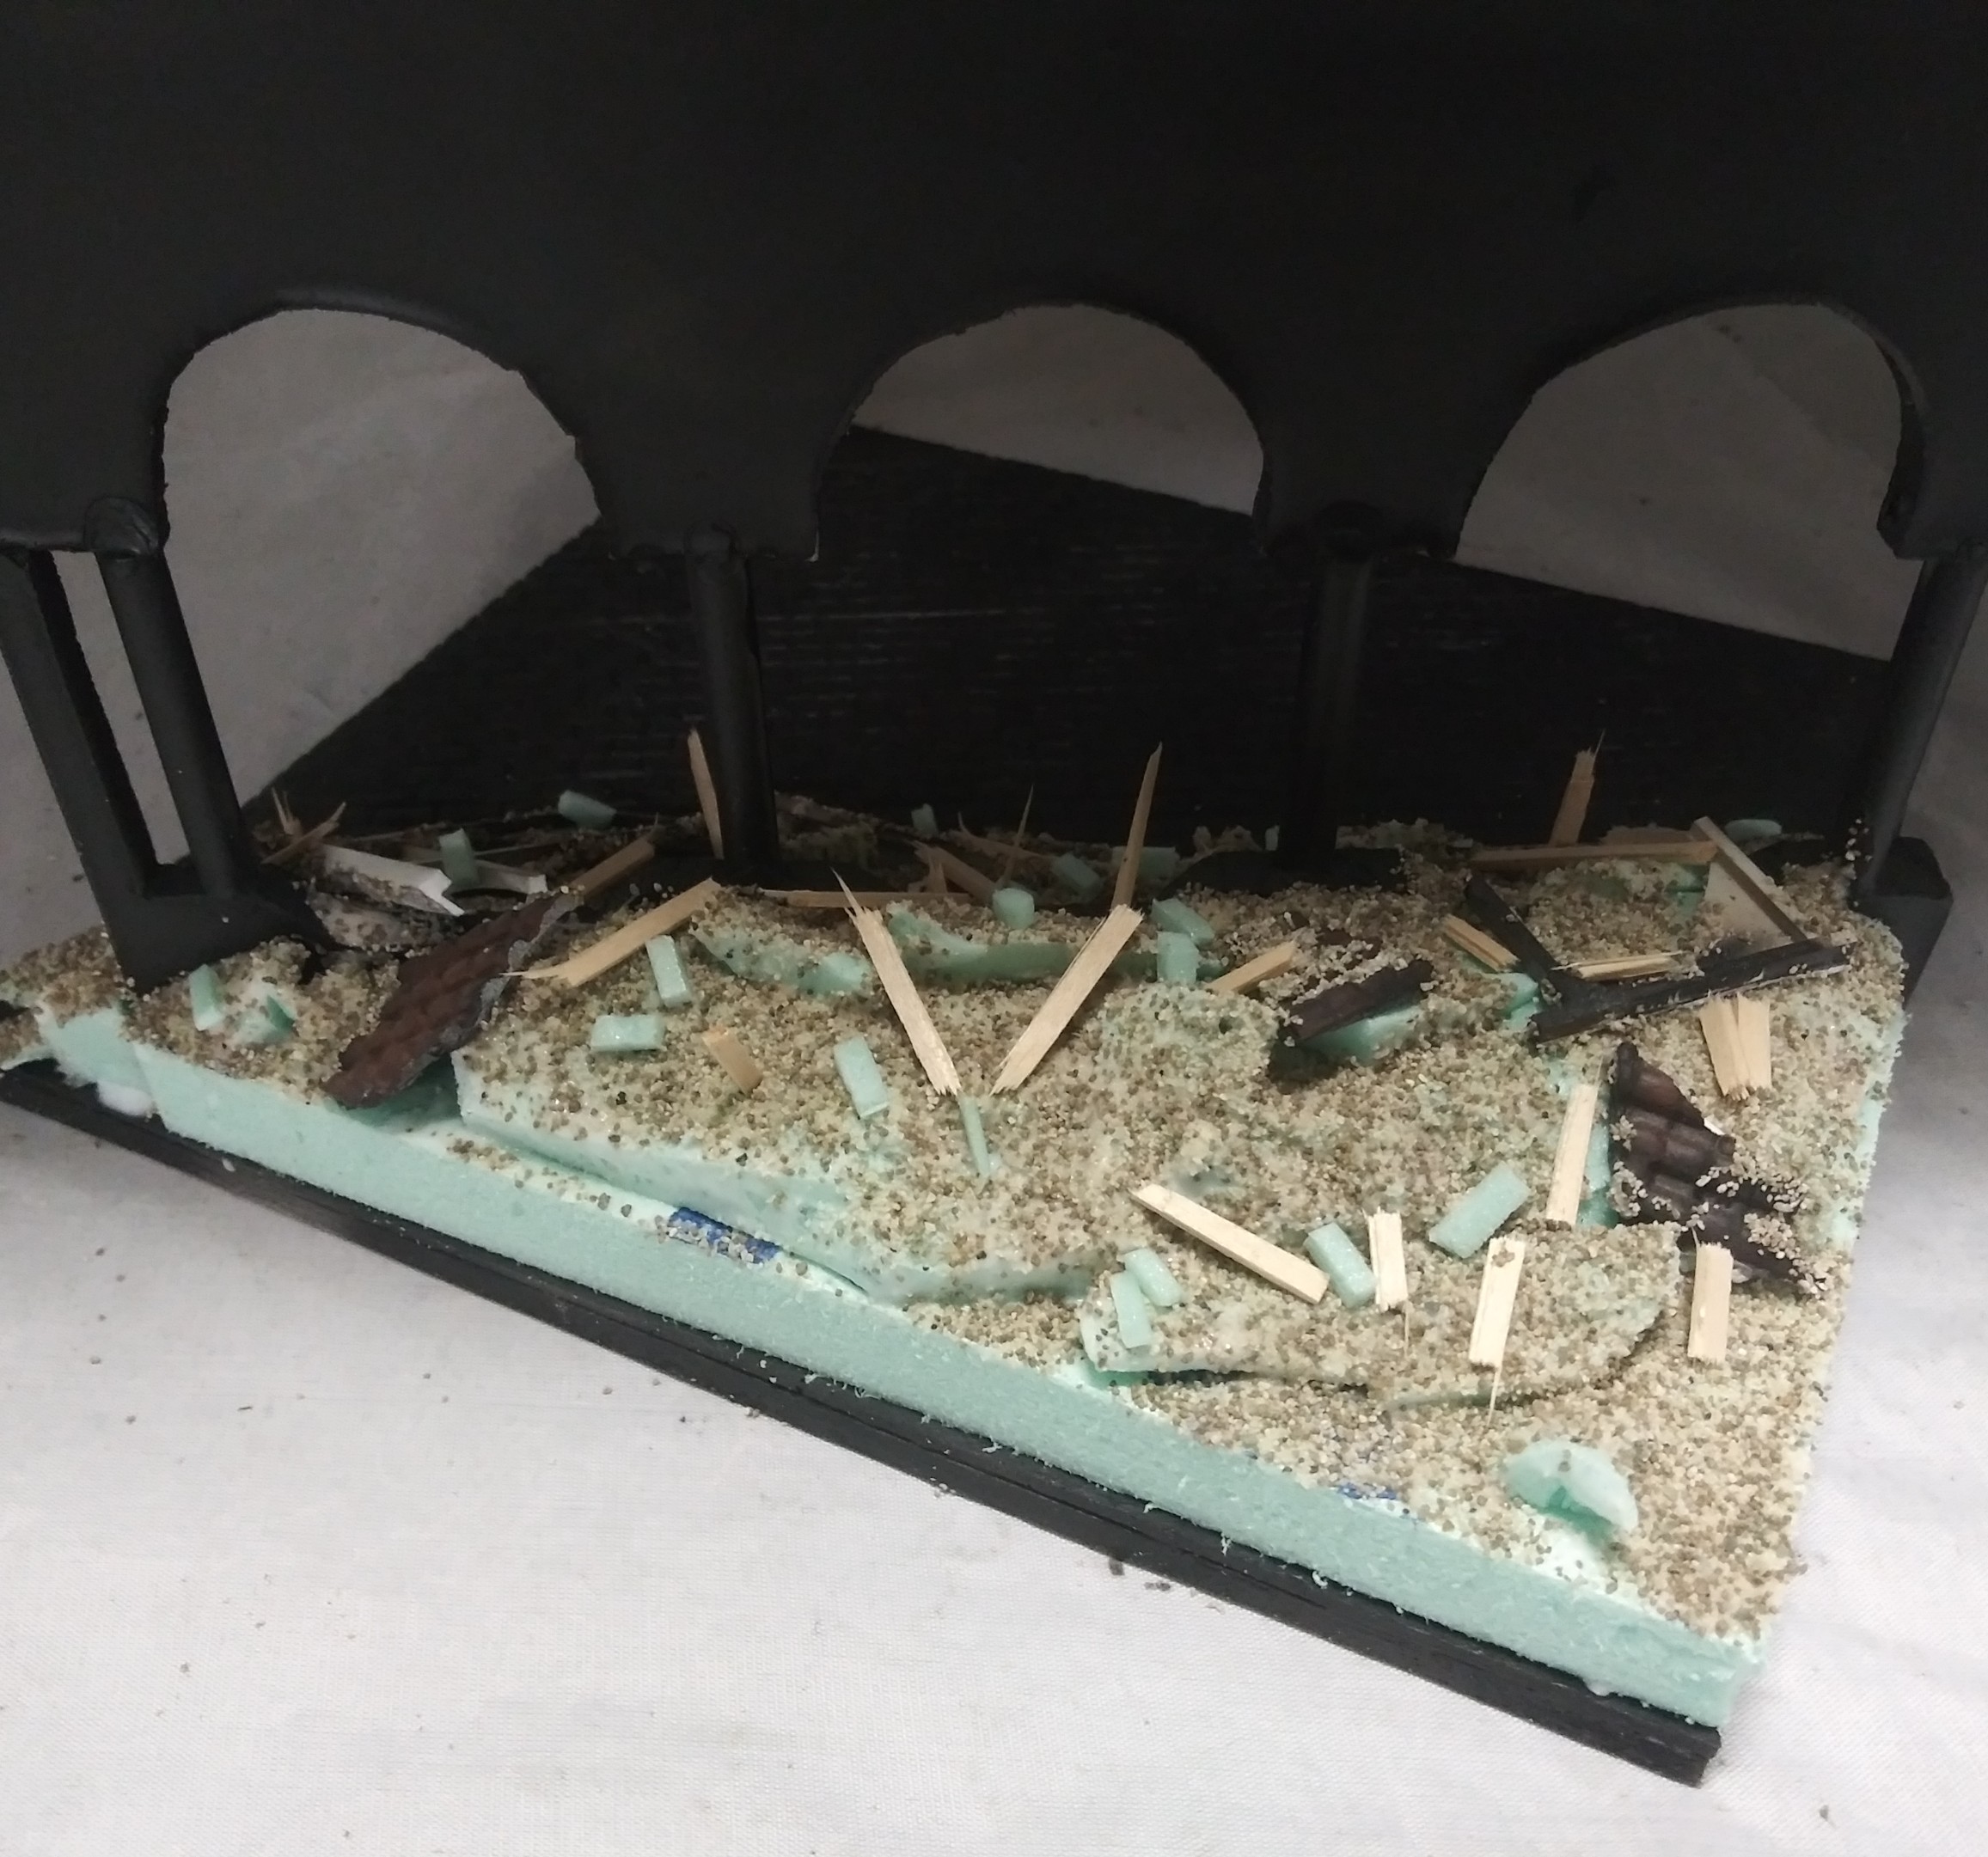
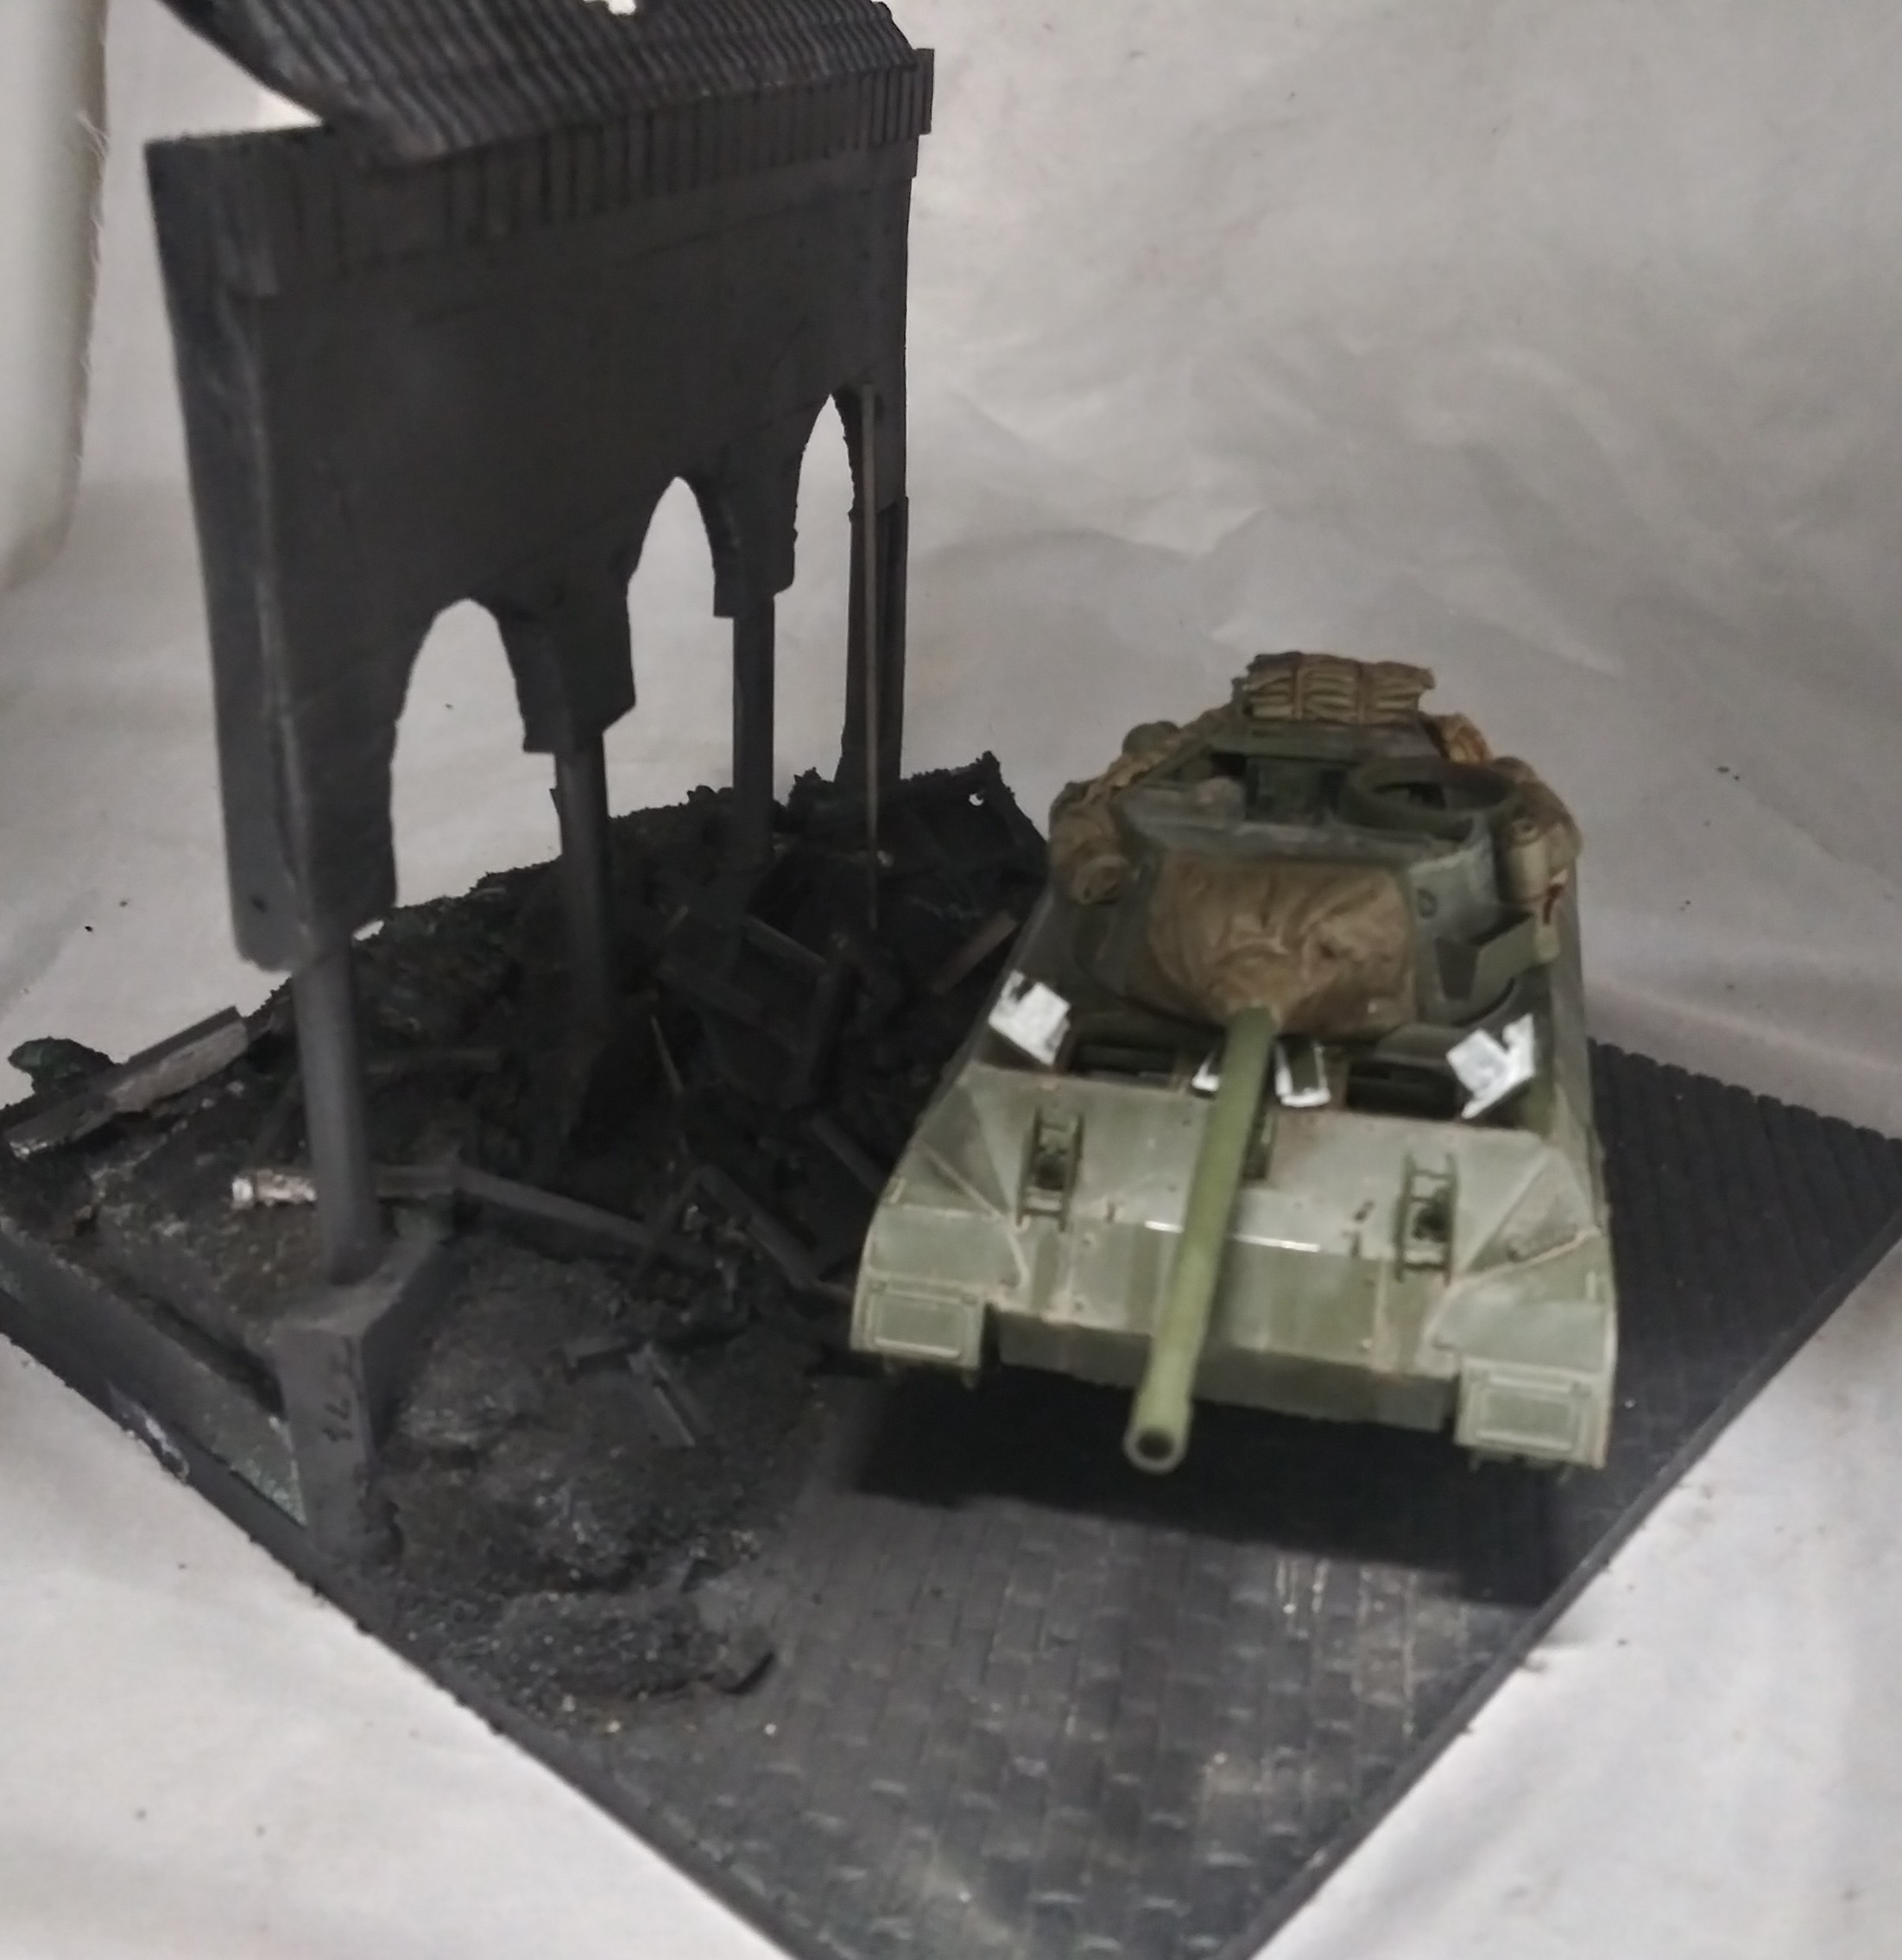
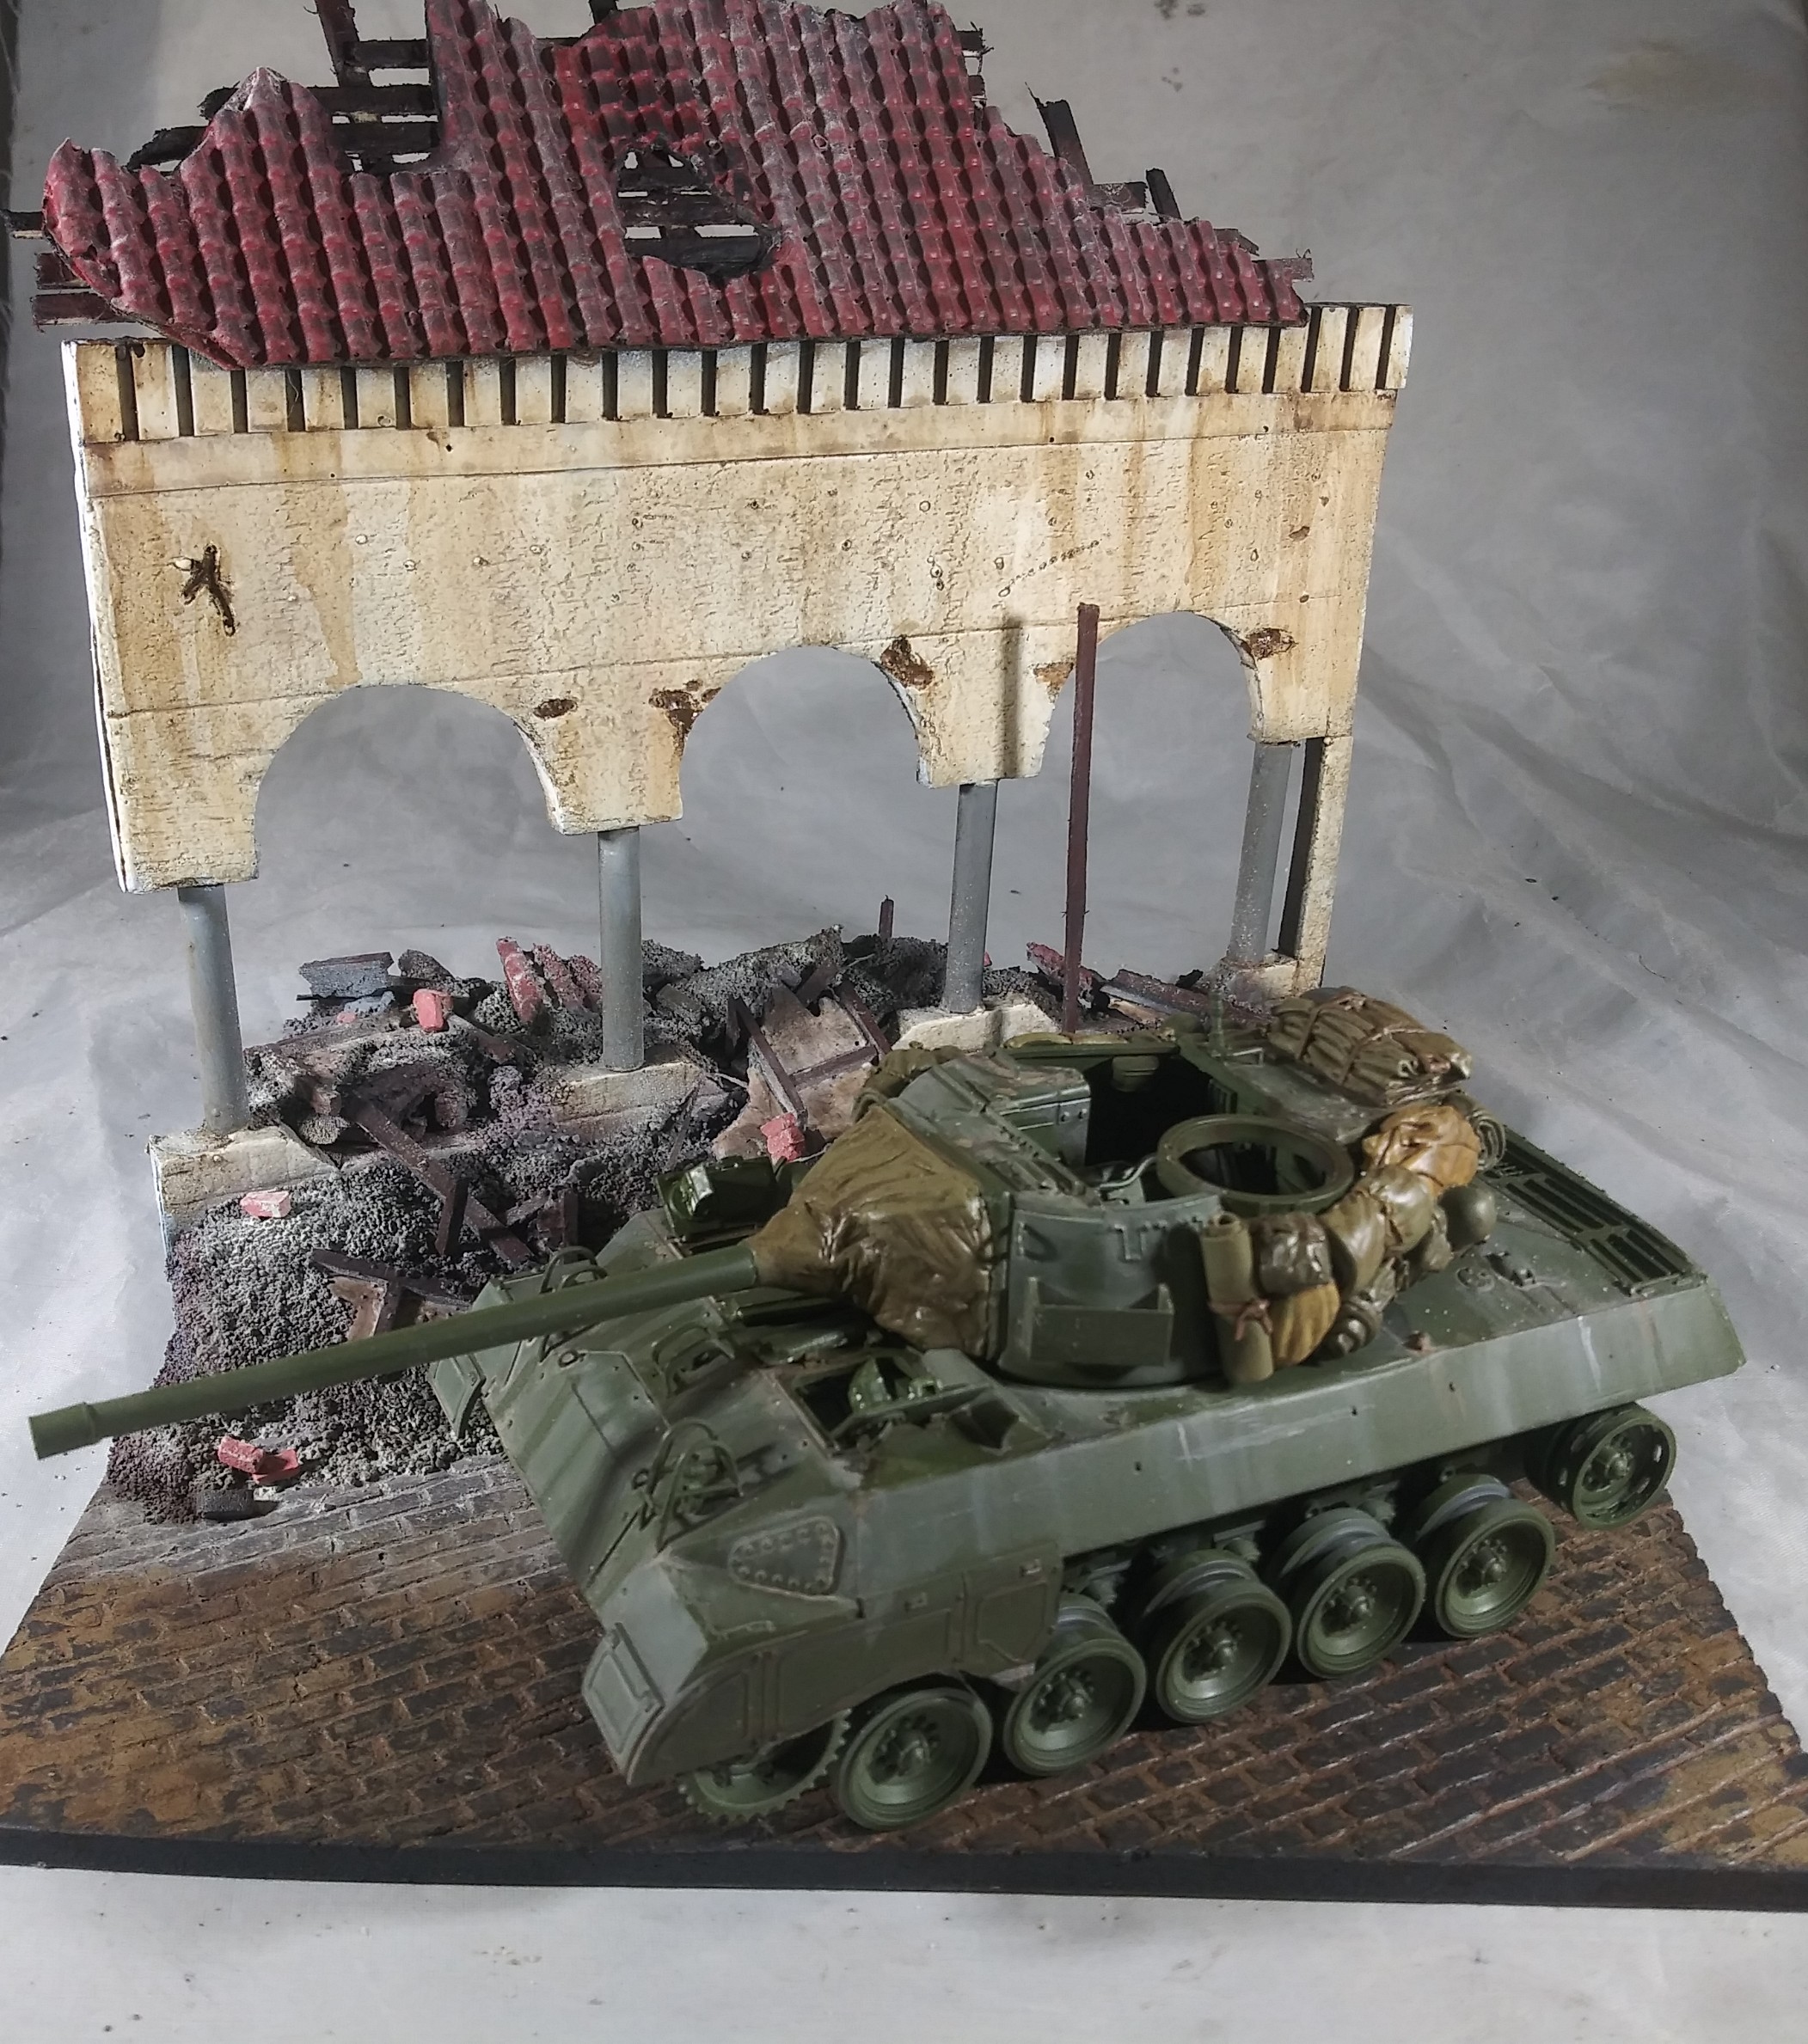
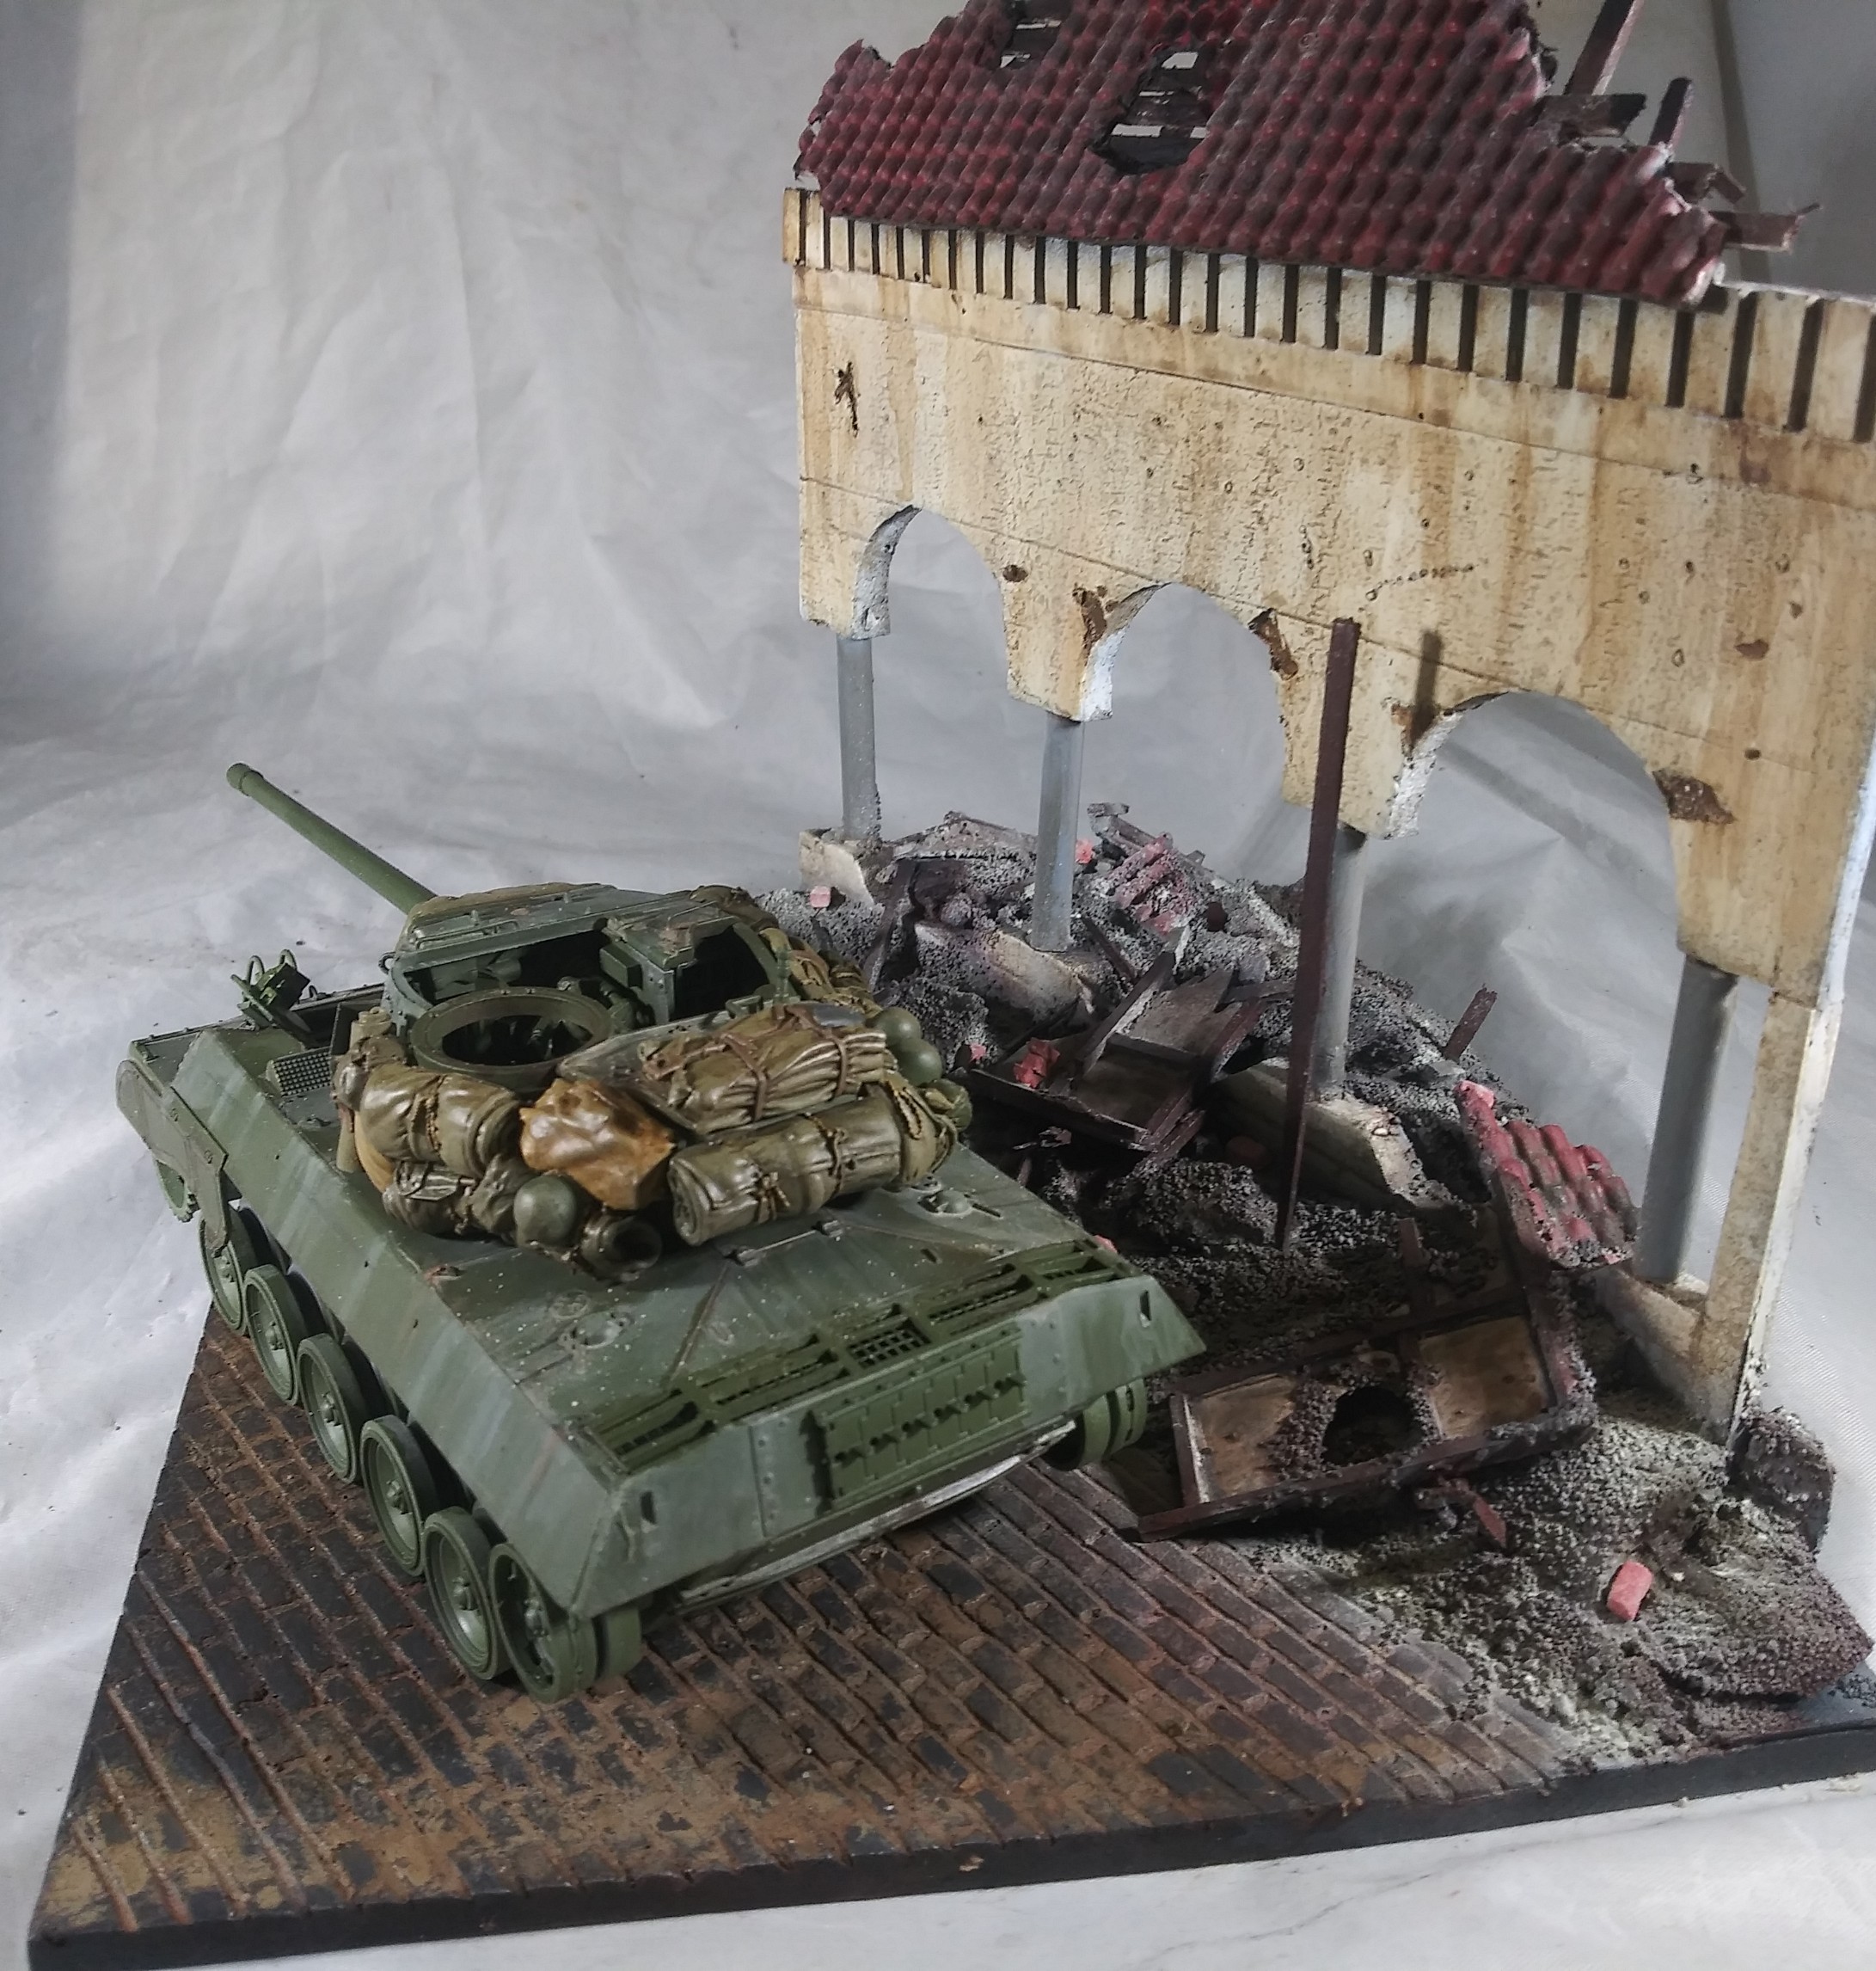
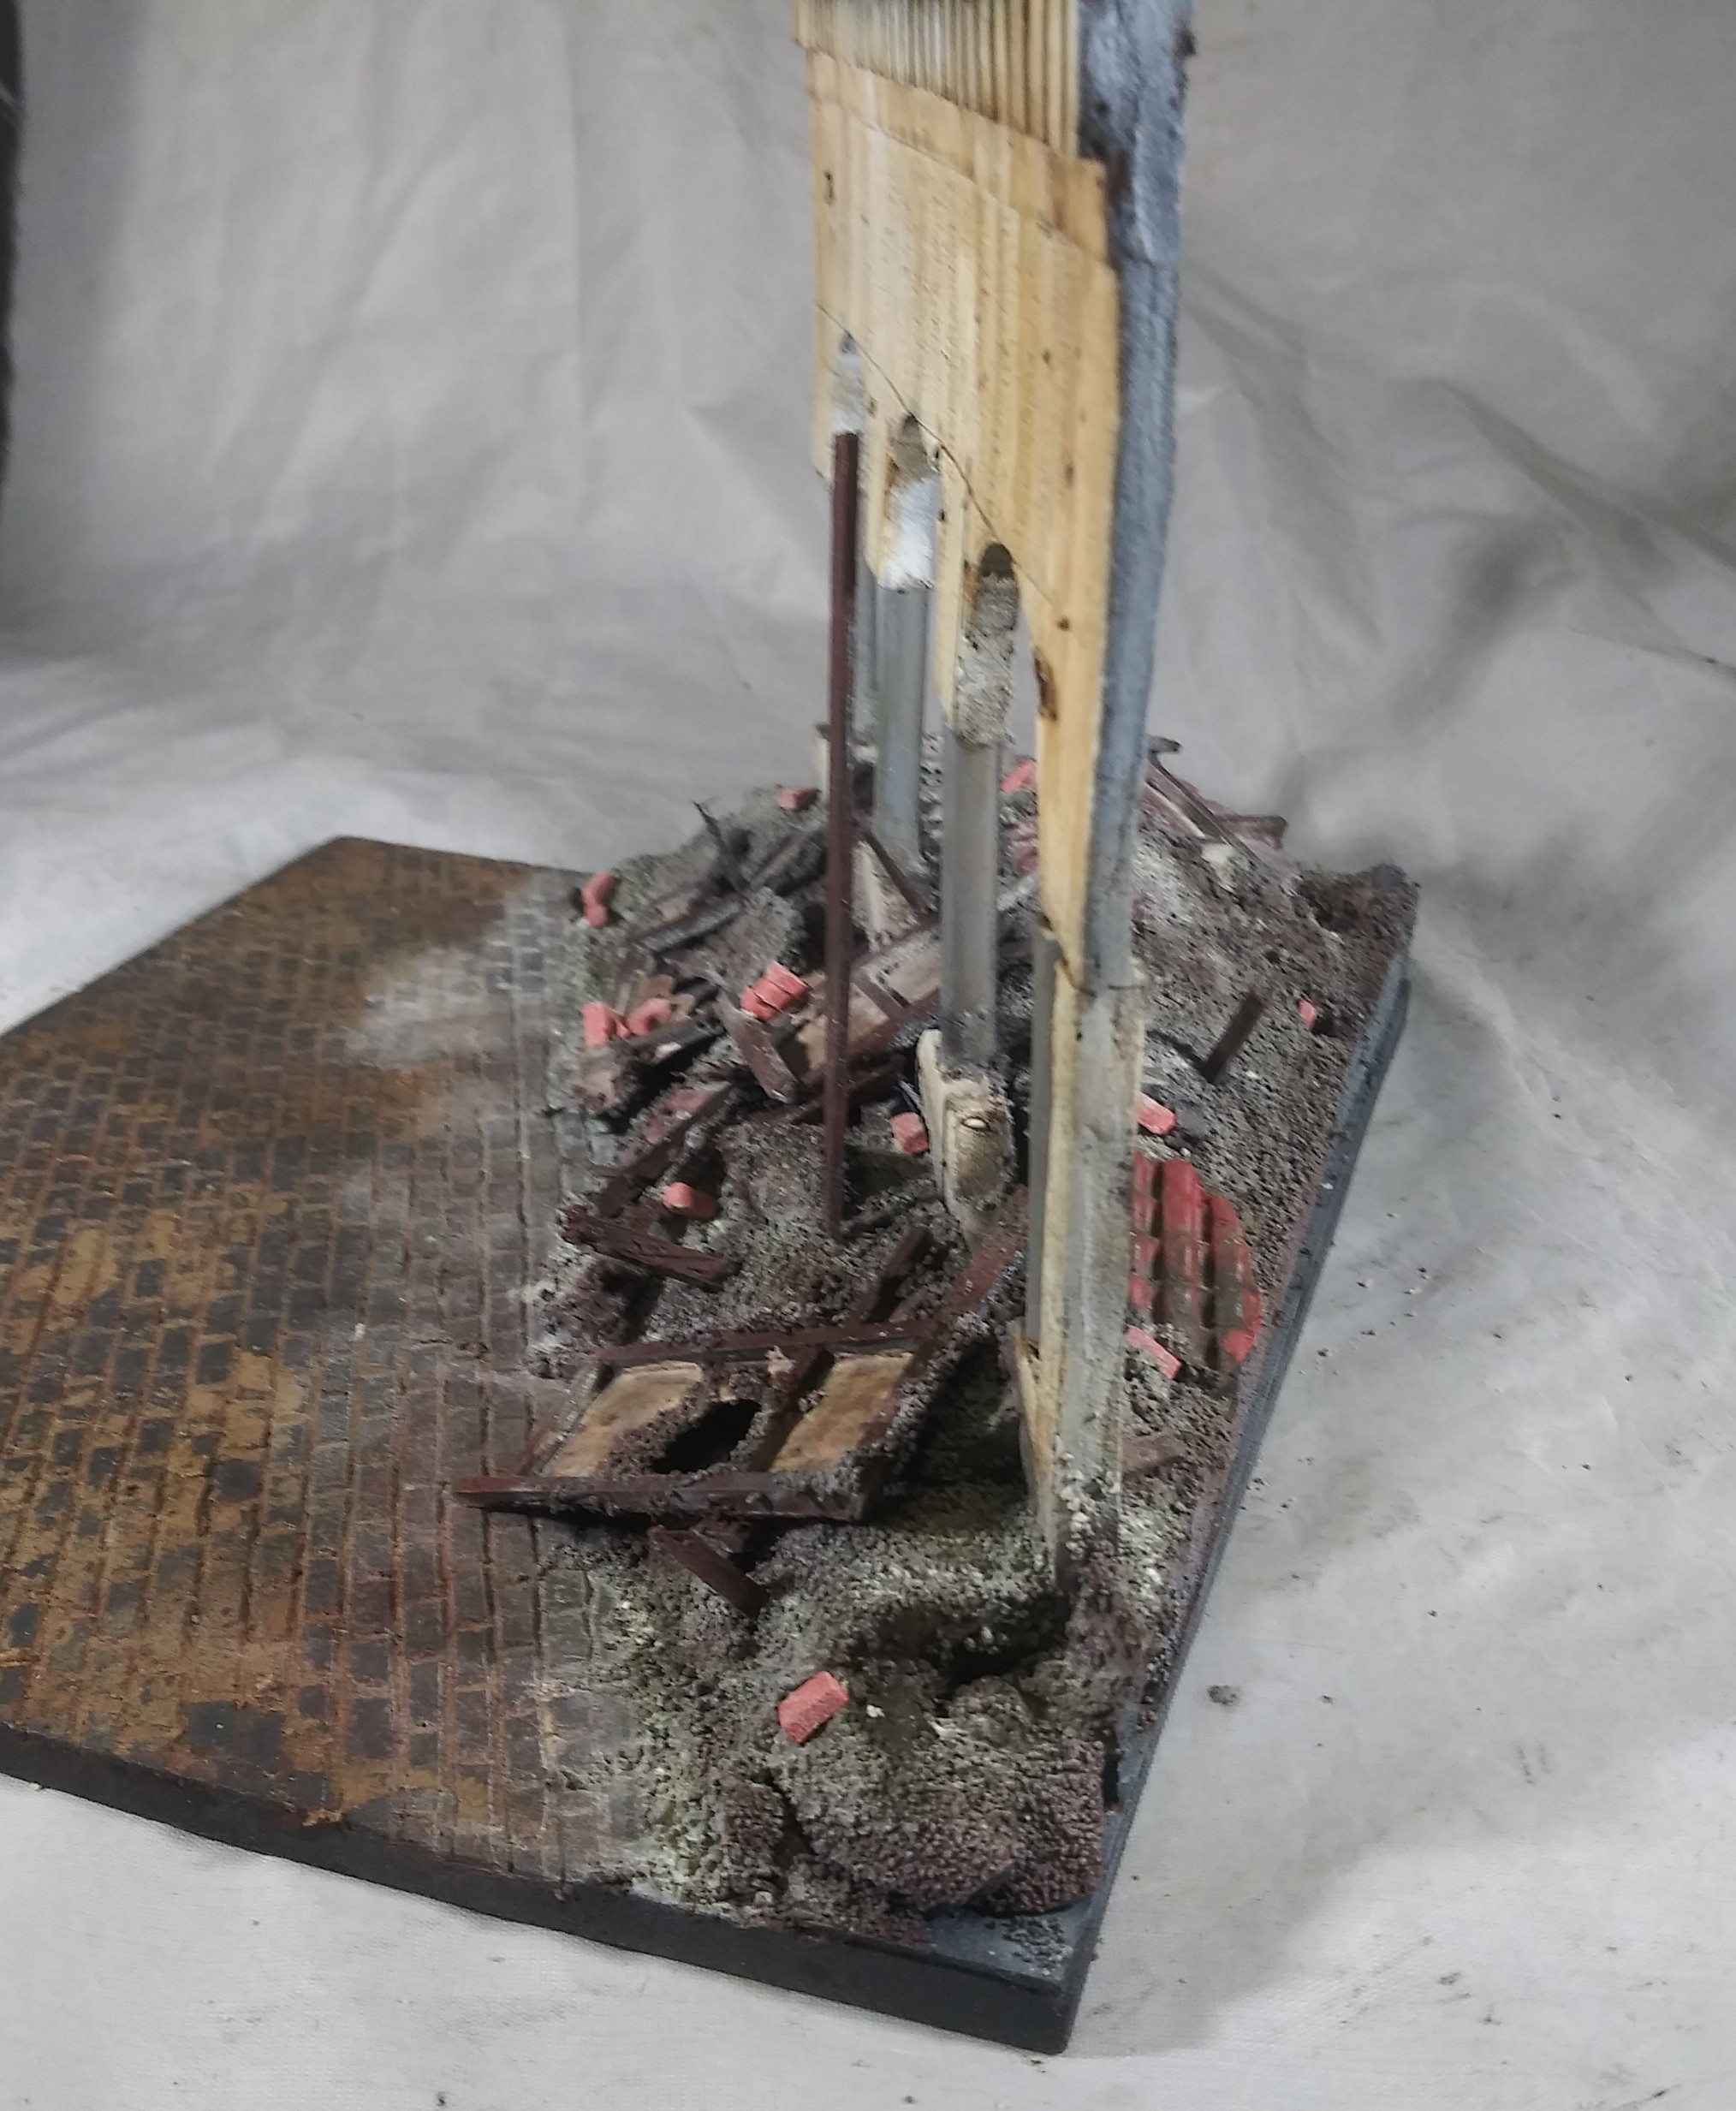
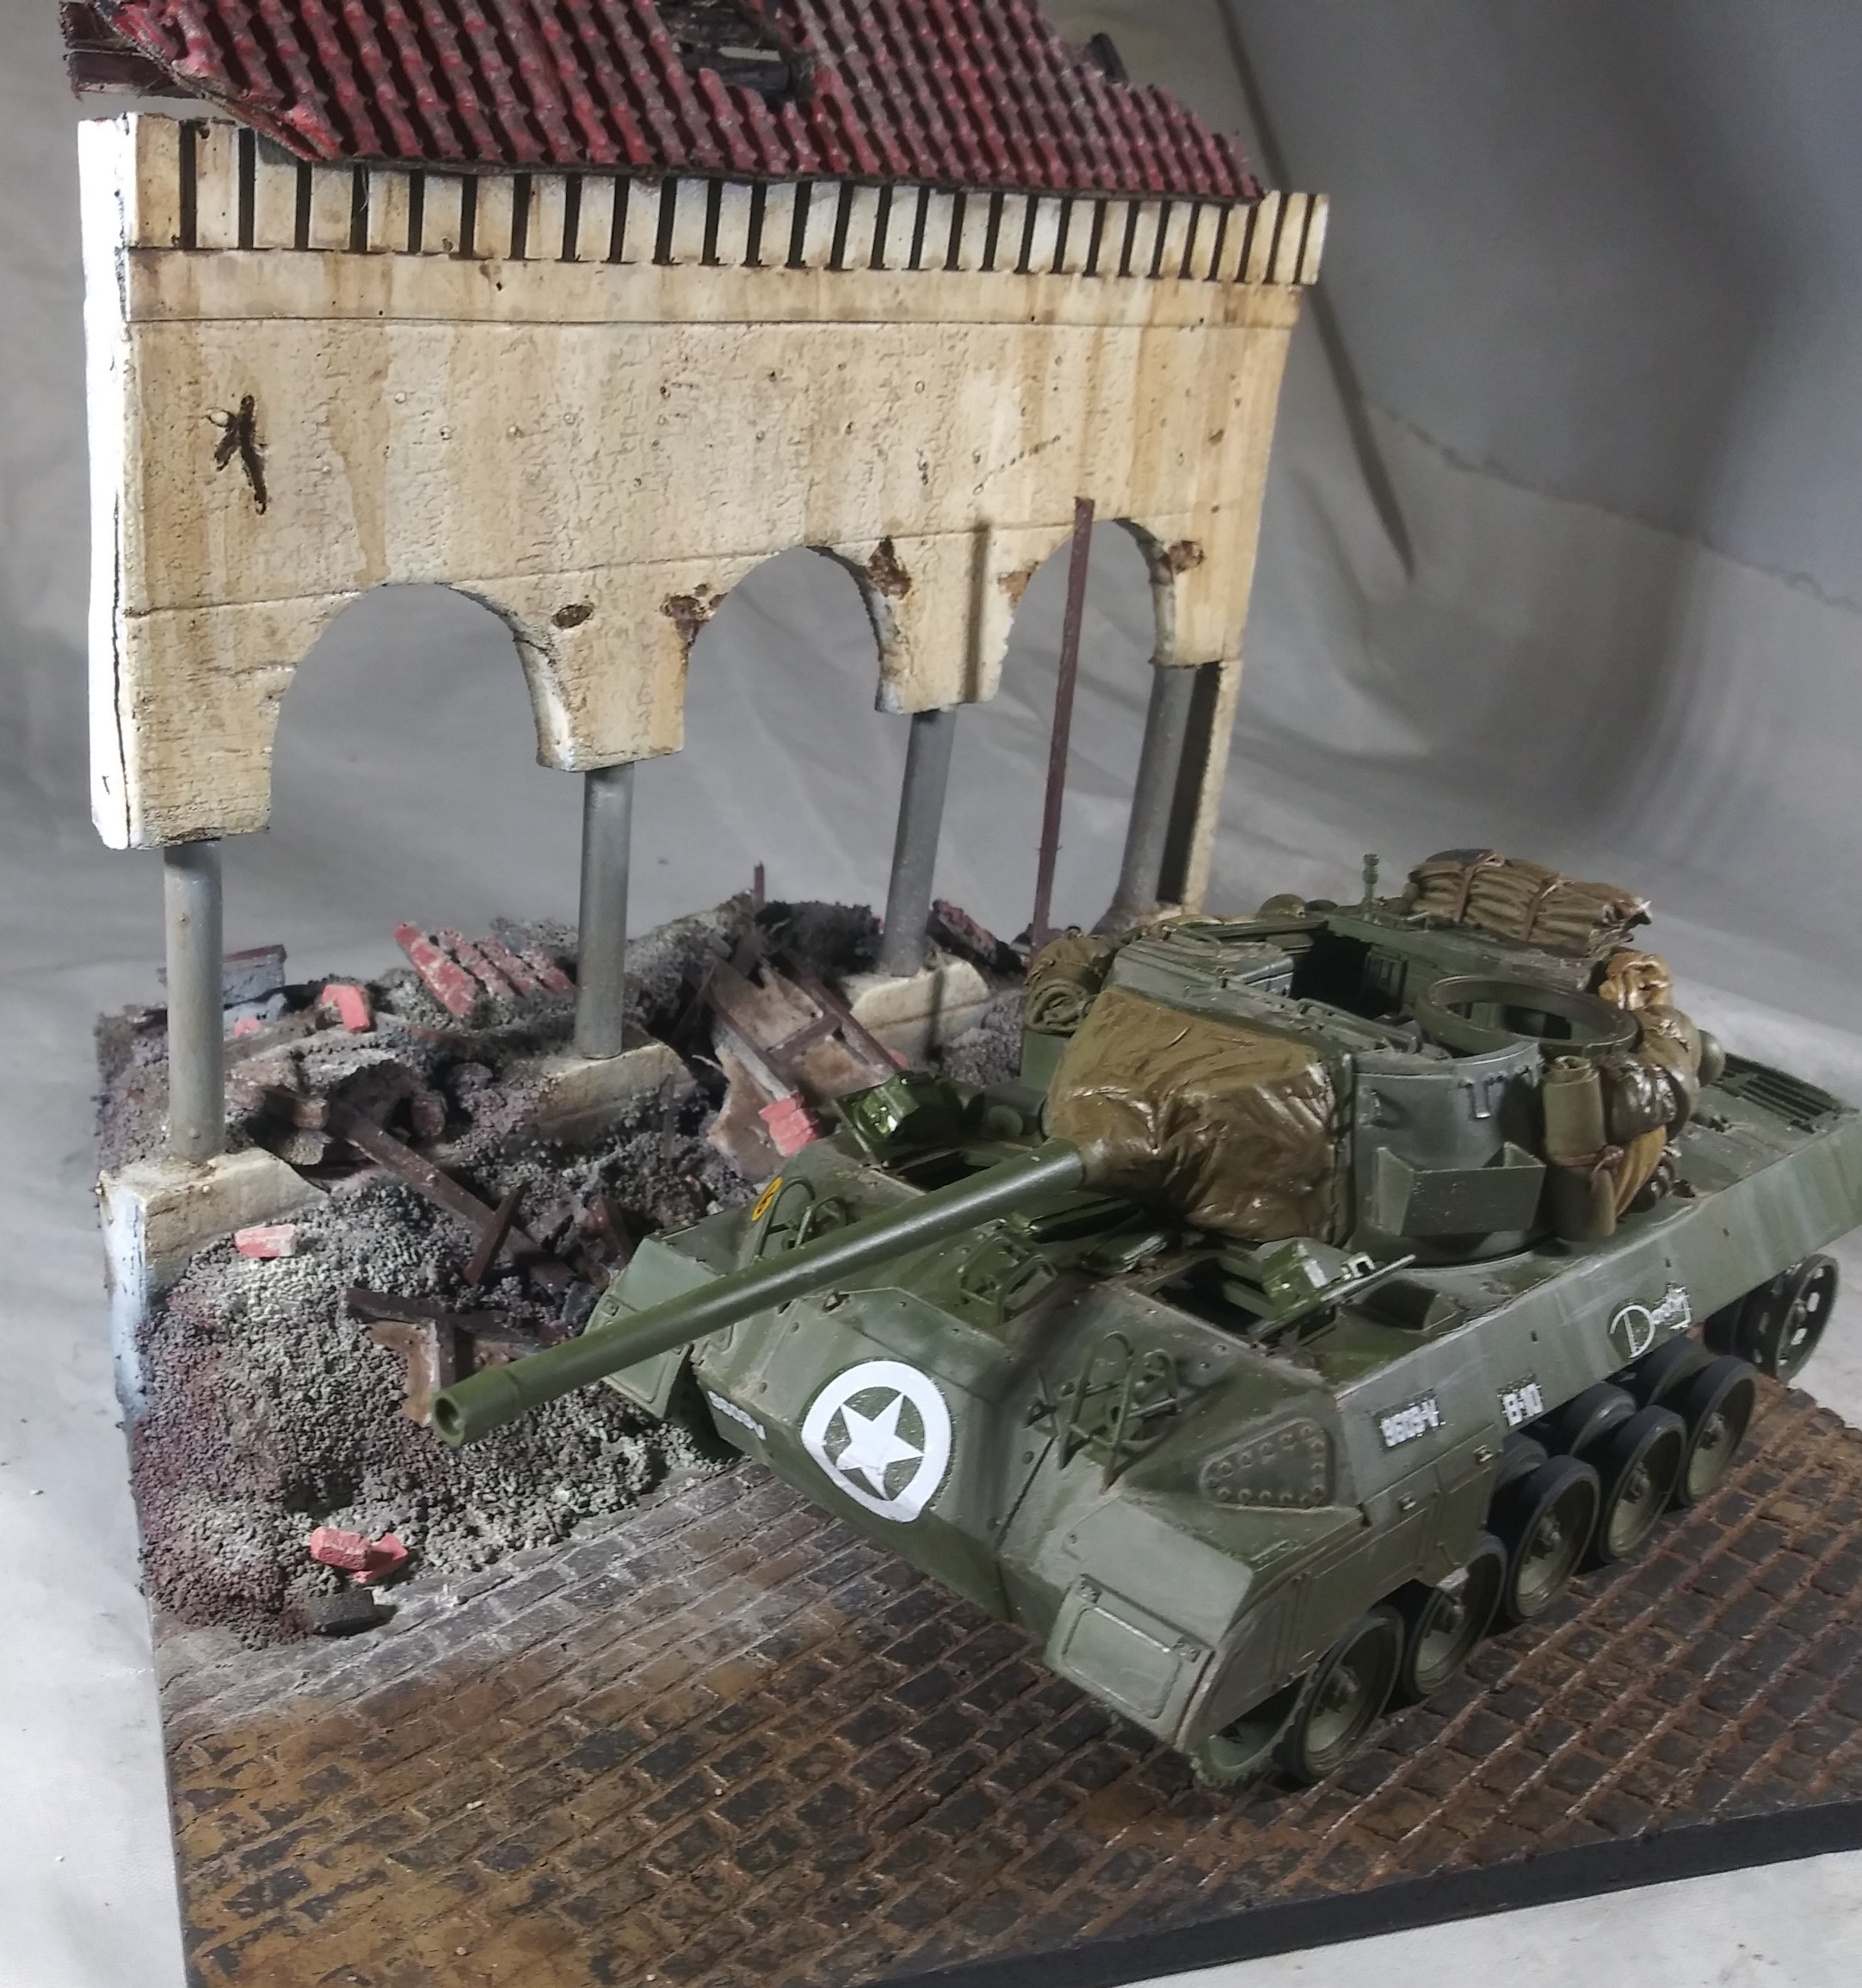
To continue with the base ,I added all the preliminary colors first, then used a van duke brown filter over the ground work and roof. This was followed with a targeted burnt umber over the pavers and ground work . It was all tied together with weathering pigments.
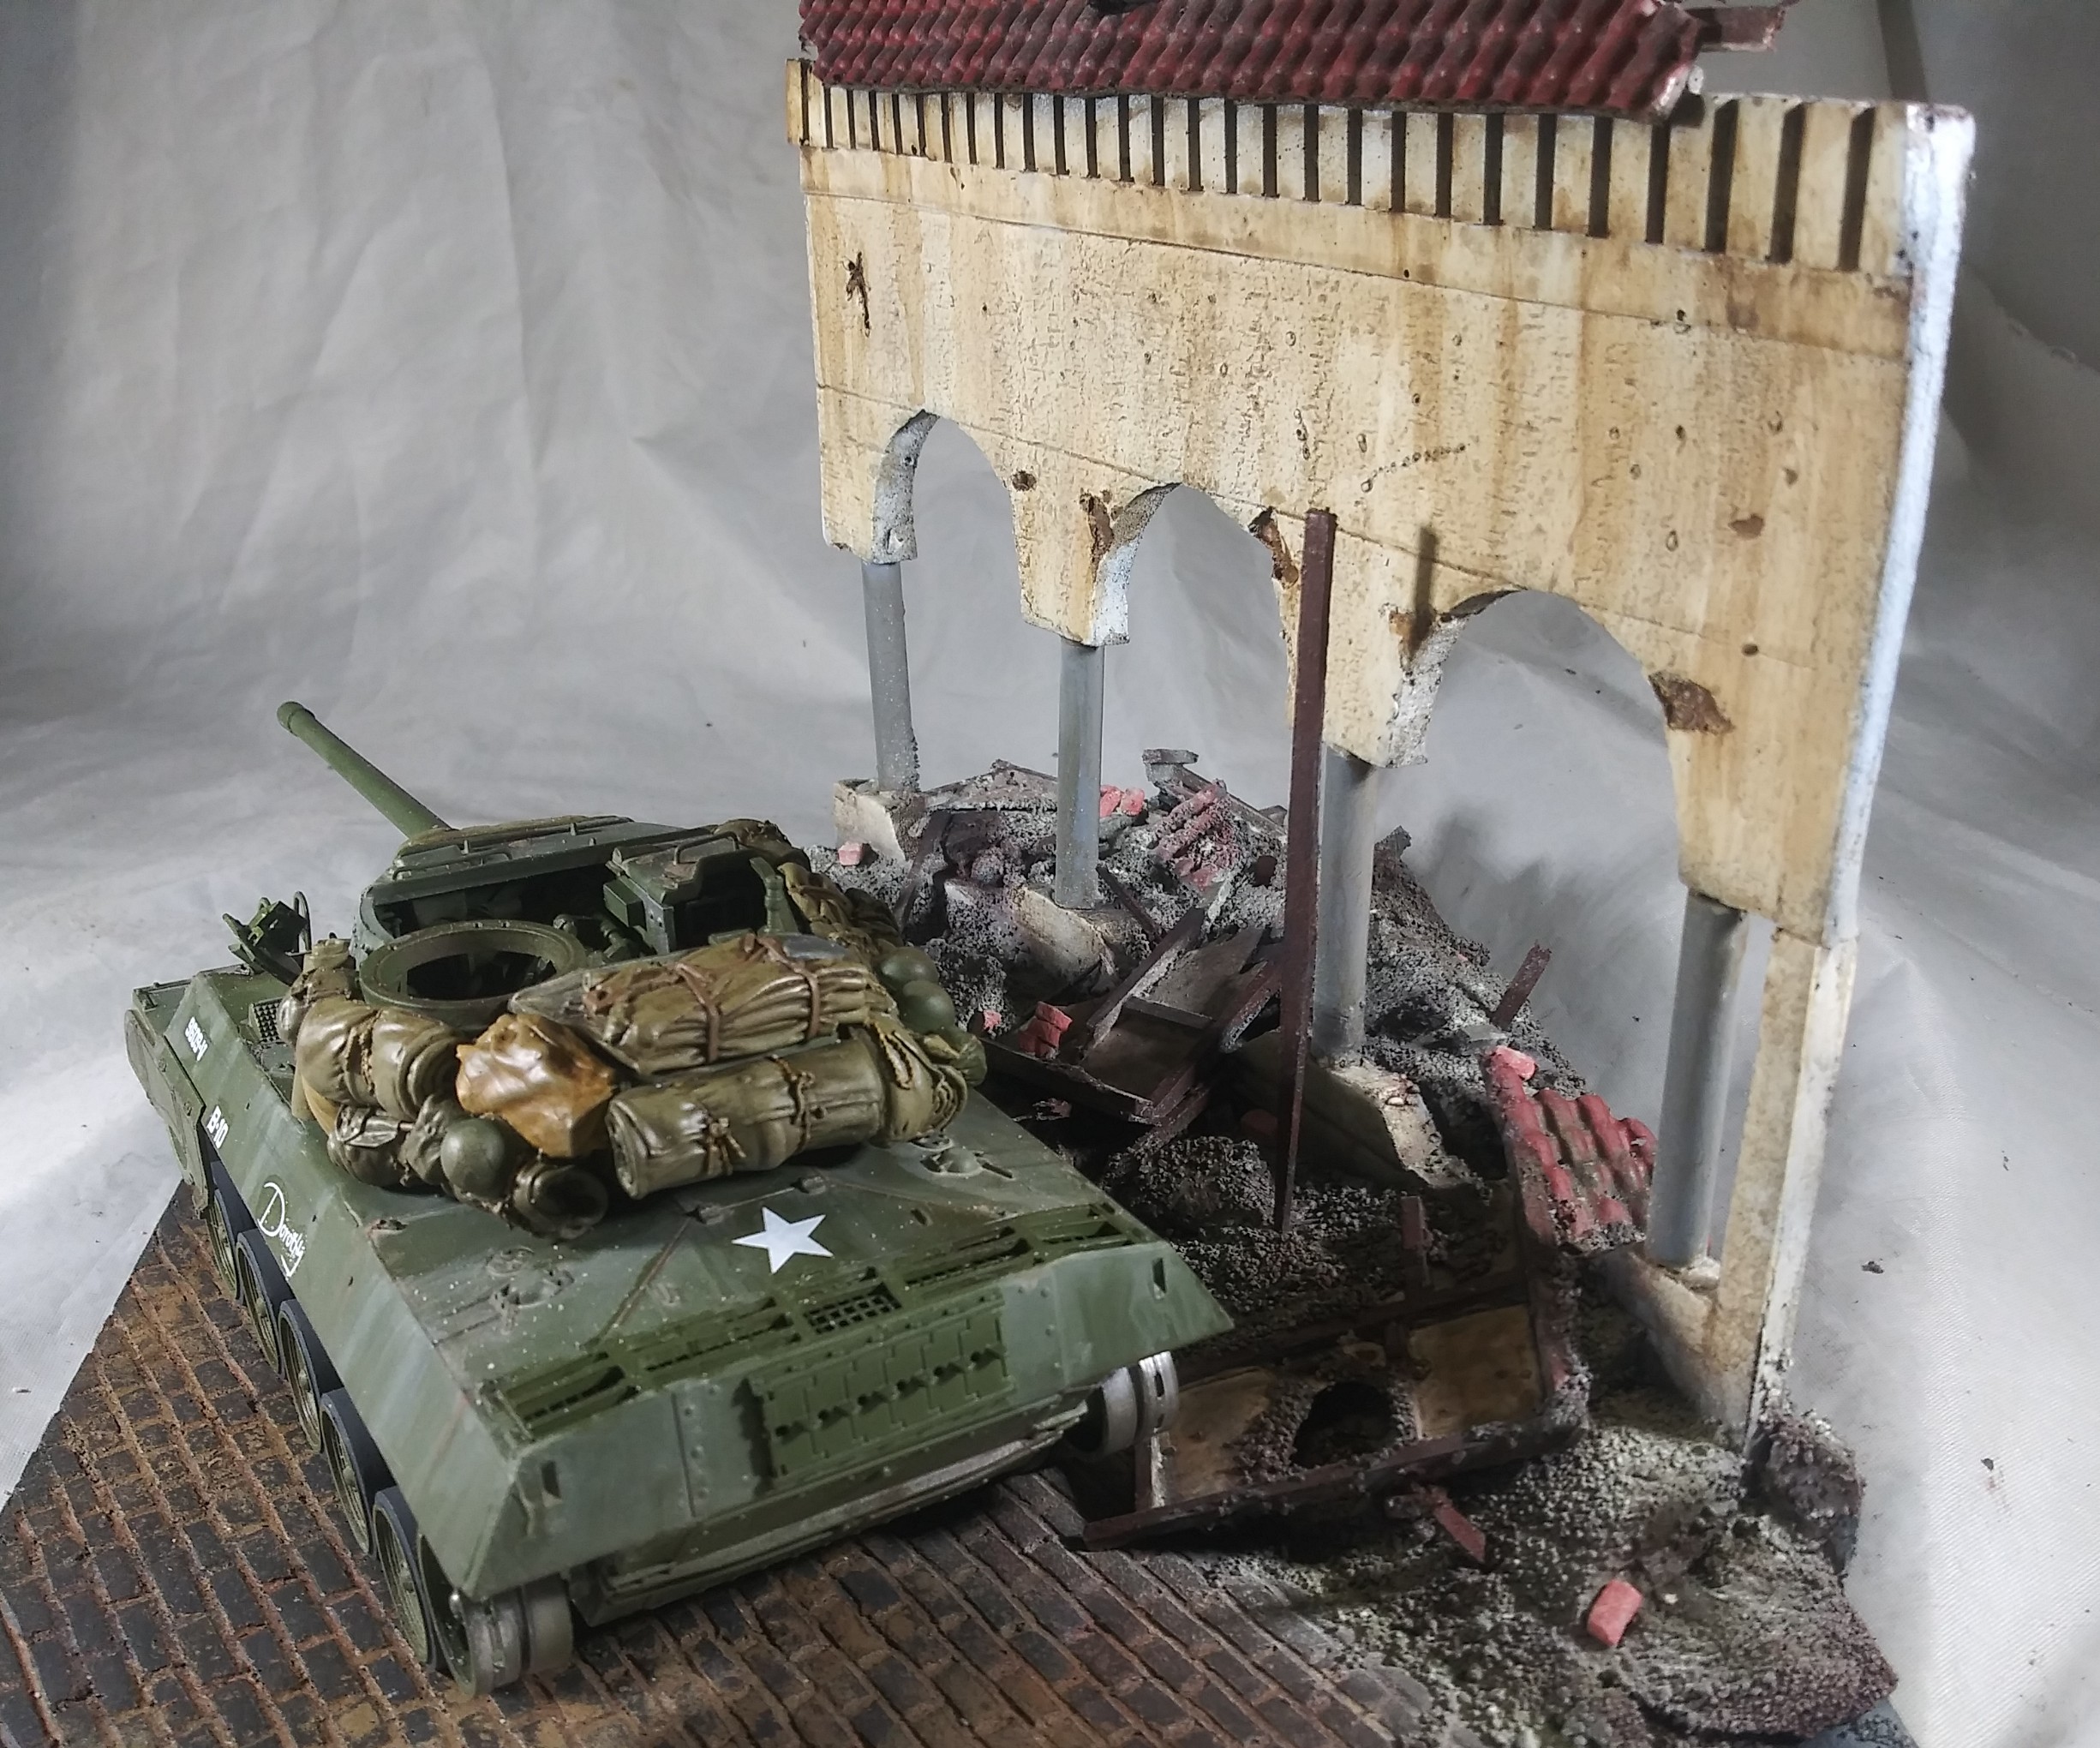
I find it easier to match the vehicle to the environment . That is why I get the vehicle mostly complete , then focus on the base to tell me which way to weather the vehicle.
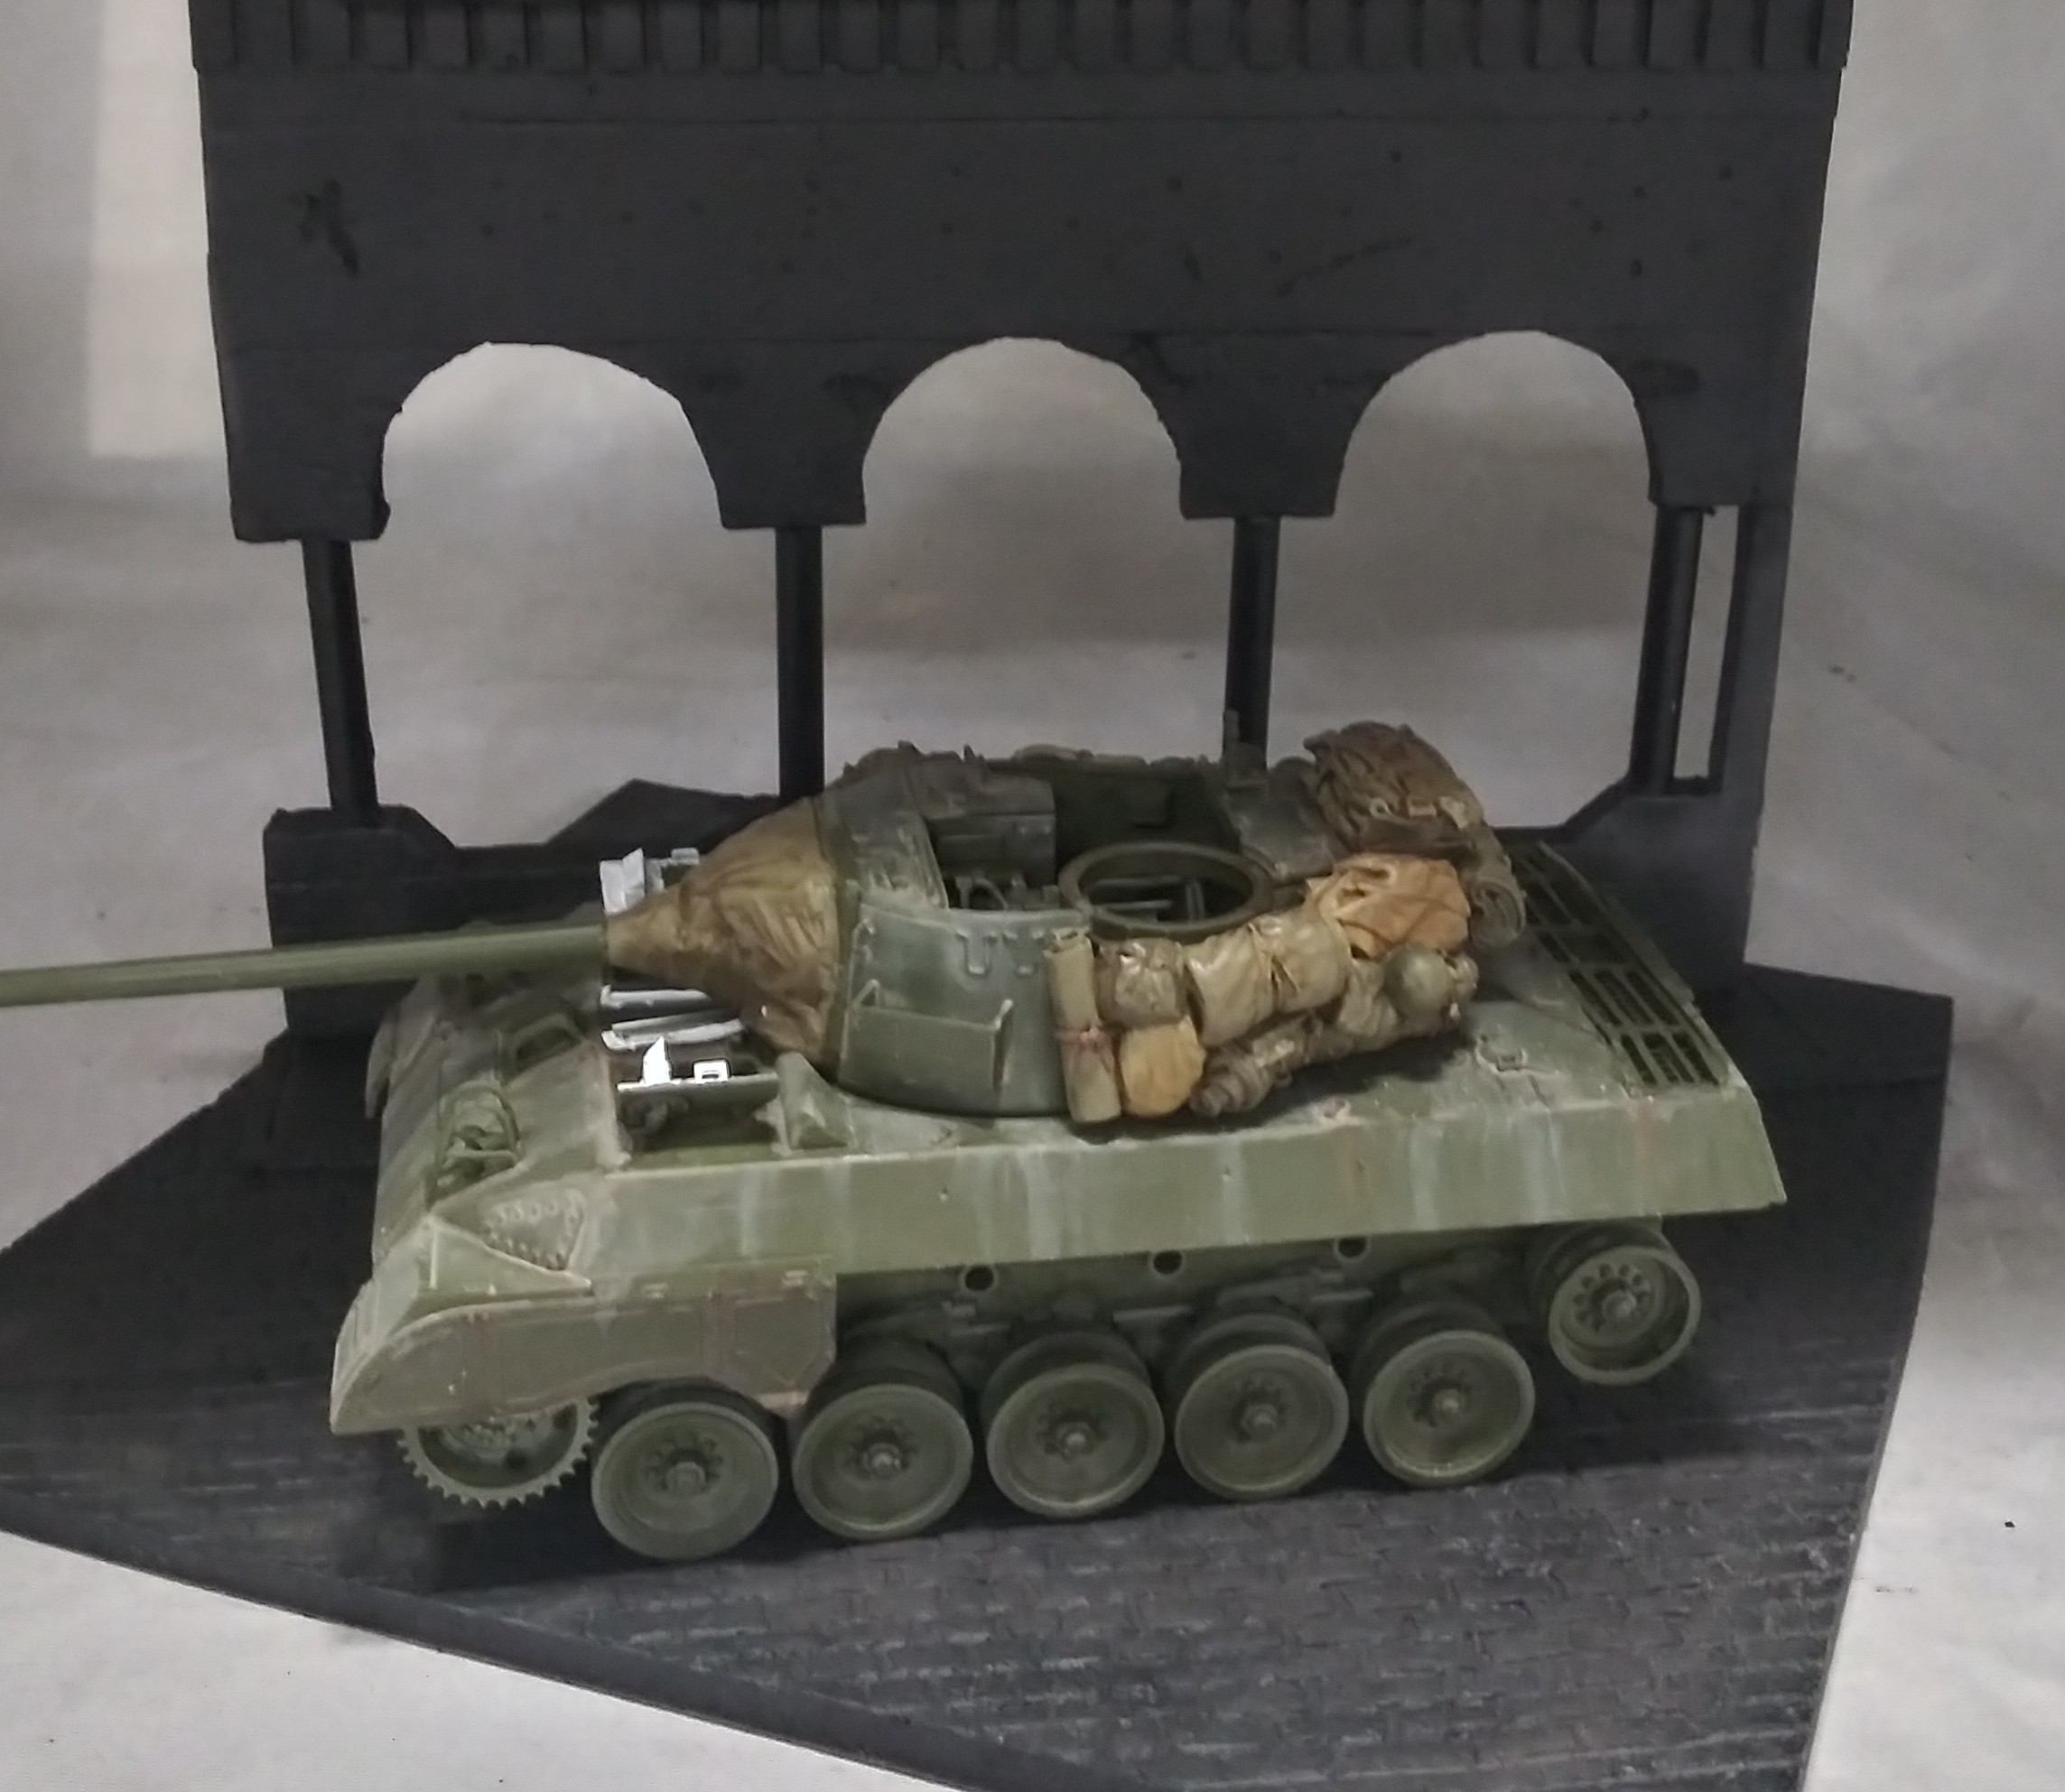
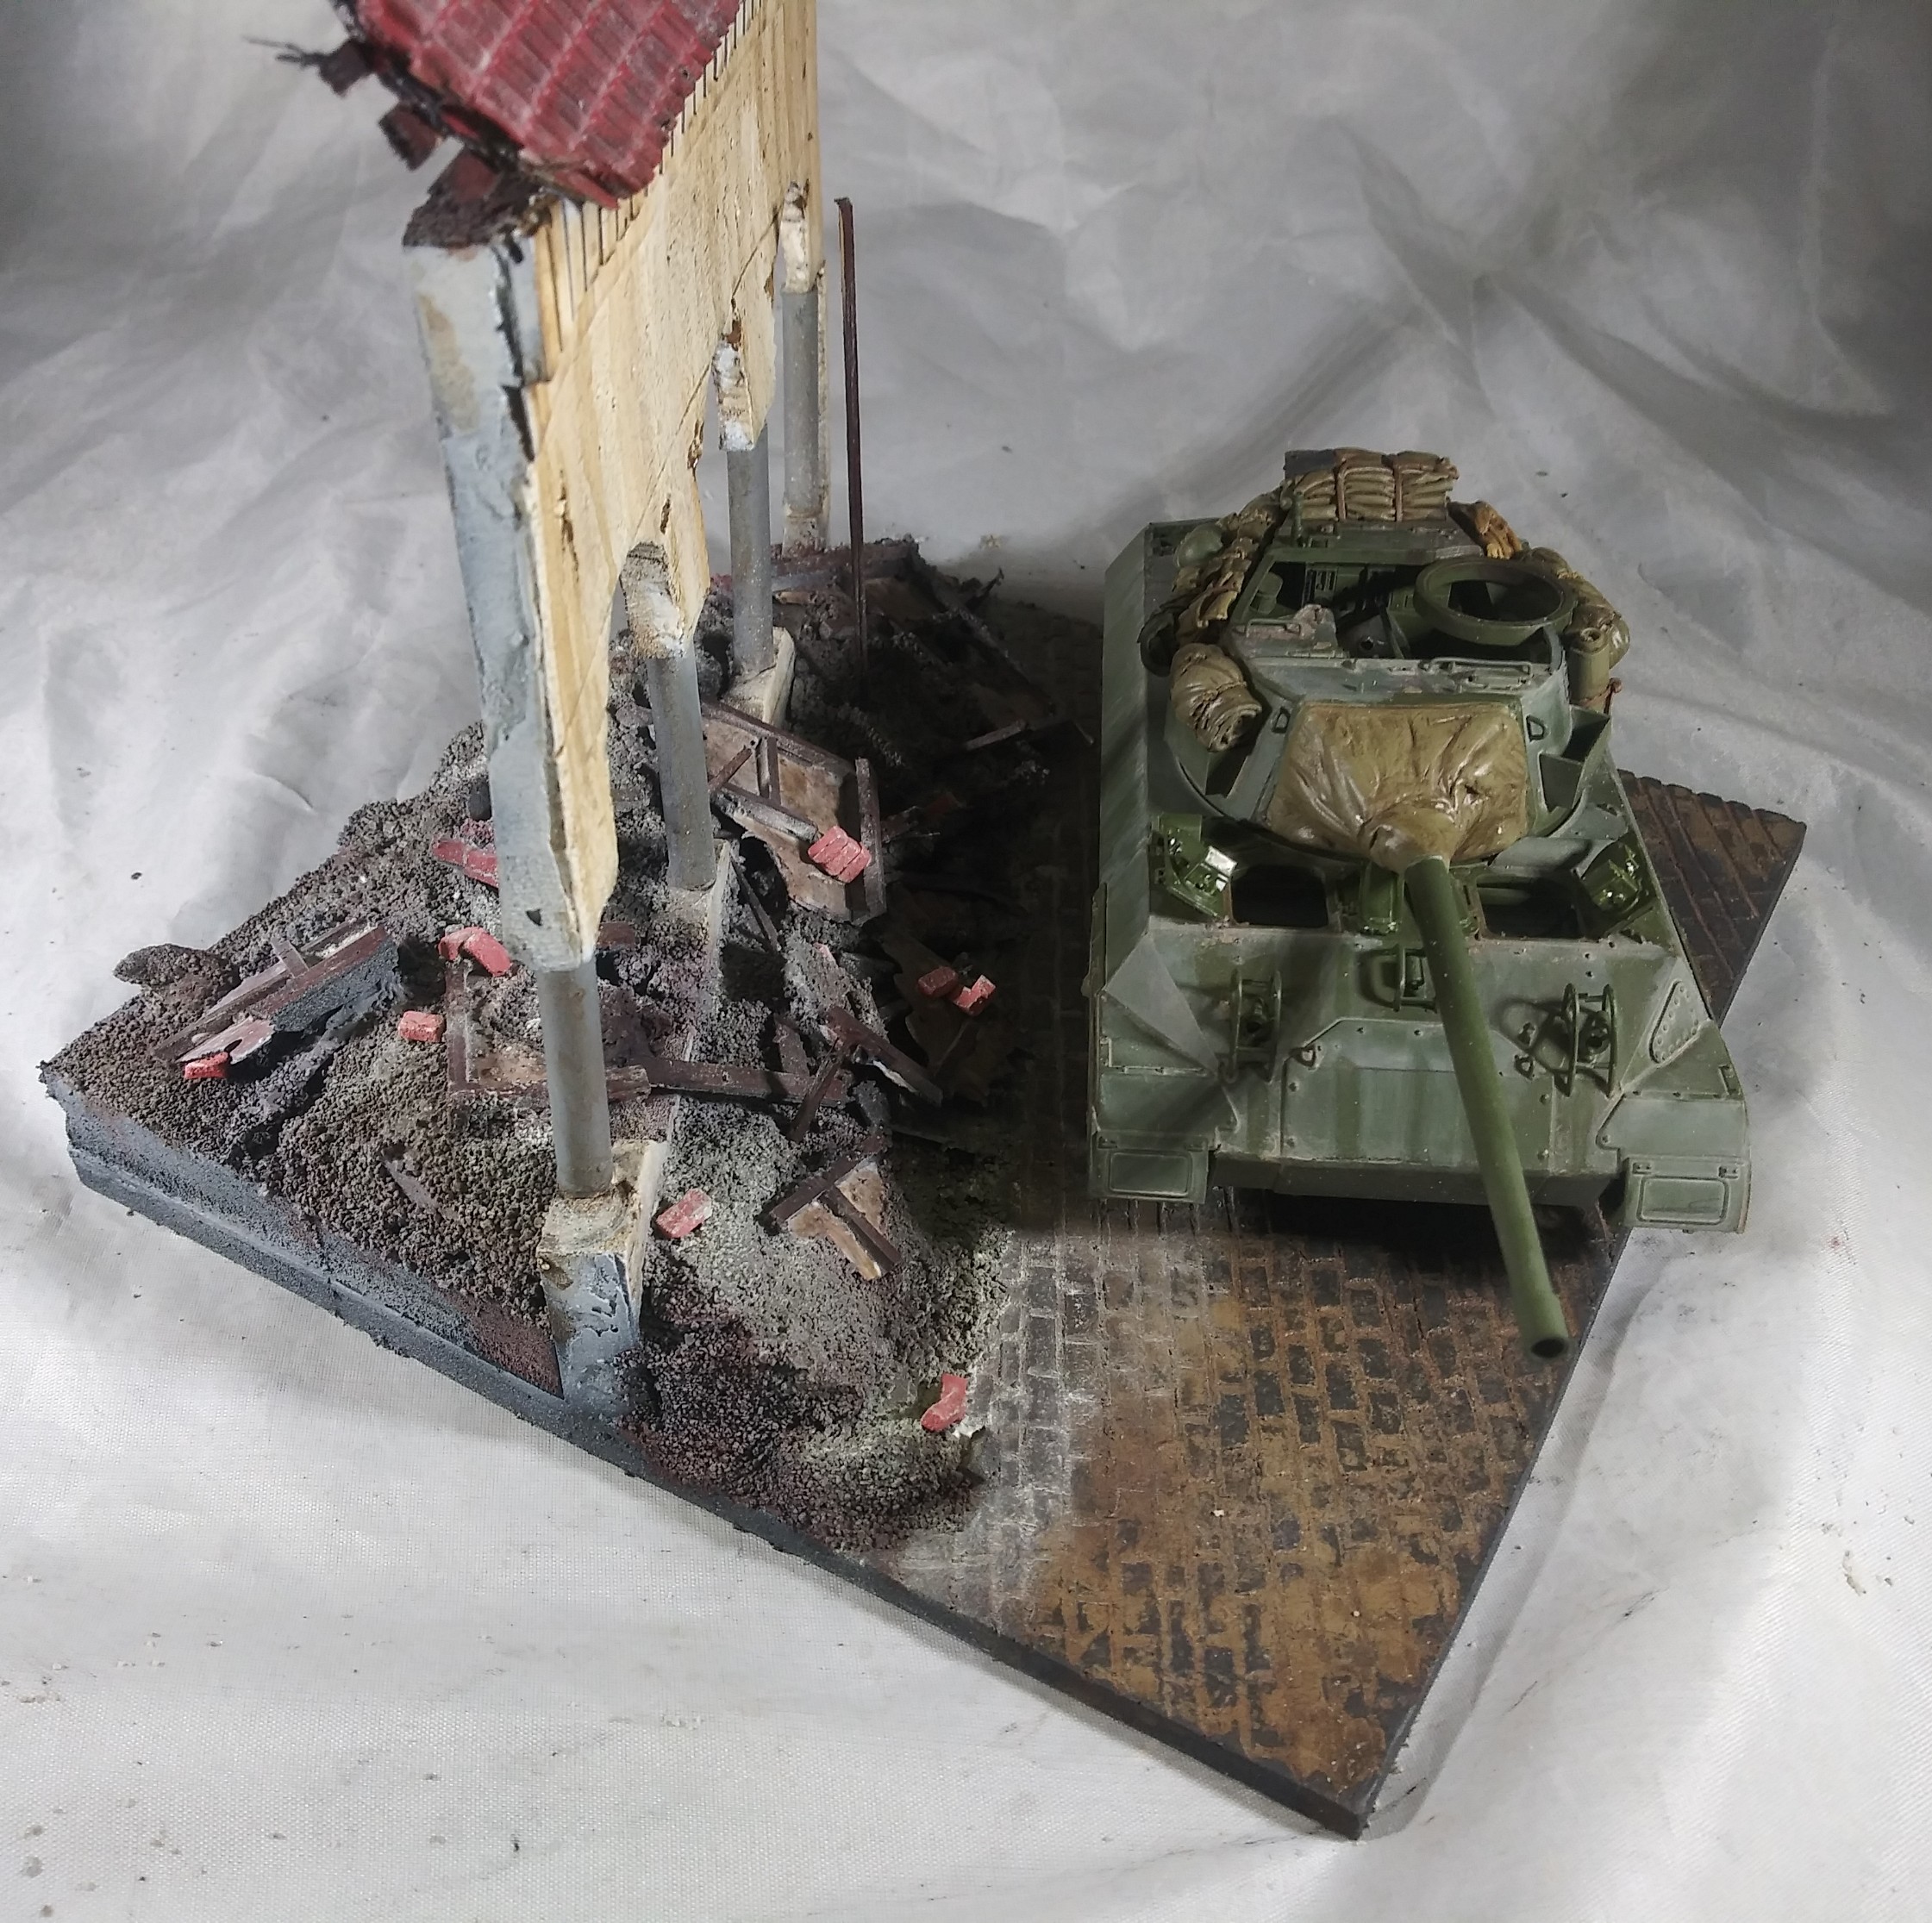
I realized that I hadn’t added the markings yet so now that is done . The debris still has too much of the concrete dust tone to it .A couple more layers to the debris and it should be good to go .
Looks great Chris! What figures are you going to use? Keep up the good work!
Nick . Im not sure what figs ill use . Any suggestions on a figure set.
I know the debris looks like absolute crap at this stage . The following layers will tie it all together … I was hesitant to show it at this stage, but it’s part of thw sbs
You and I have very different definitions of the word “crap” apparently.
@Canmedic . Thanks bro. Yes crap is in the eye of the beholder. I see things that still need doing . May not get to it today but tomorrow definitely.