The "L"s are also for the guards around the antennas. The guards angle in on each end.
3 Likes

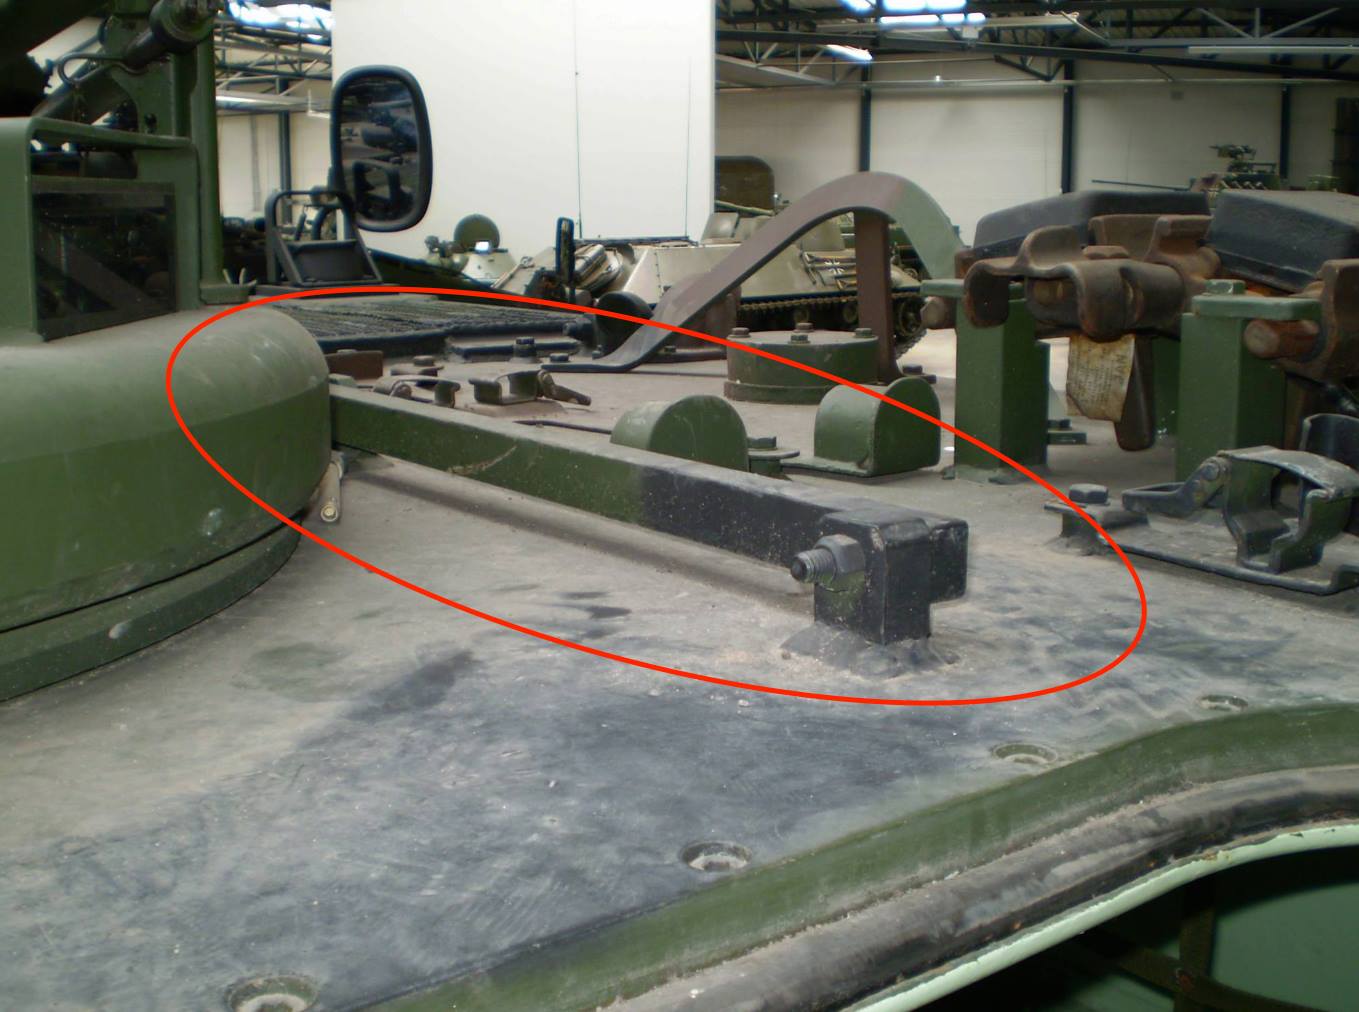
Well. Because the IDF didn’t use the guards on my versions, they come off. Is there a better photo of the “engine deck support rod” the molded on one is bad enough to require replacement. I will probably have to scratch one and need some detail to work off of.
Thank you who answered. Strange thing. In every motor pool I have worked in, there were trucks and tanks. “Other” military vehicles were somewhere else. So. I have never ridden in an APC, Stryker, LAV or AAV. You would think with a combined arms team you would have grunts use to being on and around tanks and tankers being use to being on and around grunt taxi’s but no.
2 Likes
That’s how I used to do IDF tracks. But now I’d need references. Did they just cut off the guards or did they grind the welds down afterward as well? I never really looked.
1 Like
I am going to research myself. However I think any organization that cuts something off will grind smooth and paint. I will post what I find here.

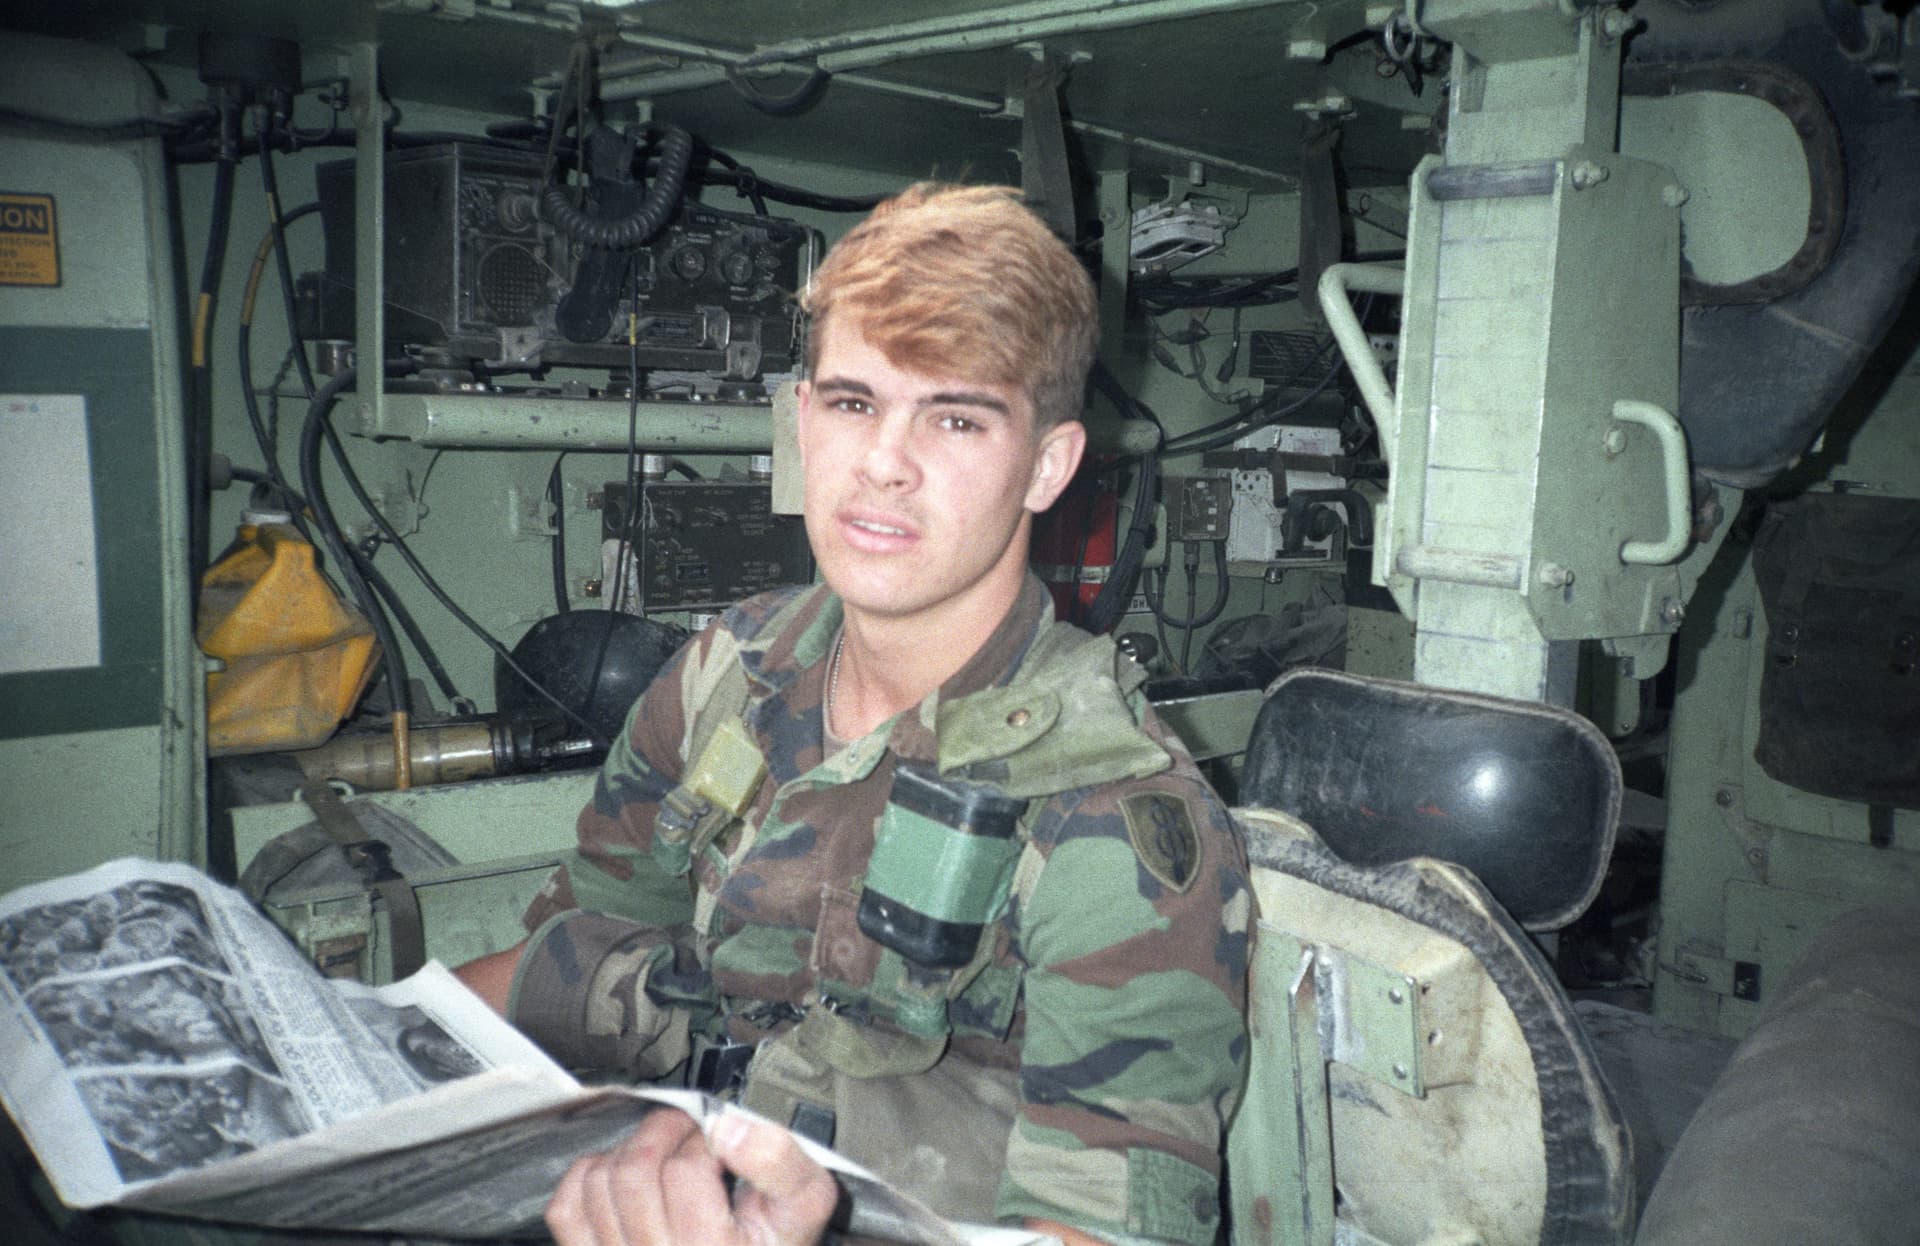
Lady TC and gunner!


2 Likes
If you are building the Zelda with armor, this is an interesting picture.

This shows the old style mounted to the front and the new type on the side. However it appears the newer style is just attached to the older style
. You can see where a piece of the newer type is missing, leaving the older one visible.
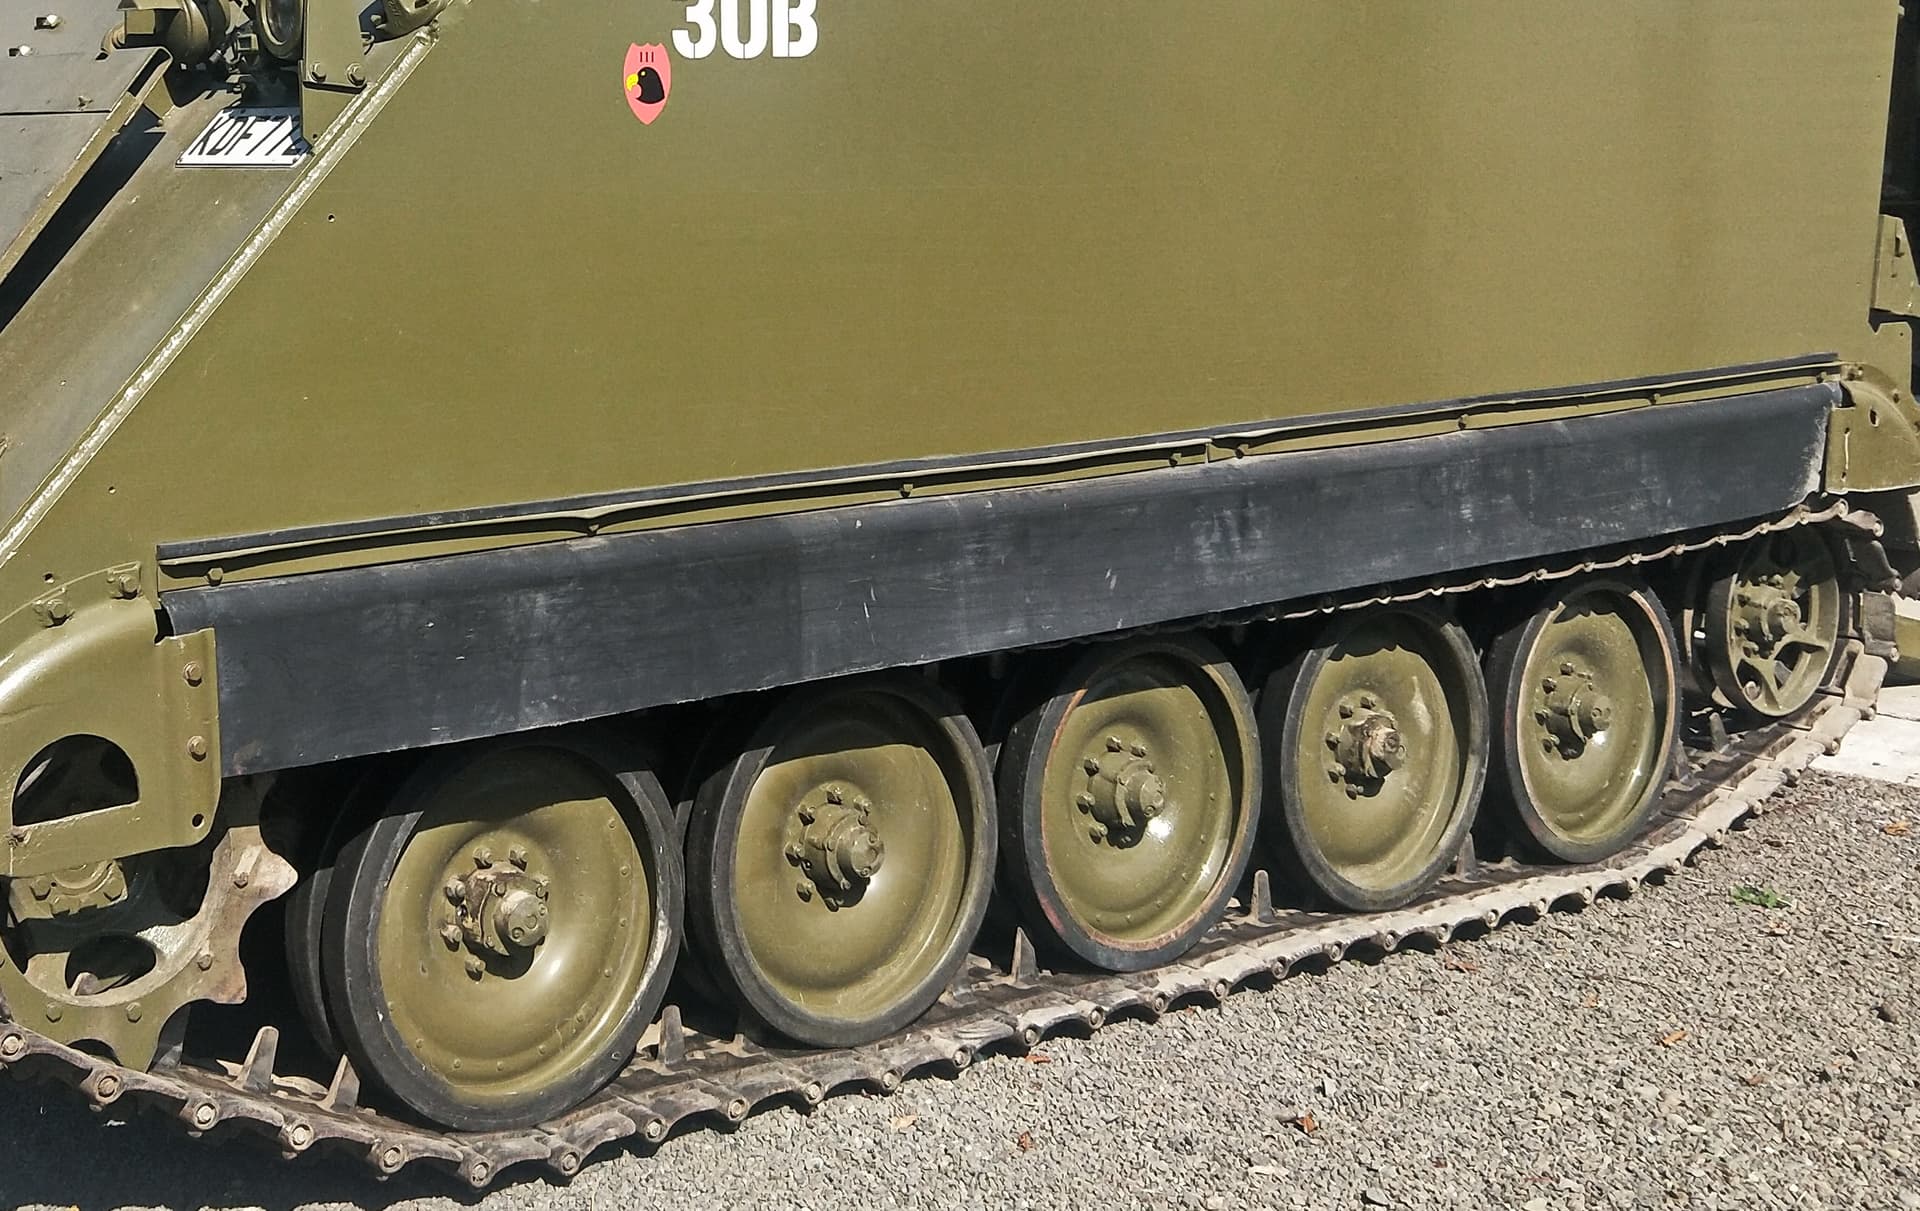
Must be heavily weighted as the Idler is so close to the ground.
Notice the hand painted markings? the black shadow on the chevron is running across the chevron. Nice rust stains from the hinges.
3 Likes
inside all hatches etc are always external colour
the sides parts are called track shrouds and the main part was rubber and was bolted on the with metal end plates then pieces of angle iron bolted on over the top part. IDF didn’t use them as they were more to help with floatation swimming. our Kiwi ones we shortened as it helped keep dust down also
is this what you were asking about for the engine deck support rod?


8 Likes
under the seats there isnt that much. we wrapped rags on the legs and taped them as the rubber ends would wear out after a while

4 Likes

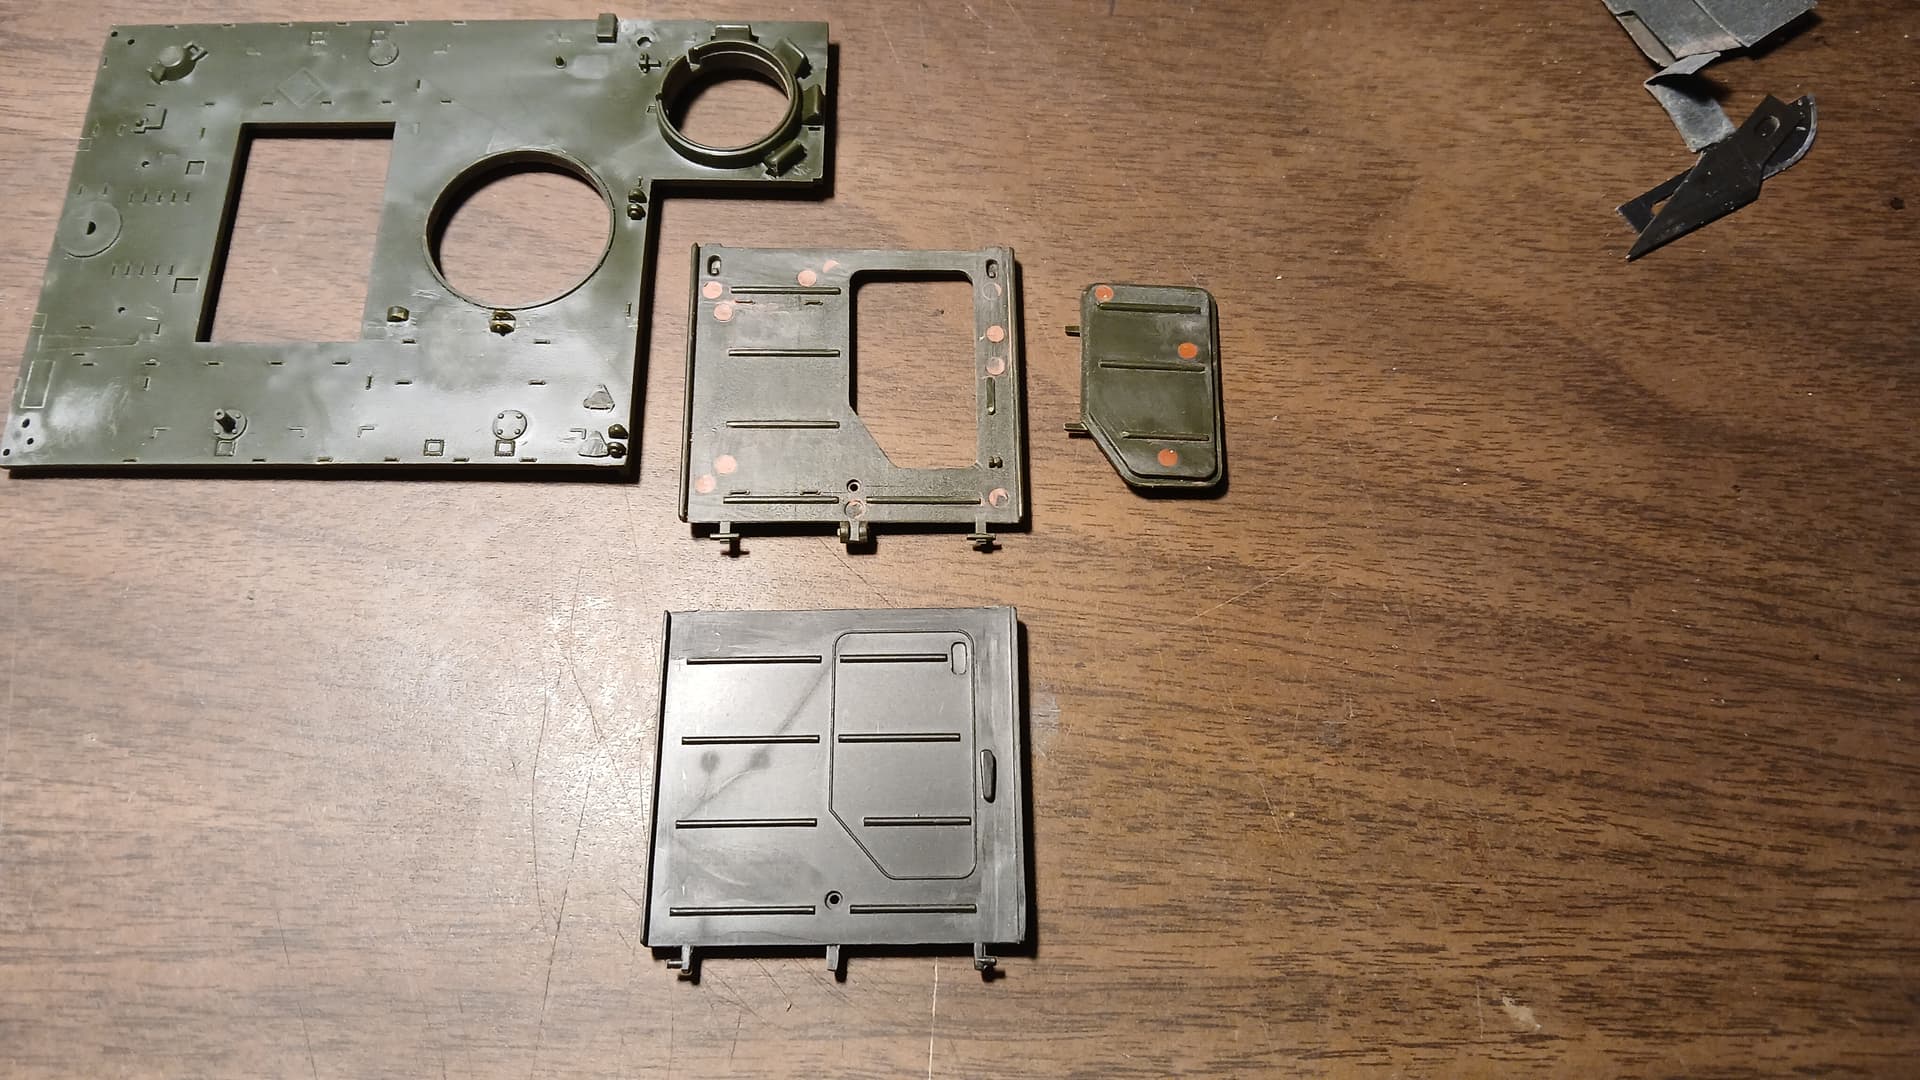
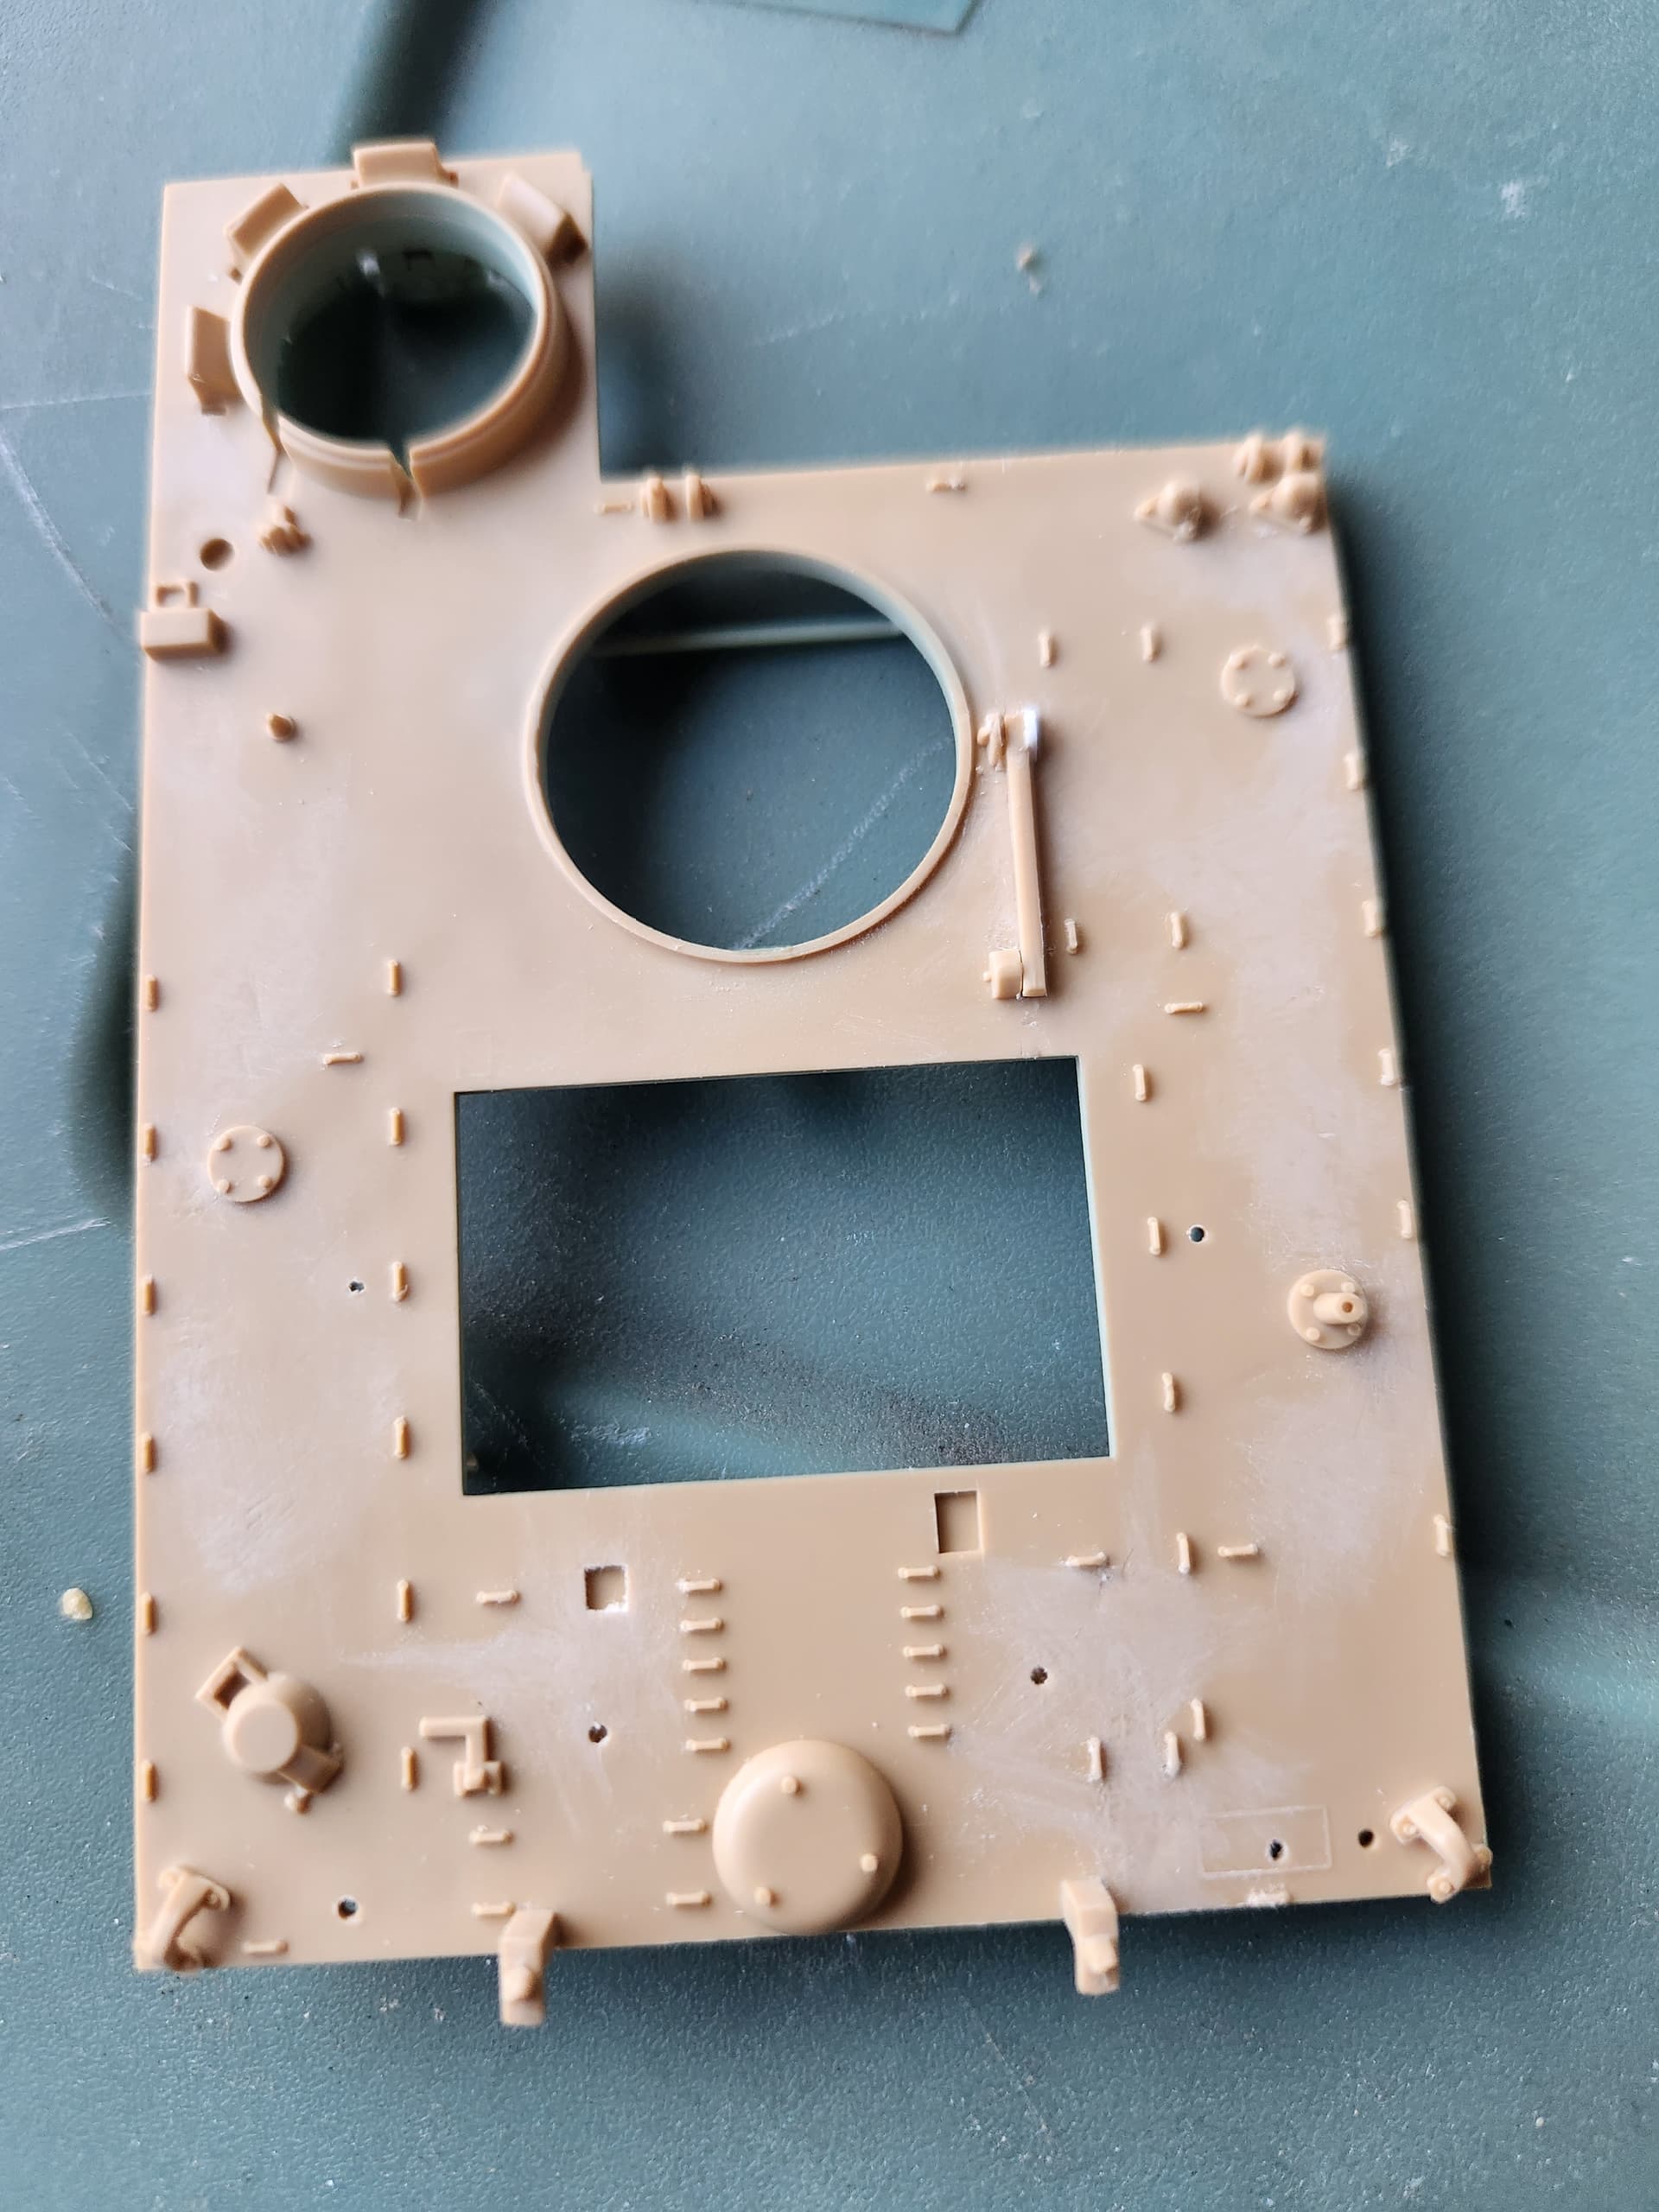
Greg @TopSmith, looks like we’re at about the same stage in our builds, deliberating what needs to be removed from the crew cabin top plate, as already pointed out the location points for the antenna brush guards are either side of the hull top, I shaved the engine deck jack stand off and will replace it with a peice of plastic. I also shaved the cabin heater exhaust vents since my M132 will be heater delete. I’ve replaced the rear deployment ramp with one from a Tamiya ACAV kit because 1. The Academy ramp, with a separate entry door will be used on a future M577. and 2. The Tamiya ramp was easier to clean up the ejector punches.
Thanks Mark @NZTankie for your pic of the M113 interior sans floor plates, now I know to paint the whole interior . . .
Cajun ![]()
6 Likes
I plan on having the top hatches open but the rear deck closed.
You made your own engine deck jack stand mounts or parts from the ben?
1 Like
I just carved the molded on rod from the hinge and lock down block and will make up a jack stand from some plastic. ![]()
Cajun ![]()
1 Like
Nice work!
1 Like
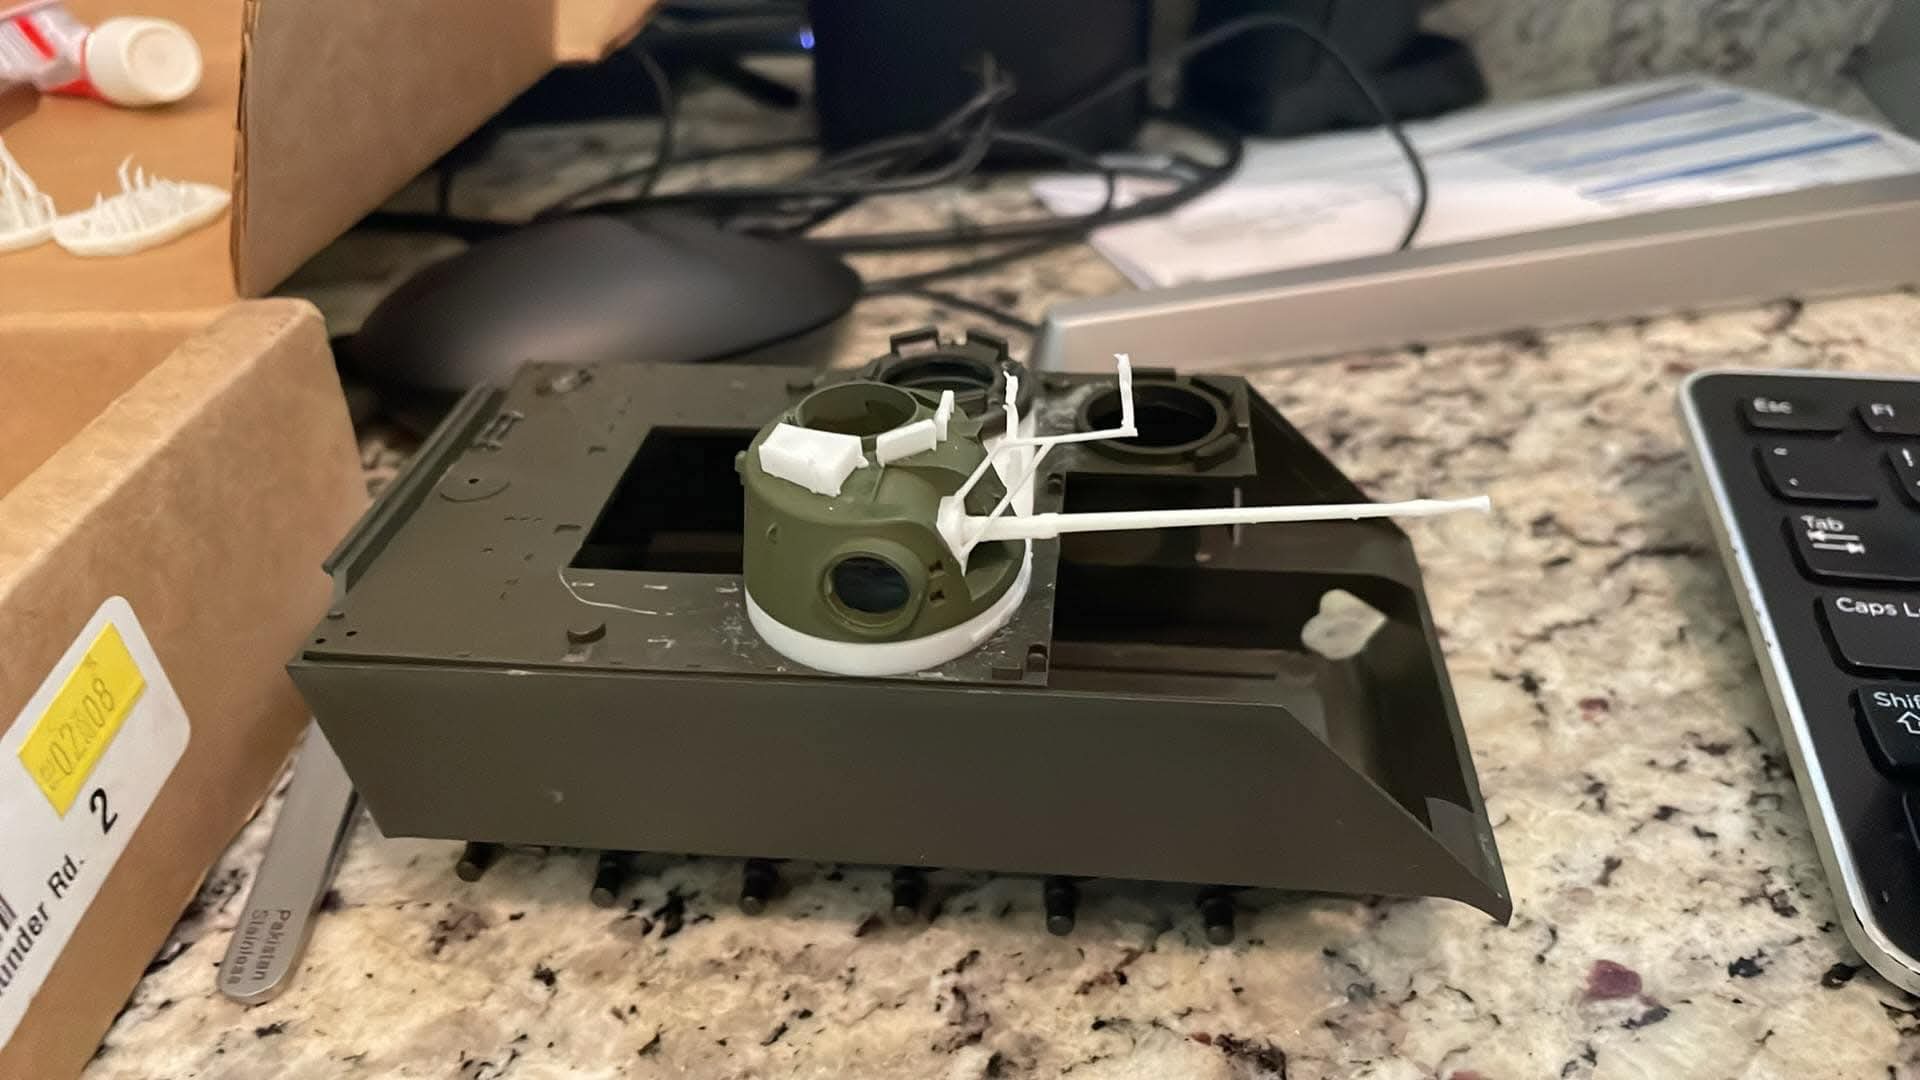
Quite a bit of cutting and sanding of all the various mounting points for other versions. Replaced the molded on engine deck support with a scratched one.
5 Likes
no problems
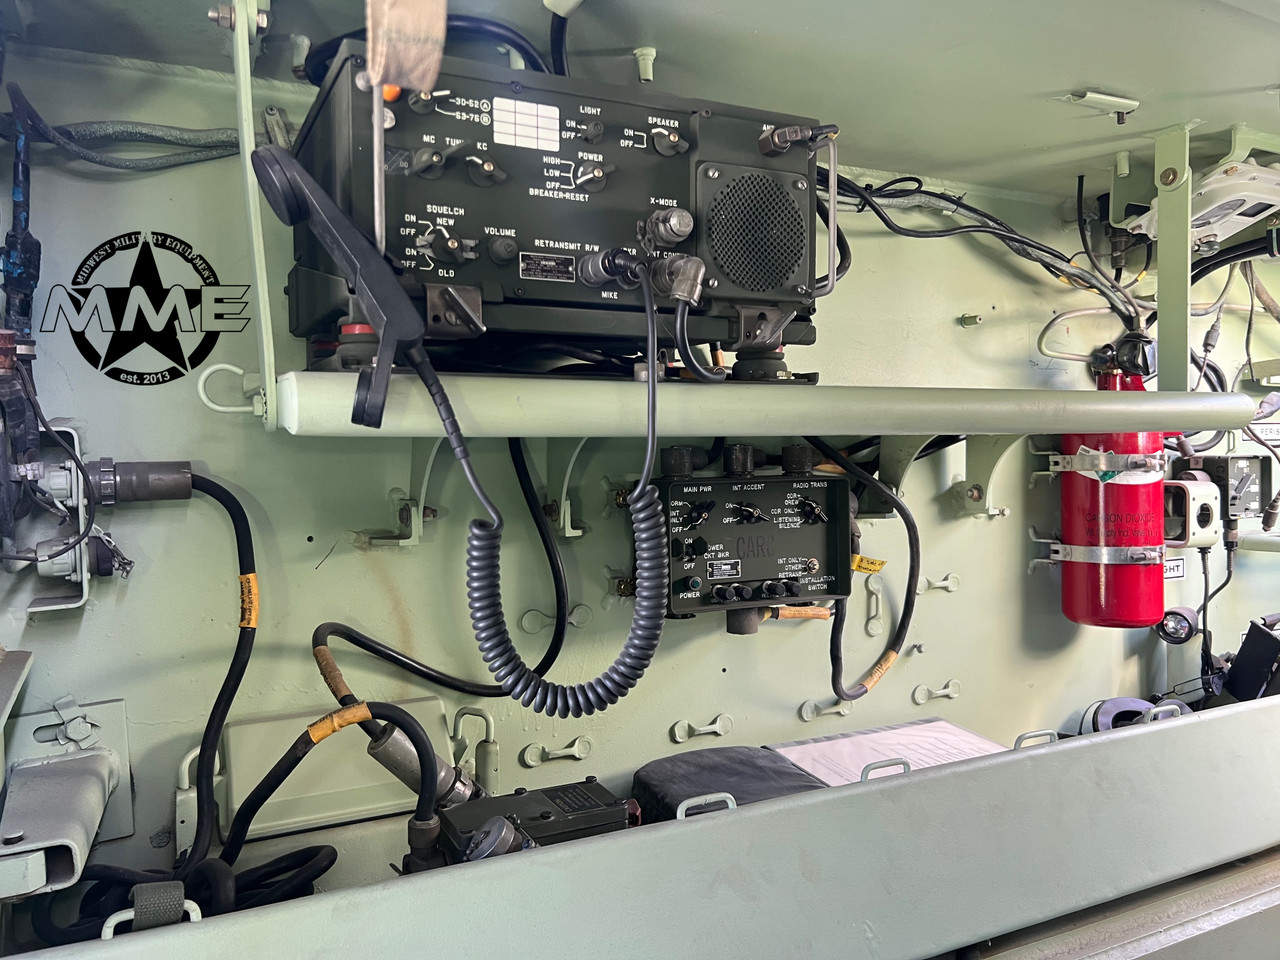
can see here the hydraulic ram for the ramp and rear bilge pump at the right side. we always taped out torsion bars as you were not supposed to handle them without gloves. i don’t know why they didn’t put heat shrink on them out of the factory.

he did find some brass and links under the drivers bay floor plates while he was in there from when it was in service (just over 20 odd years ago)
its a shame on the Andys Hobbies kit they cut off the top of the torsion bar anchors so you could have a floor plate removed although would be easy enough to fix them and build the sub structure

not my pic but a pic of a cleaner looking ram and bulge pump. you can see the rubber vibration pads on the runners here also.
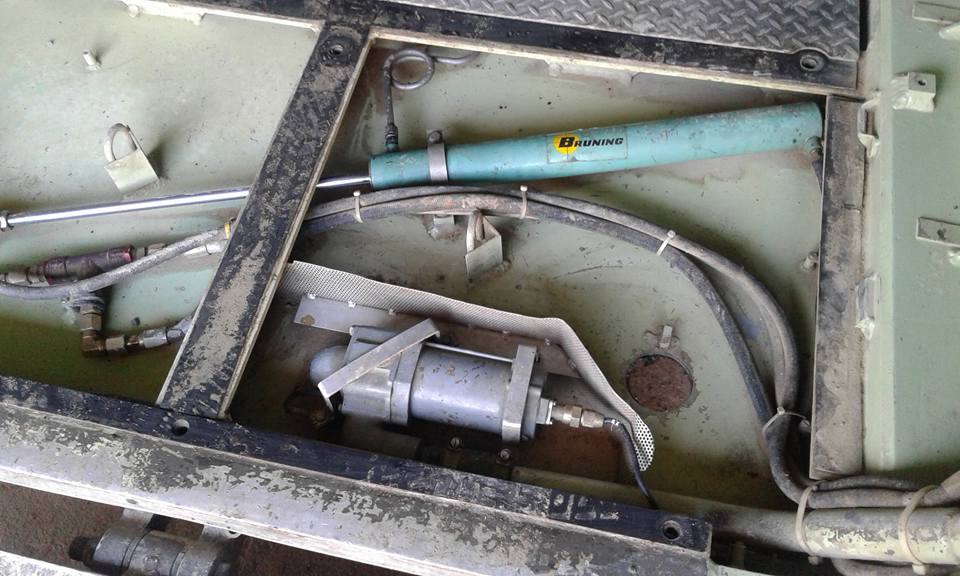
Engine bays are not normally as clean

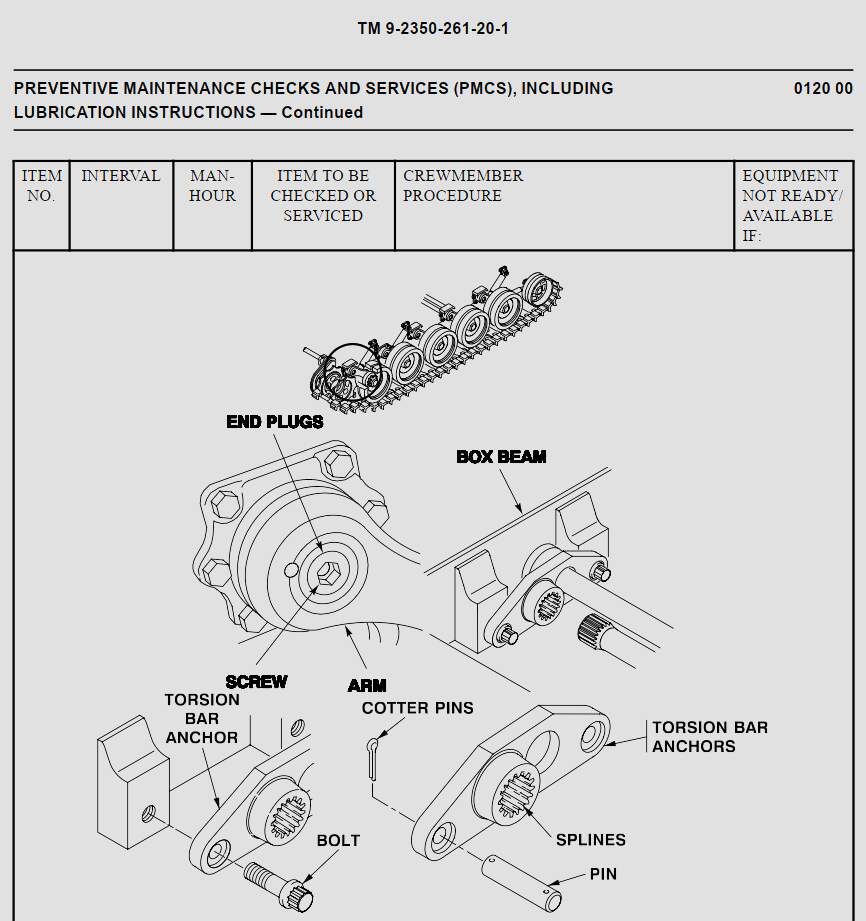
torsion bar anchors shape - this shows them bolted in but every one i have seen like in my picks is fitted in with main pins and split pins to anchor them. maybe later variants like A2’s and A3’s that they bolted them in
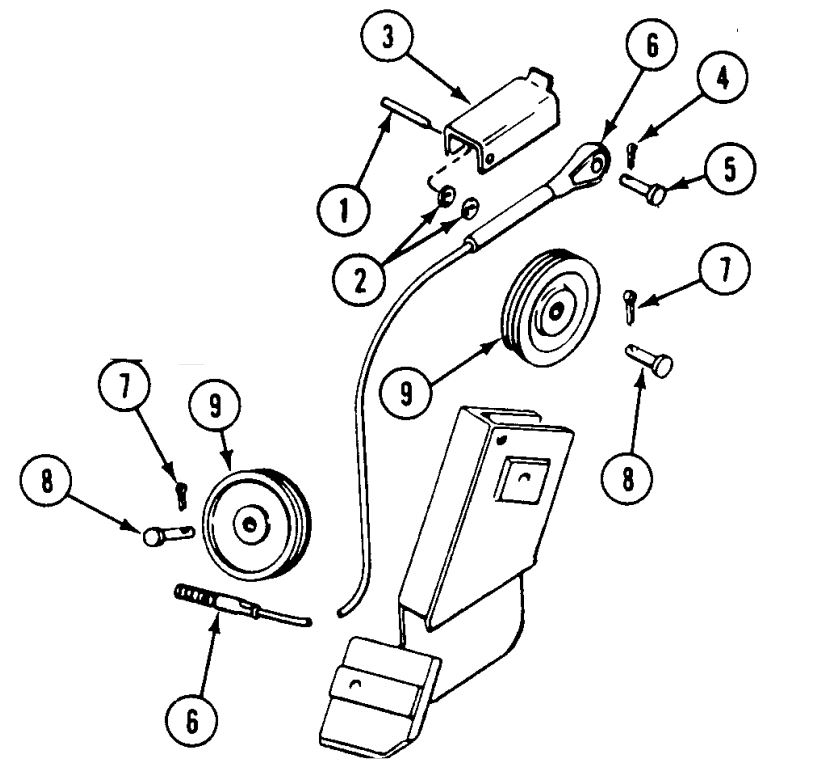
this is how the ramp cable connects

if you want any other reference stuff i have hundreds of pics and manuals also
3 Likes


Working on revisions to my printed resin design for 1/35 Norwegian NM135 Stormpansarvogn conversion using the Tamiya base kit. Many fragile parts.
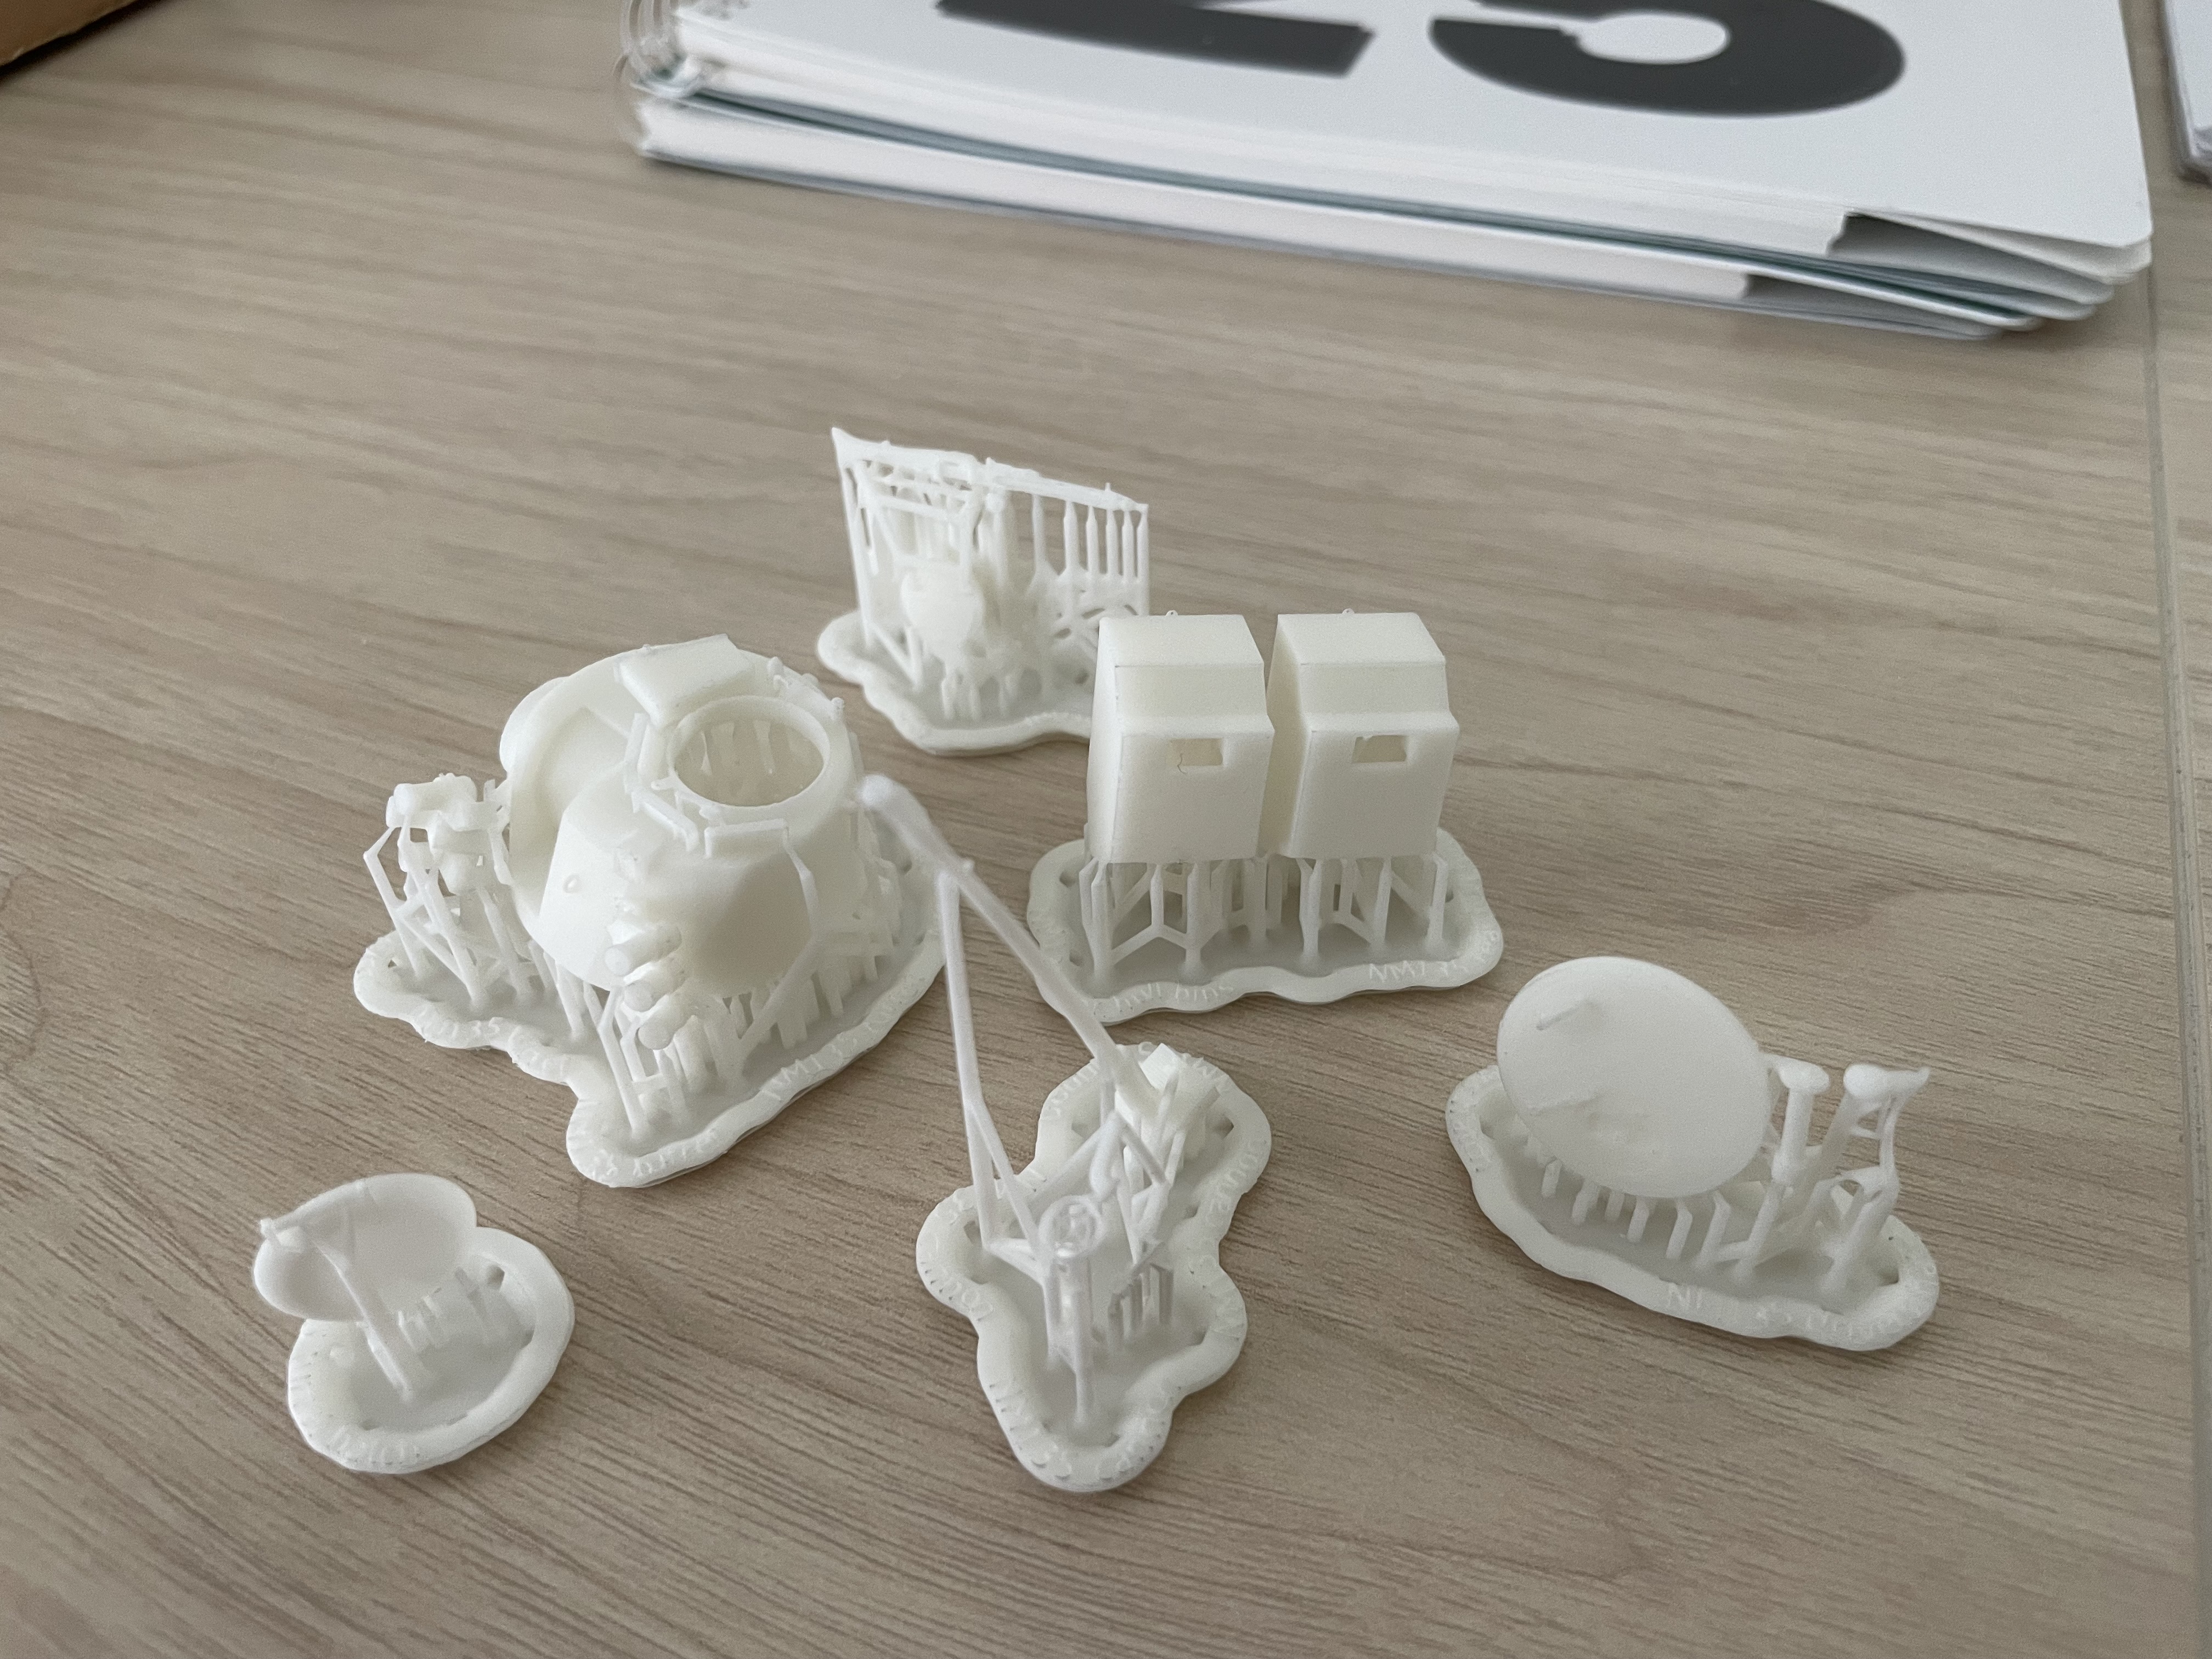

4 Likes
Today I have received two sets of AFV Club plastic track set. ONe of them is for the M106 kit I will build in this campaign, the other for the next M113 in the stash. Hope to upload the first build photo soon!
1 Like
I sympathize. I listened to old BBC radio comedy while building the M9
ACE tracks.
1 Like
I have a very eclectic playlist, but often like to listen to Pink Floyd when i build.
My wife and I went to see a Pink Floyd tribute band last Saturday. Like the every other tribute band we saw last year, they did not disappoint. I think their female vocalists are better than ghe origina.


I highly recommend them if they’re in a city near you.
4 Likes