Well, I grow up in the near of Fulda, home of the 11th cav regiment until 1994. I saw a lot of equipment, espcially during Reforger exercises. It was a good time as a child and I am very grateful to them for their service!
You’re very welcome! My father served in the 2nd ACR and was in Amberg. And it’s because he was stationed in Germany that I wound up being born in Munich. I went back with my family from 1962-1965 and lived in Goeppingen and in Neu Ulm. And then when I went into the Army I was stationed in Baumholder from 1972-1977. I spent many days and nights in the Fulda area conducting plenty of Field Training Exercises.
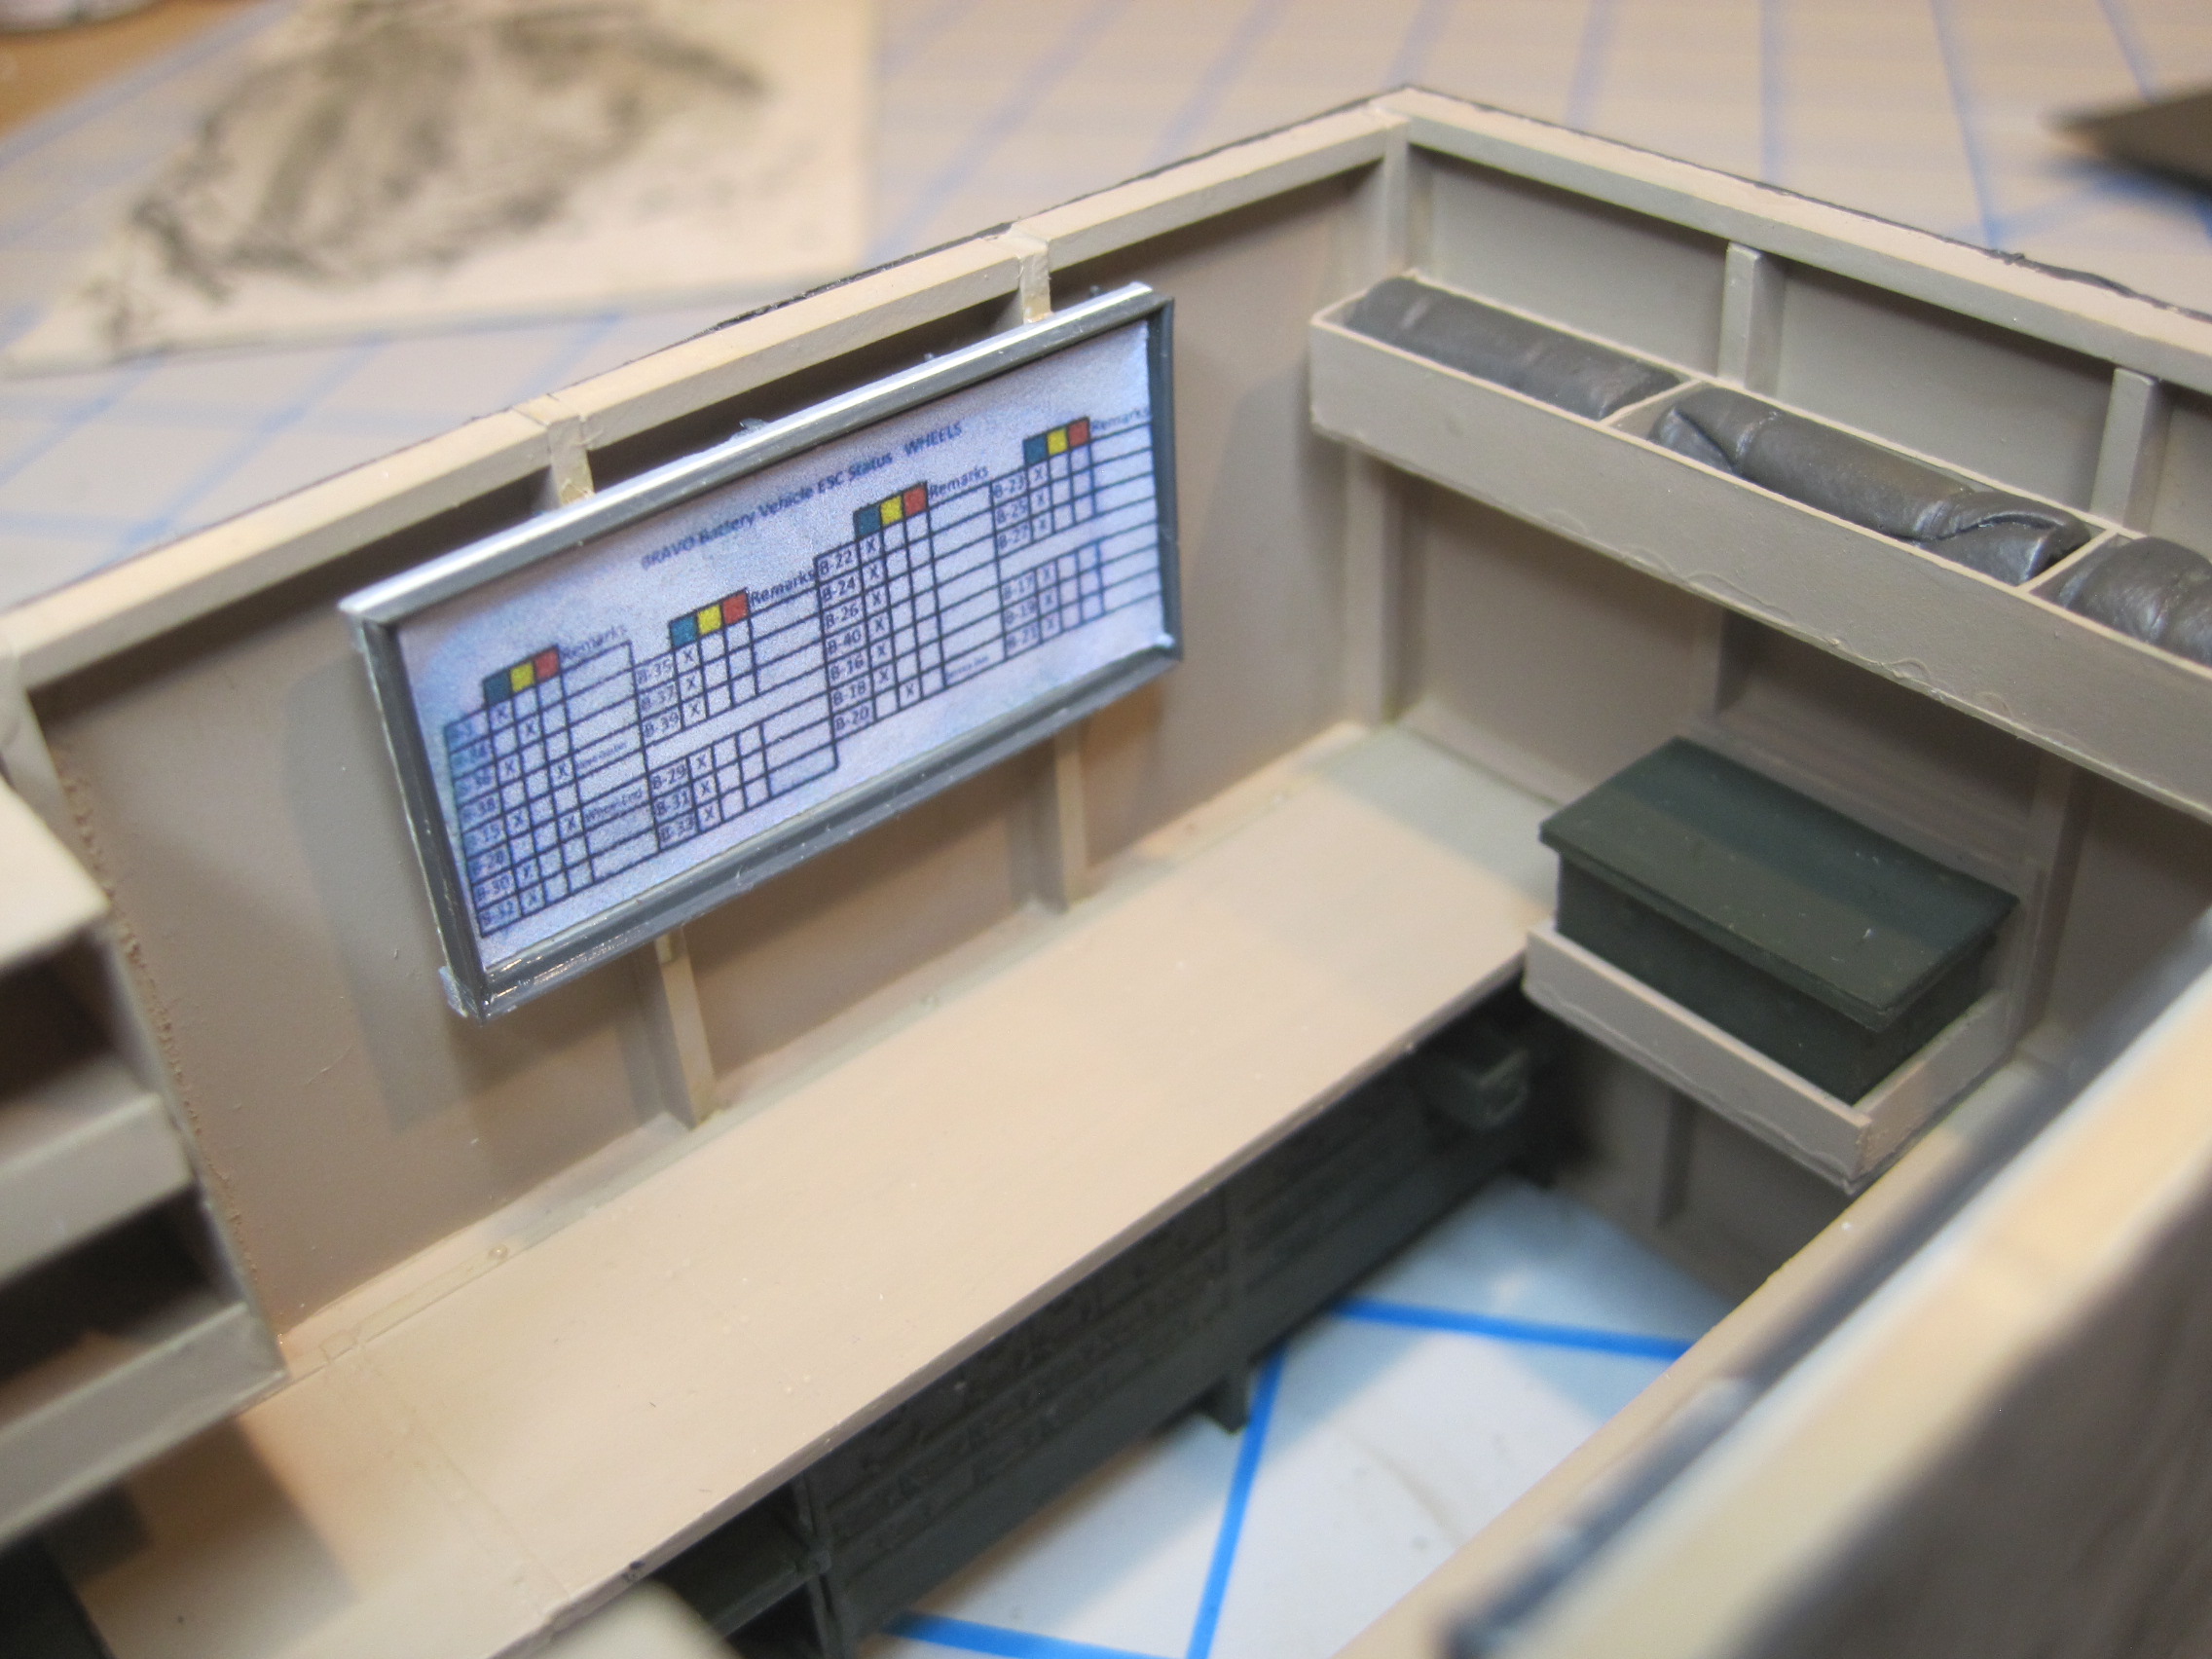
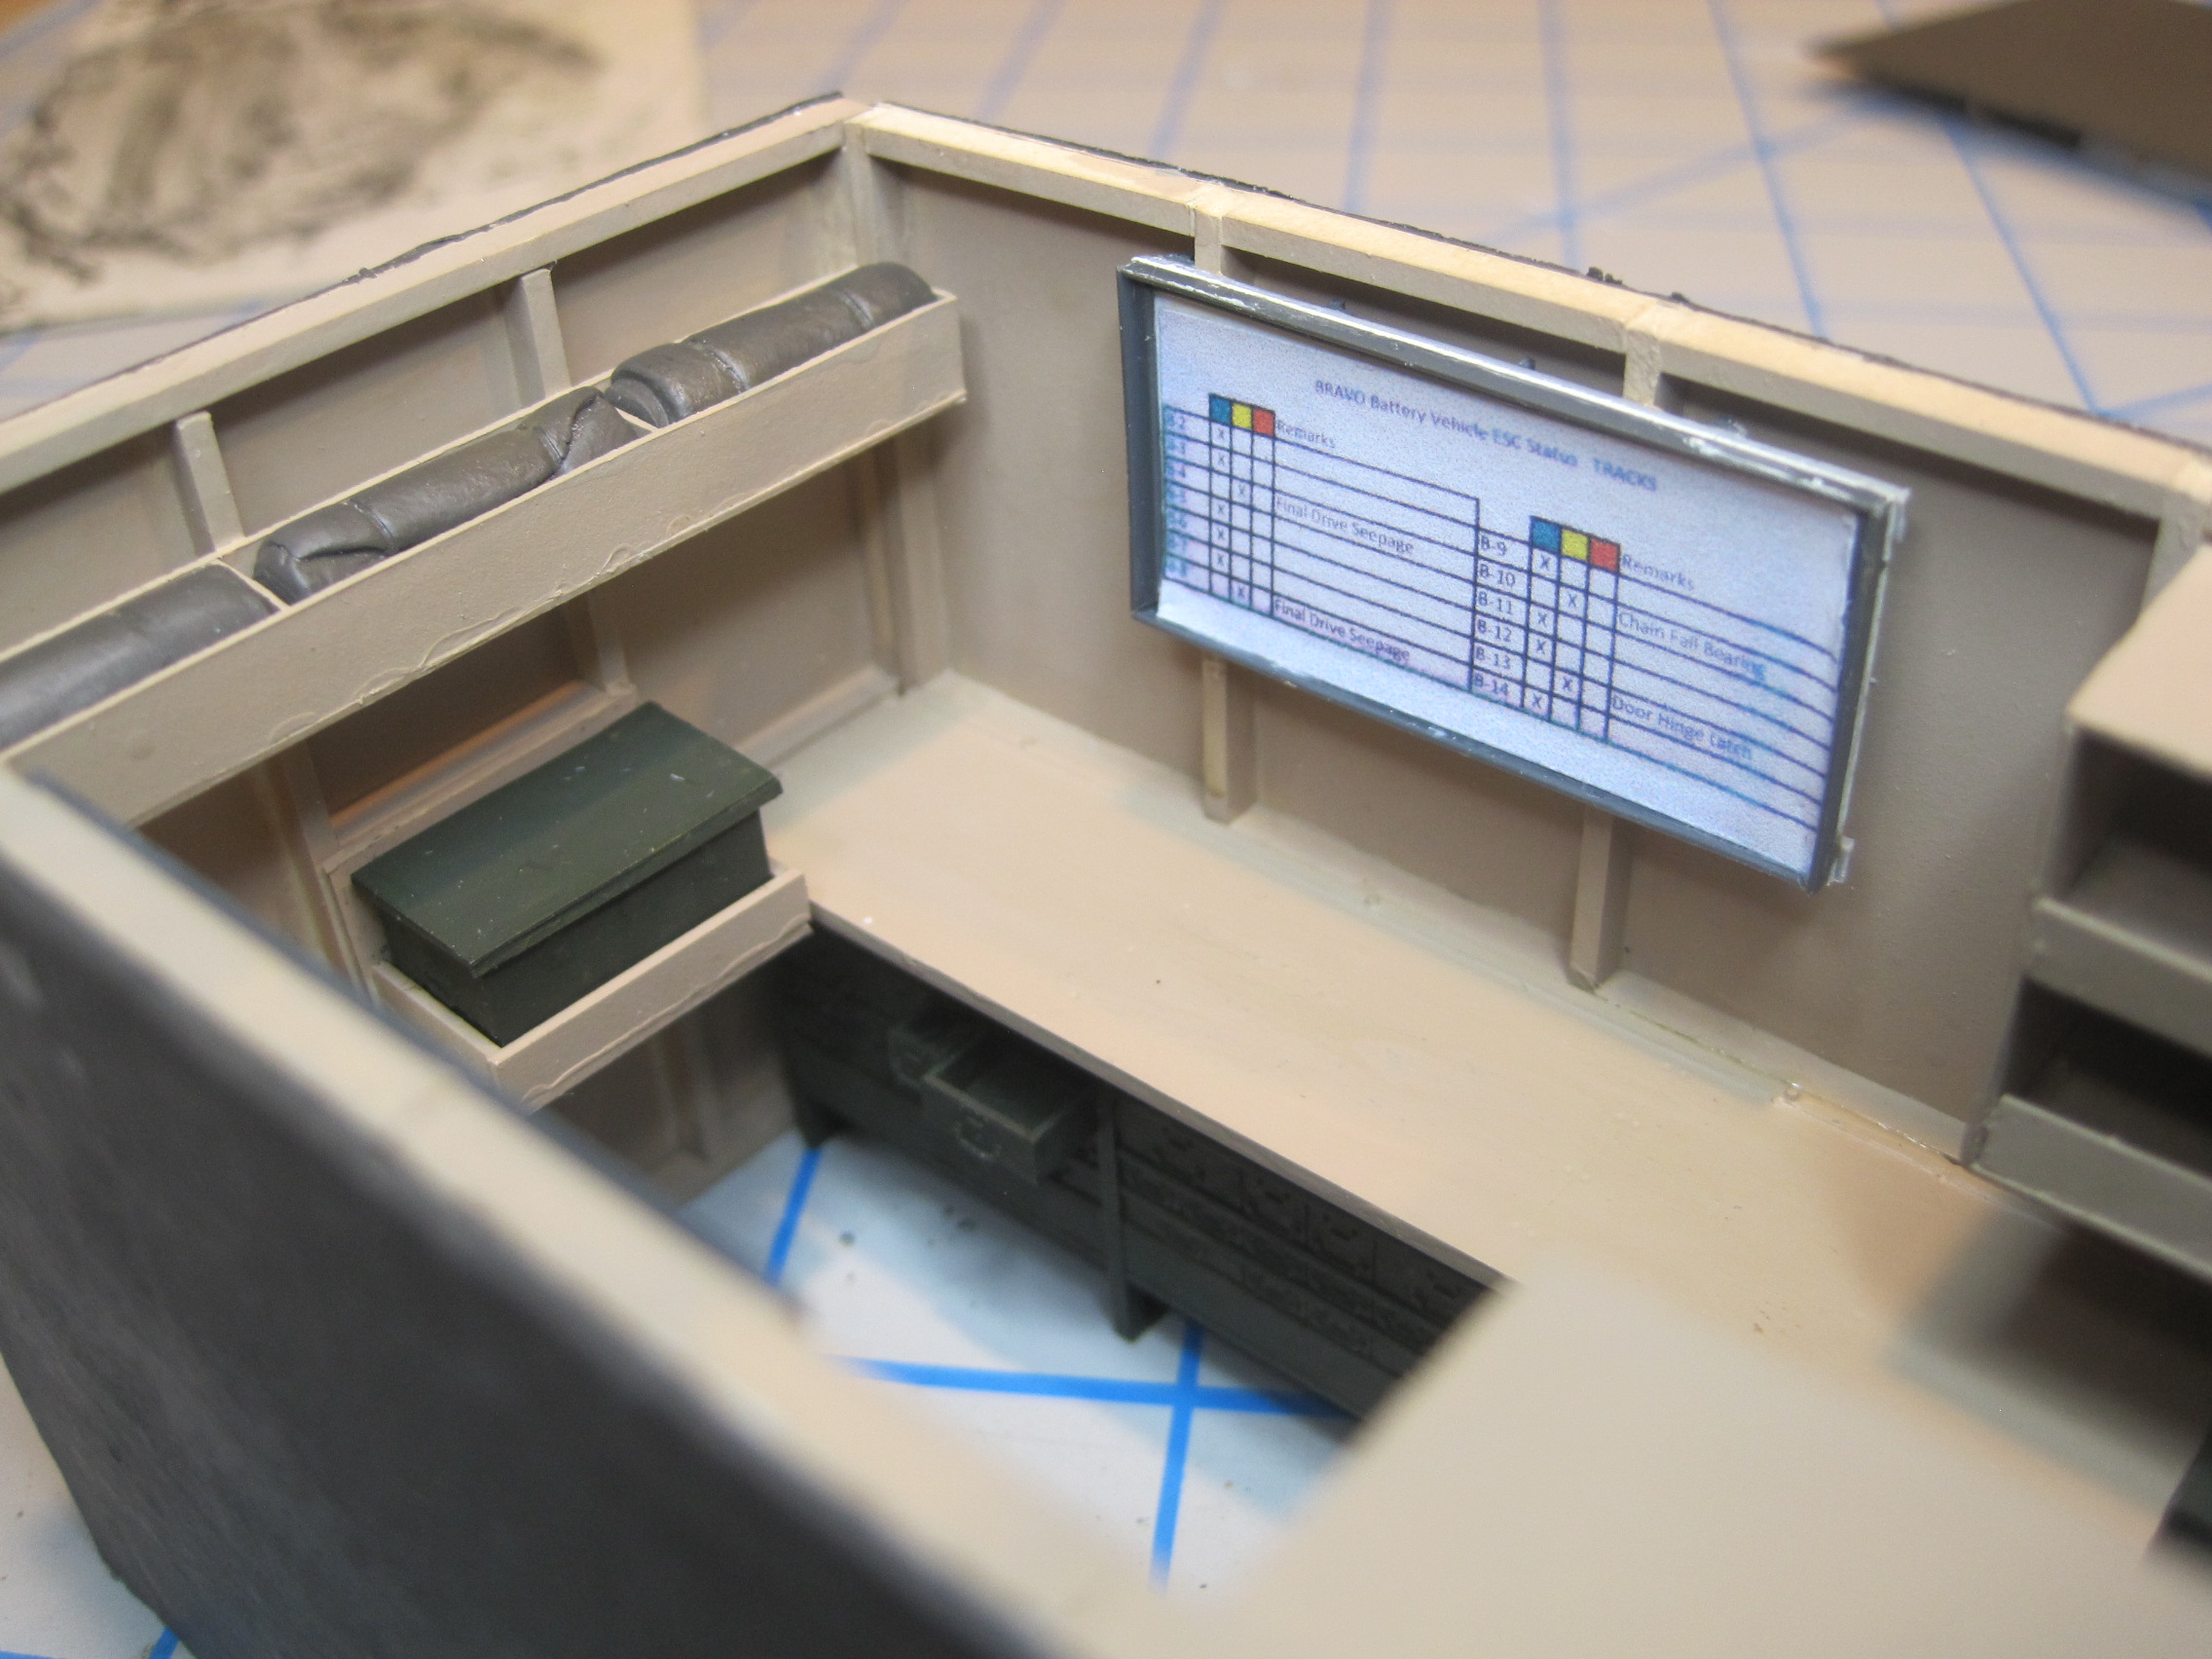
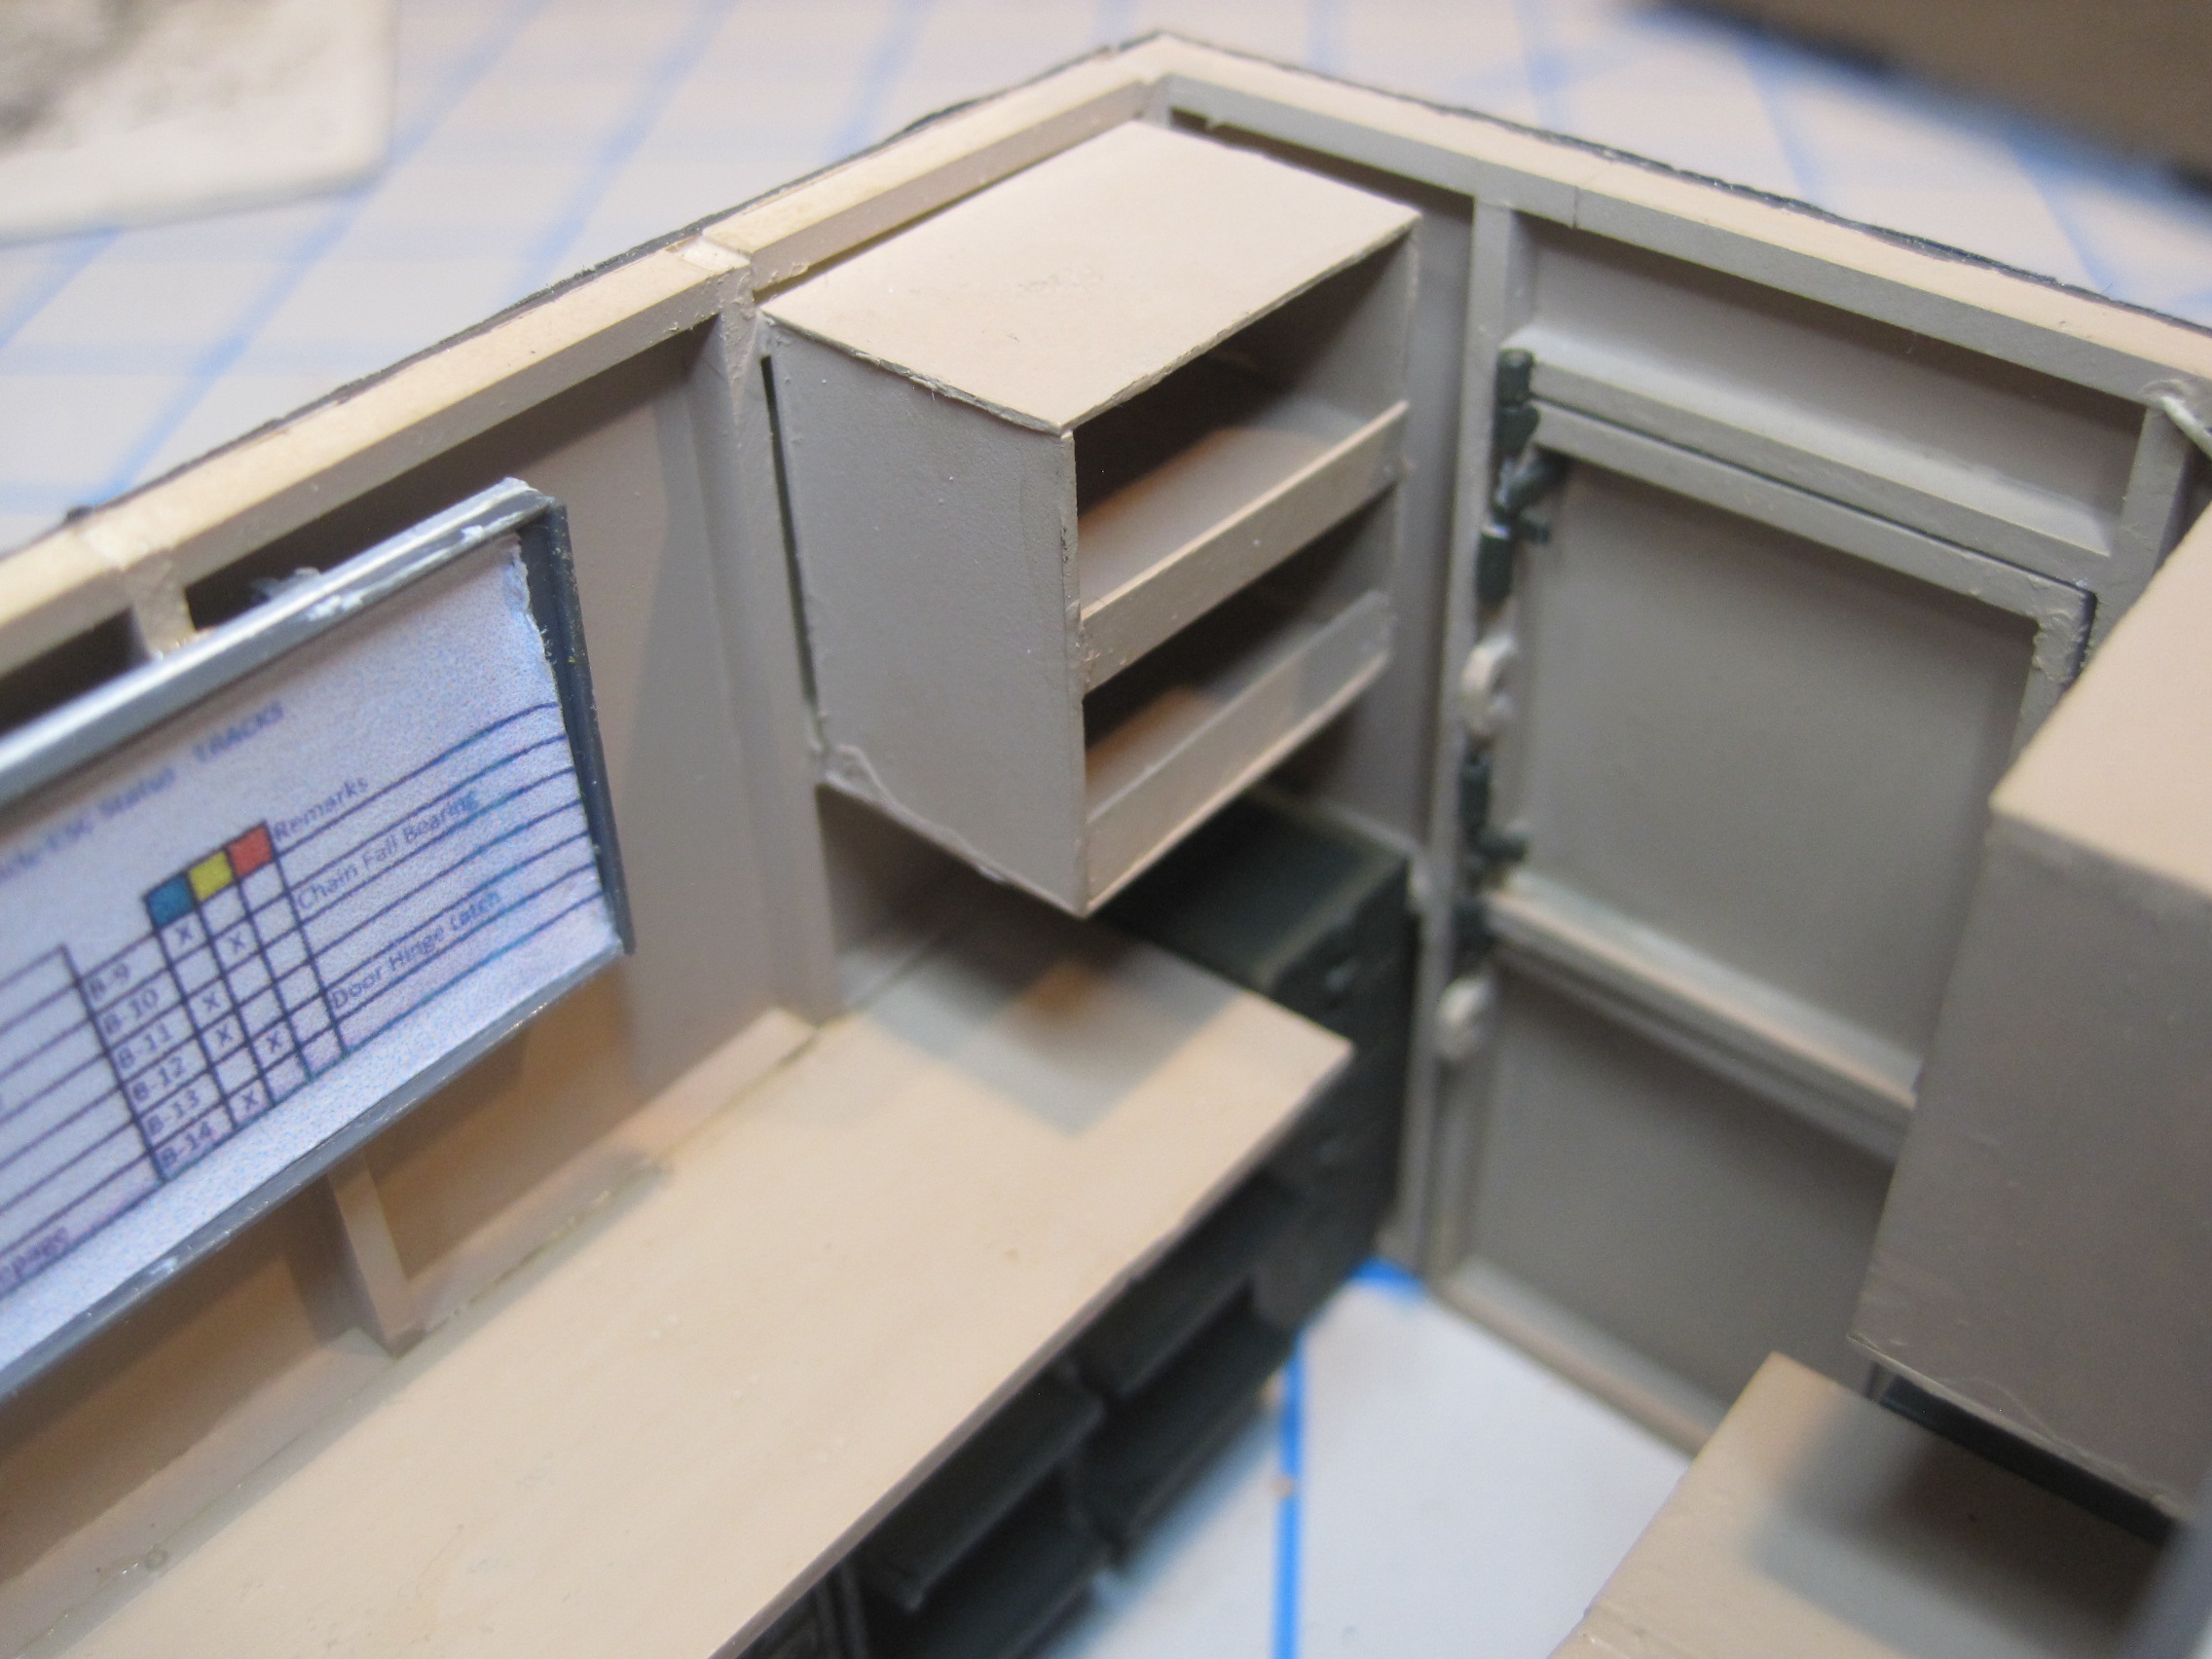
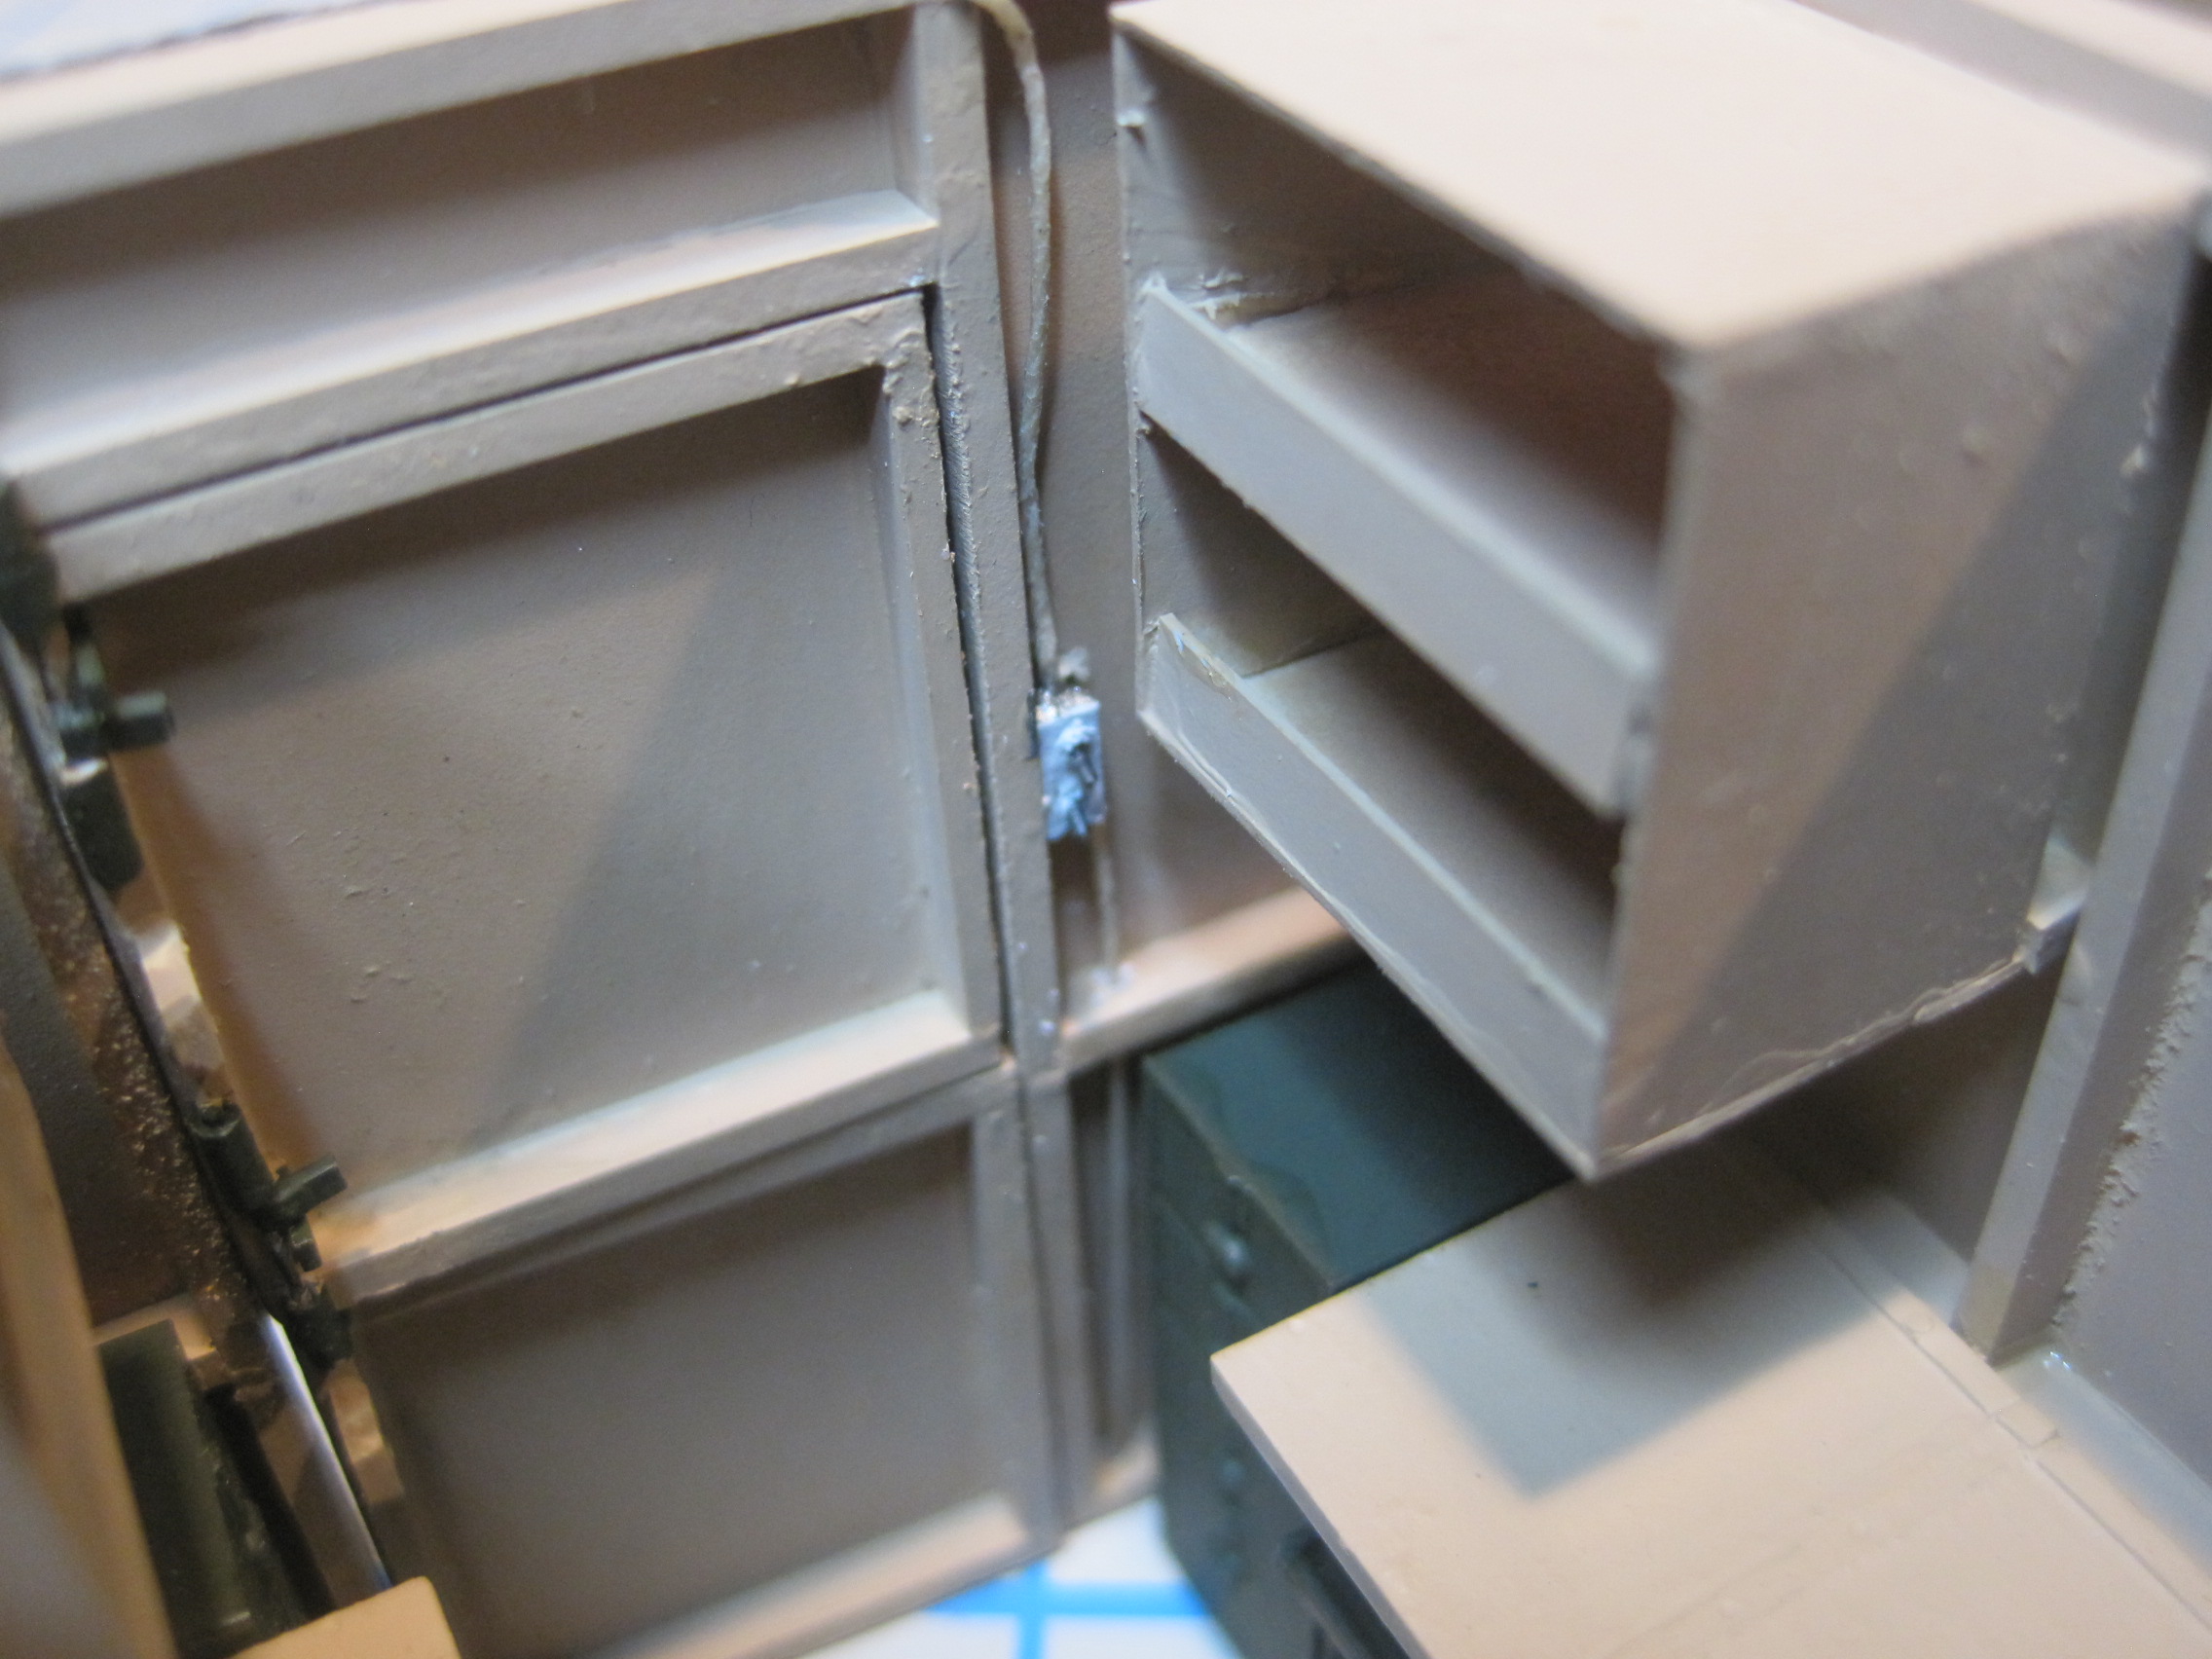
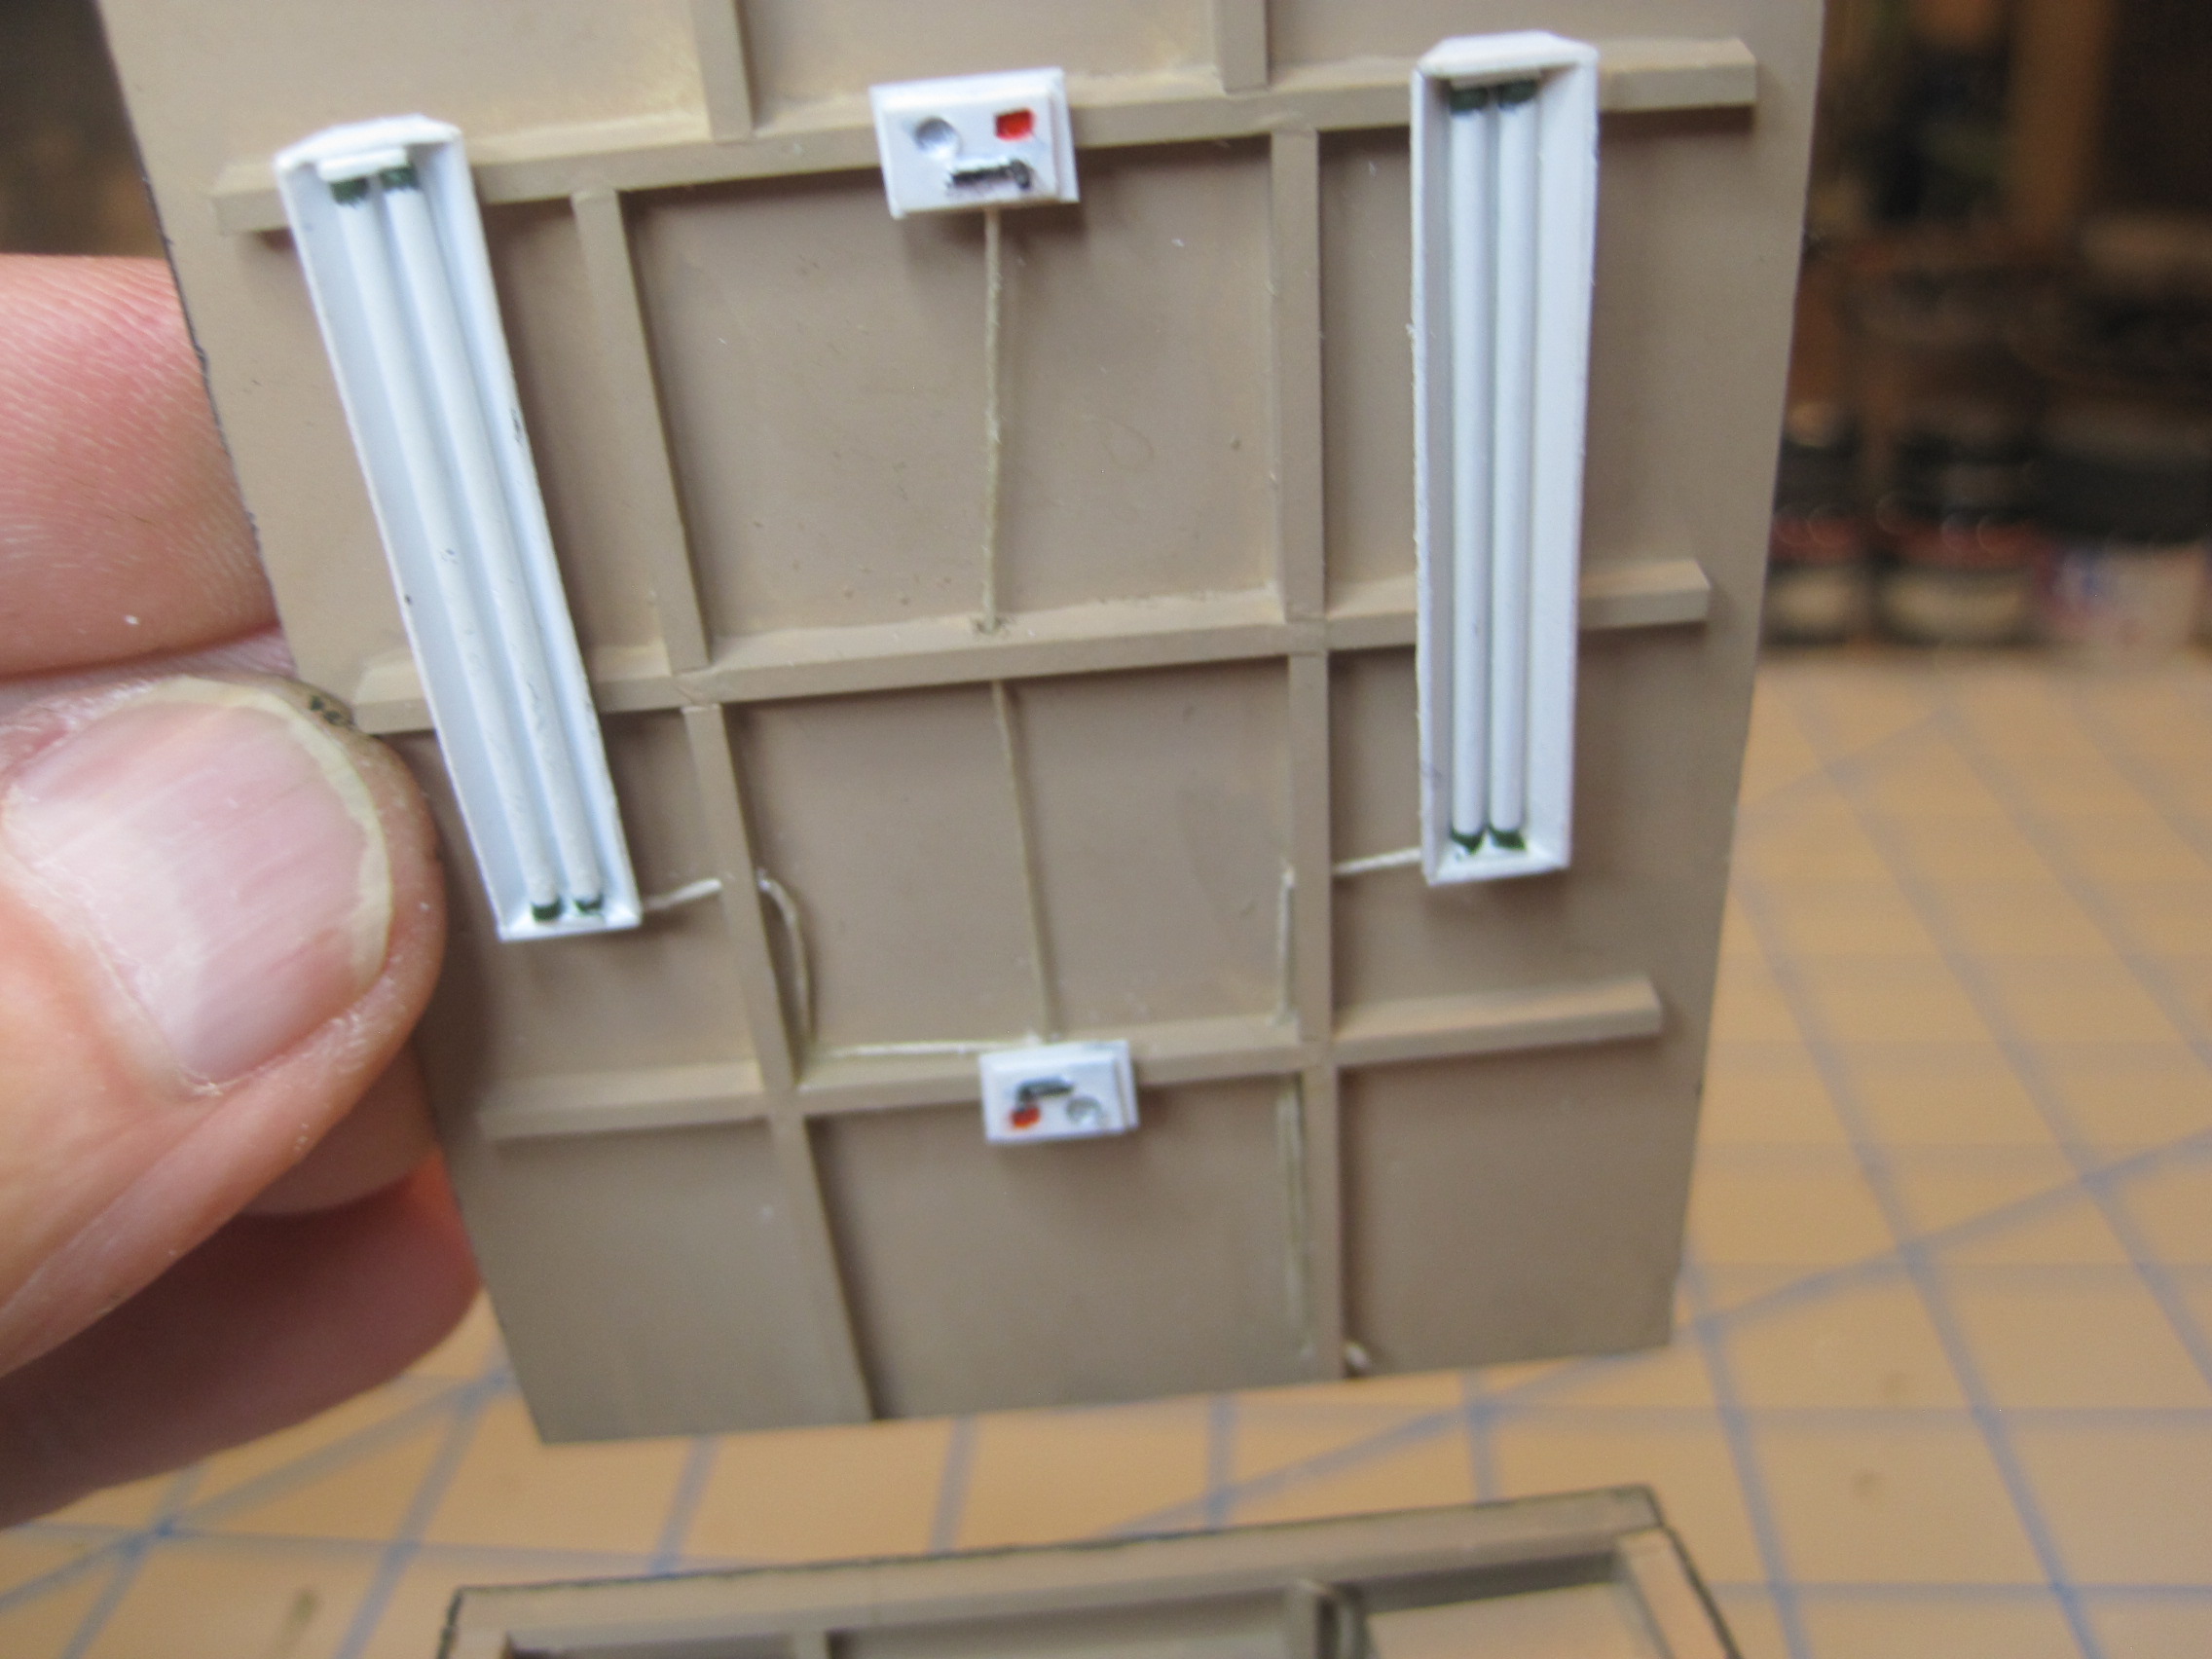
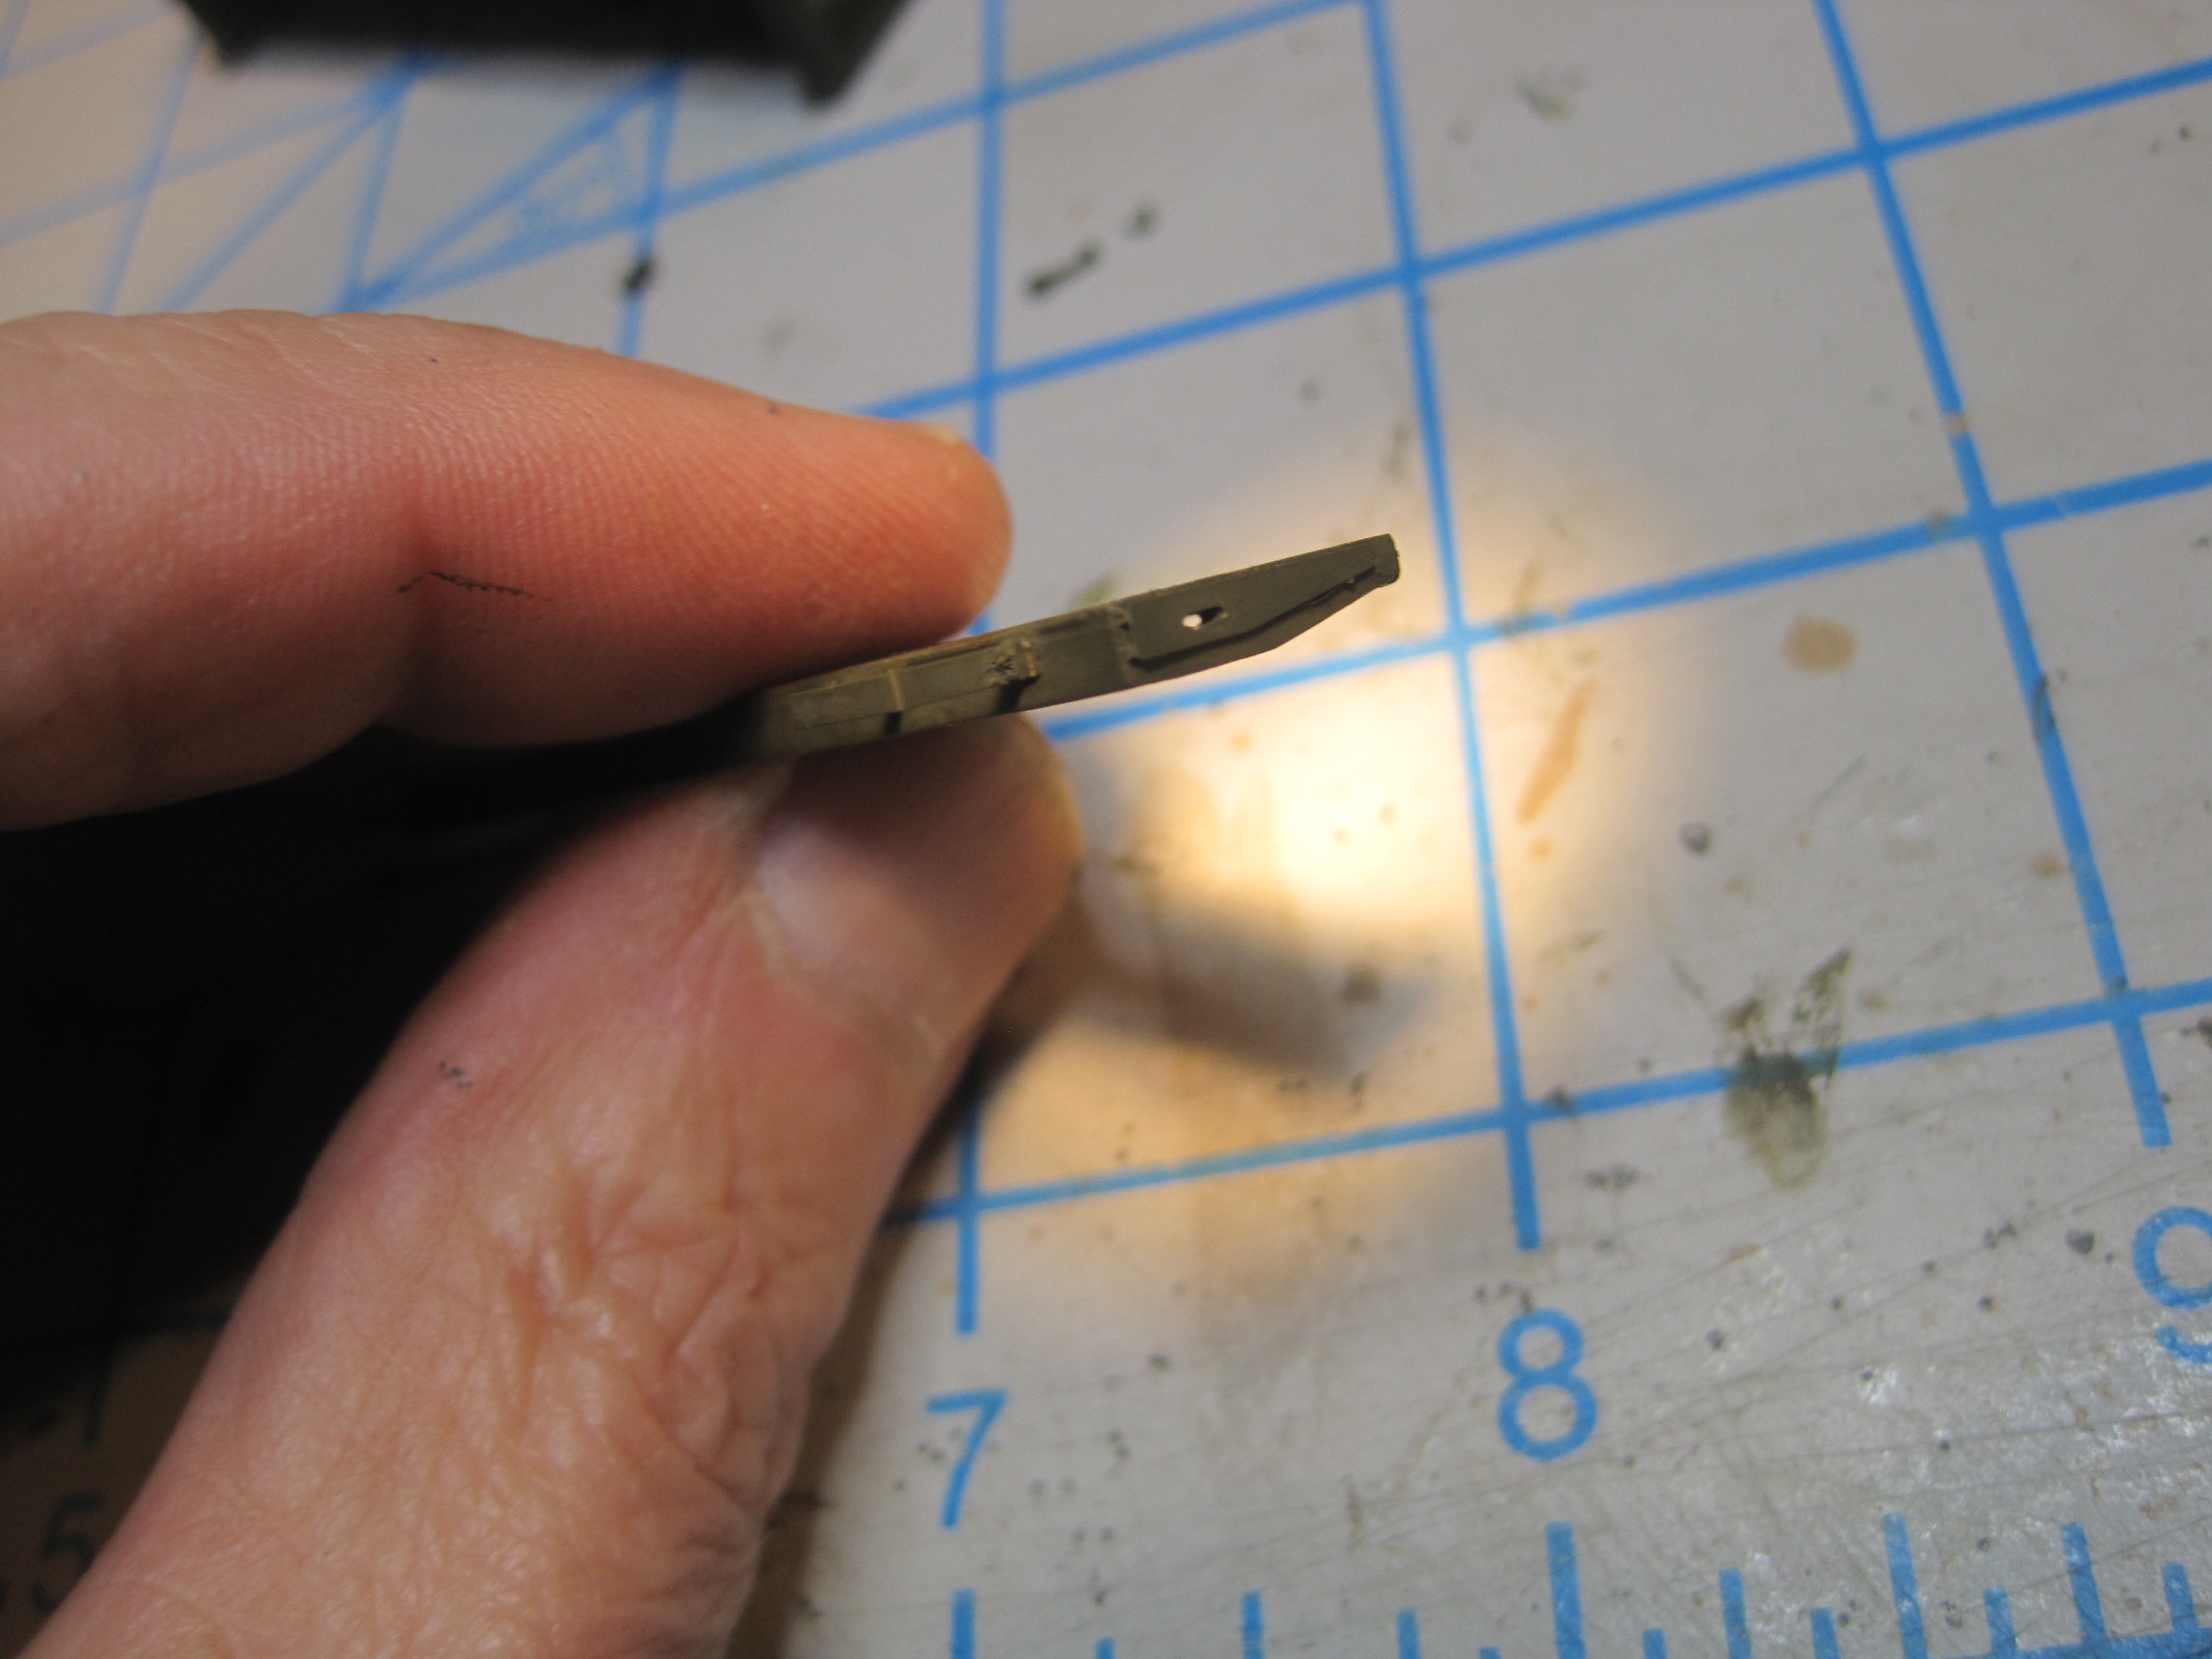
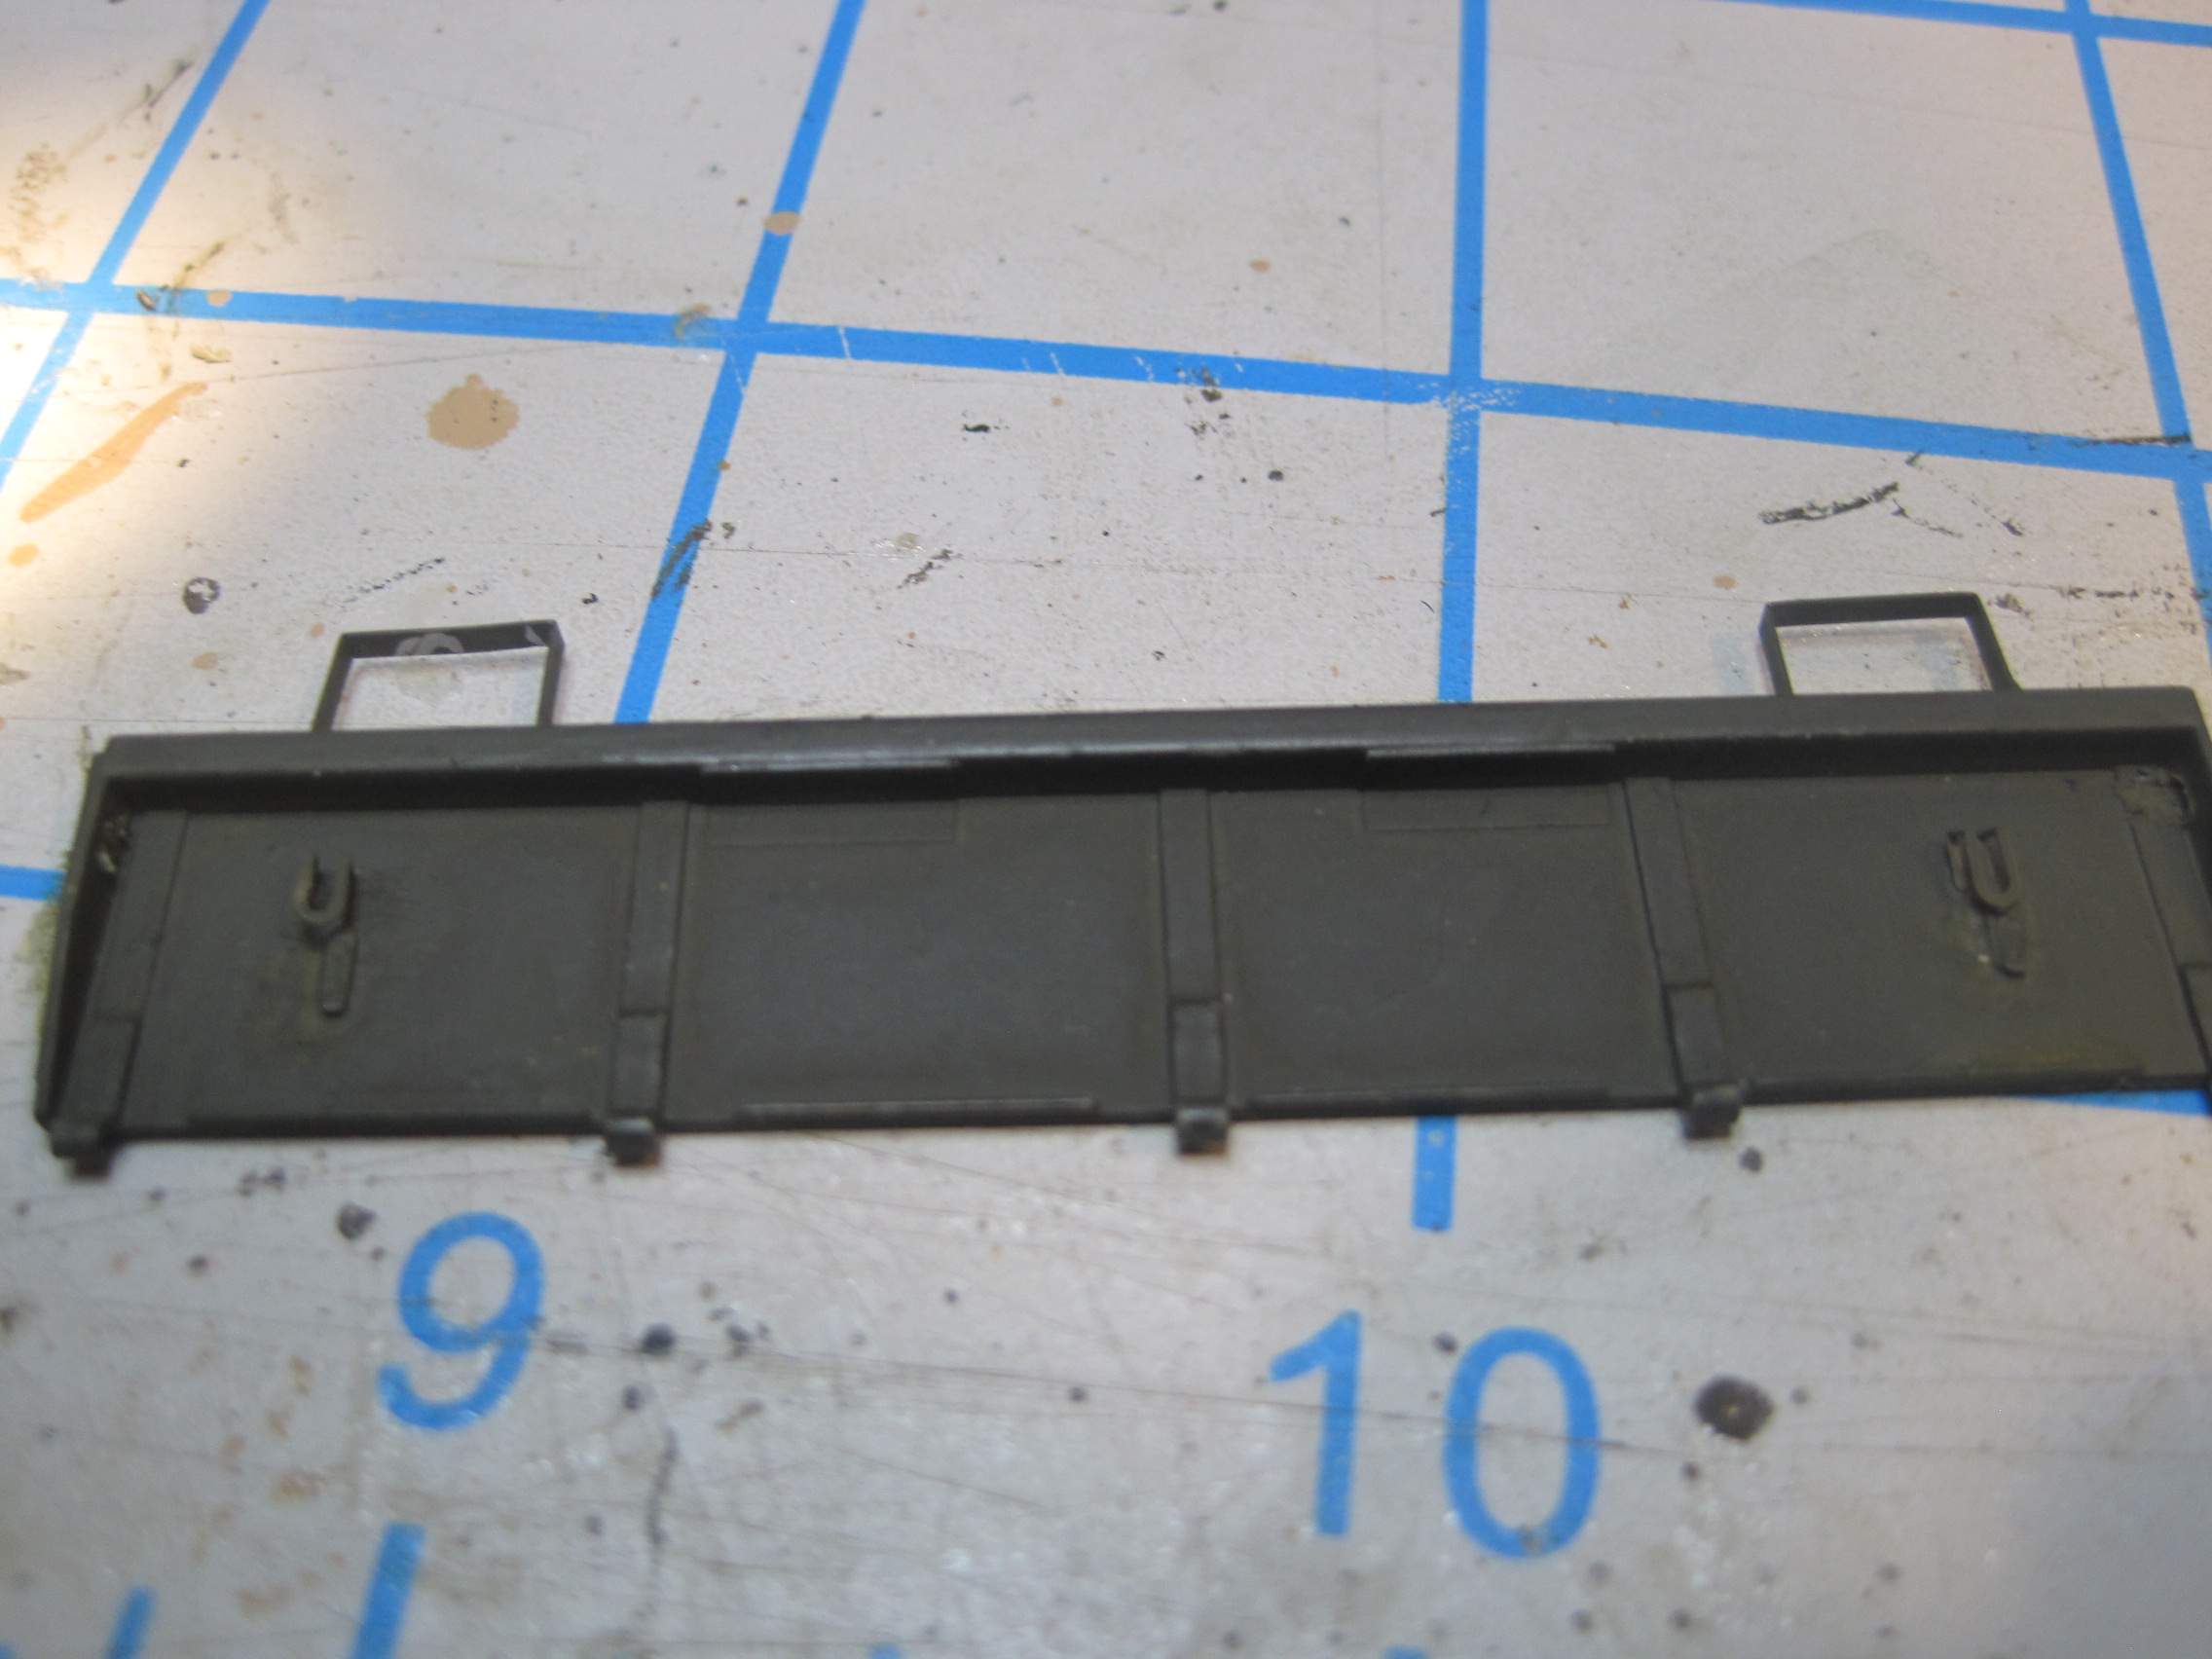
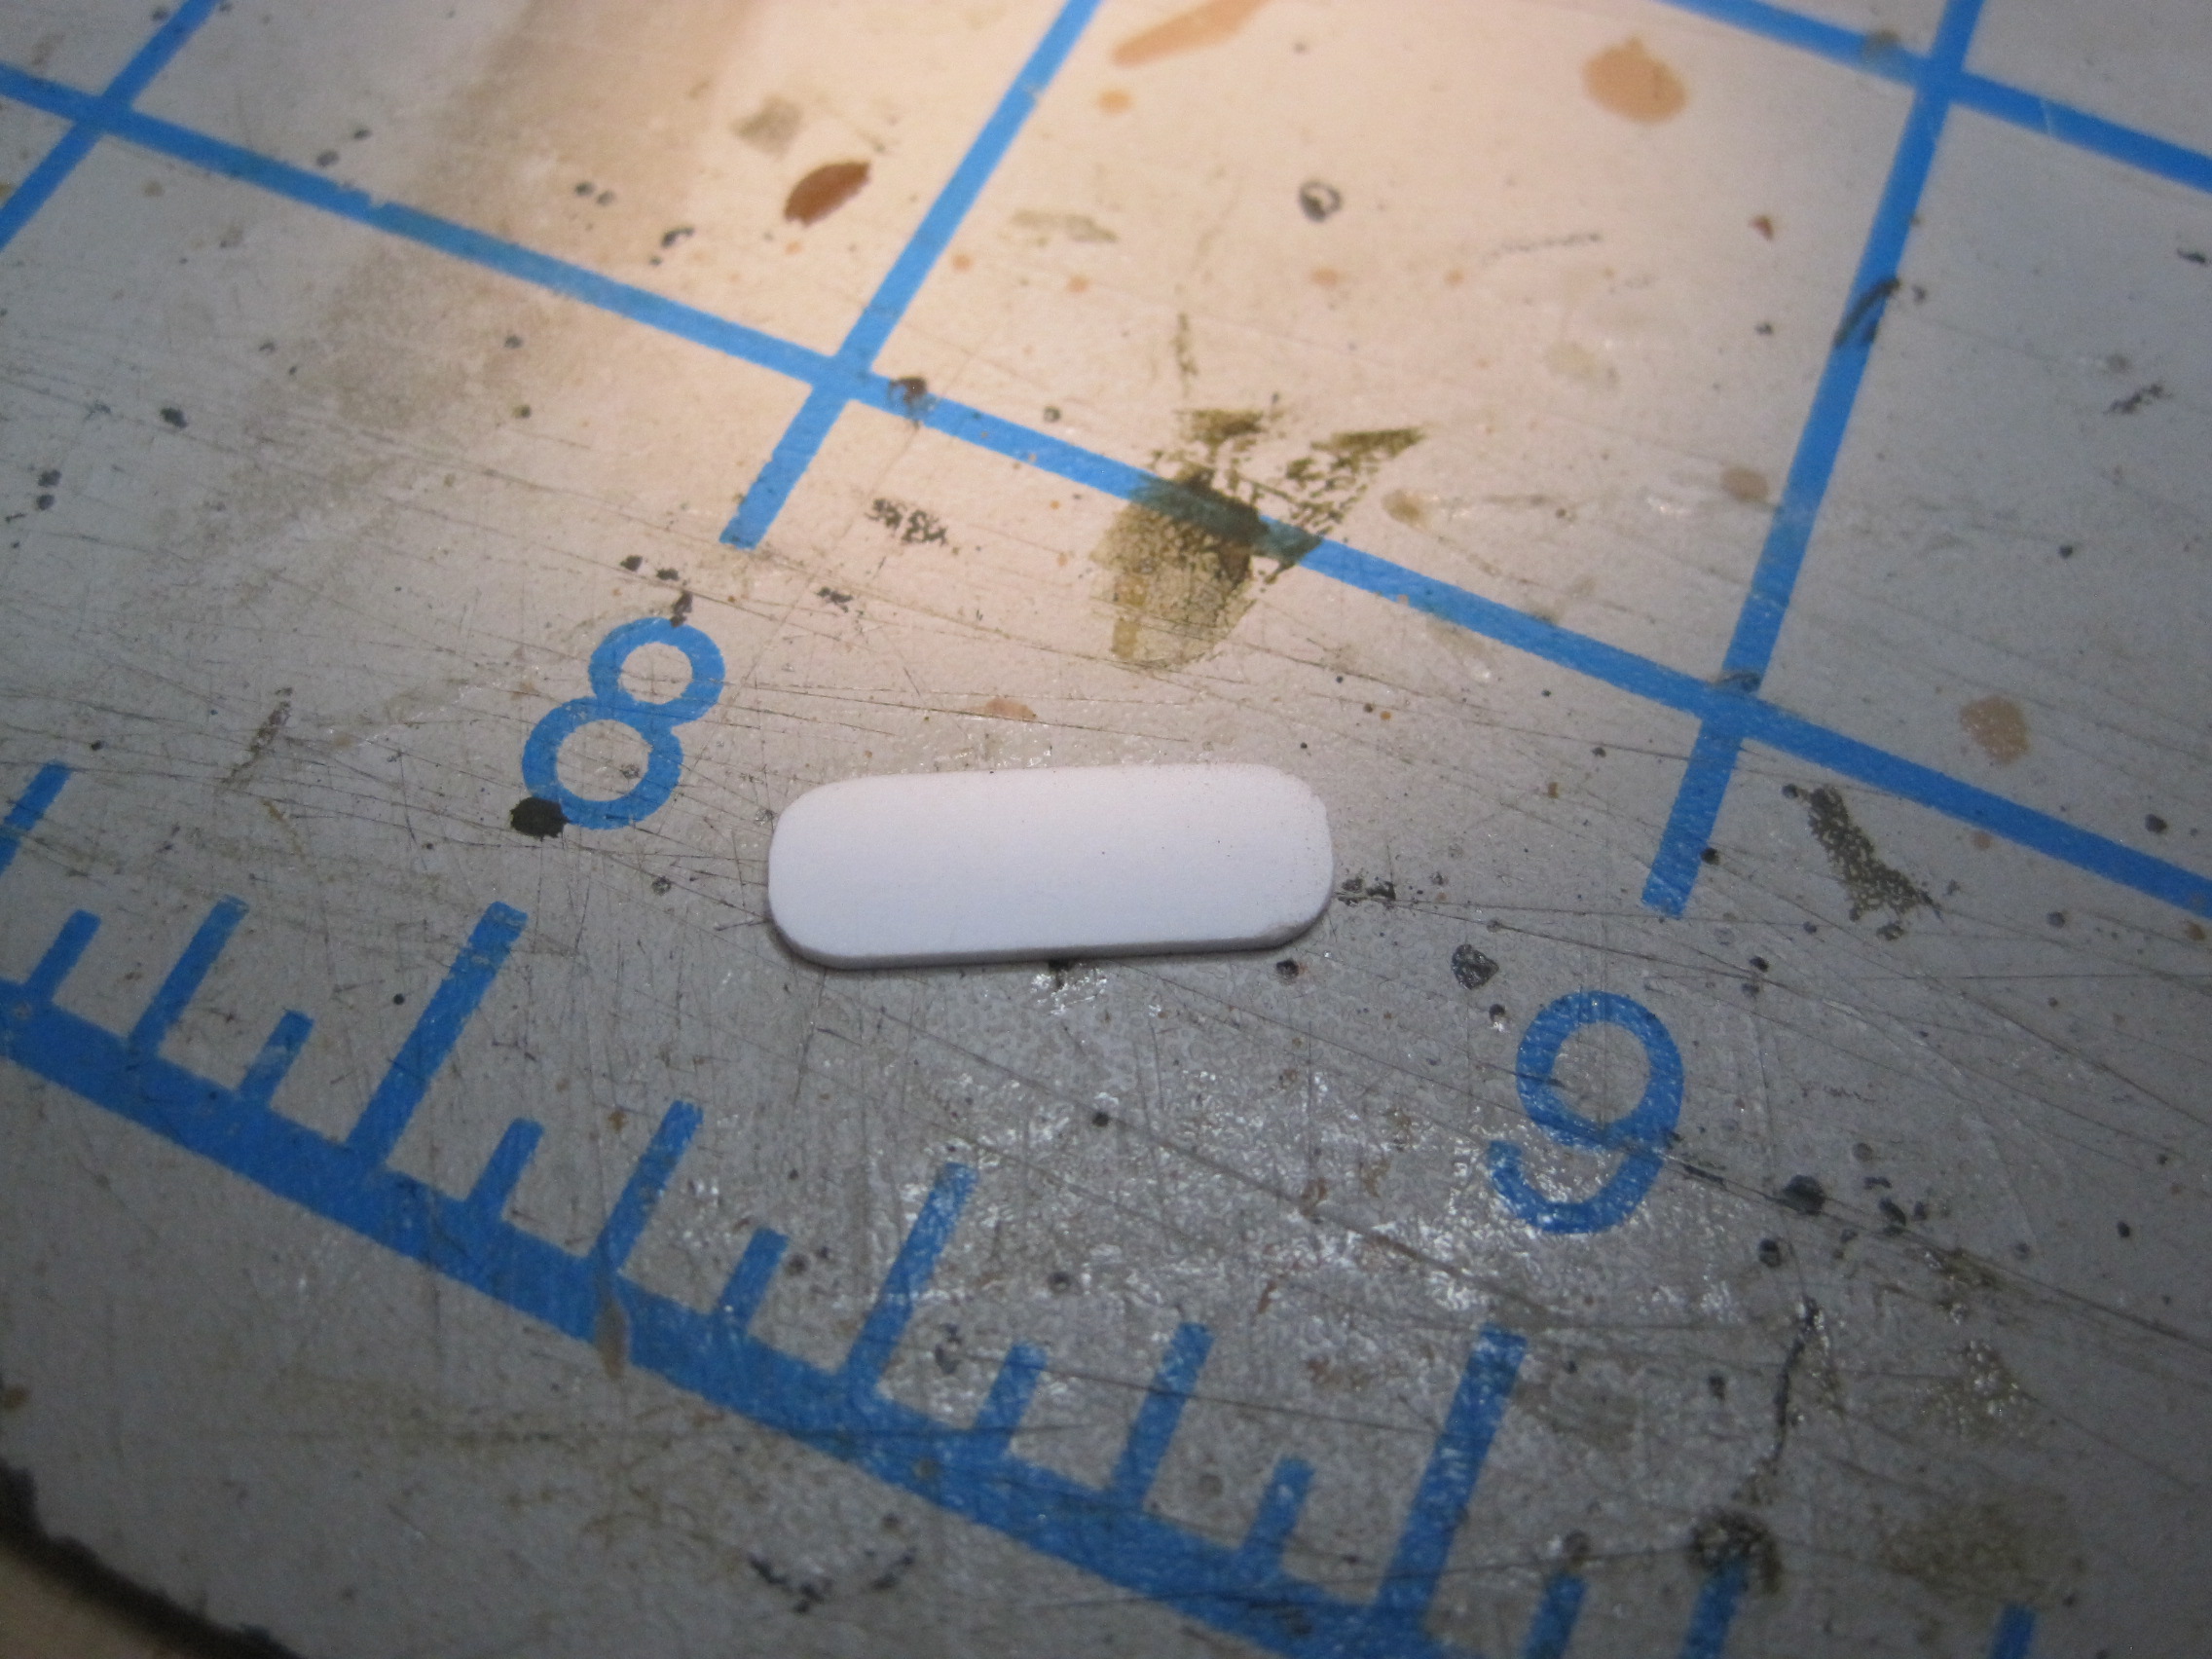
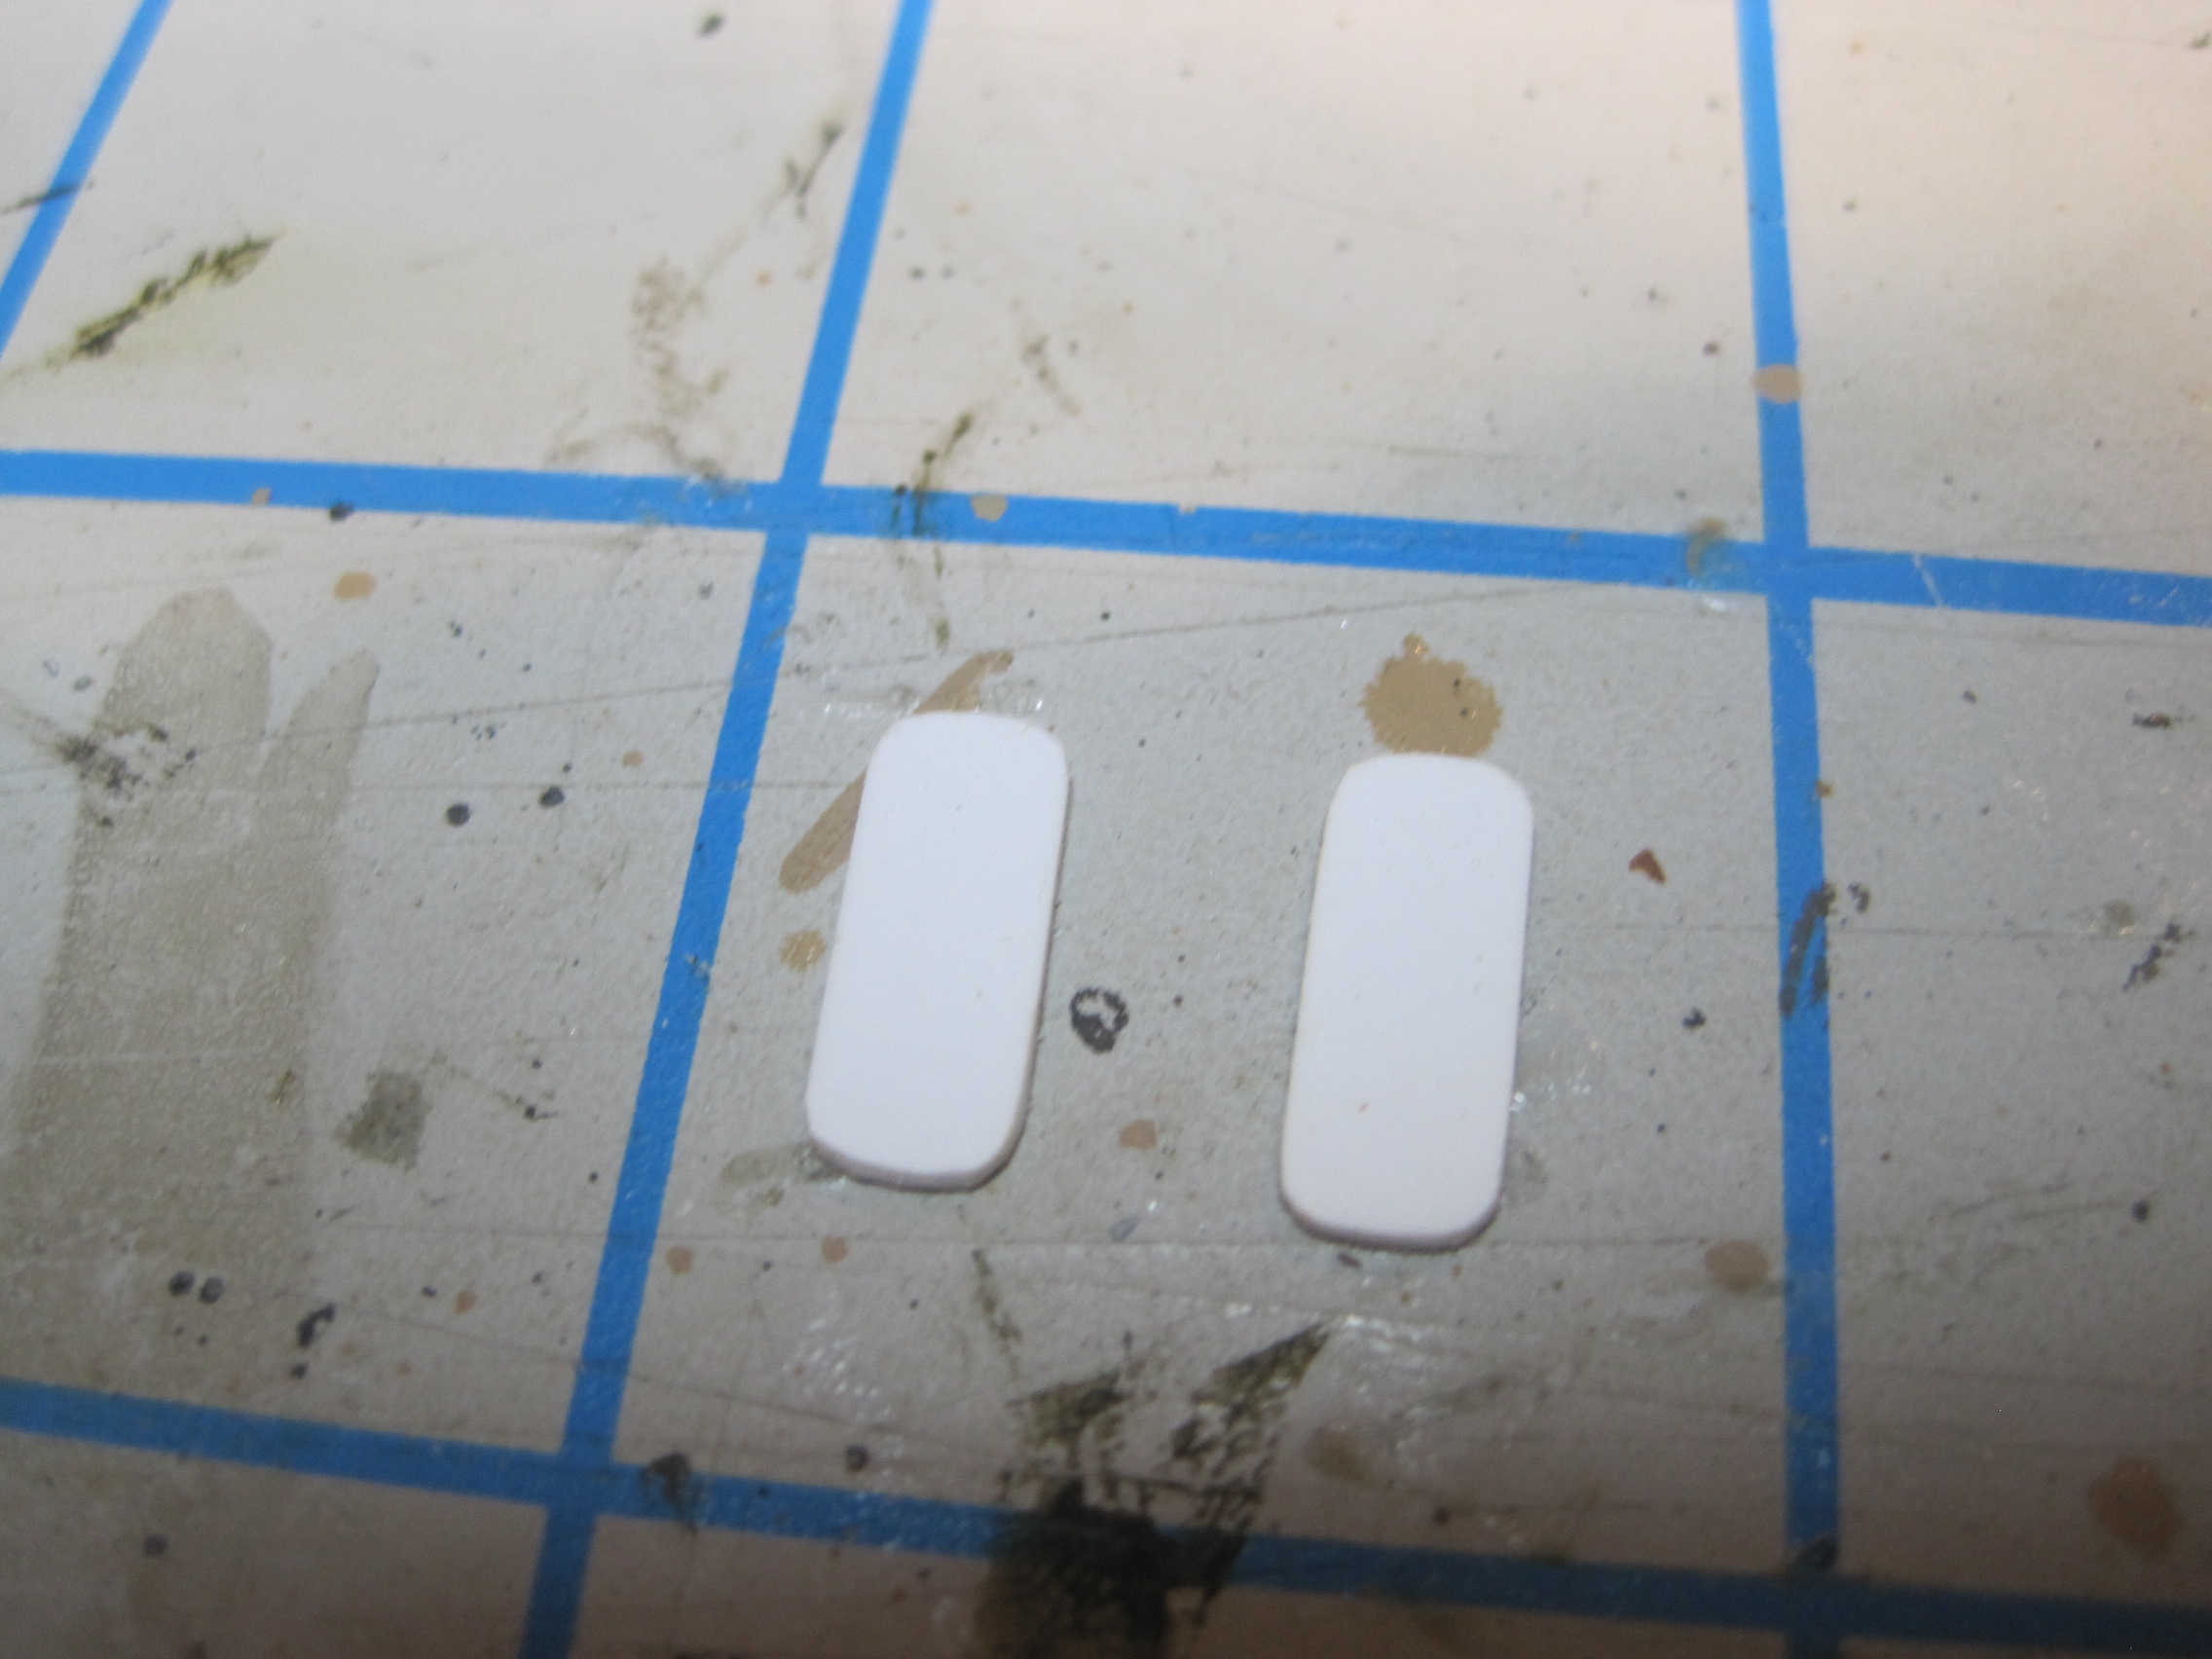
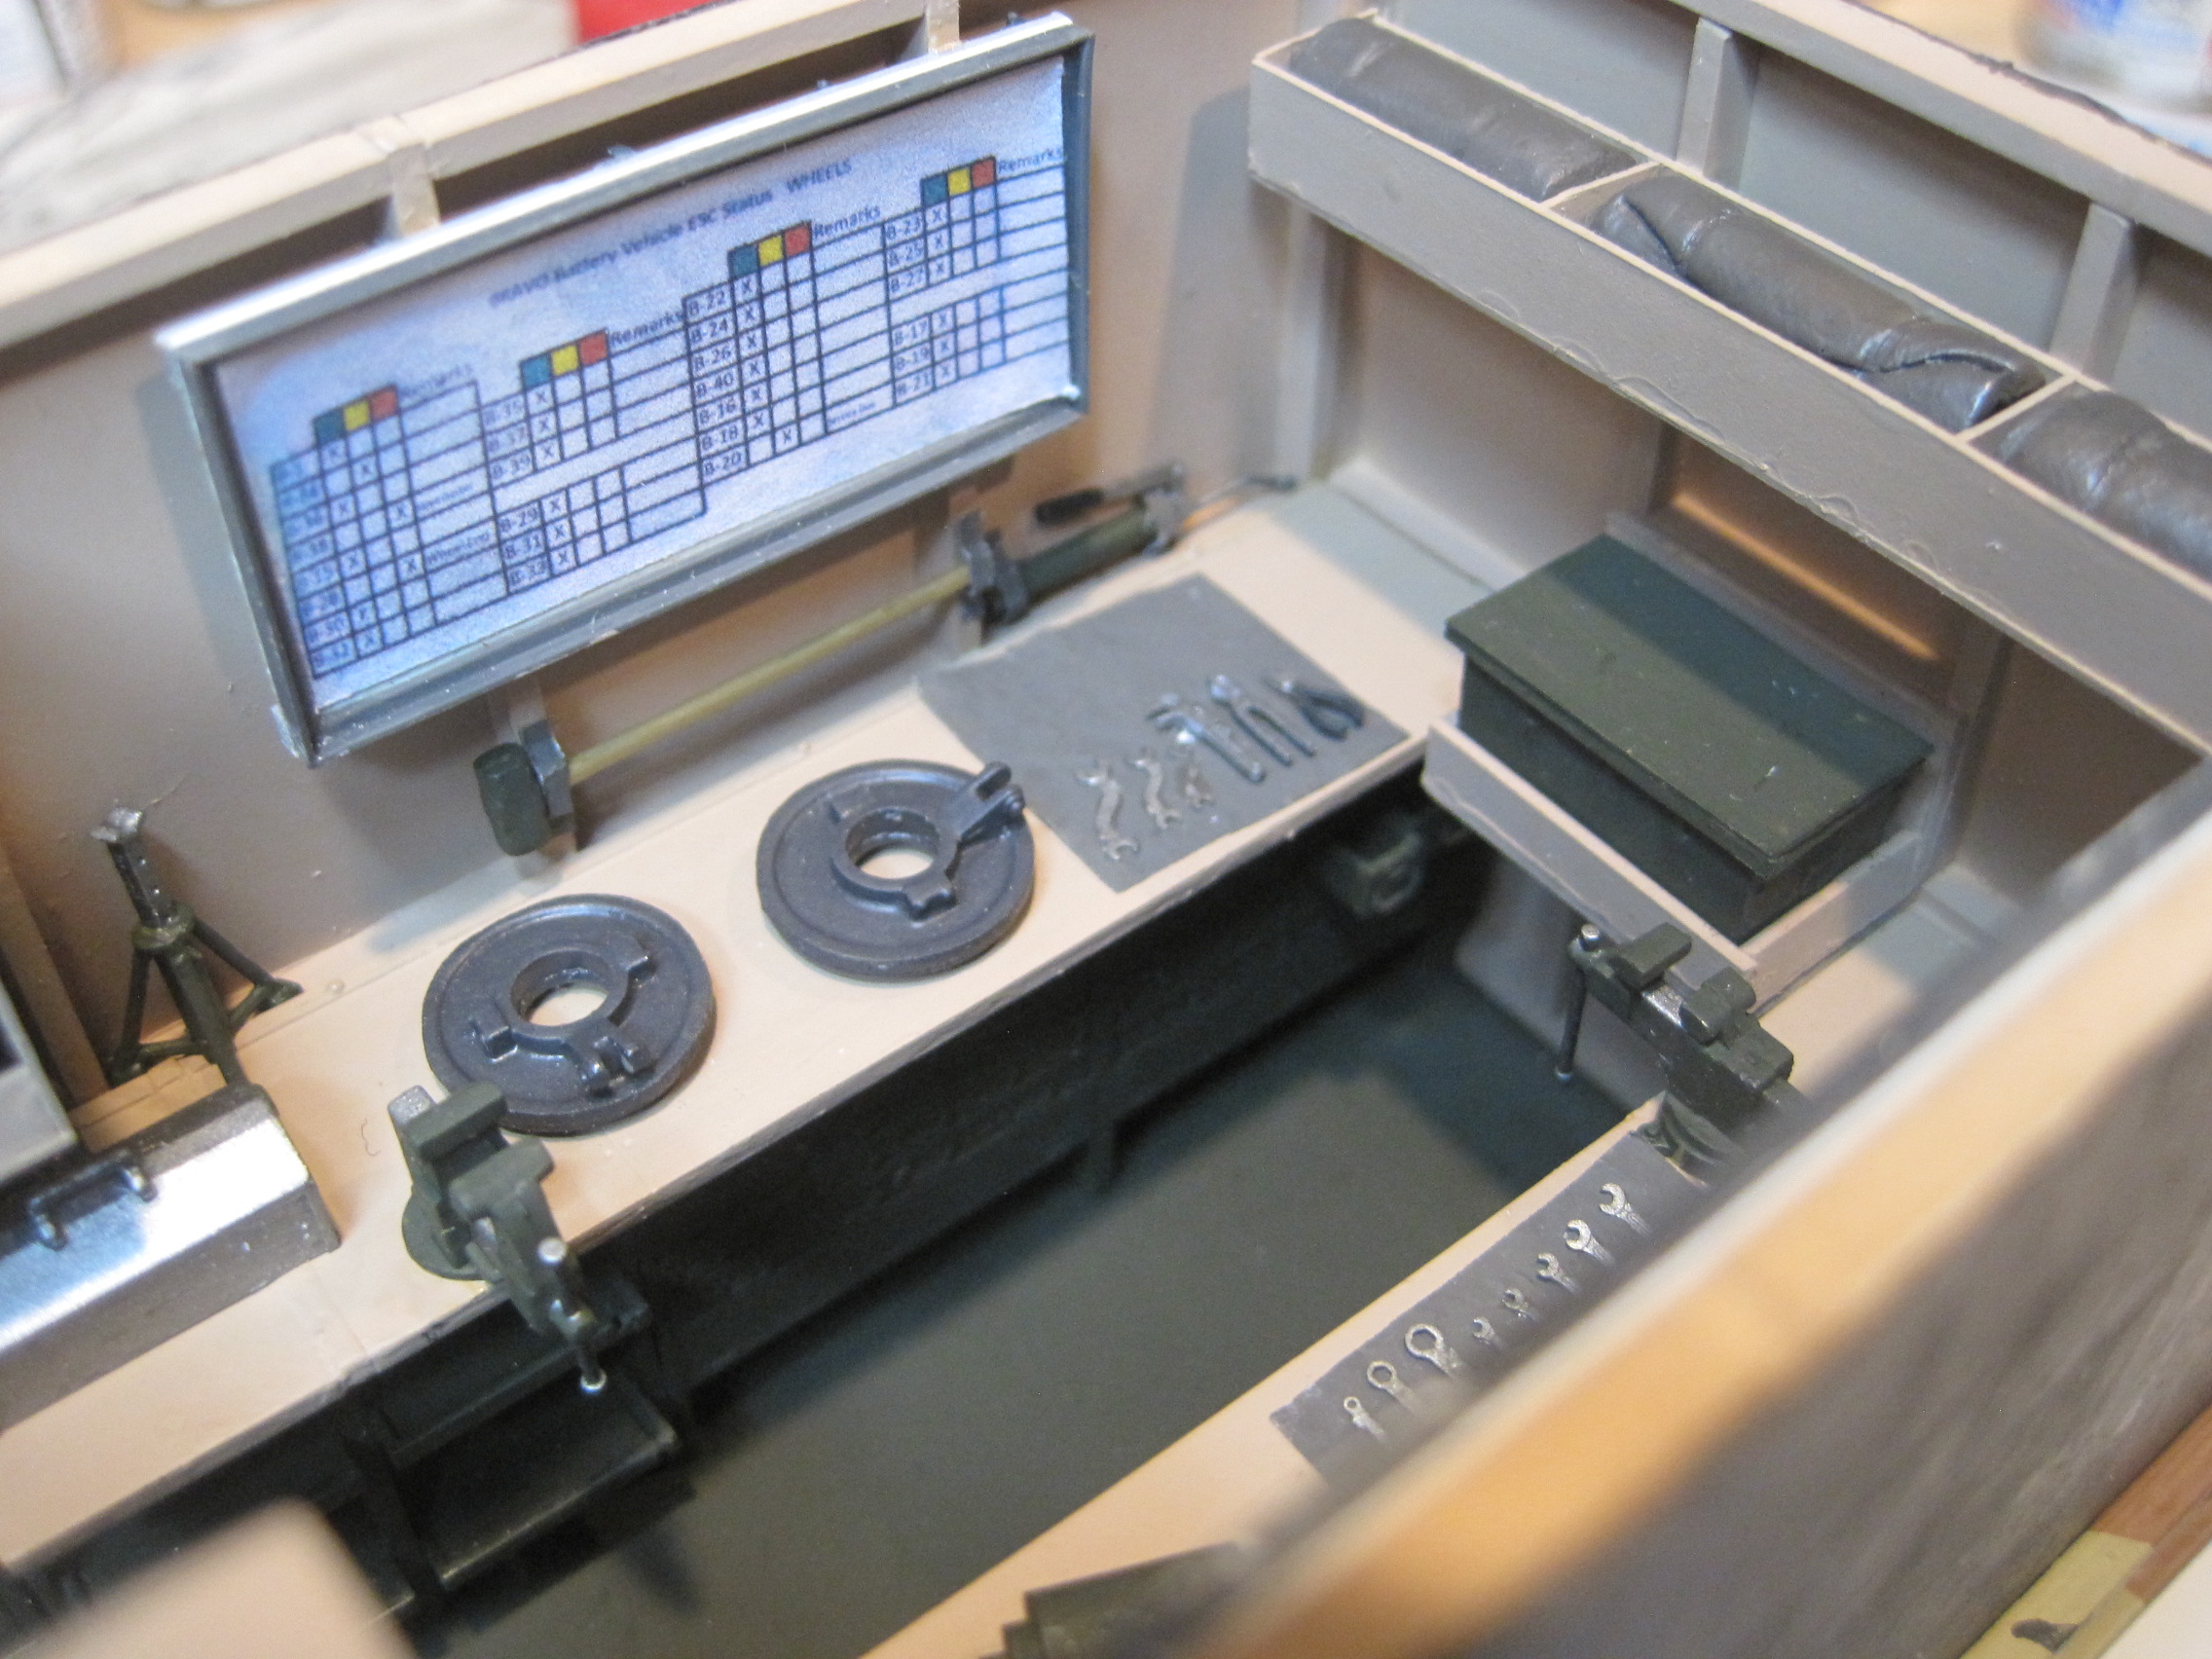
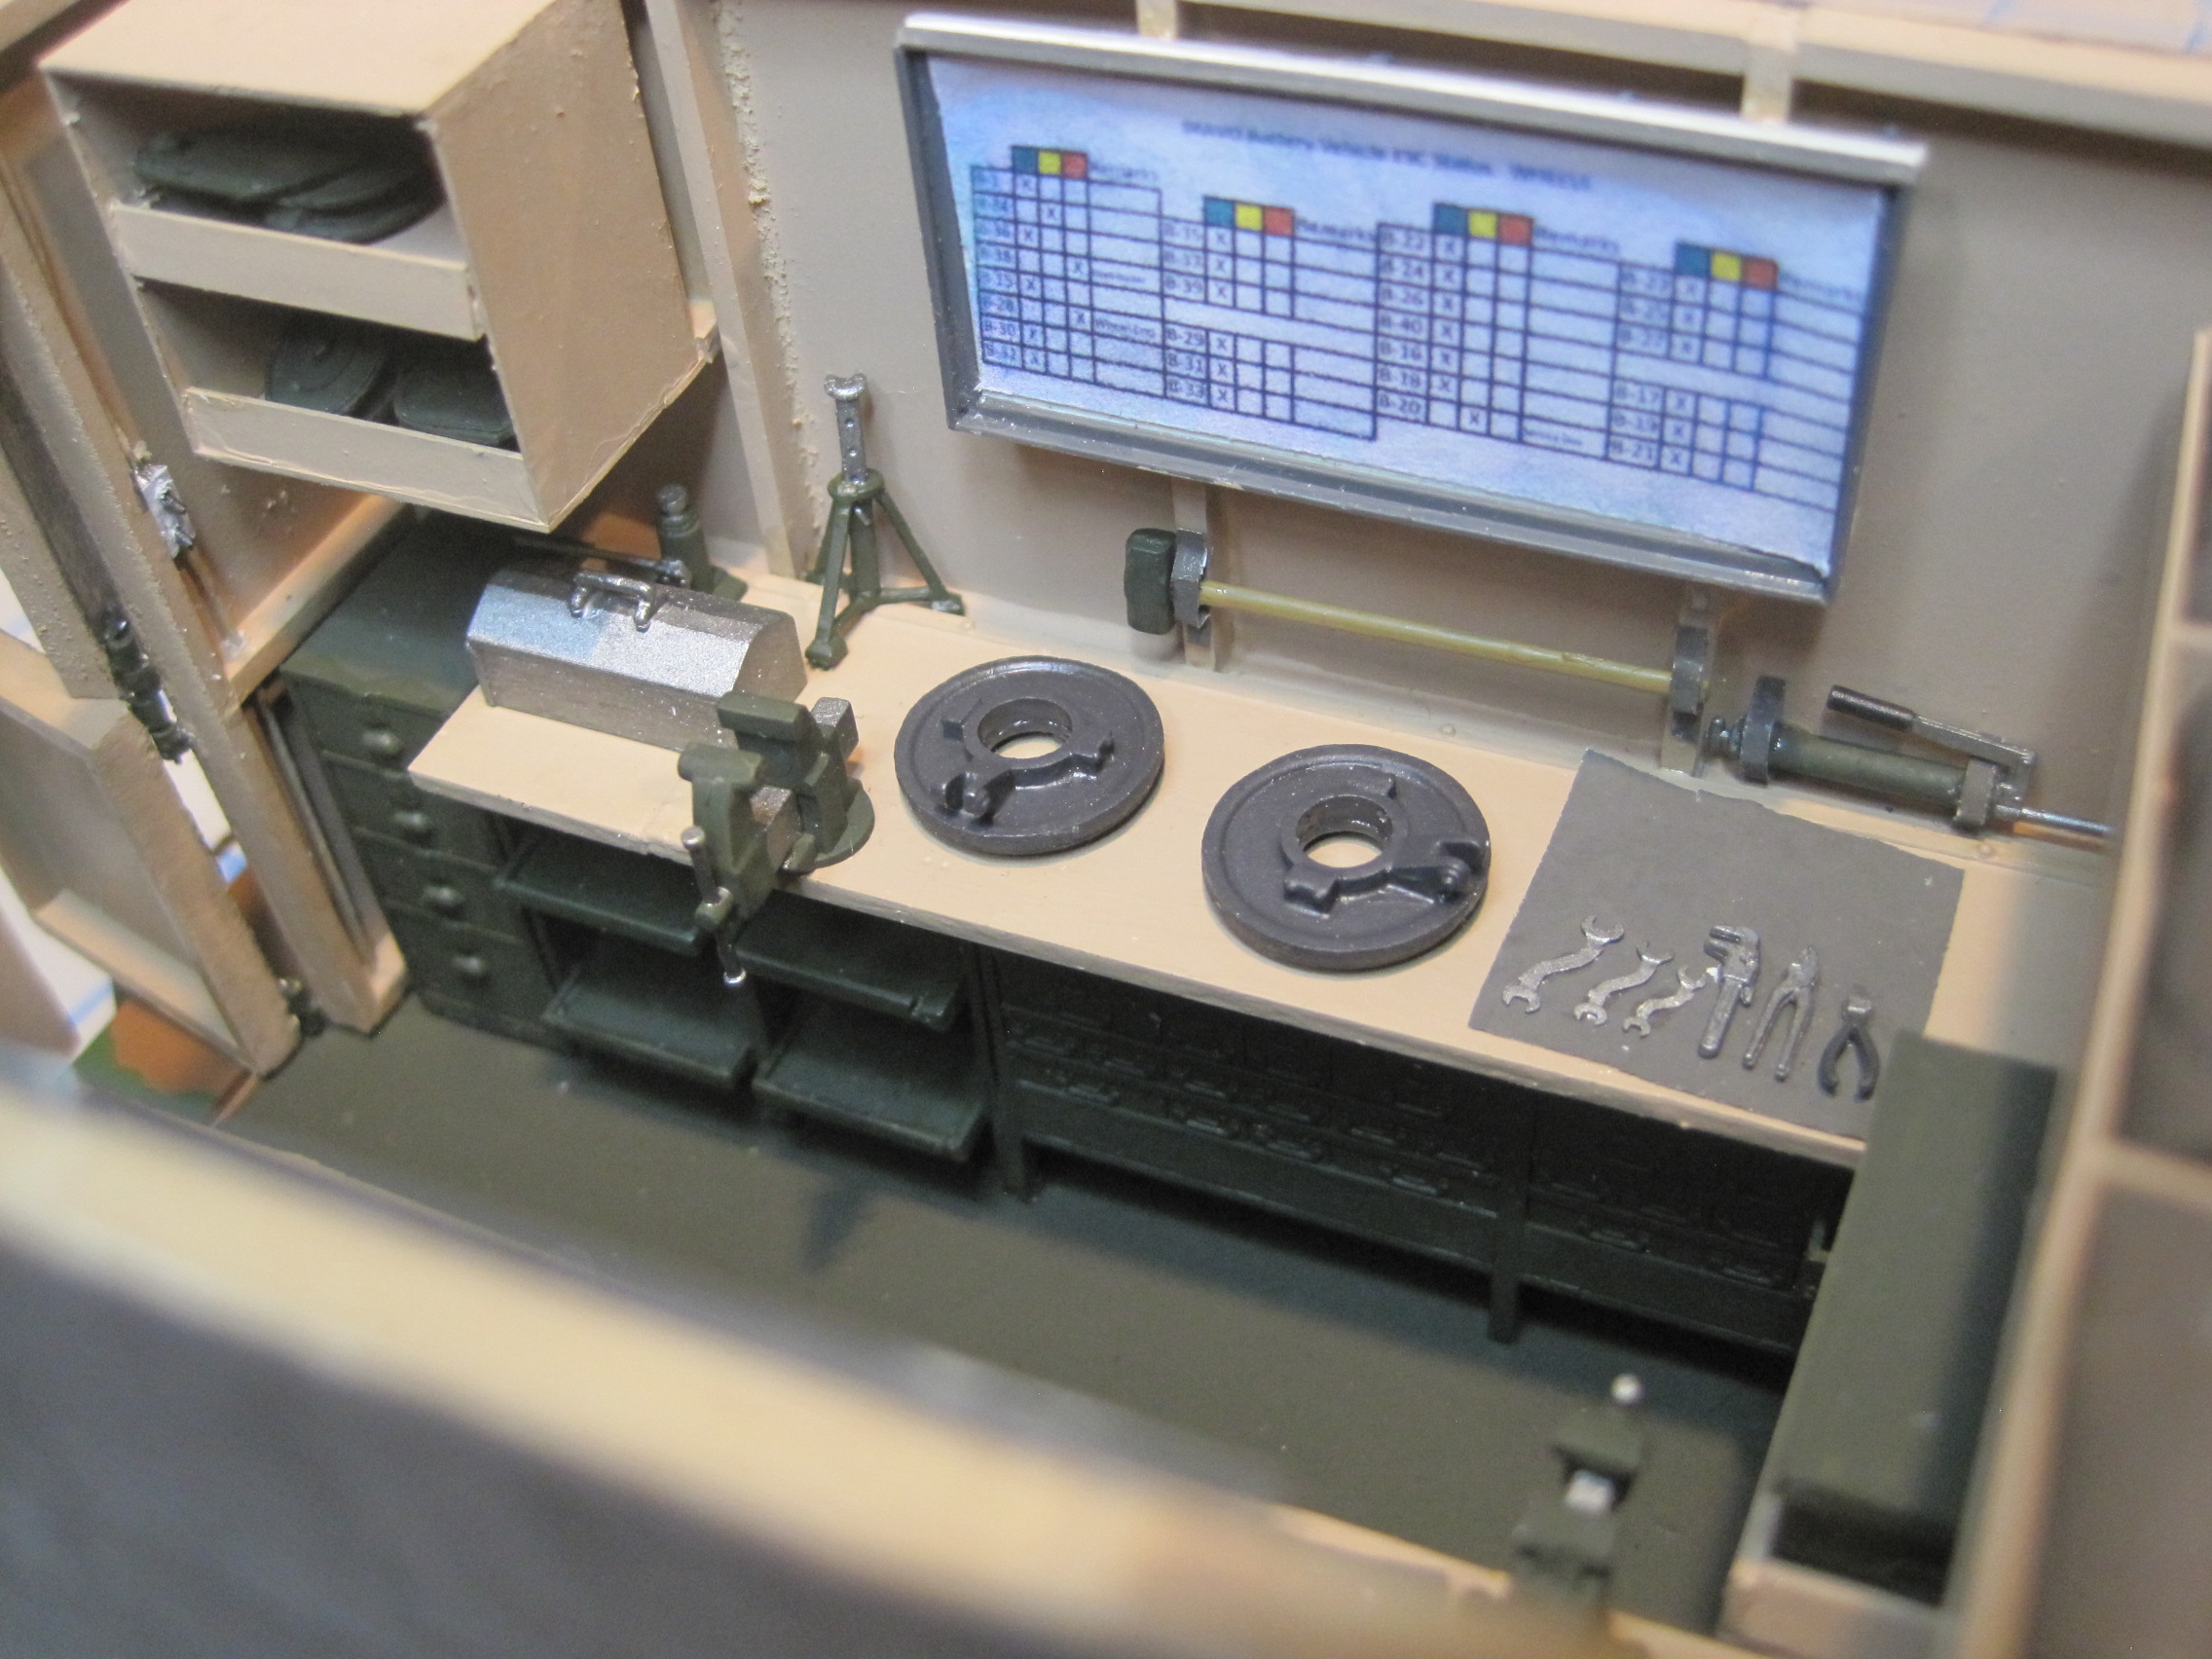
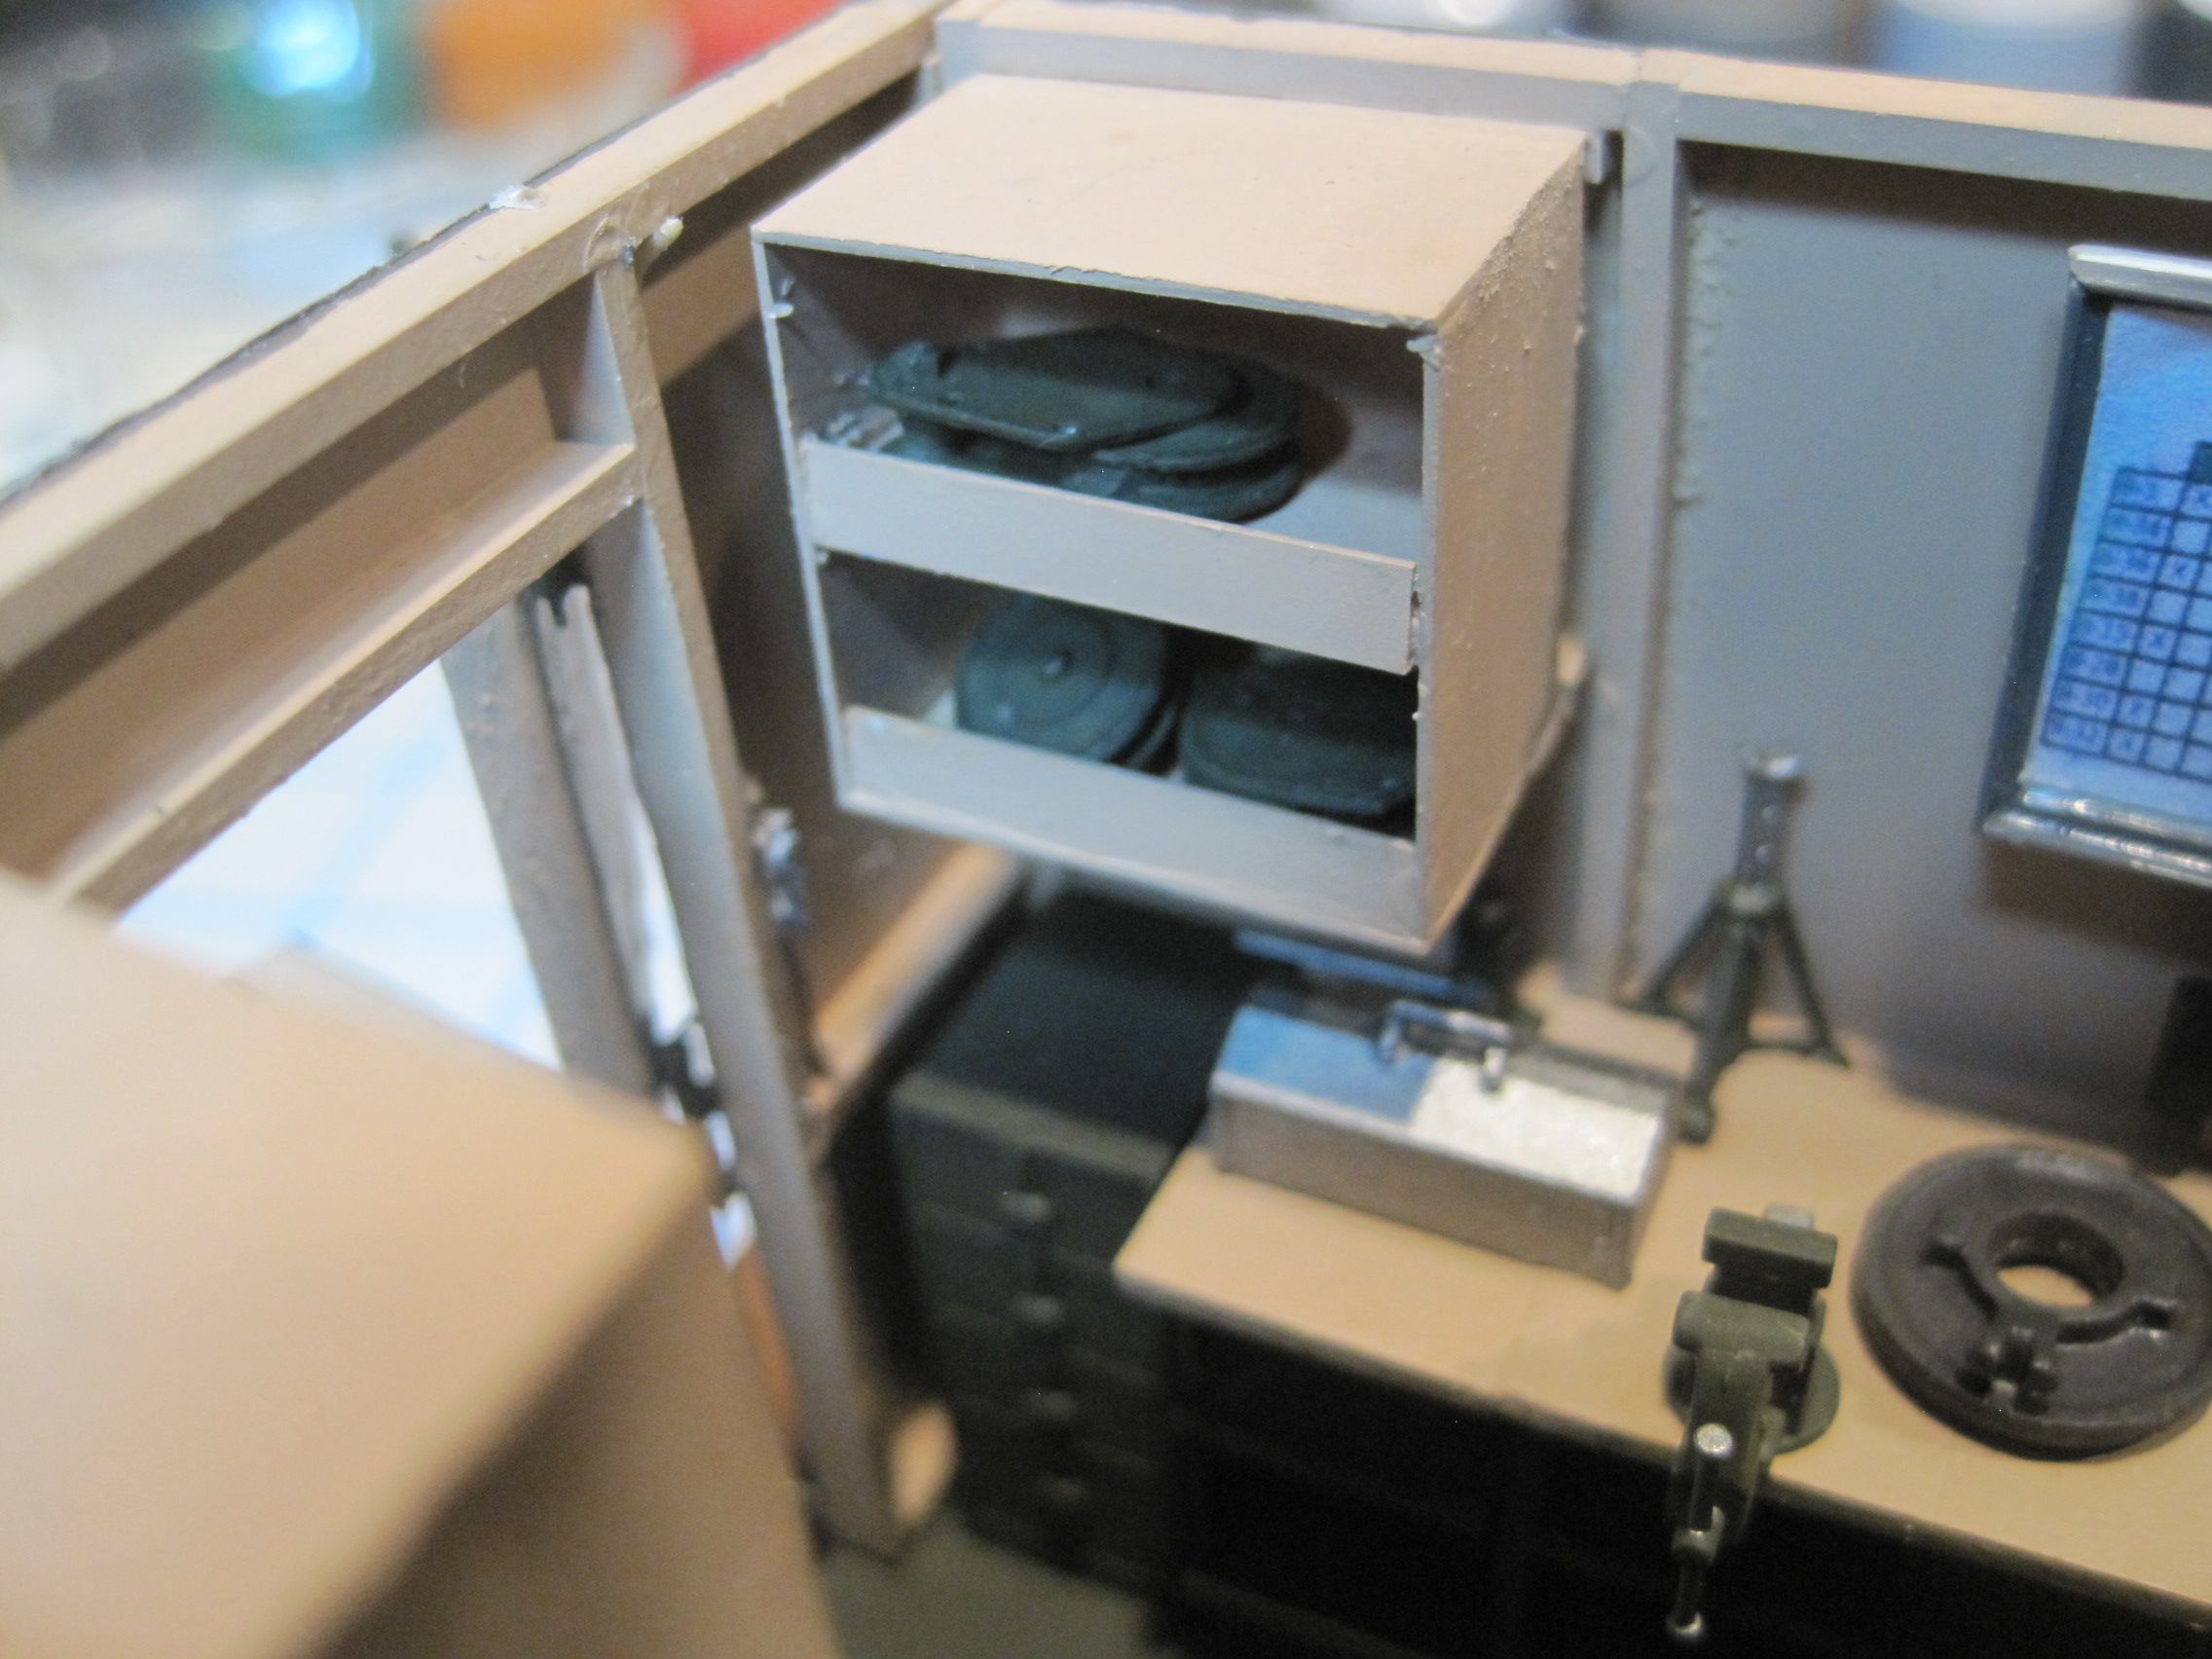
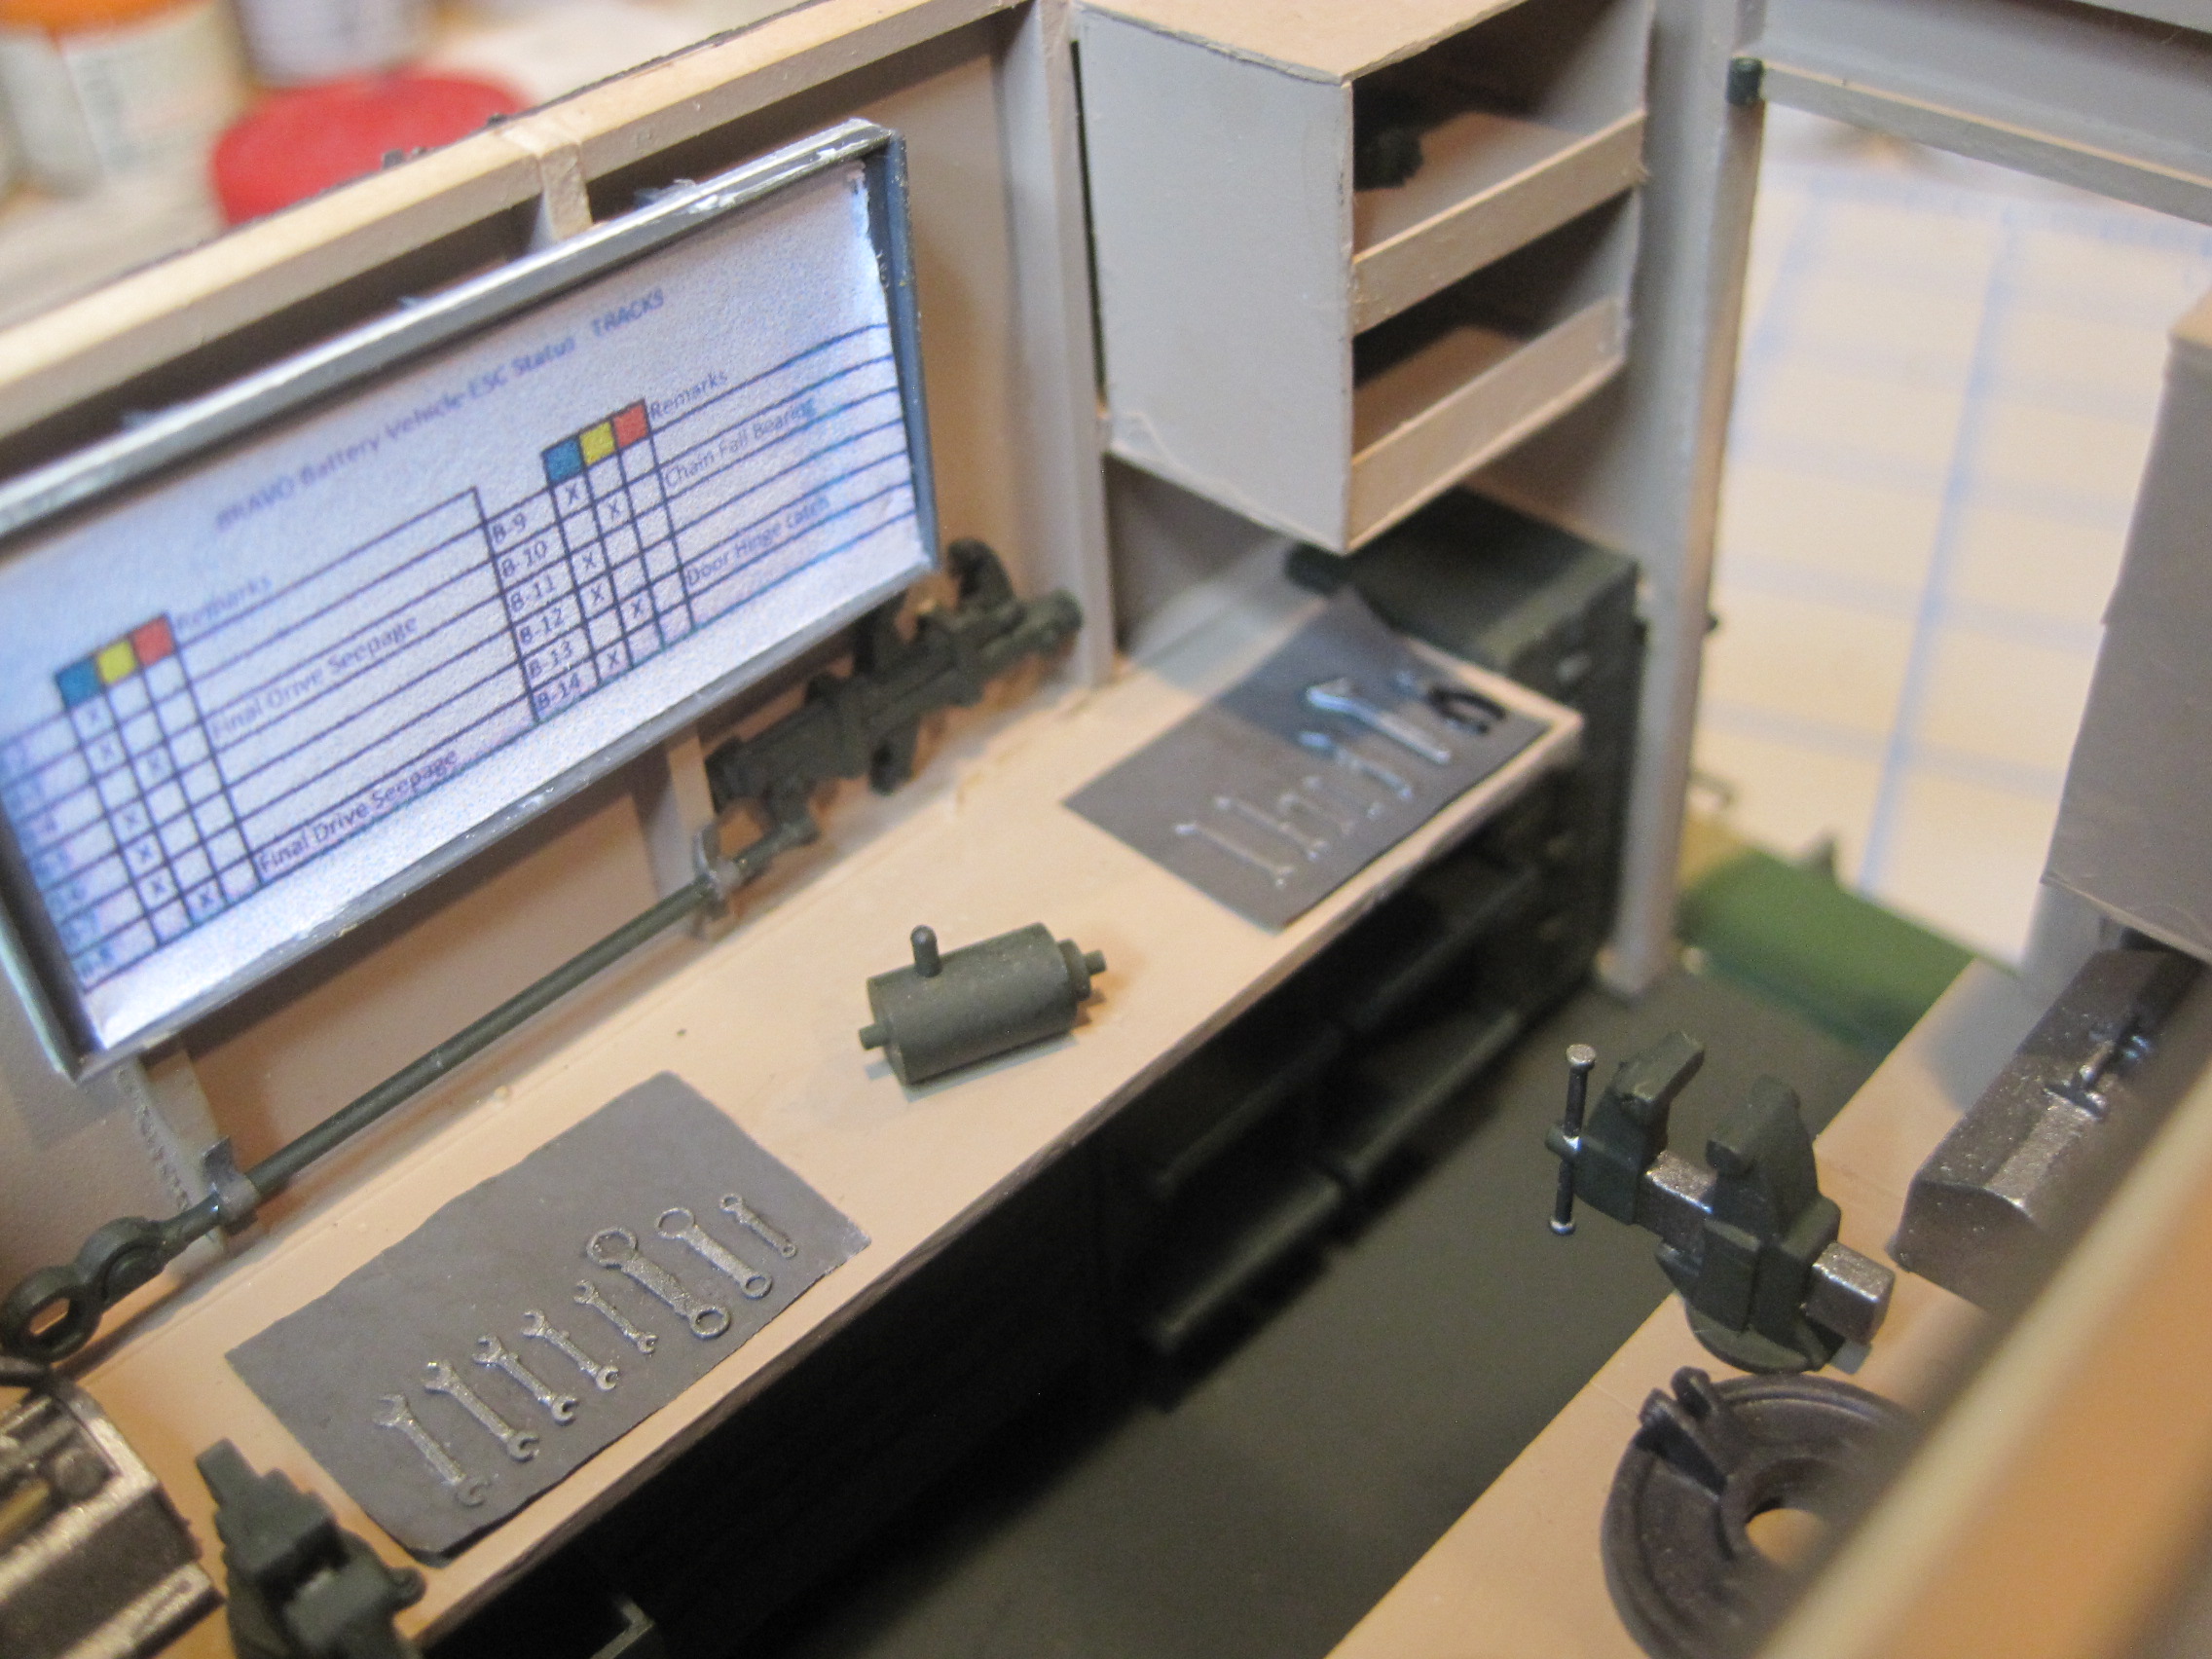
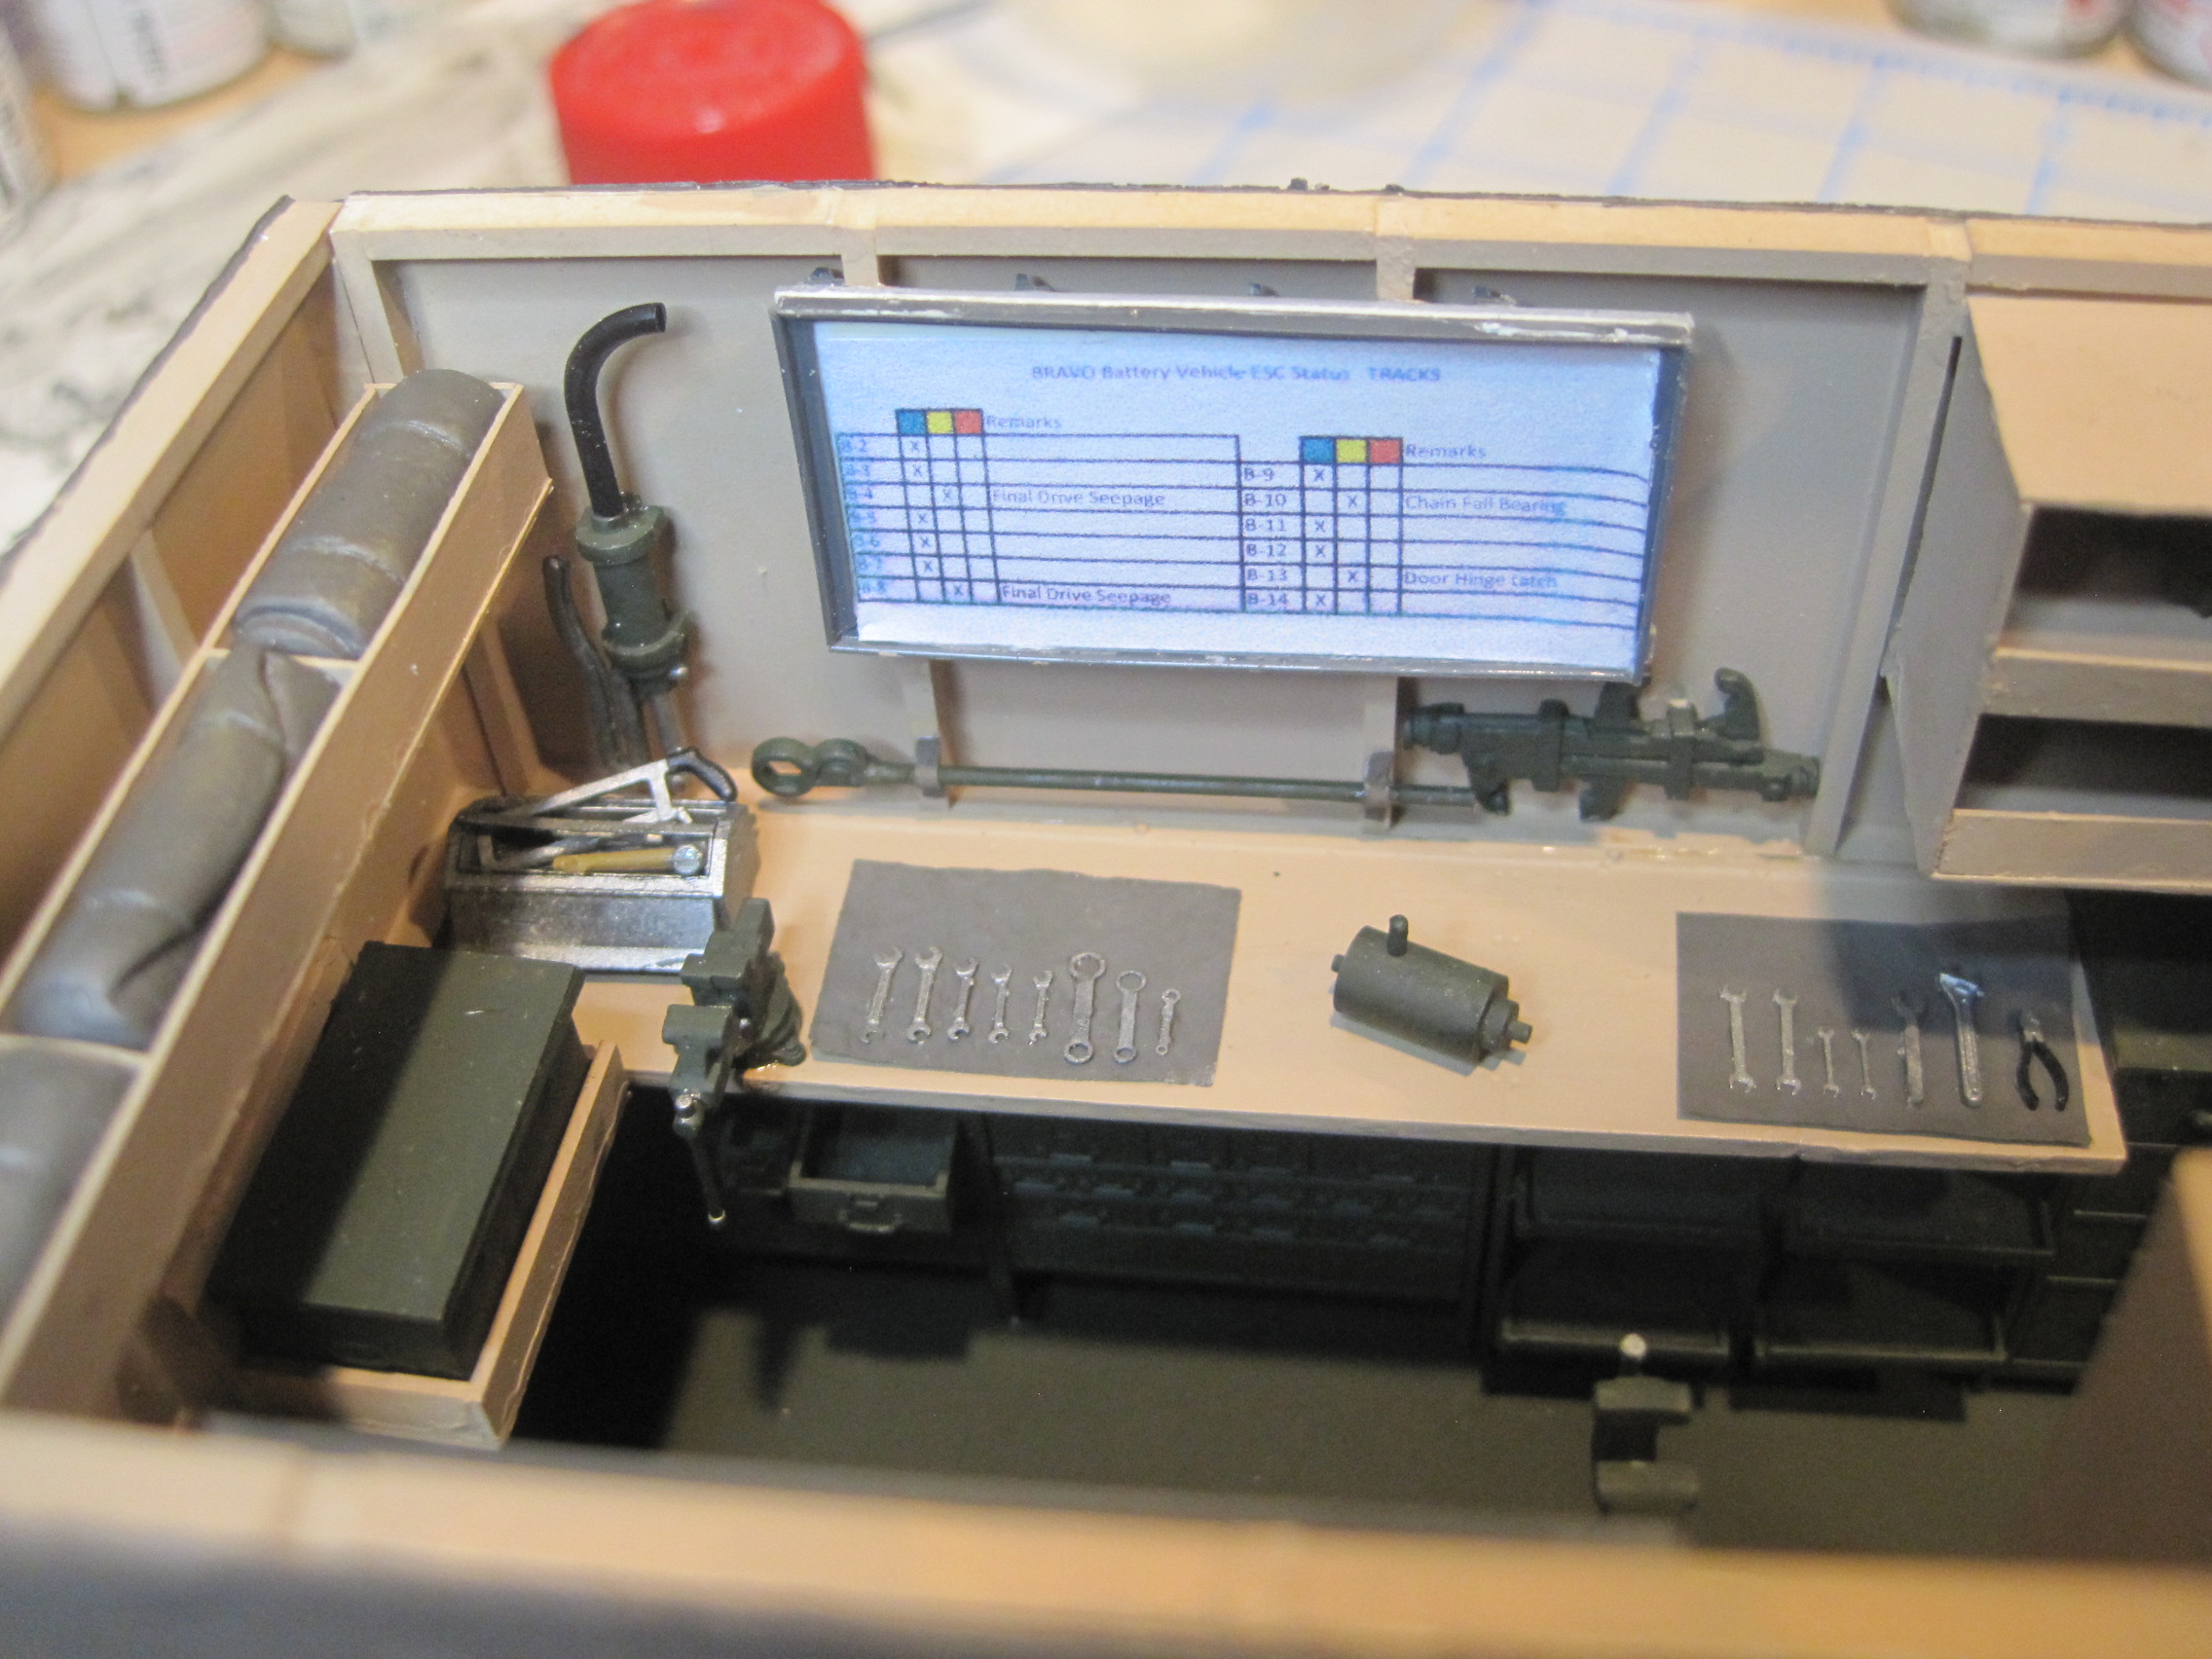
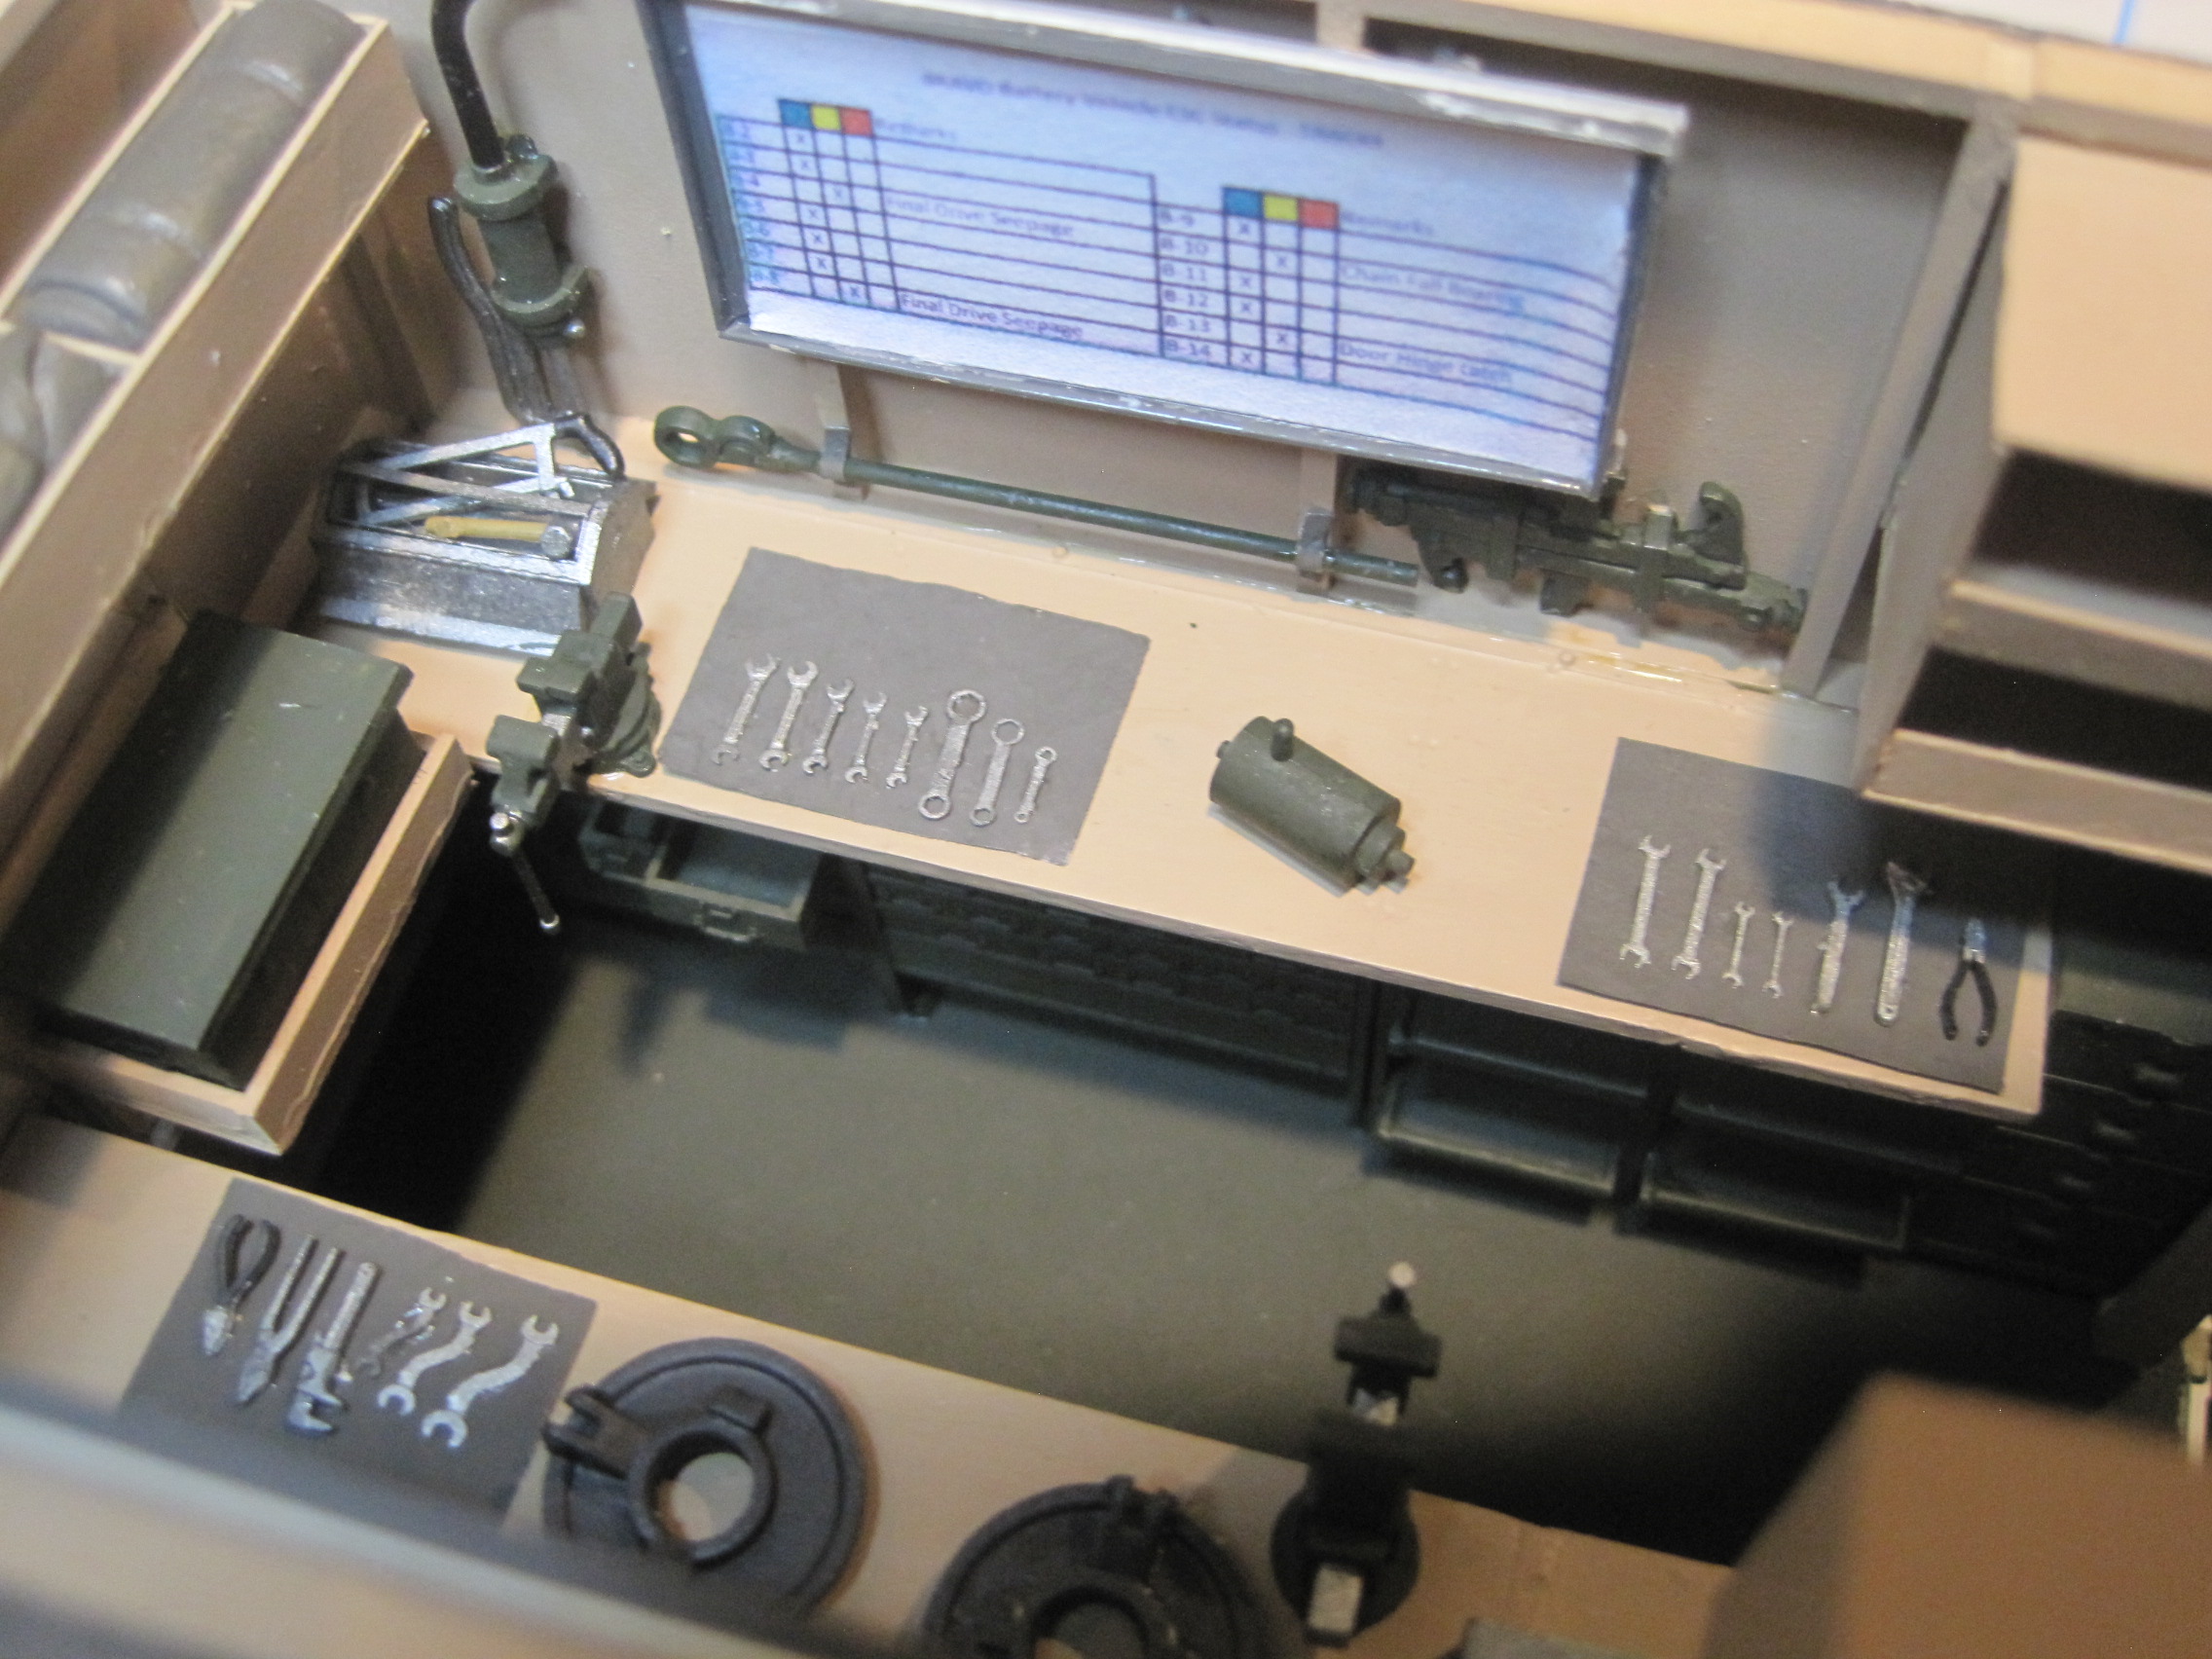
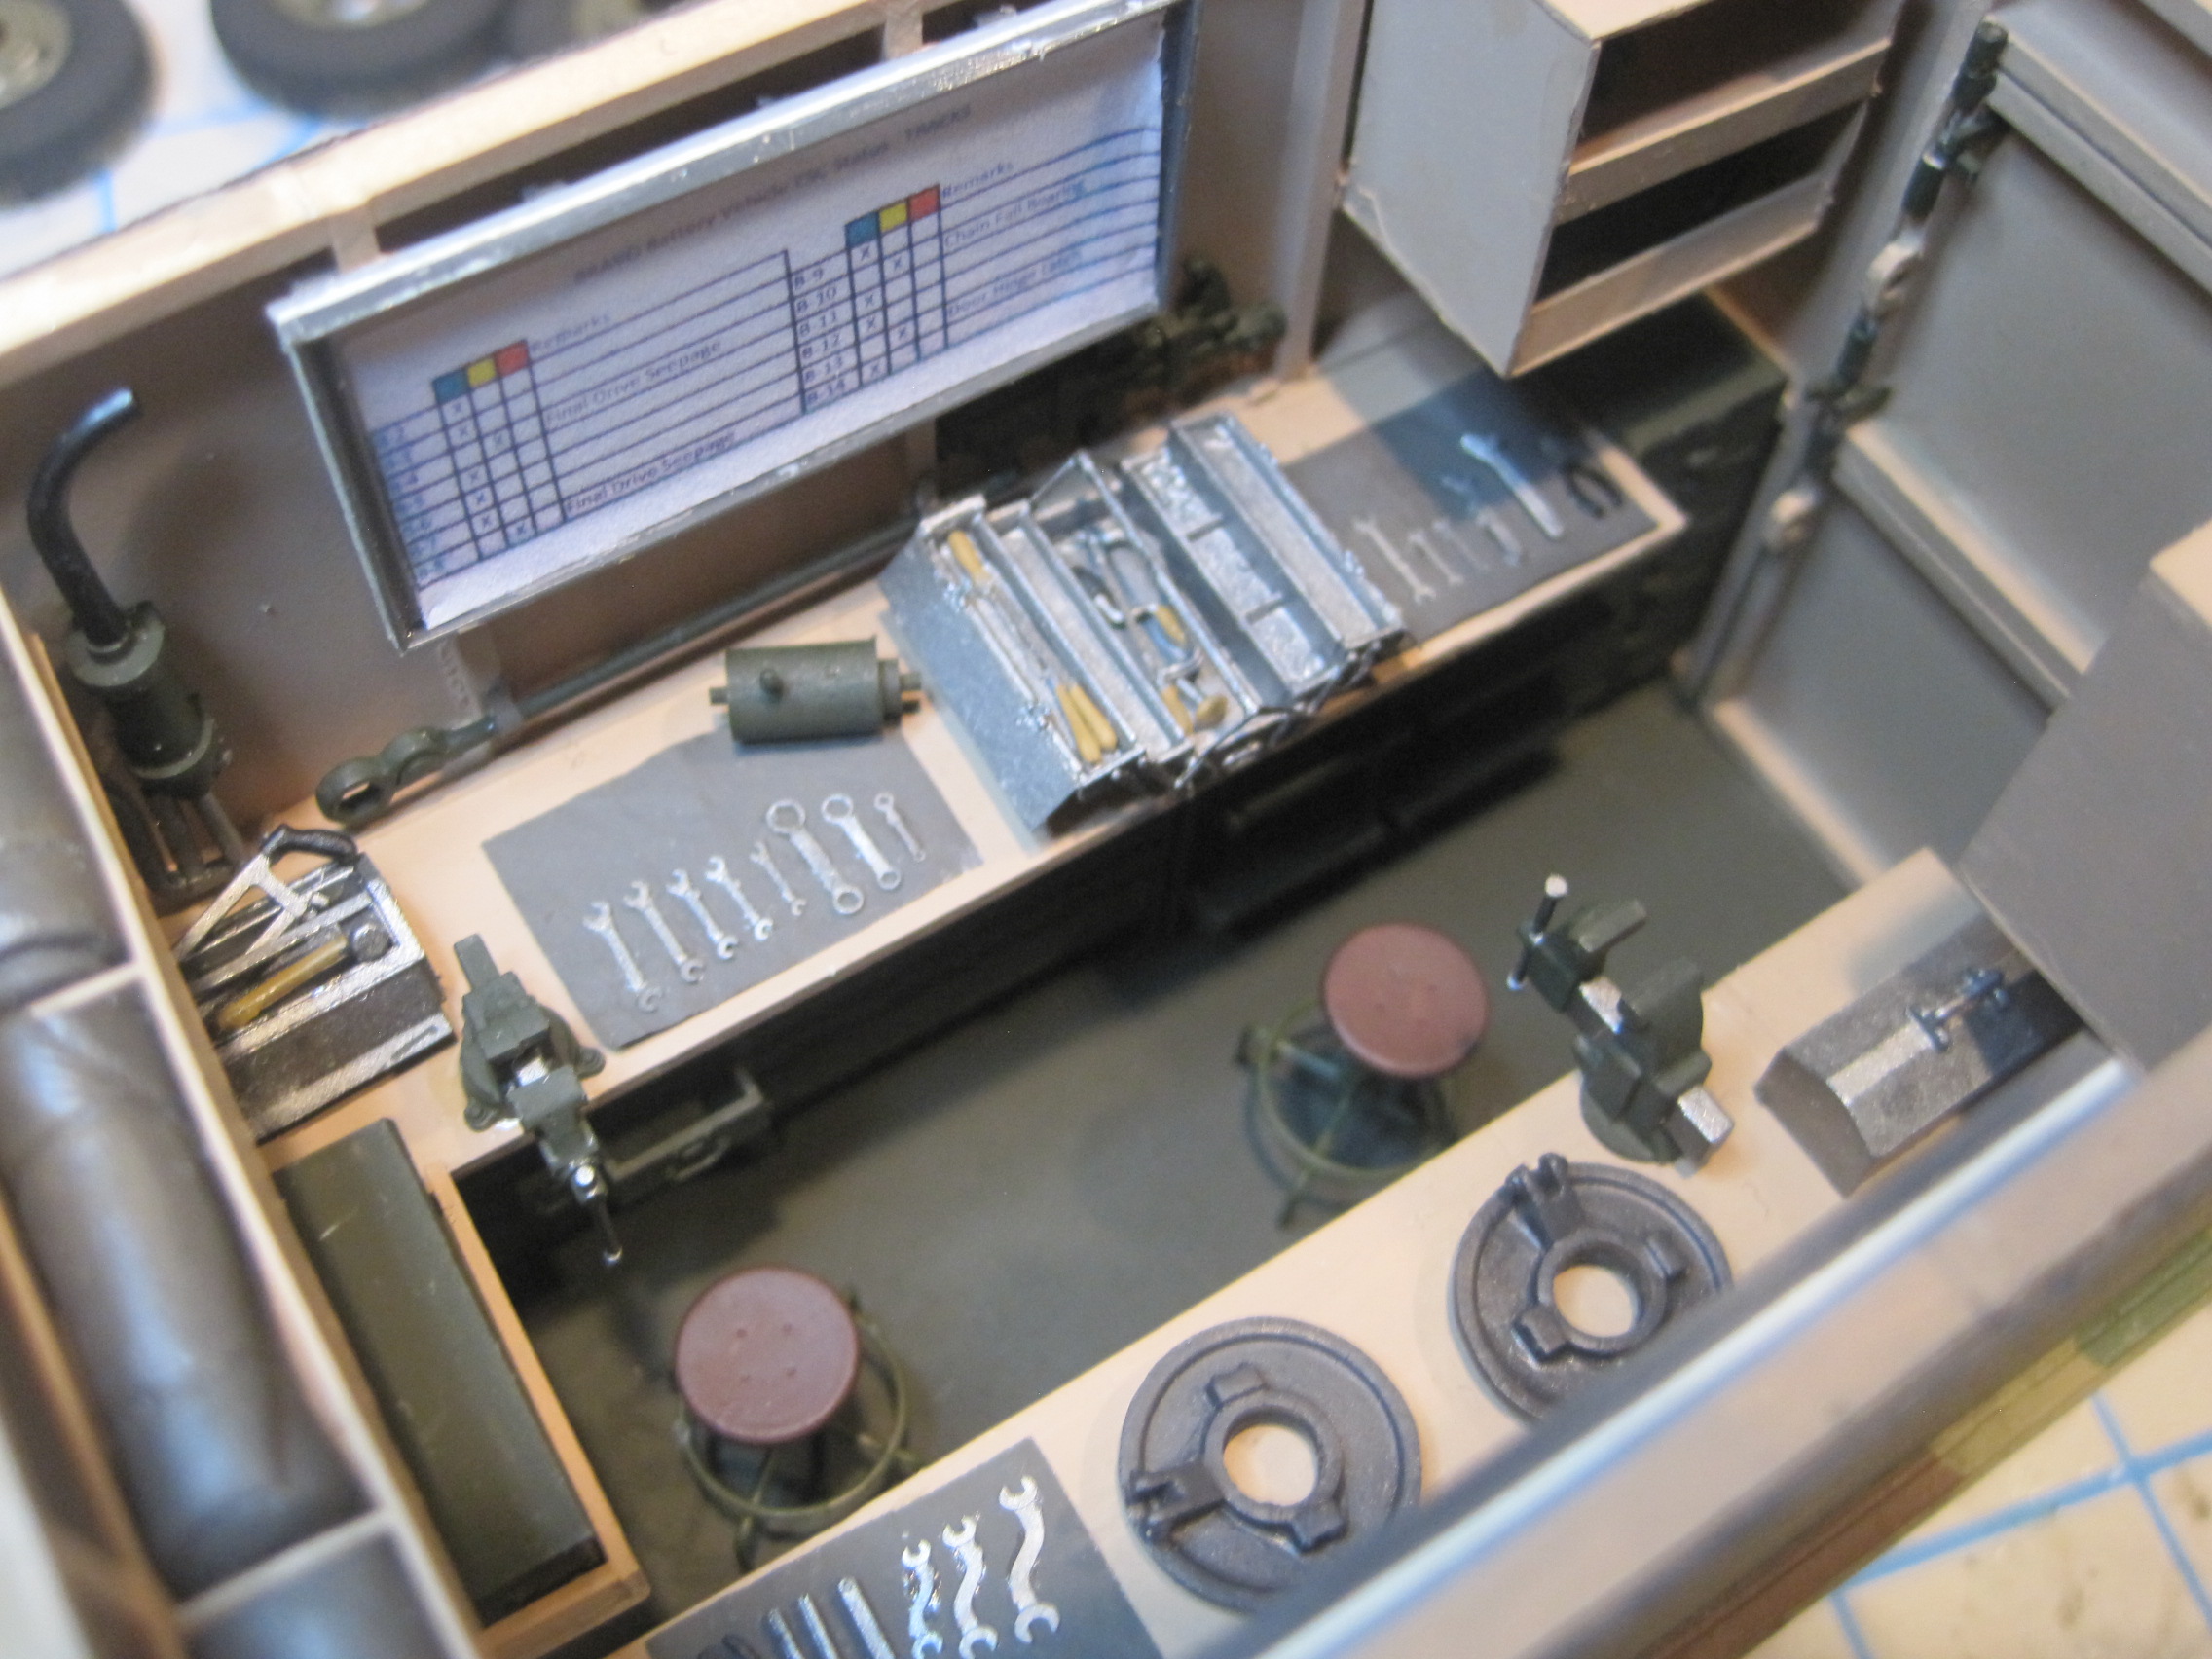
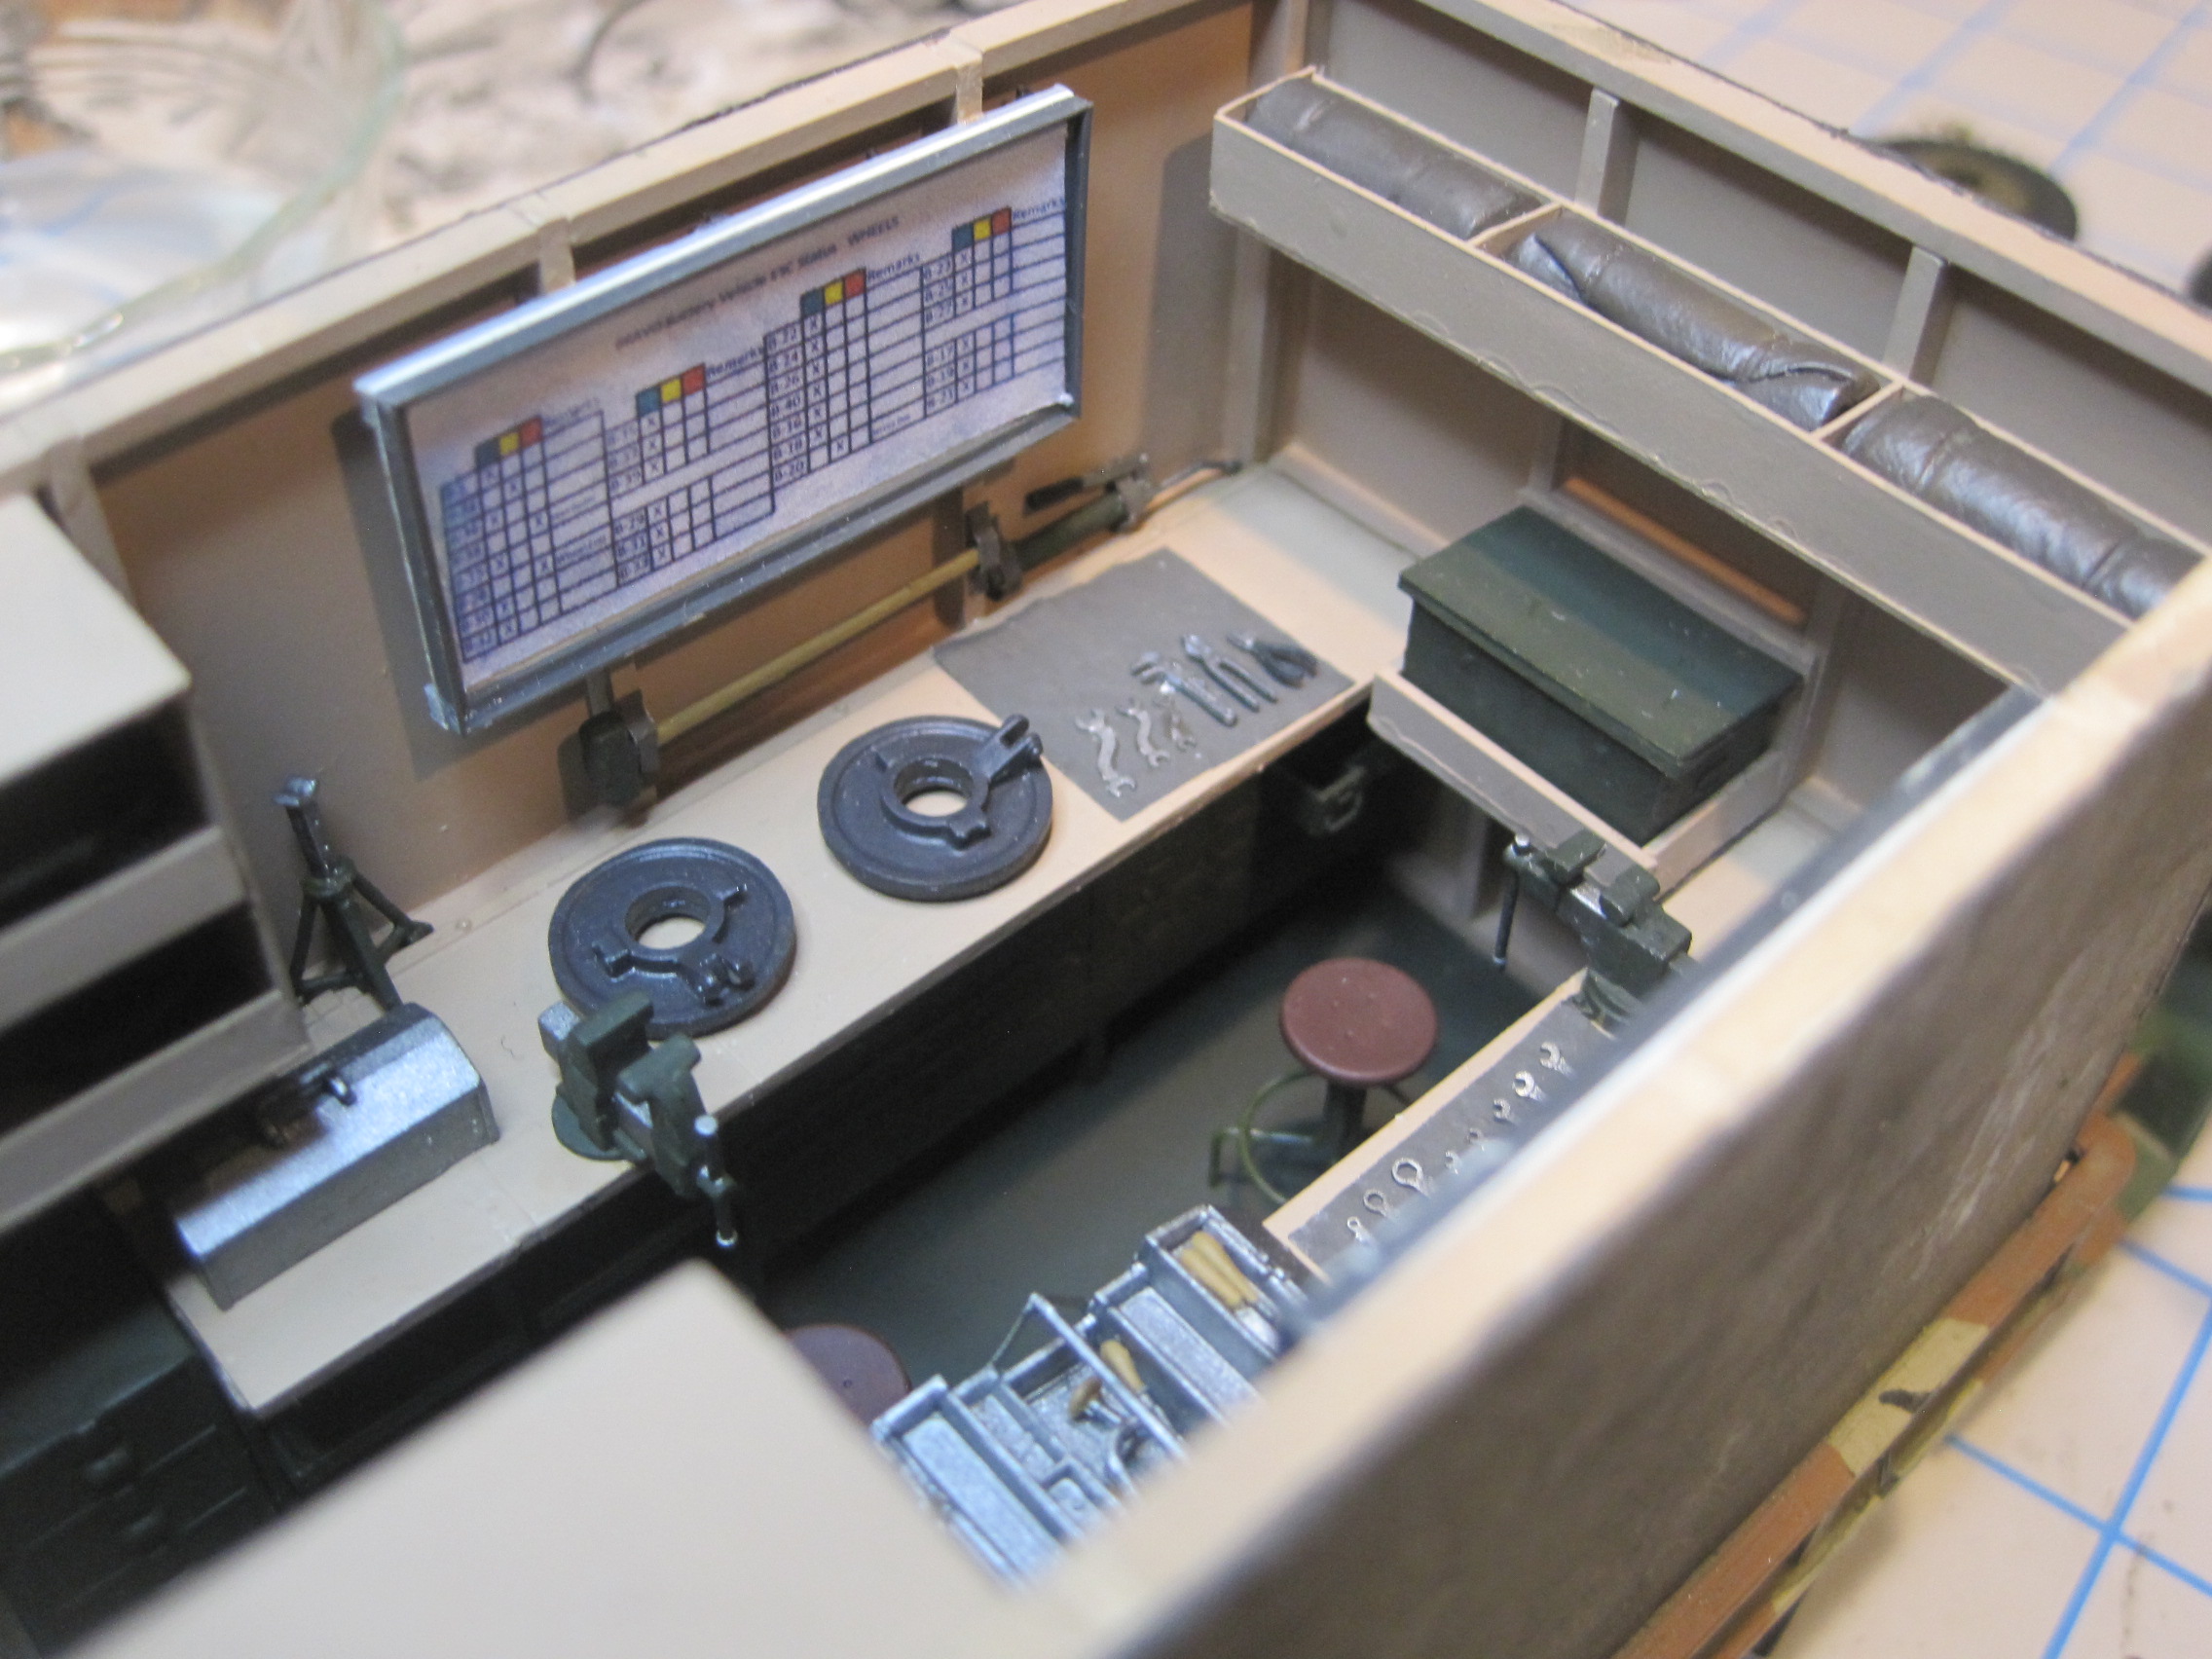
I have finally finished the shelter with the exception of adding all the detail small parts which I’ll do when I complete the final part of the project which is the actual M35 itself. Today what I finished is gluing in the work benches, the file cabinets, the maintenance manual storage box and adding the sleeping bags into the overhead storage rack. There are also two vehicle ESC status boards as well, one each for the wheeled vehicles on one side and for the tracks on the other.
I inherited a love of the Army and military history along with a passion for building models from my late father. In going through his stuff after he died in 2002, I found all sorts of stuff from various projects of his. Among what I found were five scratch built items which I had no idea what they were or what he may have intended to use them for. But they are absolutely perfect for these status boards, so thanks, dad! (The actual charts were reduced down from an Excel spread sheet I made.)
Also I installed the wiring and the switches for the lights.
9 Likes
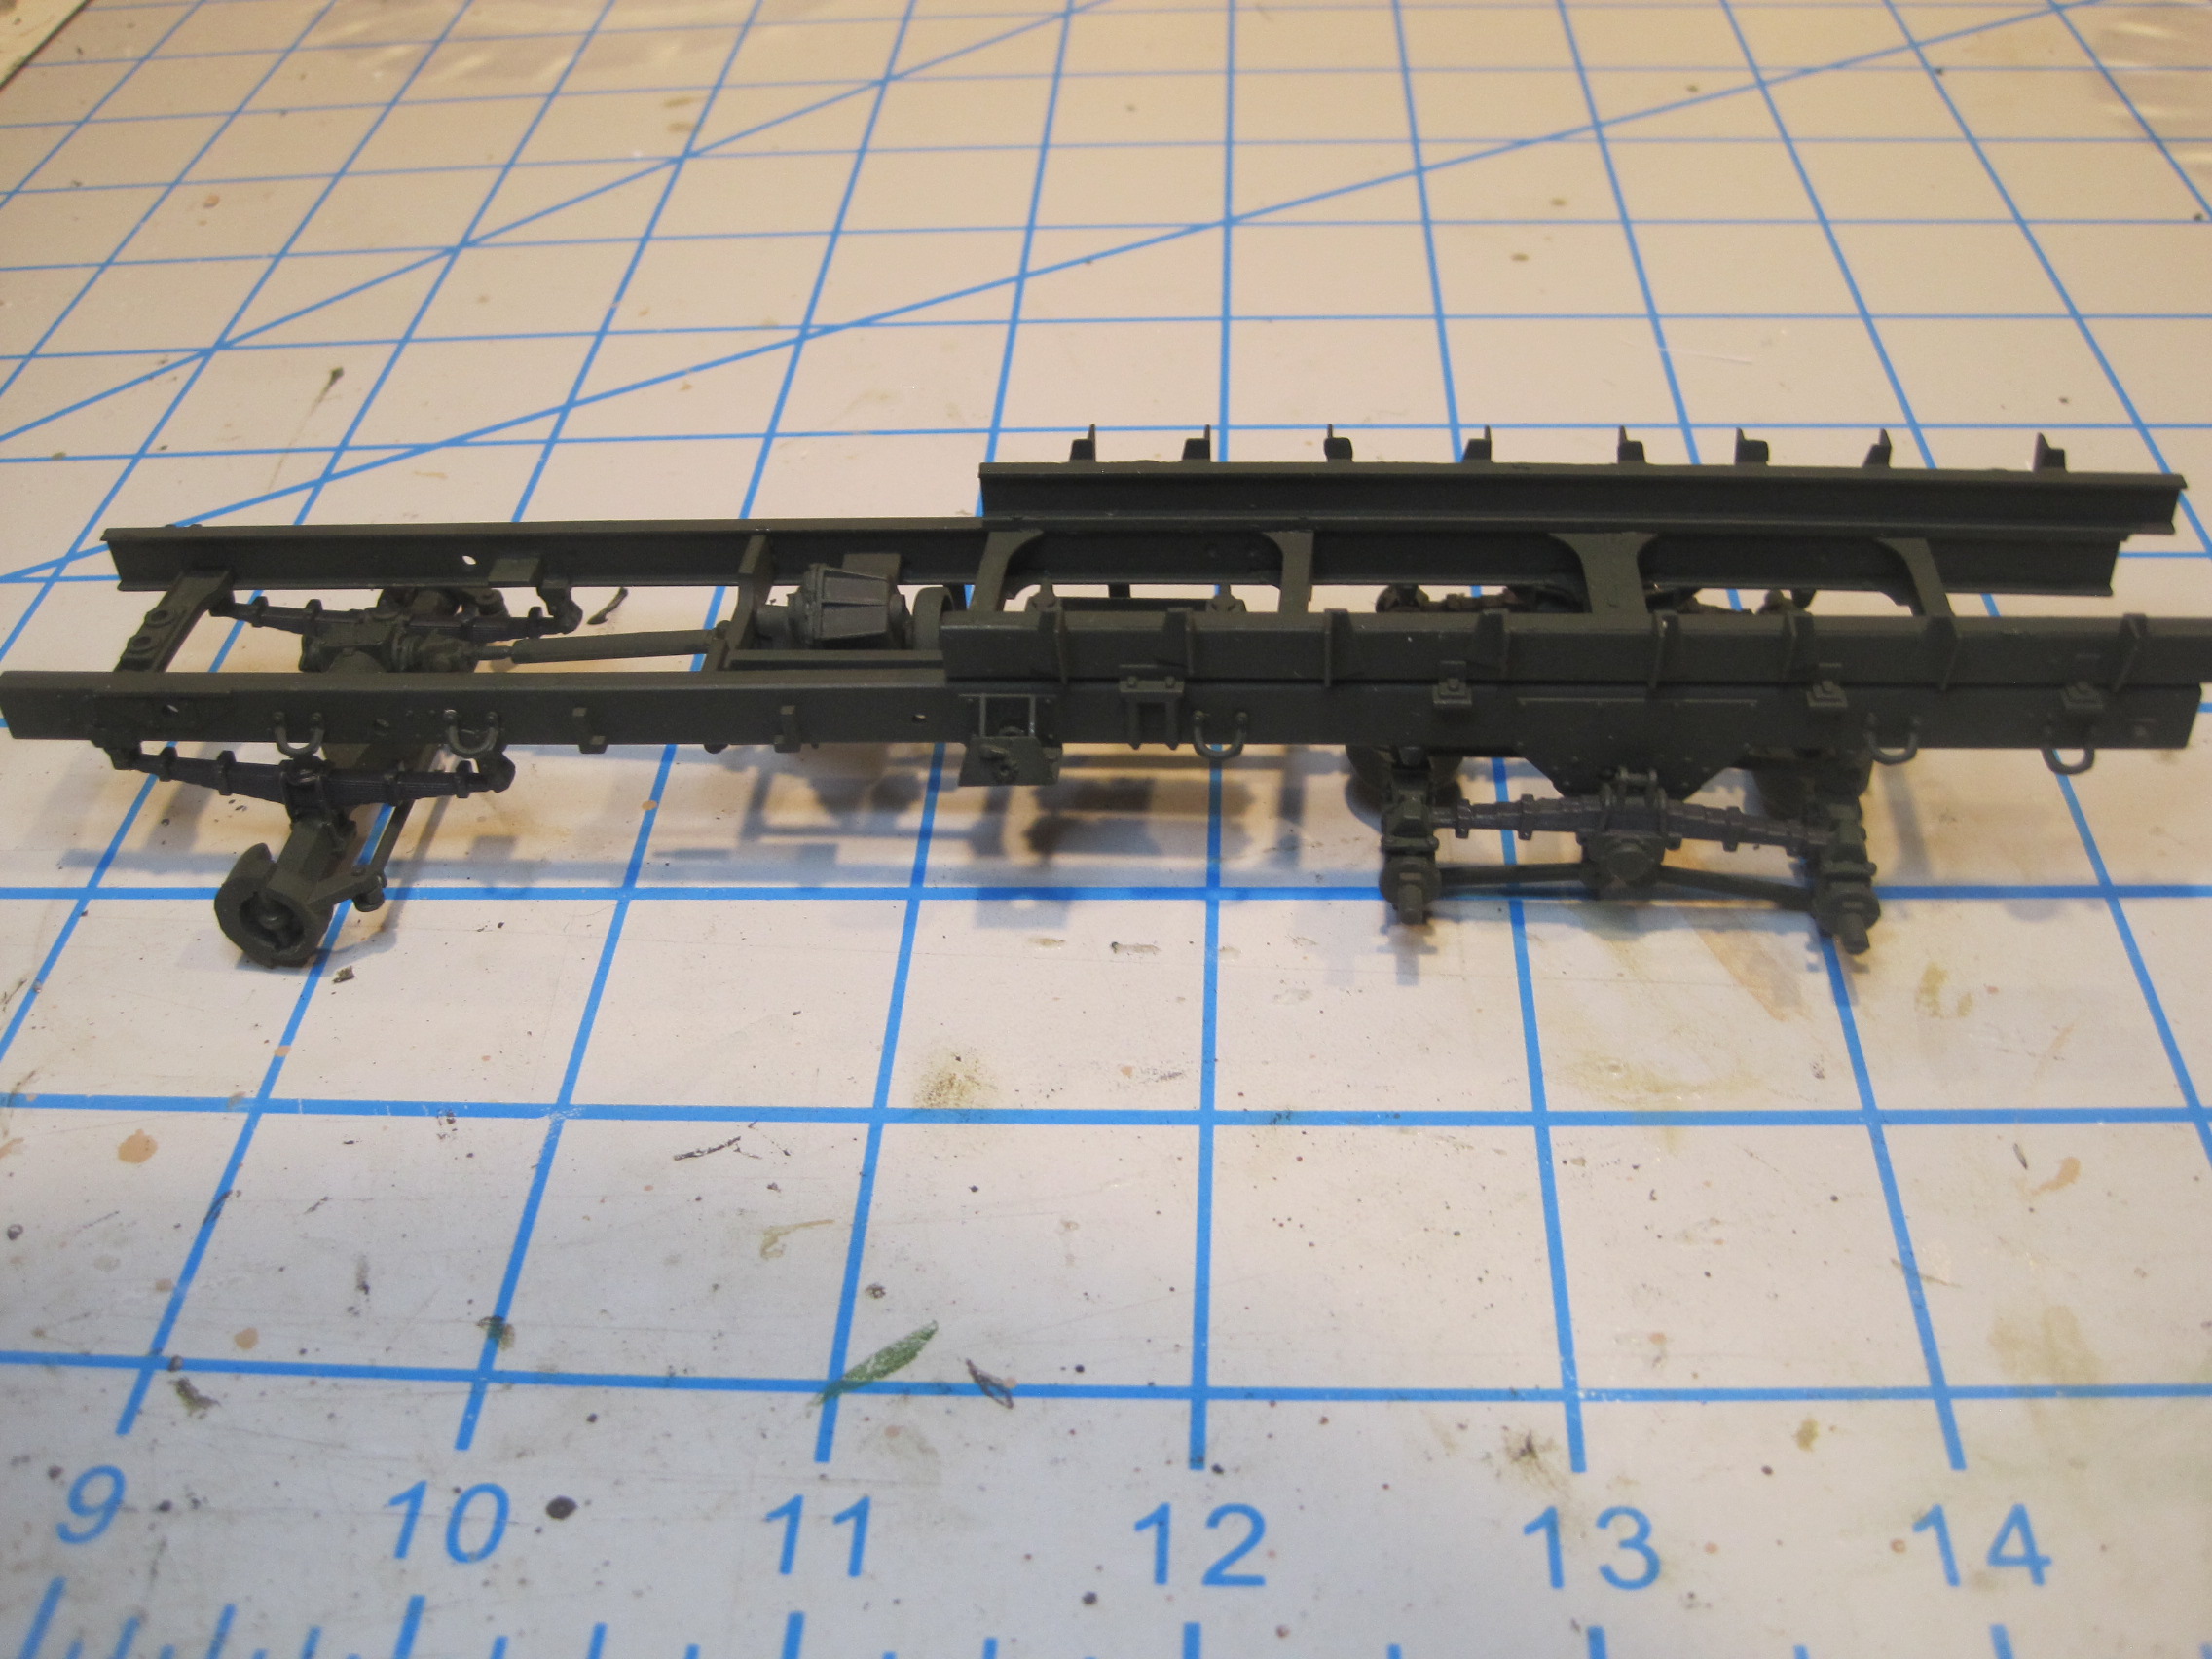
On to the truck itself. This part was especially enjoyable for me. Having spent 30 years working as a Truck design engineer at Ford, not only was I responsible at various times for both the rear suspension, but the Frame assembly as well, this was like old times. I visited the assembly plants many times, including a Joint Venture between Ford and Navistar that existed briefly known as Blue Diamond, which built Ford F-650 and F-750 Heavy Trucks.
One other thing I noticed. After all the work it takes doing scratch building, (figuring out WHAT you’re going to do, figuring out HOW you’re going to do it and then actually MAKING the stuff), it was really a lot of fun simply cutting parts off the sprue and assembling them together!!!
5 Likes
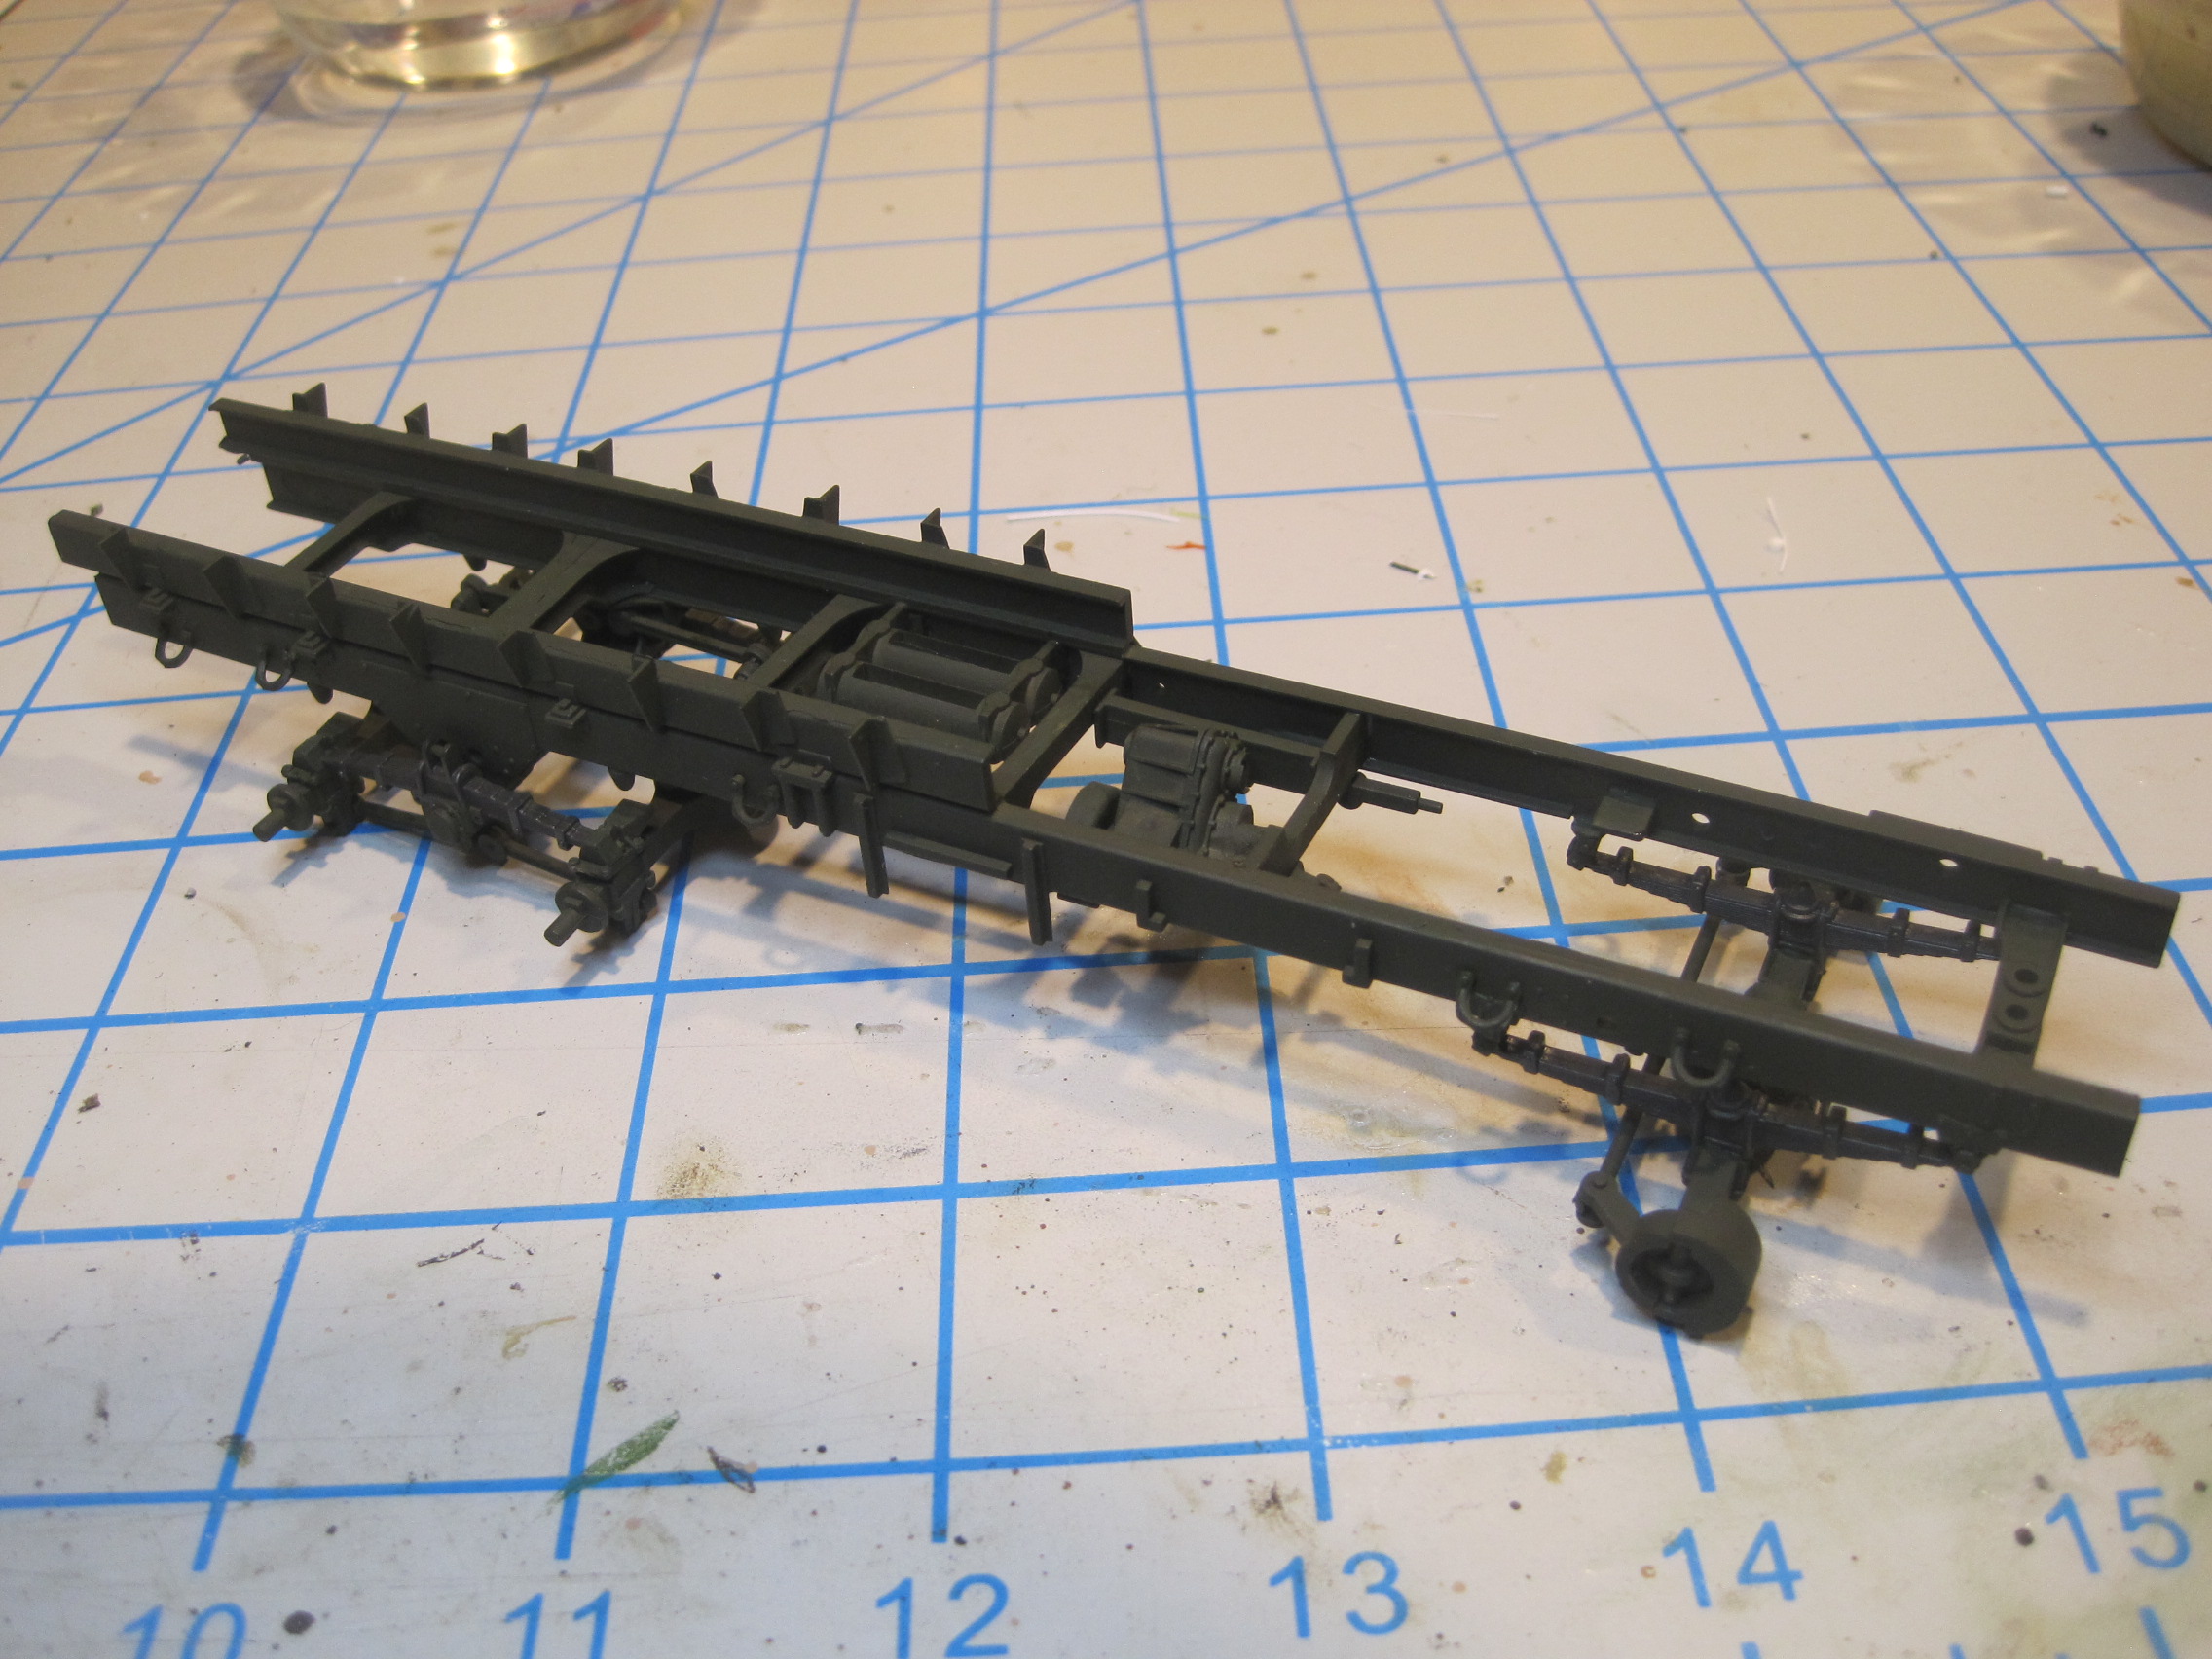
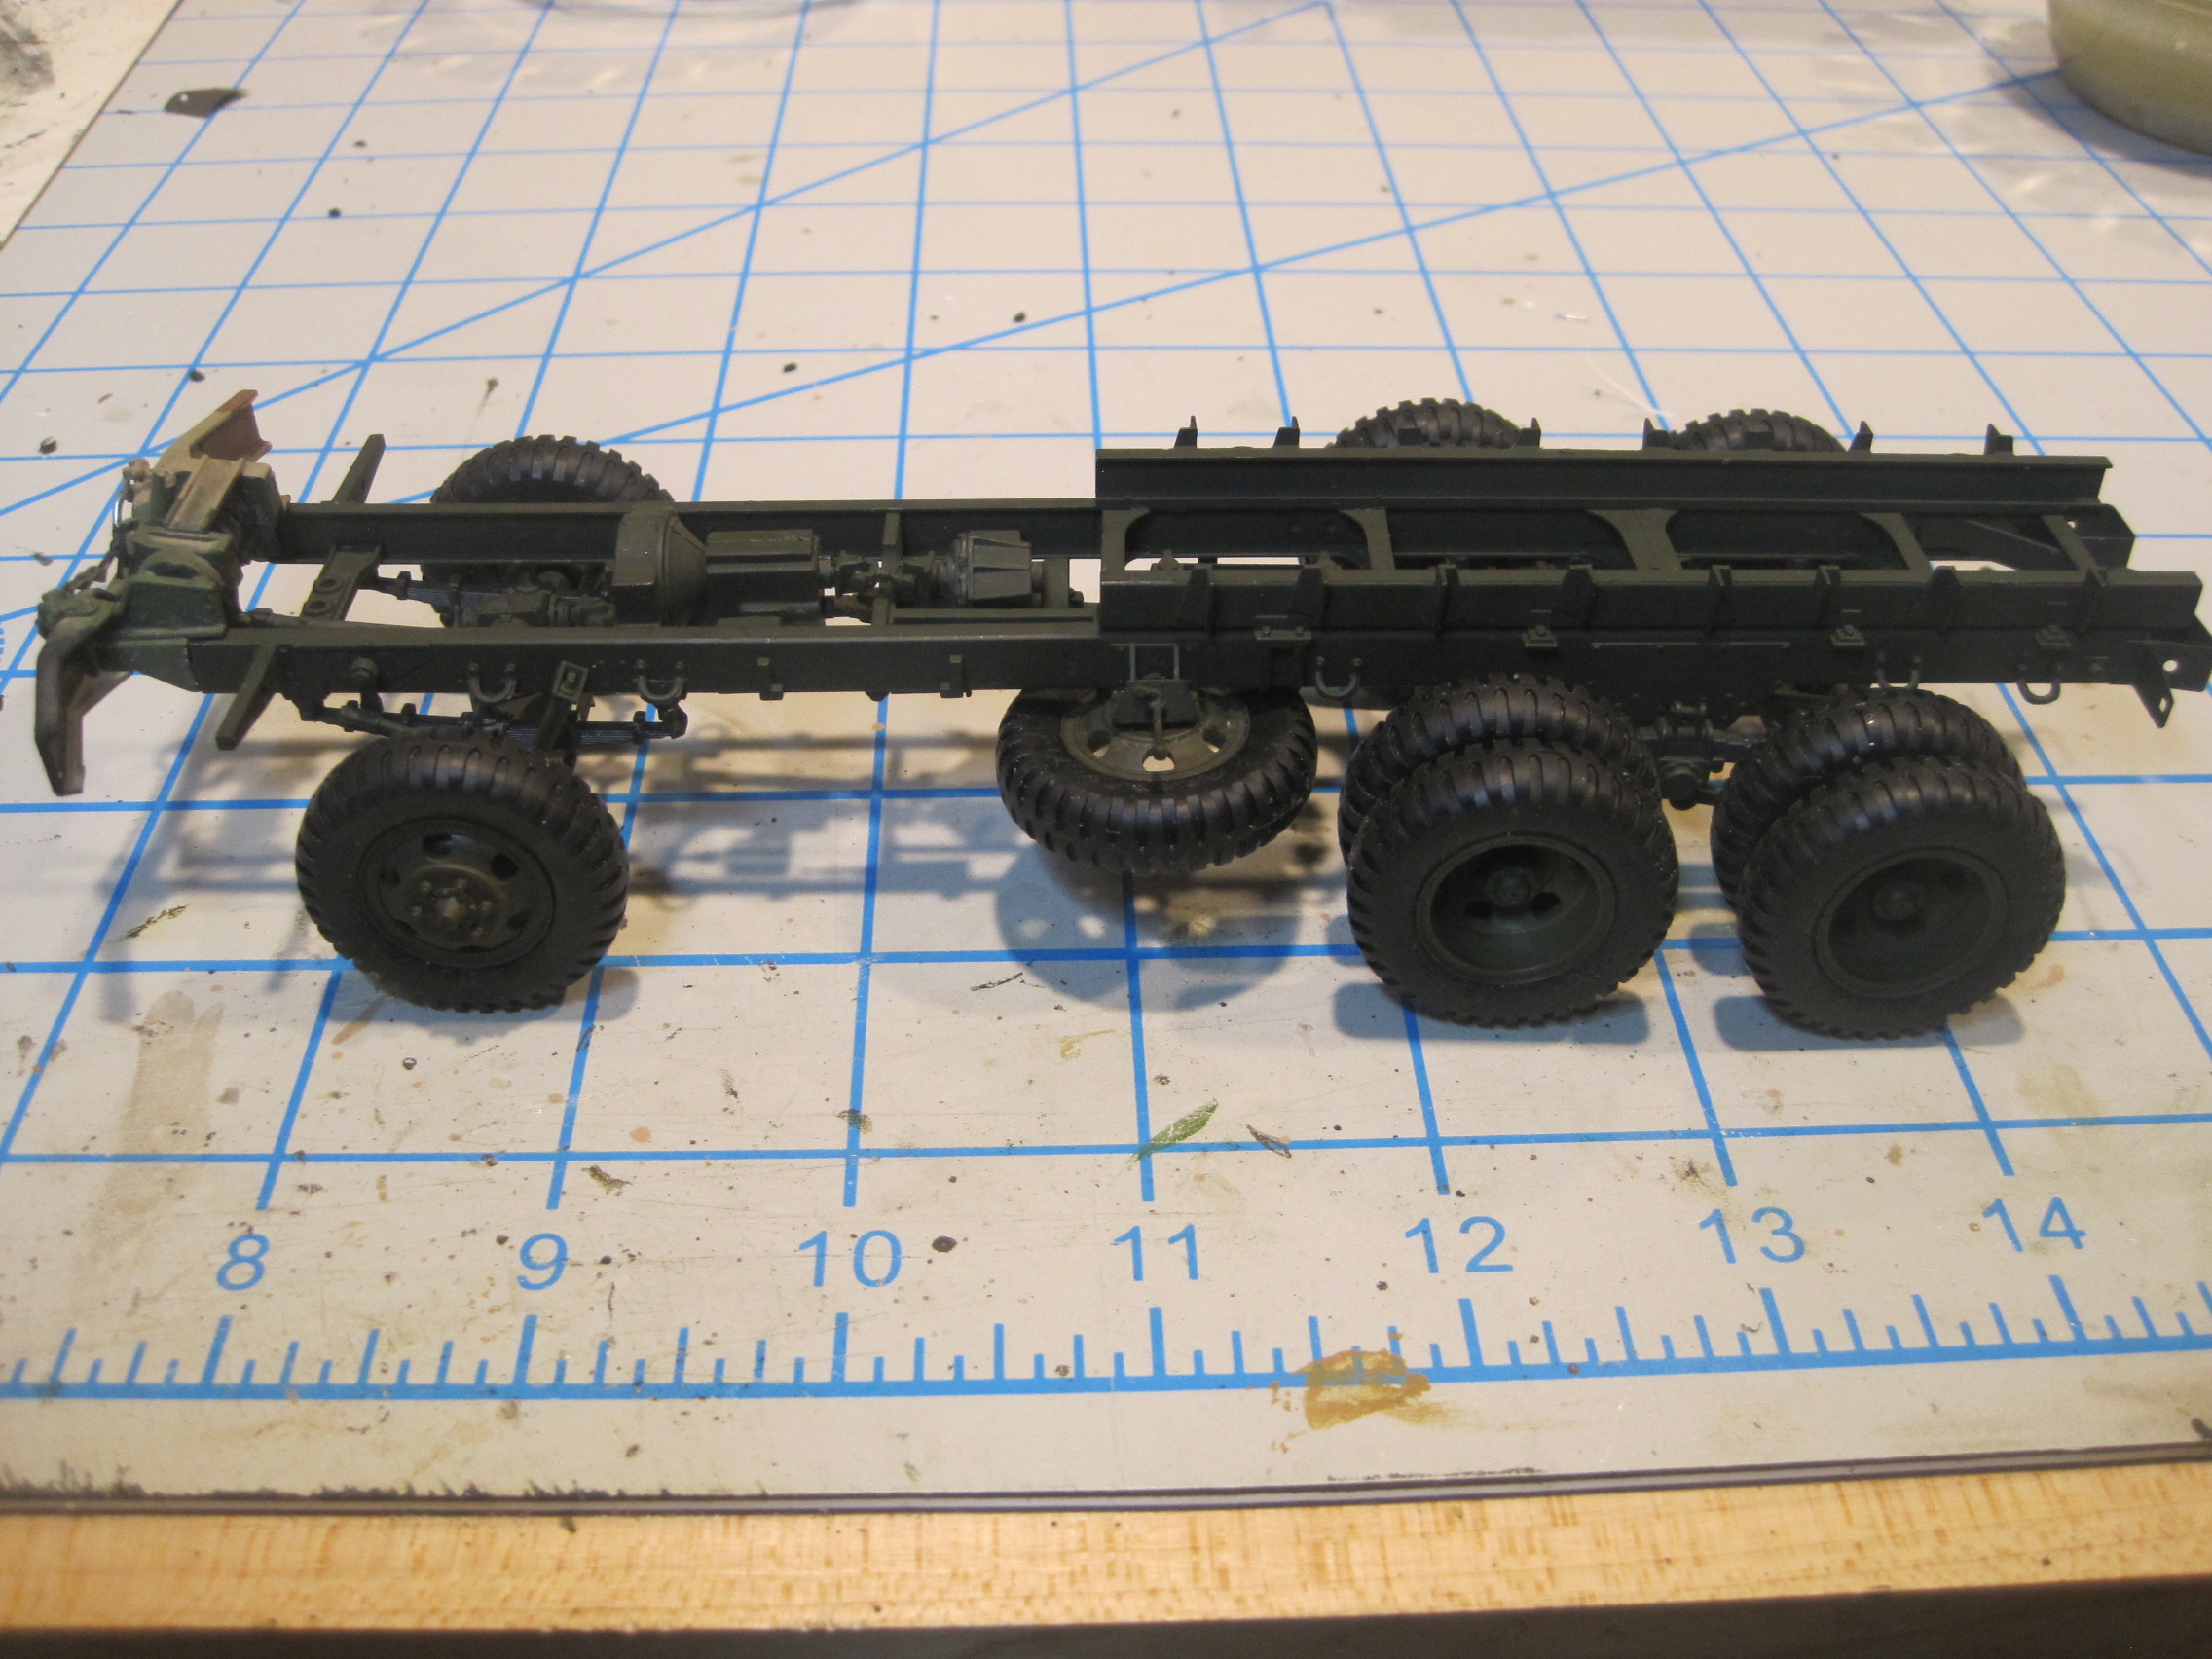
Yesterday I added the wheels to the chassis. For anyone who is considering building this vehicle and plans on having the wheels rotate, and you might as well since the kit’s designed for it, here’s a couple of tips. The front and rear hubs, parts A7 and A6 are designed to spin freely when inserted into the drum assembly parts.
My process in a build like this is to take all the sprues and spray them OD at the very beginning of the build. Most of the parts need to be that way, at least until applying the MASSTER scheme, and I find it a whole lot easier to paint prior to assembly than to try to spray after I build because it’s easier to reach all the crevices. But this method does mean you will have to scrape off some paint when you assemble.
It turns out that not only is acrylic paint an excellent friction material, but it does add very slightly to the thickness of parts. So if you have painted first, you will definitely need to make sure that all the surfaces on the hub and the drum assembly that are in contact have been cleaned up and that the hub turns when it’s inside the drum.
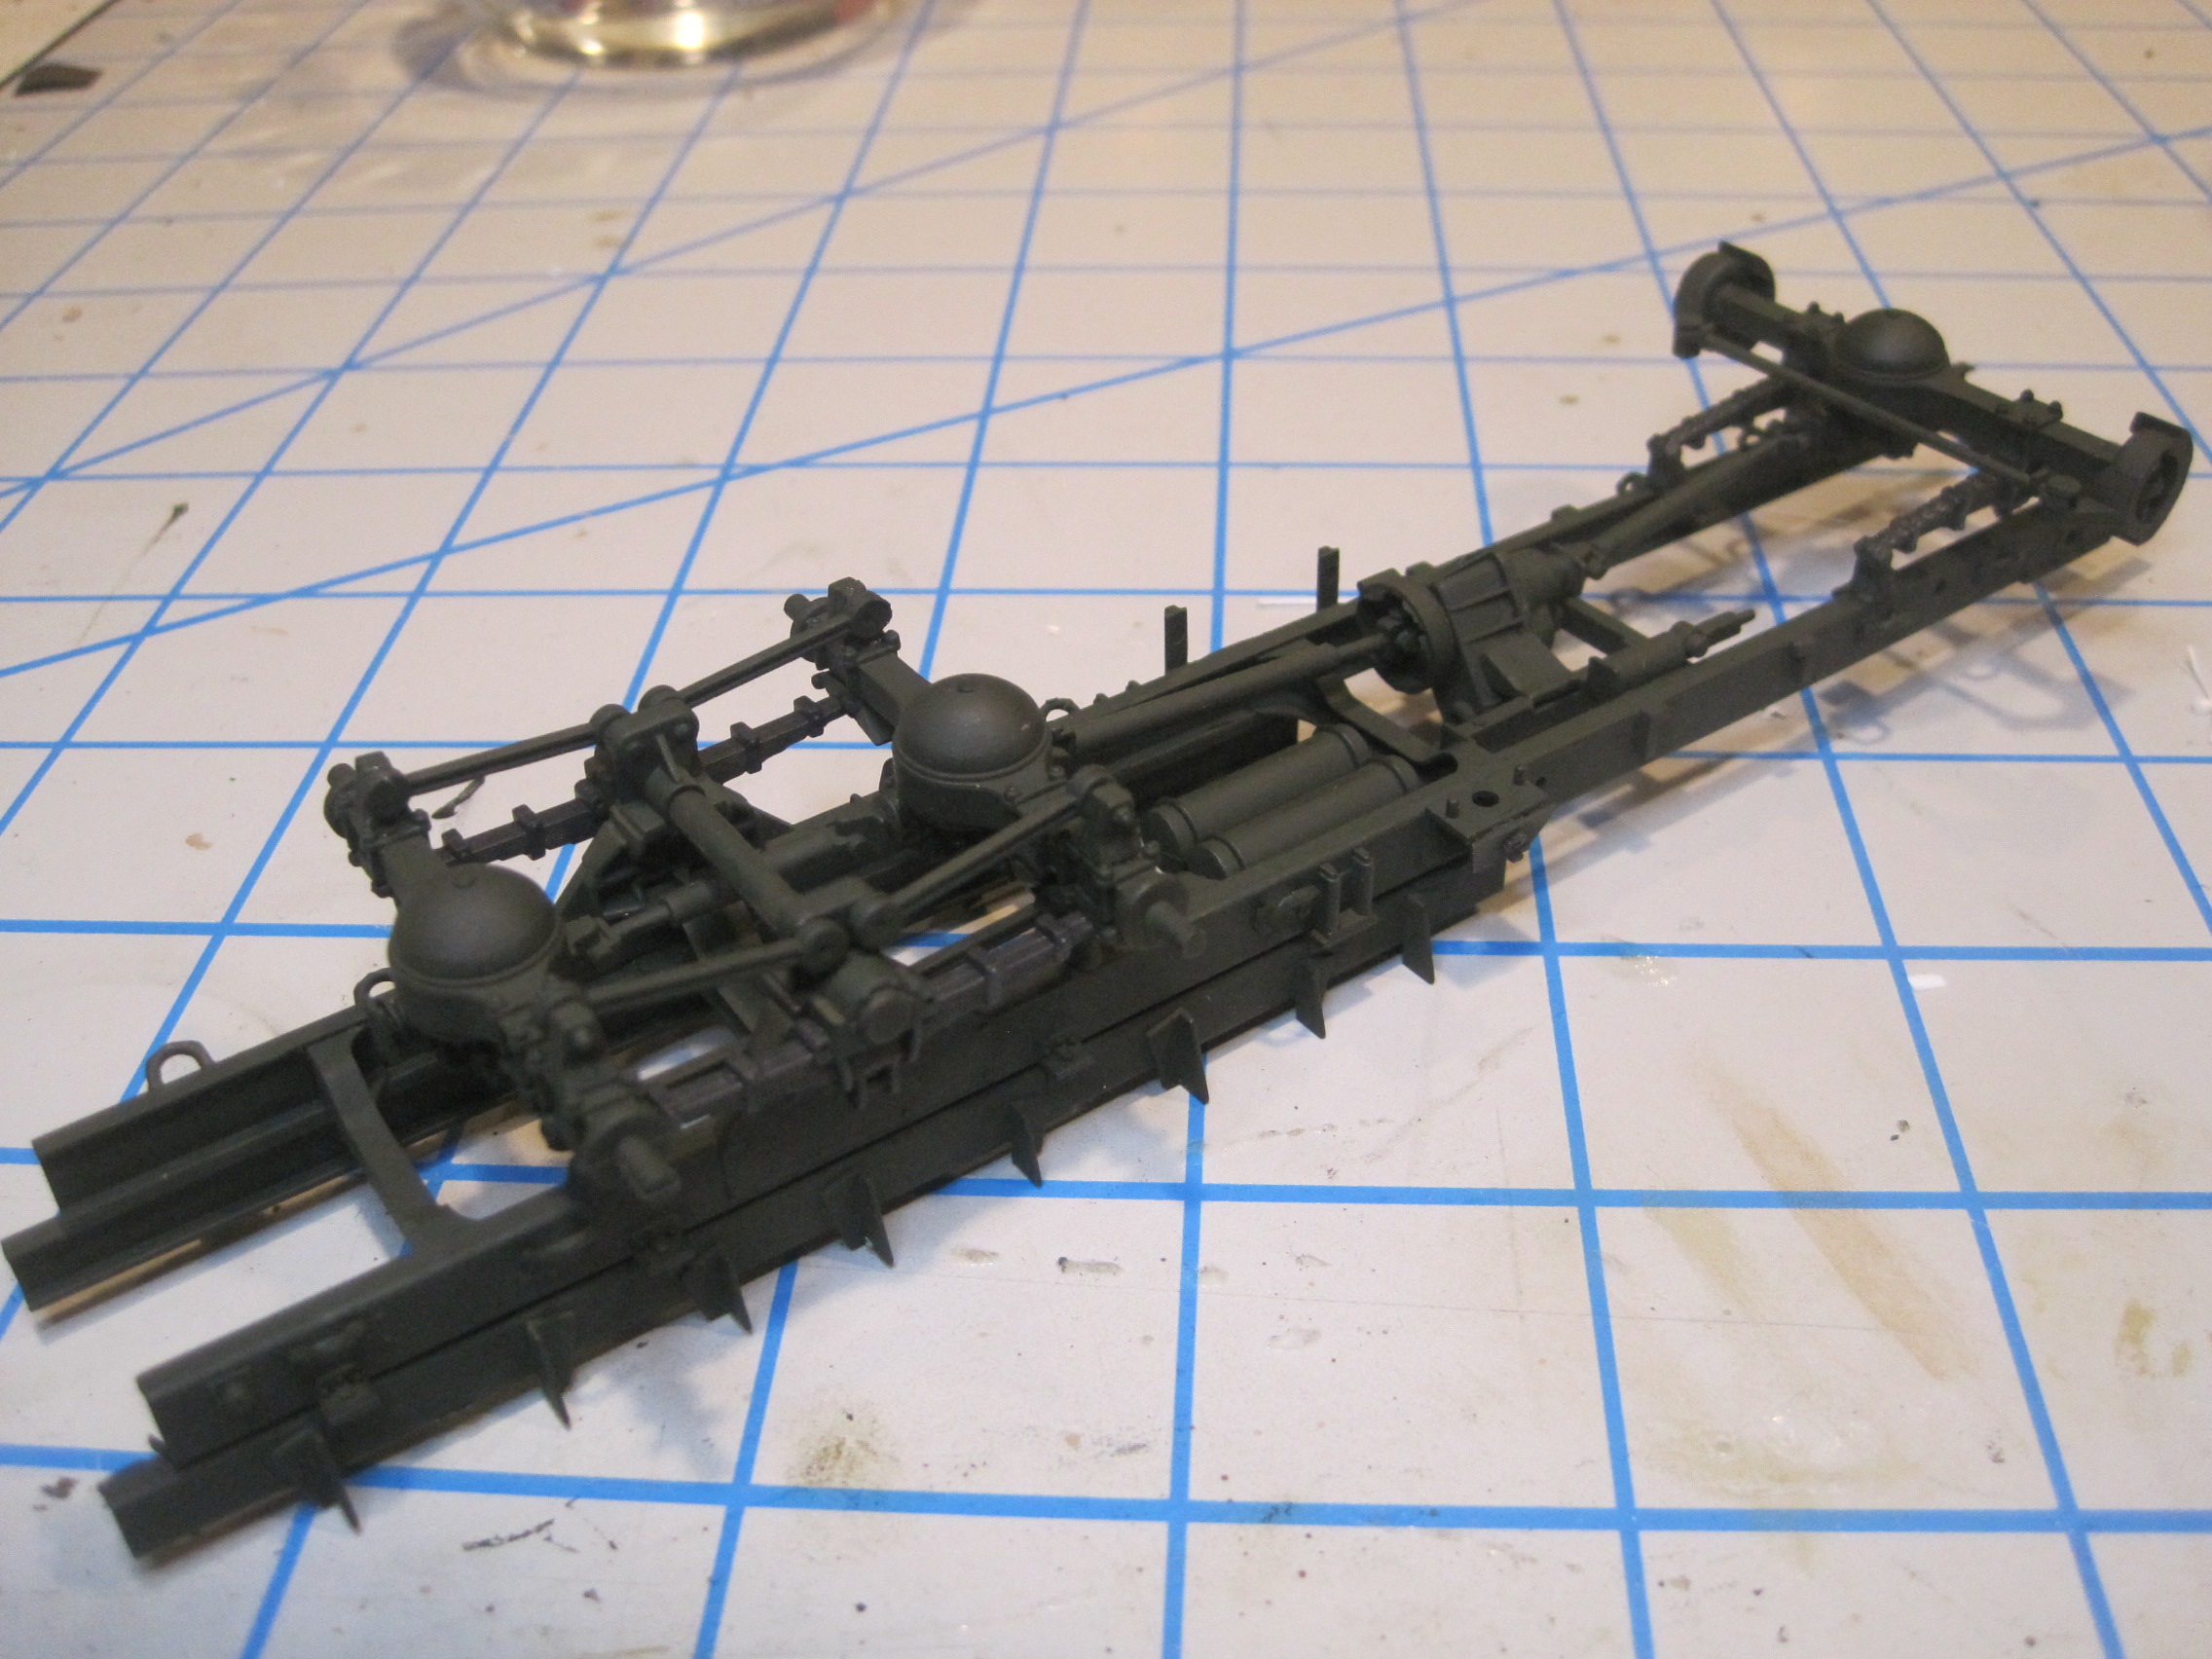
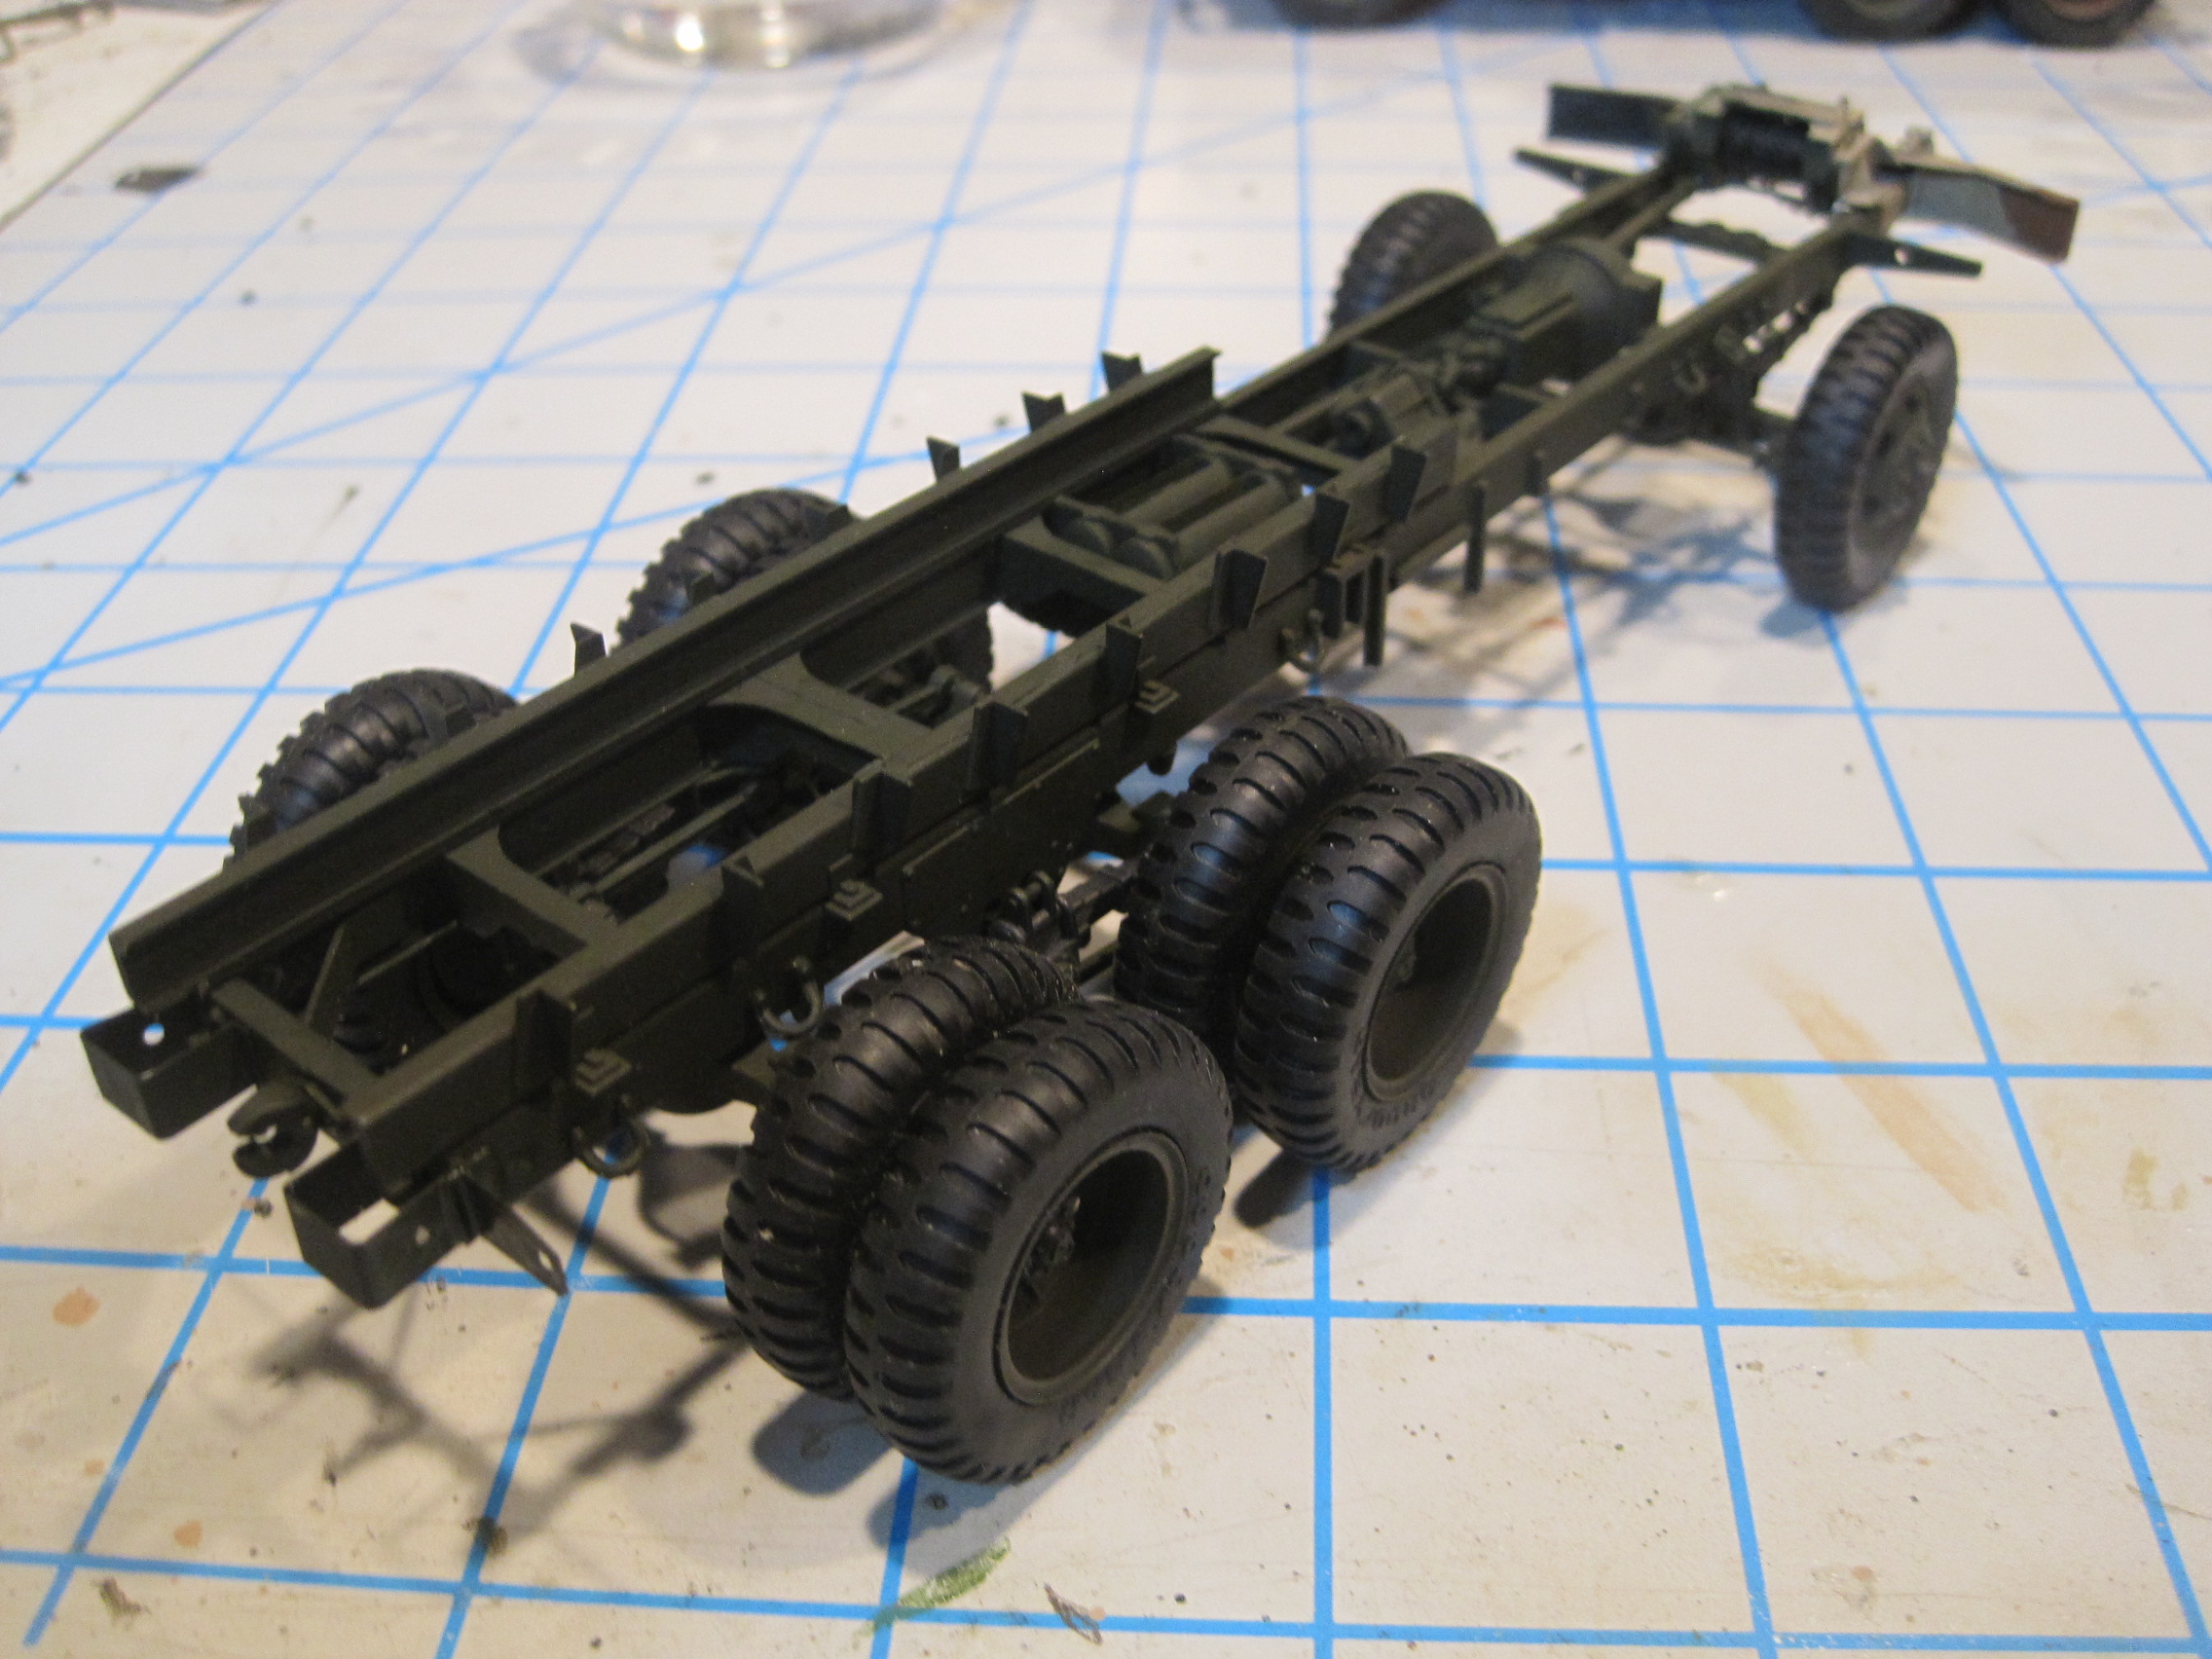
The other thing I did was to put a small drop of 3 in 1 machine oil inside as an extra lube.
Don’t get me wrong. I’m not planning to run this thing in a Pinewood Derby, but the most of the wheels now turn fairly well.
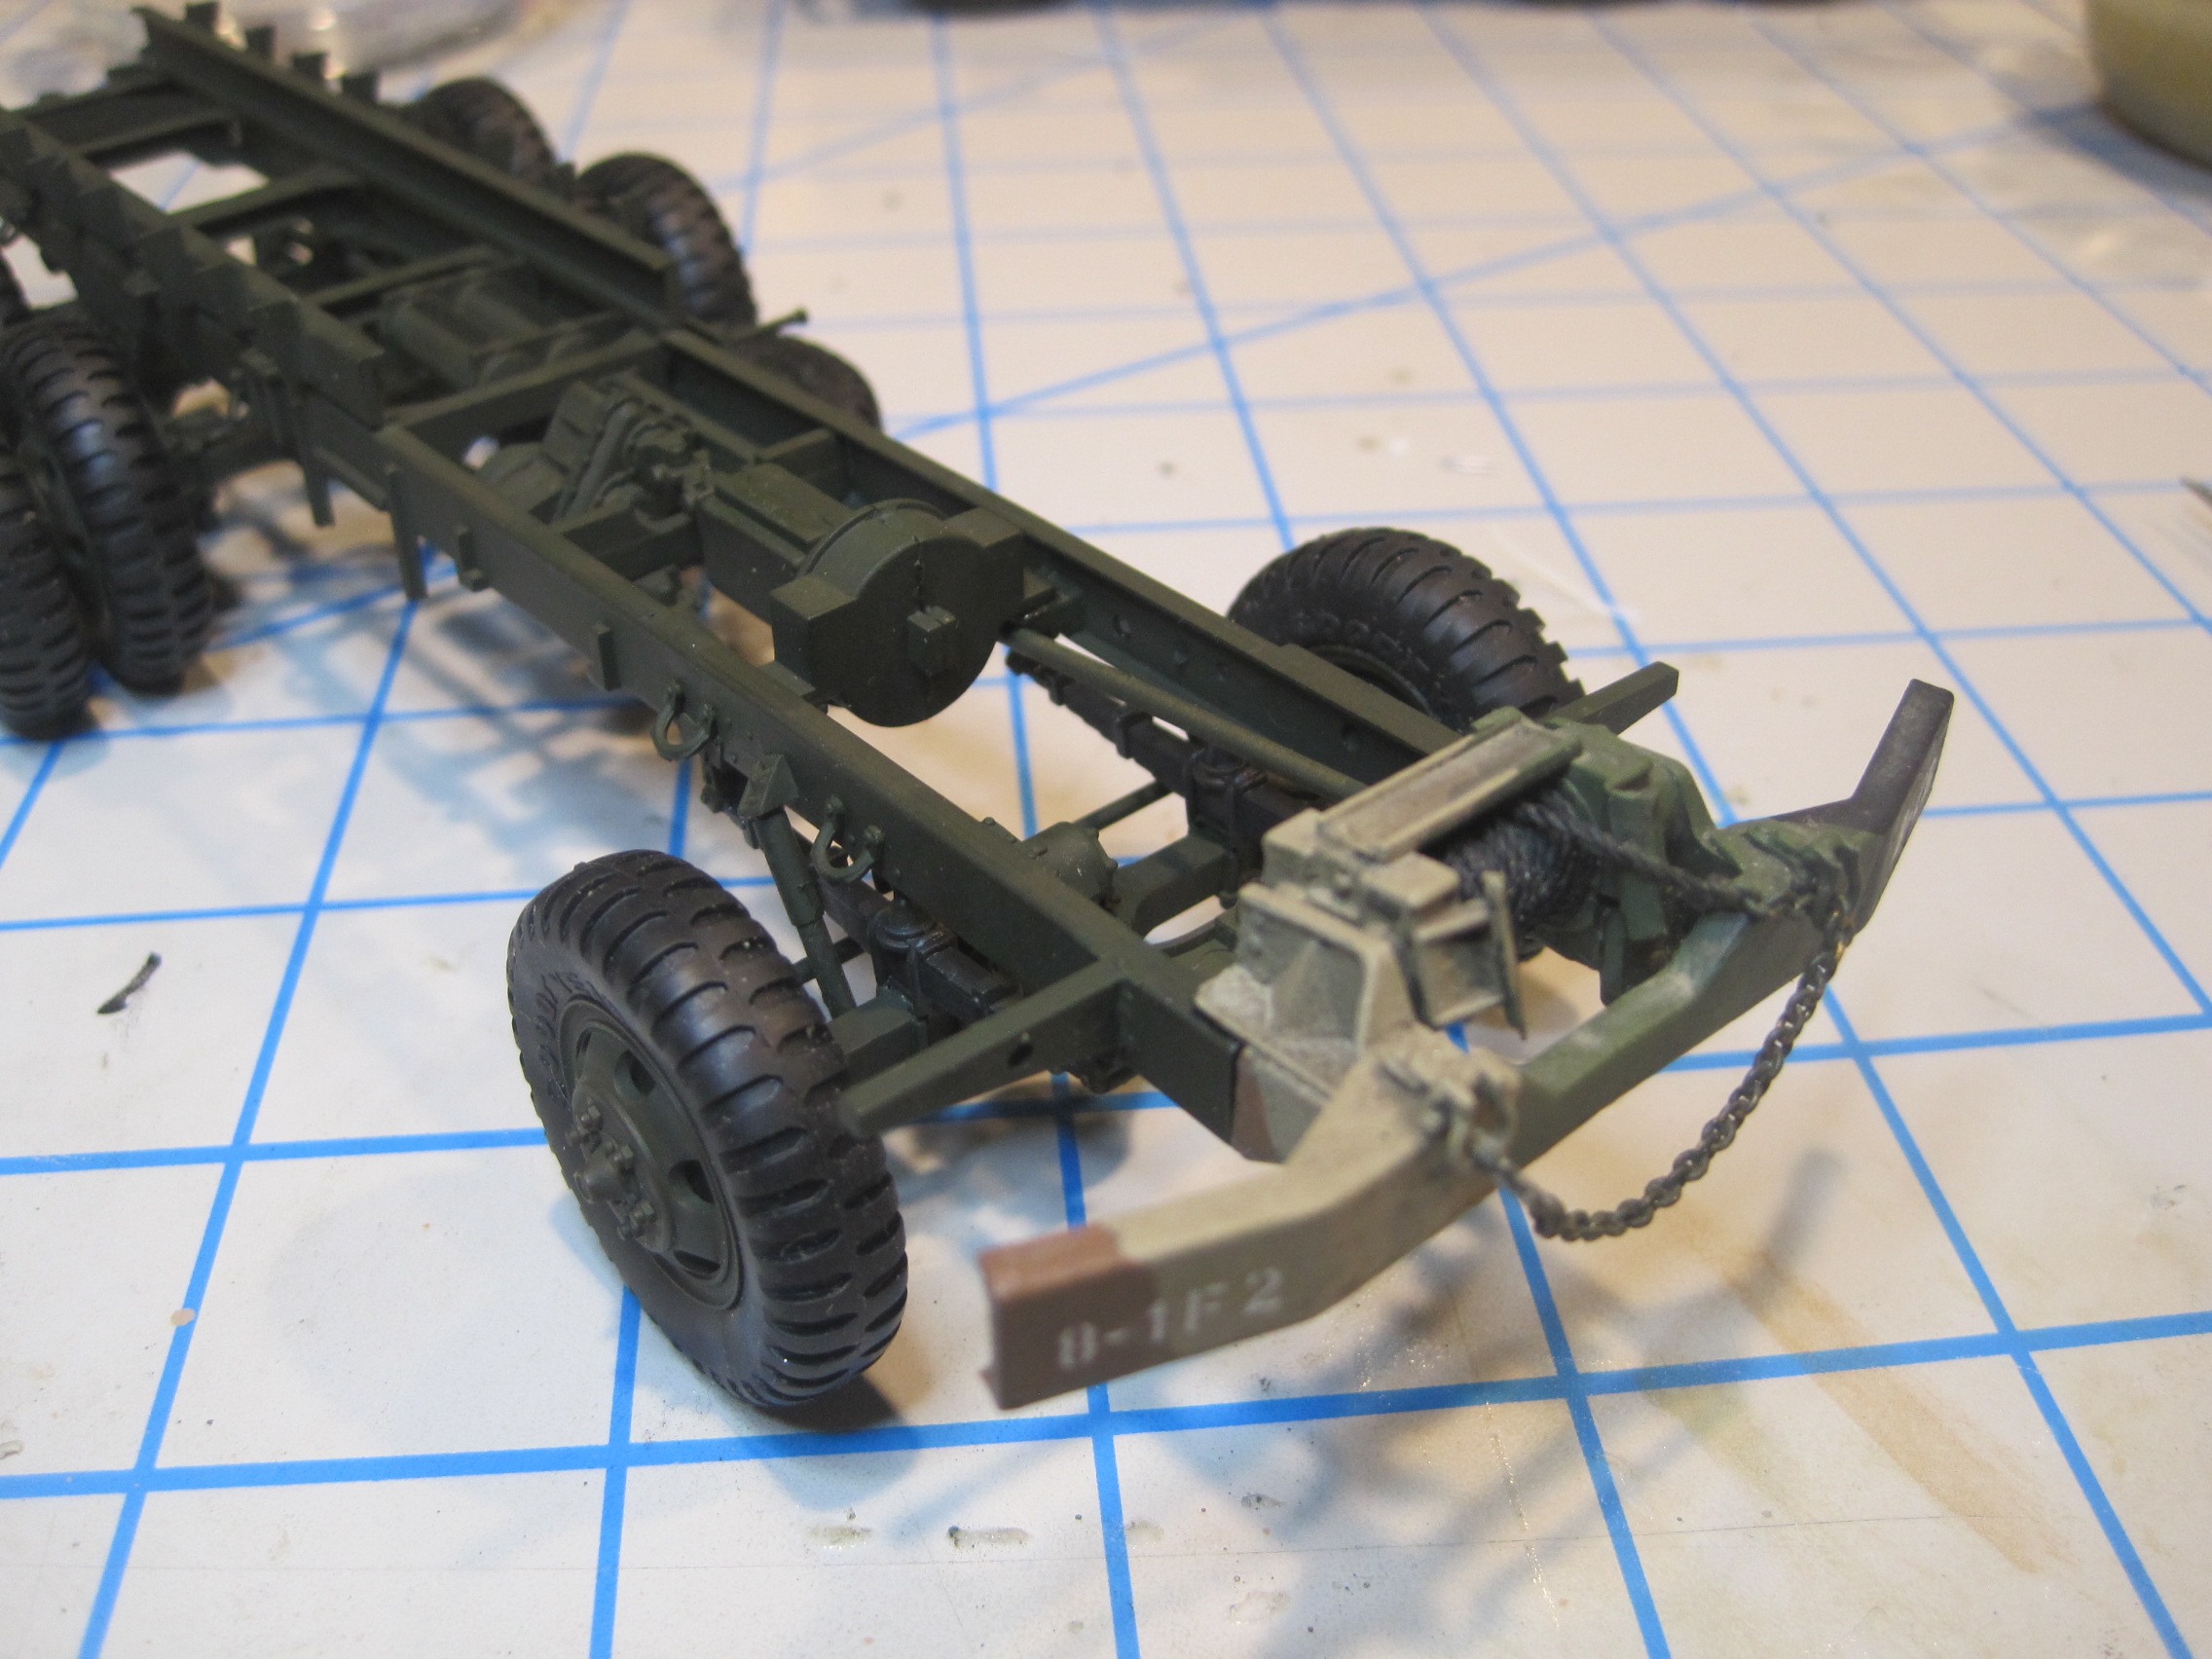
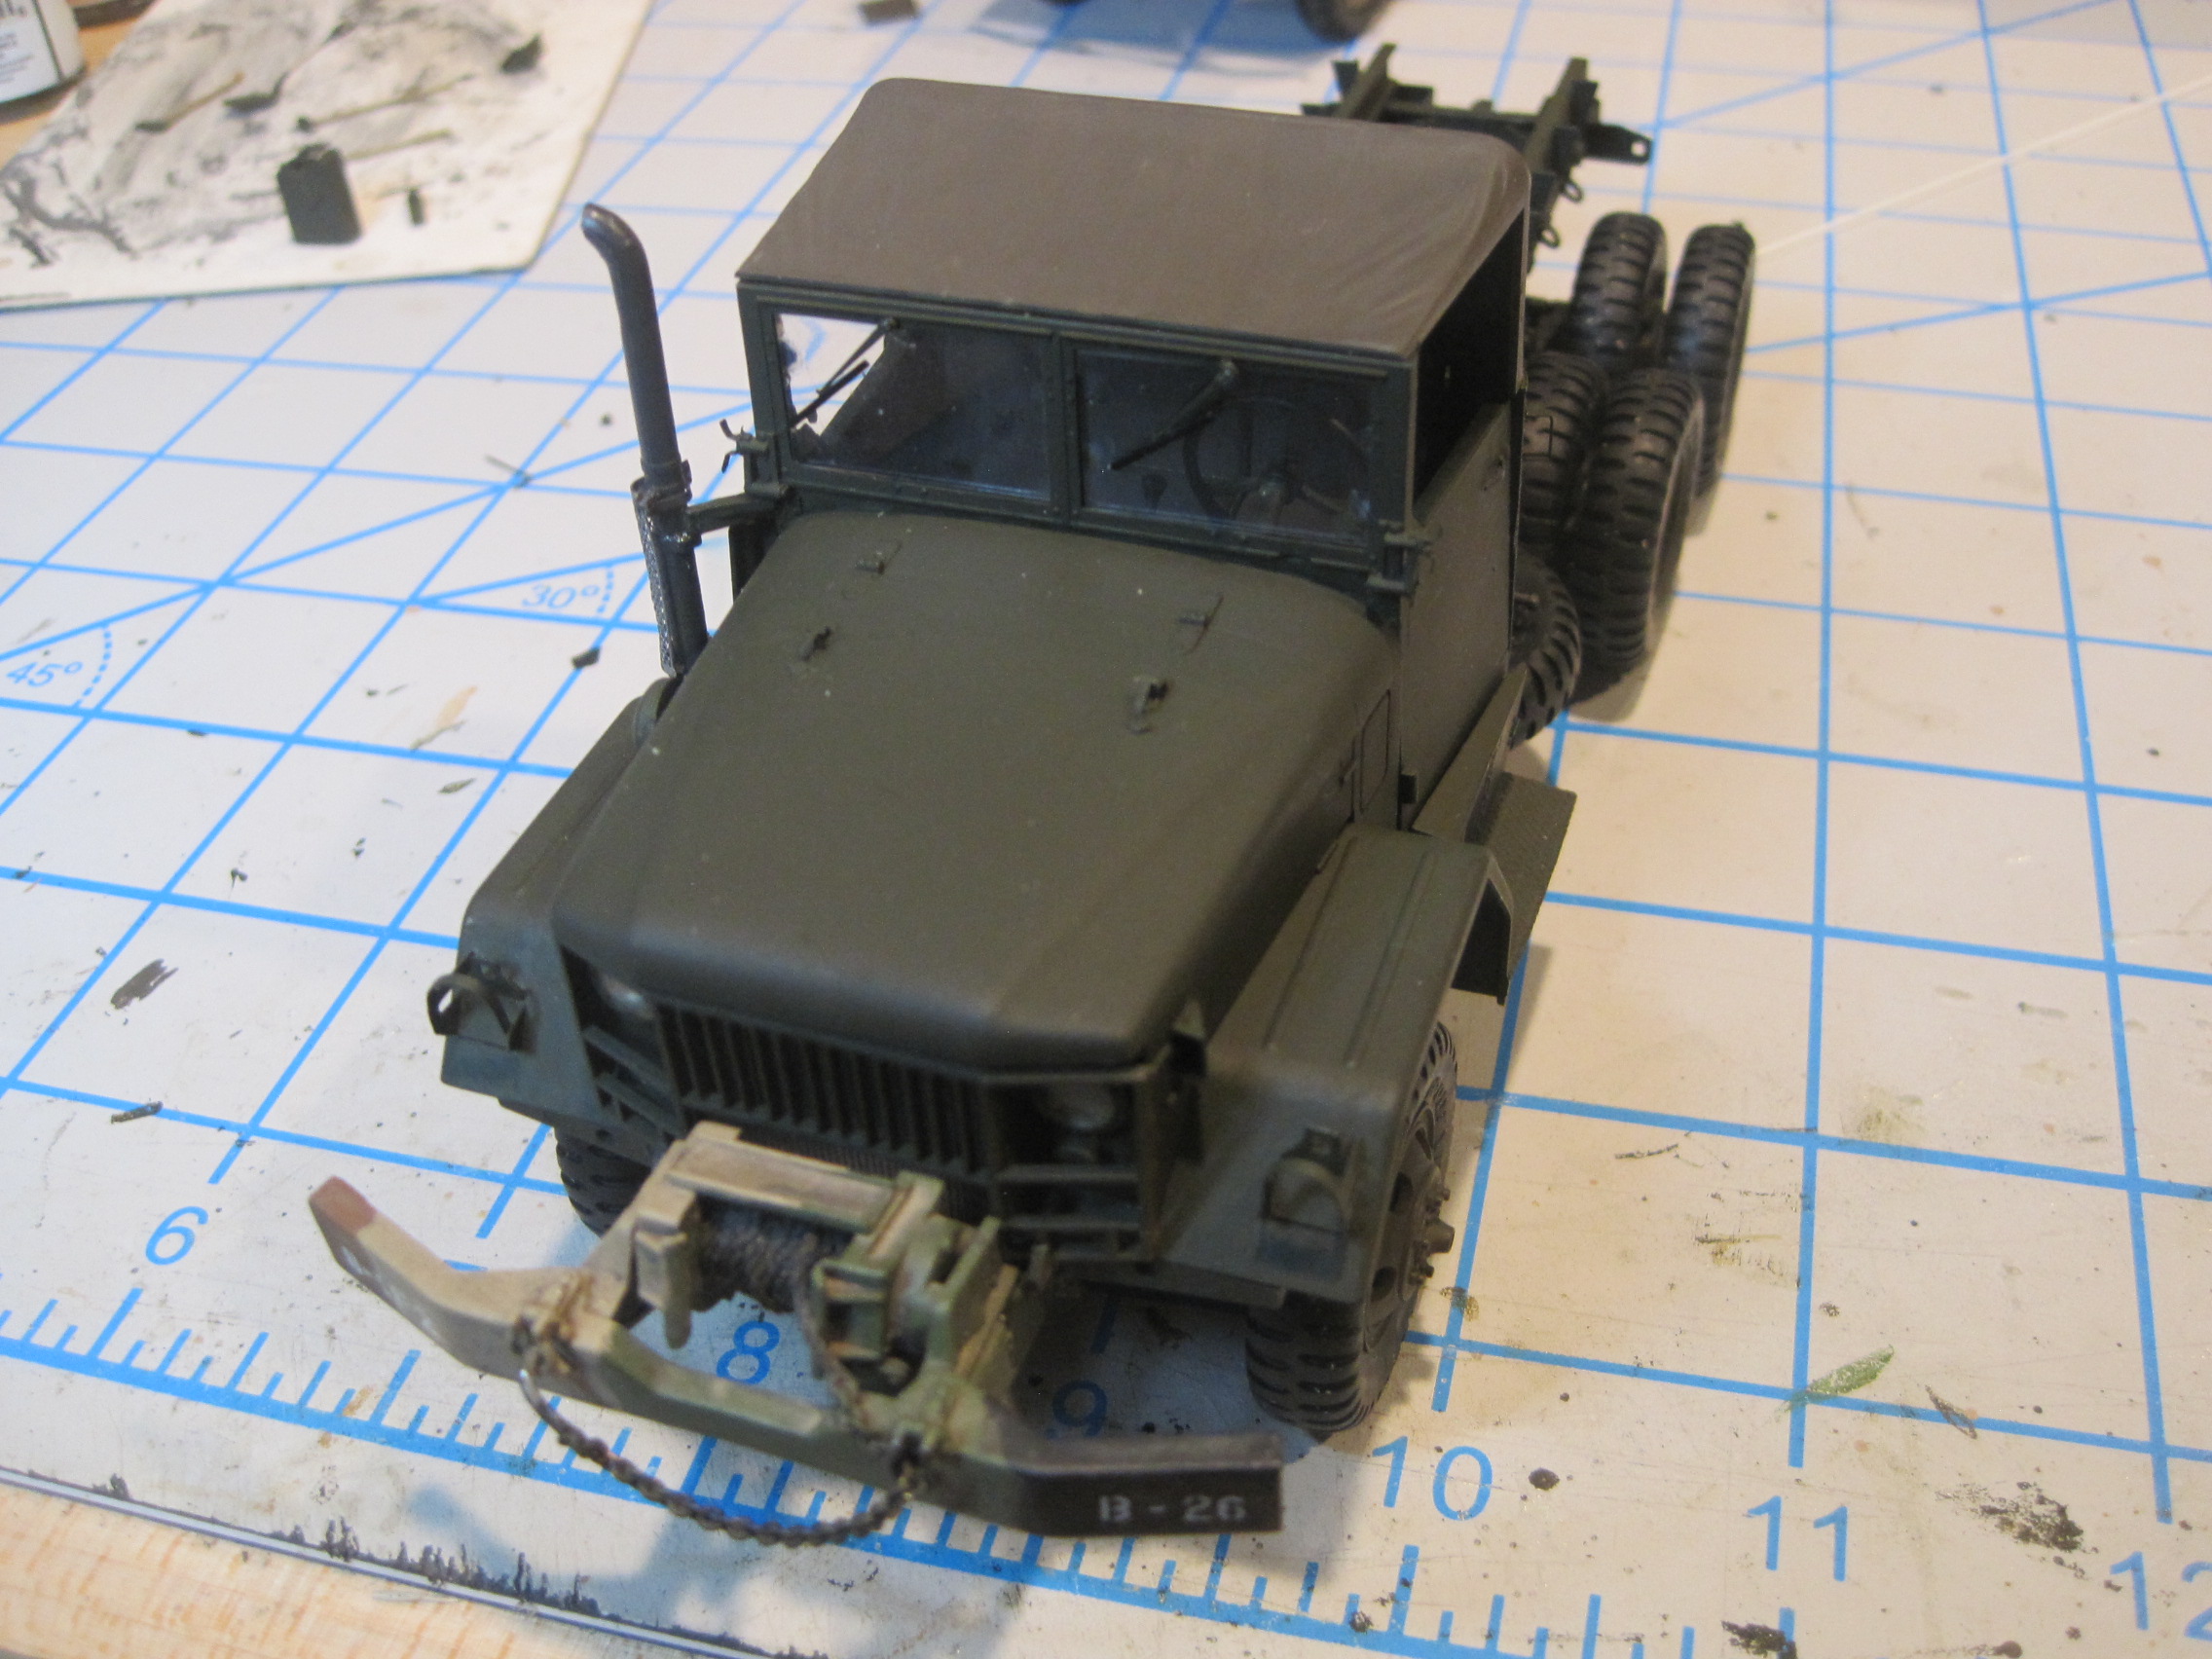
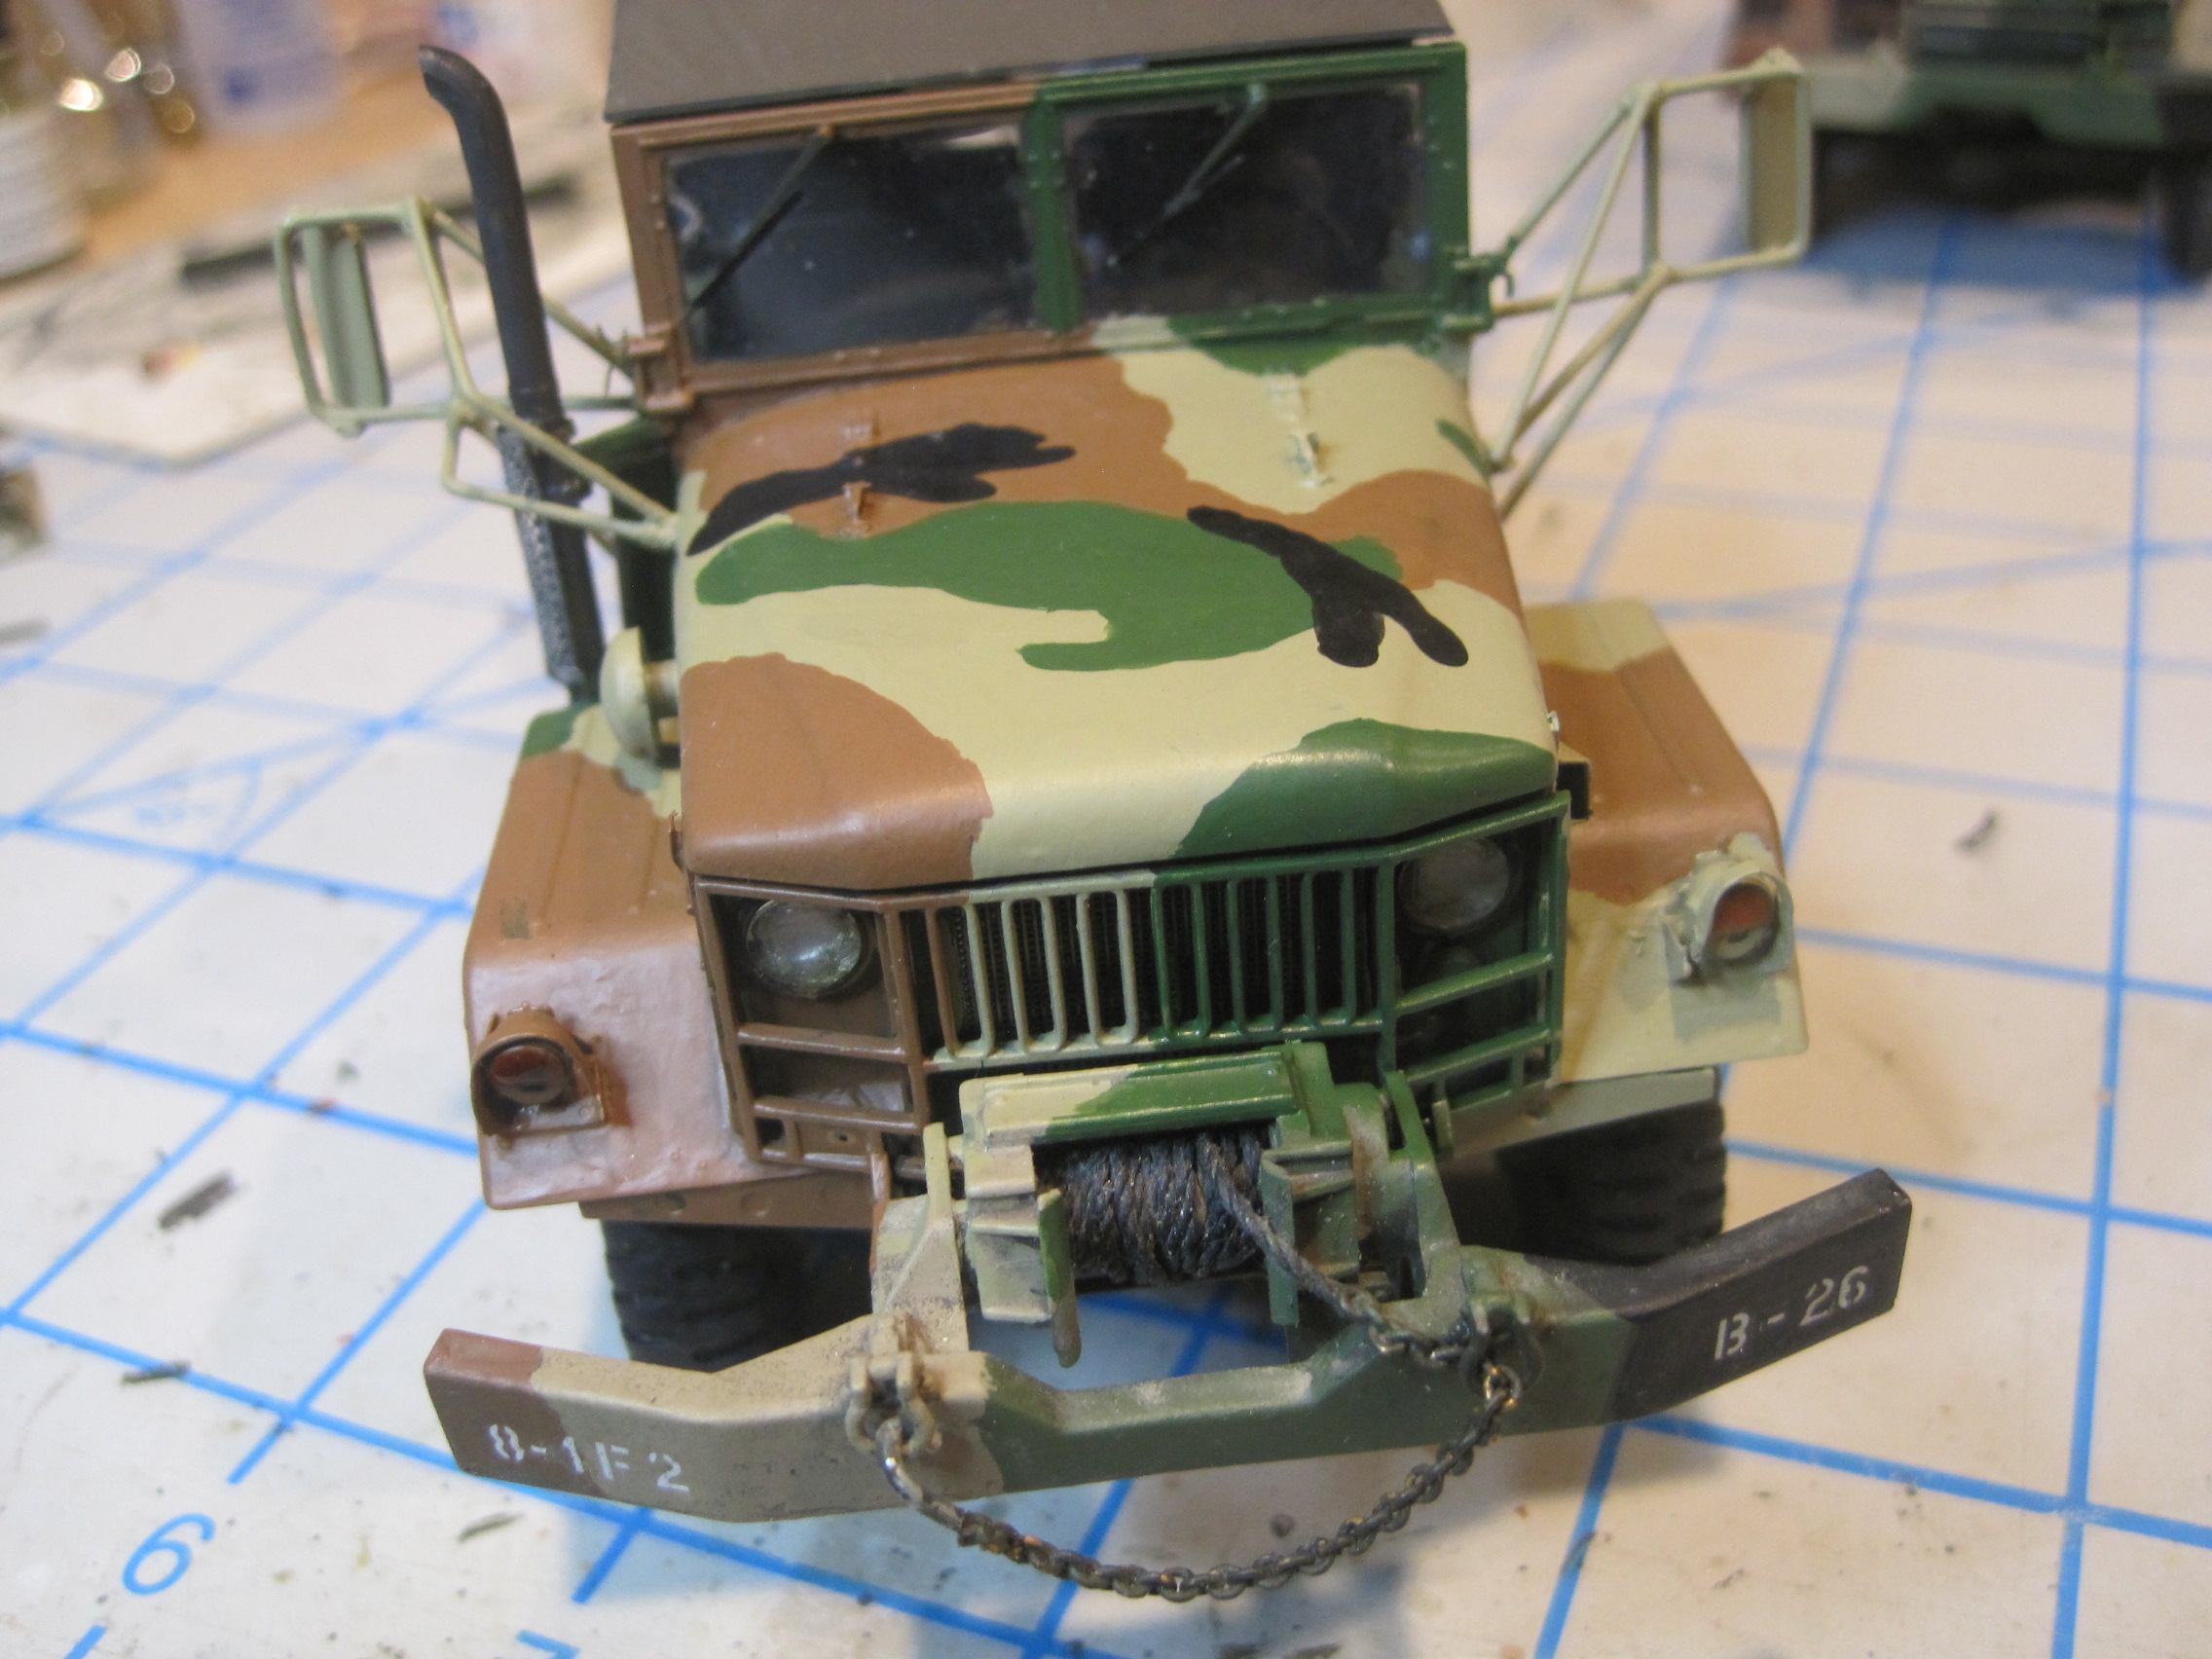
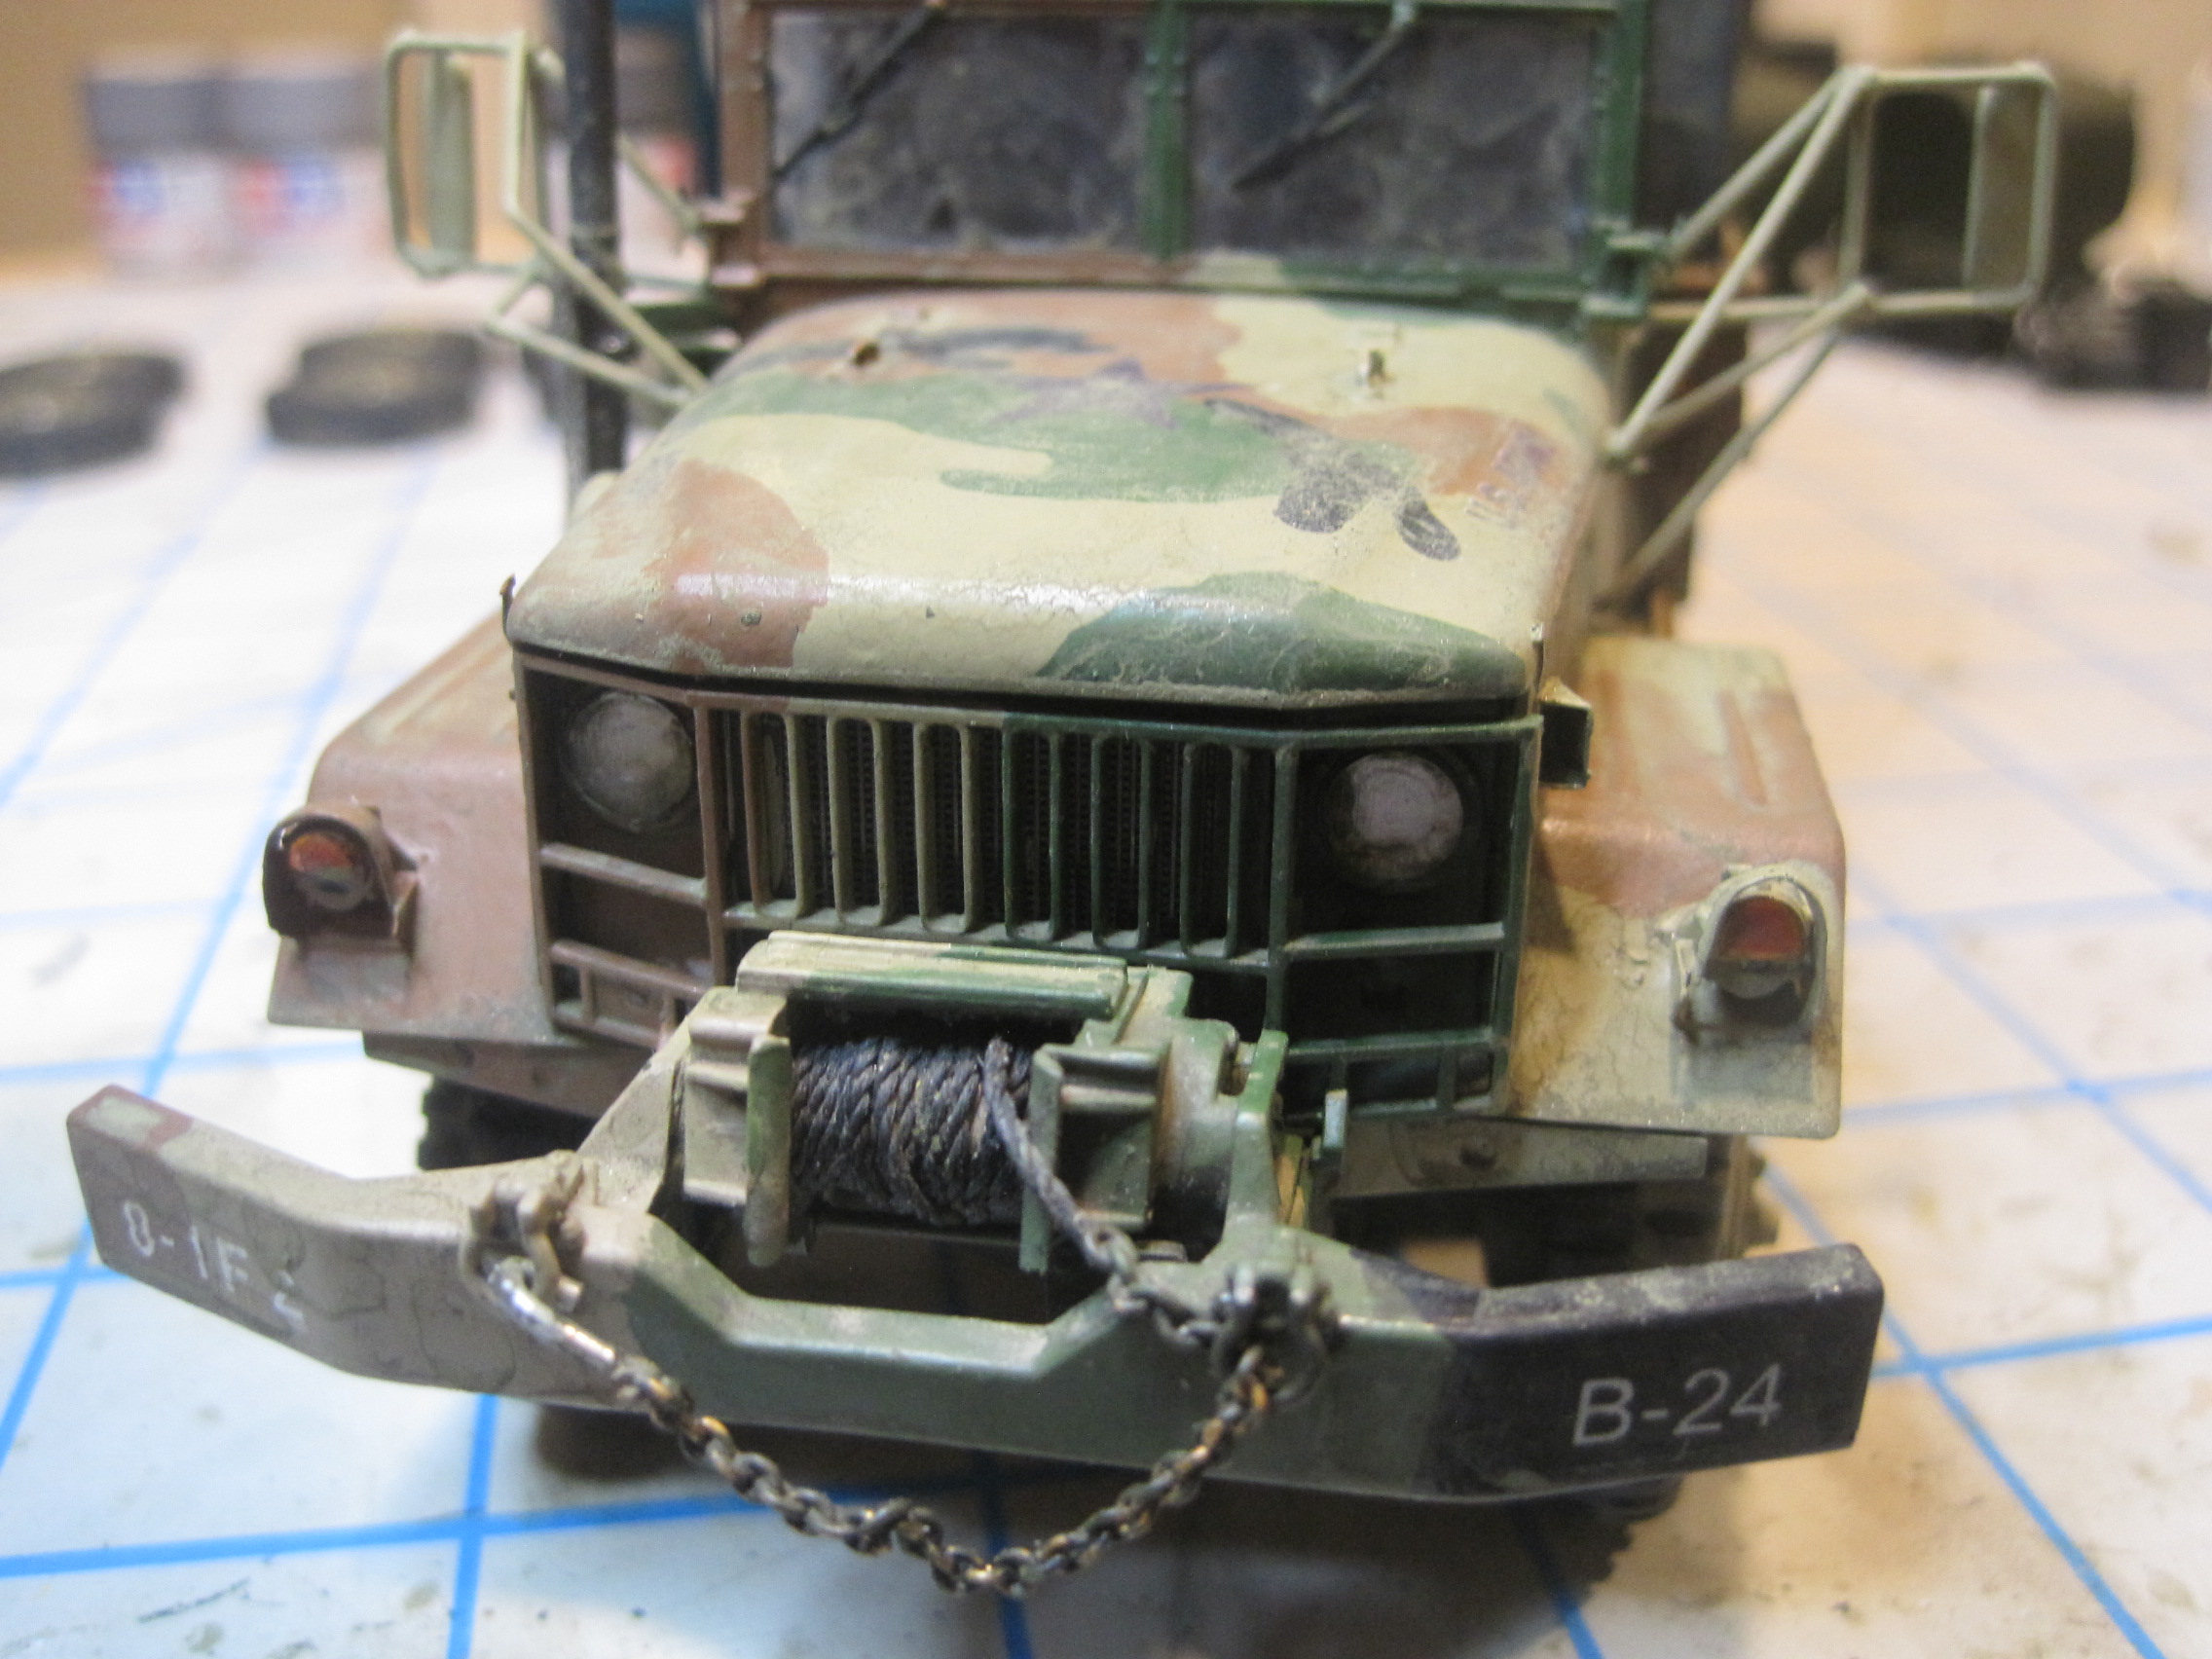
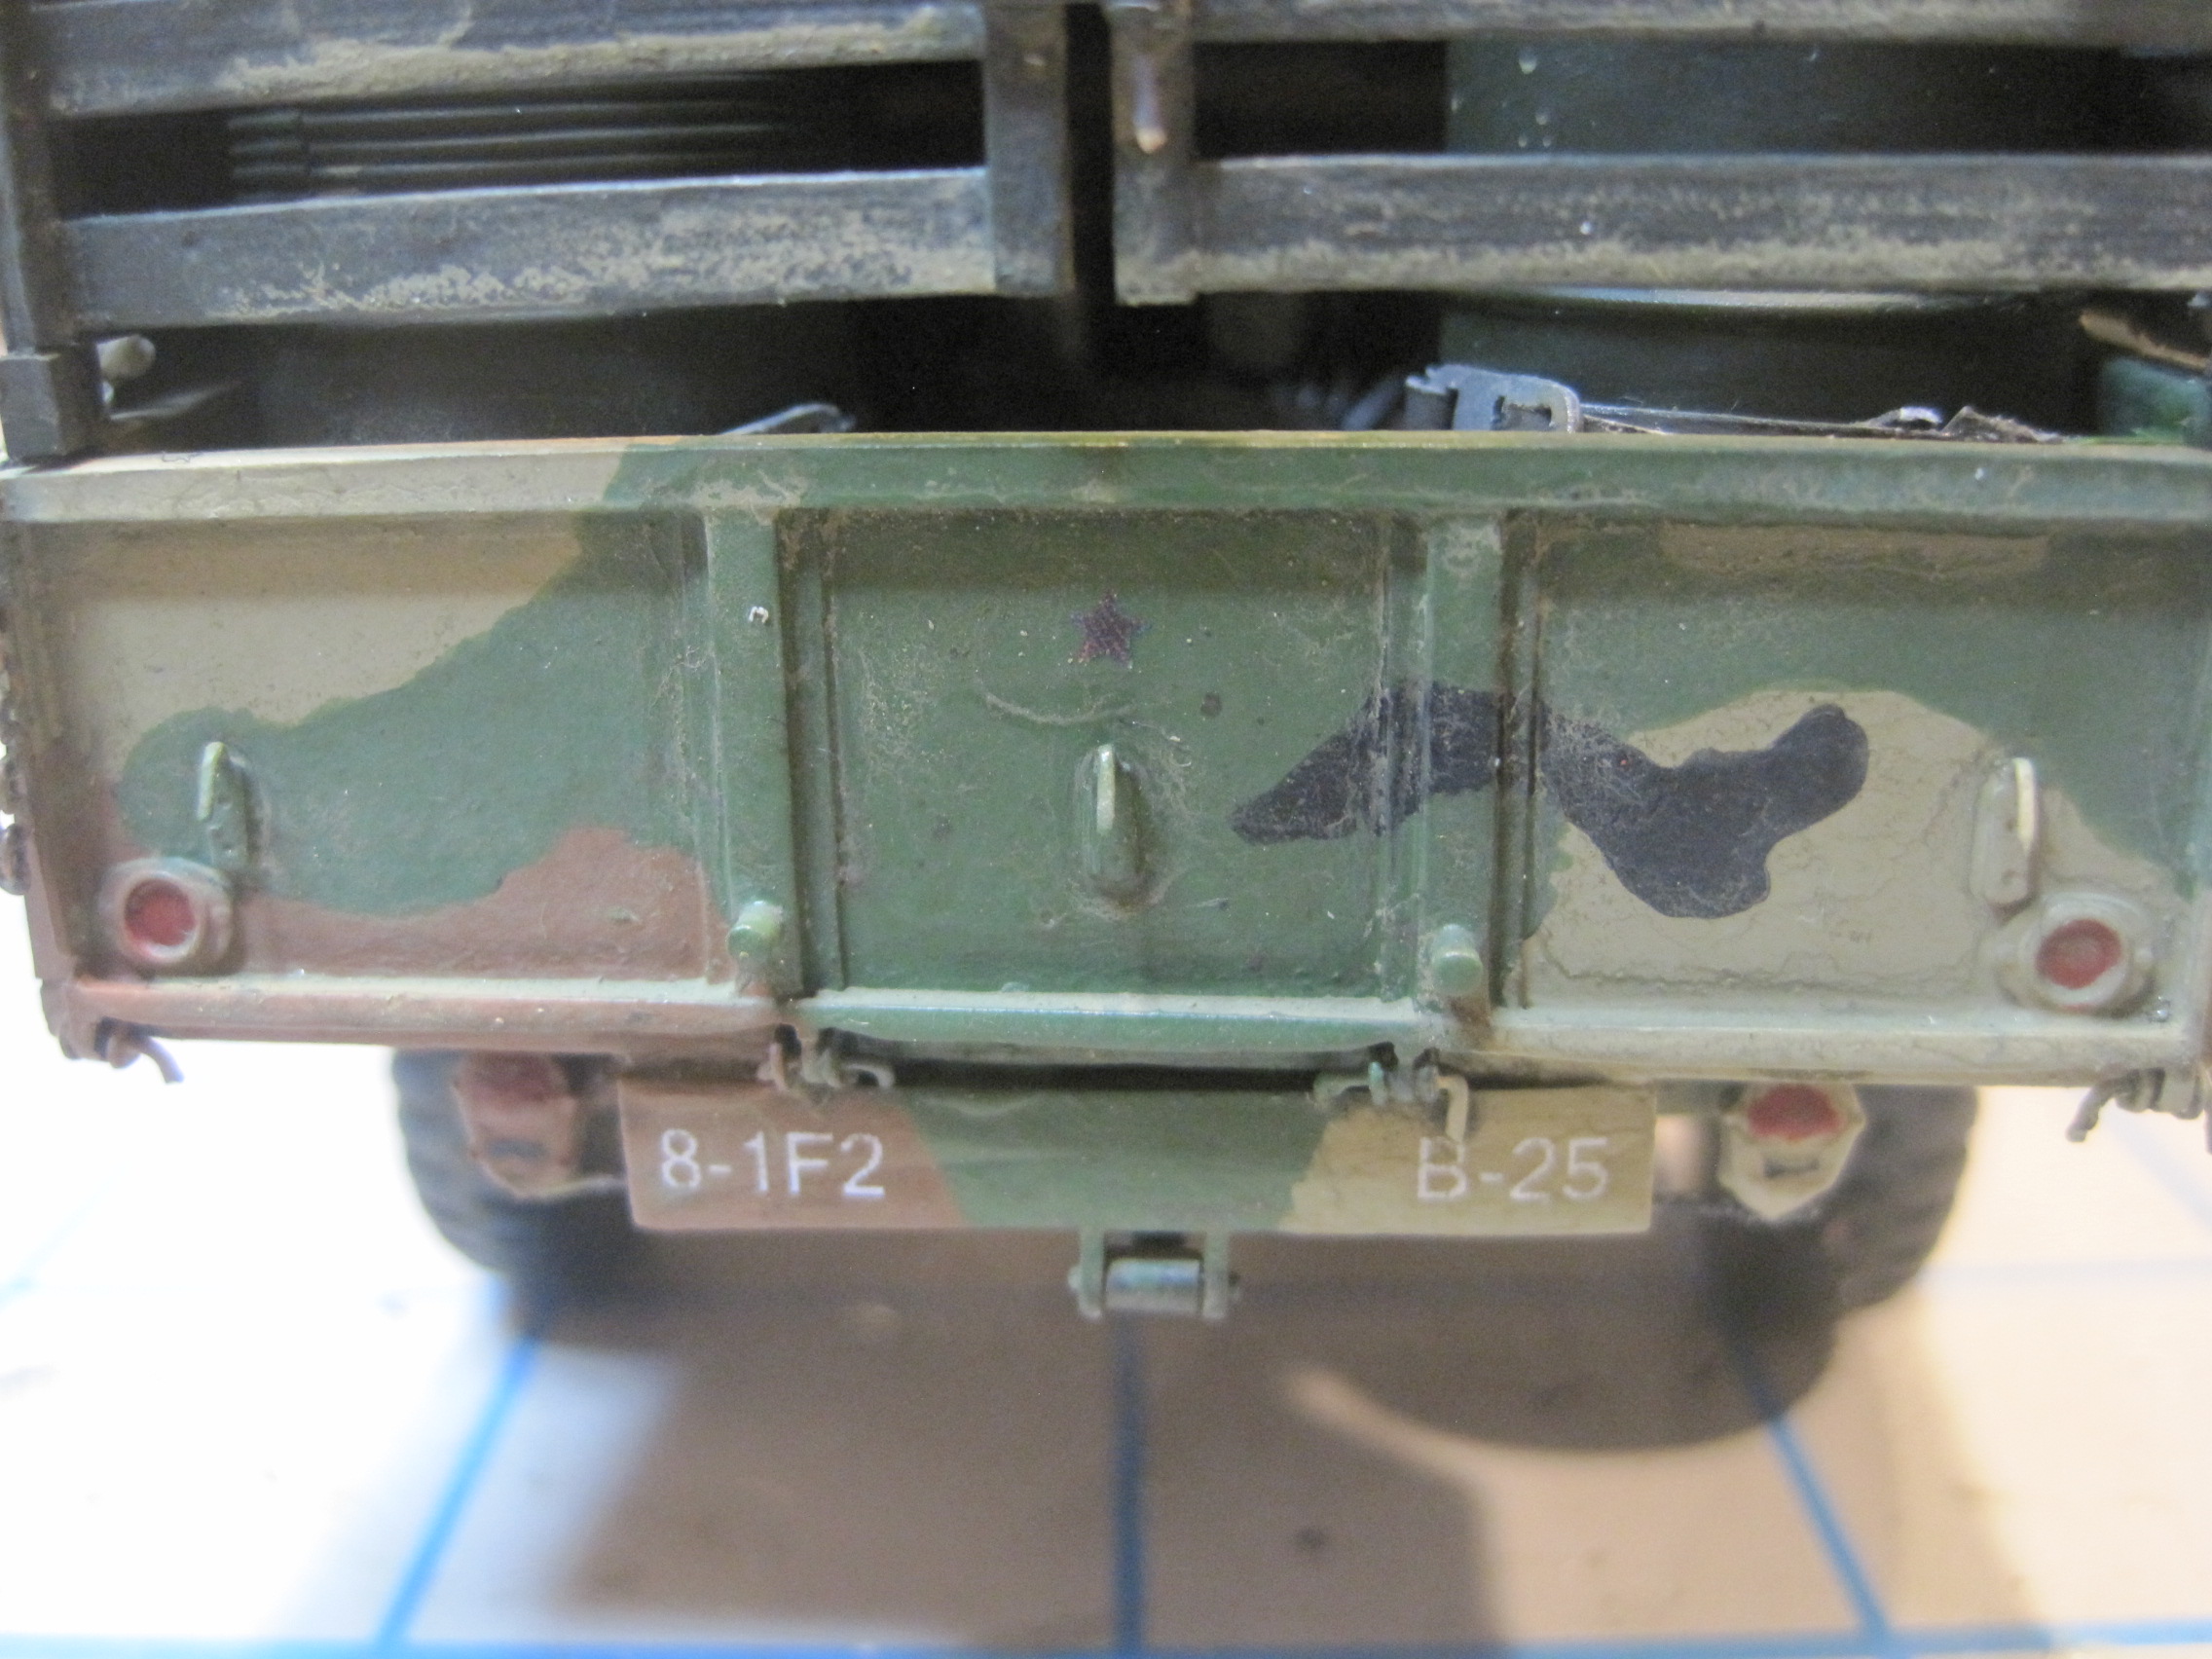
If you’re wondering why the bumper on this is already painted in MASSTER it’s because it’s actually taken from a previous build.
When I built my first M35 which was back in 2003, I hadn’t decided to do all three M35s in the battery. So I thought I’d build the truck as a standard canvass model (the supply truck) but with the winch on it, because, hey it looks cool.
Now that I’ve decided to build all three, Mess, Maint, and Supply, of course the winch belongs on the Maint Truck, so that’s why the swap.
6 Likes
Very nice job, simple but perfectly performed!
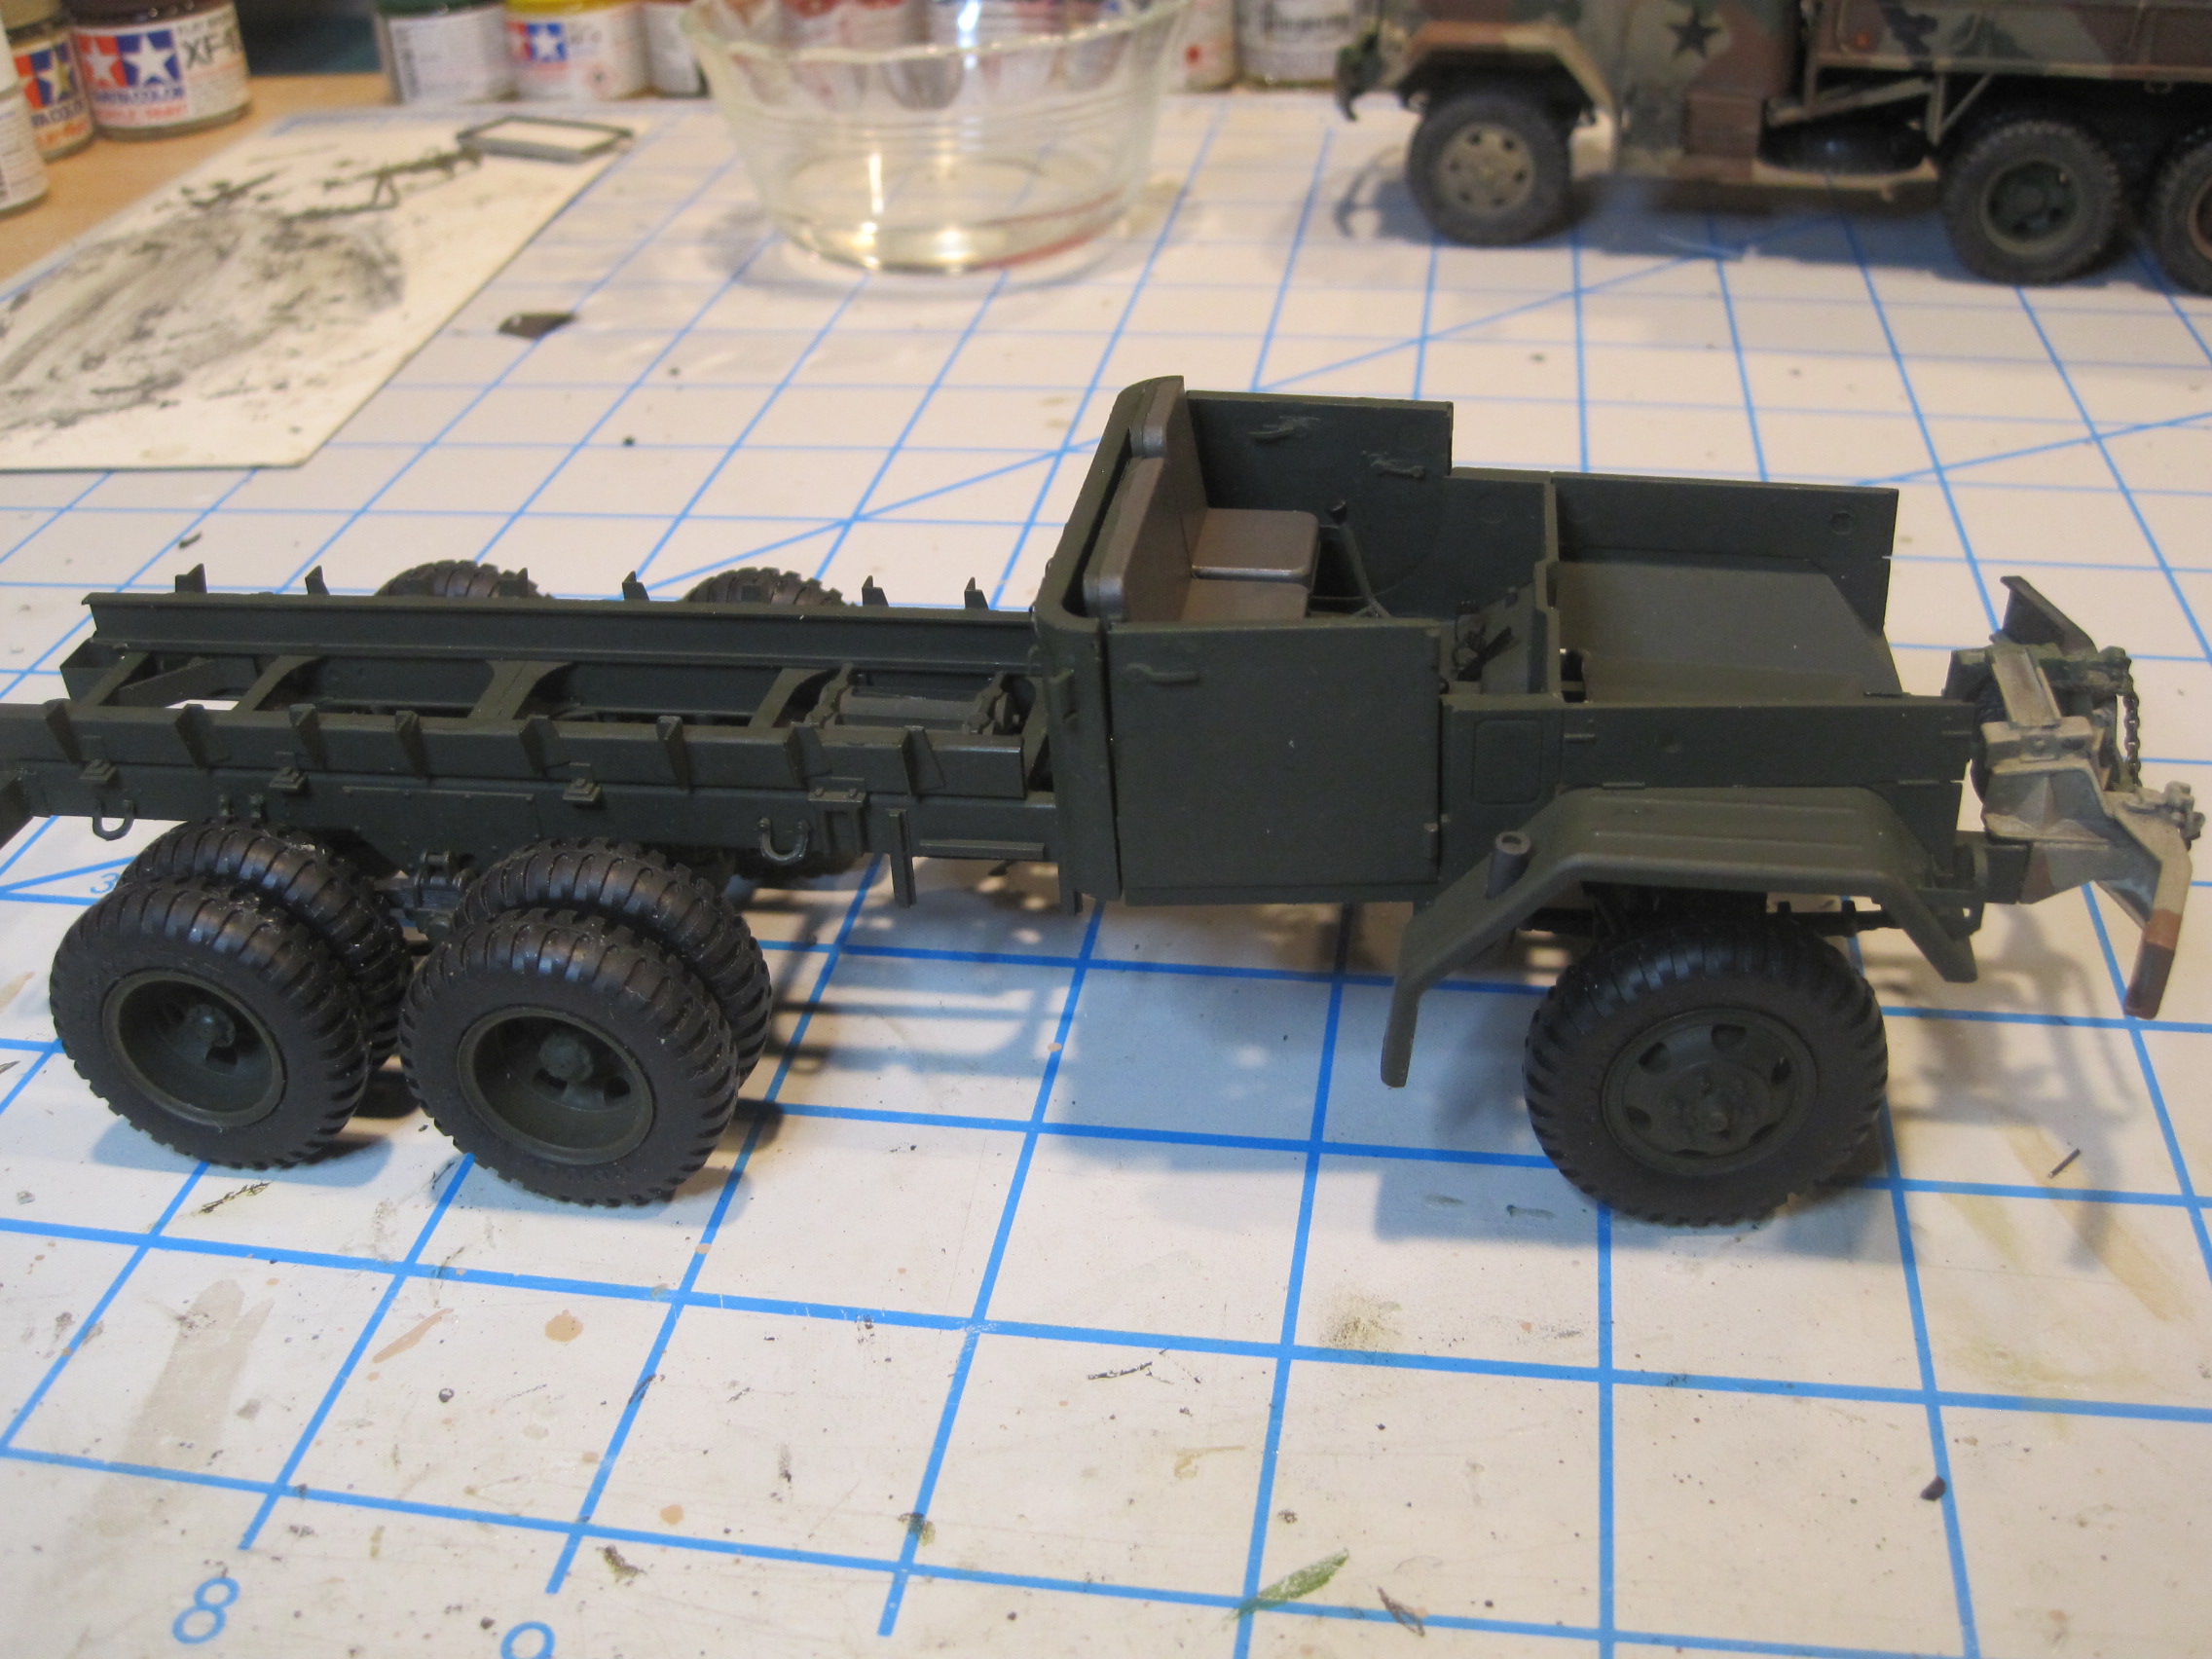
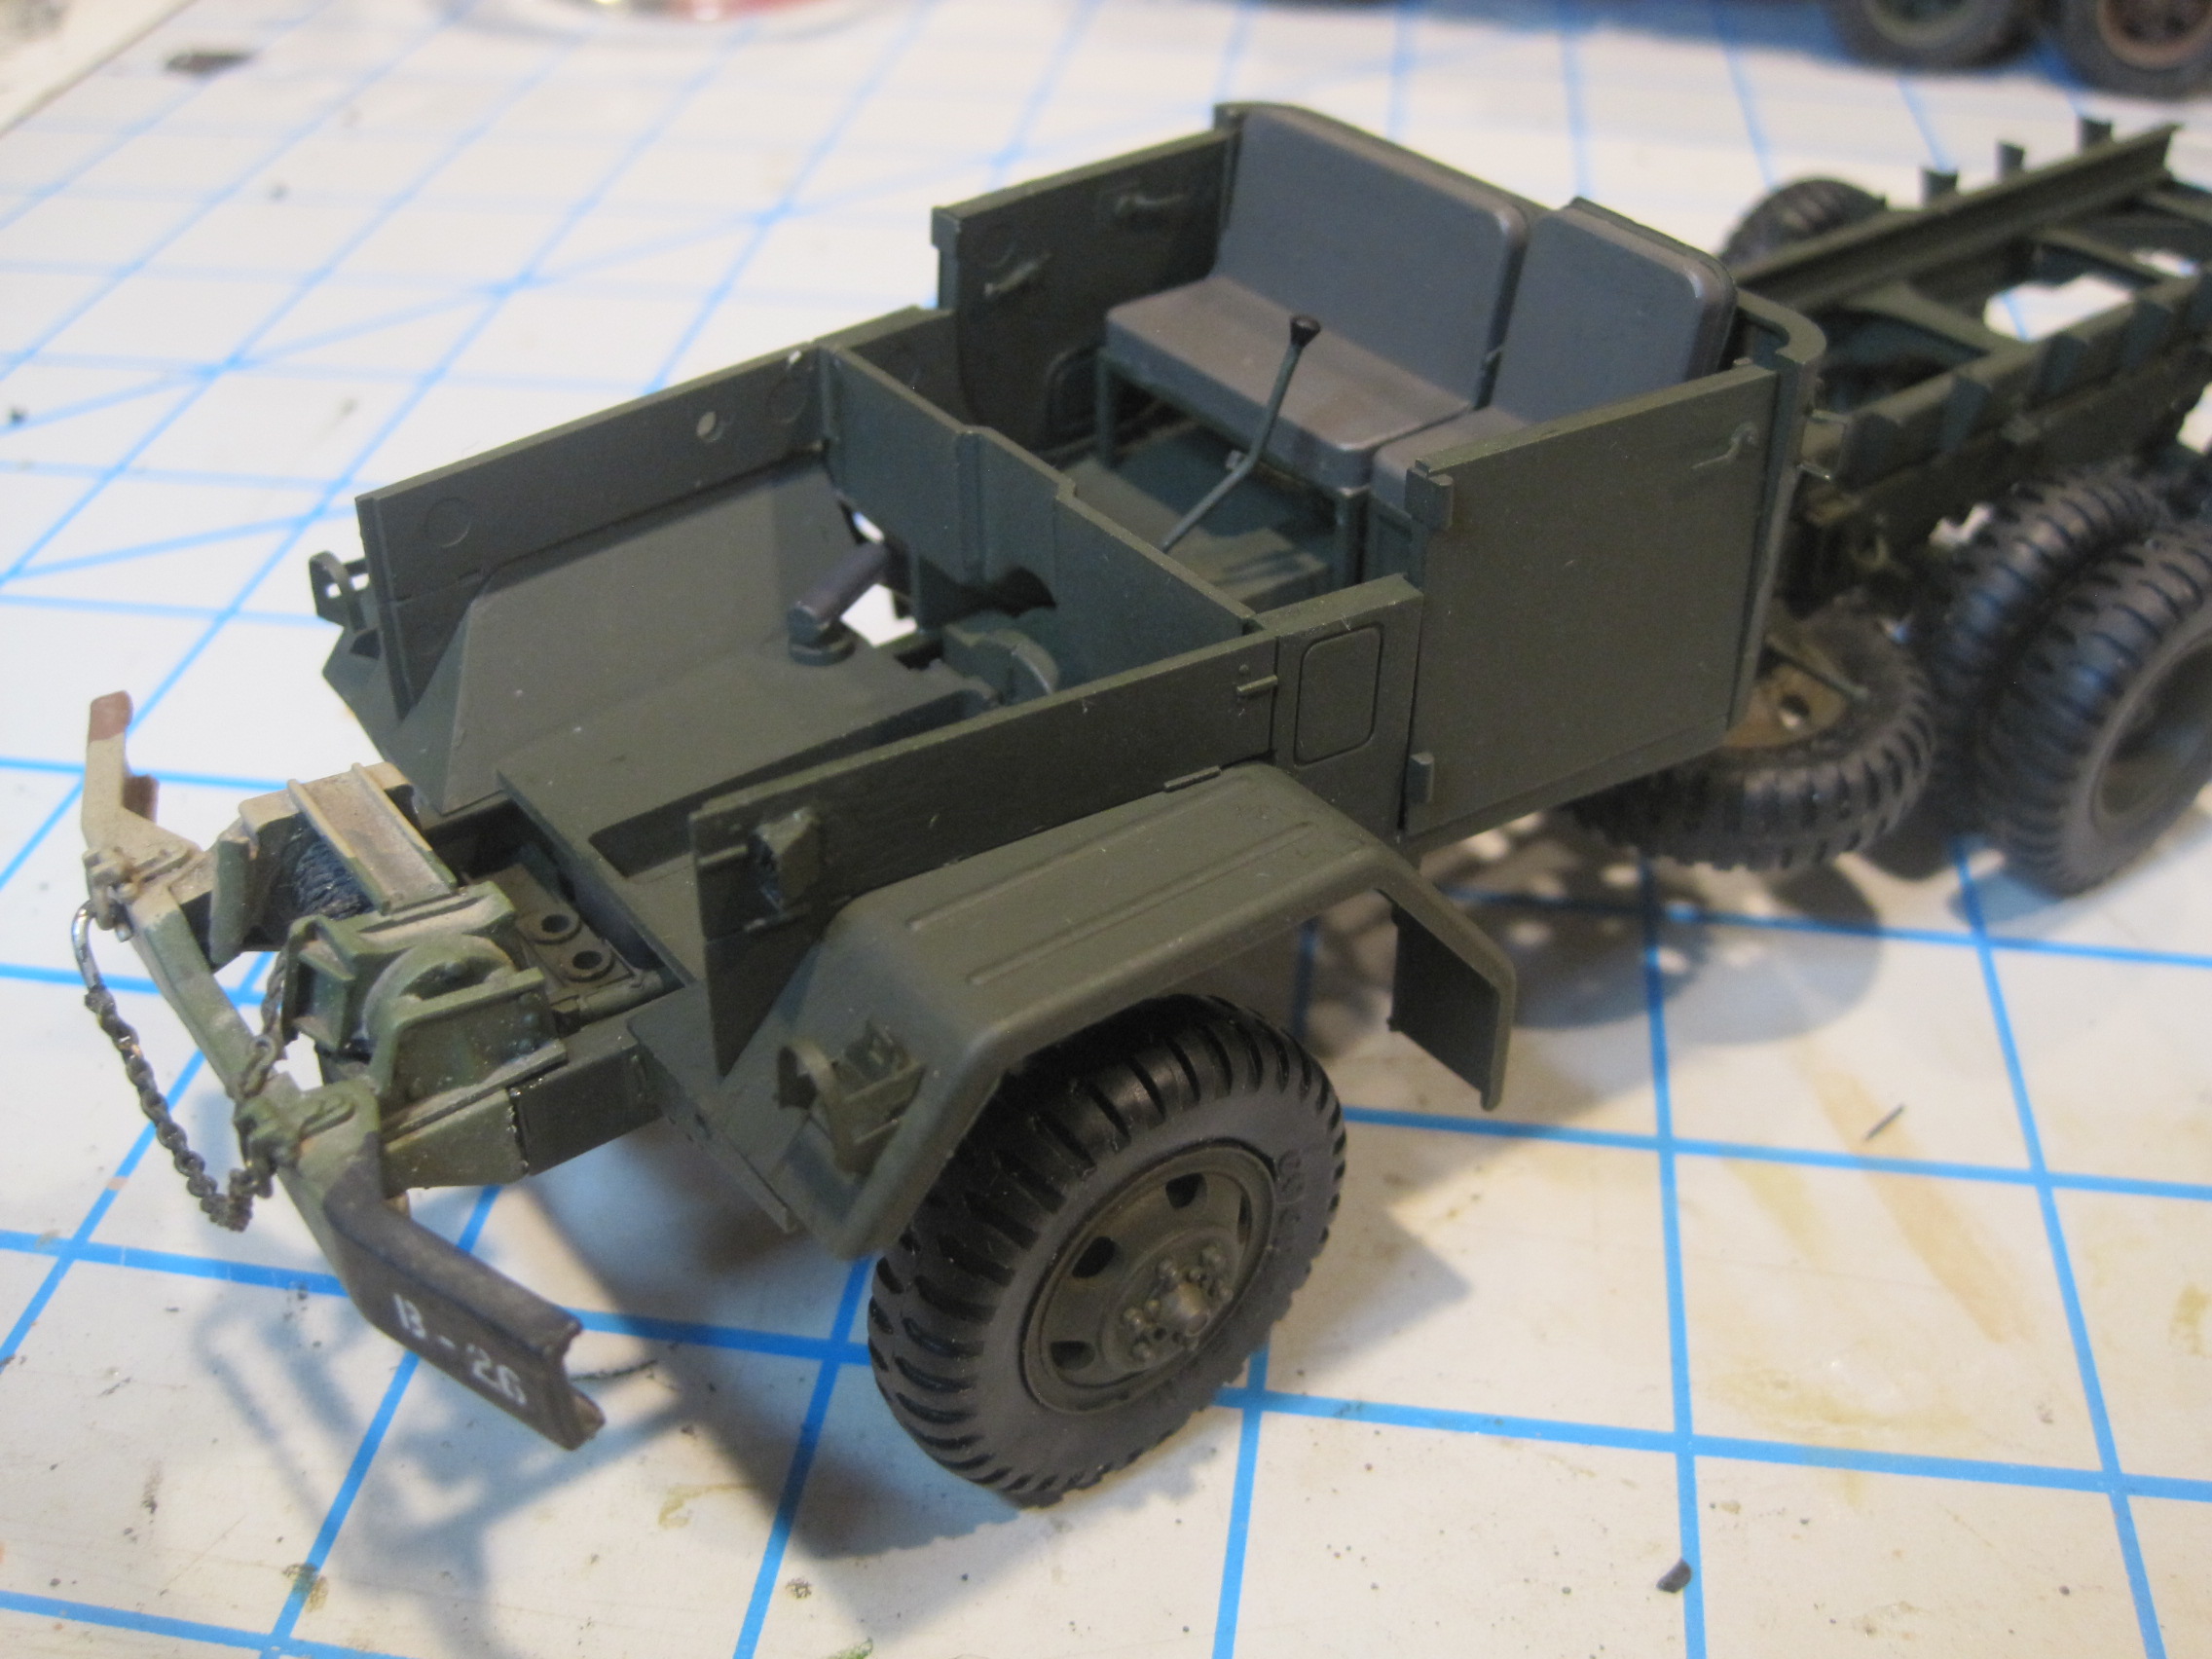
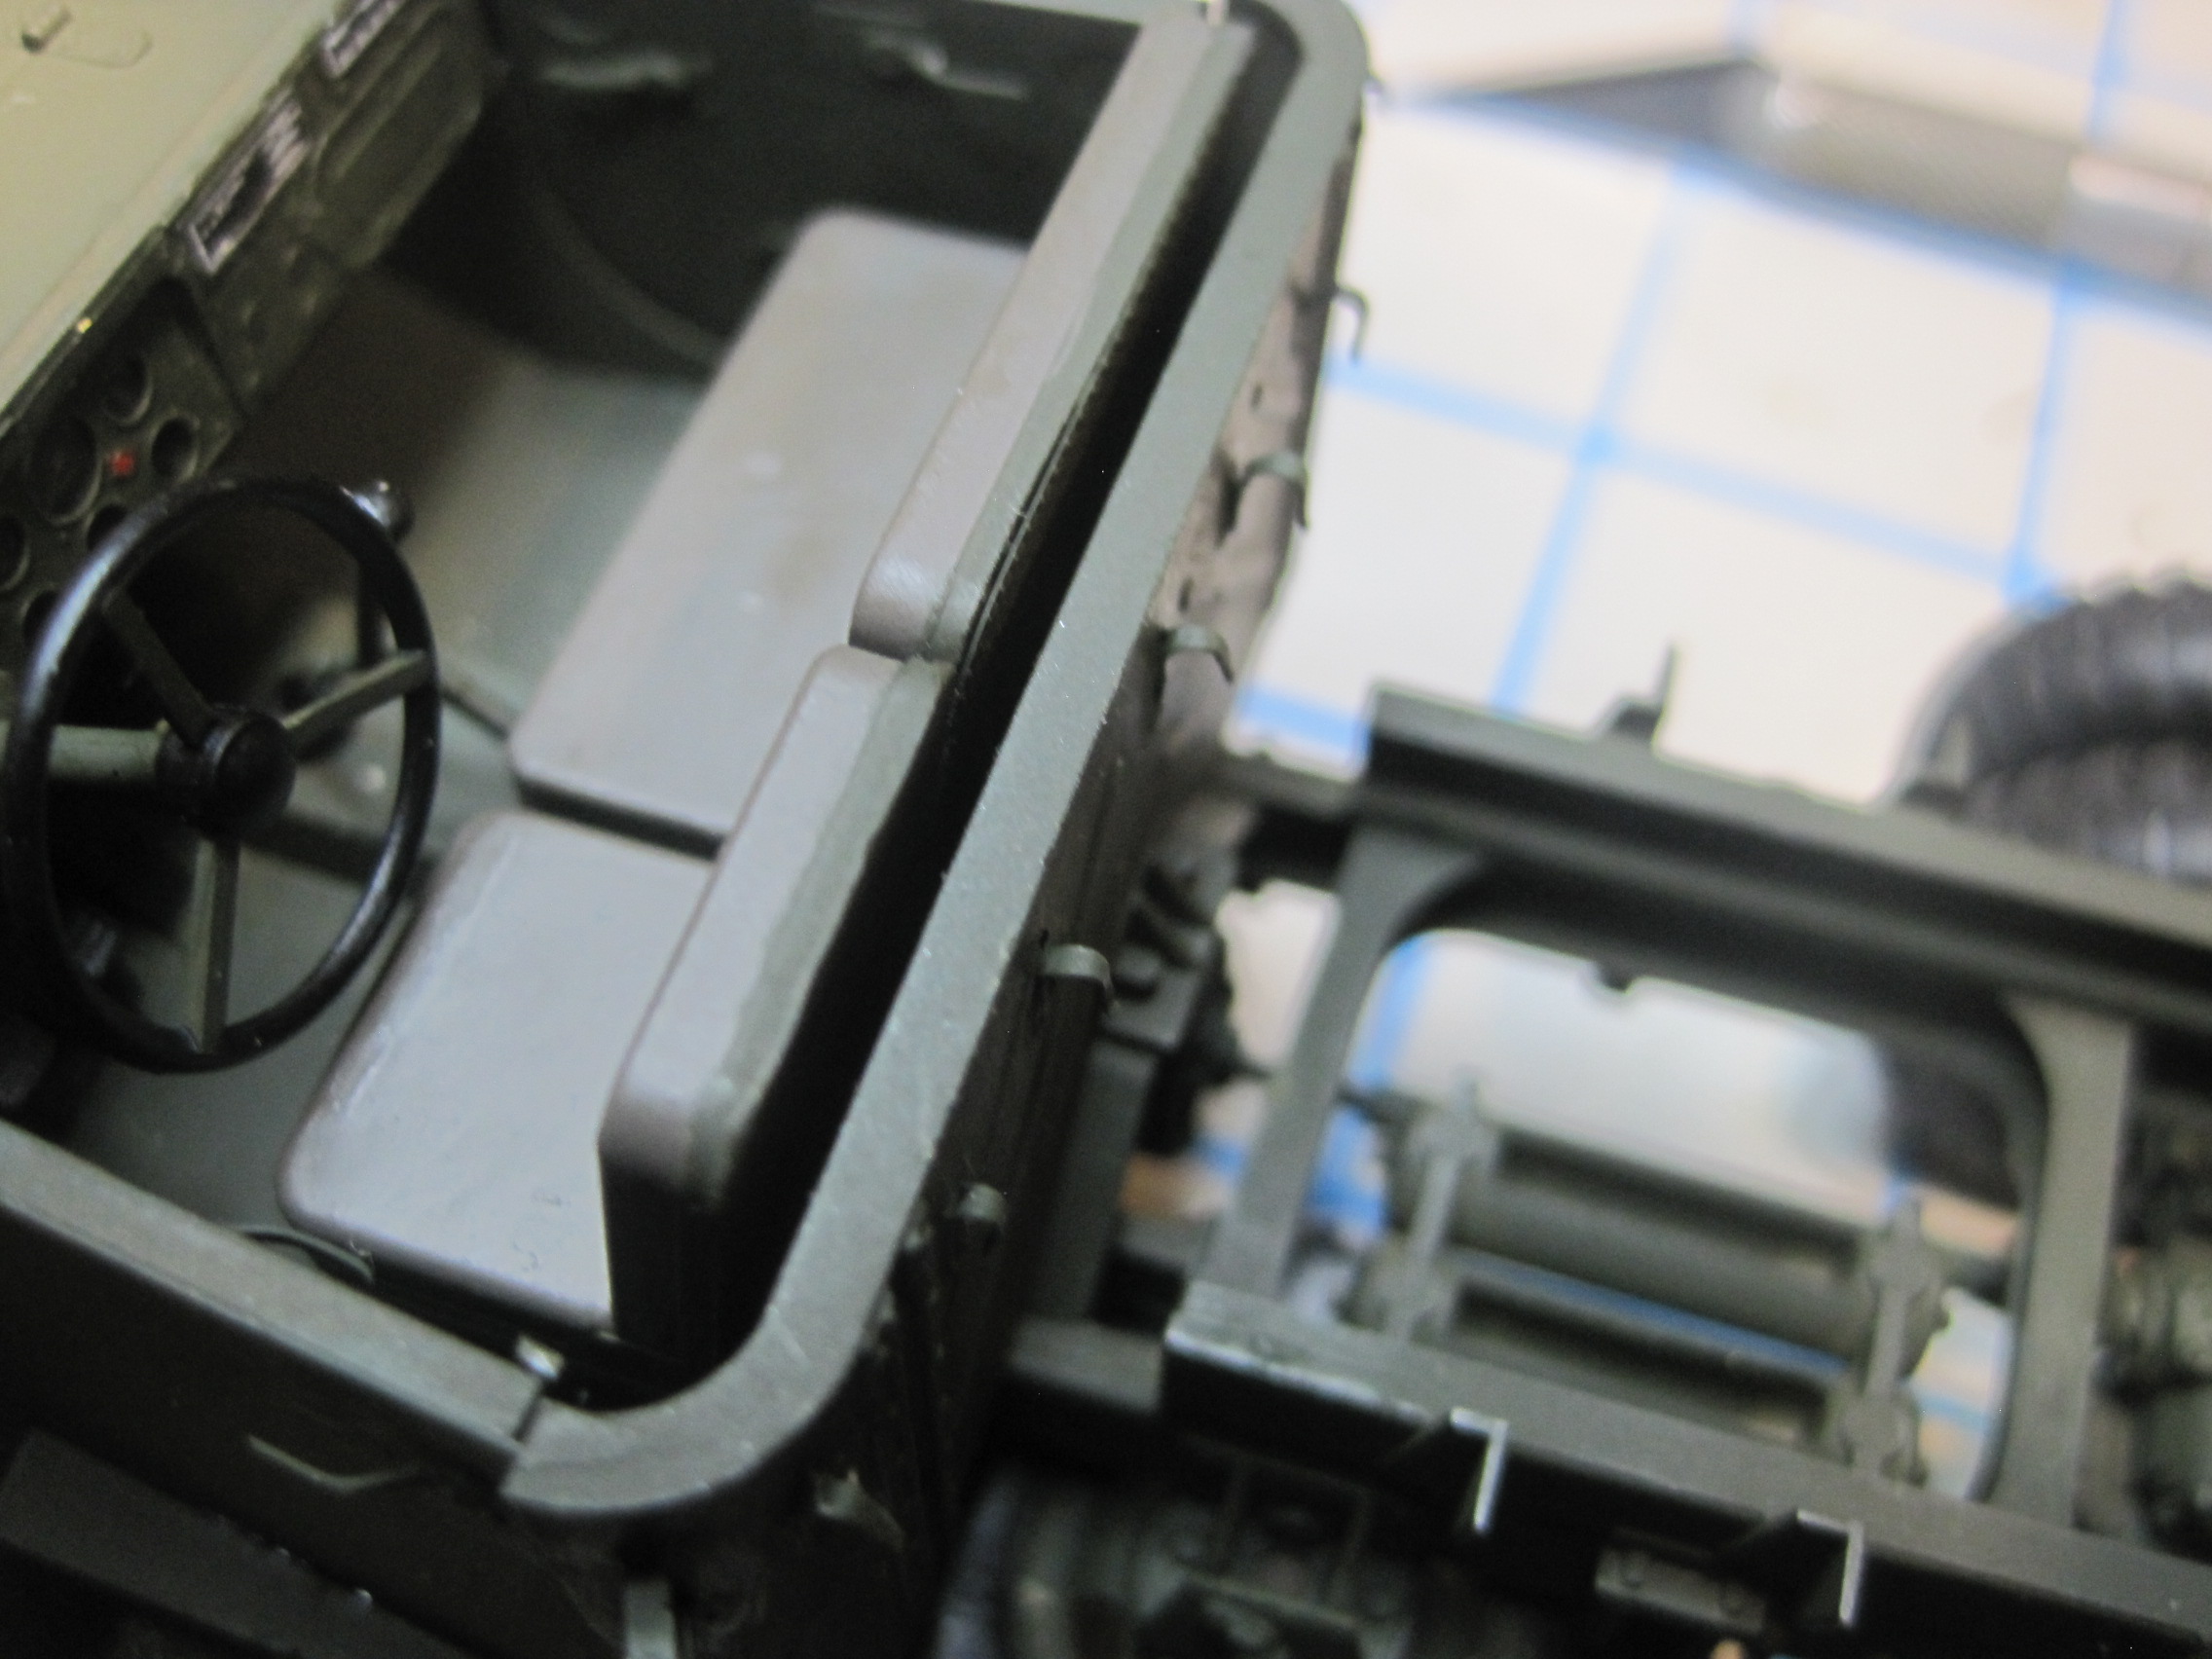
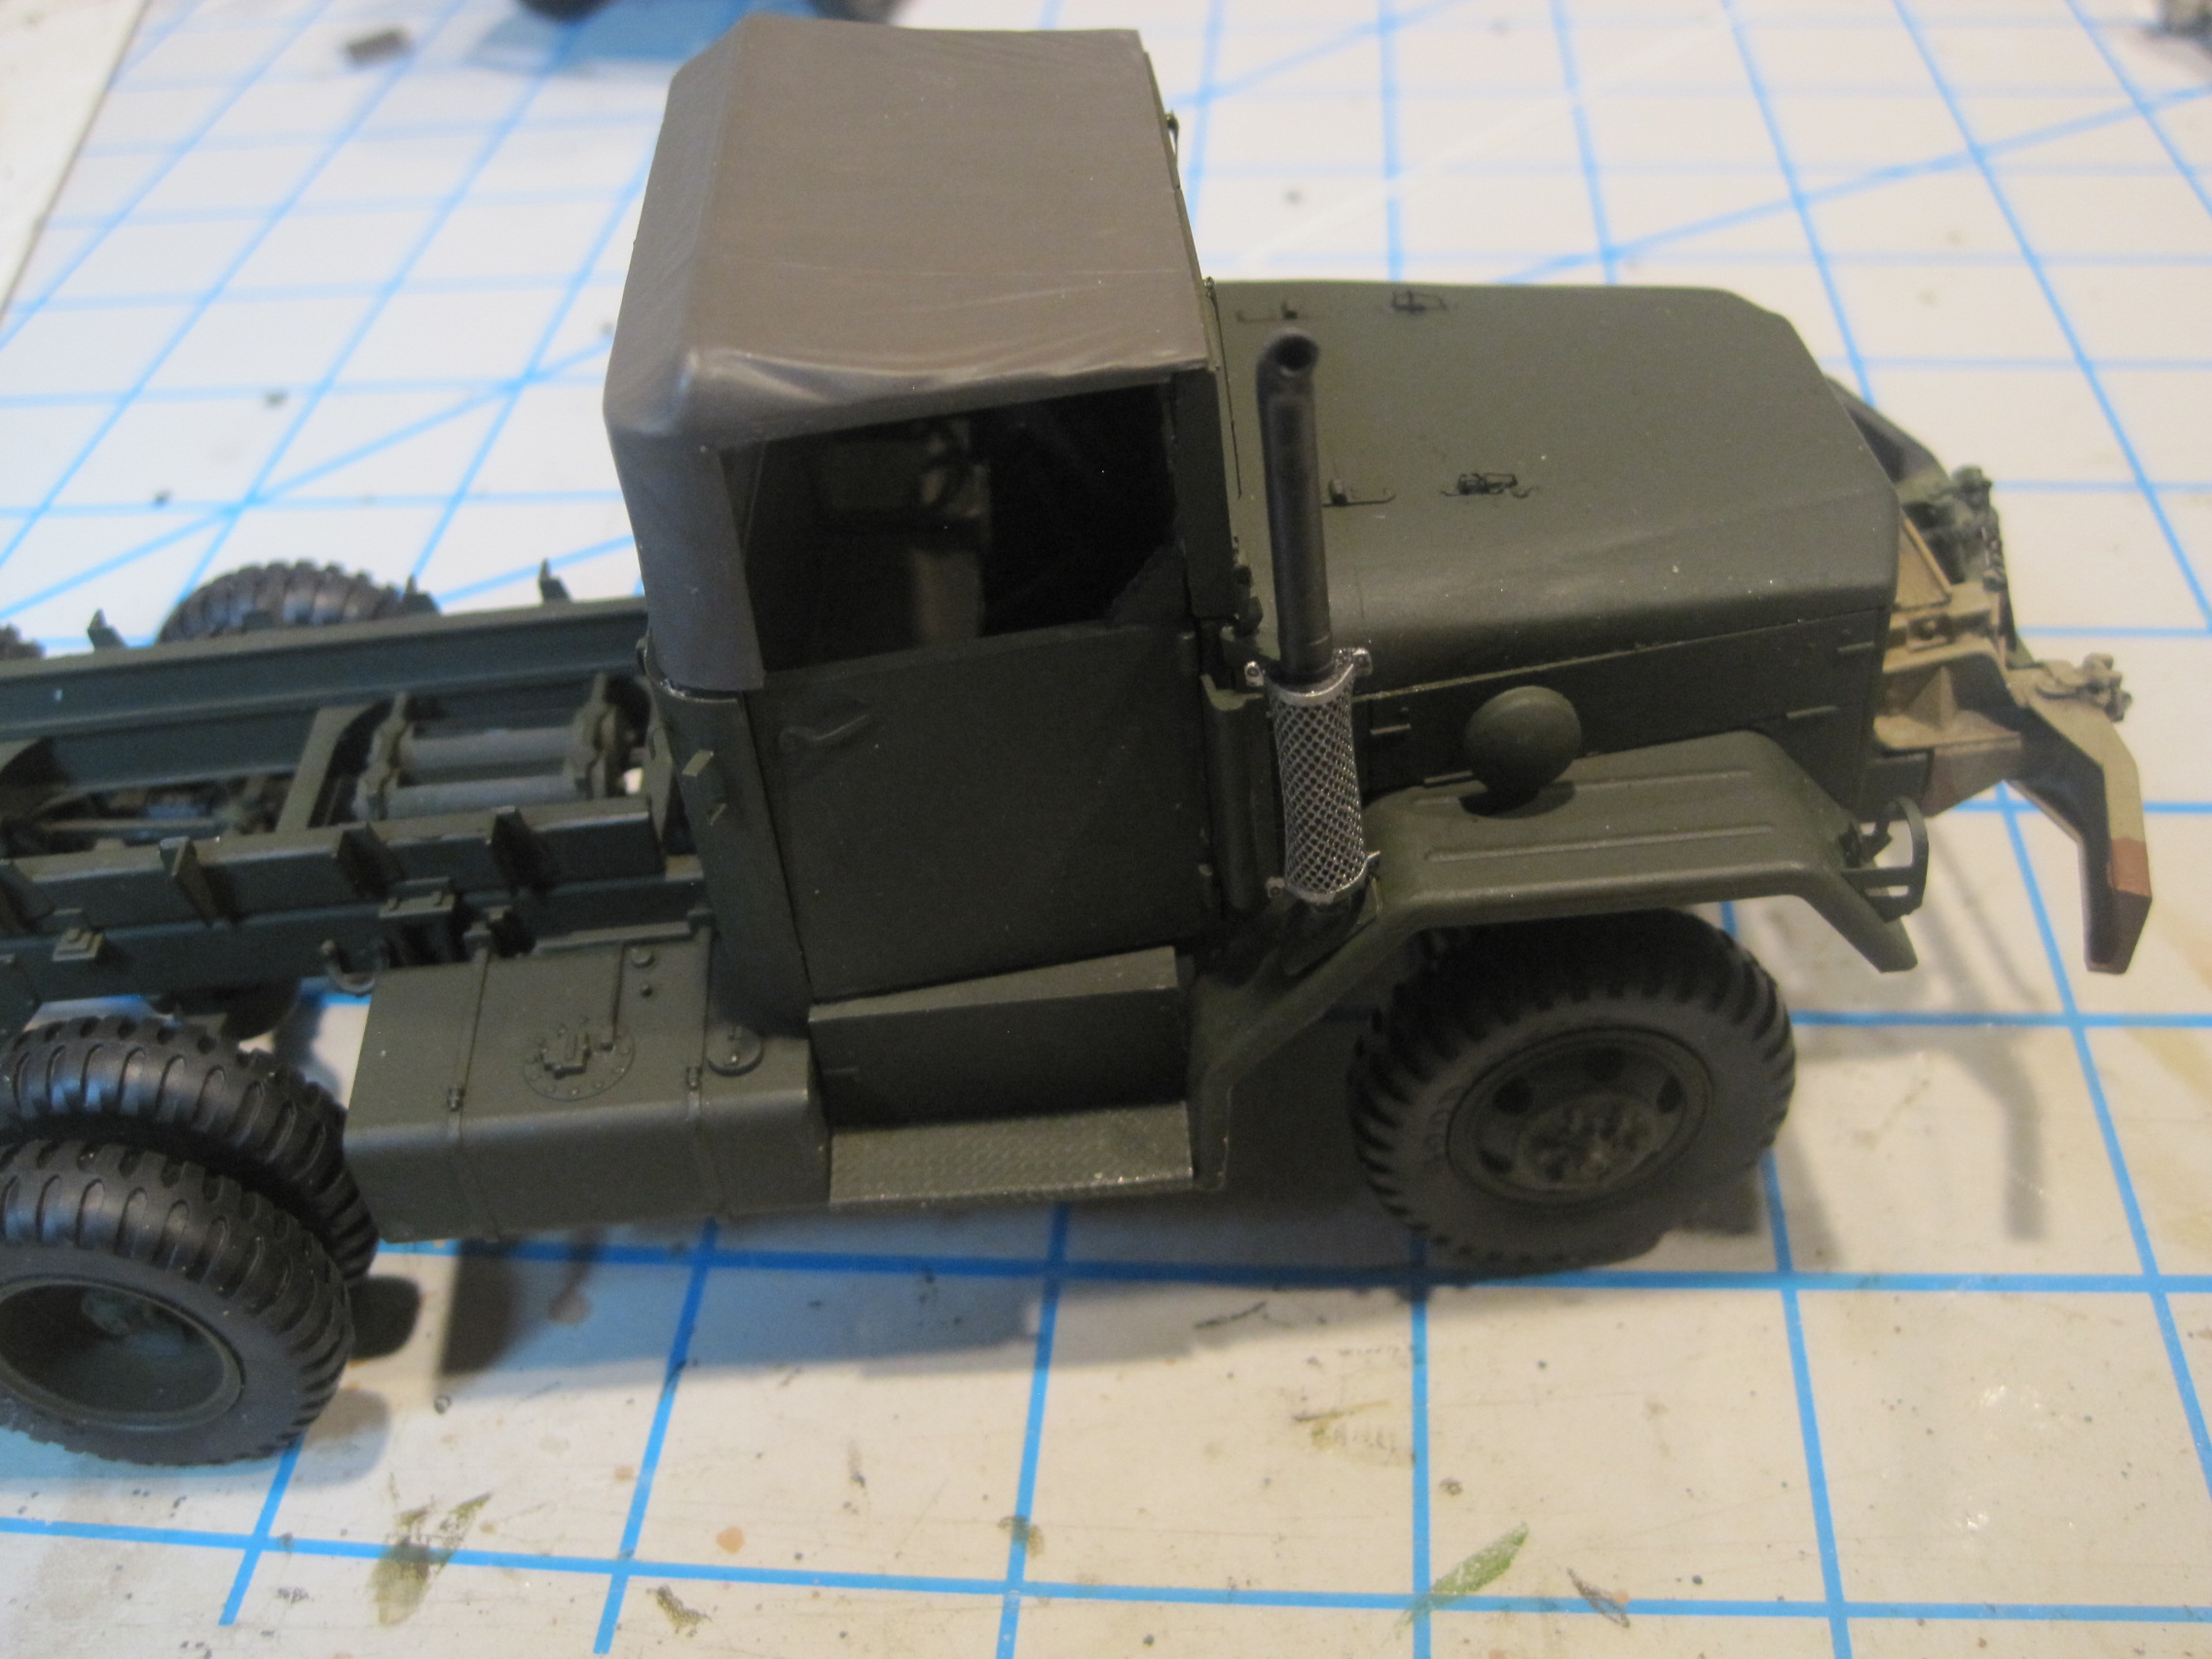
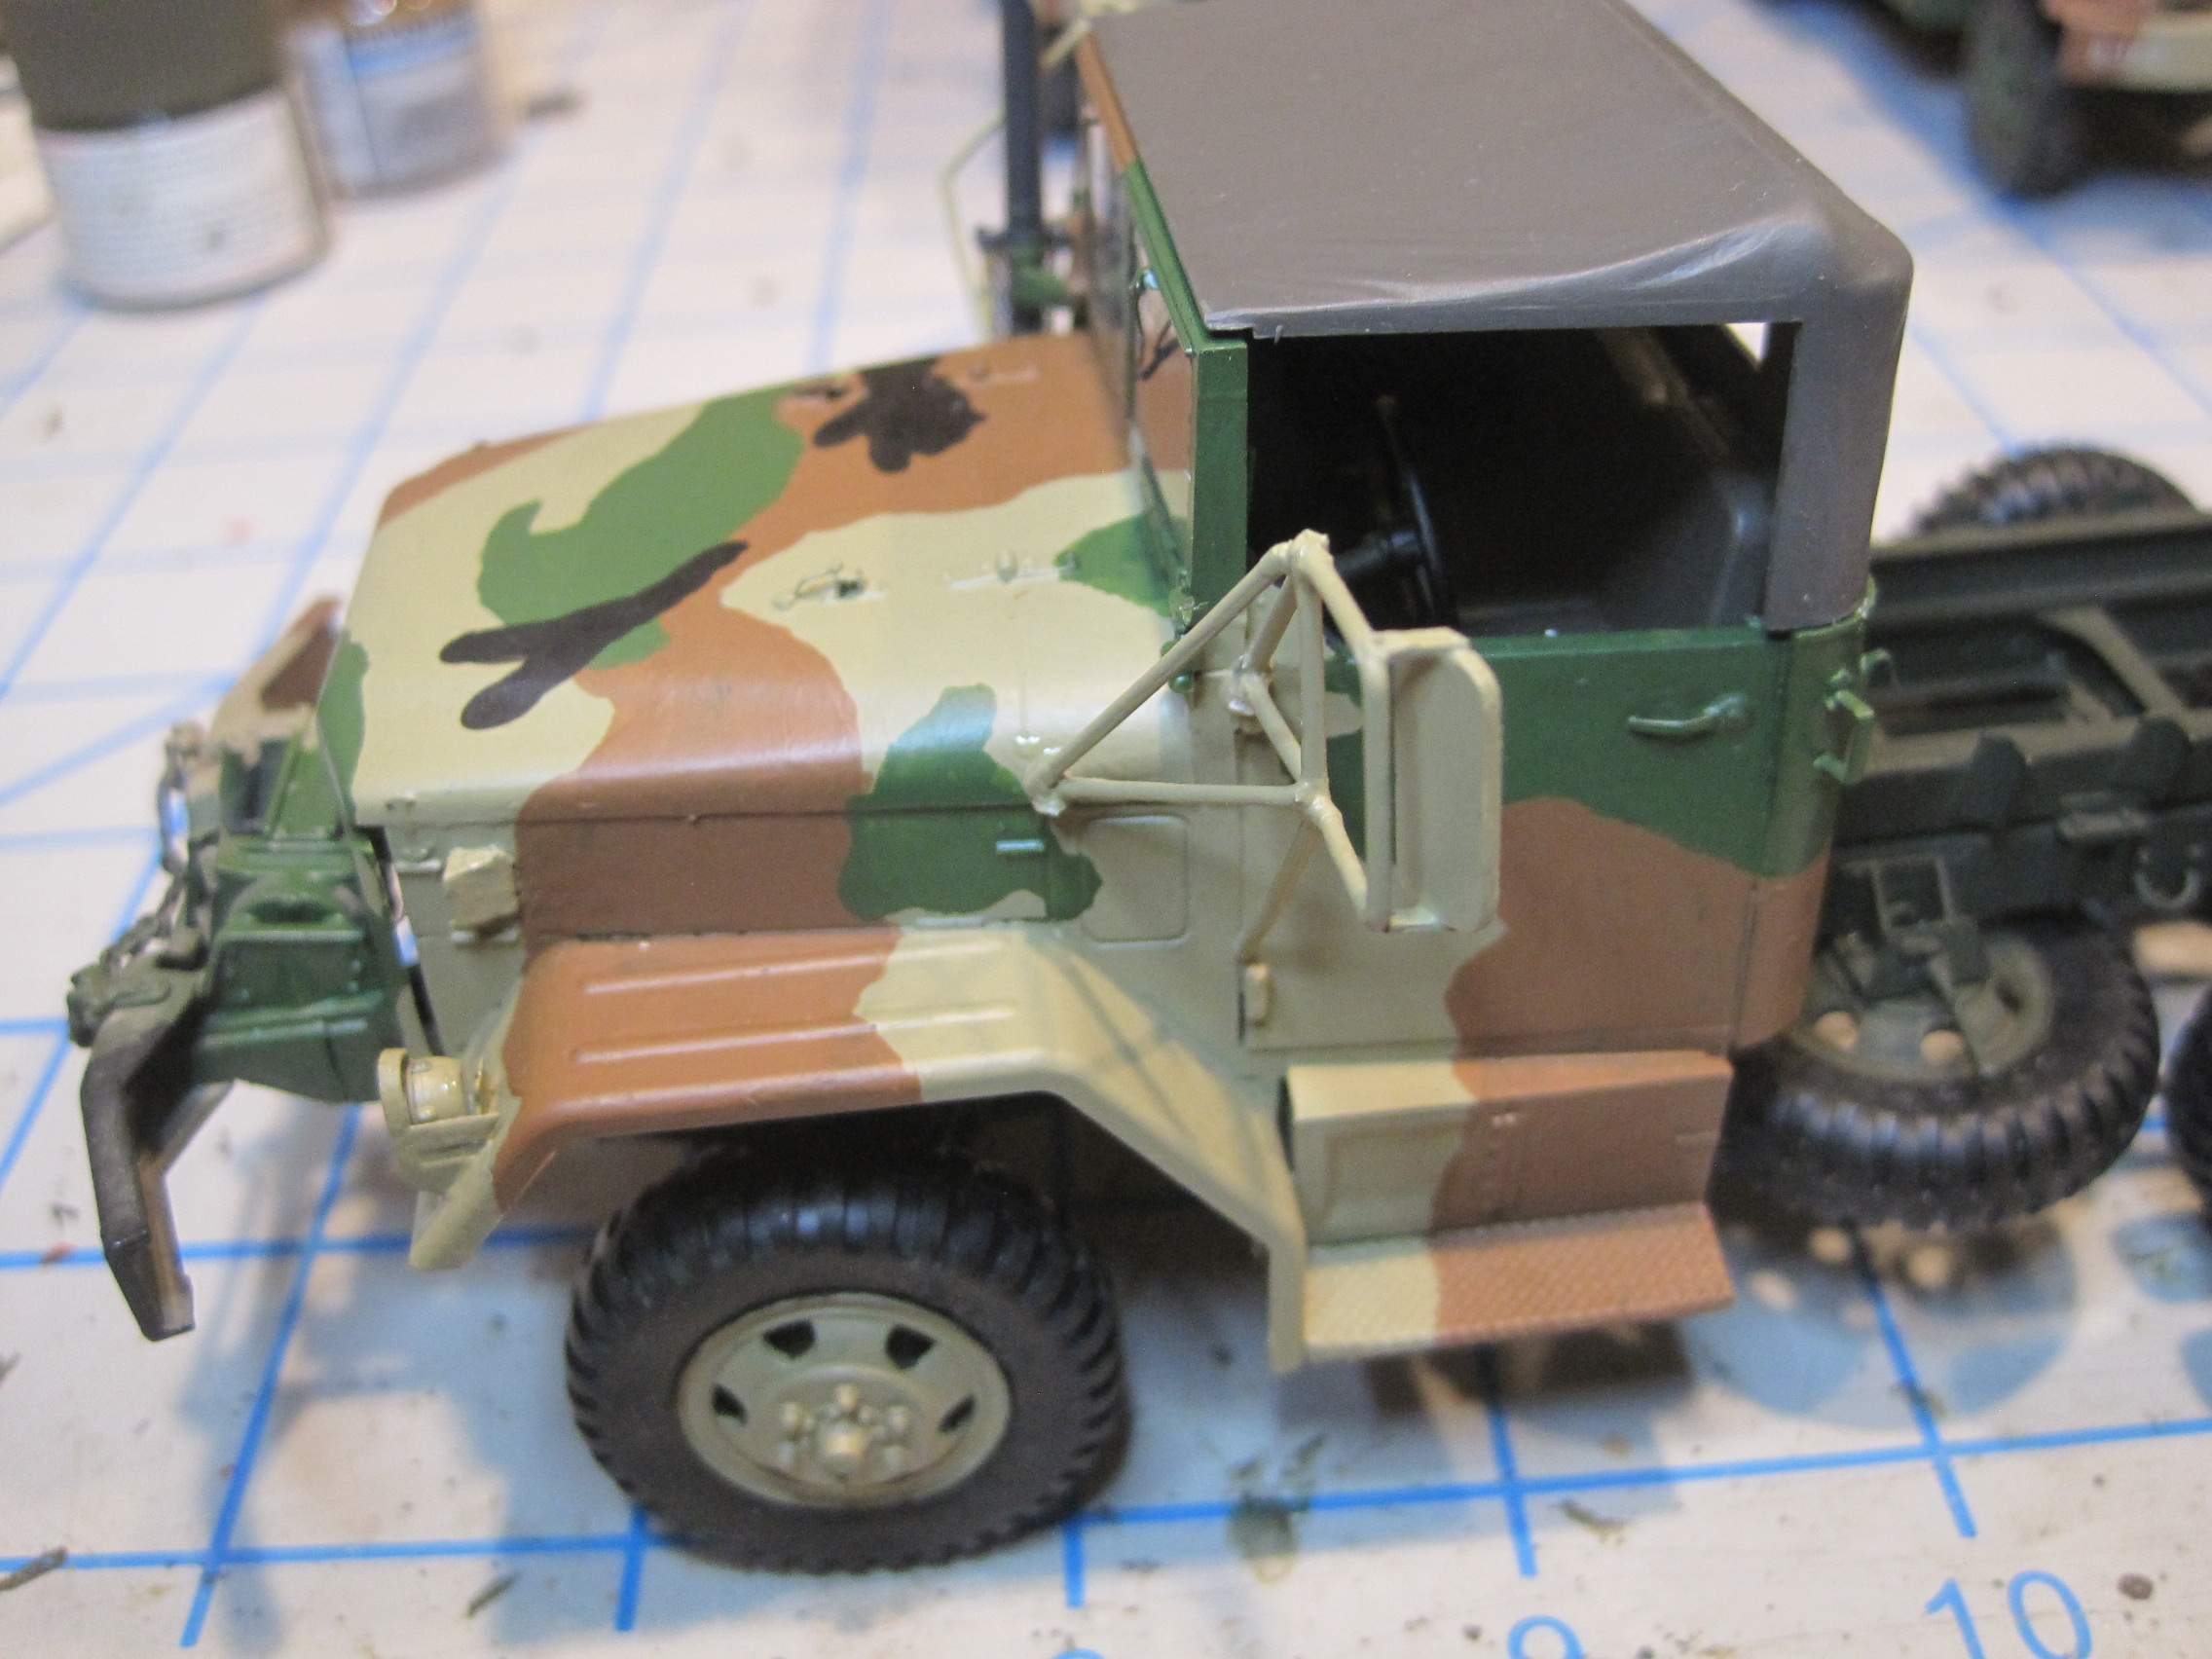
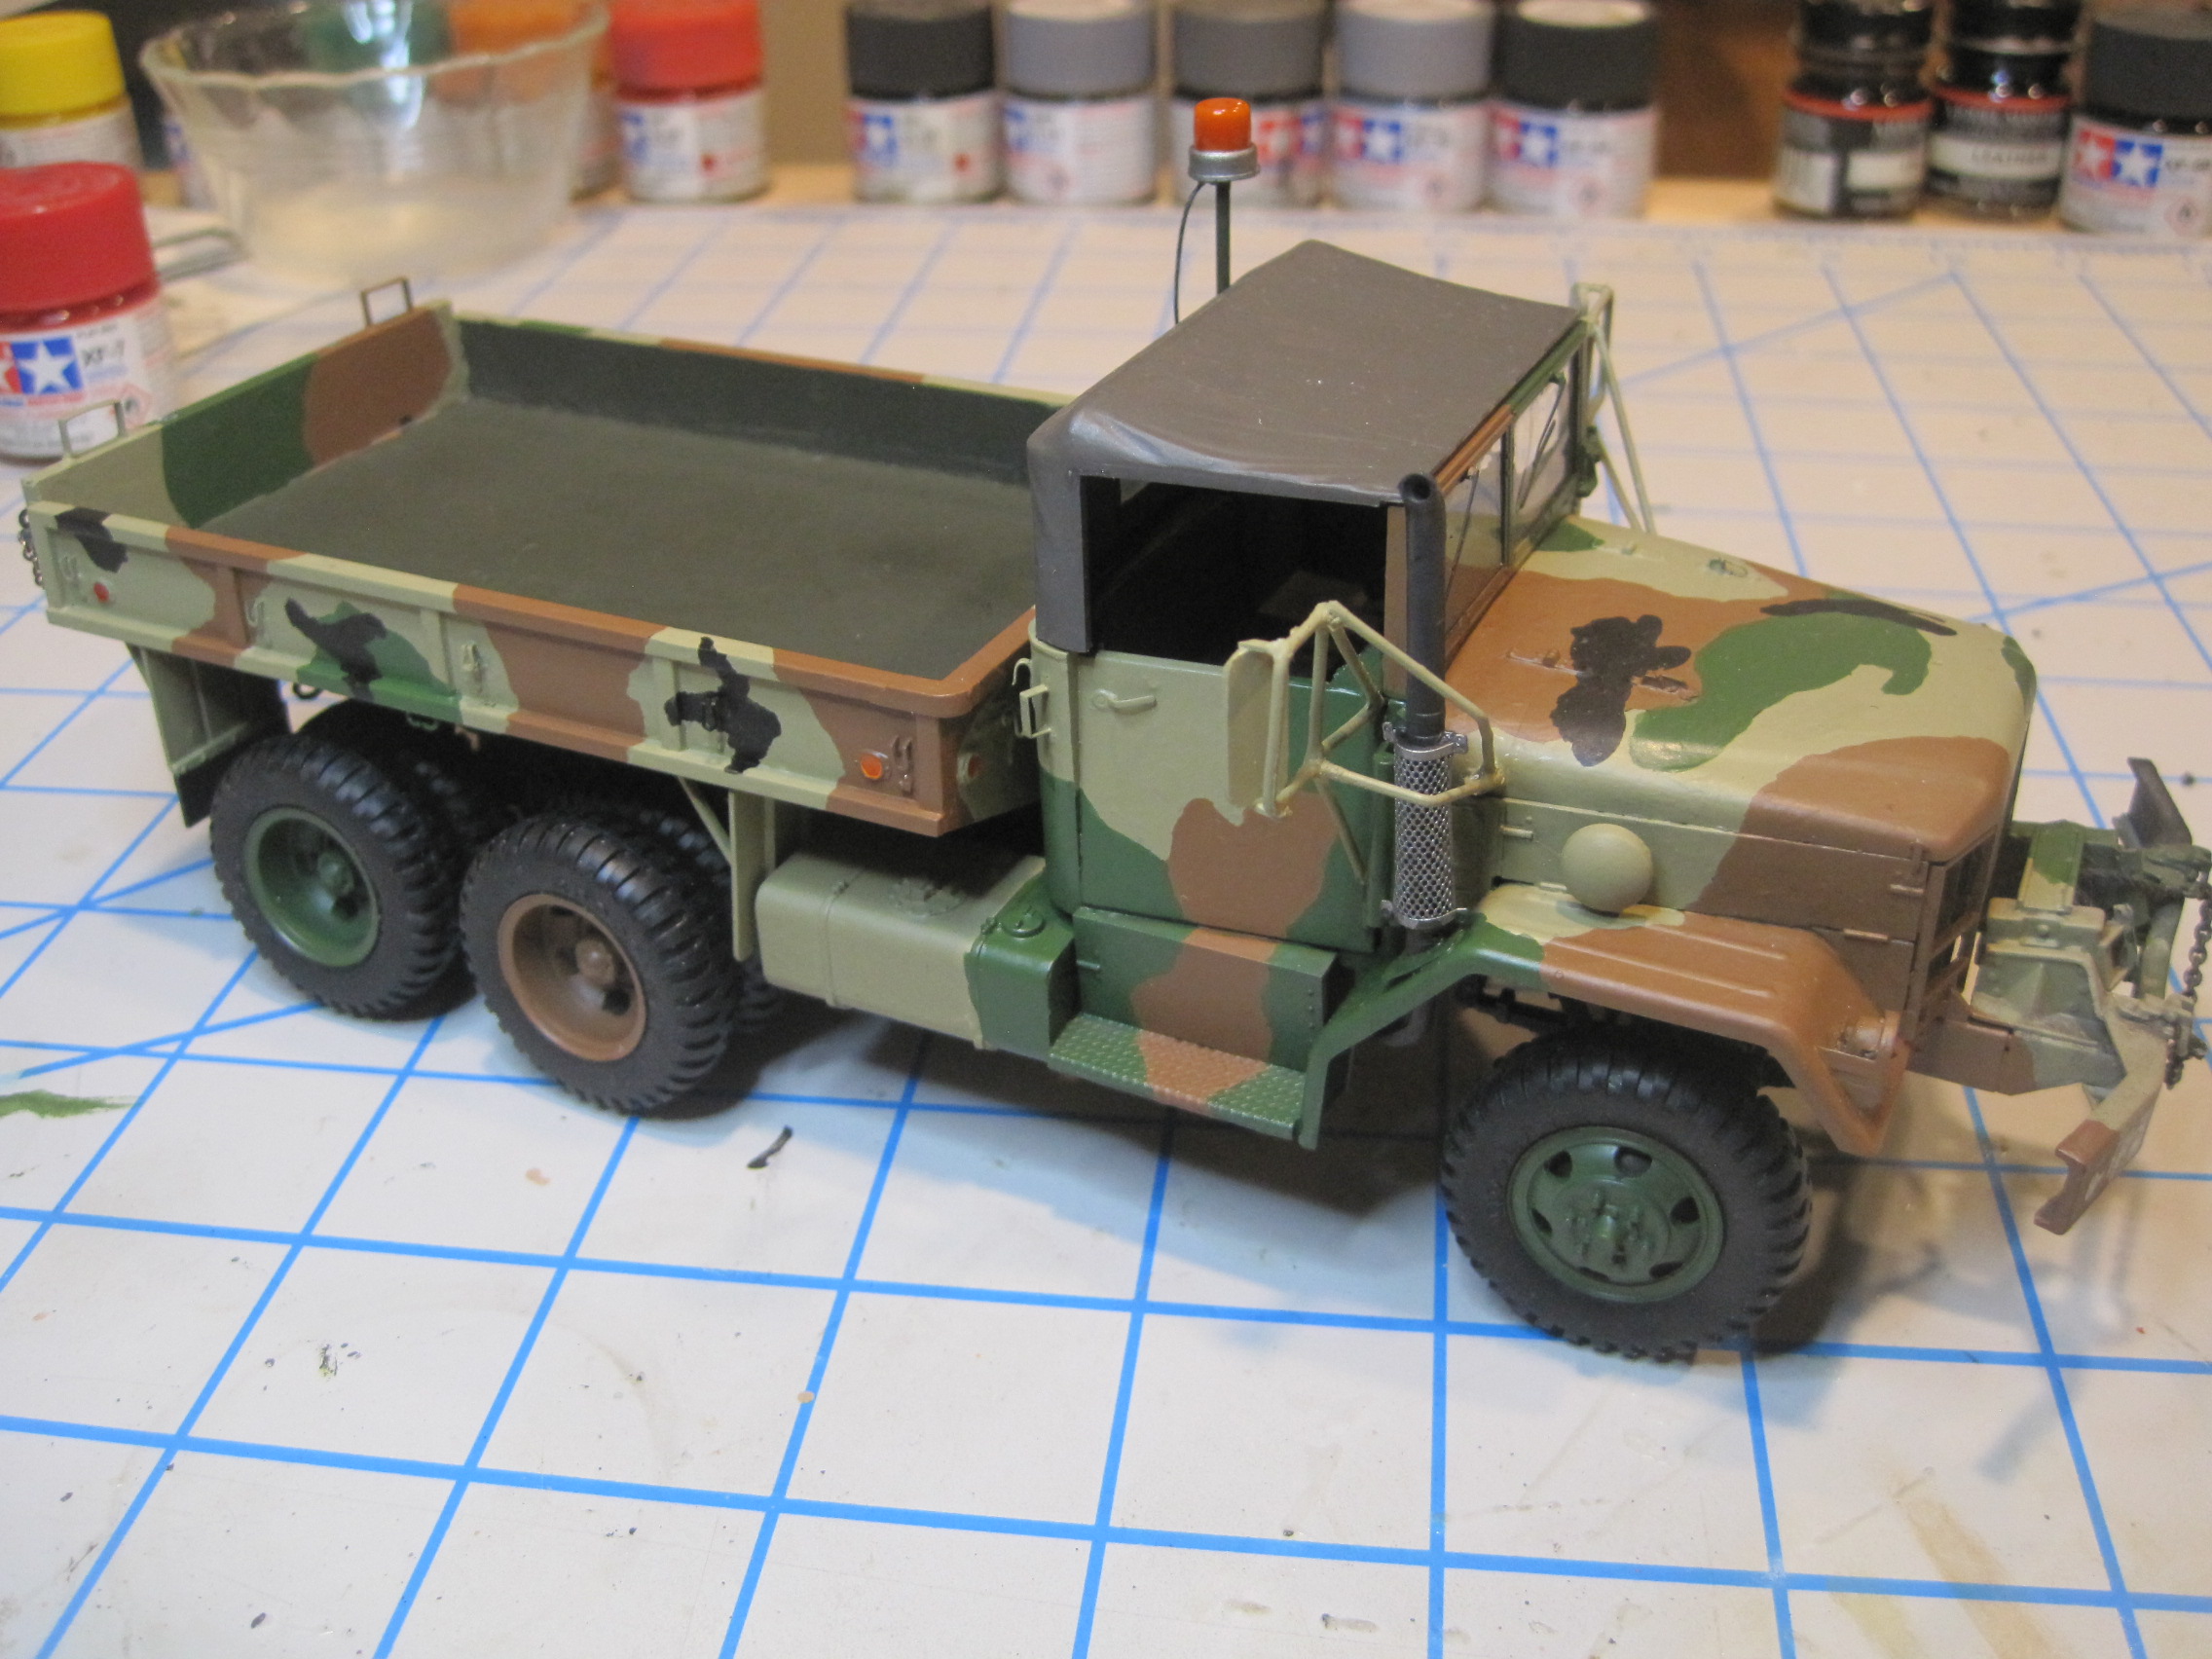
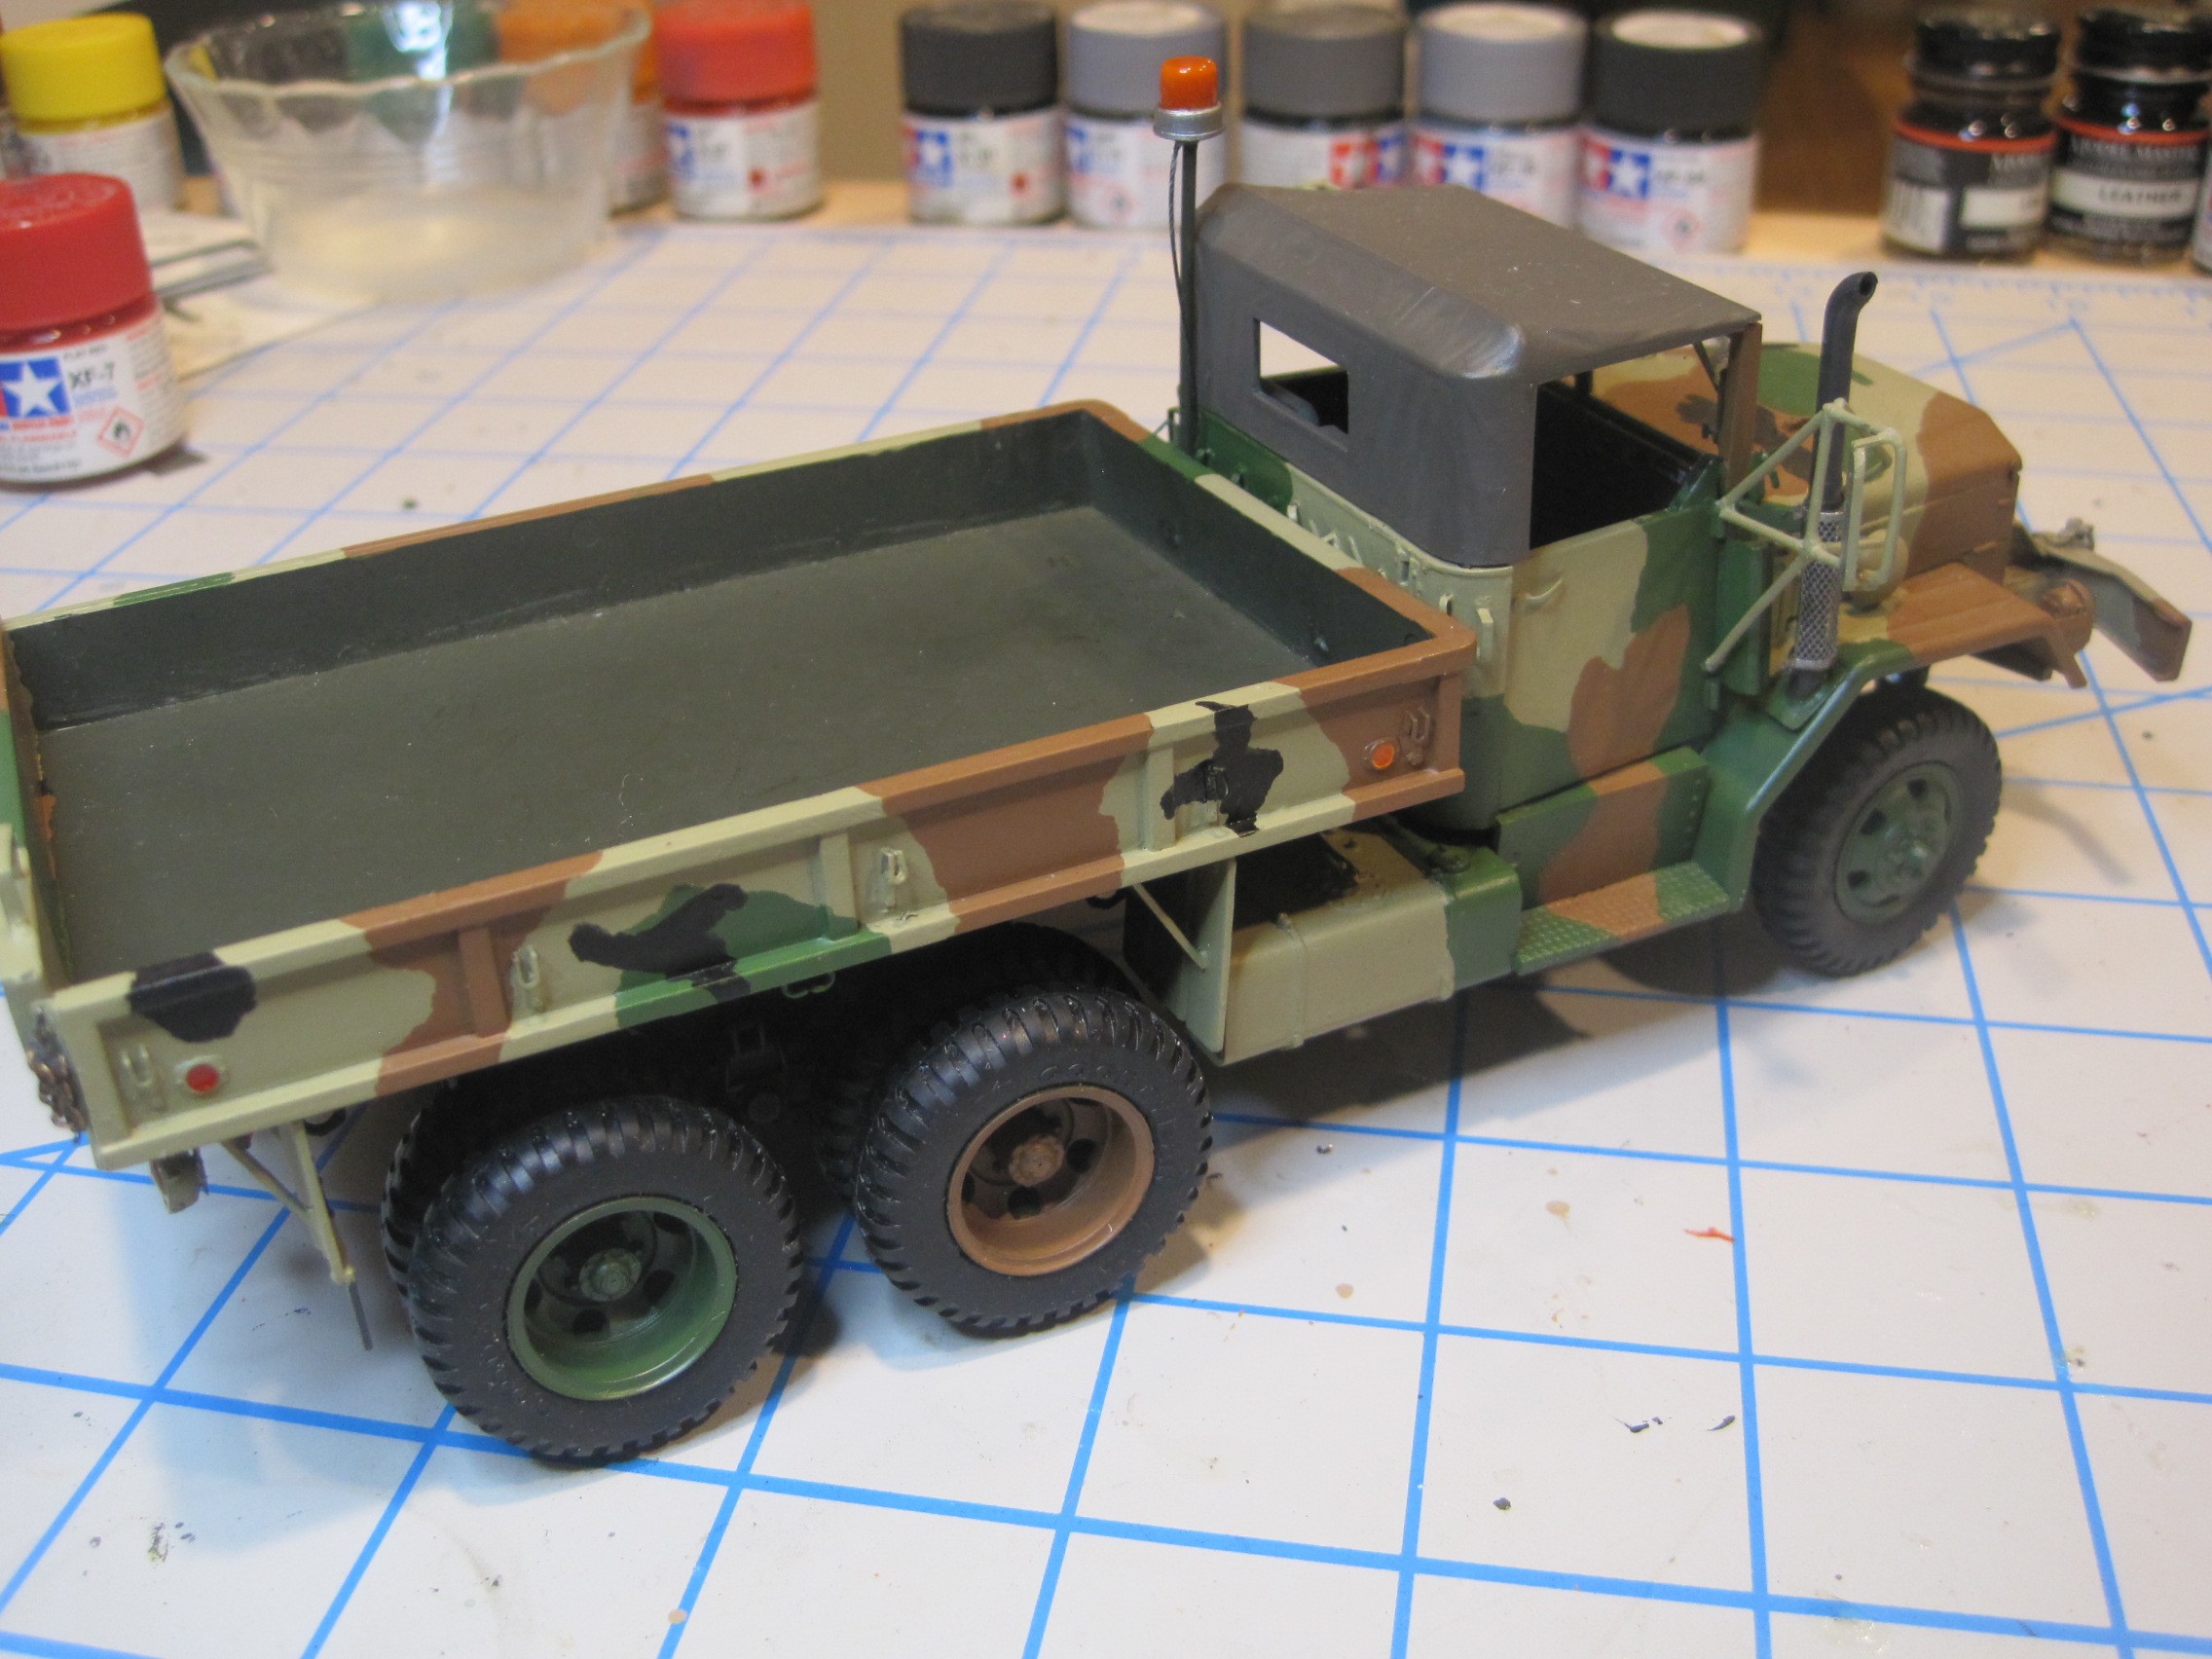
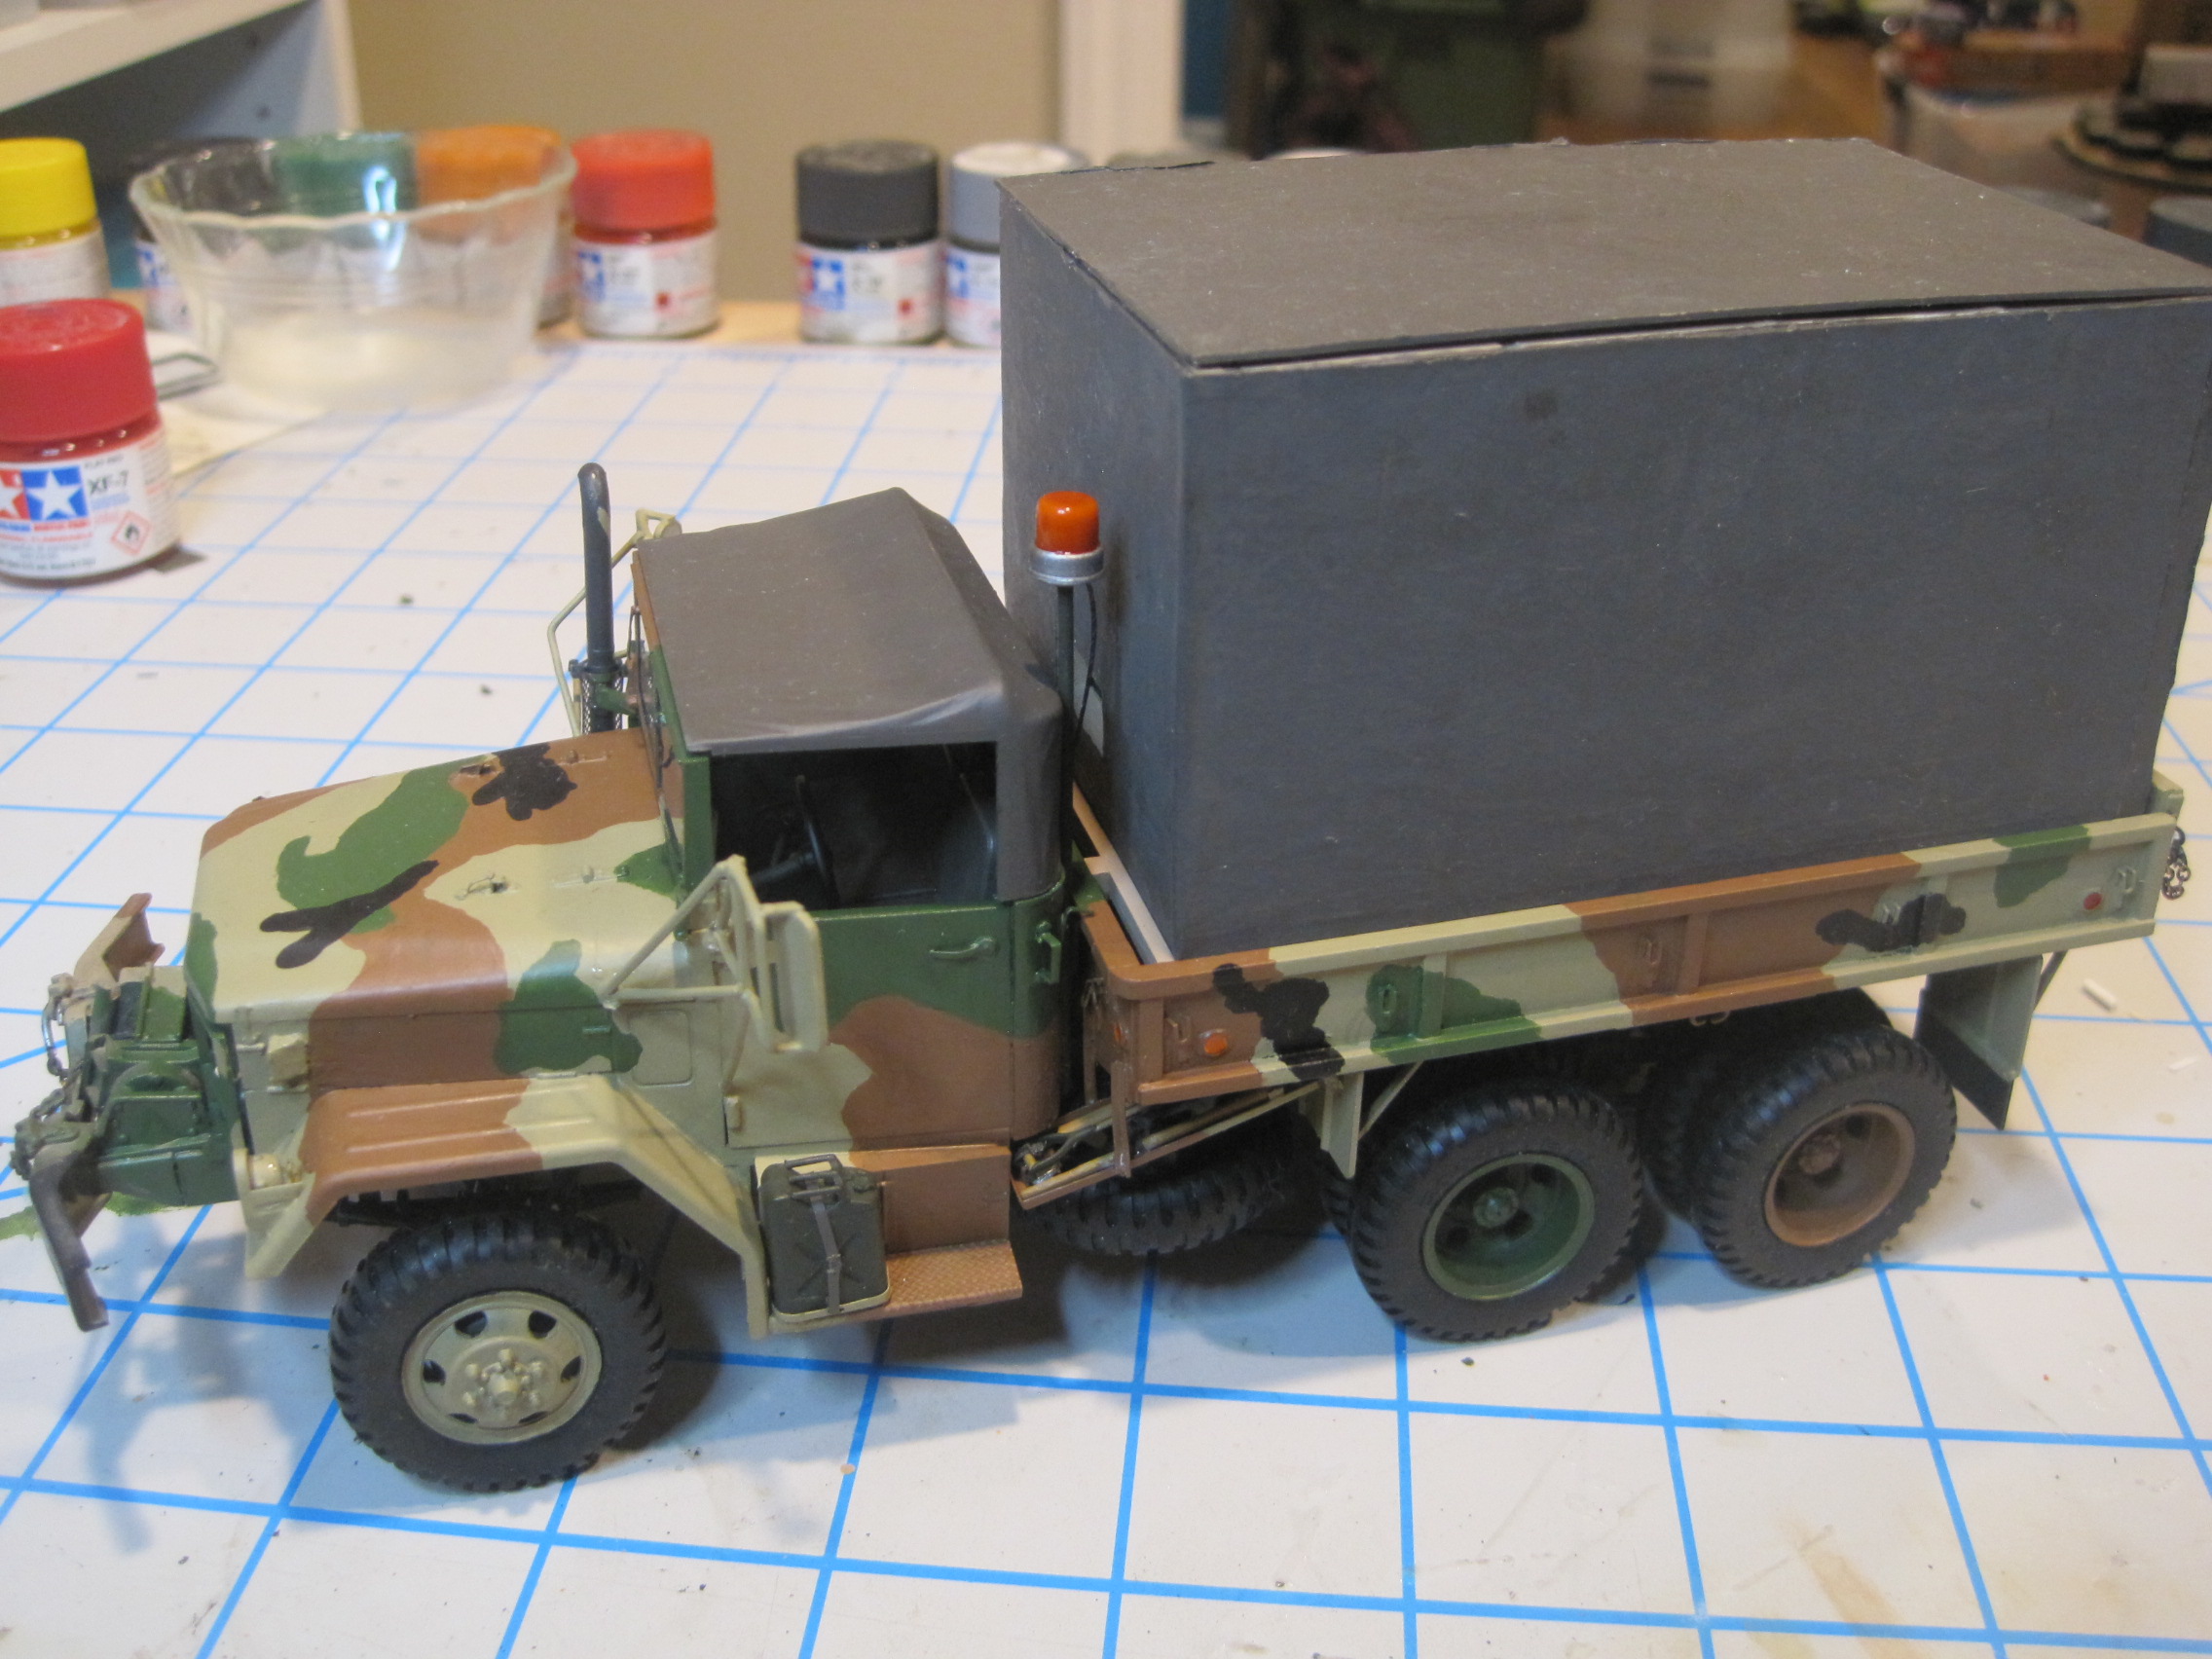
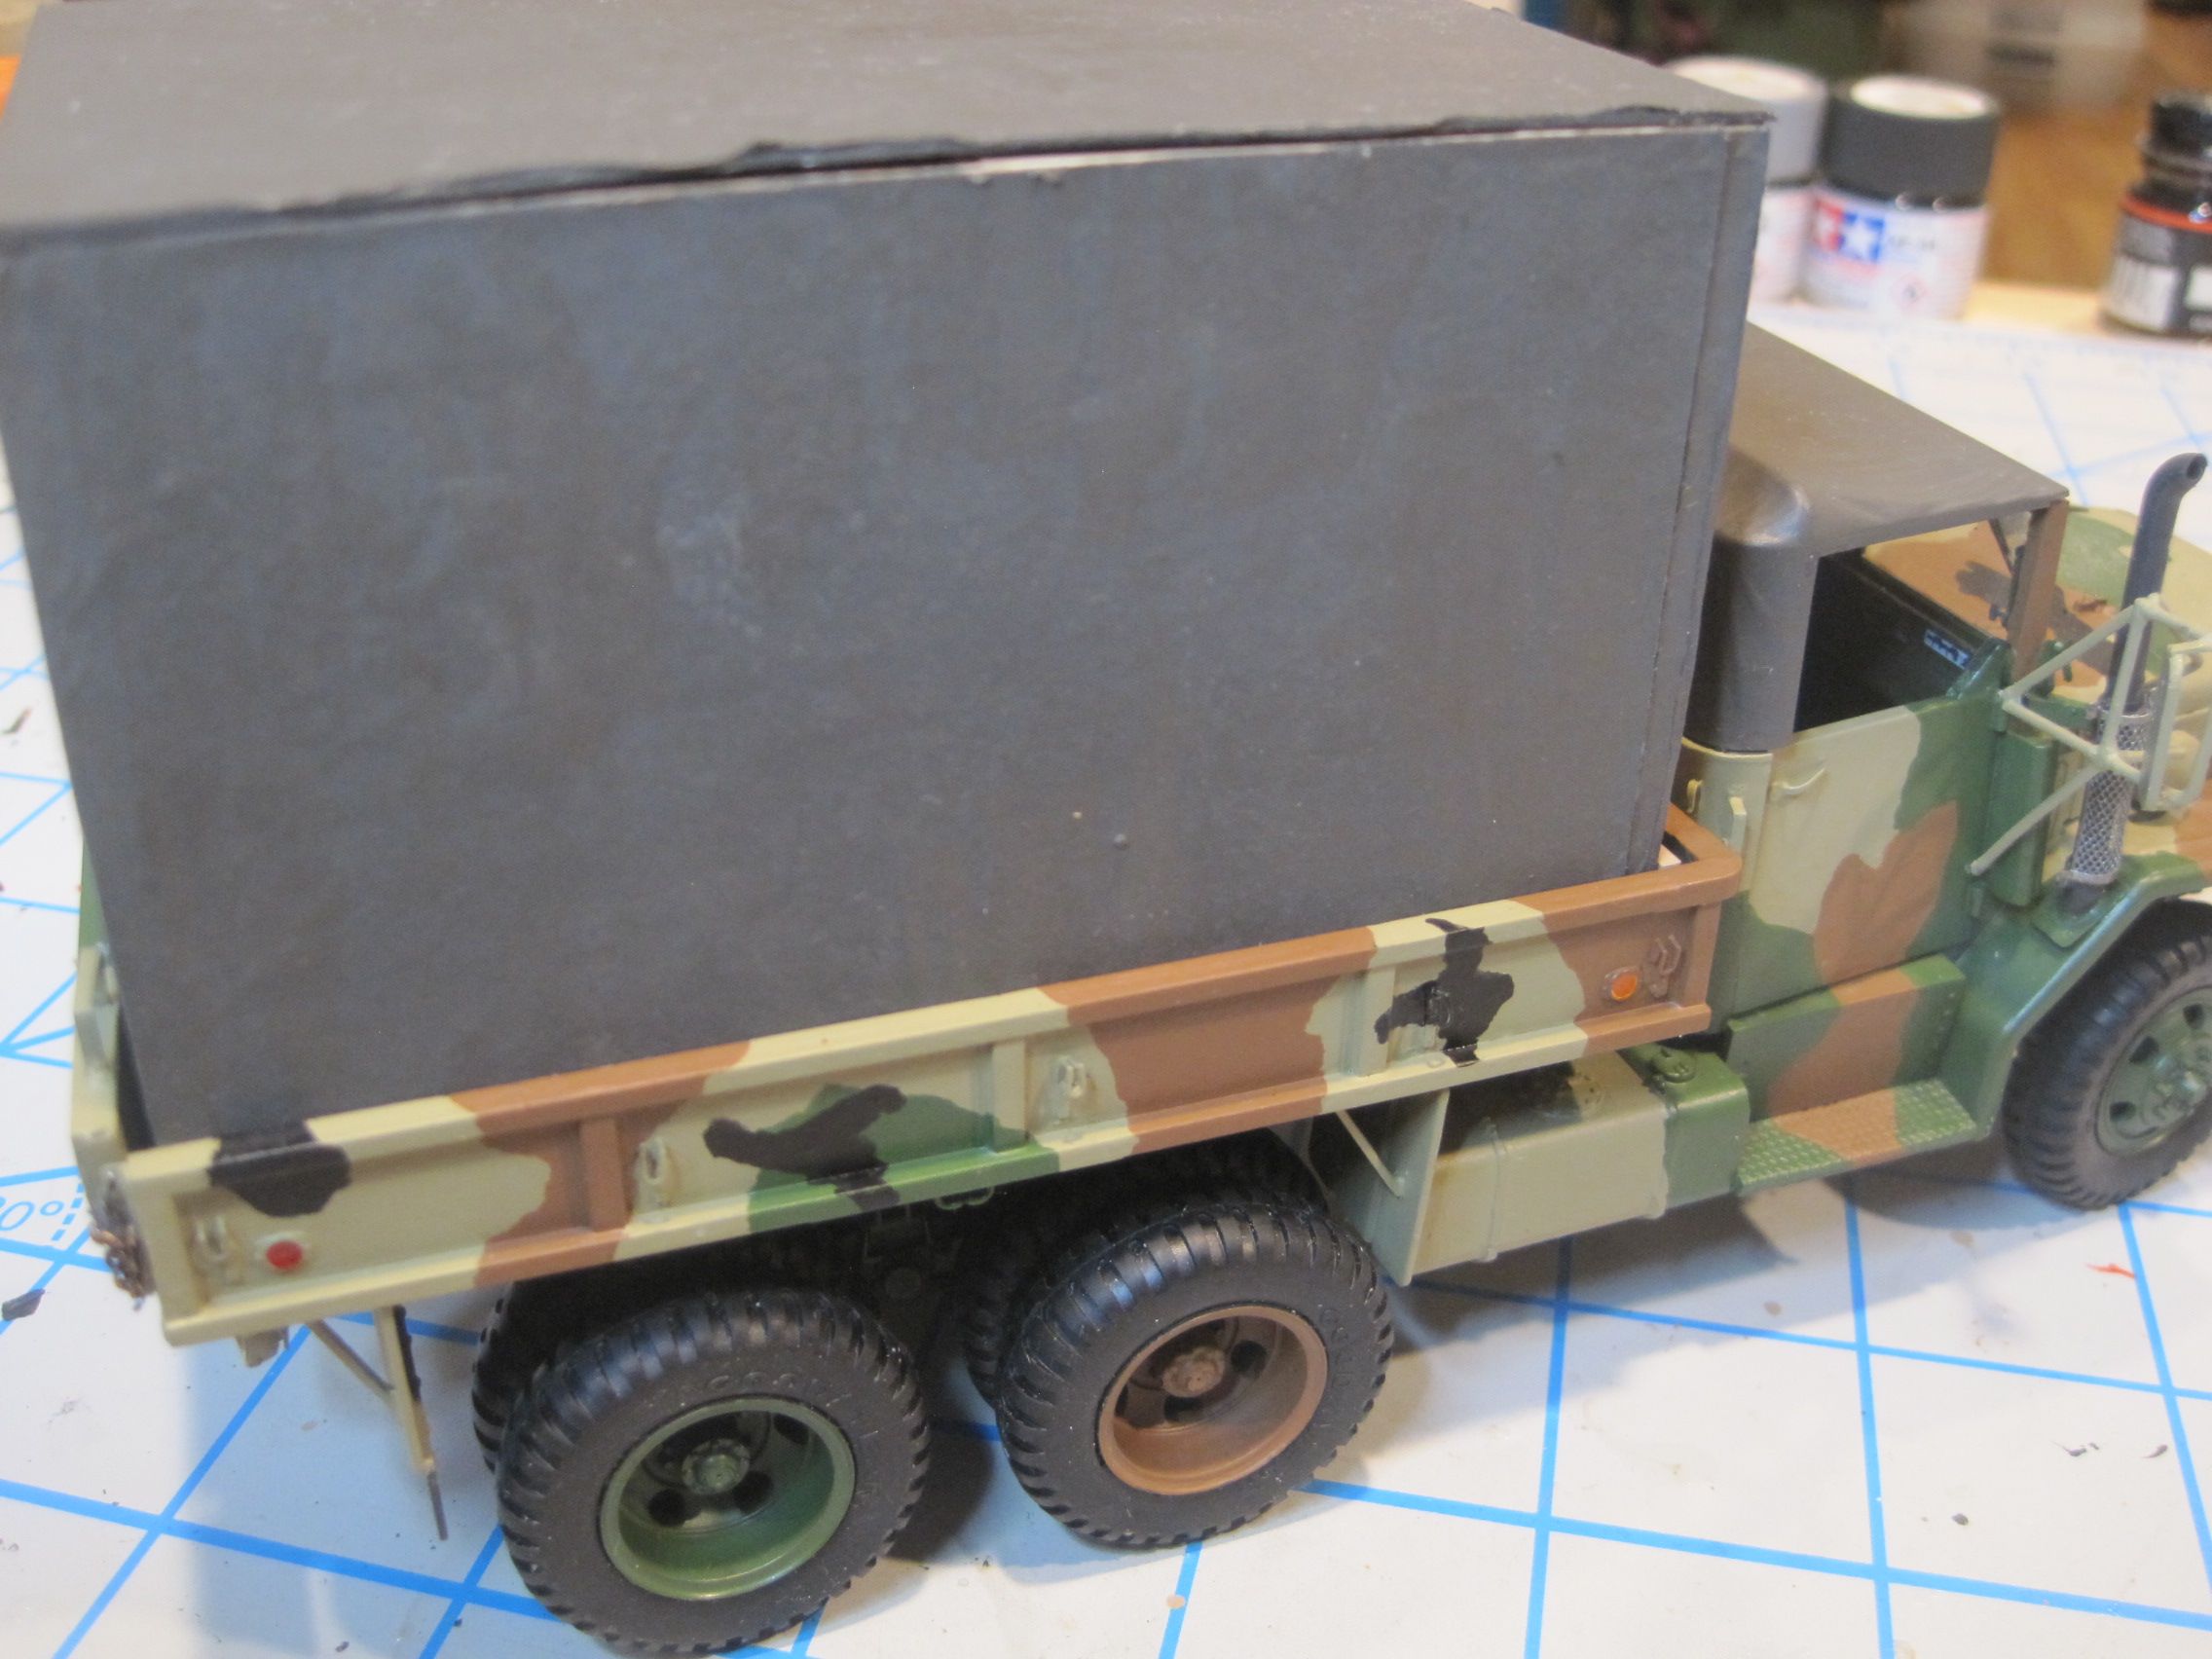
This next set of photos shows that the cab/chassis is pretty much complete. Since the finished vehicle is going to be in the MASSTER scheme, I’ve decided that it’s going to be a lot easier to paint if I apply the MASSTER before I attach the 2nd unit body.
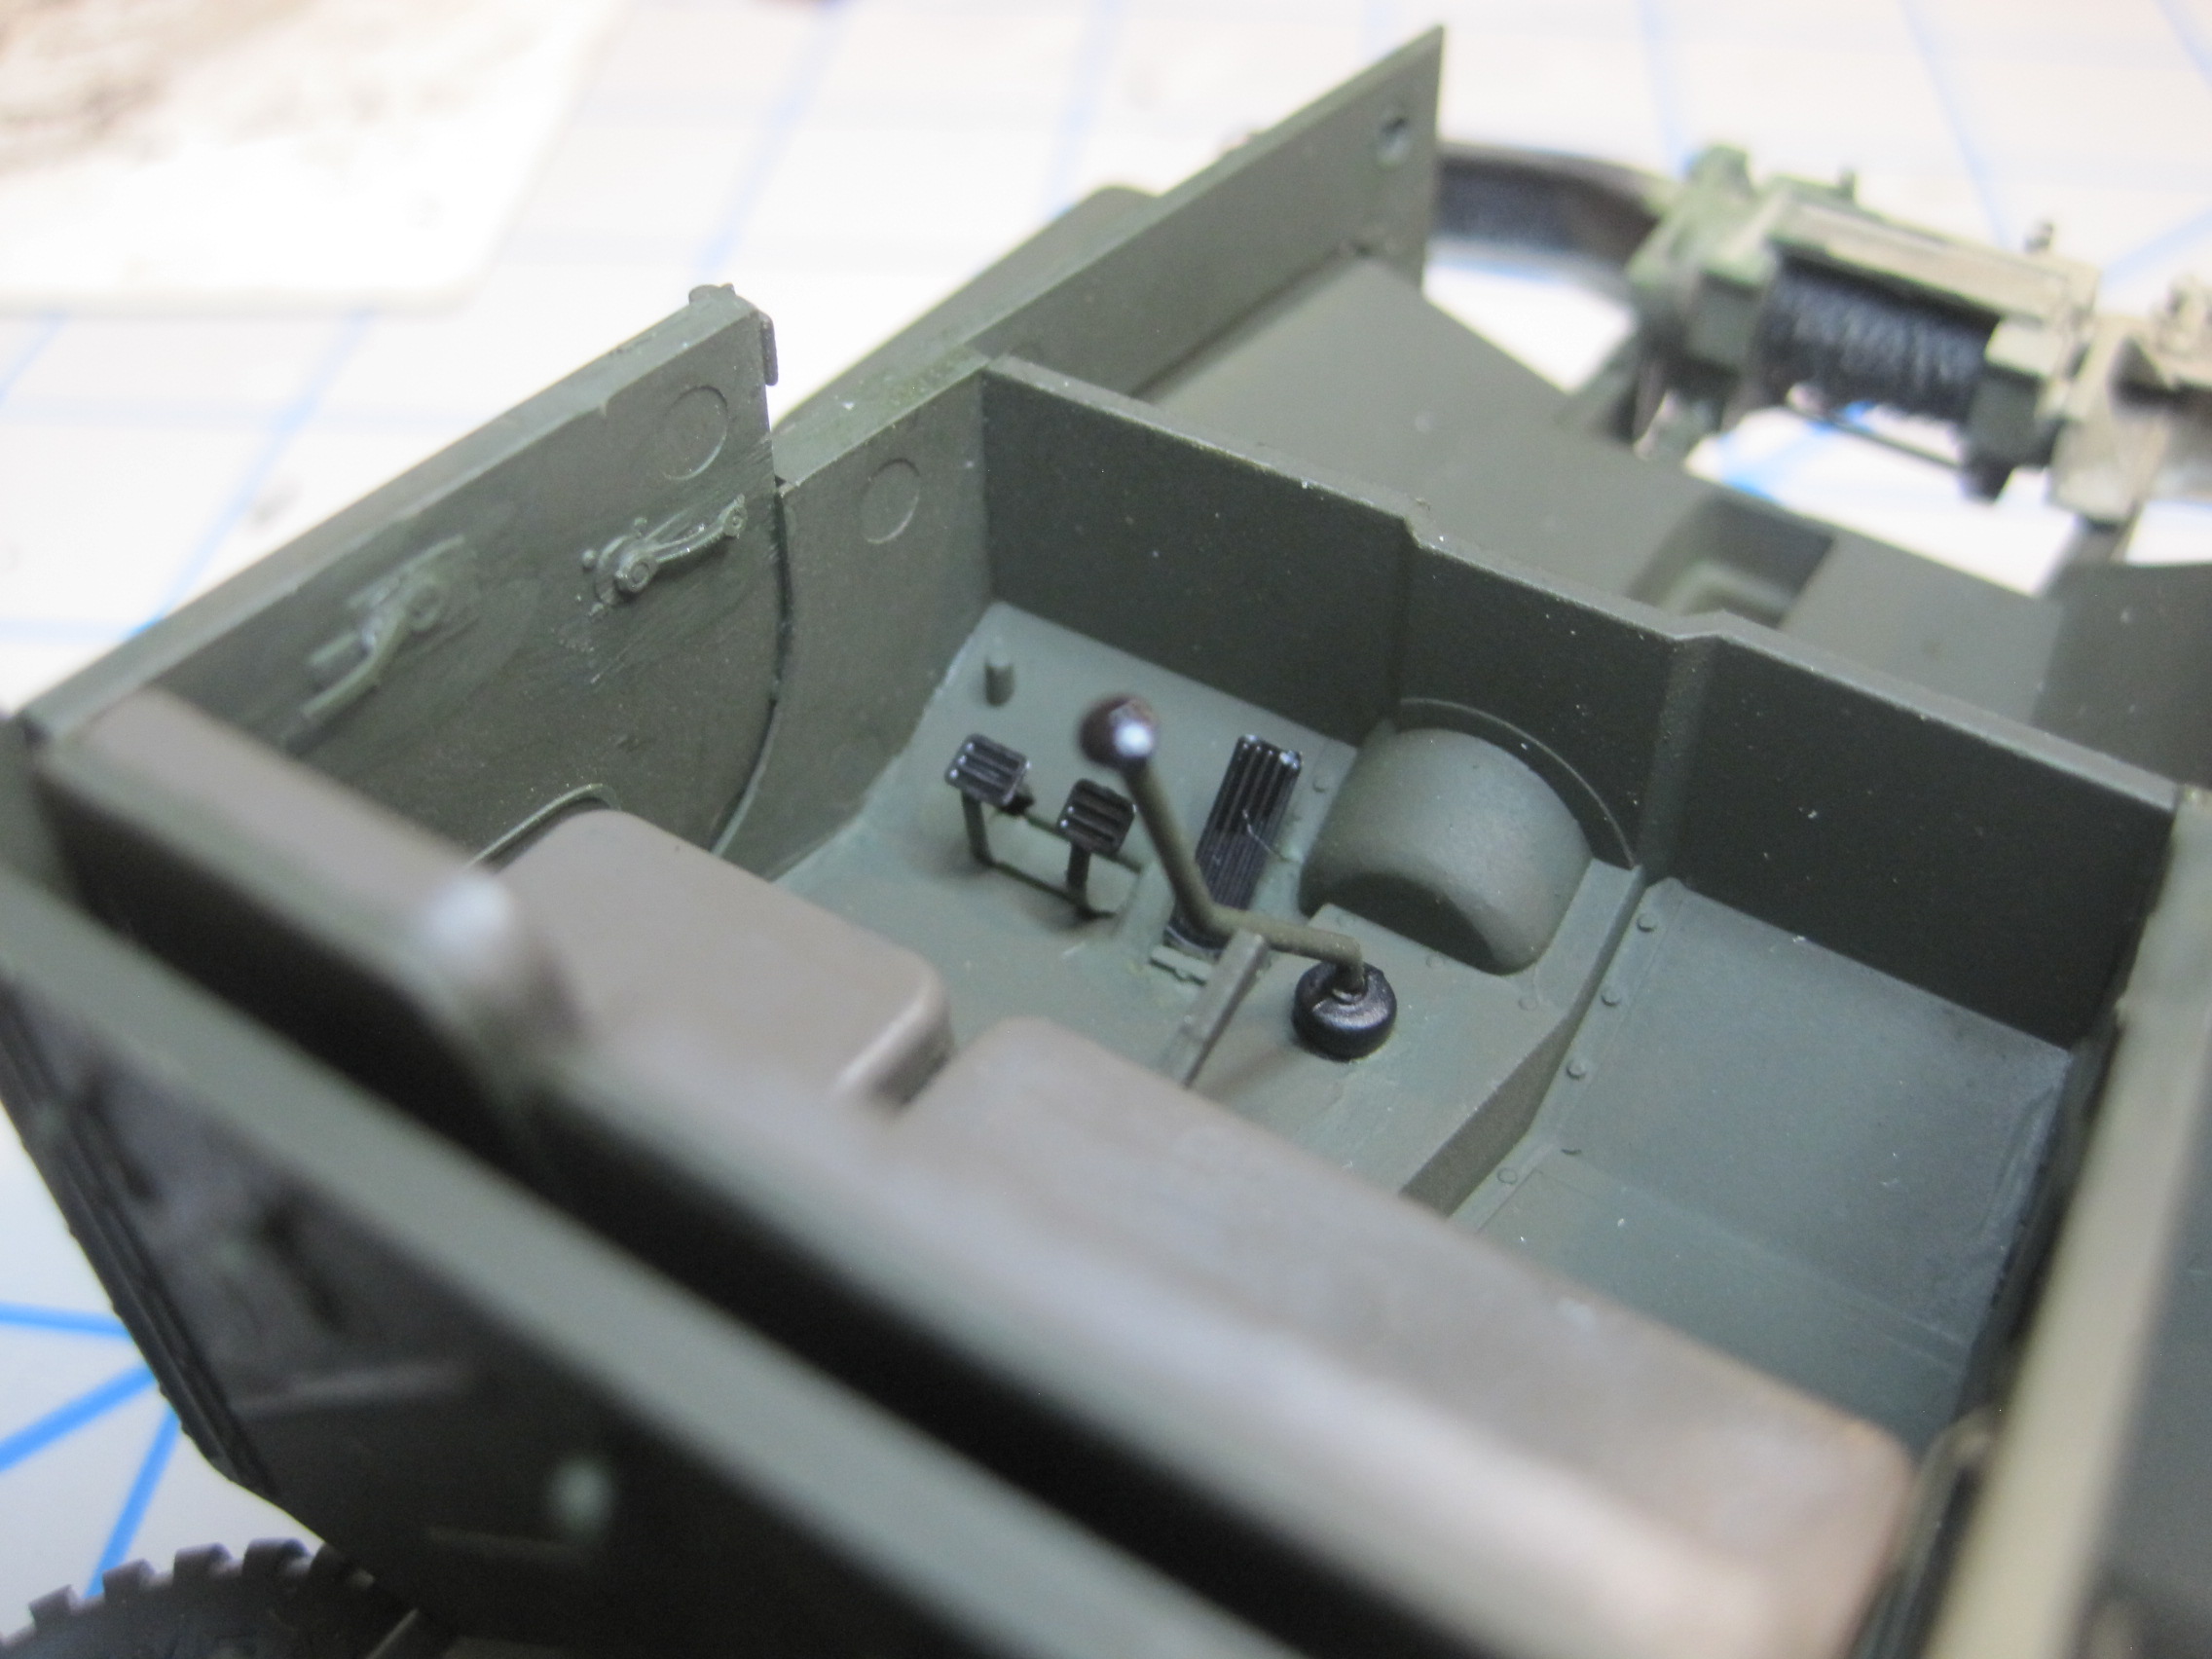
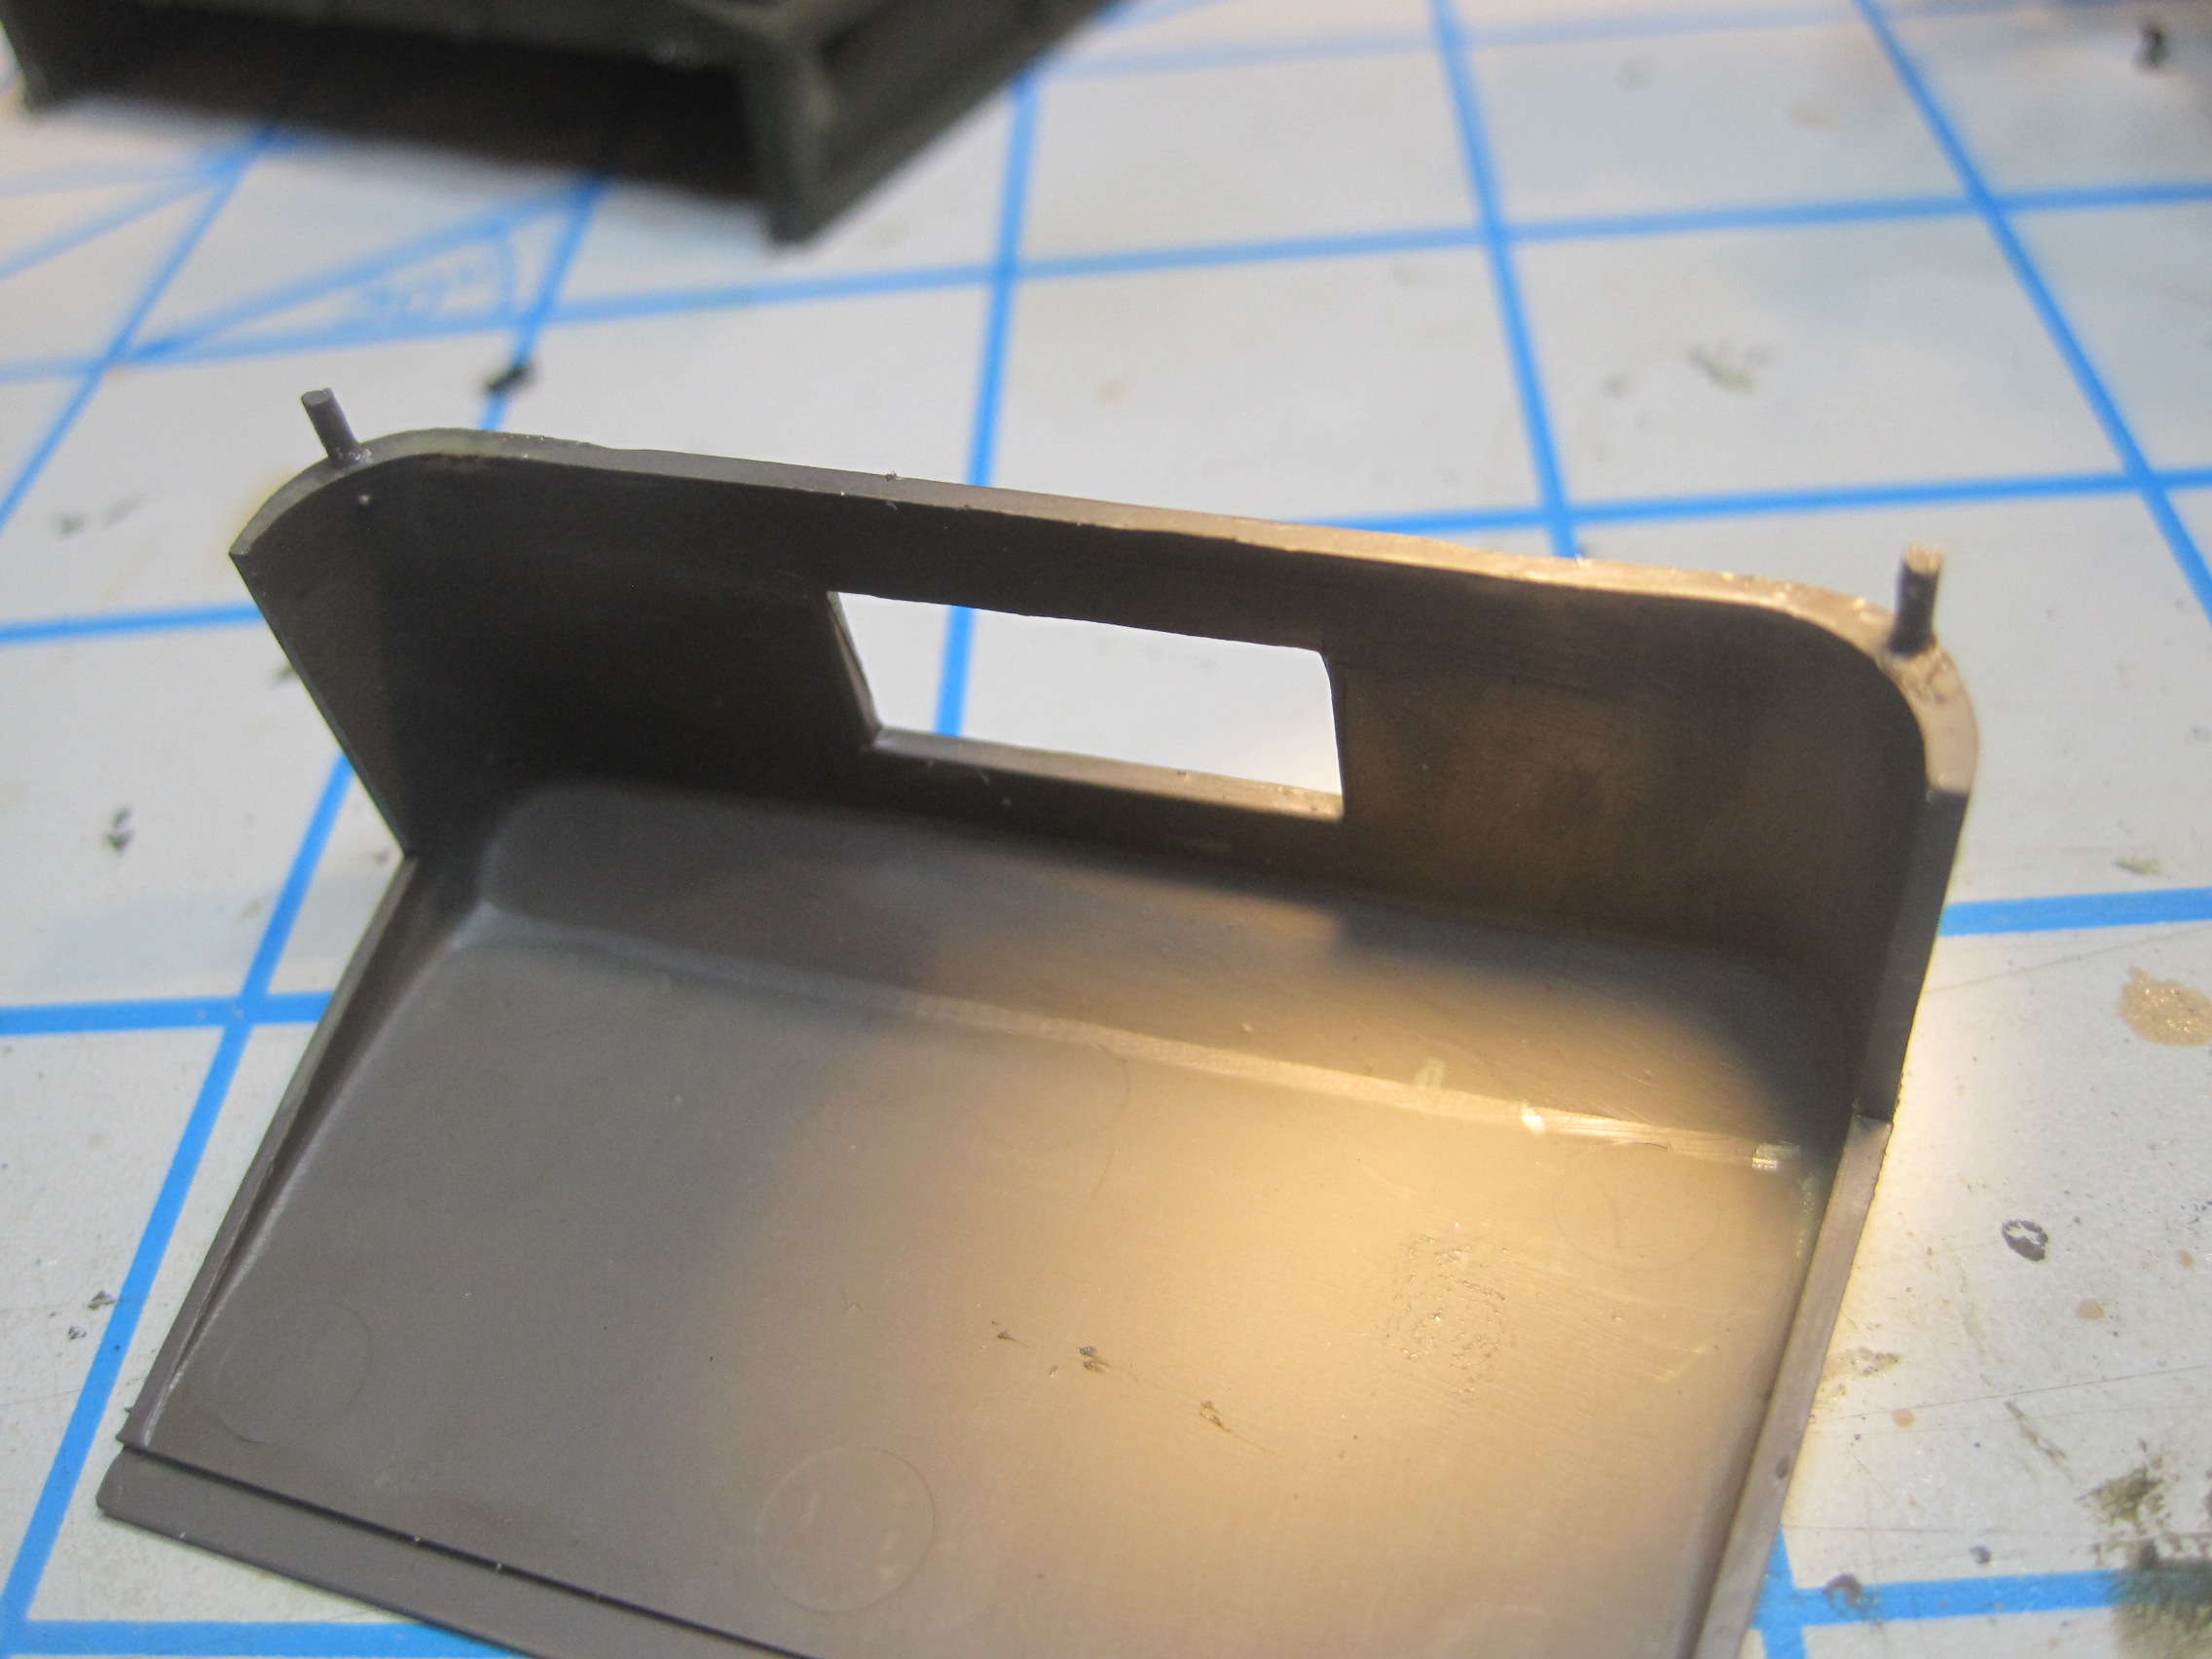
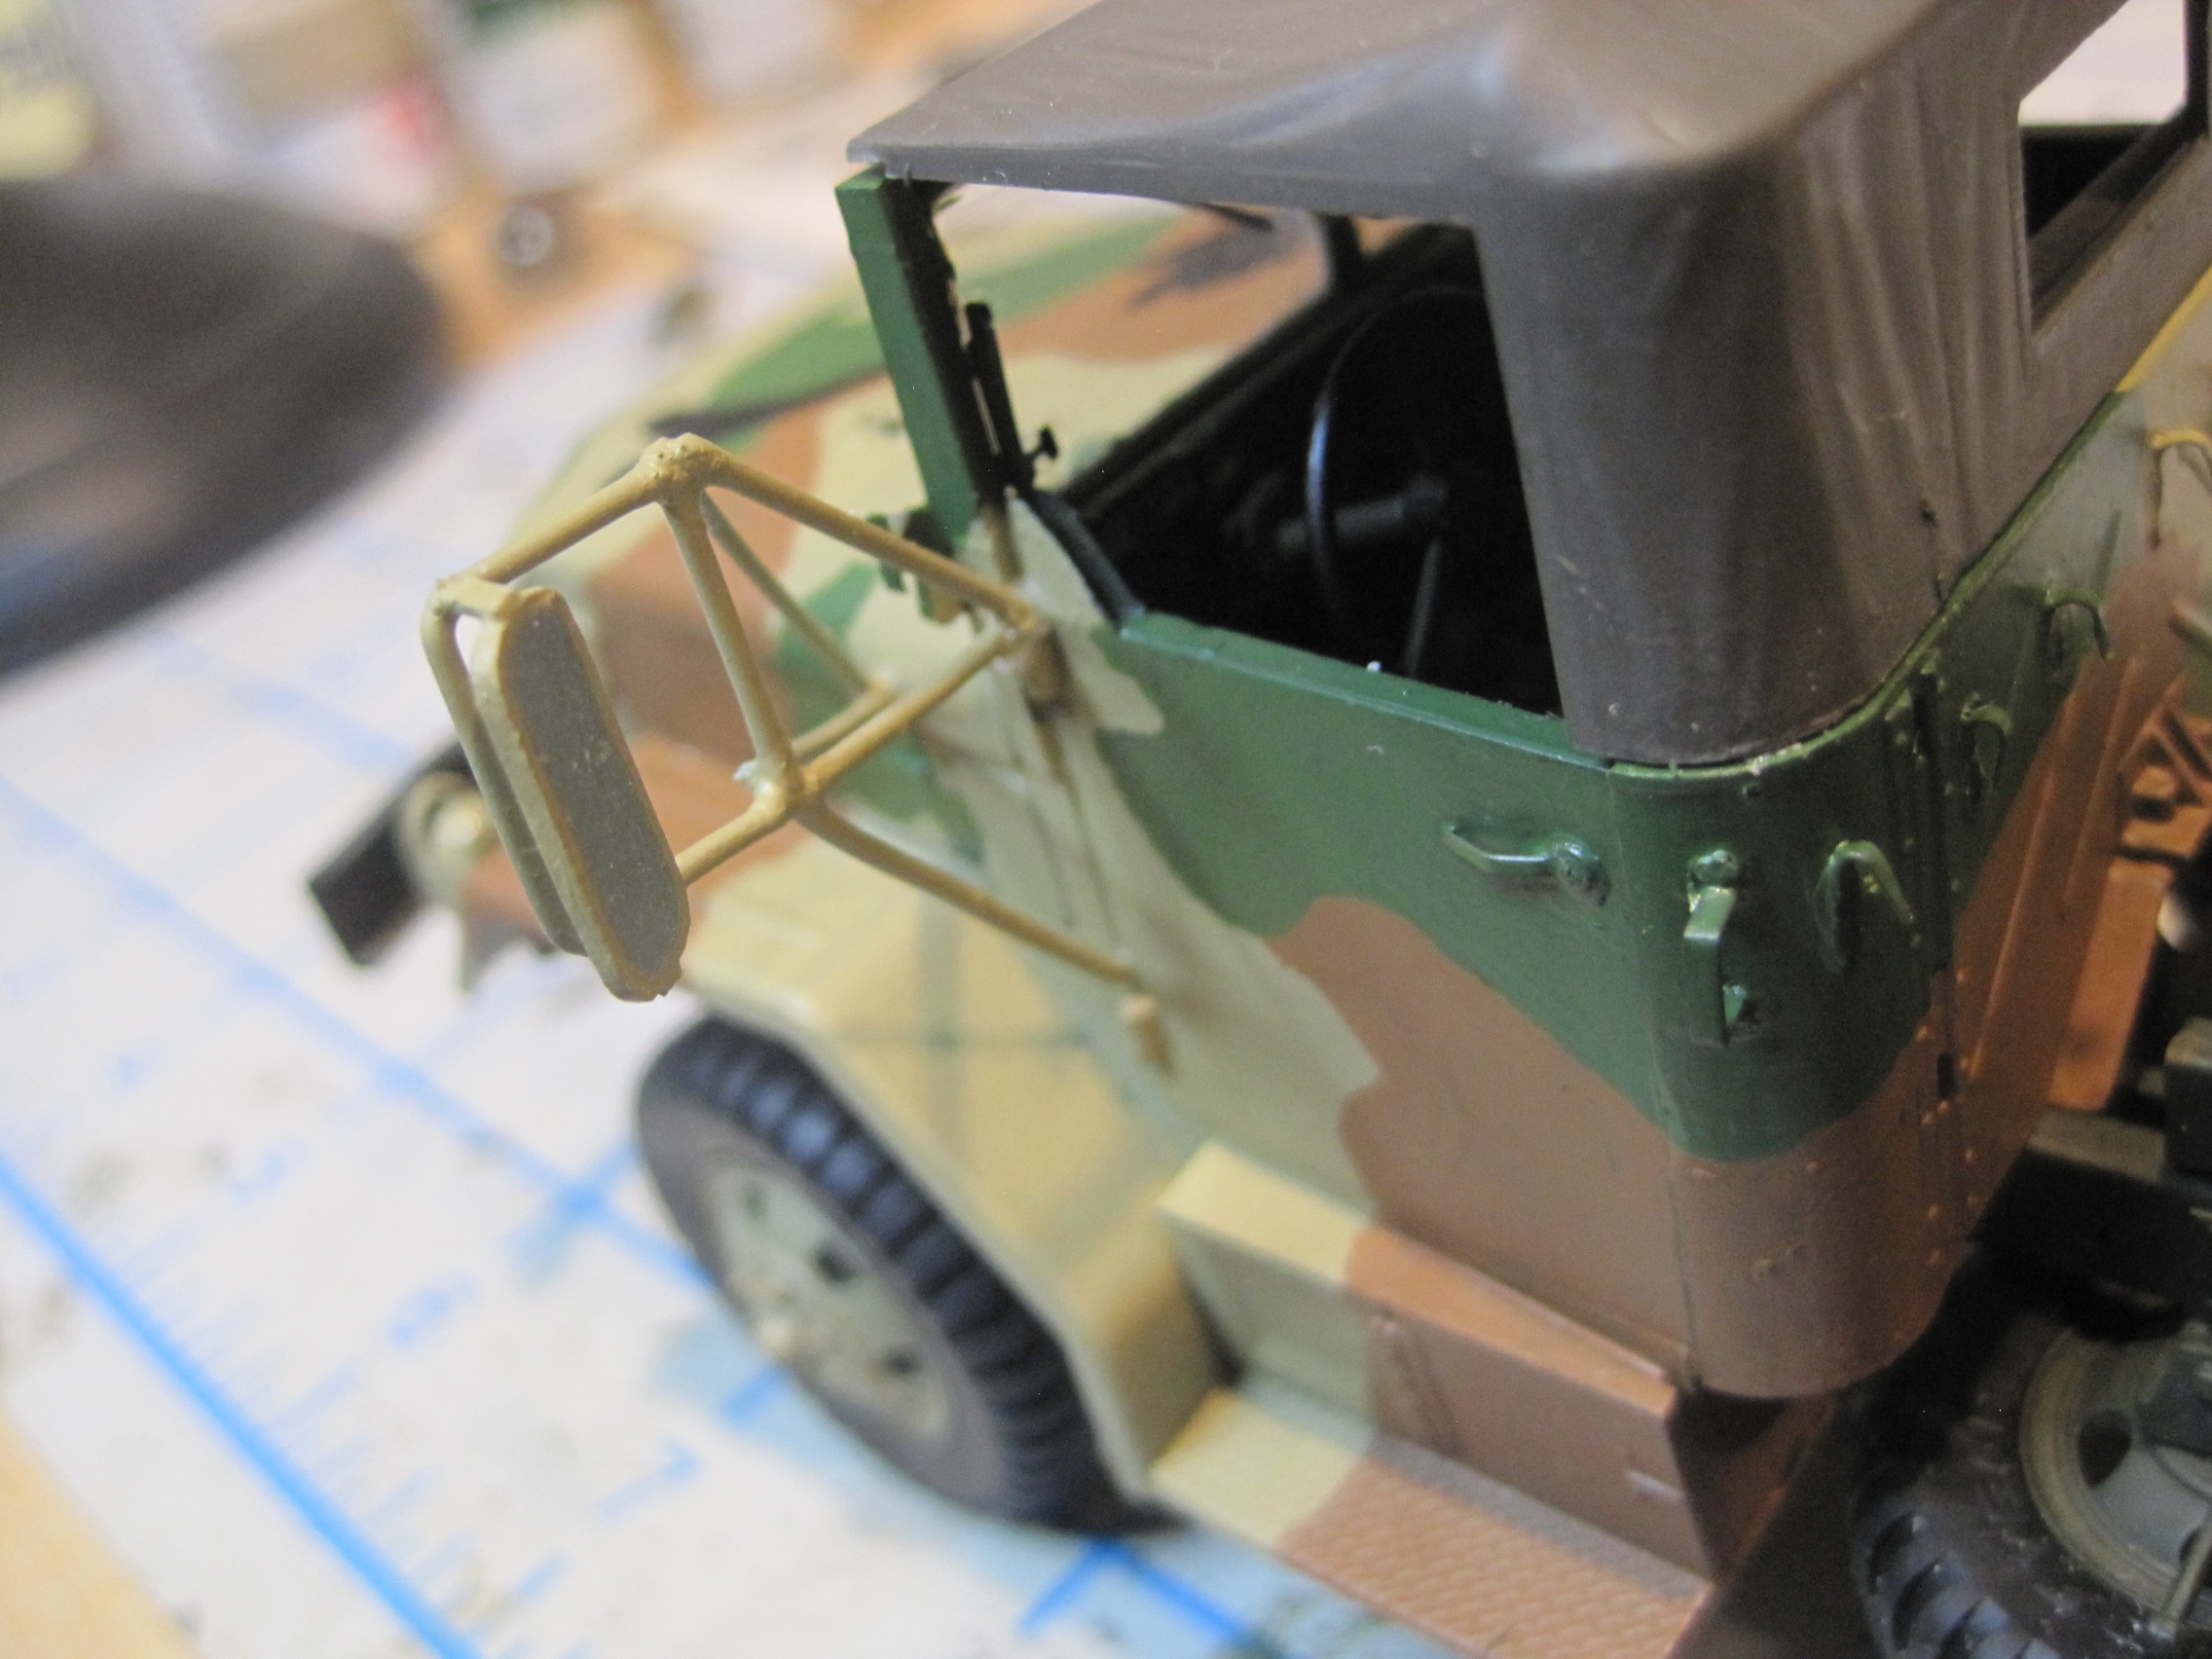
First shot shows the completed cab interior. While it may seem surprising I will not be making these doors open and close. Unlike the doors on the back of the shelter which has outside hinges, the cab doors have “inside” hinges much like a door in your house. In order for these to work and the door to maintain proper margins, the hinge actually has to be morticed into the door and the frame and that’s just not worth trying to do. So how to be able to display the interior? Create a removable tarp. This is actually pretty easy in fact I’m surprised AFV doesn’t make the cab this way. The solution is to drill two holes into the rear cab wall, and then drill holes into the tarp and insert two pins. Now the top is both secure, and removable.
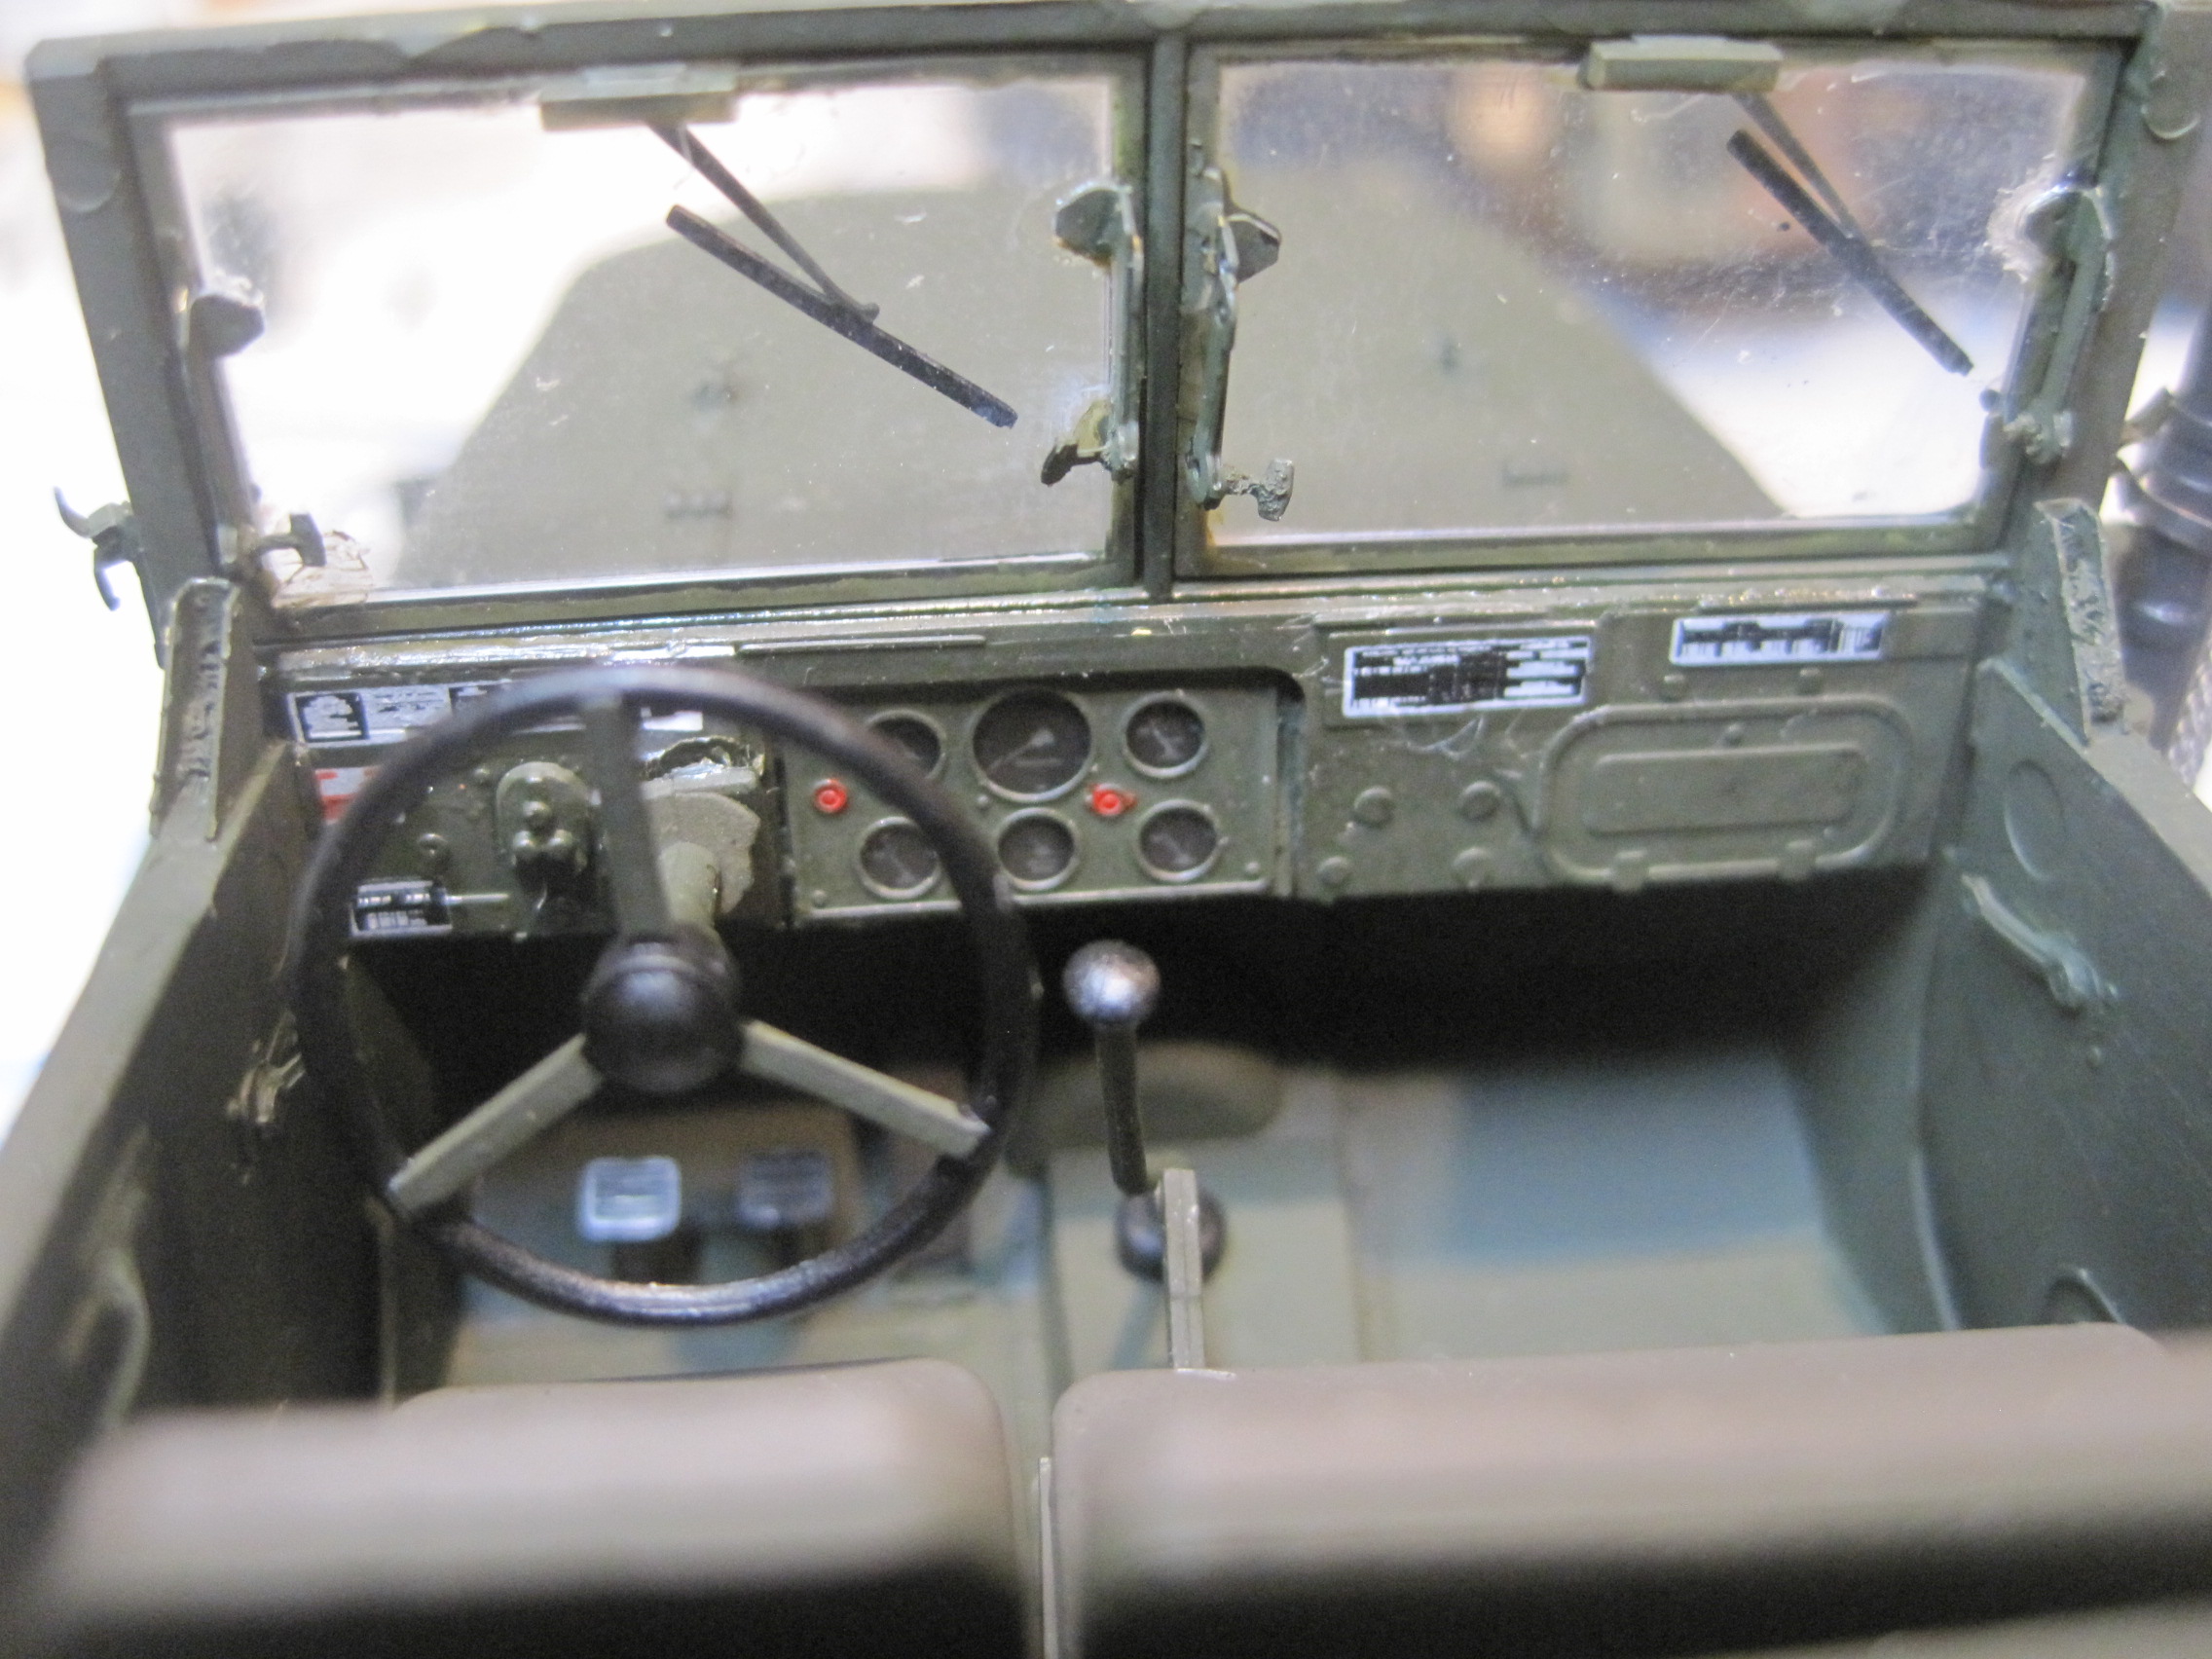
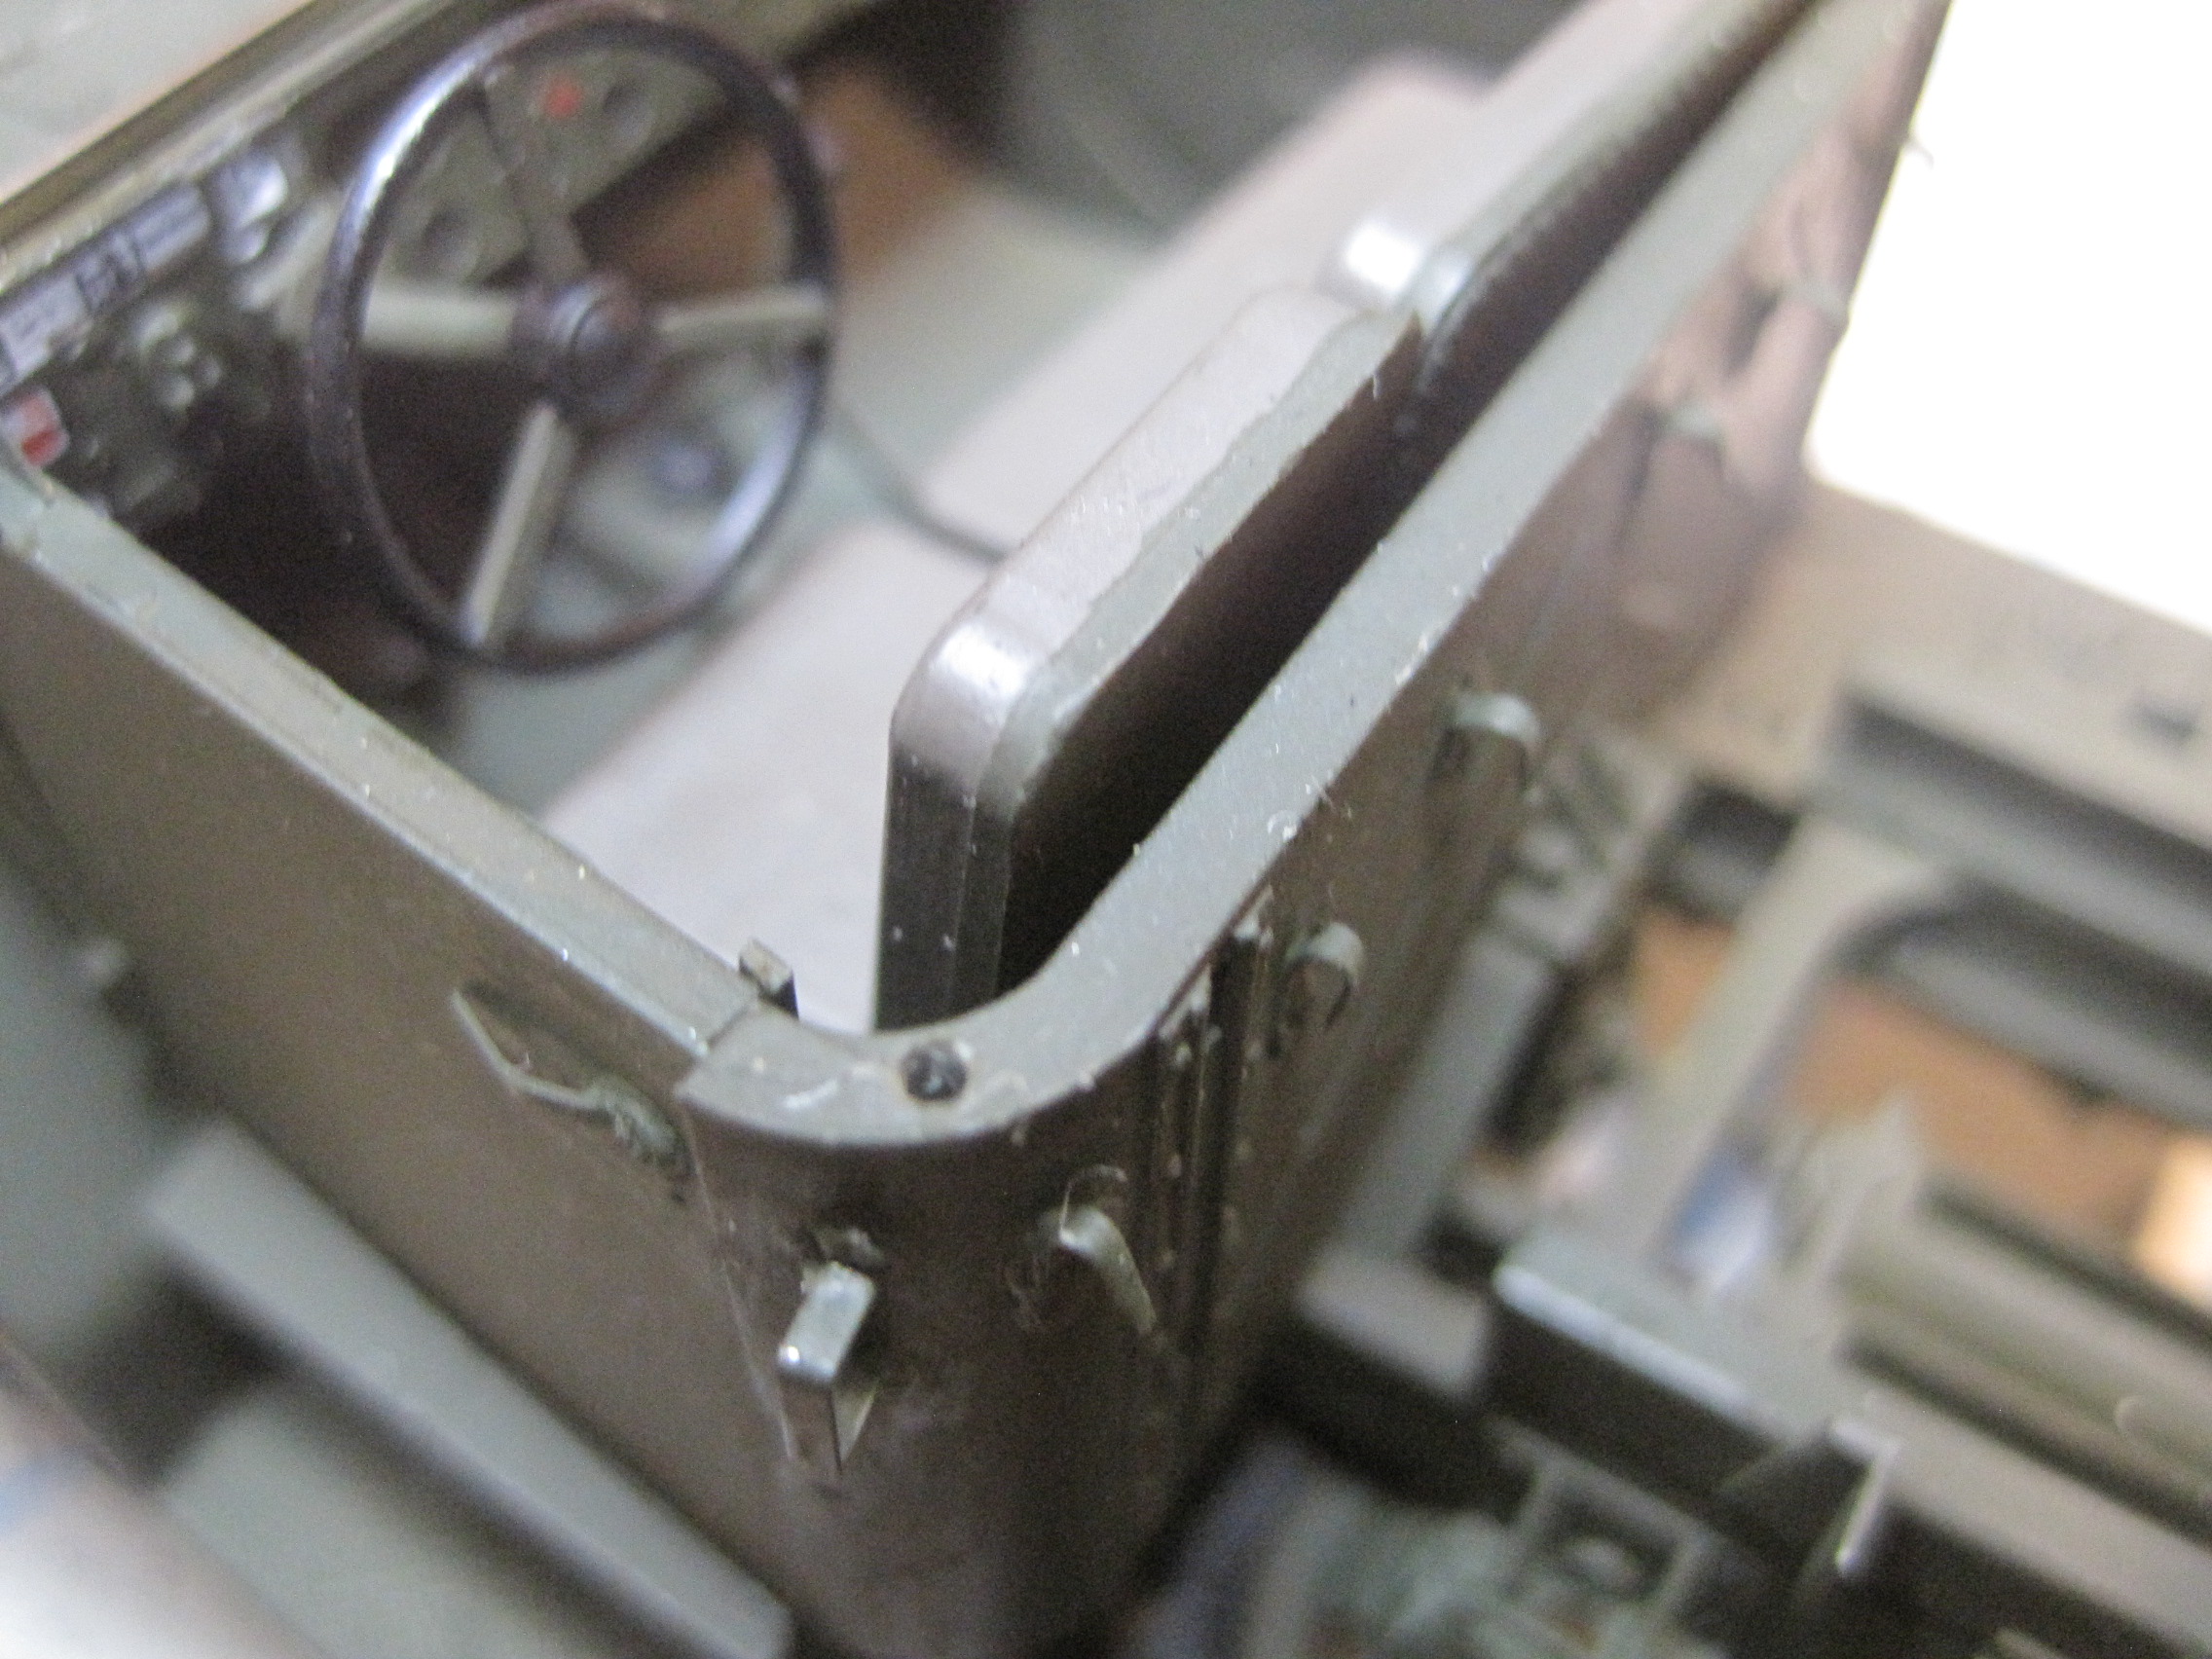
And now the cab is pretty much complete.


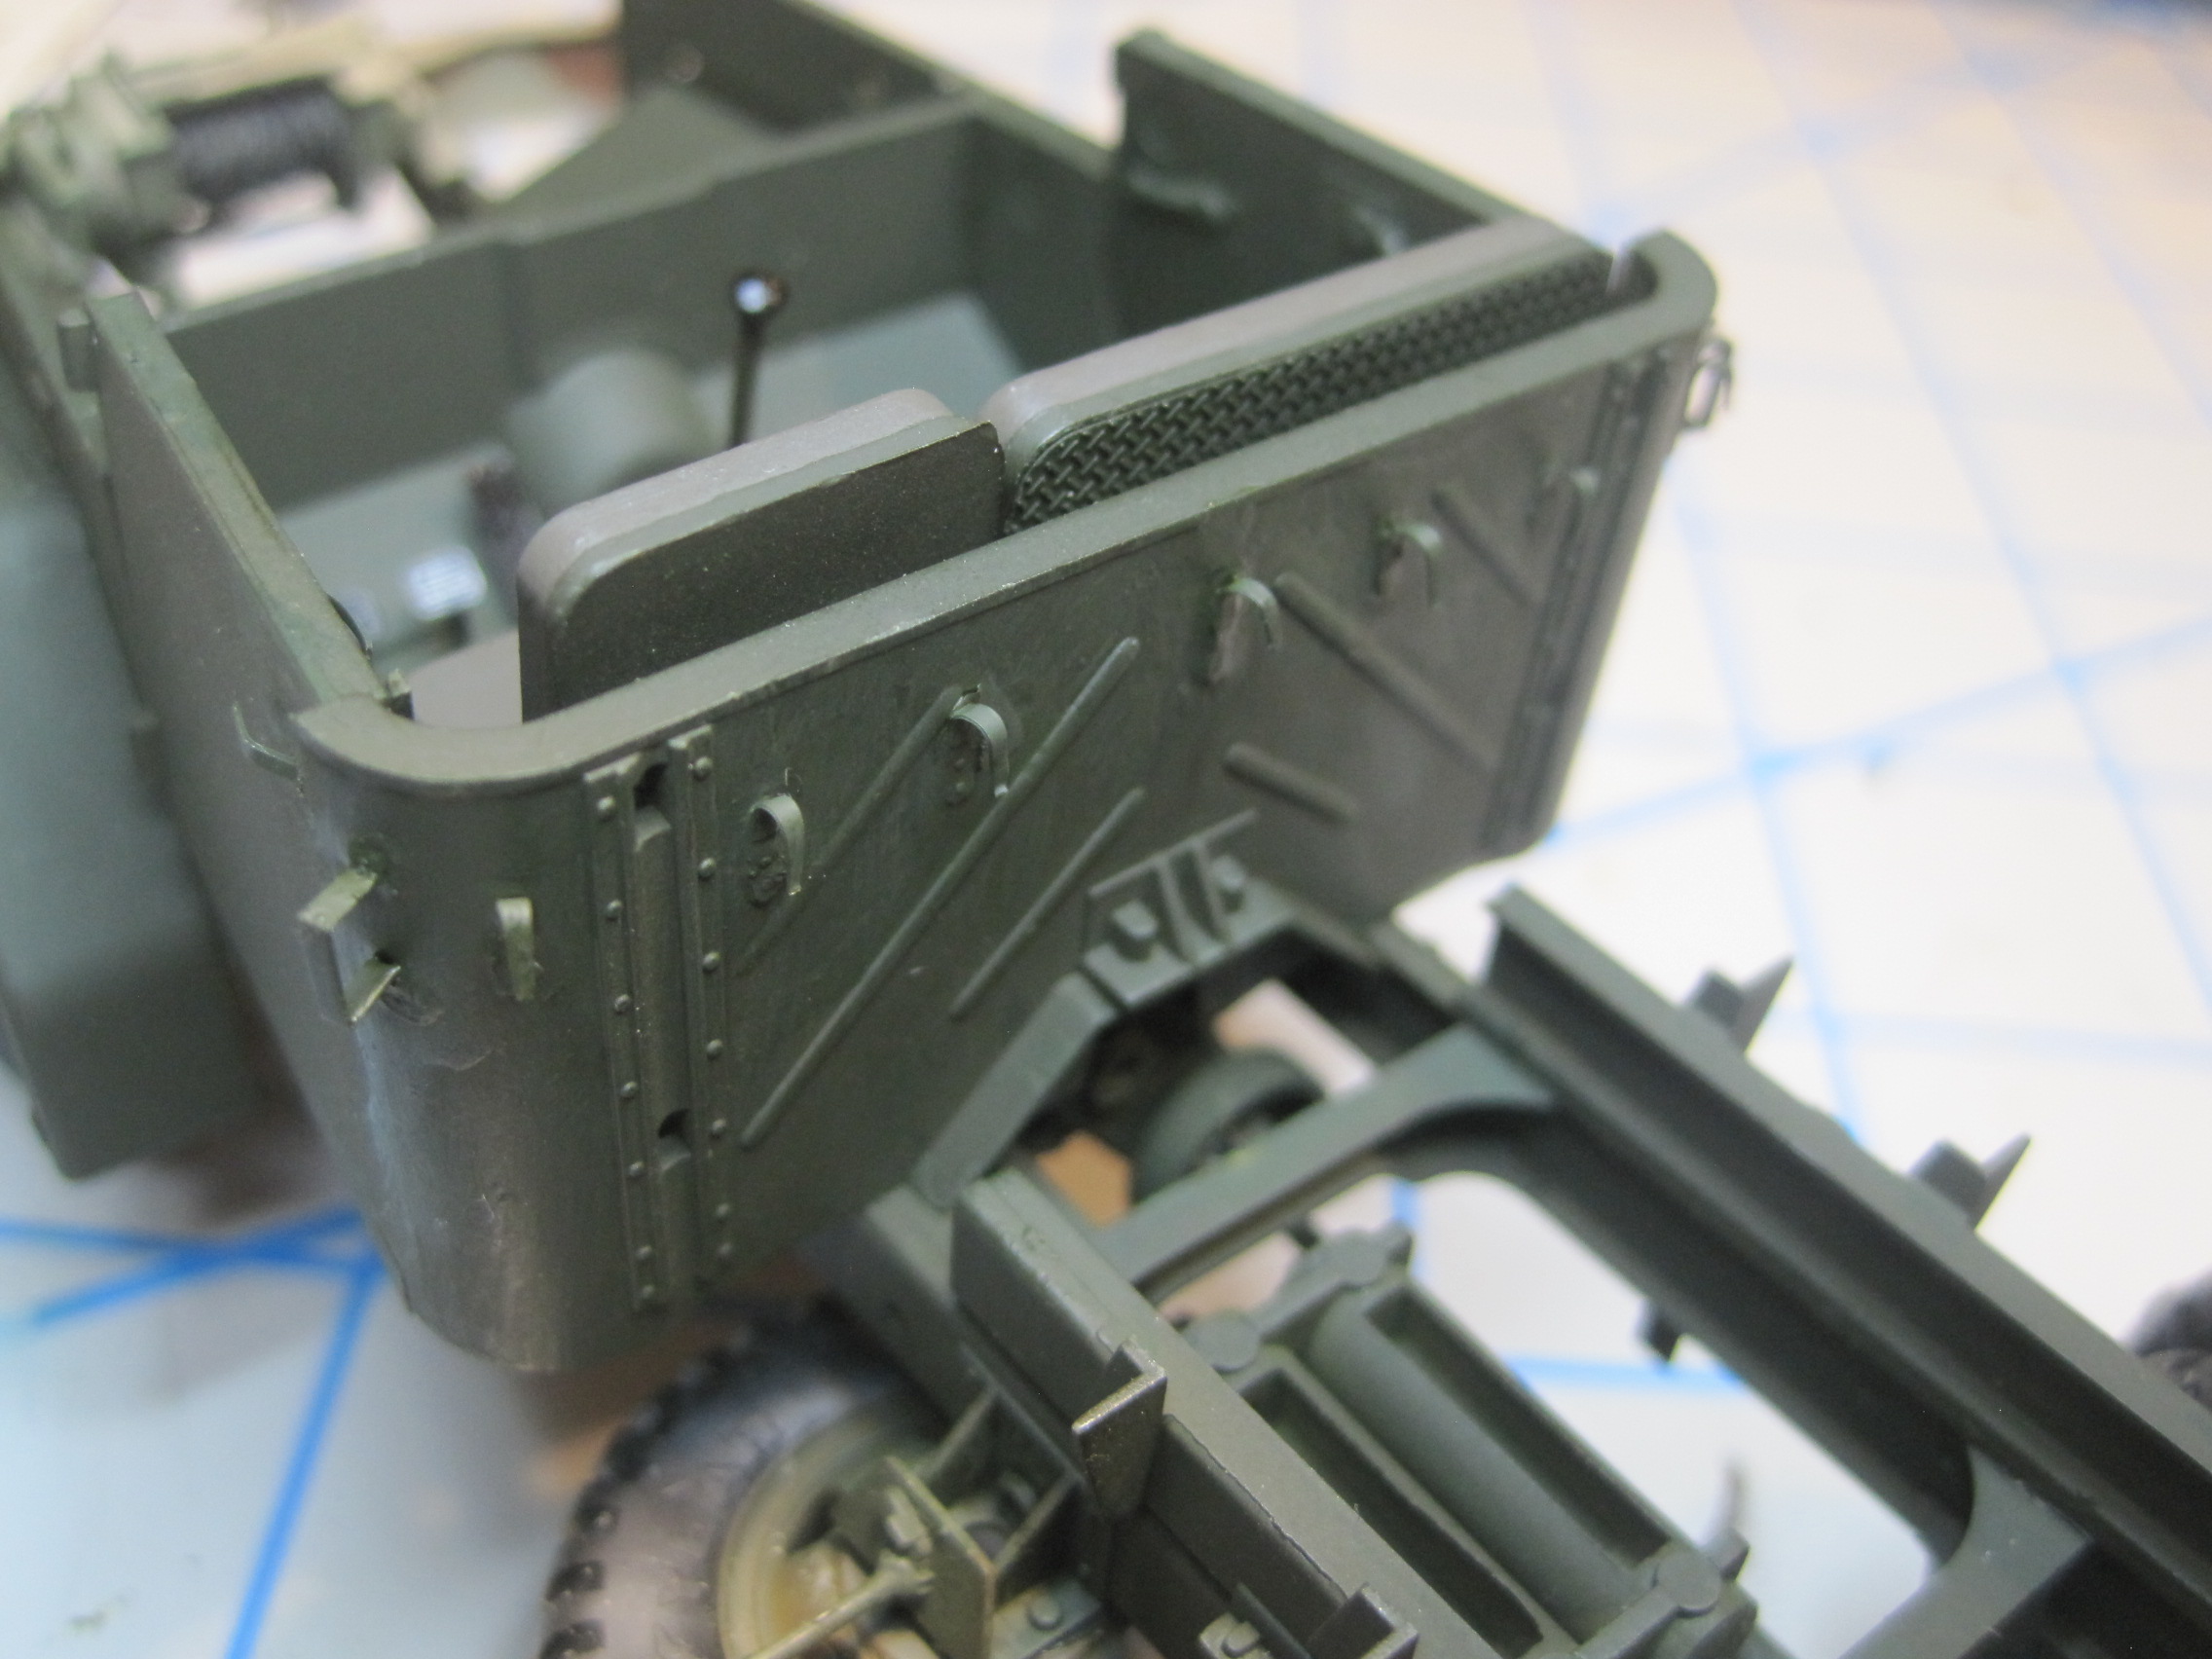
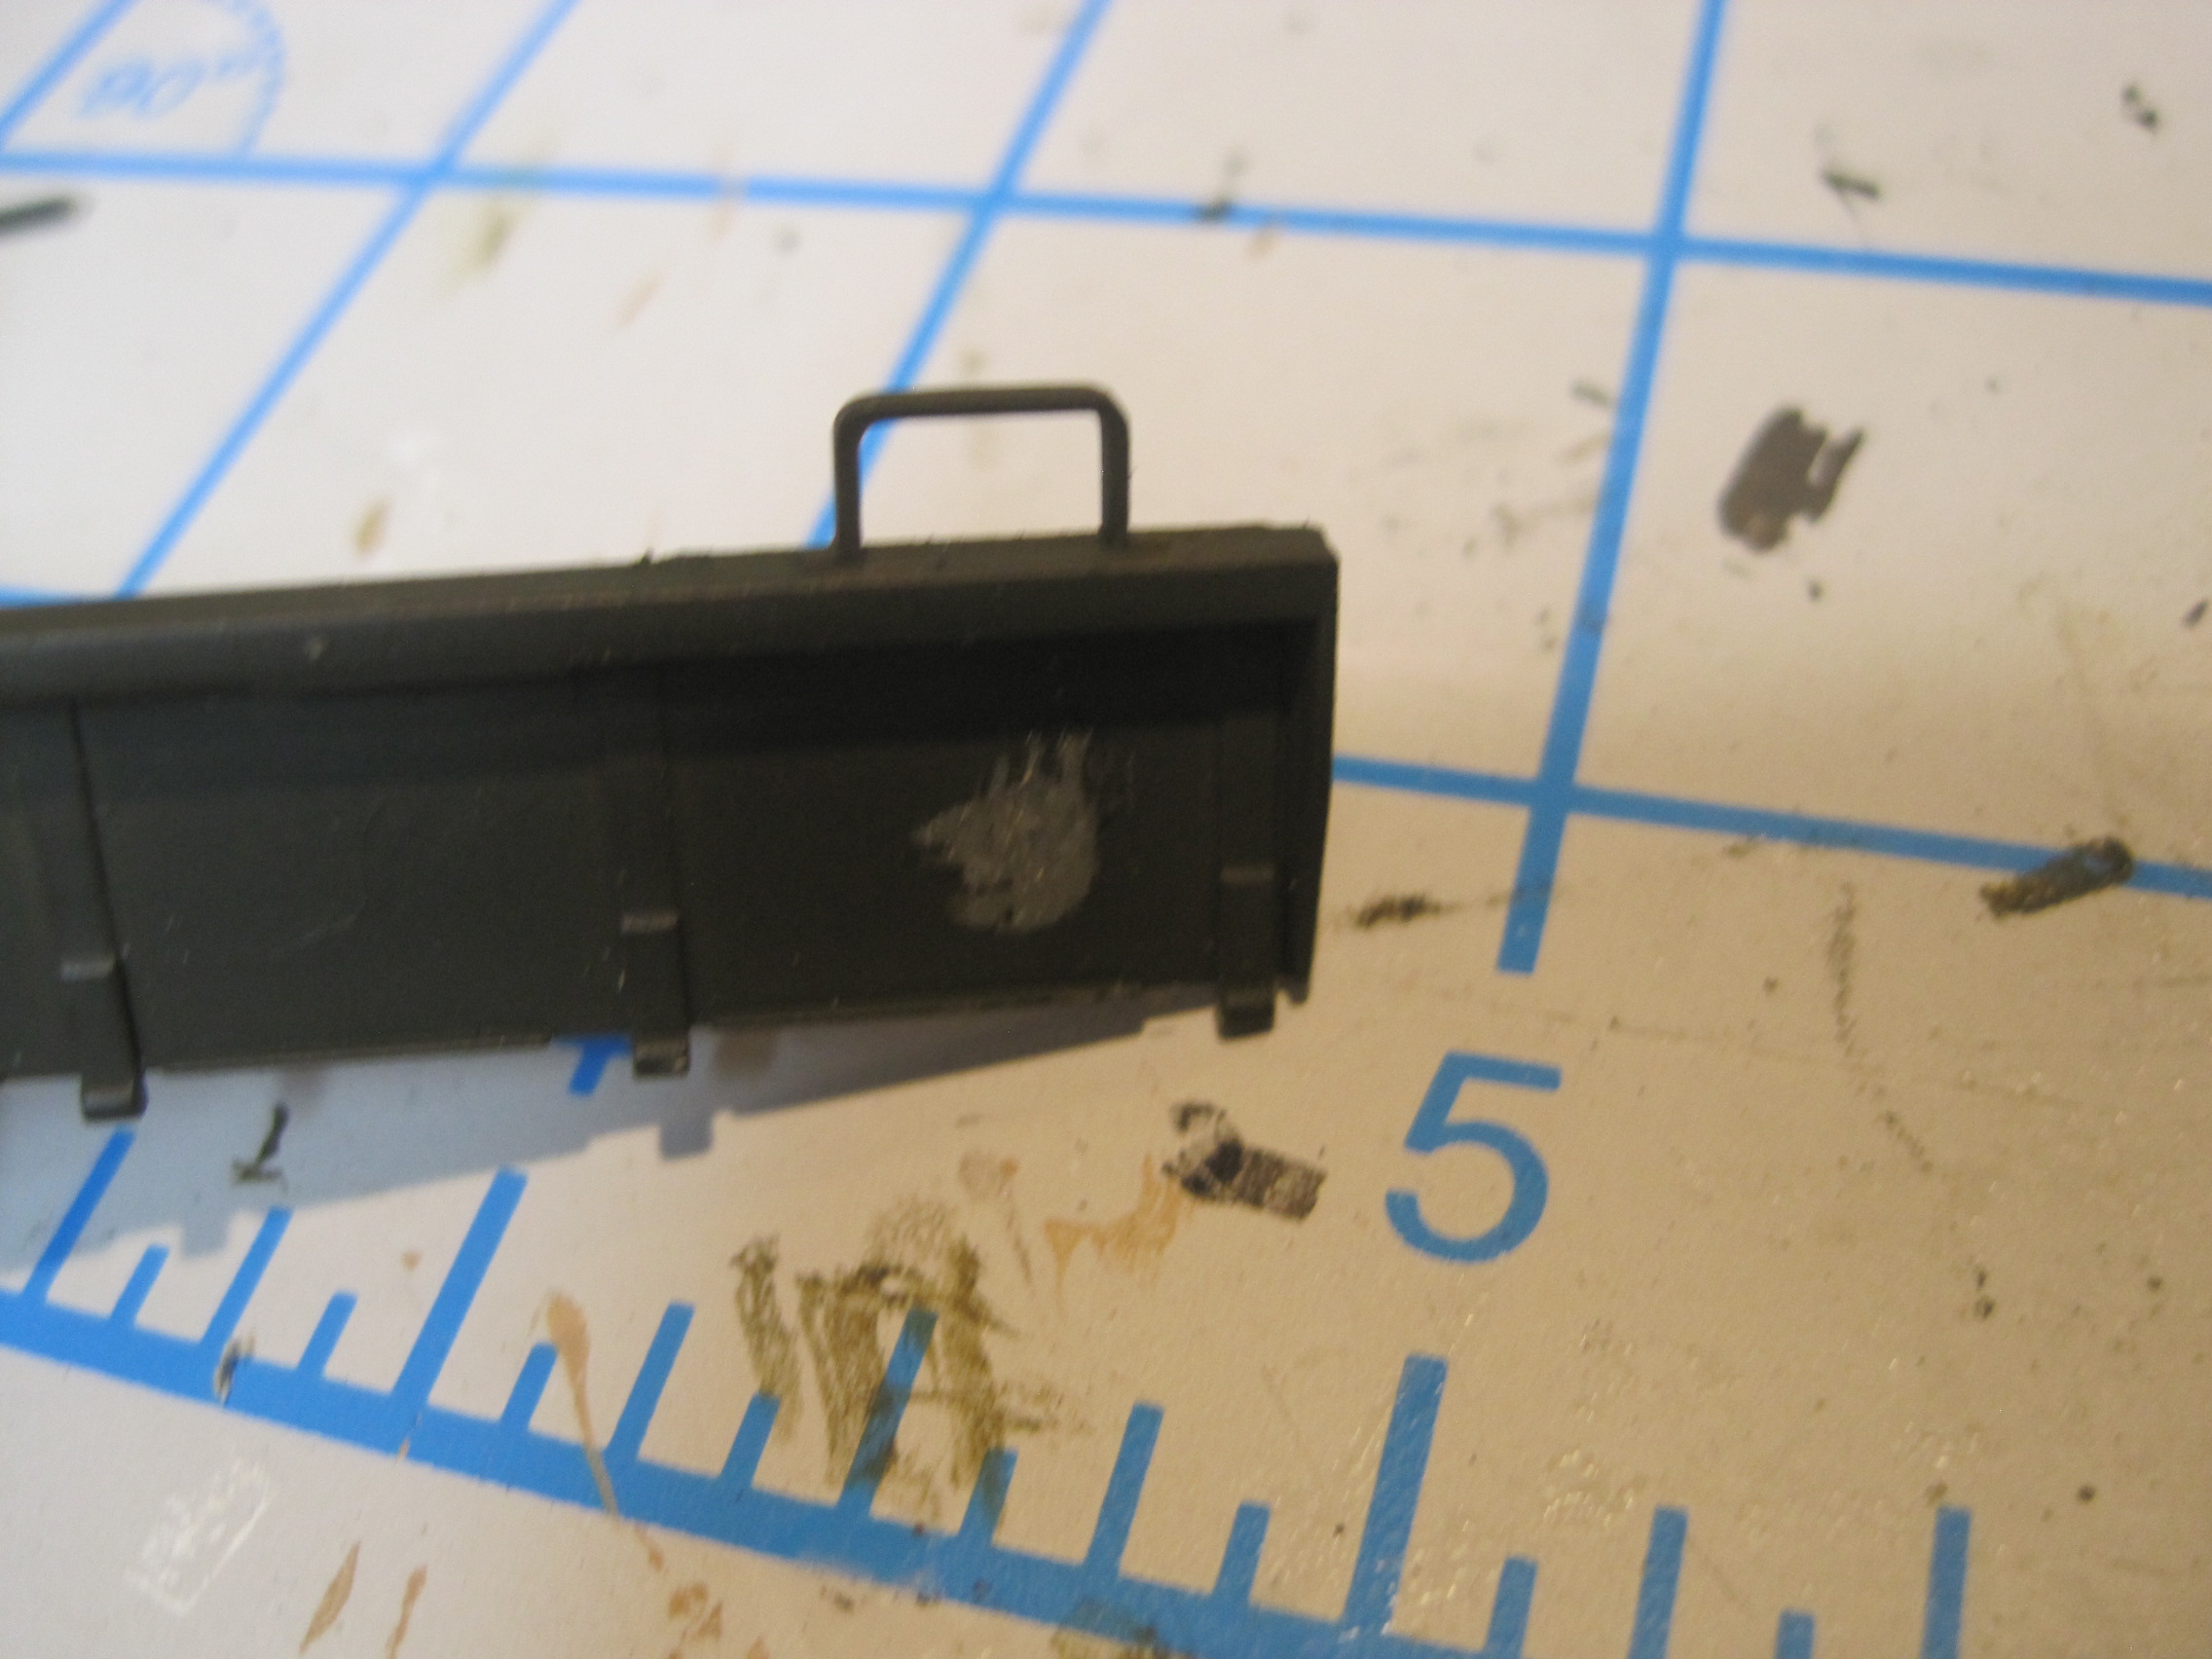
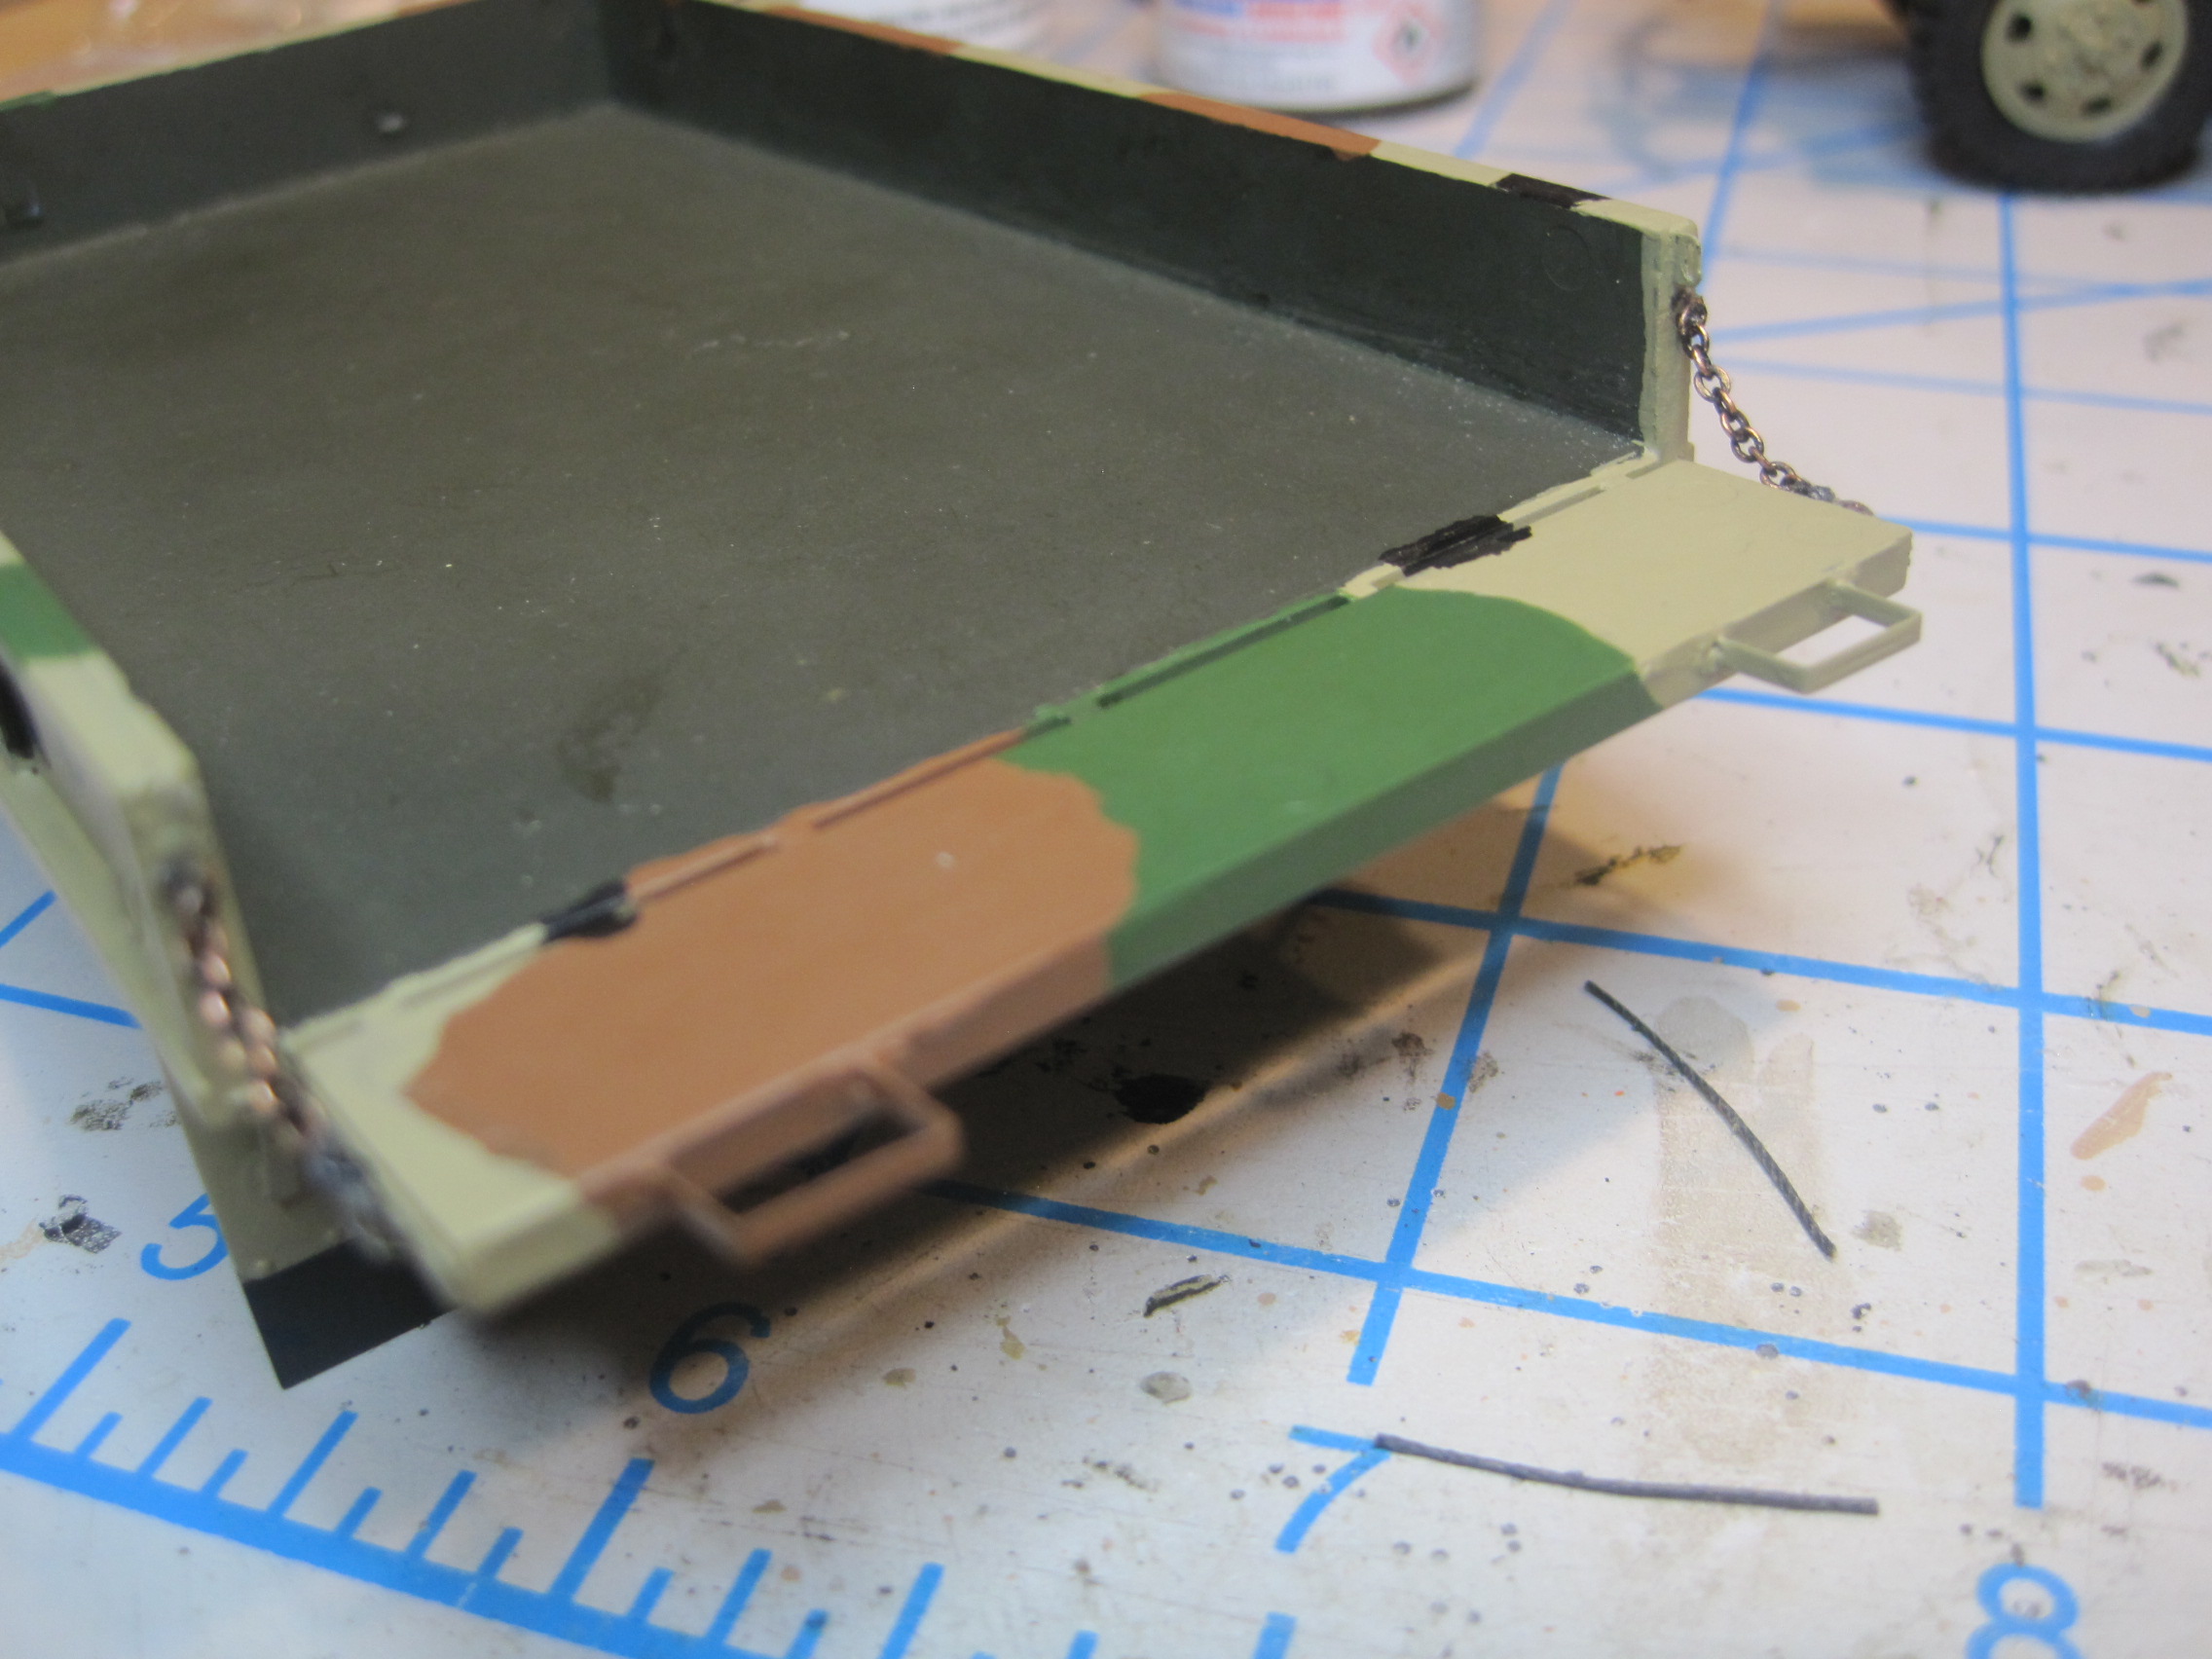
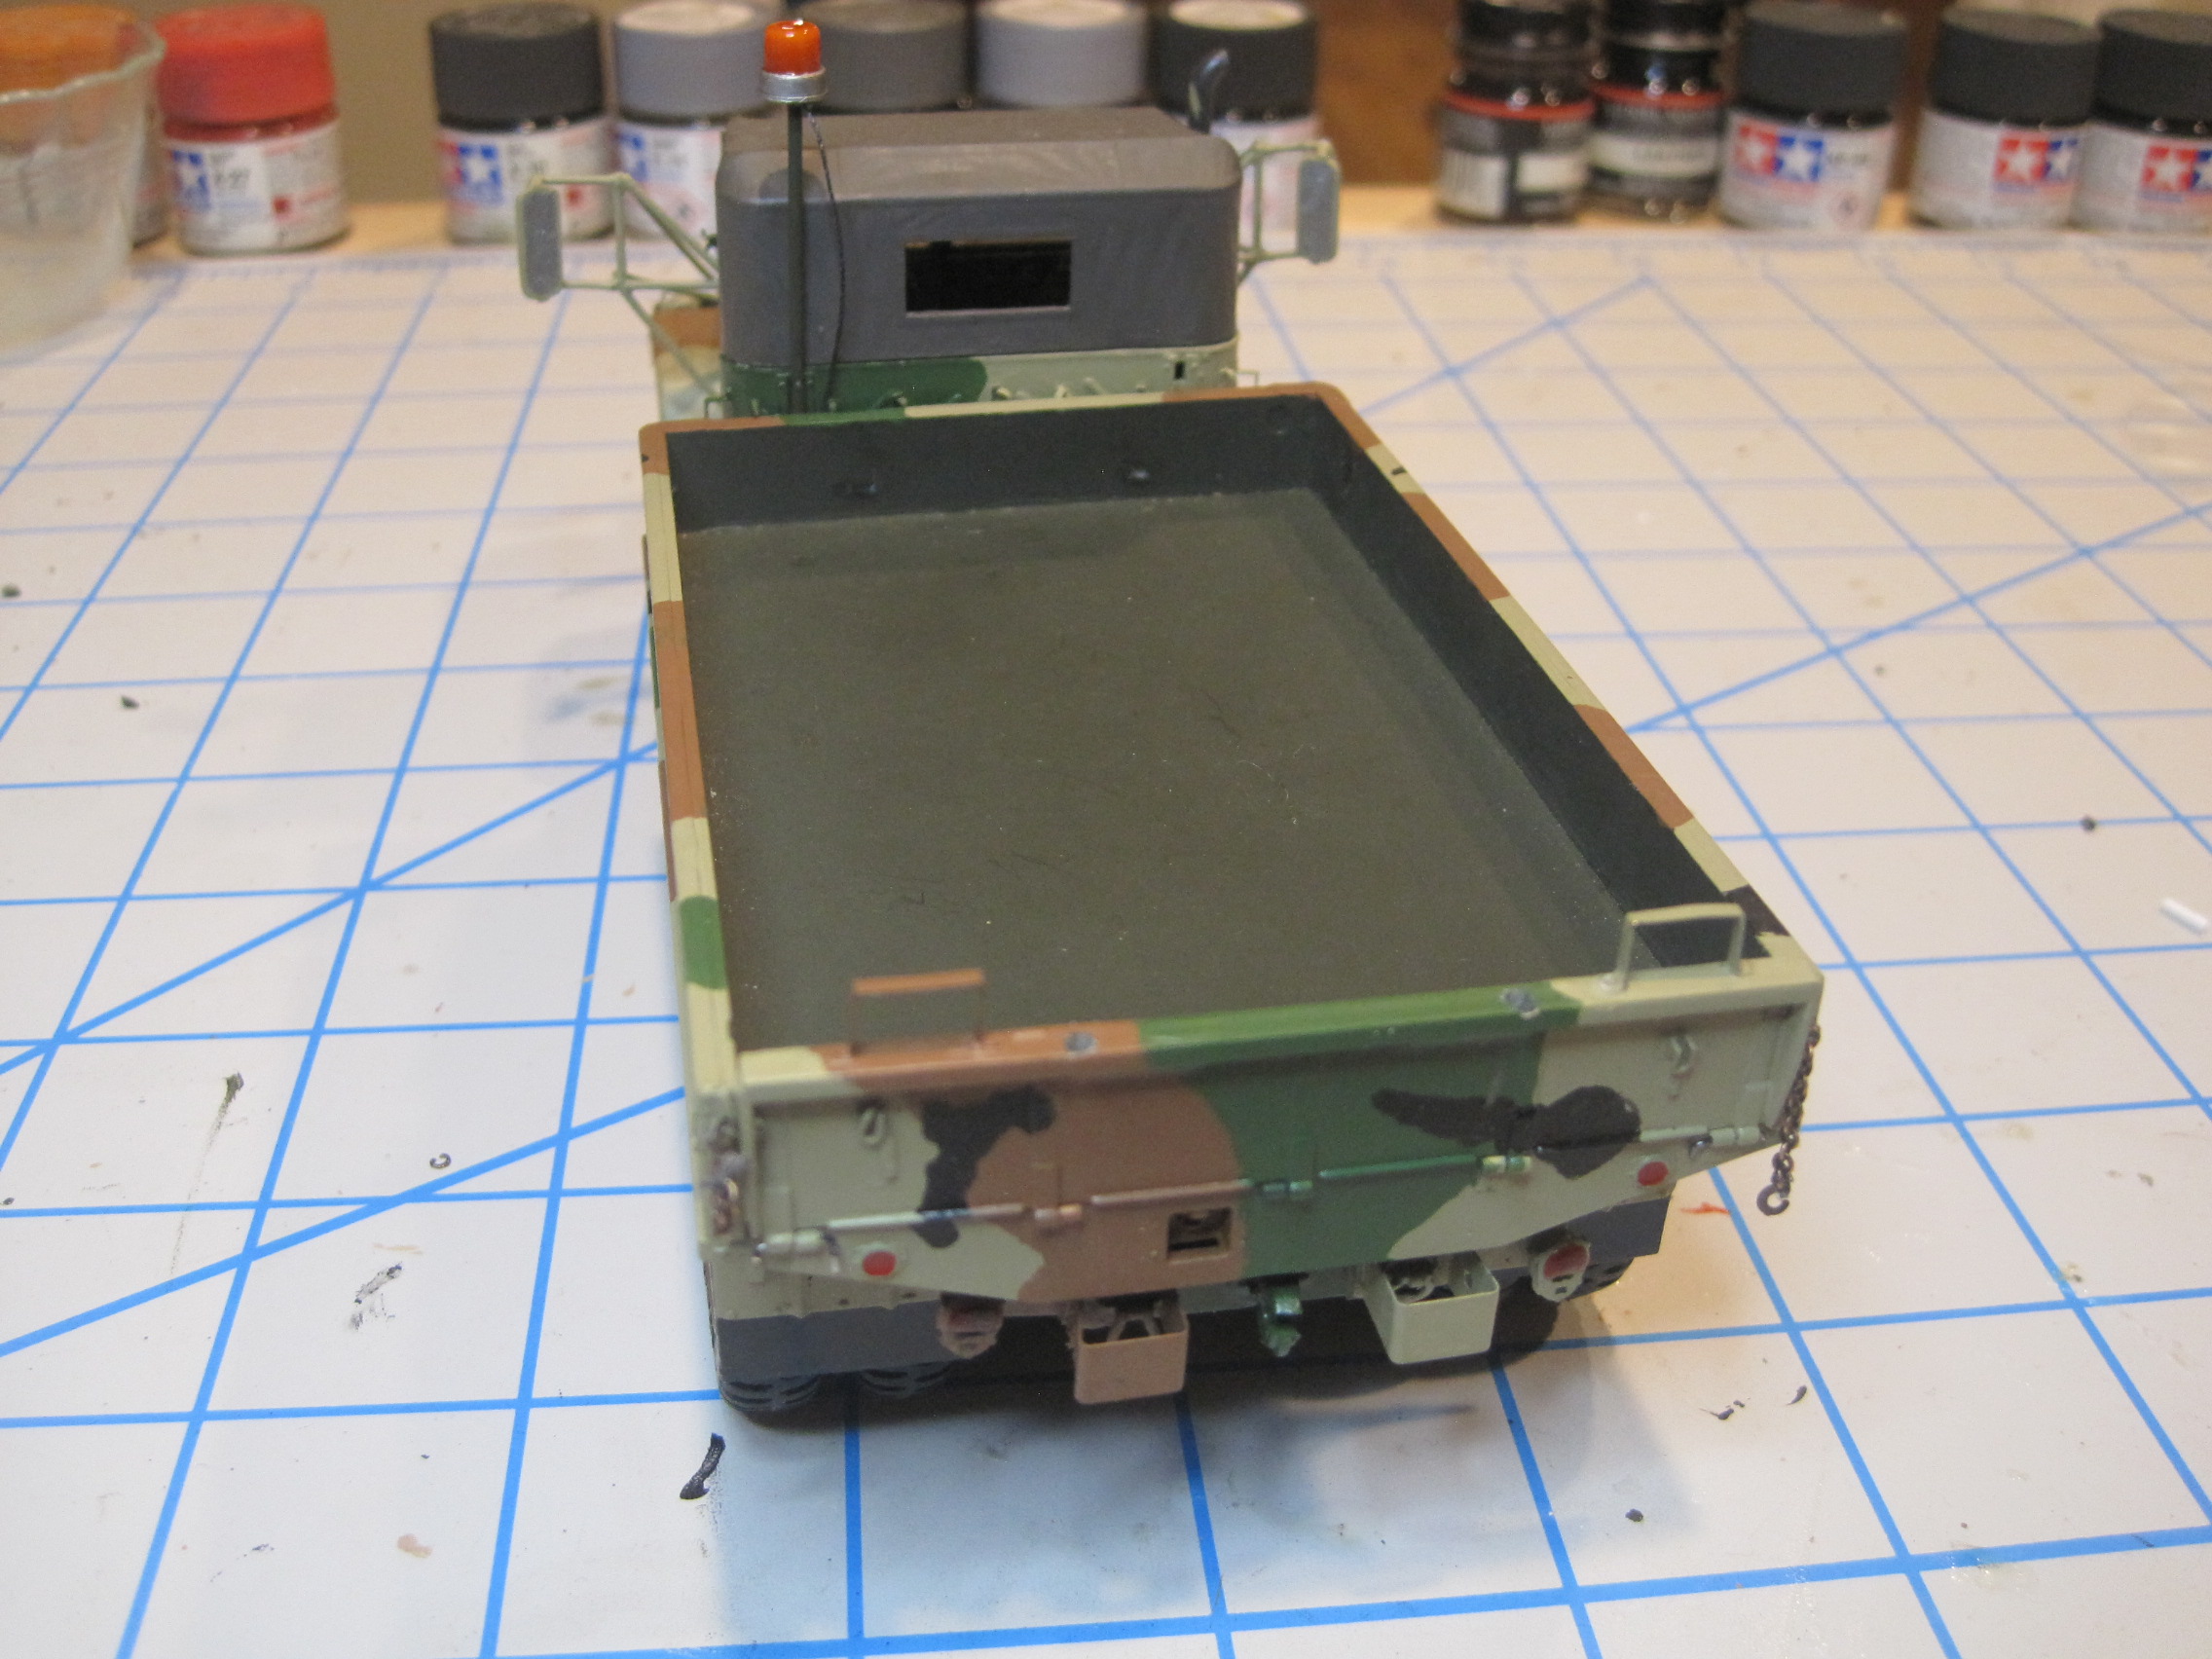
And finally the initial work on the 2nd unit body. All the molded canvass tie downs are ground off to be replaced with PE. And on the tailgate itself, the handle/steps are removed and replaced as well. And the last thing is to drill out the slot in the tailgate where the chain hooks to keep it in place, and then add the PE striker plate.

5 Likes
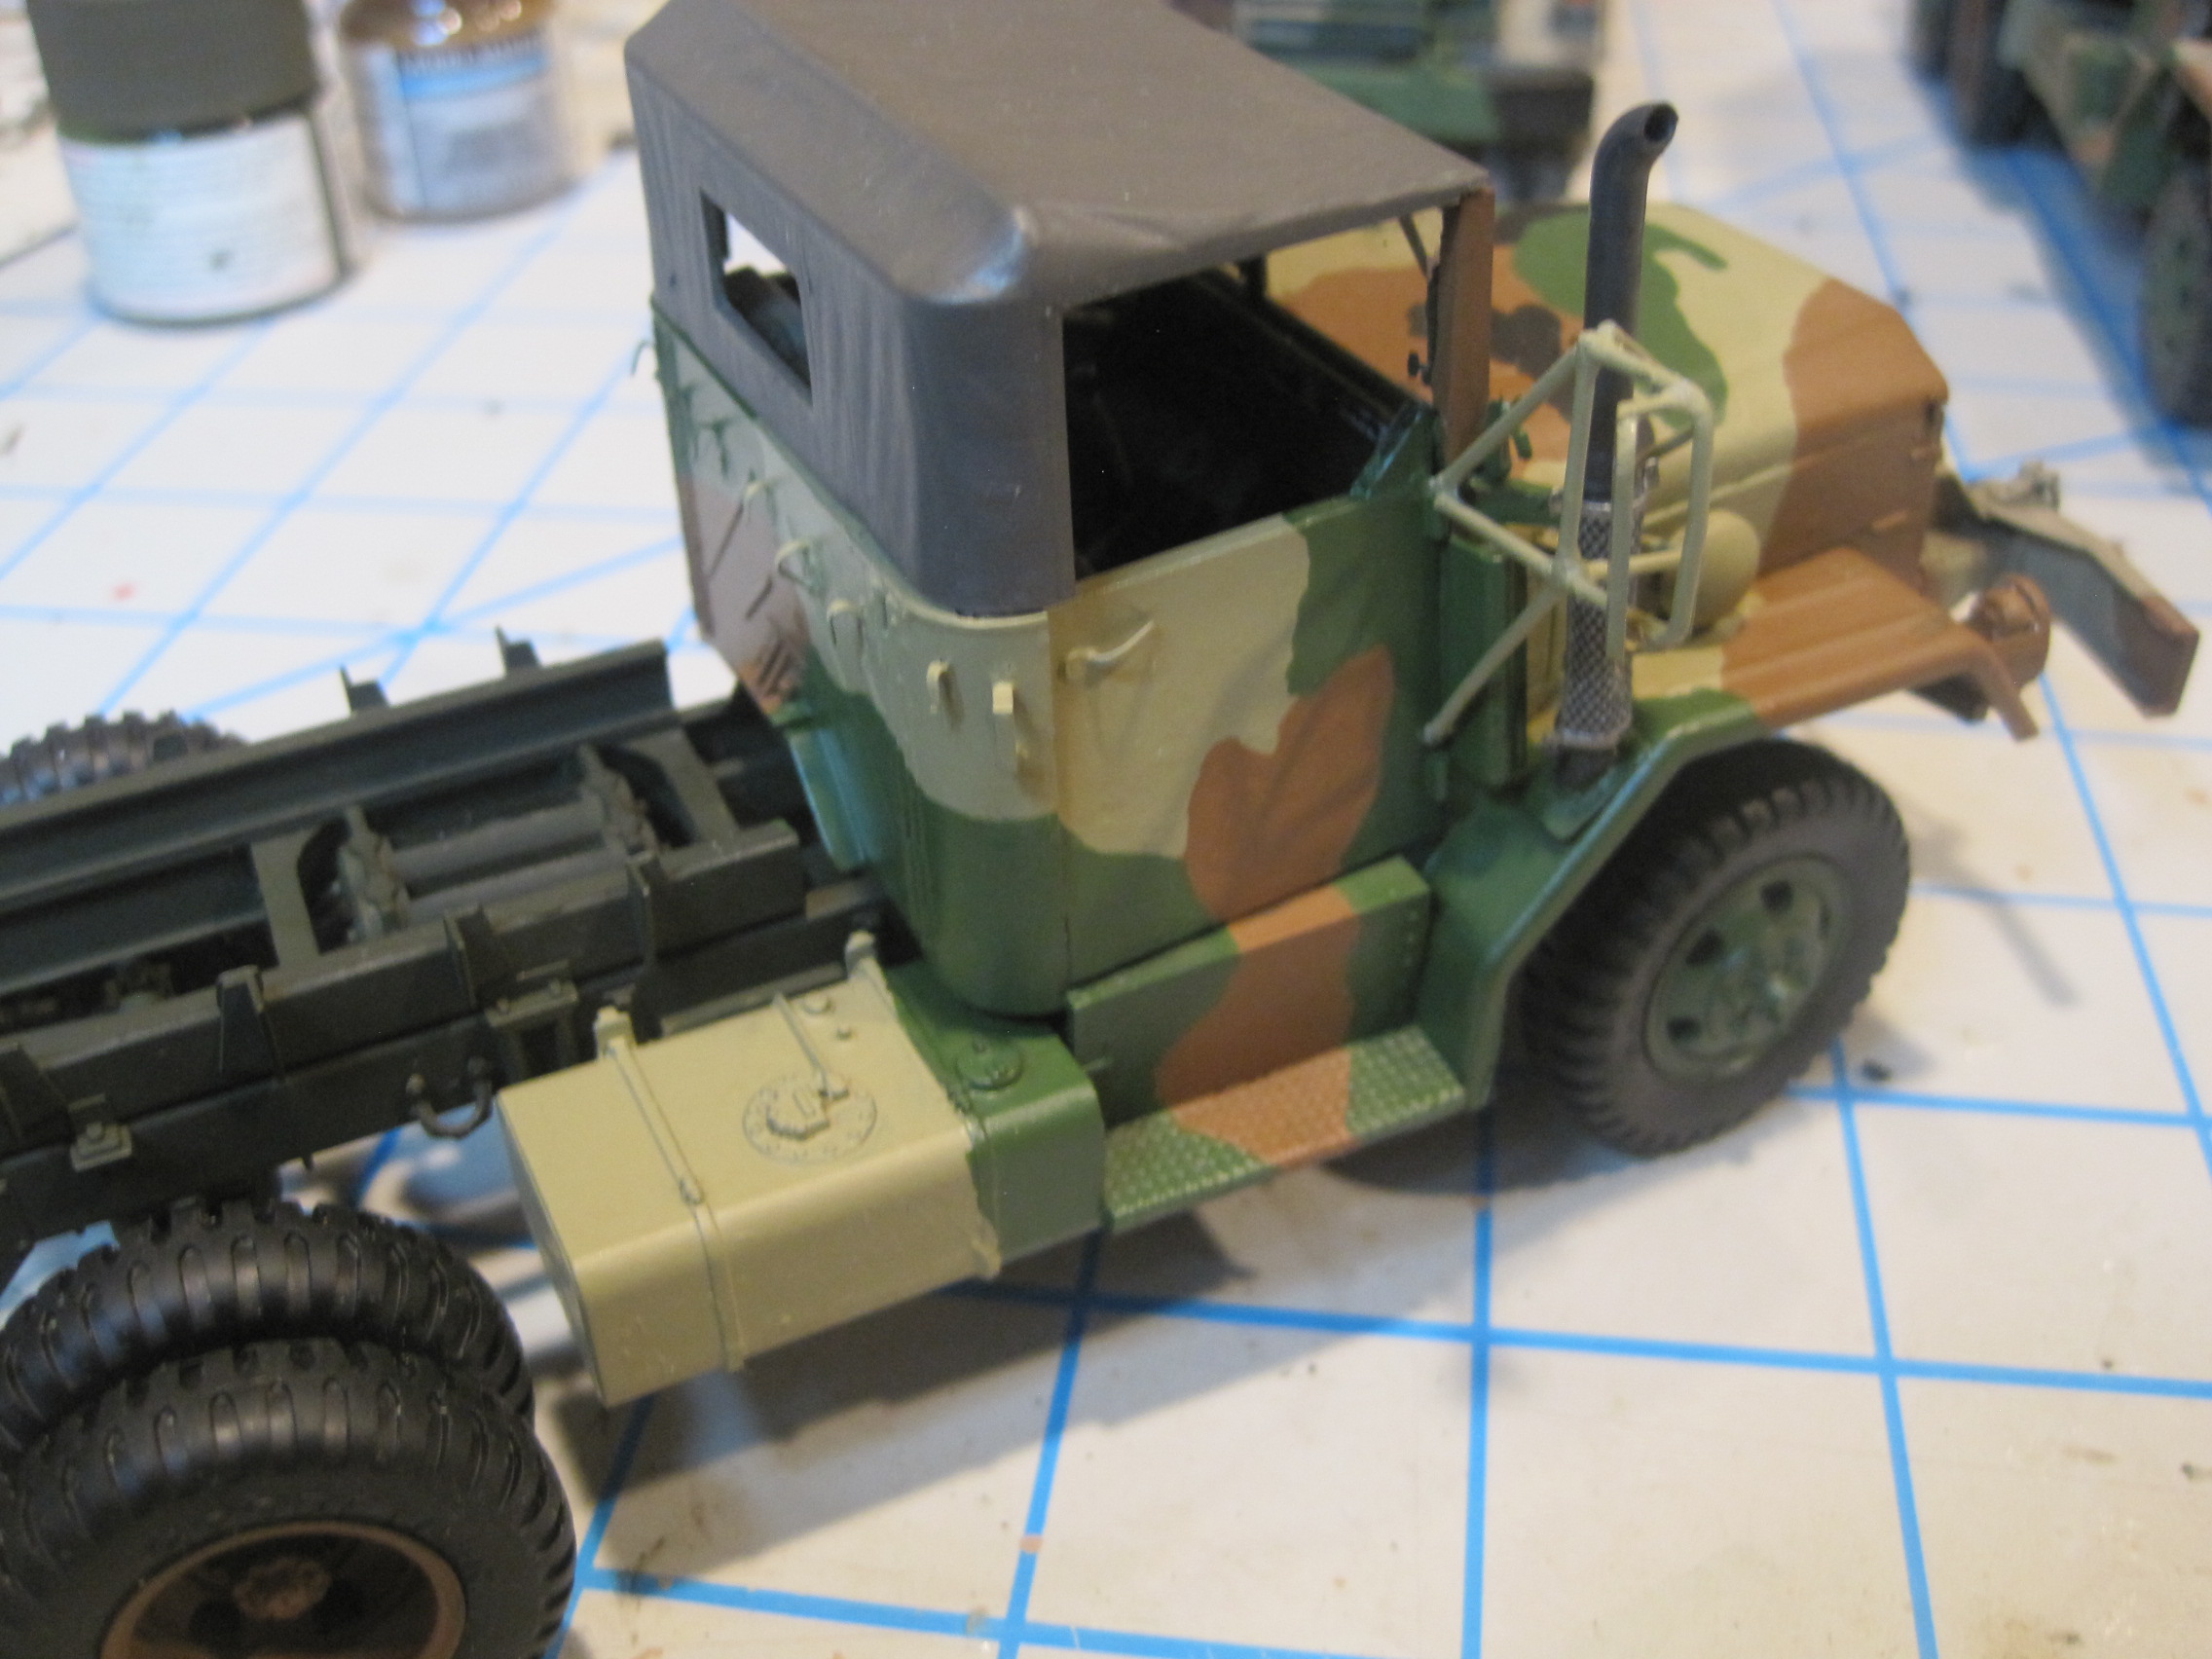
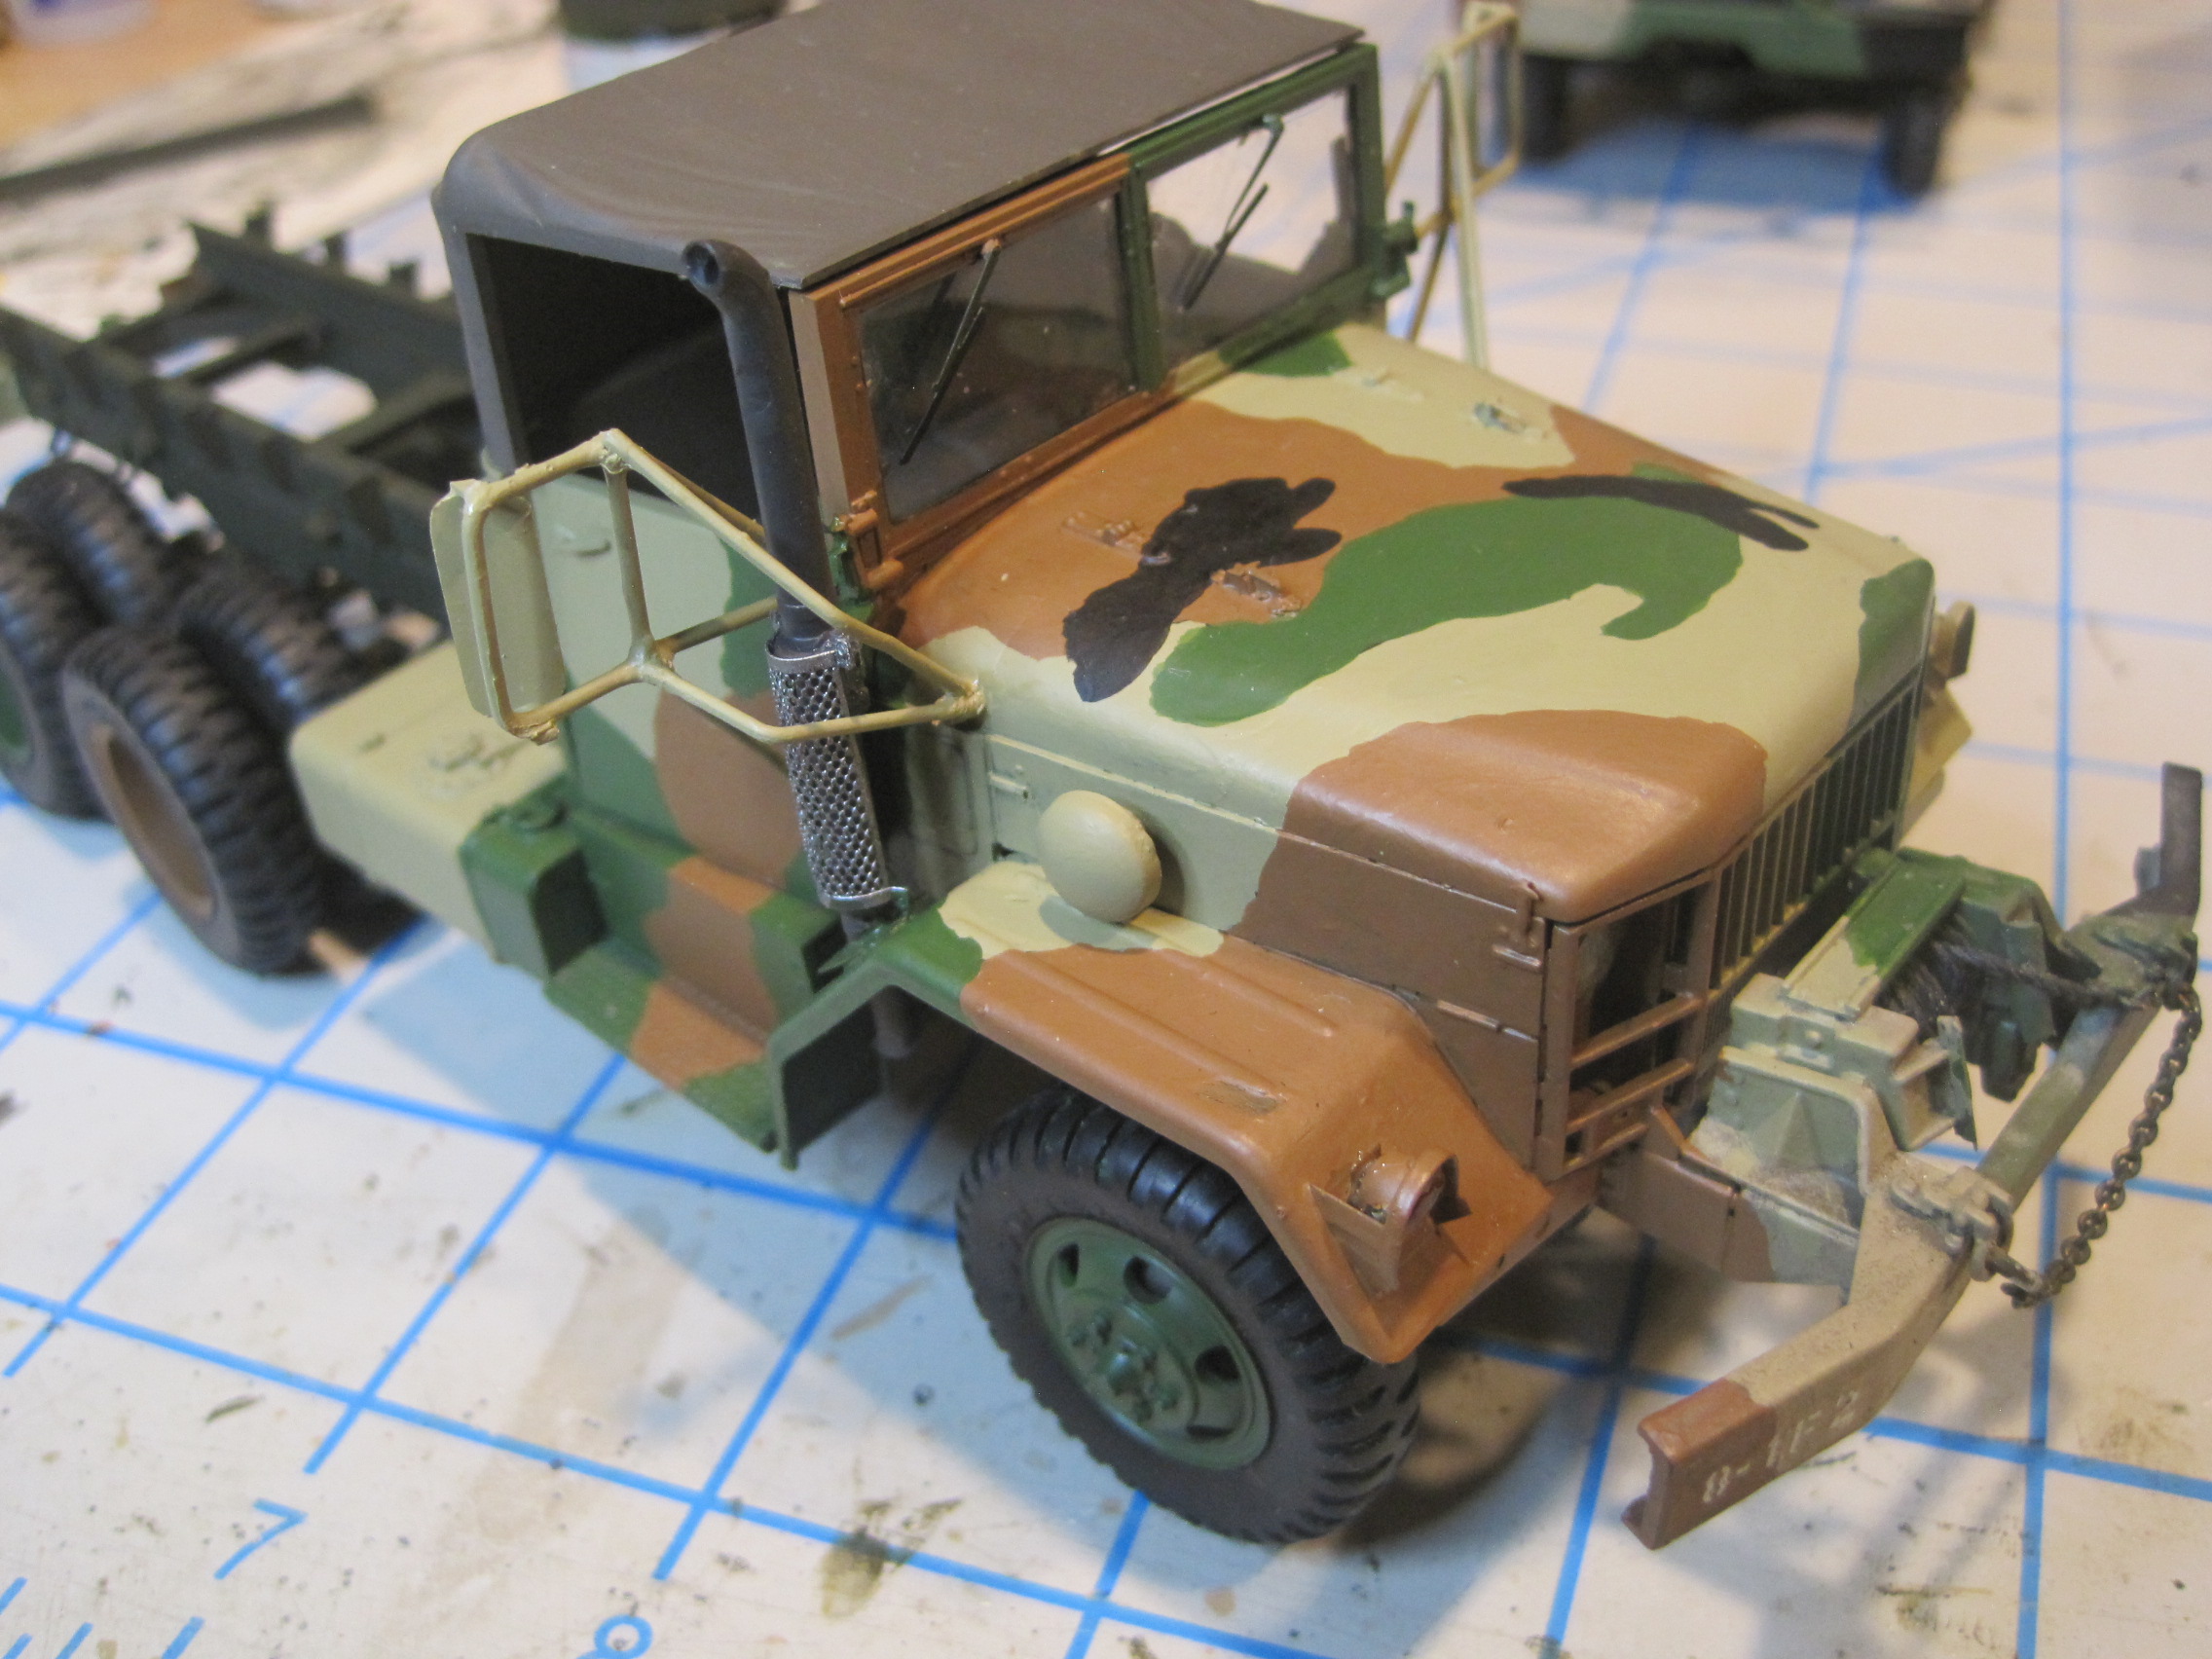
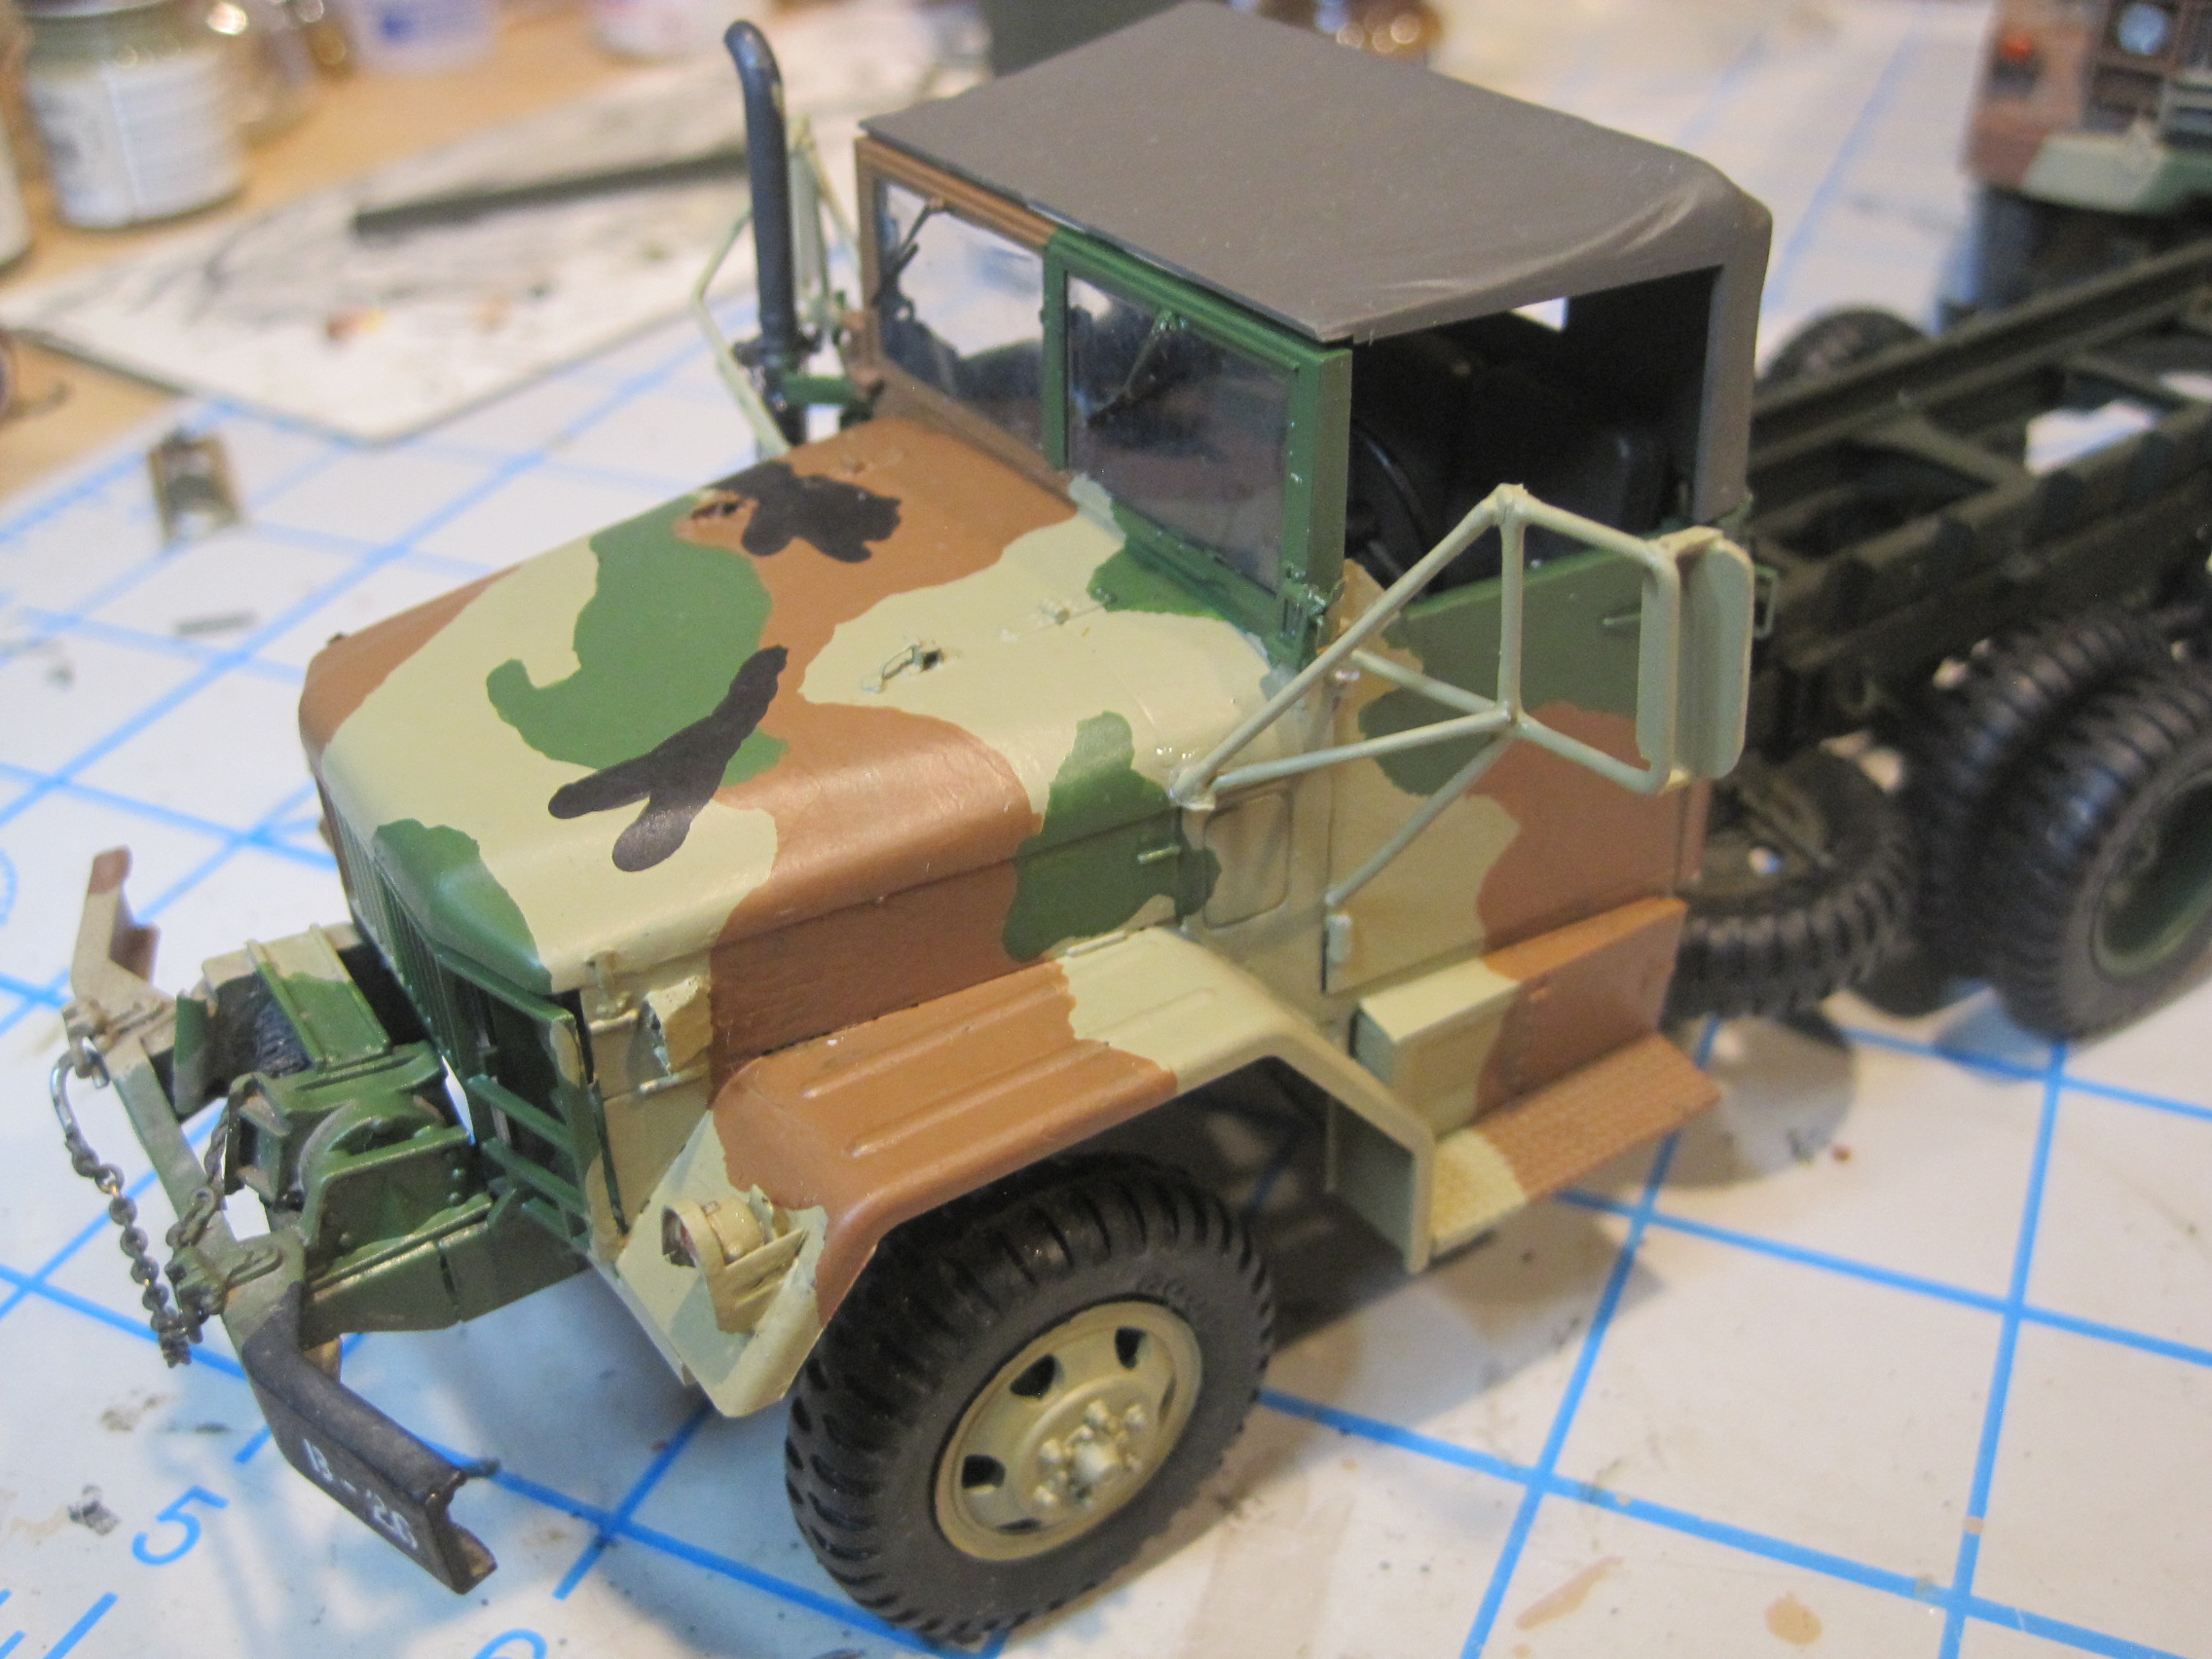
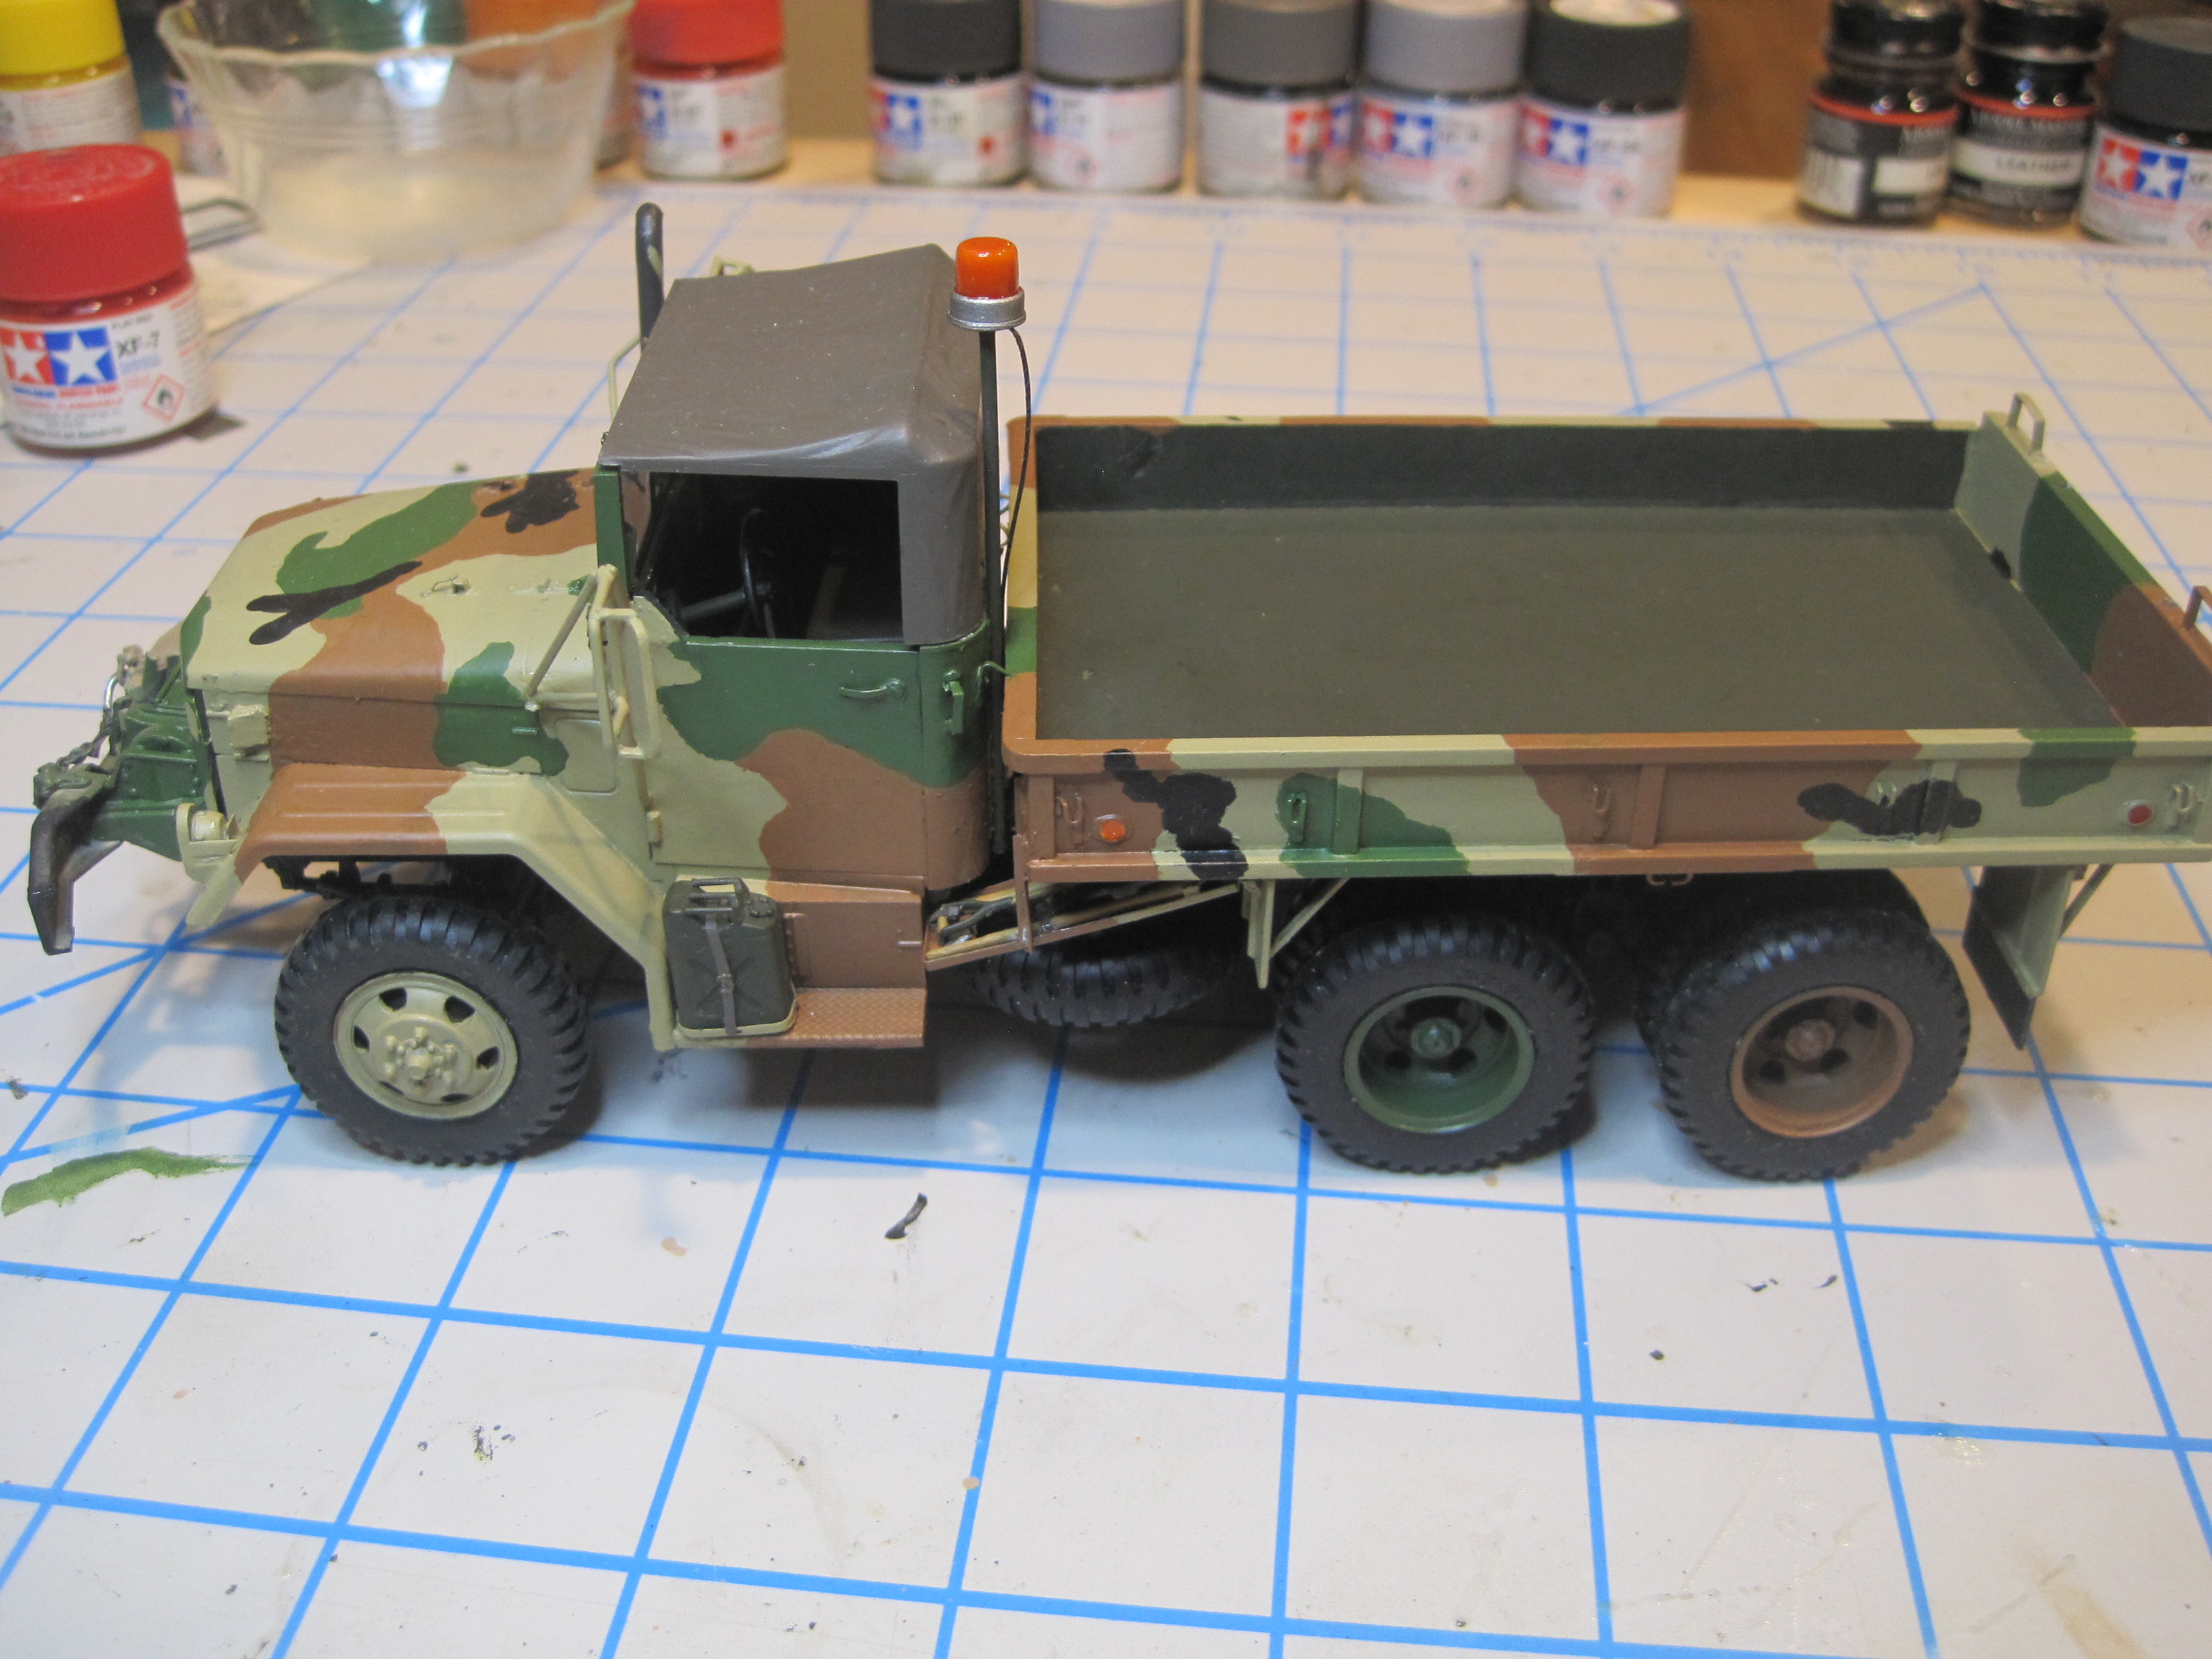
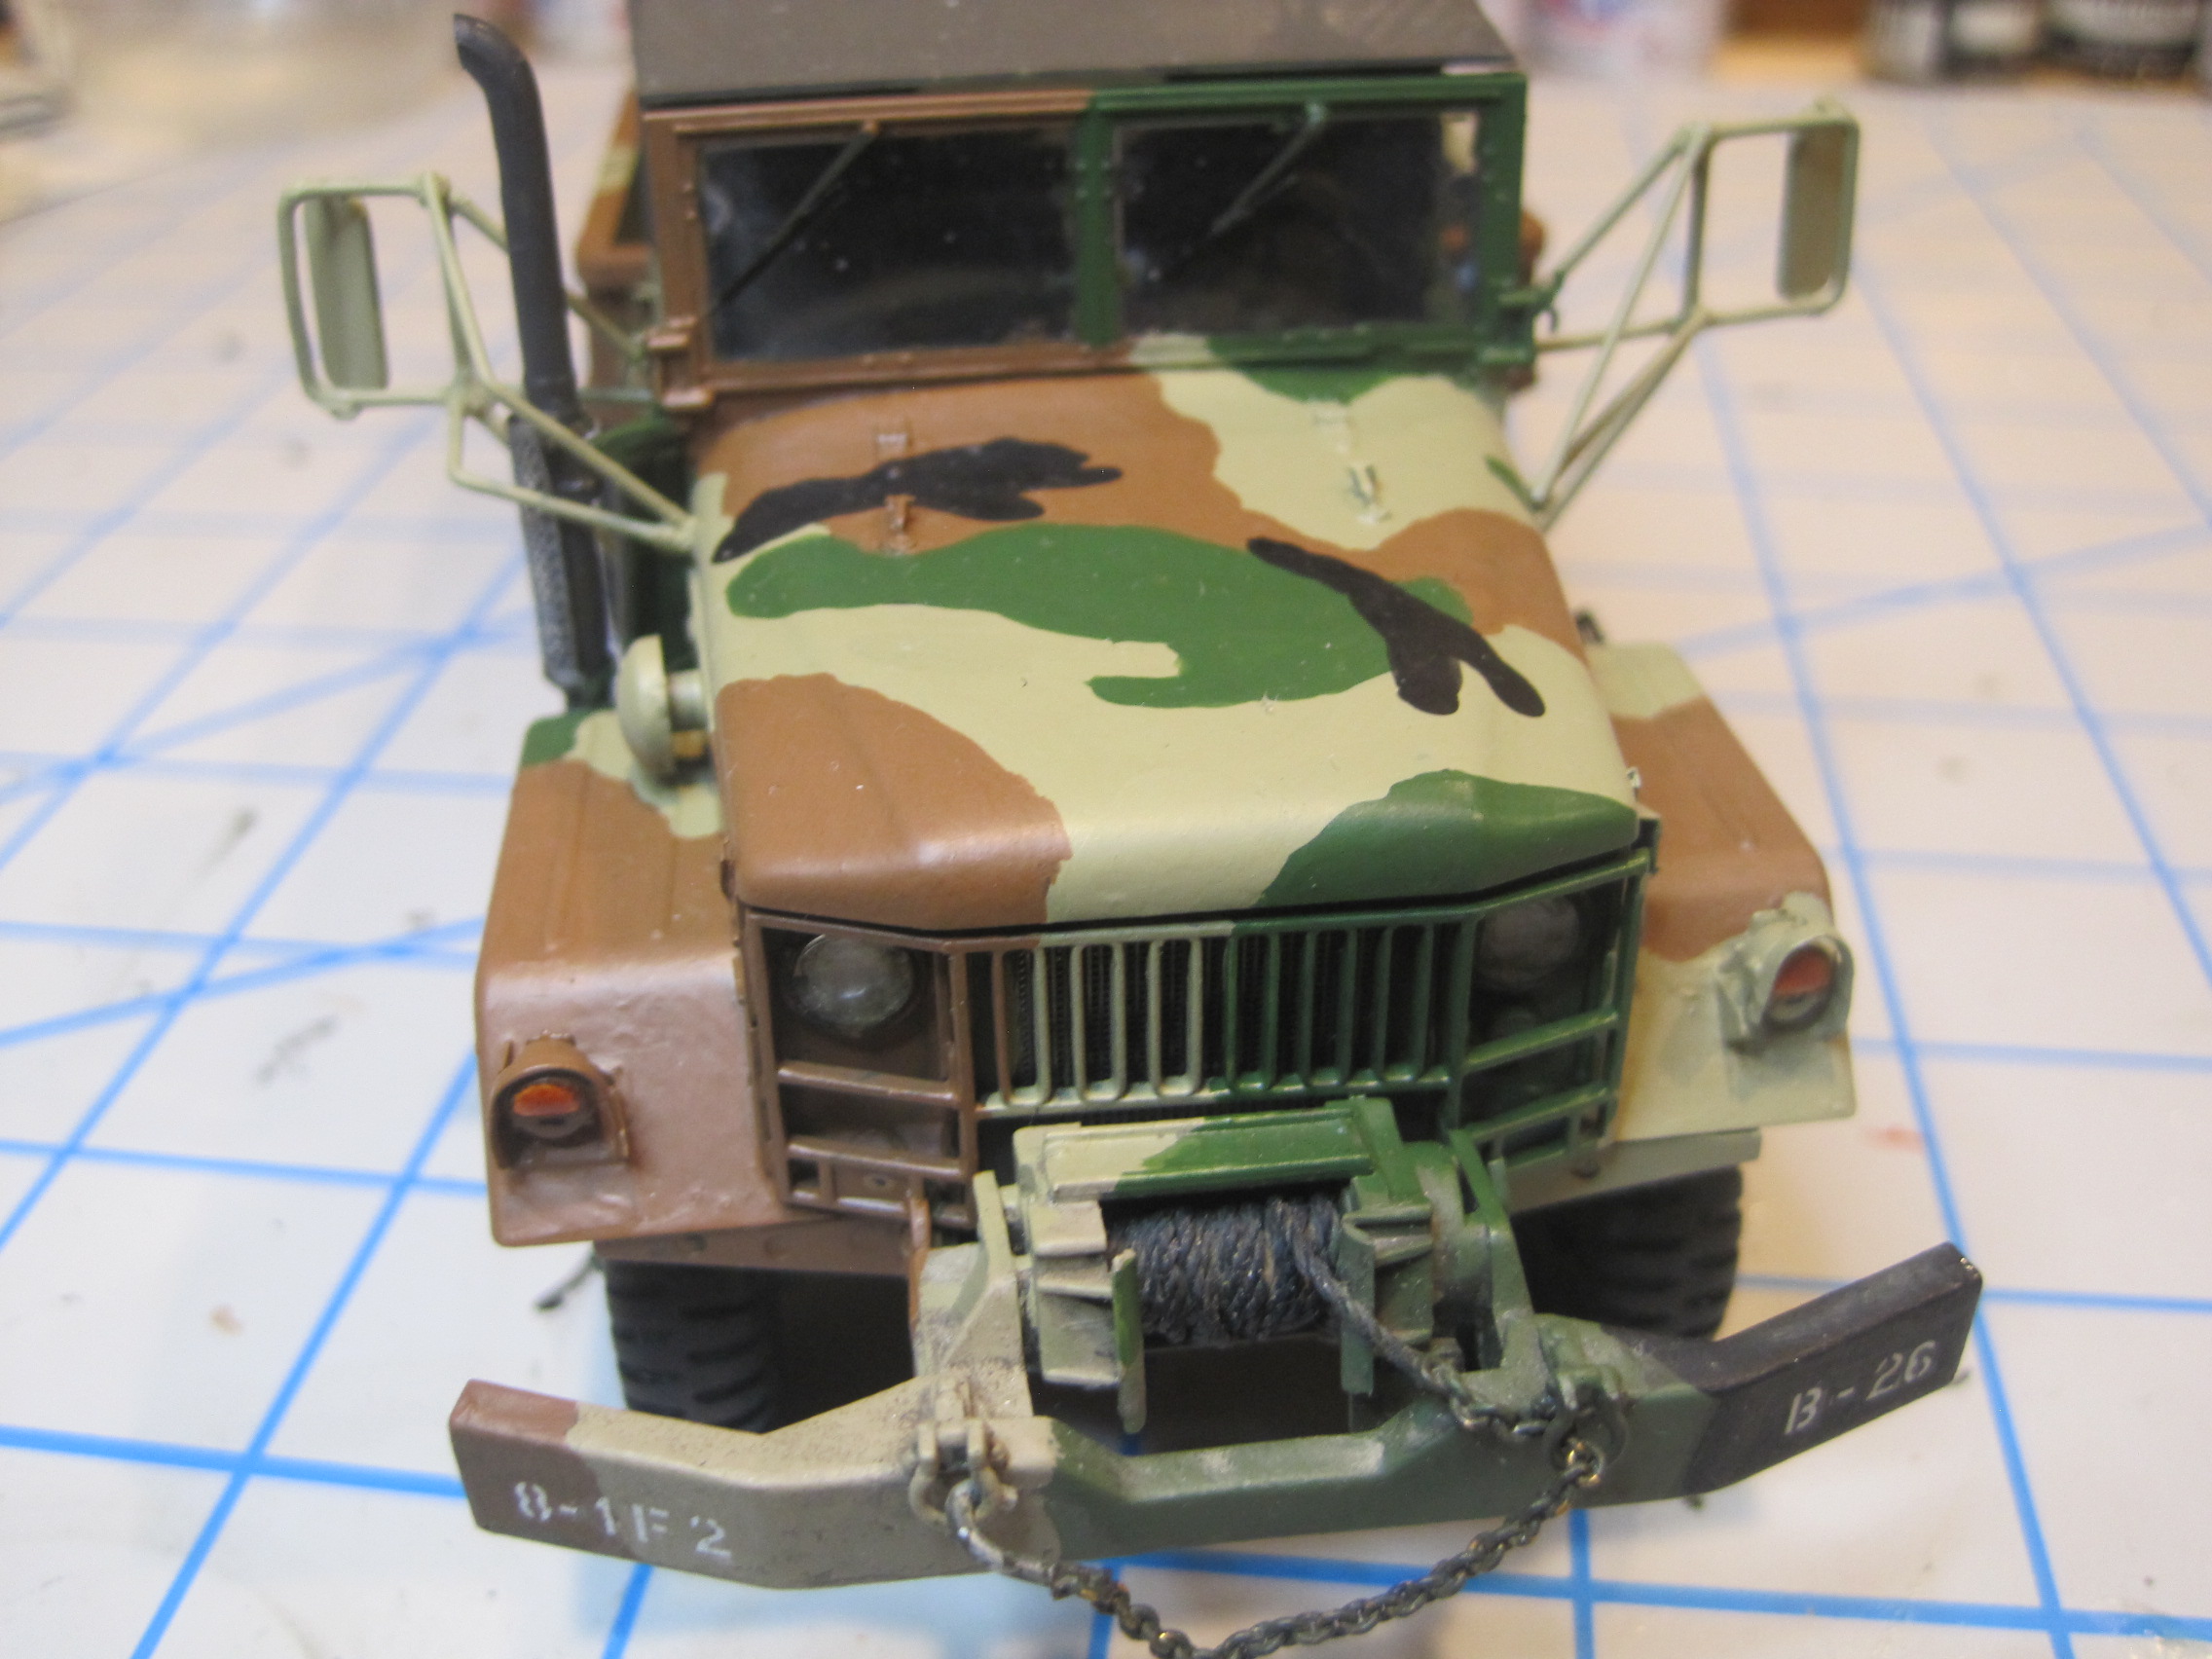
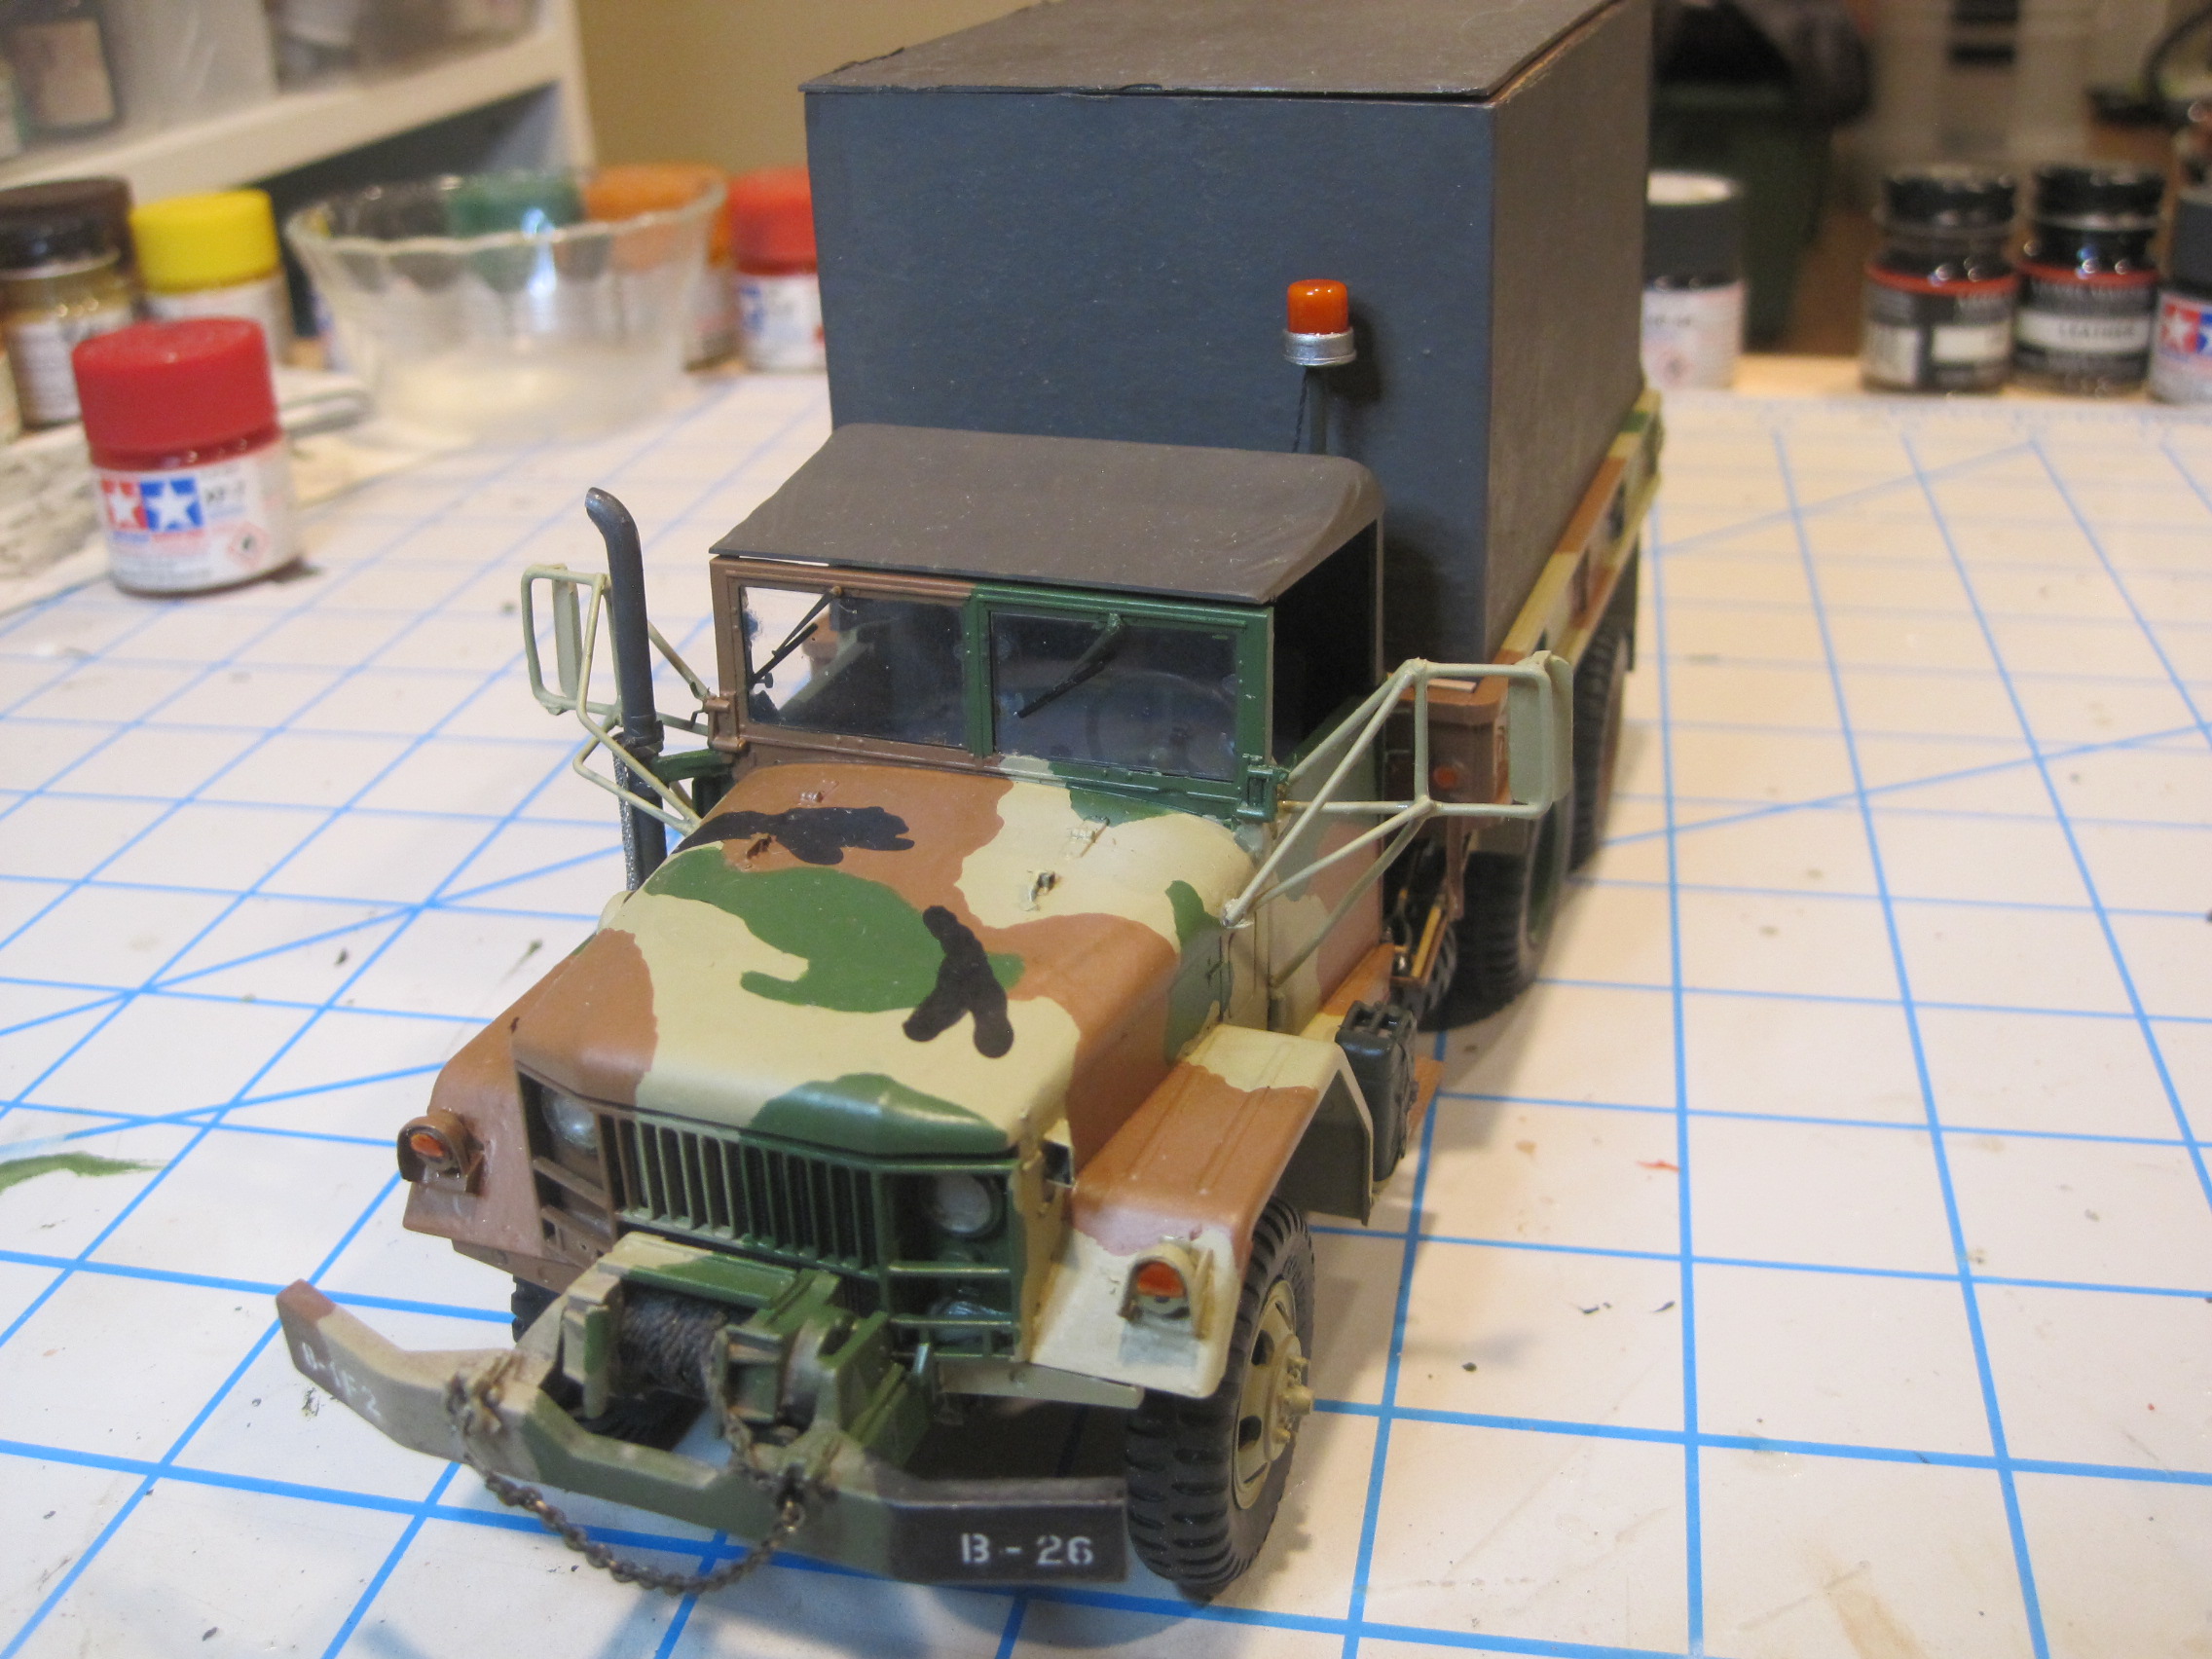
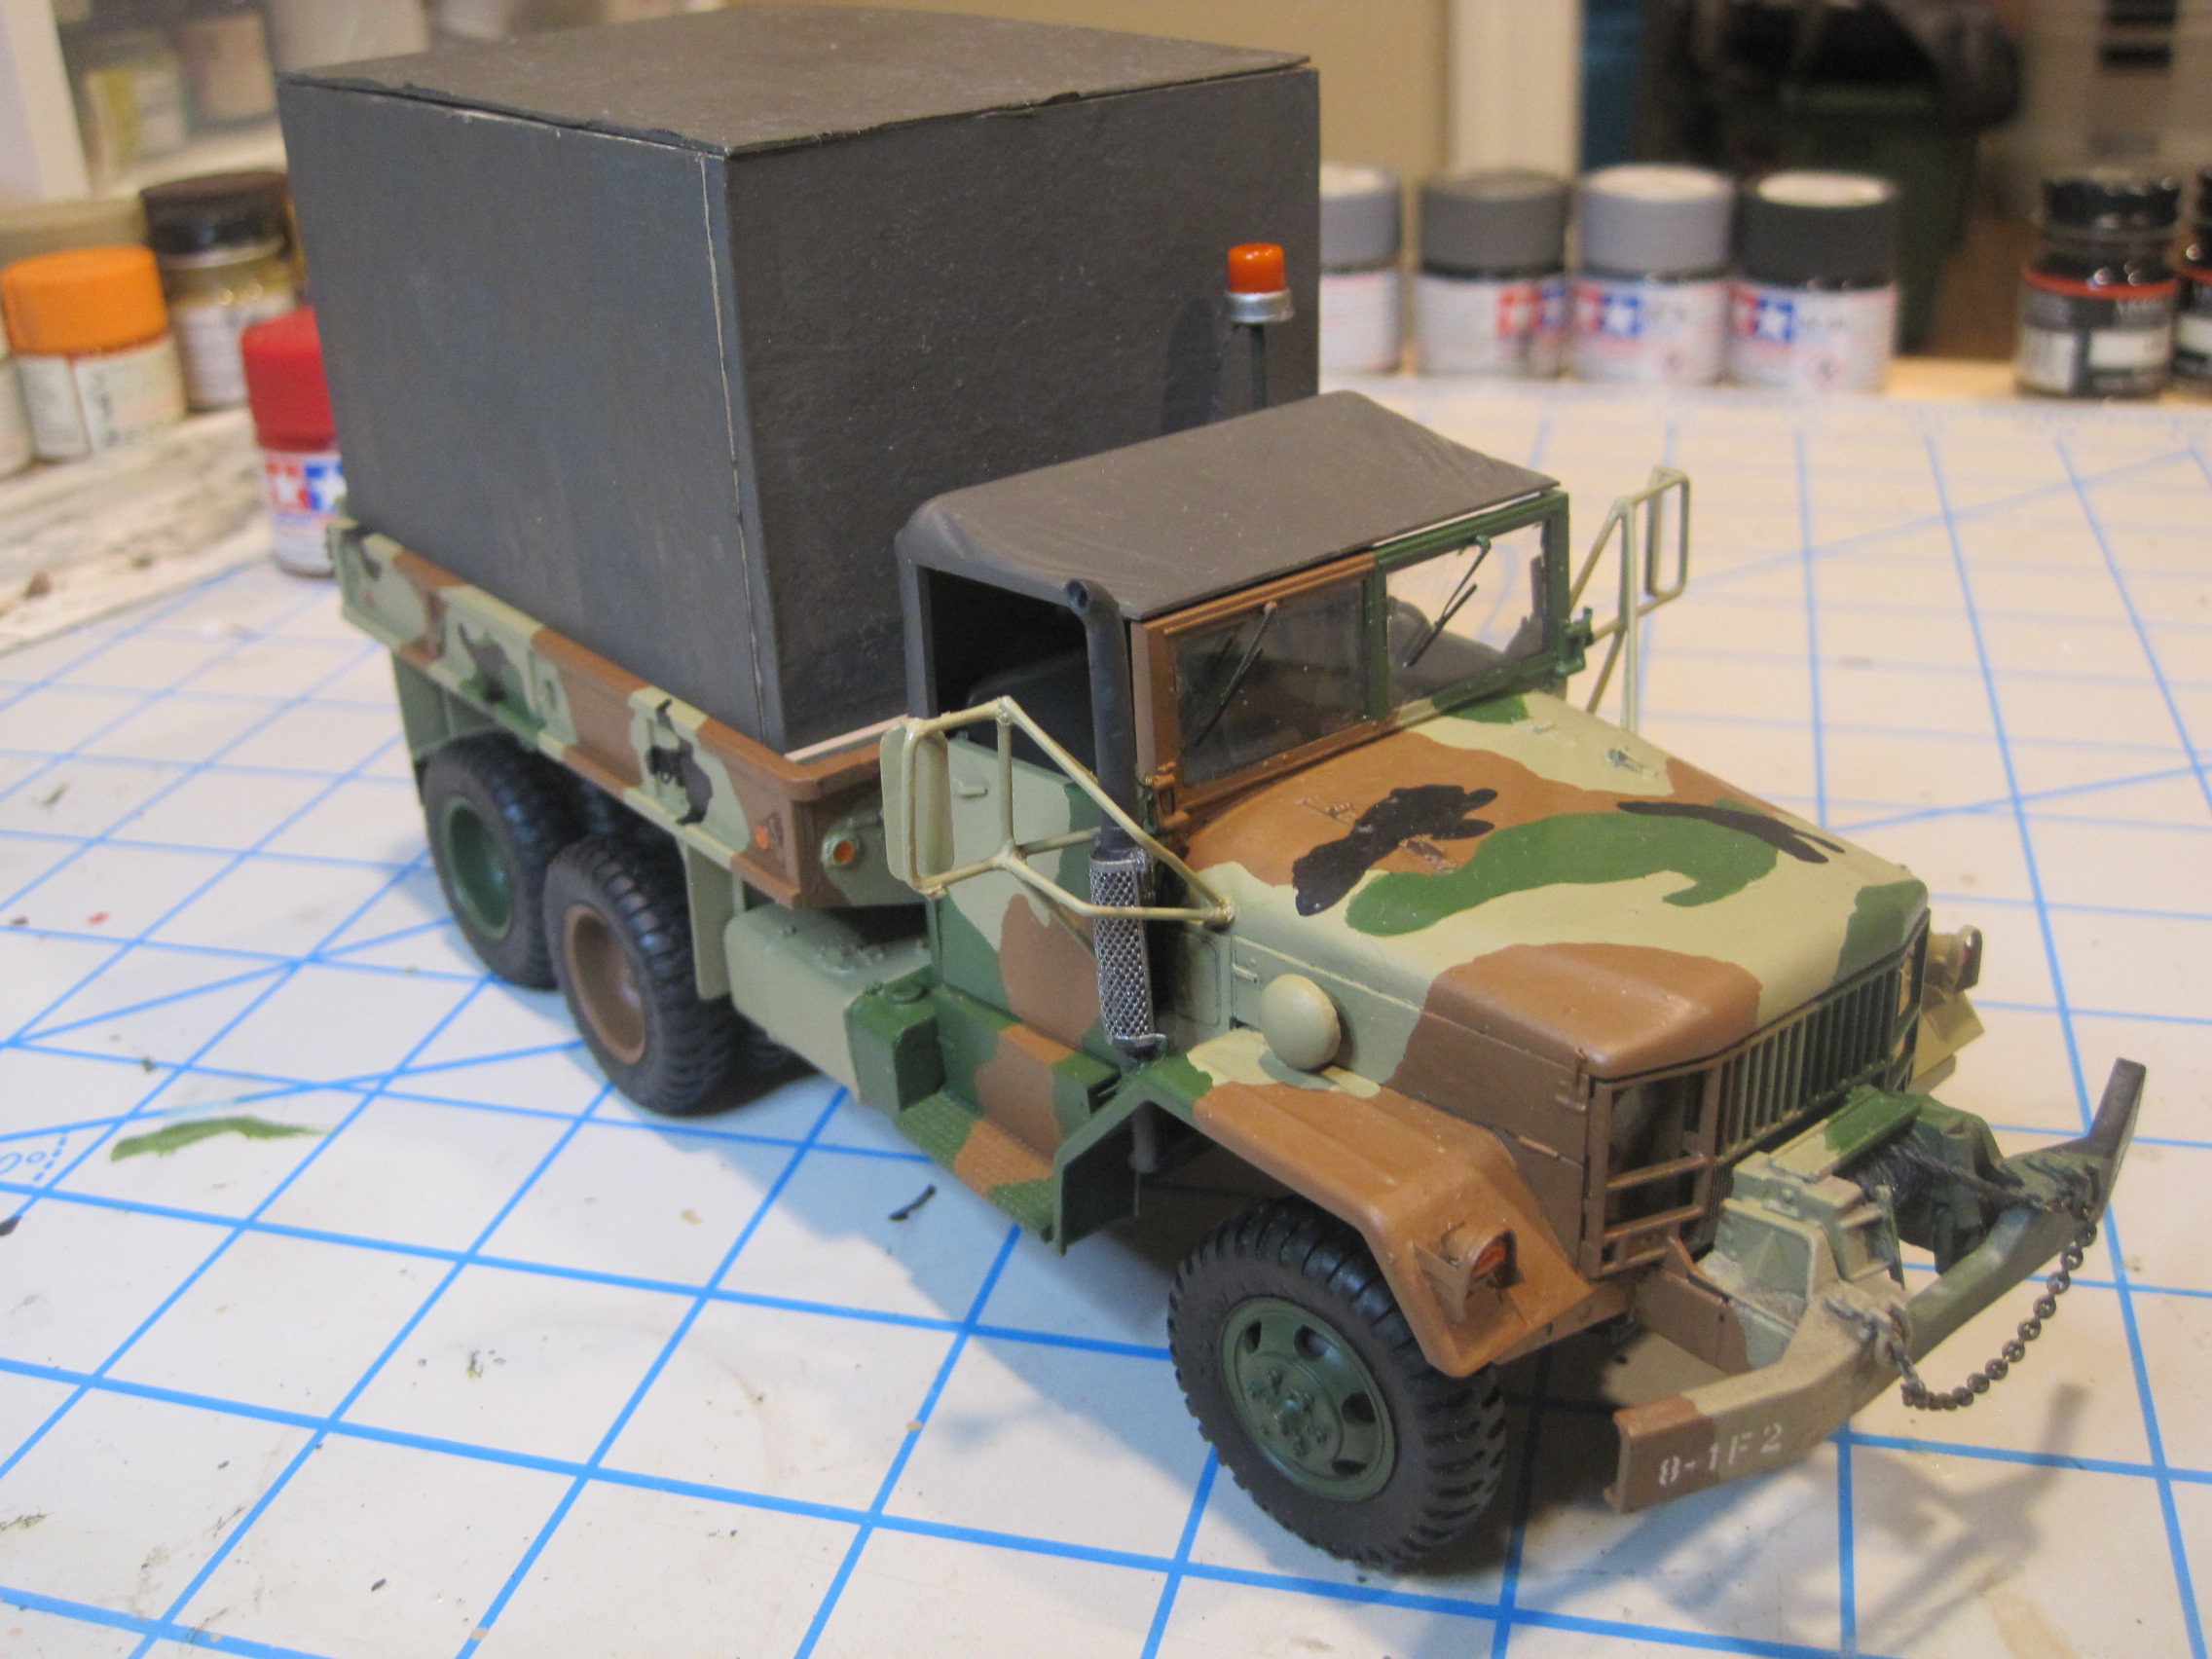
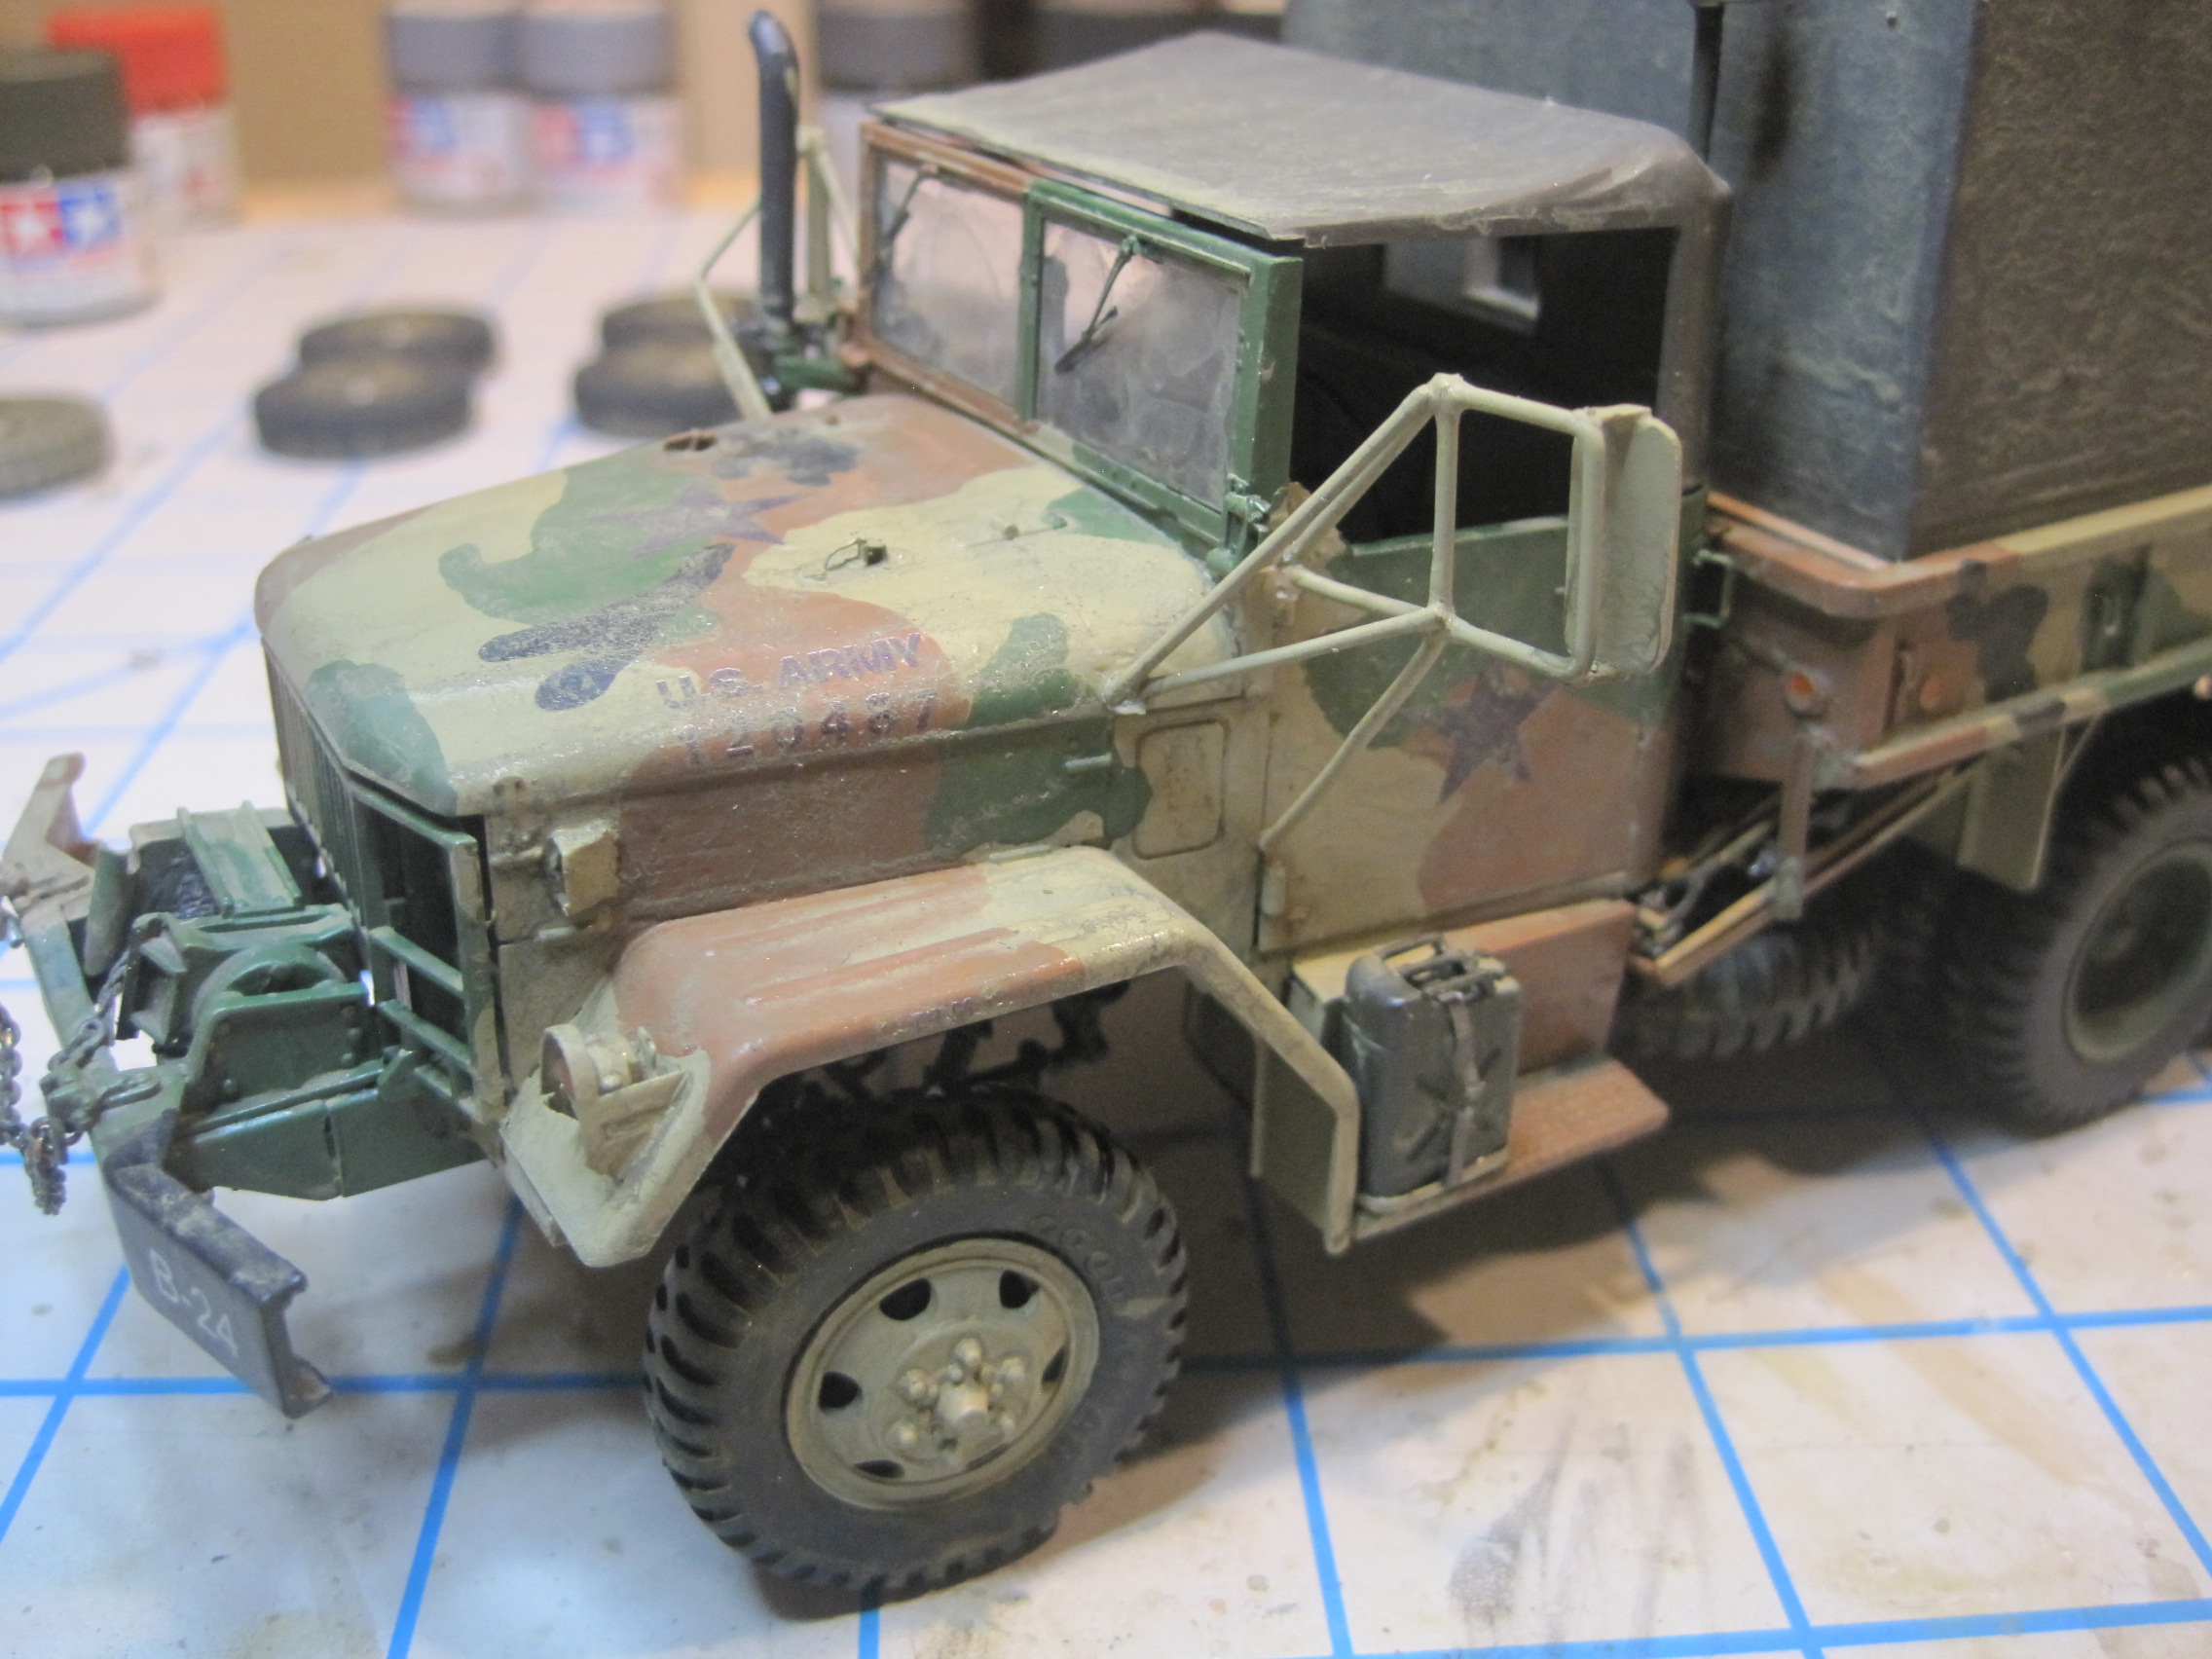
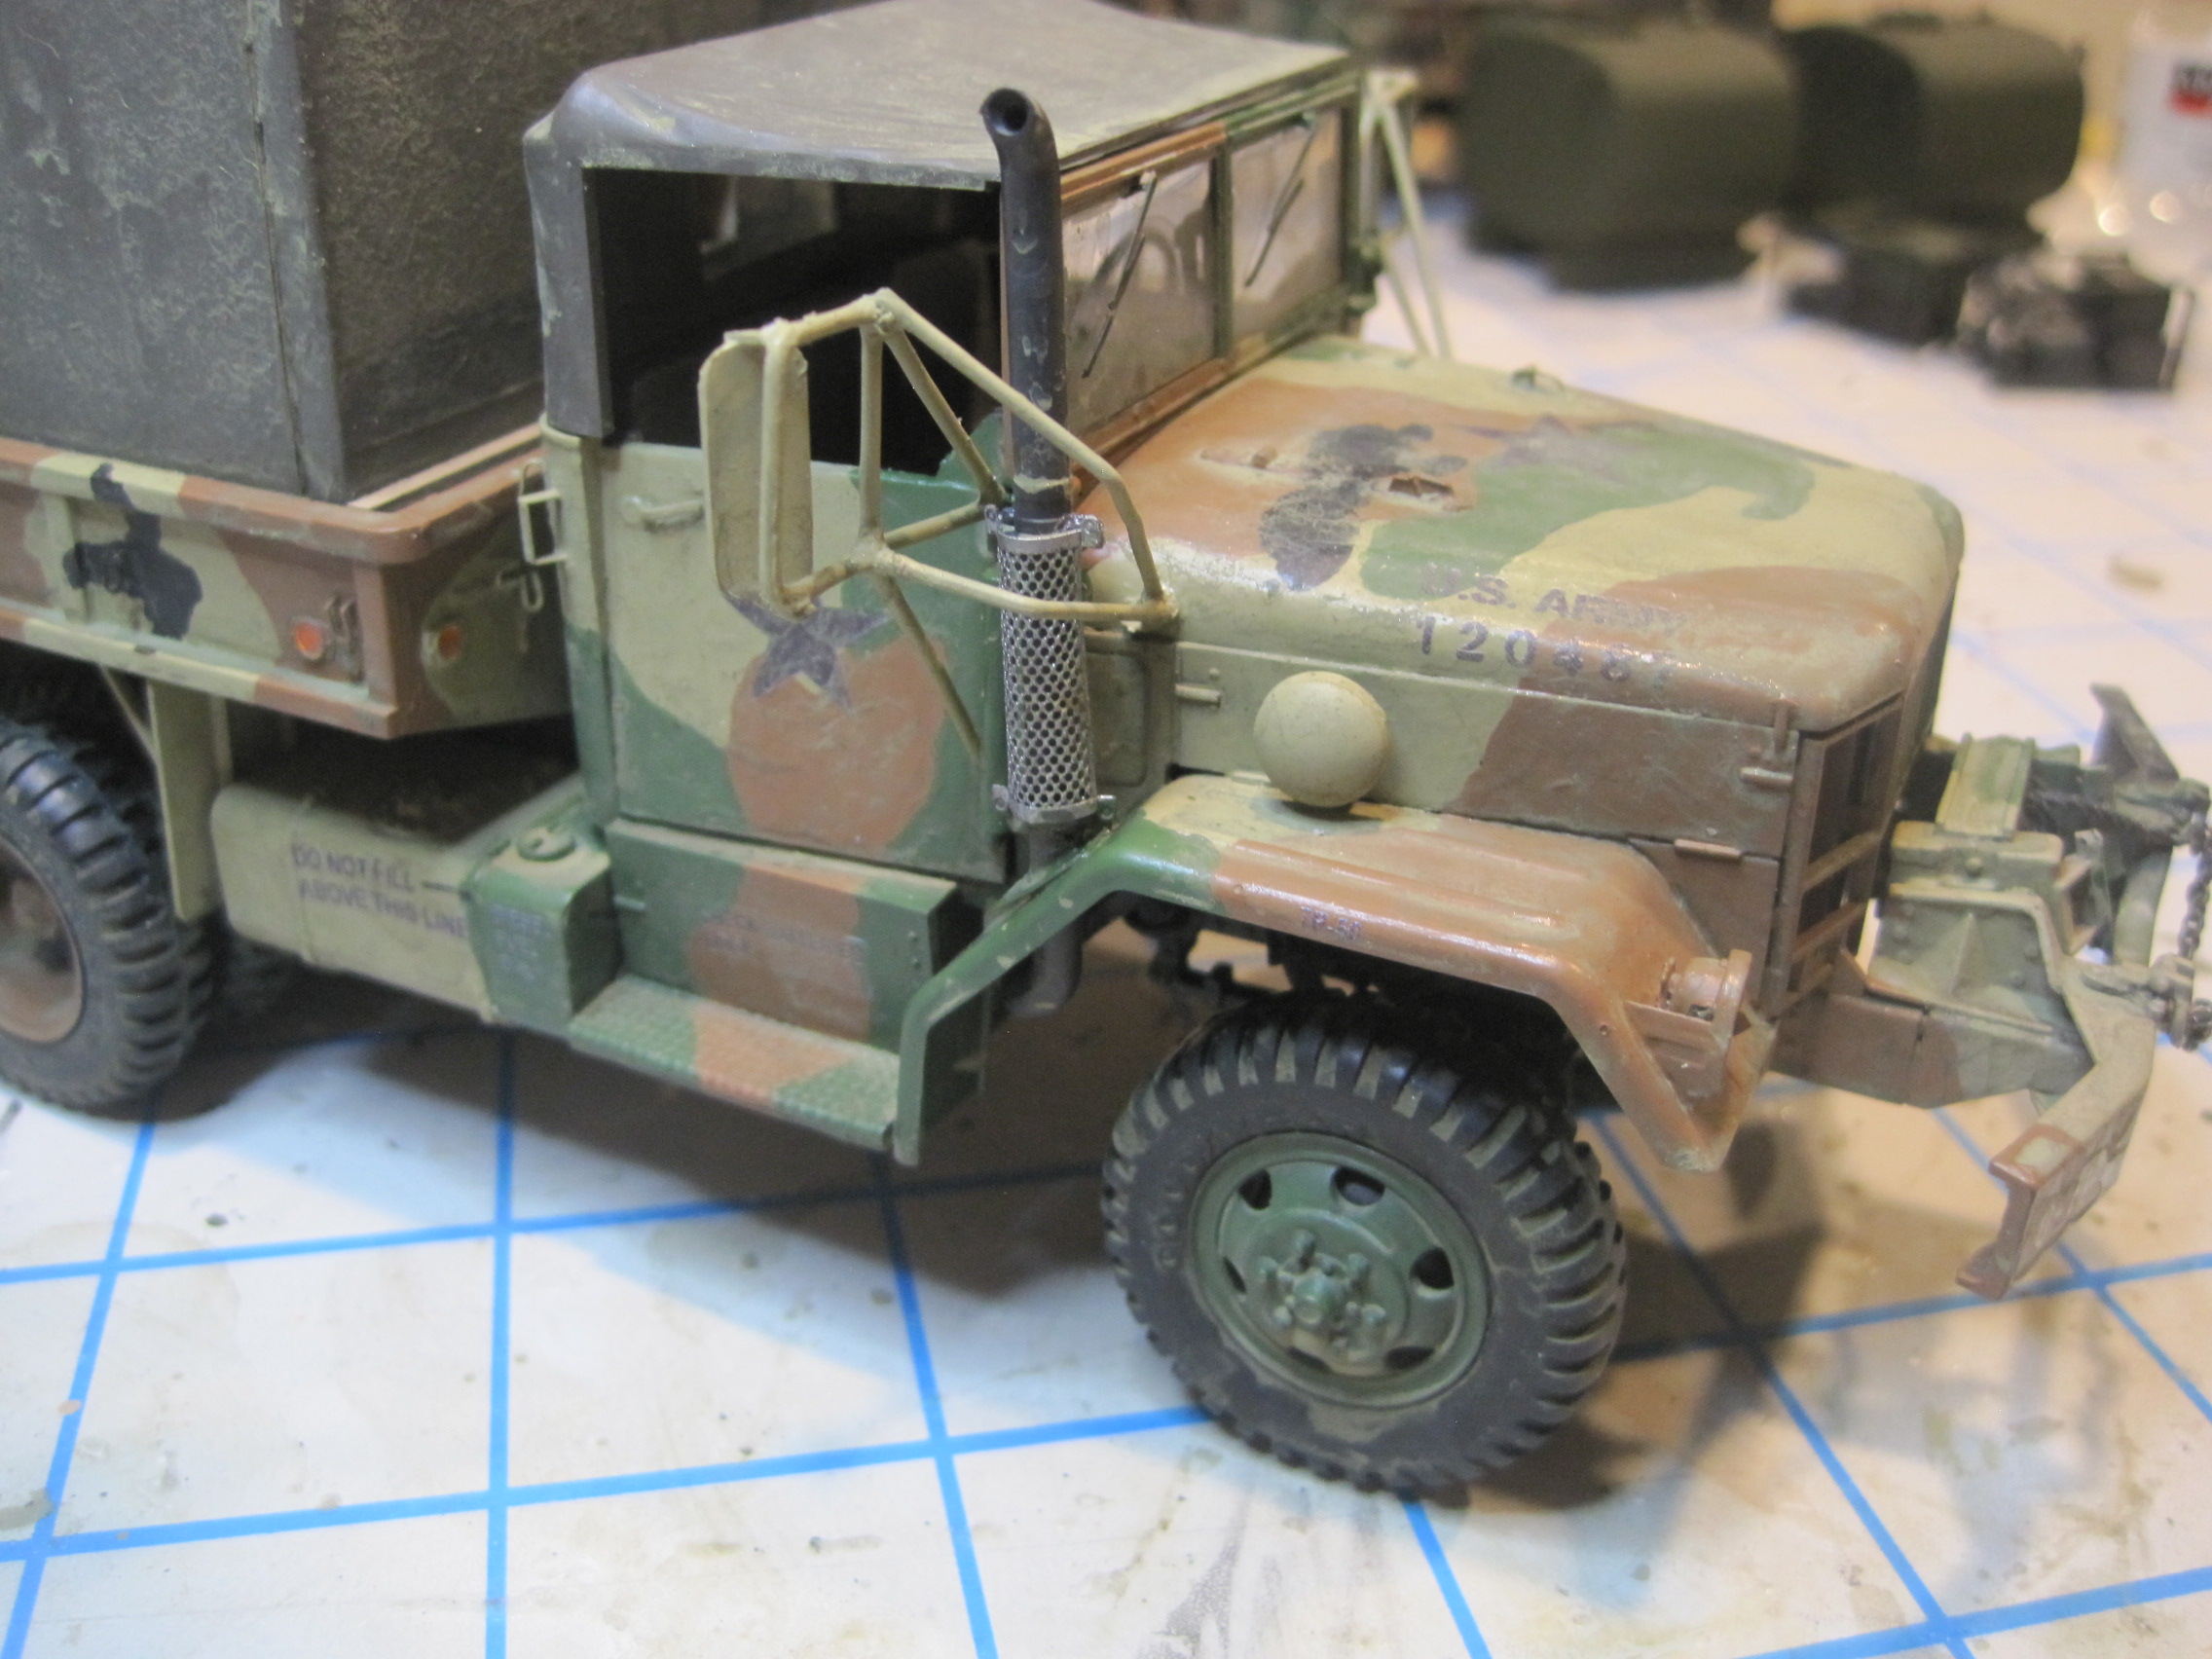
Getting close now. The cab/chassis is pretty much complete and painted. The colors look a bit strange, but I haven’t had a chance to weather the vehicle, which for me is a “dirty wash”. I’ve found that this works very well to represent the dusty look of vehicles which have been in the field for a while and it takes the luster off the paint scheme. But before I do that I’ll need to apply the decals and at the moment I’m still waiting for those to arrive.
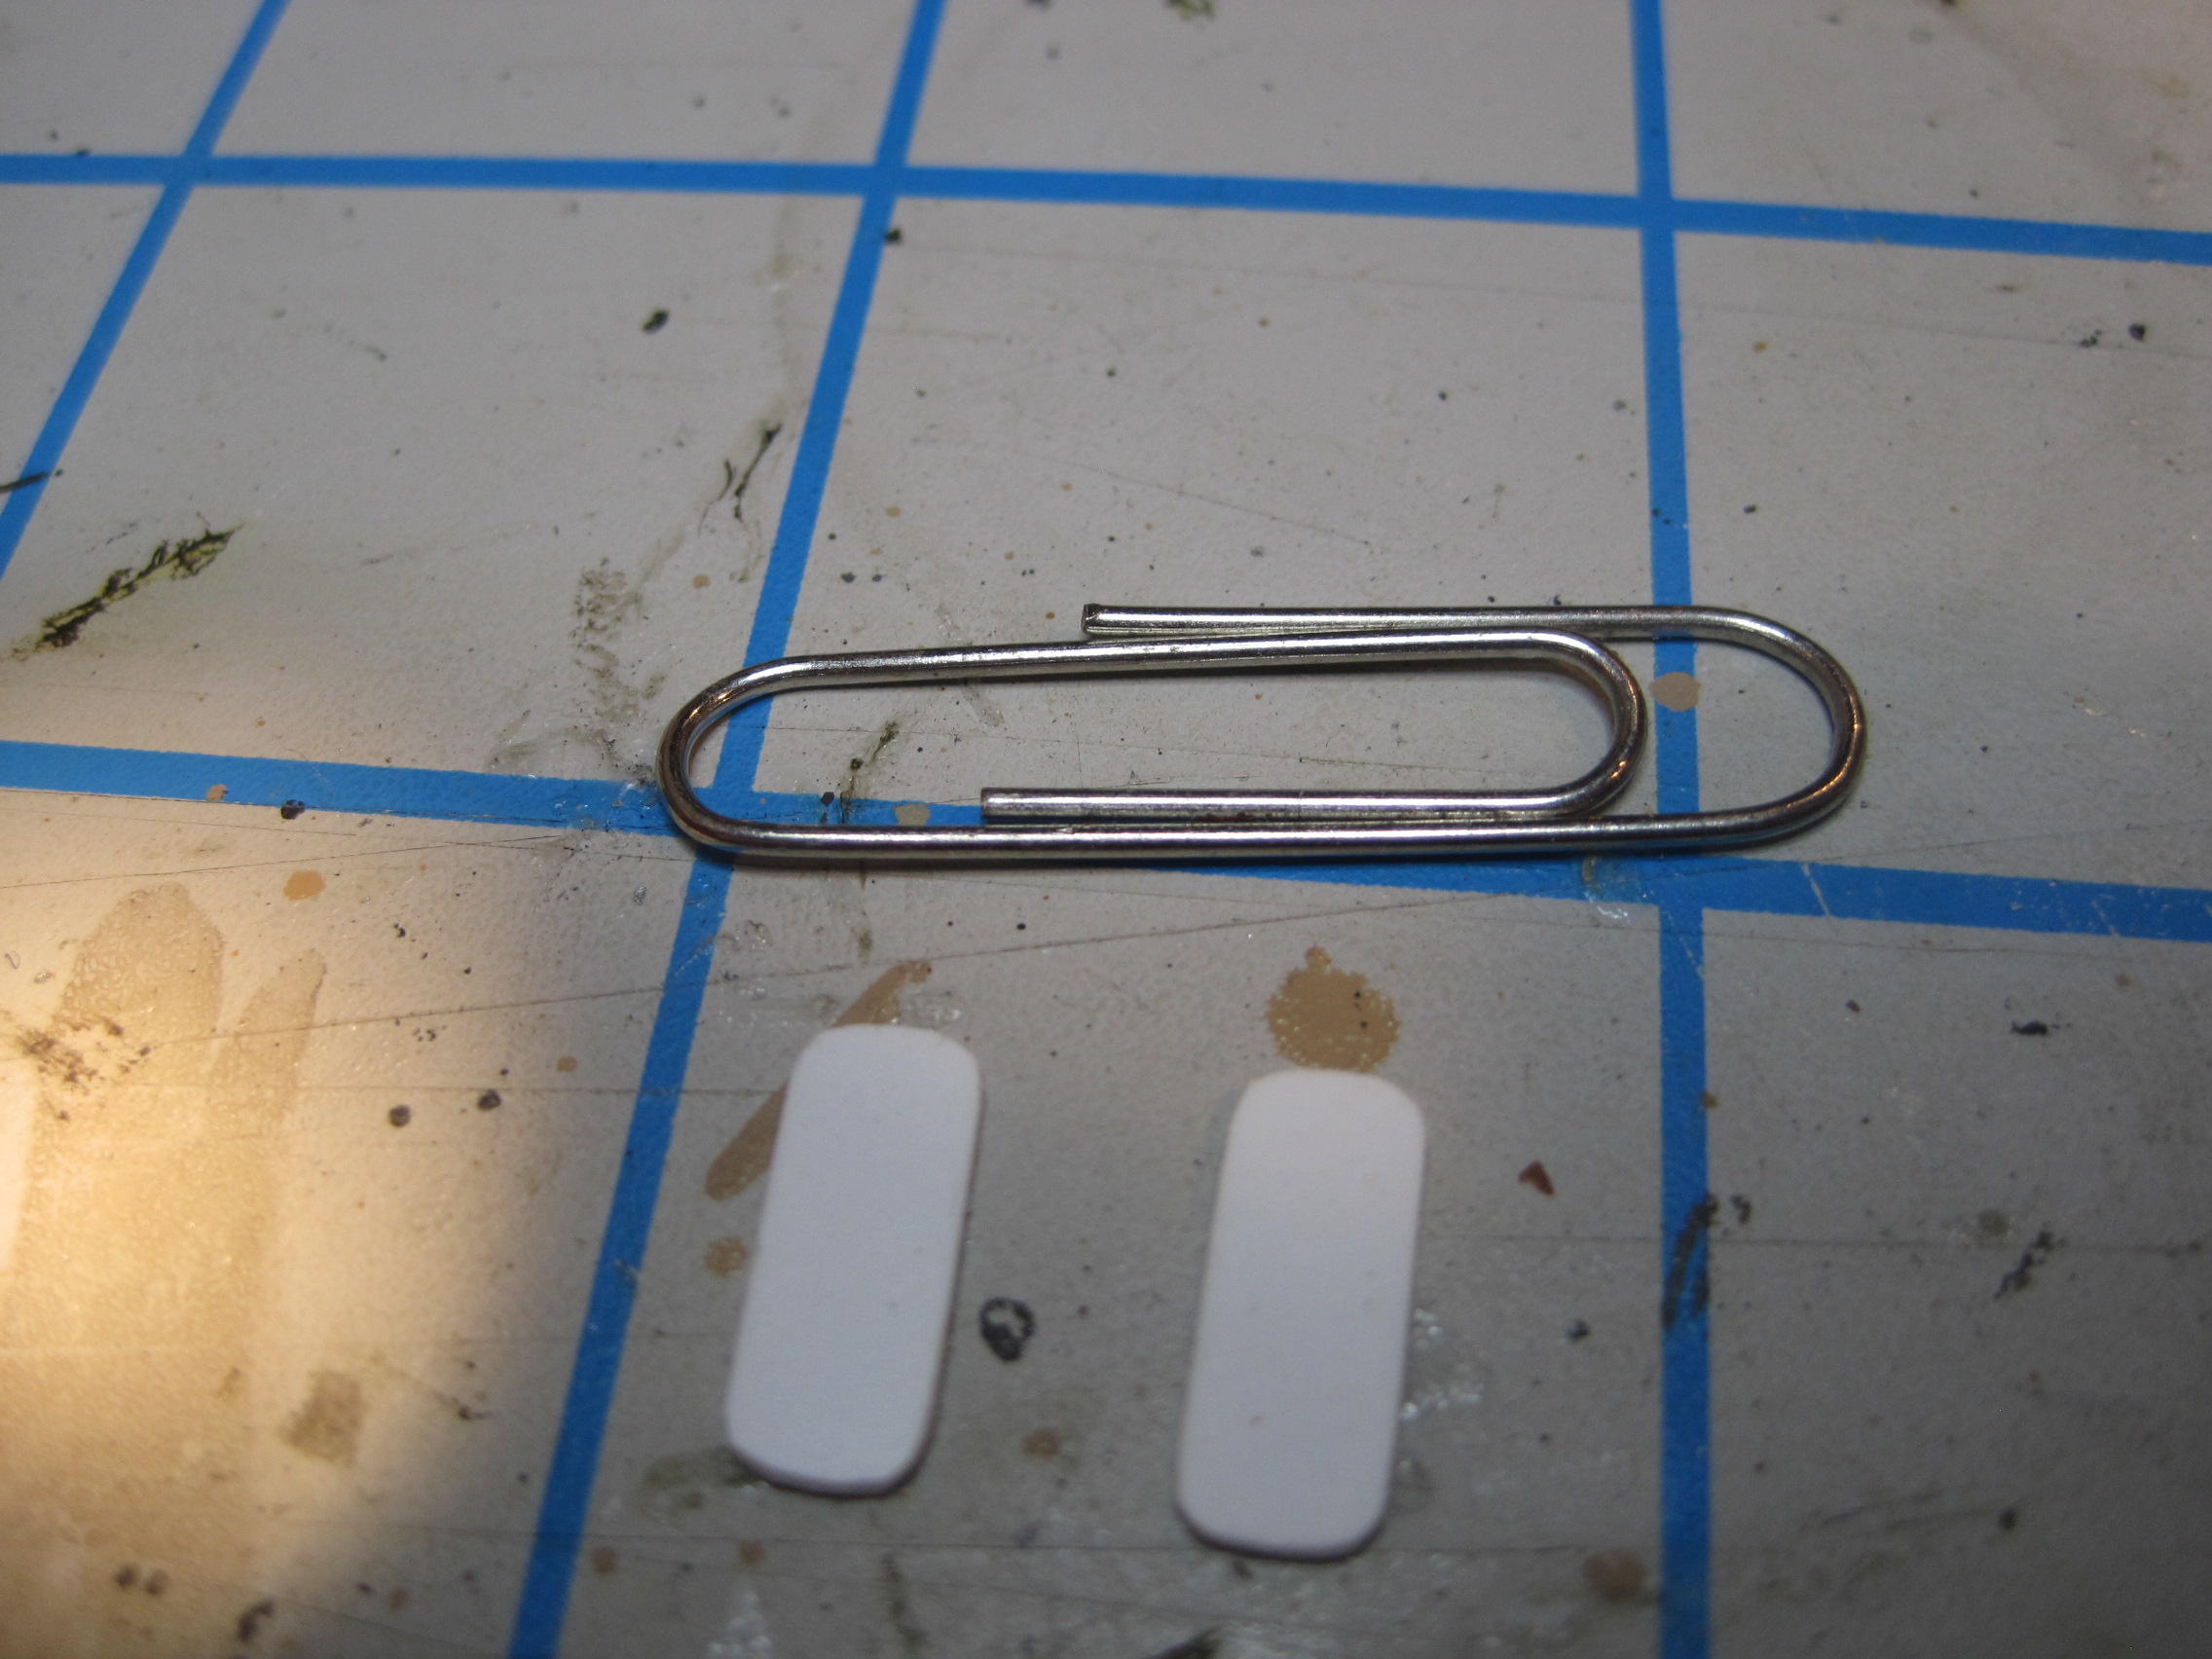
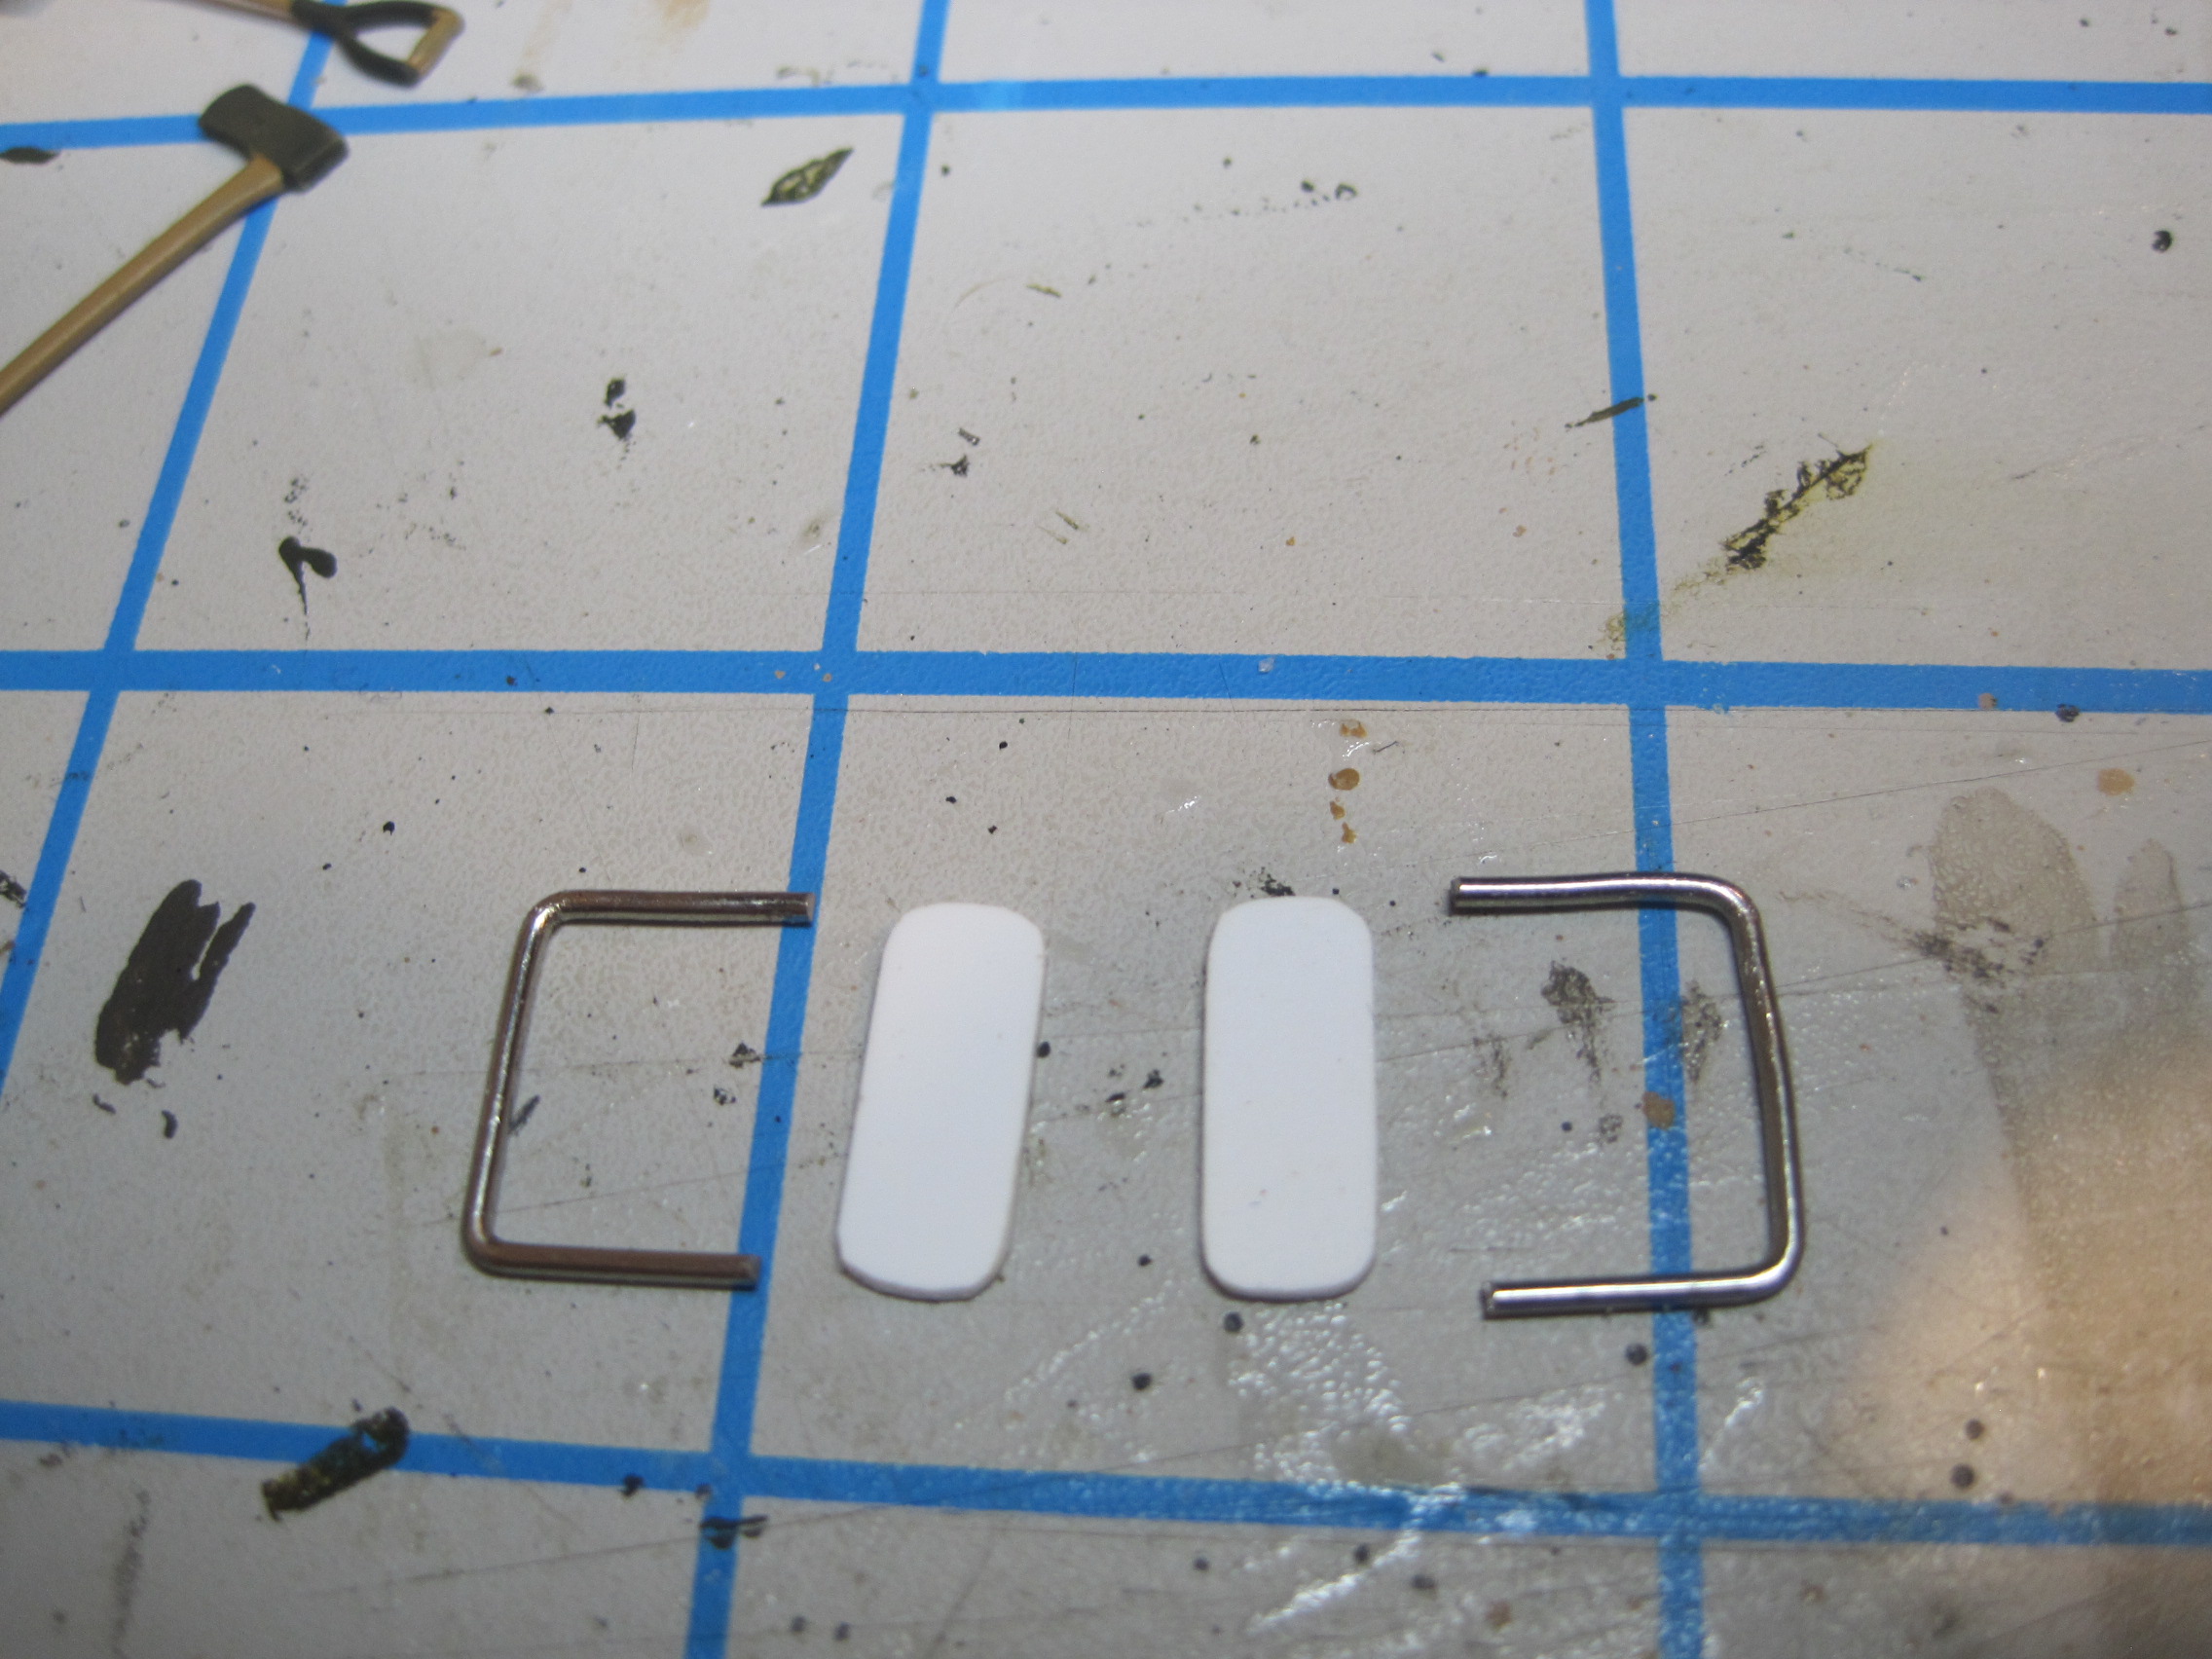
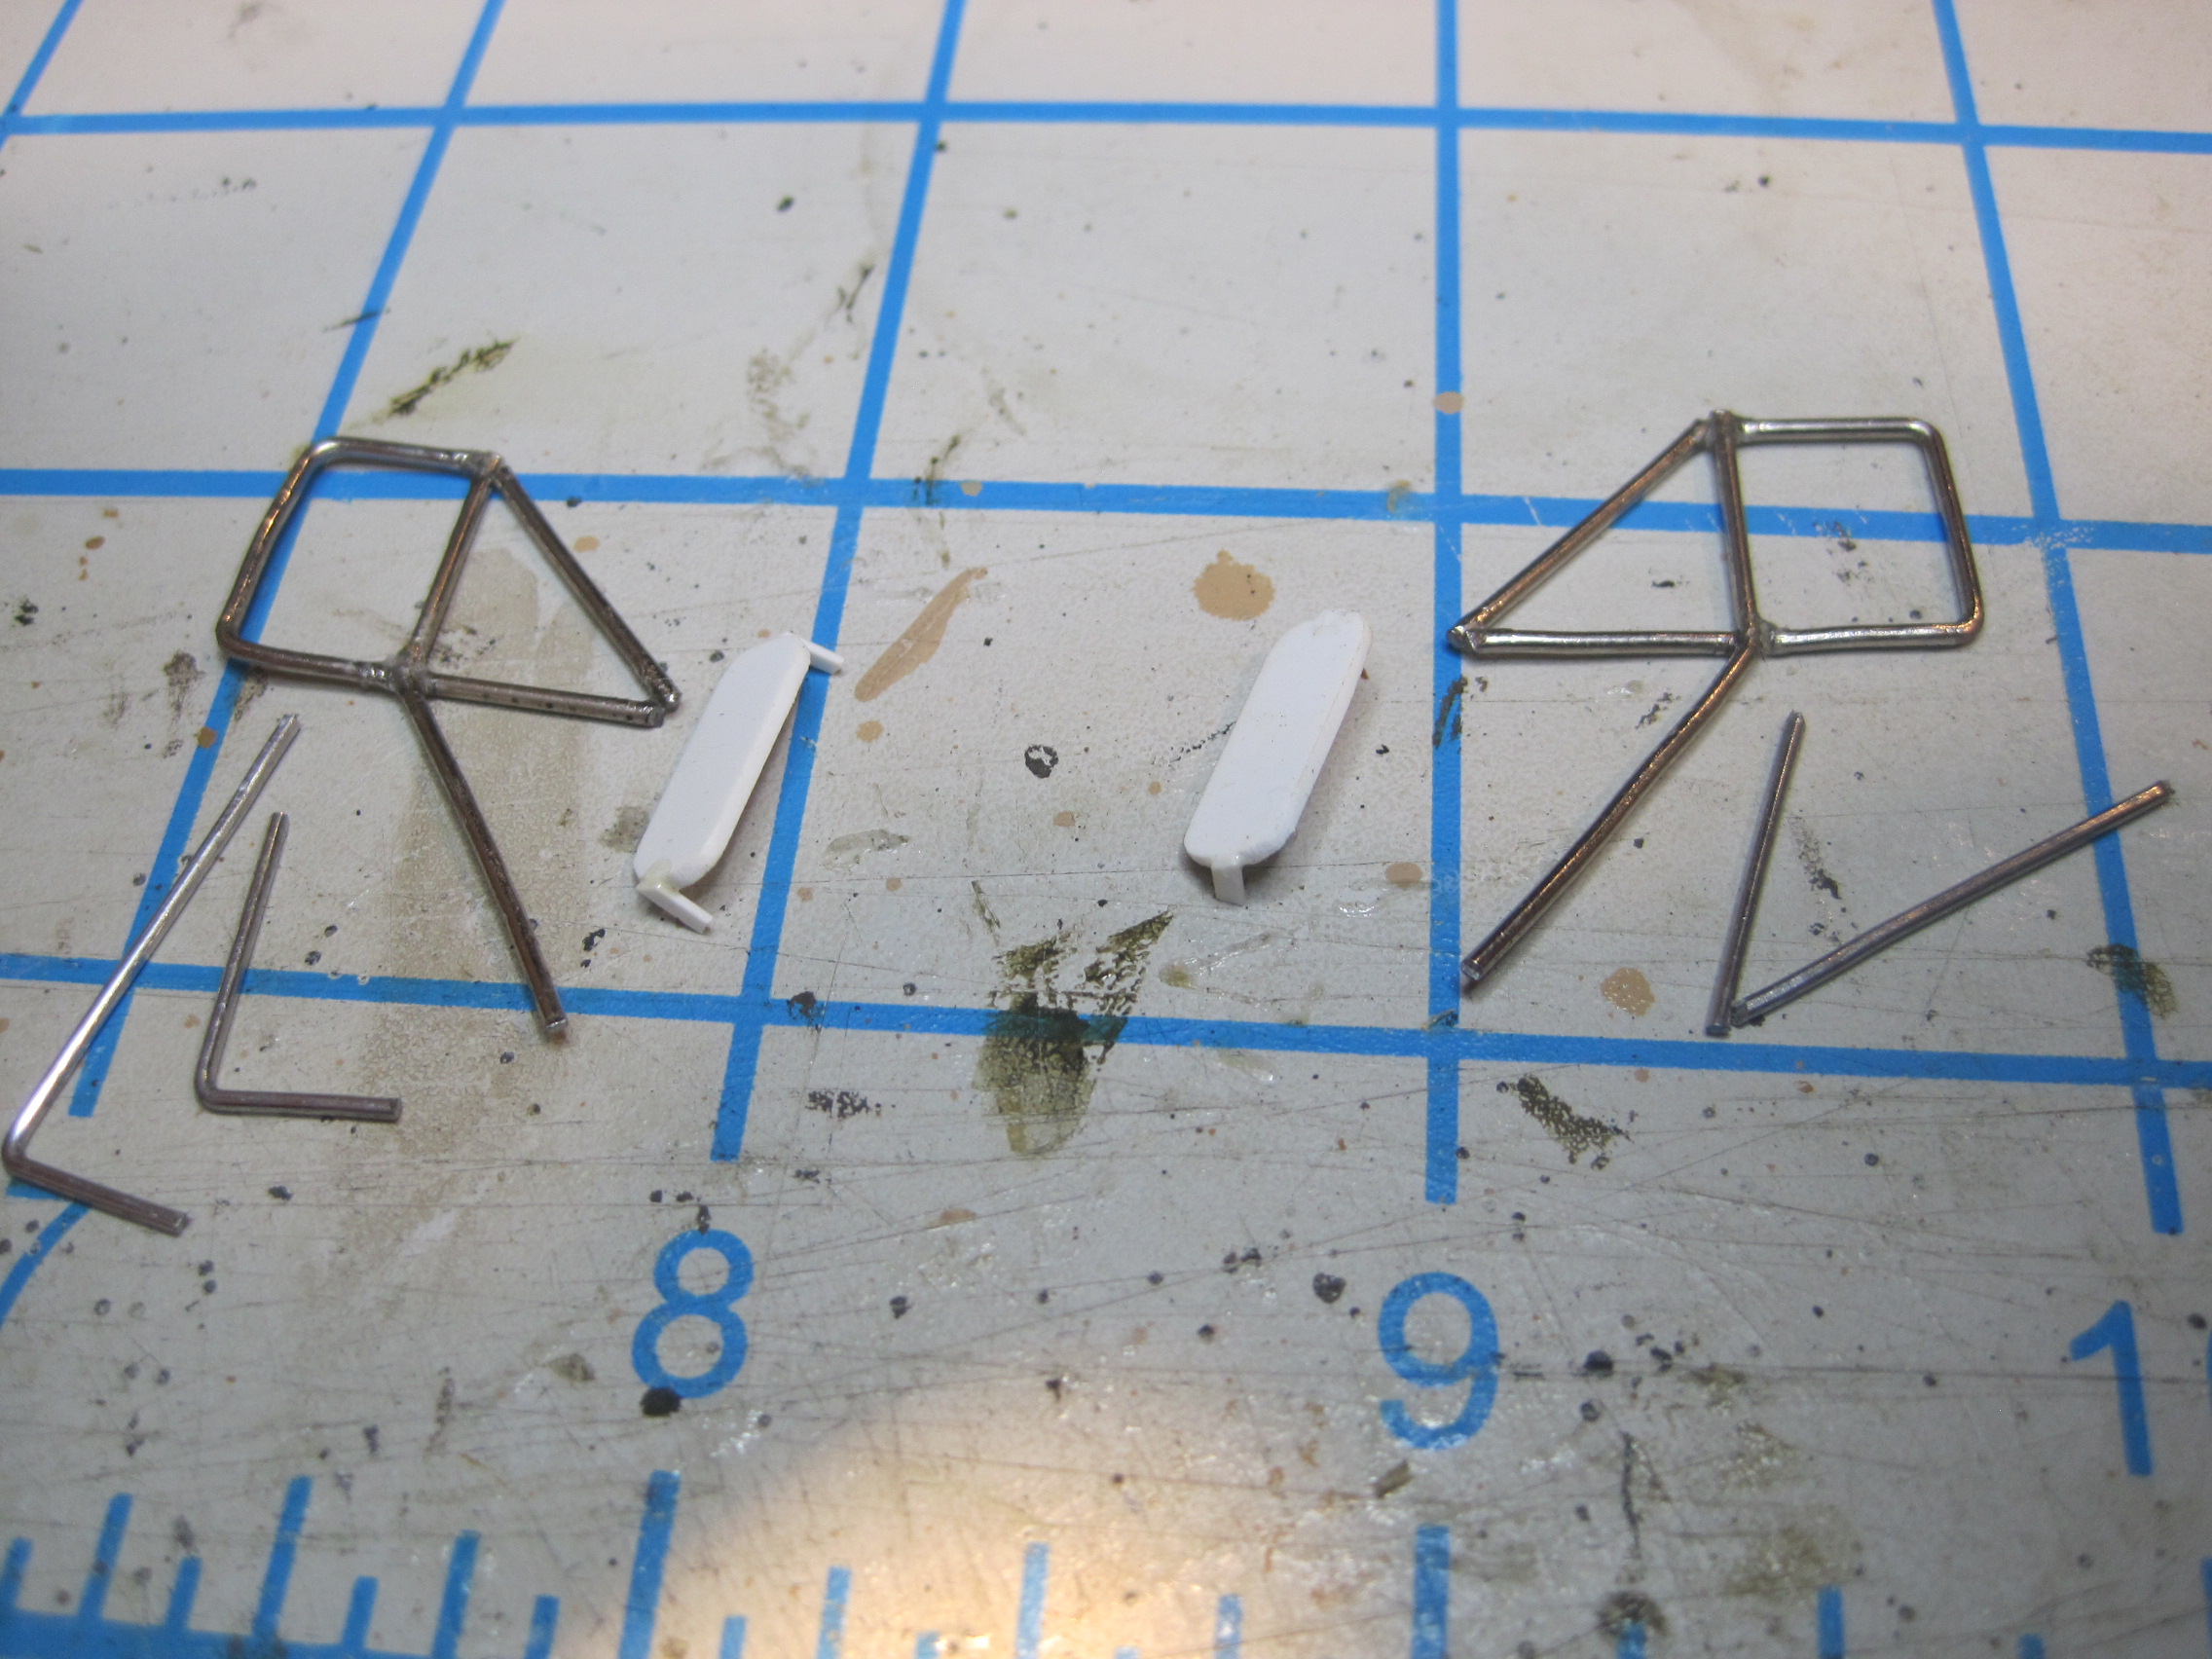
One thing the AFV kit for the M35 does NOT include is “west coast mirrors” which all our heavy trucks had. Interestingly enough they ARE included in the AFV 5-ton kit (as well as the old Italeri kits). I had already used the ones from my Italeri kits when I did my original 5 Ton conversion build and to add to my M35 Mess Truck, so this time I had to scratch build. As you can see they’re not too difficult, and having the 5 Ton set sitting on the AFV sprue makes it a bit easier to determine the lengths of each leg.
And here’s the mostly completed cab/chassis. Second unit body will be painted and installed next.
6 Likes
Cracking work Tom; looking good. Whilst I knew it was destined for MASSTER it’s still good to see it actually on.
1 Like
Except for the application of decals (which are enroute from my supplier) and the application of weathering, the project is finished.
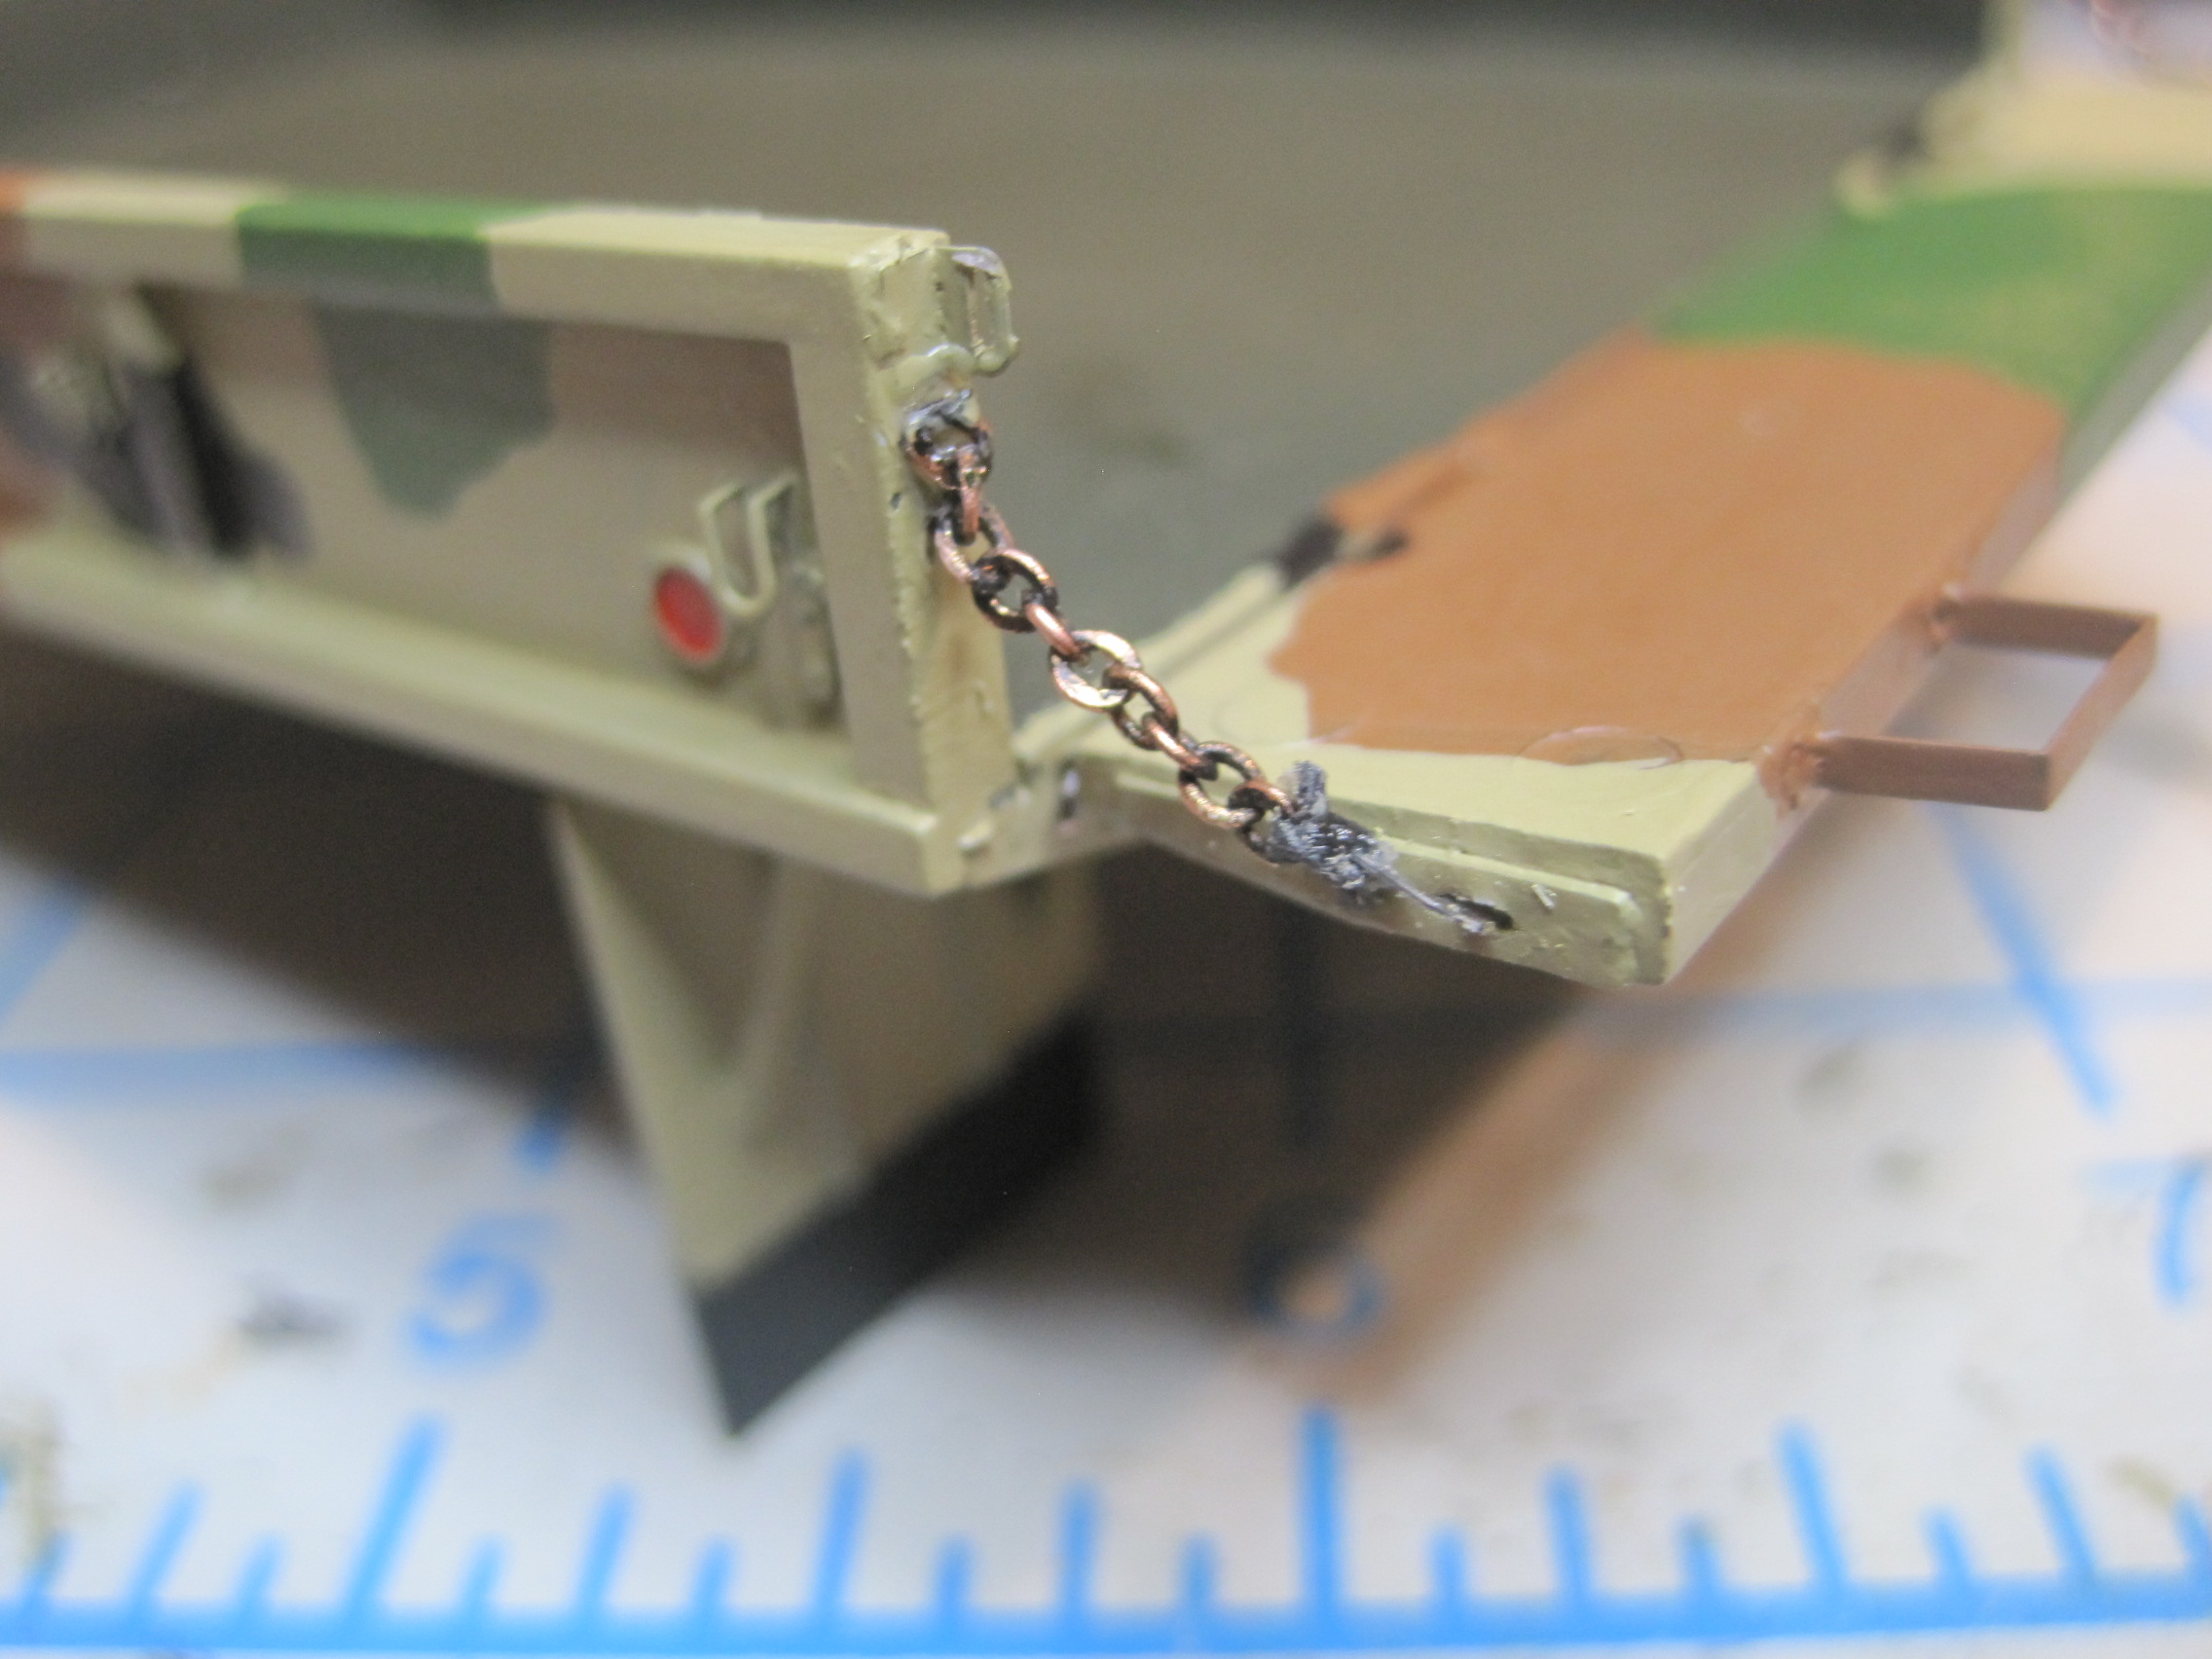
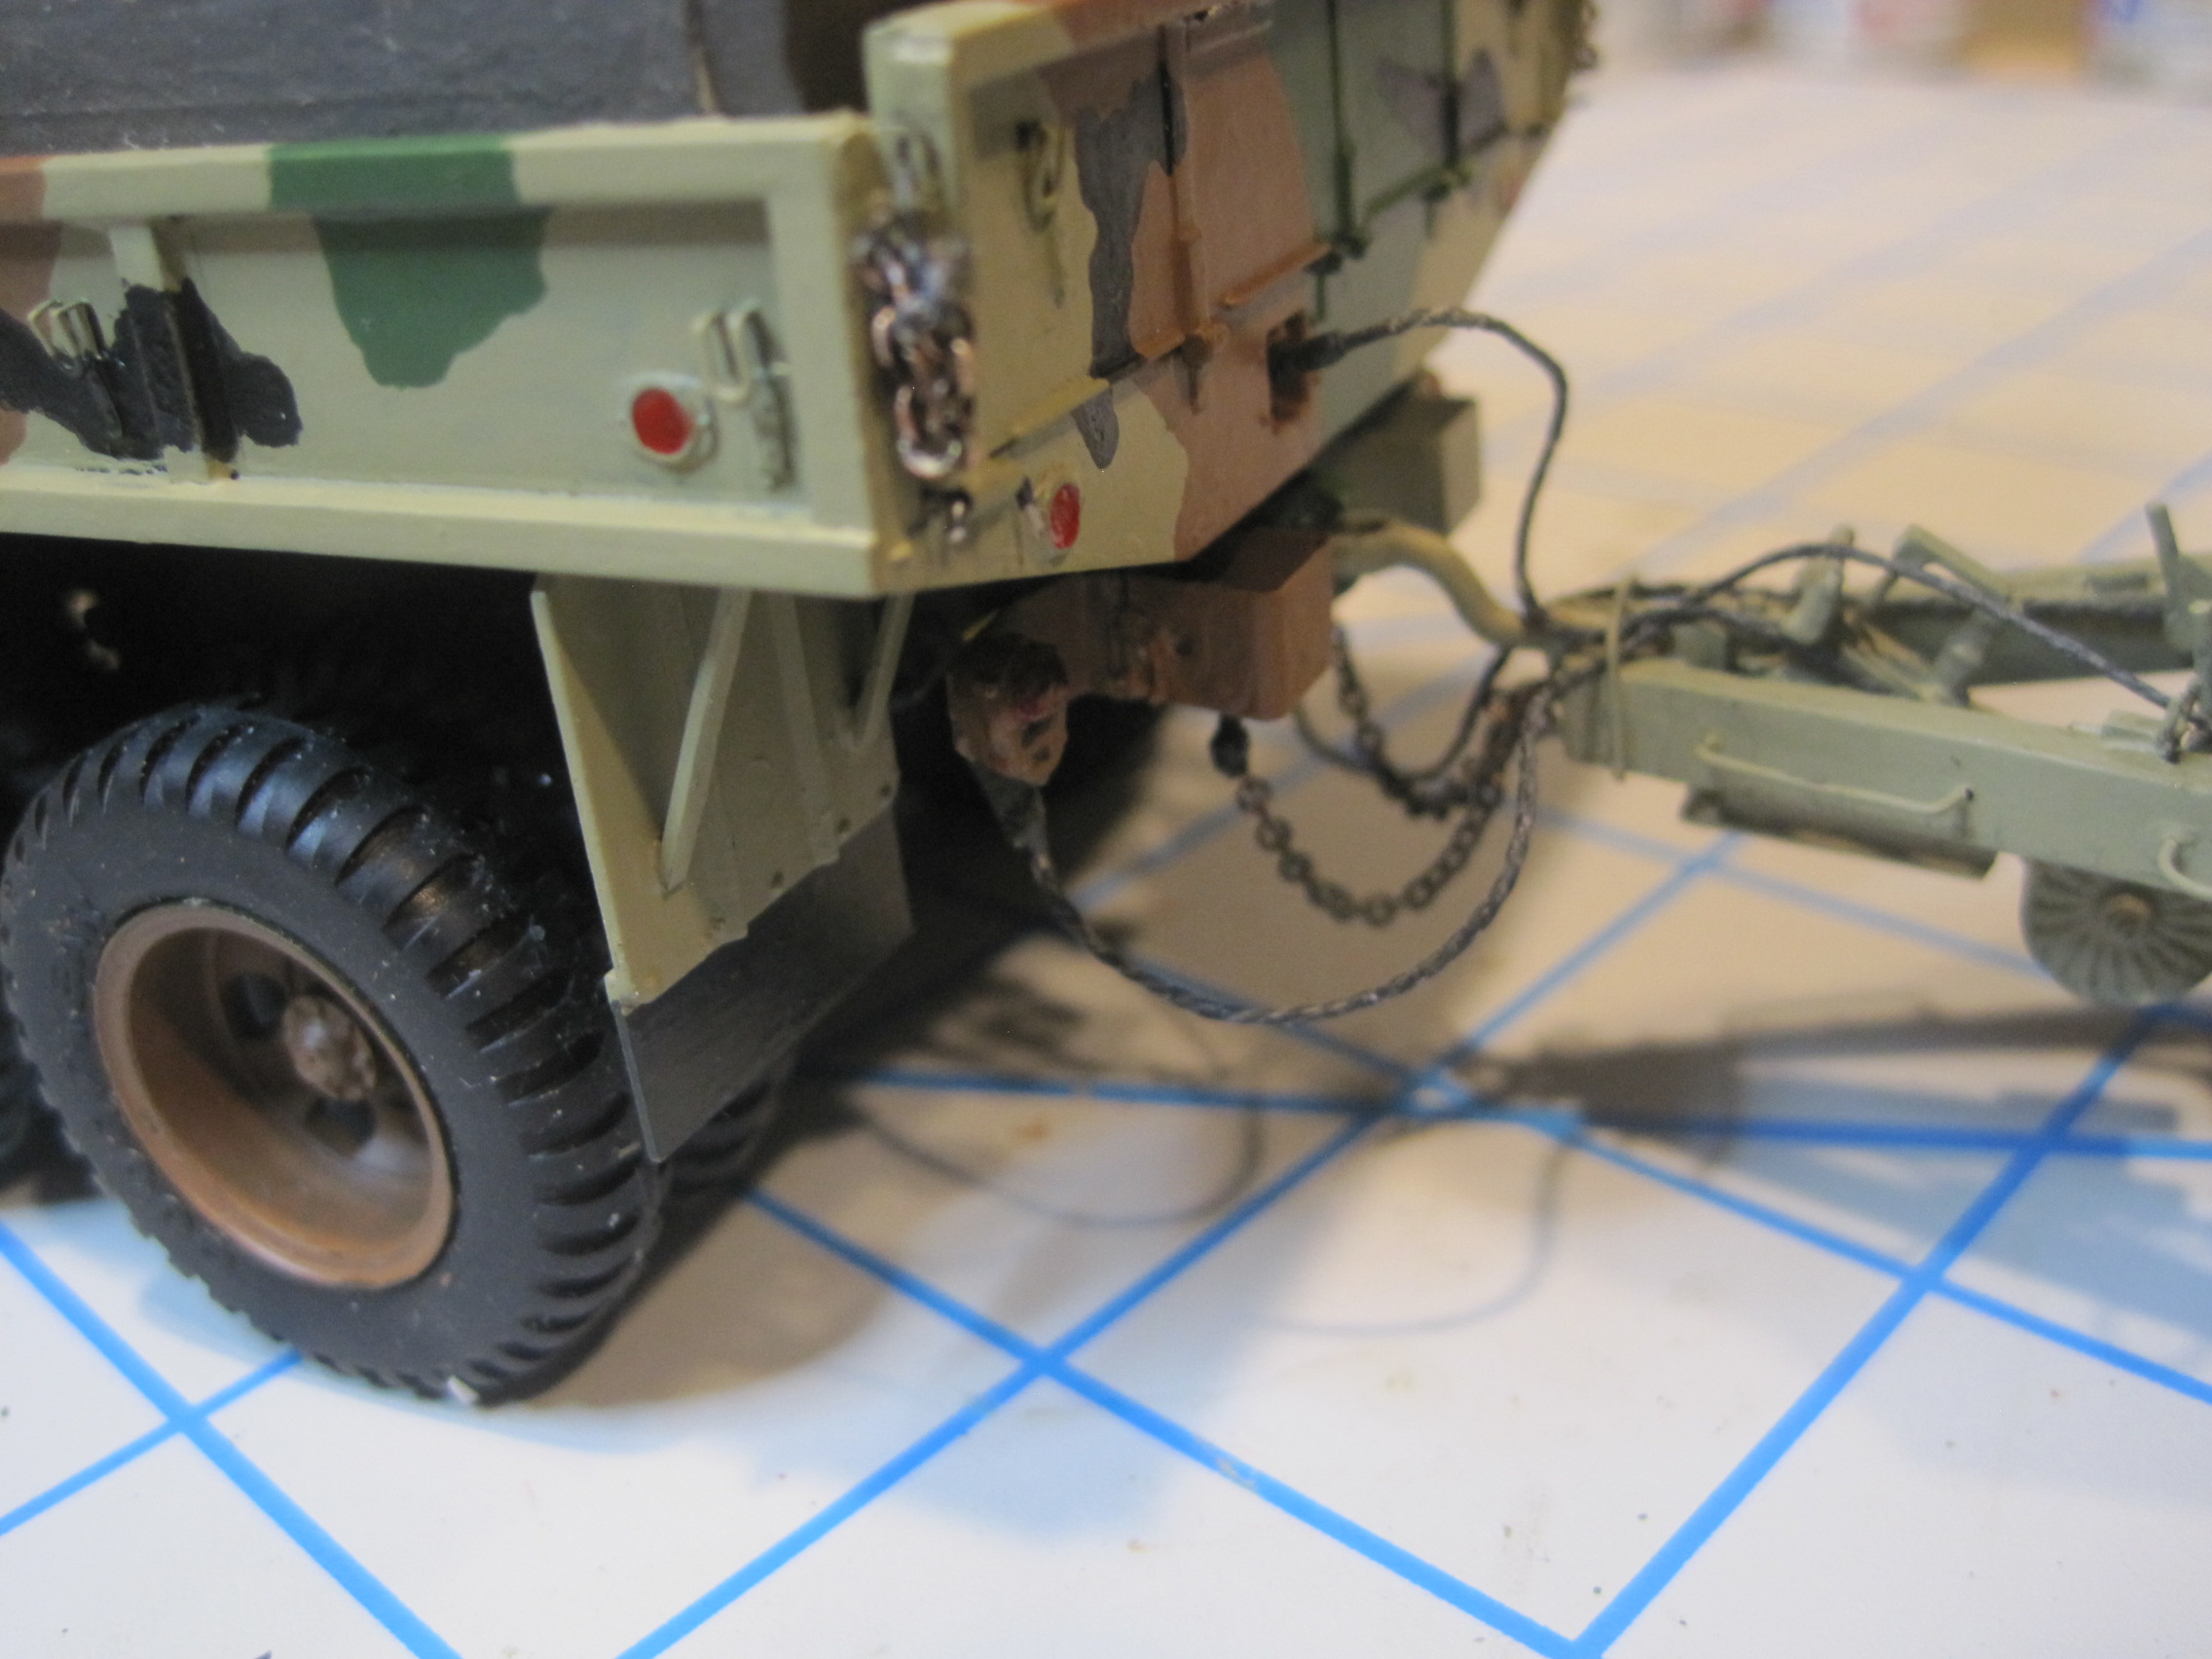
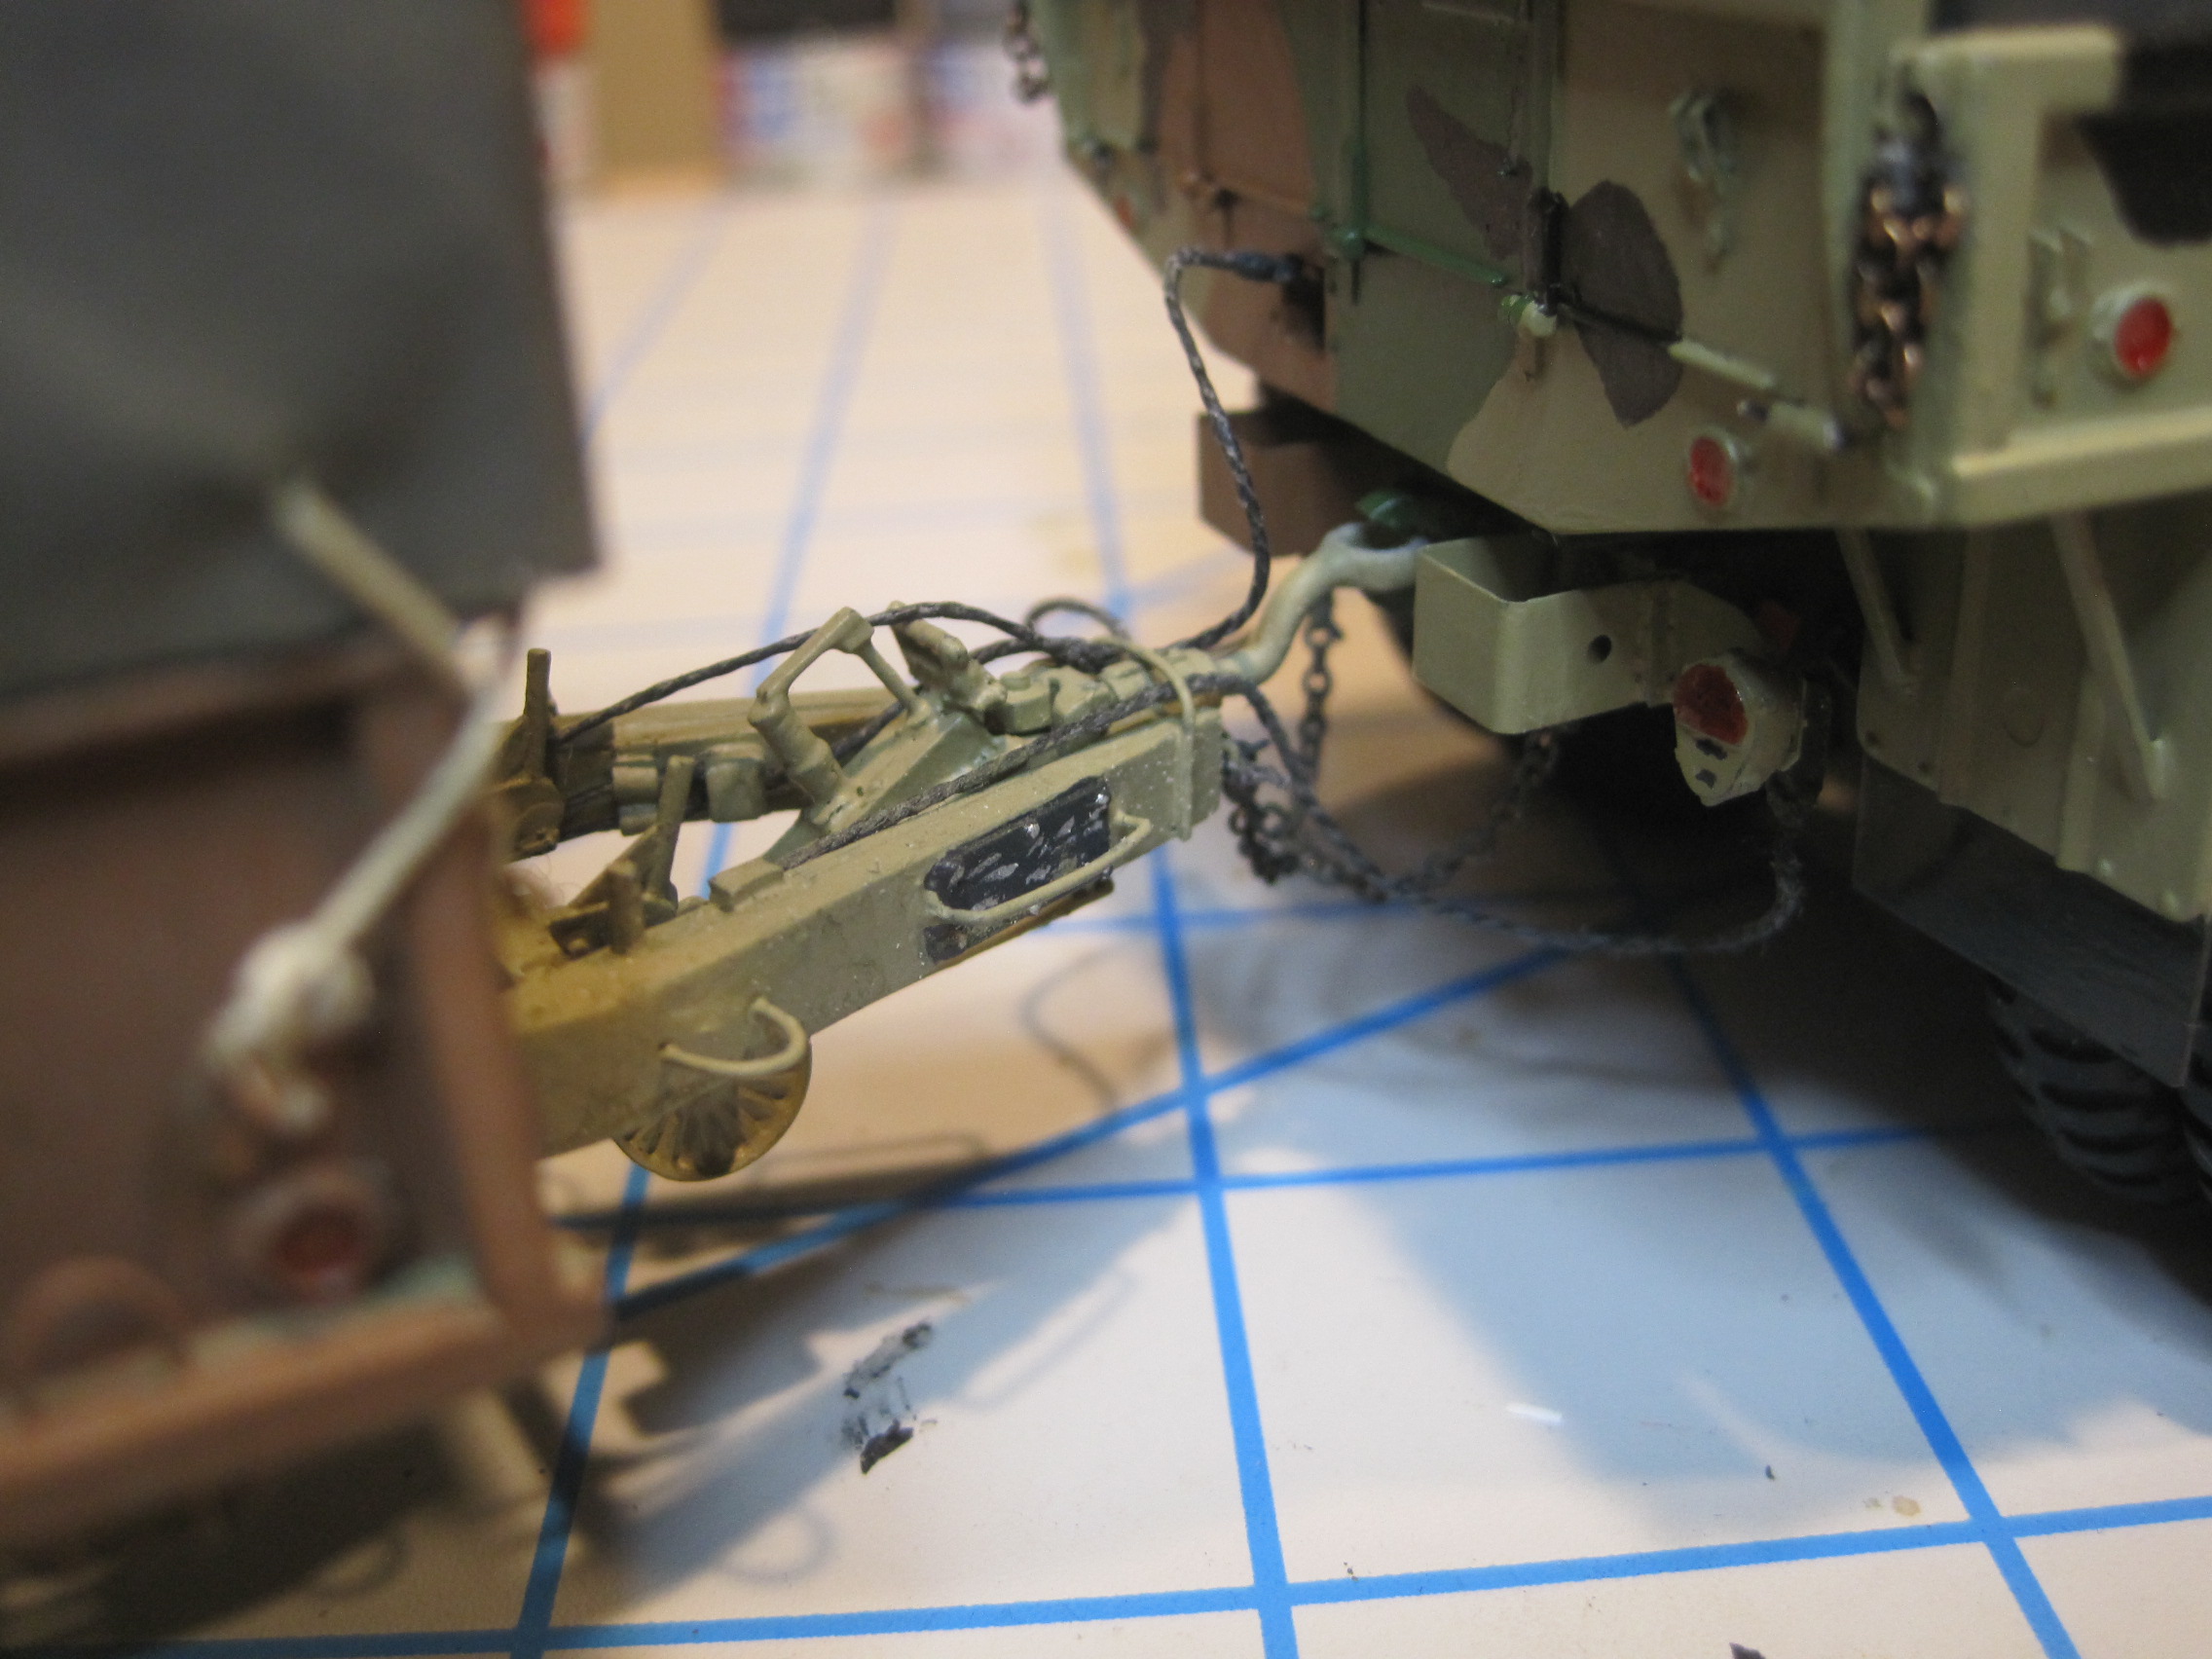
After completing the cab portion, I moved on to the 2nd unit body. The first step was to make the tailgate chains. Eduard provides some in their PE set, but while they would certainly look fine to hold the tailgate in the open position, they are not really chains so I decided to cut the hook off and attach it to a length of real chain. Luckily I have several sizes which I have used for various ship building projects.


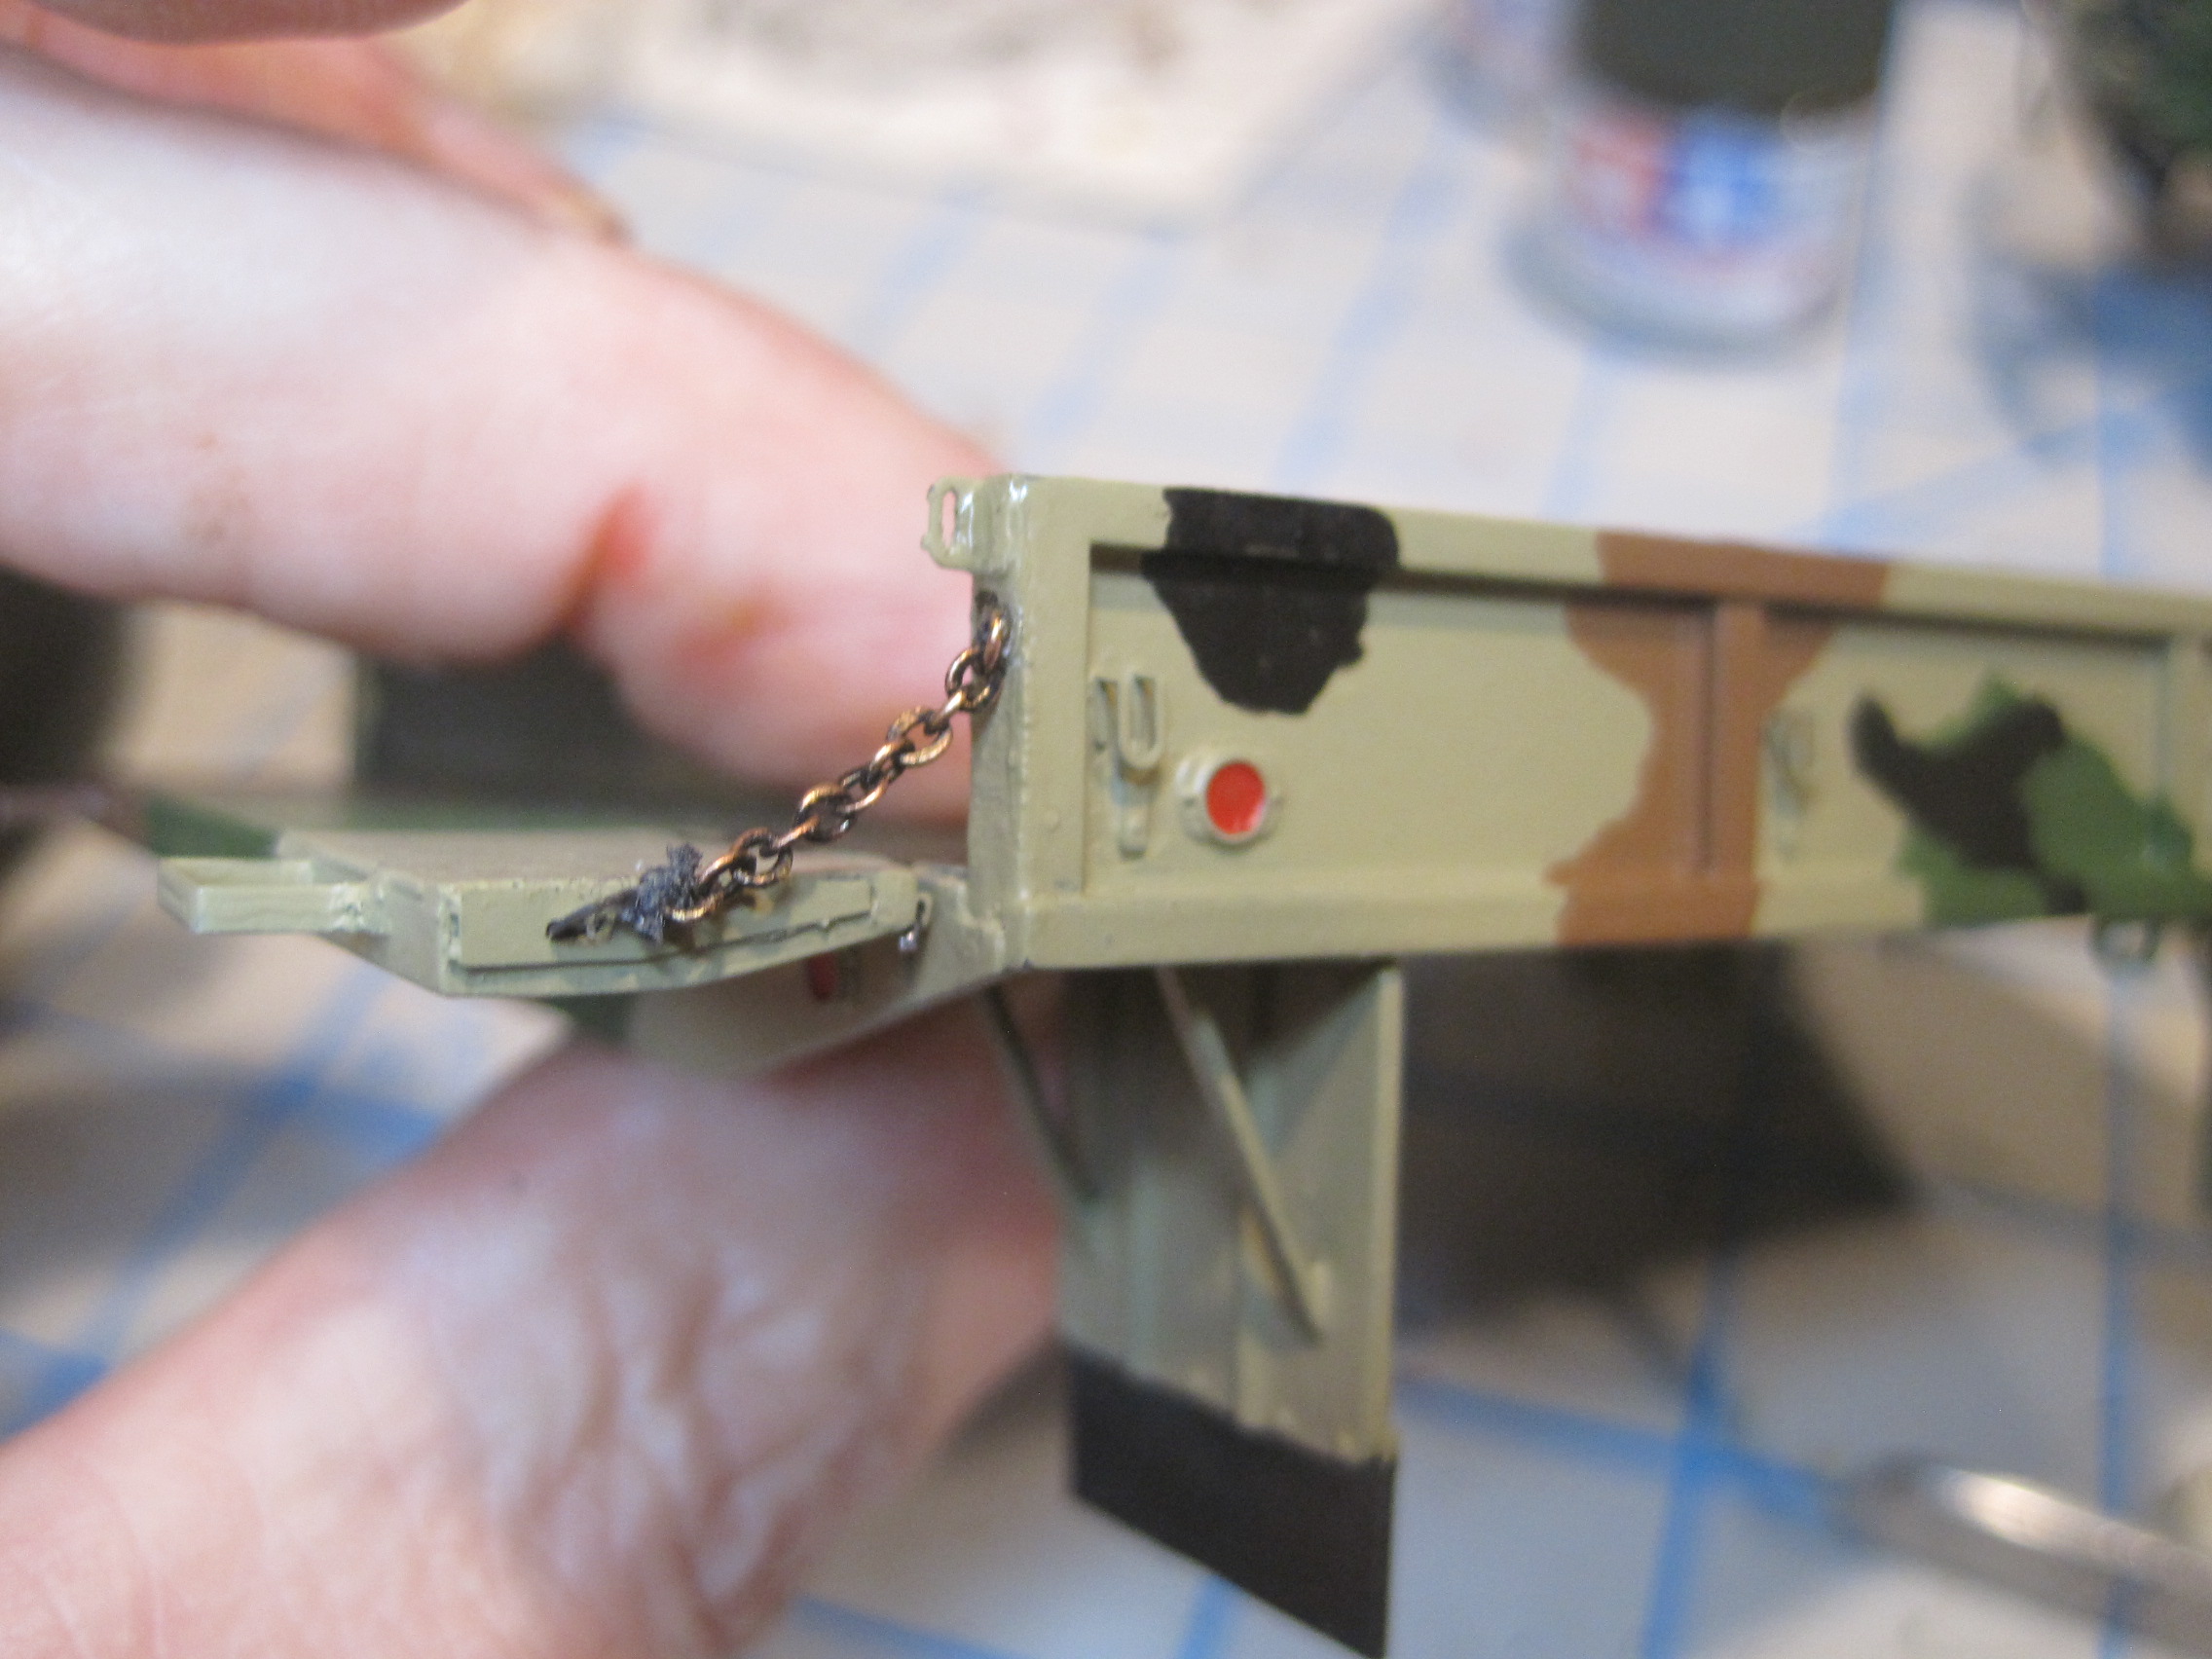
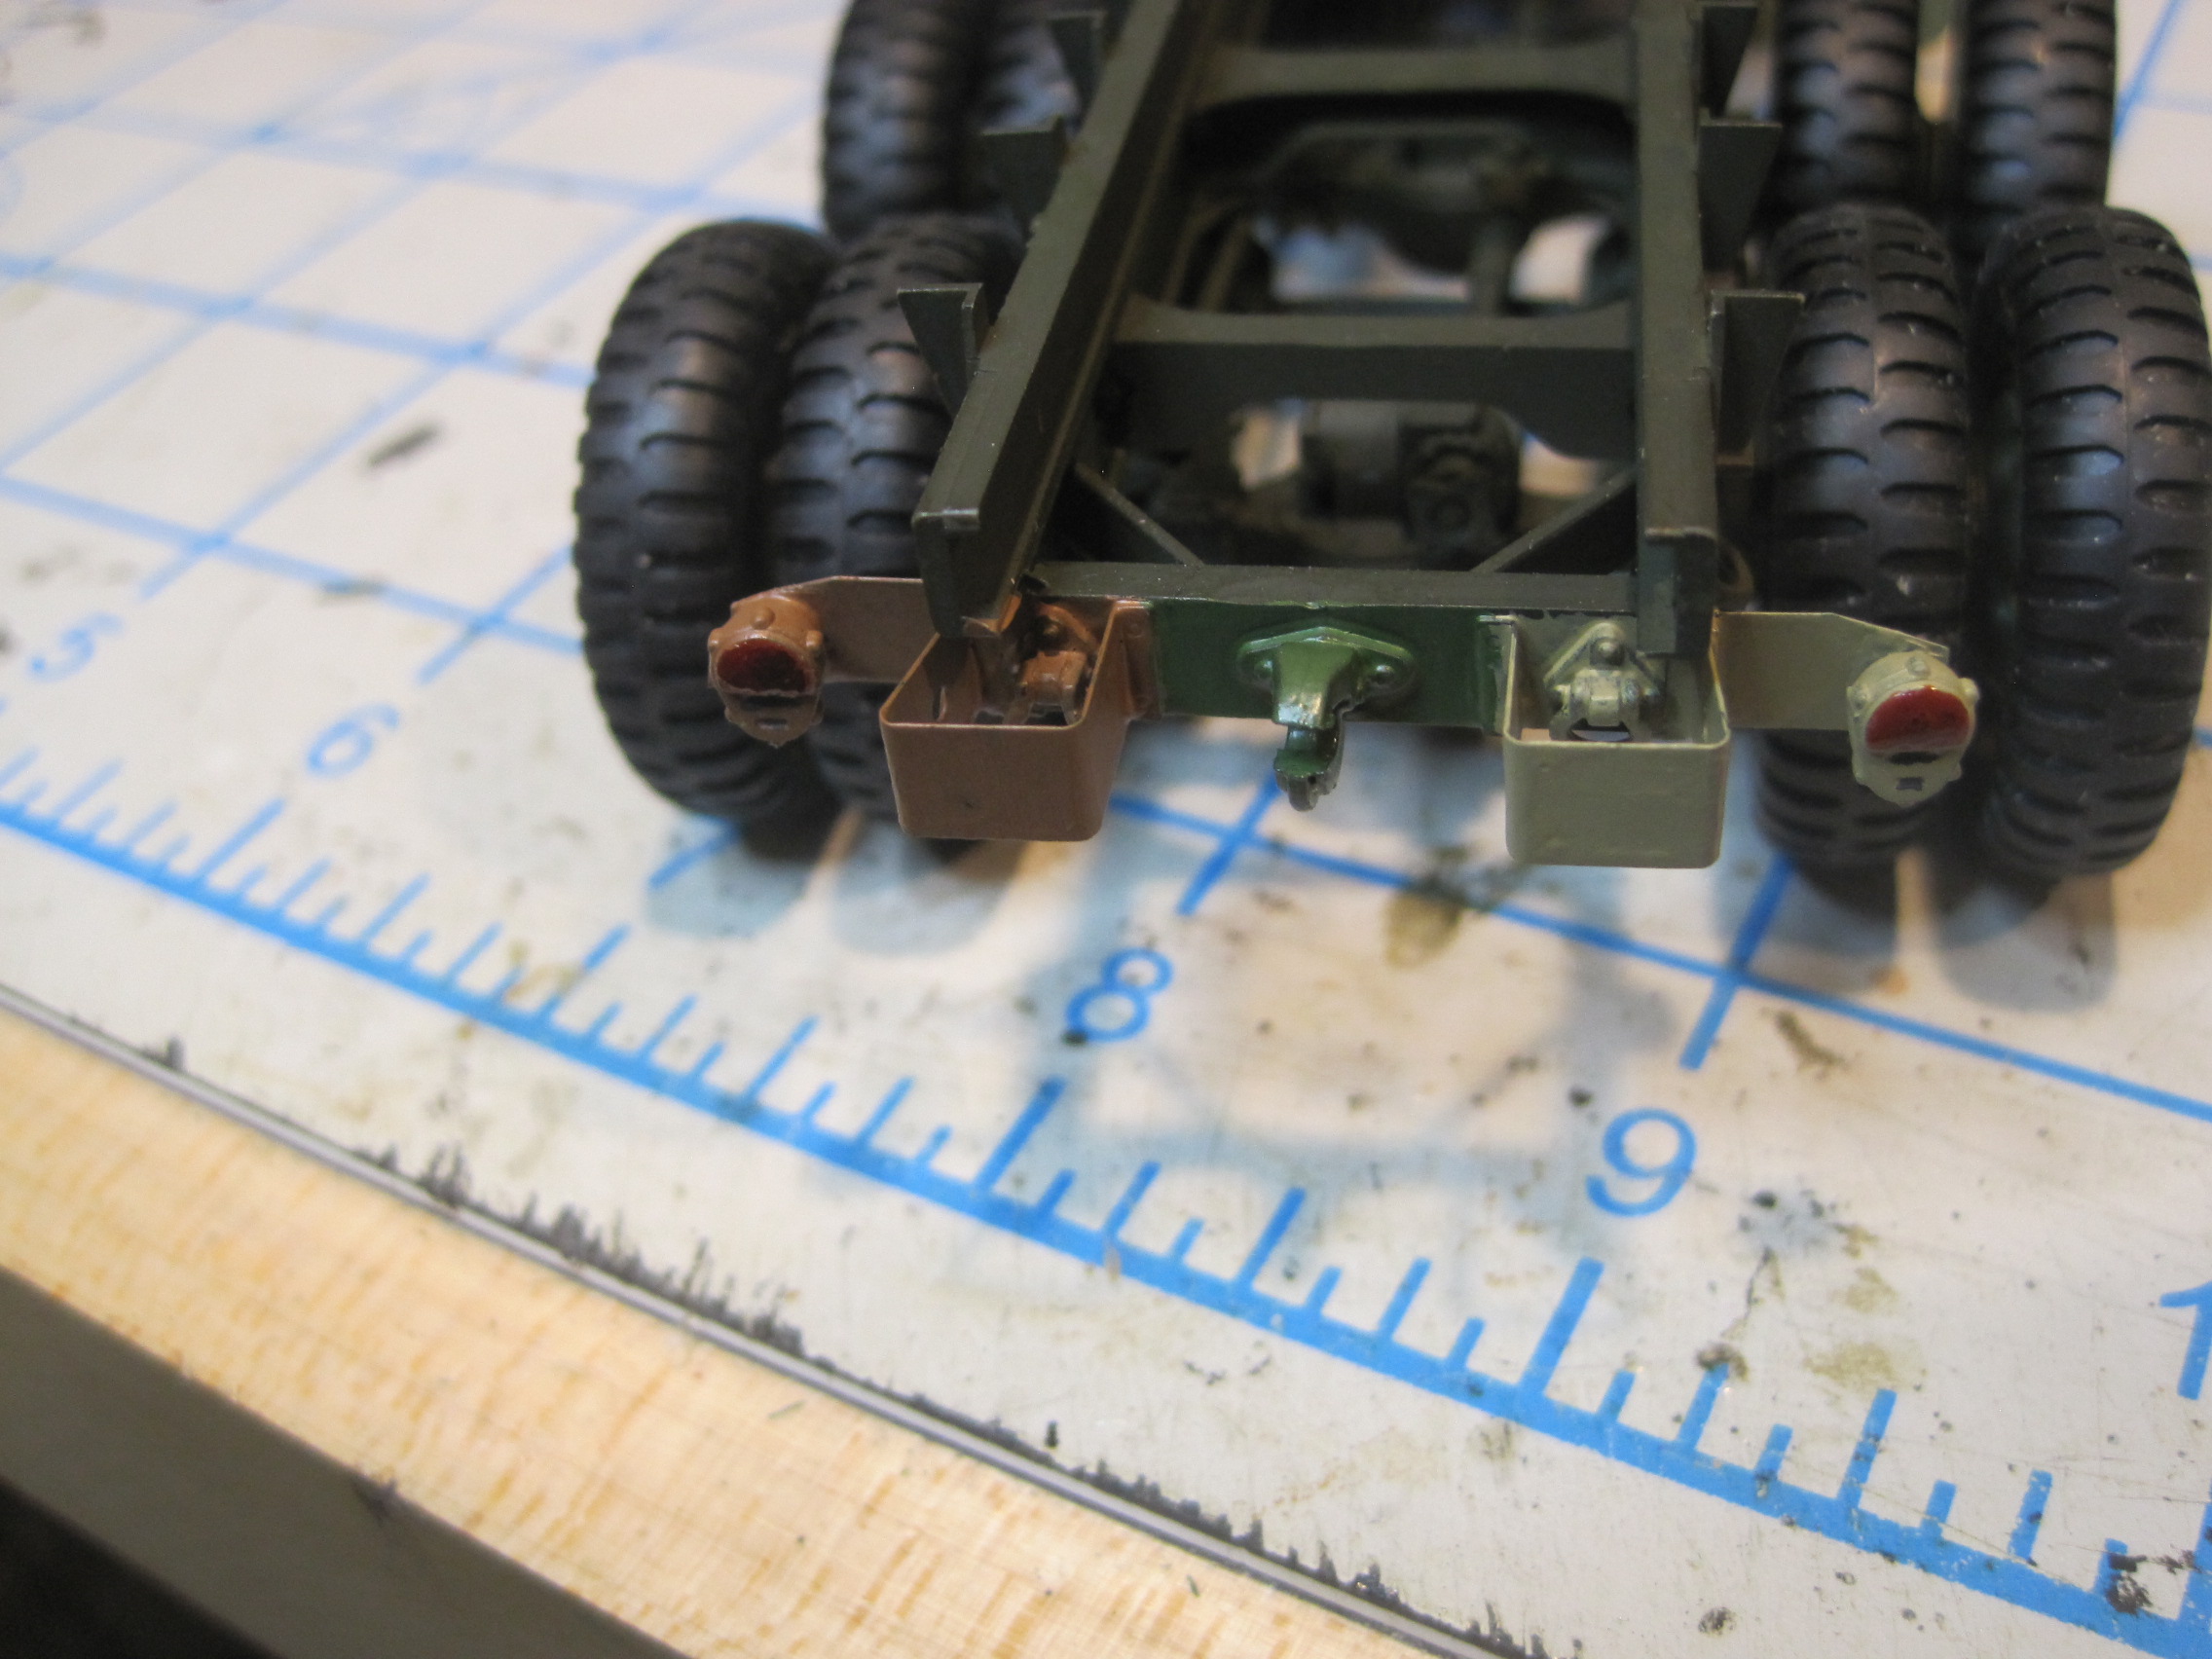
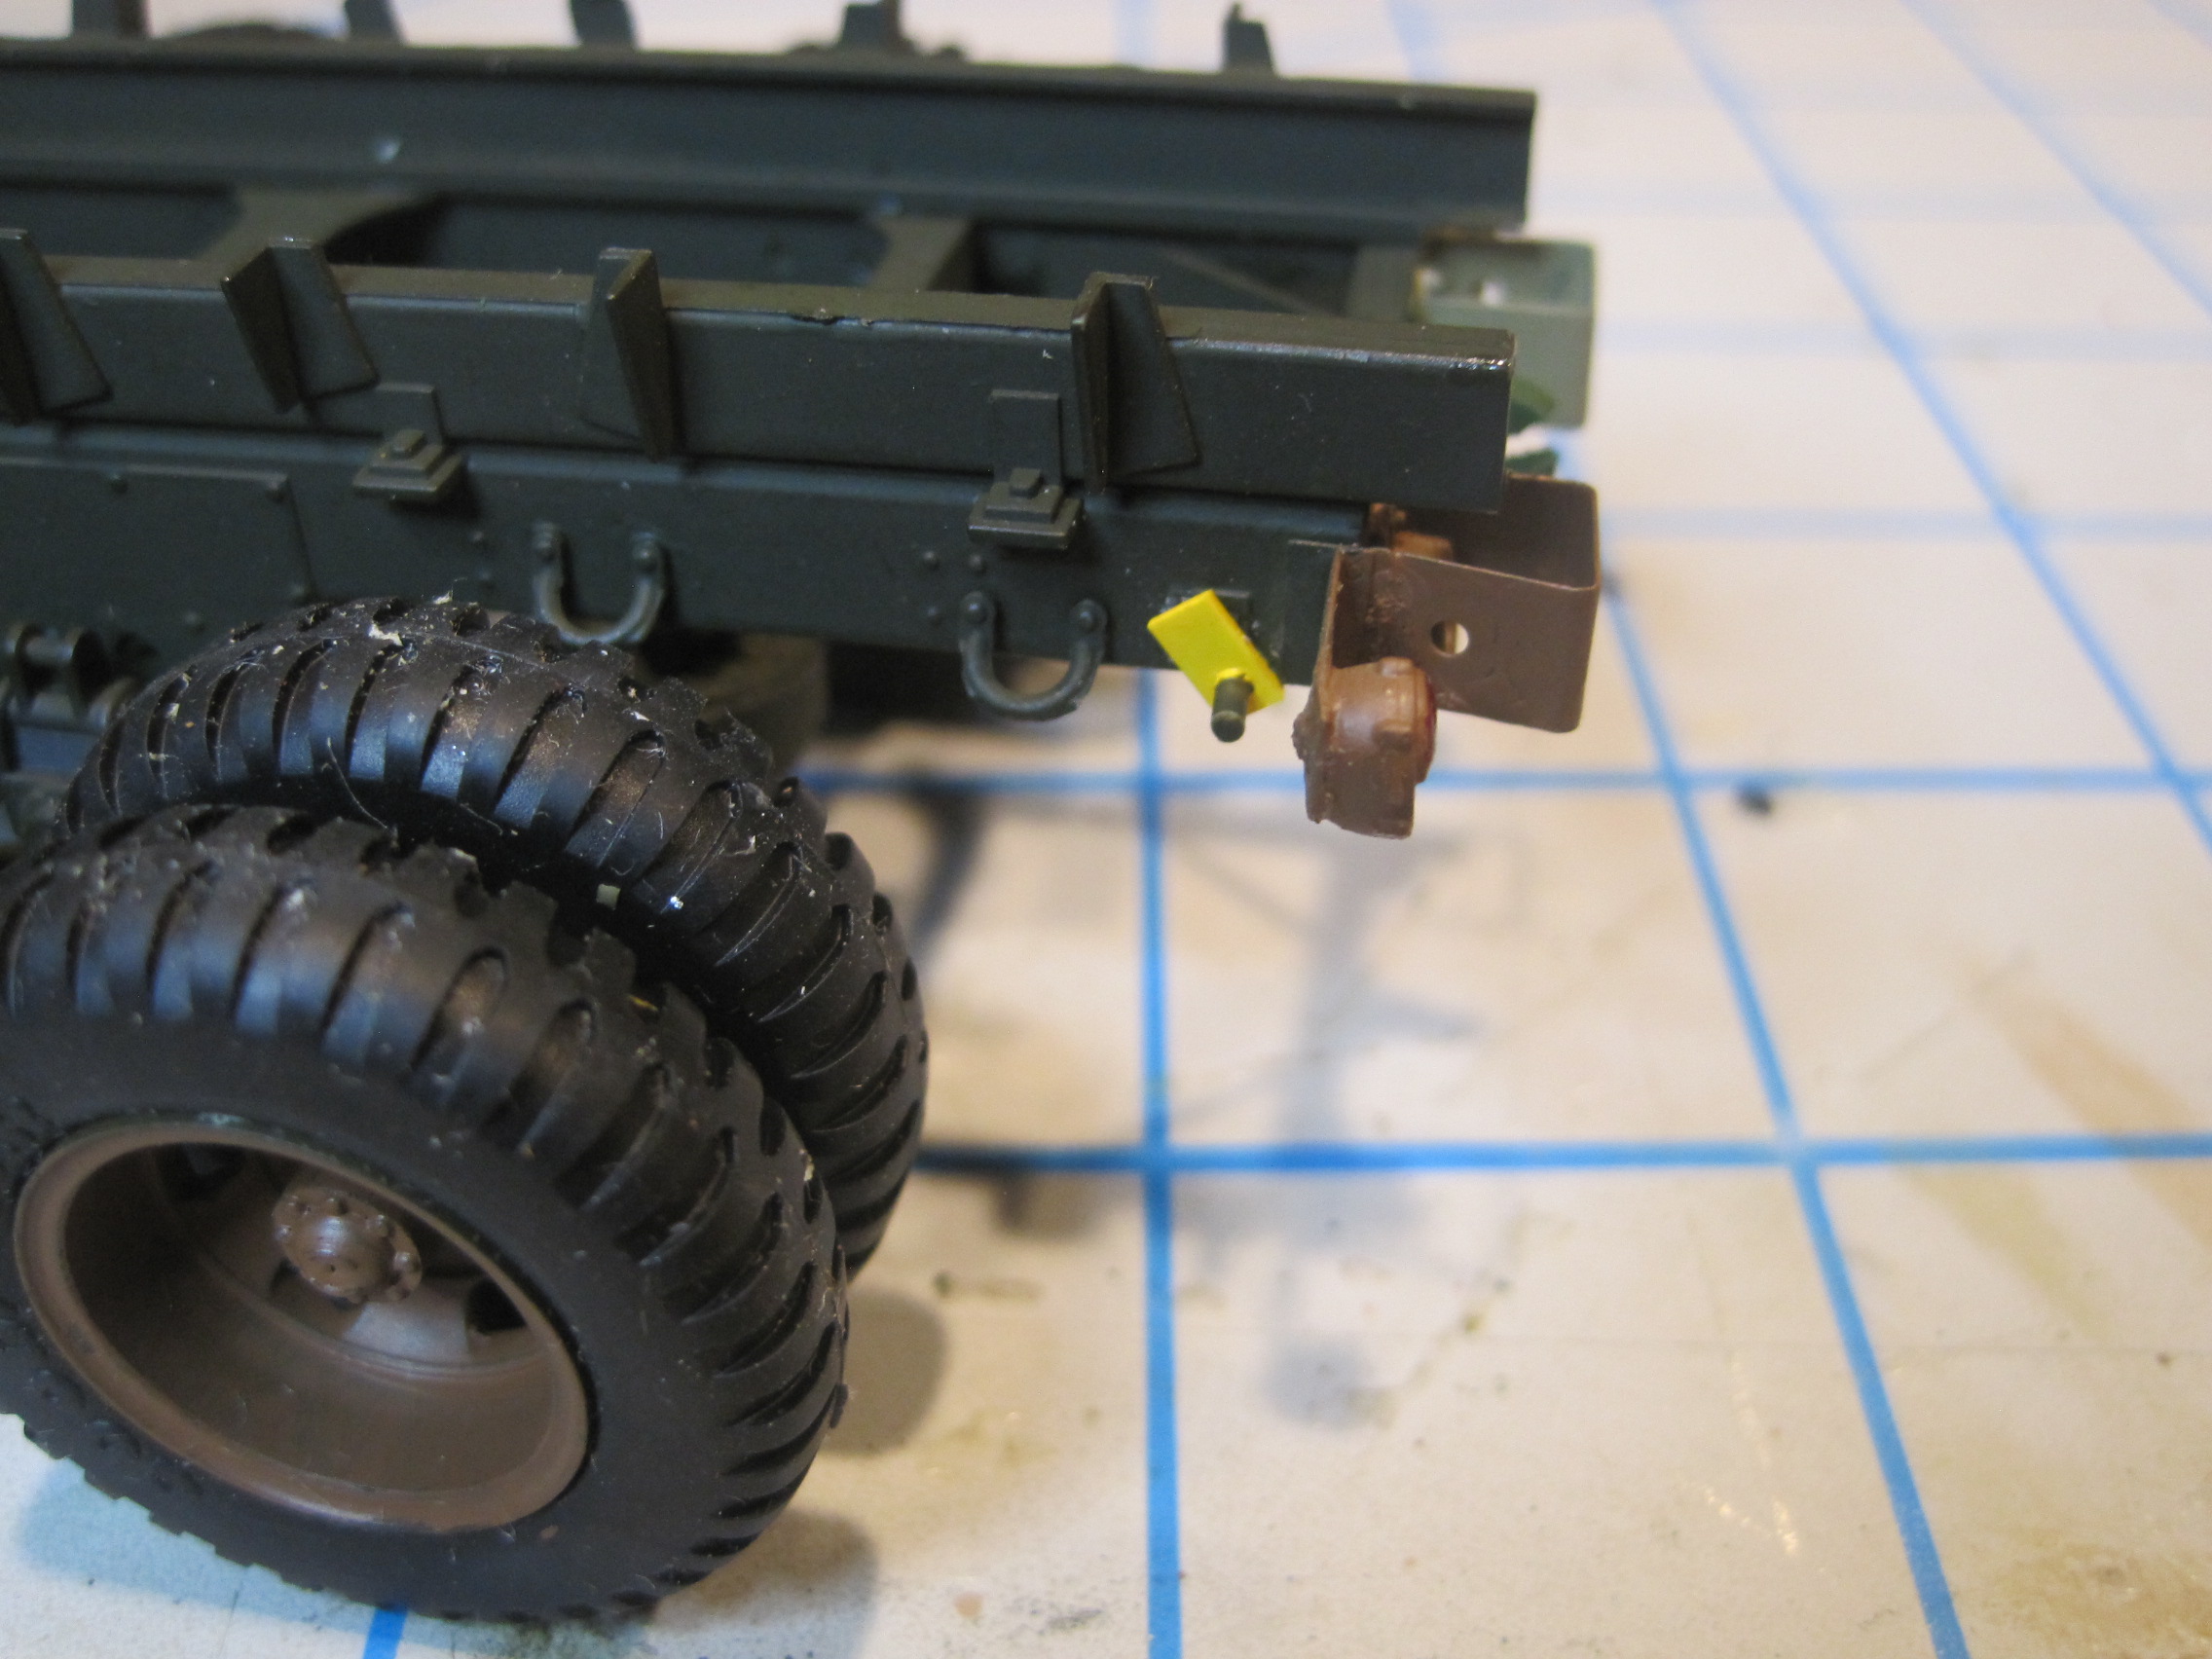
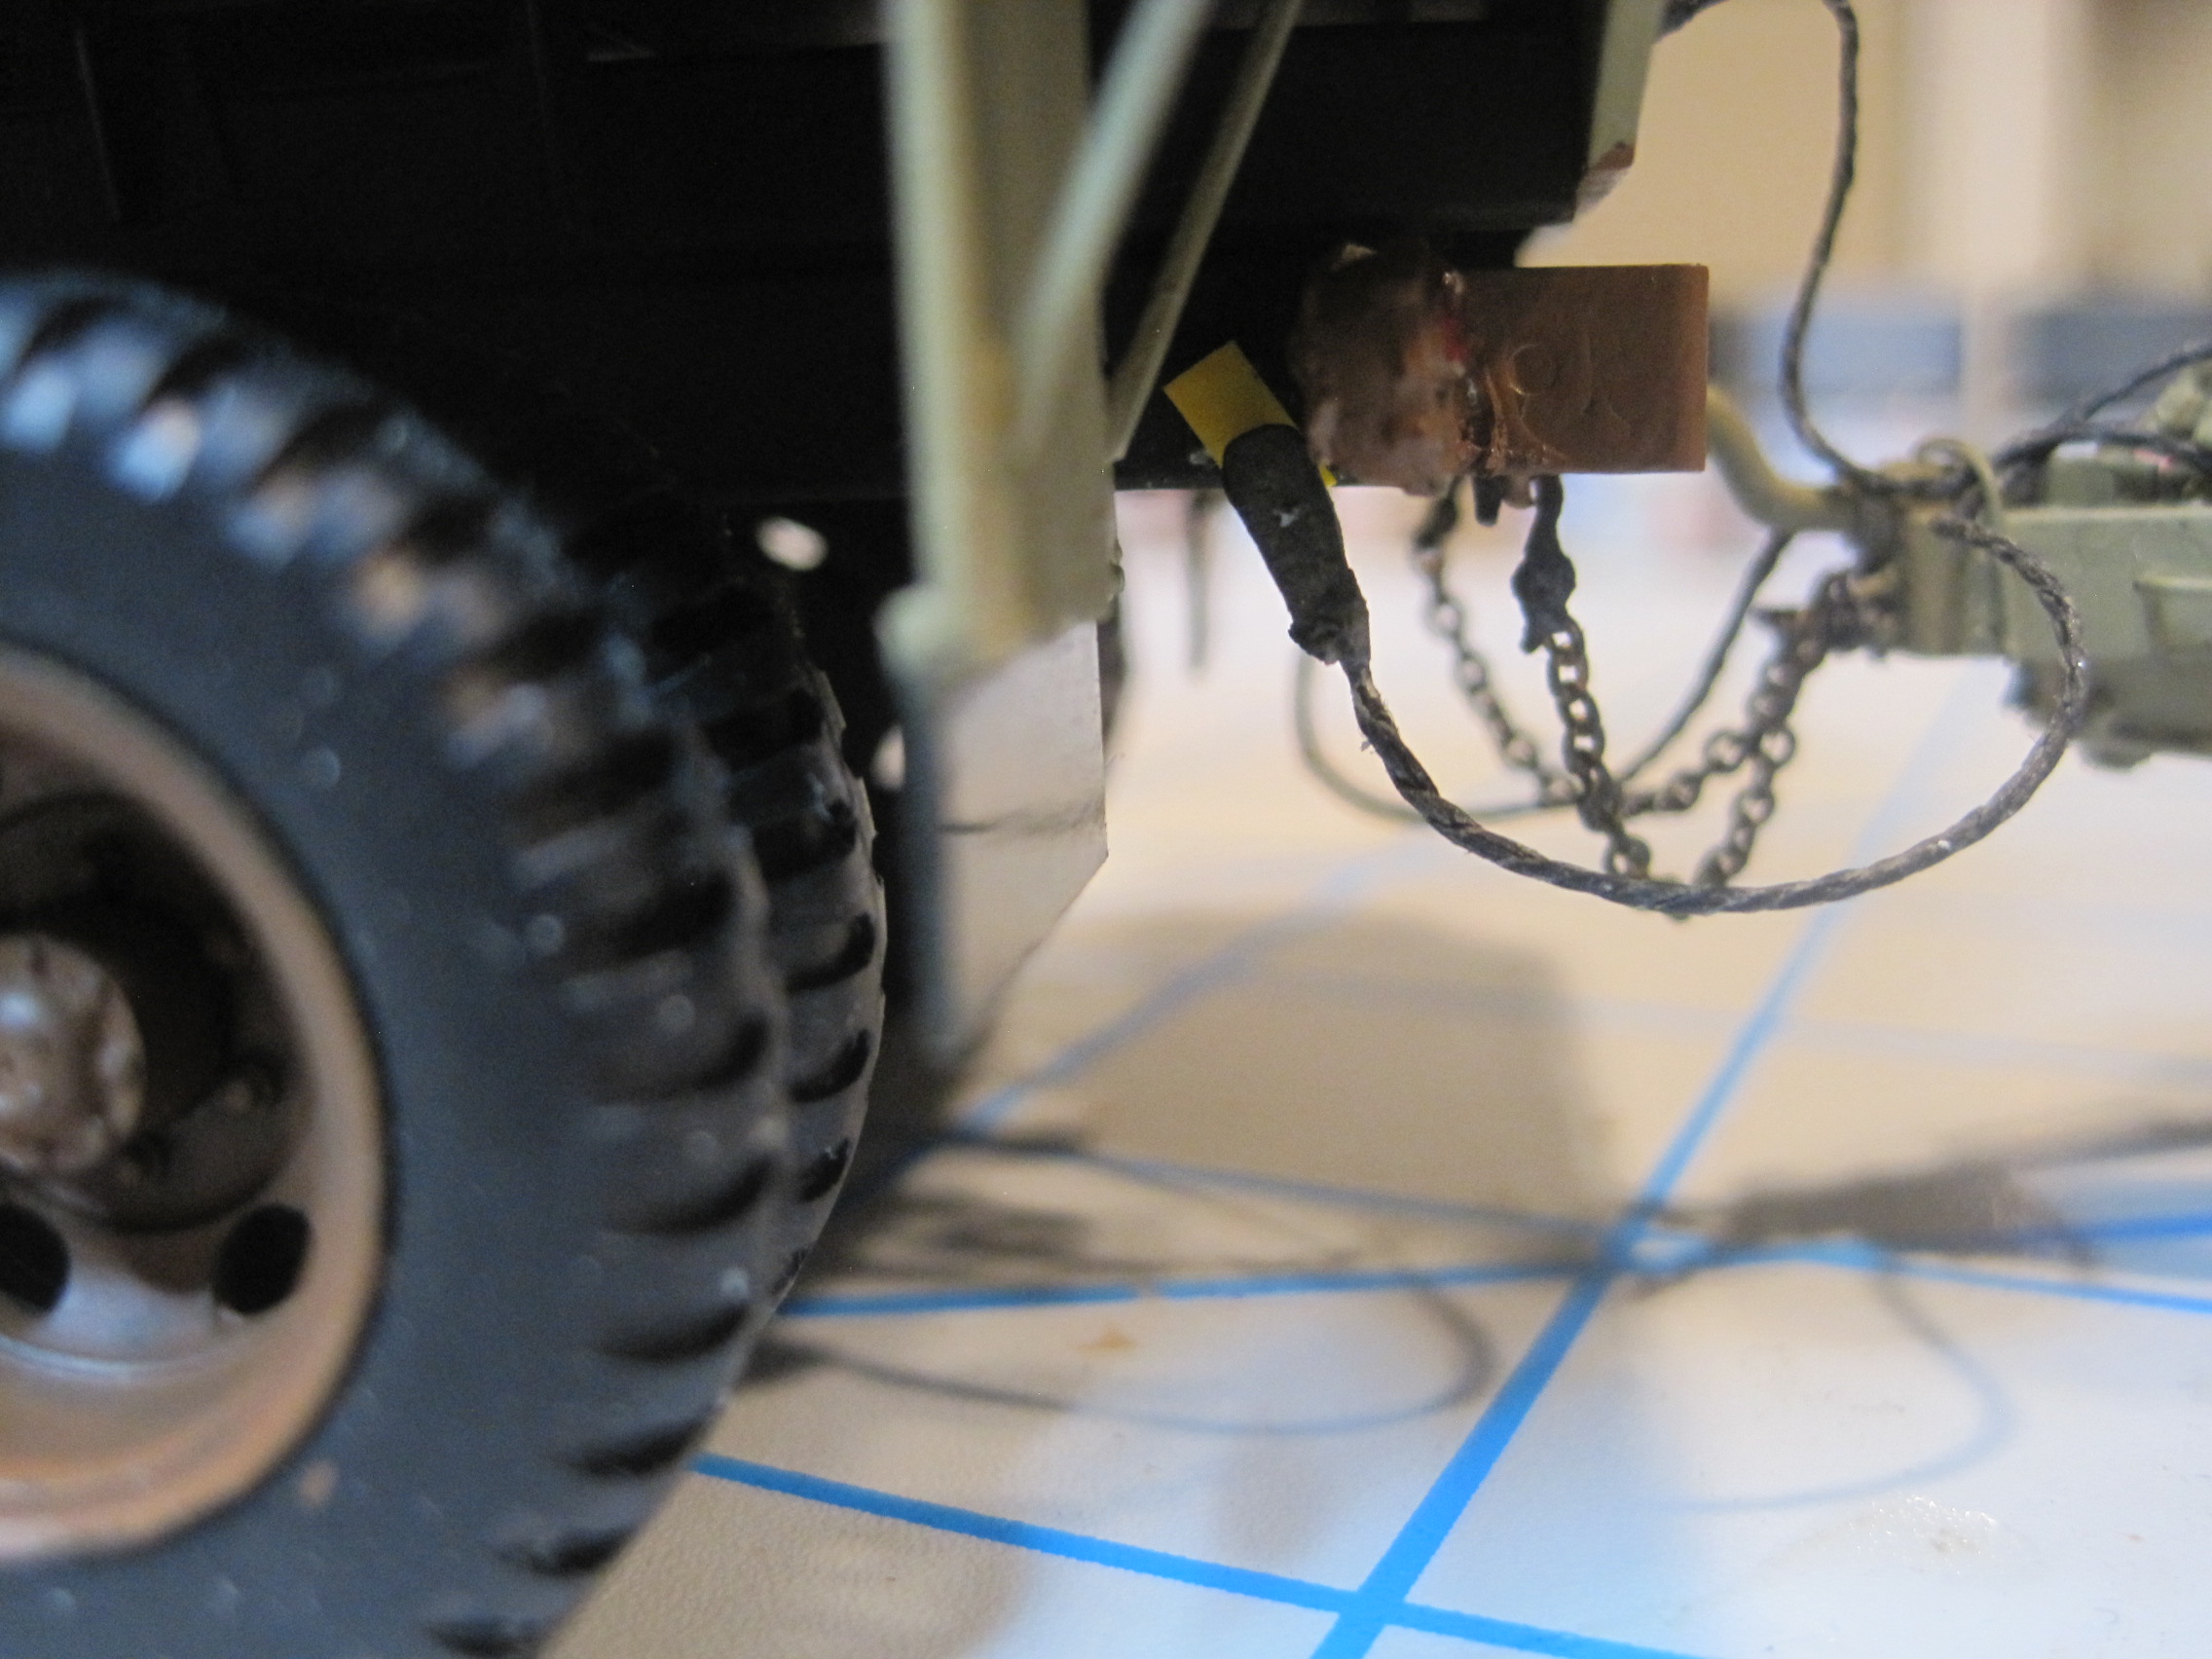
Next step was adding a few details on the cab/chassis that I had not yet installed. The “glad hands” on the rear of the chassis do not actually look like this, they have a circular opening with some flanges and a lever and secure with a quarter turn. I just went with a simple post which inserts into the mating piece I made for the trailer.

I also went back and re-did the lights. I used the Tamiya Clear Orange and Clear Red, but didn’t like how they looked. I’m not sure if you’re SUPPOSED to do it this way, but I went back, applied a base coat of flat Orange and Flat Red and THEN covered that with the Clear Orange and Clear Red. I like that much better.
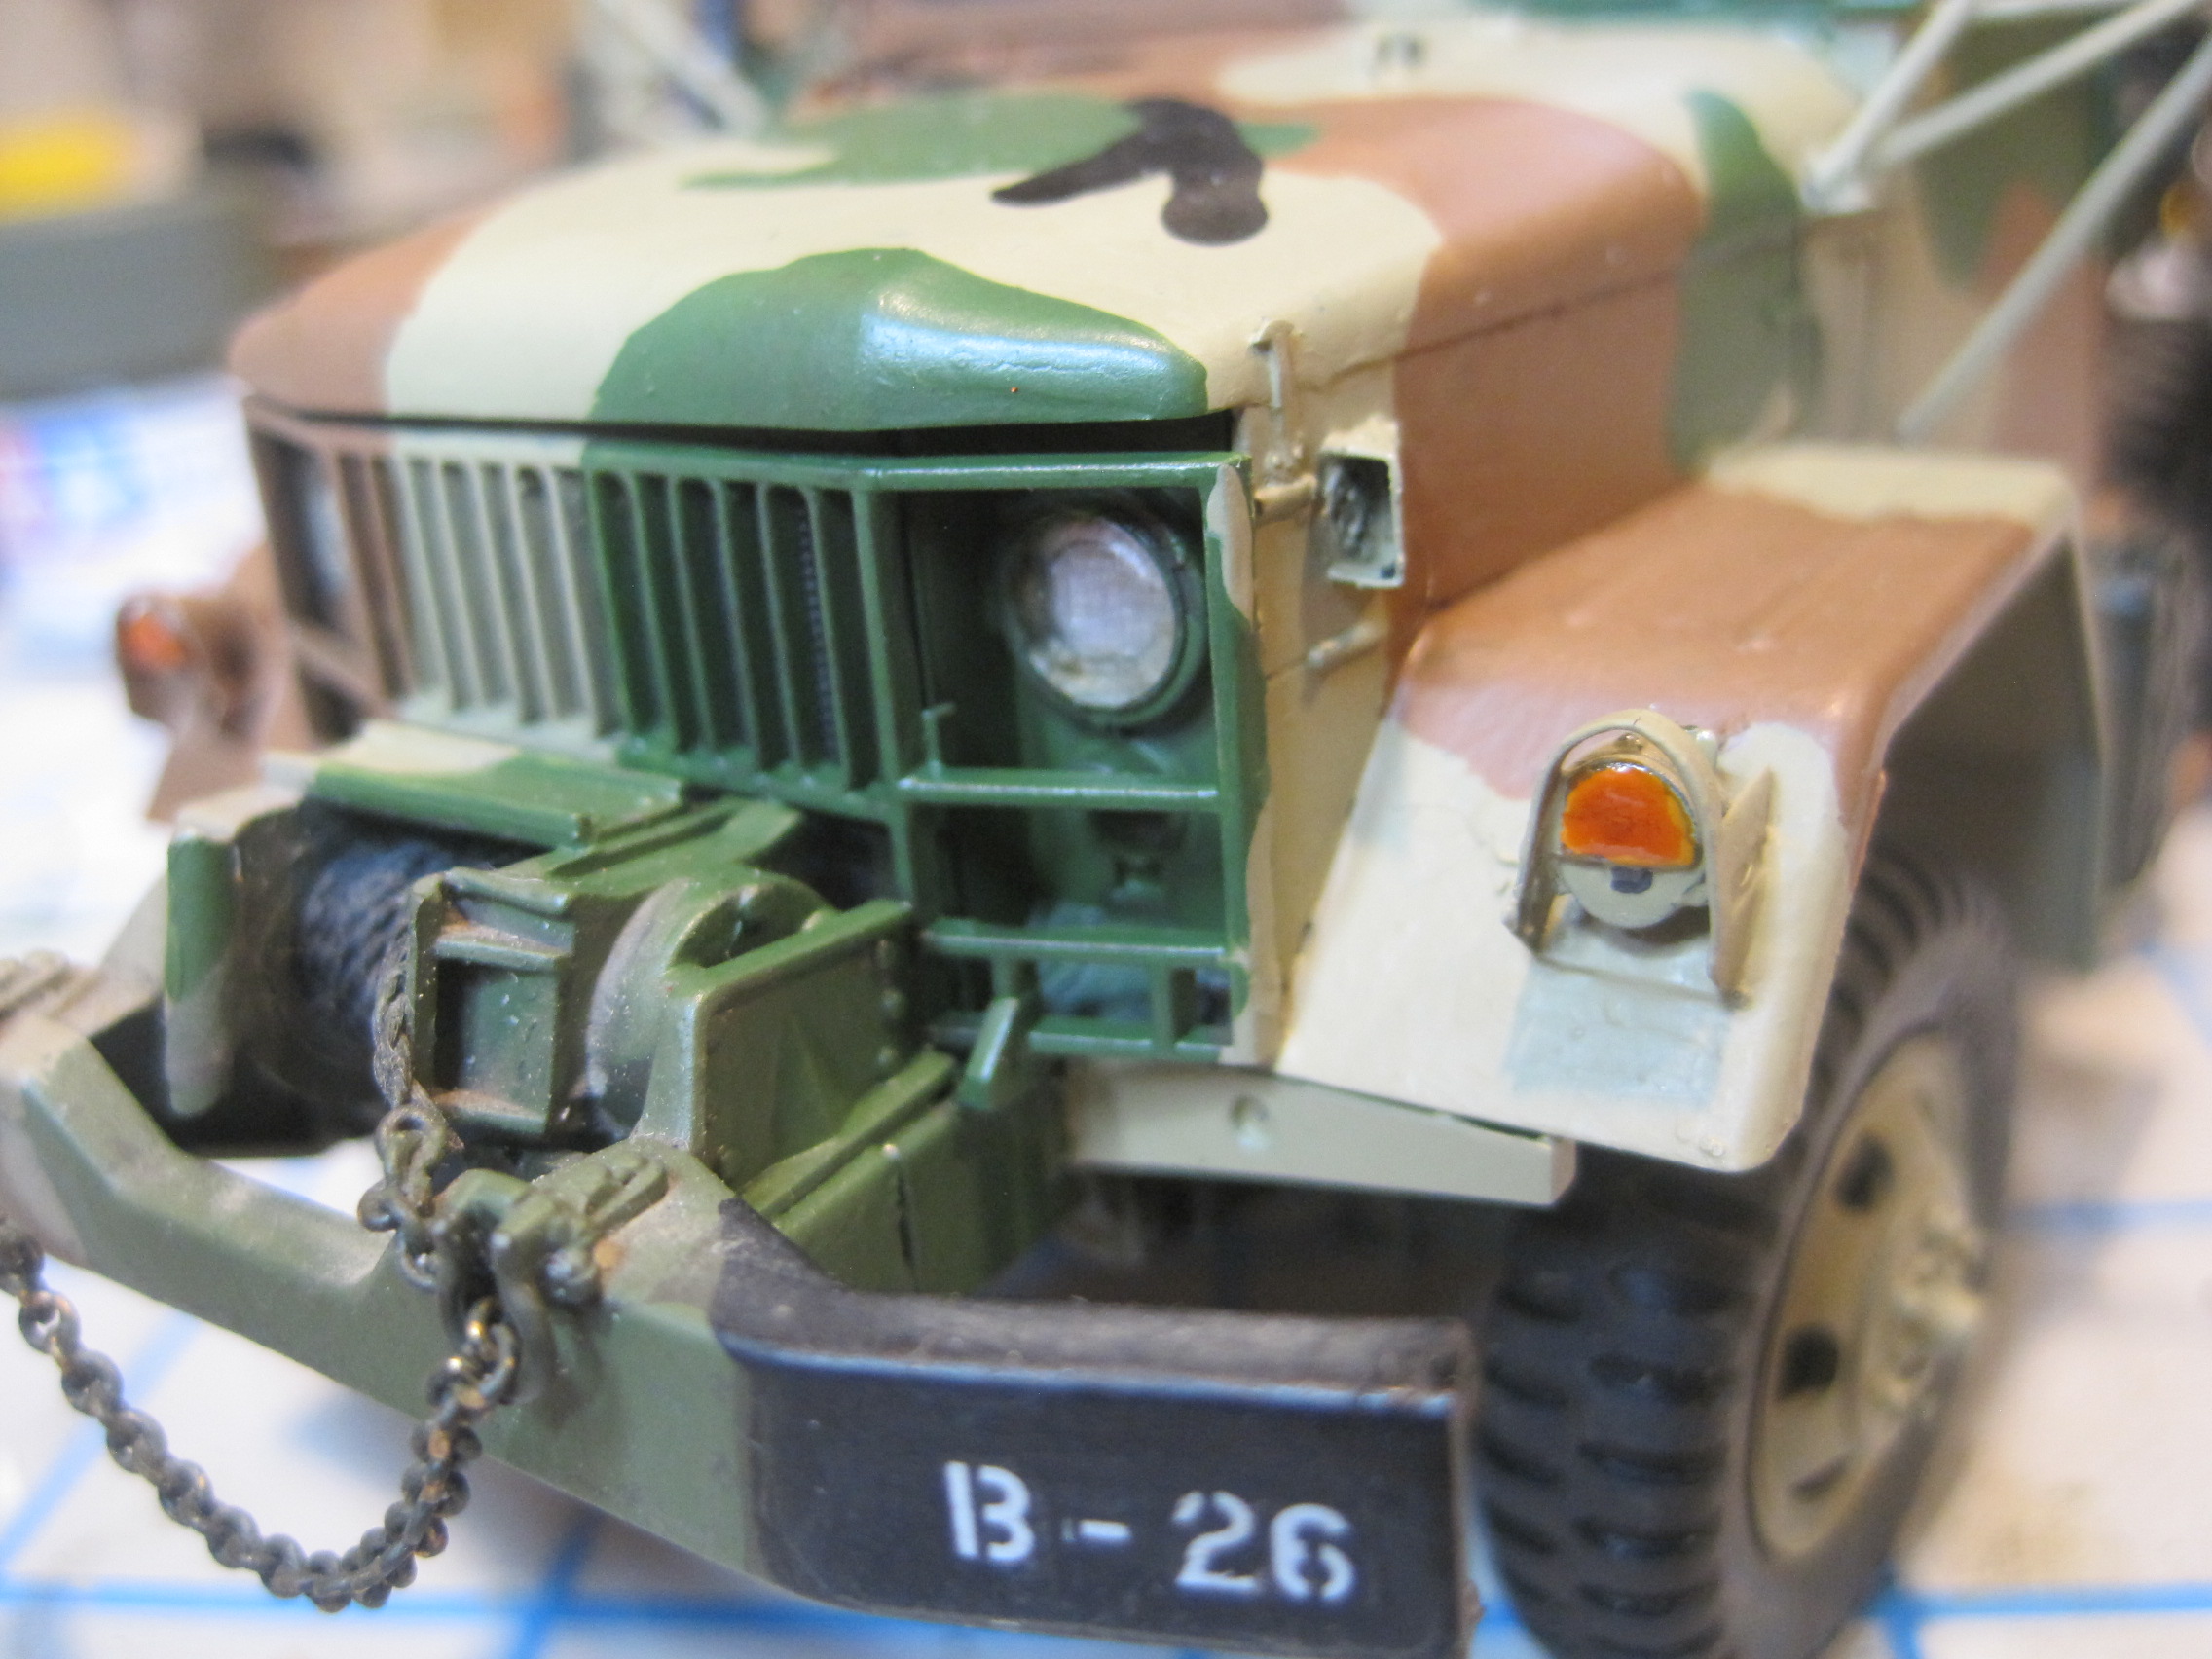
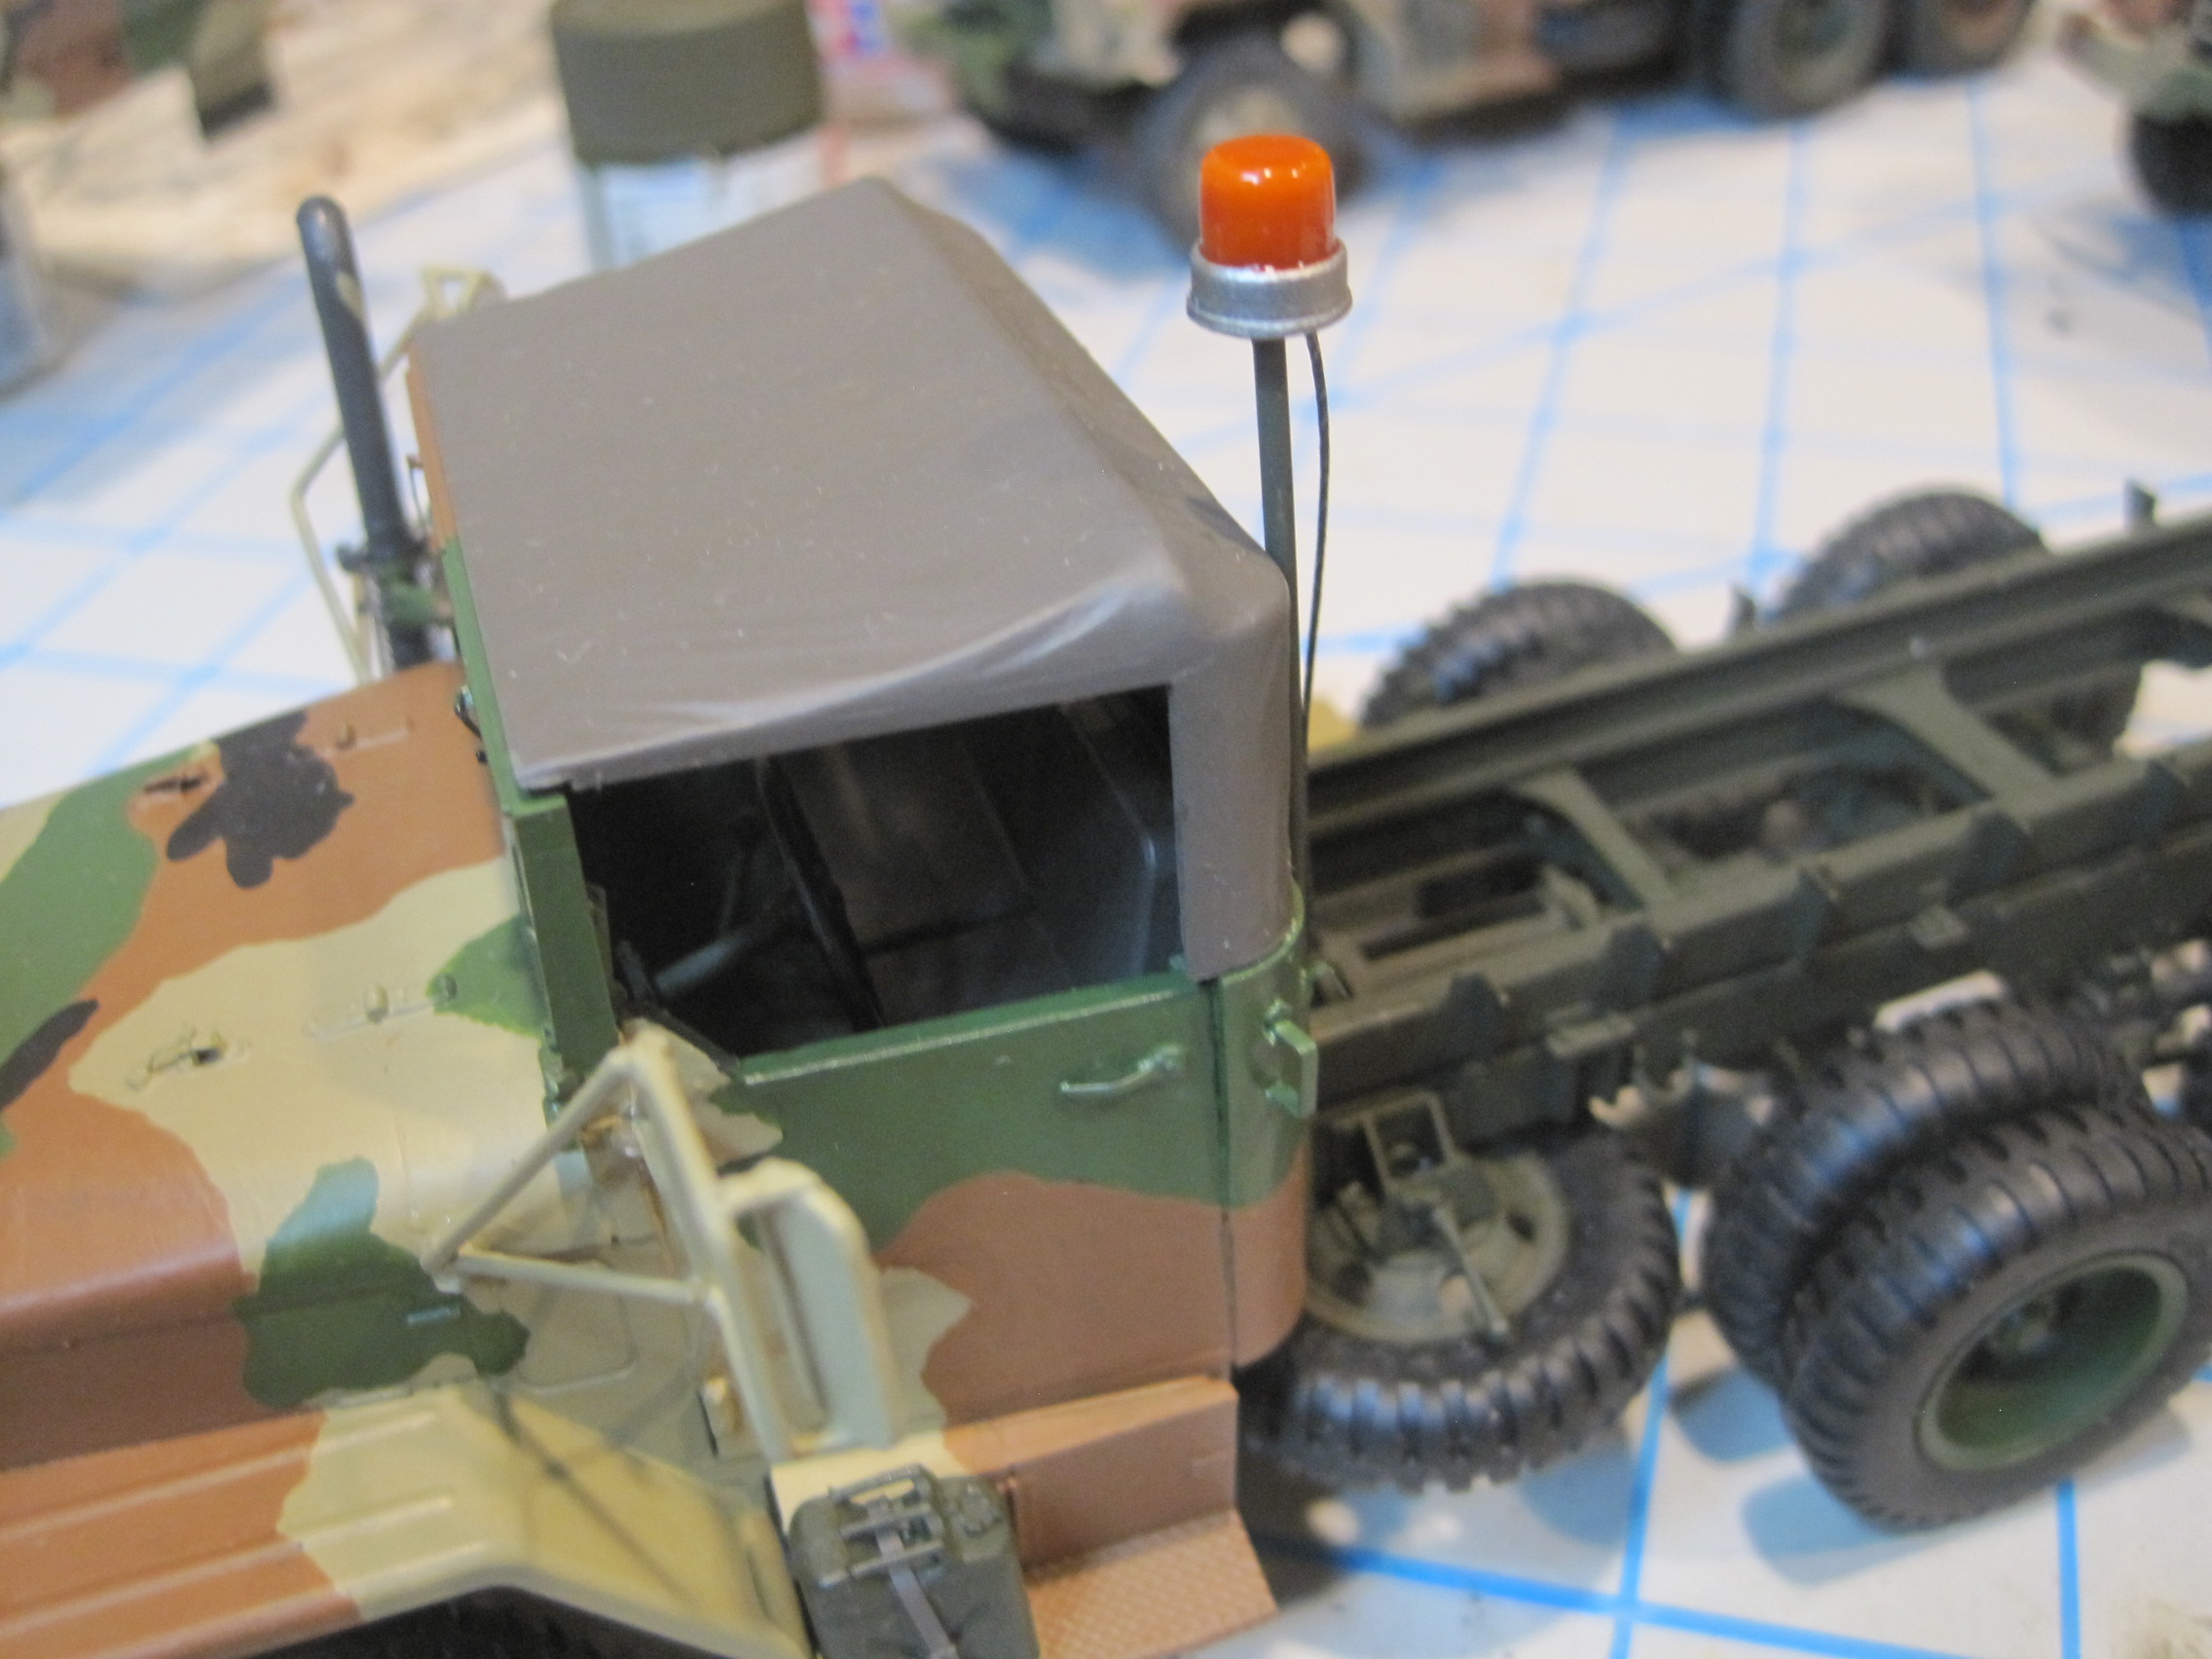
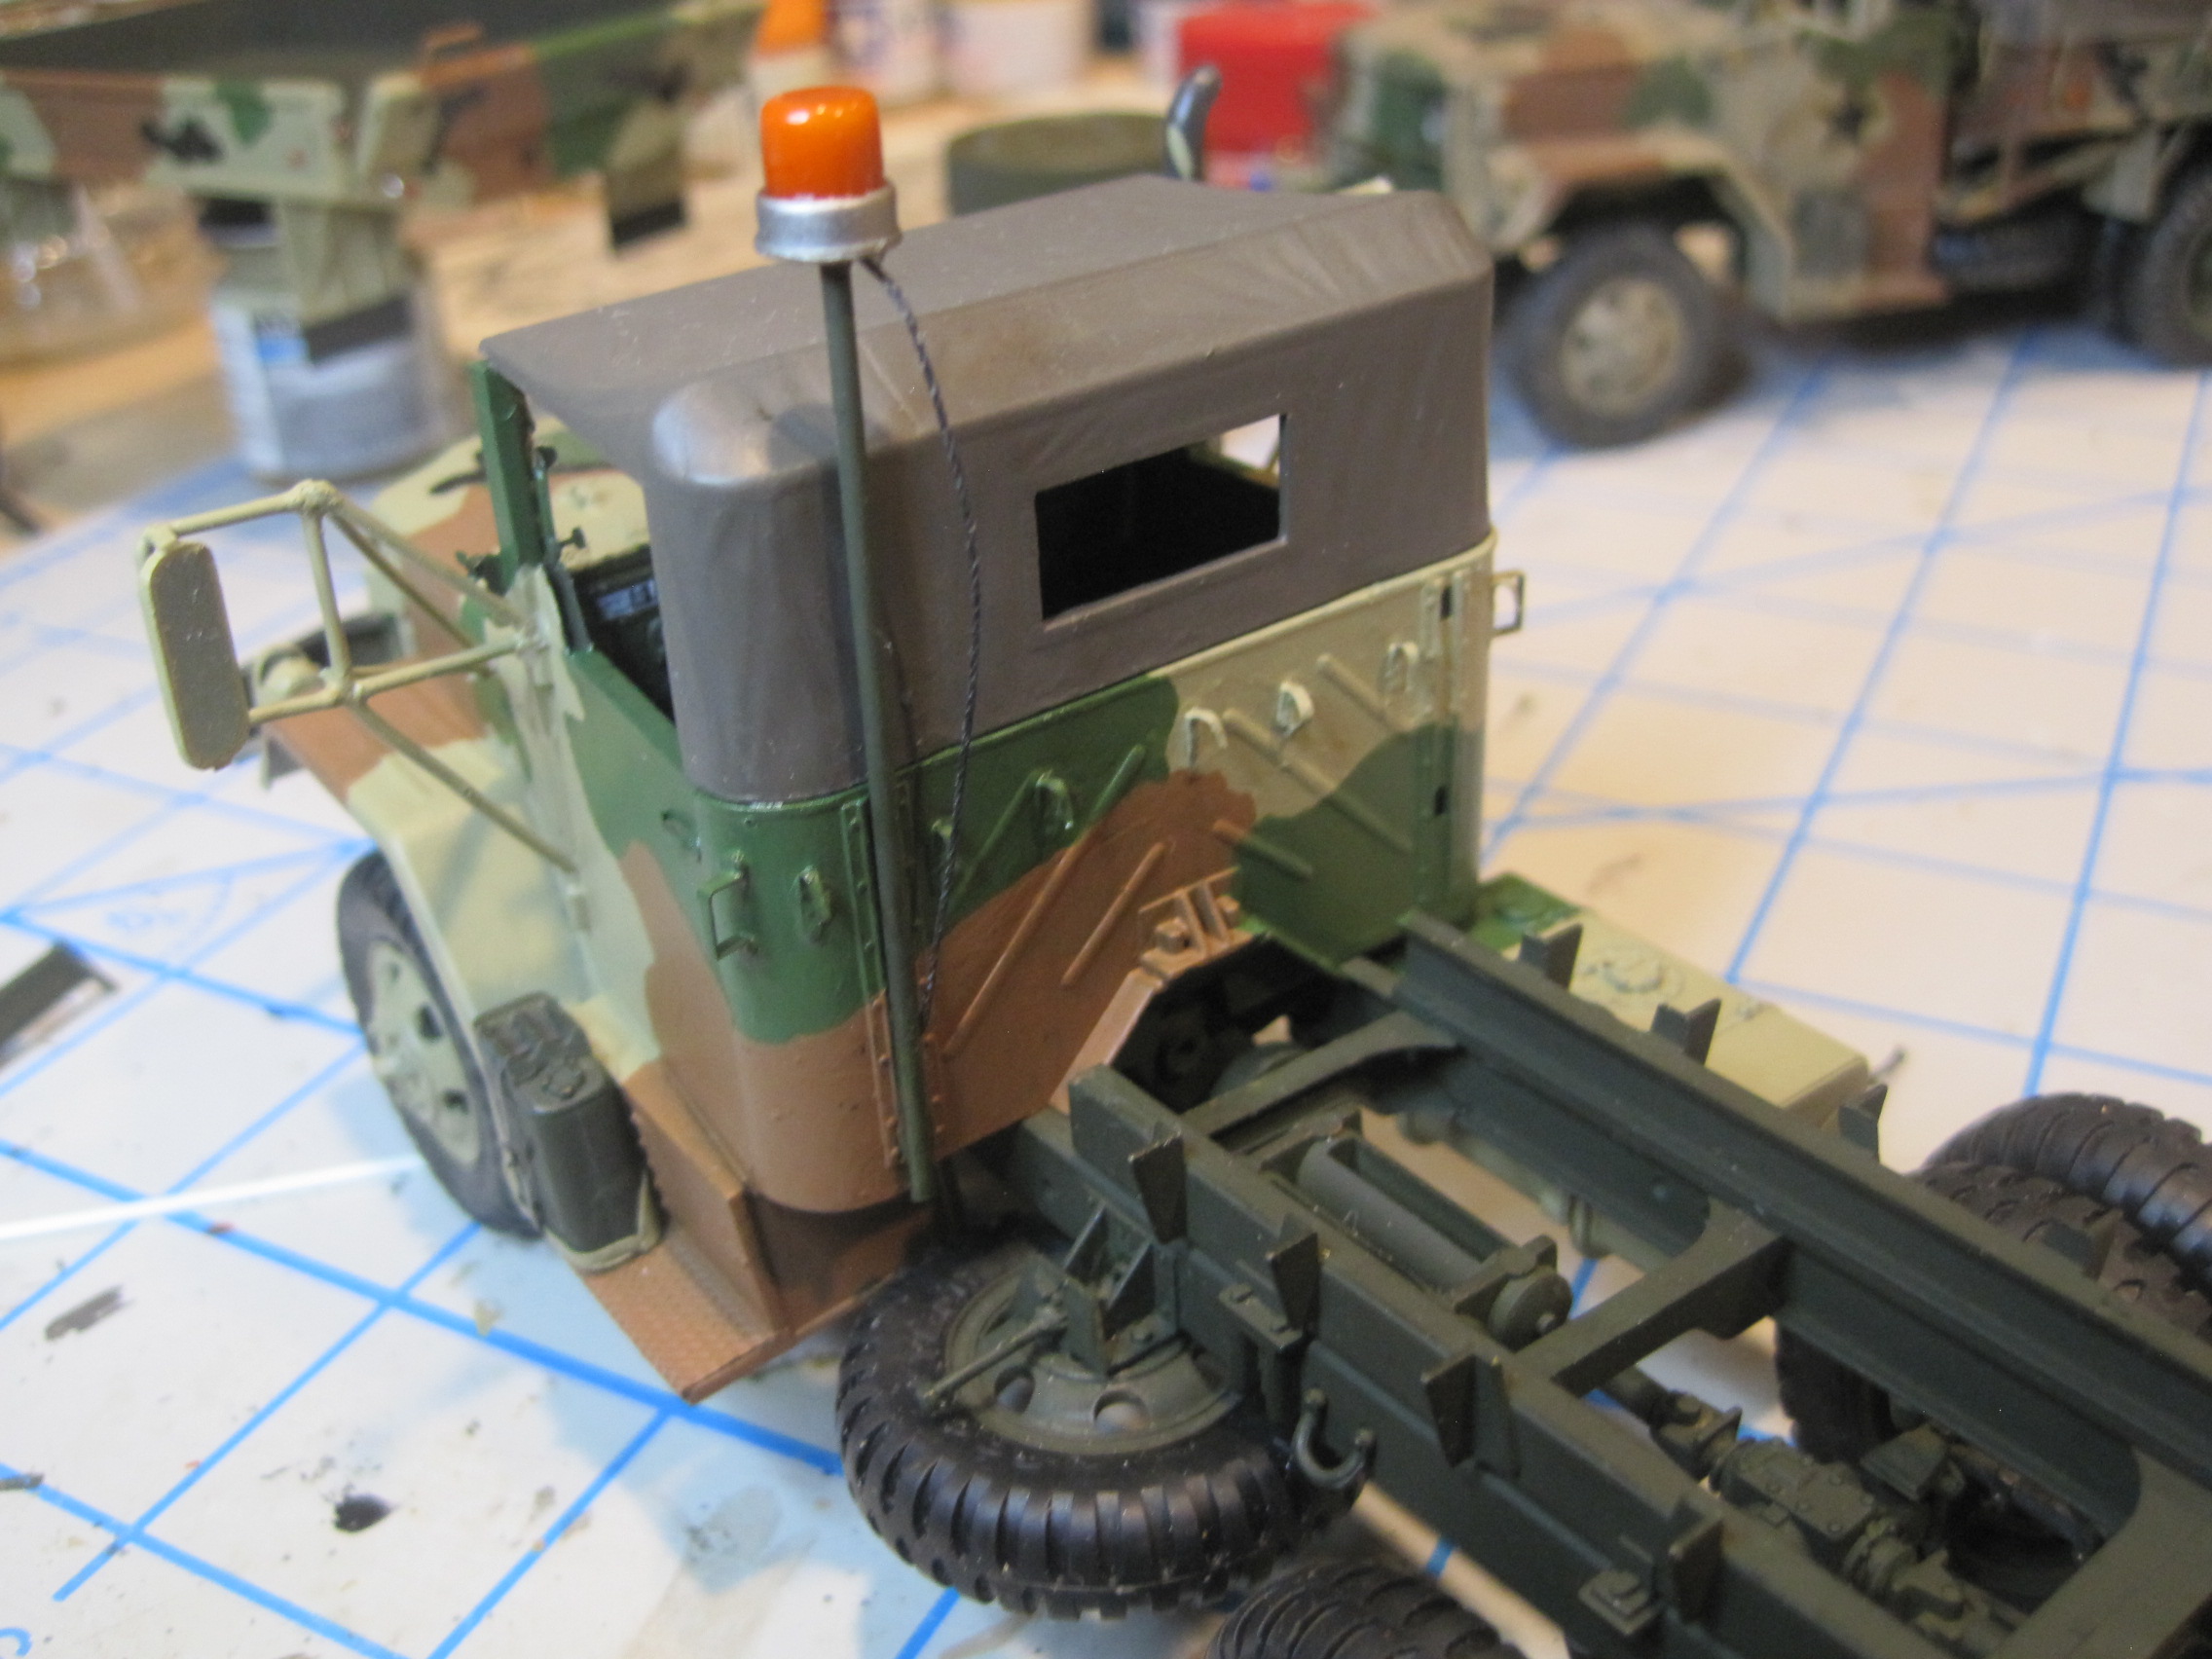
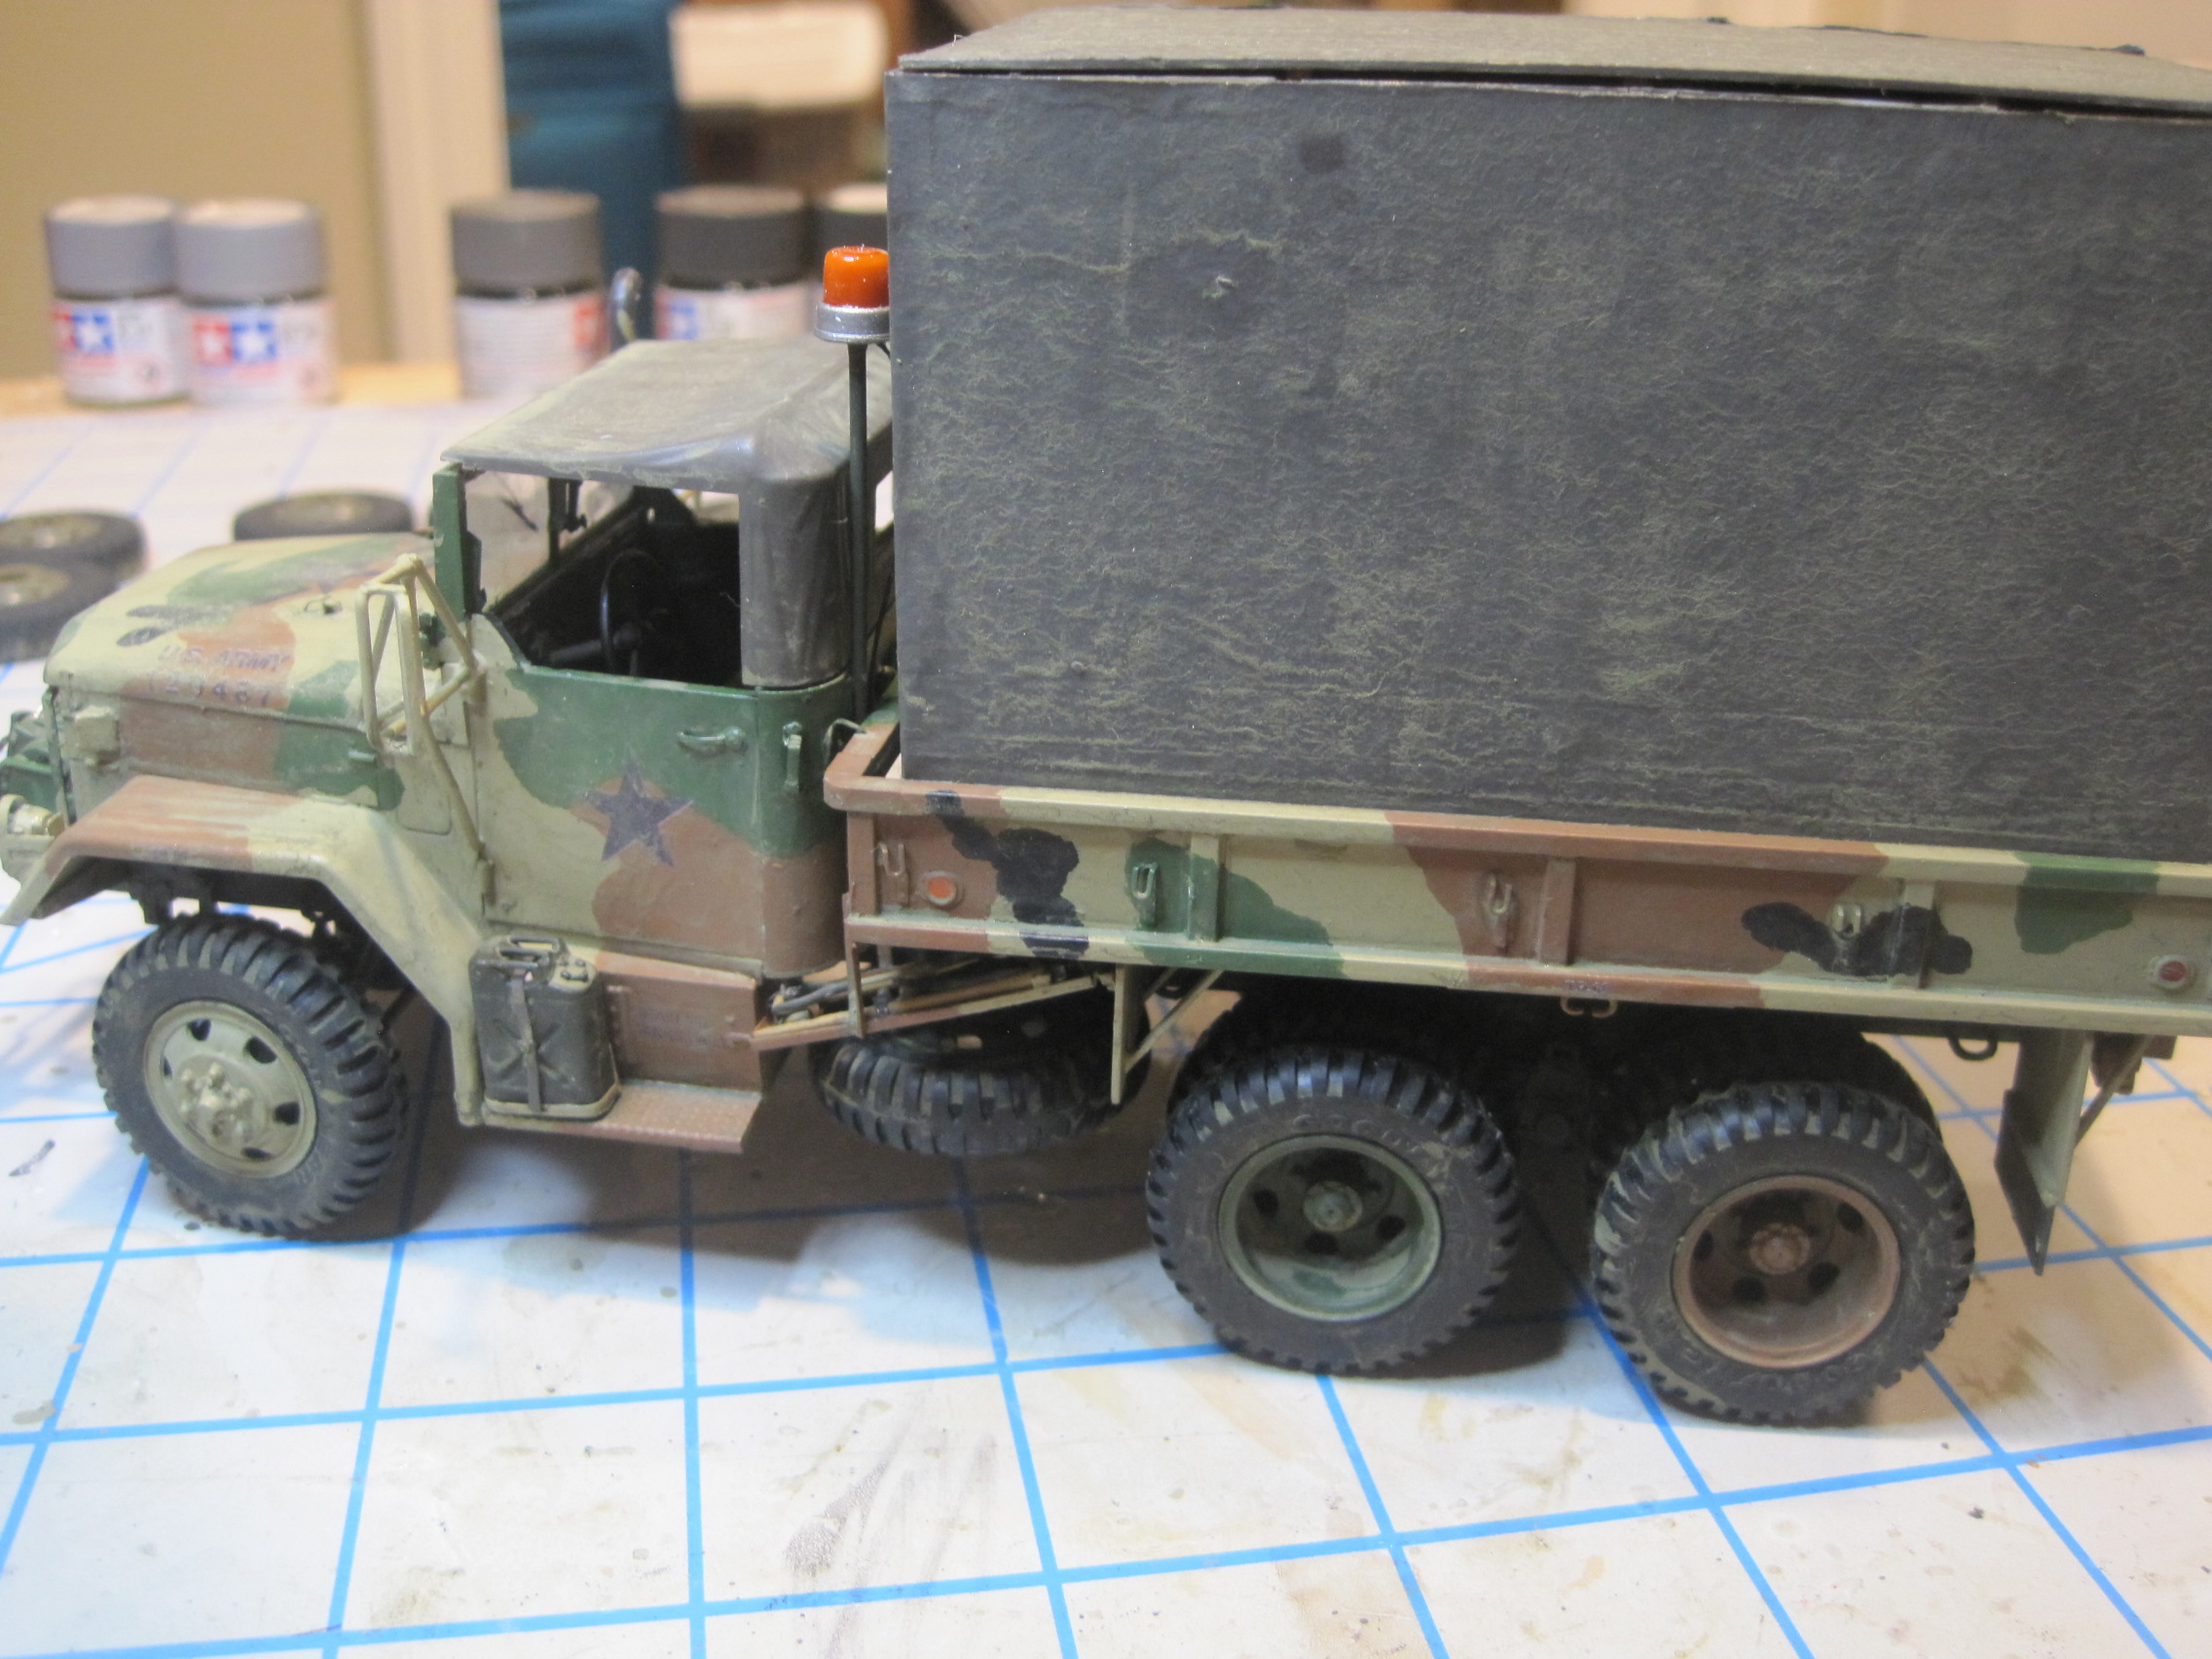
Then finally I added the orange “bubble gum machine”. This came from my spares box and if I remember correctly was part of a Verlinden antenna base set.
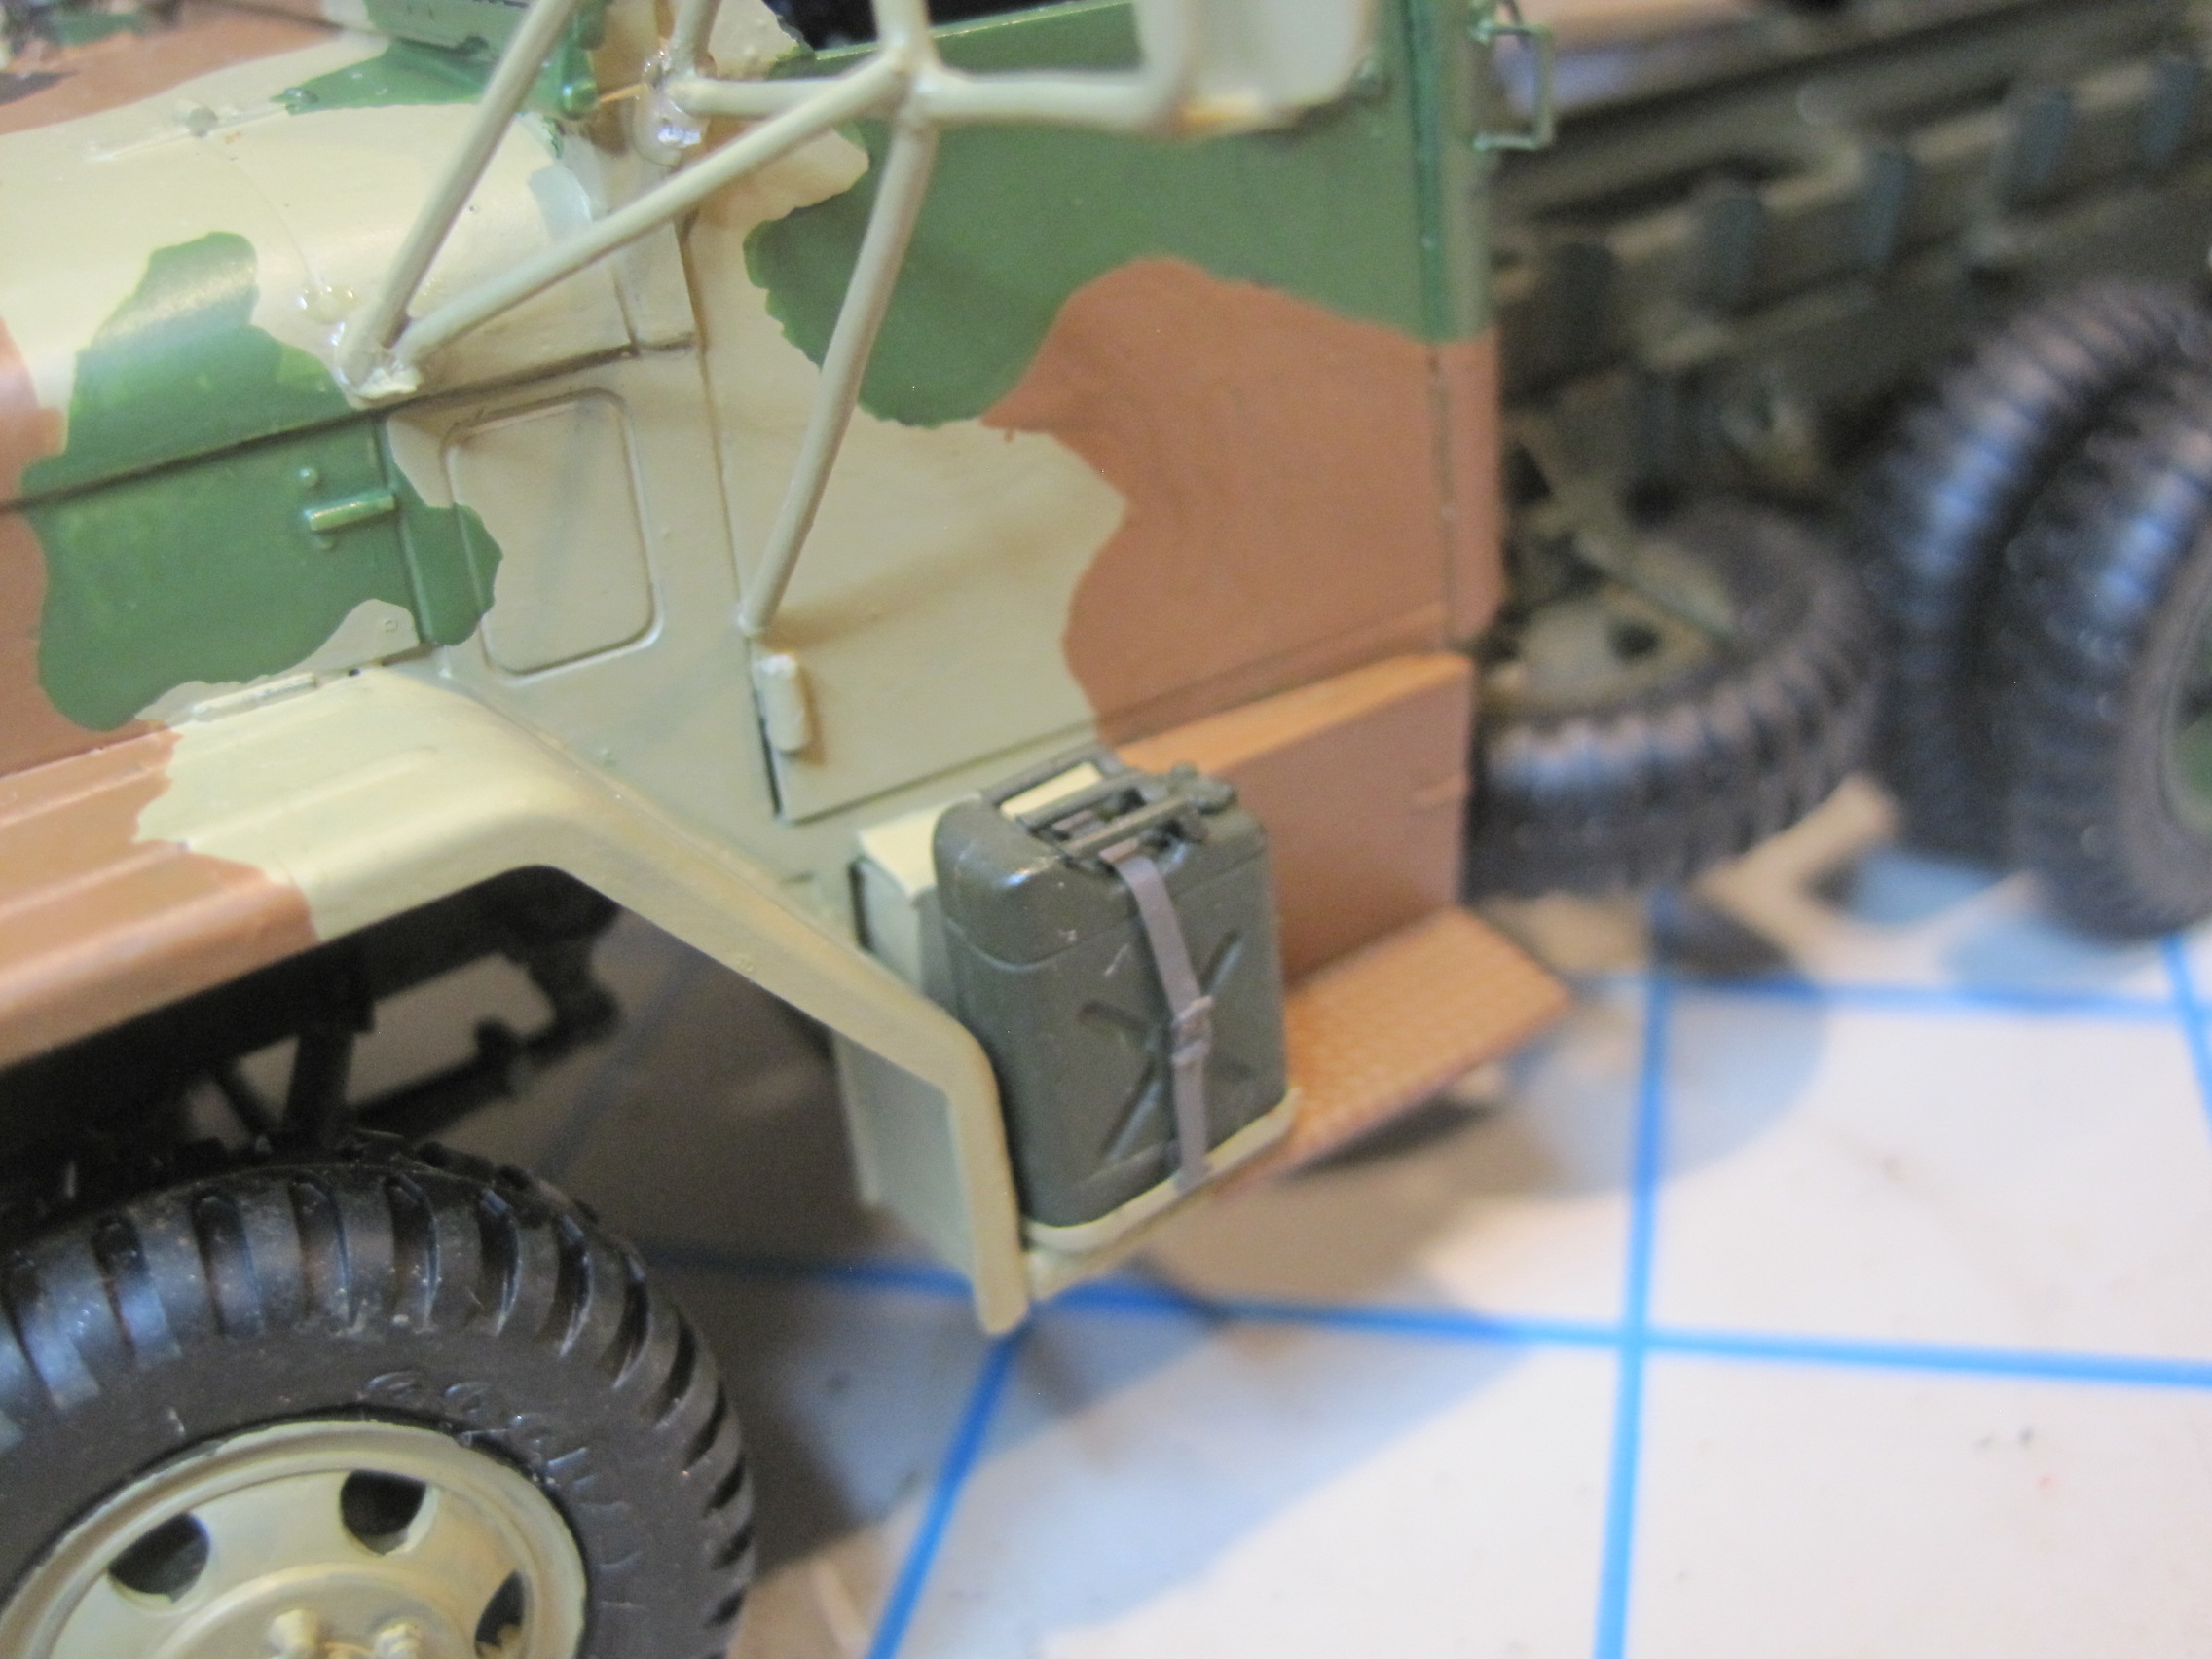
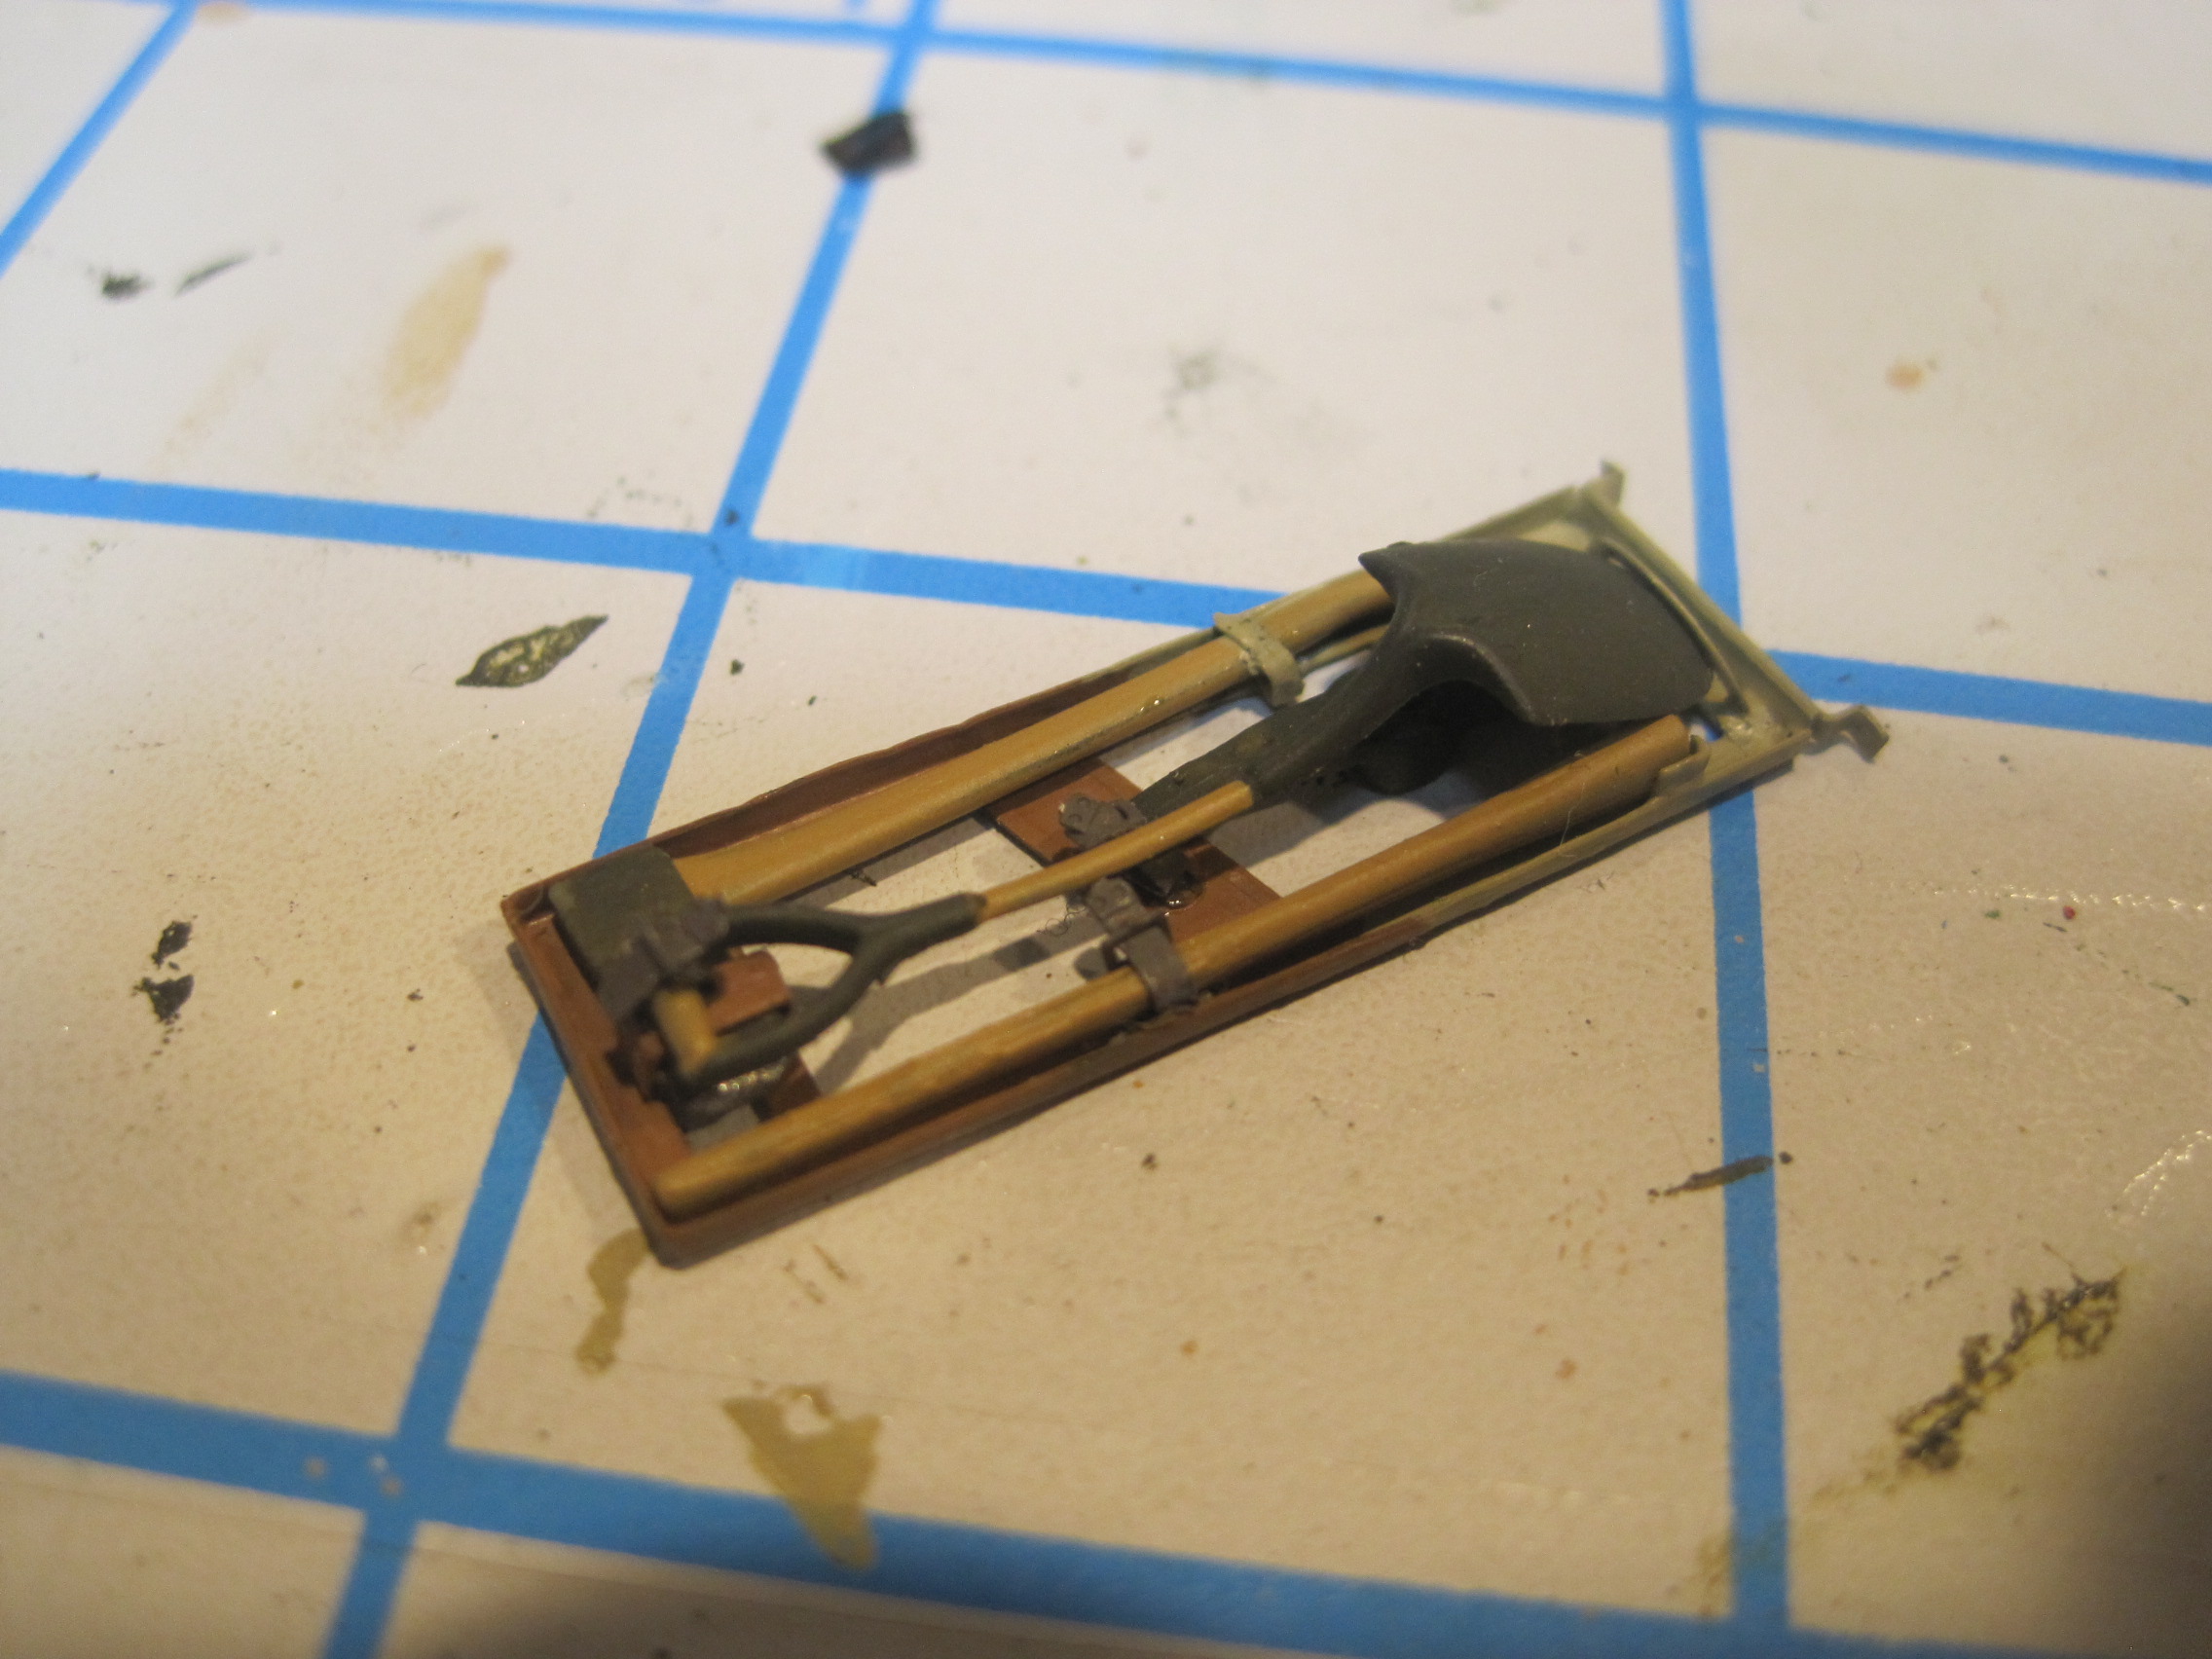
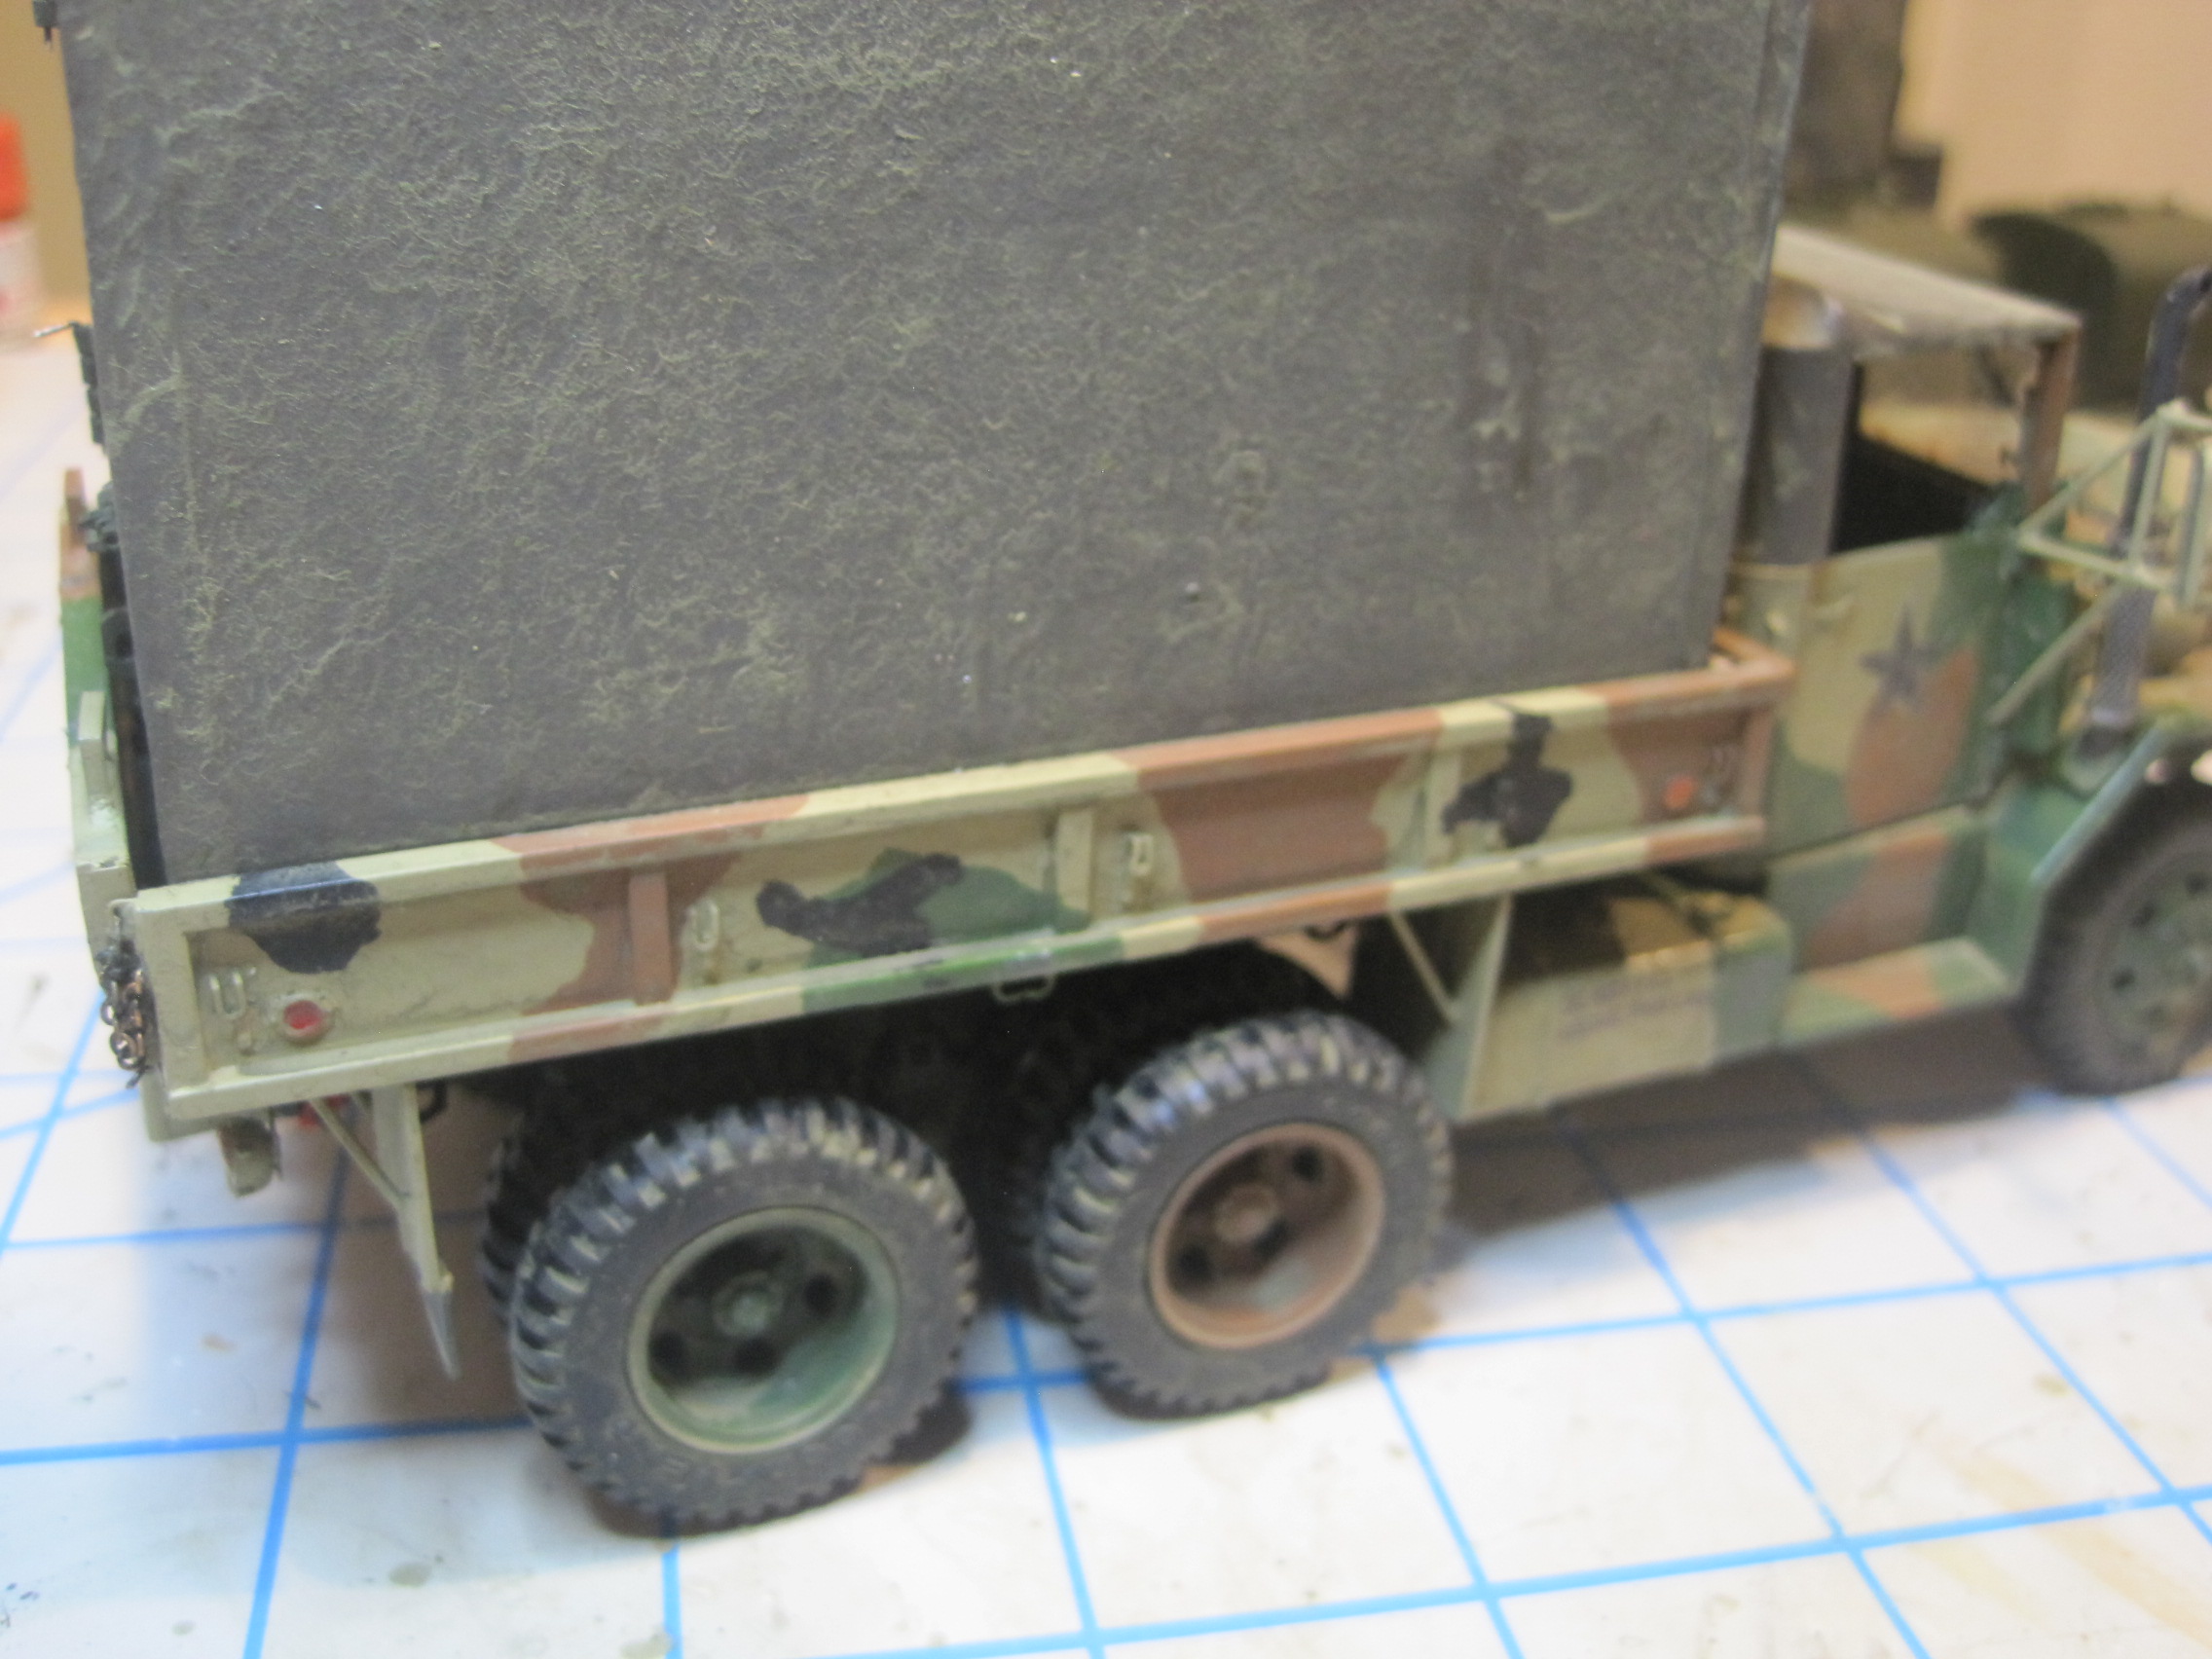
Next step was to add the 2nd unit body. Prior to installing this I completed and added the rack for the pioneer tools which was also from the Eduard set. That set also includes the mud guard/splash shields, but despite using a lot of the PE, I decided that the kit supplied wasn’t that bad and it was a lot less work. Plus I did the same thing on the other two M35s so they’ll look similar.
I found it MUCH easier to do the application of the MASSTER with this off before assembly. I’ve already completed two other M35’s in MASSTER, so it was fairly simple to just copy the pattern from the other two trucks, so they will all look similar.

Once I got to this point, the next step was to modify the tailgate to accommodate the stairs which I scratch built. Having already done one for the Mess Truck, I simply made a matching set.
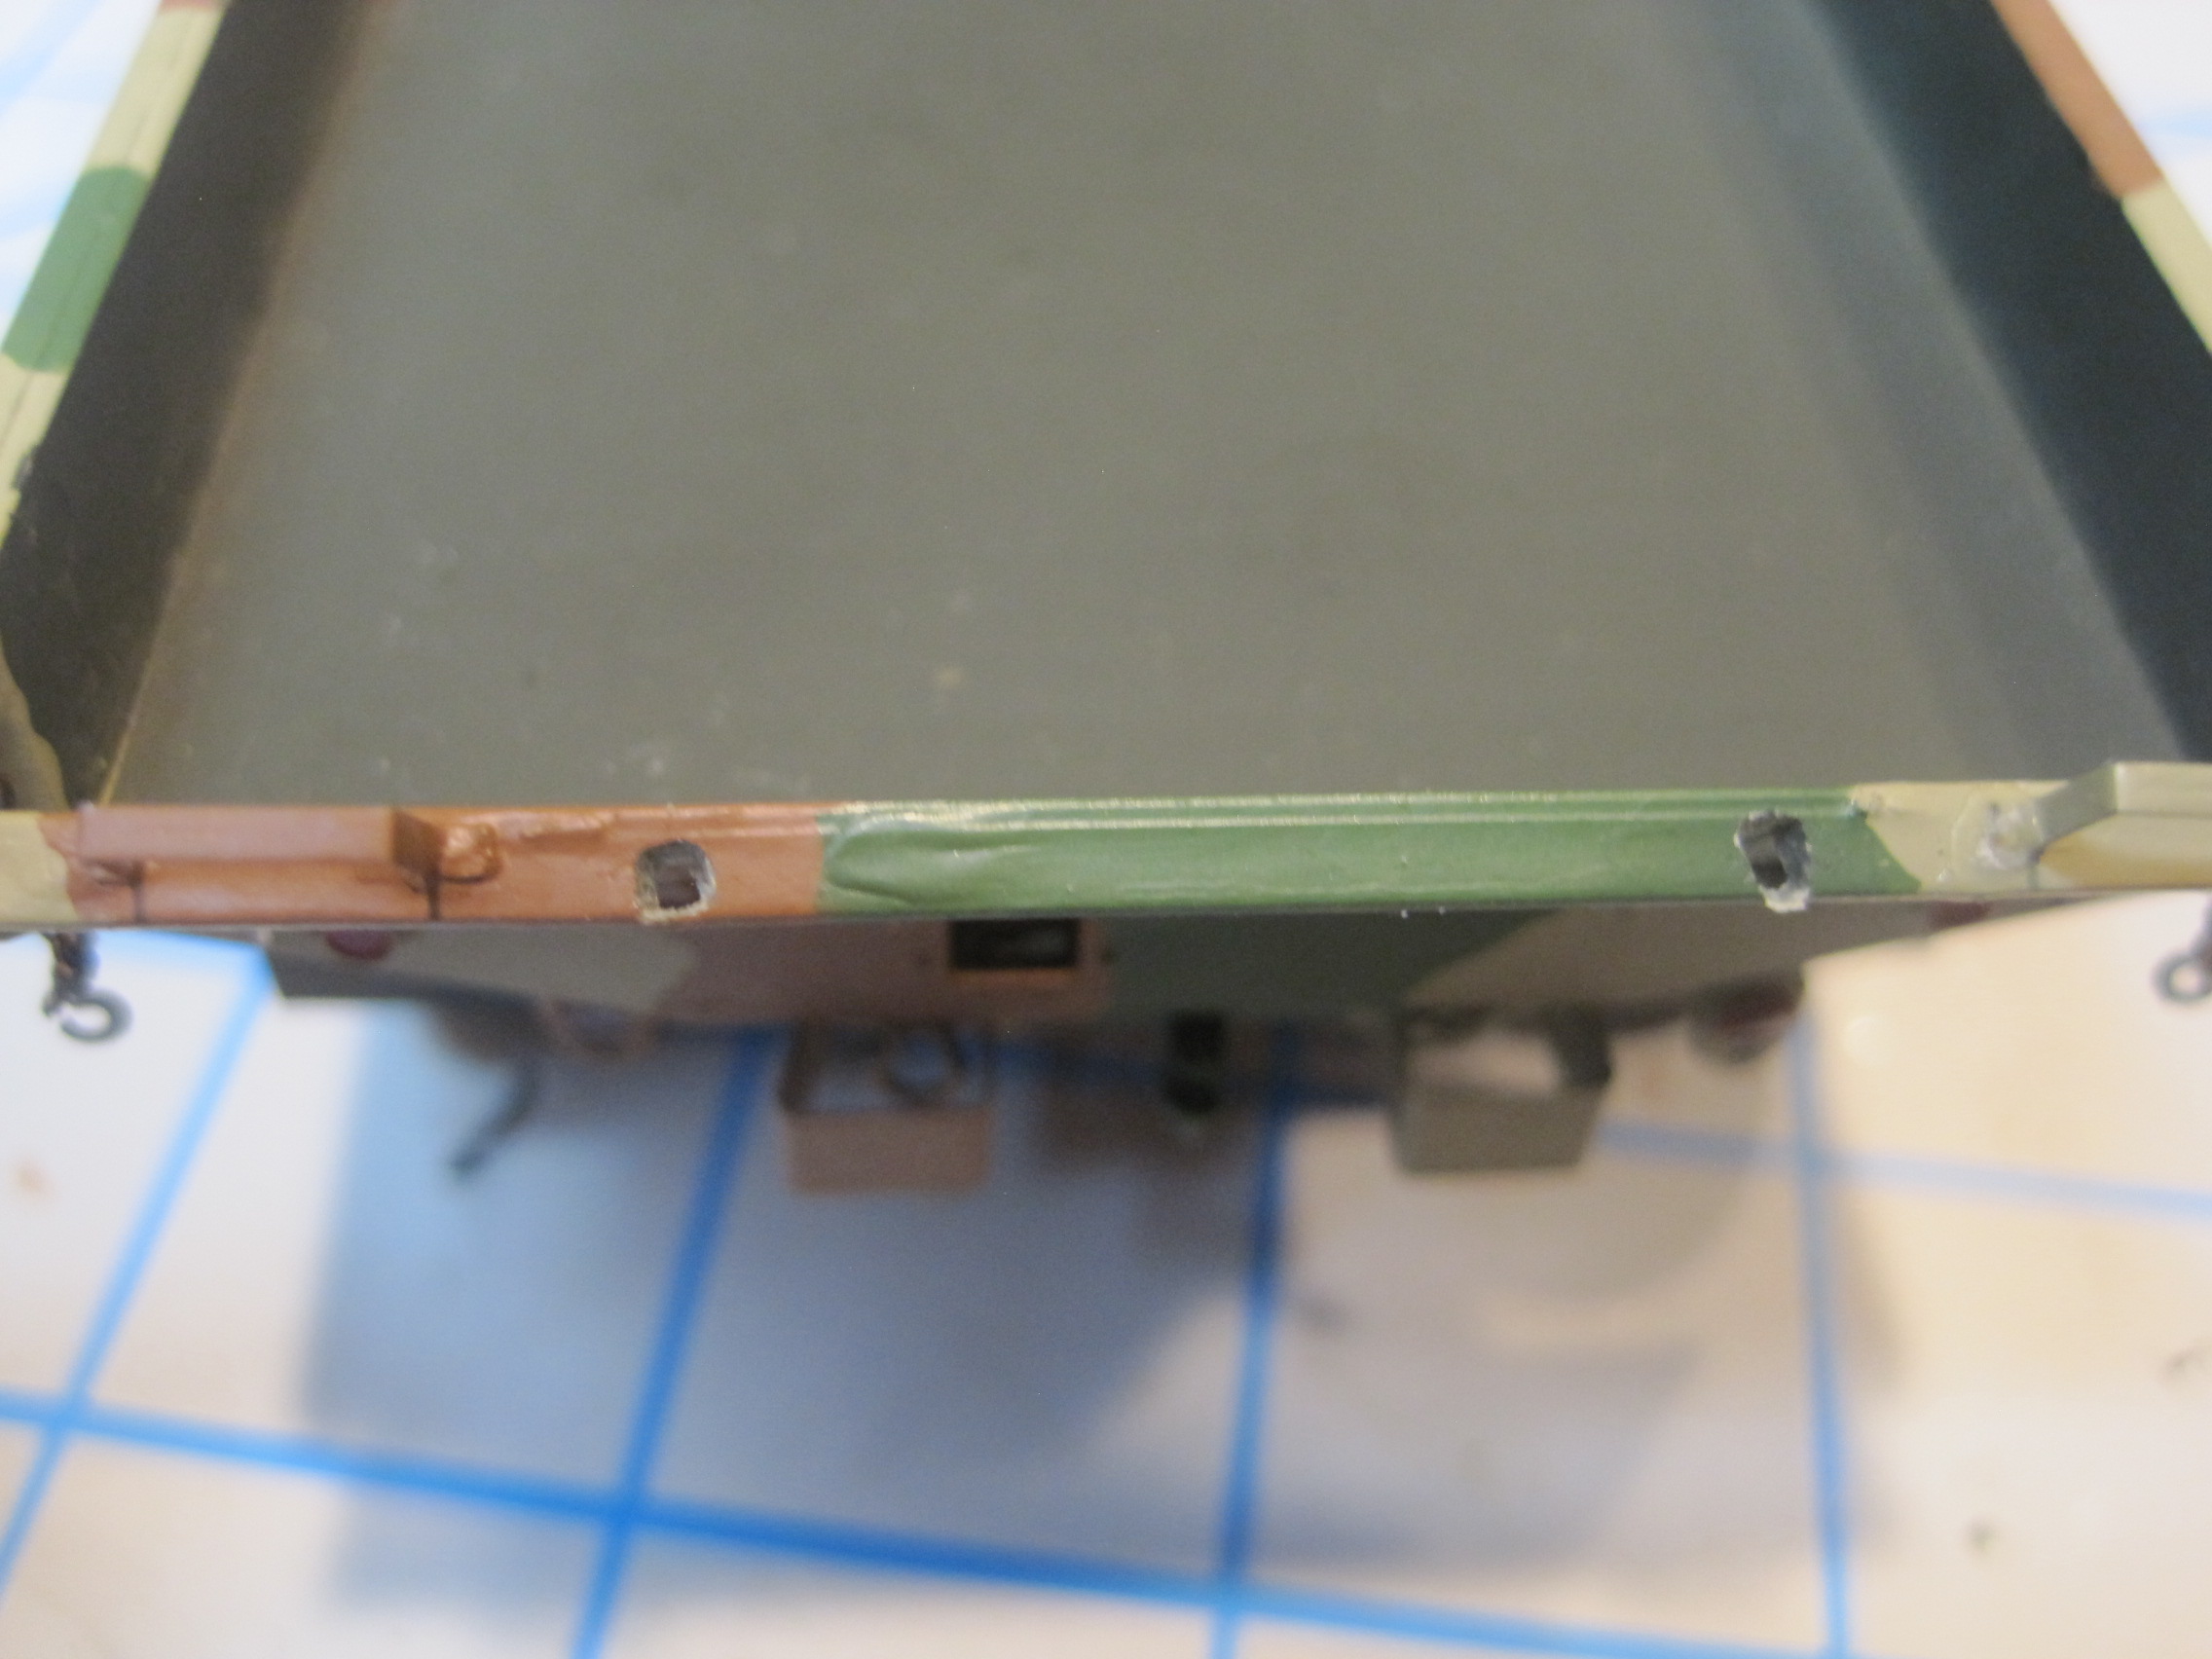
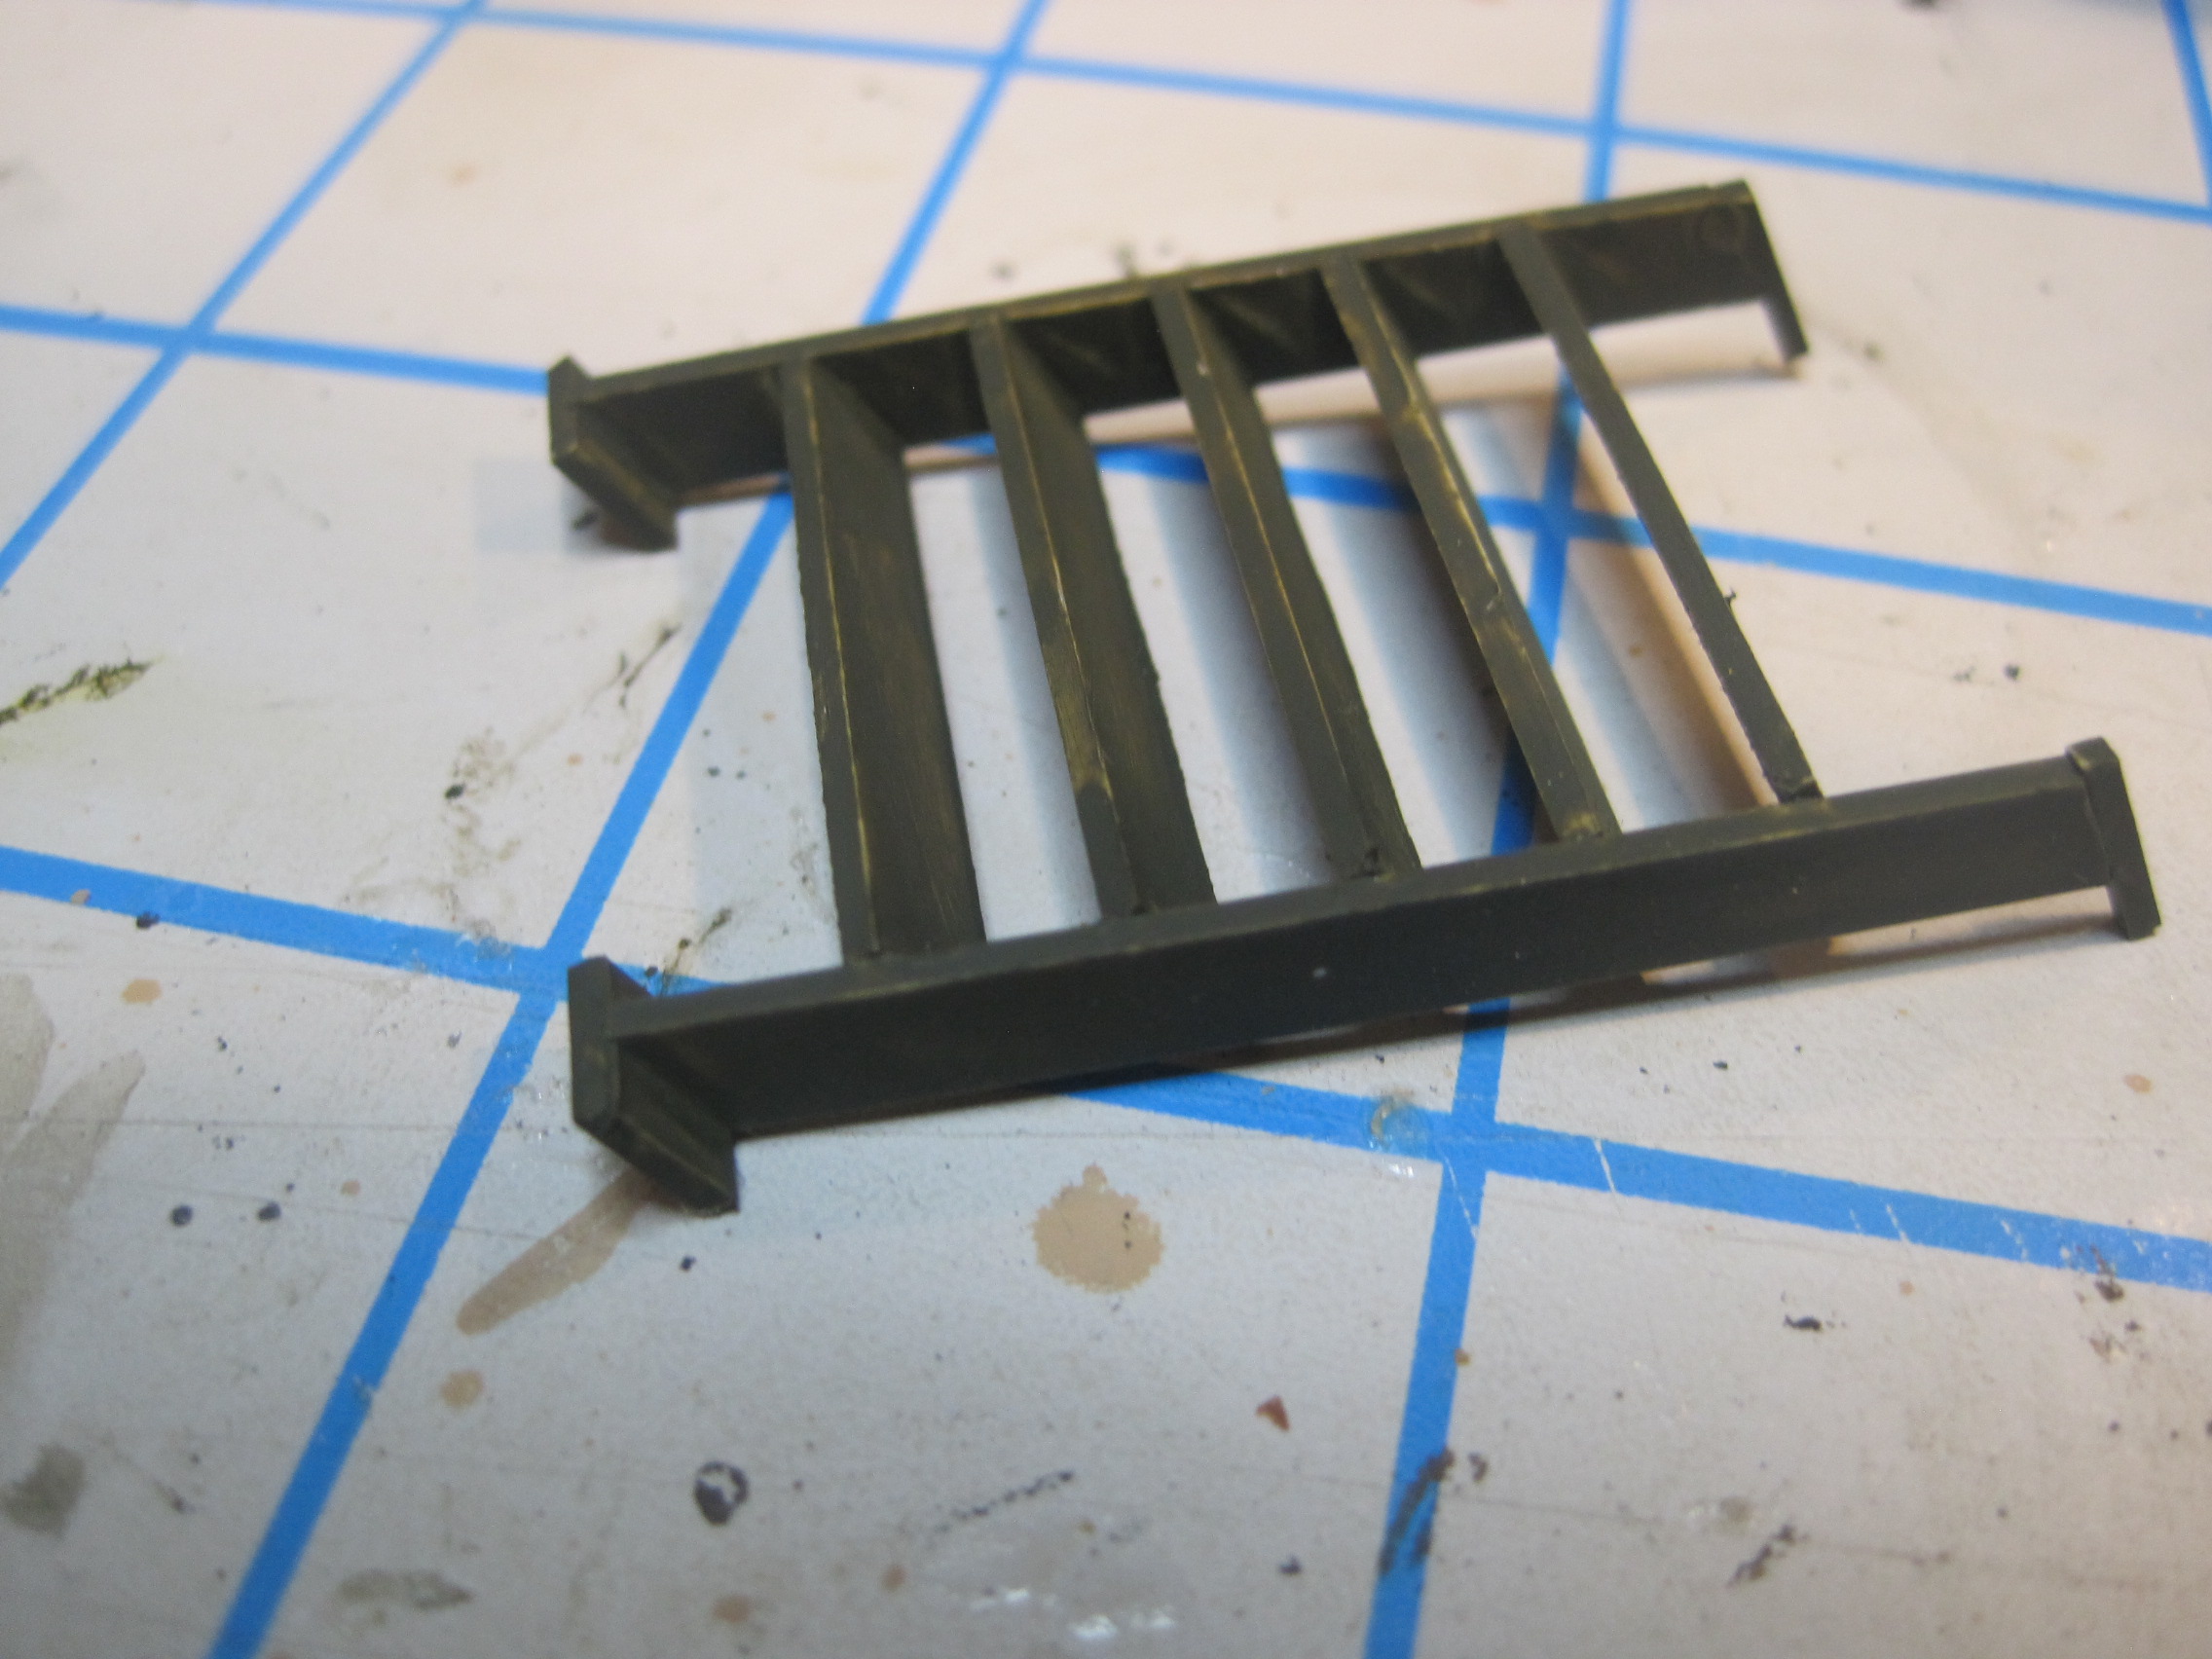
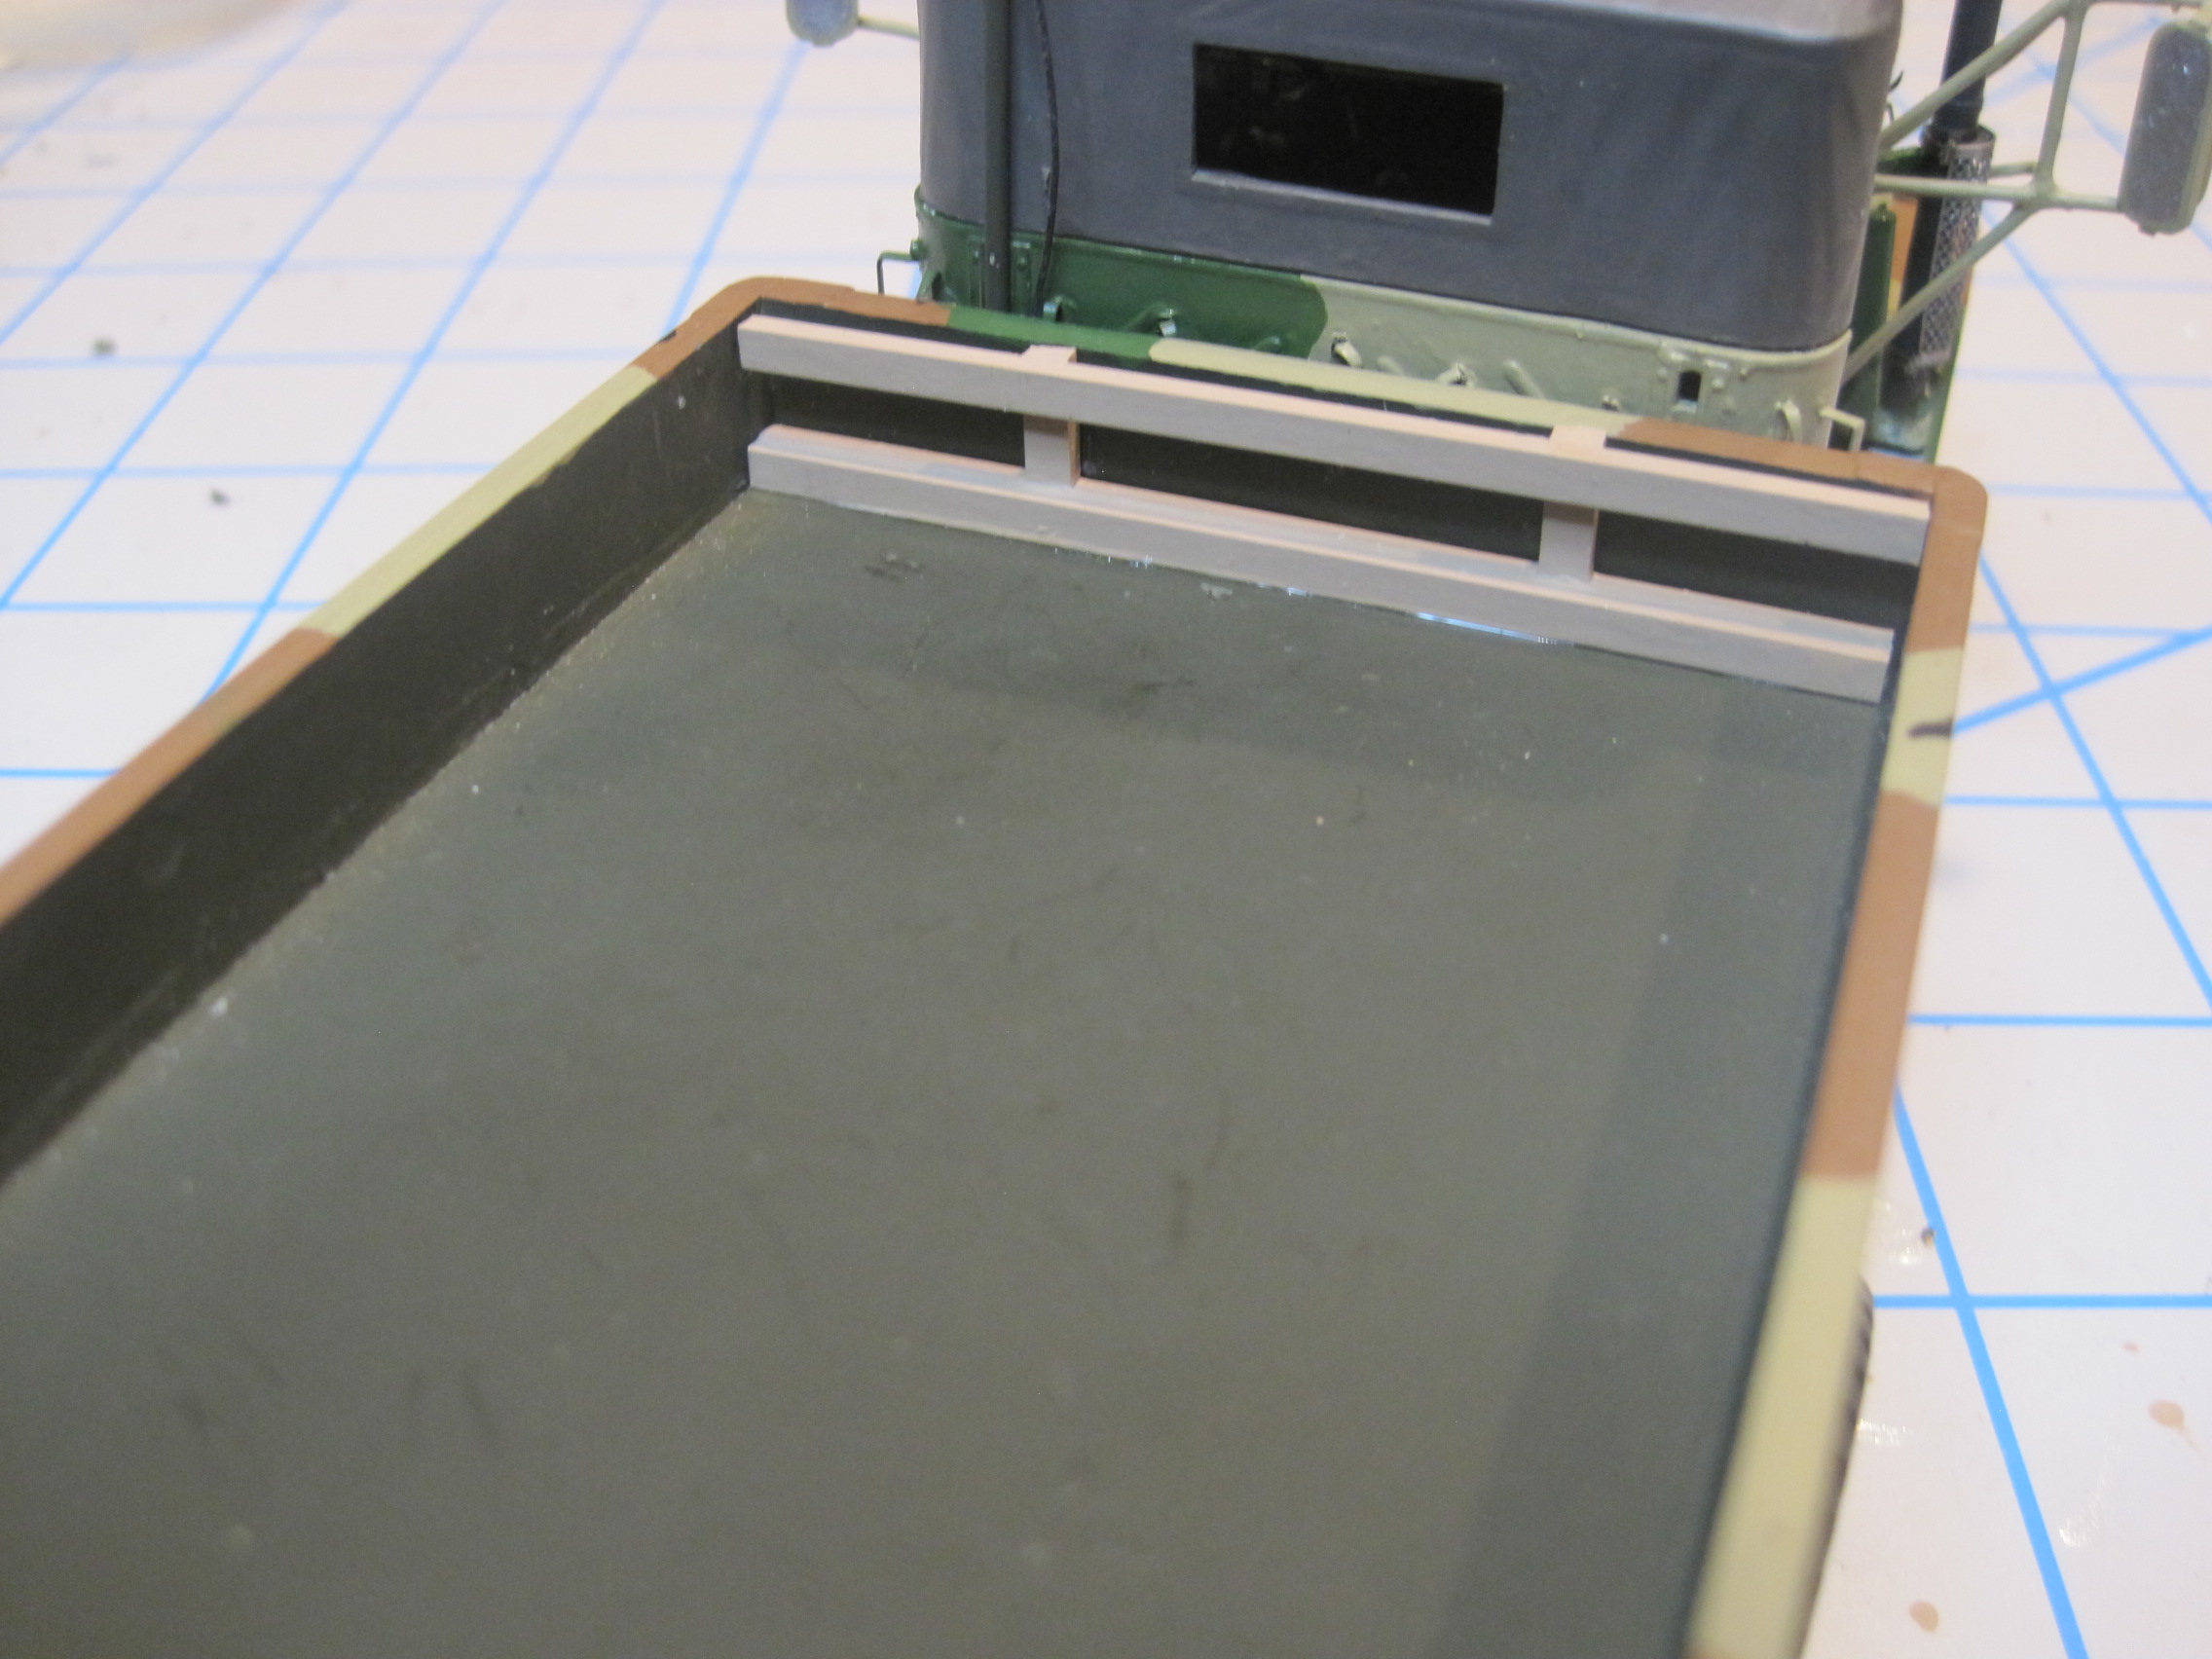
And finally the last step before installing the shelter is to add the mounting brace for the front of the bed.
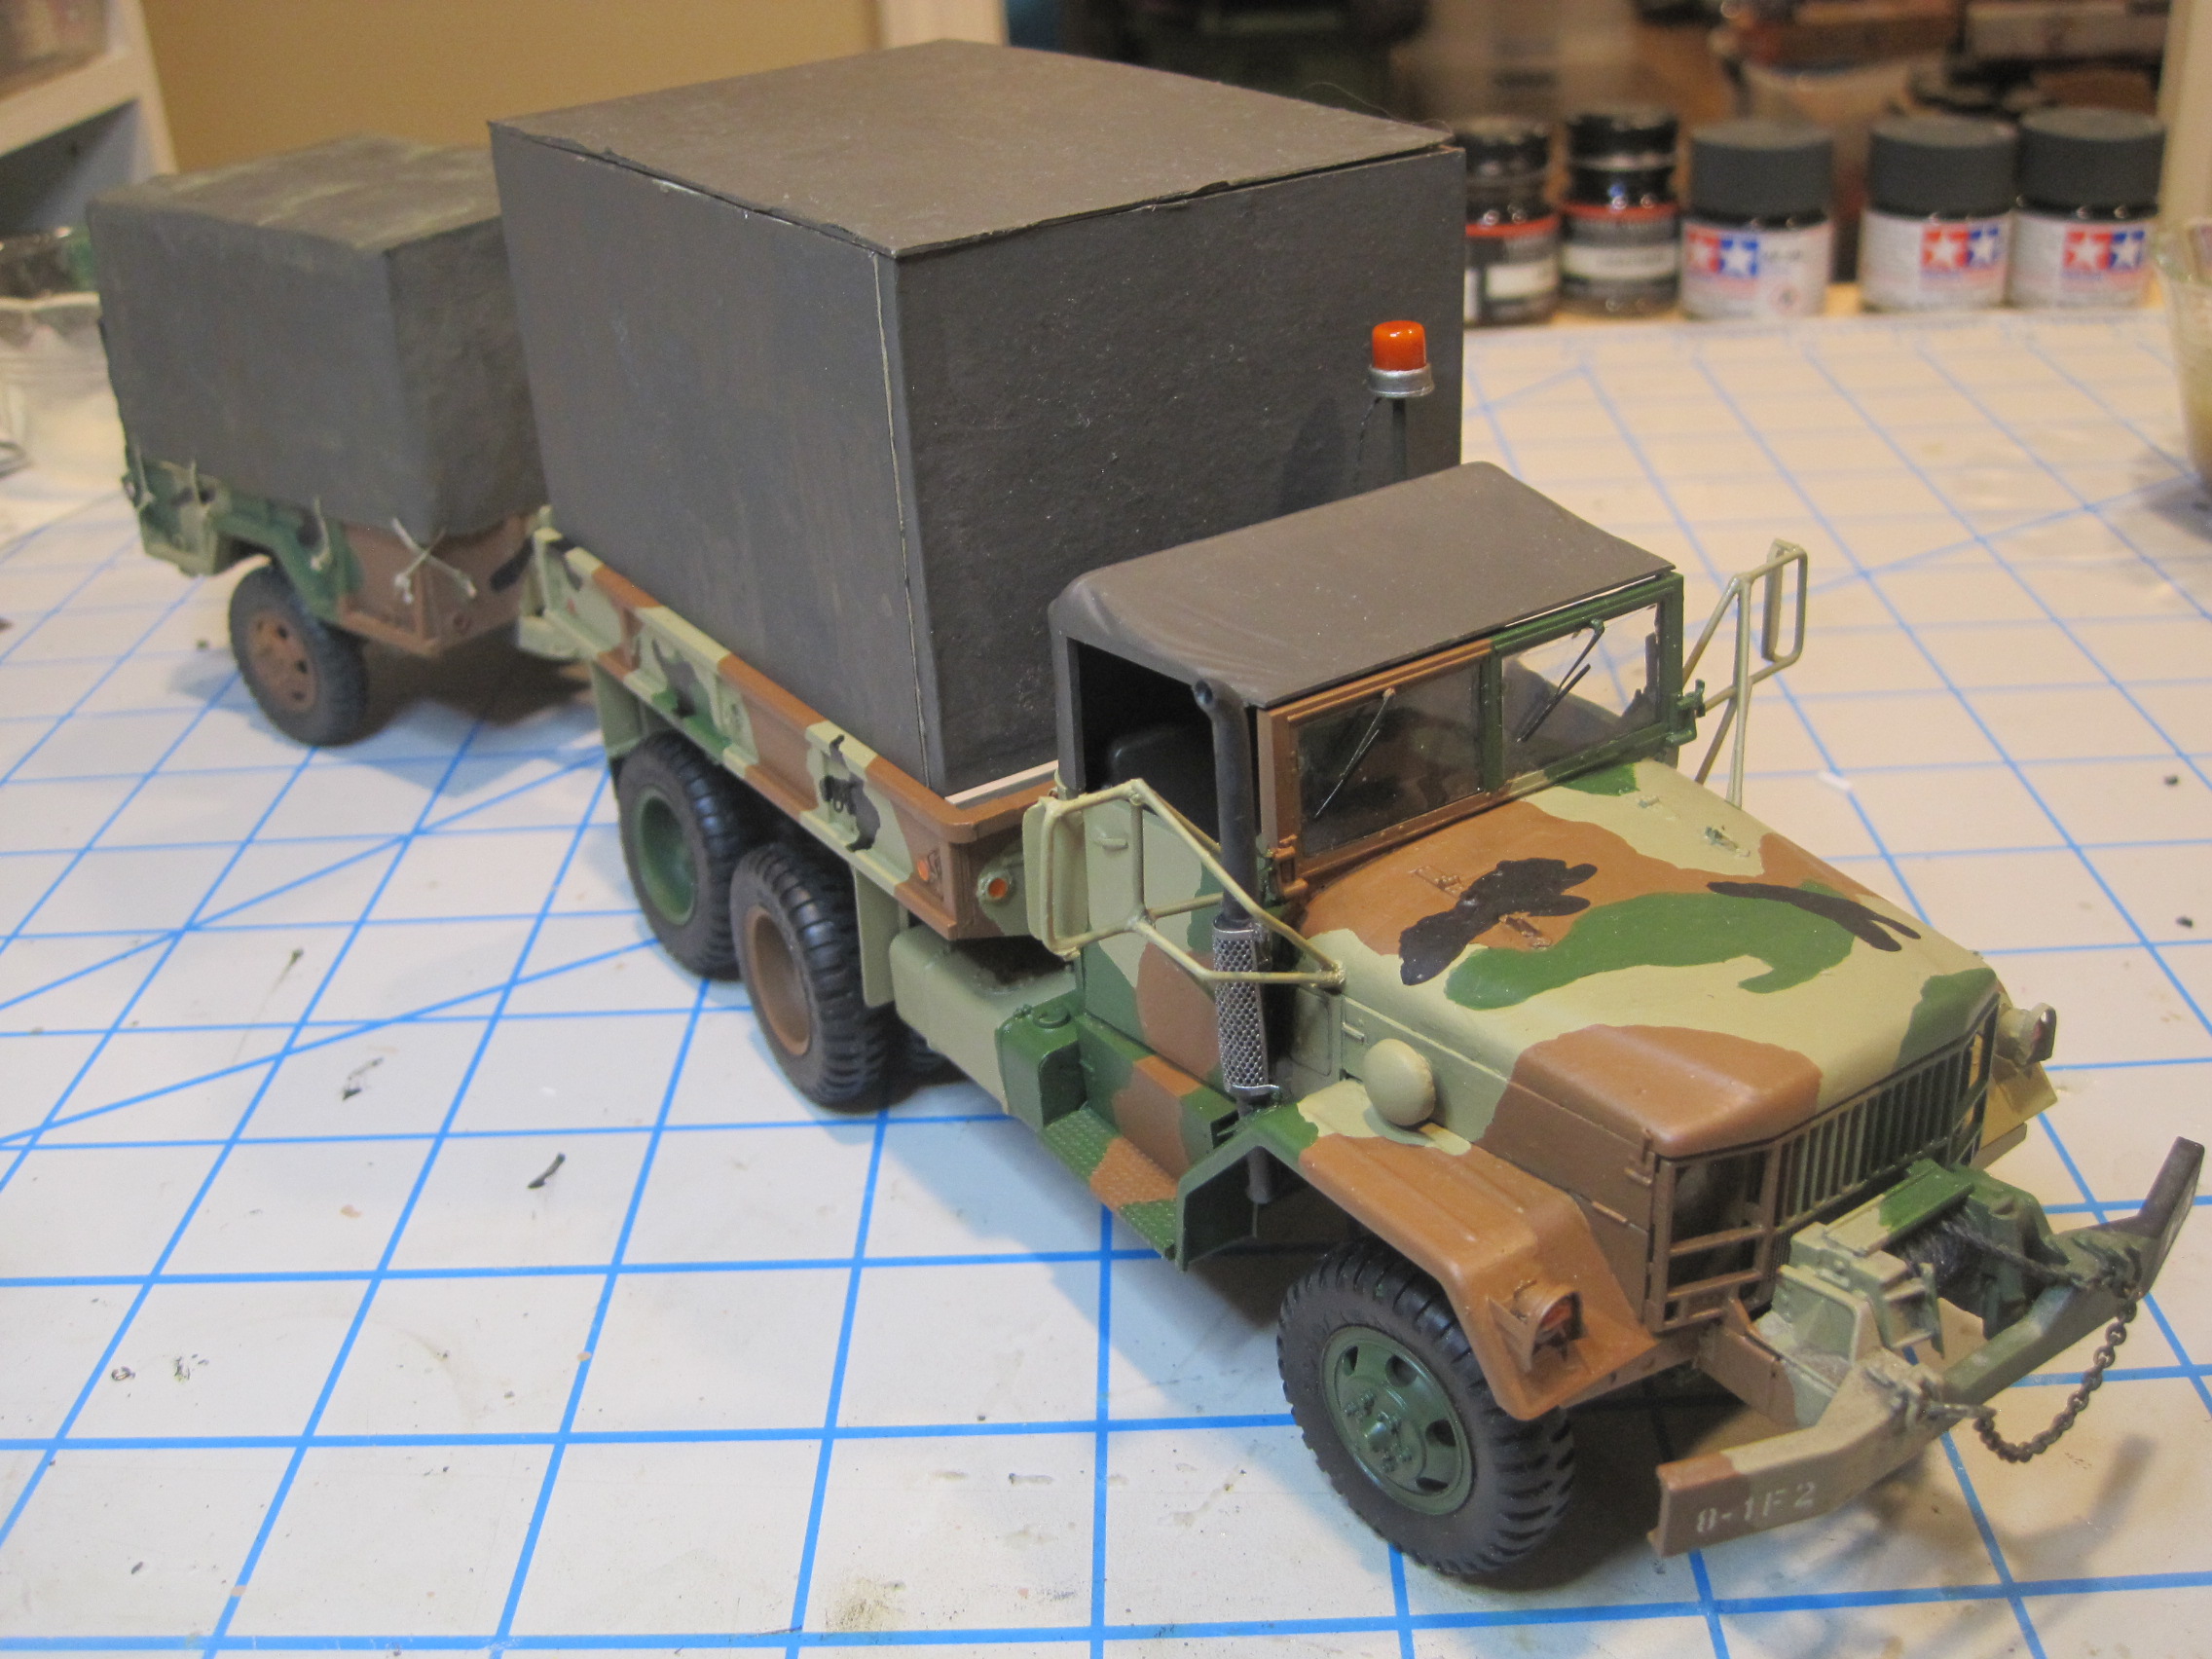
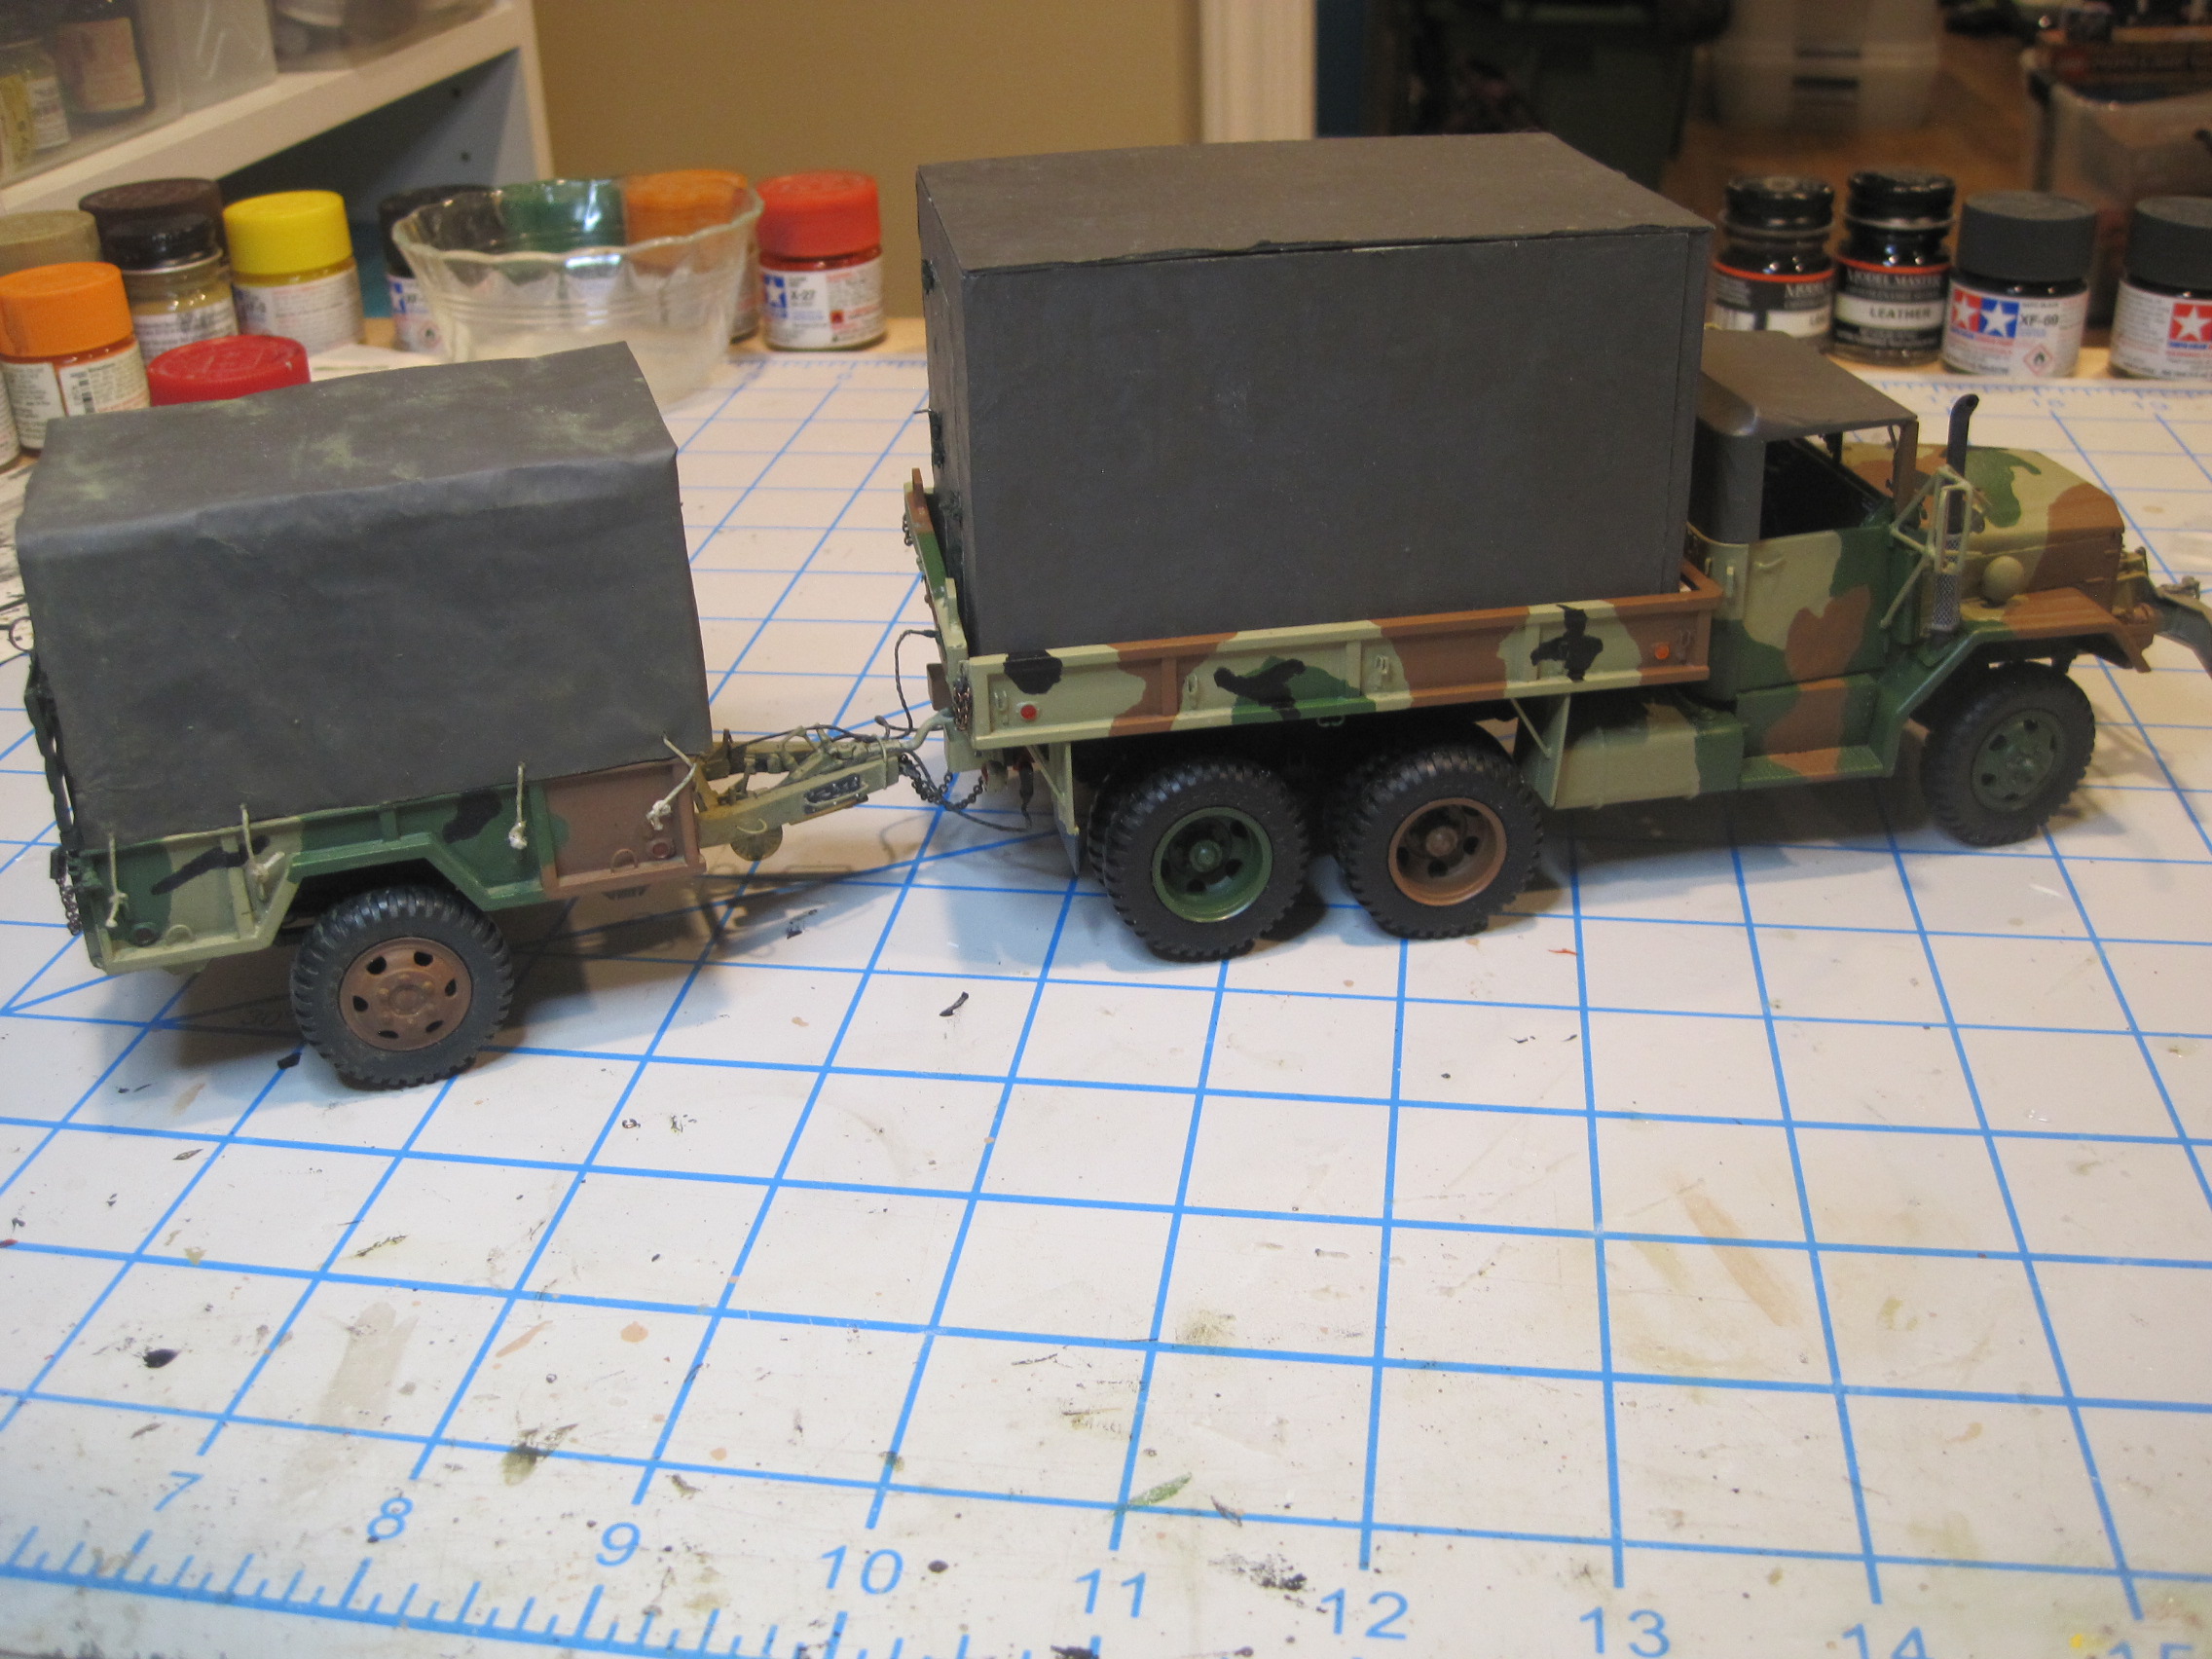
And here’s the finished truck.
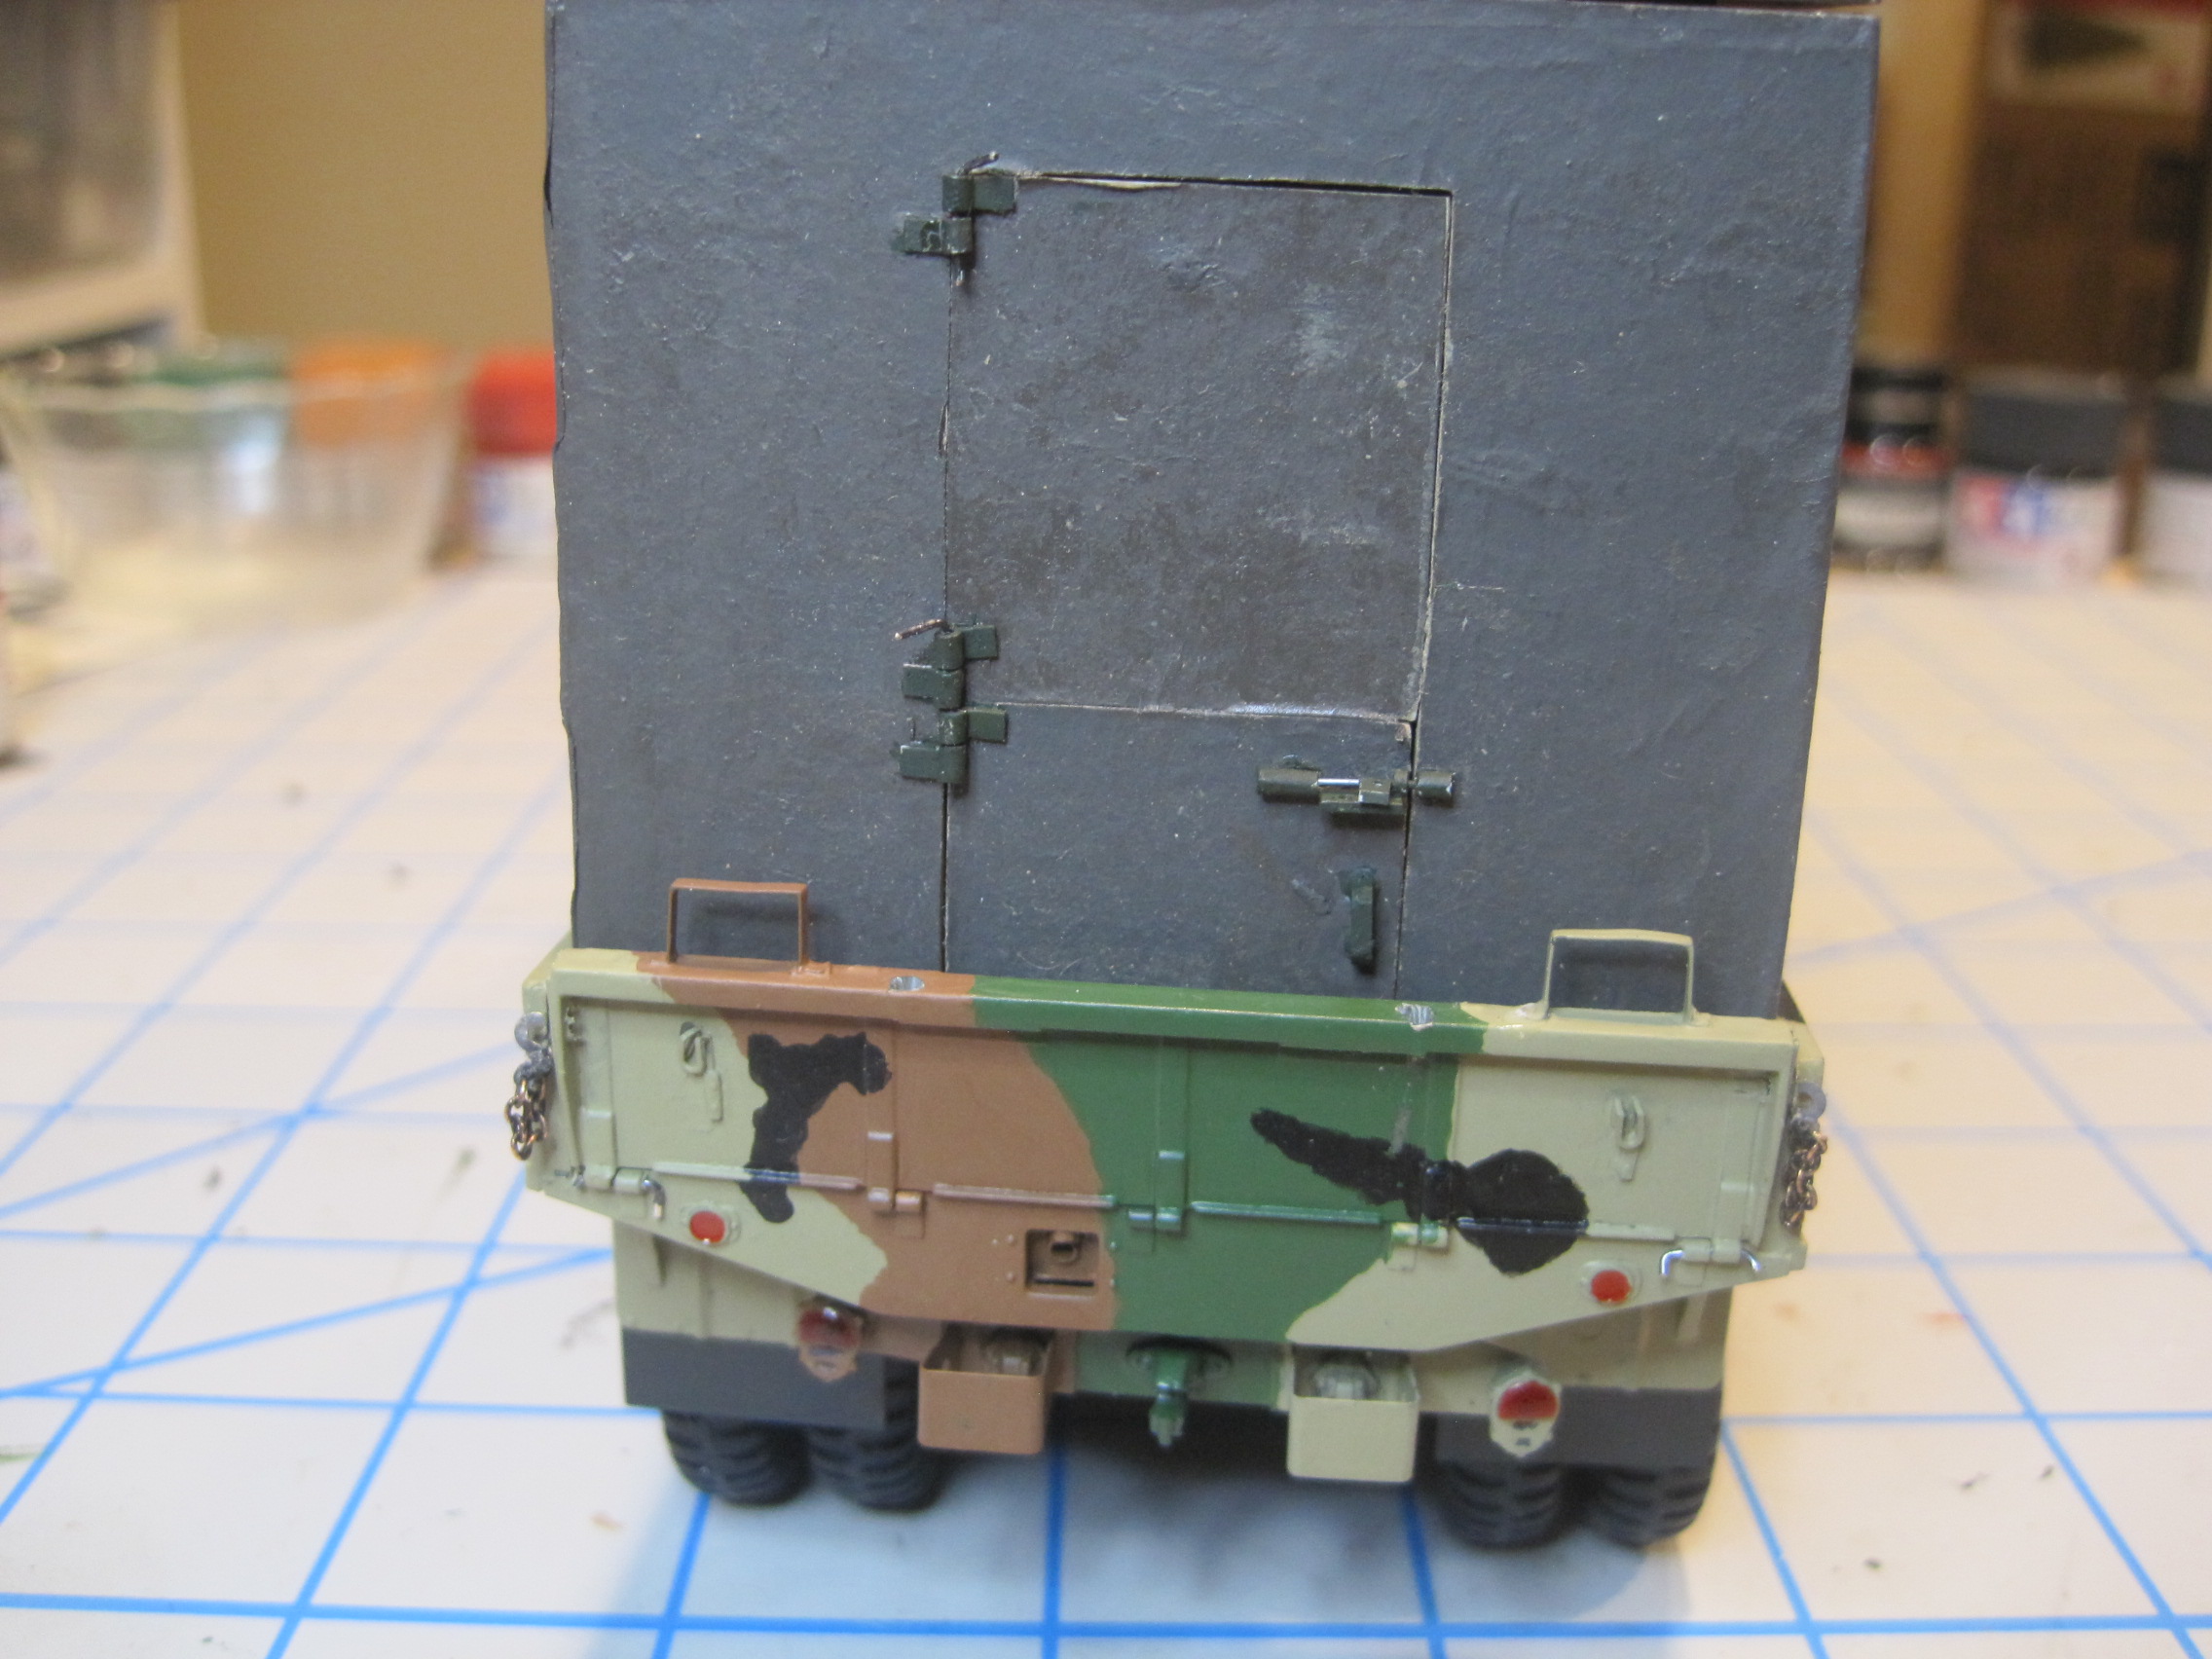
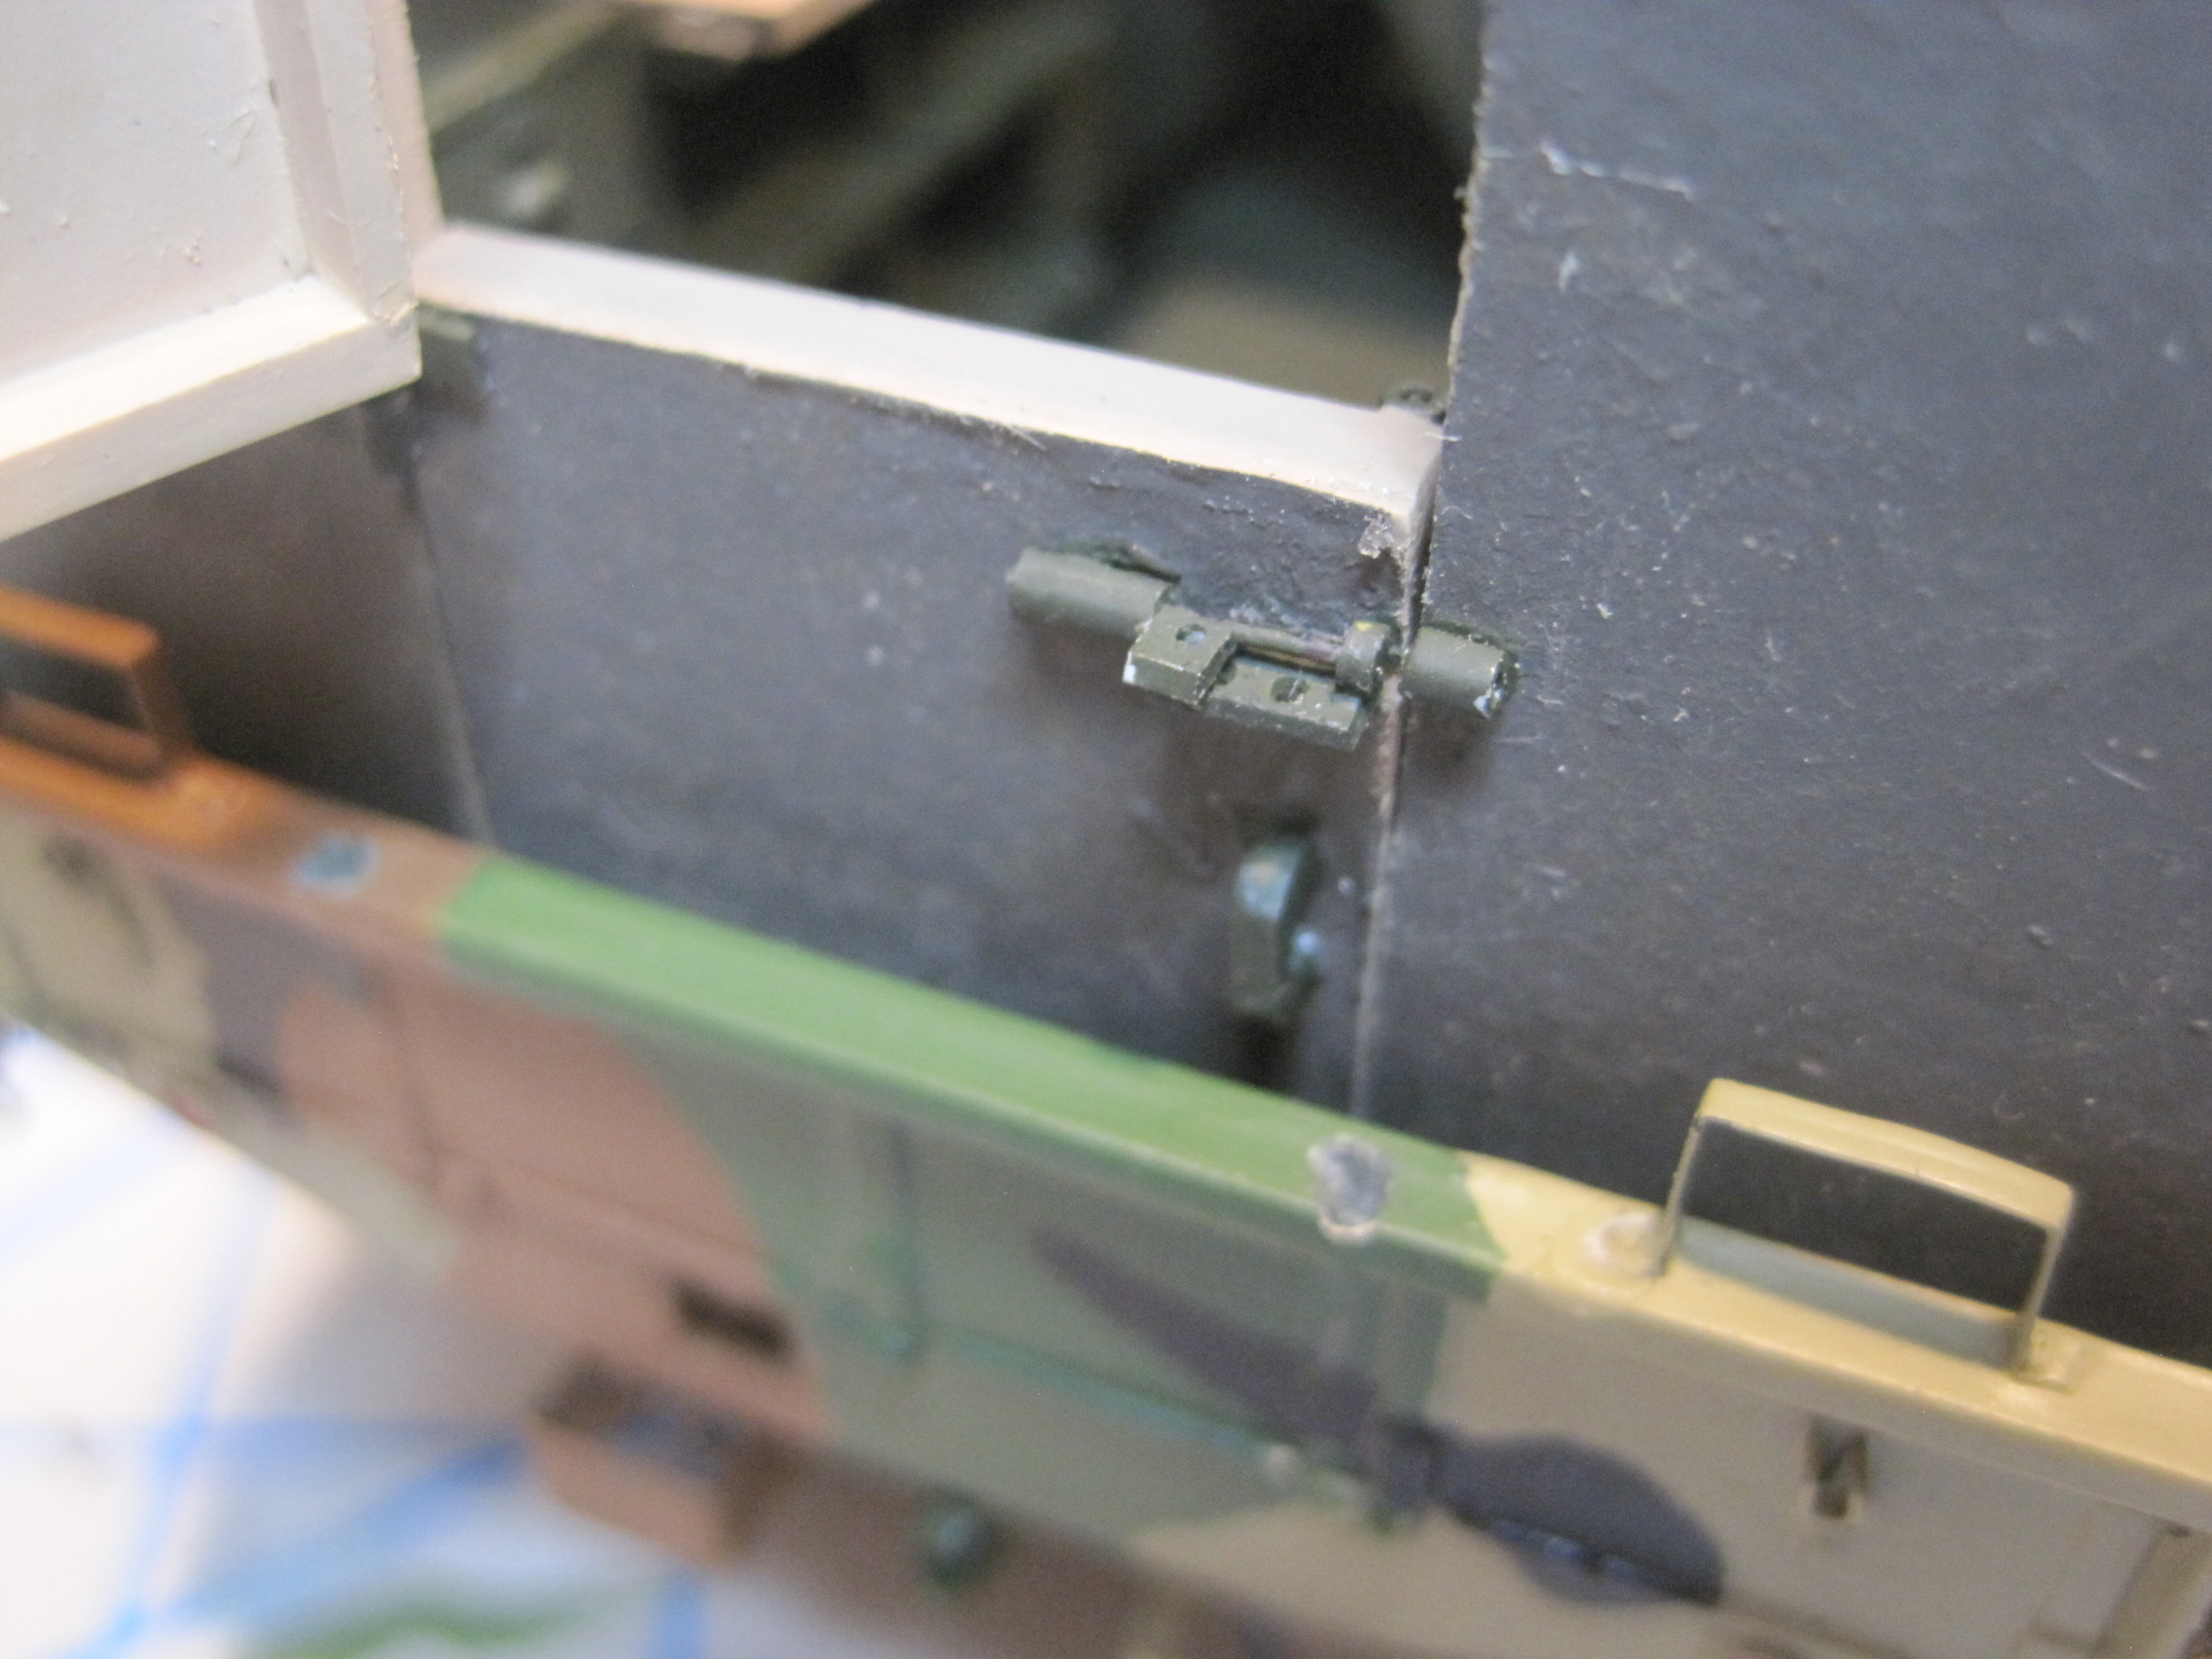
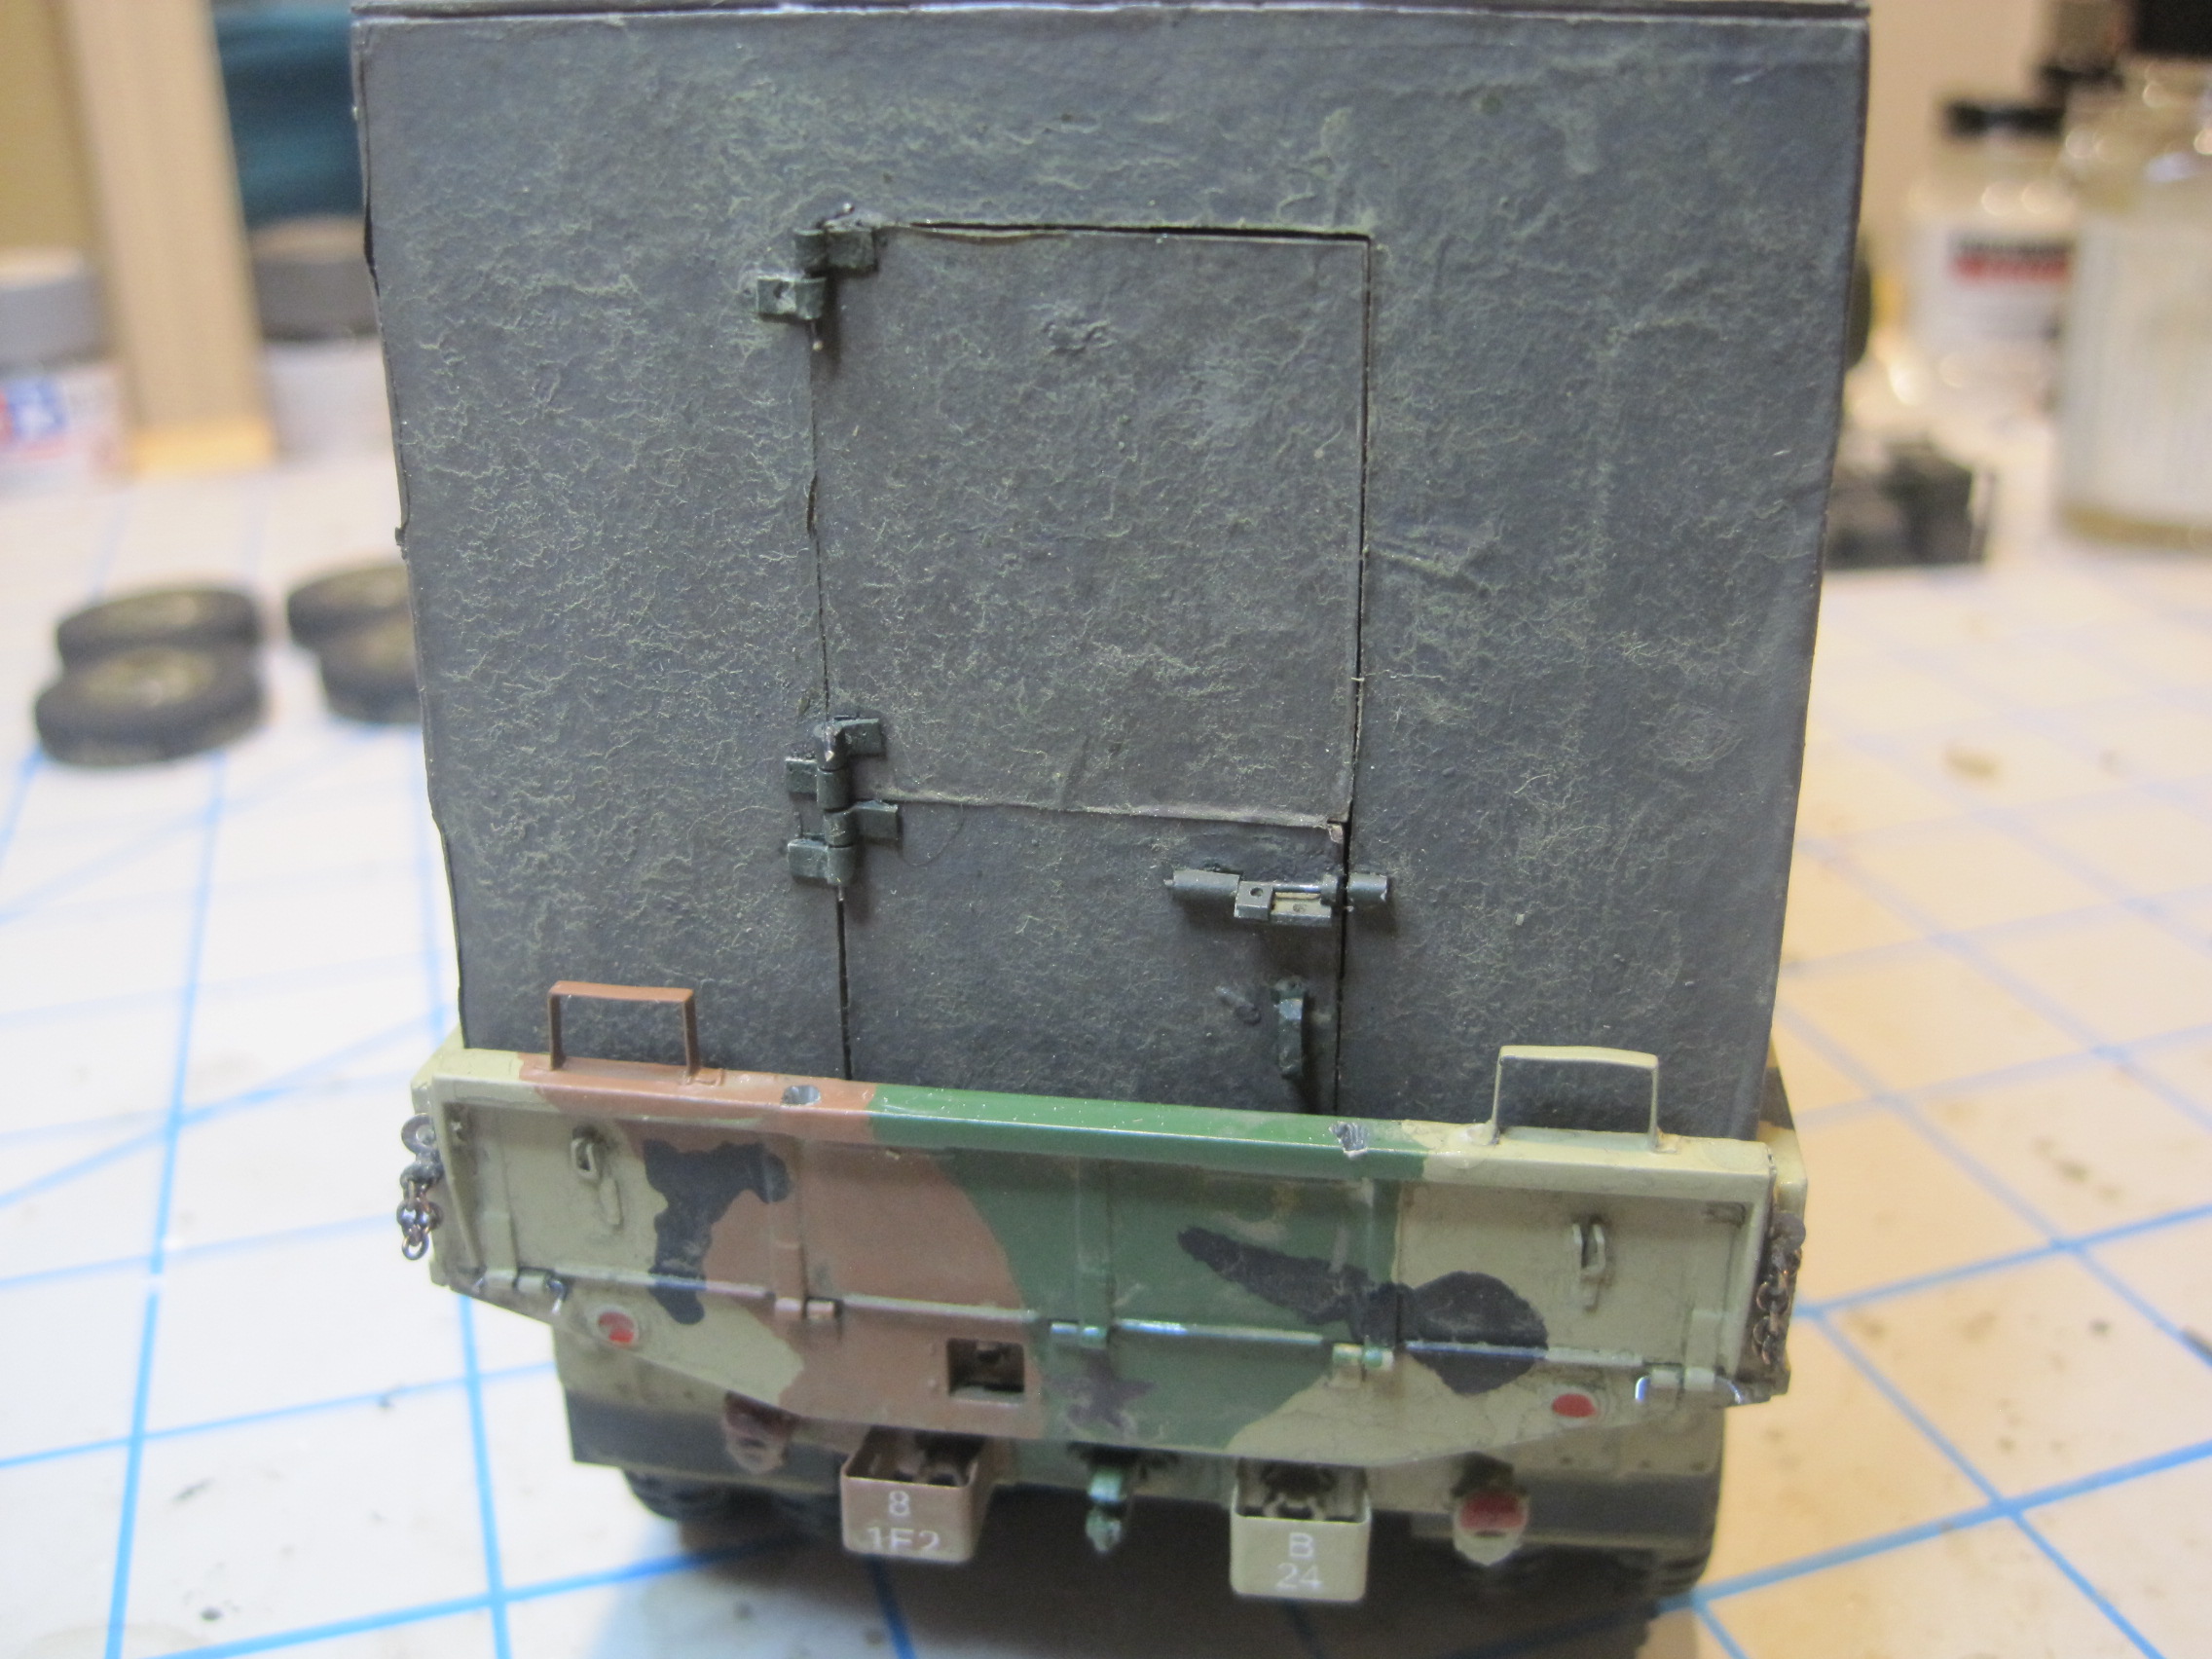
Here are some close ups of the door operation. In the first shot the latch is in the locked position, and to secure the contents, a pad lock was inserted through the latch.
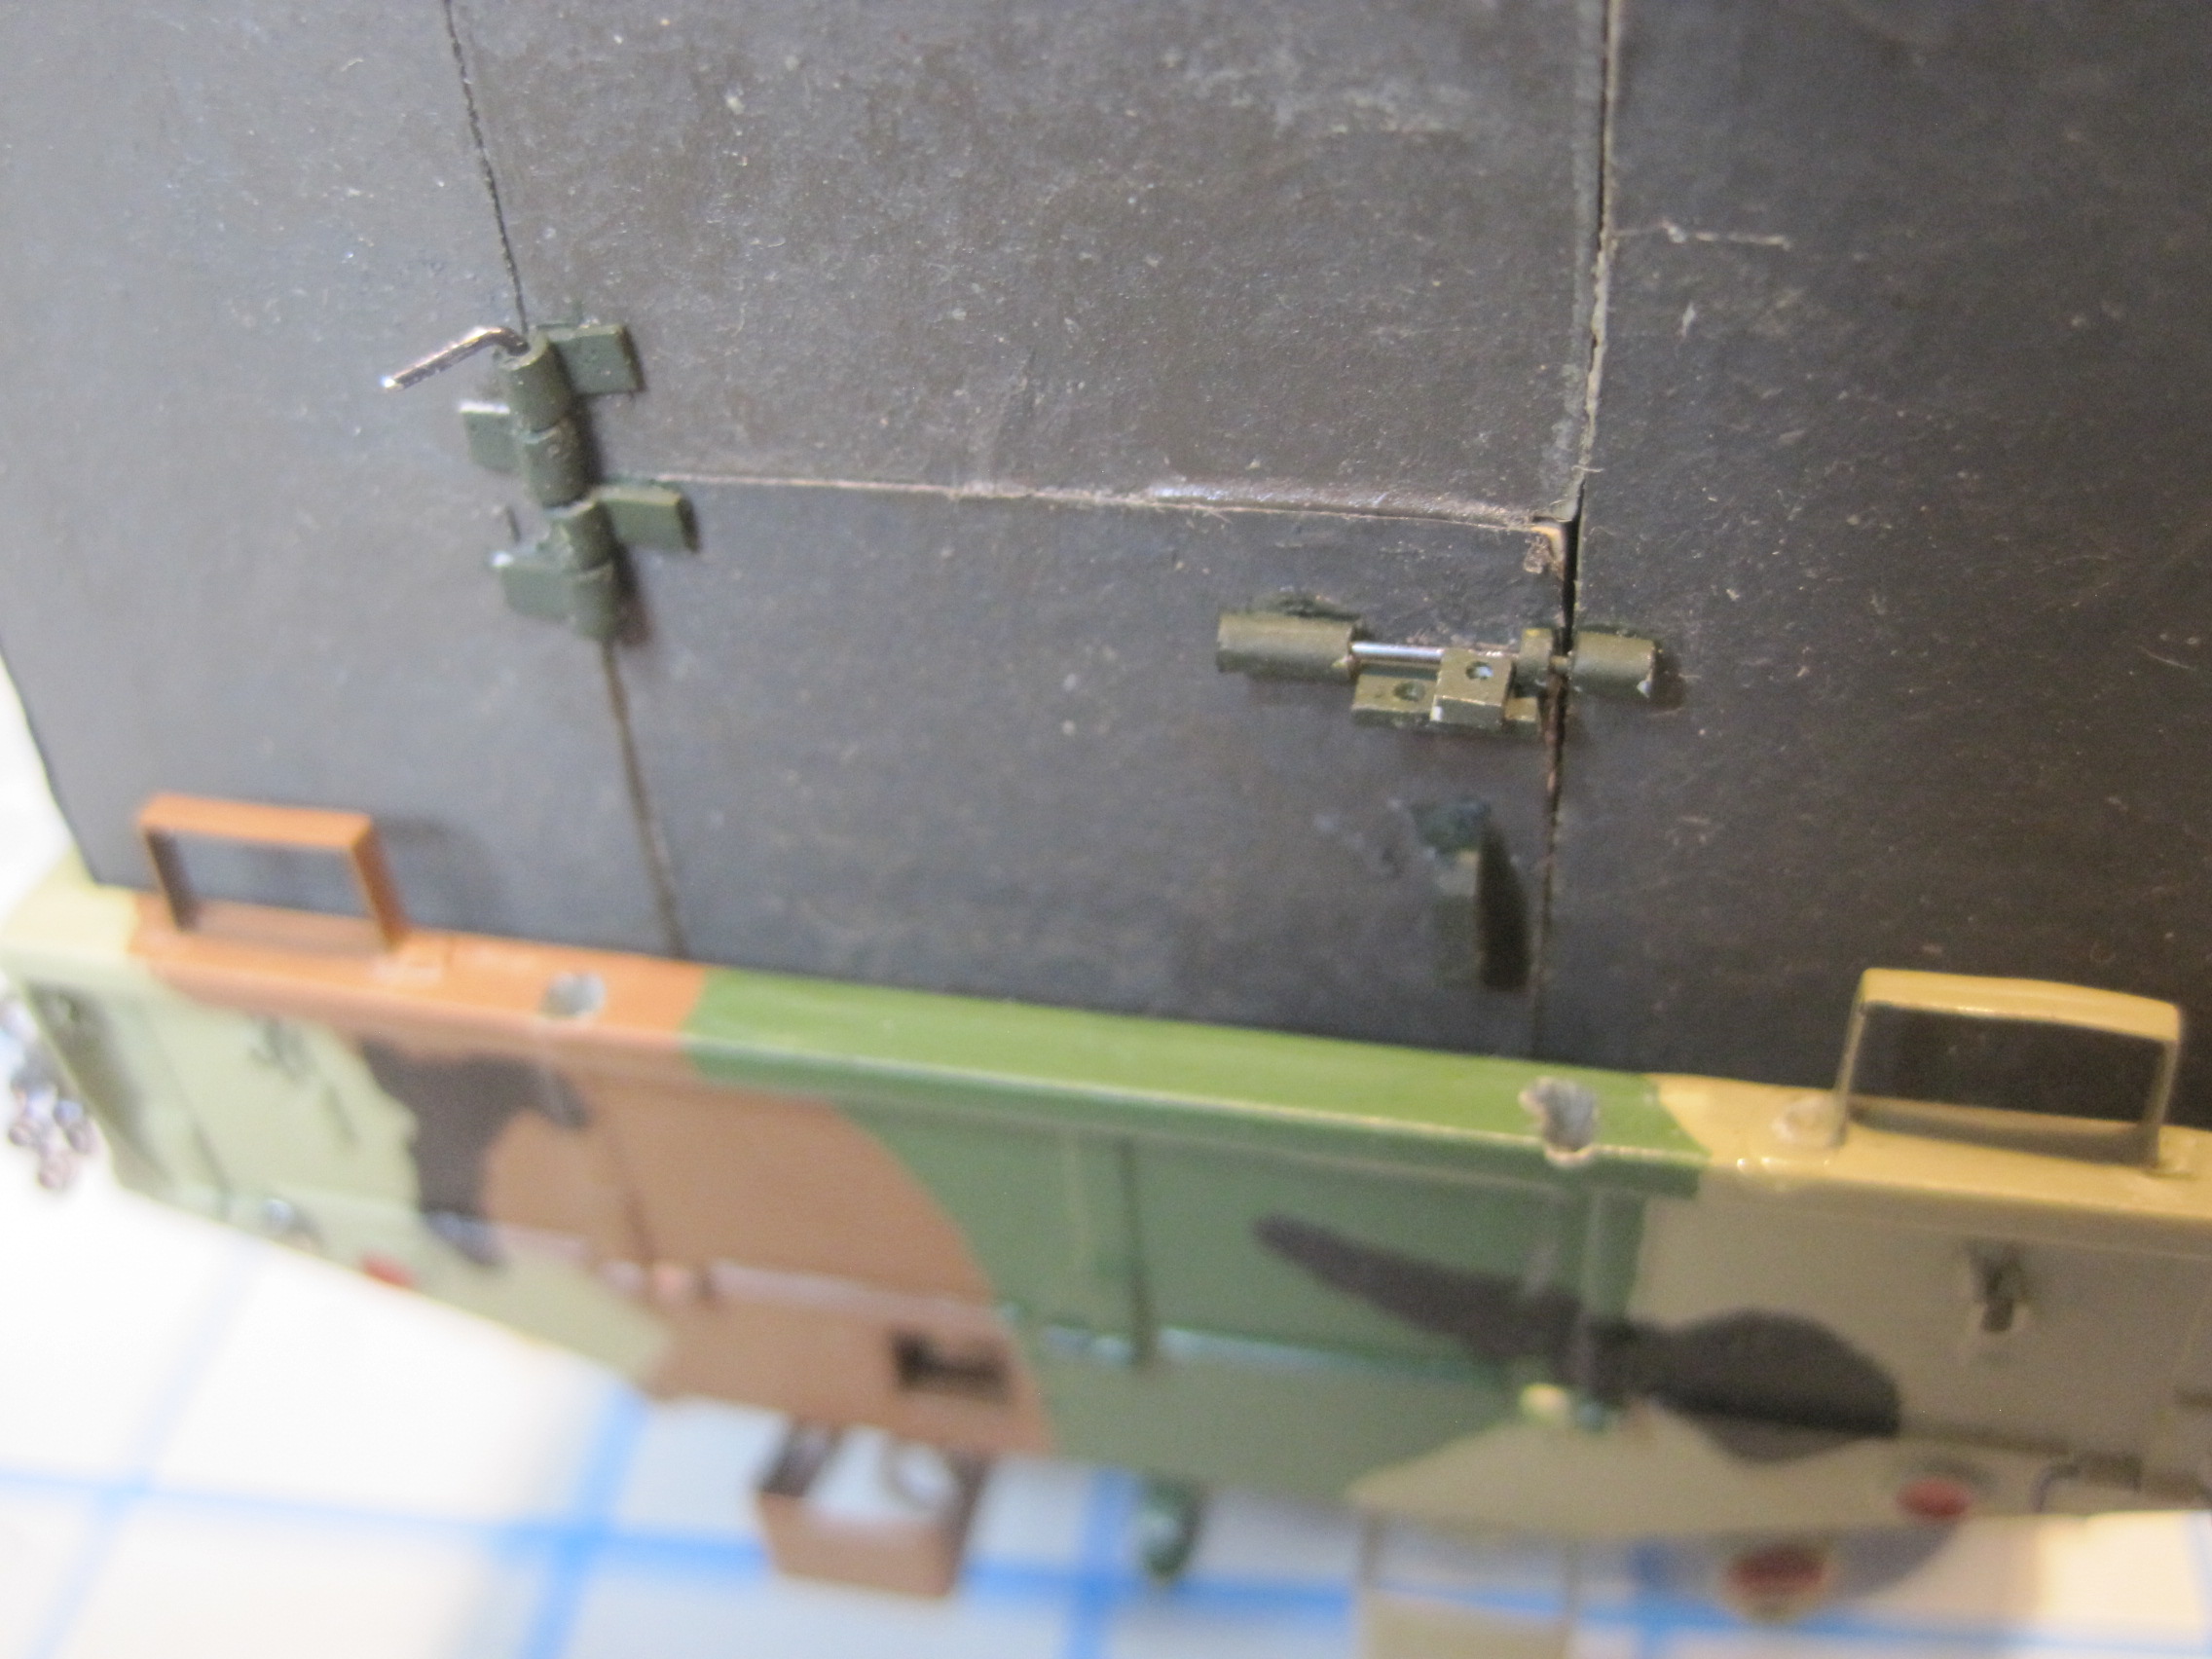
The interior door hardware here is in the secured position with the upper pin in the up position to keep the door closed, and the lower pin in the down position, to keep the two doors together as a single unit.
In this shot, the two pins have been moved to the other position which frees the upper half of the dutch door to open separately.
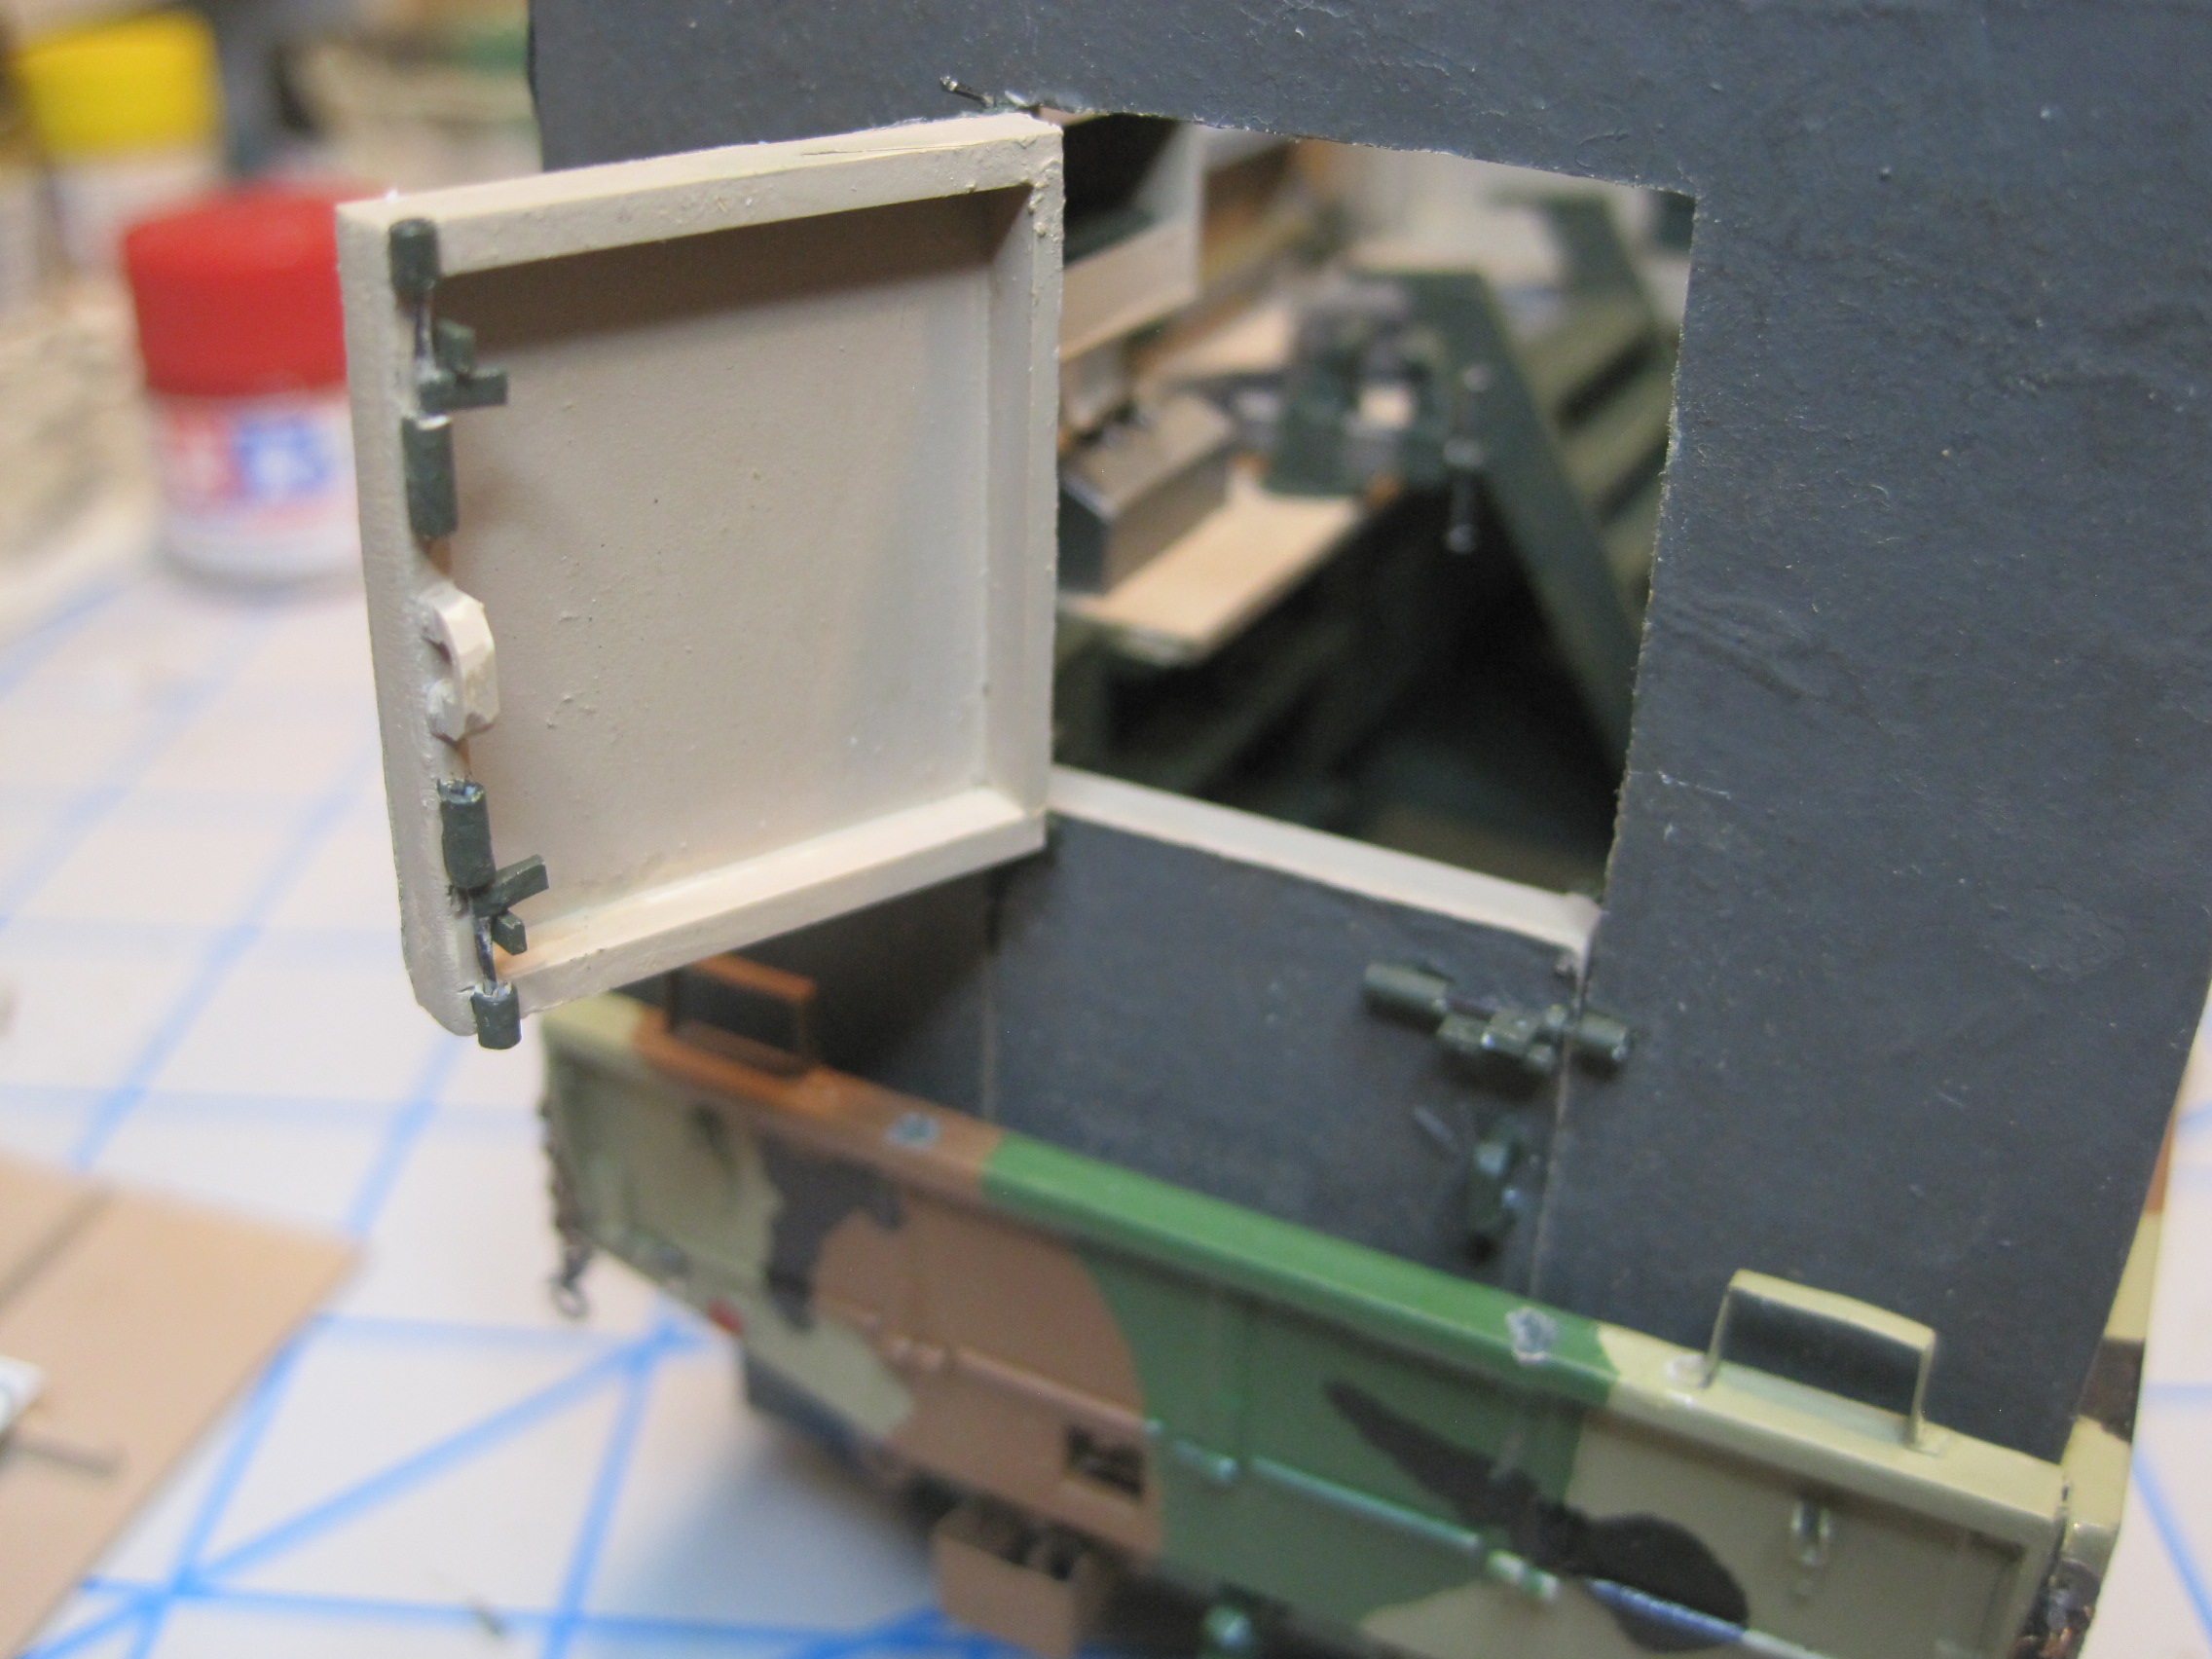
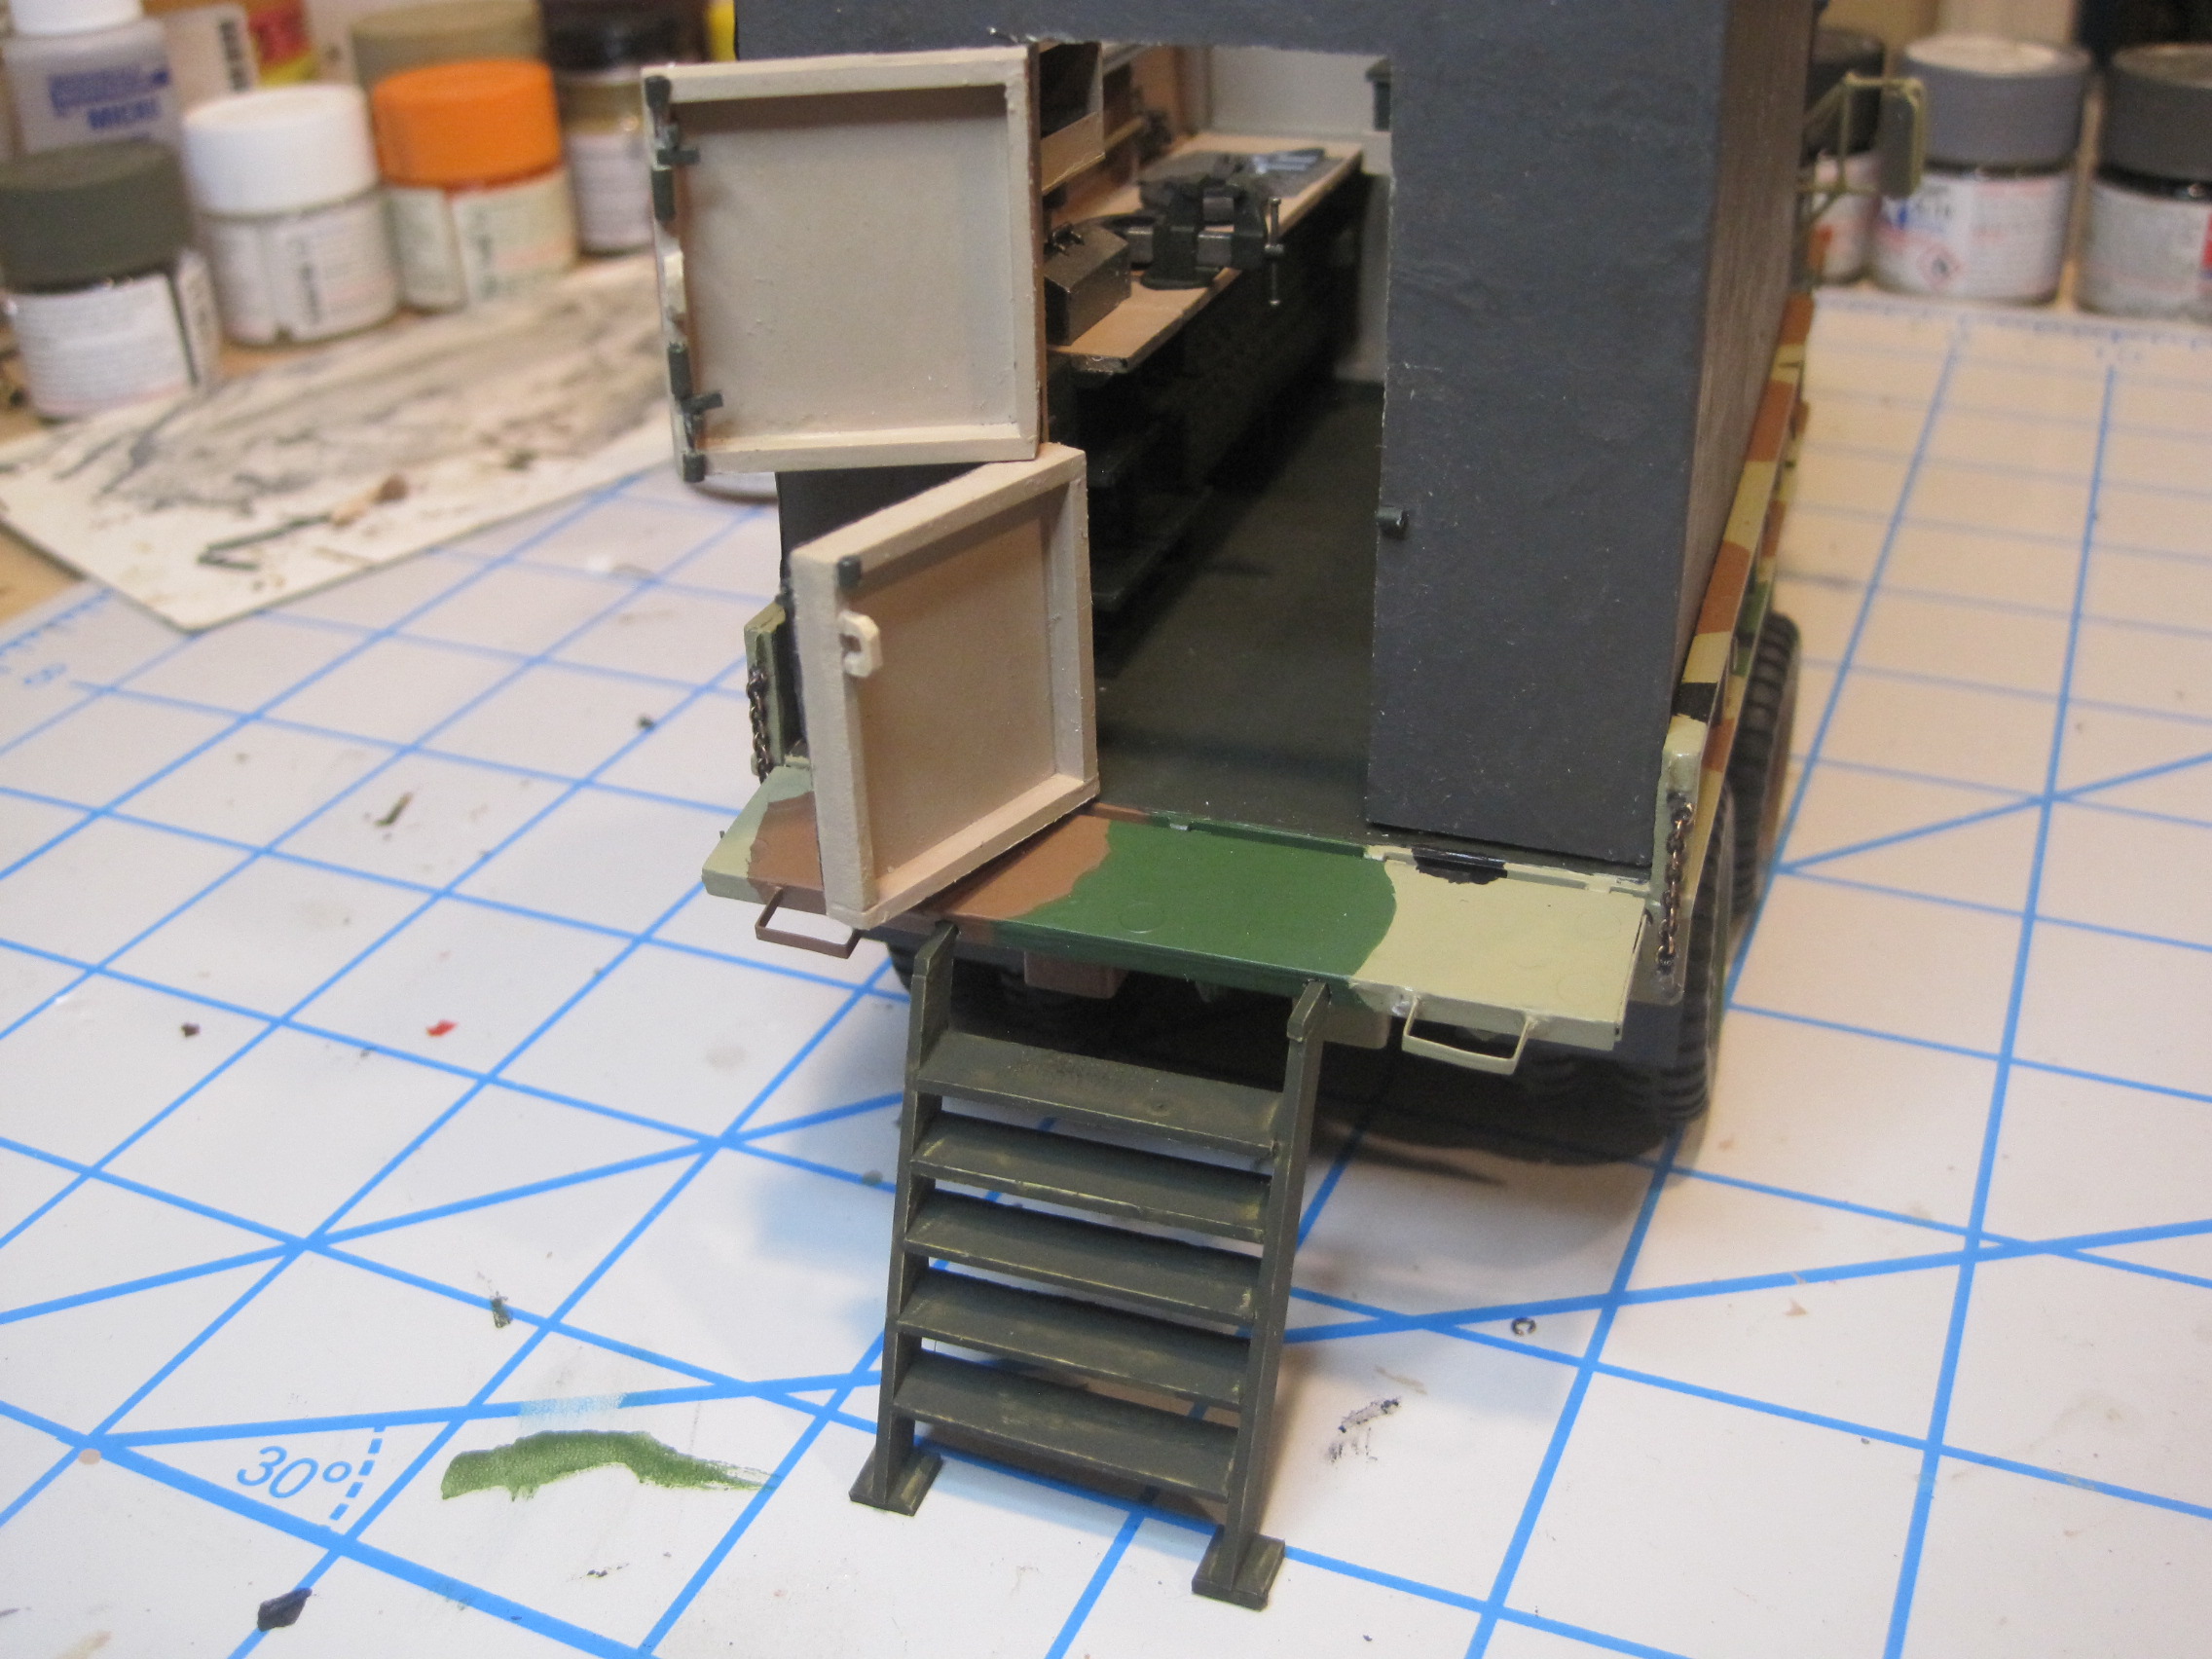
And in these shots, the exterior pin is moved into the open position allowing the lower door to open once the tailgate is lowered. The tail gate is kept in the horizontal position like a landing by both the two chains as well as the steps, which are stored inside the shelter.
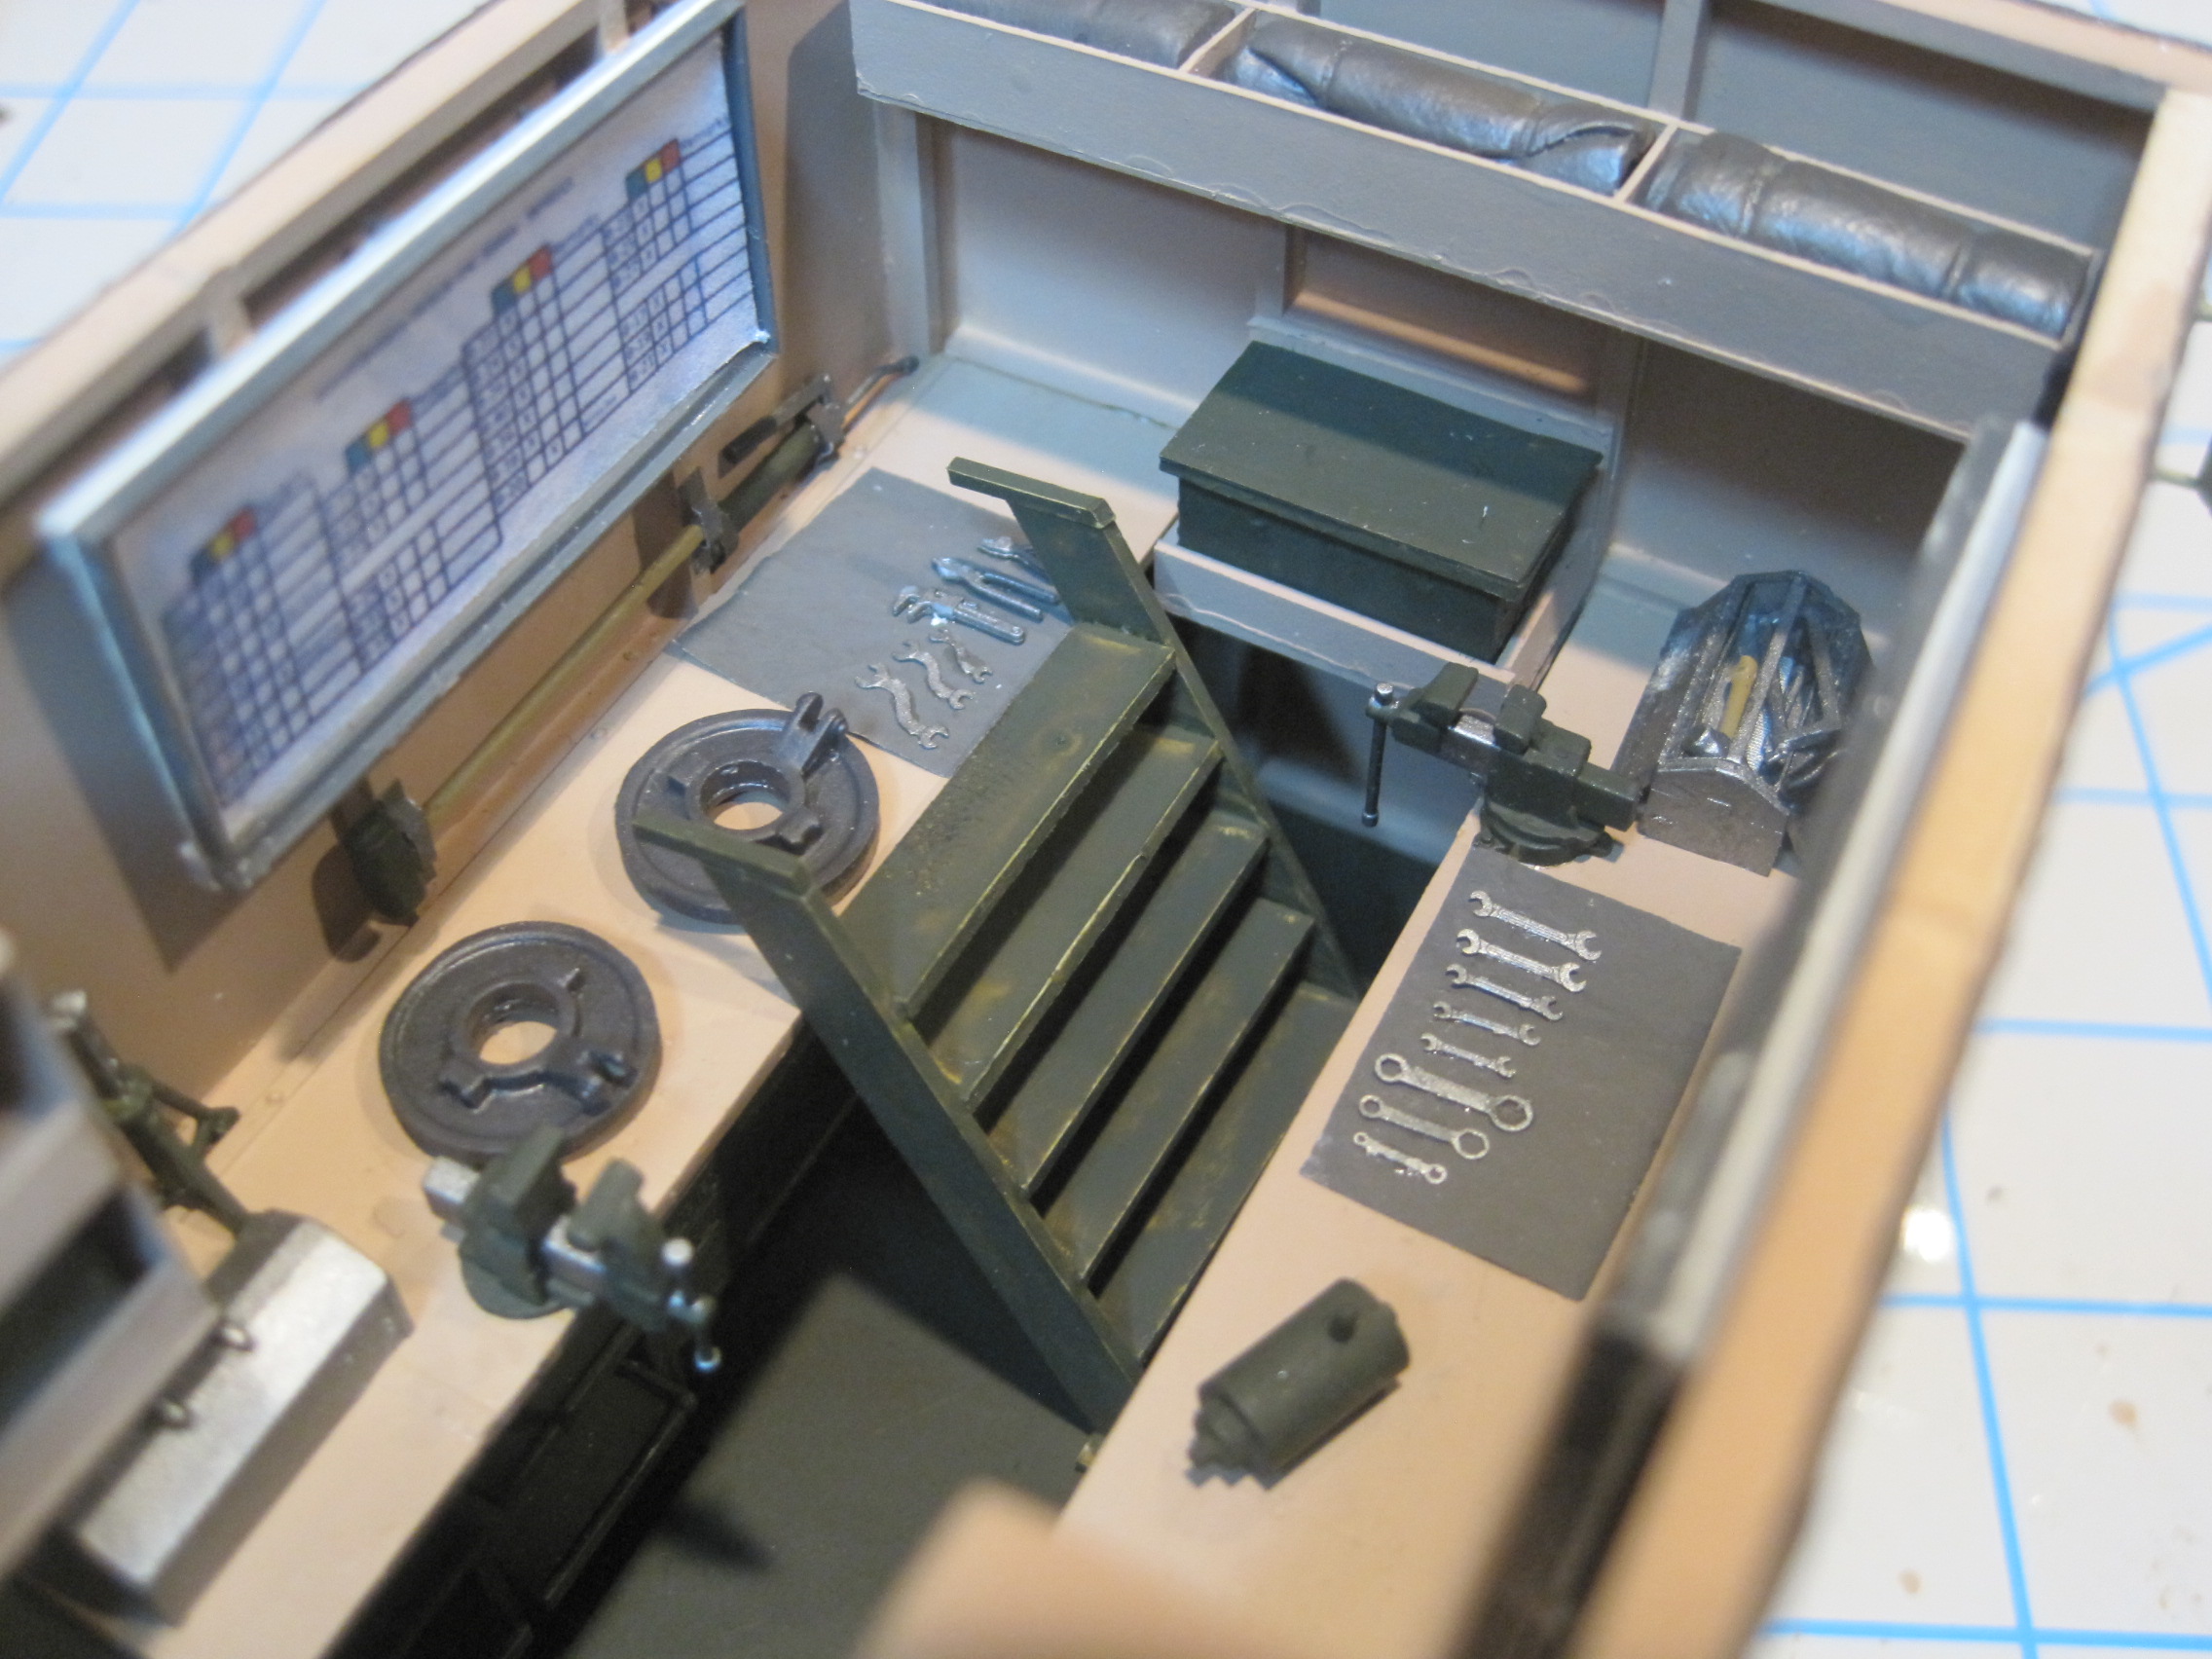
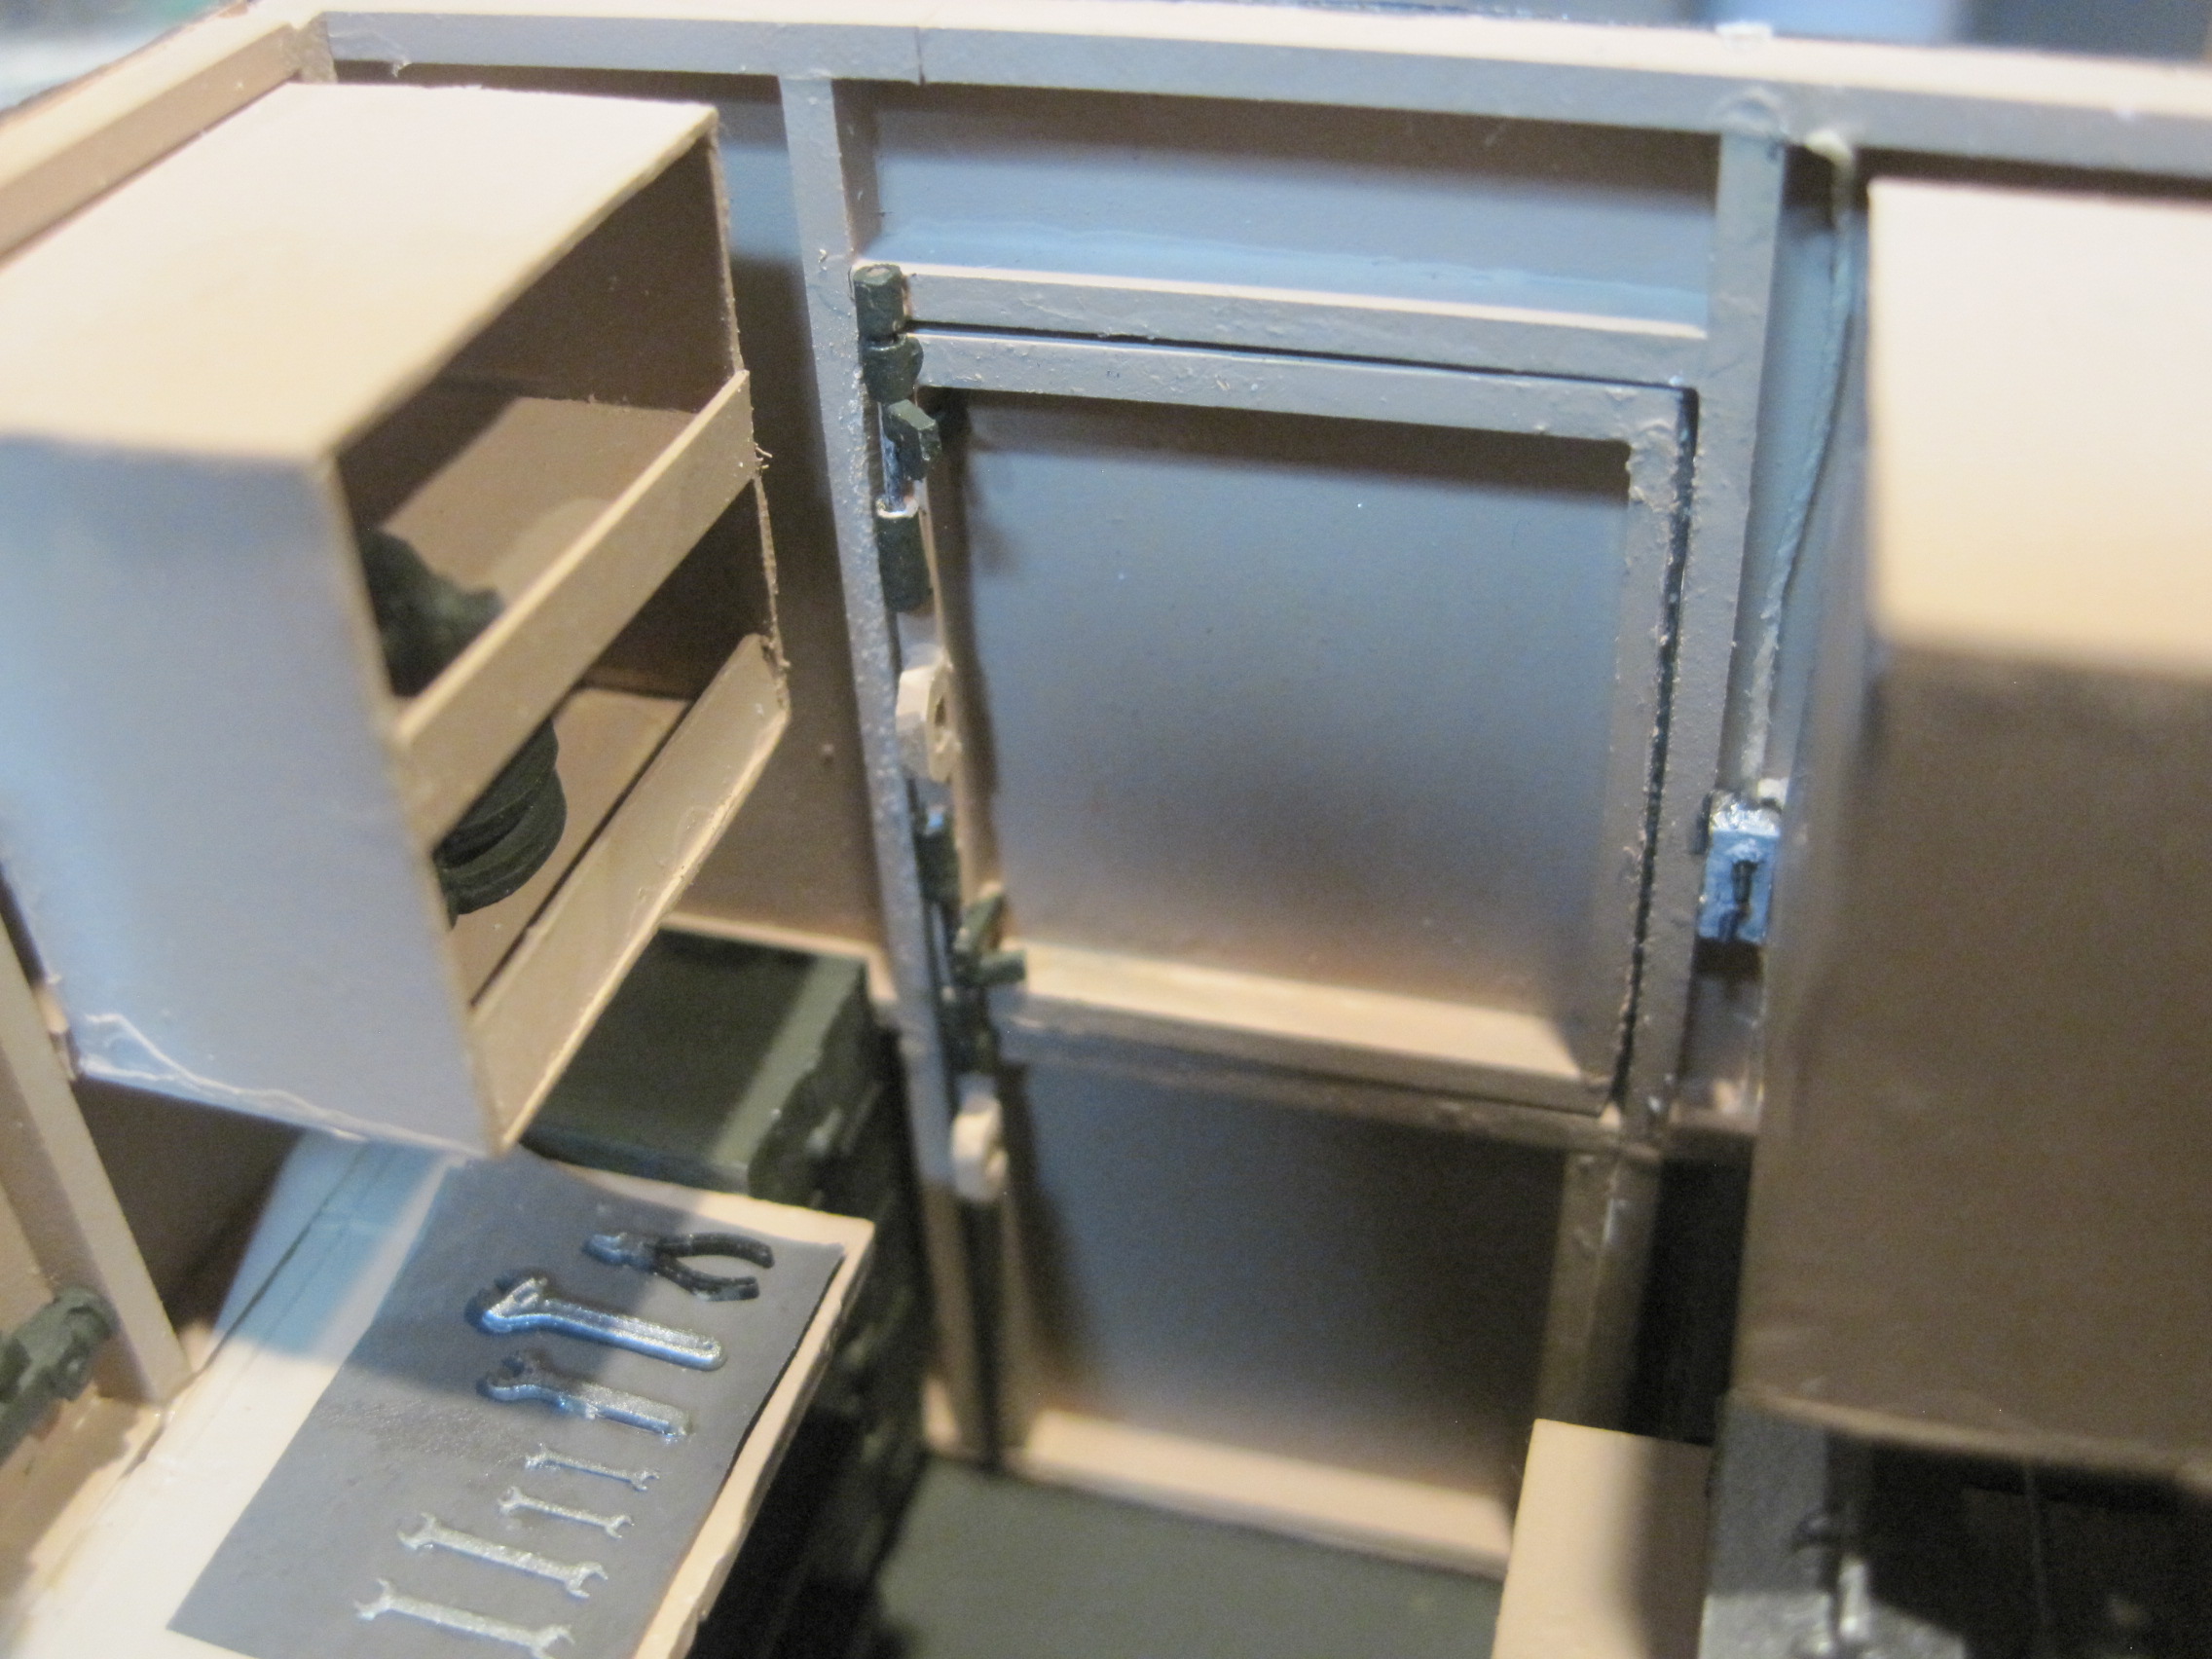
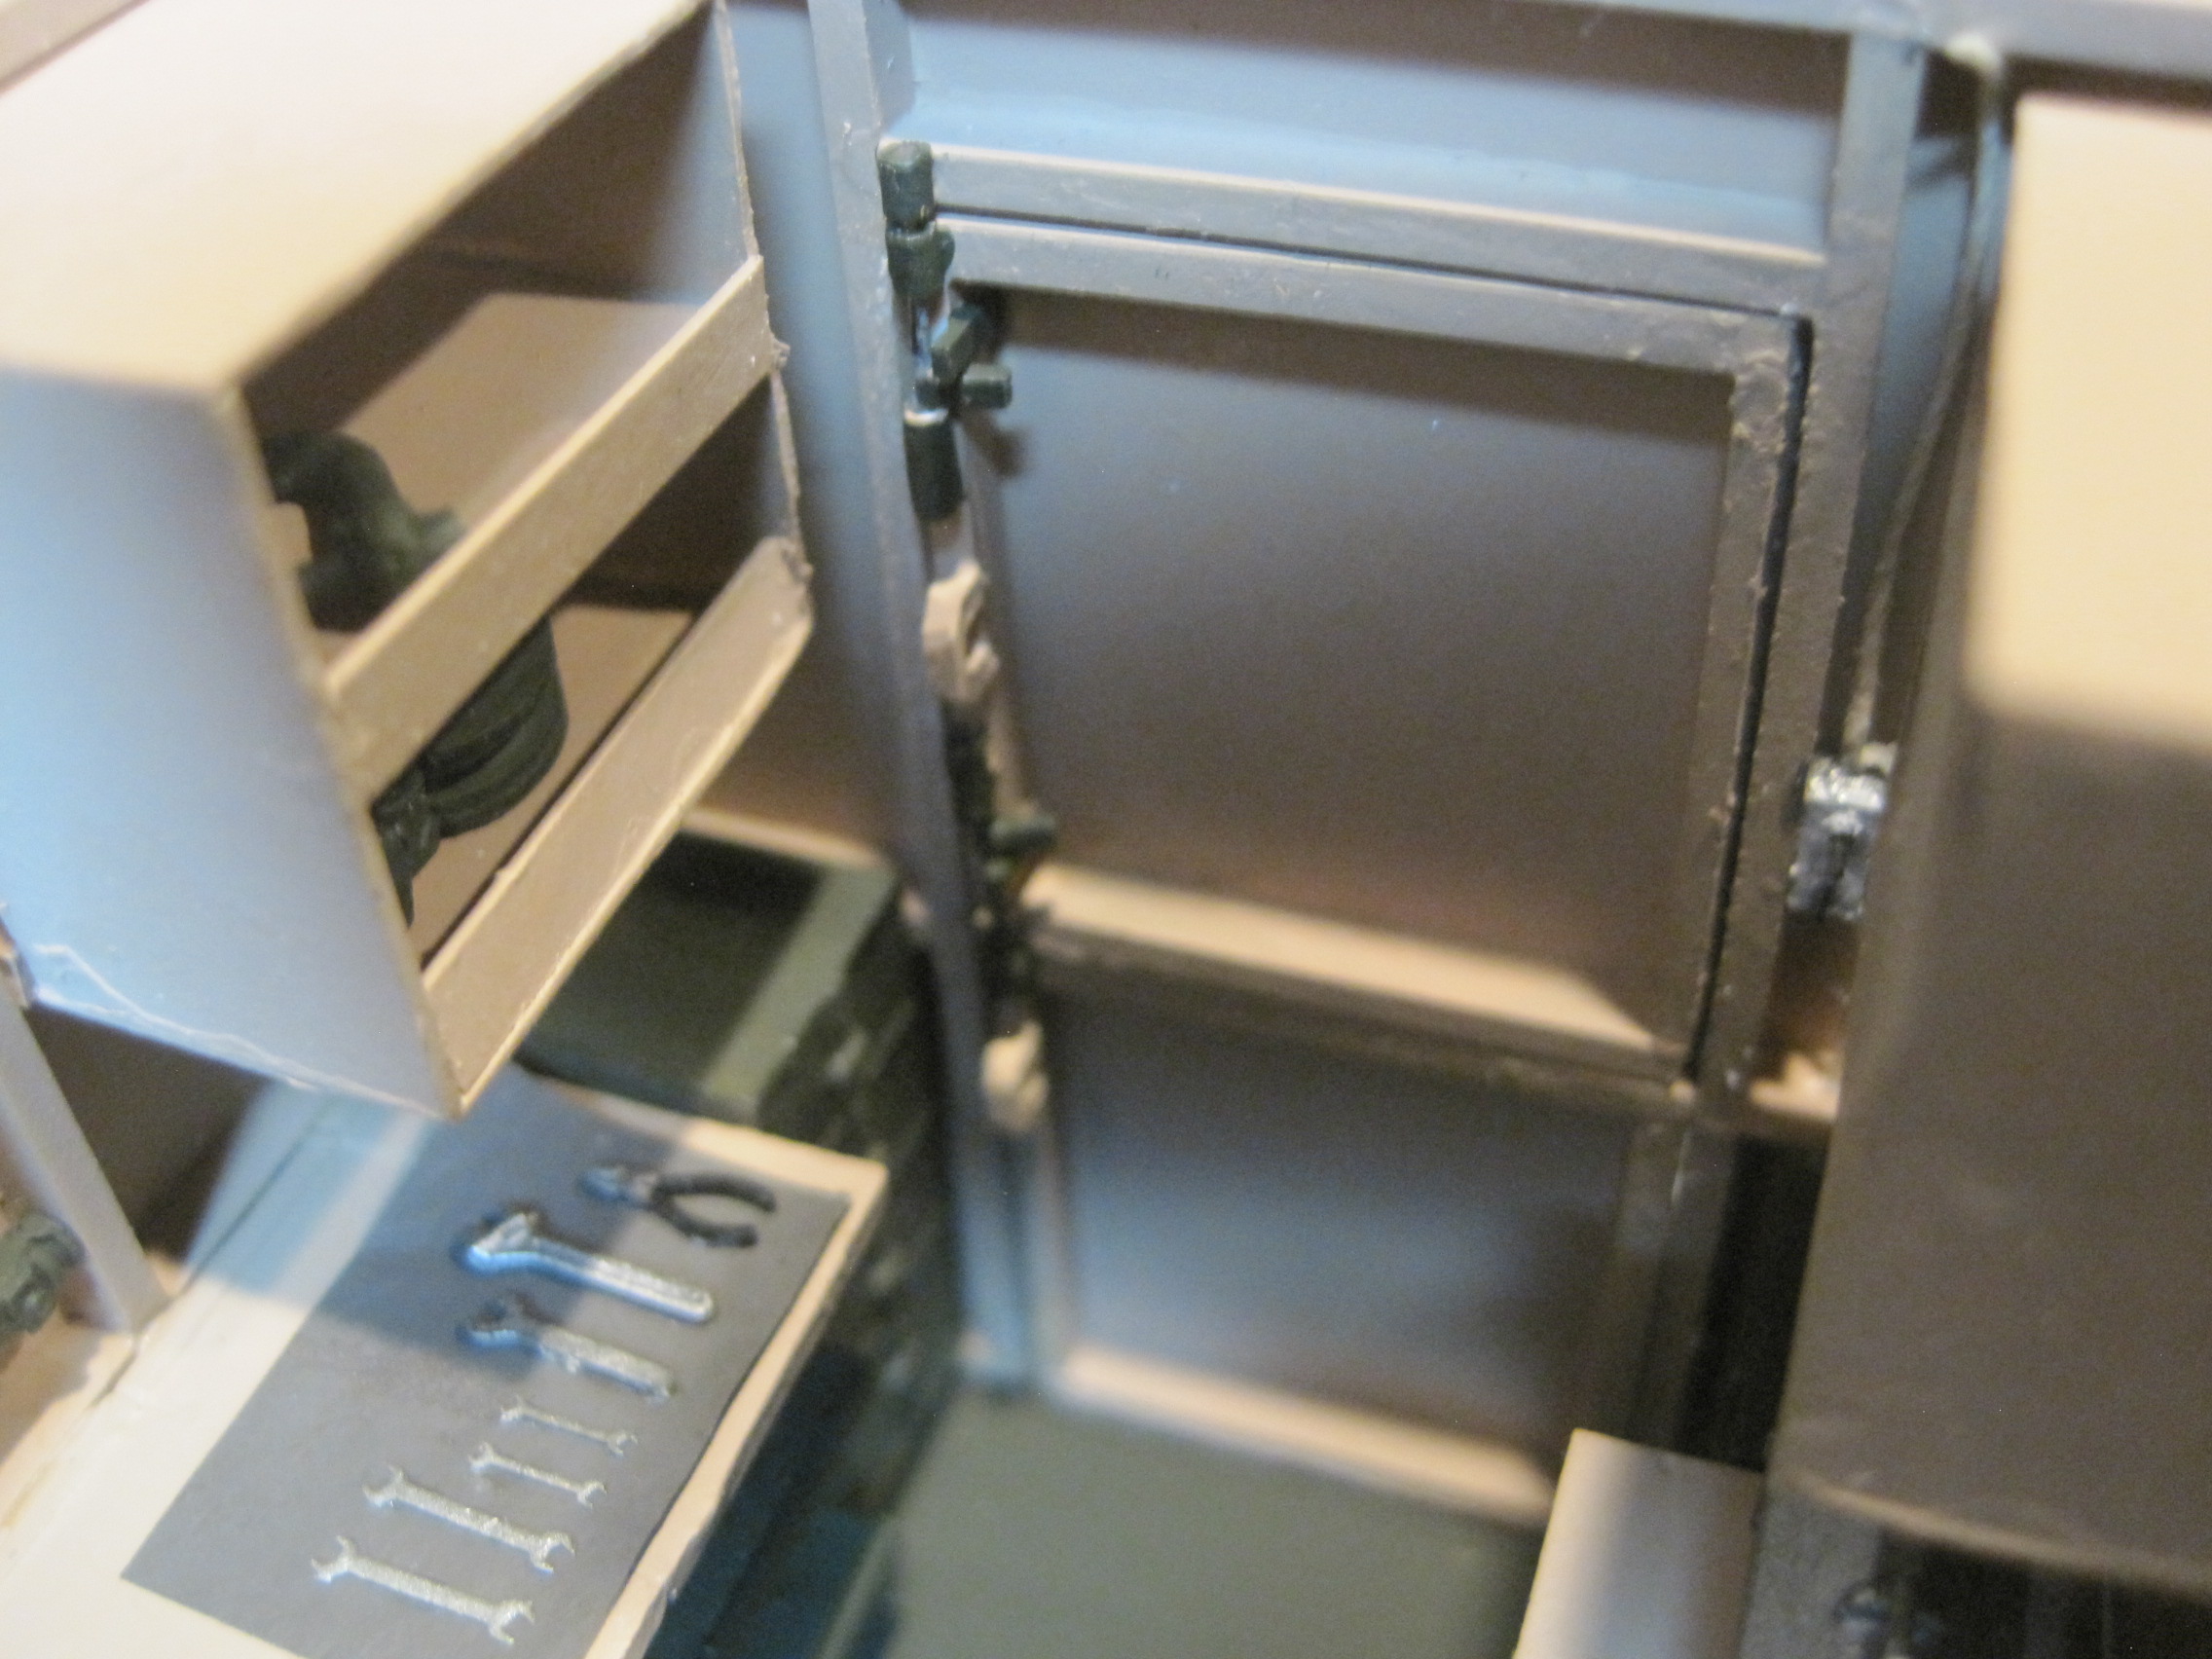
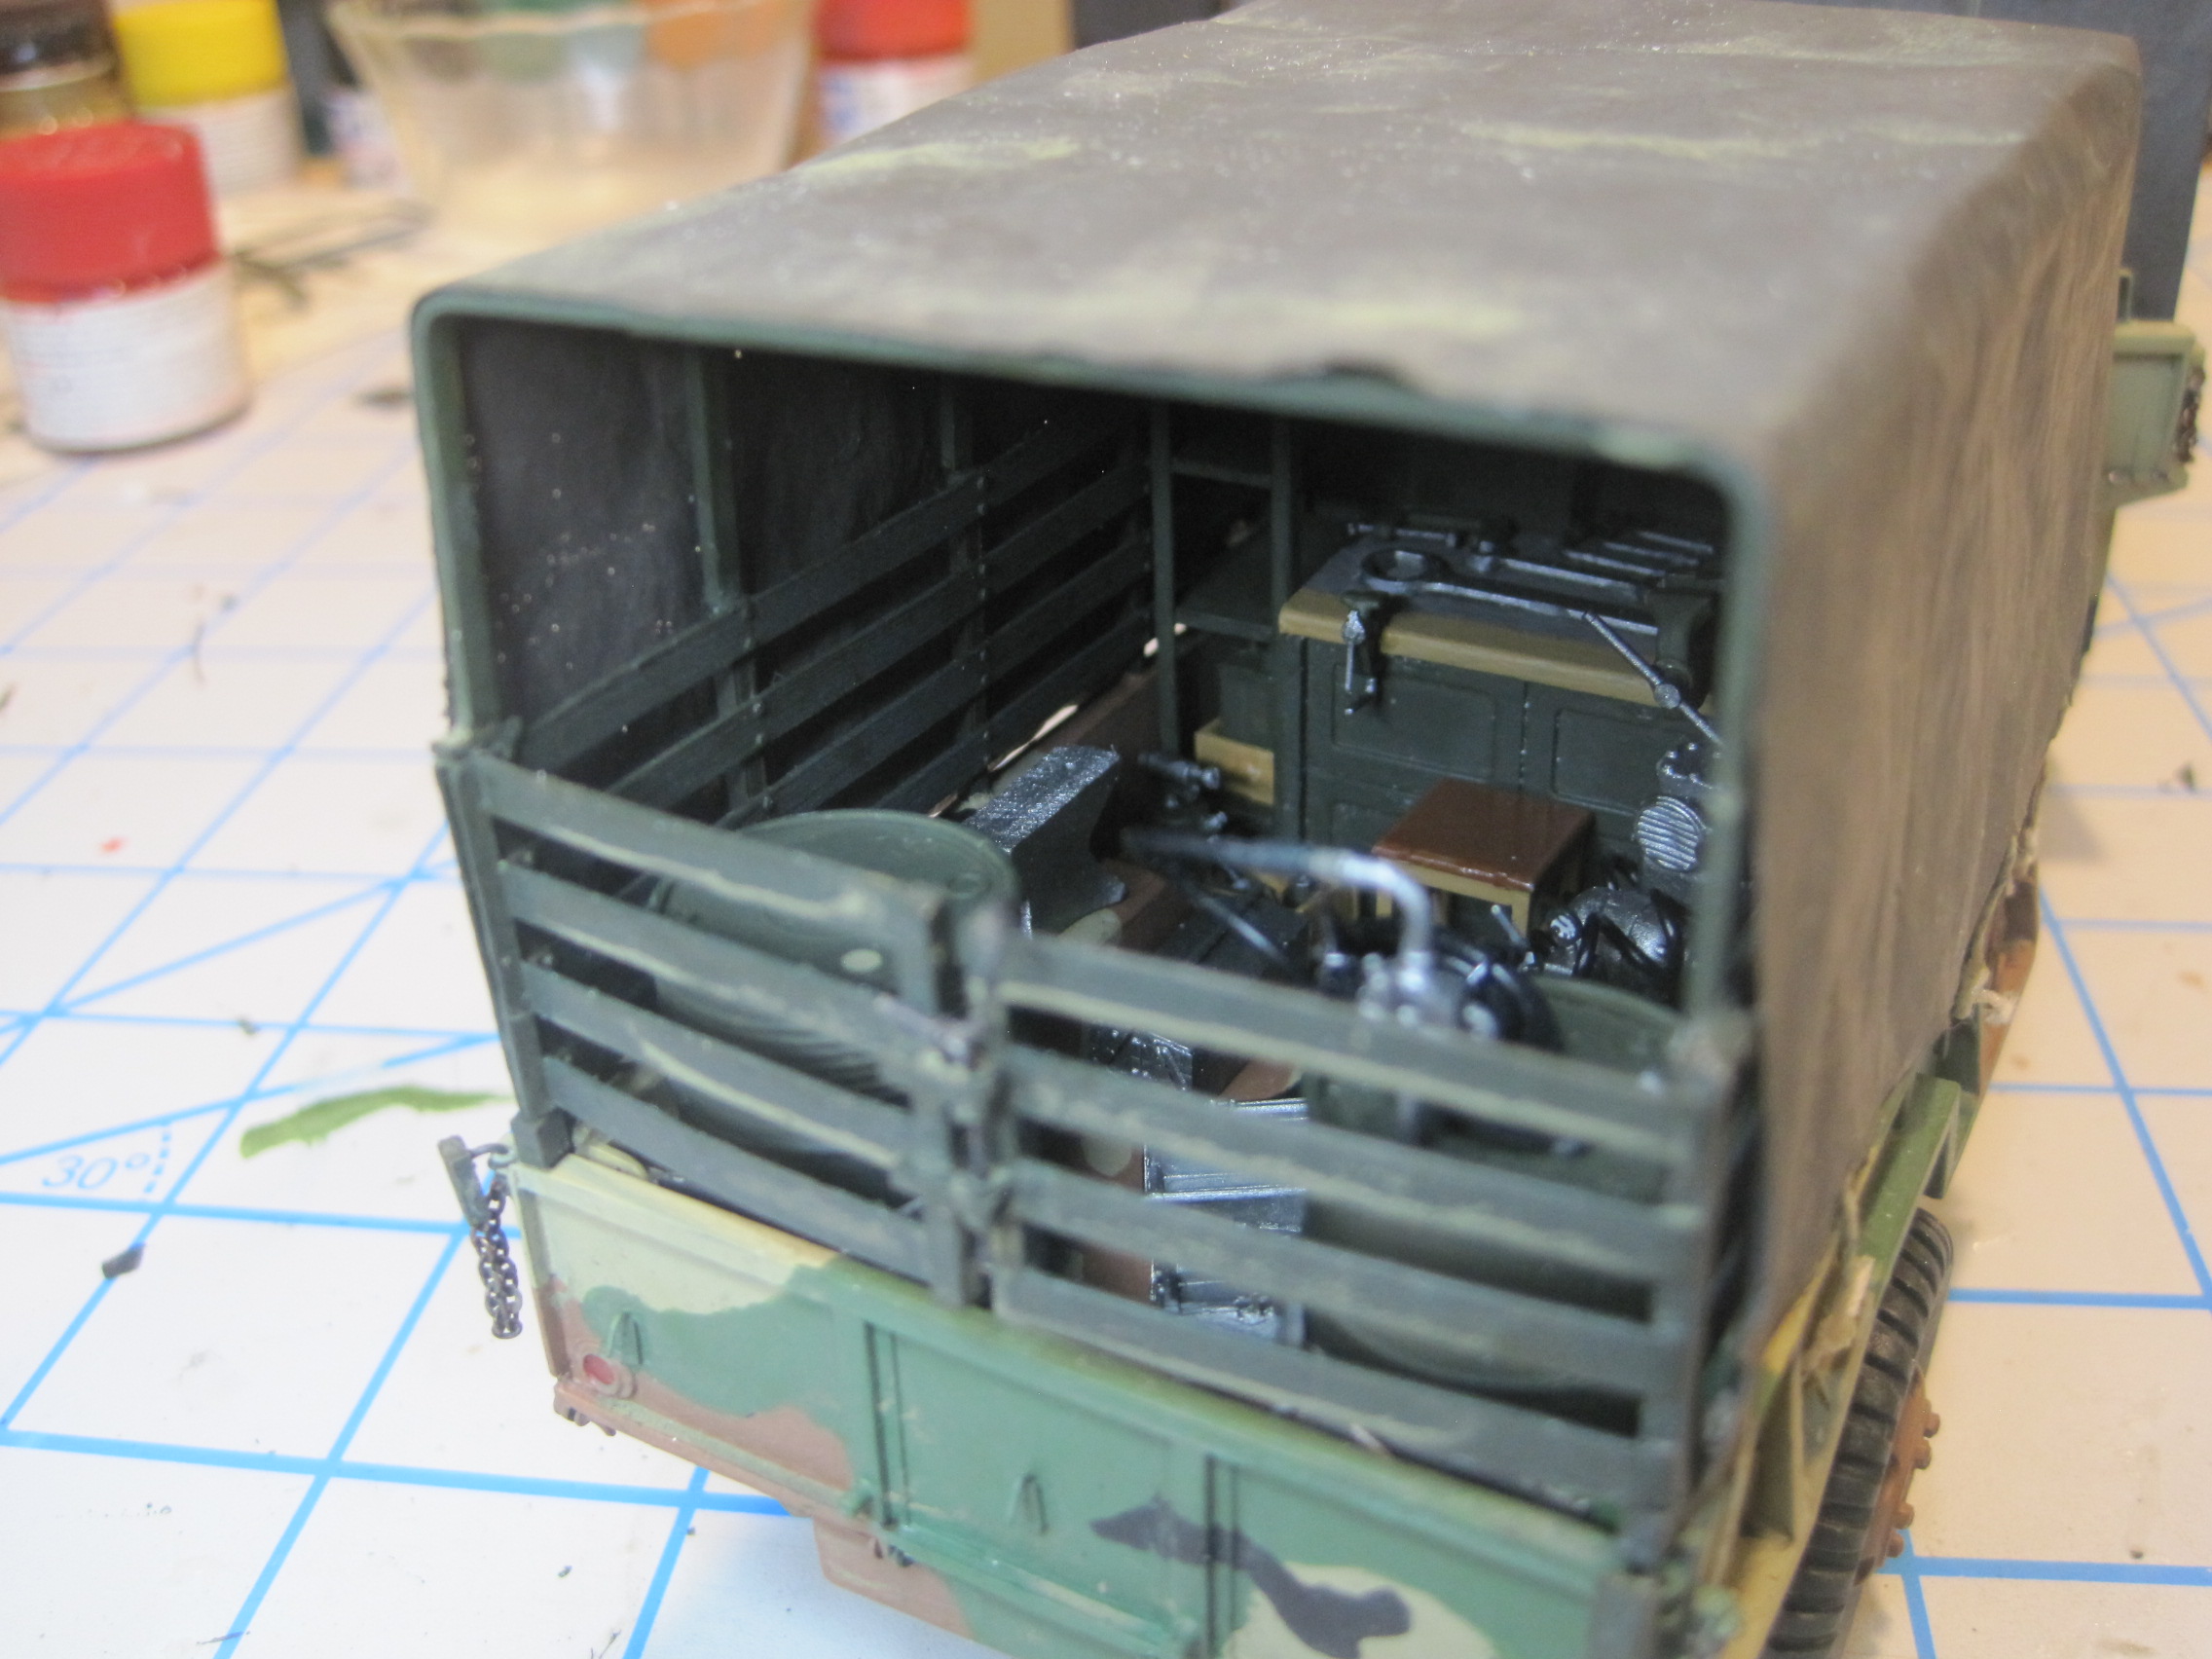
And here are some shots of the interior with all the various items on the work bench.
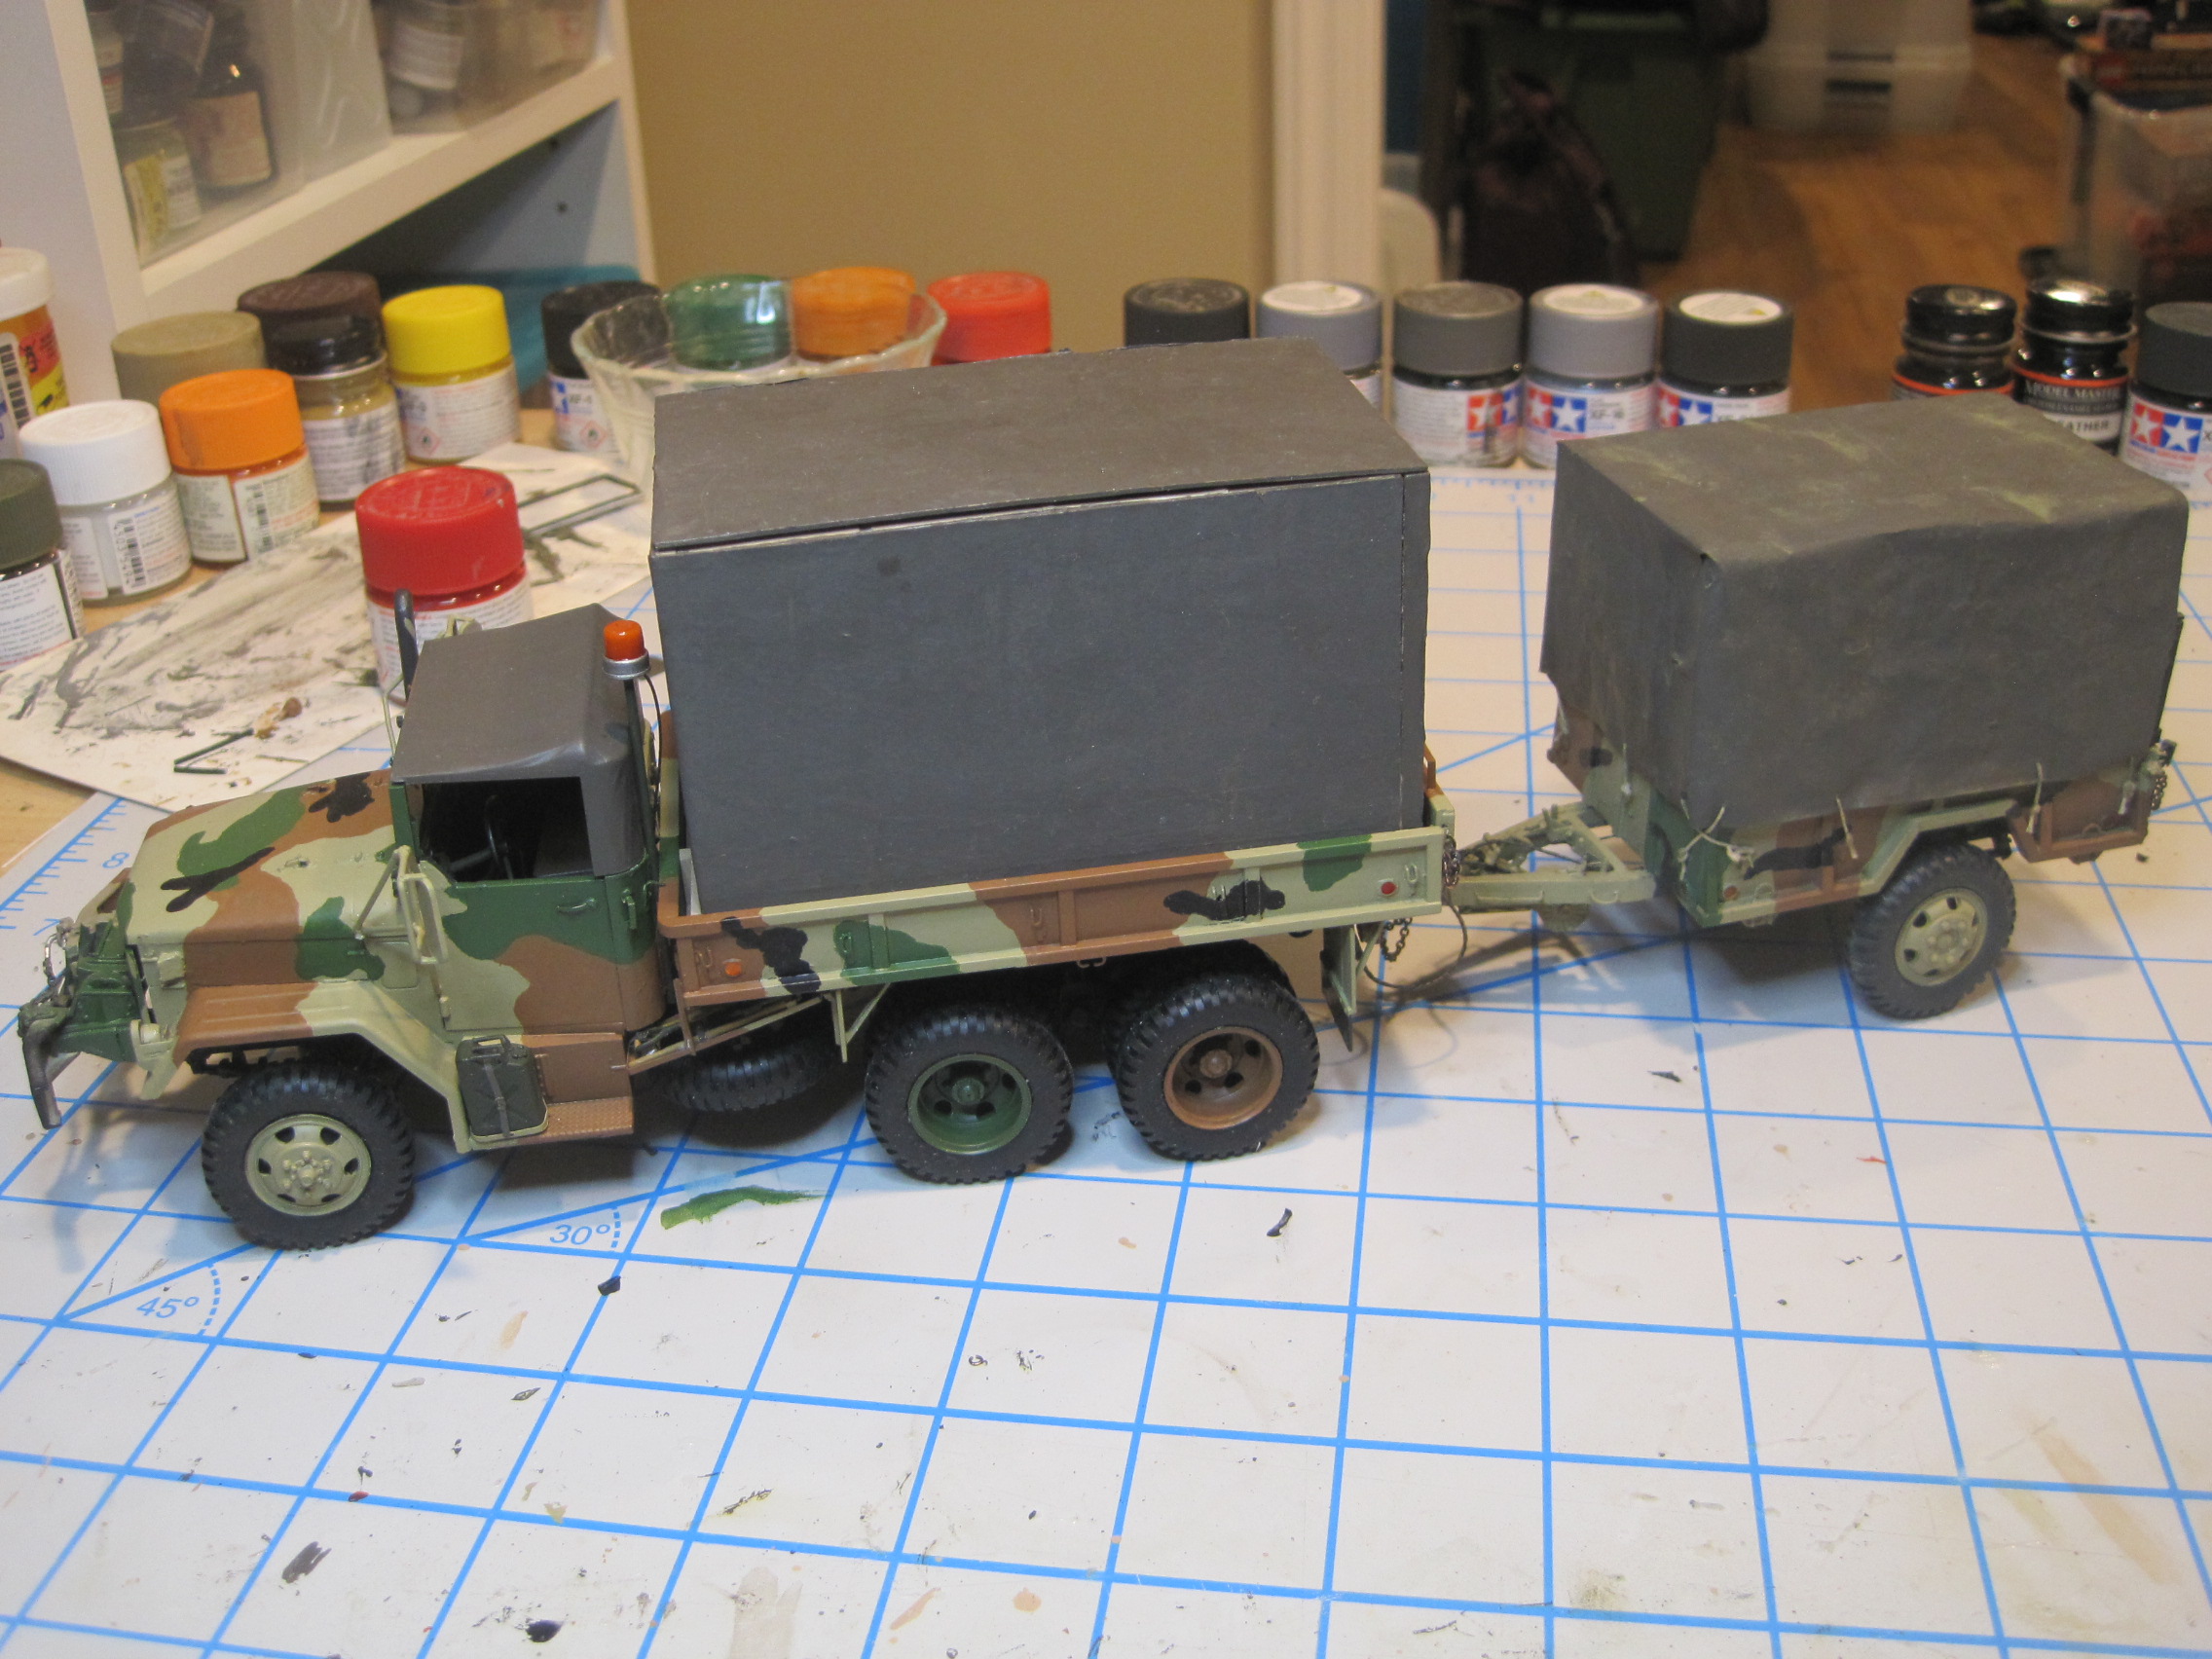
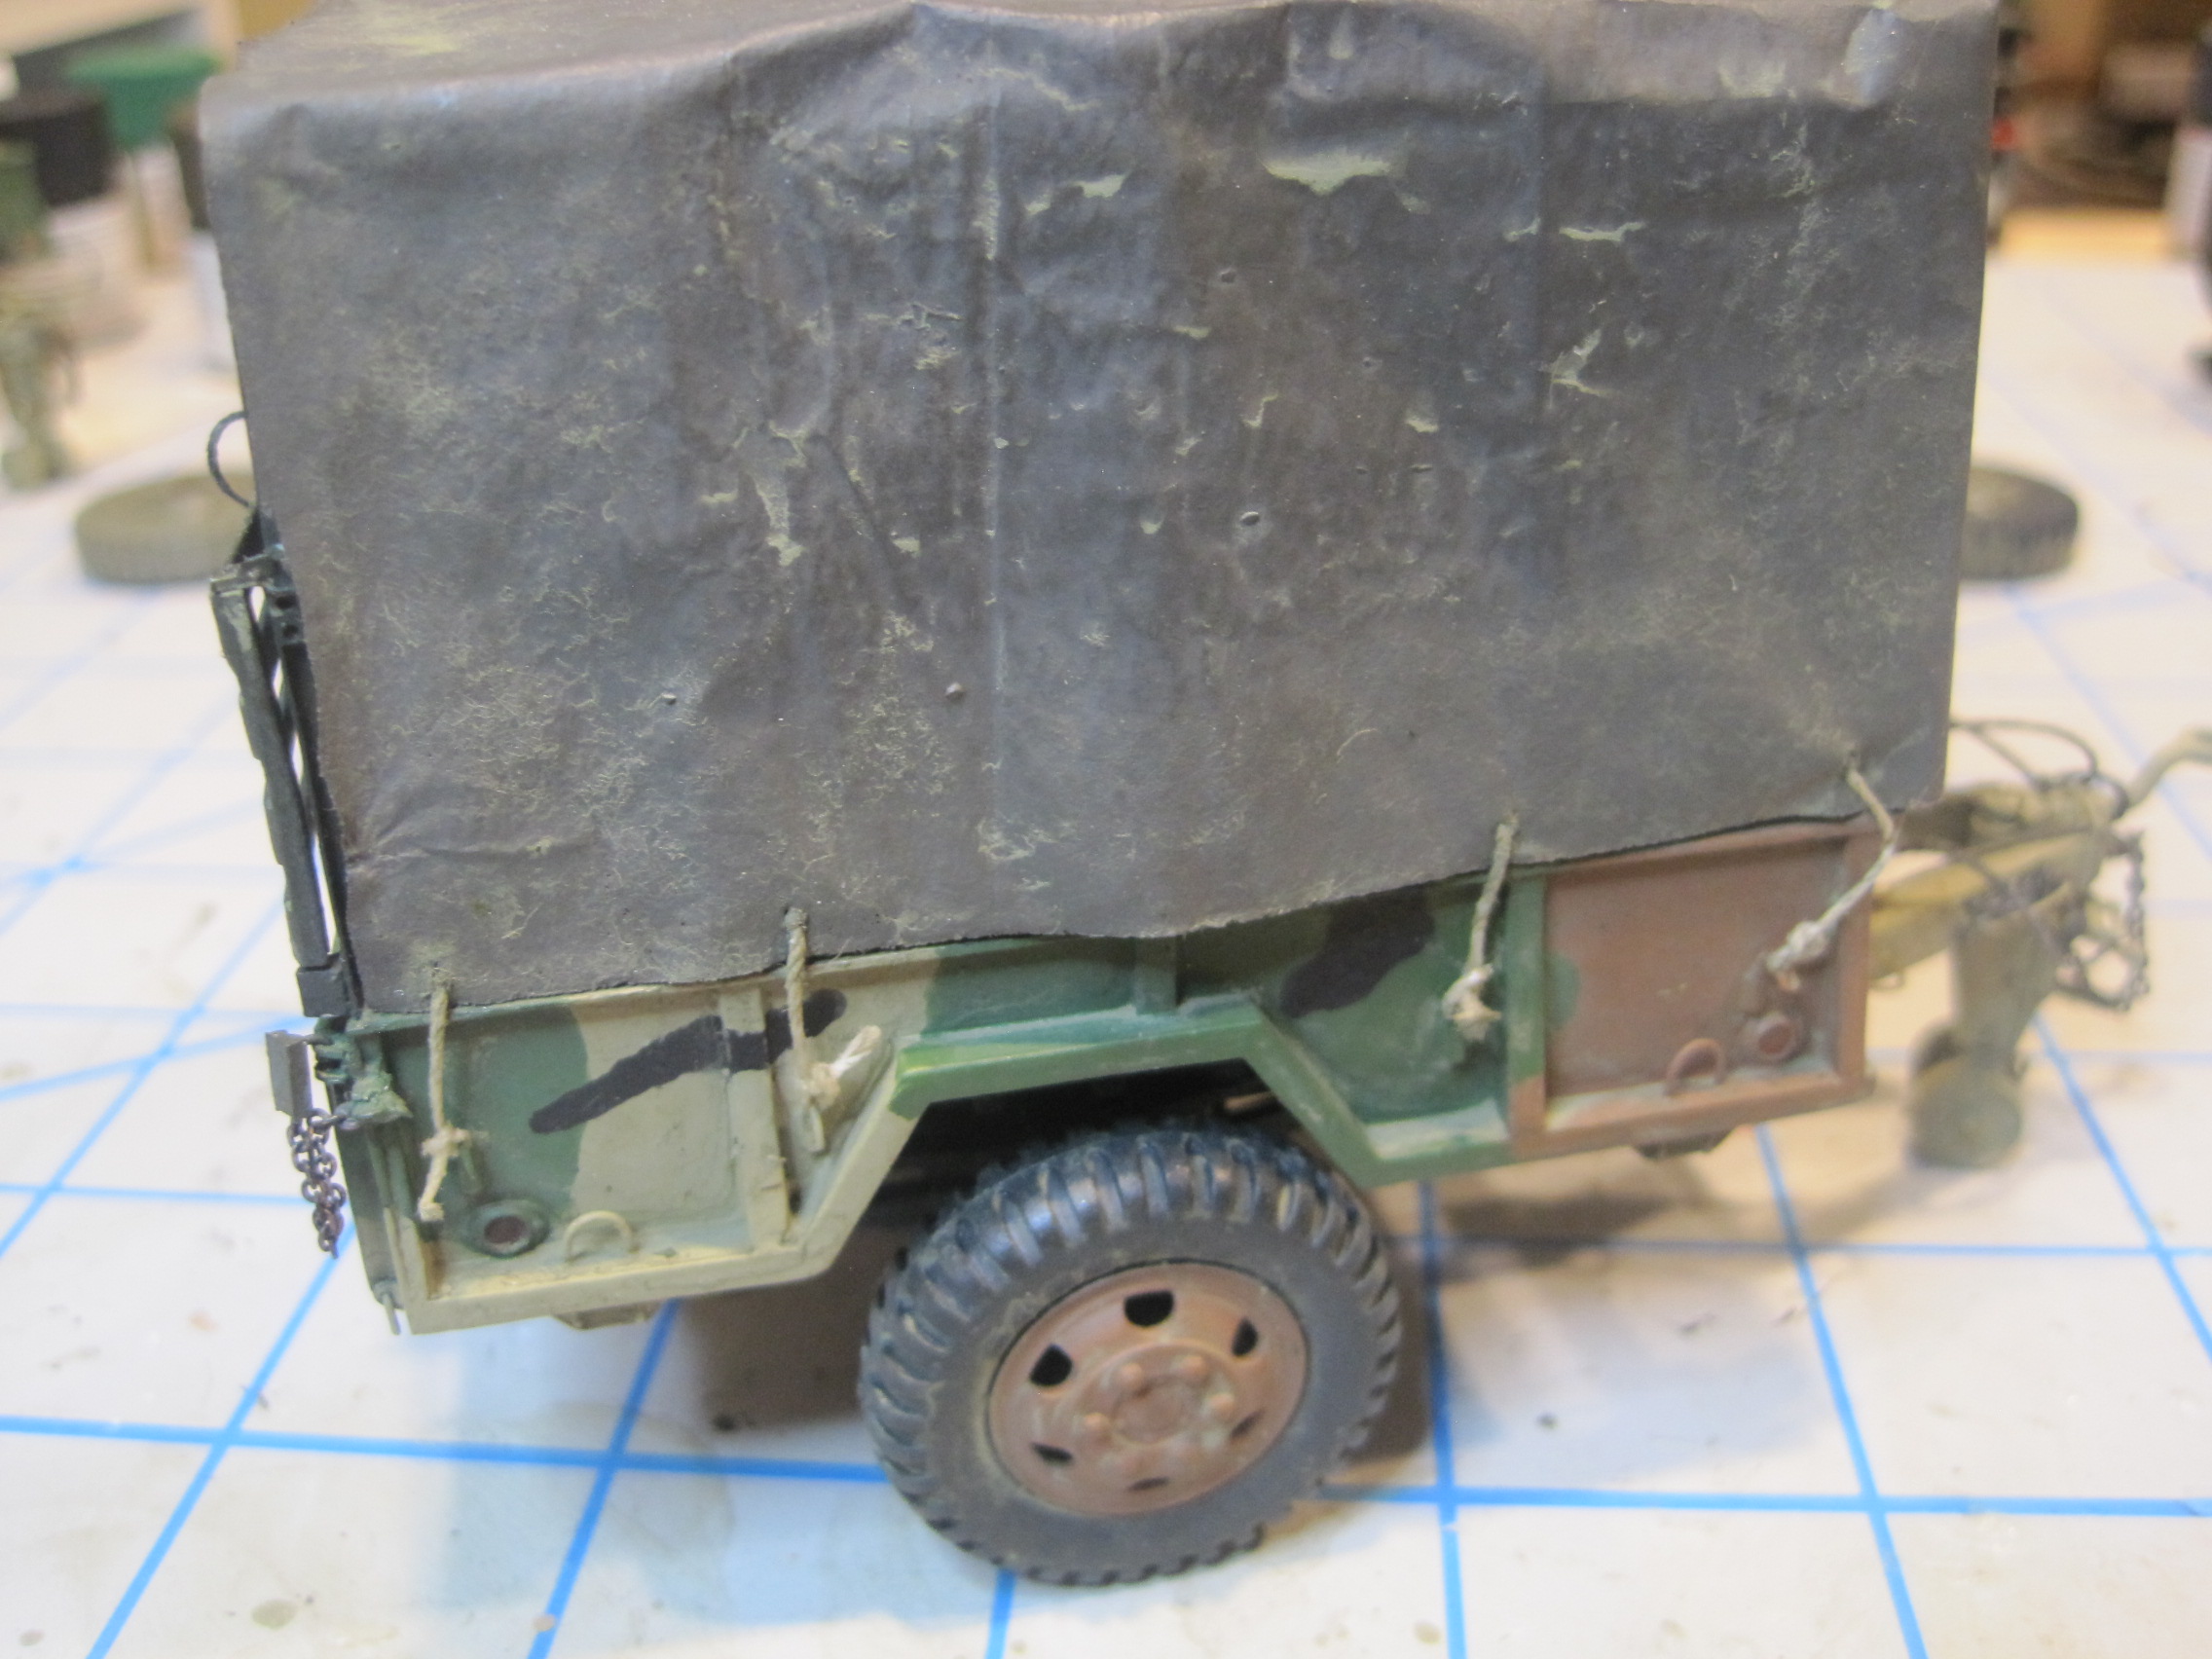
And finally the truck with trailer connected up.

Once I apply the decals and finish the weathering I’ll take some final shots, and probably add them to the other post as well with the rest of the unit vehicles.
8 Likes
Great job on the MASSTER. Truck and trailer combo very well done. 
More awesome work. It looks perfect. Great job.
I finally received my decals which took quite a while to arrive, but as usual, I’m very happy with the work Michel at Black Lion Decals in the Netherlands does. Here are the final shots with the decals as well as weathering applied.

8 Likes
Absolutely stunning work all the way around. It was very enjoyable seeing the progress
'Love it Tom - absolutely fantastic; never enough MASSTER!
Fantastic blog of a great build! love it…
Thanks so much everyone! This truly was a fun build and I’m glad to be able to add this to the rest of the vehicles from the battalion!
Isn’t it time for an overal picture of all those models together?
Great idea and I’ve already got some preliminary plans on how to group these together. Rather than try to fit all of them onto a single display, I’m planning on grouping them in groups of 2-3 on a single smaller square base, all of which can than be placed together (provided you have a big enough space) in a single larger diorama. But I really want to get some more figures that are not in:
- WW II uniforms
- Vietnam jungle fatigues
- BDUs and Kevlar
- Not Tank crew members
and - Don’t require modification to make them US Army Europe 1950-1980.
2 Likes