
Didnt get to the muffler repaint today, but some adjustments to the #3 bracing saw the pump unit dry-fitted as well as the 2 six hundred gallon tanks. . Also made one of two data plates for the engine’s air cleaner.
7 Likes
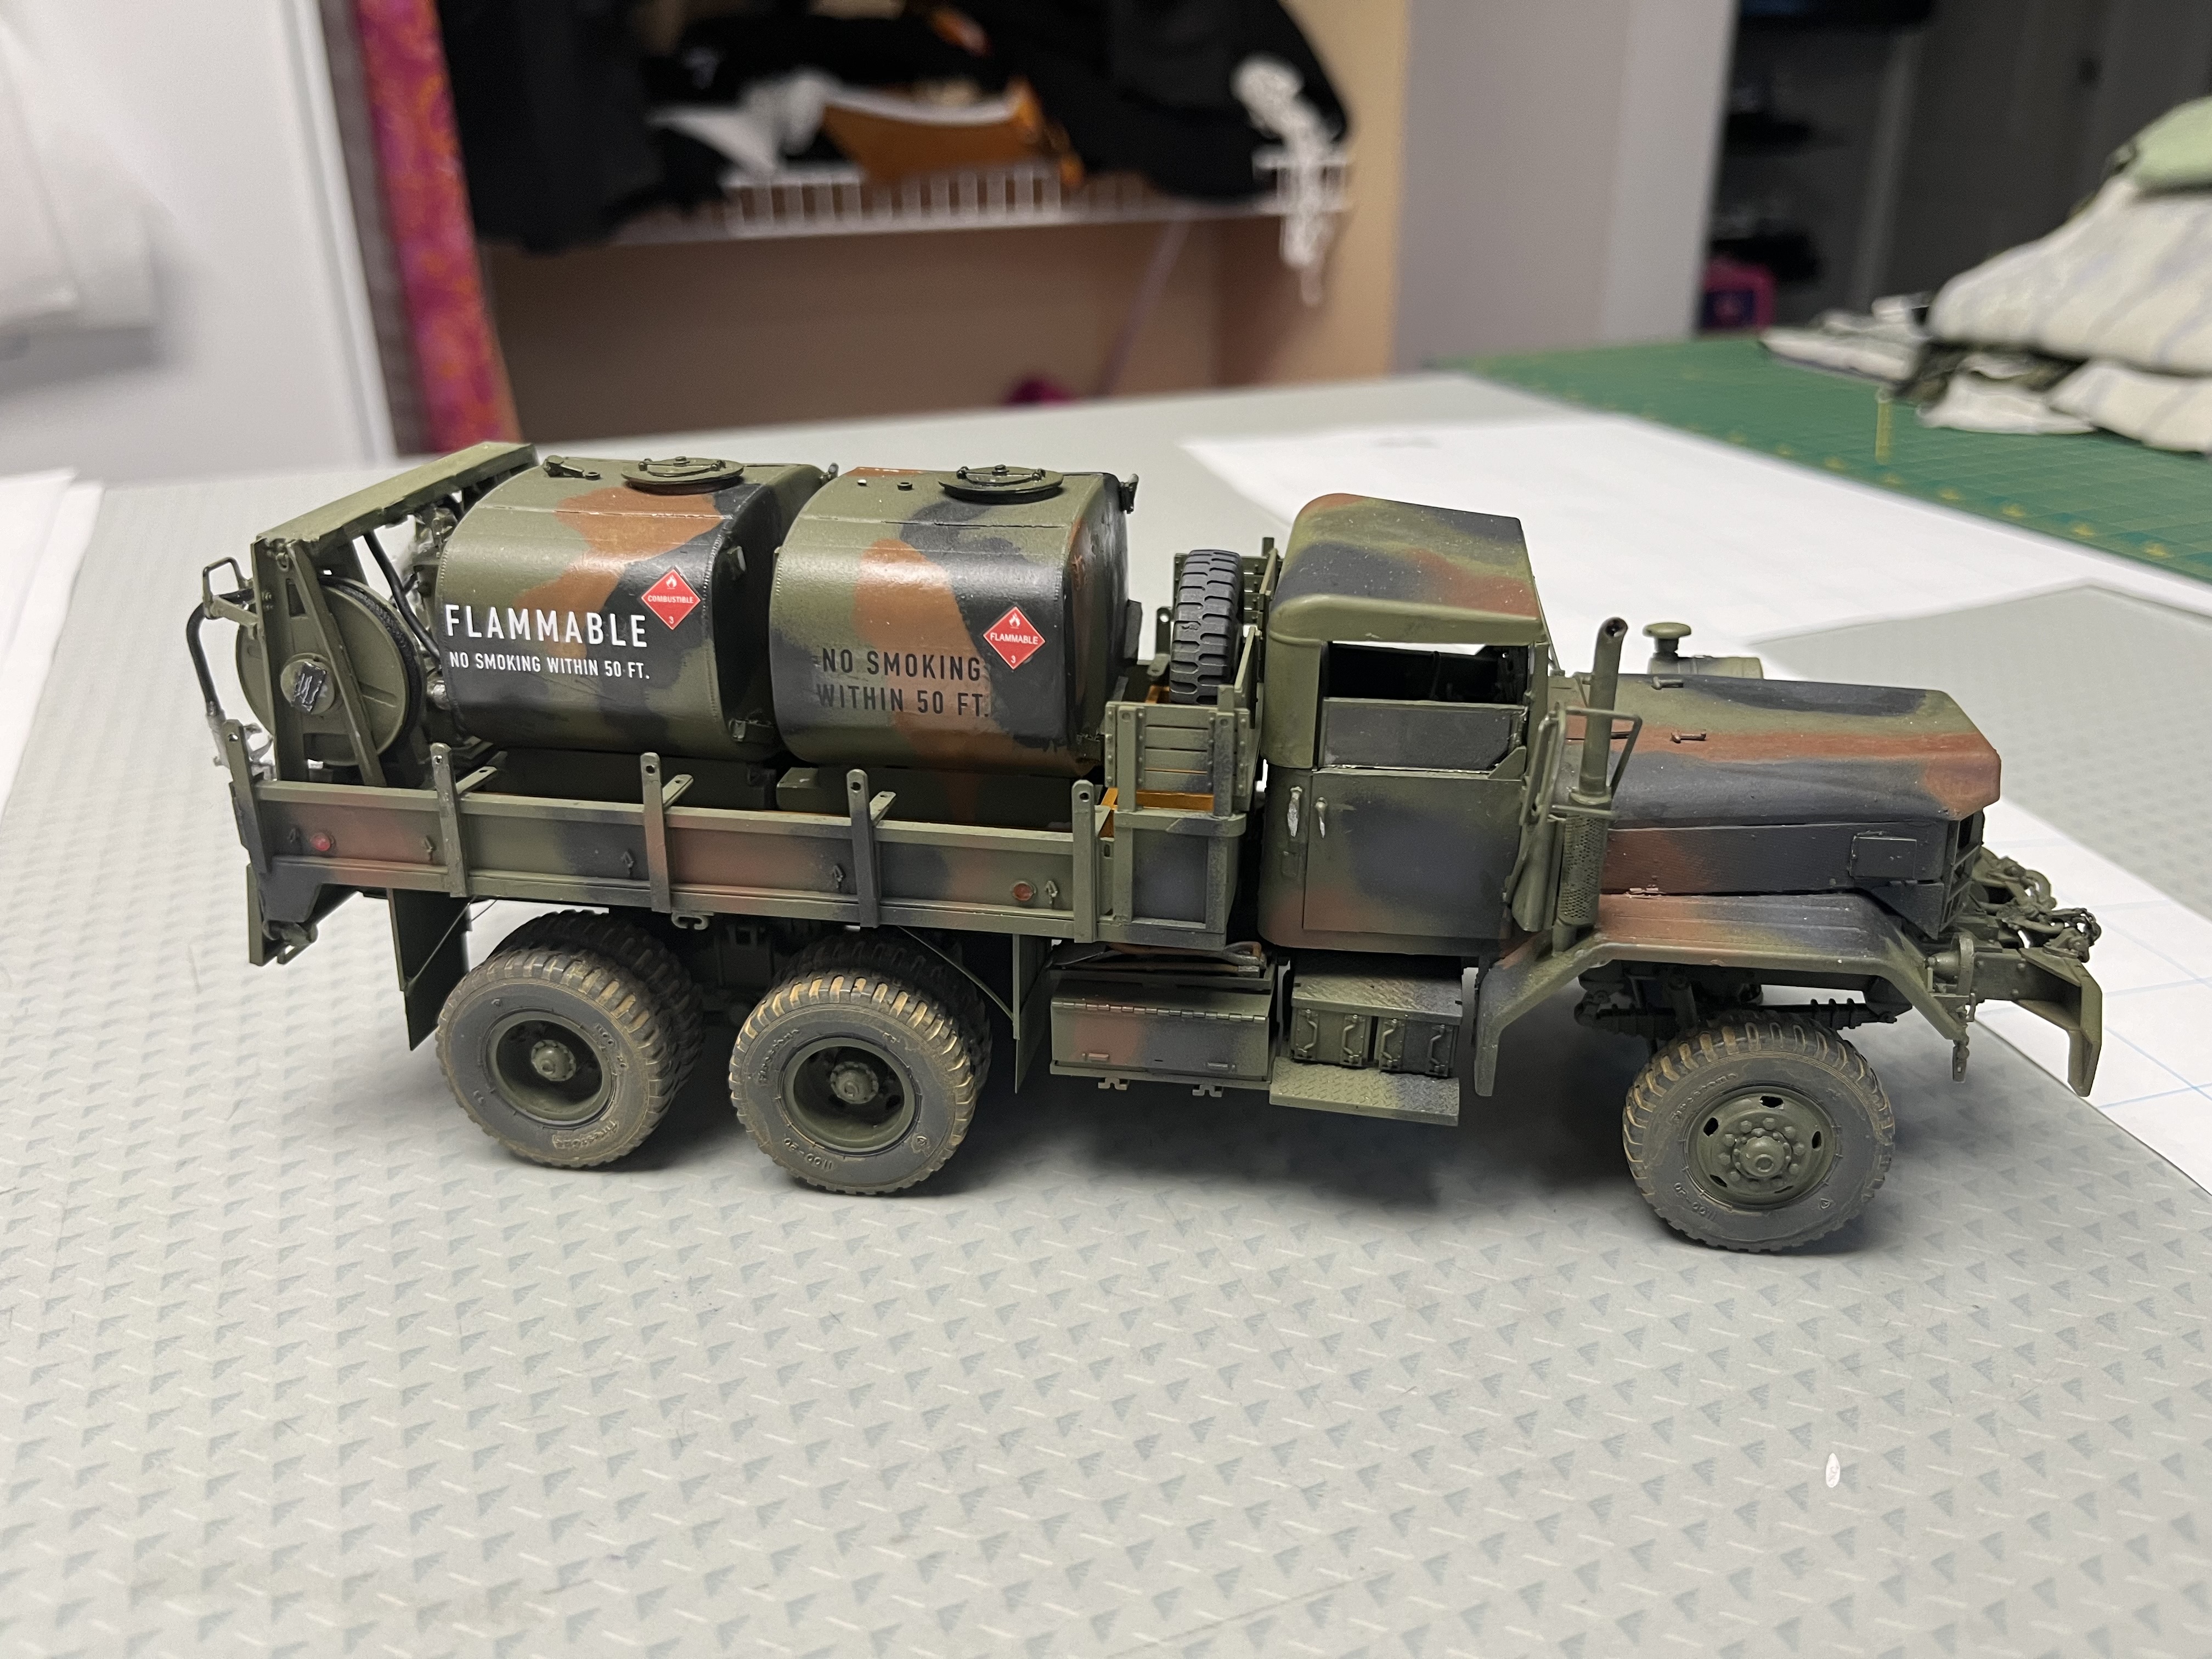
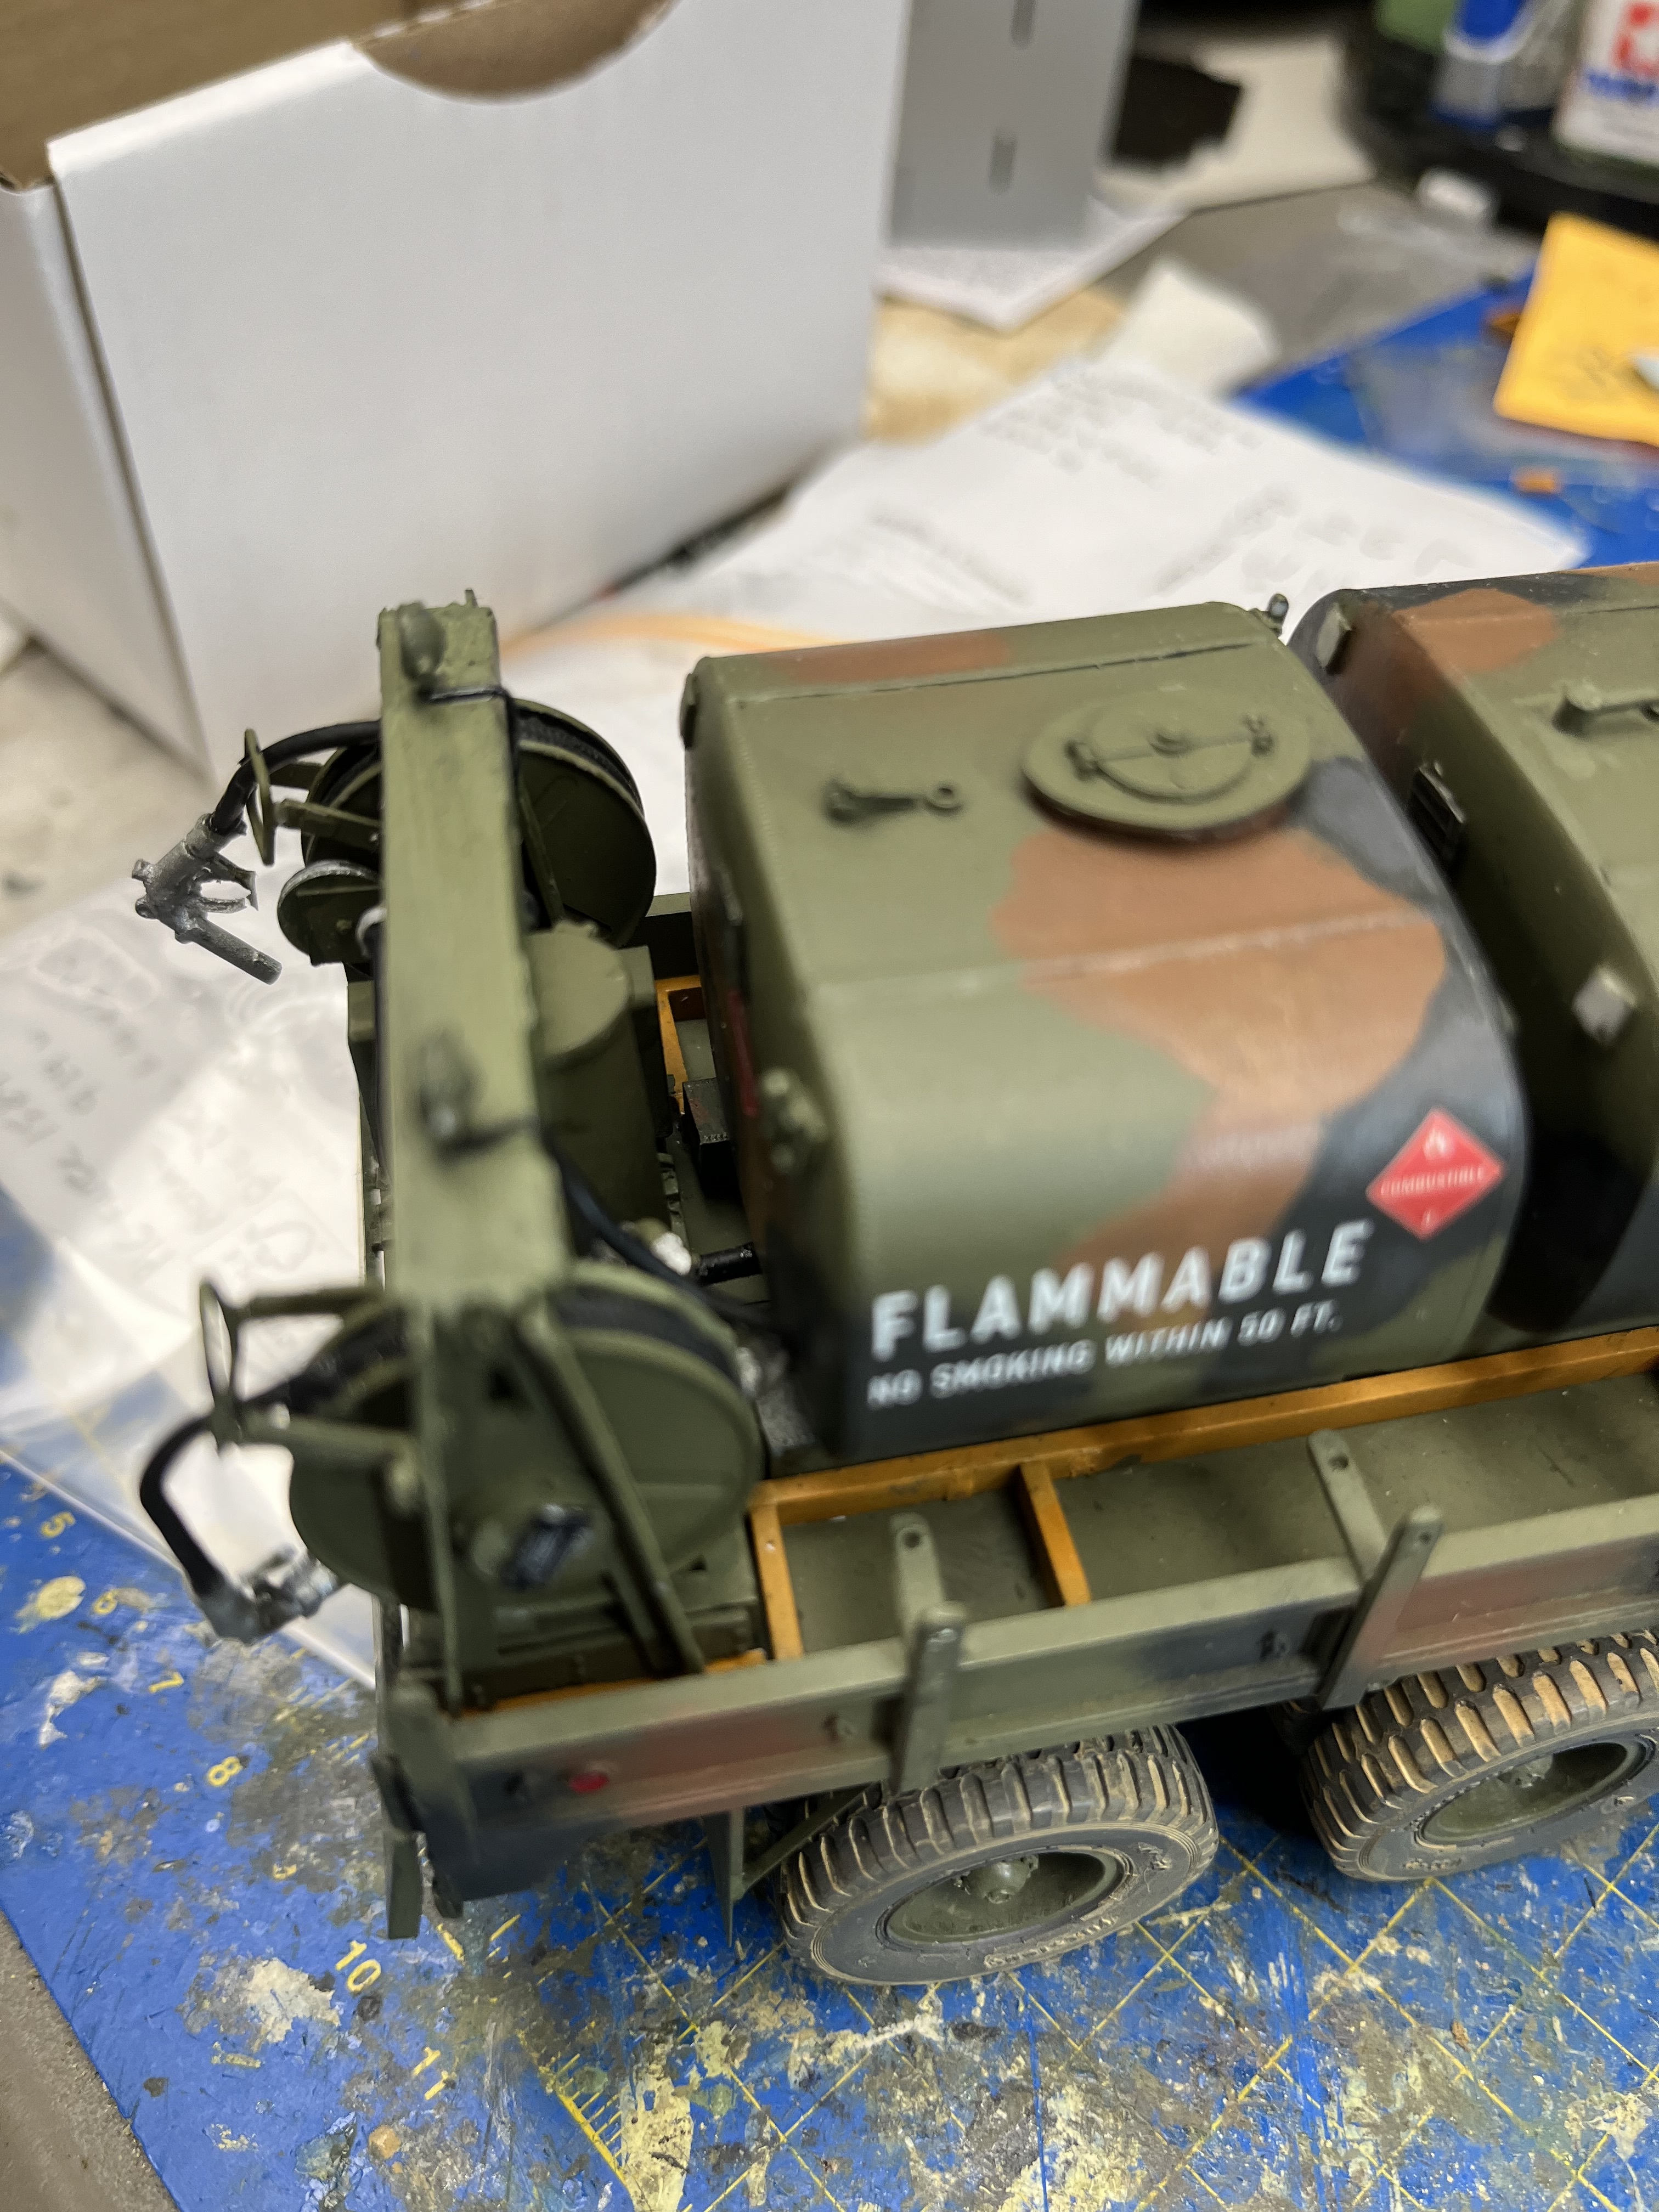
Moving on, I used a combination of decals on the fuel tanks. The white on the rear tank contrasts well with the NATO tritone, but I’m not sure if it’s accurate.
Any input would be appreciated before I seal and weather the tanks.
5 Likes
Lookin’ good, dude.
Probably should be black but I like the mis-matched look, cuz I’m weird like that.
There could be a story behind the white and black lettering. One replacement tank from anther vehicle? Ran out of paint?
3 Likes
Thanks Al. If someone told me it’s impossible I’d swap it to black, but like you I like the mismatched look. Tank from another rig would be my take! Truth to tell, I had considered doing one tank in Desert Sand just for S and G.
Still awaiting more incoming.
3 Likes
Looks great. The white lettering might not have been regulation, but totally possible. I would go with it for some variety.
3 Likes
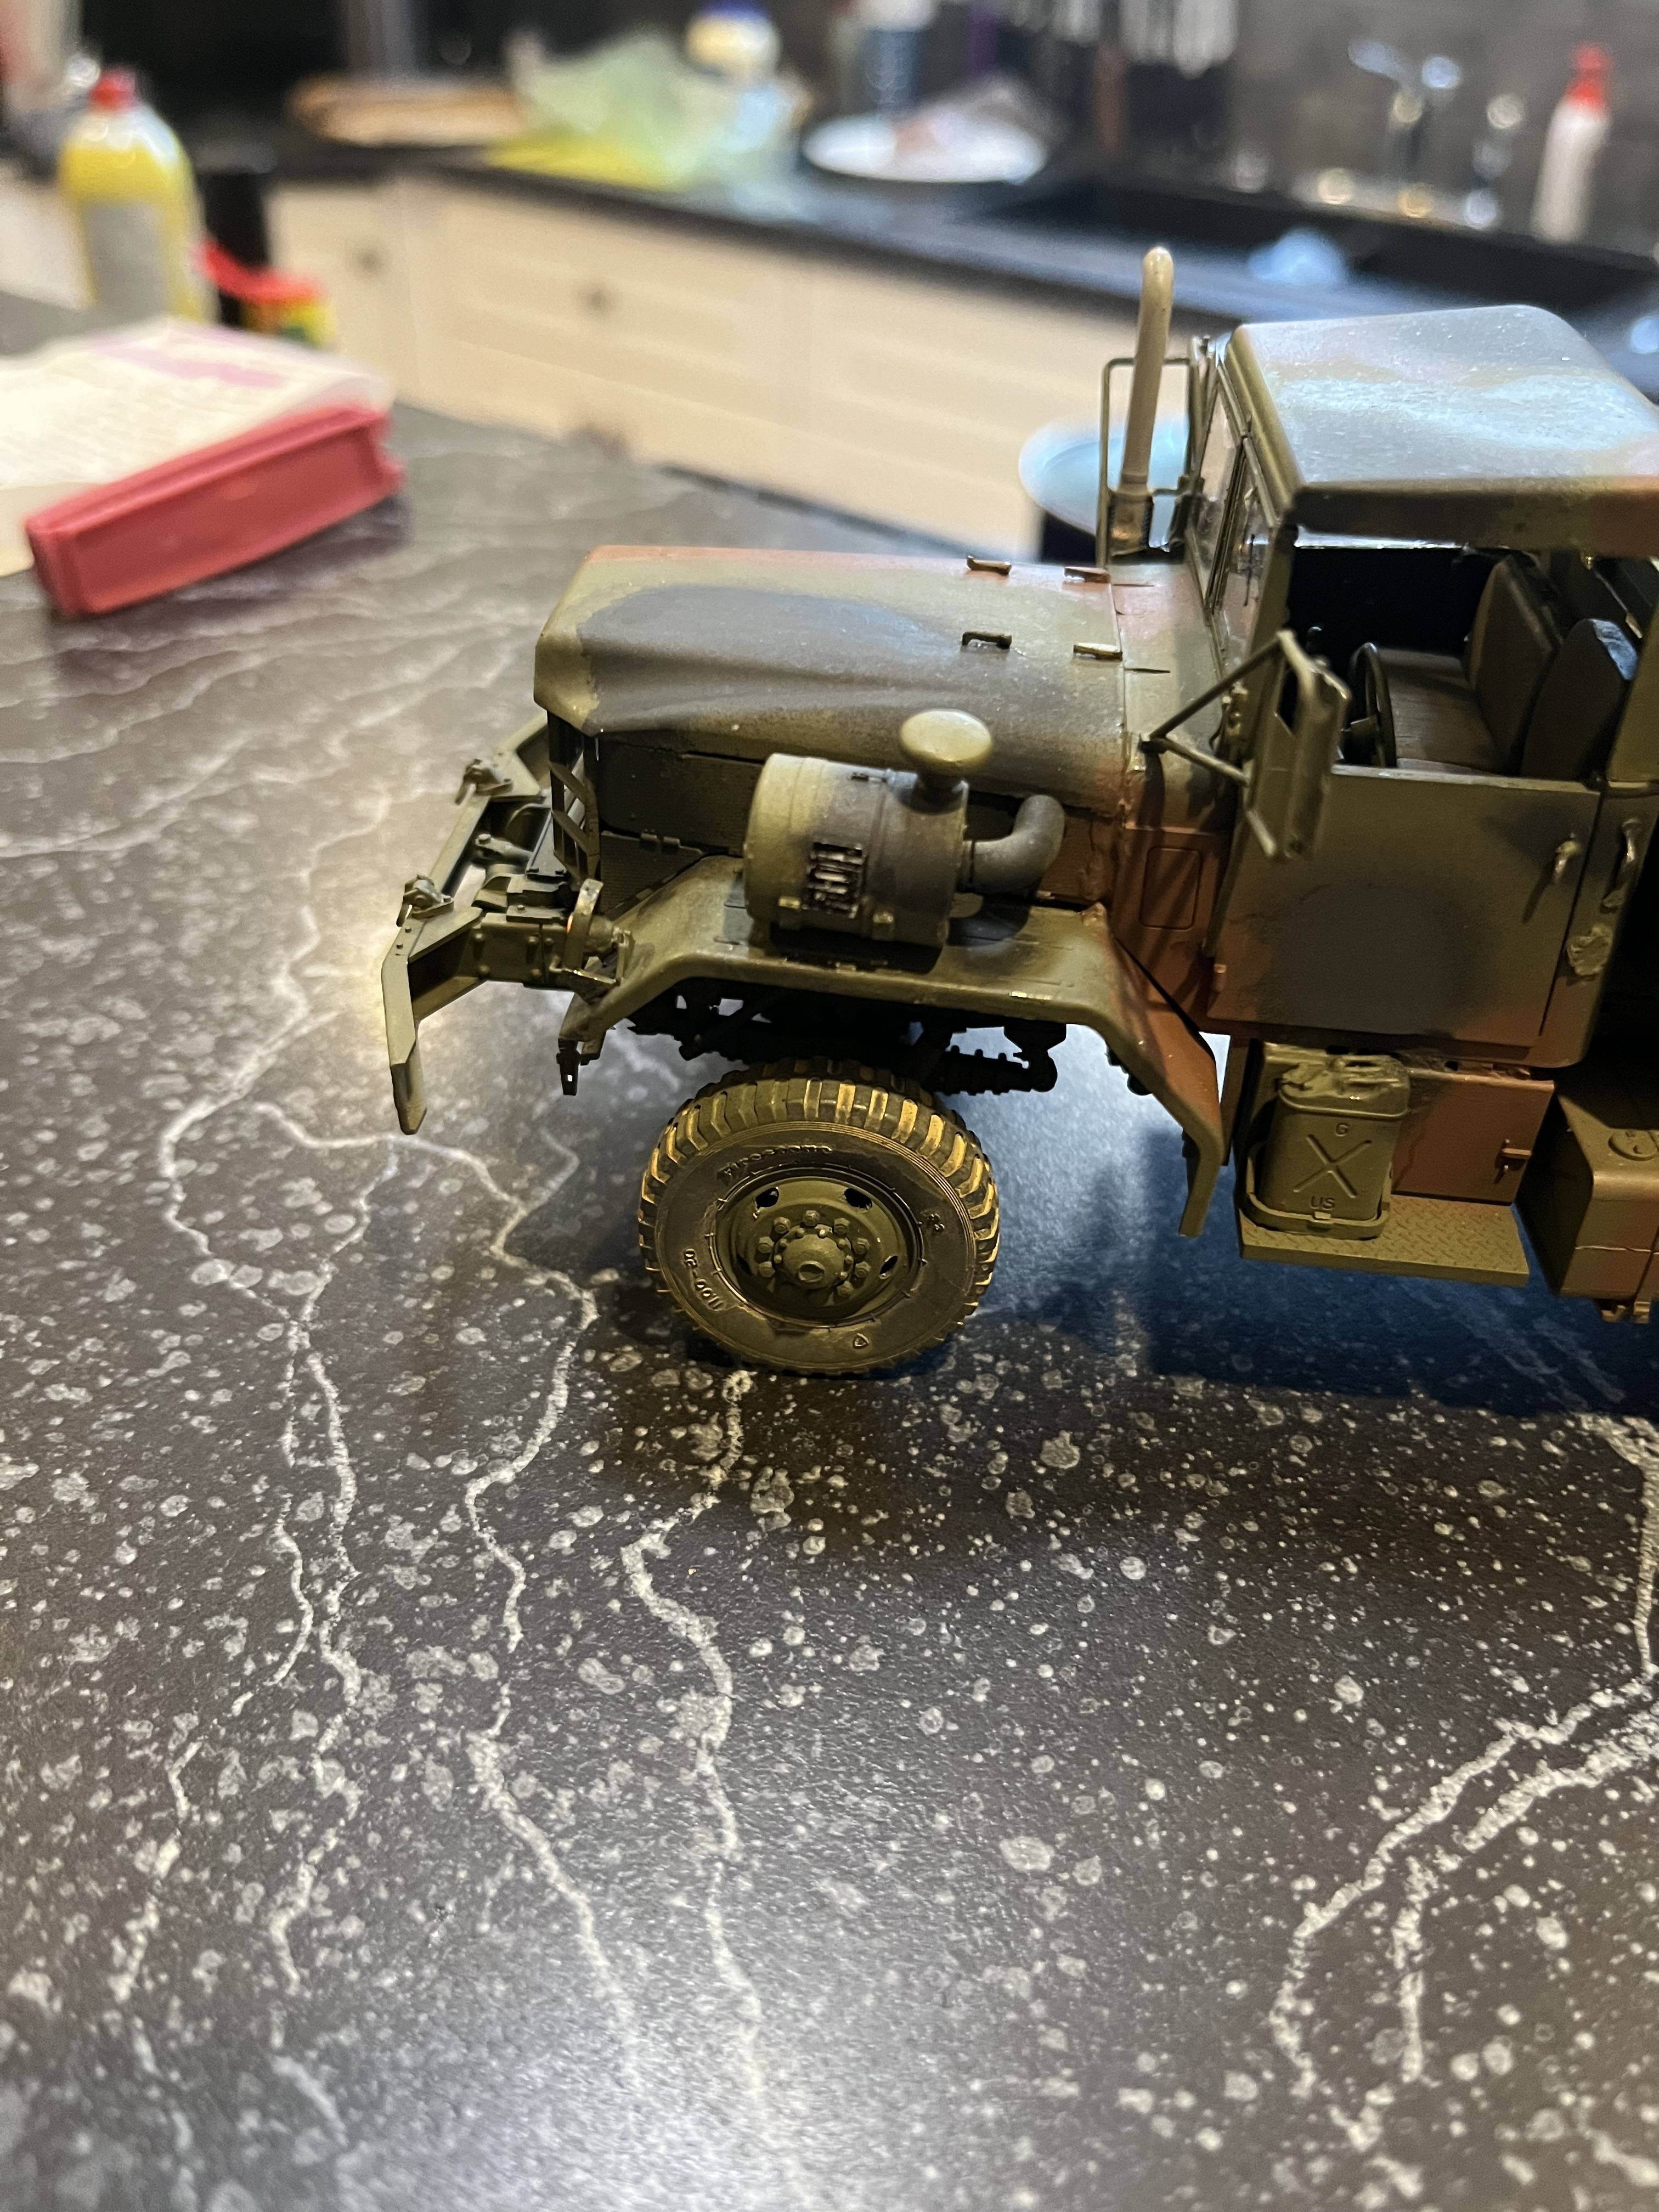
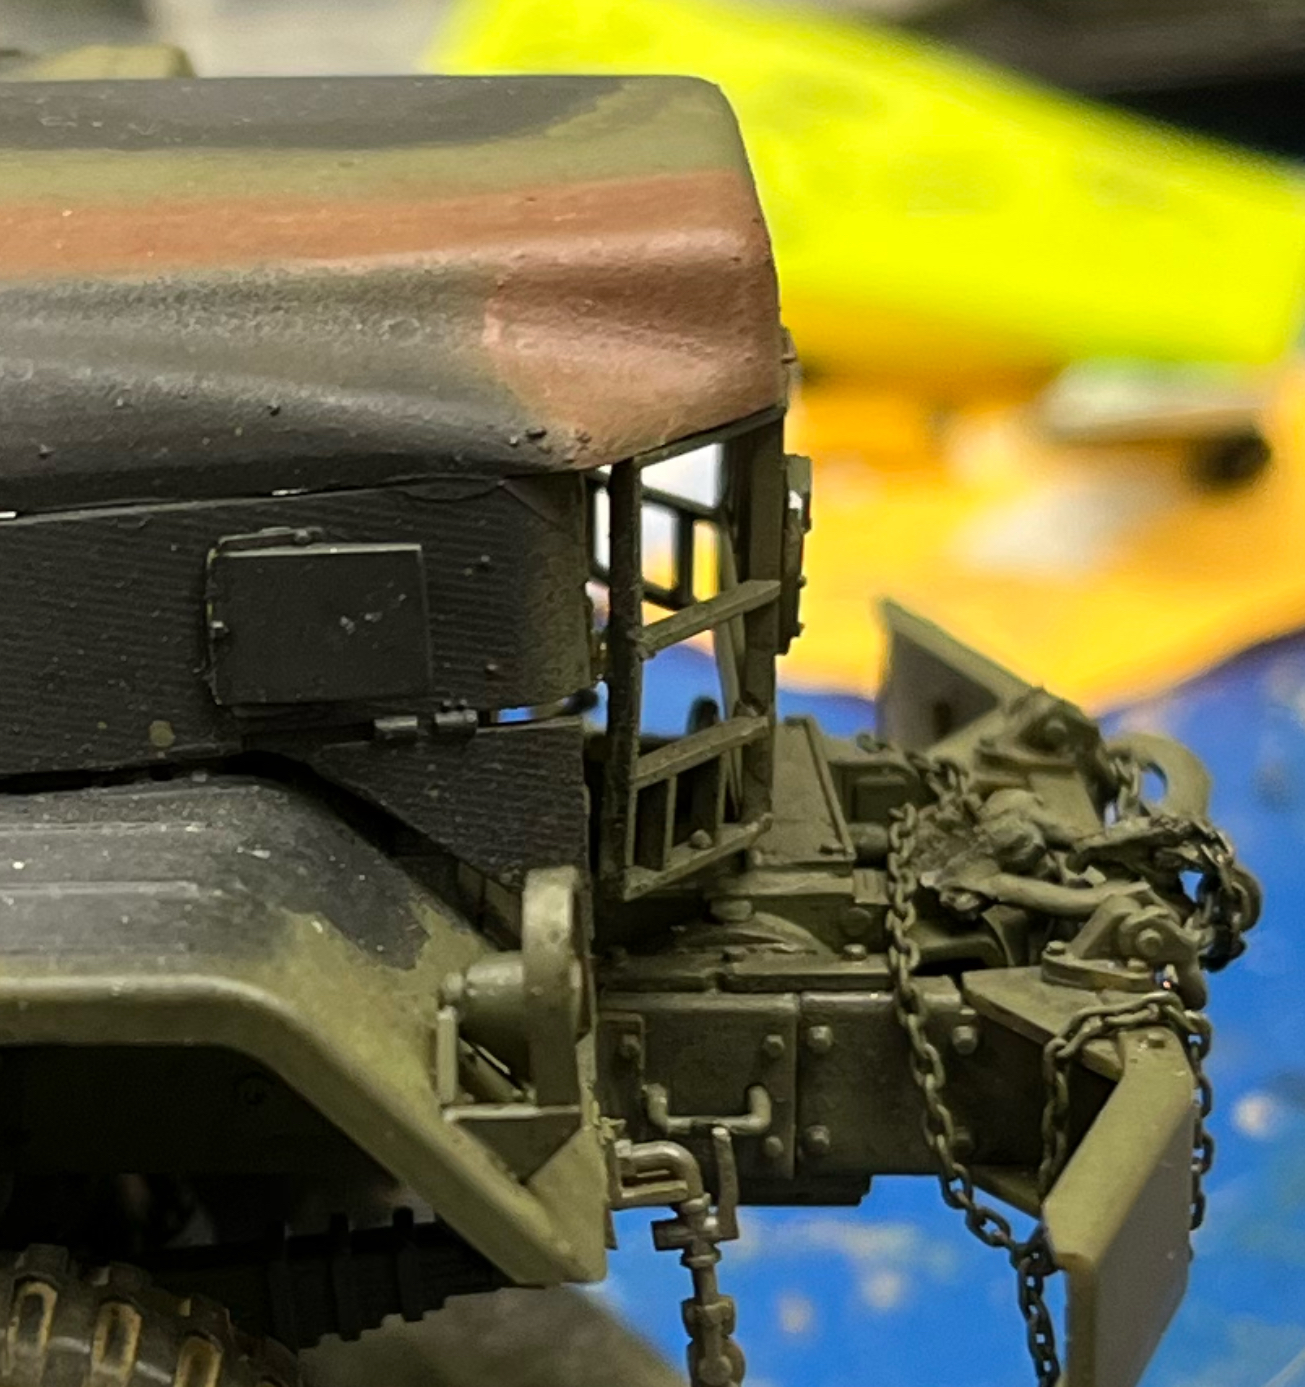
Just a question…Does the hood stick out in the front just a bit…I have a few and looking to figure out what I need to do to avoid this. Thanks
1 Like
The white lettering is totally plausible and makes it pop without being ridiculous. Most motor sergeants I knew had a “we’ll make it fit” attitude so if there was white paint in the spray gun that day,…
2 Likes
- Front edge of the vertical sheet metal
- The thin edge of the hood (hood cut down for drivers vision of the road?)
- The front edge of the hood and the front edge of the brush guard

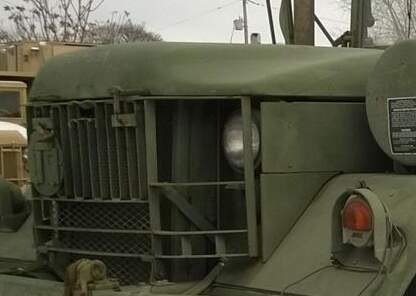
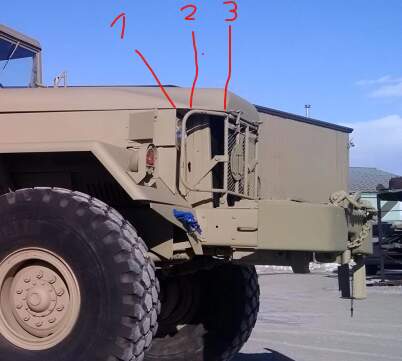
Found a better close-up ![]()

3 Likes
Looks outstanding! And like Gino said, SHOULD both tanks be black? Probably, as I’m sure the regs called that out.
Is it possible that you could have a “mix and match” on the same vehicle? Hell, you could probably find a vehicle somewhere that had white on ONE side and black on the OTHER!
2 Likes
That pic is a little deceptive in that the hood seems to project way out, but in fact its only a fraction - say the thickness of the grille guard. Ive spoken to Mike about maybe the side panels are a fraction too short to fill the “space” between the firewall and side edges of the grille.
Next time, with three on order ![]() , I’ll still build the hood unit “off” the frame and add it after, but I’ll fit the side panels starting from the grille (rather than from the firewall). Filling in any resulting gaps shouldn’t be too difficult.
, I’ll still build the hood unit “off” the frame and add it after, but I’ll fit the side panels starting from the grille (rather than from the firewall). Filling in any resulting gaps shouldn’t be too difficult.
Hope this answers your question.
2 Likes
Project is on hold now as I miss-timed delivery of the ratchets and straps. Added floodlights and wiring to the pump unit (not featured in the PSM kit but shown on the CMK model instructions) and another length of chain for the winch, also did a PE strap for the jerrycan.
Once I’ve got the straps in place (fabbing the S hooks) I’ll post a few final pics.
3 Likes
Yea just needed to know as I have some conversions also and wanted to see where the fit was. Thanks
1 Like
Maybe AFV club will make a M800 series kit…They are making a M51/52 we can only hope more to come…
1 Like
Just being selfish here, but having invested in 6 of AFV Club’s M54A2 kits and now 4 of MikeyBugs M819 conversion sets - I hope not yet!!!
1 Like
Great finish. Job well done.
Cheers,
Ralph
1 Like
Thanks Ralph, I realized (thanks Uncle-Heavy) that the hood front edge and grille interface was wrong, resulting in a “step in” effect on the hood edge. By carefully removing the grille (c a glue thankyou!) I repositioned it for a more realistic appearance.
Just the tie downs to go, once they arrive from Ukraine.
5 Likes
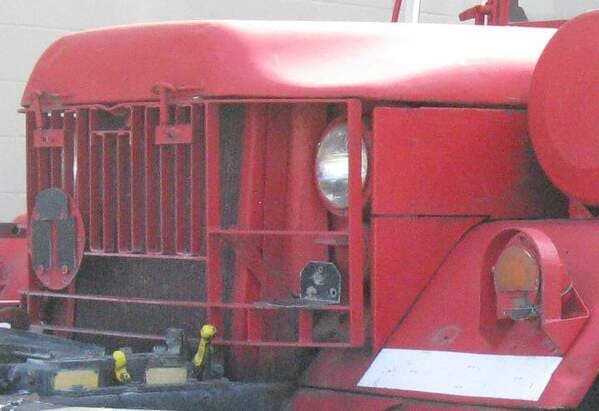
It may be too late now, but the radiator should be about 4mm forward as well. You can see it in Robin’s photo below. Unlike an M54 where the radiator and lights are pretty much in-line, the M800 has the radiator forward and the light panels slightly back. This is due to a longer engine, the same reason the hood is longer.
2 Likes
Thanks Gino. The grille to hood edge seam is now pretty tight, otherwise I’d remove it and try again.
Lesson learned for build 2,3 and 4 of this vehicle.
1 Like
This one still looks incredible!
1 Like
Thanks Matt, well the radiator is staying in the wrong place. A peek under the hood shows I could risk fracturing the hood or a side panel if I try and move it, even just 4mm forward. Next time.
Meanwhile I plumbed the 2 pods to the pump unit and scratched a fuel valve that fell off one of the pods. Used some fine wire to power the 2 floodlights and now I’m going to leave this buggy alone until the straps and second ratchet set arrives!

2 Likes