Made in France - multi-genre

Managed to do some work on my AMX, got a set of bolts and nuts to use on the wheels.


Didn’t get 12 on each wheel, but only 8, because I forgot to check first…

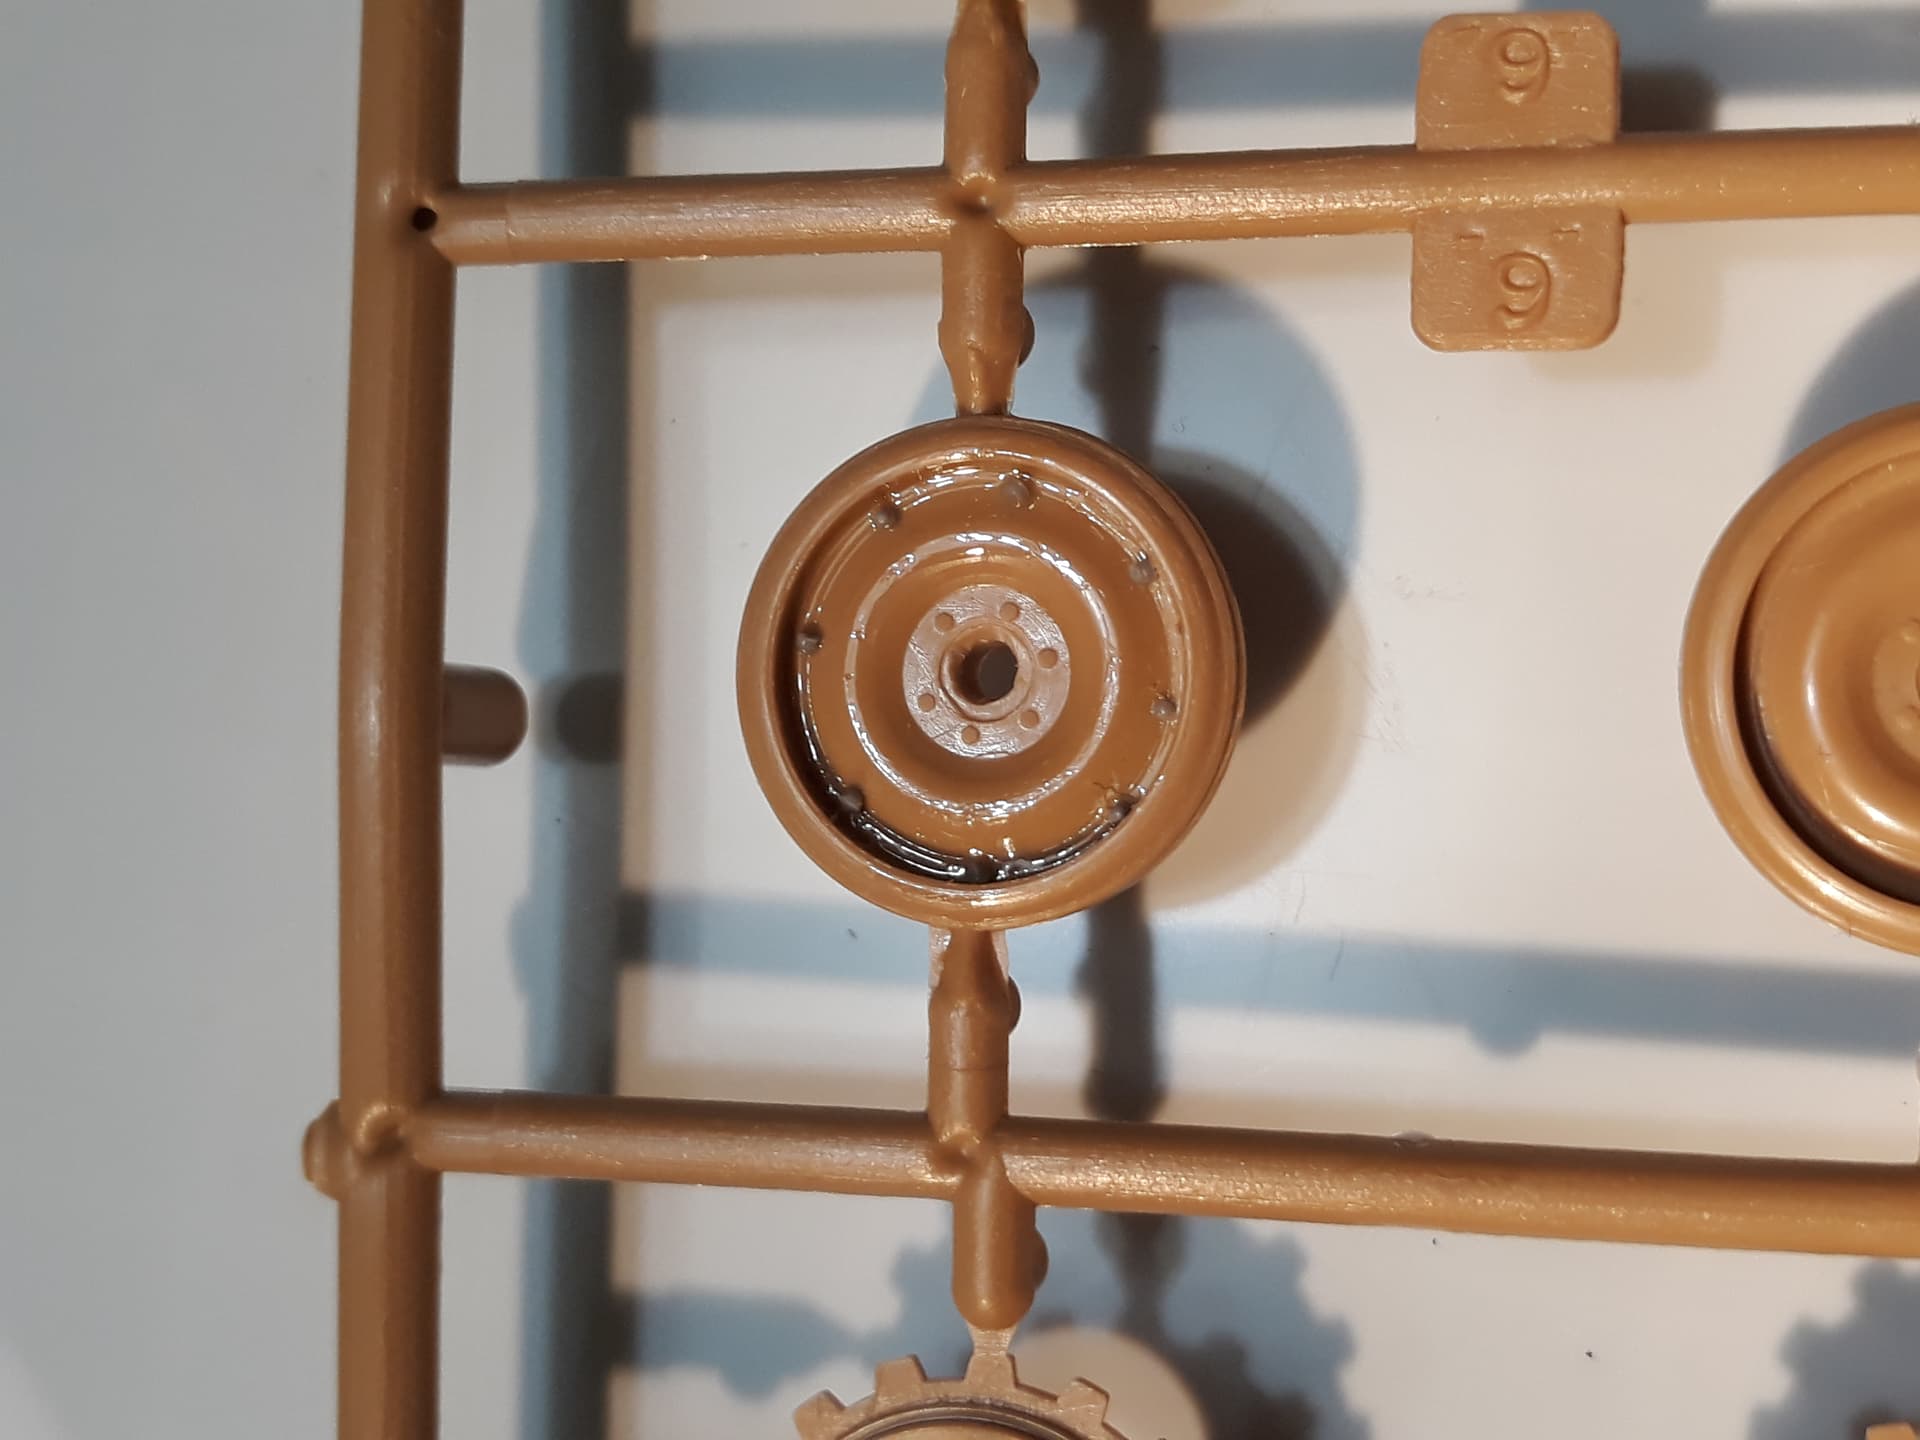
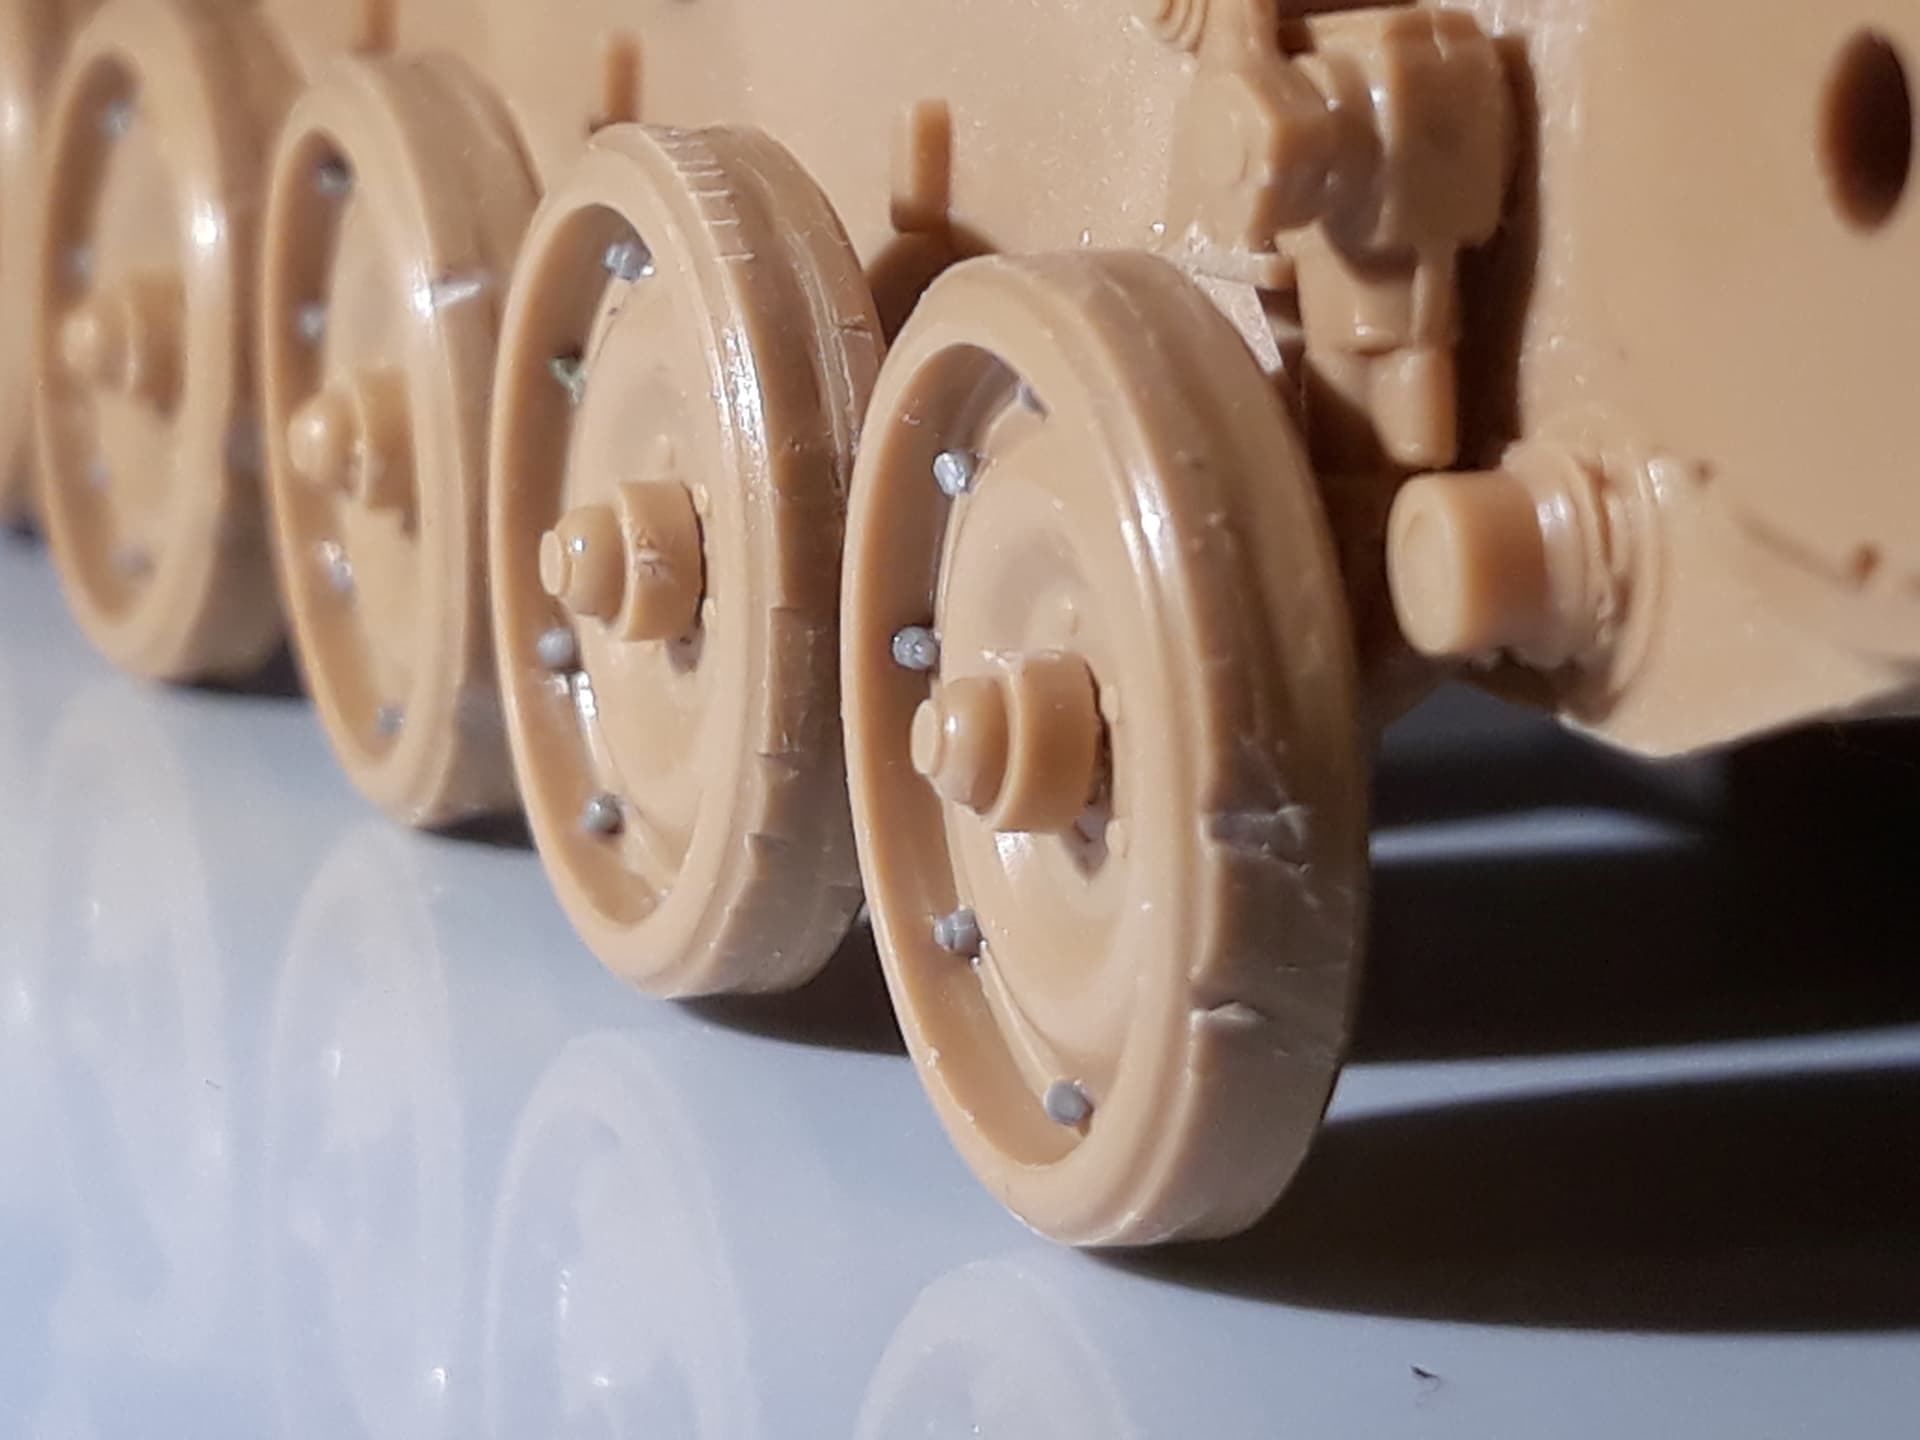
With that done, I made some damages to the rubber ring of the wheels, had seen that on a couple of builds, thought it looked really nice, so decided to use that trick to, and added the wheels to the tank

5 Likes

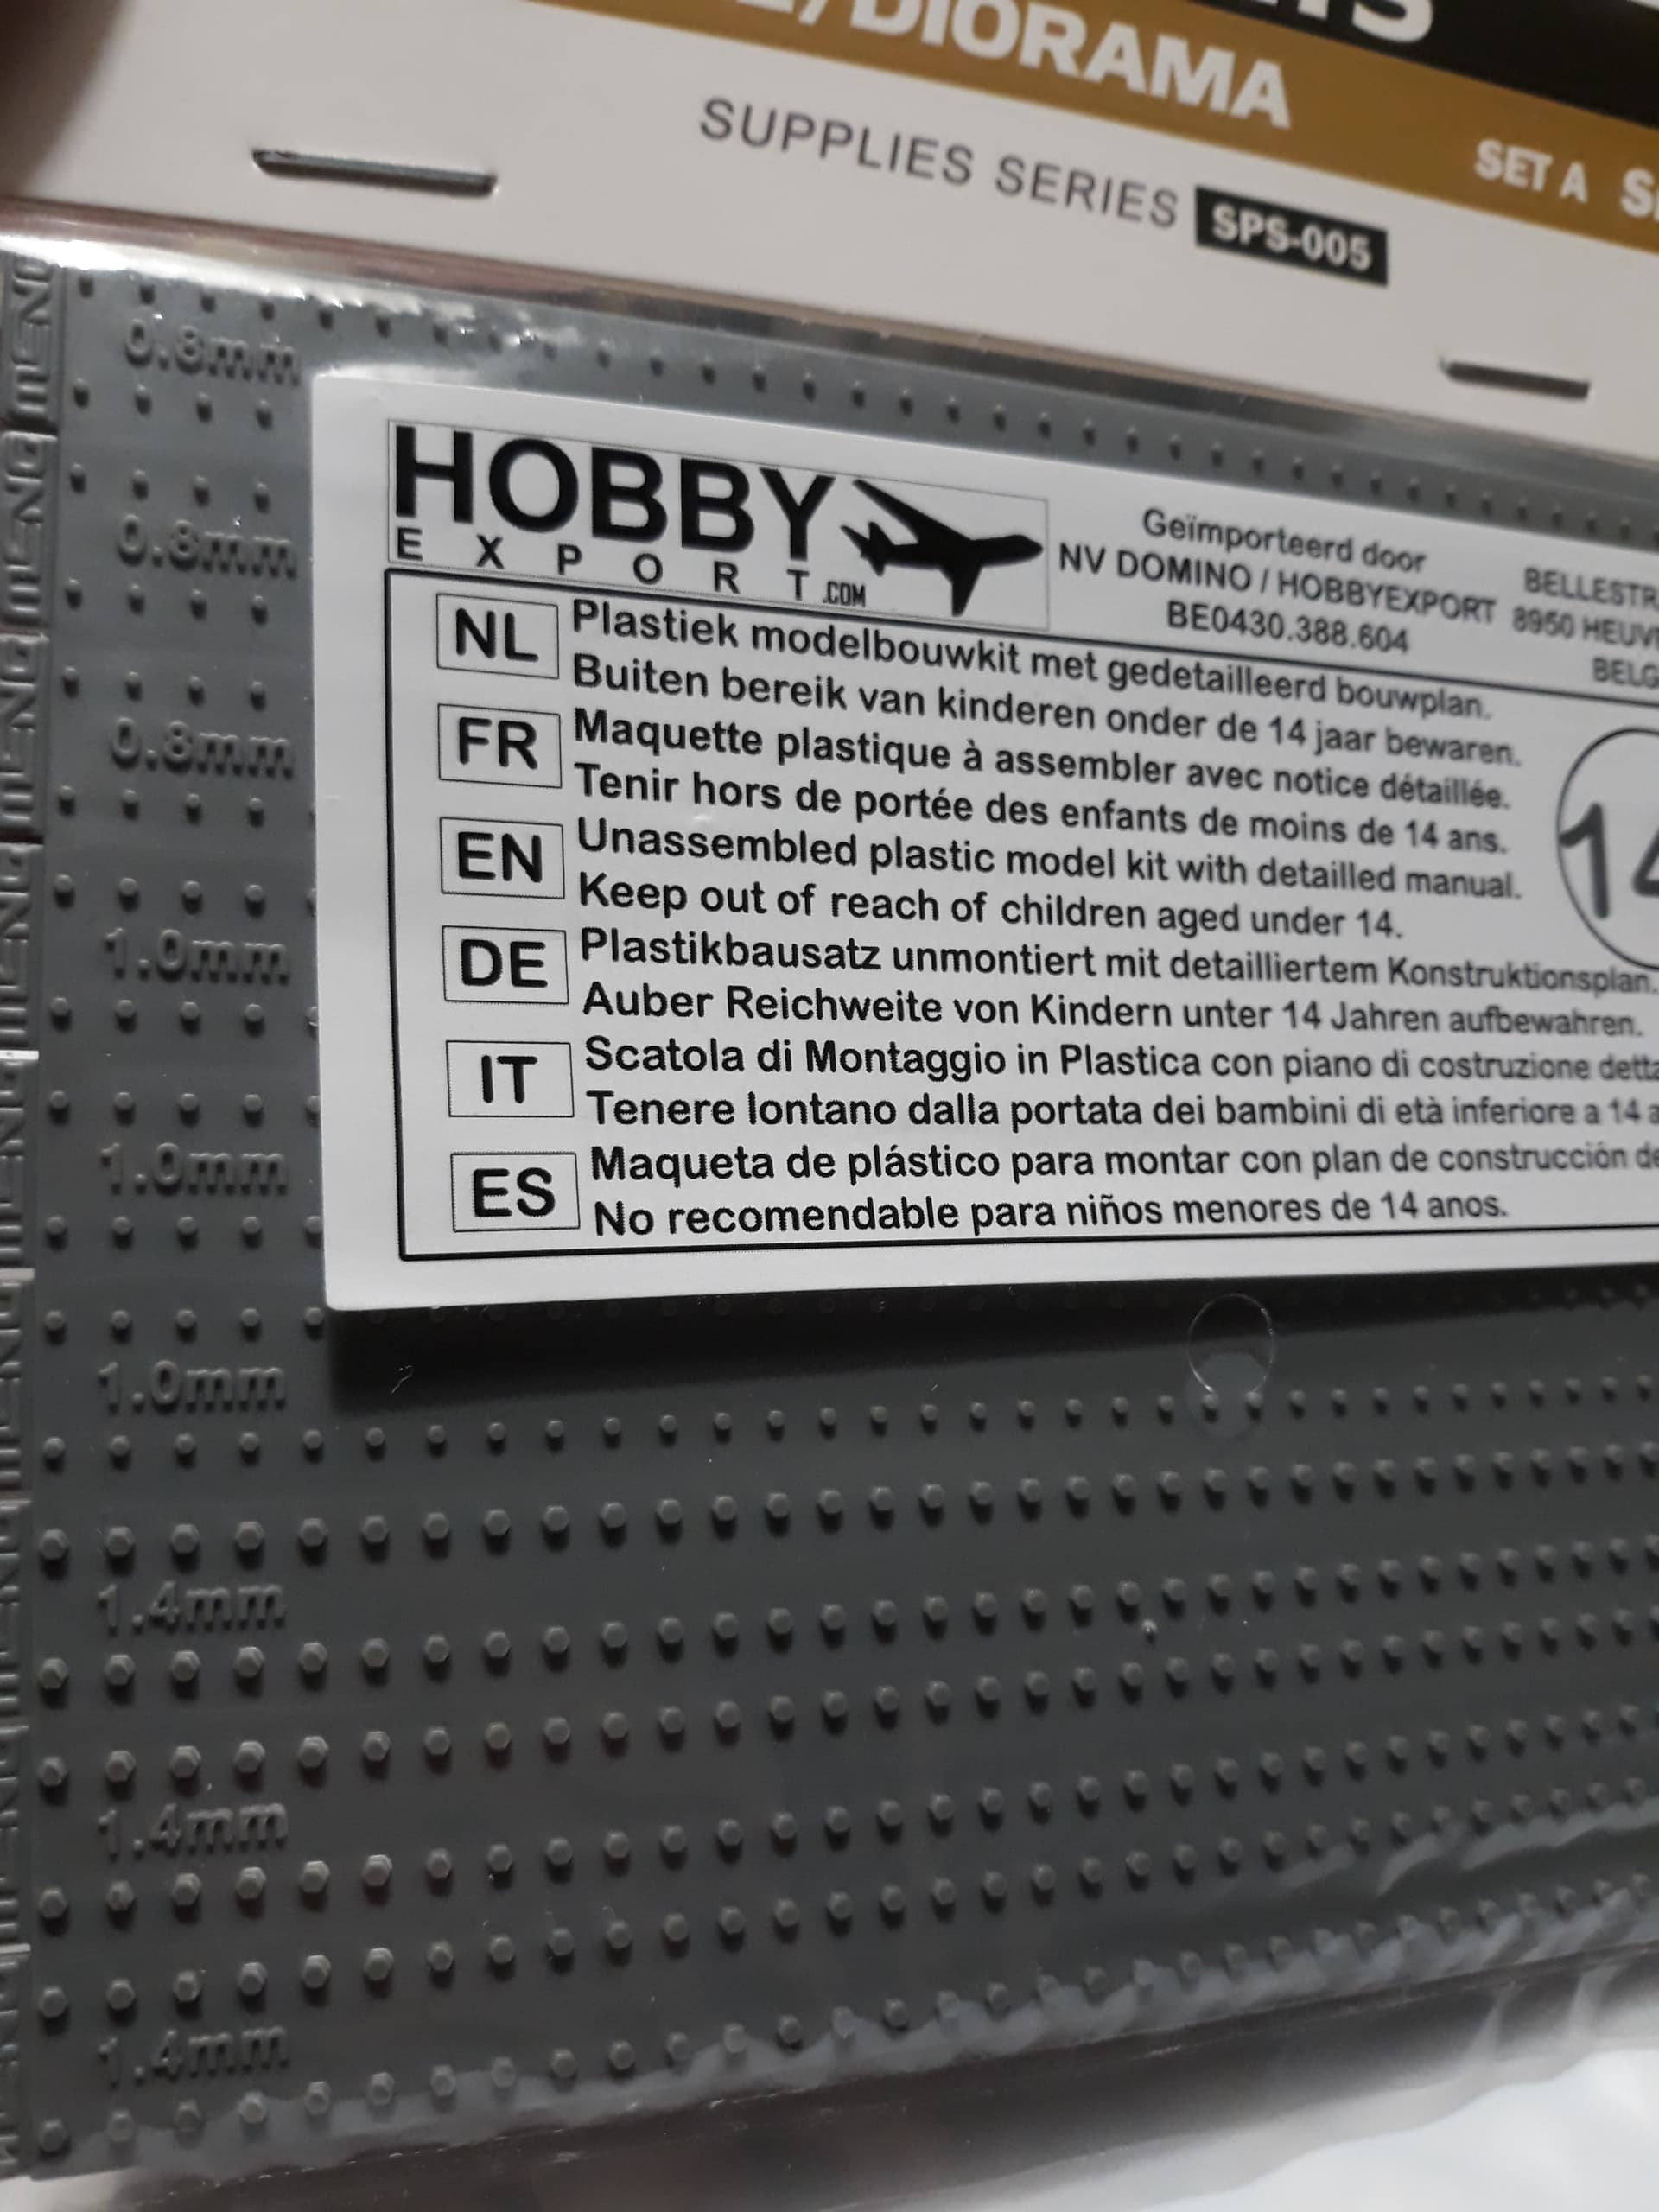
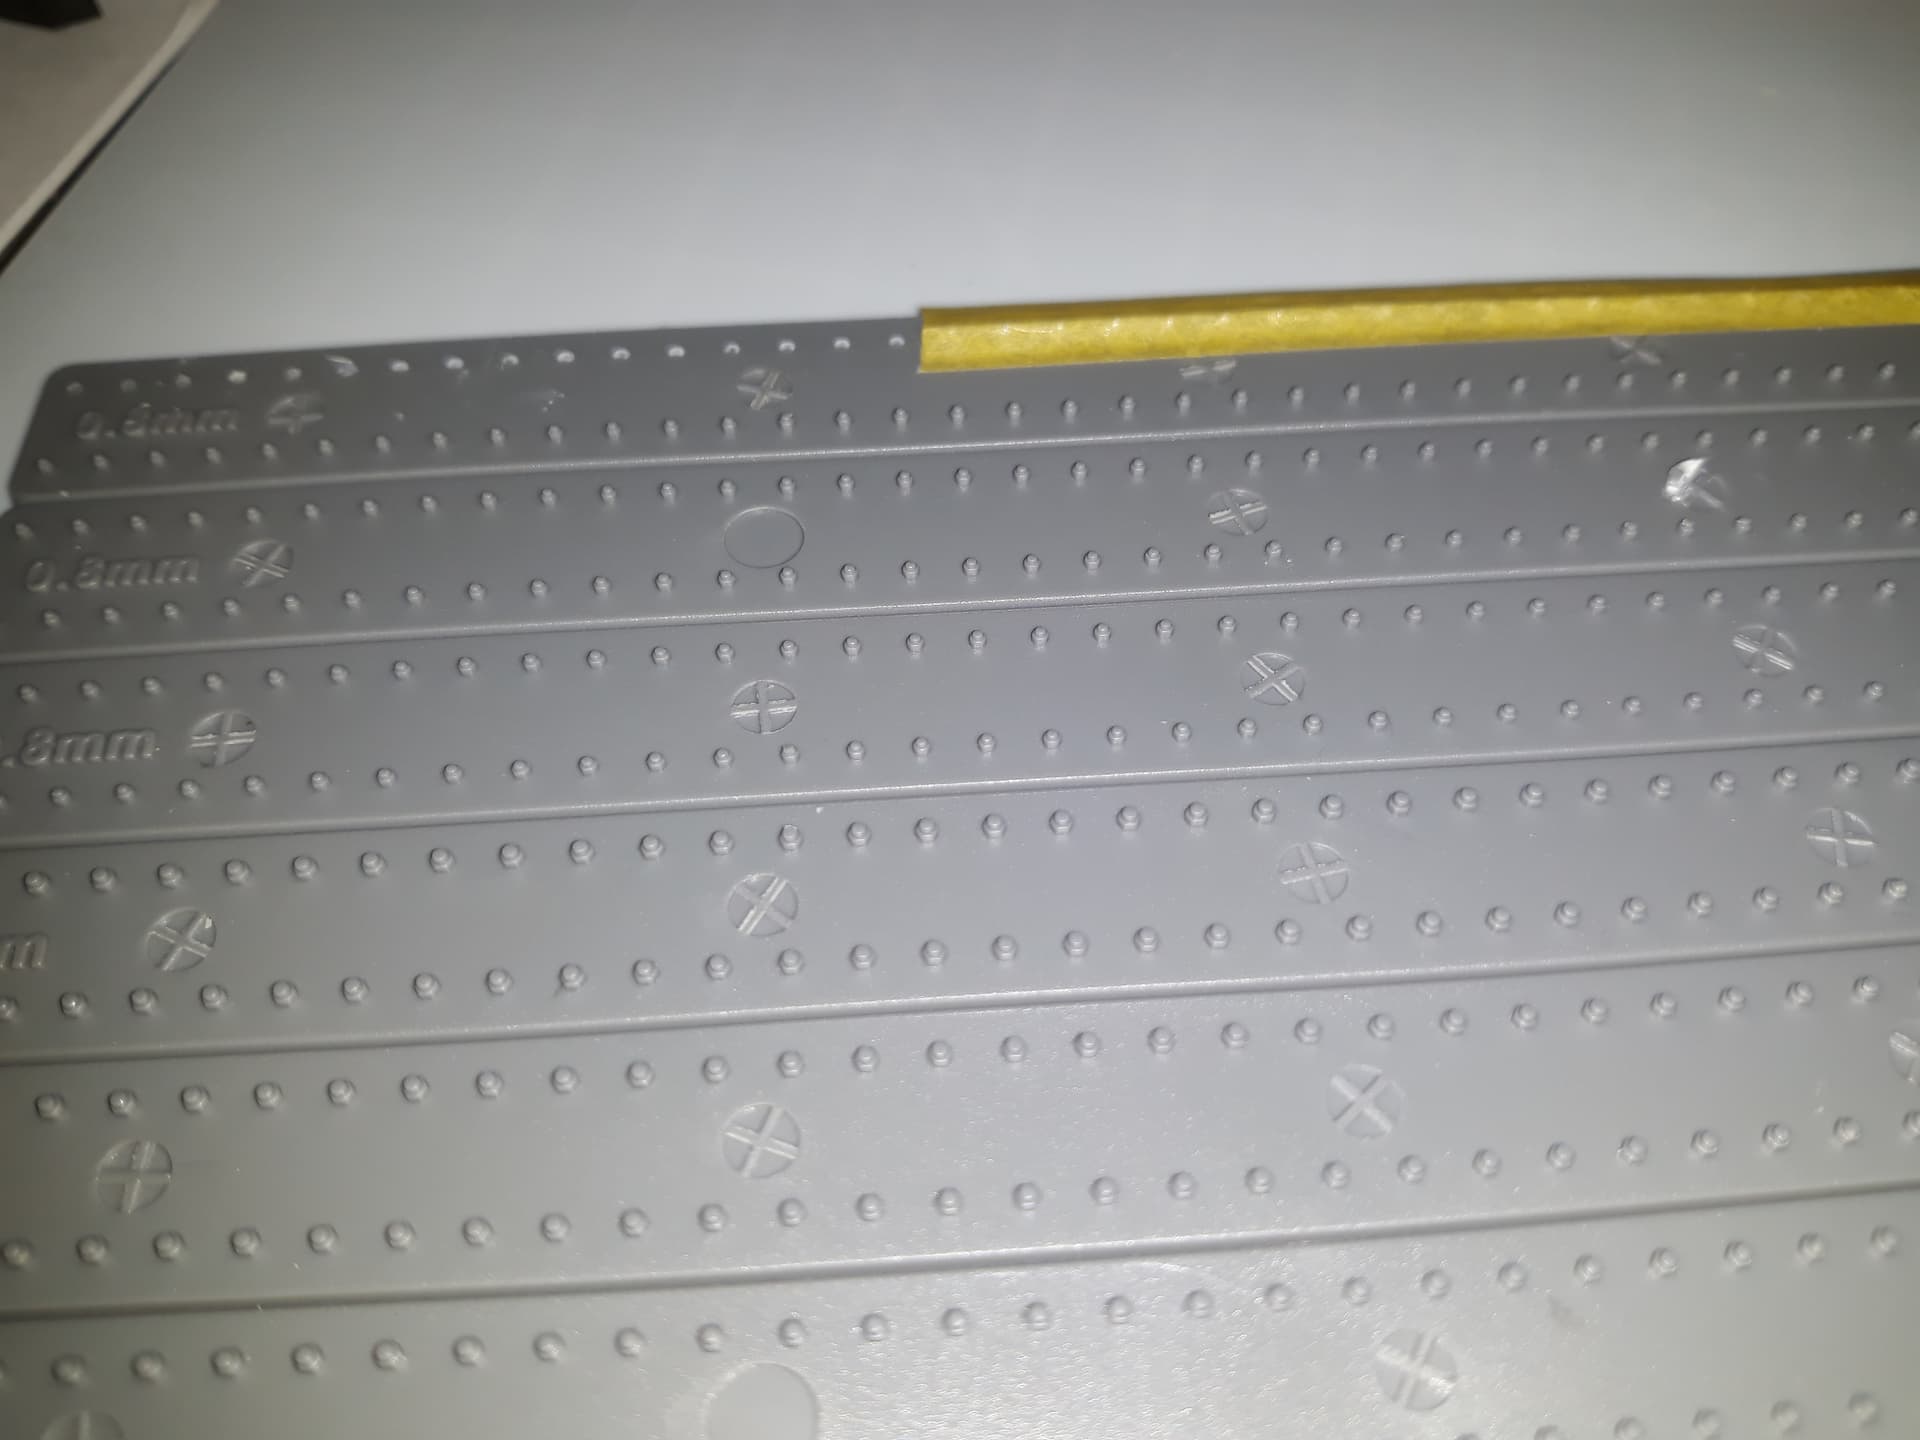
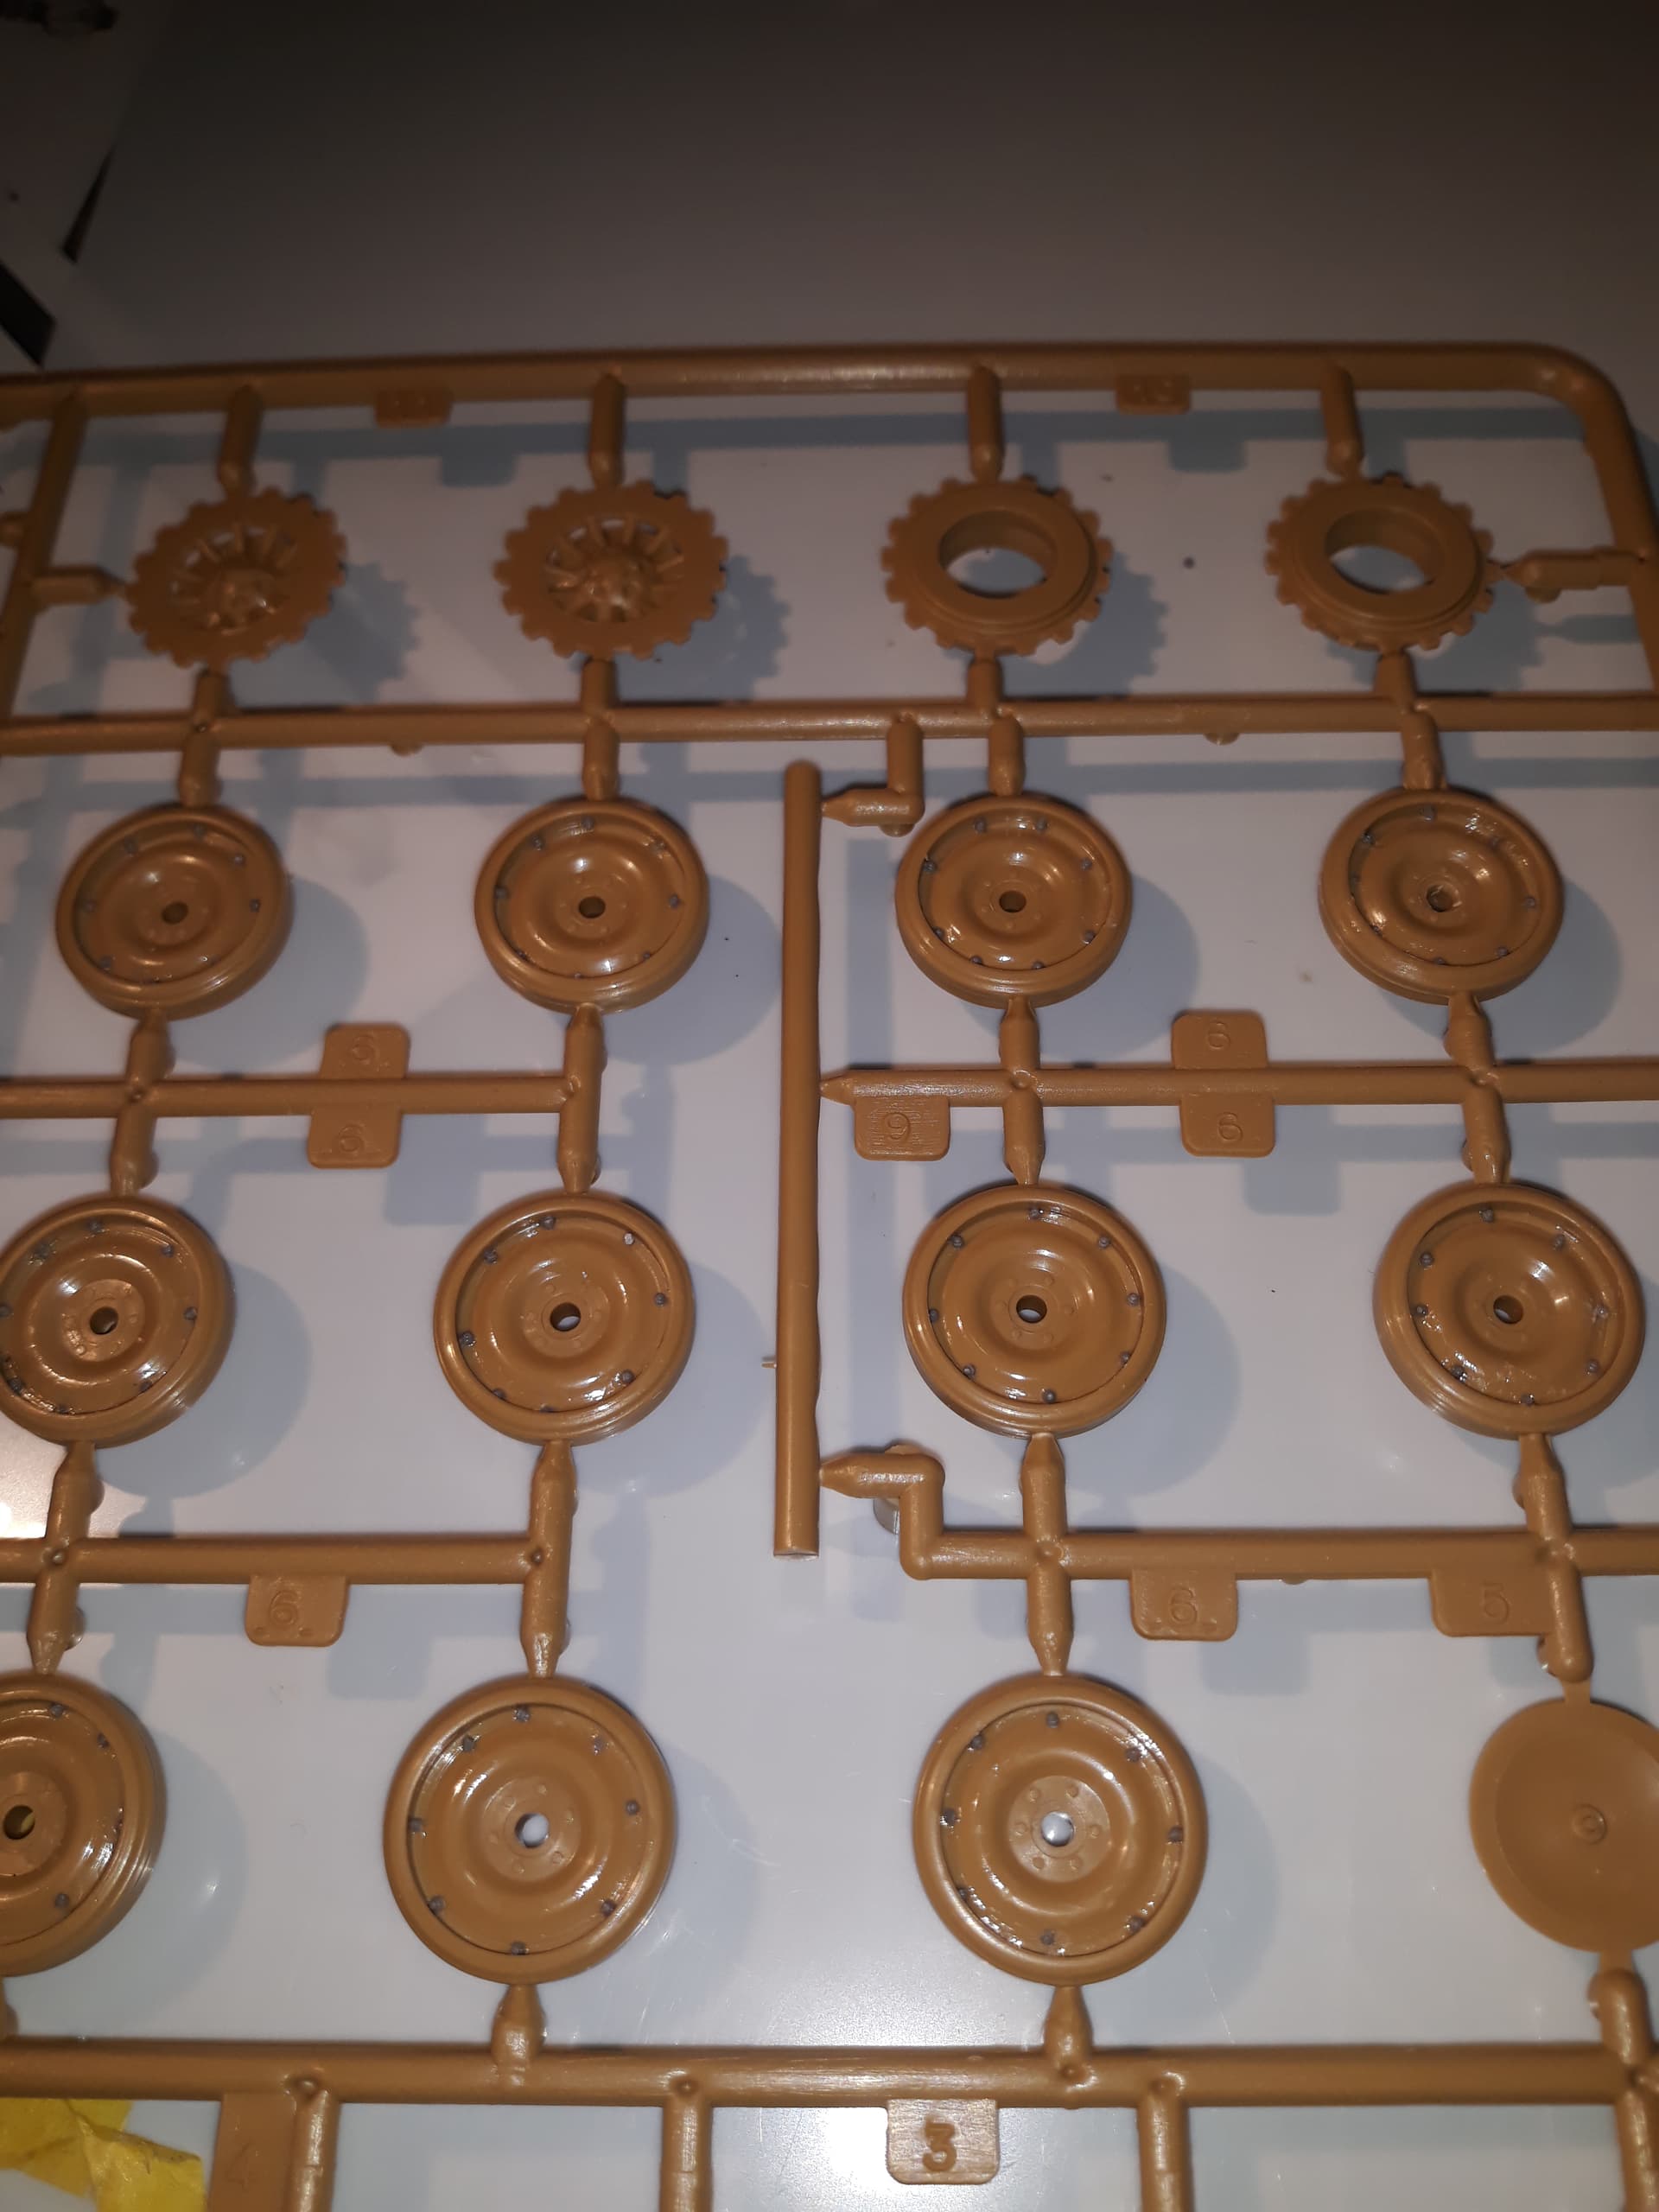
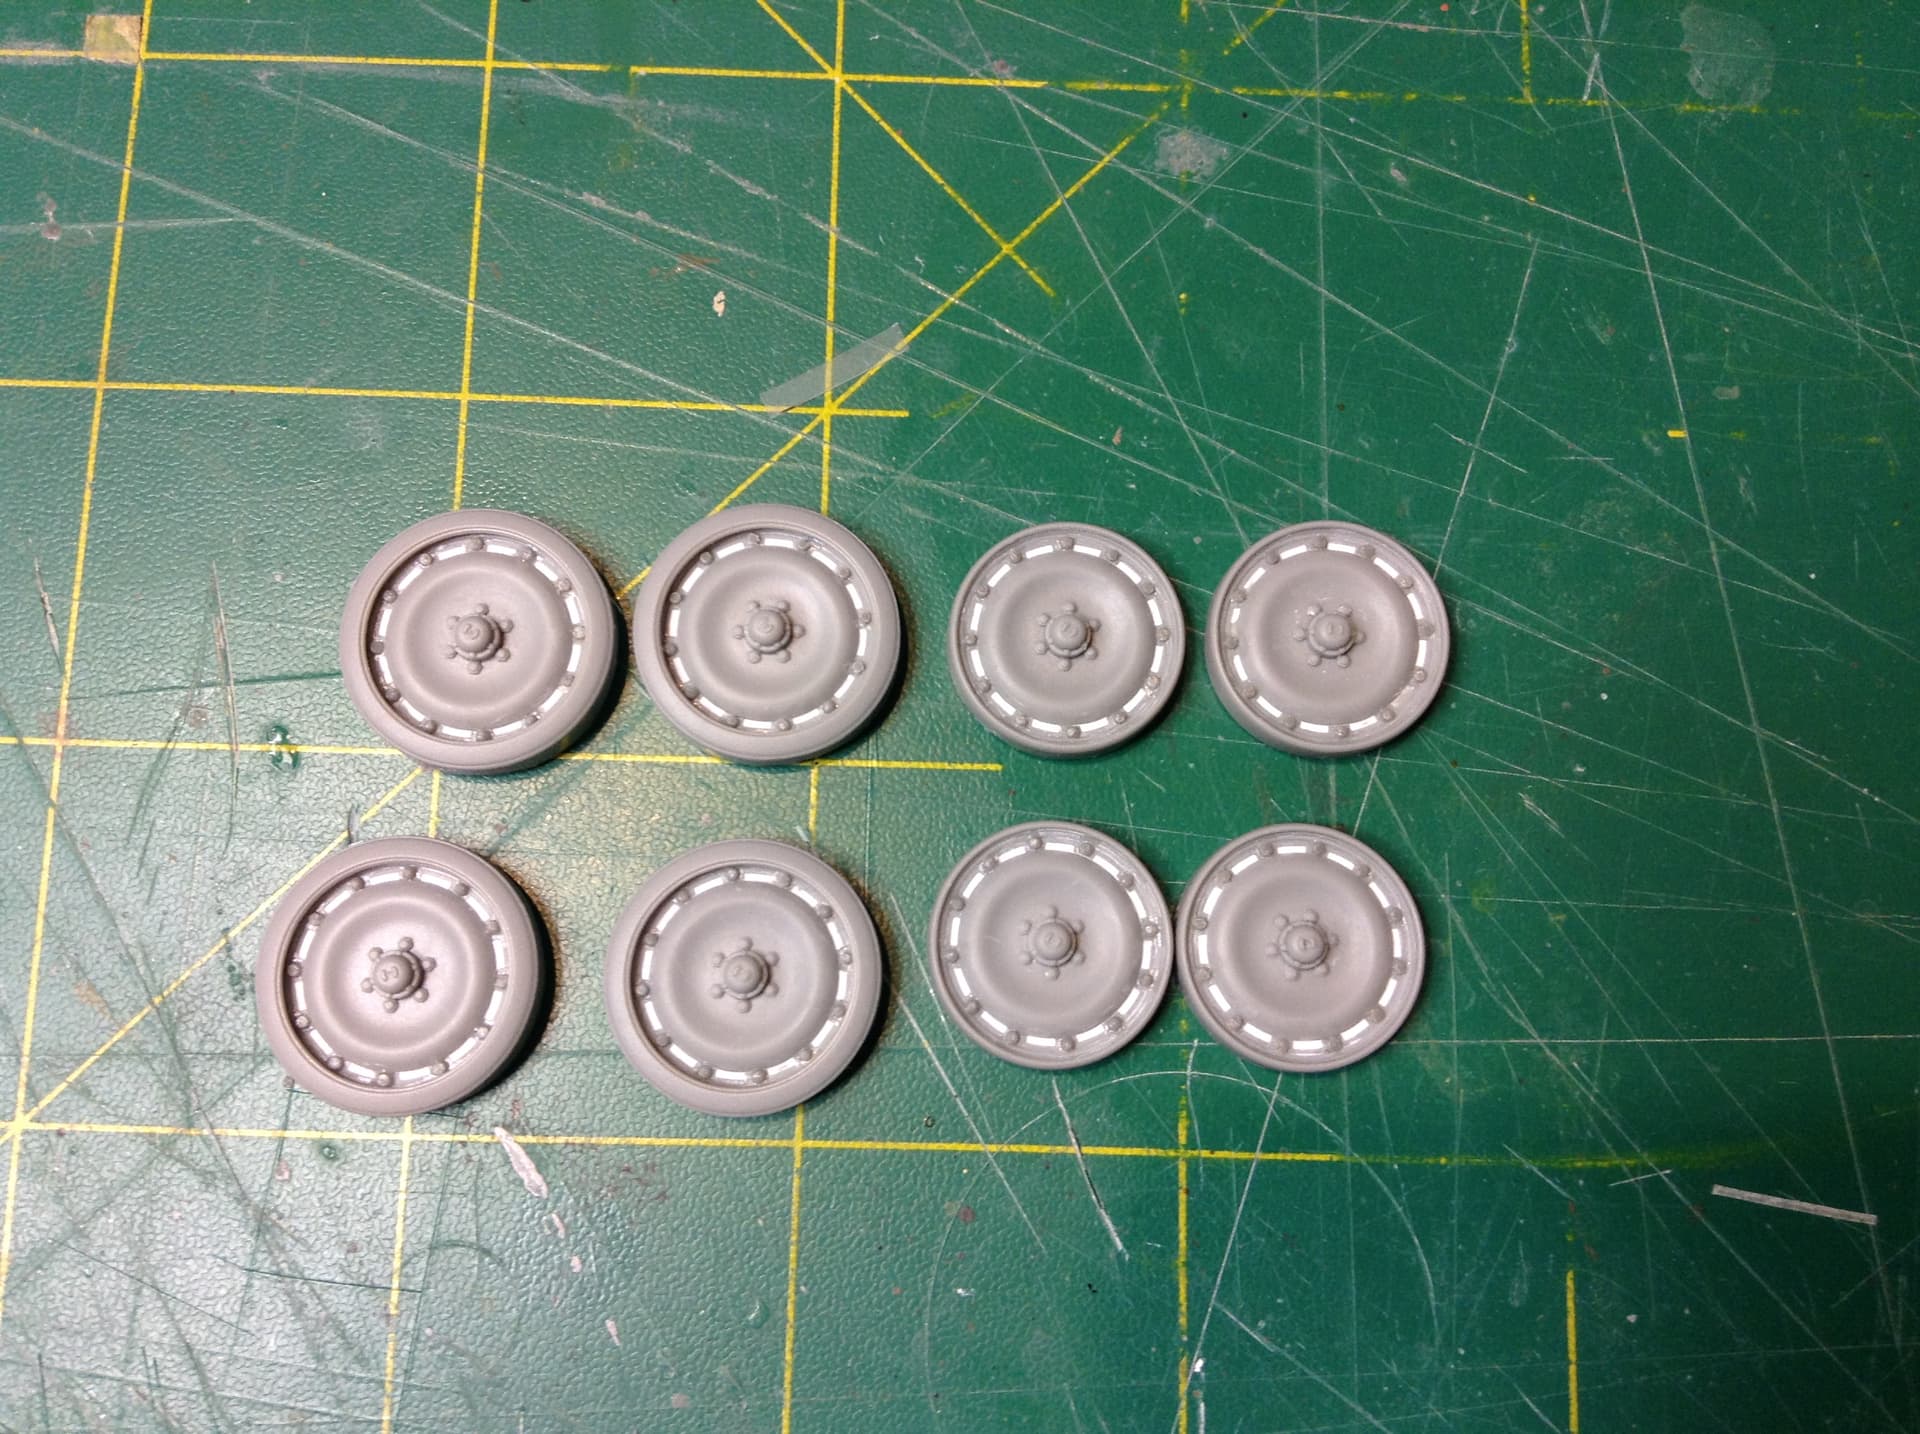
Nice job Bert. I always seem to be needing to add bolts or rivets to a kit. Sometimes because they were missing from the kit as in your case or because I have cut or sanded part of them away. There are 4 sets ( I think) of those rivets and bolts and they were one of the better purchases I have made.

1 Like

Yes the MENG sets are nice. If only they made a set in 0.5 and 0.6. the 0.8 is just a bit big at times. They are what I used on my Takom AMX

Sorry, Bert, but I before you get too far you might want to correct the one glued to the rim edge and the one above that is backward:

image

2 Likes

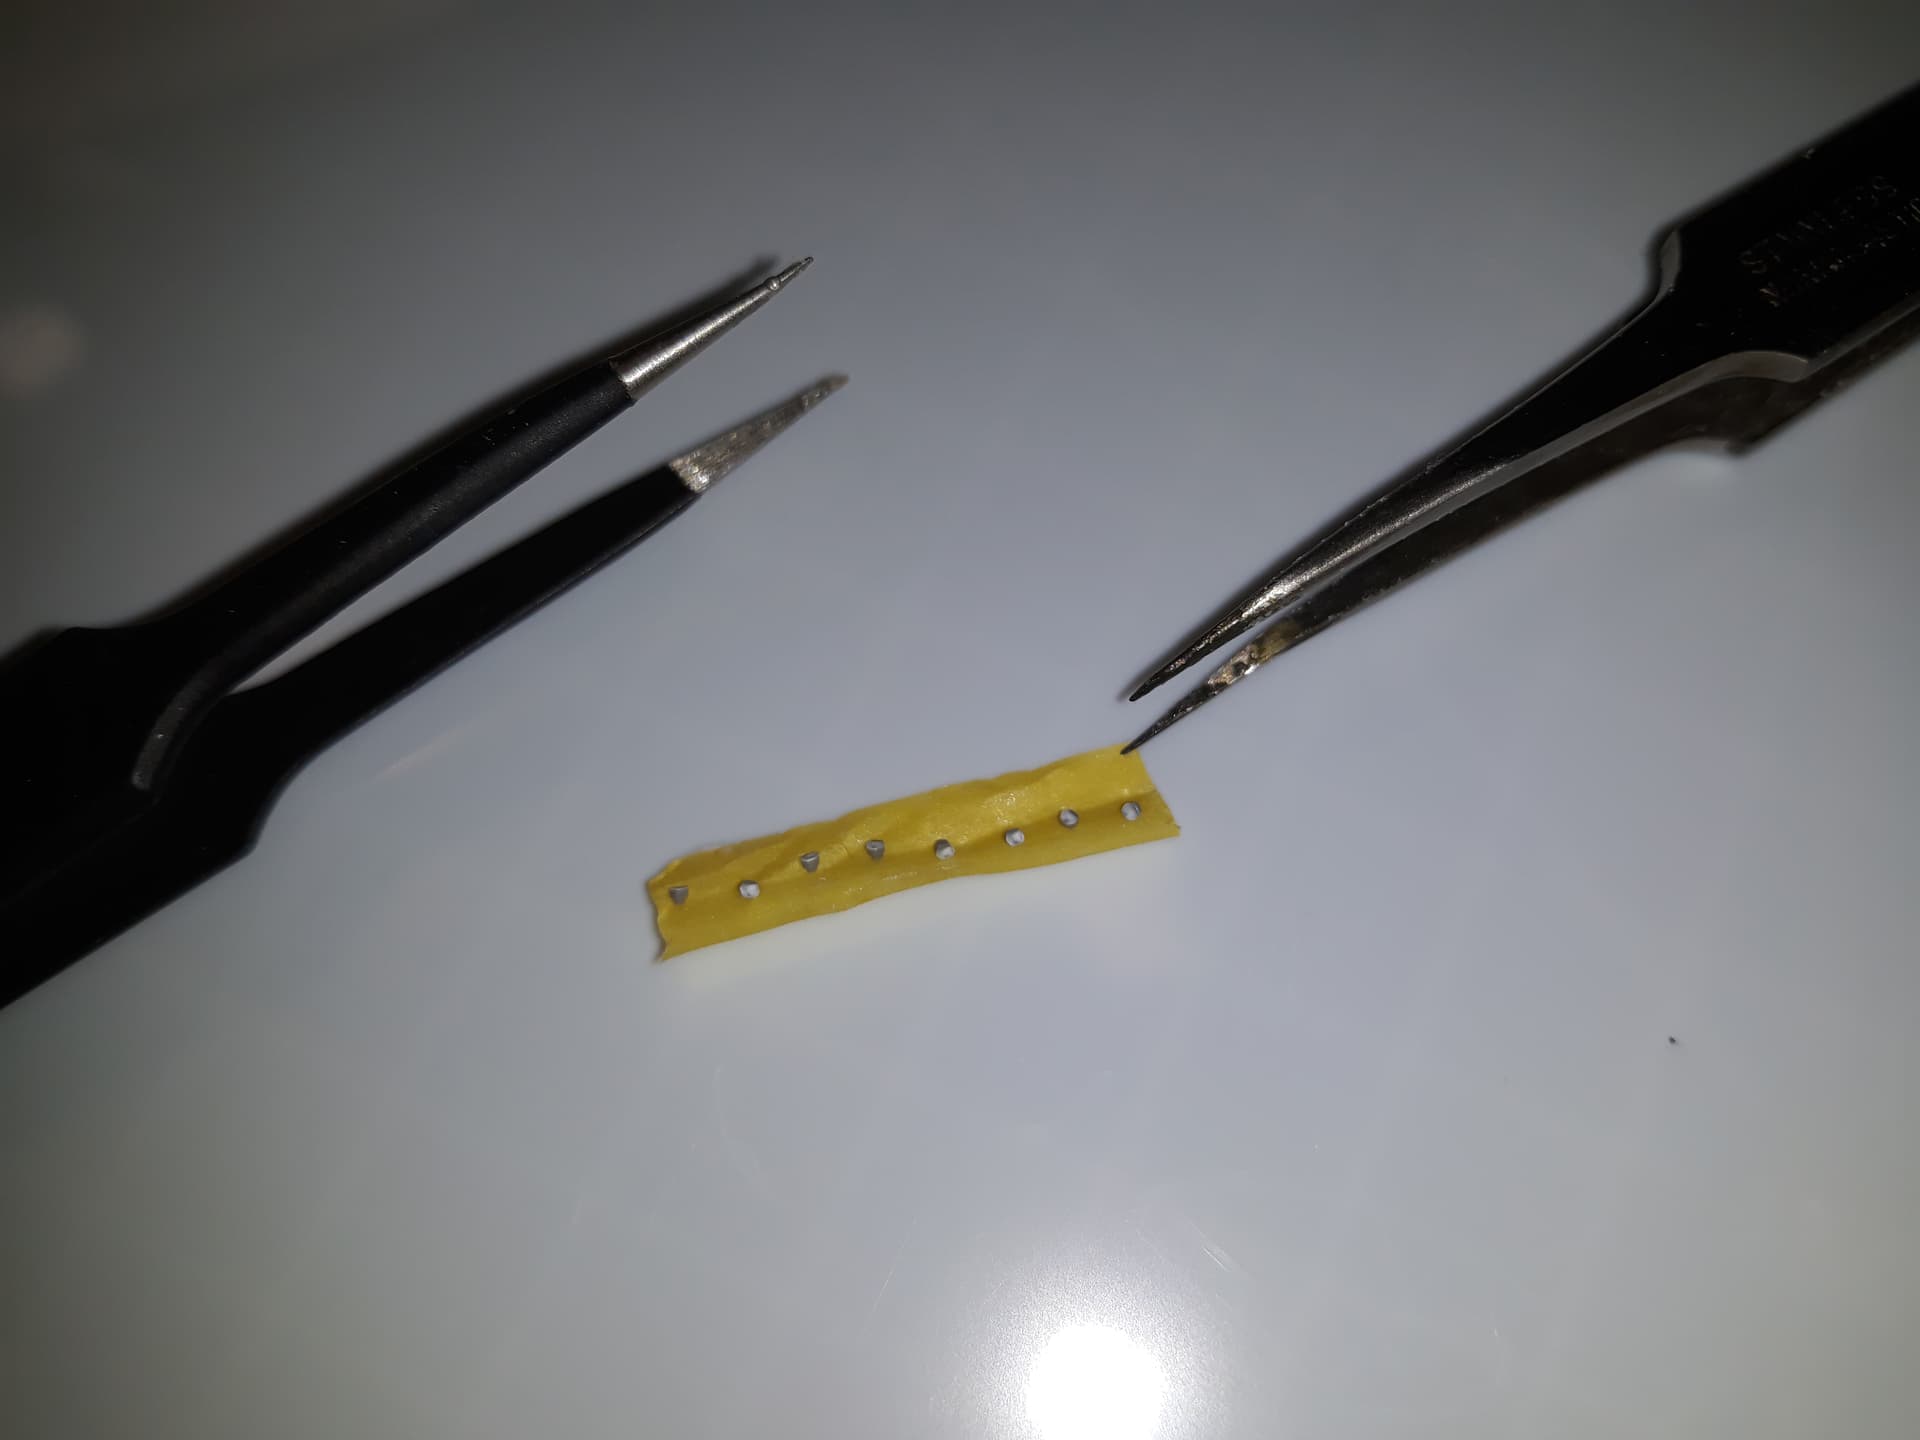
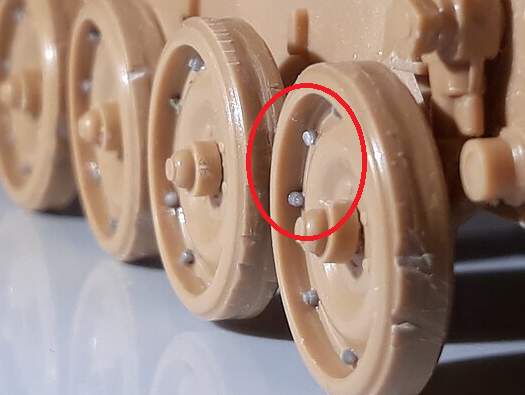
Yes,I used the 0.8, and I noticed it on the picture, didnt even see it when gluing them, so I replaed that one, and than checked ther rest, replaced another 3… :face_with_peeking_eye: :face_with_spiral_eyes:

Yeah I did pretty much the same thing on mine. It was only when I checked them with a magnifier that I saw my mistake. Probably why they jumped out at me.

Keep up the great work on this.

1 Like

Well that is more difficult than rigging in 1/72. :grimacing:
Making progress on the SPAD.

:wave:

5 Likes

12 bolts per road wheel and 10 road wheels all up - 120 bolt heads - it was not too bad an experience really.

If there had been two more road wheels to do - 144 bolts, well that would have been just GROSS… :rofl:

Boom boom!

2 Likes

Grooaann :face_exhaling: :face_with_hand_over_mouth:

1 Like

Peter
You’re omitting the 6 bolts around the hub caps which need to be replaced as they are too flat and ill-placed for some of them and the 6 tiny ones on the hub cap. :wink:

Bert
Don’t forget to add the hub lubrication point and its protections.

Olivier

6 Likes

Not so sure, the rigging has to be tight, I can always hide those wheels in a layer of dust/ sand/mud :smile:7

4 Likes

Think I will give them permission to stay away :grin:

1 Like

Nobody will know except the whole Armorama community. :laughing:
To be honest I’m not sure I’ll do it again myself.
Olivier

2 Likes

Bert, the wheels look great. The work will pay off when it’s all finished.

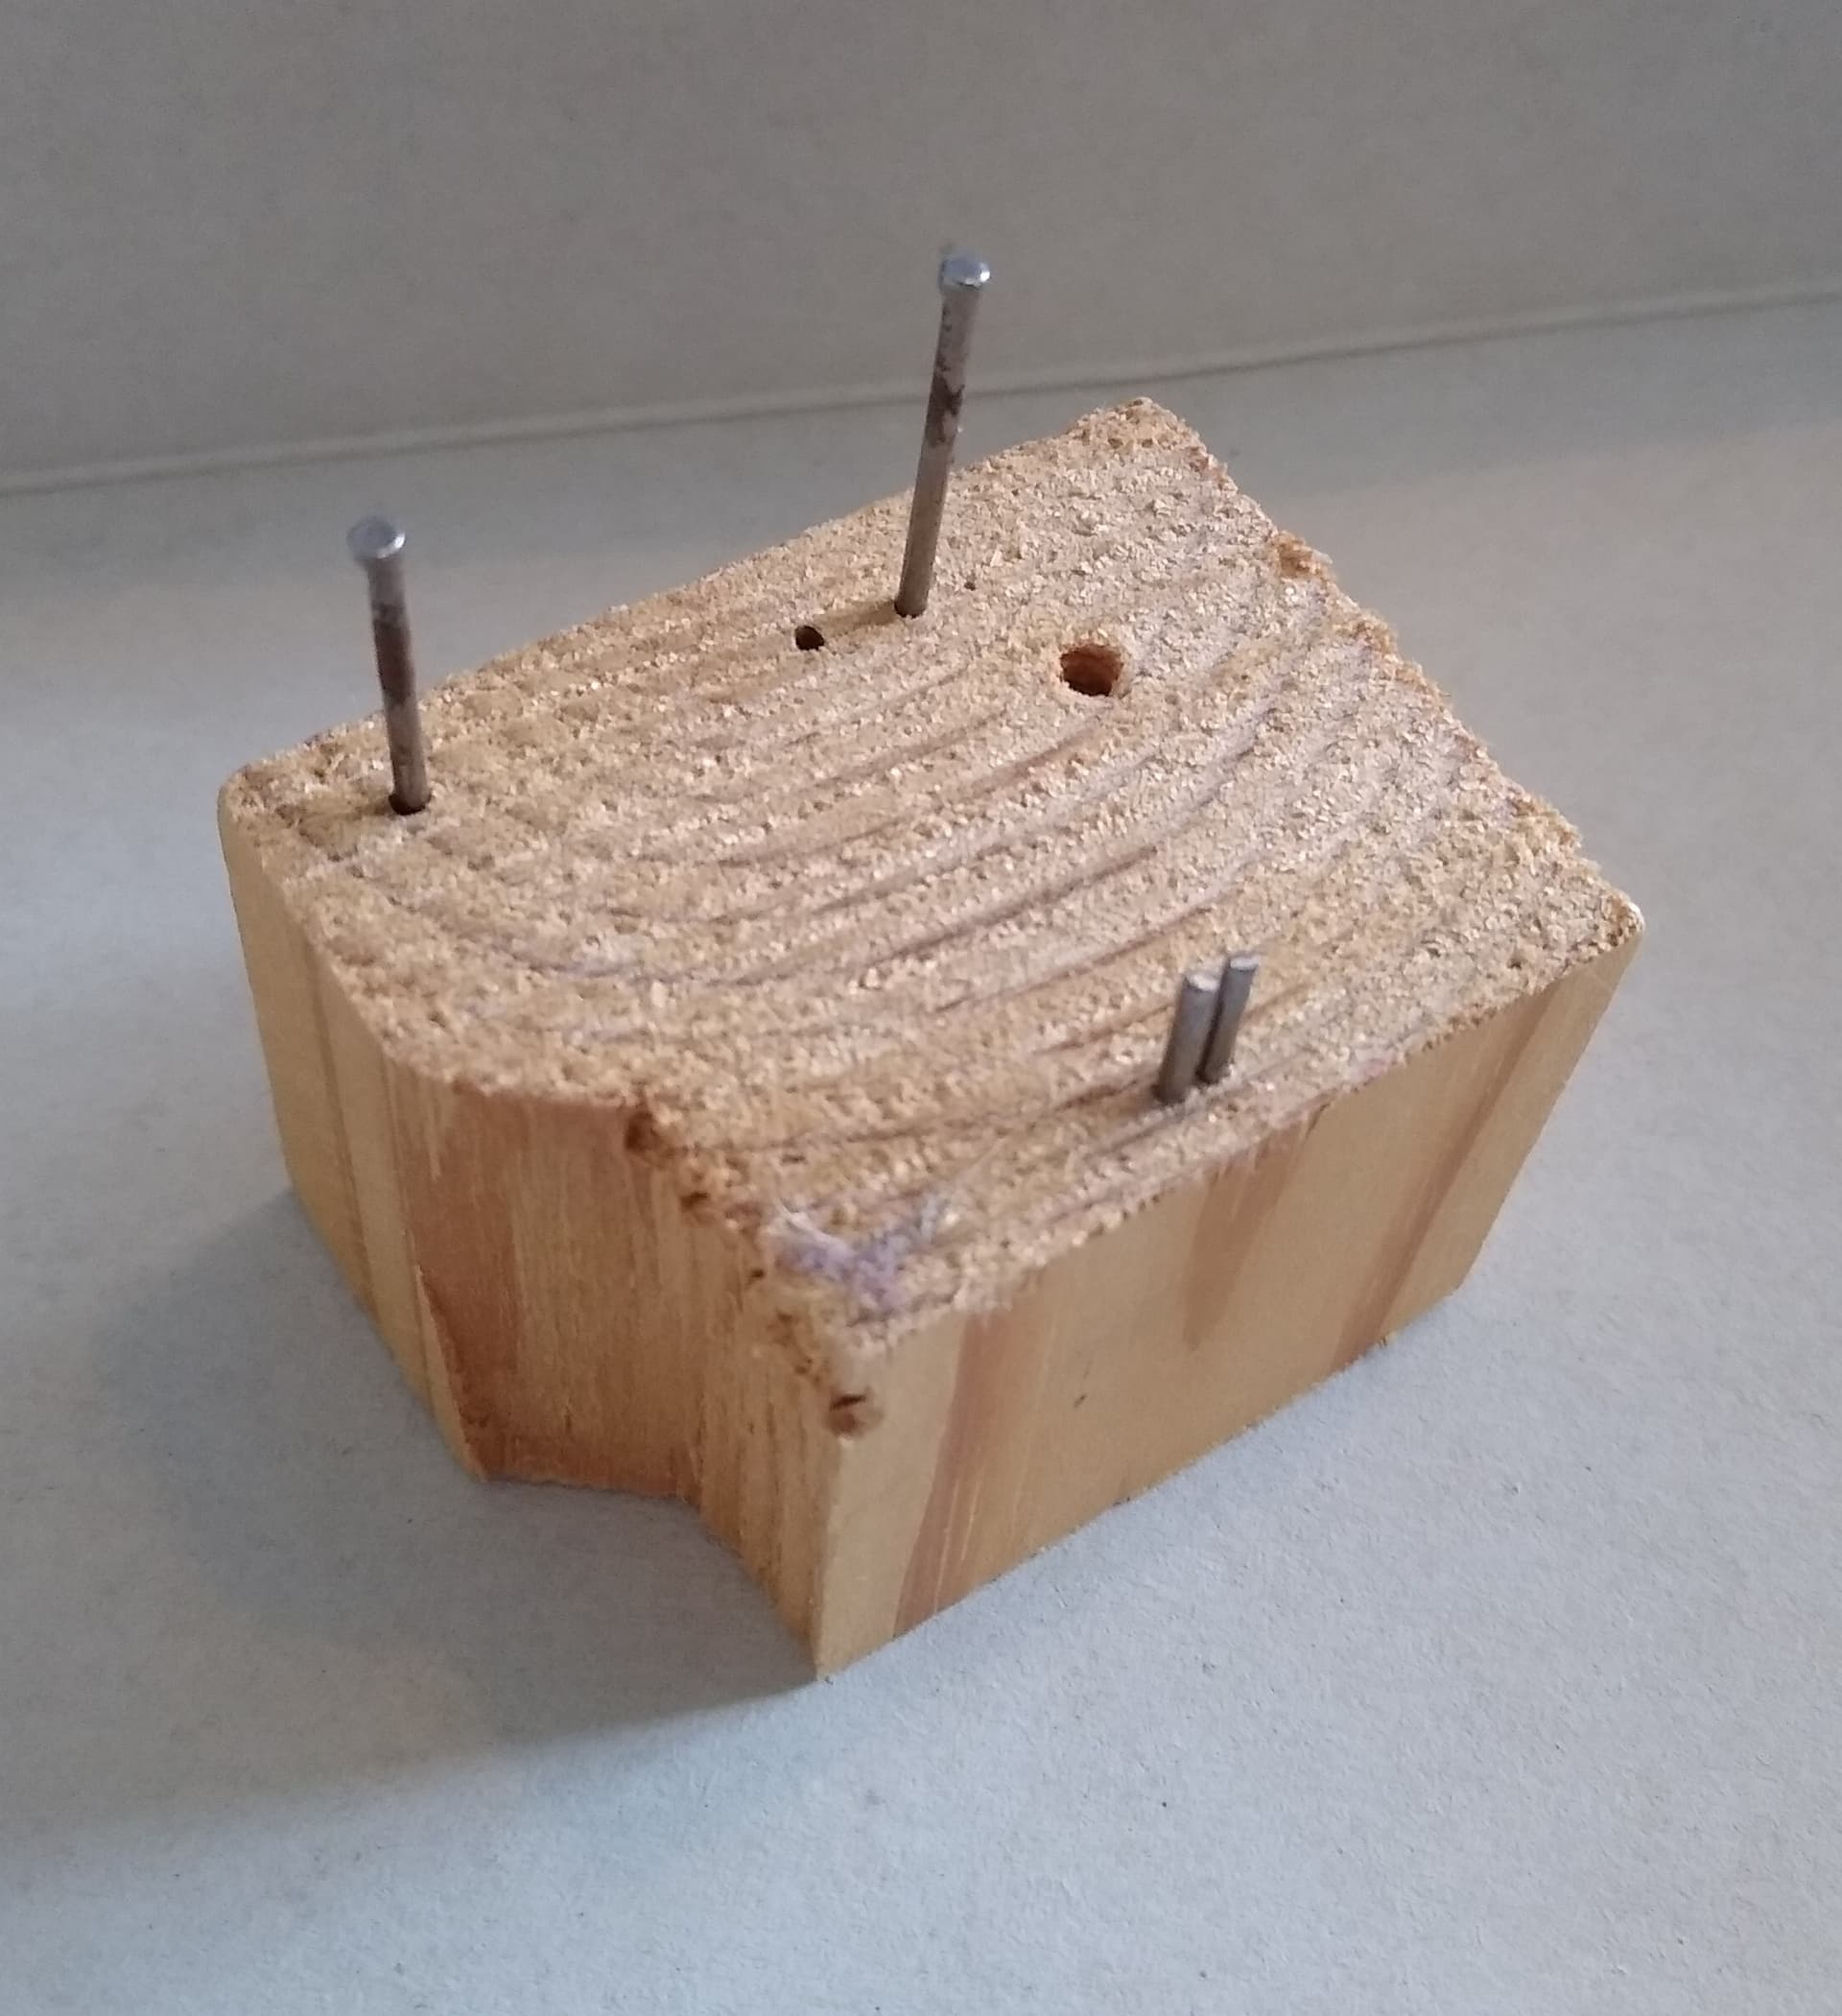
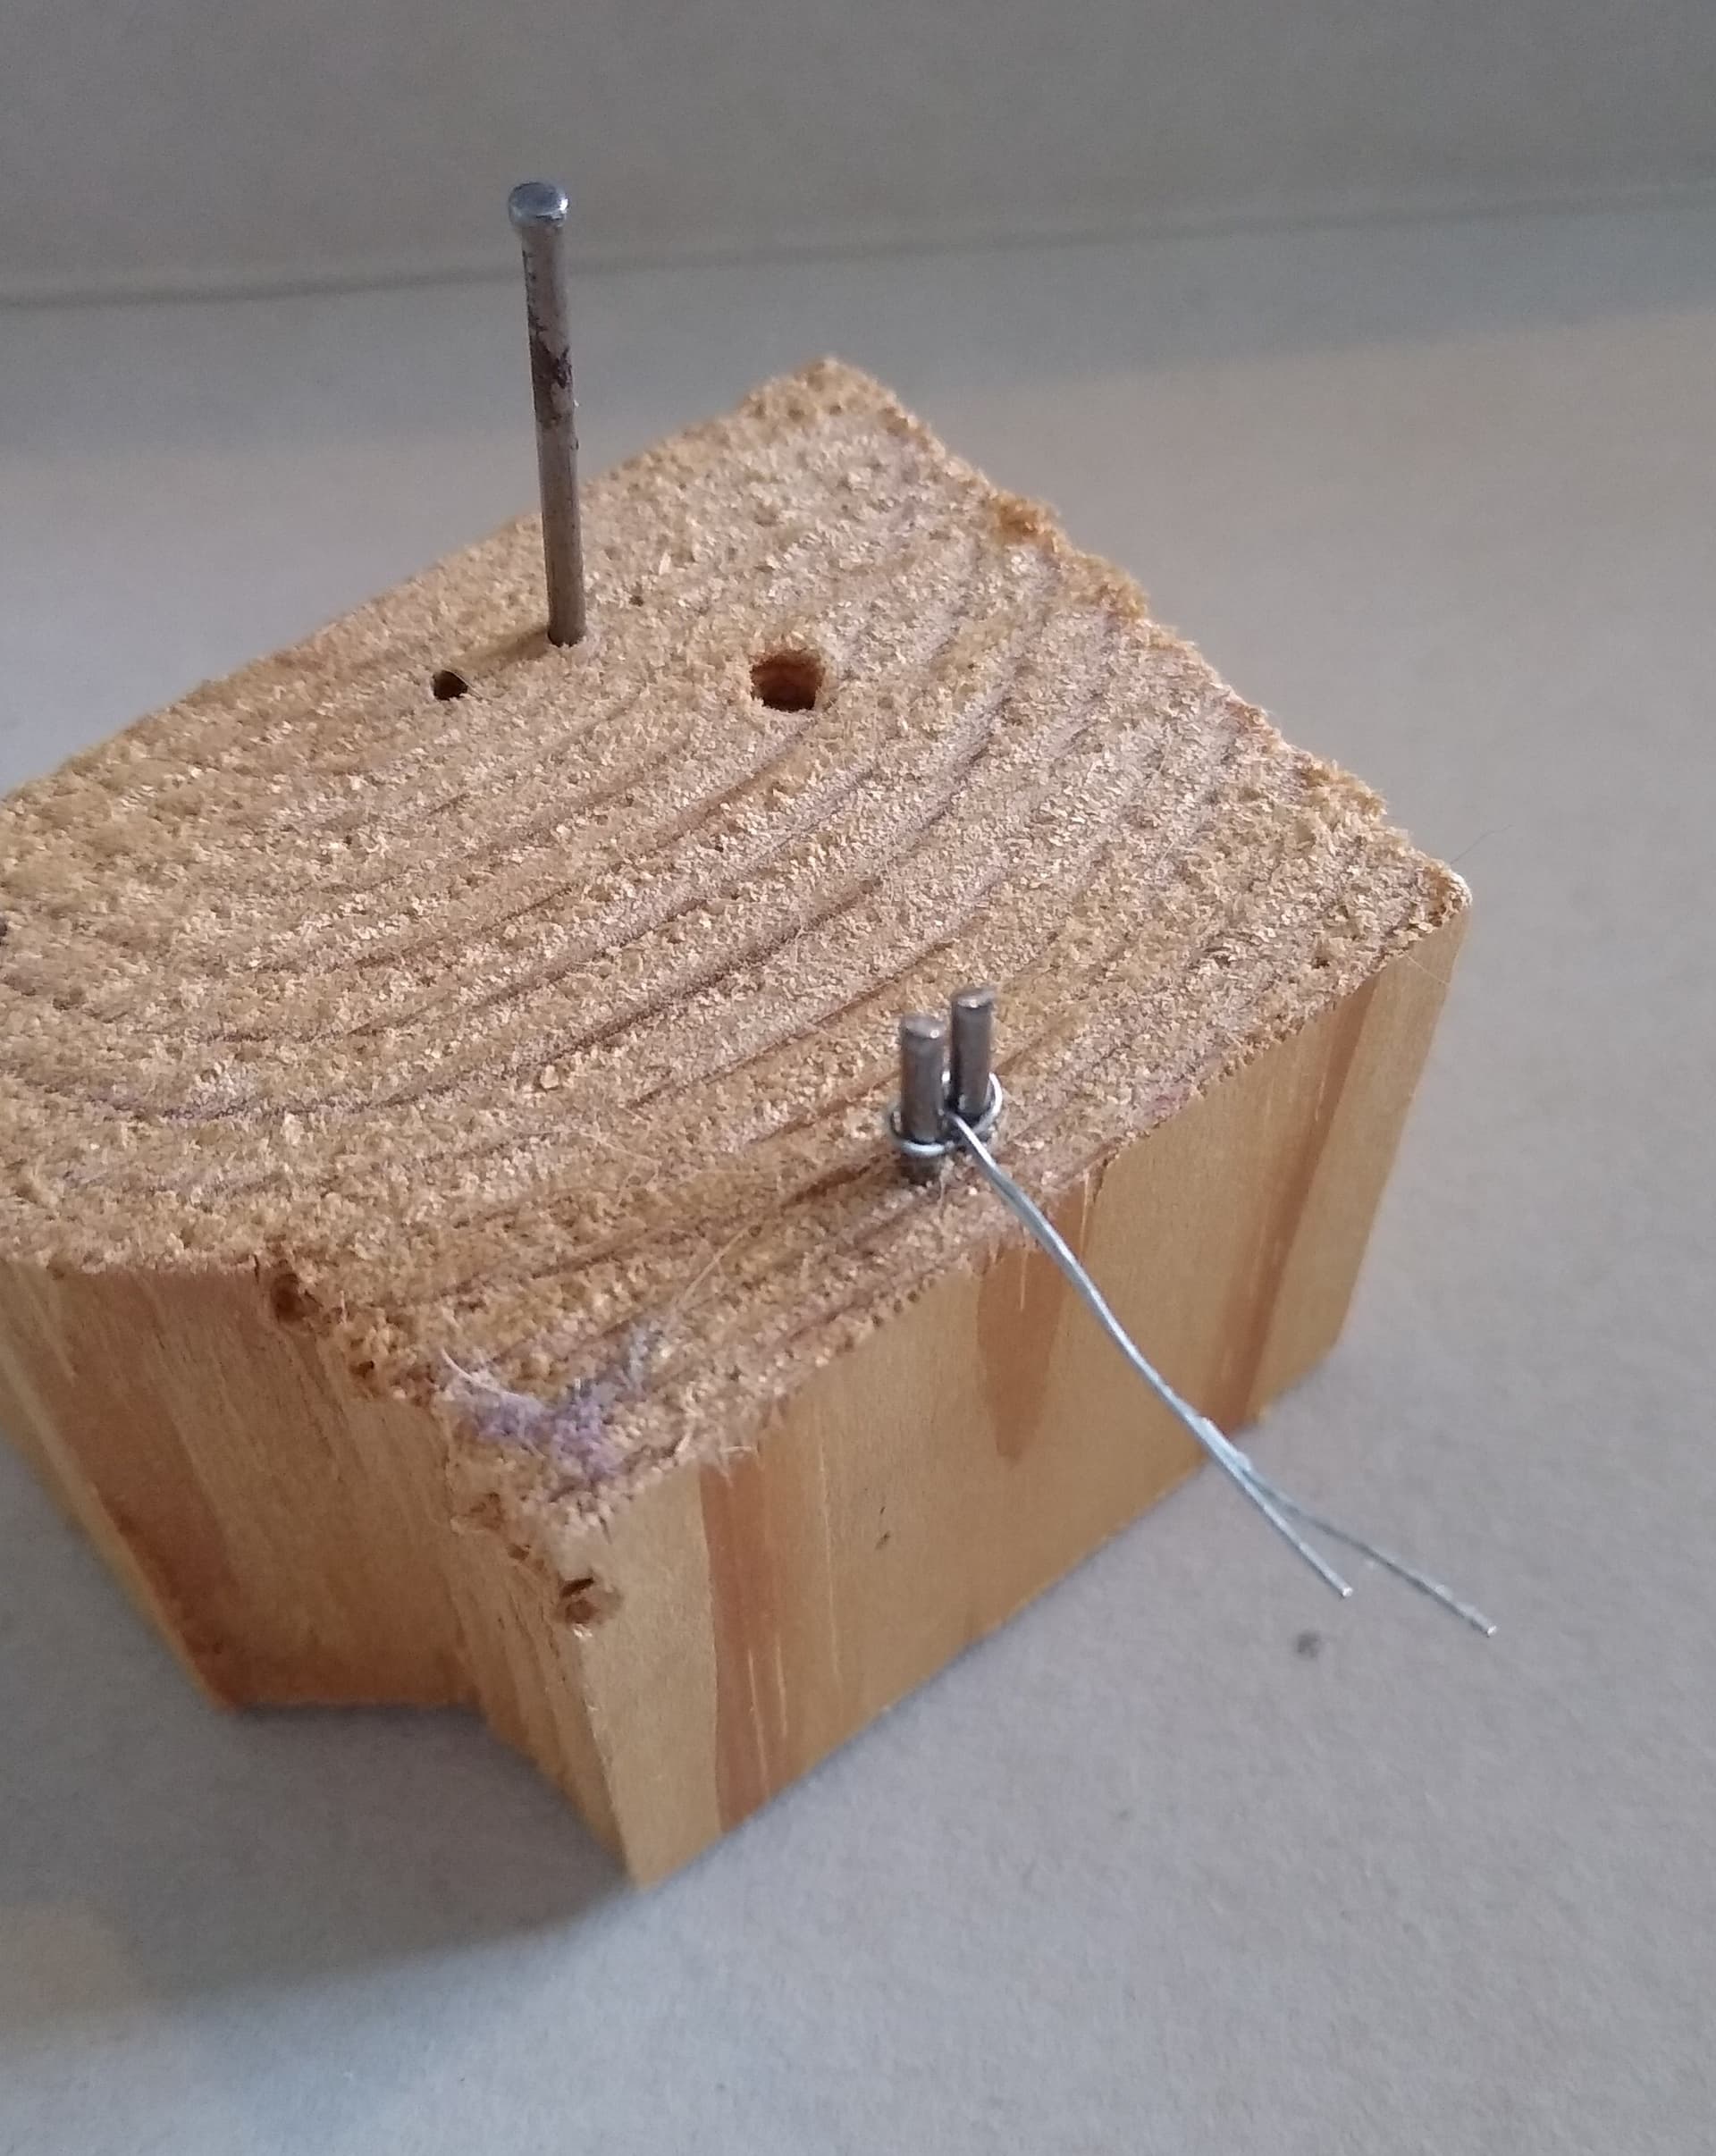
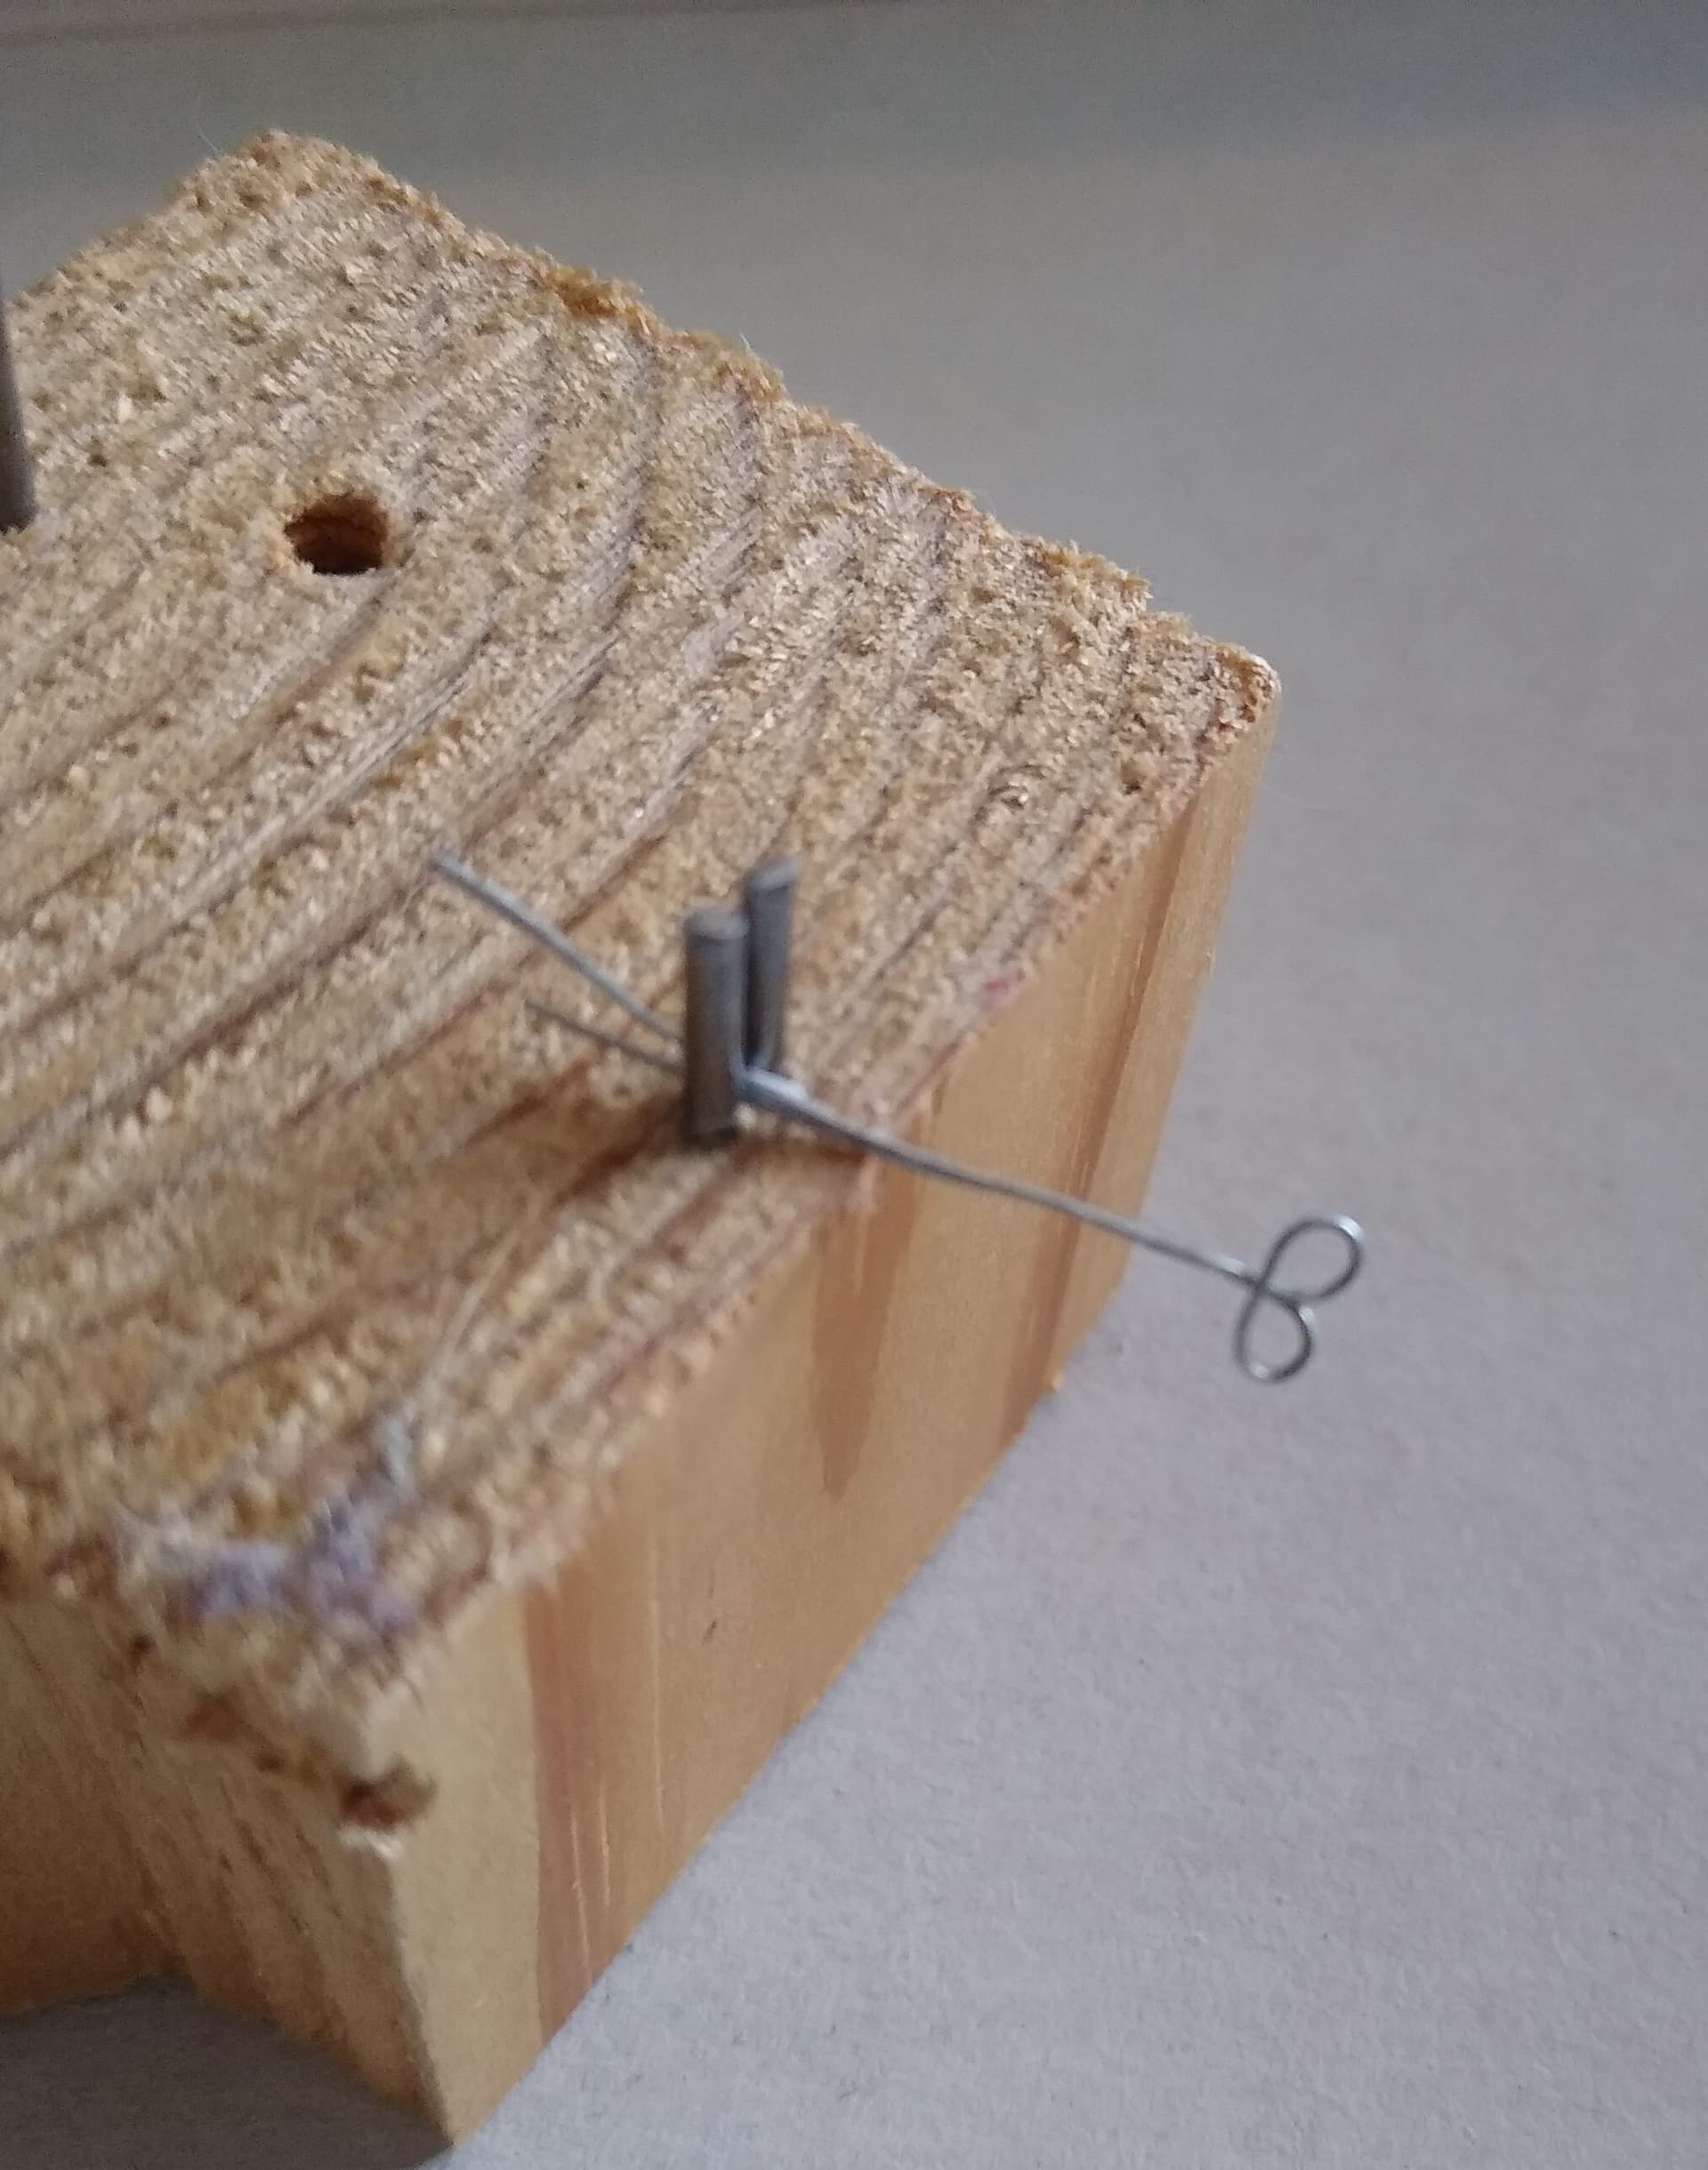
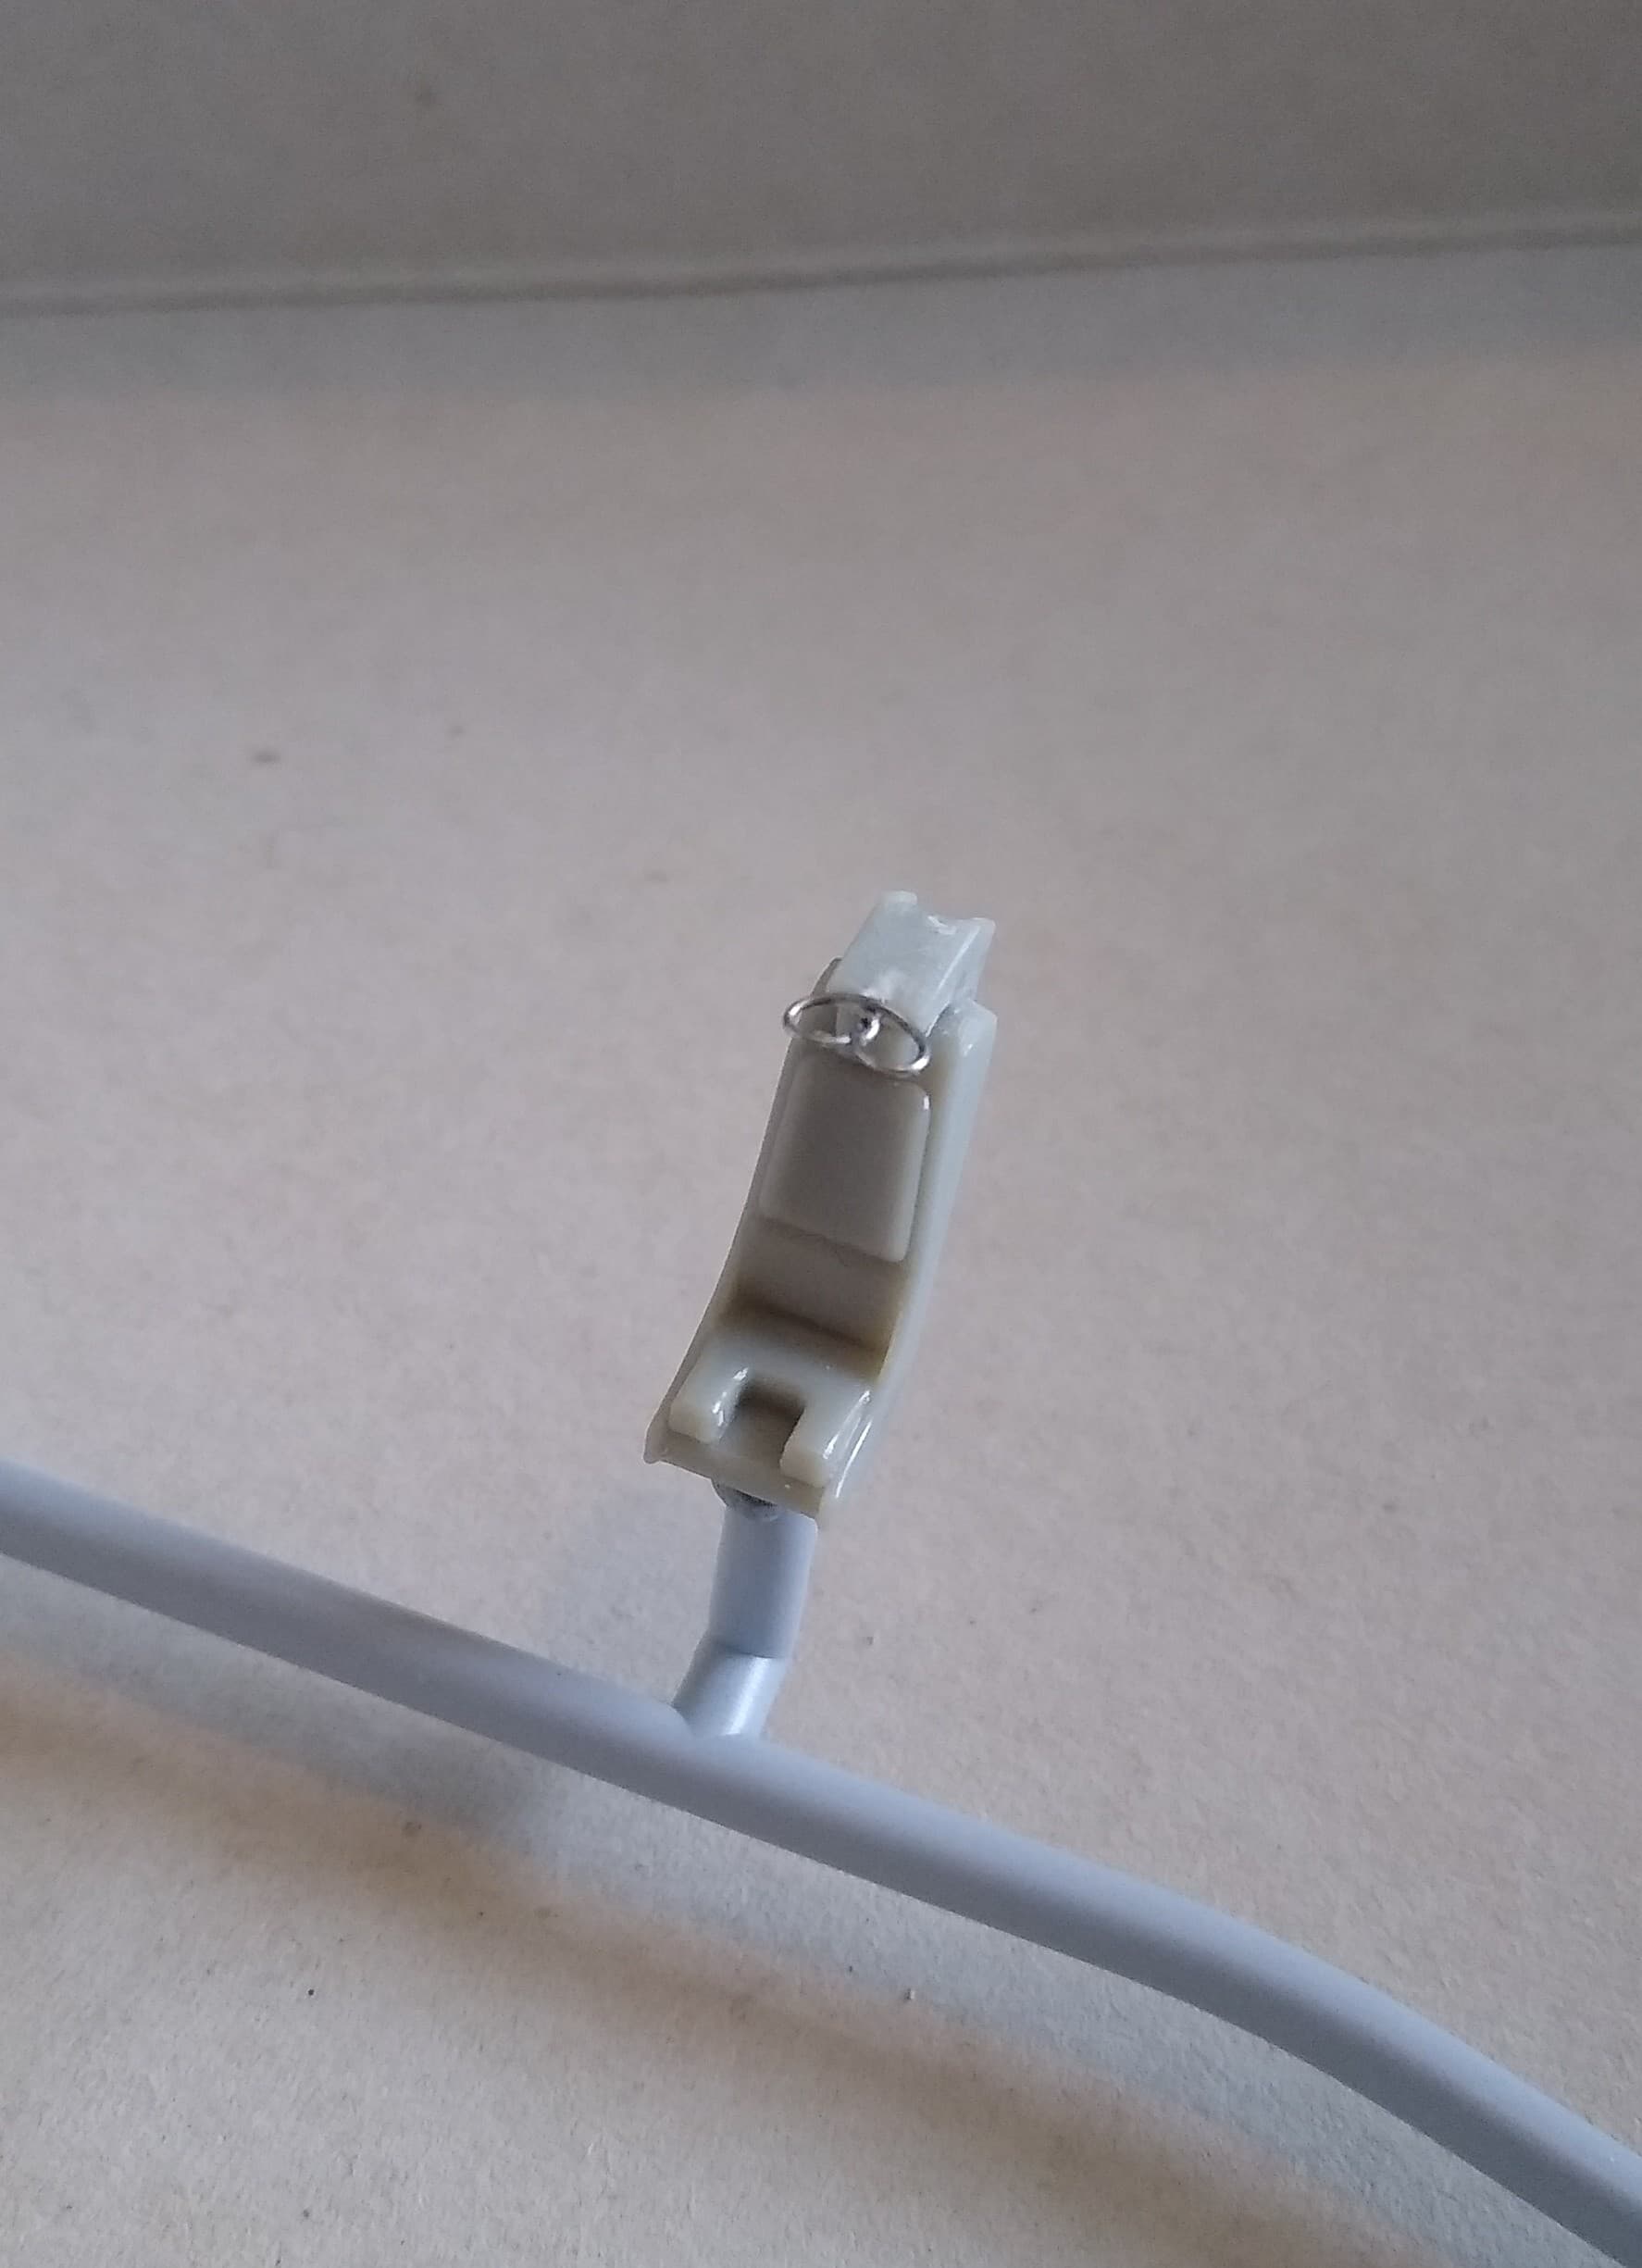
I started some work today on the Mirages ejection seat. First job, the firing handles using a home made jig I made for this very purpose years ago.
It’s nothing pretty. Just a piece of scrap wood with two of the thinnest nails I could find banged into it and the heads trimmed off.

Loop a bit of wire around them, twist the end strands, trim and fit into a pre-drilled hole in the seat.


Thanks for looking.

10 Likes

Thanks, and that is a very clever way of doing some great detailing!!

1 Like

Pretty or not, if it had a ‘Mig’ logo on it, it would sell for $20 a pop…

3 Likes

Great idea, which begs the question about the other two nails?

1 Like

Thanks guys. It’s simple but works.

As for the other nails, I used those to wrap some string around to make a stowed rope. It’s multi purpose!

1 Like

Interesting and nice idea Stephen, I may have to borrow that idea.

Guy’s some interesting things going on here, as mainly a ship and aircraft person the wheelie and trackie things are interesting to watch how you guys tackle the build and detailing.

2 Likes

By all means, thought it would be a useful tip so shared.

Bert, those wheels will be small models in their own right before you’re done. But it will show and add a nice extra layer of detail when done.

Stephen, Nice detailing on the ejection seat. A neat little trick I will steal. :slightly_smiling_face:

1 Like